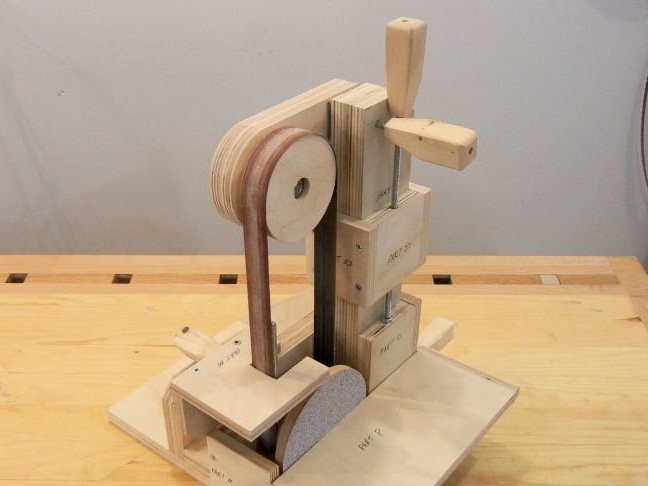

Hello fans to craft, today we will analyze how to make a belt sander do it yourself. This machine has small dimensions and small power, this makes it suitable for home use, you can work on such a machine even in an apartment. The machine is assembled from plywood, this material is available, it is easy to work with it, and plywood copes with loads perfectly. Another plus of the design is that a drill is used here as an engine. This makes it possible to set the required speed, select the drill of the required power, and the torque is quite high. By the way, you can use a cordless screwdriver or drill, then the machine will also be mobile.
In addition to this, the machine also has a disk on which grinding wheels can be installed, that is, the machine can work as an orbital grinding machine. If the project interests you, I propose to study it in more detail!
Materials and tools used by the author:
Material List:
- plywood;
- bearings;
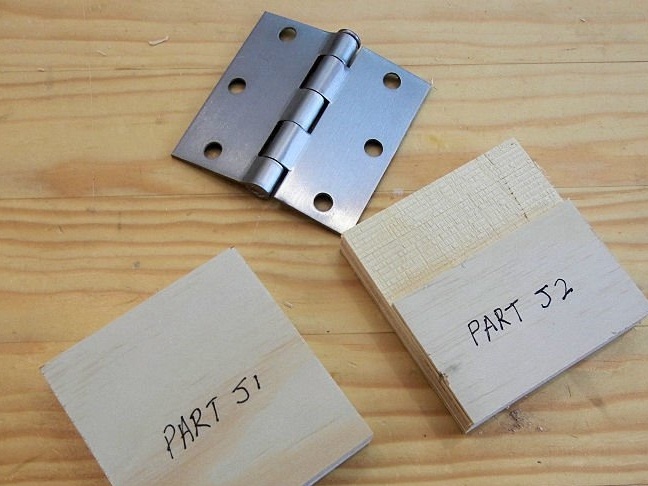
- door hinges;
- sheet metal;
- self-tapping screws;
- pine timber;
- threaded rod;
- iron axis;
- furniture nuts, washers, etc .;
- MDF or similar material.
Tool List:
- circular;
- drilling machine;
- clamps;
- a hacksaw for metal;
- file for metal;
- vise;
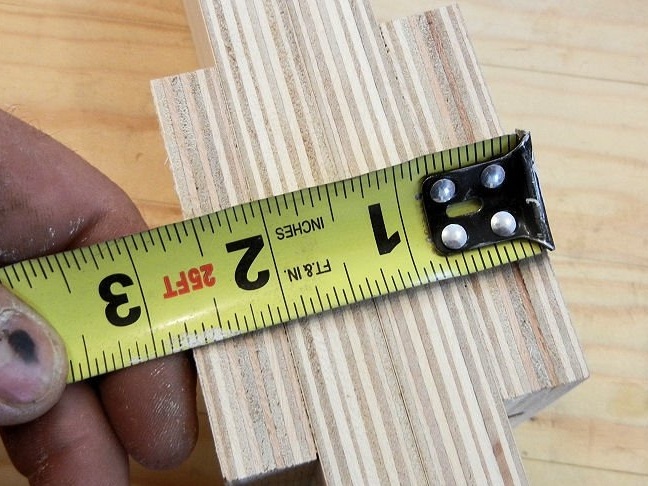
- tape measure, pencil, compass, ruler, etc .;
- hammer.
Manufacturing process homemade:
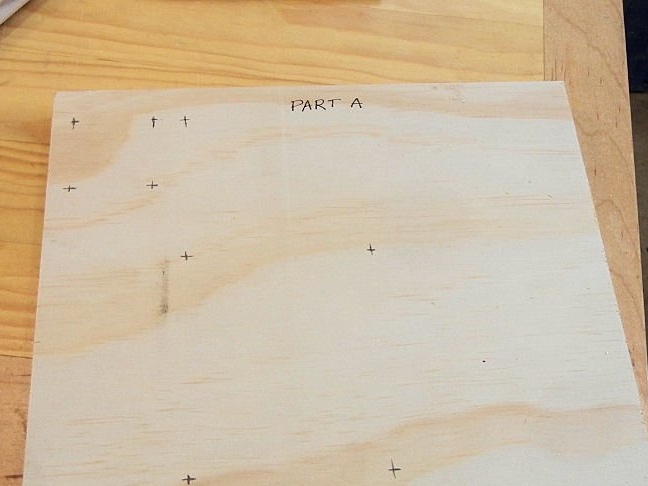
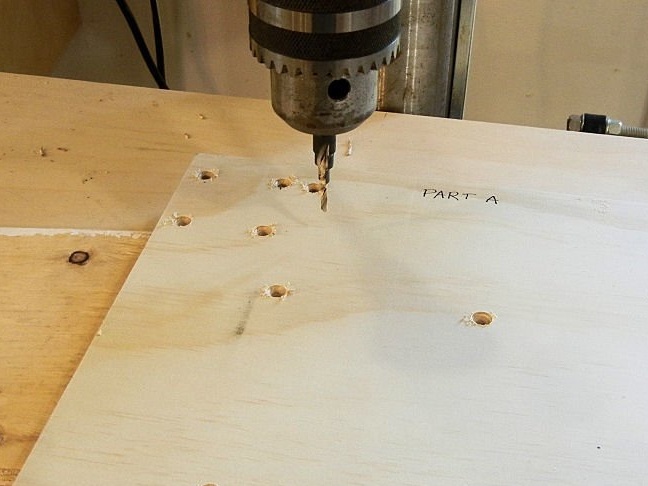
Step one. The foundation
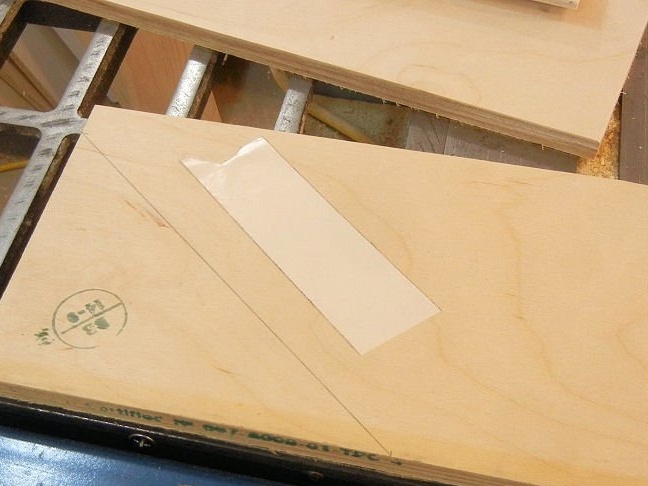
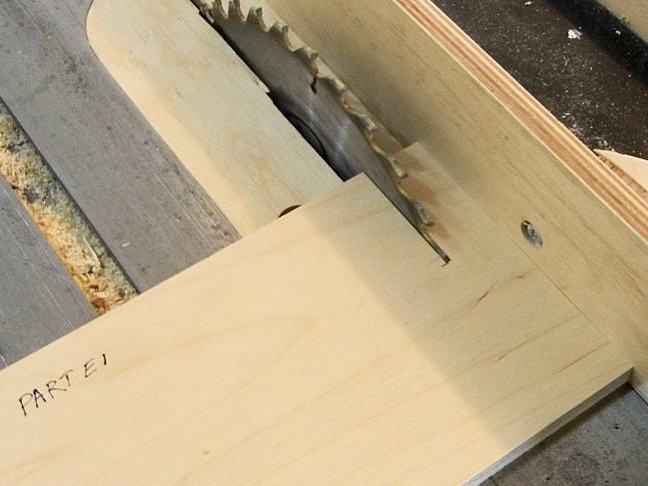
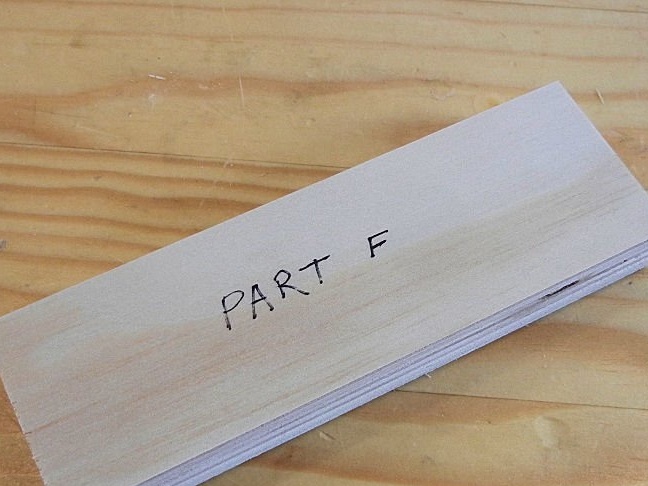
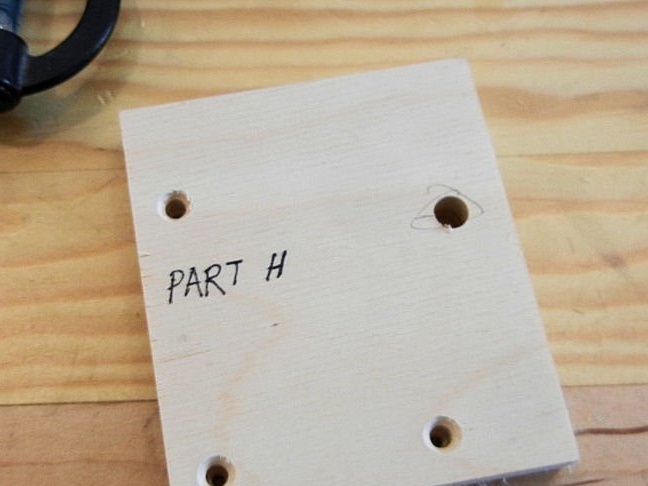
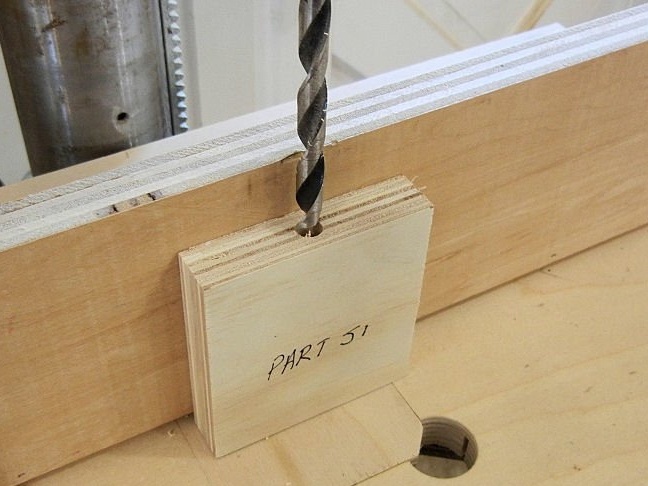
Let's start with the basics, cut the sheet of plywood that is the right size. Since the author created the project in advance and planned everything, he immediately drills the holes in the base for fastening the machine parts with screws.
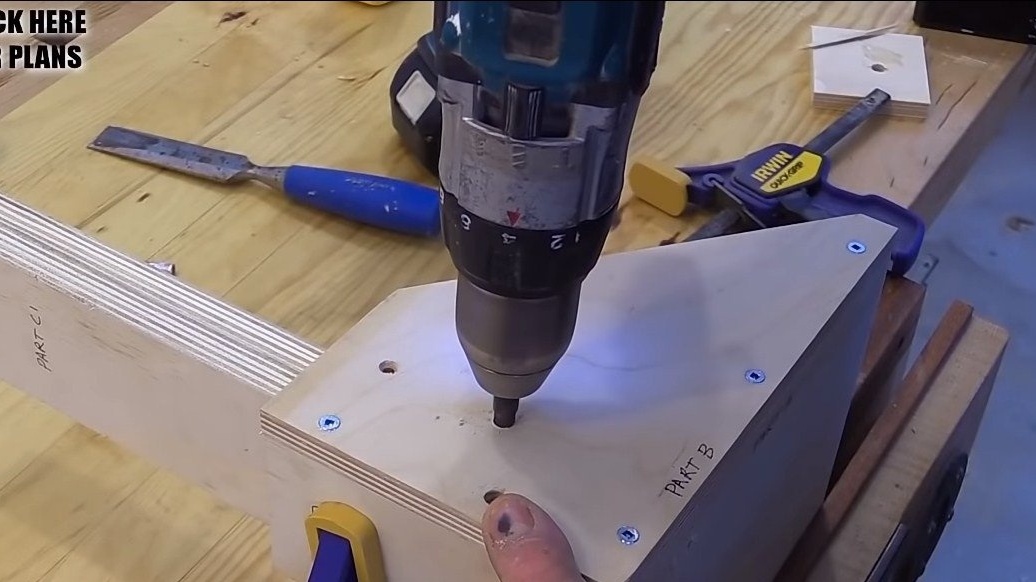
Step Two Frame
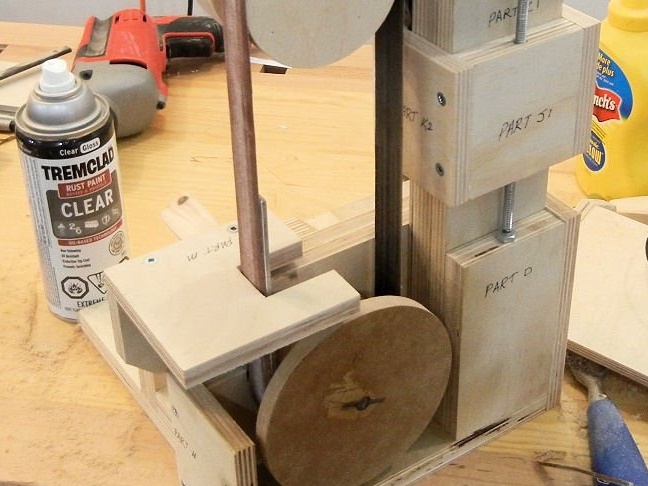
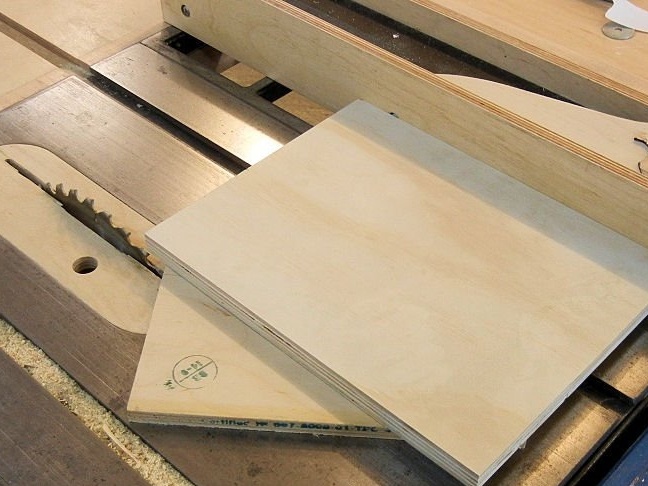
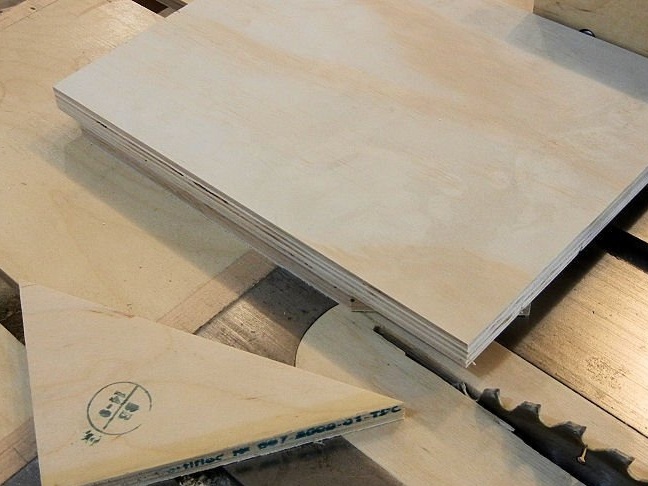
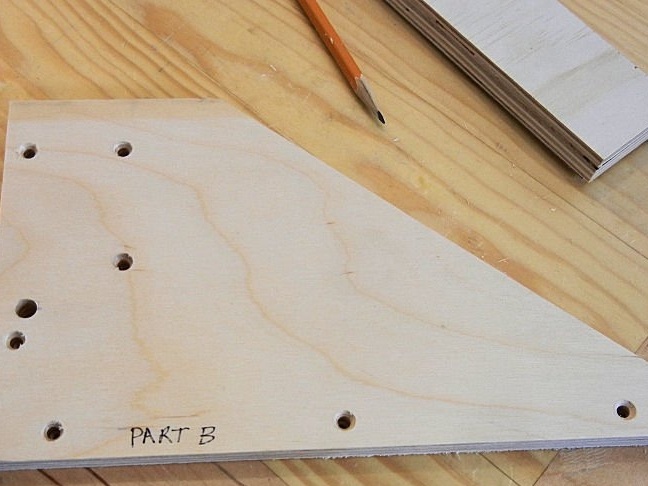
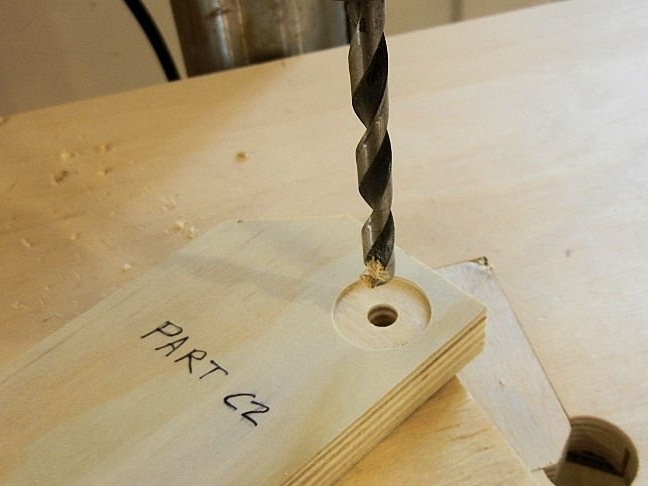
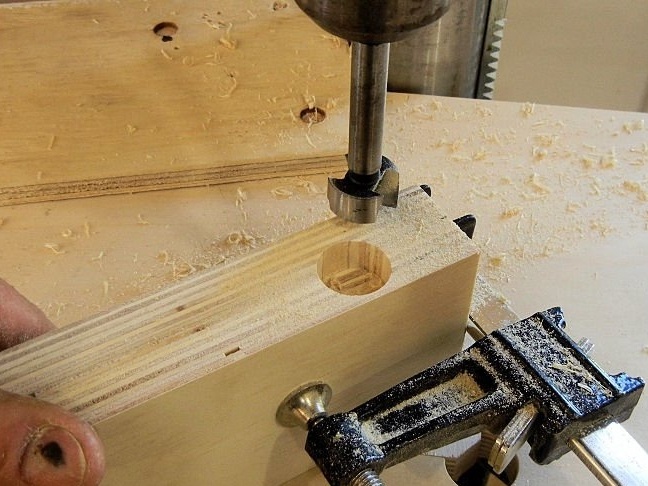
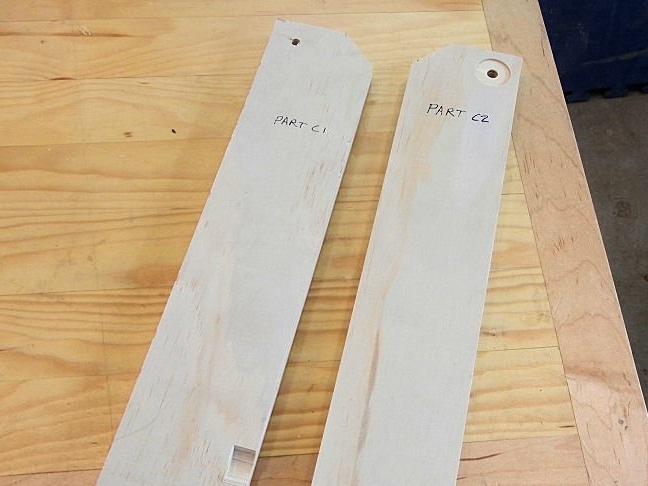
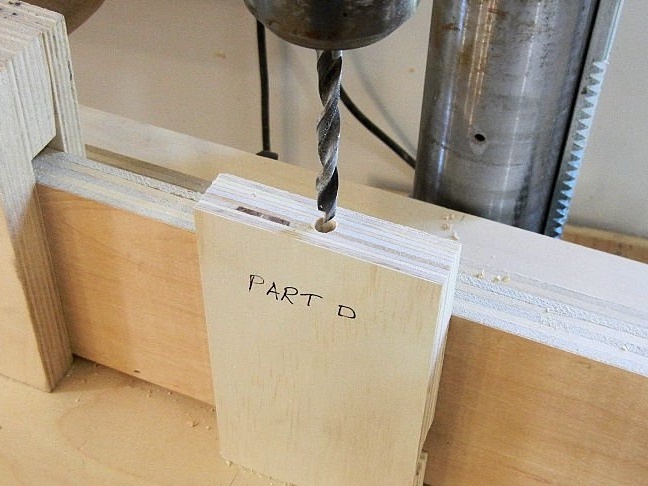
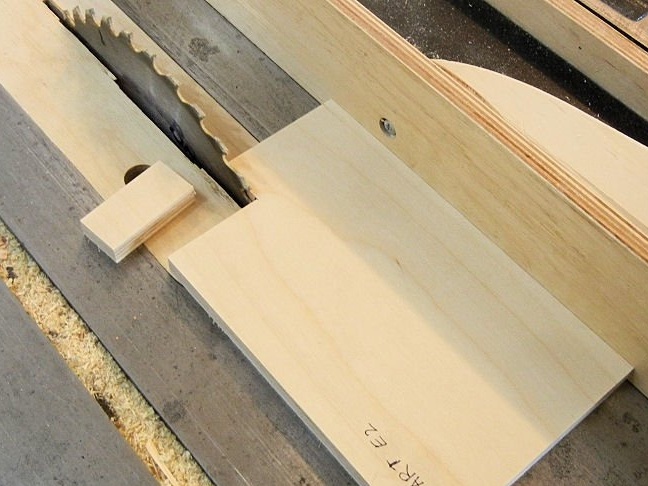
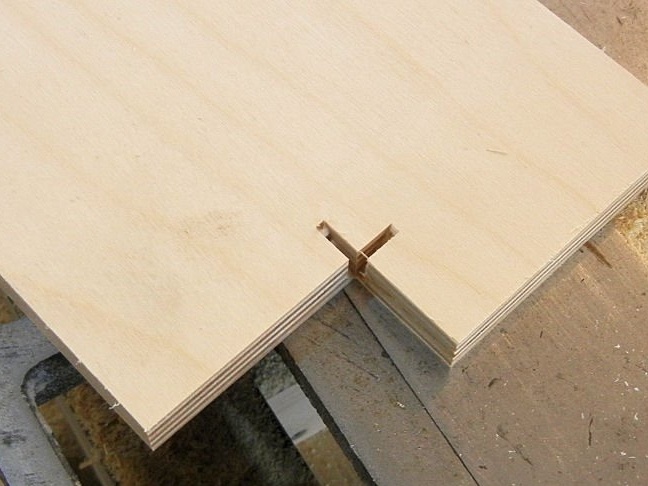
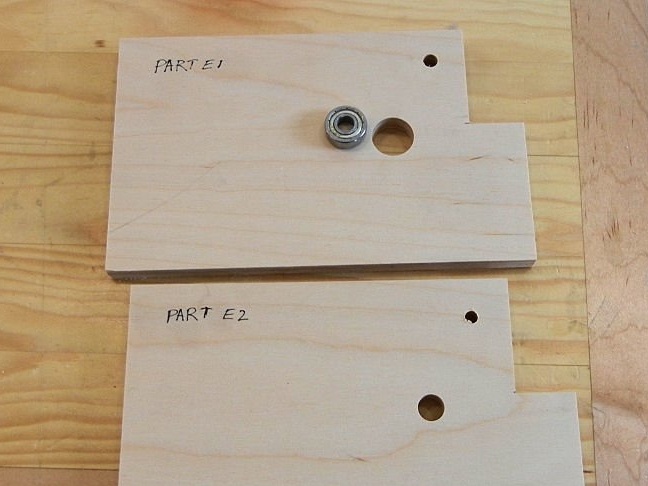
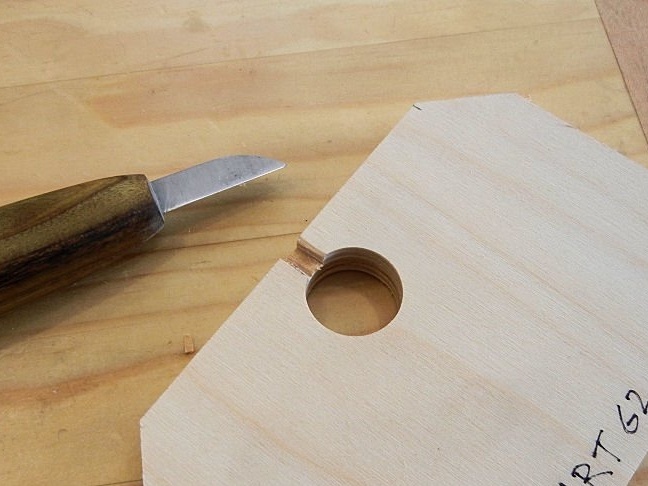
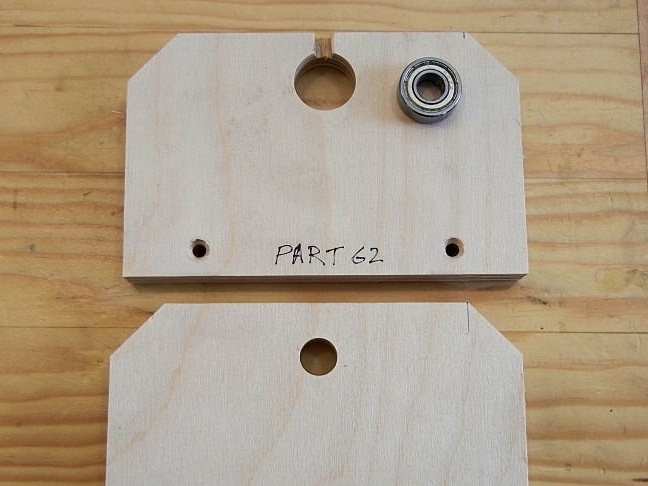
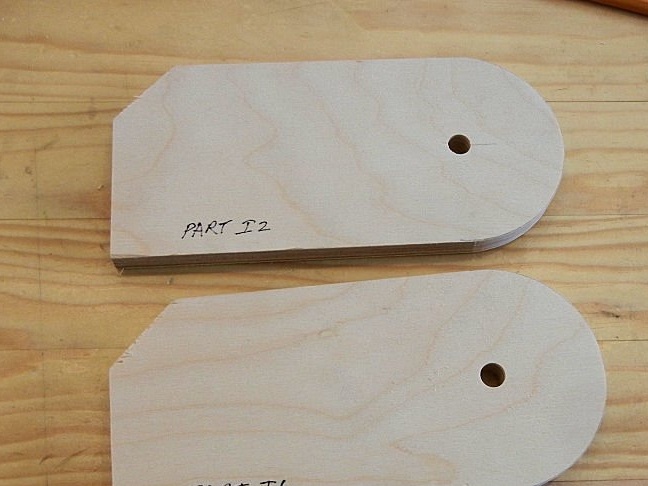
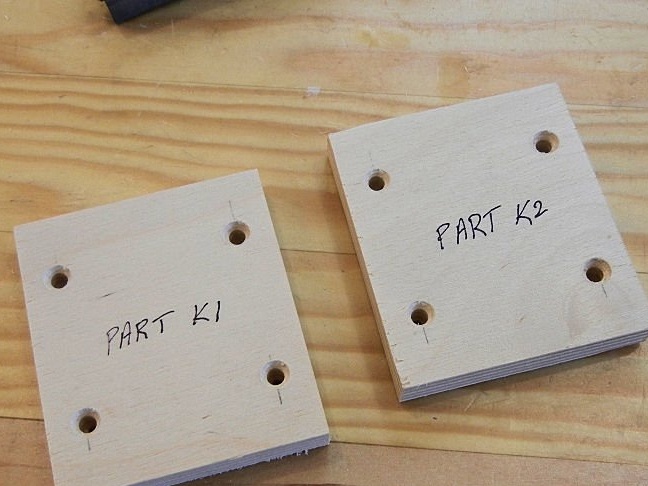
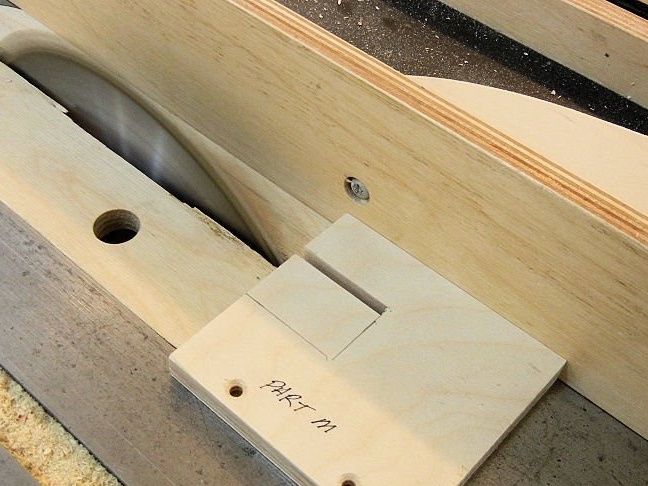
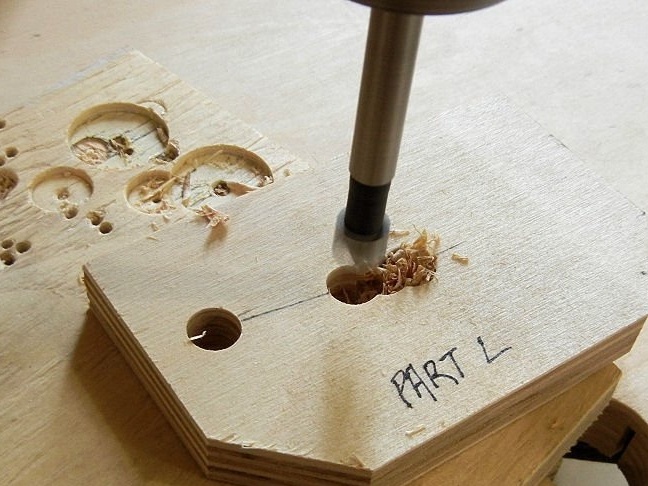
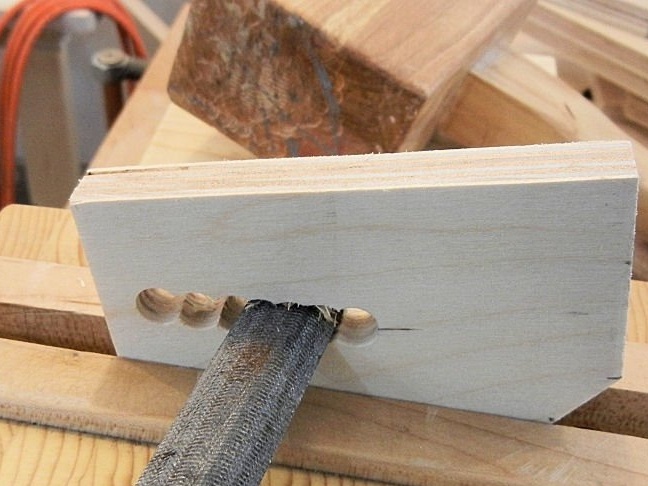
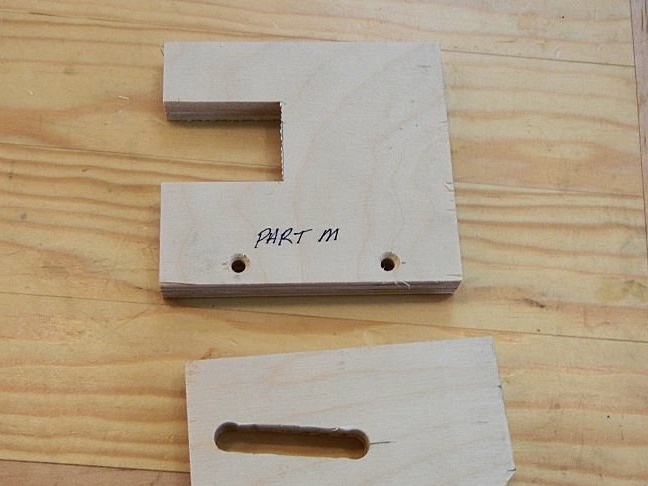
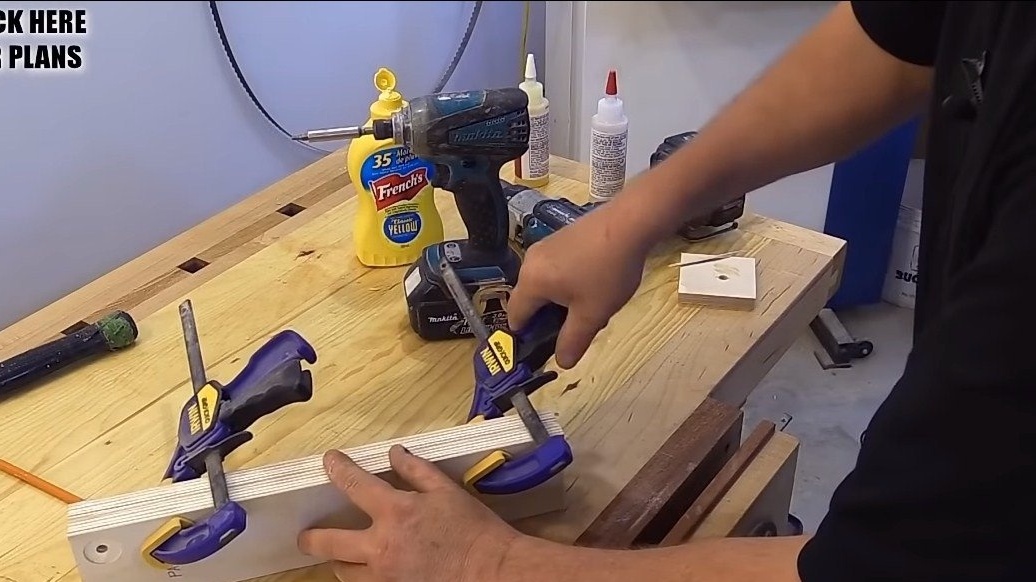
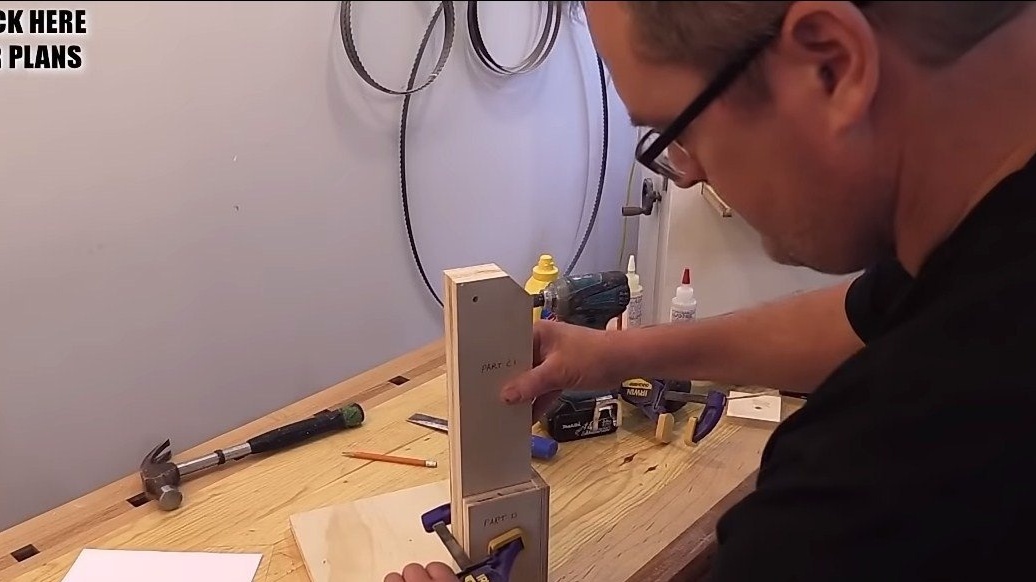
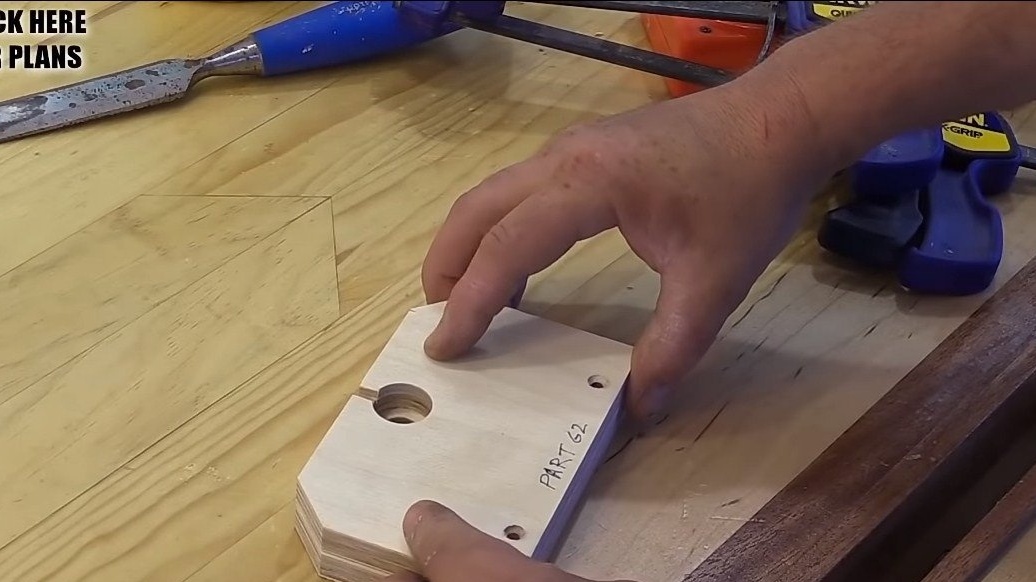
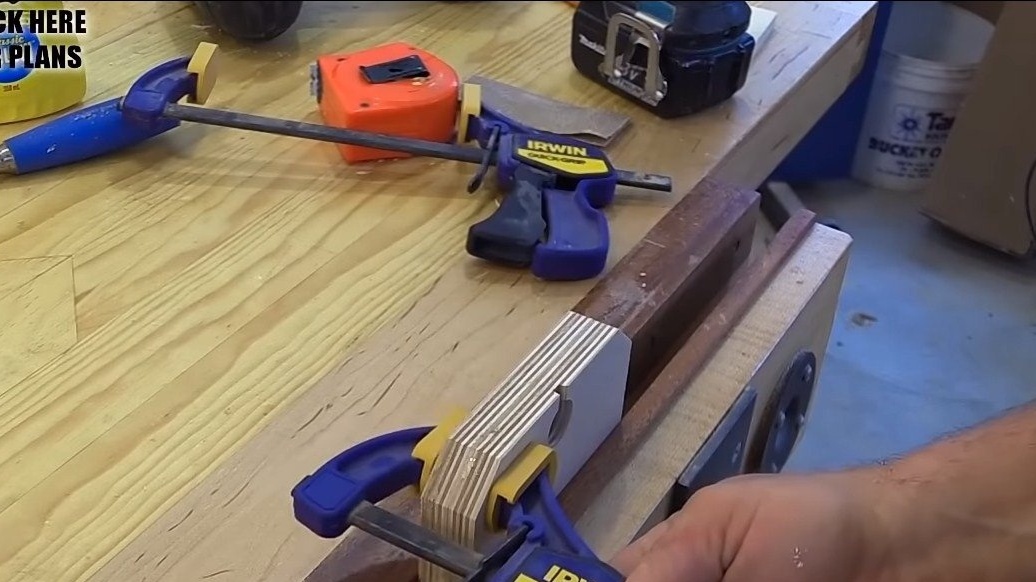
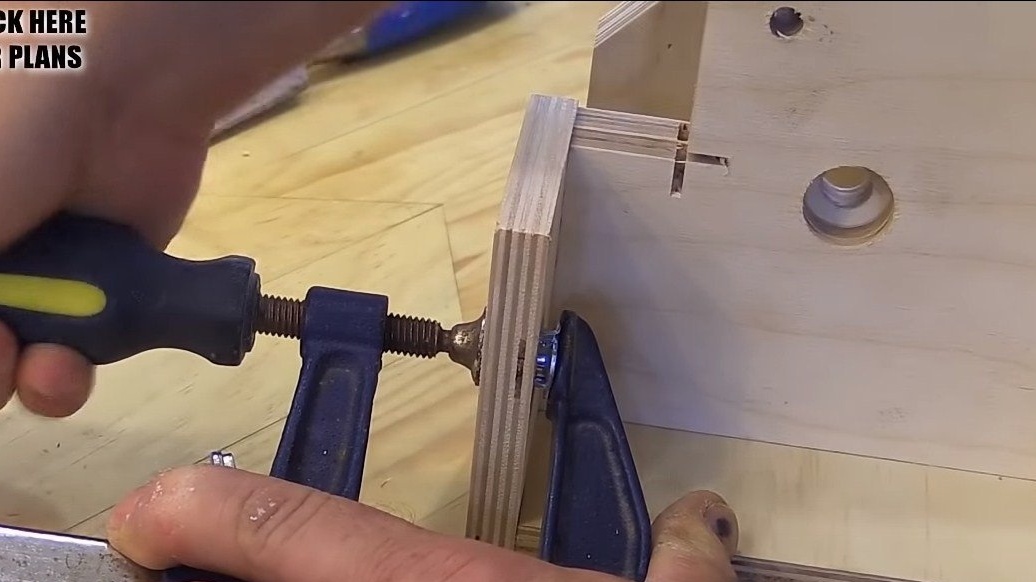
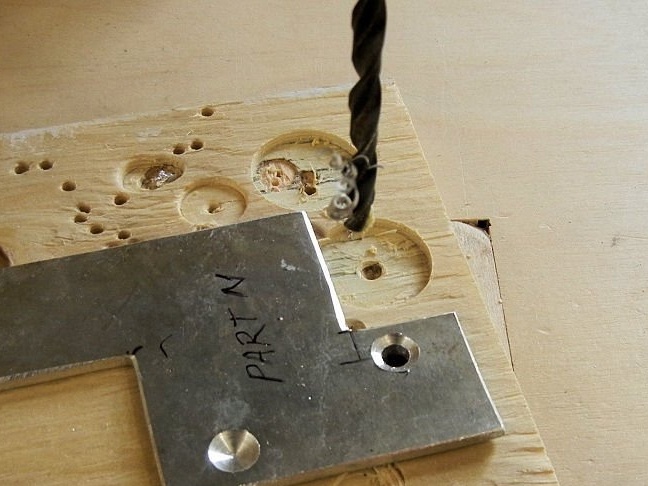
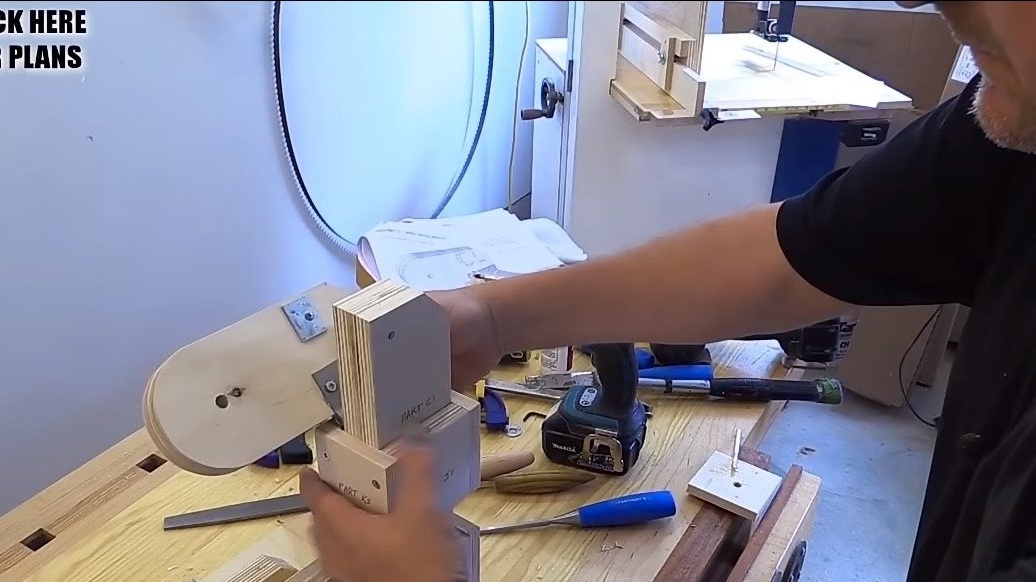
Further, the author cuts all the necessary details for the manufacture of the frame of the machine. On these parts will be all the details of the machine, the axle on bearings, adjusting knobs, work planes and so on. There are a lot of parts in the machine, here it’s easier to see once than to talk a lot, we look at the pictures.
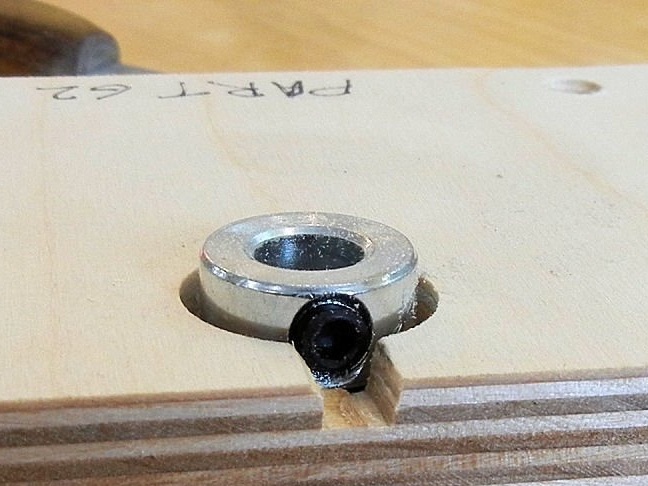
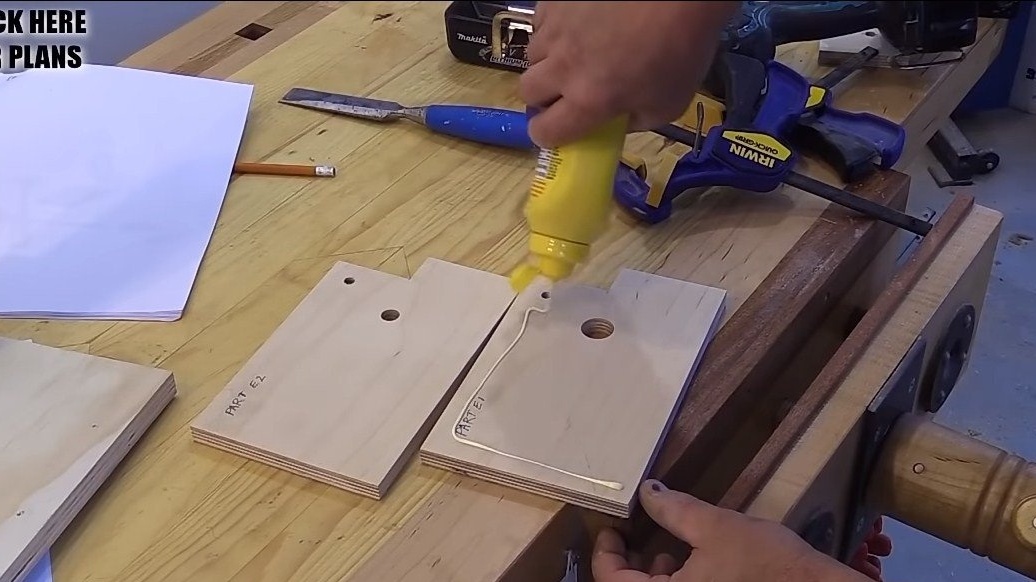
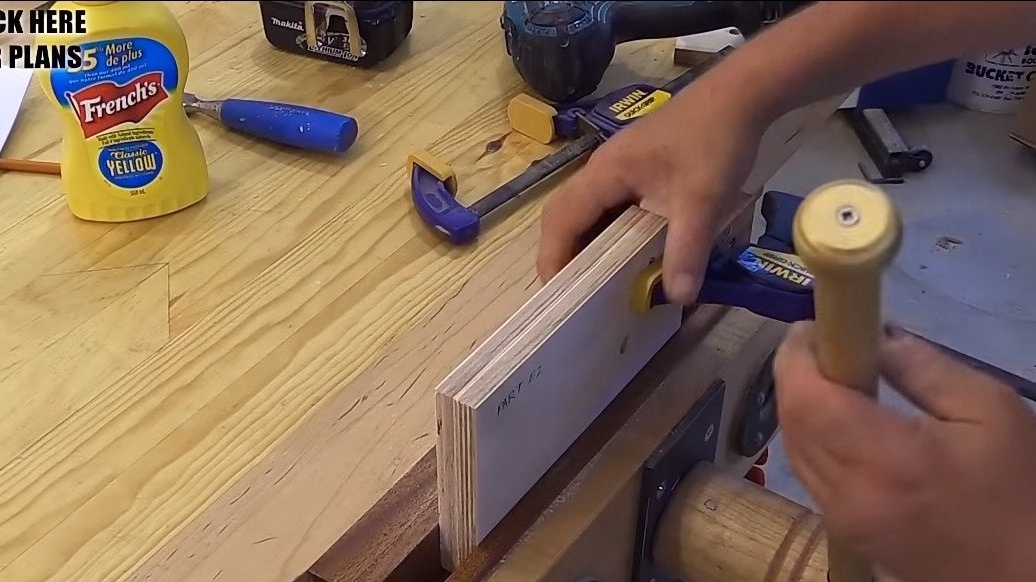
We fix all the parts with furniture screws, where we need to install furniture nuts in the parts.Parts that experience heavy loads are made of several layers of plywood, this applies to the main rack, the bracket that holds the main working axis and so on.


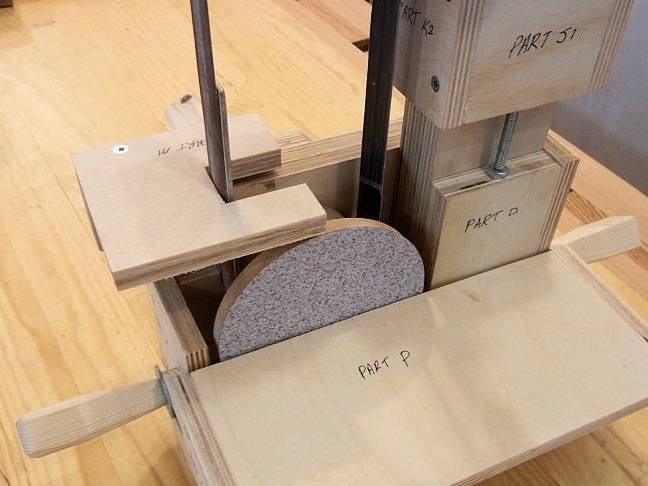
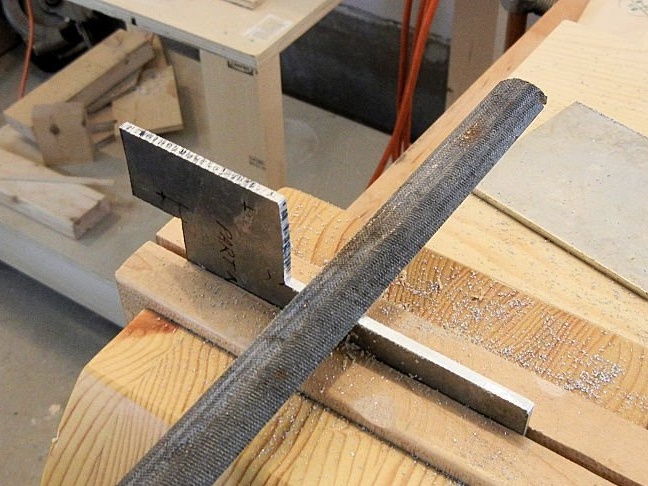
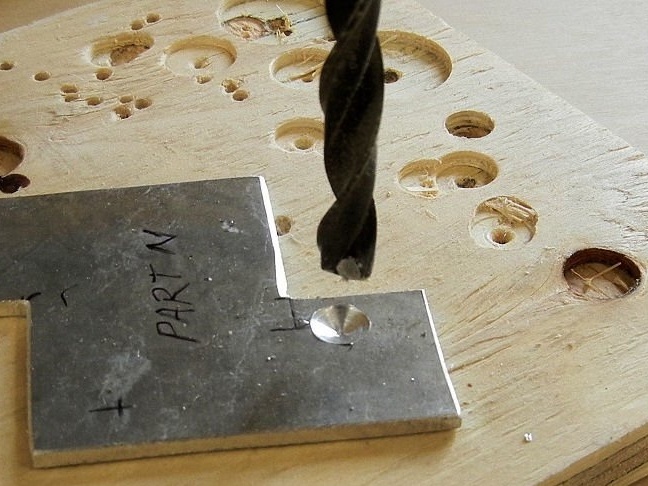
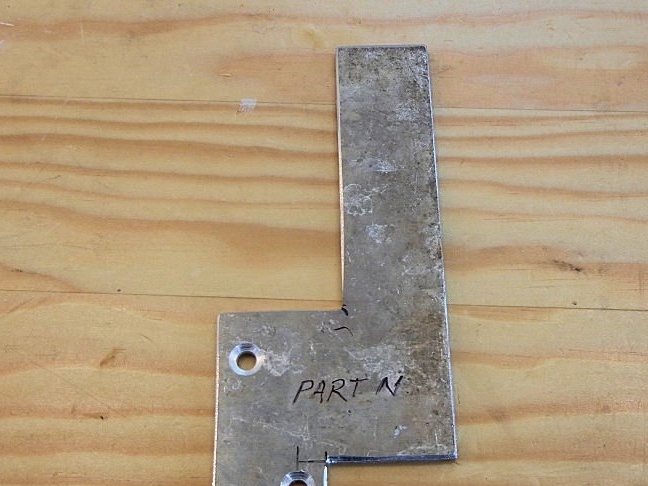
Step Three Thrust plane
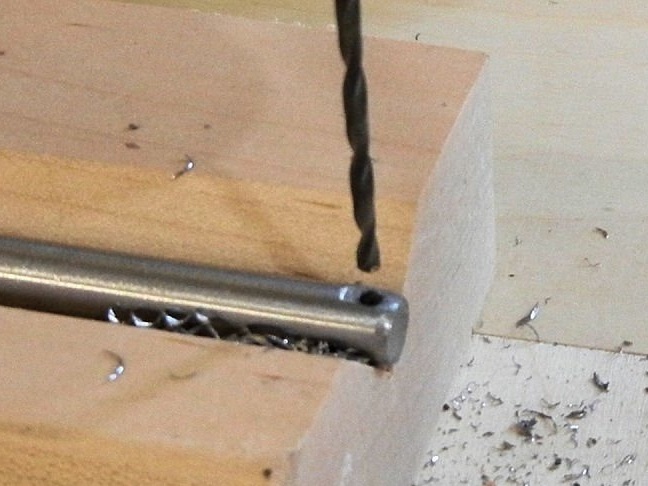
To perform work on a belt sander, we need to rest on something. We make a stubborn plane for this, use sheet metal as the material, since the tree will quickly be erased from sandpaper. We cut out the desired shape with an ordinary hacksaw for metal, modify the file and drill holes for fastening.

Step Four Impellers and axle
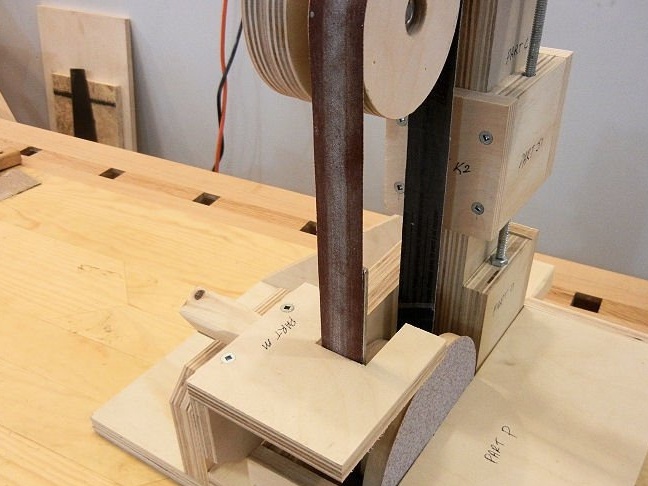
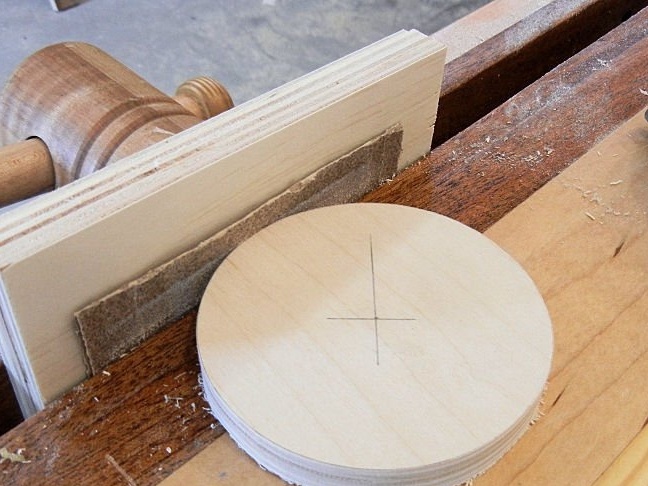
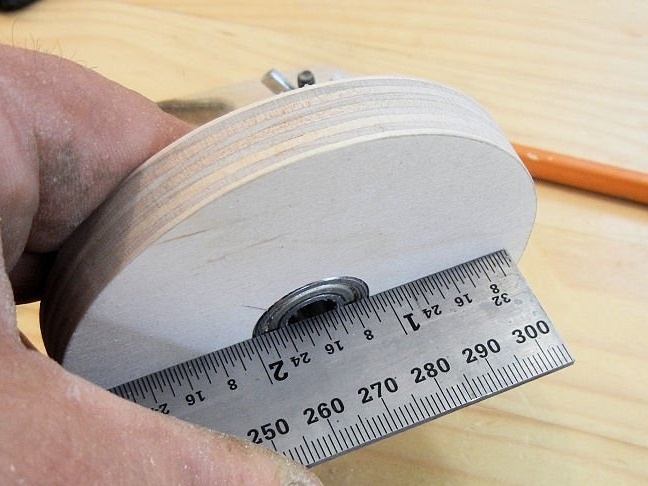
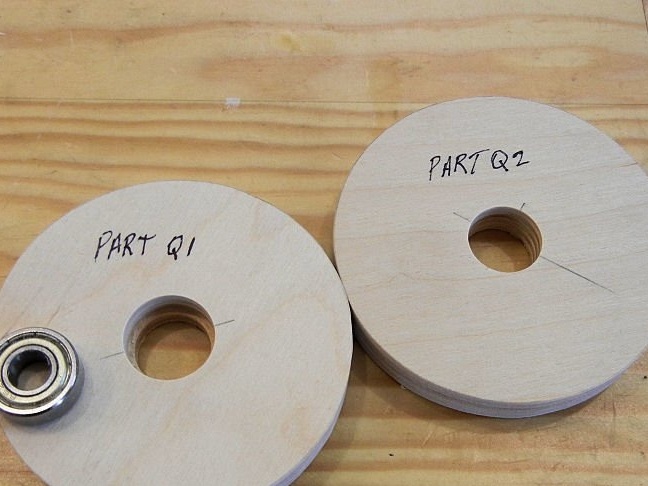
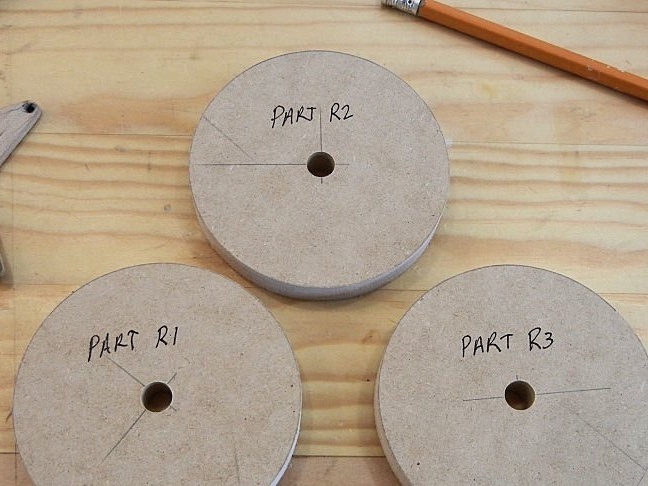
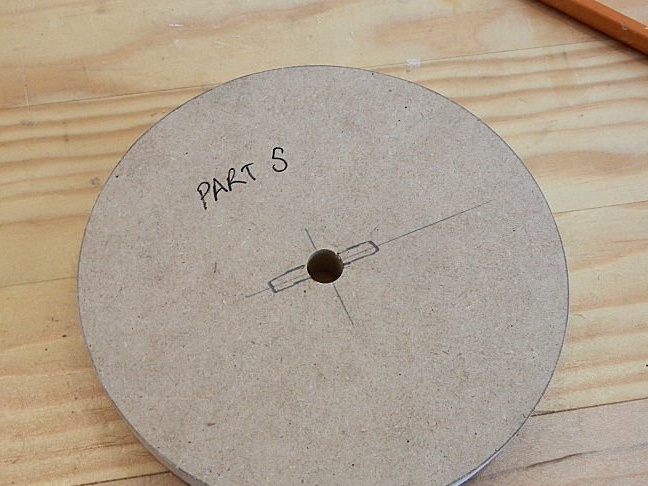
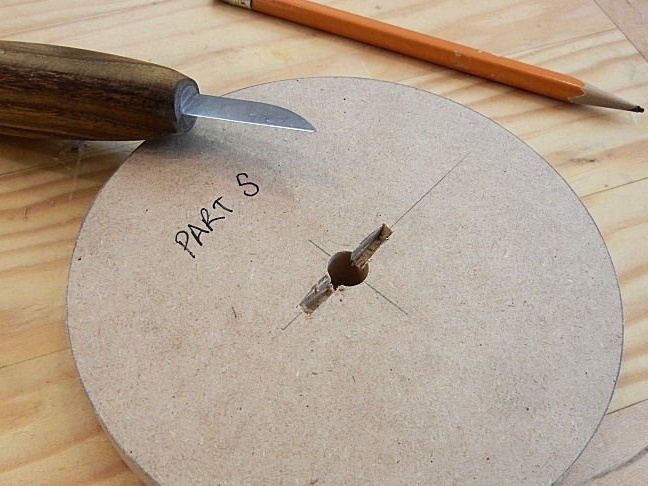
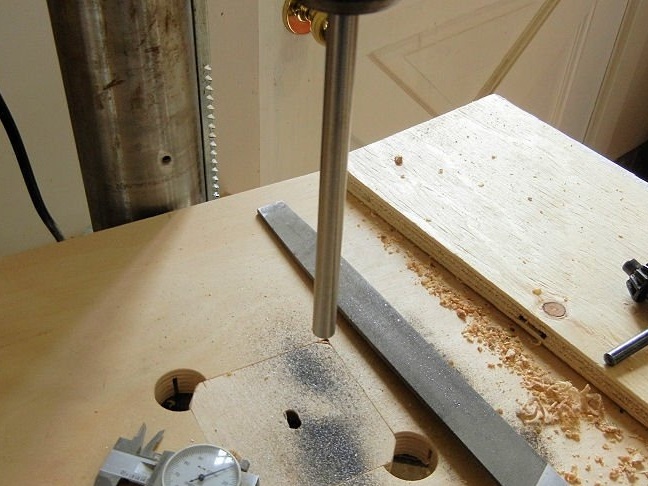
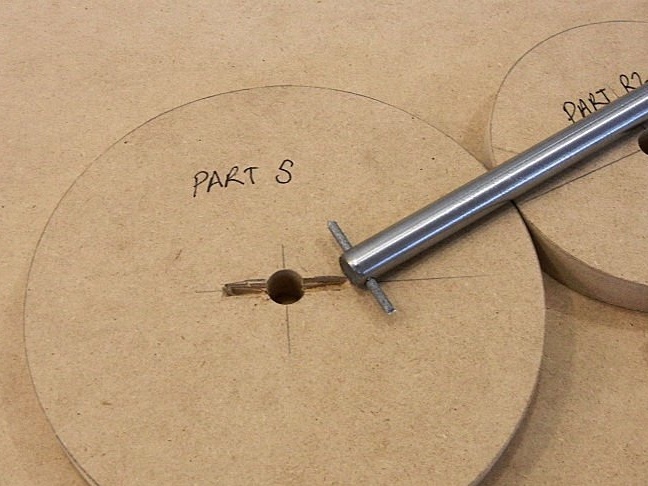
We cut out the impellers of the machine, the lower wheel is leading and two functions are assigned to it at once. First of all, it is the transmission of movement to the belt, and also on this wheel is a disk for installing sandpaper. Cut out circles from MDF or plywood, and then glue it to get the desired part. We install the wheel on the shaft and connect the drill to the machine, now, working as on a lathe, remove the runout and grind the wheel.
As for the upper wheel, it is driven, it needs to be installed bearings.


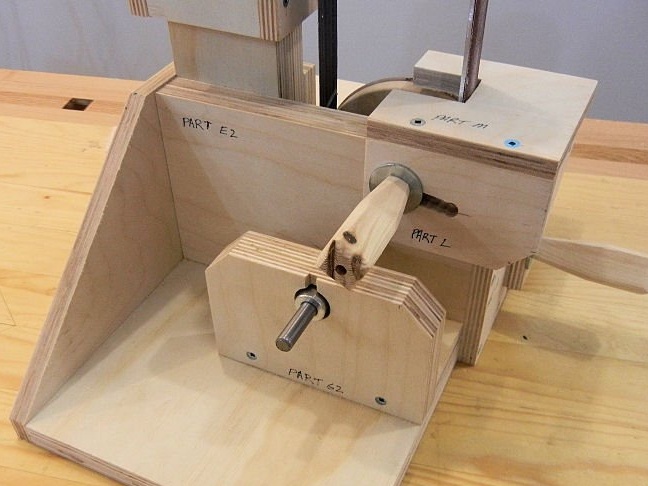
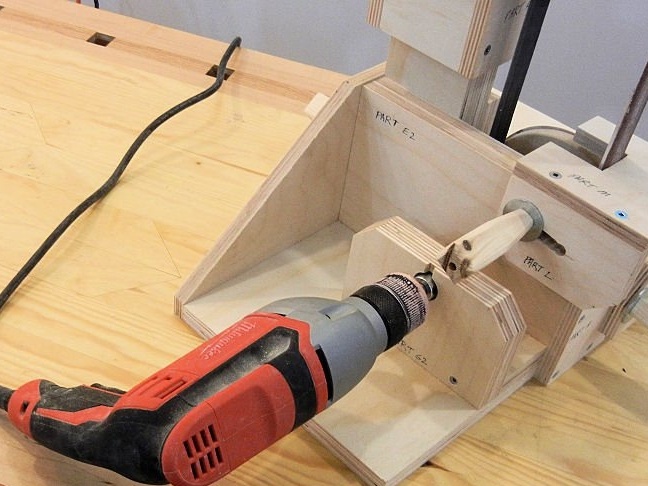
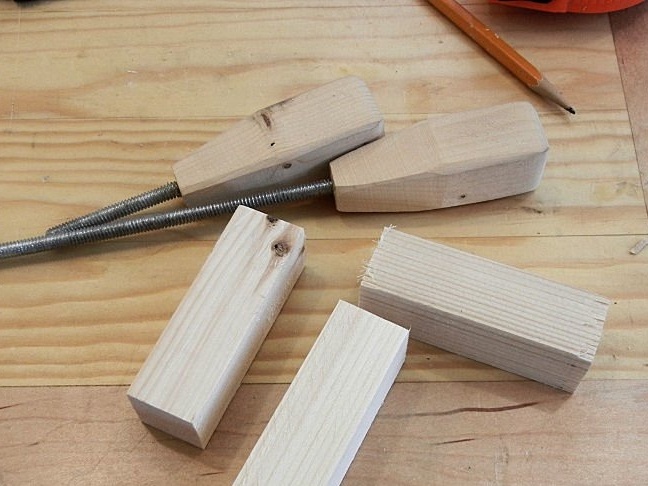
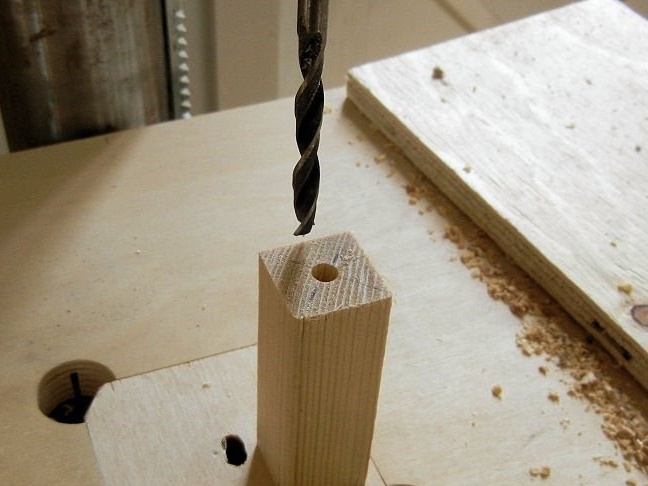
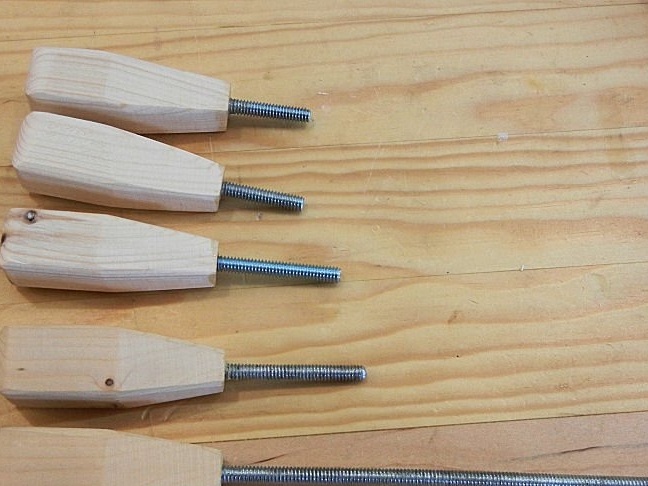
Step Five Pen making
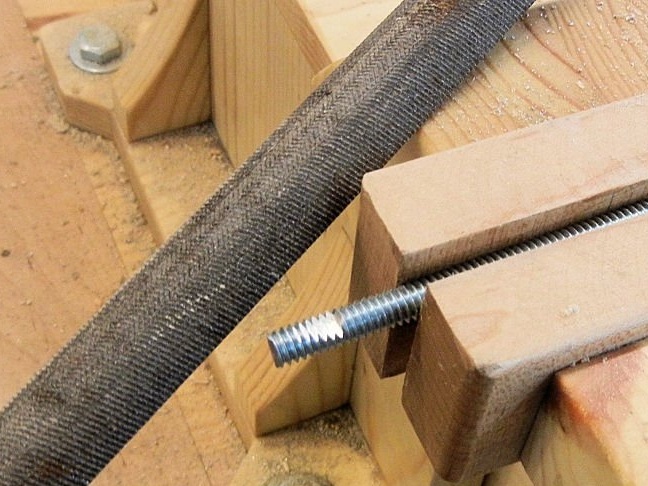
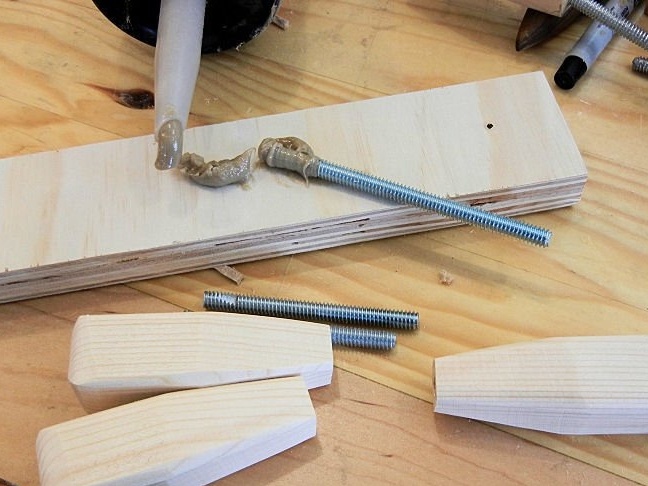
We make handles for tuning the machine, for these purposes the author uses pine beams. We drill holes in them and put threaded rods on the glue.
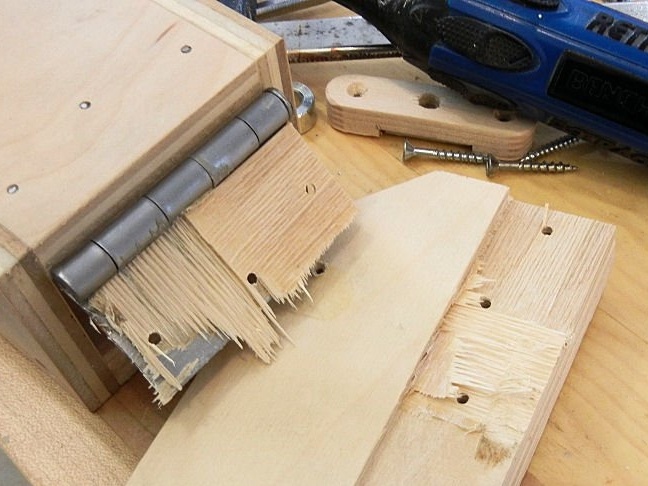
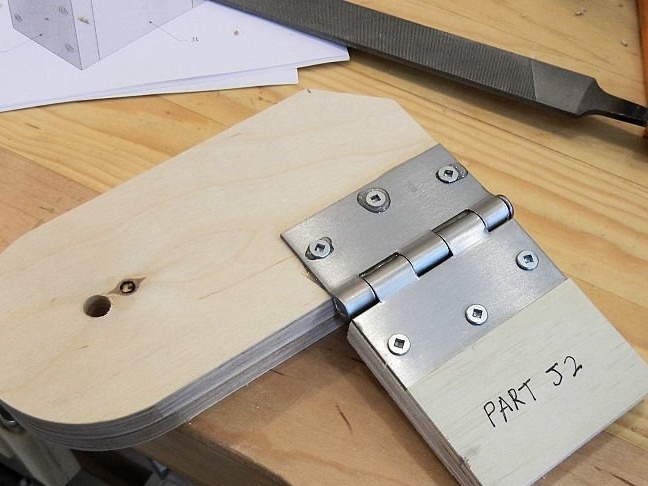
Step Six Top Wheel Installation
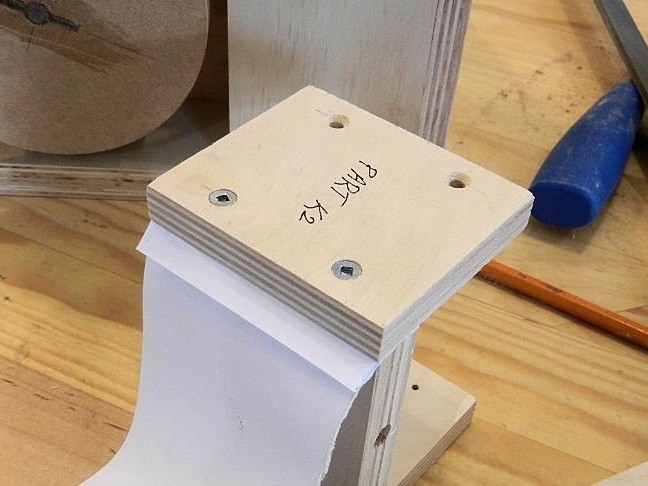
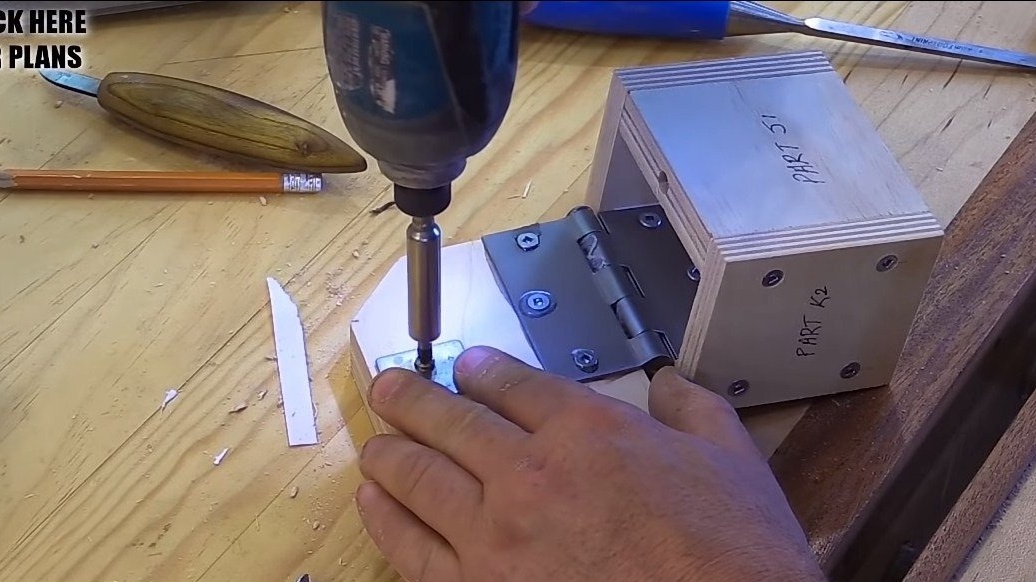
The upper wheel must rise up the strut so that the grinding belt can be pulled. To do this, we need to make a rectangular pipe from plywood so that it travels on a rack. We cut four pieces of plywood and twist it so that the desired part is obtained. Now we fasten the door hinge to this part, and fasten the bracket to the door hinge, which will hold the wheel. As a result, we have the opportunity to change the angle of the wheel, which will center the belt.
The entire unit with the mounted driven wheel rises up due to the threaded rod, which abuts against the base. A furniture nut is pressed into a moving block, with which a threaded rod interacts.


Seventh step. Final touches
The machine is almost ready, it remains to establish work planes and a belt. We turn on the machine, center the belt and enjoy the excellent work. Grinds the machine without problems, the speed can be set at your discretion. The machine works quite quietly, but it already depends on the noise level of the drill and on the speed.
On this project is over, I hope you liked the homemade. Good luck and creative inspiration, if you decide to repeat this. Do not forget to share your ideas and homemade things with us!