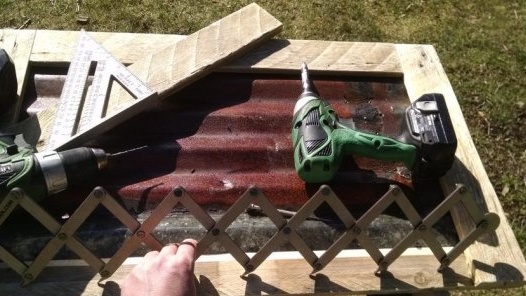
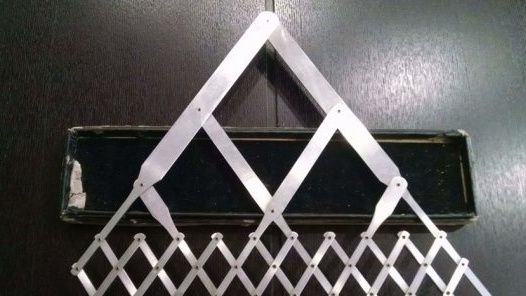
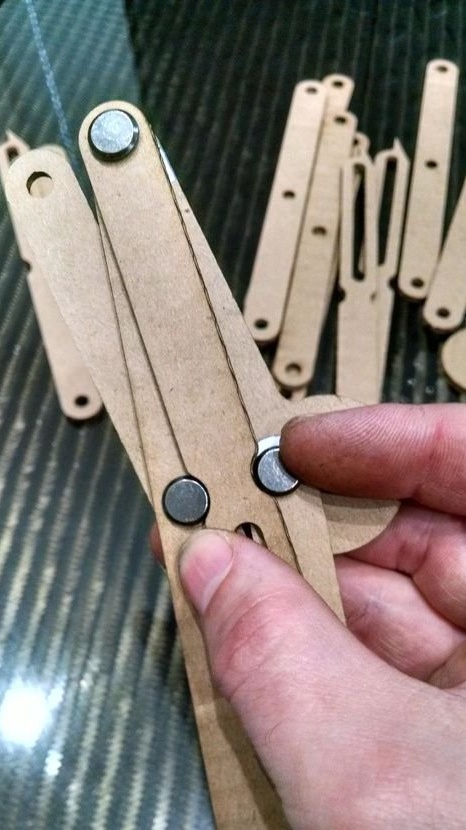
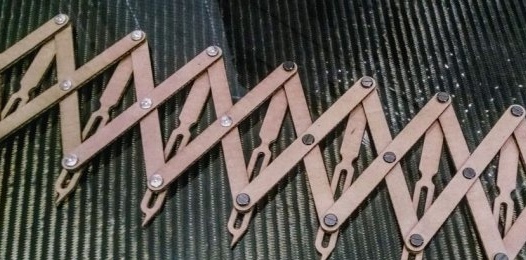
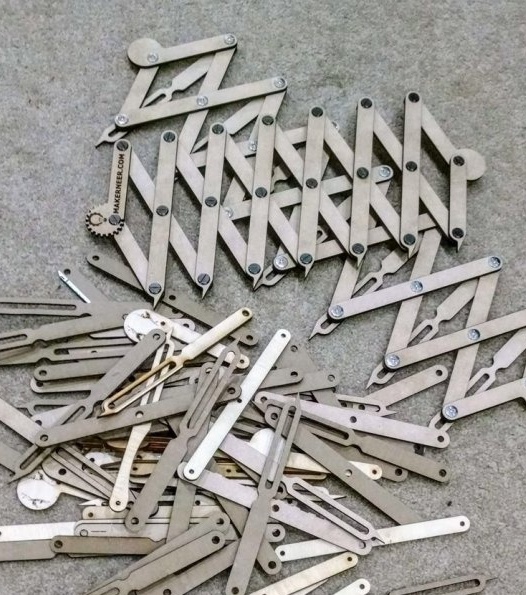
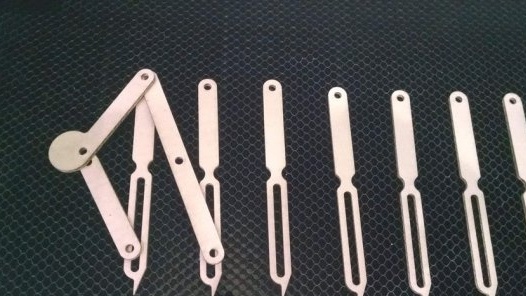
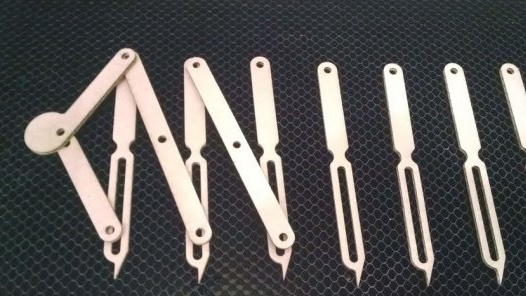
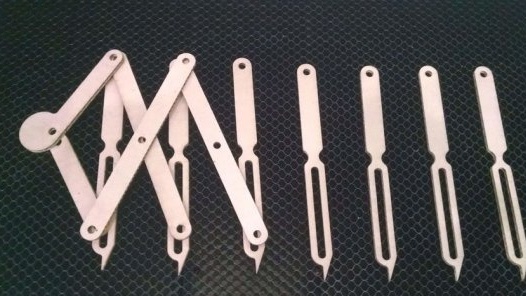
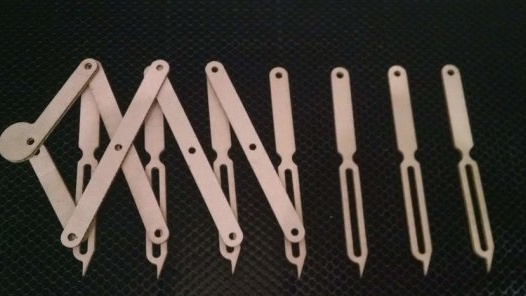
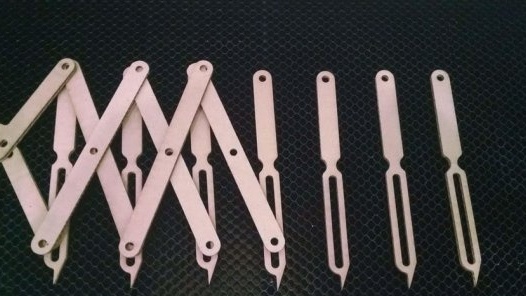
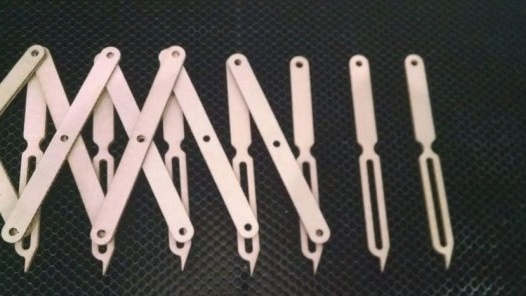
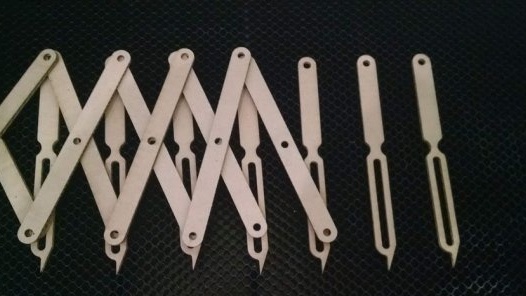
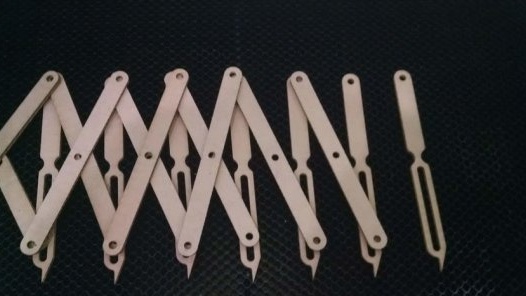
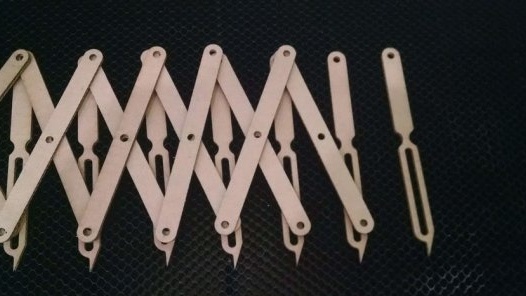
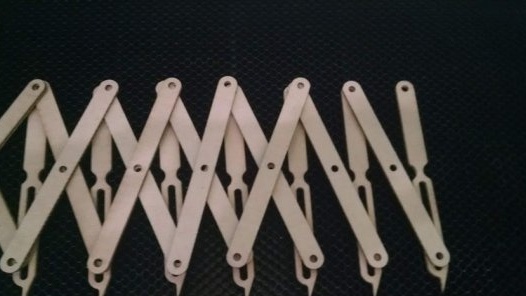
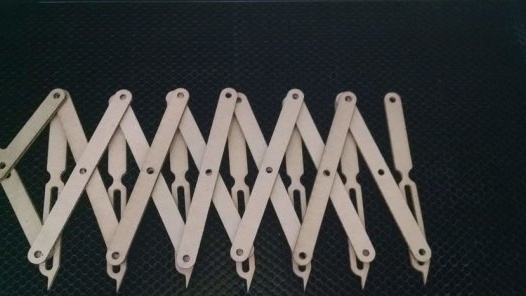
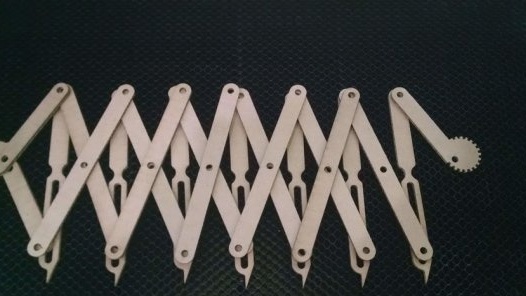
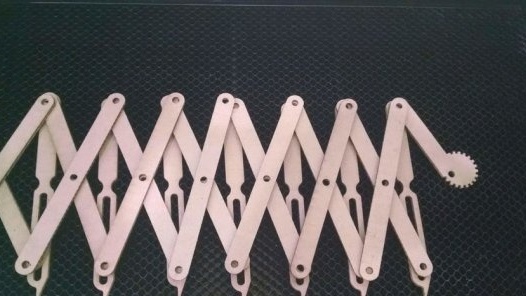
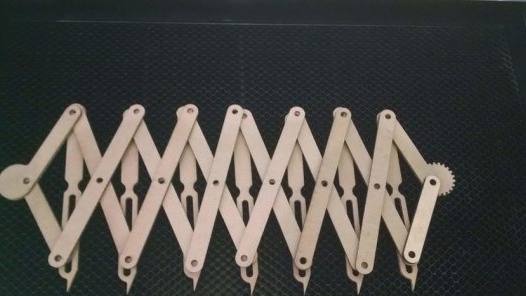
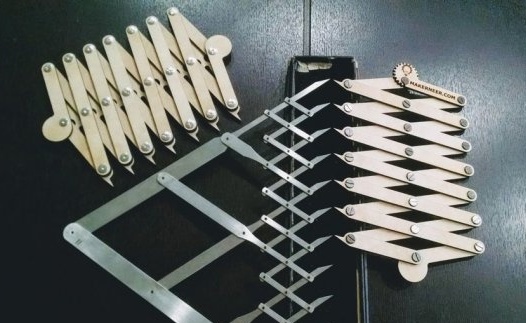
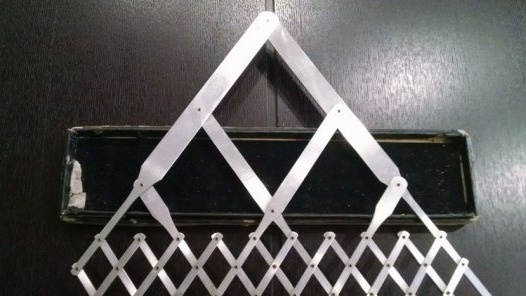
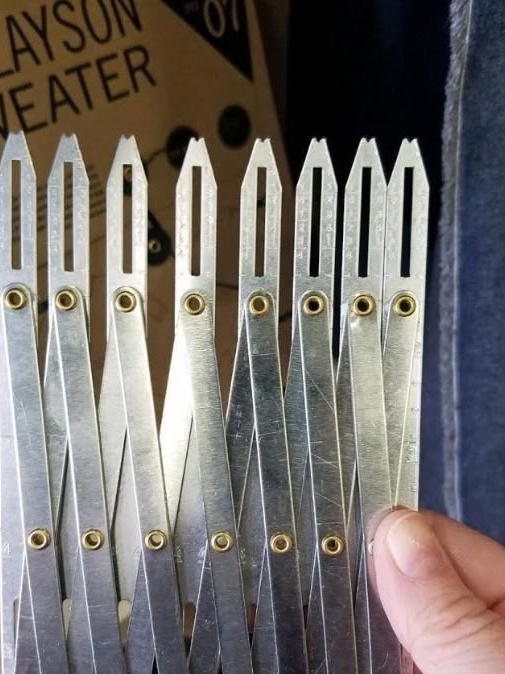
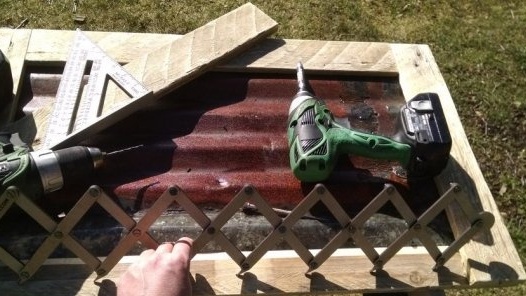
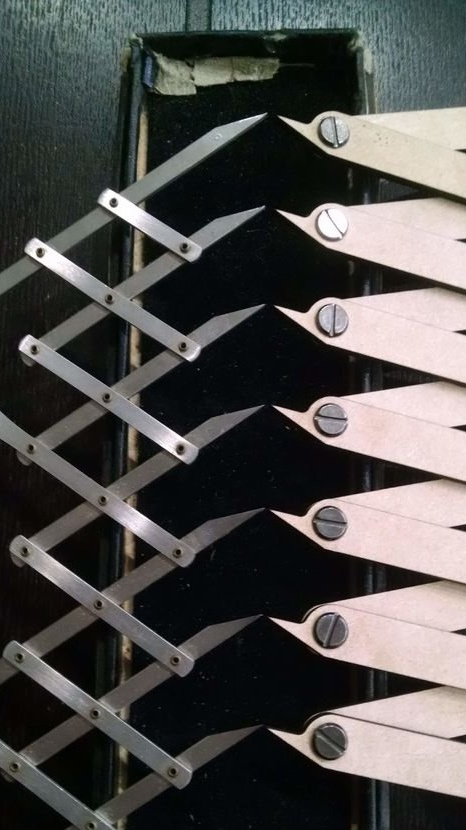
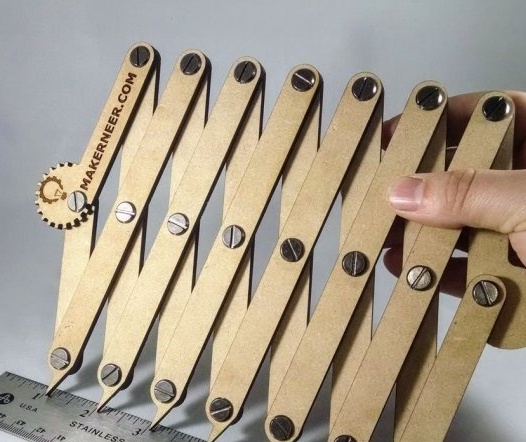
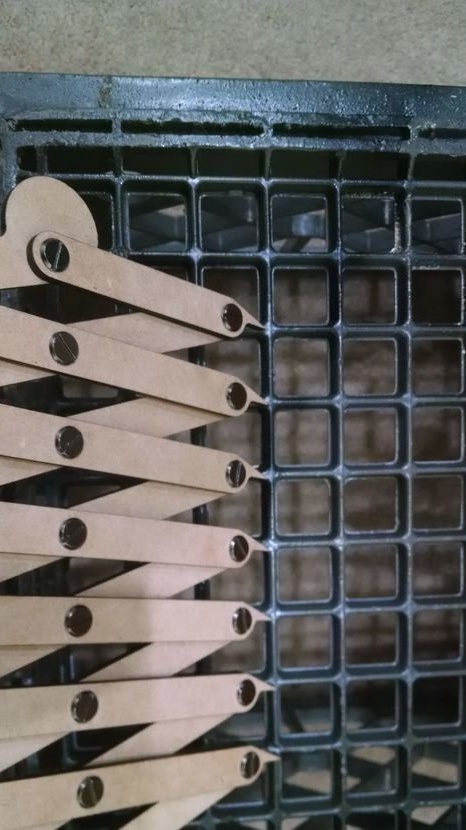
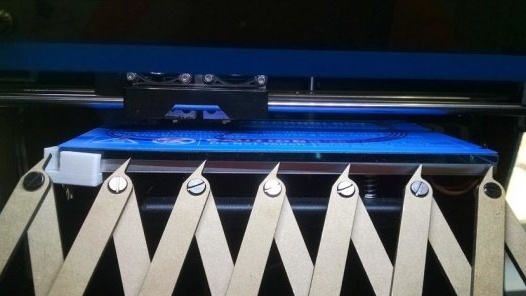
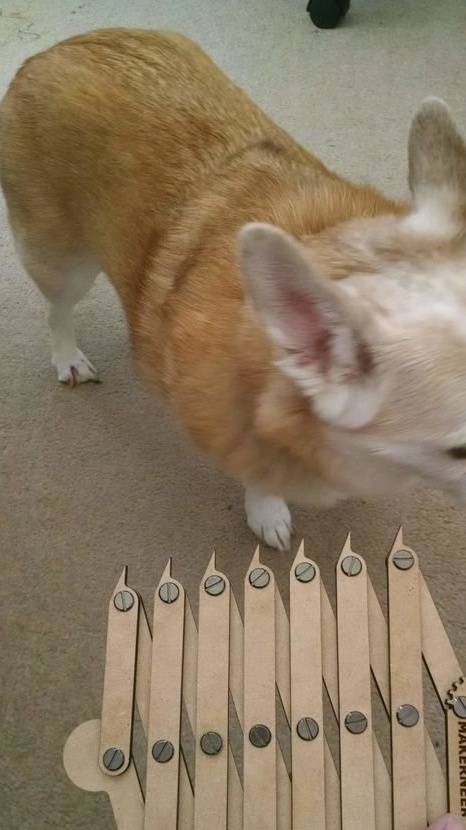
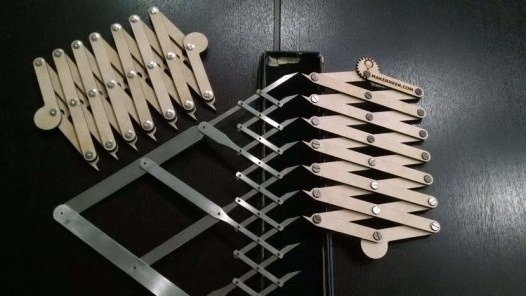
With this tool, it is easy to mark the required number of equal segments on the surface. The prototype of the author’s instrument was such a metal one.
The author presents two models of such a divider. The tool may have a different name, but unfortunately I did not find it. Maybe it would be right to call it a multi-section caliper? If you know the name, write in the comments.
So, for the manufacture of the tool, the master used the following
Tools and materials:
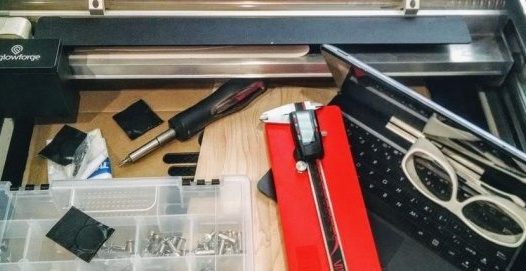
-Laser cutter;
-Calipers;
-Computer with design programs (Fusion 360 and Inkscape);
-Magnets;
-Screwdriver;
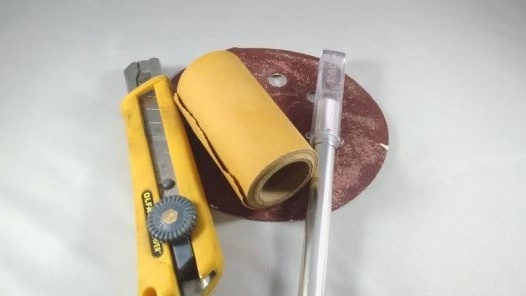
-Sandpaper;
-Knife;
-Cardboard;
MDF;
-Polyurethane spray;
-Fasteners;
-Latch thread;
-Protective glasses;
Step one: making a trial model
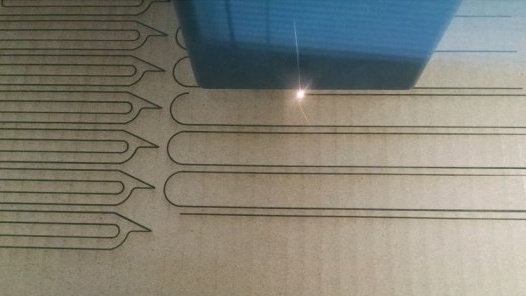
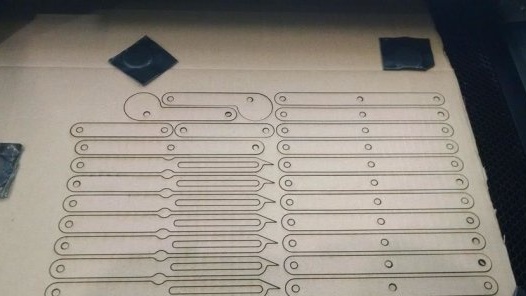
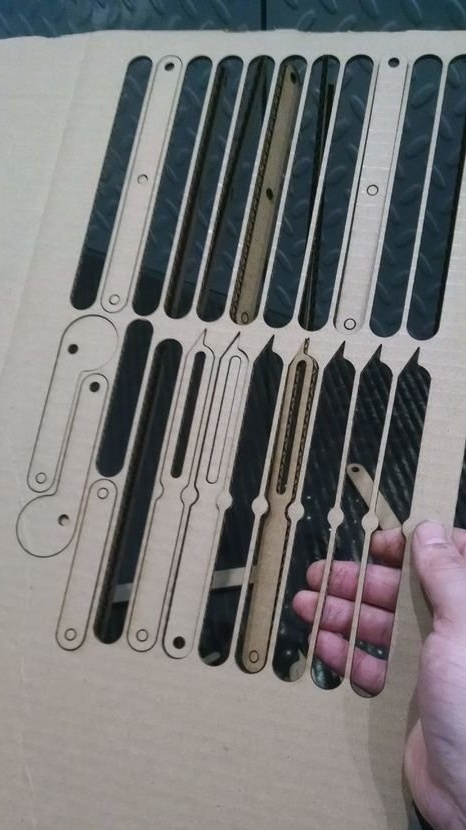
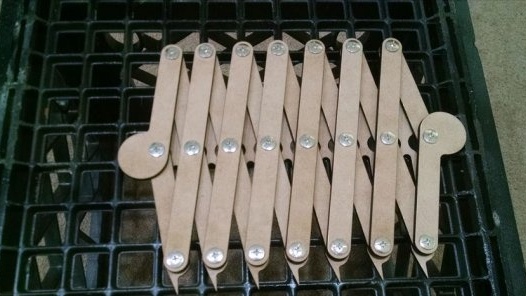
Before making a working tool, the master makes it model from cardboard. On the model, he is working on the final design of the divider. Changes the length of parts, cutout and shape of windows. Collects and verifies tool operation. Before making a working model, the master made 6 versions of the tool.
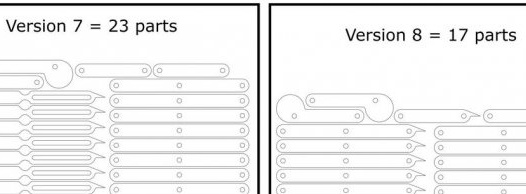
Step Two: Version 7
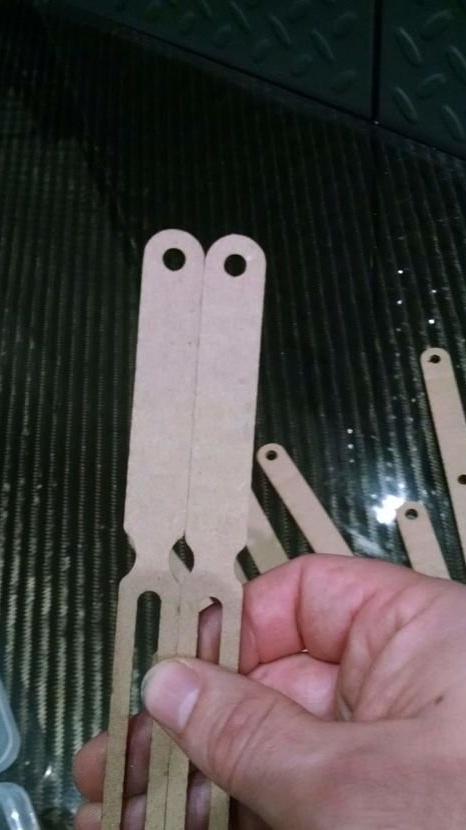
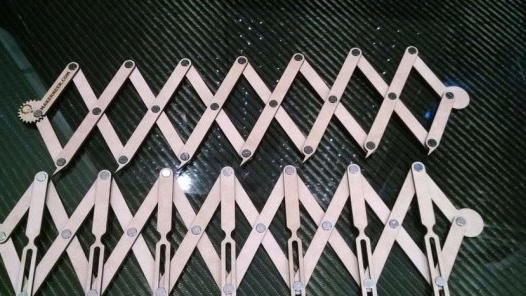
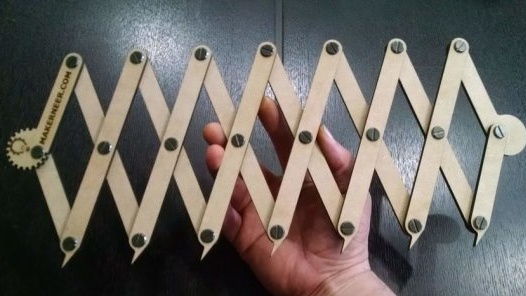
As mentioned earlier, the wizard made two versions of the tool. In the first tool, the tips are made as a separate part. The tool is made of MDF and its assembly will not cause difficulties.
Click the link below to download the file for laser cutting.
Step Three: Tool Eighth
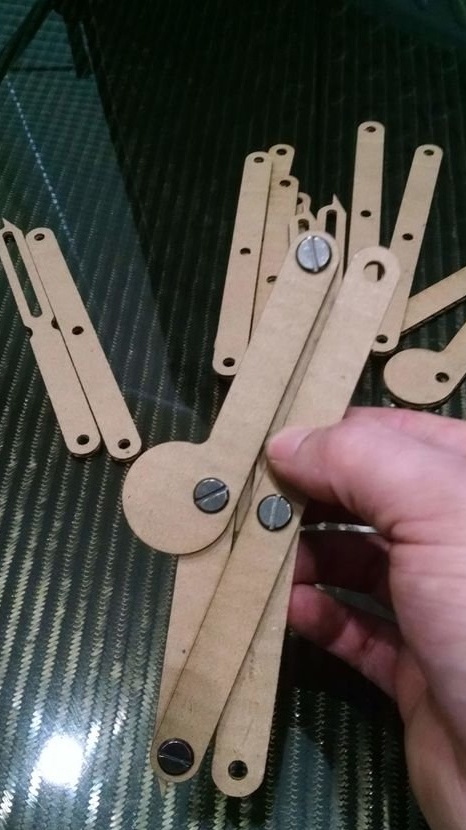
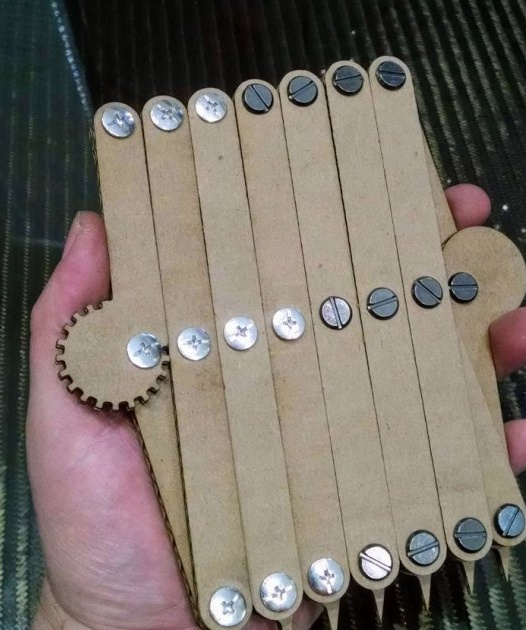
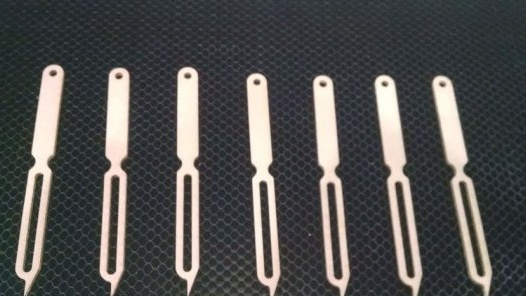
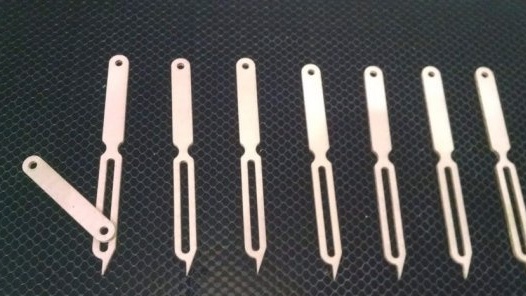
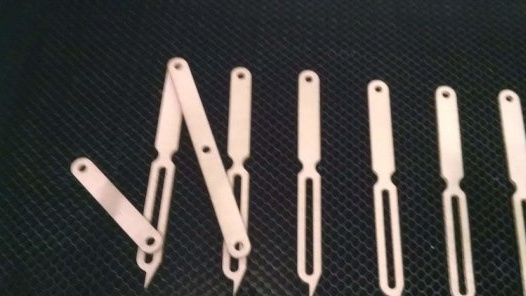
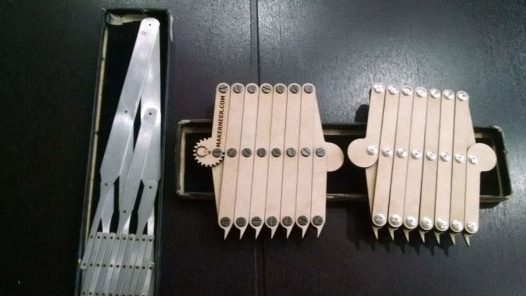
The master made the eighth version even easier by transferring the tips to one of the halves of each "accordion". Thus minus one part in the finished tool. In the photo below we see two versions of the tool plus a prototype.
The tool is ready and you can begin to test it.
According to the test results, the master concludes that the most successful version is No. 8, except for the metal of course.
For those who want to change the tool and make it "for themselves", the wizard applies files to process them in a graphics program.

