
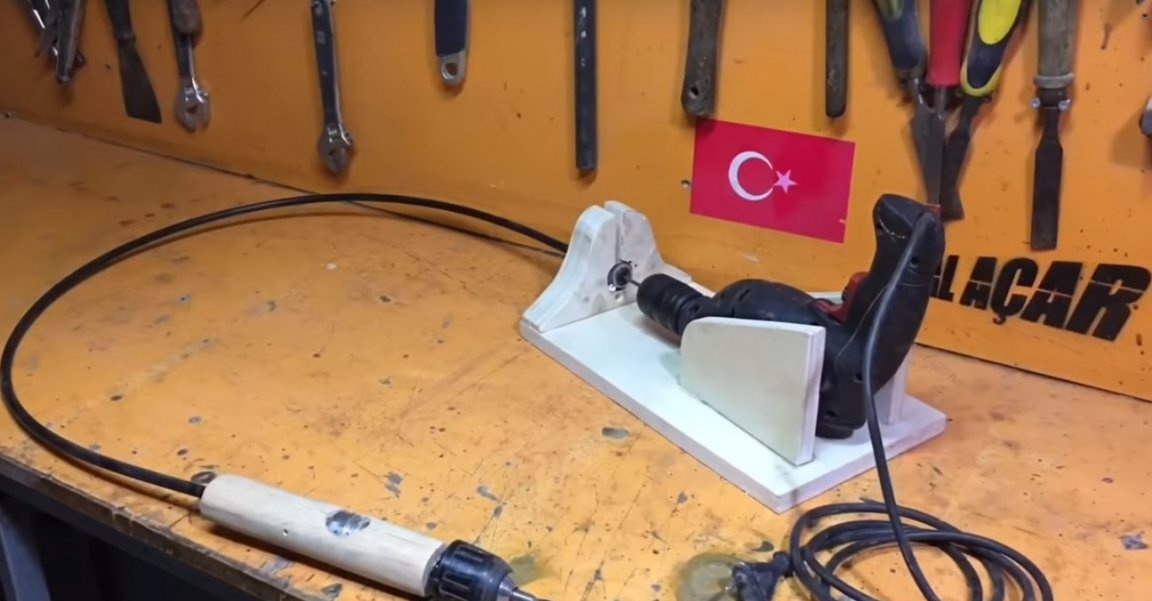
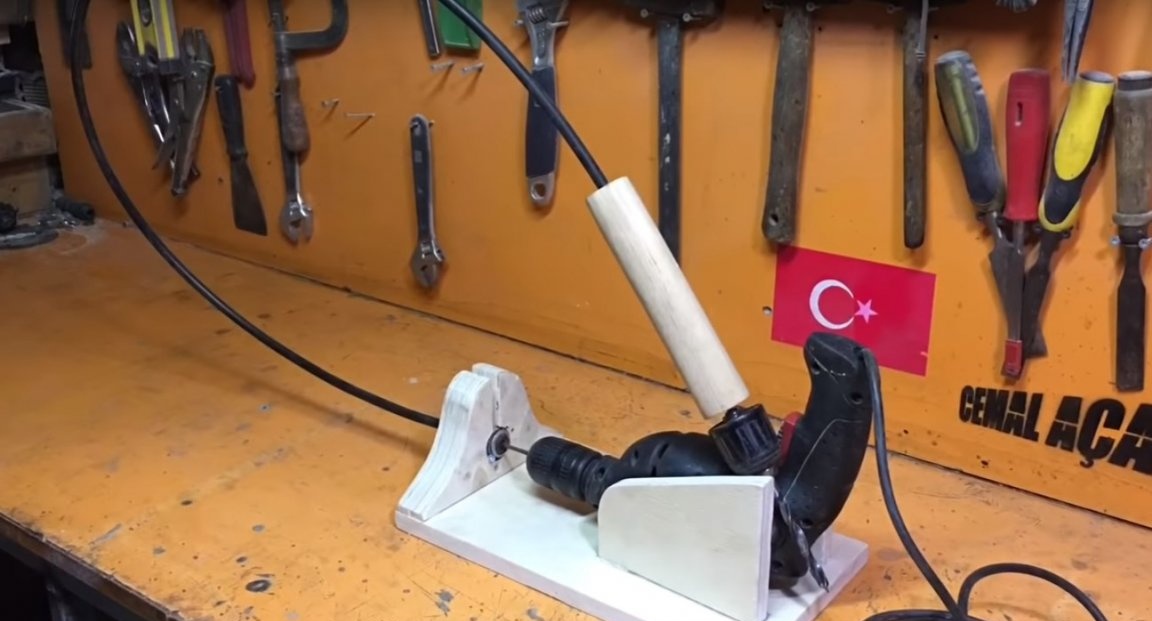
Good day to all. Today, the author of the cemaL AÇAR YouTube channel will show us how he made a flexible shaft for a drill. Using this fixtures, the master increased the capabilities of the drill: from simple drilling to grinding cutting work. To make this homemade, the author needed.
Instruments:
Angle grinder
Metal cutting wheel
Petal circle
Rags
Some gasoline
Knife
Pliers
Universal technical spray, in other words: WD-40
Calipers
Marker
Electric drill
Cup mill
Drill
A circular saw
Wood glue
Square
Roulette
Electric jigsaw
Screwdriver
Vise.
Materials:
Old speedometer cable, from a pickup truck.

Not a working screwdriver, but rather a cartridge from it.
Plywood.
A piece of wood block.
Wood screws.
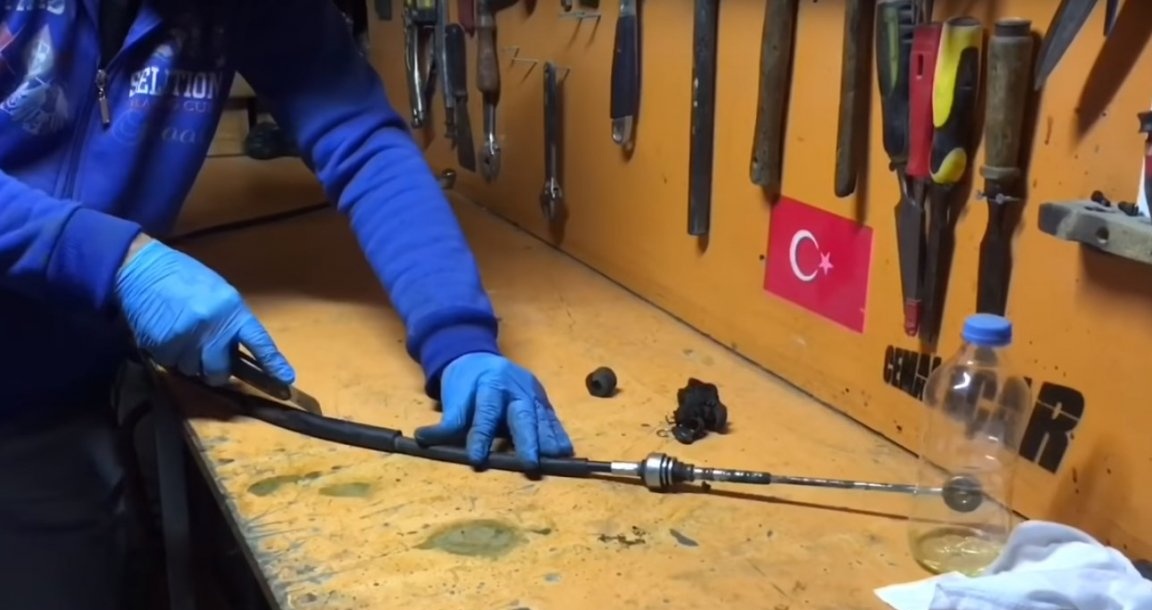
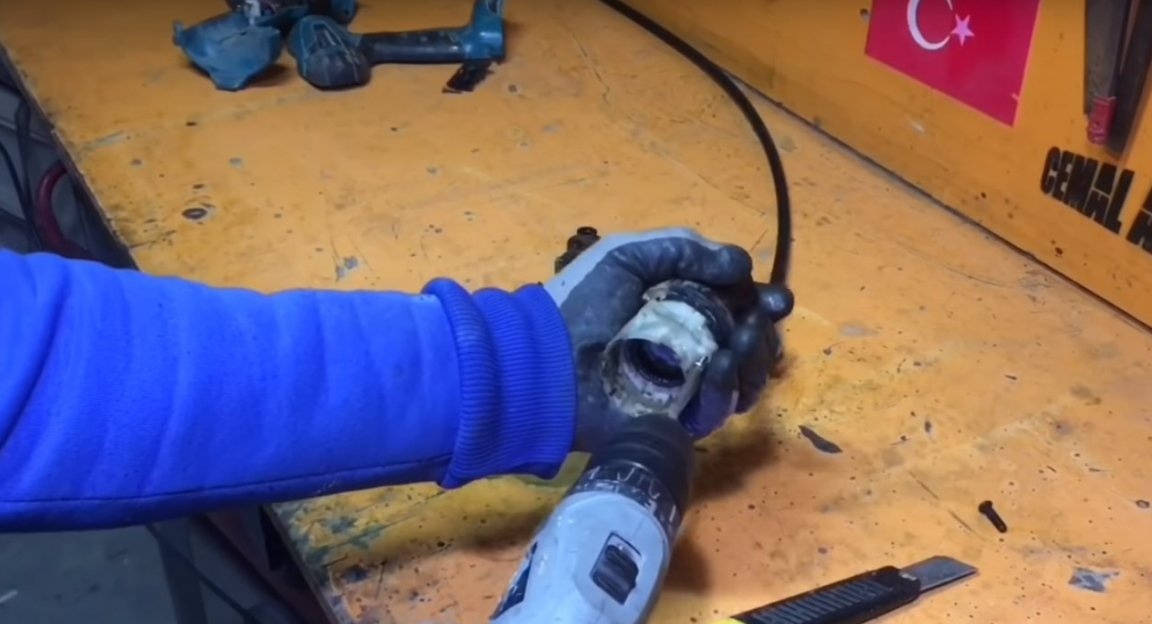
First of all, the author removed all the unnecessary gum from the cable.
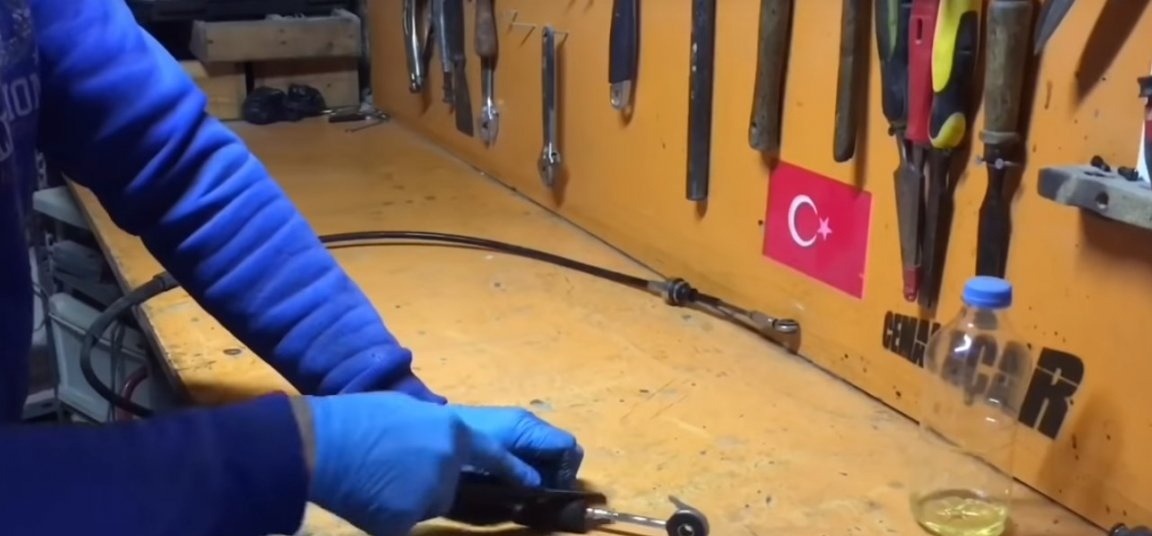
After twisted the tip.
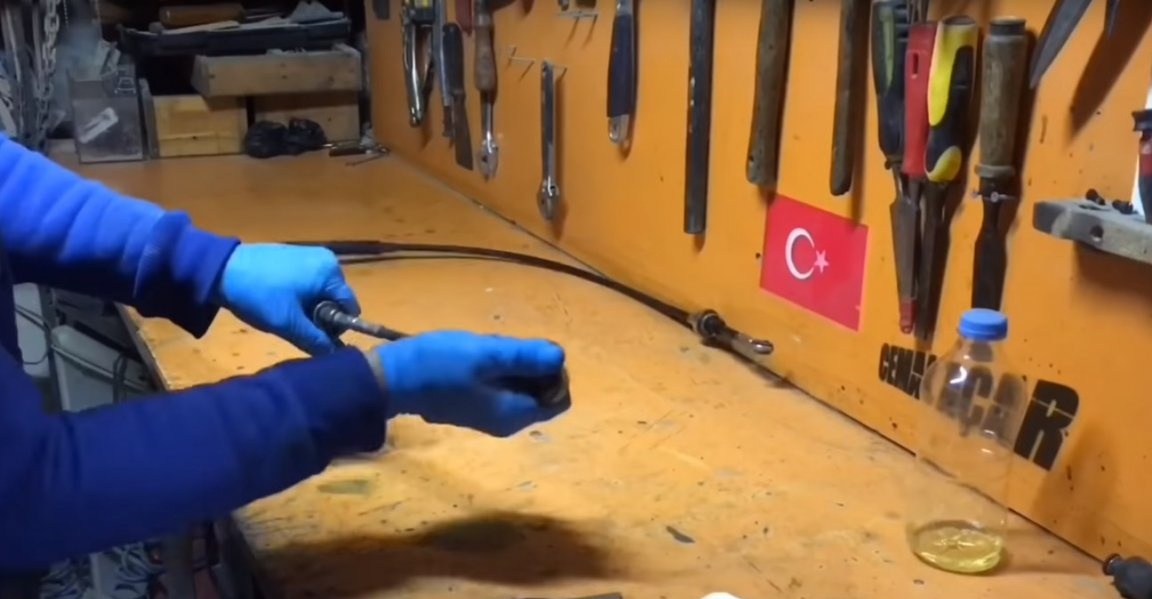
Then, with a rag dipped in gasoline, he removed all the dirt from the surface.

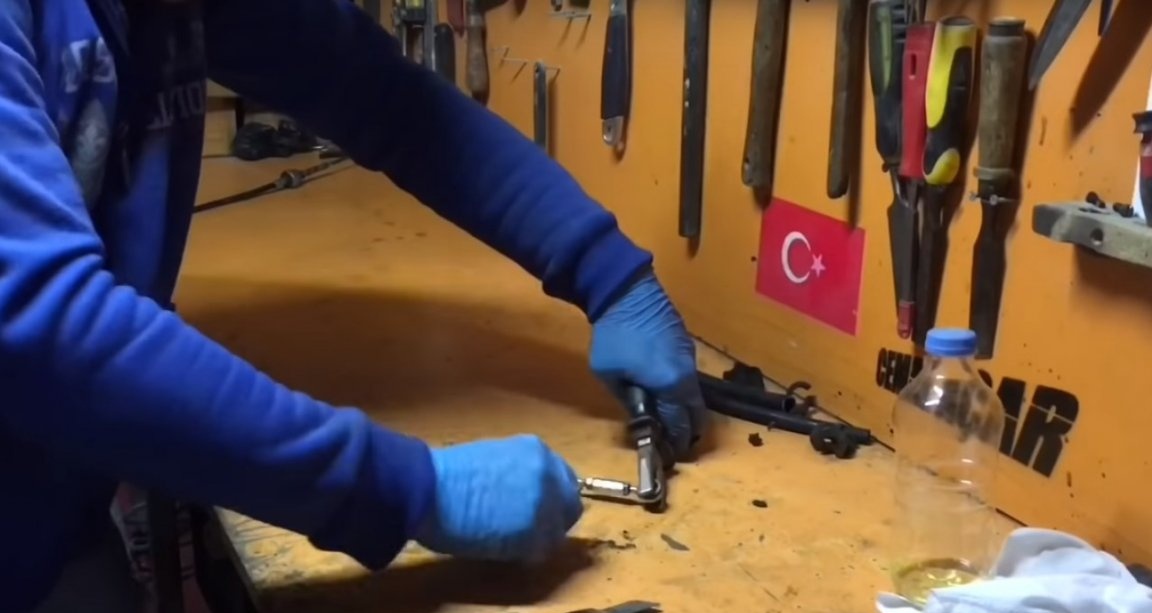
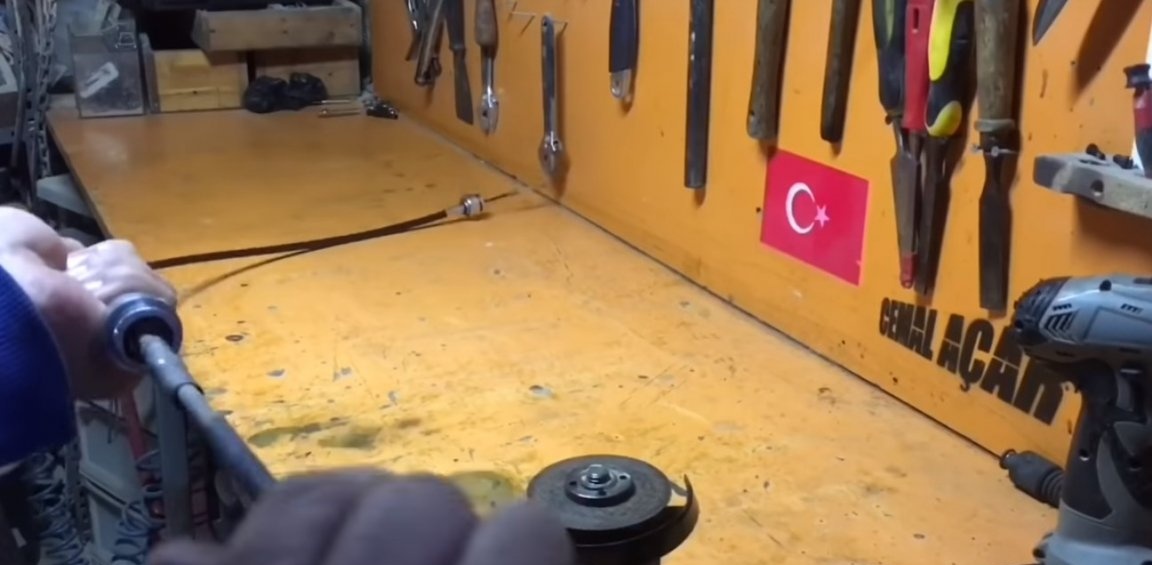
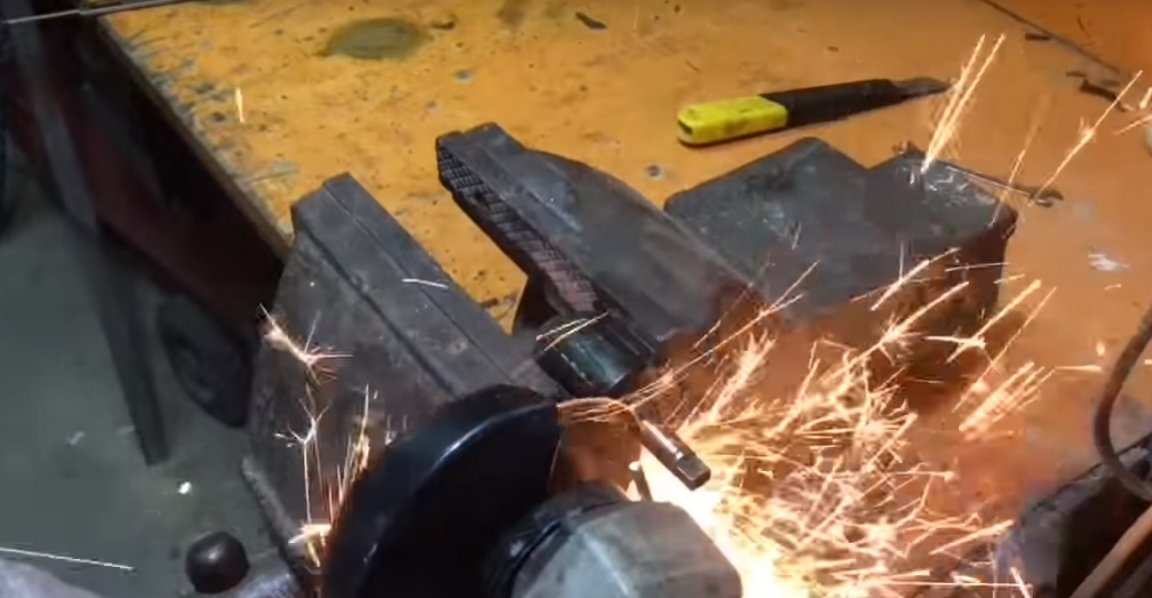
The tip from the other end of the cable, the author cut with a angle grinder.

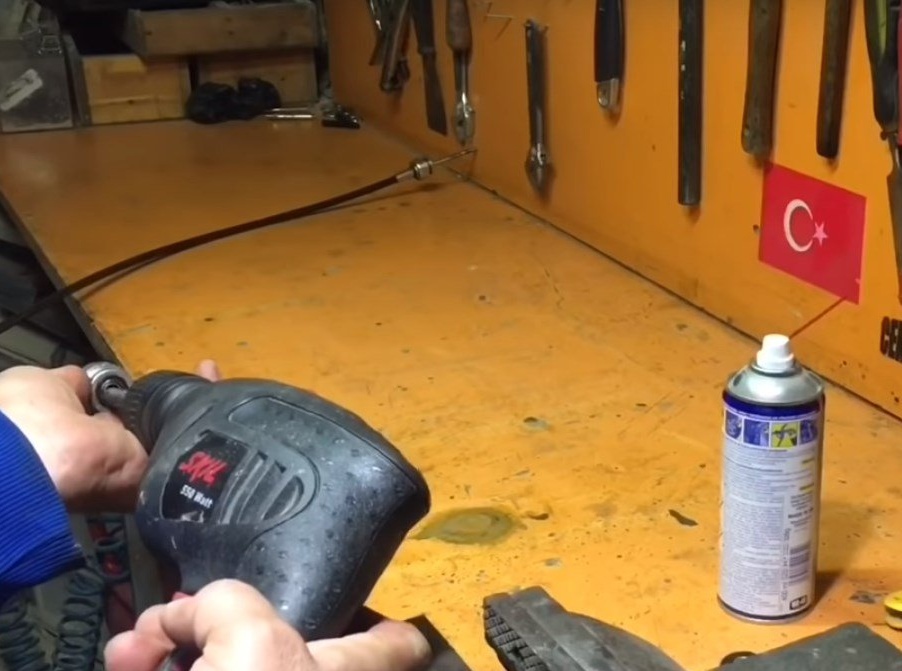
Then it washed and simultaneously lubricated the cable with WD-40 spray.

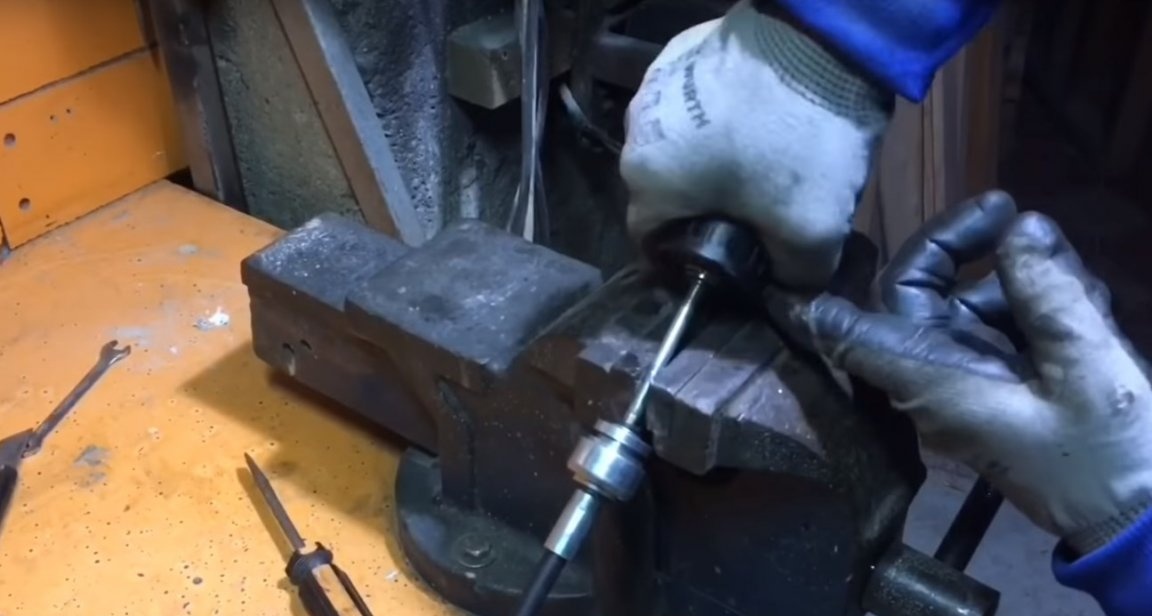
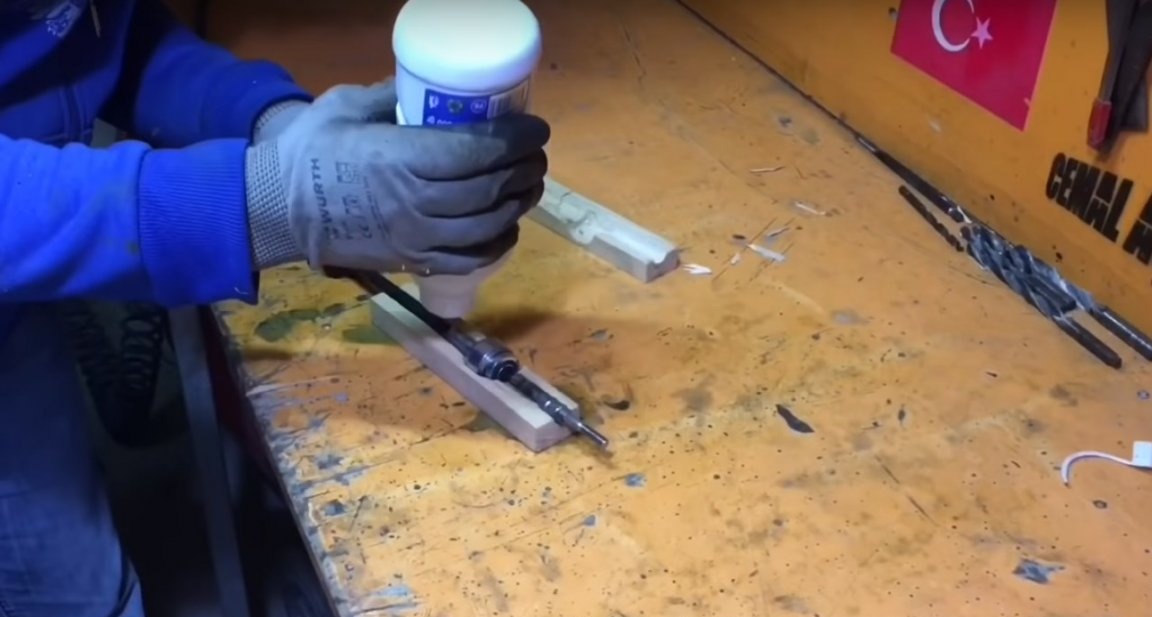
After applying the aerosol, the master clamped one edge of the cable into the drill chuck and twisted the cable a little to evenly distribute the lubricant.

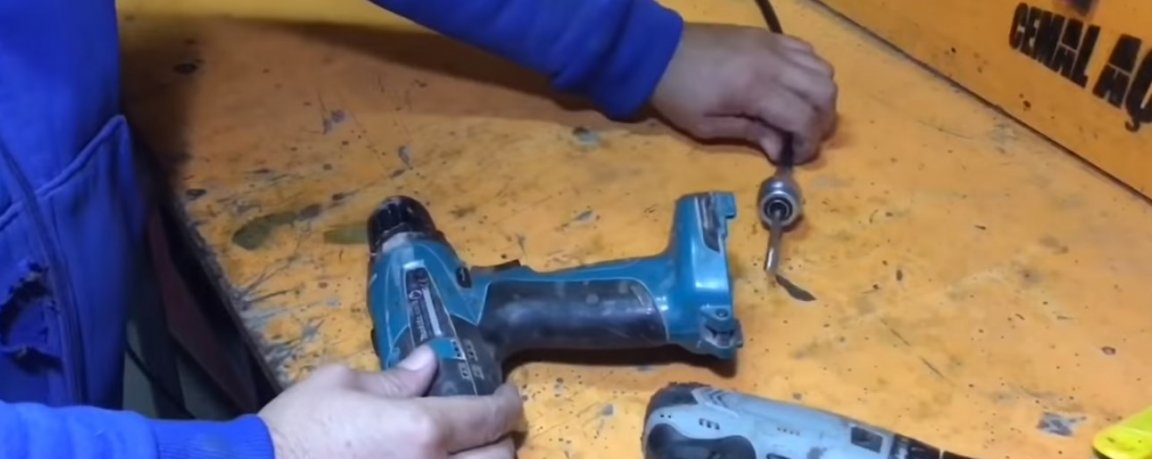
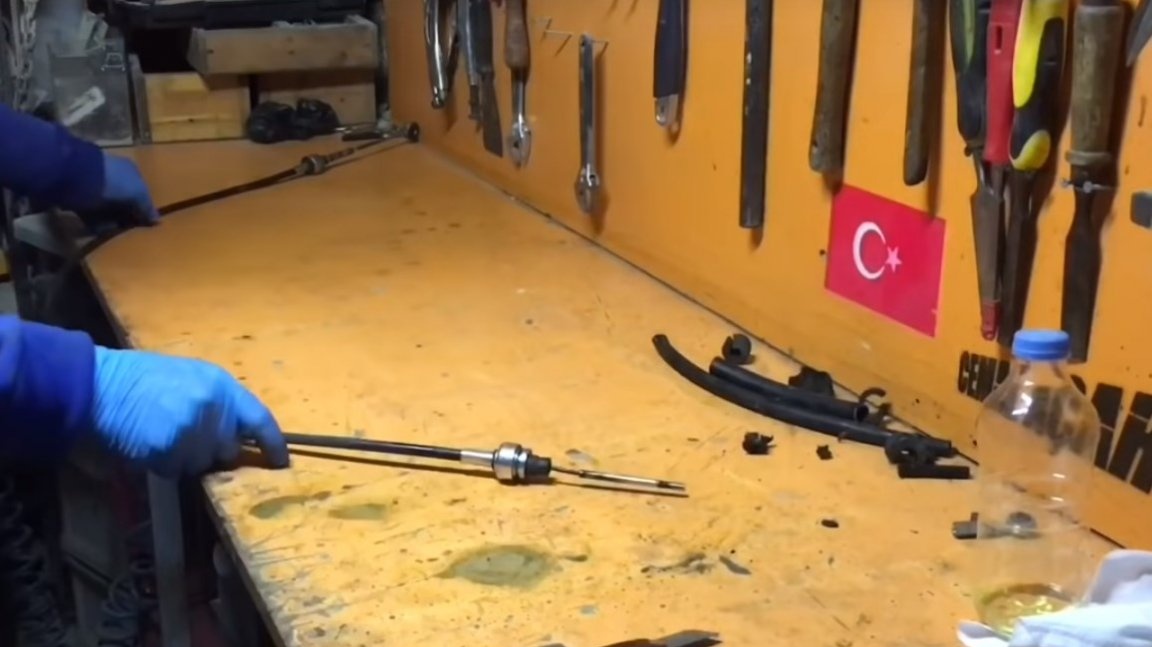
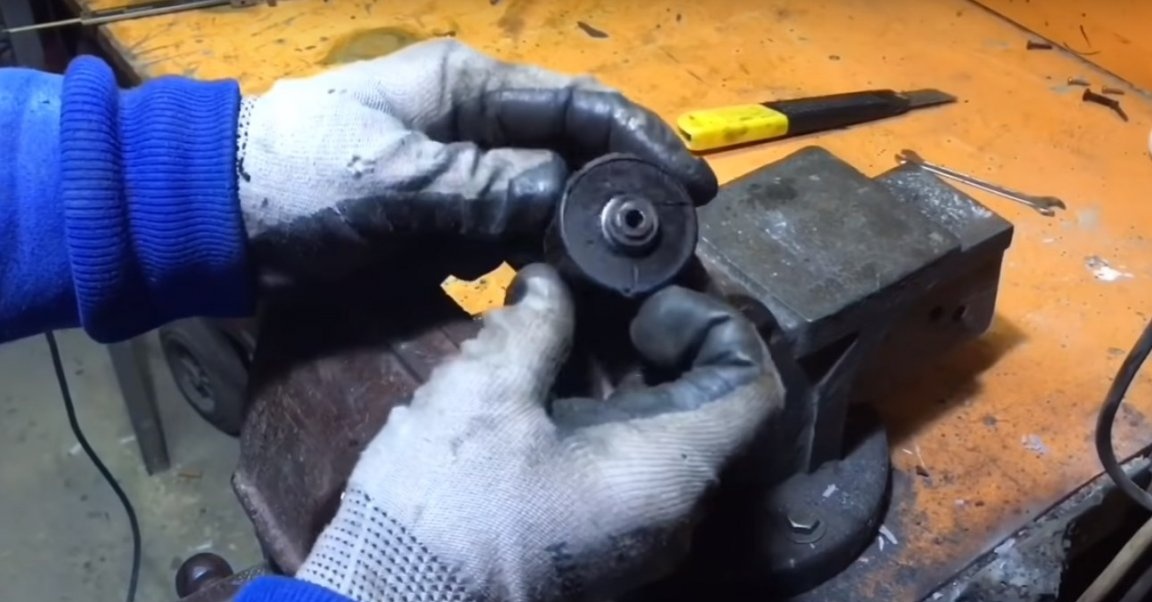
After the author, took up the old screwdriver. Dismantled and removed the cartridge from it.

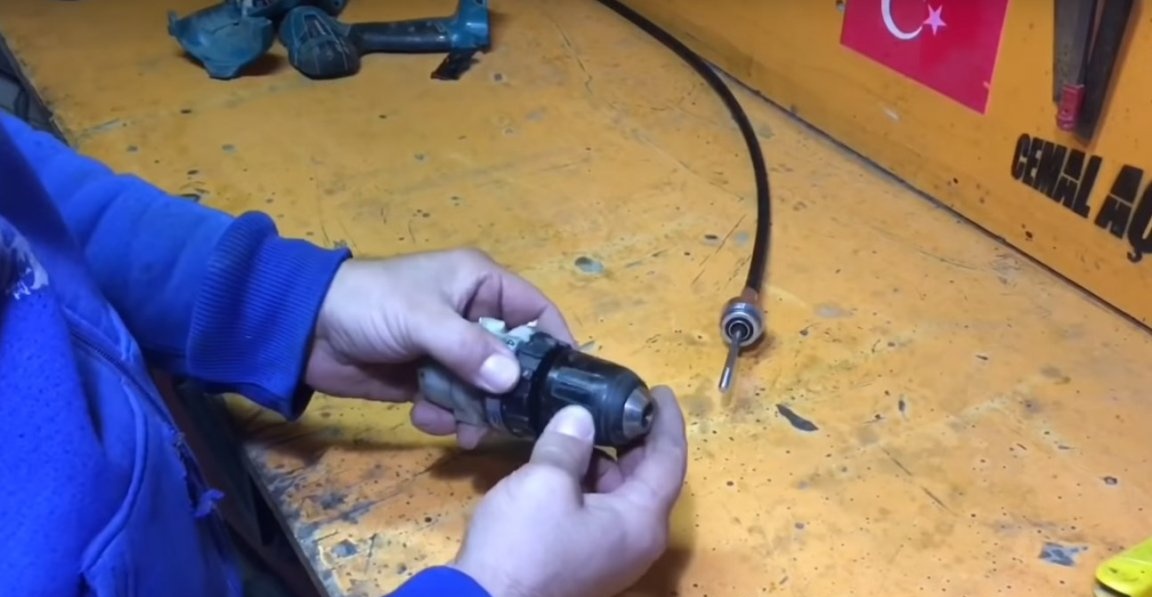
Then, with the cartridge, the author took off all unnecessary.

Like this.

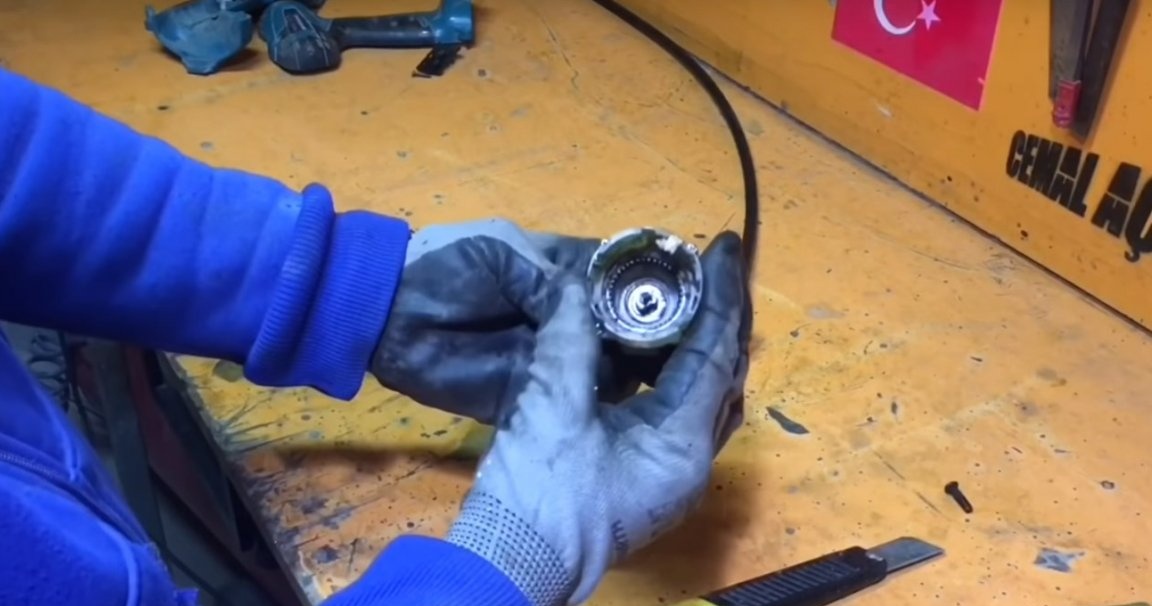
After measuring and removing the shank.
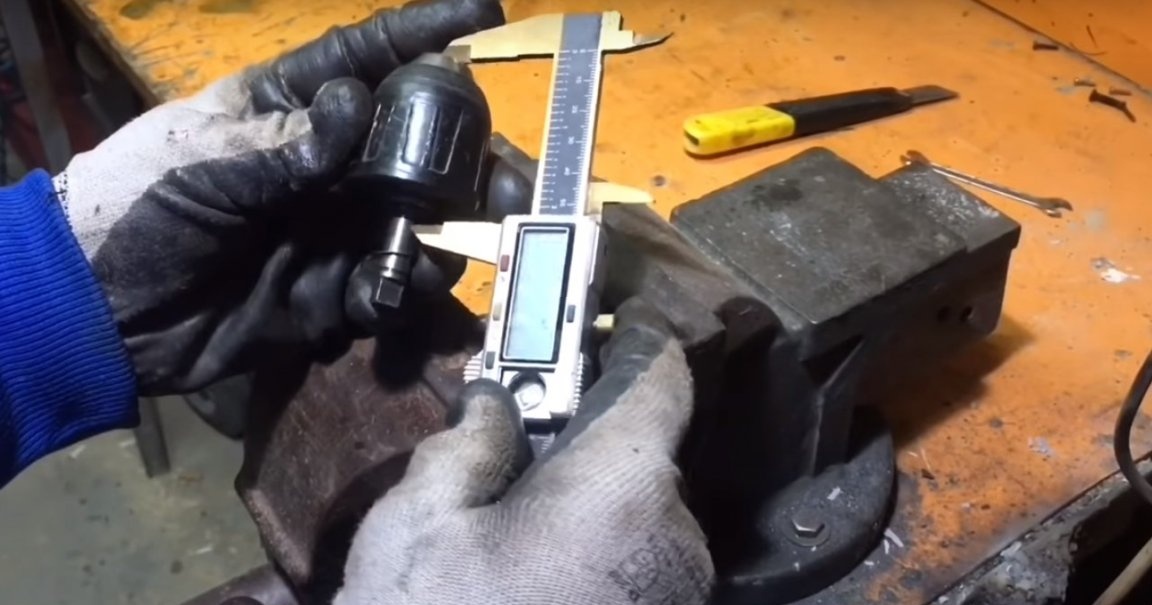
It turned out something like this. The thread in the cartridge matches the thread on the cable.
Temporary cartridge installation.
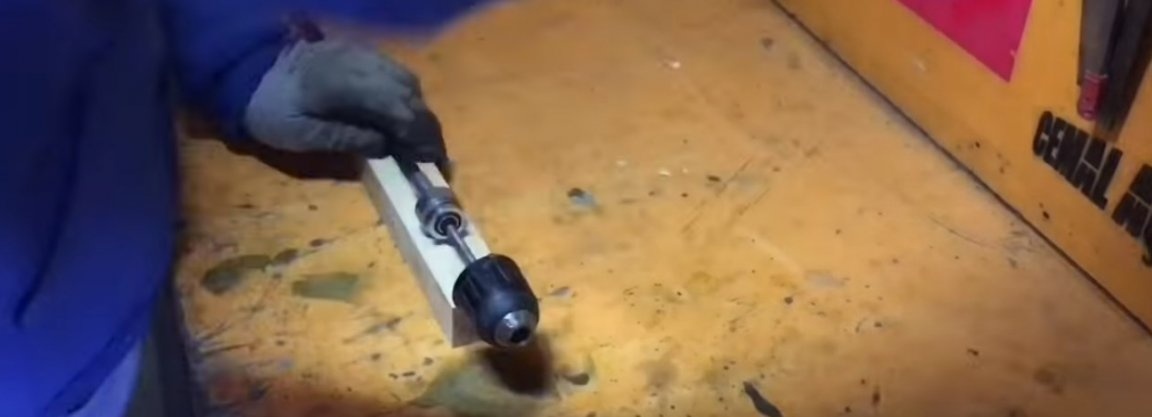
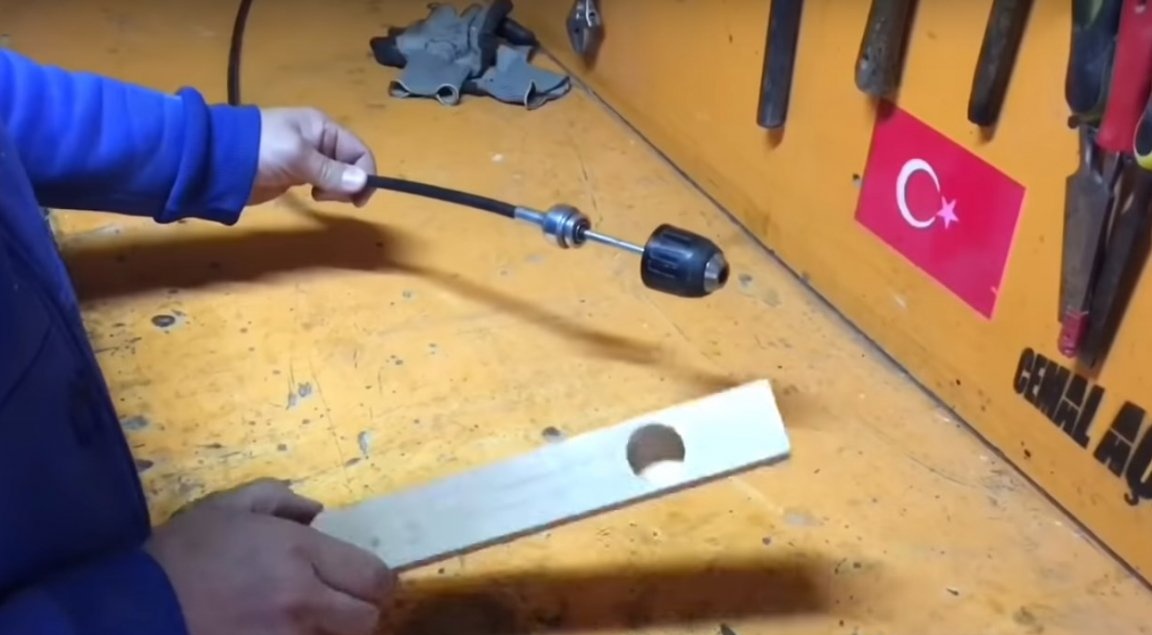
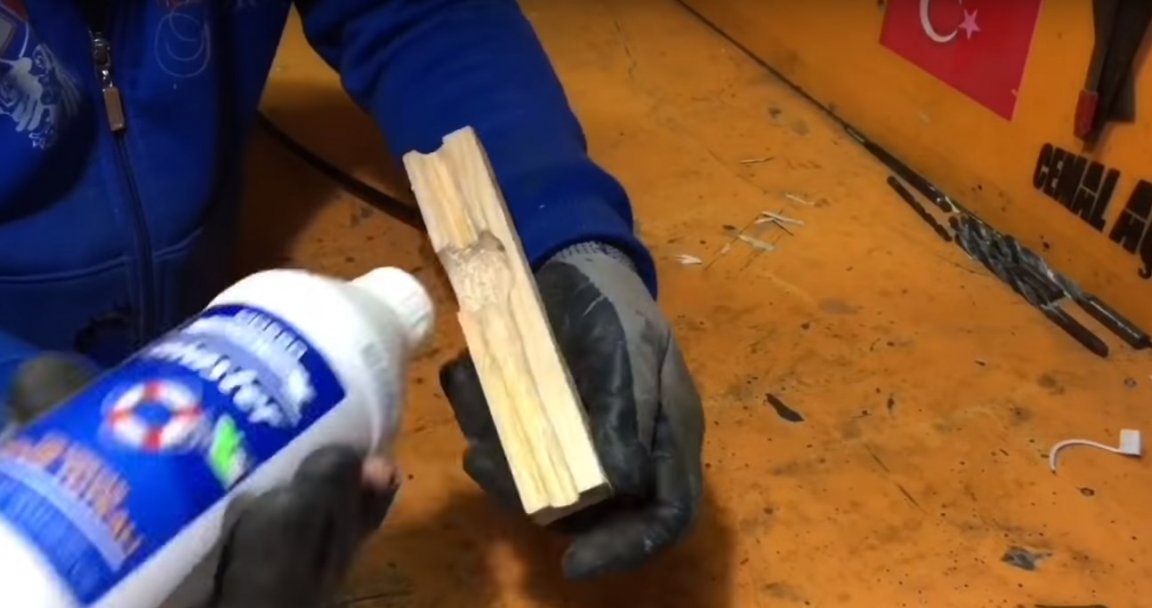
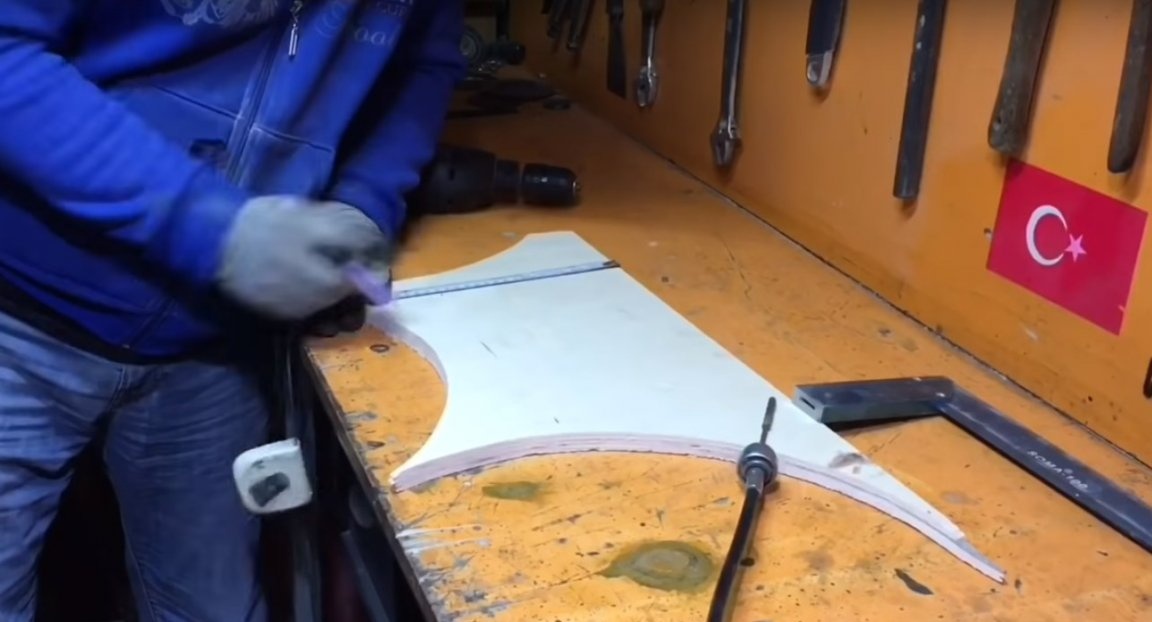
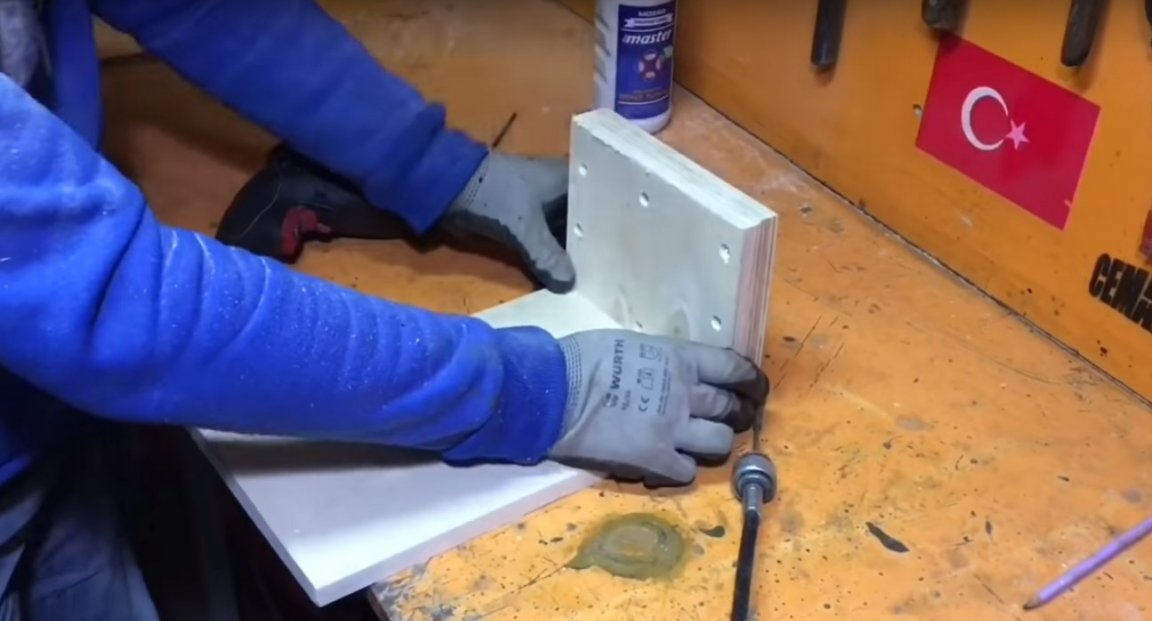
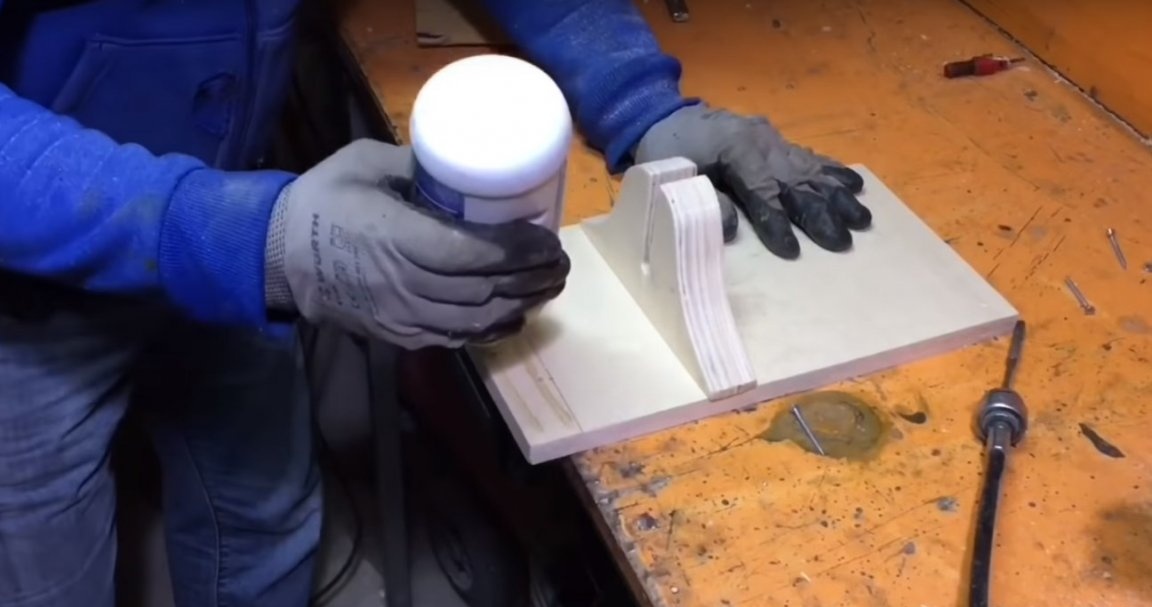
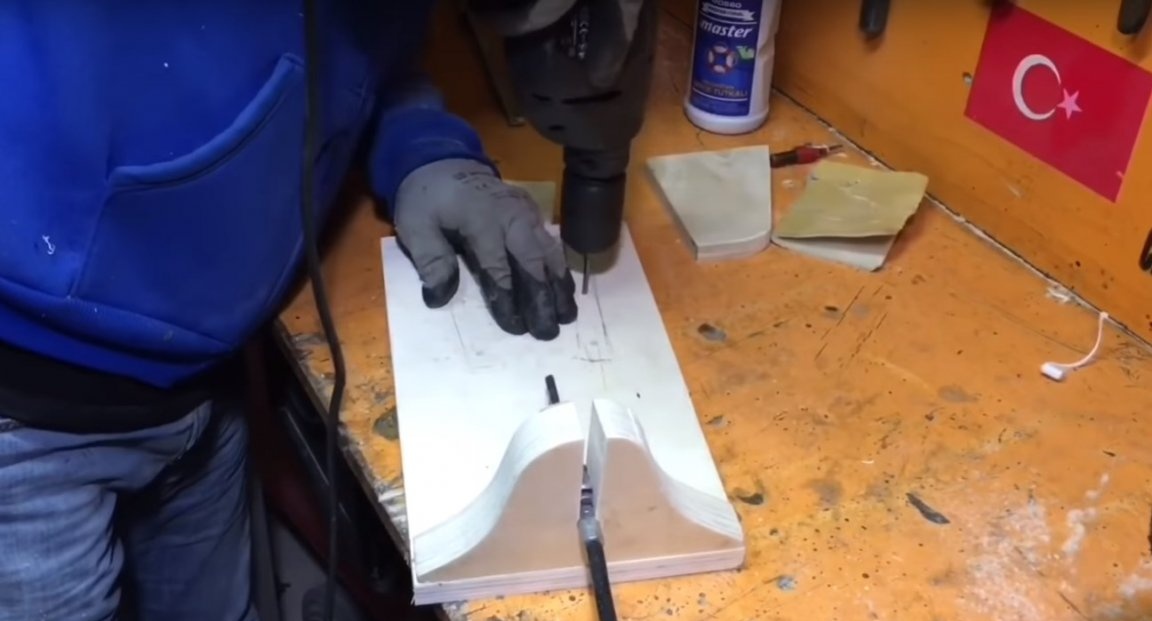
Then, the master will make a handle for a comfortable grip when working with the tool. To do this, the author took the bar and laid on it that edge of the cable where the cartridge is installed, so that the cartridge goes beyond the edge of the bar.
After, marked the place for the bearing.
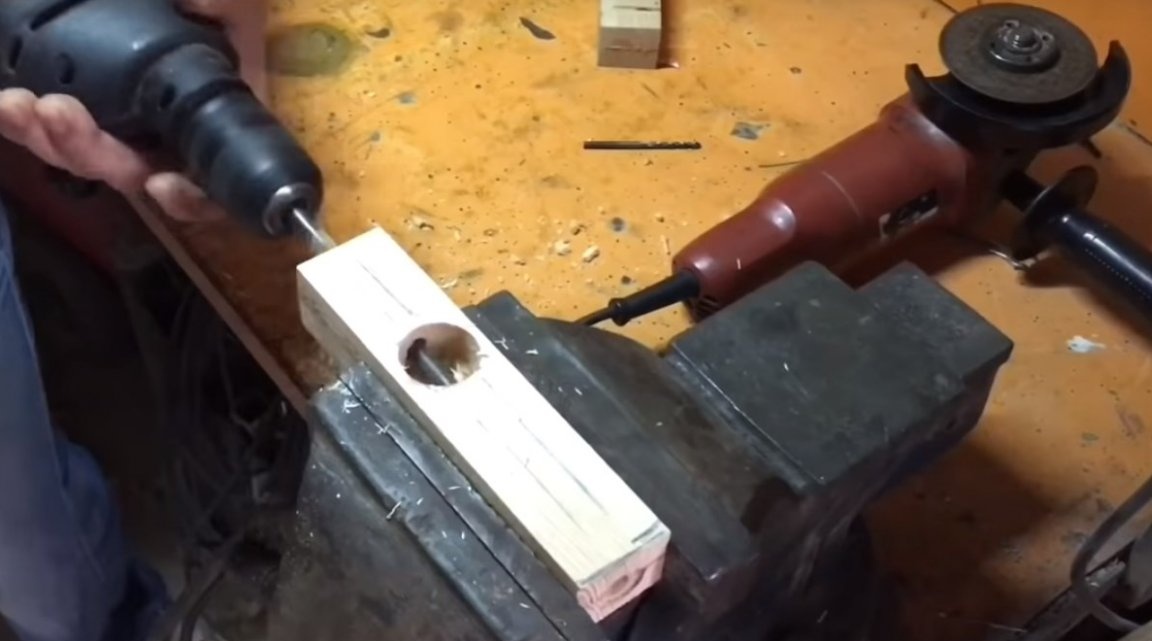
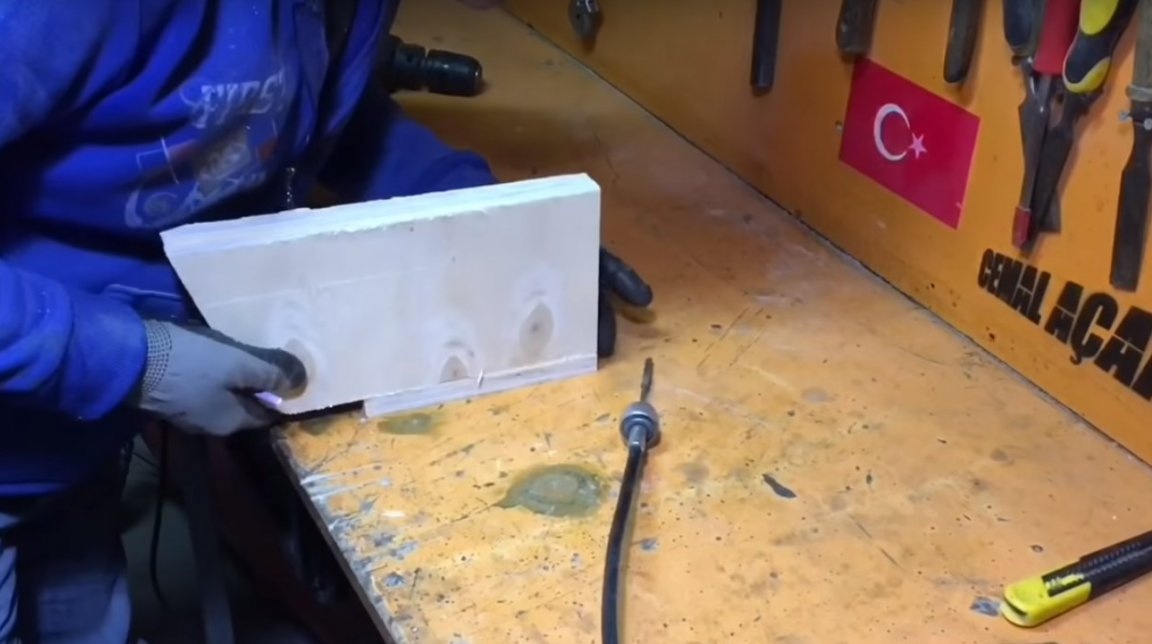
And he made a recess in the marked place with a cup mill.
So it happened.
After the author decided on a long handle, and sawed off the excess part of the bar.
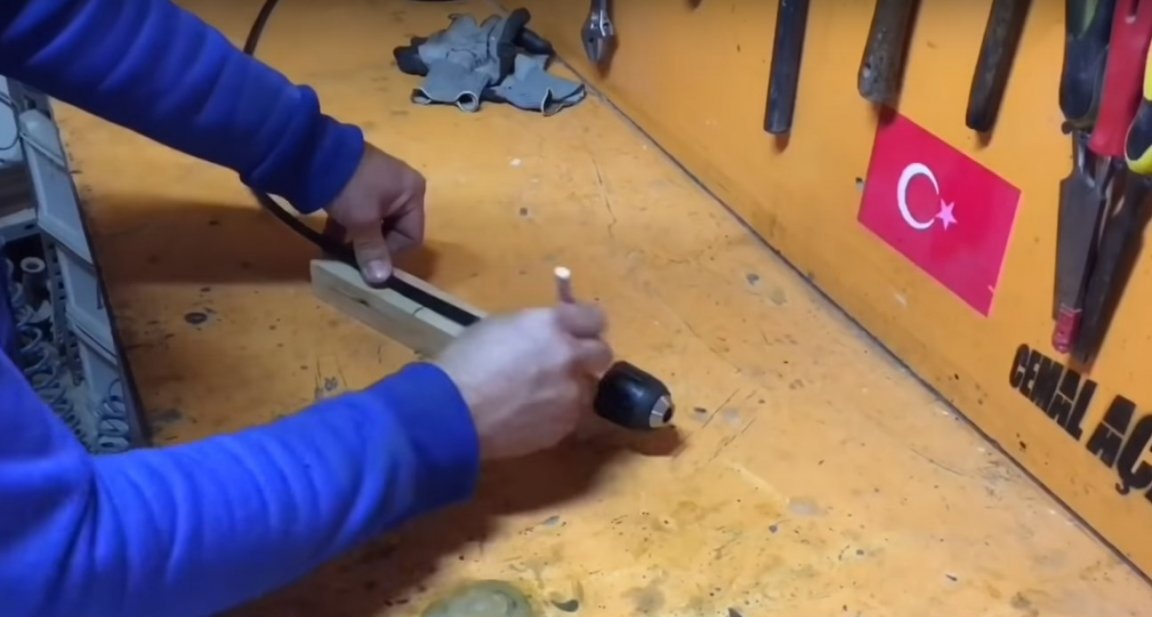

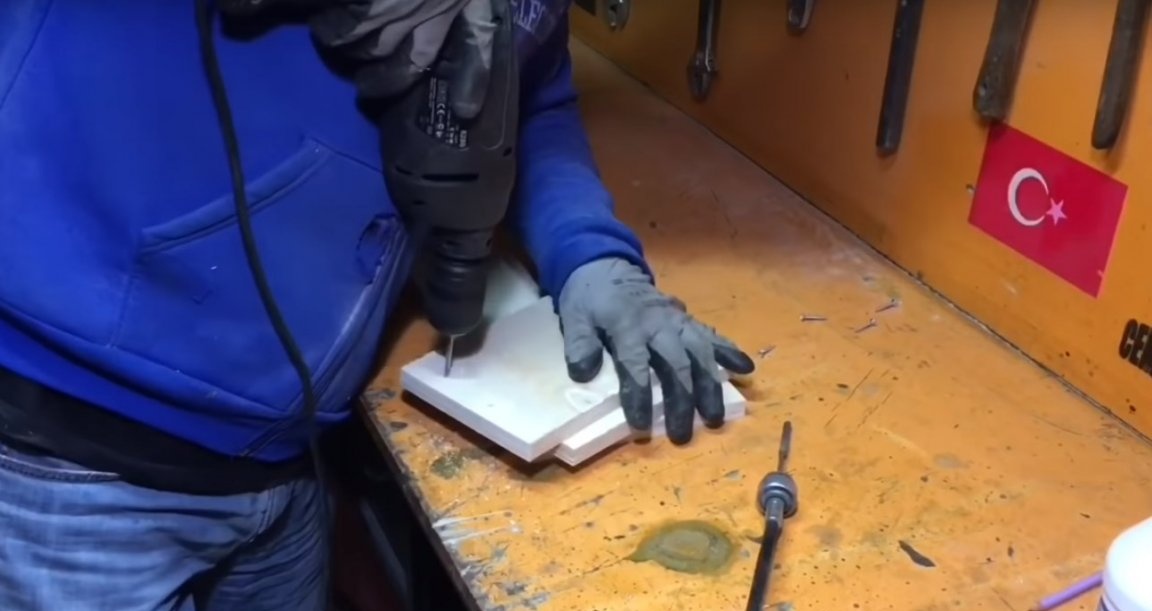
Then he made through holes on the ends of the bar. As shown in the photo.


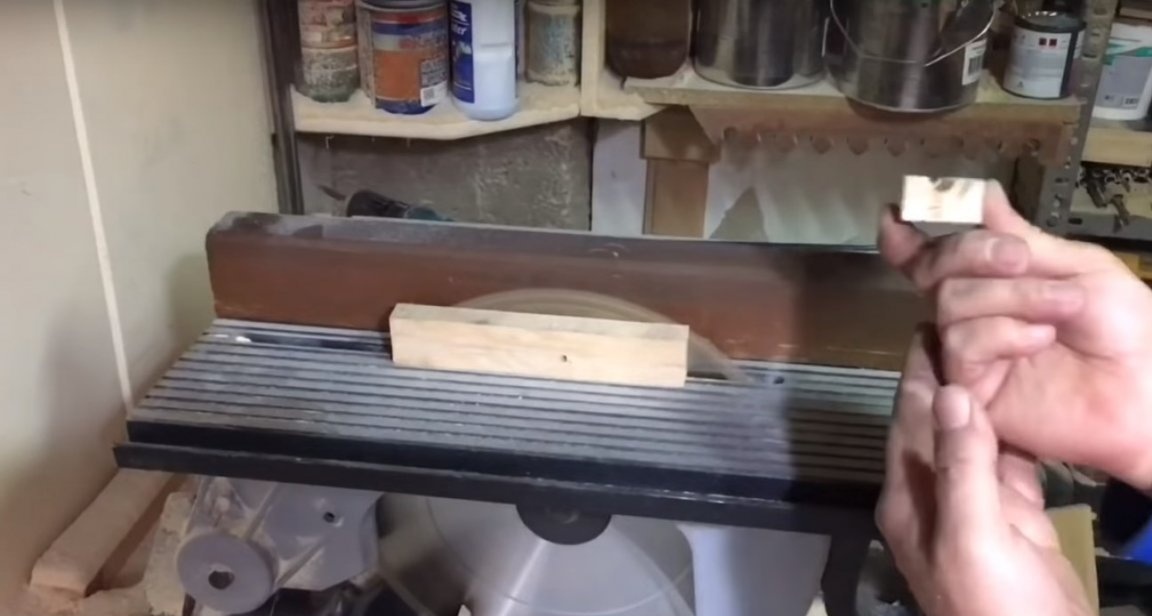
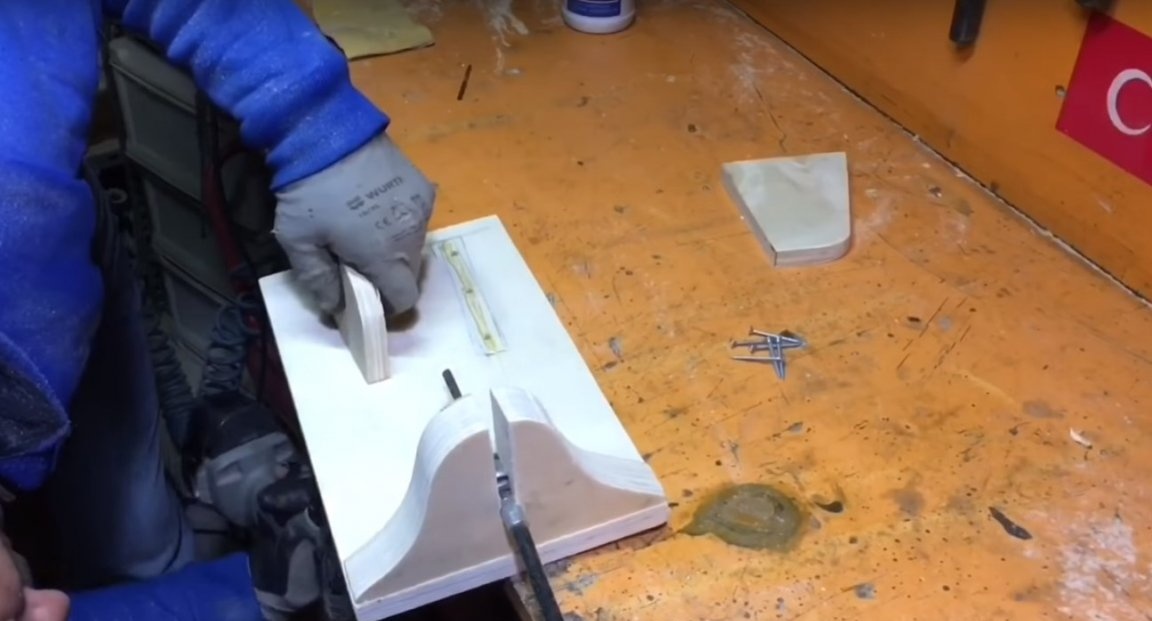
After sawing a bar lengthwise into two halves.

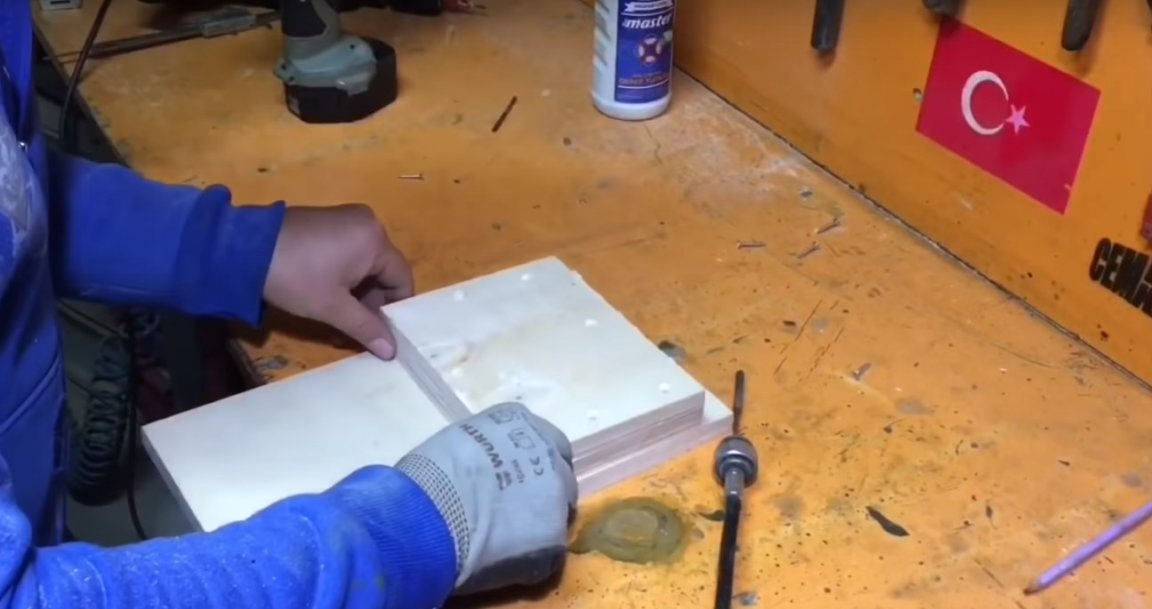
Then, applied glue to the inside of one half of the bar.
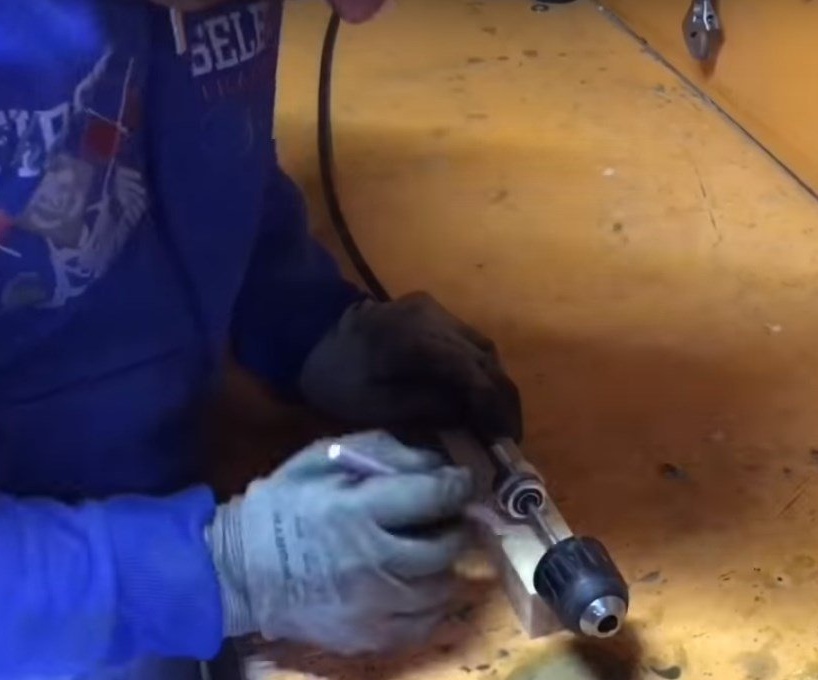
After he laid the cable.

Again, well smeared with glue the edges. After which, I glued the second half.

And he clamped this detail well in a vice, until the glue completely dried.

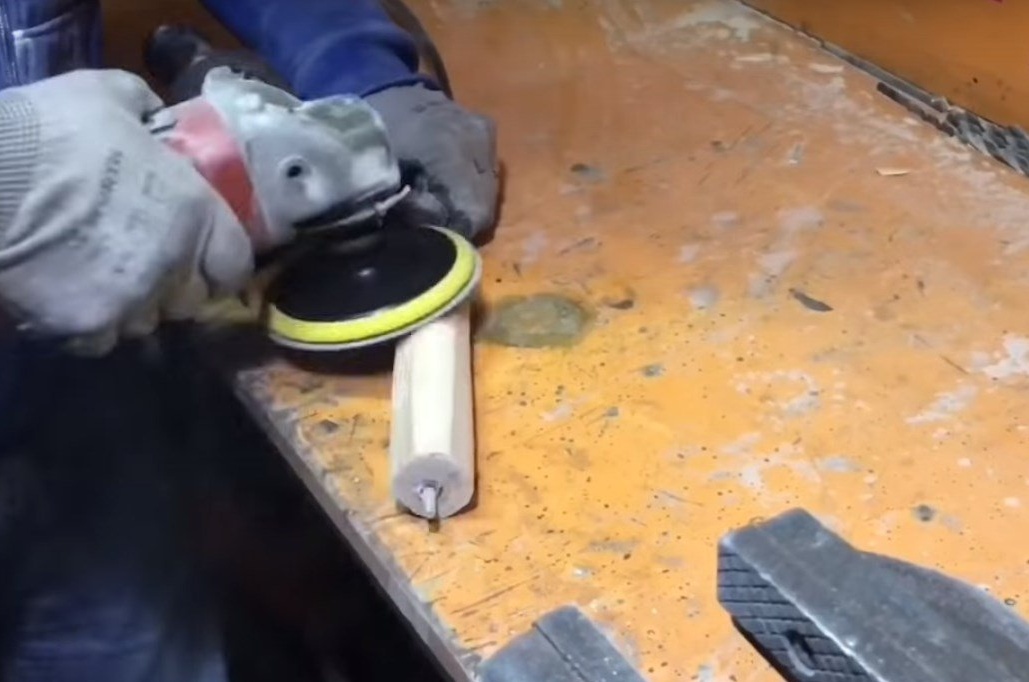
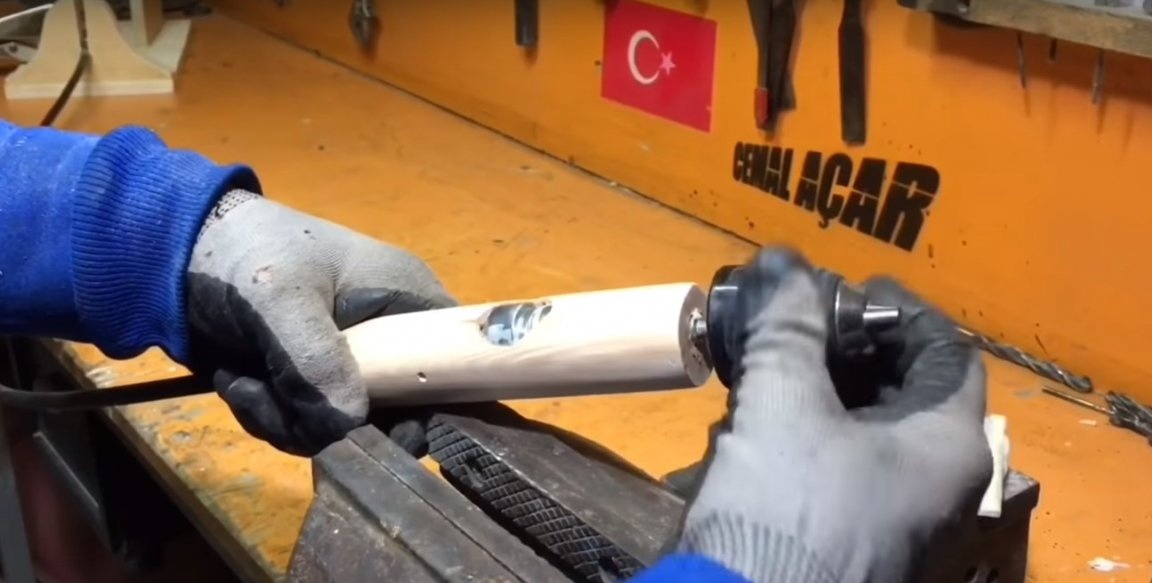
After some time, when the glue has dried. The author has rounded the pen.

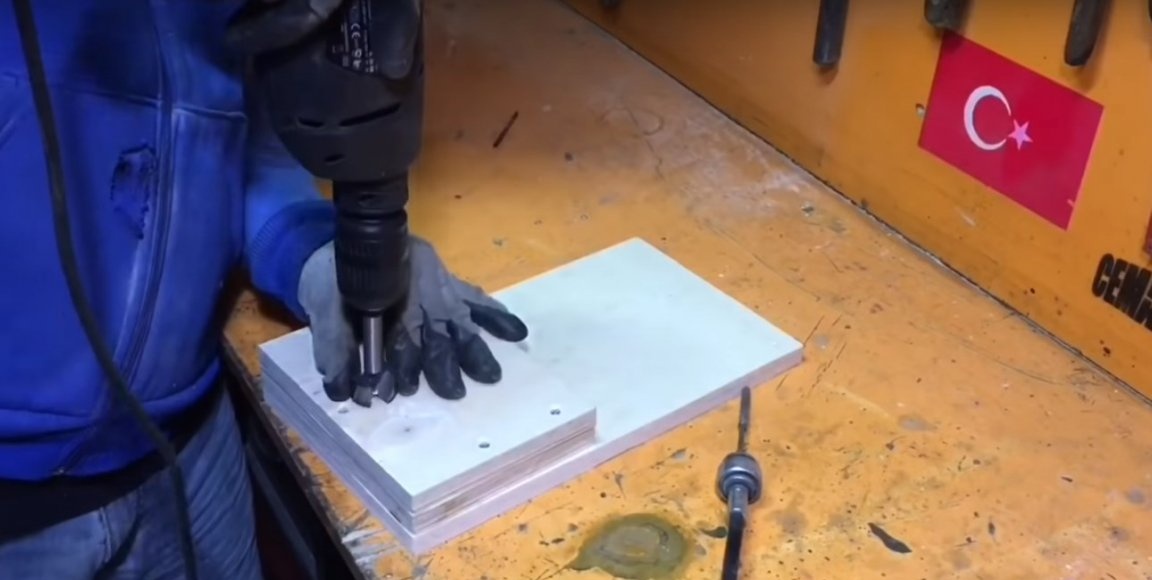
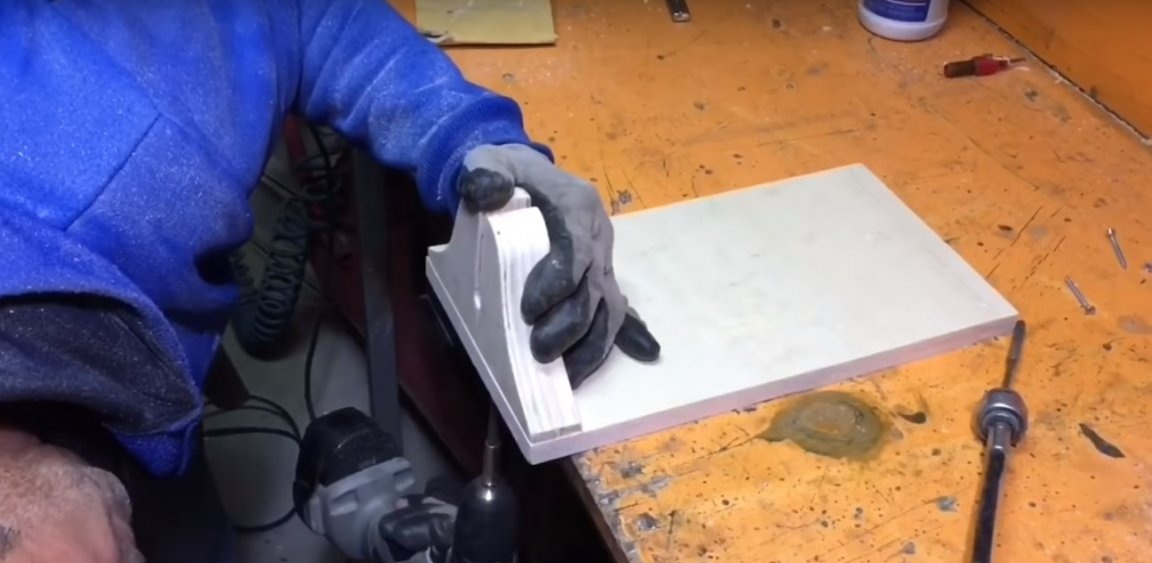
Then he set about making a holder for the drill itself. Its author will produce from plywood. First, the master will make the base. Having decided on the size.
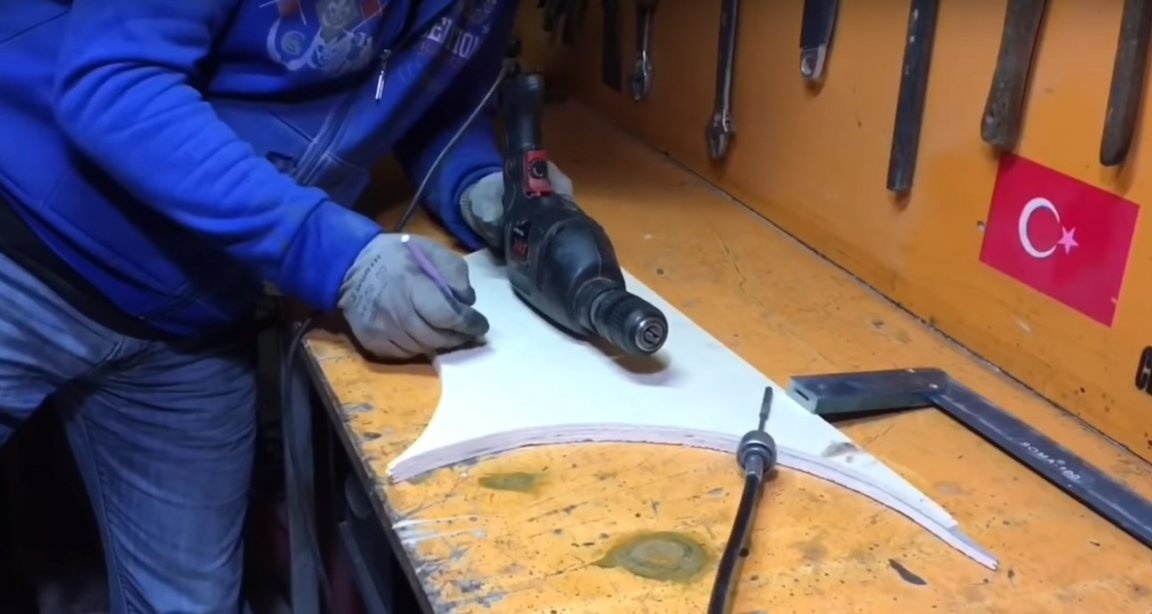
And making the markup.
The master of plywood cut a rectangular part.

After that, he cut a couple more pieces of suitable size.
Then he connected these two blanks with each other using glue and screws.
Like this.
Fitting.
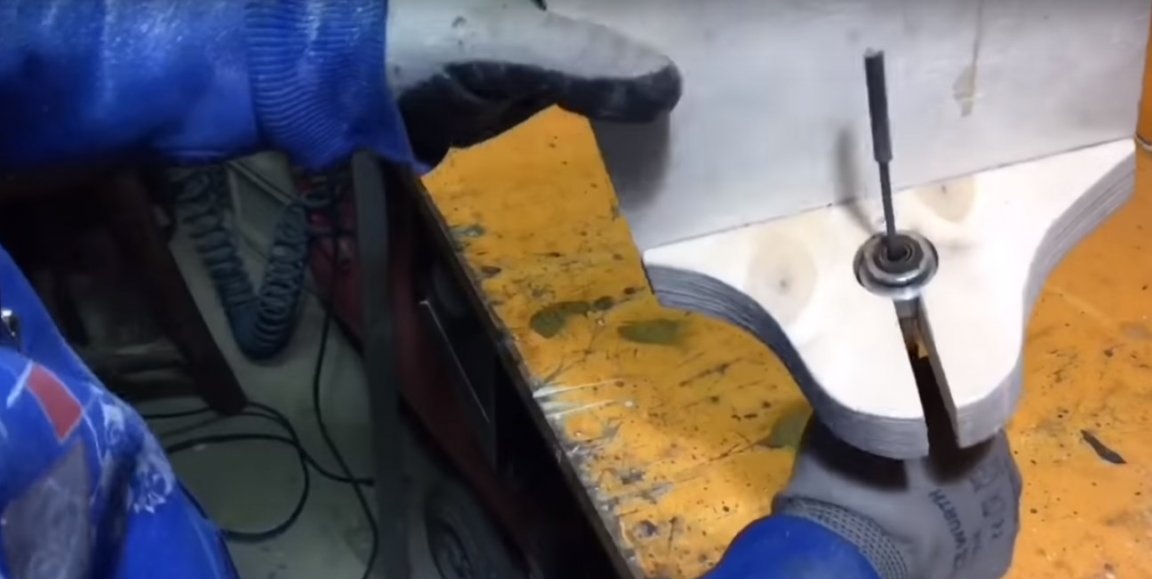
After he made a recess with a mill under the bearing.
Then he made the markup as in the photo.

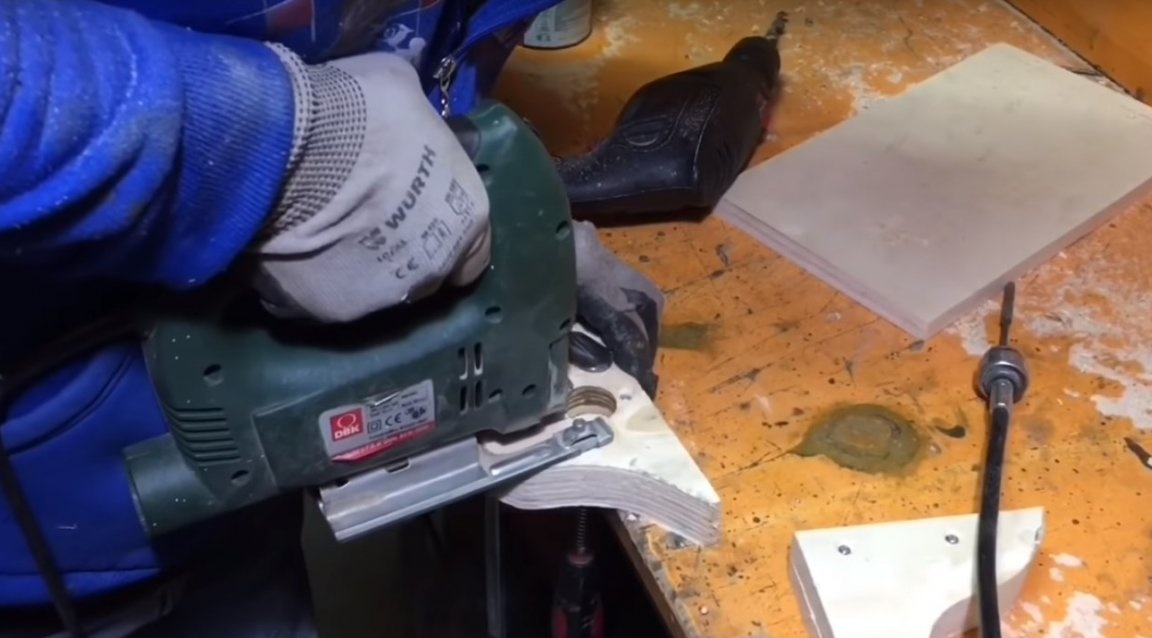
After I cut off the excess on the markup.
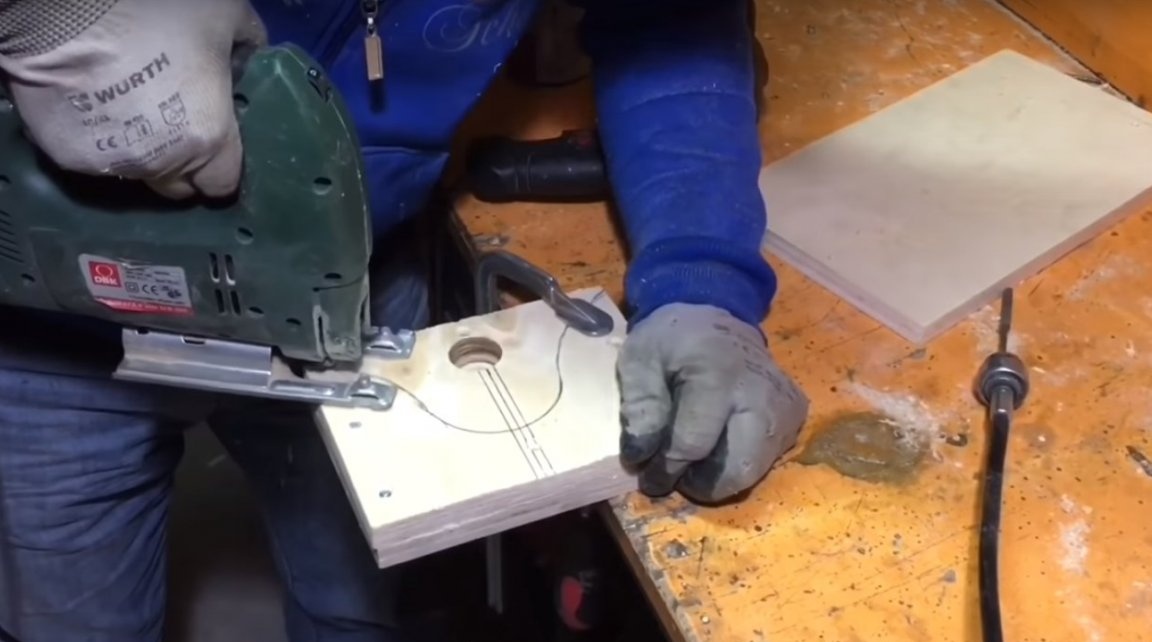
And on the upper side, he drank along, to the deepening.
Then I glued the finished part to the base.
And for reliability, I also screwed it with screws.
Fitting.

Further, the author cut a couple of parts from plywood. Which will hold the drill from the sides. And noting the places of their fastening.
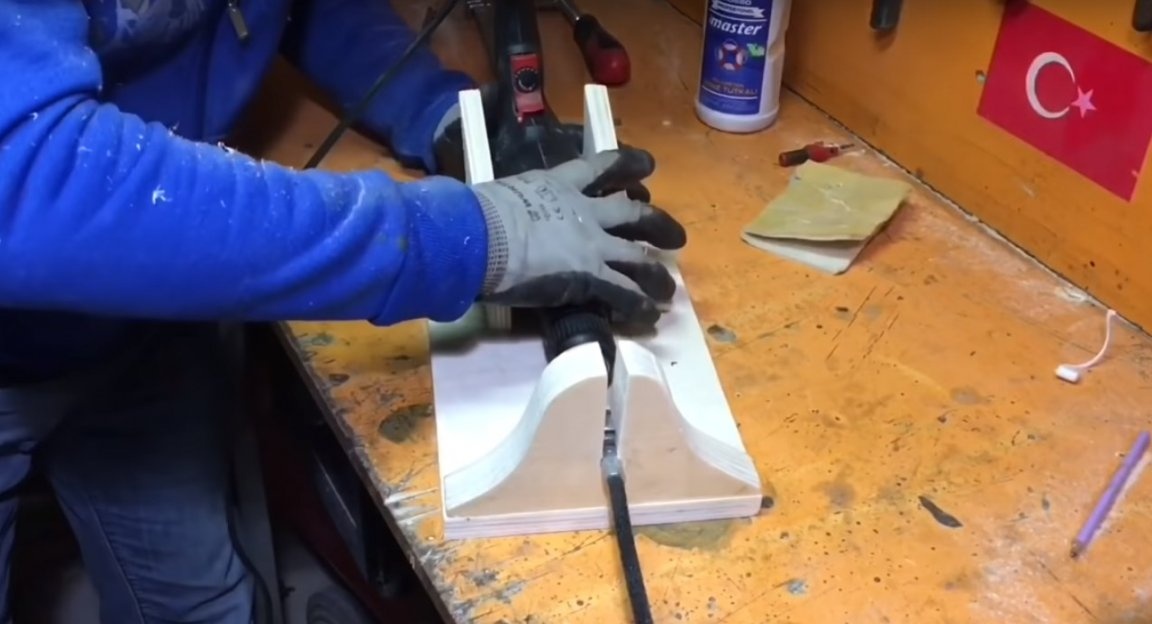
As well as the previous part, they attached them to the base with glue and screws. In all details, before screwing in the screws, the author previously made holes with a diameter slightly smaller than the diameter of the screws. This was done so that the parts do not split when the screws are screwed in.
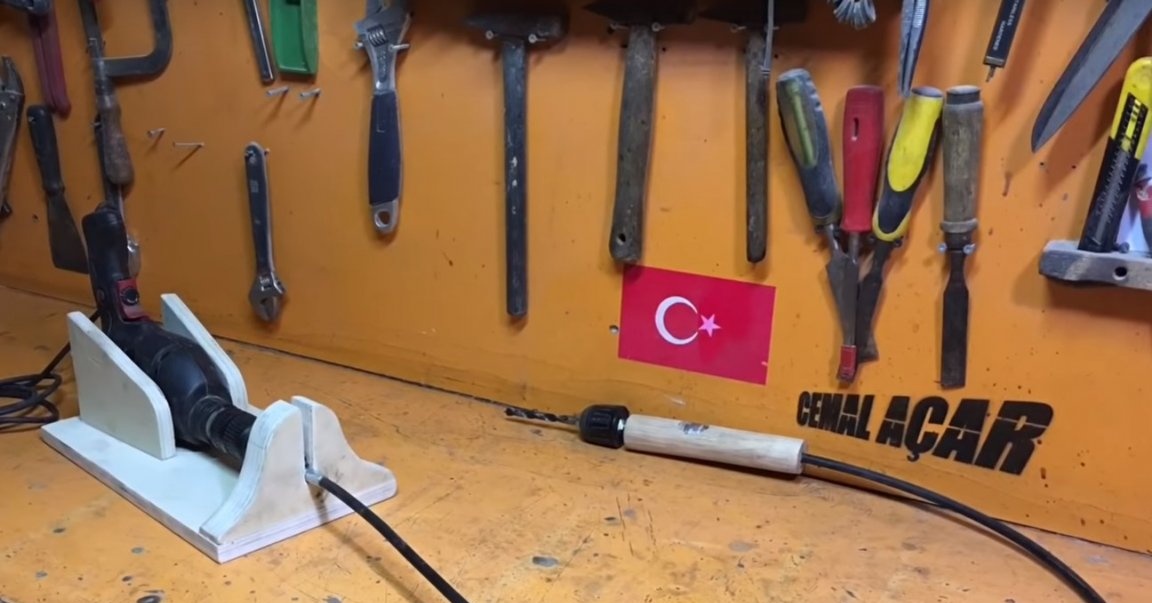
Installing a drill in its place.

Cartridge installation.
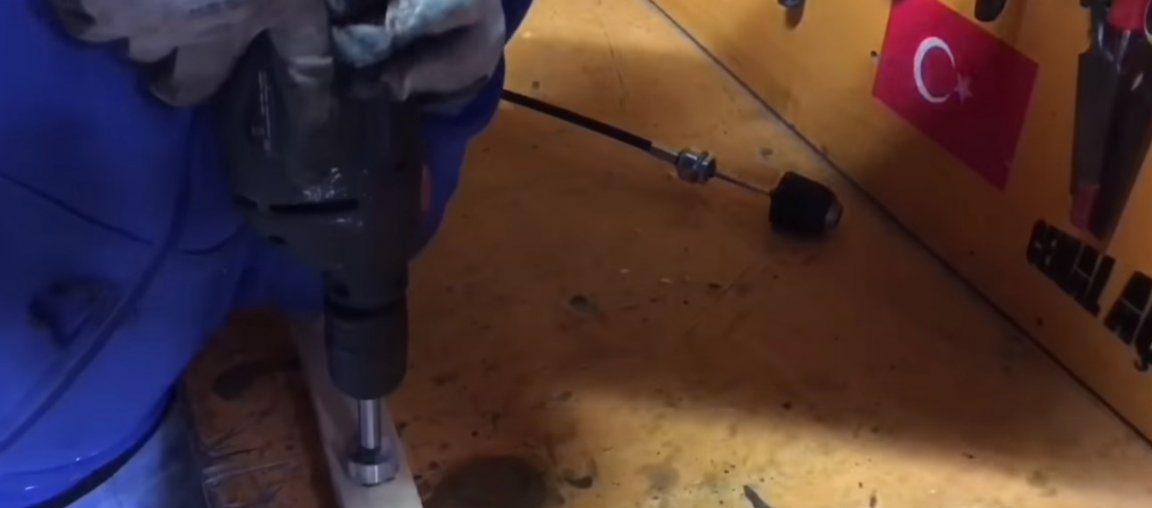
Verification
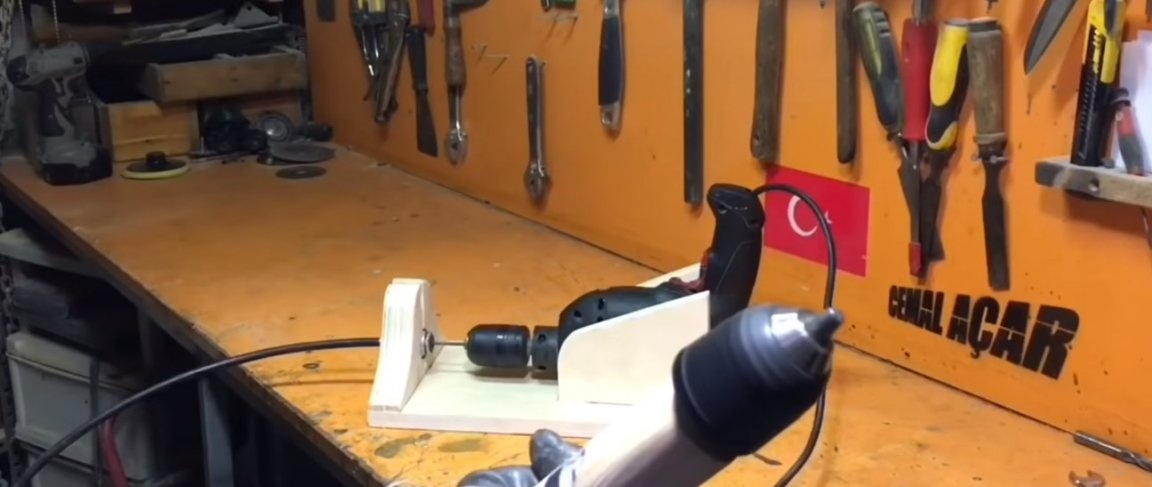
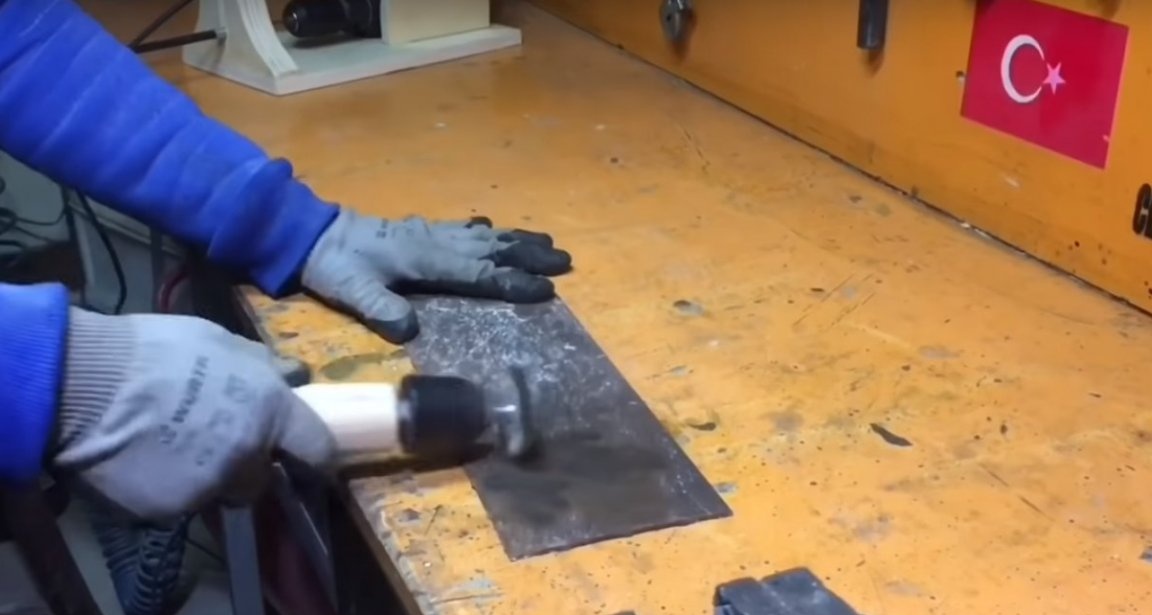
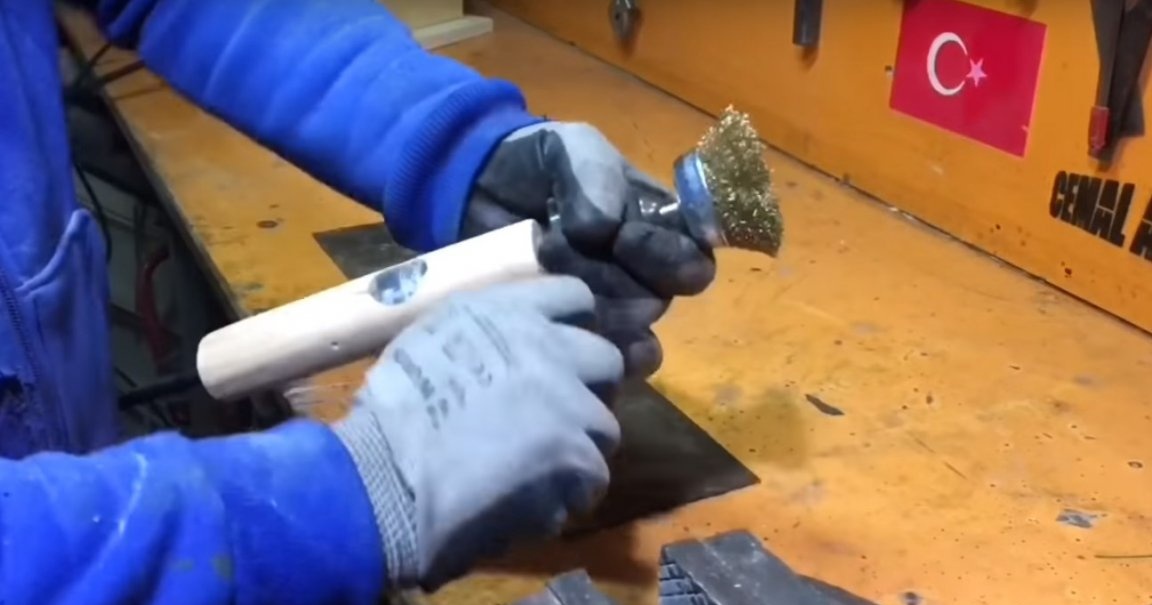
And now the test of the finished tool. Metal brush "piranha".

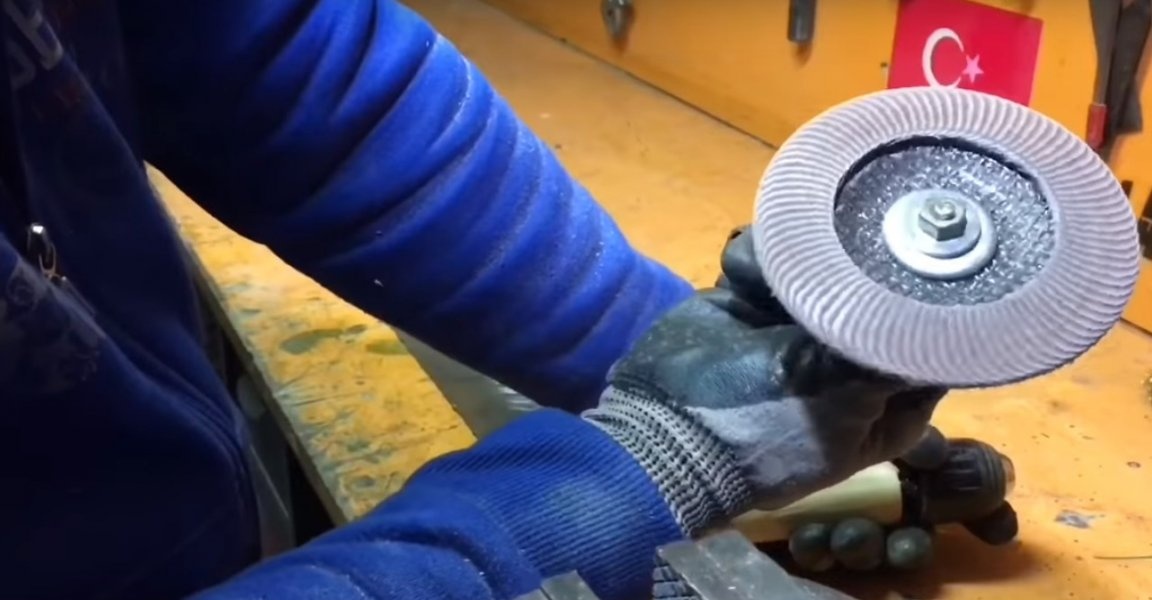
The circle is petal.
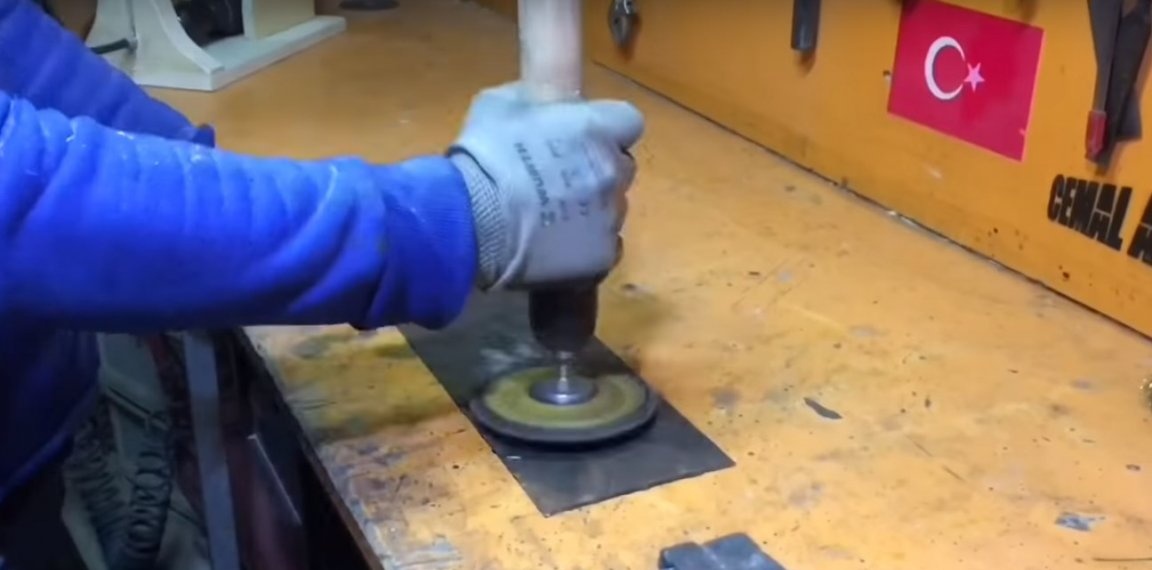
Cutting wheel for metal.

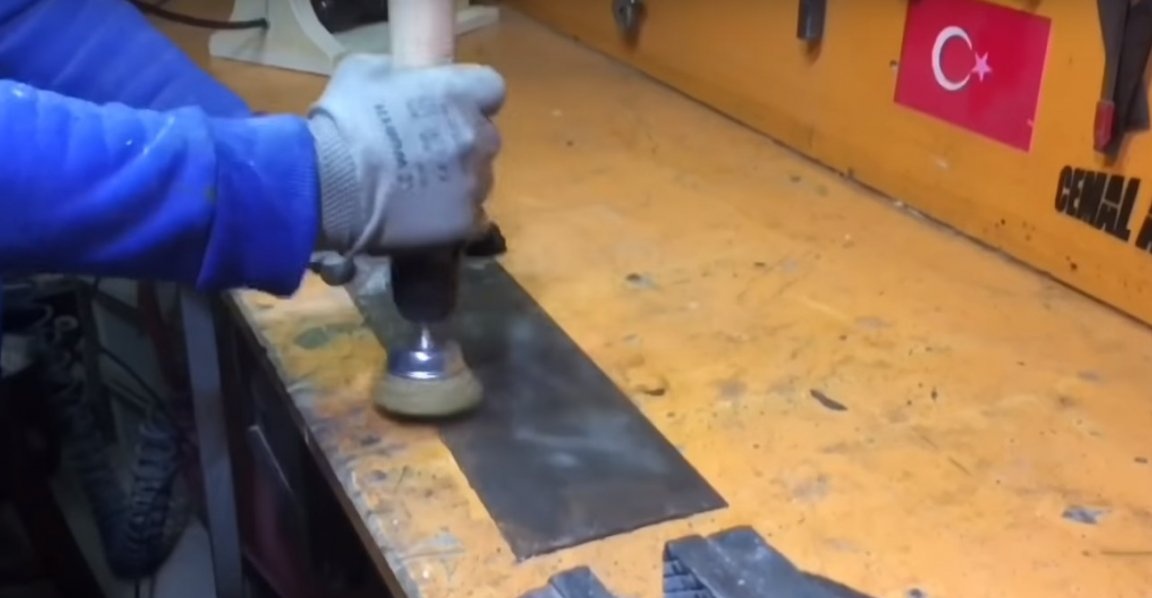
Grinding wheel.
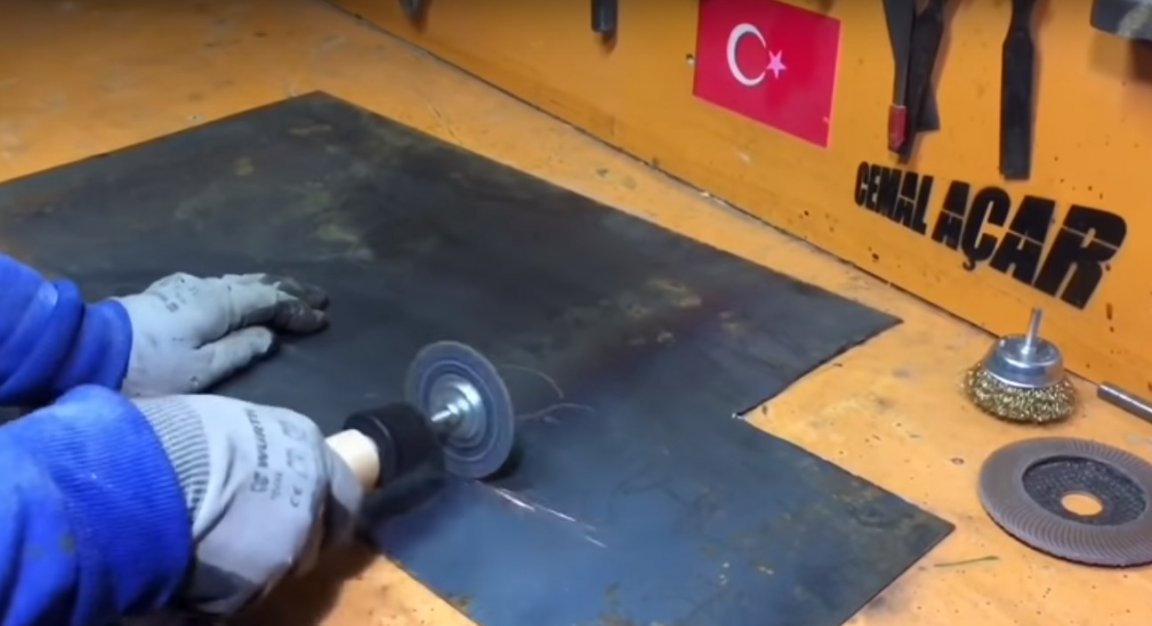
Result: the tool works perfectly with all the nozzles. Such a useful homemade product, the author made today. I think this homemade product will be useful to many. Many thanks to the master.
And that’s all for me. Thank you all, and see you soon.