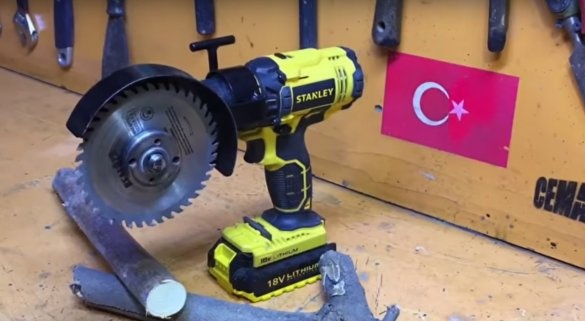
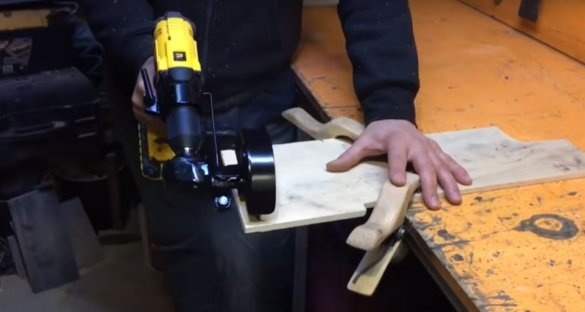
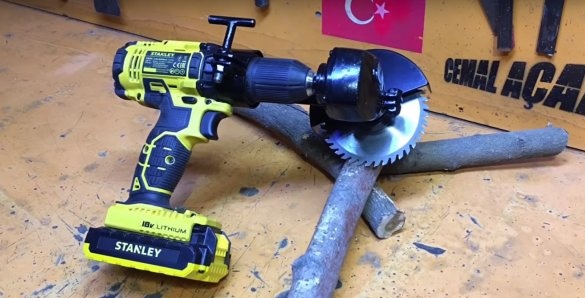
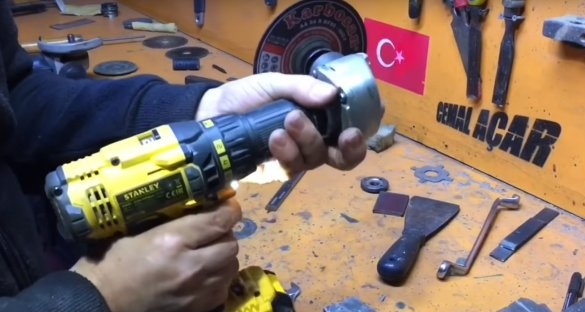
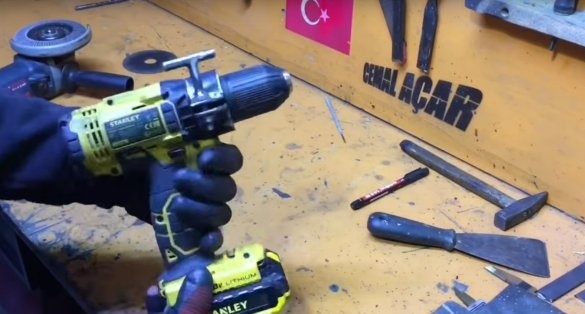
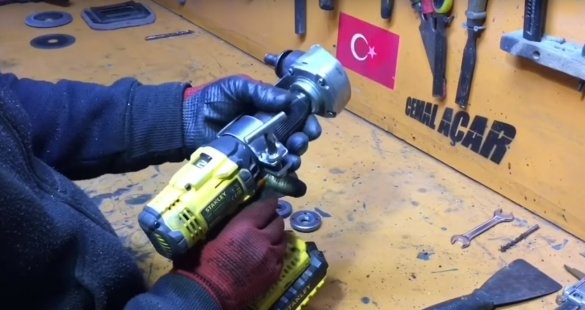
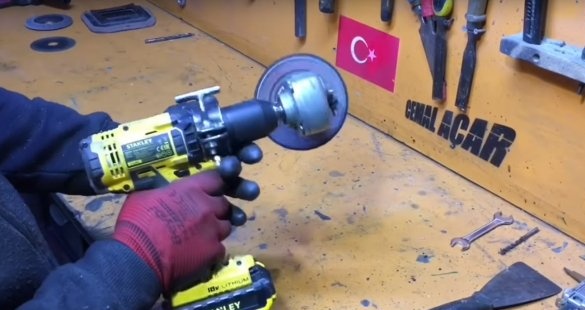
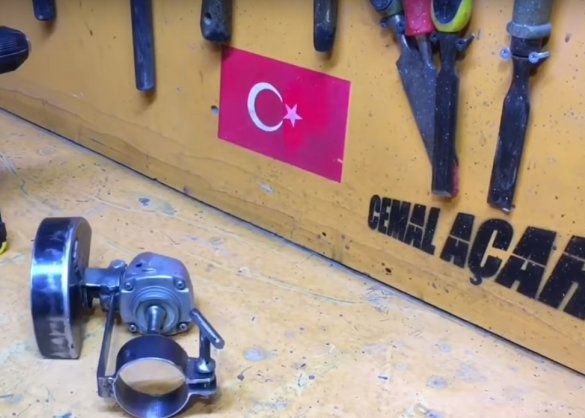
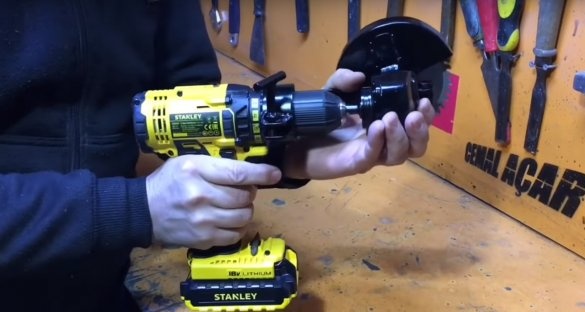
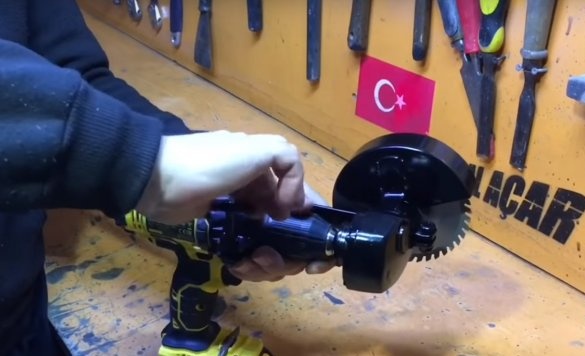
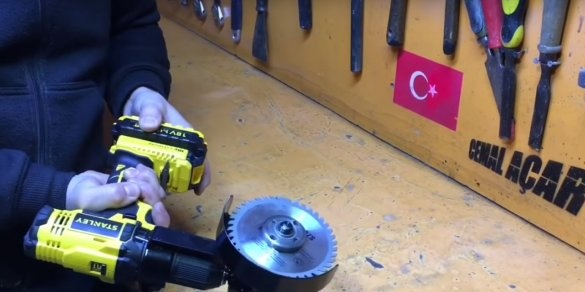
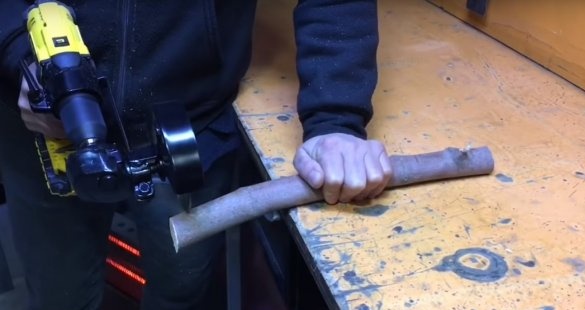
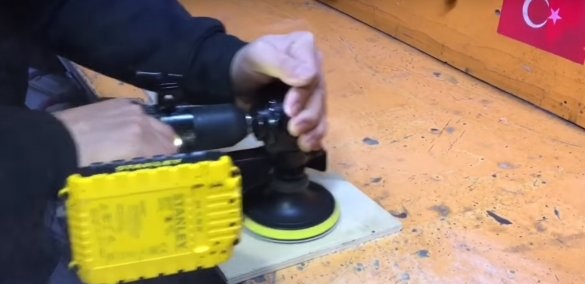
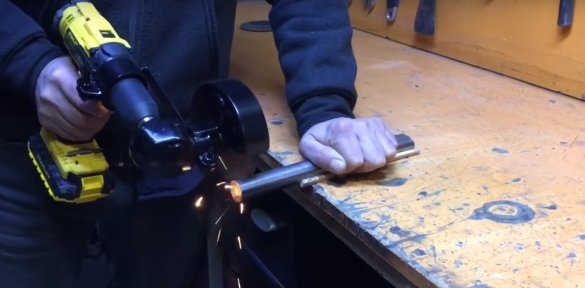
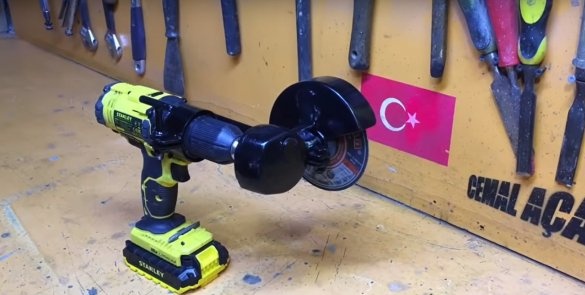
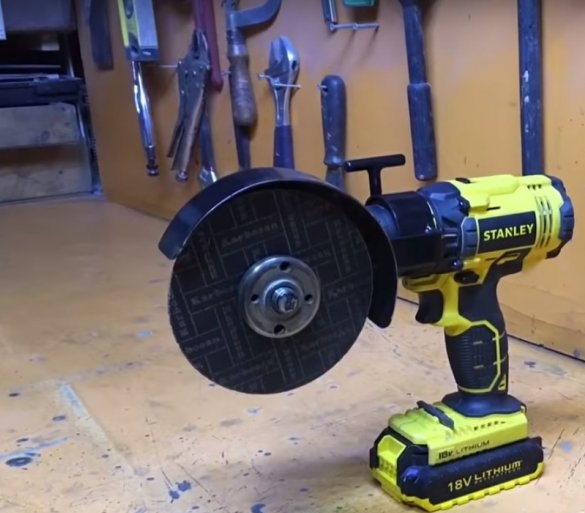
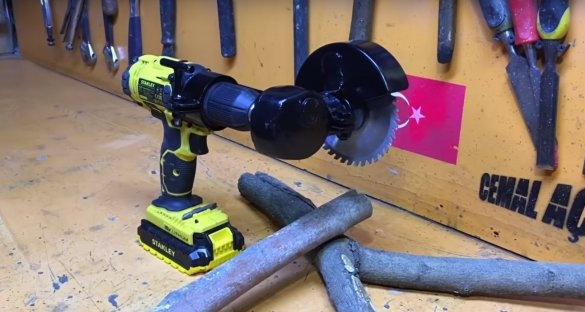
Good day to all. Today in this article, we’ll look at how the author of the YouTube channel “cemaL A сделалAR” made a screwdriver tip that expands its capabilities. With this homemadecan be performed: cutting and grinding work. Of course, you can’t say that this homemade product can completely replace the angle grinder, but everyone has such moments when something needs to be cut off urgently, but there is no electricity at this moment, or for example it will be needed somewhere in the field. In such situations, this will help out perfectly deviceif you, of course, have a screwdriver.
For the manufacture of this homemade, the author used.
Materials:
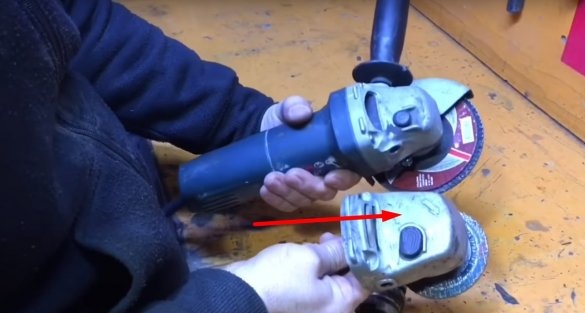
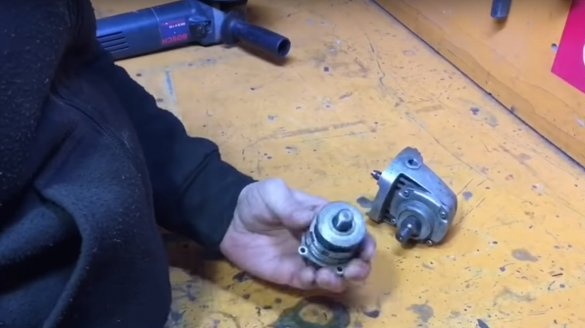
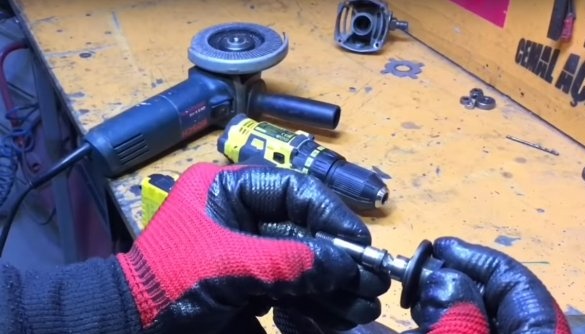
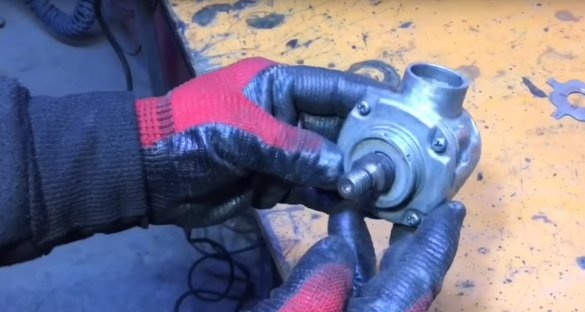
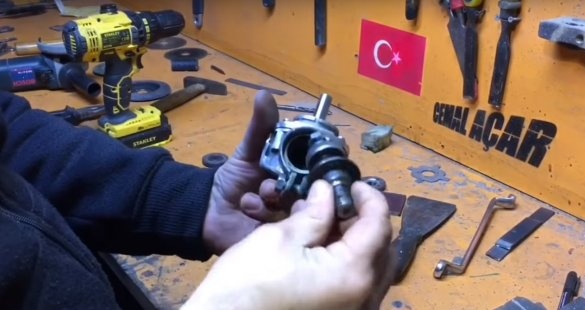
Two gearboxes from angle grinders. More precisely, one gear assembly. (Detail # 1.)
And from the second author will be required, only the part on which the disk is installed. (Large shaft, part # 2.)
Steel strip
Sheet metal
Bolts with nuts
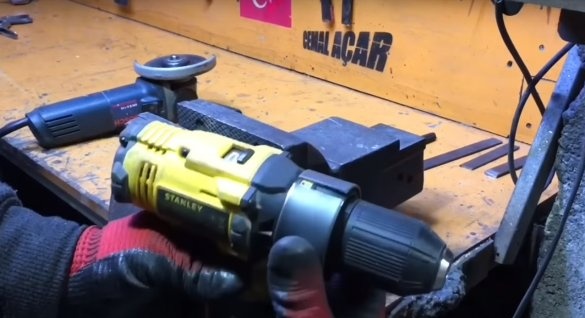
Screwdriver
Pieces of steel pipes of different diameters
Steel bar with a diameter of 6-8 mm.
Instruments:
Vise
Welding machine
Electrodes
Metal cutting wheel
Angle grinder
Hammer
Marker
Spanners
Electric drill
Drill
Gas key
Petal circle.
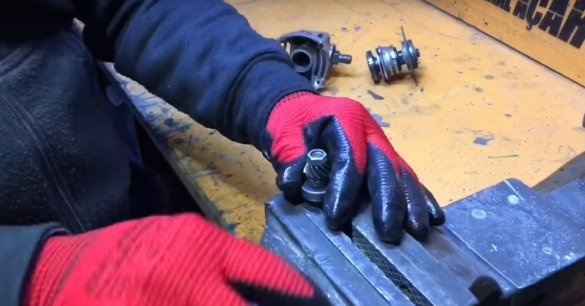
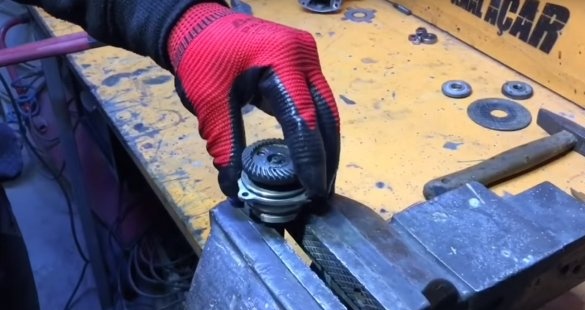
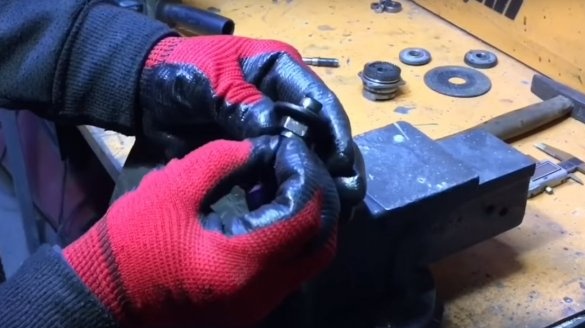
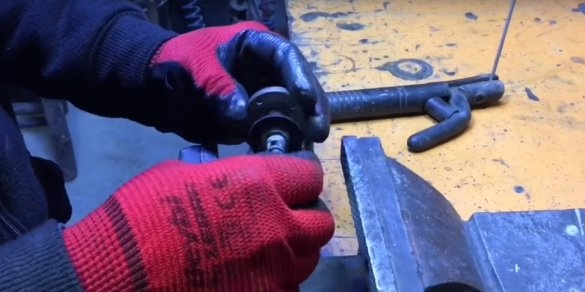
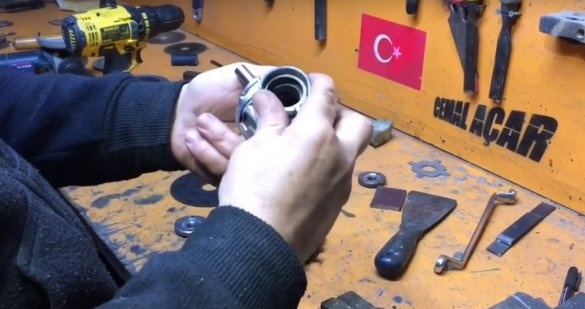
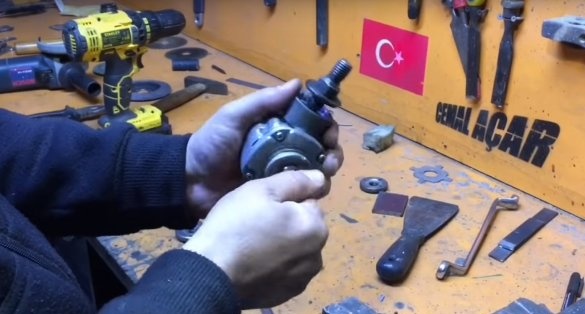
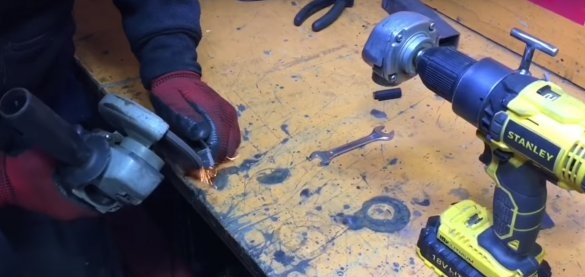
The master will remove the small shaft of part No. 1 from the housing.
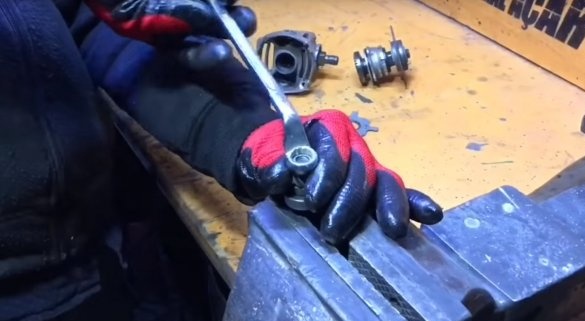
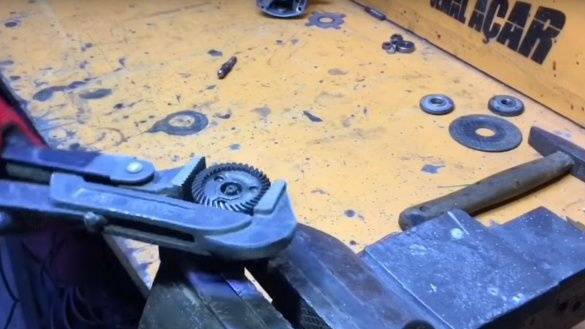
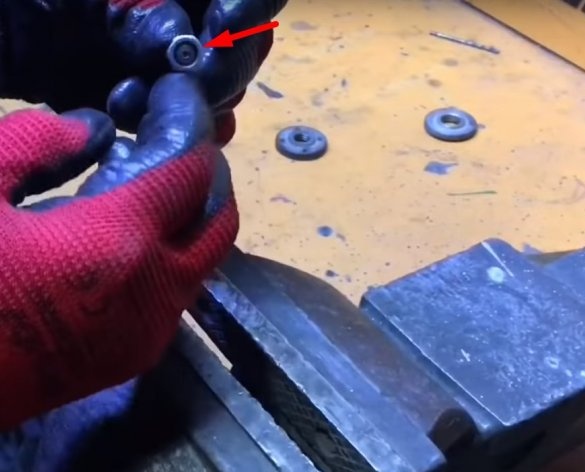
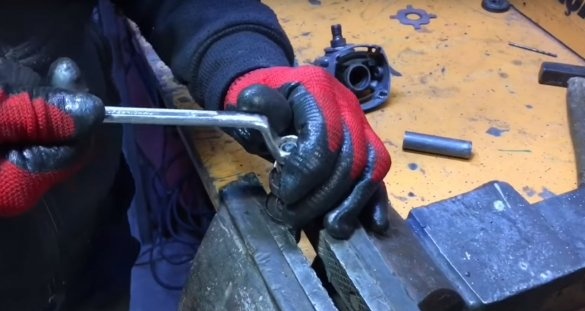
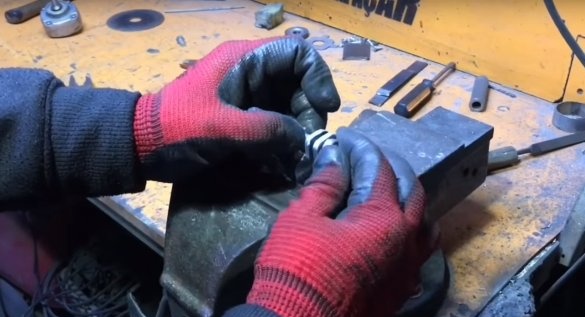
And holding it in a vise, first remove the nut from it.
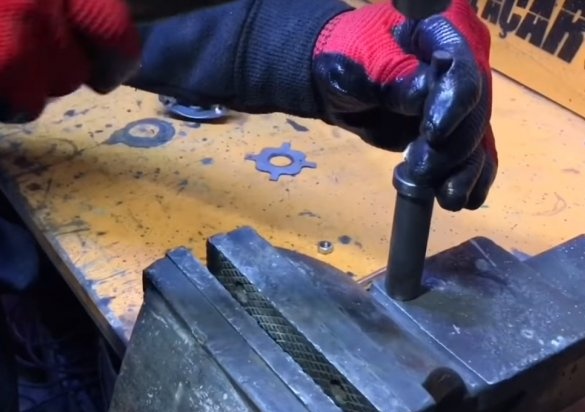
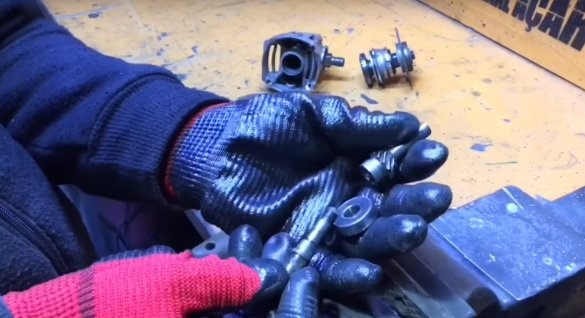
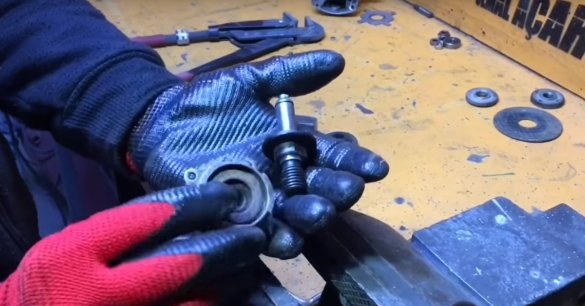
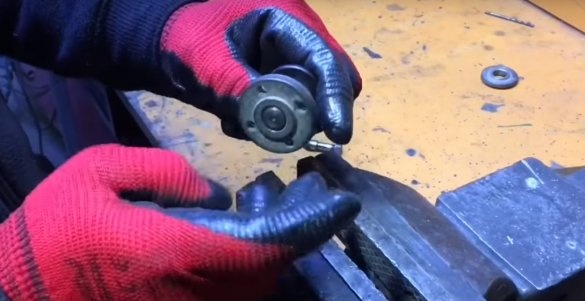
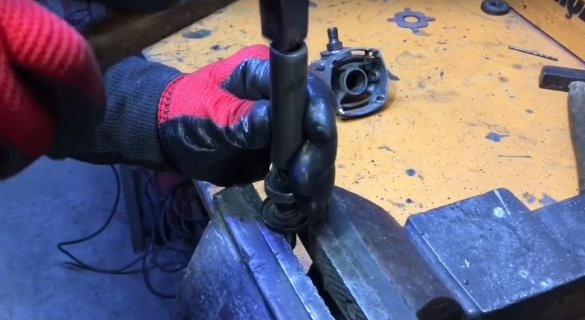
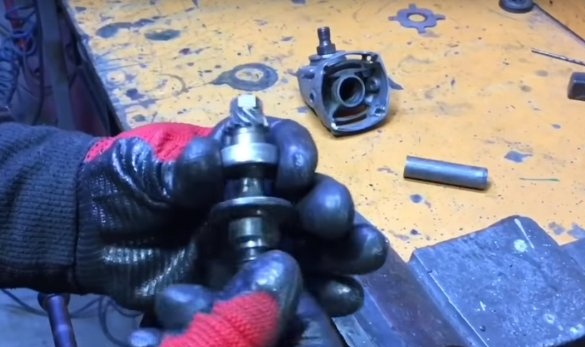
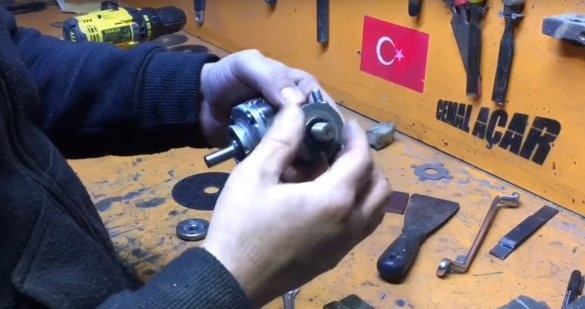
And then, using a hammer to remove the bearing, the washer and gear.
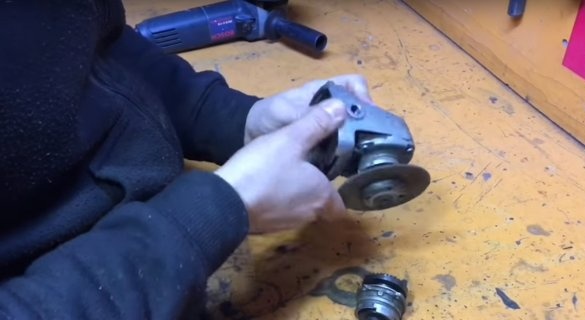
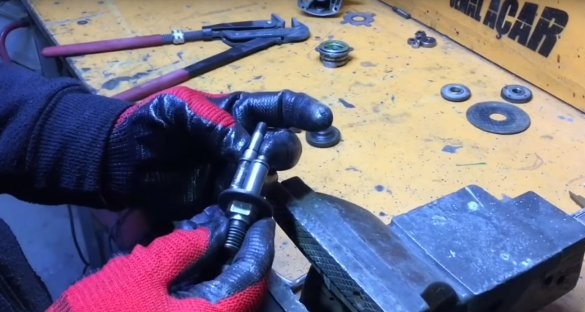
With a large shaft, details No. 2, the author will follow a similar procedure.
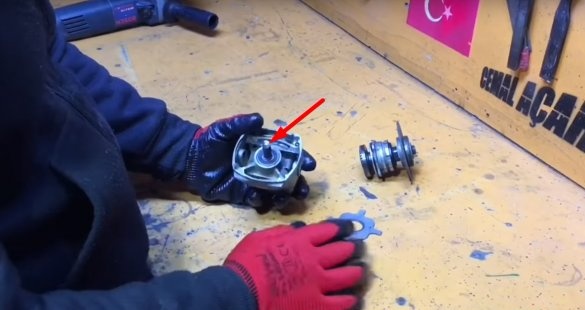
After removing the excess parts on the shafts.
The master will need to weld them together in this way.
For this, the author will find the center on the large shaft and make a small hole.
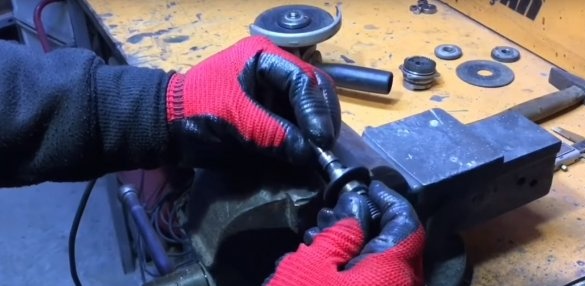
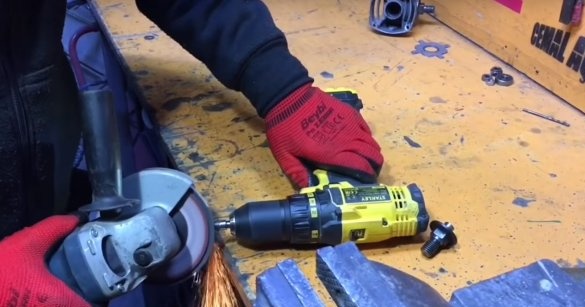
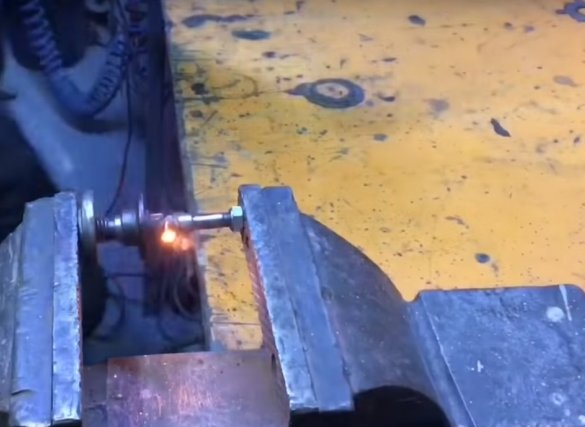
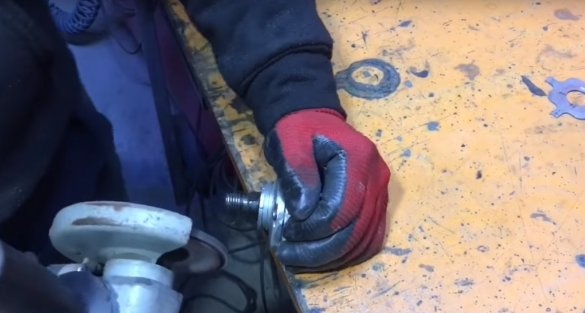
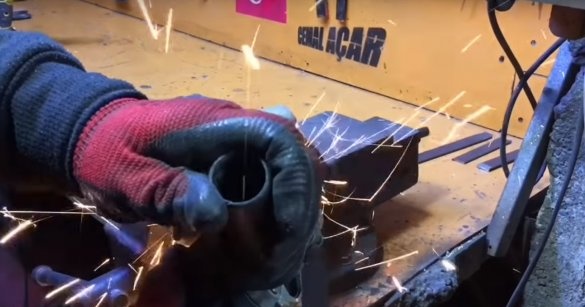
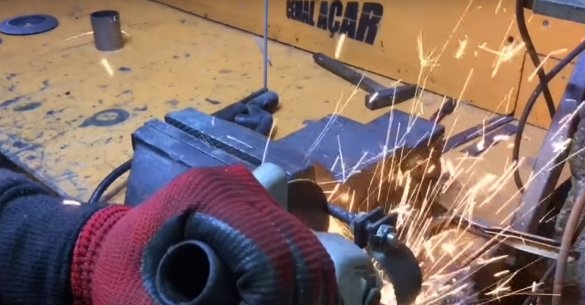
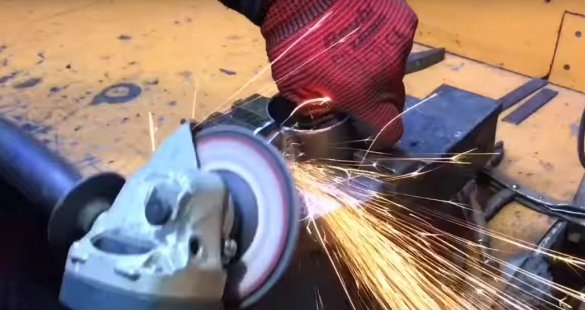
After that, the small shaft was clamped into the chuck of a screwdriver, and with the help of a angle grinder with a flap wheel mounted on it, he grind the edge of the shaft under the cone.
It turned out something like this.
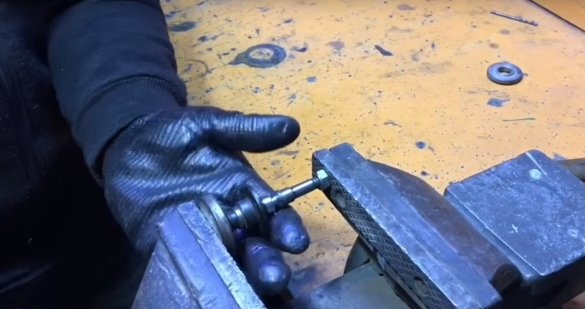
Then, on the threaded edges of the shafts, he screwed the nuts.
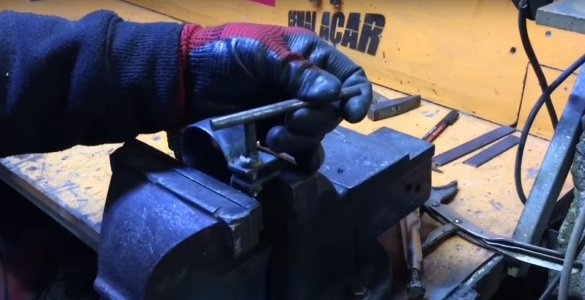
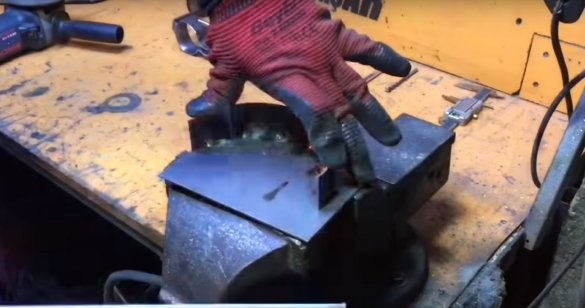
And clamped the details in a vice. As shown in the photo.
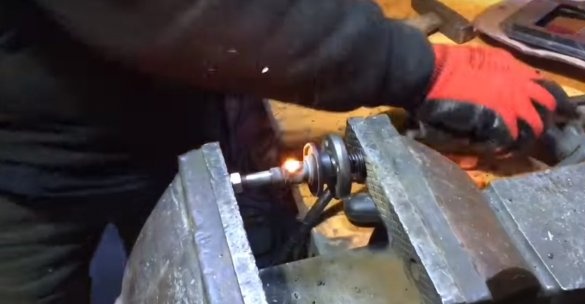
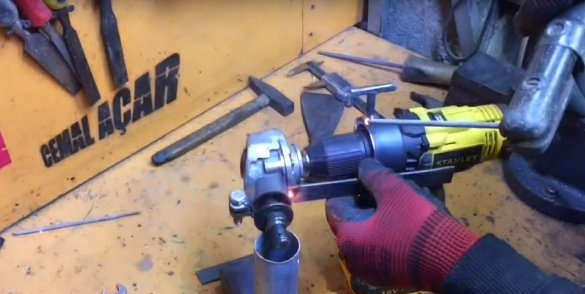
Then he grabbed the parts by welding in several places.
After I checked the part for alignment.
And making sure that in the future there will be no beating, he well scalded the joints of the parts.
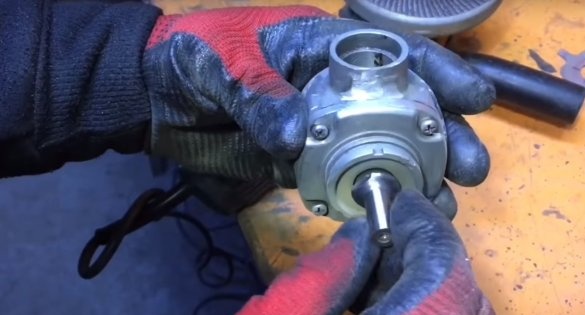
After installed in place, the bearing with the washer and gear.
And fixed it all with a nut.
So it happened.
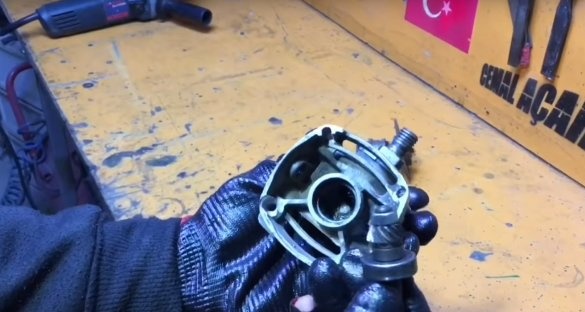
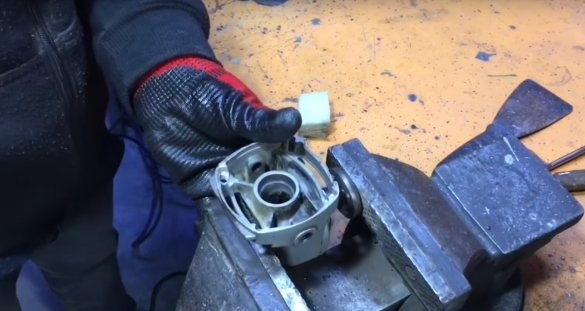
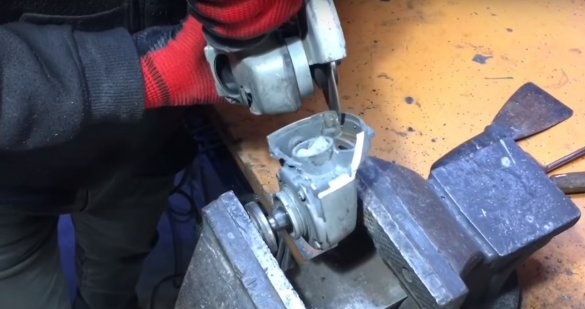
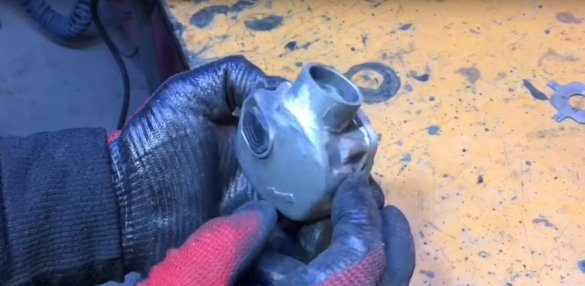
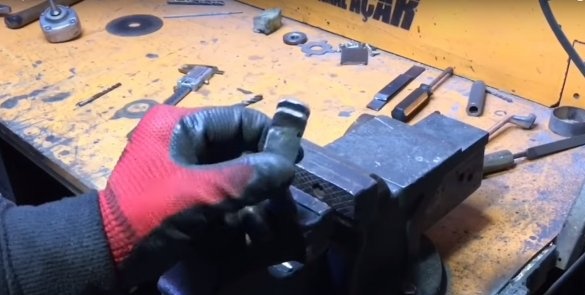
After that, the master clamped the gear housing in a vice and removed everything that was not needed.
Then the author sharpened the threaded part of the large shaft, part number 1.
Like this.
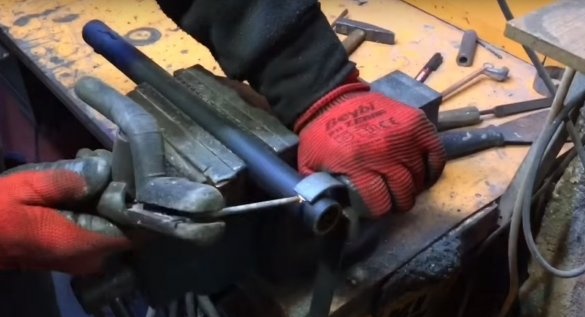
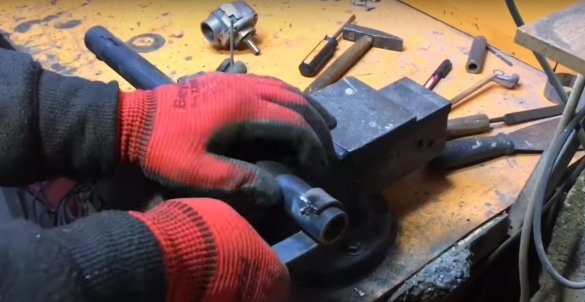
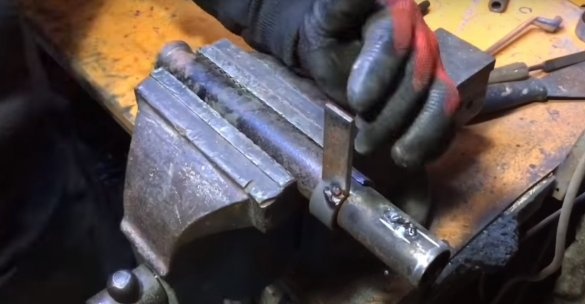
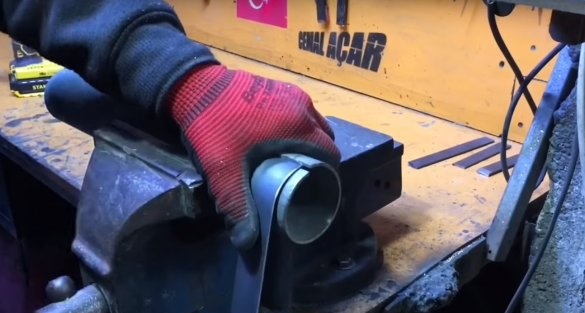
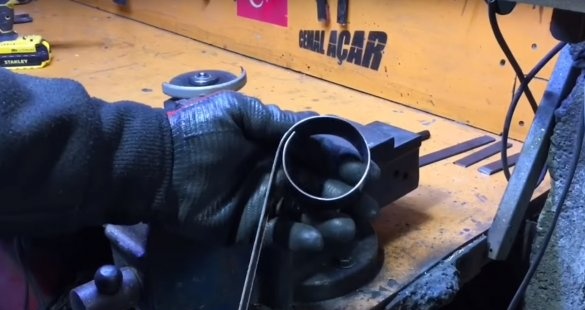
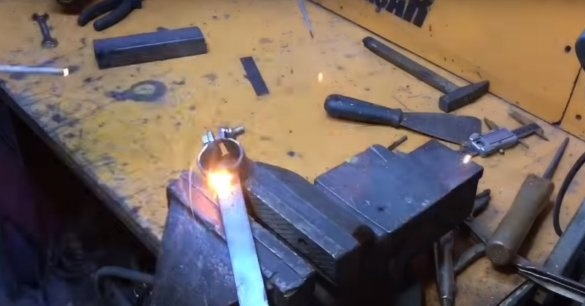
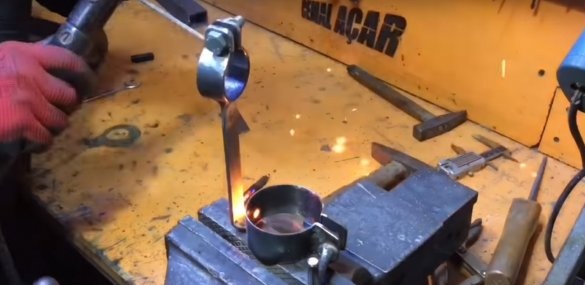
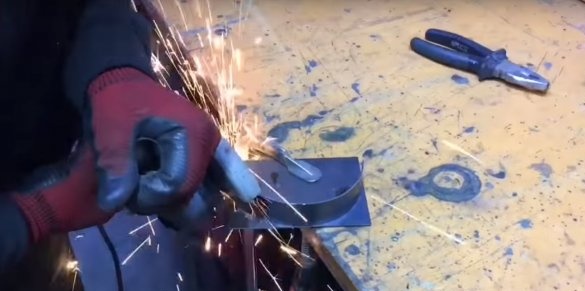
After the metal strip, the author will make a mounting clamp, which will be installed on the gear case. To do this, he will weld one edge of the strip to the pipe, the diameter of which is approximately 3⁄4 inches.
After it passes the strip through the pipe.
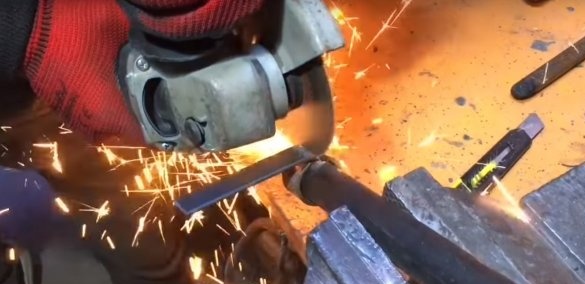
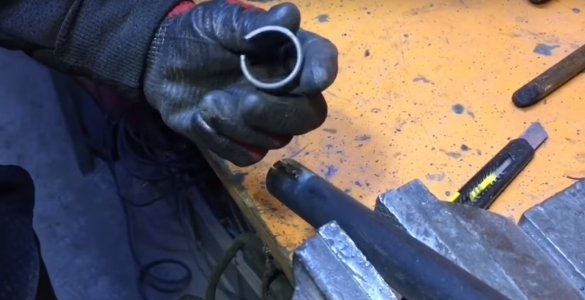
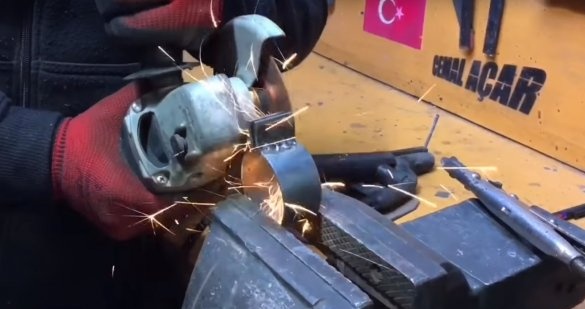
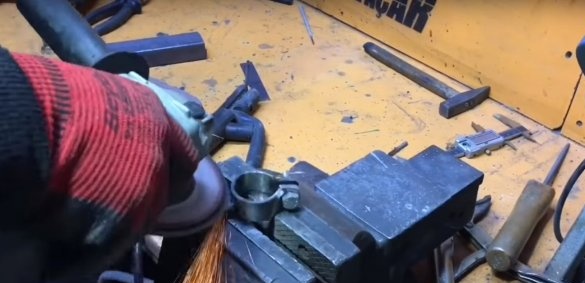
Cuts off the excess part of the strip and the previously welded edge.
Such a workpiece turned out.
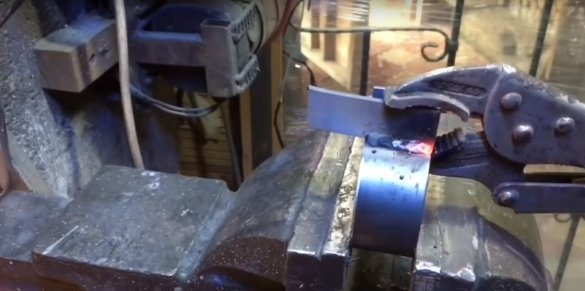
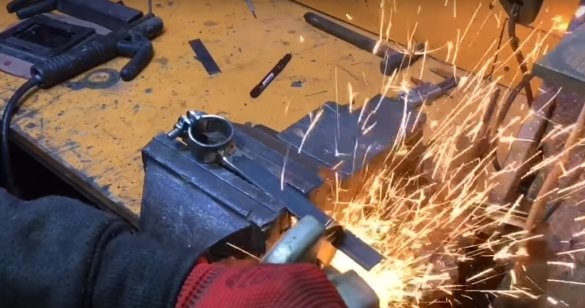
Then, to the edges of this workpiece, the master will weld a piece of strip.
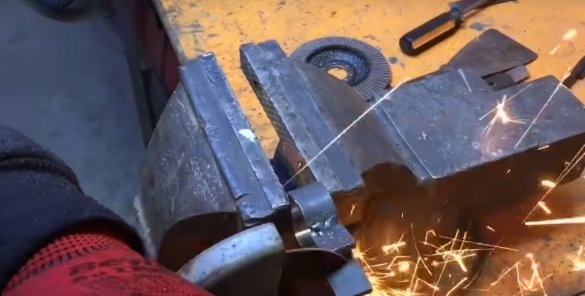
Trim the excess.
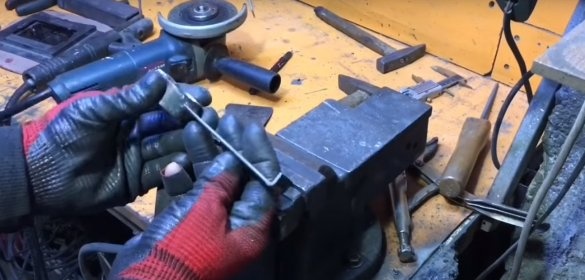
And round the edges.
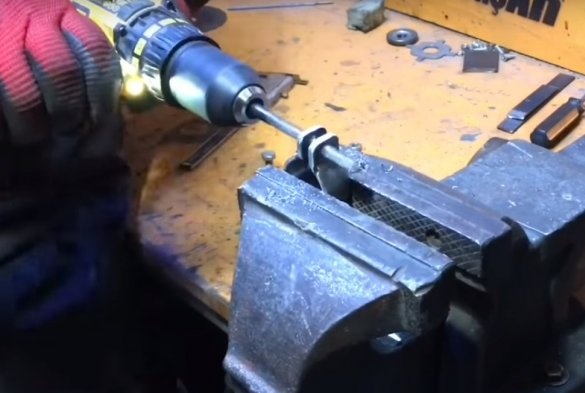
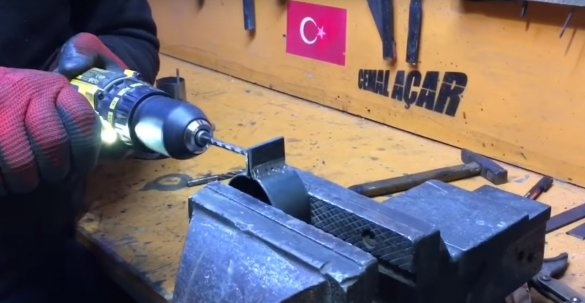
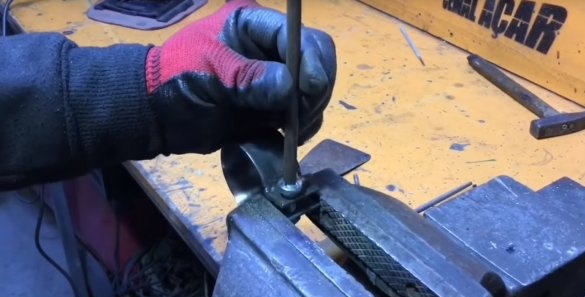
Then he will make holes for the bolt.
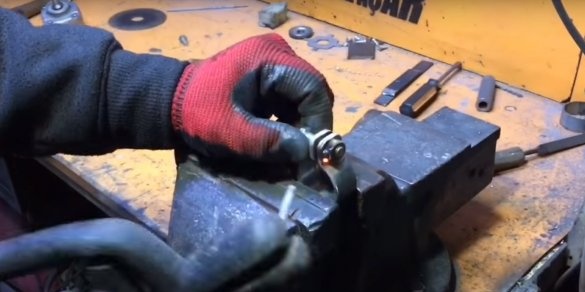
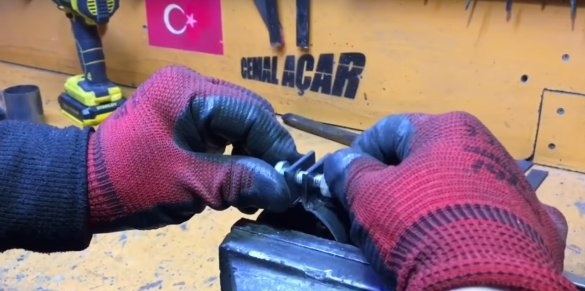
Install the bolt and tighten the nut on it.
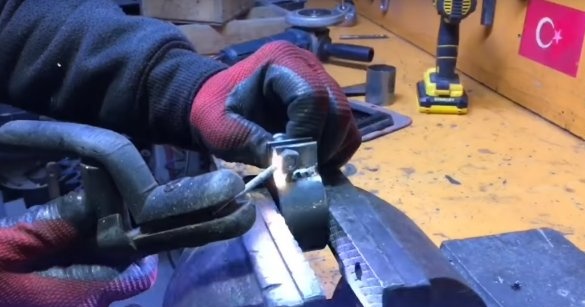
After holding the nut with a bolt, it will weld it to the clamp.
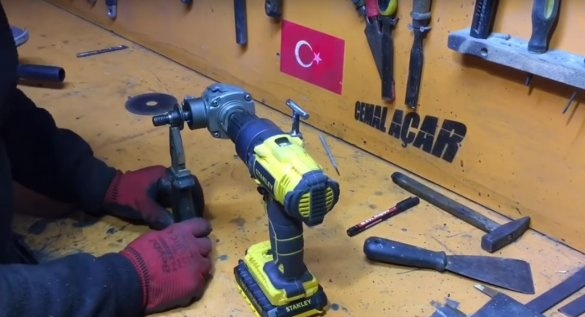
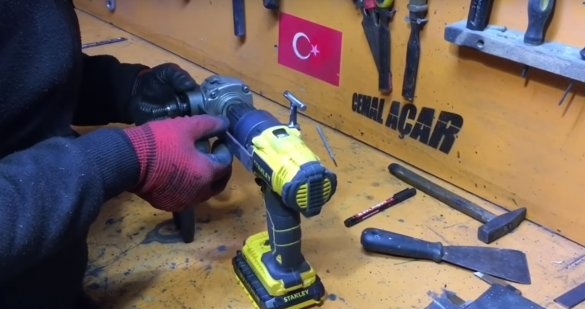
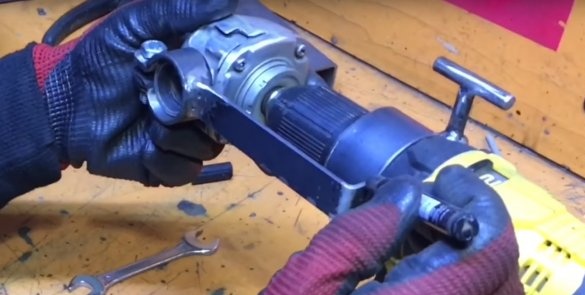
Next, the finished clamp will install in its place on the gearbox.
Then it will replace the previously manufactured shaft.
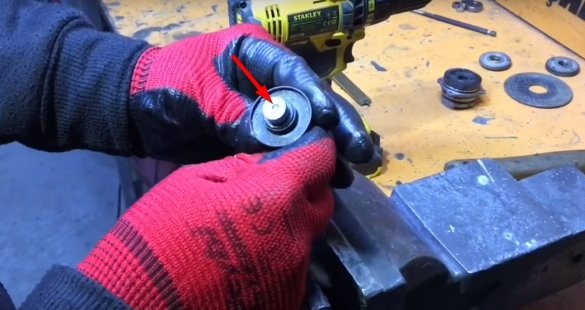
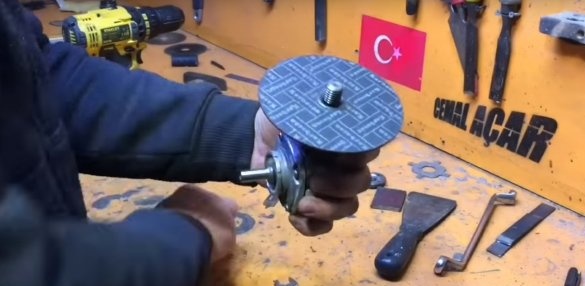
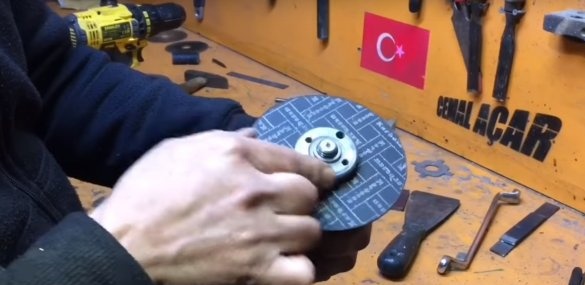
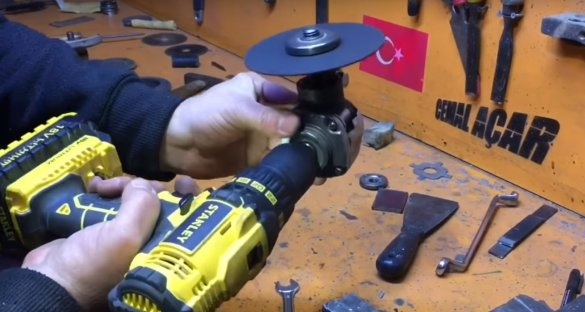
Next, a washer and a cutting wheel will be installed on this shaft.
And fix the circle with a nut.
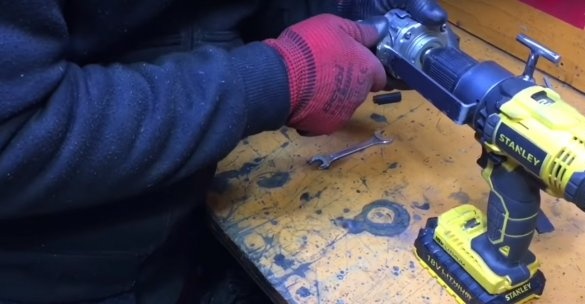
The tapered shaft will clamp in the screwdriver's chuck.
And check the performance of homemade.
Making sure everything works. The author will make another clamp, which will be installed on this part of the screwdriver.
The manufacture of this clamp is similar to the previous one, with the exception of the size of the clamp itself and not much refinement of the clamp bolt.
The first one. Bending the strip through a pipe of suitable diameter.
The second one. Removing excess.
Fitting.
The third. Welding plates.
Fourth. Removal of excess and treatment of stitches.
Fifth. Drilling bolt holes.
Sixth bolt and nut installation.
Seventh. Fixing the nut to the clamp.
The eighth. Welded a steel bar to the head of the bolt.
Then, he cut off and welded another one only transversely onto this bar.
The result was such a lamb, for more convenient screwing of the bolt.
After rounded edges, and the collar is ready.
Fitting.
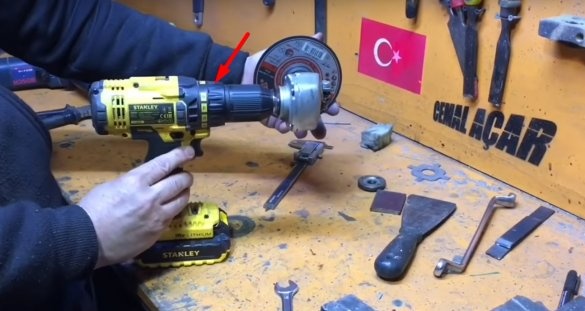
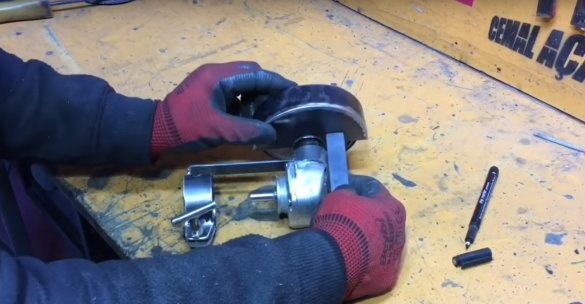
Then he put the device in the right position.
And with a piece of metal strip connected the clamps.
Having previously made not a large groove in the strip, and grabbed one of its edges to the first clamp.
Then he removed the clamp, and well scalded the compound.
Weld seam processing.
Then he cut off the unnecessary part of the strip.
And he bent the edge at 90 degrees.
After the curved edge also made, not a large groove.
Fitting.
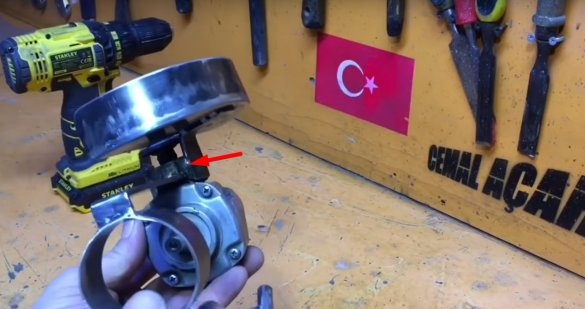
Then the author noted the place of fastening of the strip on the second clamp.
After he took it off and welded to it a strip with the first clamp.
Fitting.
Verification
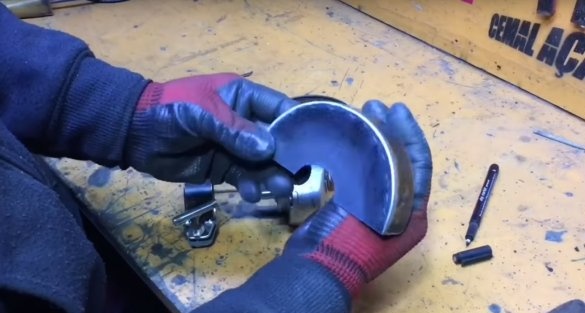
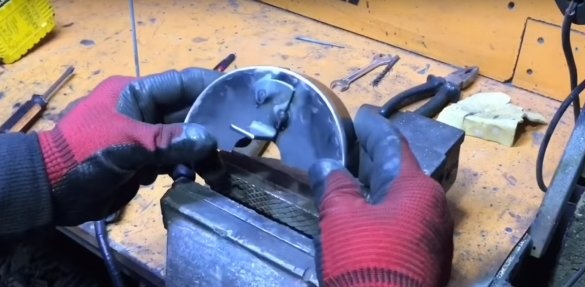
After, according to the principle of factory protection of angle grinders, the author made protection for his homemade product from a piece of sheet metal and a steel strip.
The protection mount that the author made of the strip.
Just bending a piece of strip at an angle of 90 degrees, it was firmly welded to the first clamps.
Such a device turned out.
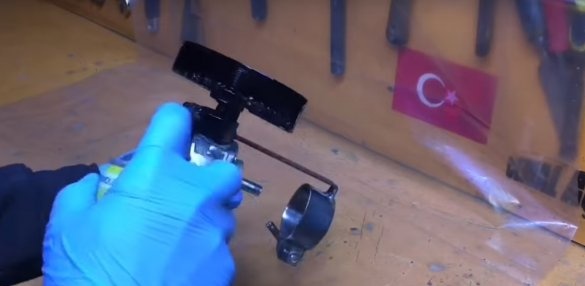
In the end, the author painted his homemade product.
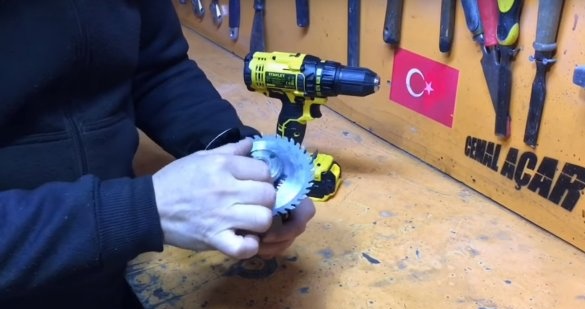
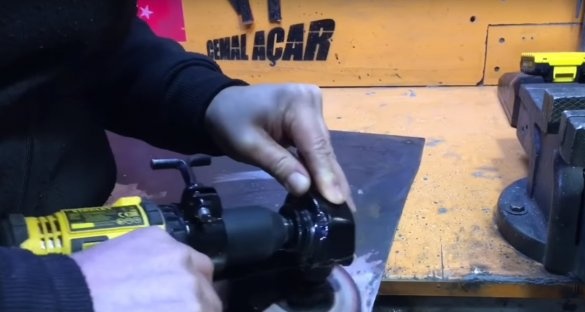
And after the paint had dried, the author set the homemade product on the screwdriver and proceeded to the test.
Saw blade.
Sandpaper.
Petal circle.
Cutting wheel for metal.
The author made such a good homemade work today, for which I want to say a big thank you to the master.
I think this homemade product will appeal to not only novice lovers doing something do it yourself, but also many professional masters will appreciate this homemade product.
And that’s all for me. Thank you all and see you soon!

