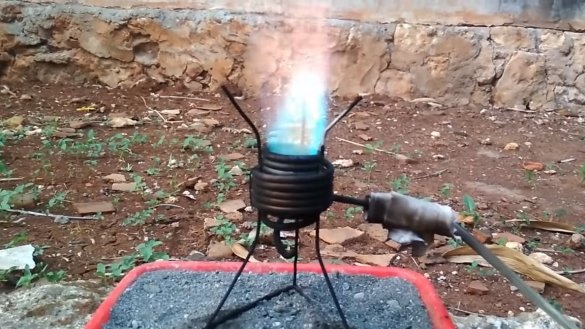
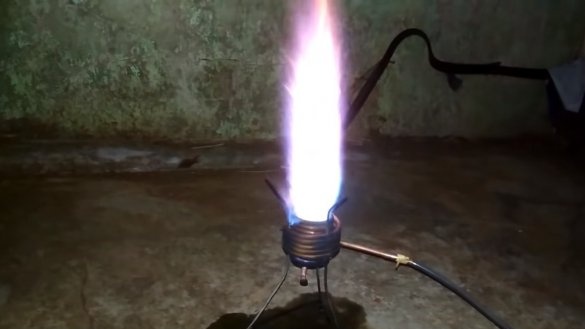
Greetings to fans of craftsmanship, today we will close up a powerful street burner. The principle of its operation is similar to a blowtorch, and the power here is no less. As a fuel source for such a burner, you can use almost everything that burns, it can be alcohol, gasoline, kerosene and so on. Everything is going to be quite simple, on such a burner you can cook, take it with you to nature, heat iron pieces, and even melt some non-ferrous metals. If homemade Interested in you, I suggest studying the project in more detail!
Materials and tools used by the author:
Material List:
- iron wire (thick for legs and thin);
- ;
- dropper;
- a bottle;
- a suitable pump (to increase the pressure in the bottle).
Tool List:
- plumbing pipes (we will bend the coil on them);
- ;
- or a drill (to make a nozzle).
Burner manufacturing process:
Step one. Coil
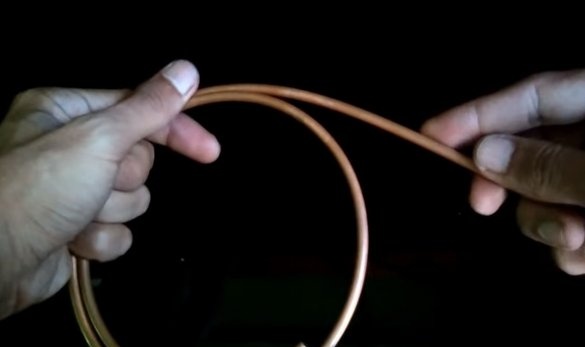
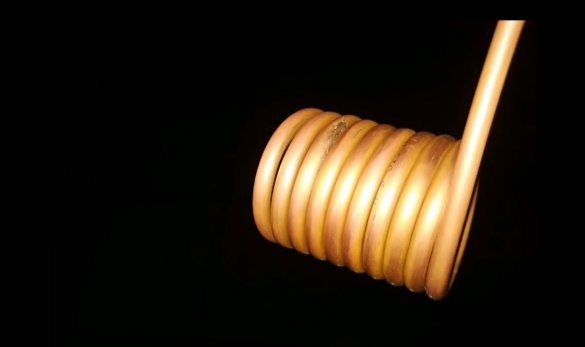
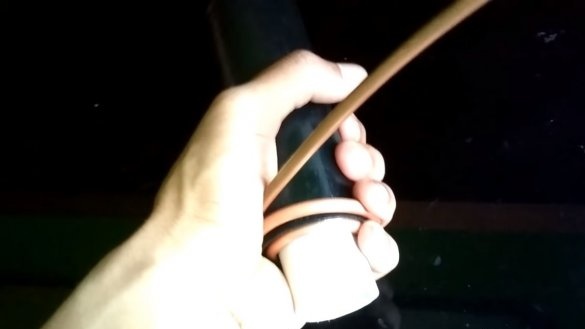
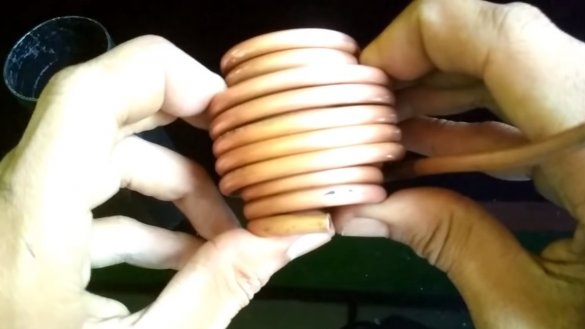
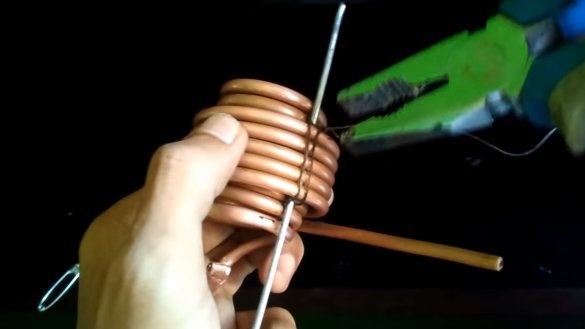
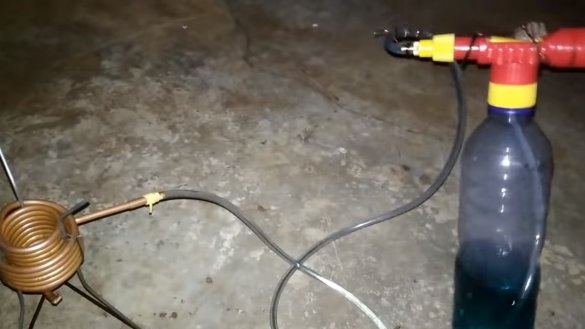
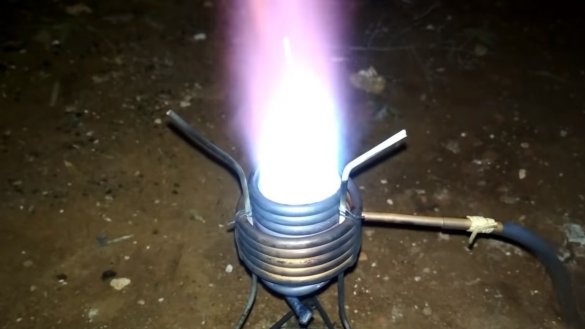
To begin with, let's make the most important unit of the burner - this is a heating coil. Inside this coil, a flame will burn, from which it will heat up. The coil is made of a copper tube and fuel flows through it. Of course, in a red-hot tube, the fuel instantly turns into gas and exits the nozzle at high speed, a closed cycle is obtained.
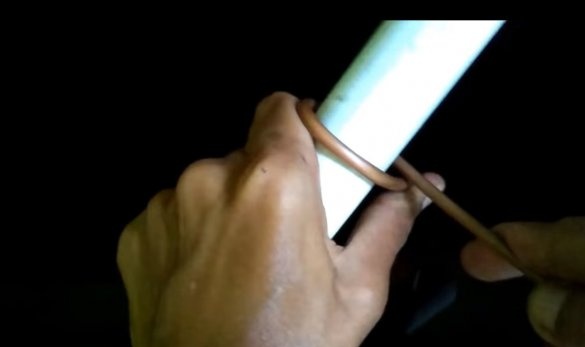
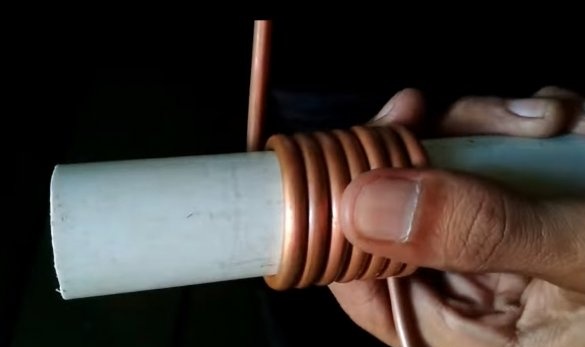
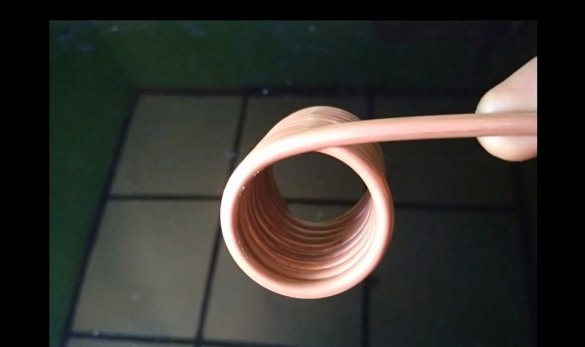
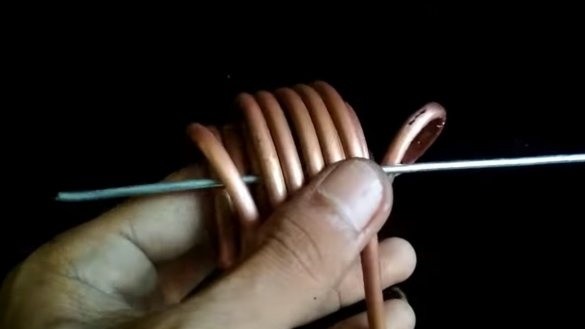
We take a tube of a suitable diameter and twist a coil from a copper tube around it. As for the number of turns, the author has about ten of them, which is quite a lot and five should be enough.
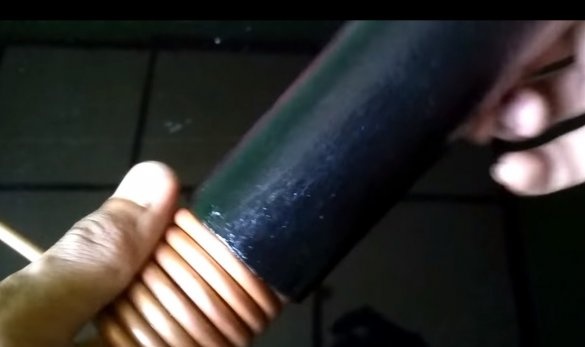
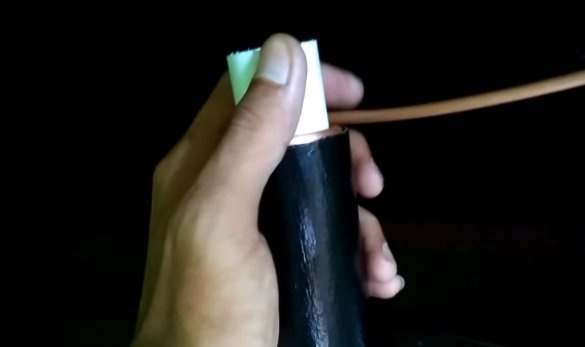
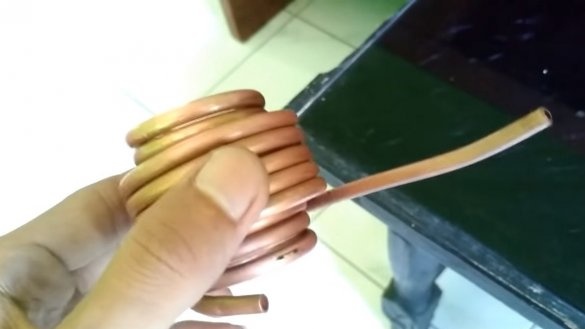
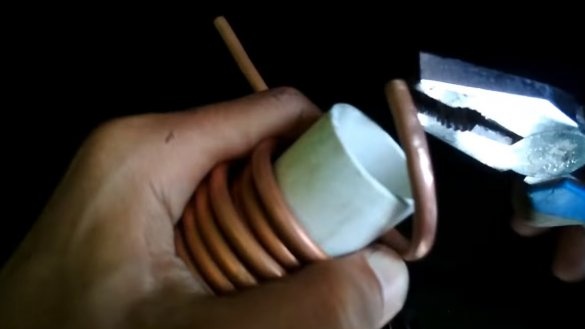
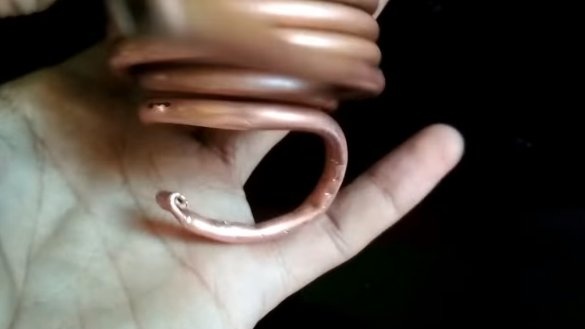
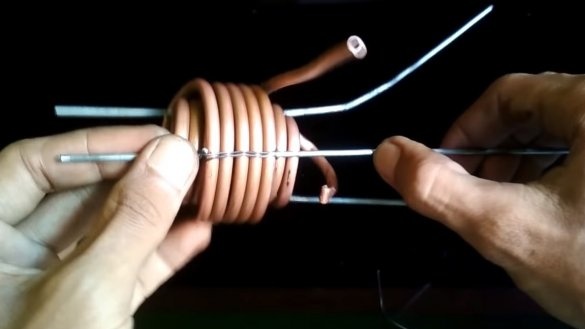
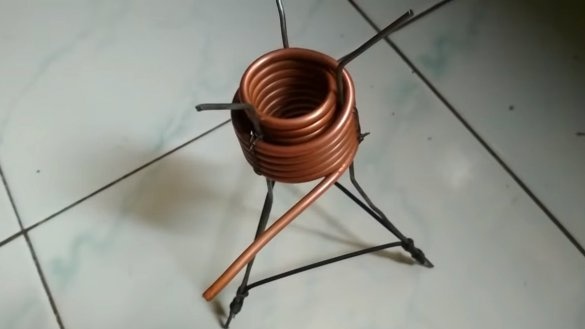
Next, we need to twist the coil around the existing one, it will heat less already, this will allow us to connect a rubber hose to the coil. For such purposes, we need one more pipe of a larger diameter so that a manufactured coil can enter it. Here we already make about 5 turns and center the outer coil over the inner one. We leave a genuine piece of tube so that you can connect the rubber hose. That's all, the heating element is ready.
Step Two Nozzle
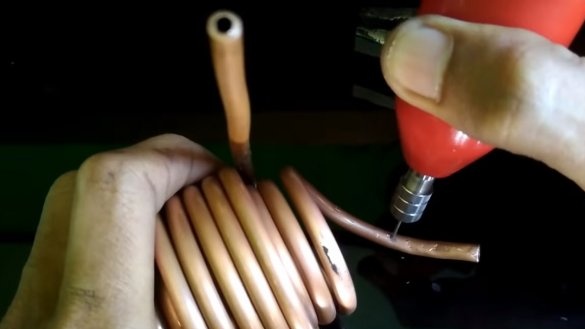
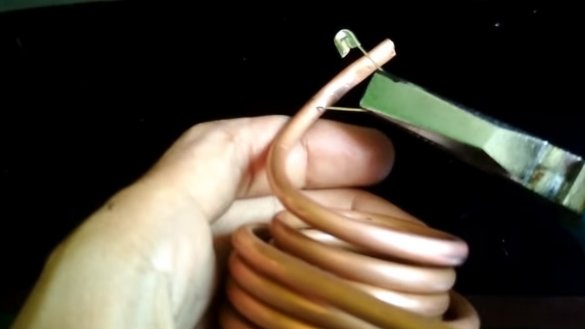
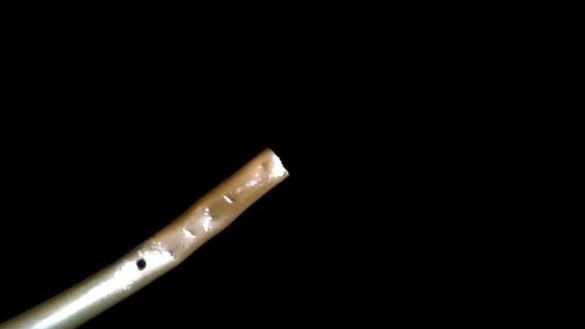
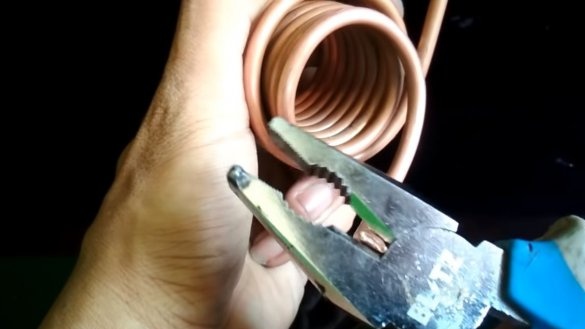
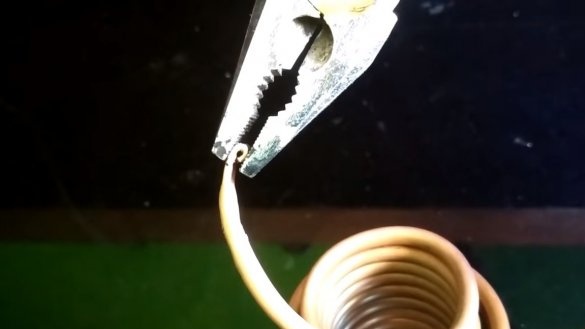
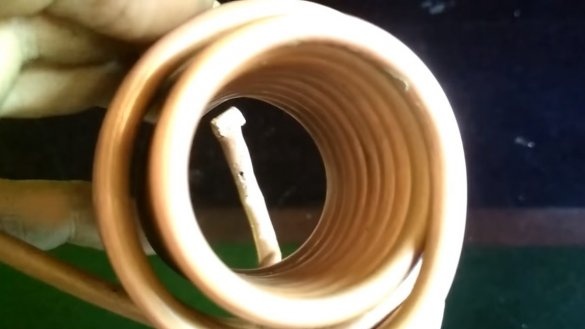
Let's make a nozzle through which the burning hot gases will be escaped.The nozzle is a hole of small diameter, the diameter of the author corresponds to the tip of the pin. If you make the hole large, you can get too big a flame. We make a hole in the tube, and we expand the end of the tube to clog the end. We bend the tube so that the nozzle is directed into the center of the coil.
Step Three Legs
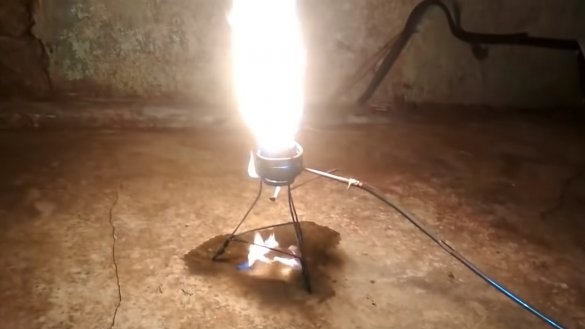
We make legs for the burner, we bend them out of thick iron wire. We fasten the legs to the body with a thin iron wire. If you wish, you can come up with other legs, you can even make a small stove or stove.
Step Four Assembly and testing
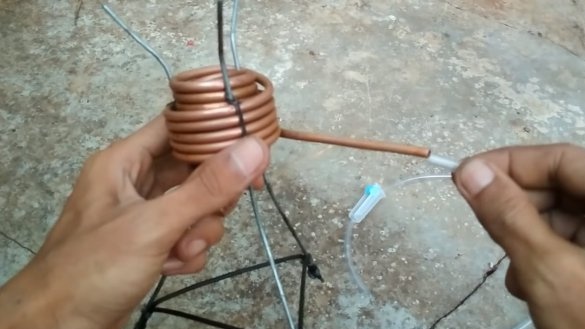
We connect a dropper to the burner, with the help of it it will be possible to regulate the fuel supply. But it is better to use a more reliable hose for connection, since such a thin hose from a dropper will probably melt and fly off with all the consequences.
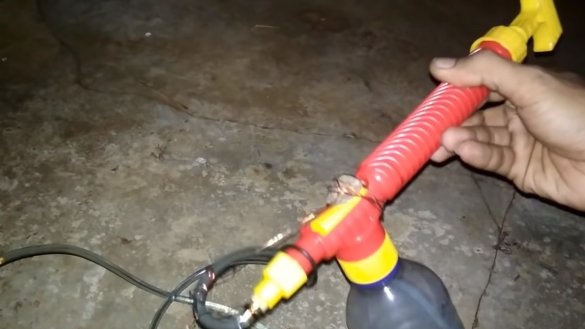
The other end of the hose is connected to the bottle with the pump. For the burner to work, you need to increase the pressure in the bottle so that the fuel goes through the pipe.
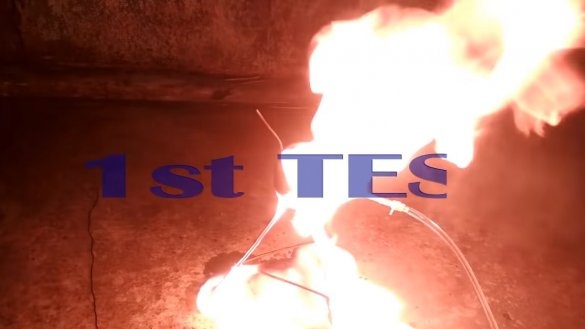
Well, that’s all, the homemade product is ready, we pour a little fuel on the burner and set it on fire to warm the coil. Next, let the fuel into a spiral and monitor the burning of the burner. After a while, the flame will become turquoise and the burner will start to hum, this will mean that the device has reached its operating temperature and power.
On this project can be considered successfully completed, I hope you liked it. Good luck and creative inspiration, if you decide to repeat this! Do not forget to share your ideas and homemade things with us!

