
Hello dear the inhabitants of our site and site visitors!
In today's article I want to show you how the author made
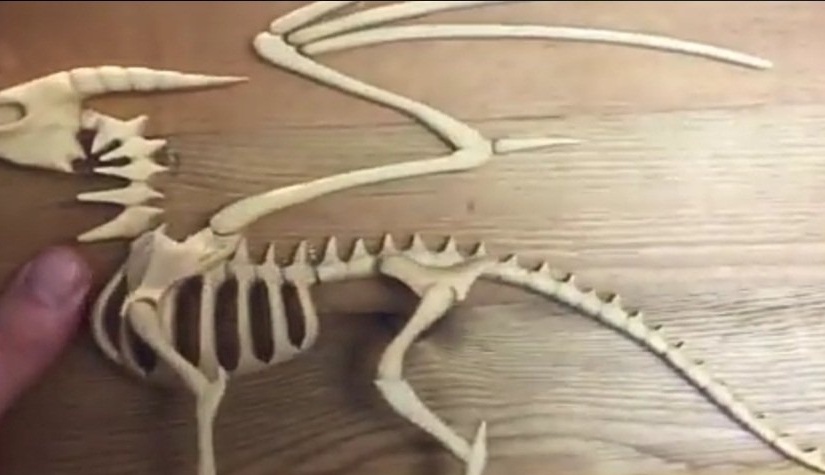
from a tree Skeleton dragon. The homemade product is quite interesting and, in principle, not so difficult to manufacture.
In order to make this model the author needed tools such as:
Band saw (you can use a conventional jigsaw or hand tool),
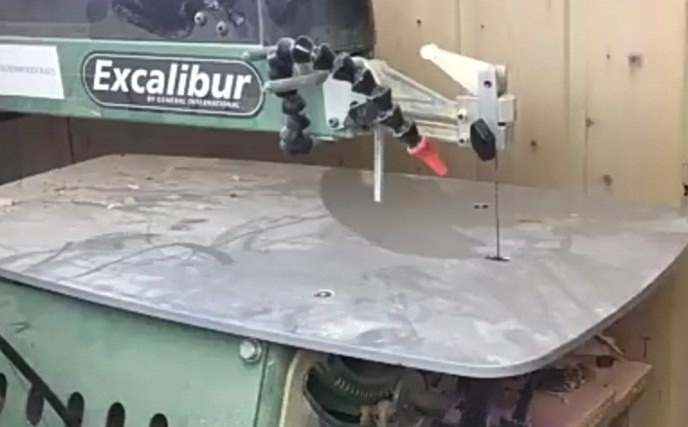
Jigsaw machine,
Drilling machine (drill or screwdriver),
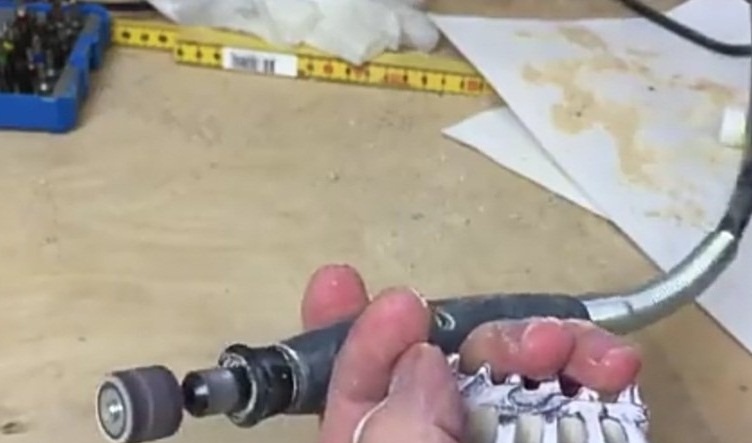
Engraver (or as it is often called - dremel) with a set of milling cutters on a tree,
A circular saw,
Sander (emery cloth),
Milling machine
Glue.
The material of manufacture is wood.
Step 1.
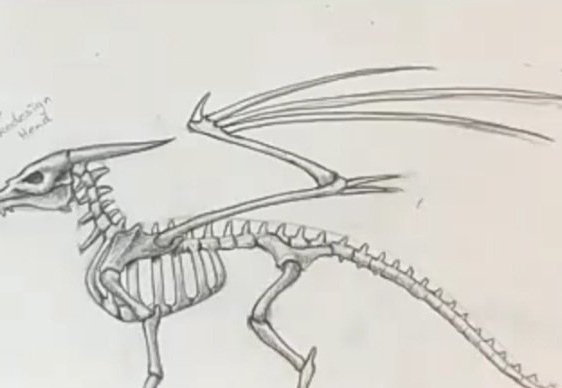
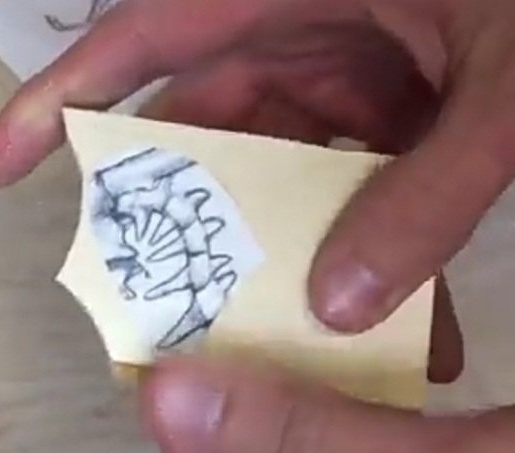
In the beginning, the author creates a drawing of the skeleton of a dragon. On a regular A4 sheet. That is, the model will not be very large, but not small. Just such that all the details of what it will consist of could be well considered. The finished sketch is copied and printed in several copies. The work will take place in parts, i.e., in order to make it convenient to work, the author will first cut out one part of the model, then the other, and so on to the end.
Step 2
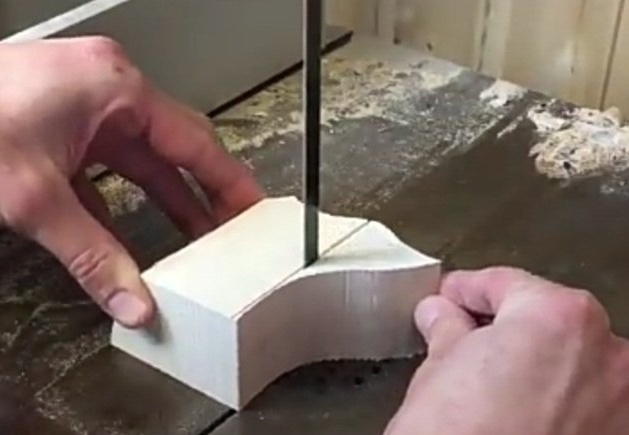
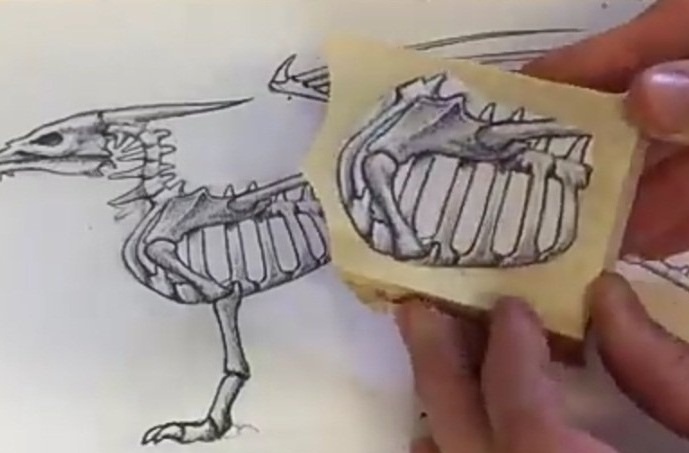
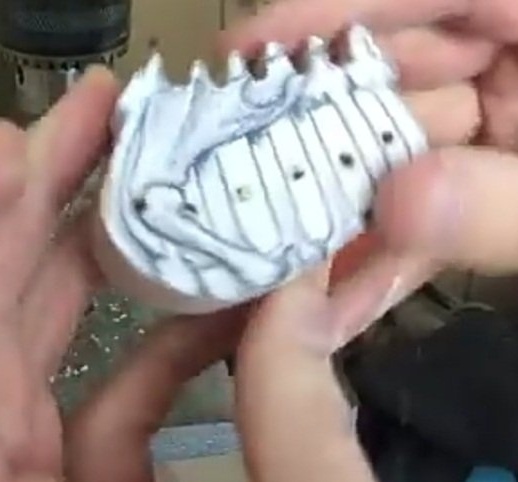
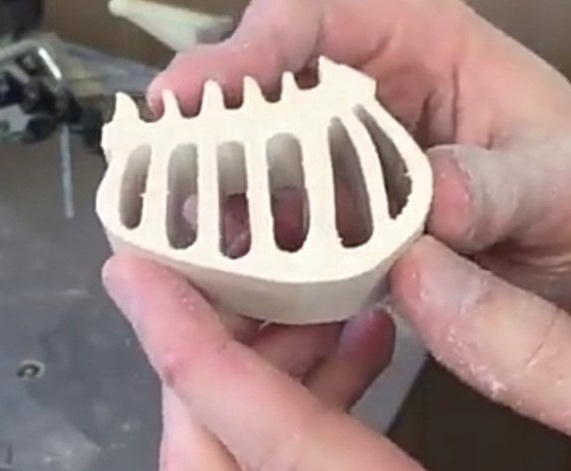
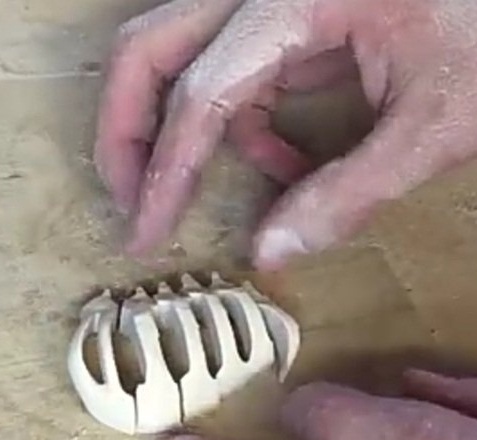
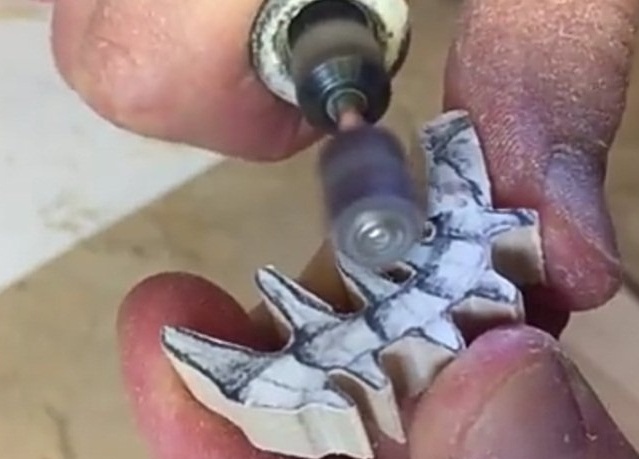
After preliminary work on creating a sketch, the author proceeds directly to sawing out the details. For this, scraps of wood remaining from other works are taken. An important point - try to choose wood so that it does not have hidden defects inside, otherwise the part will become unusable when sawing. Cutting out part of the skeleton from a paper template, glues it to the workpiece. With the help of a jigsaw machine, he cuts out the necessary figure. In this case, it is the chest, ribs. Then, with the help of an engraver, he gives the workpiece the desired volume, removing everything that is not needed. This is, so to speak, roughing. After this, the ribs are sawn into individual components and polished cleanly, with all the fine touches.

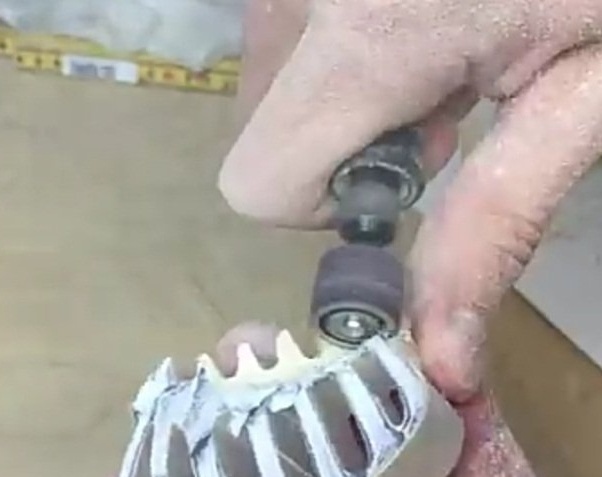
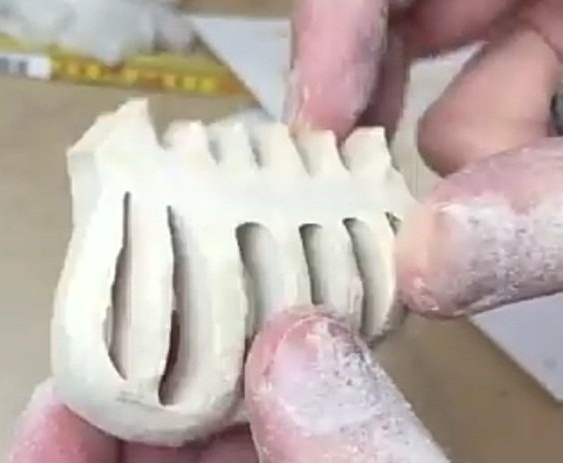
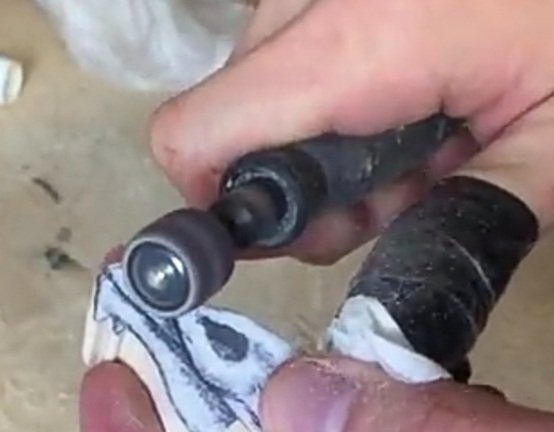
Step 3
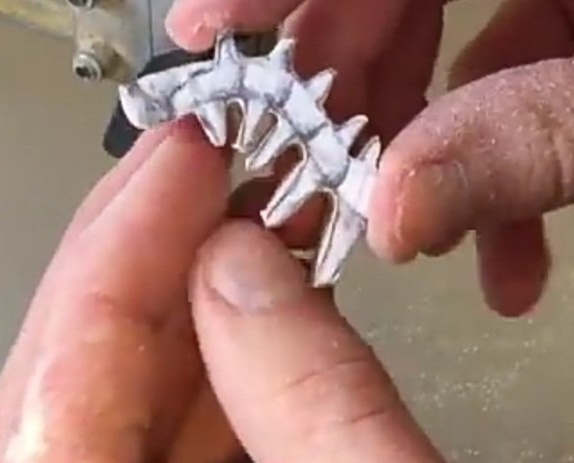
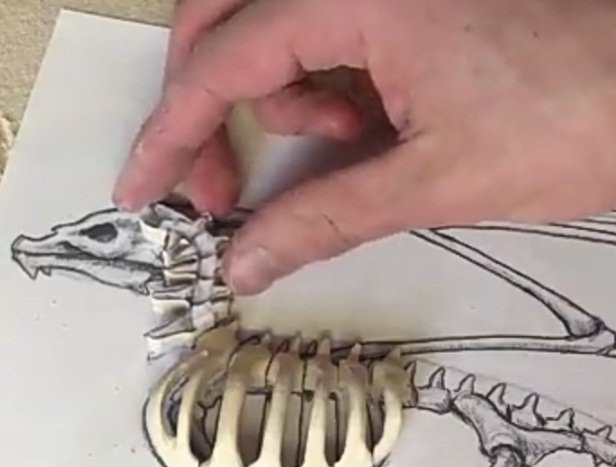
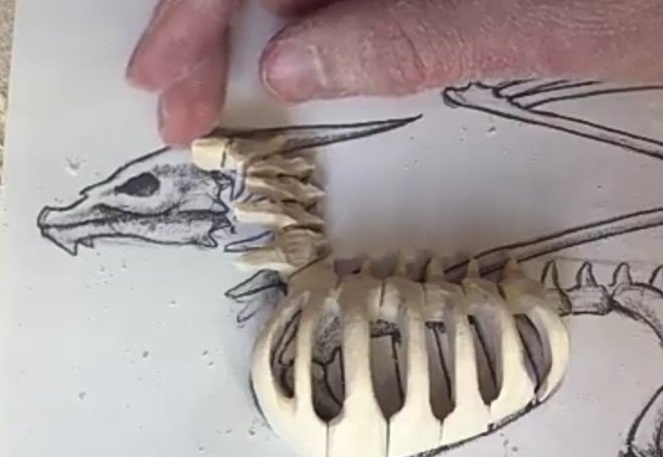
The cervical spine is made. This work is more complicated, because too many small protrusions that need not only to be cut out, but also to give them the necessary shape. As mentioned above - choose a tree without defects, otherwise it will be like the author. He had to redo the part again. Each finished part is applied to a paper template to make sure that everything is done as it should and does not require adjustment, or even completely re-produce one or another part of the skeleton.
Step 4
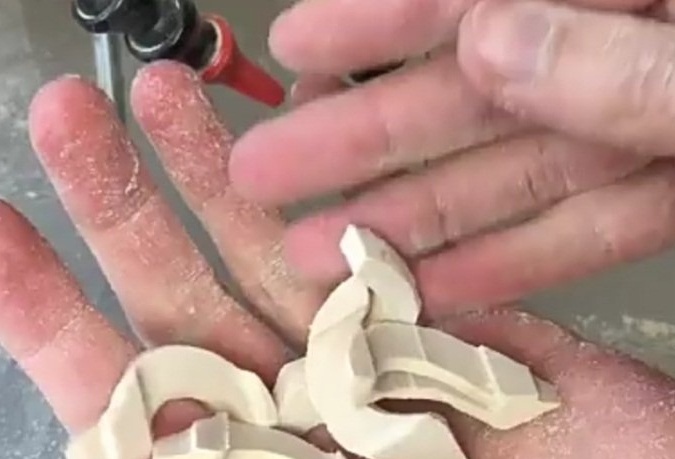
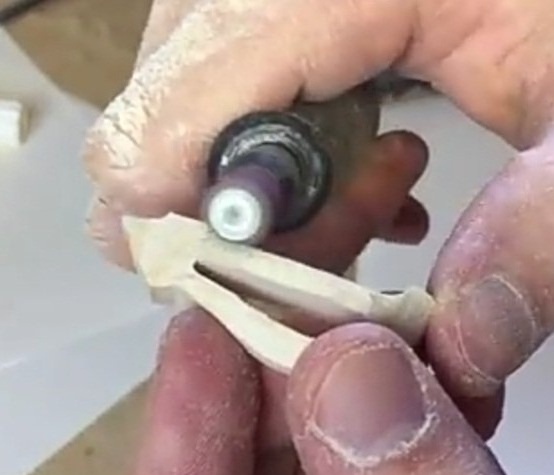
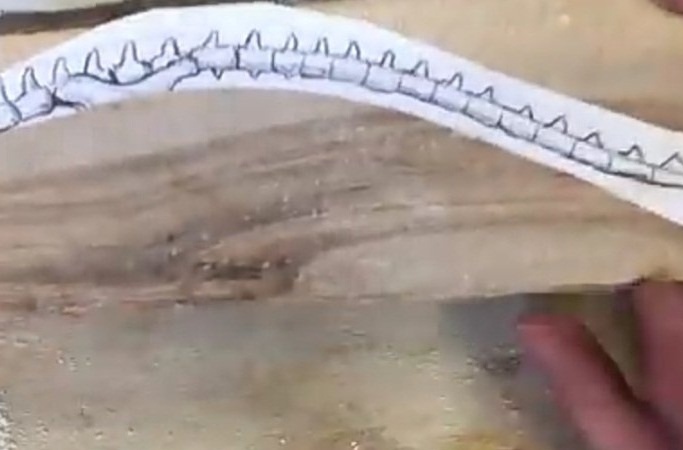
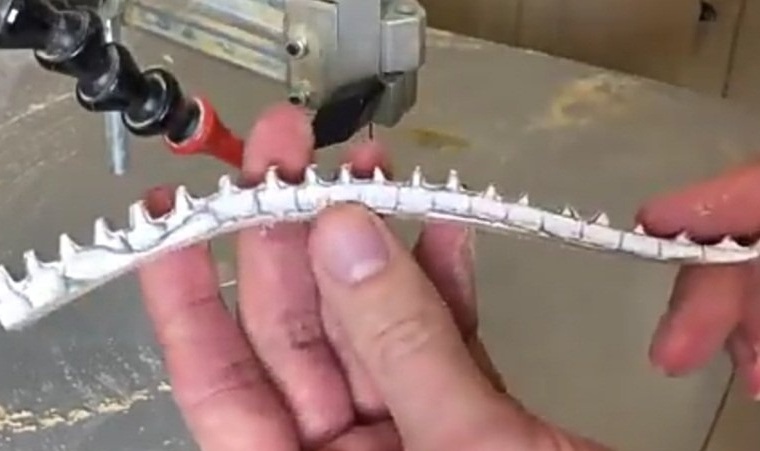
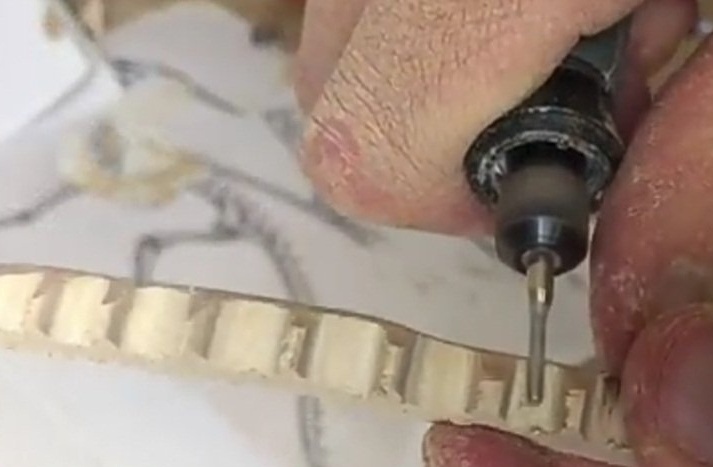
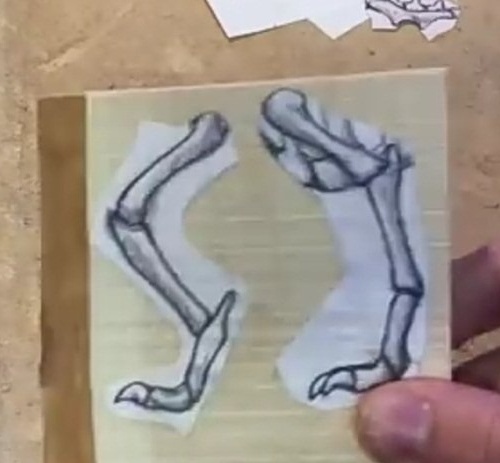
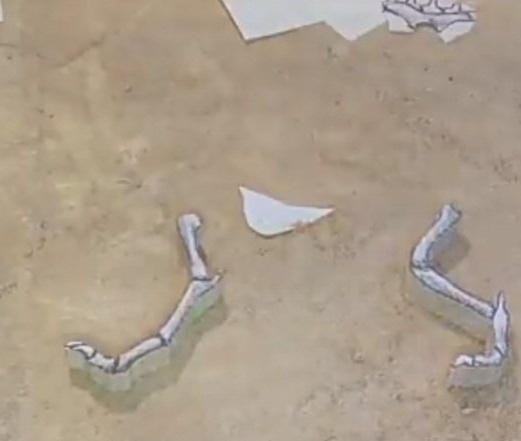
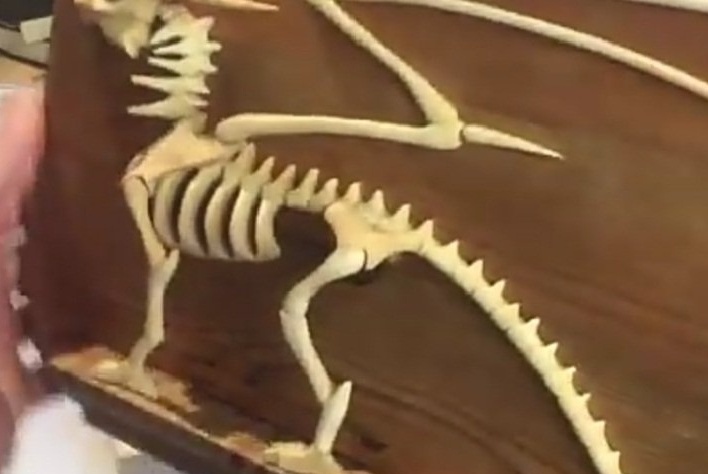
The spine is made together with the tail section. It is also not a very easy job.As in the case of the cervical spine, many protrusions make you approach the work more carefully so as not to spoil the workpiece. Here, not only you need to carefully cut everything, but also work hard with a dremel, giving volume and carefully indicate the joints of the vertebrae between themselves, so that in the end the work looks more realistic. Then comes the turn of the legs and feet of the skeleton. It is still cut out with a jigsaw and processed for finishing by an engraver. Be careful. These are the smallest structural details and are very easy to damage. Wing details are cut.
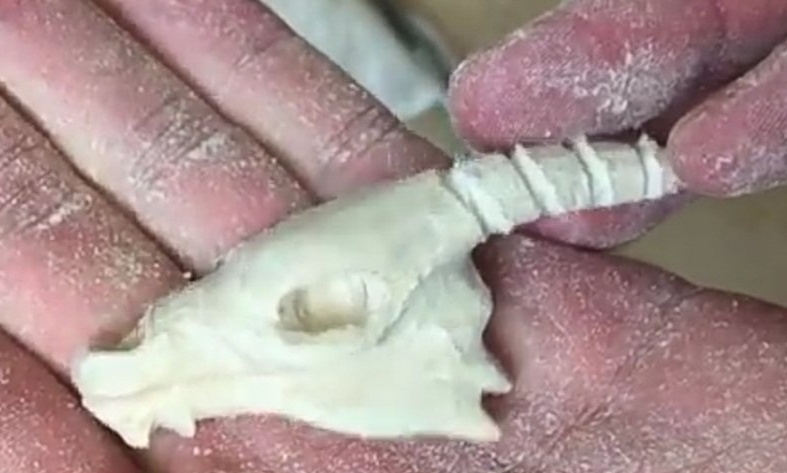
Step 5
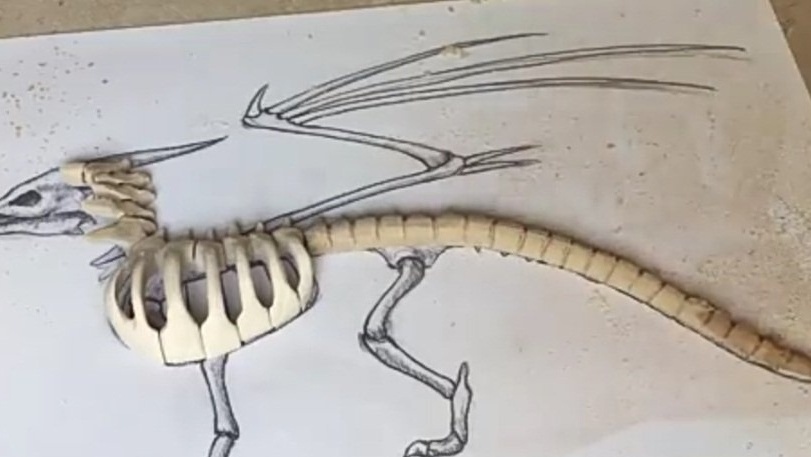
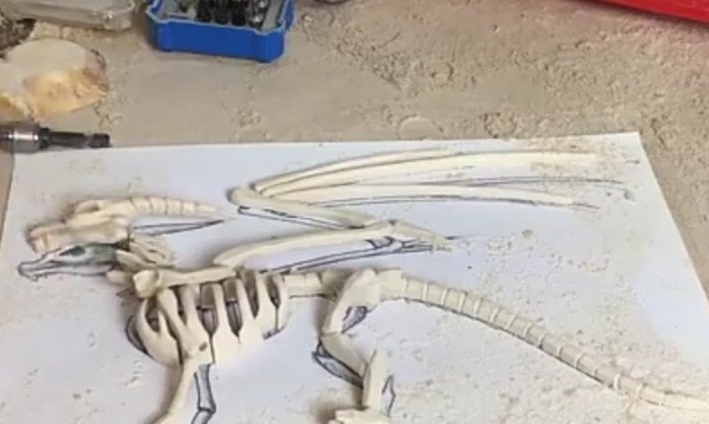
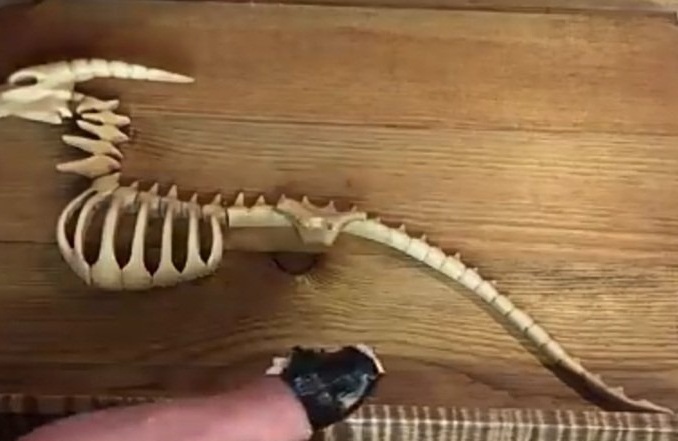
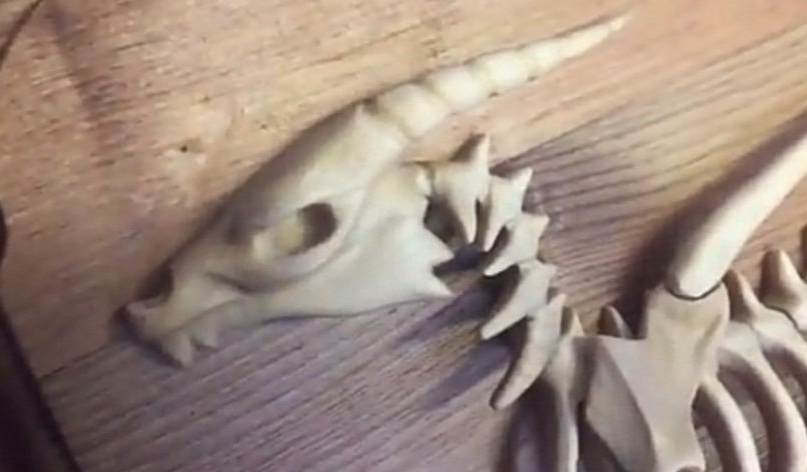
The last step in creating a skeleton is drinking and turning the head. This is done in the same way as all of the above. After making the head, Jonas Olsen Woodcraft has a complete dragon skeleton ready. Set it aside and proceed to other parts of the future fantasy composition.
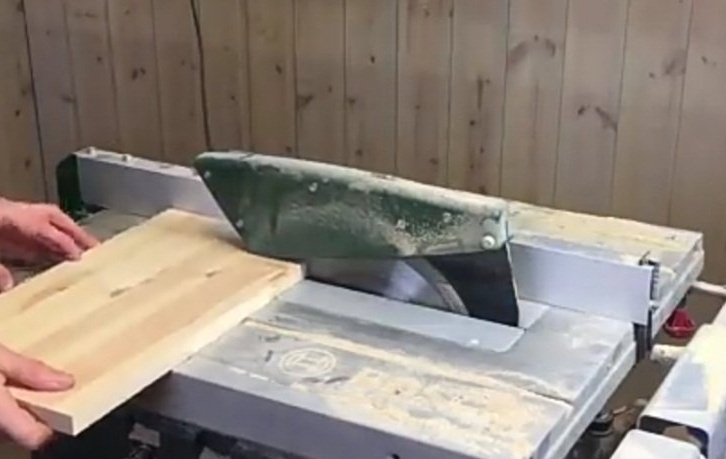
Step 6
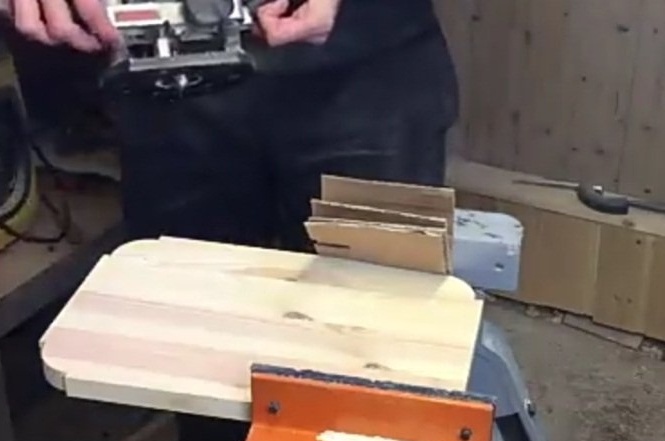
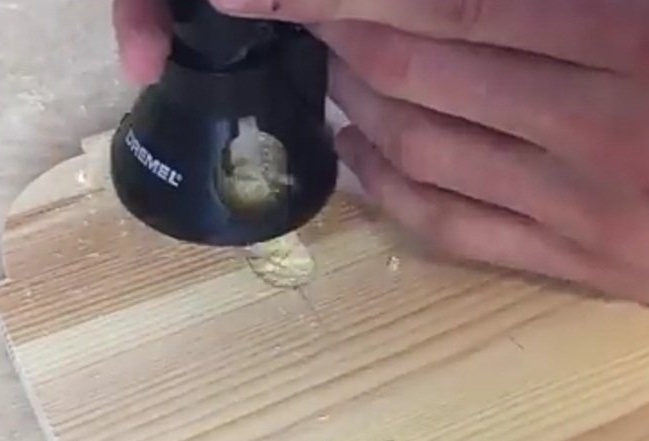
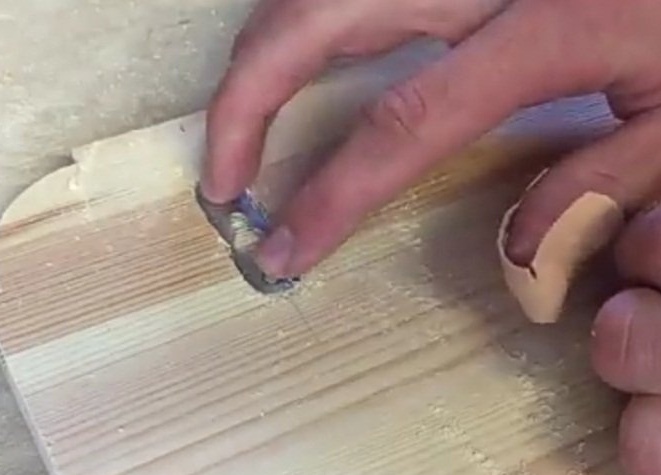
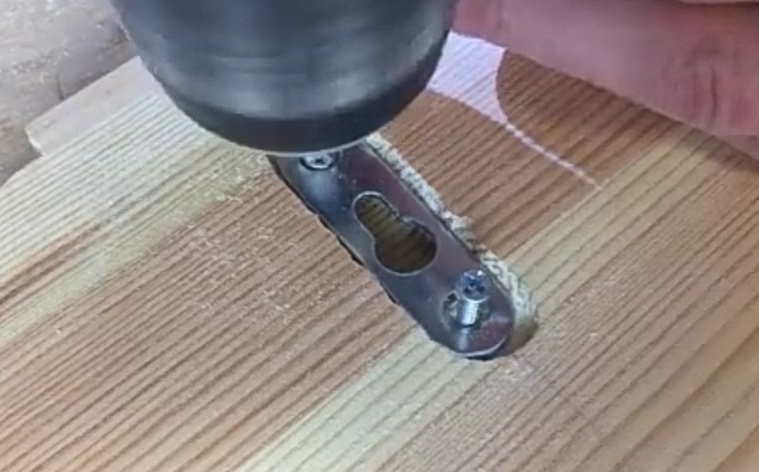
Now this skeleton needs to be fixed somewhere. For these purposes, the author makes a wall stand for him. A board is taken and from it, based on the size of the dragon, a blank is cut out on which the whole skeleton will be located. Patterns are cut along the edges of the workpiece. With the help of a milling machine, the chamfer is removed from all sides. A horizontal stand is made, on which the skeleton supposedly will go. She is put aside for a while. Grooves are made for the ears, on which the finished product will be hung on the wall. They must be recessed in a tree so that the back of the stand remains flat. Fasten to the screws. The horizontal part of the stand is glued to the base. After the glue dries, the stand is completely covered with a protective varnish.
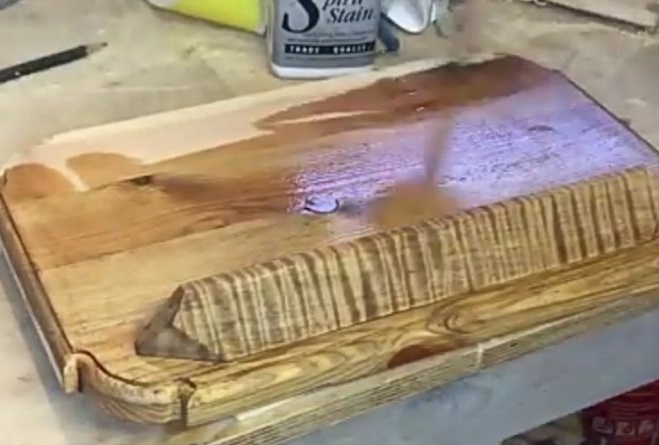
The deferred parts of the skeleton are removed and glued to the wooden base.
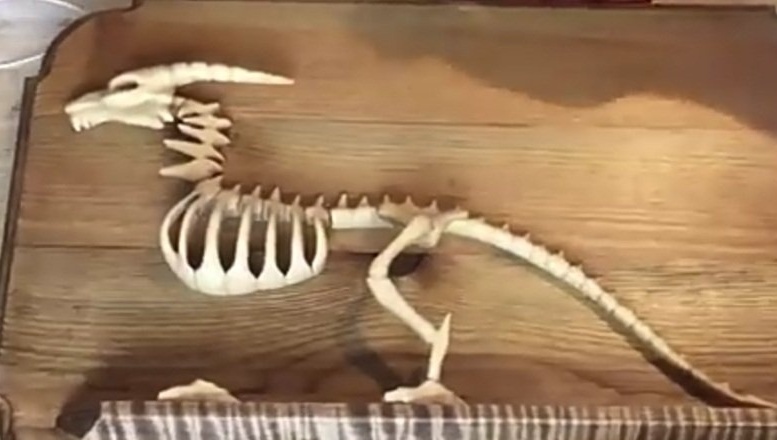
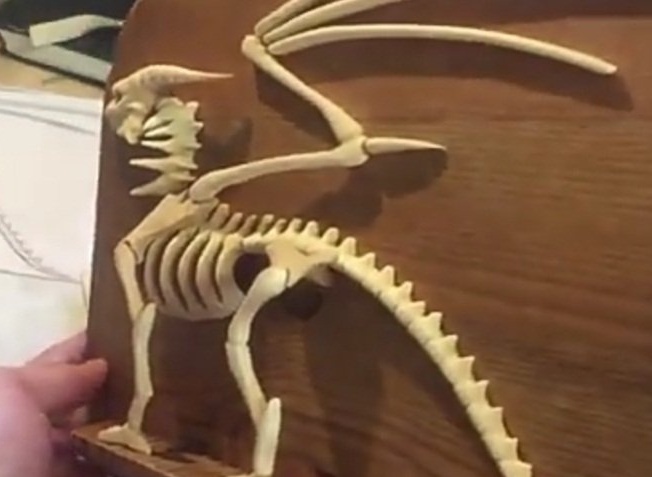
The result was a wonderful composition, a kind of wood panel. If at the feet of the skeleton, in a horizontal support, install several LEDs for illumination, then the look of the product will be simply amazing!
This is where I end. I wish you all creative ideas and success in their implementation!