
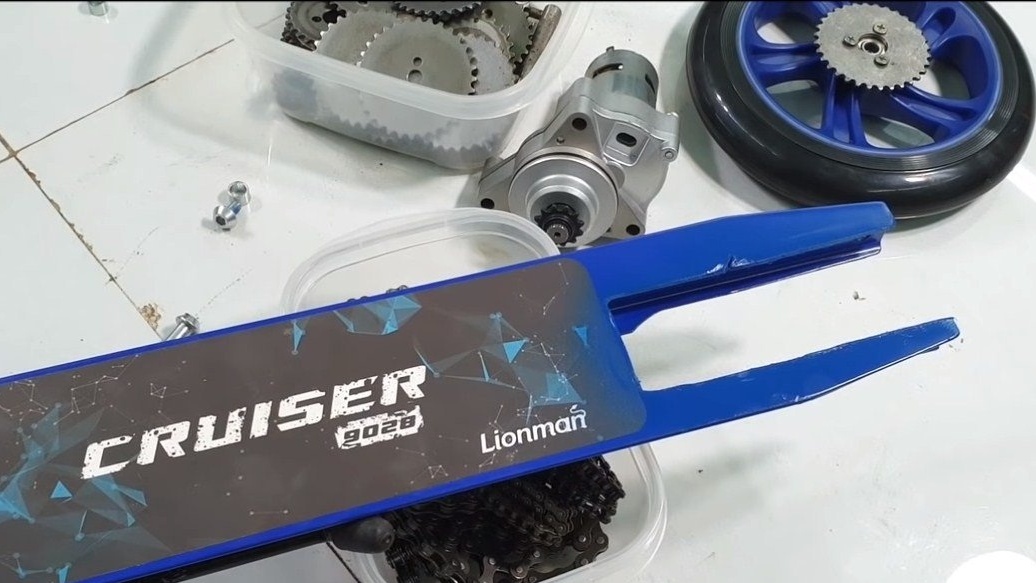
Greetings to fans of craftsmanship, spring has come, and this means that the time has come for walks and pokatushek using two-wheeled vehicles. In this instruction, we will look at how to make a scooter with an electric motor for a child or even for himself. This scooter accelerates to low speeds, but the traction here is quite decent. The well-known 775 motor in combination with a gearbox is used as a power unit. The author took the reduction gear from a moped starter. Homemade Easy to assemble and works great. You can order the 775 motor from China, it is better to give preference to newer models on ball bearings, they last longer. So, if the project interests you, I propose to study it in more detail!
Materials and tools used by the author:
Material List:
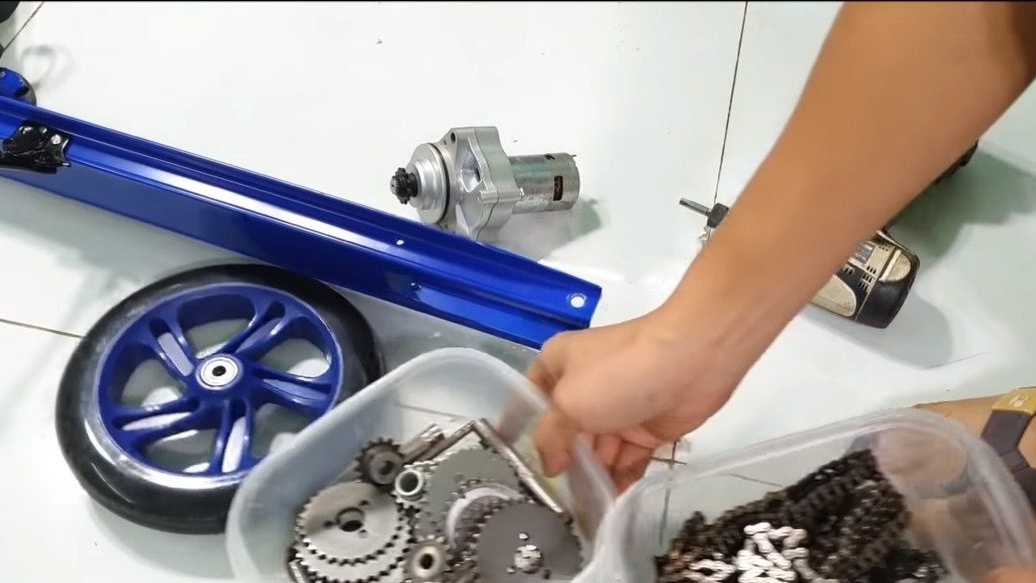
- chain transmission;
- gear from;
- (you can immediately buy a gear);
- battery;
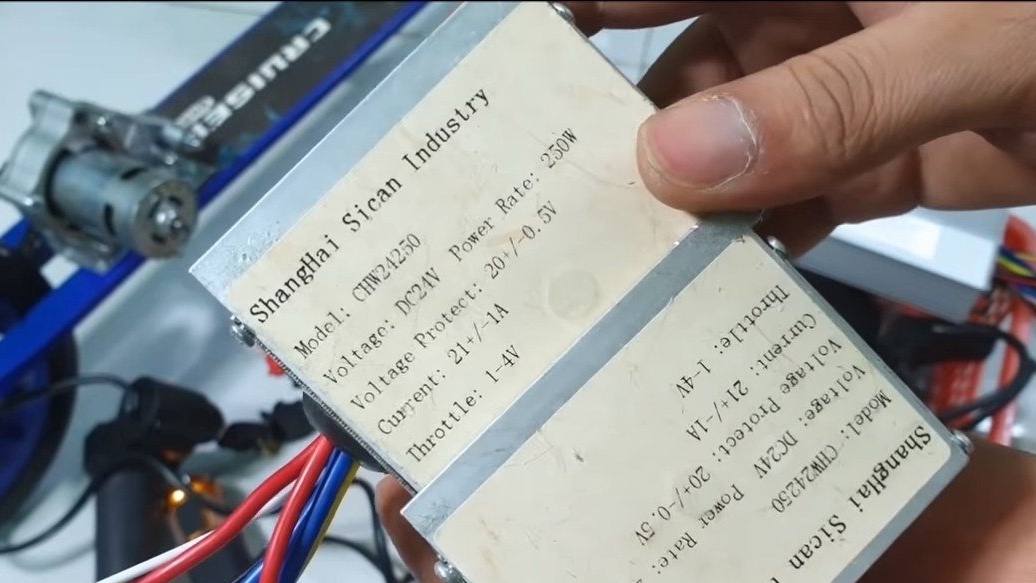
- controller for brush motors 24V / 250 Watt;
- electronic throttle;
- wires;
- LED headlights;
- heat shrink;
- experimental scooter;
- screws, plastic ties and other little things.
Tool List:
- grinder;
- drill;
- vise;
- pliers;
- hammer;
- soldering iron.
Homemade manufacturing process:
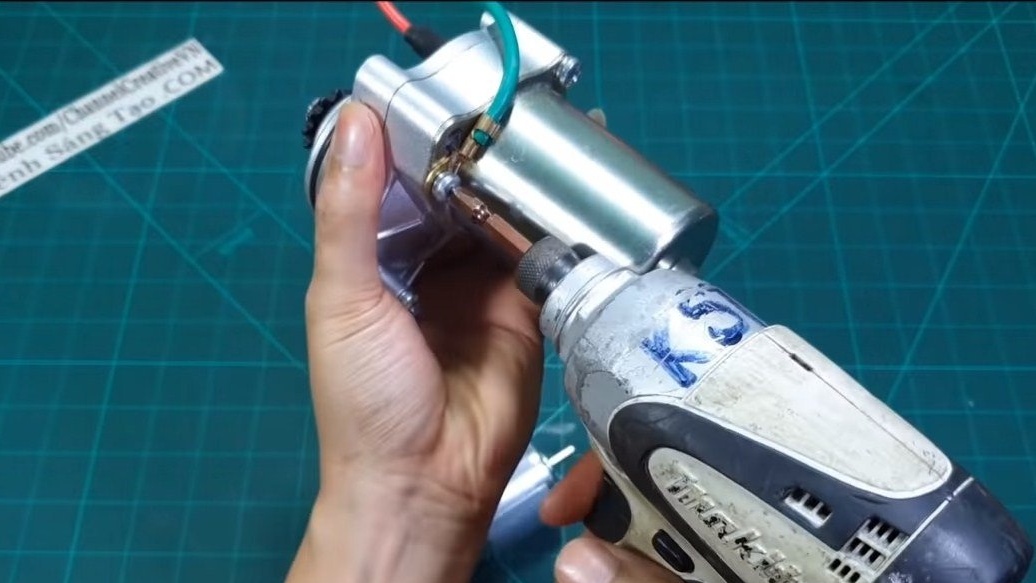
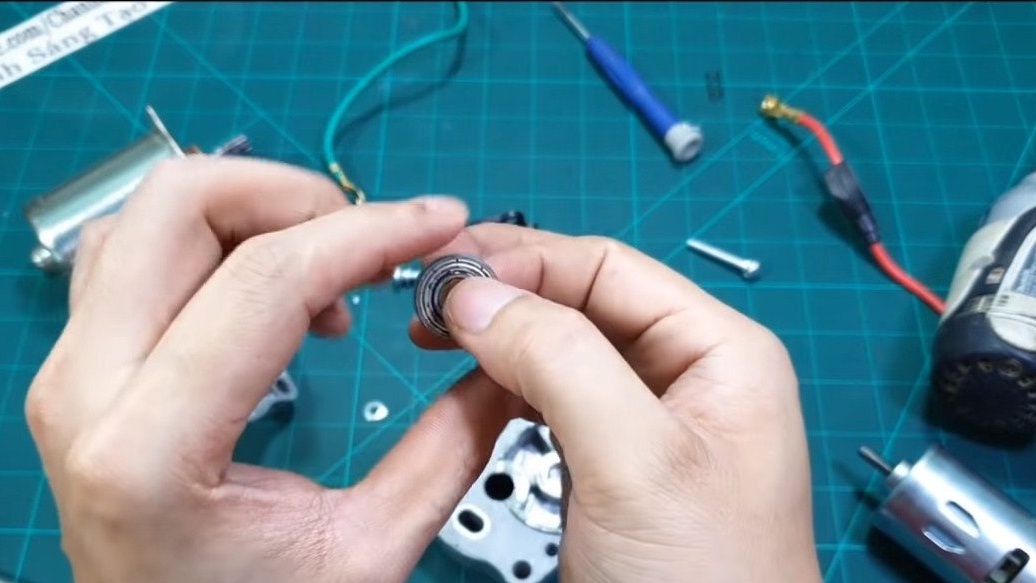
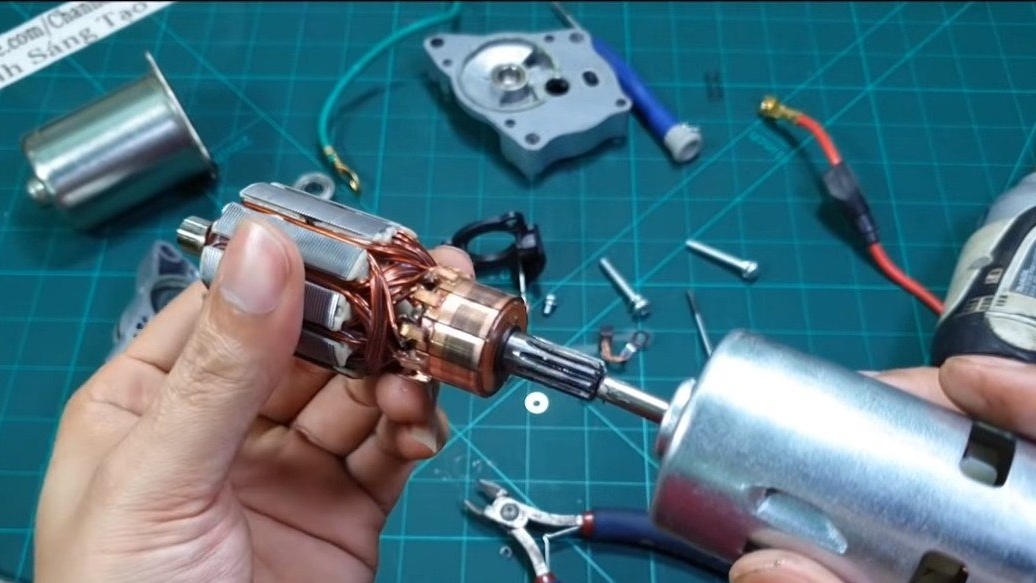
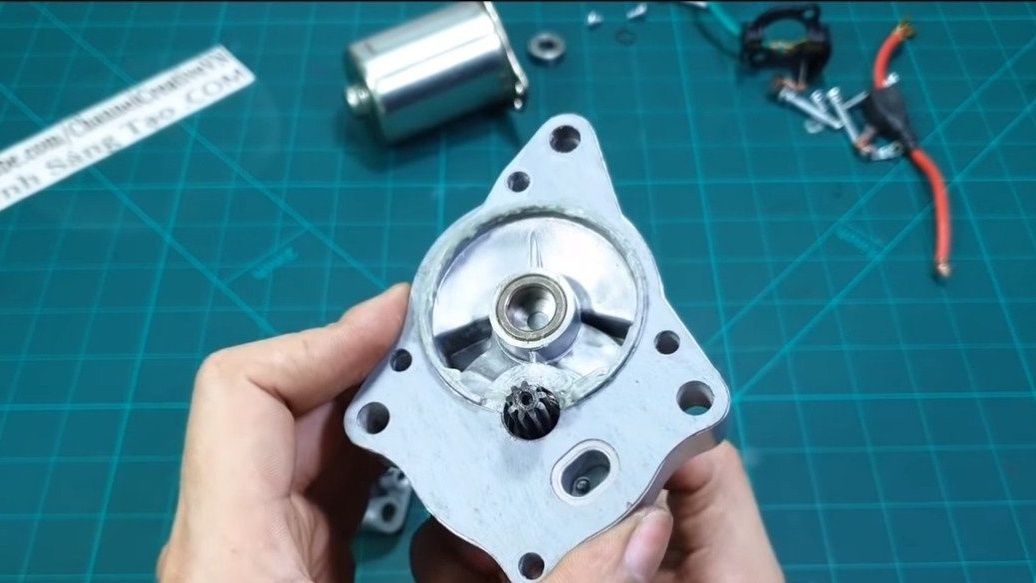
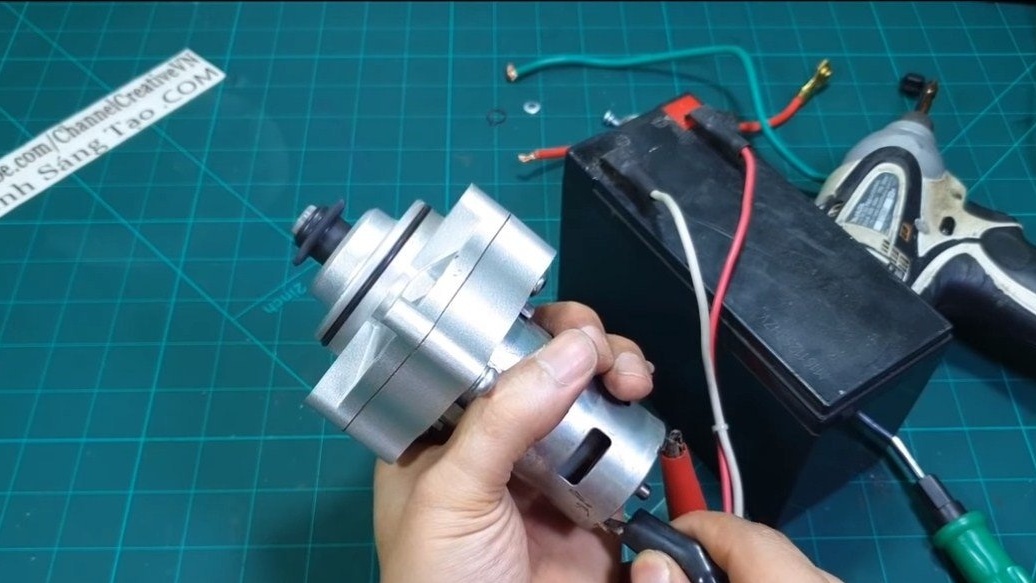
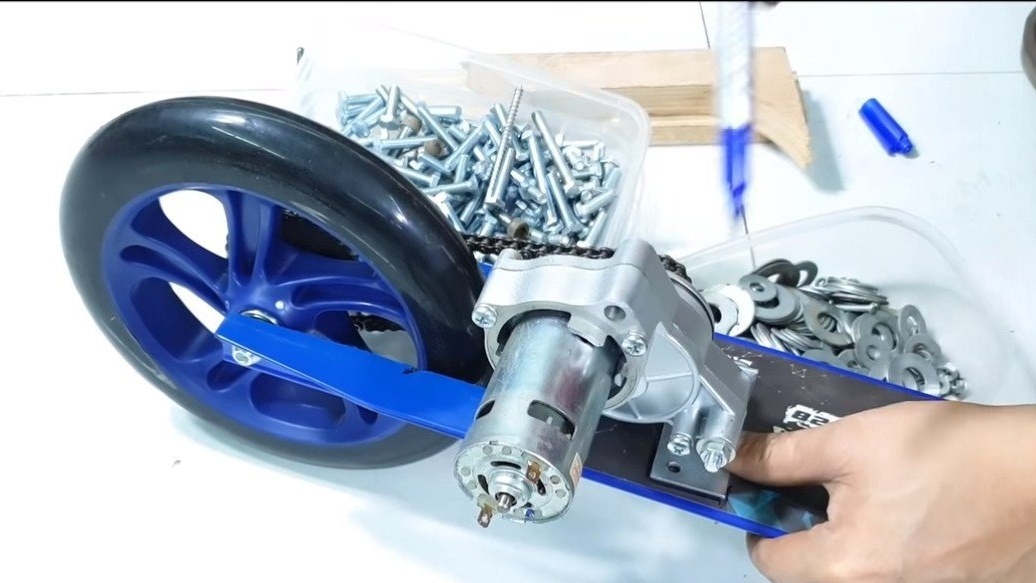
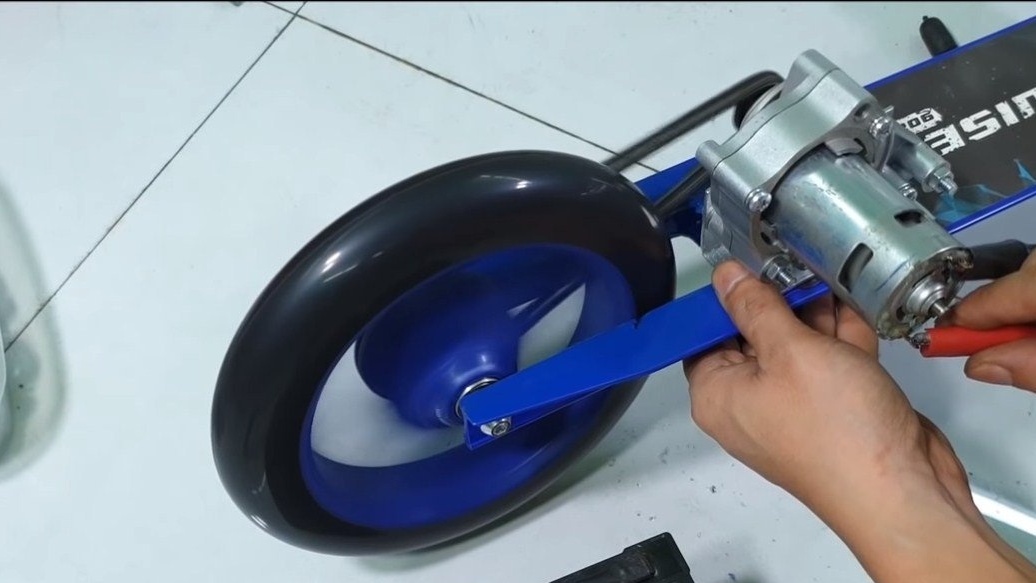
Step one. We are finalizing the engine
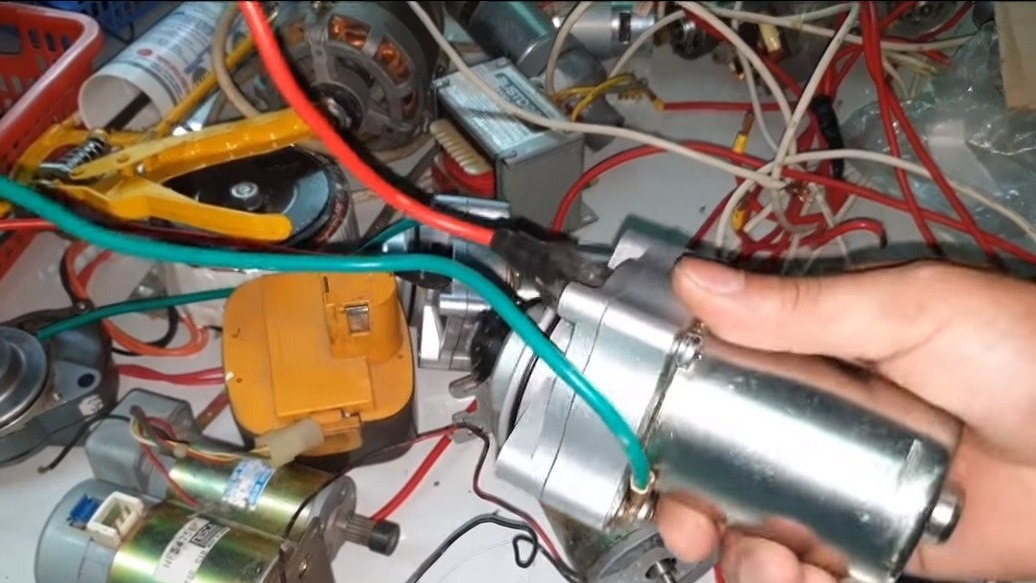
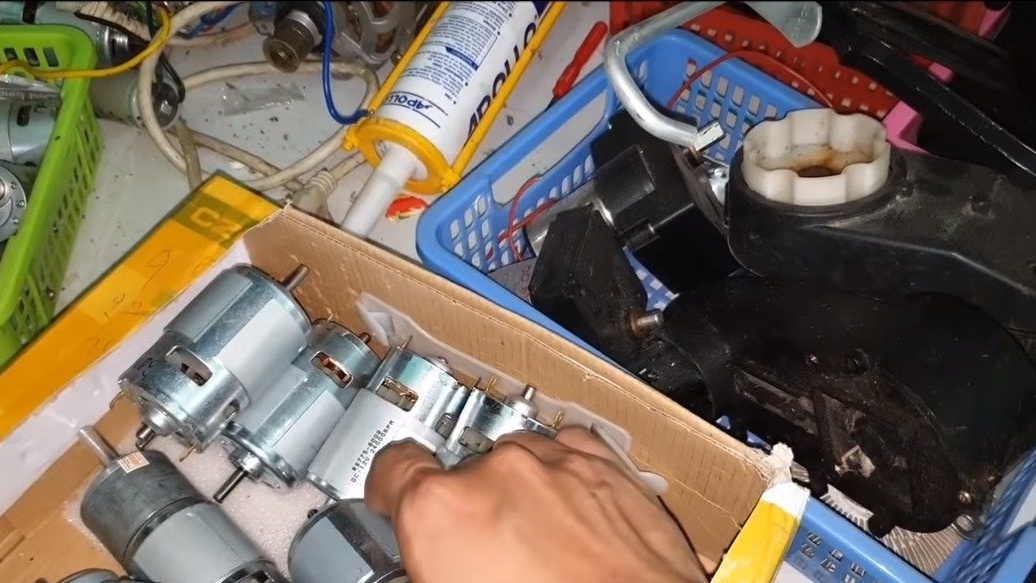
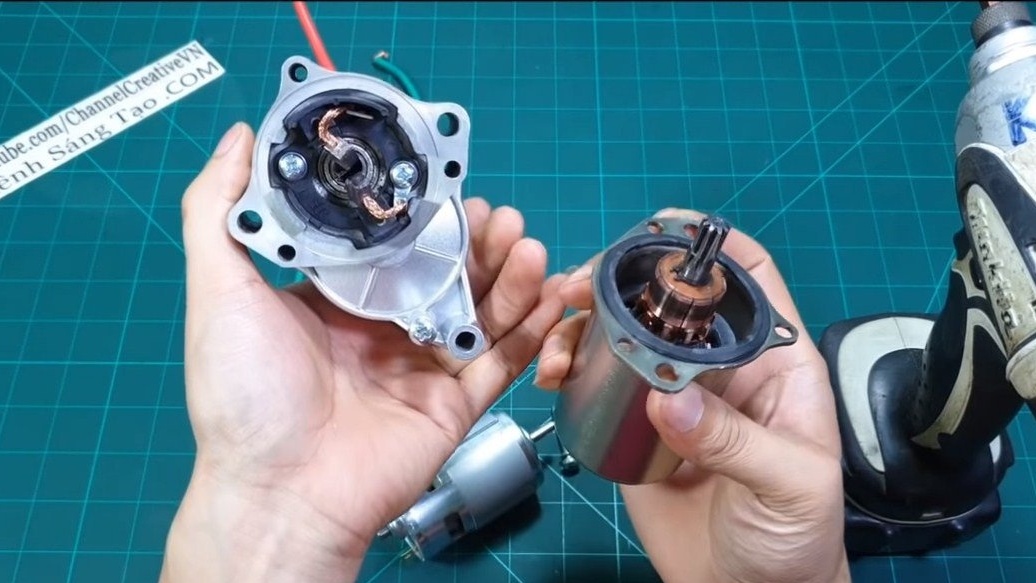
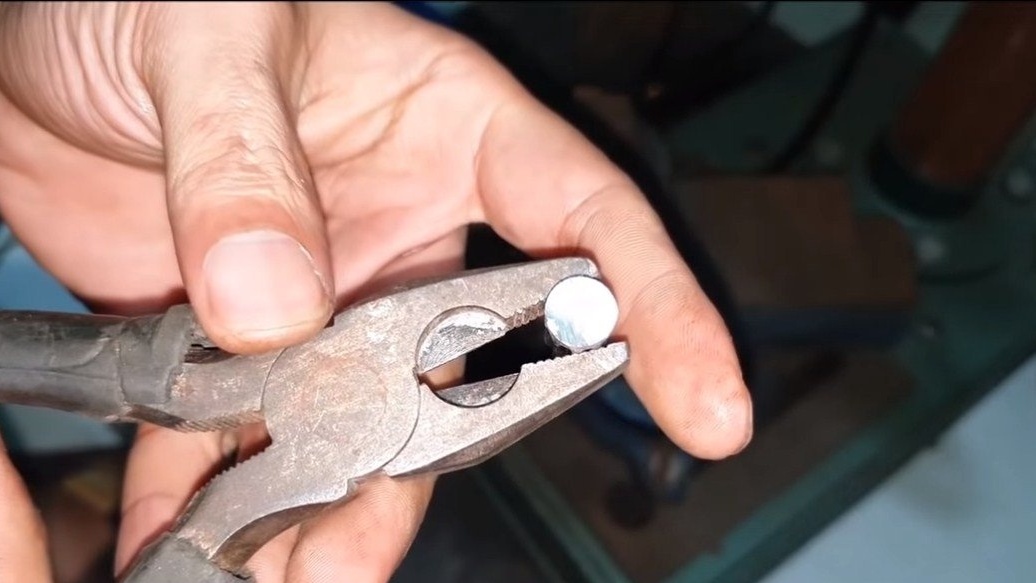
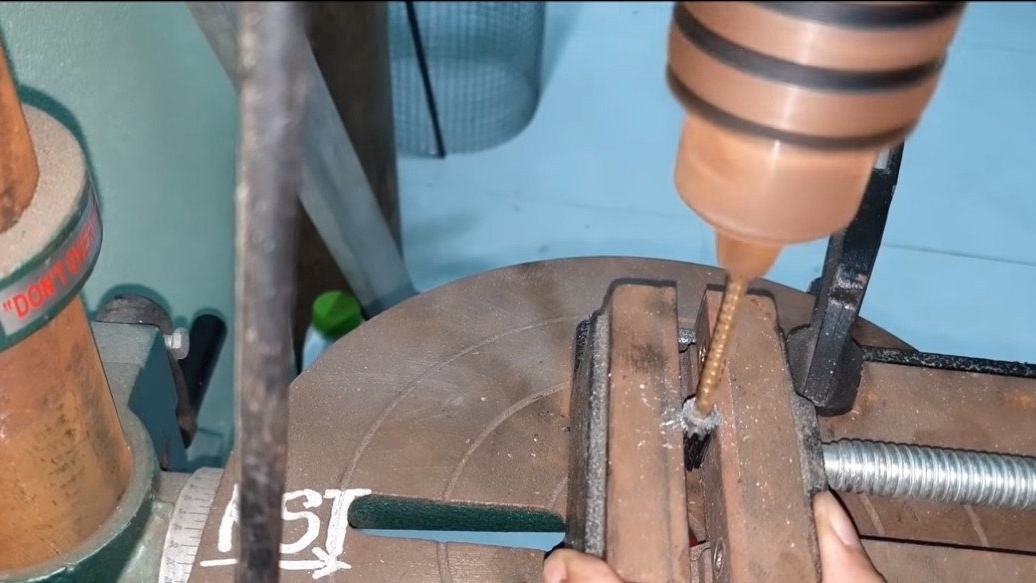
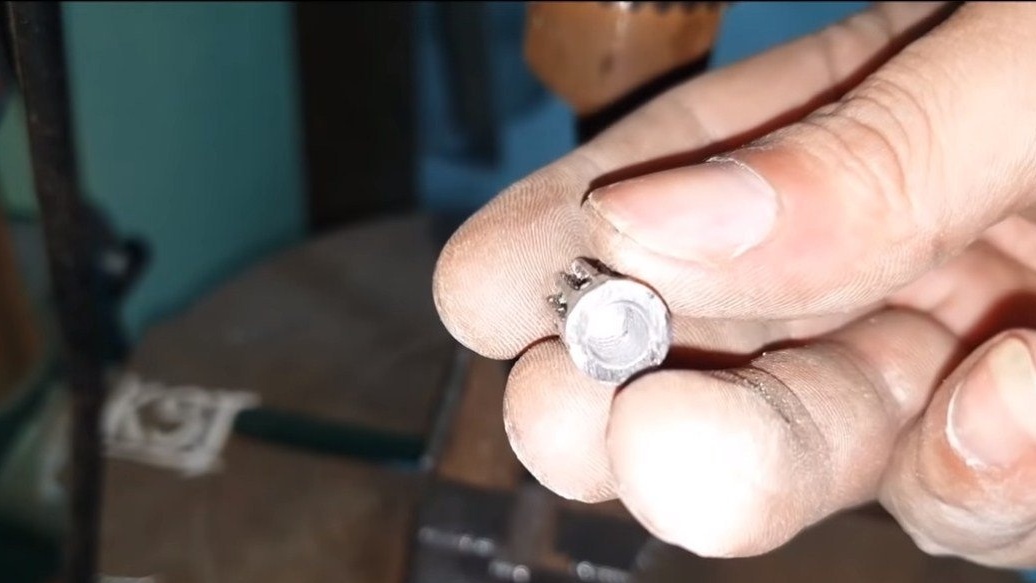
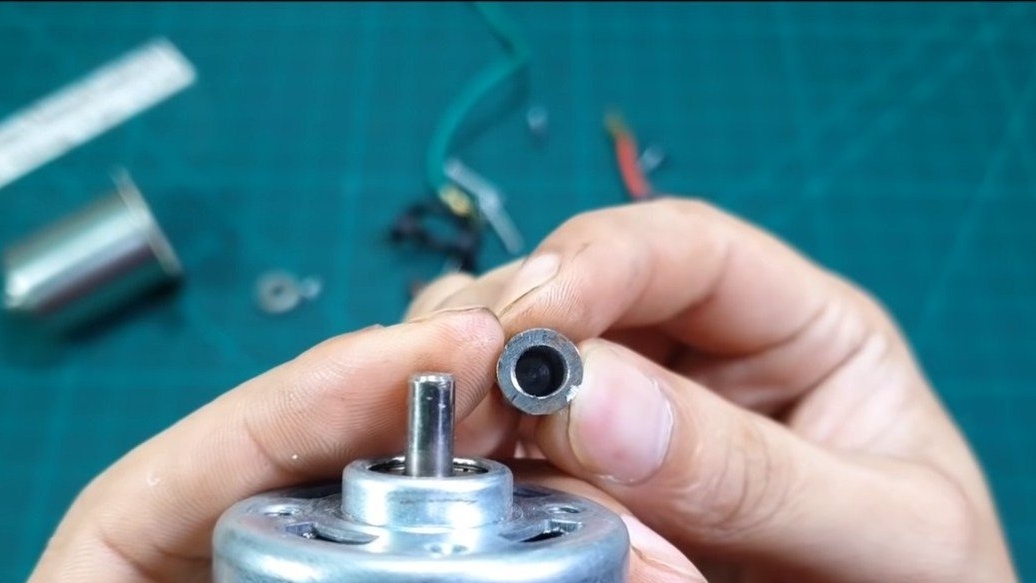
We finalize the engine, the essence of the refinement is to install a reduction gear on the motor. As a result, we will reduce the huge engine speeds, turning them into a large torque. As a reducer, the author used a part from a starter for mopeds. Since the engine used in starters is not designed for long-term operation, it does not suit us, instead we need to install the 775 engine. We disassemble the motor, take out the anchor from it, it is the anchor gear that we need to install on the 775 motor shaft. We cut a piece anchors with gear grinder and then drill a hole in it along the shaft diameter. Note that the hole must be such that the gear can be tightly pressed onto the motor shaft. The gear steel is hot, so we need a special carbide tipped drill.
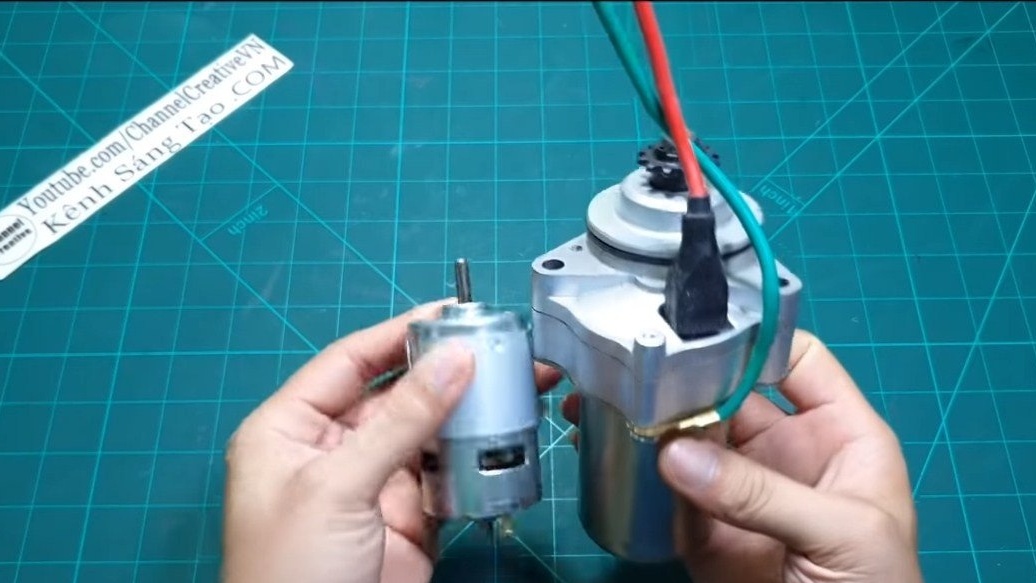
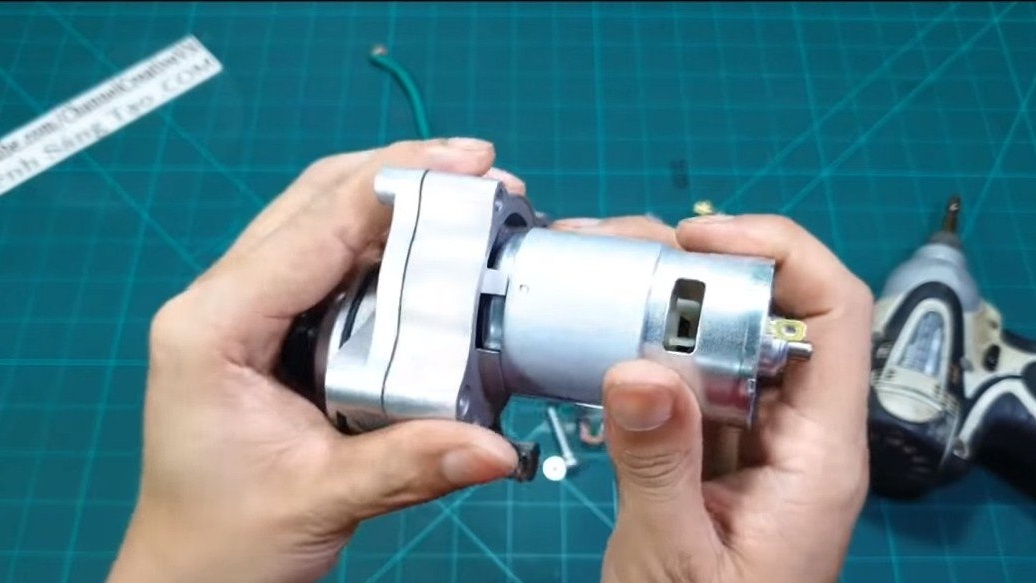

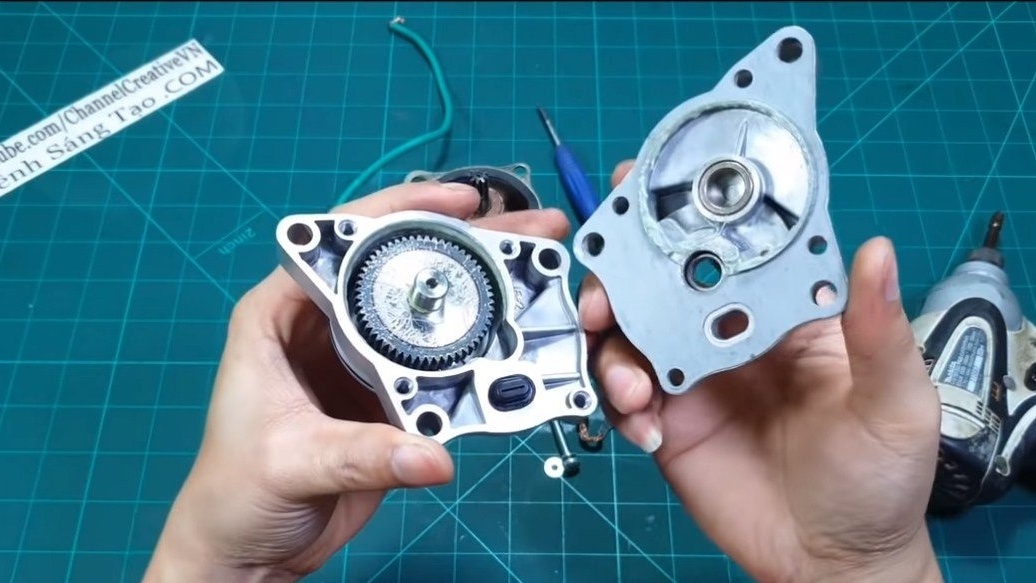
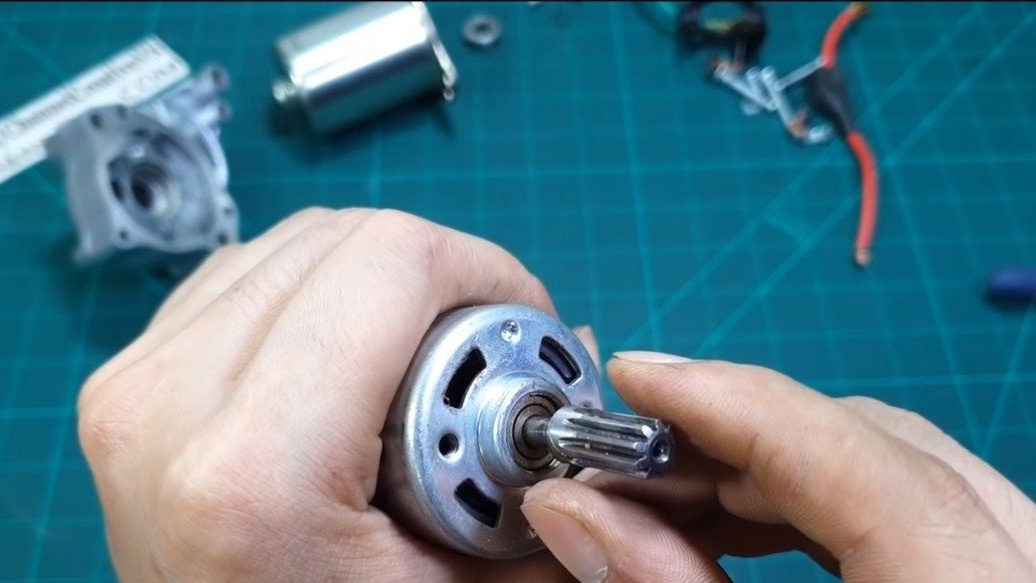
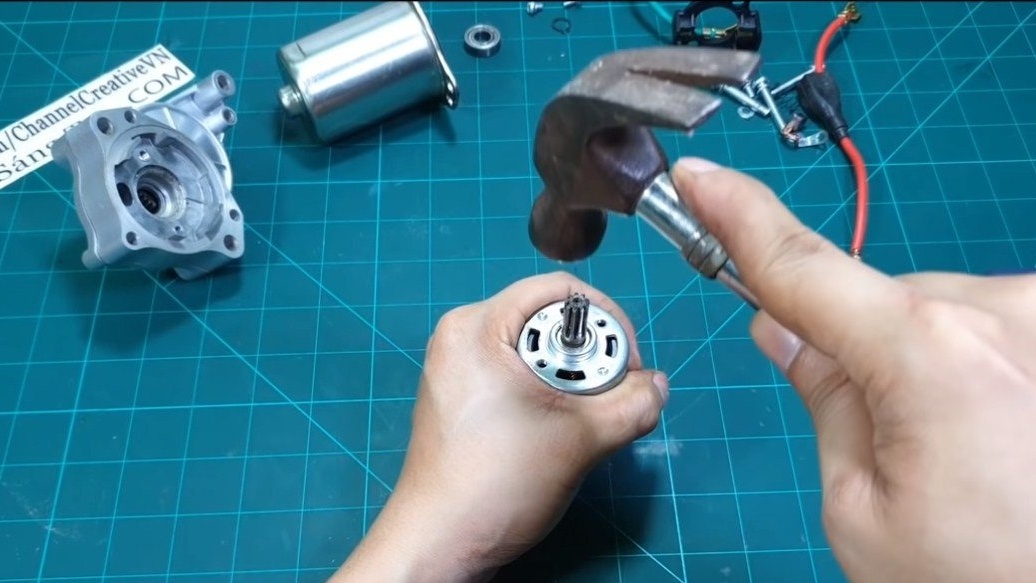
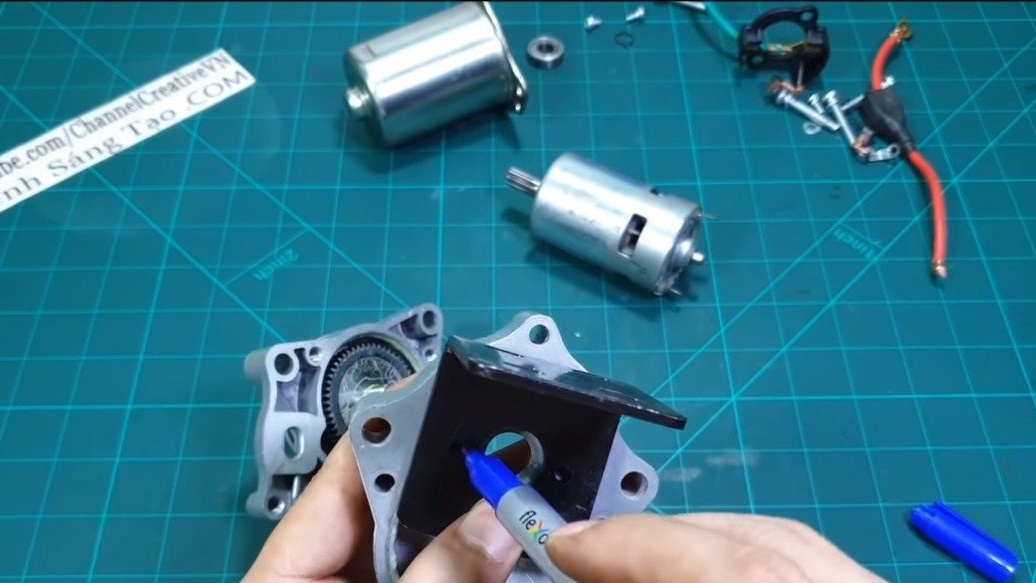
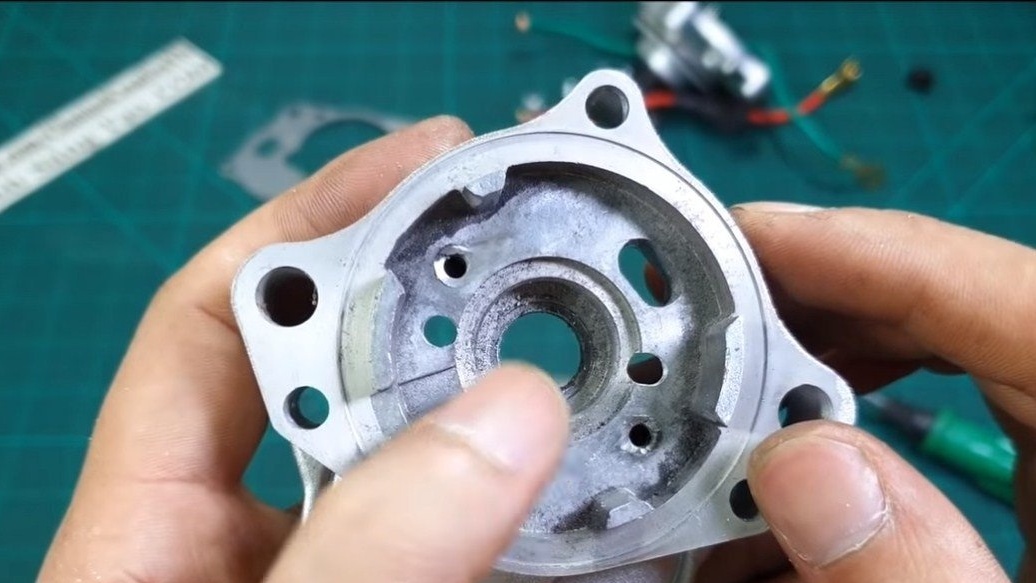
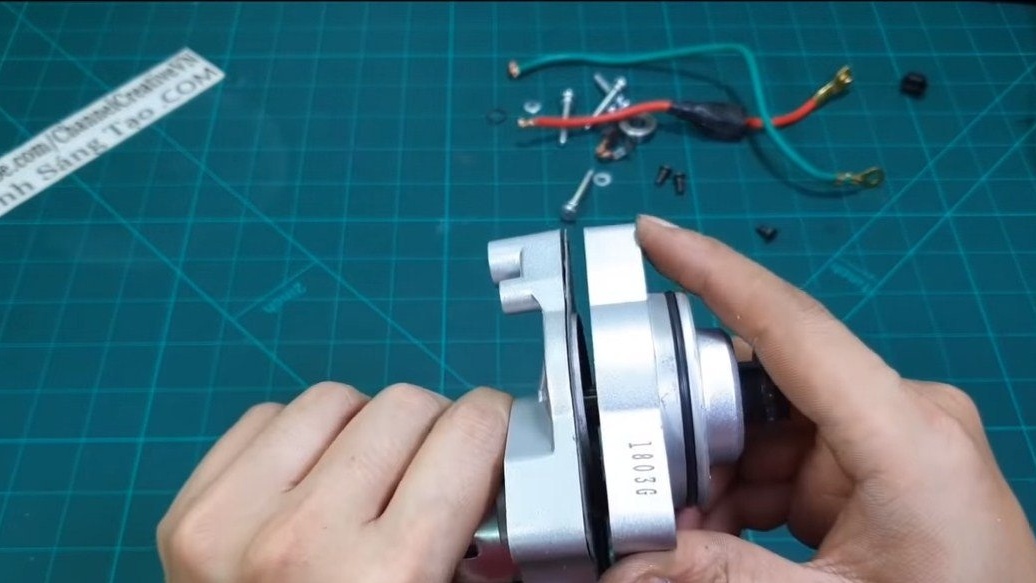
We will fasten the engine to the gearbox with screws, so we drill holes for them in the right places and fasten the motor. That's all, now the gearbox can be assembled, do not forget to grease the gears with grease.
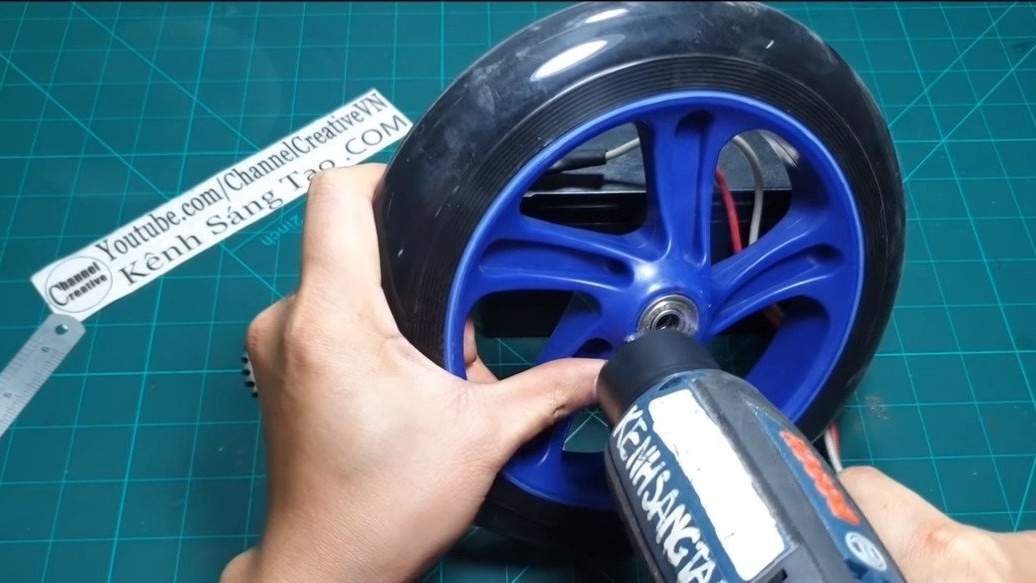
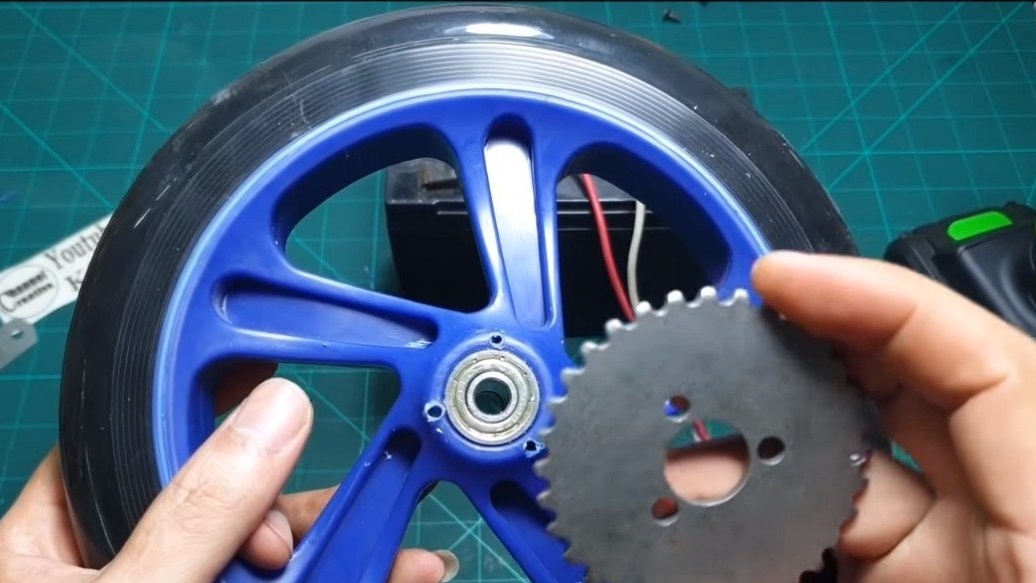
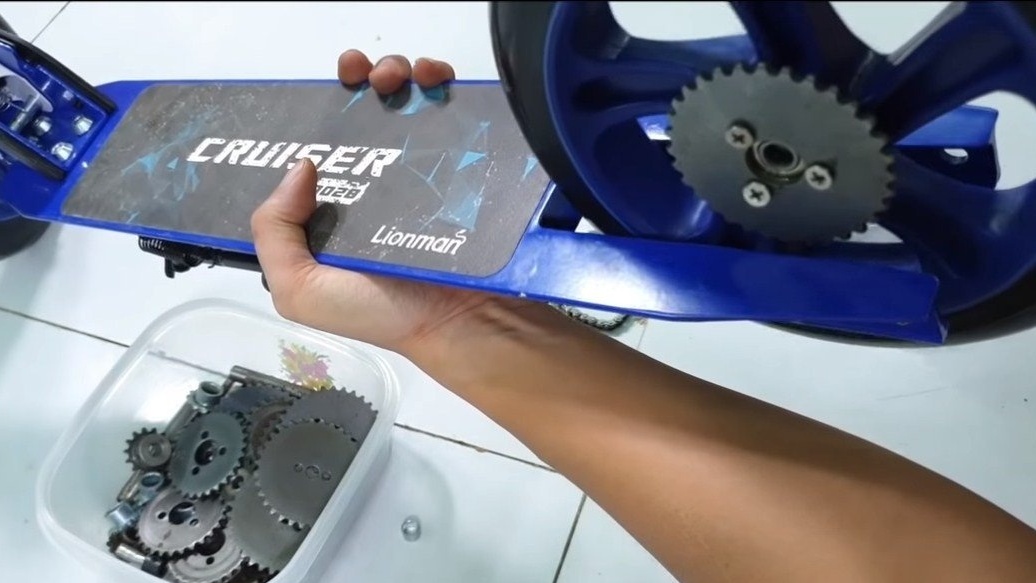
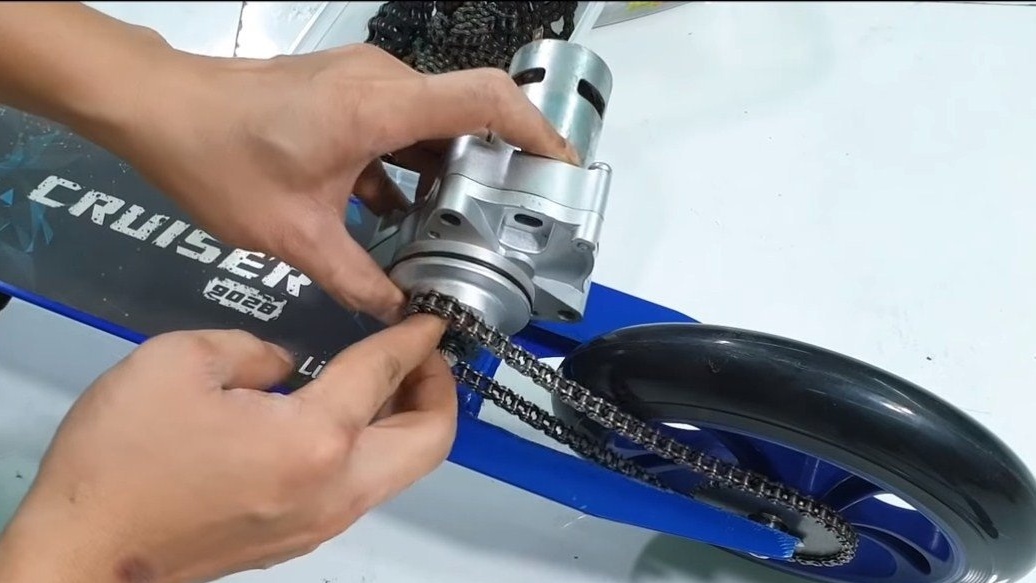
Step Two Driven asterisk
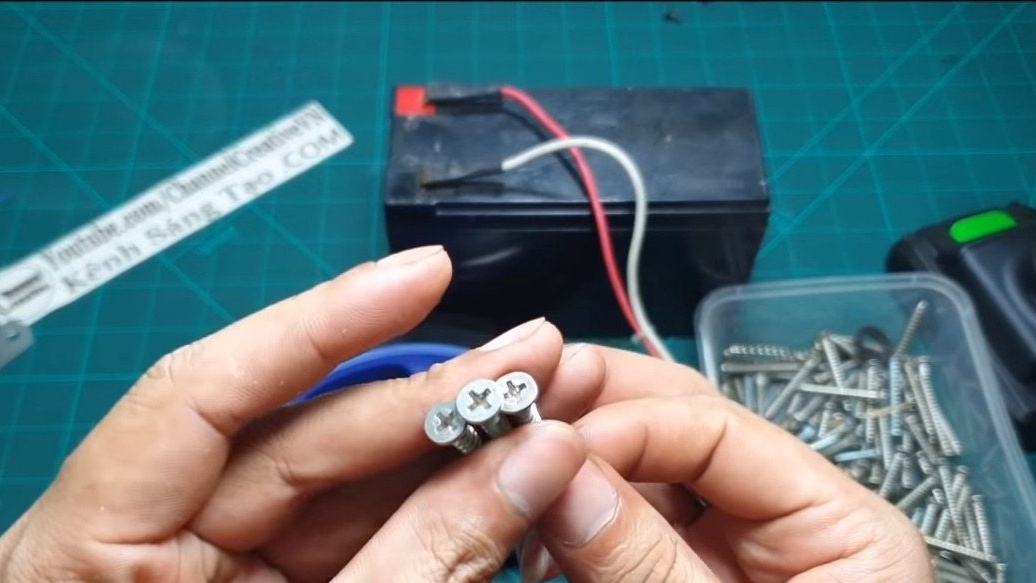
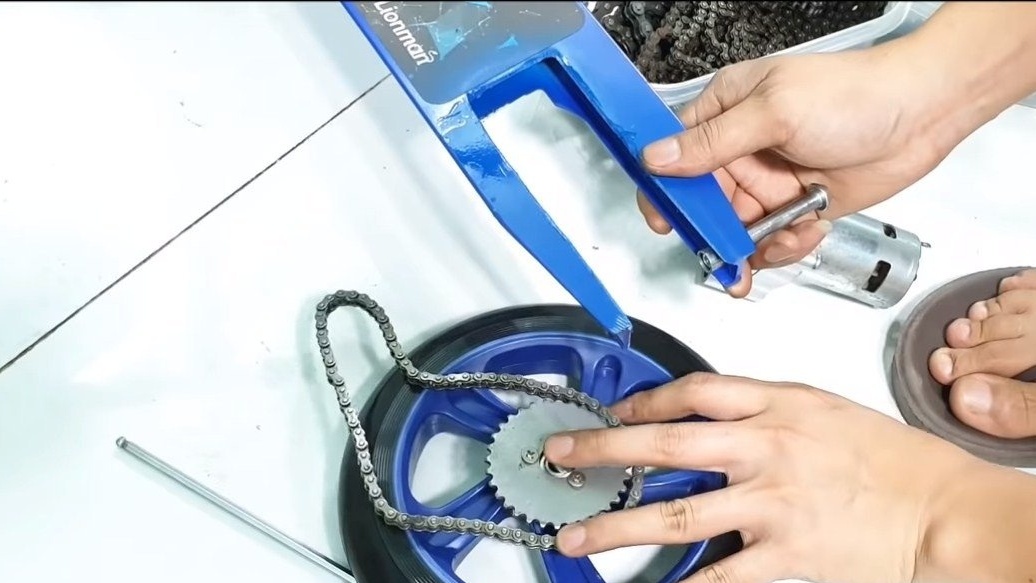
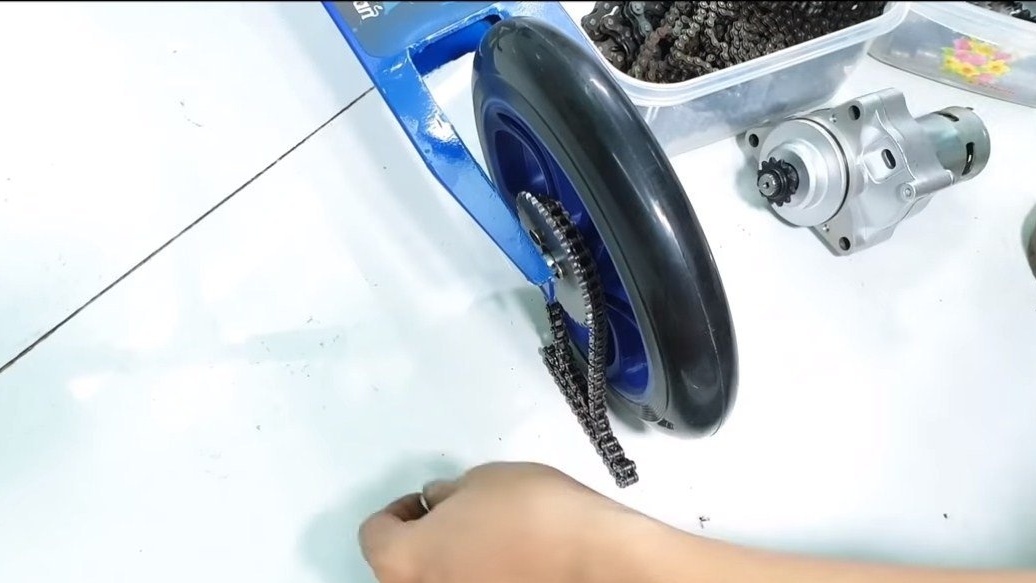
We install the driven sprocket, it is much larger in diameter than the leading one. The asterisk needs to be fixed on the rear wheel, for fixing the author uses thick long screws. We drill holes, use washers and fasten the sprocket well.
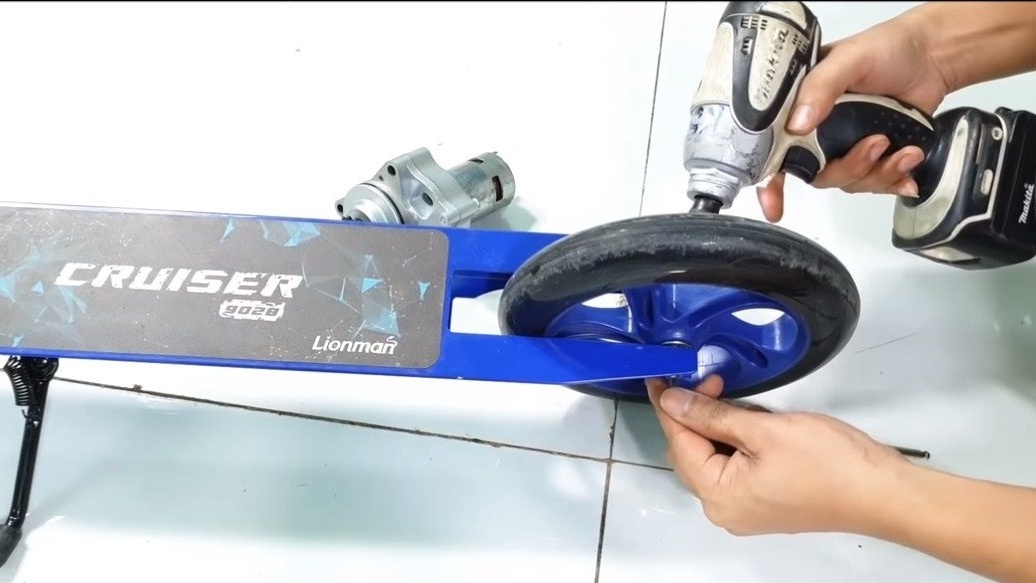
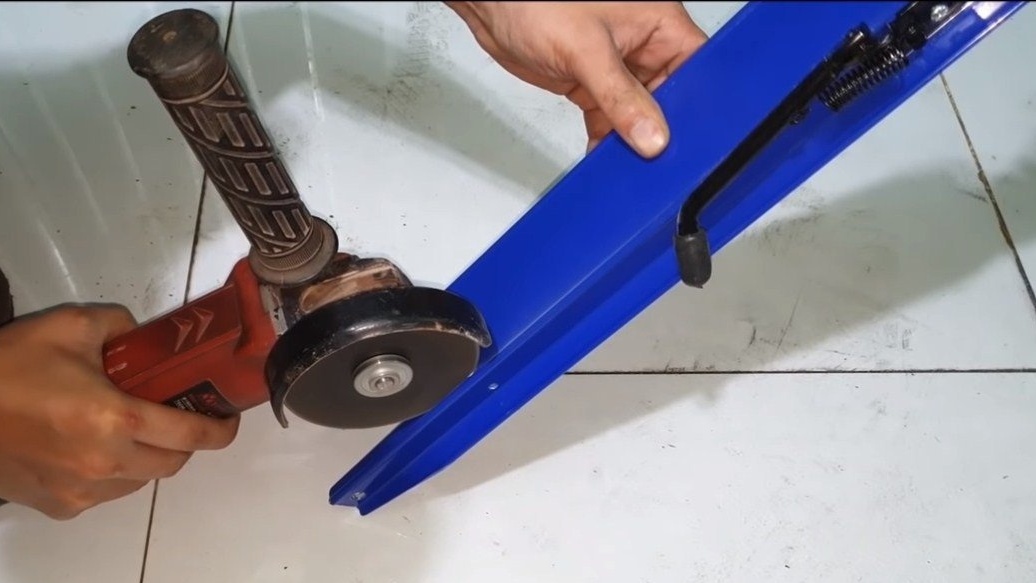
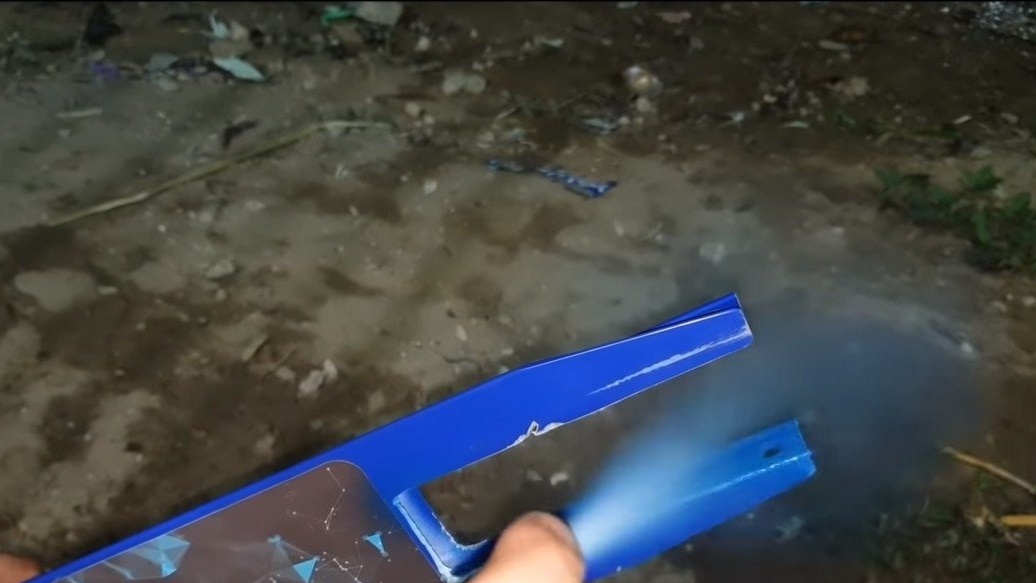
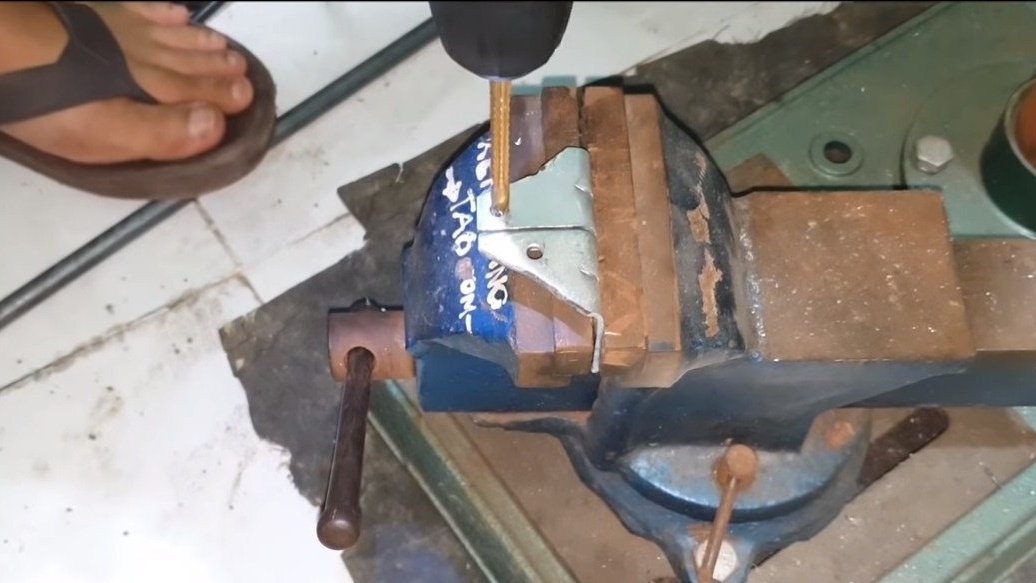
Step Three Finalization of the scooter frame
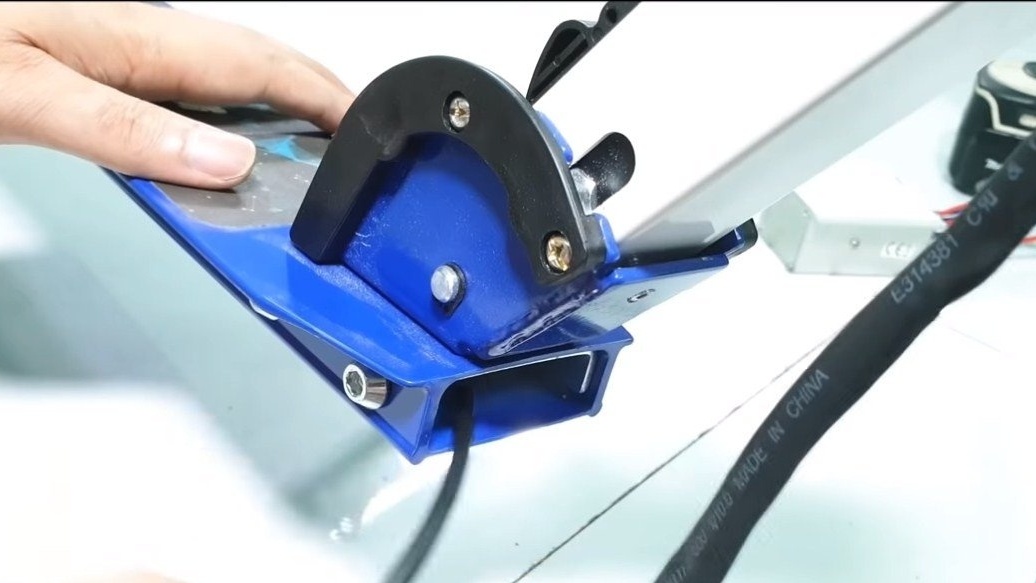
It is necessary to modify the frame of the scooter, namely, it is necessary to make a cut for the chain. We cut out the right amount of metal with a grinder, the author's scooter is made of aluminum. Well, then we tint the place of cutting and you can install the rear wheel with a chain.
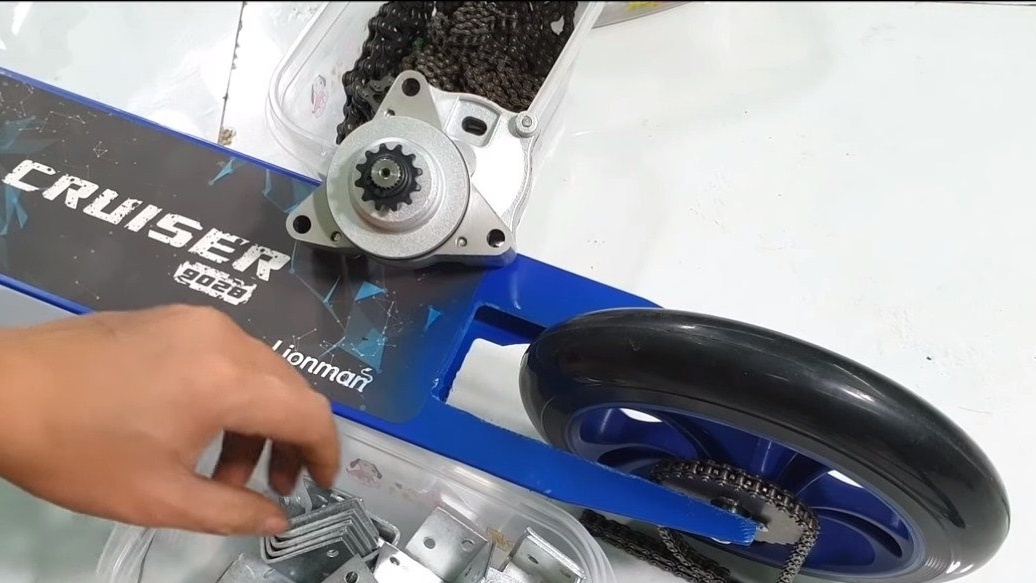
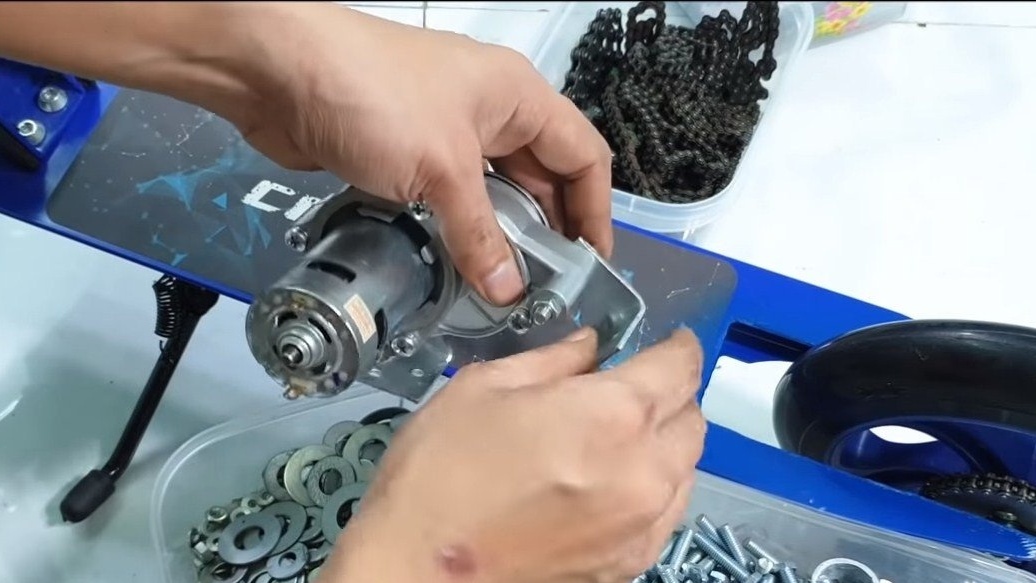
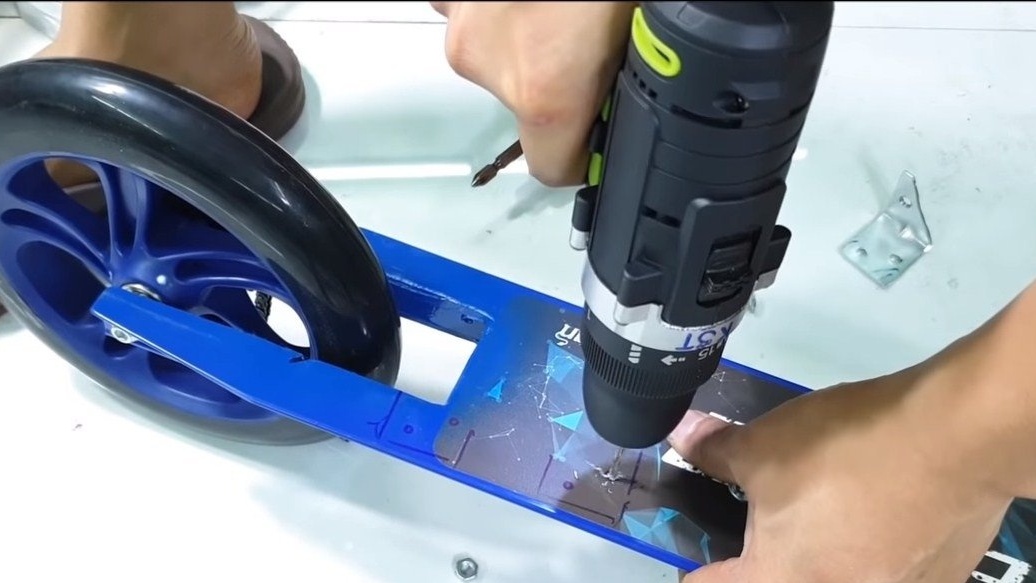
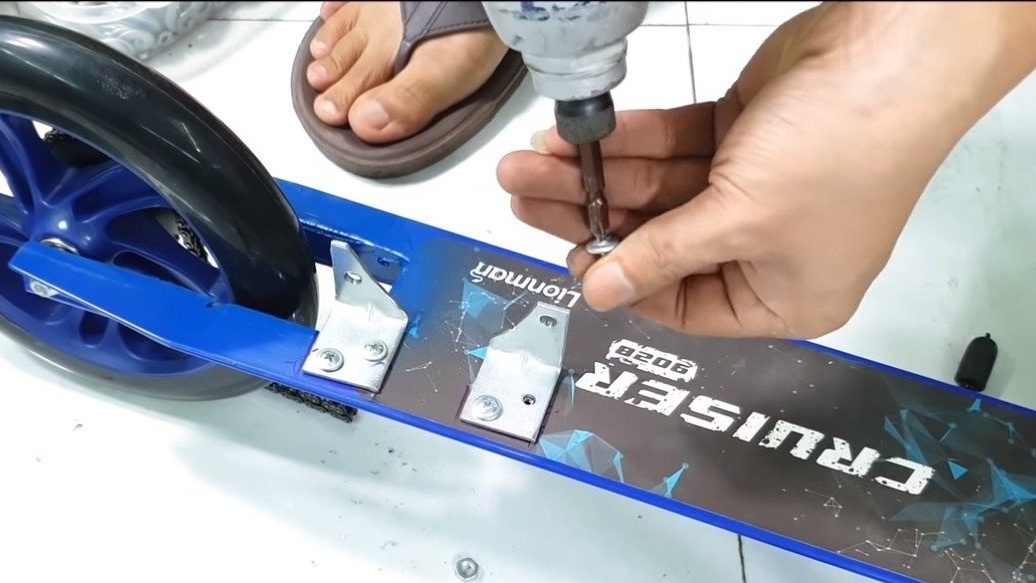
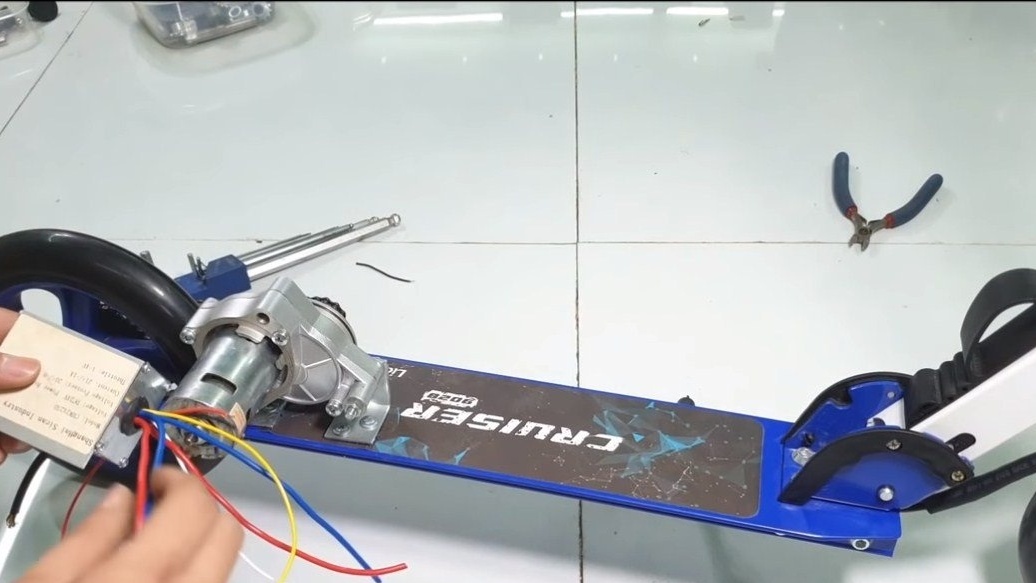
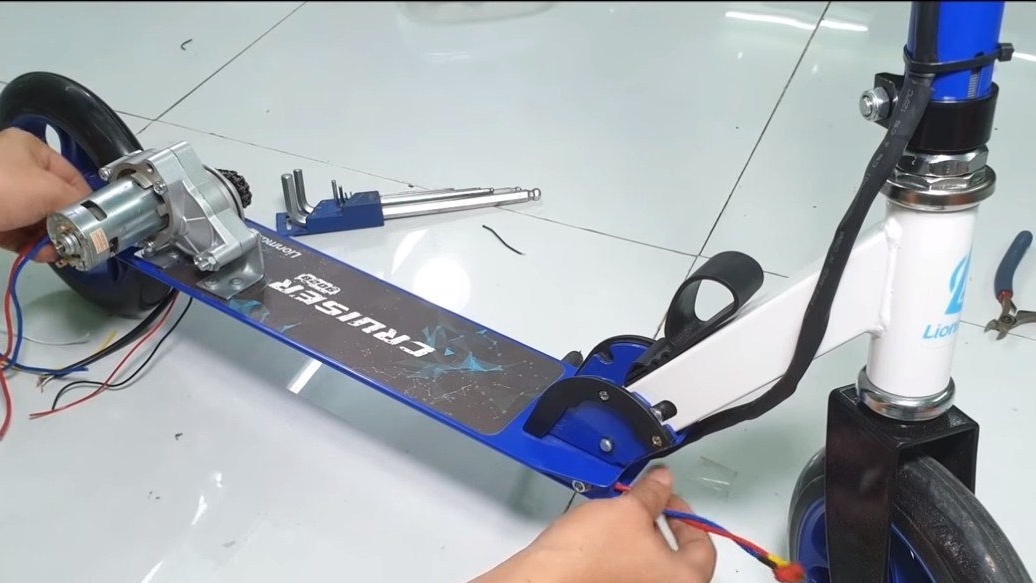
Step Four Install the engine
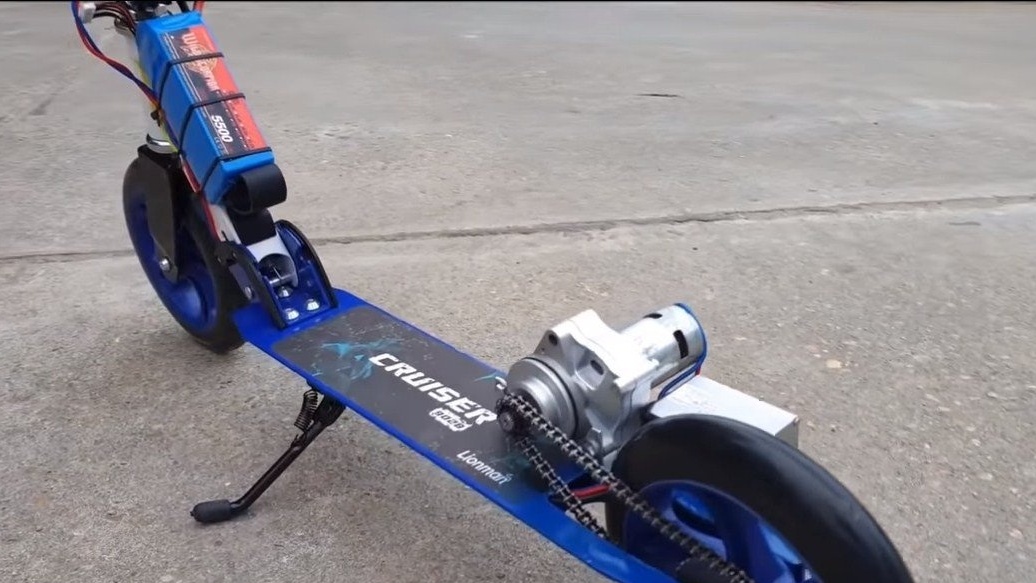
The motor needs to be securely fixed to the frame, here we need iron mounting corners. We cut them to the desired size, and in the frame we drill holes for self-tapping screws, and better for screws with nuts. We fasten the corners, cutting them to the desired shape, if necessary, and already fasten the motor to these brackets.
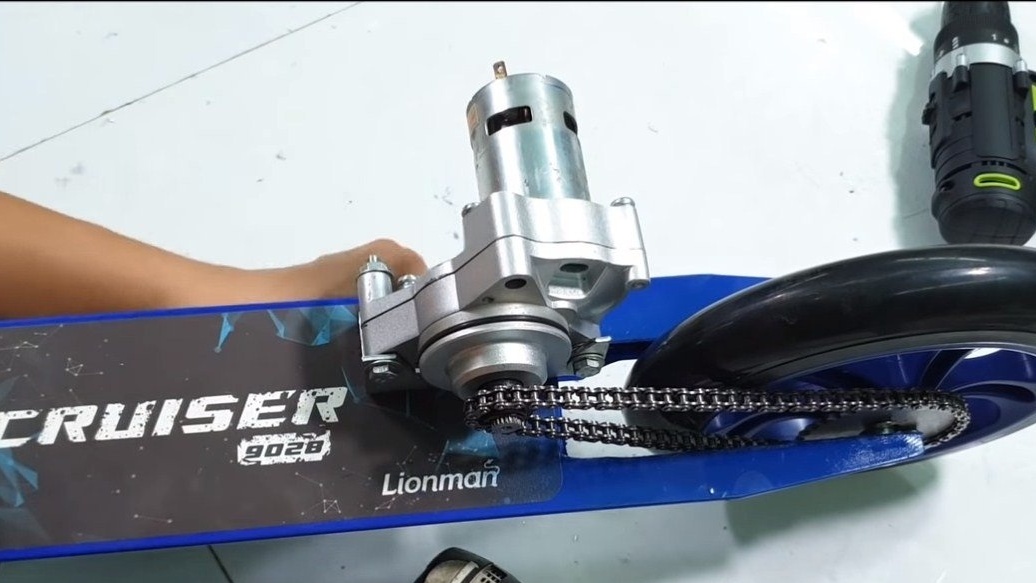
It remains to establish the chain, shortening it to the desired length. We supply power to the motor and see if everything works as expected.

Step Five Scooter assembly
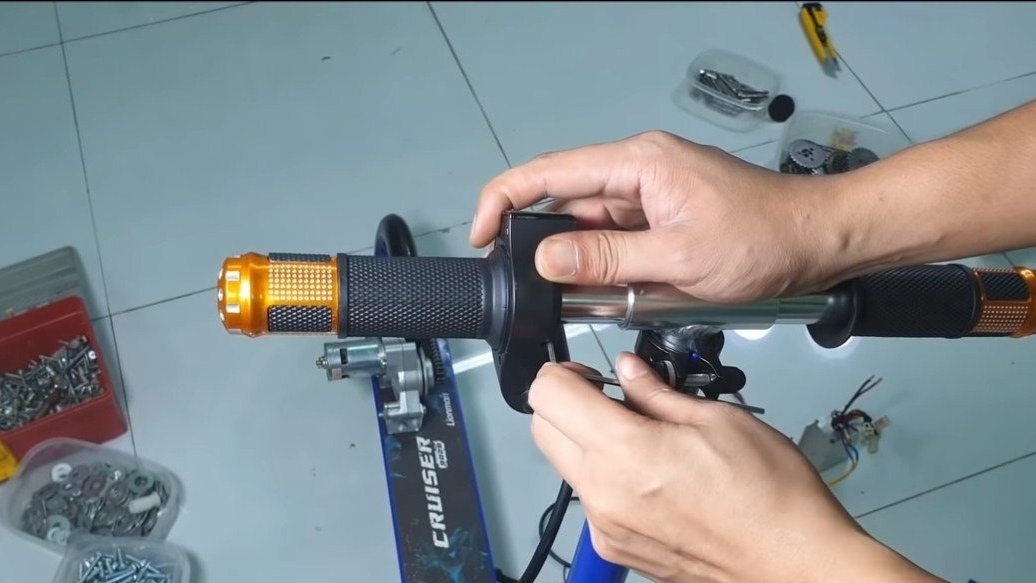
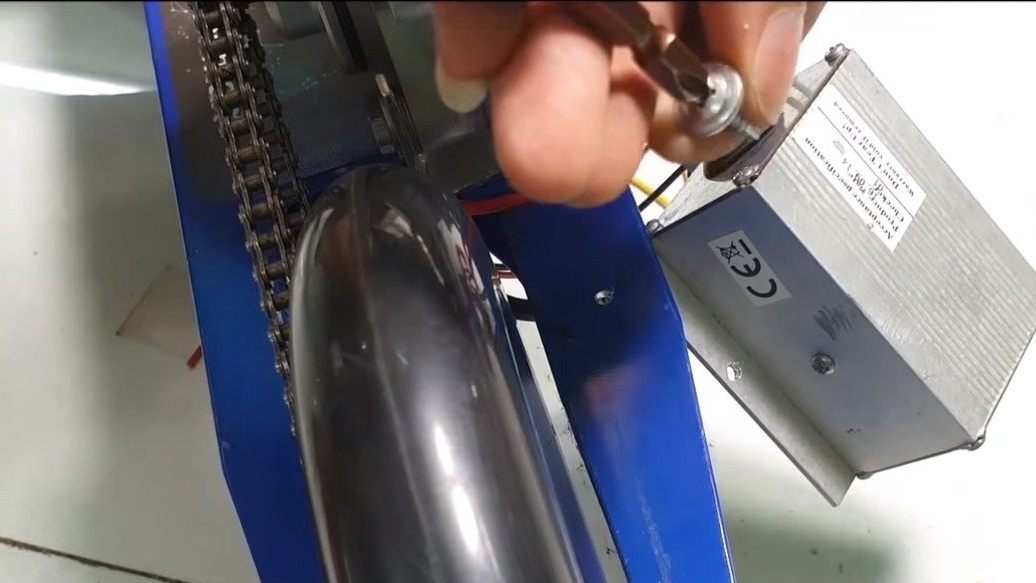
We proceed to the assembly, install the electronic throttle, as well as the engine speed controller. The author’s regulator is designed to control voltage up to 24V and is able to withstand loads of up to 250 watts.
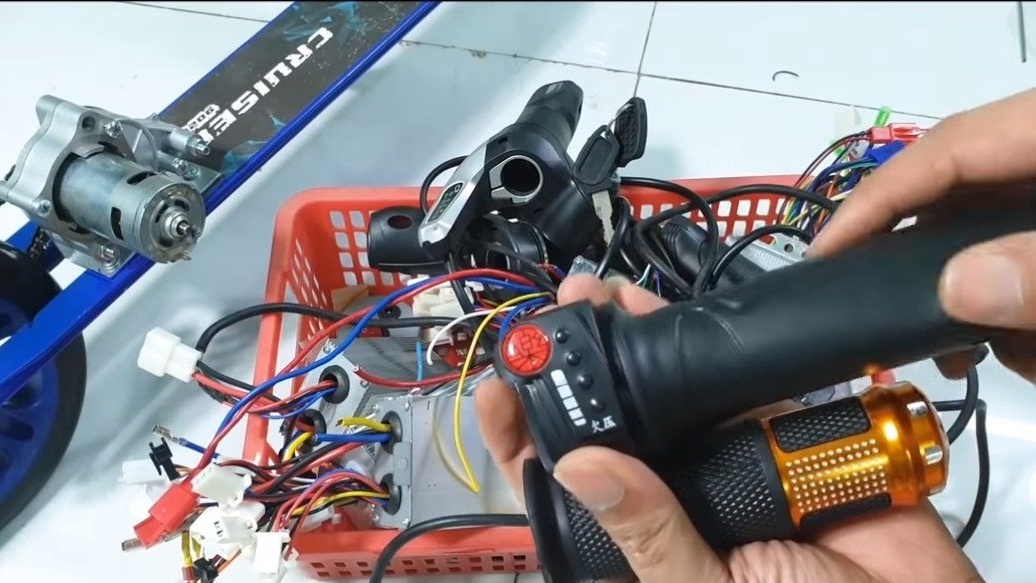
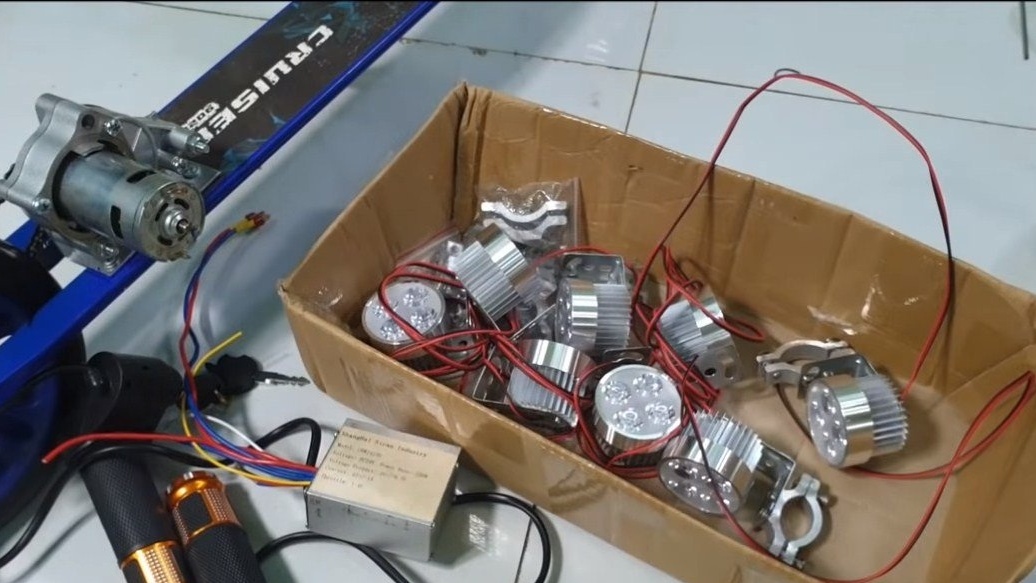
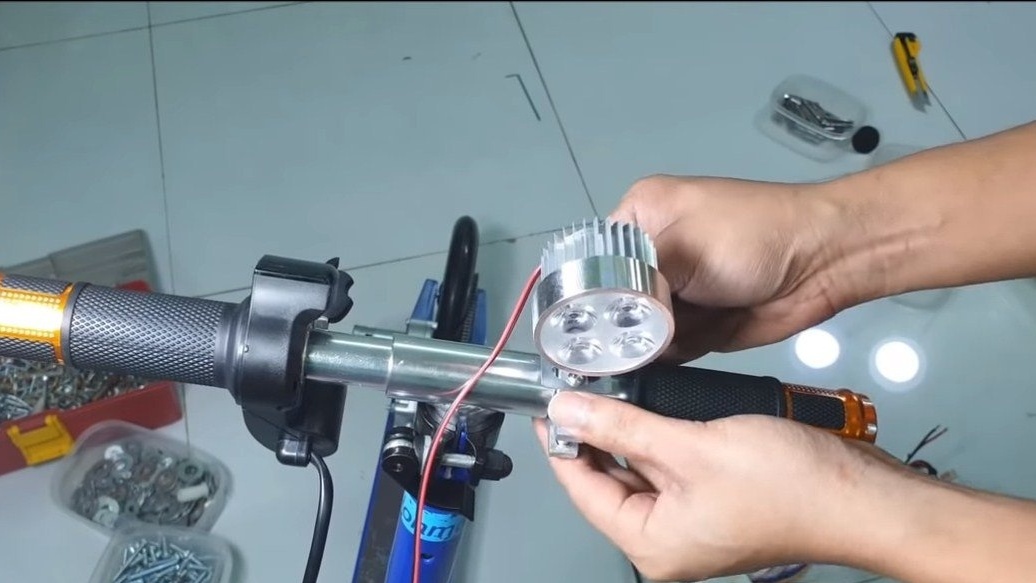
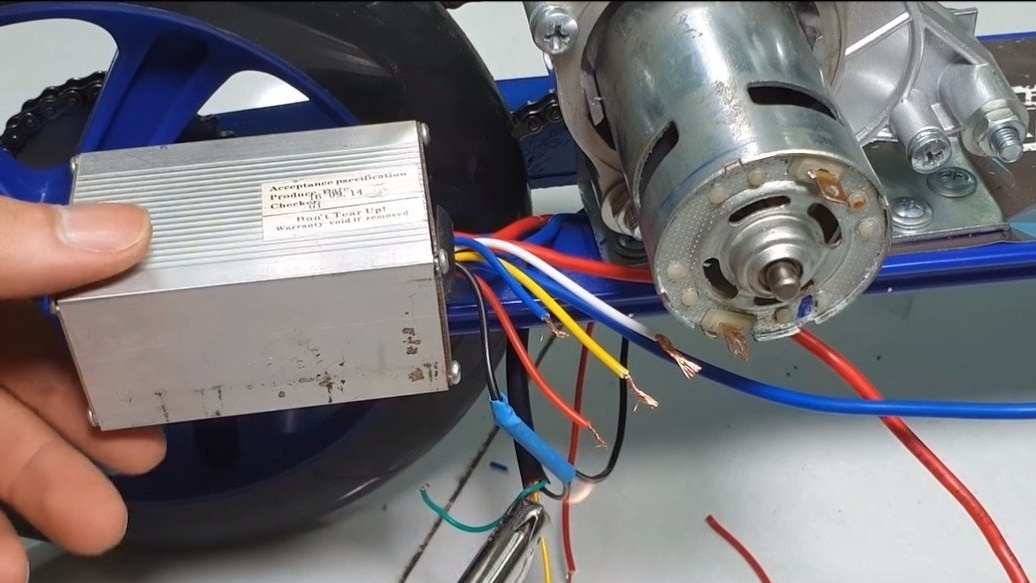
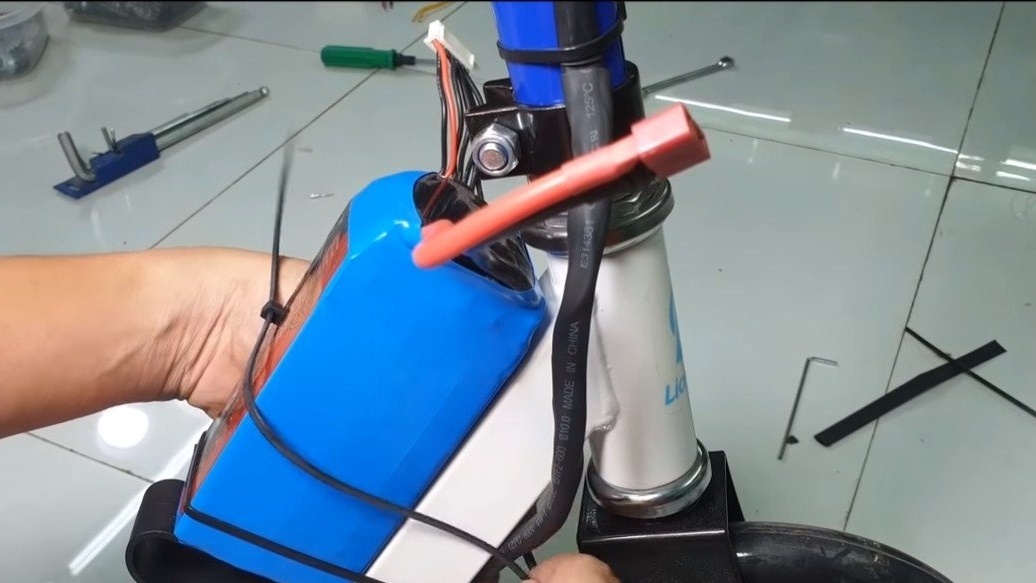
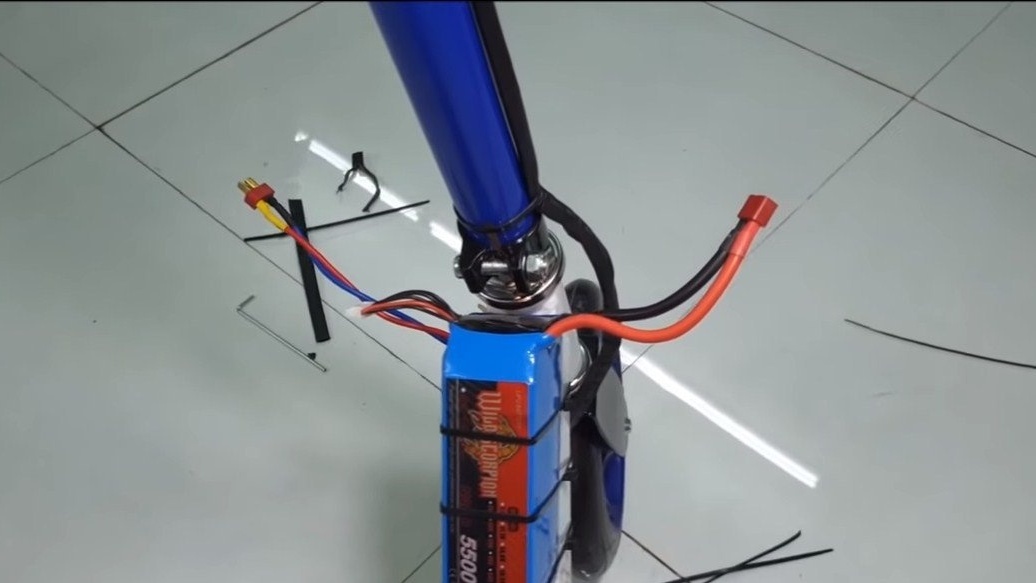
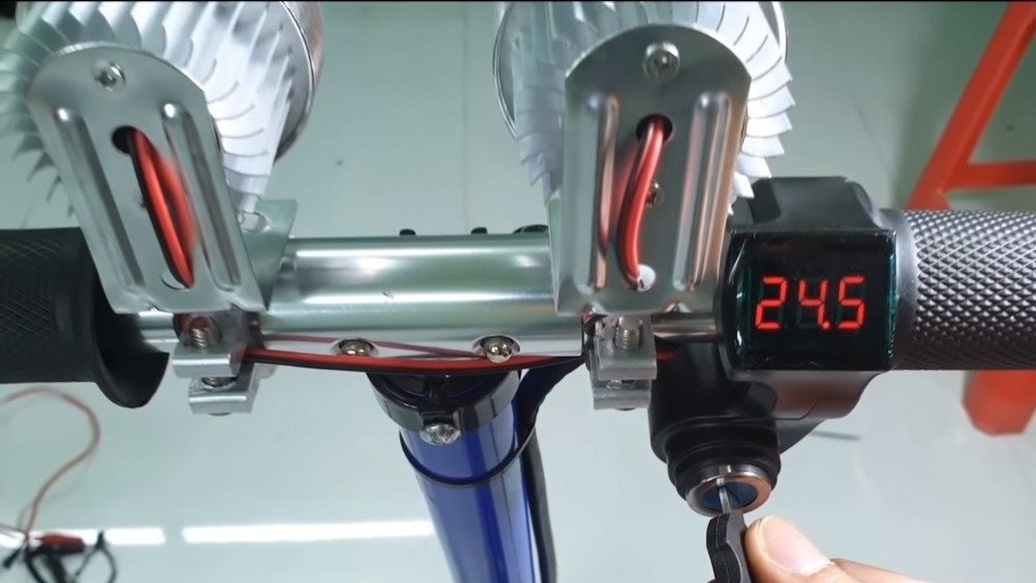
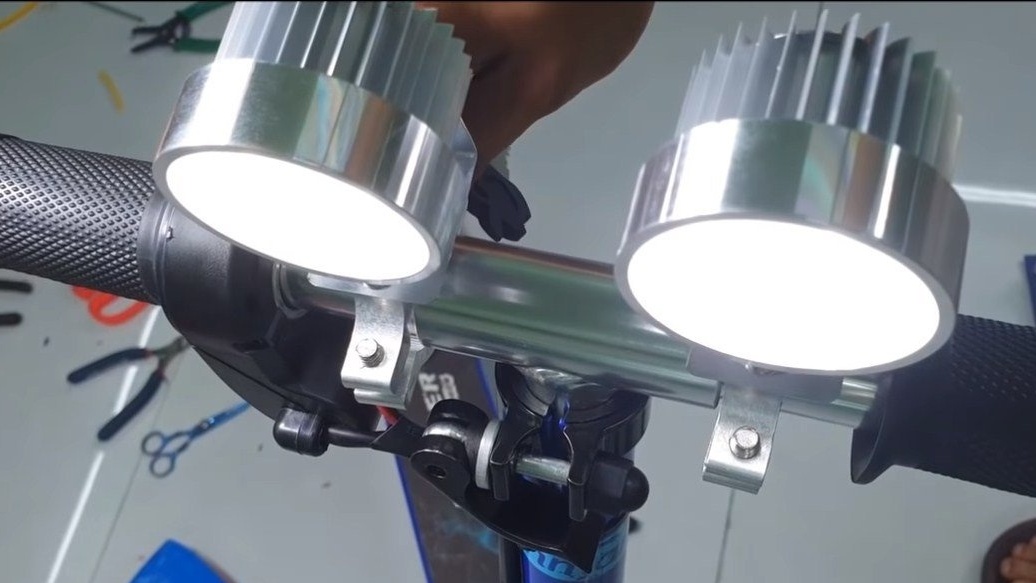
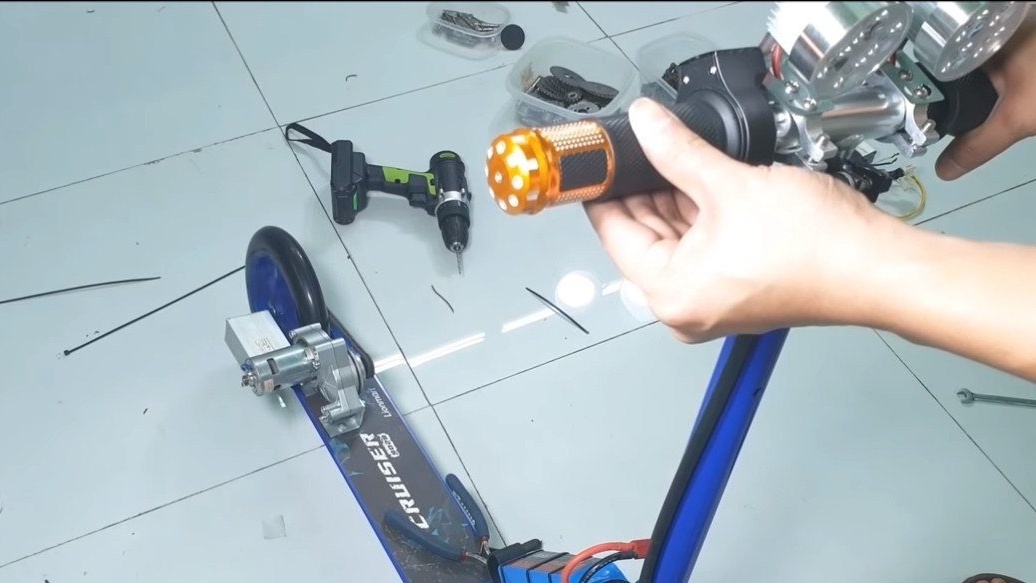
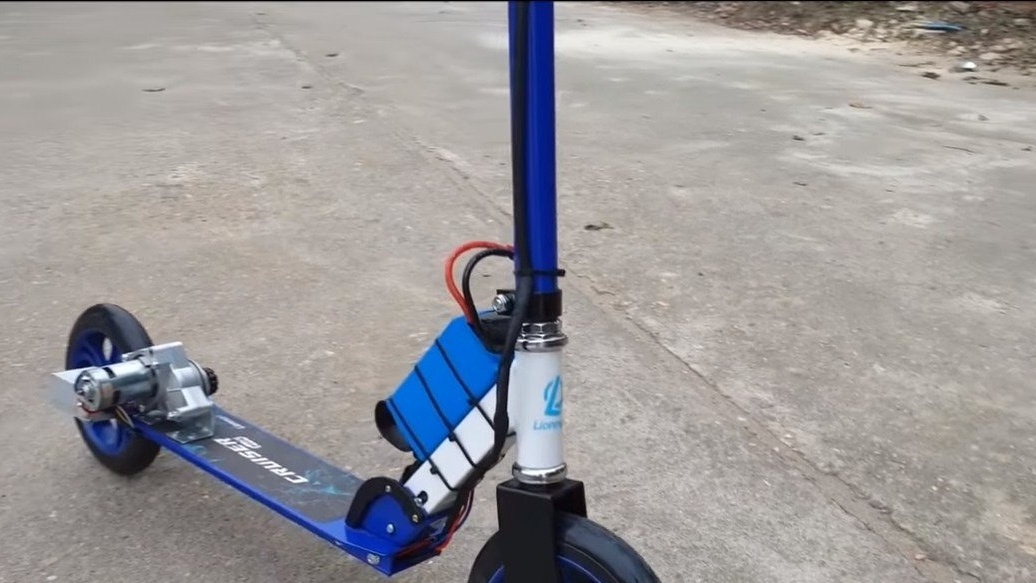


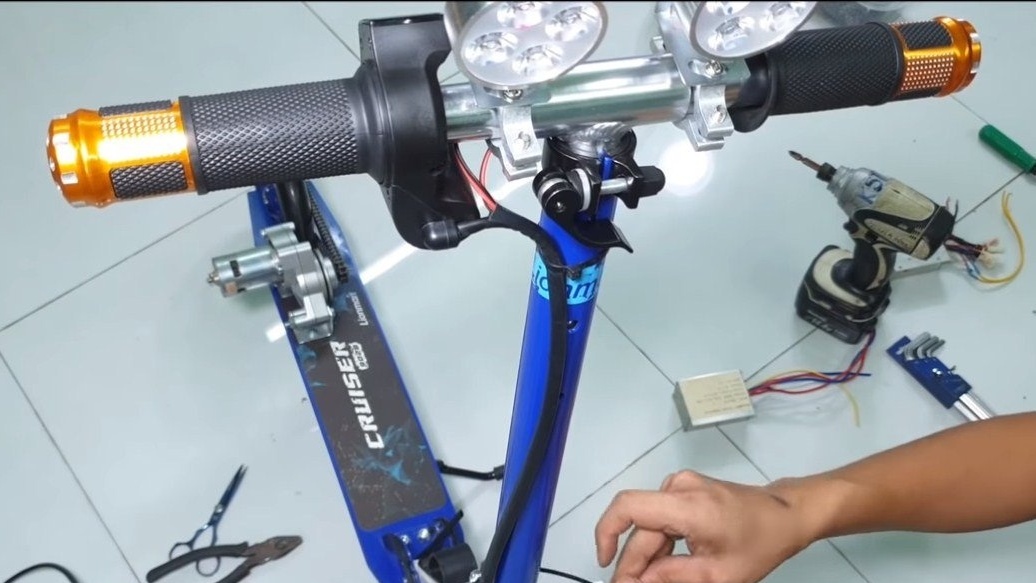
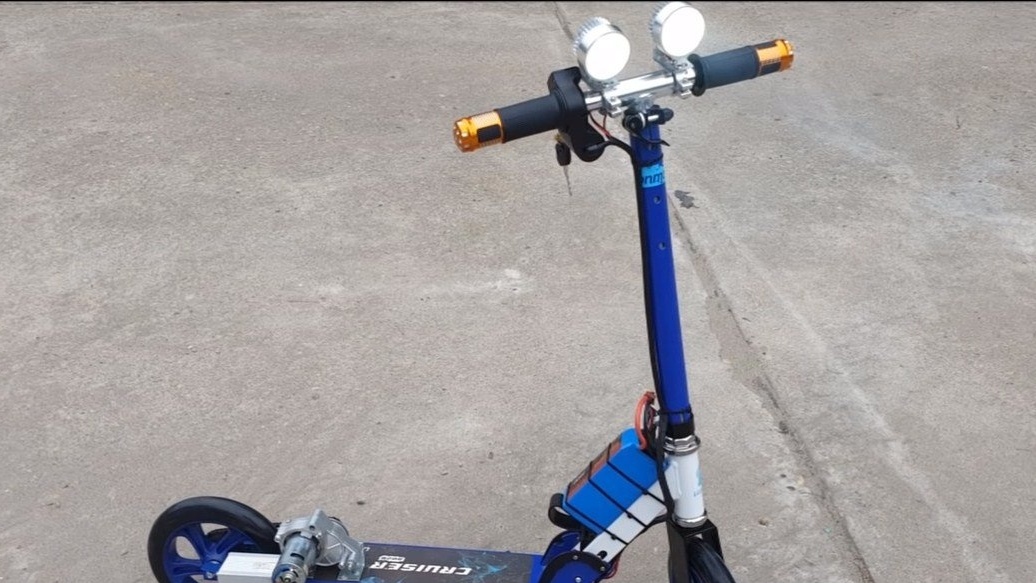
The power source for the scooter is a battery with a capacity of 5500 mAh, which produces a voltage of up to 24.5V. As additional components, the author installed two powerful LED headlights on the steering wheel.
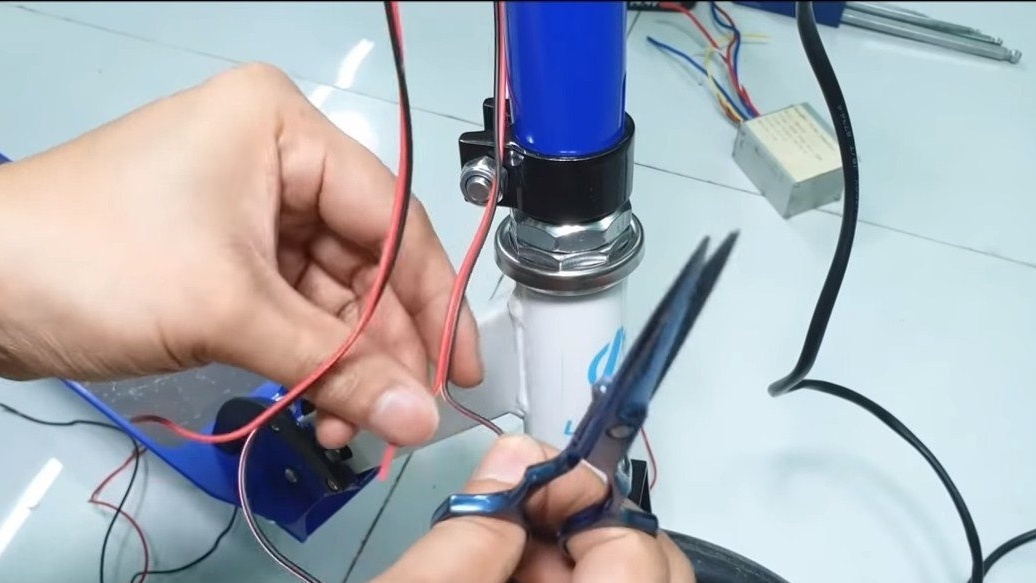
We carry out the wiring through the frame, we securely fix it with plastic ties so that the wire does not catch anything when driving.
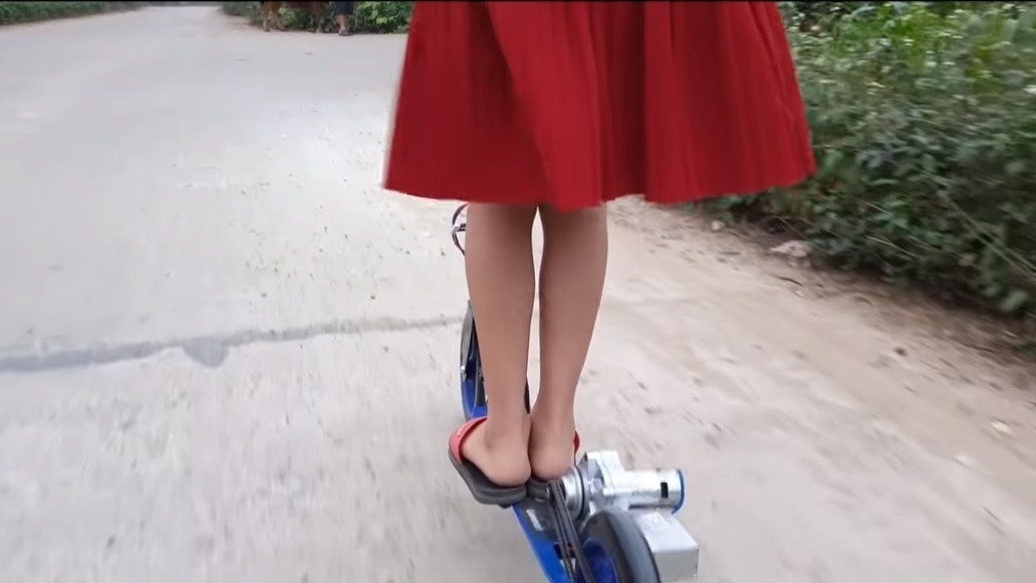
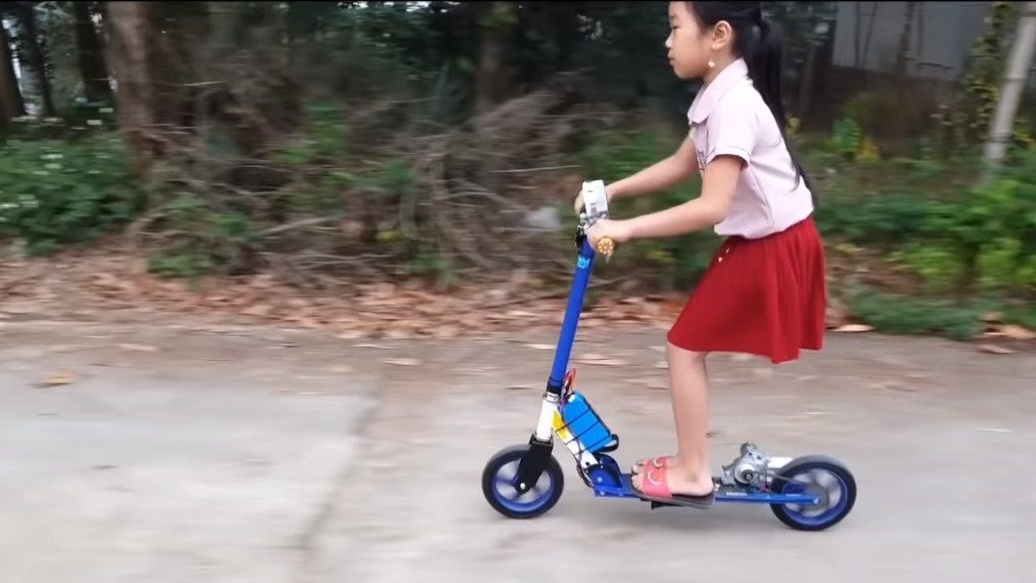
After this, the homemade product is already ready for testing, and the author’s test is his little daughter. The scooter accelerates easily and rides confidently, even the author himself tries to ride a technique. As for the headlights, it shines very brightly, at night everything is clearly visible. On this project can be considered successfully completed. I hope you liked the homemade product and you found interesting thoughts for yourself. Good luck and creative inspiration, if you decide to repeat this. Do not forget to share your ideas and homemade things with us!