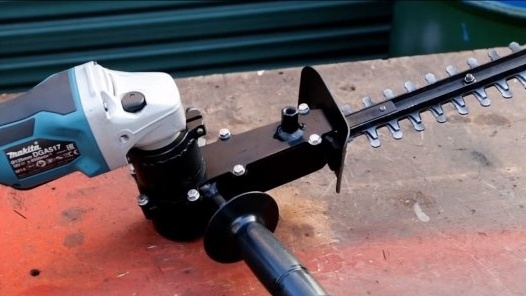
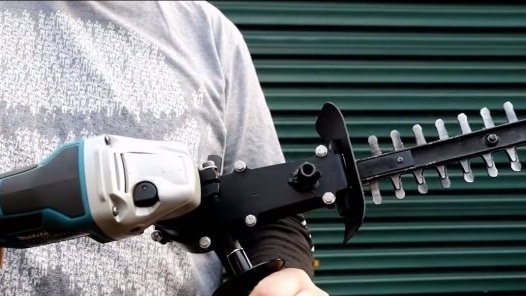
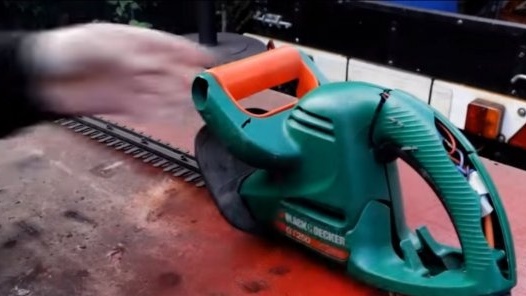
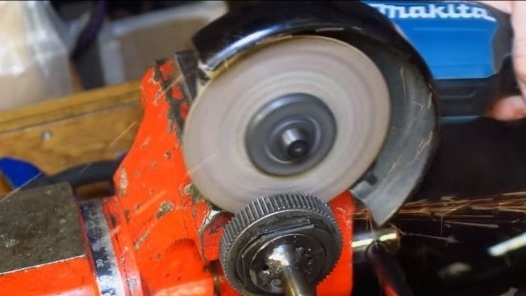
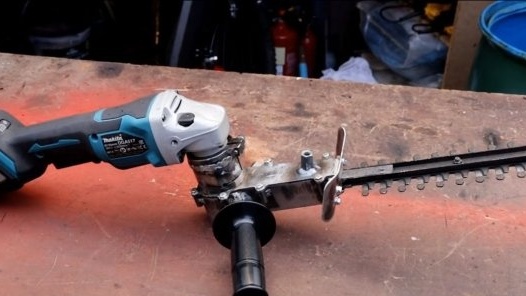
Greetings to fans of craftsmen, I propose to consider a useful nozzle for a grinder that will allow you to trim the bushes. The author assembled such a device from an old brush cutter. Dignity homemade that there’s practically nothing to break here, and productivity has increased significantly due to the high revolutions of the grinder and greater power. Well, and, of course, the main plus is that the author uses a cordless grinder, now the cable will not bother you. If the project interests you, and you want to collect something like that, I suggest studying the homemade work in more detail!
Materials and tools used by the author:
Material List:
- old electric brush cutter;
- grinder;
- sheet metal;
- pipes;
- bolts, nuts, washers;
- bearing;
- paint.
Tool List:
- ;
- lathe;
- drilling machine;
- ;
- a vise.
Homemade manufacturing process:
Step one. We are finalizing the working unit
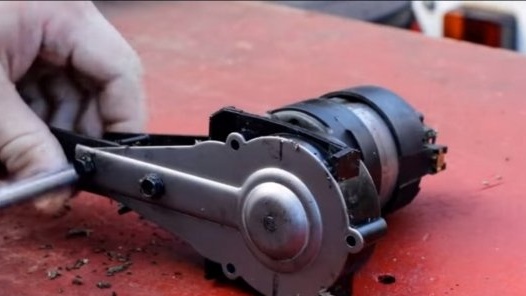
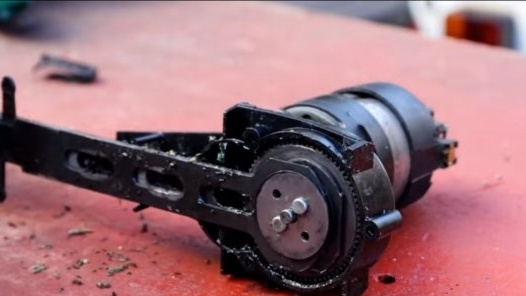
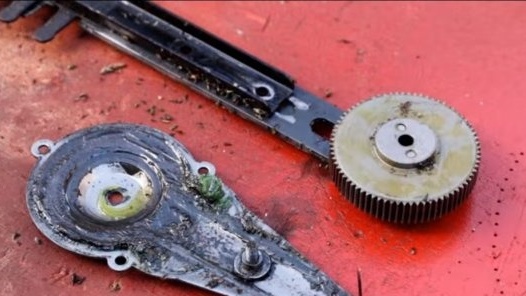
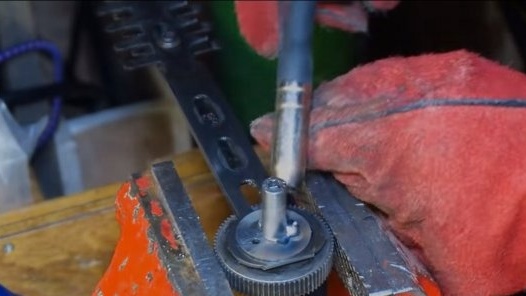
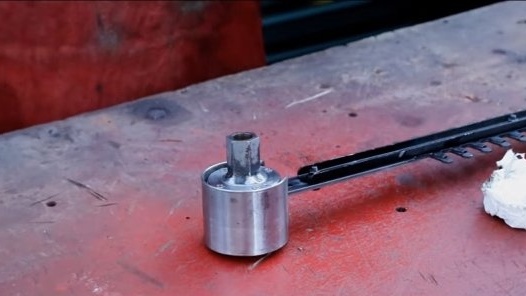
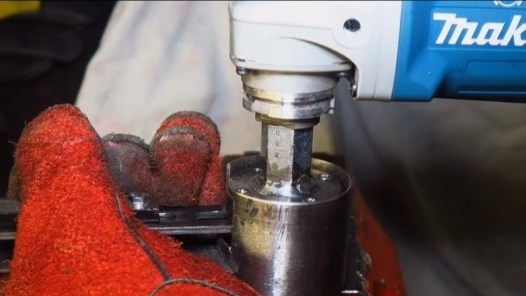
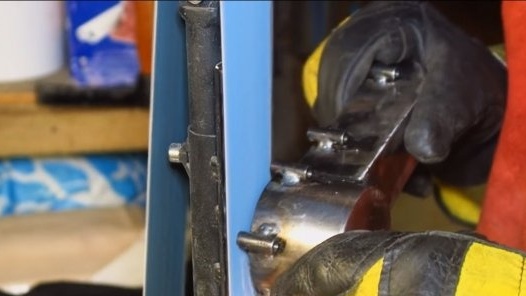
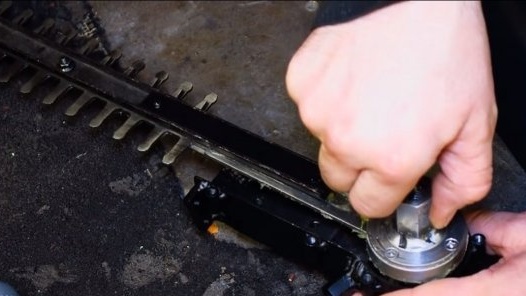
First, we will analyze the old electric brush cutter, we need a working unit, as well as the part that is responsible for cutting. The working unit is mounted on the driven gear, there is an eccentric that makes the knives go forward / backward. The essence of the alteration is to connect the grinder shaft to this gear.
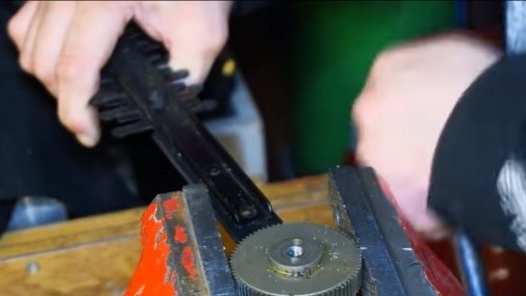
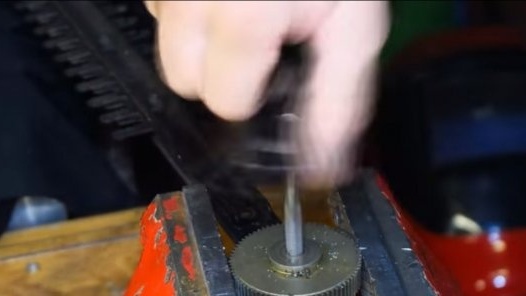
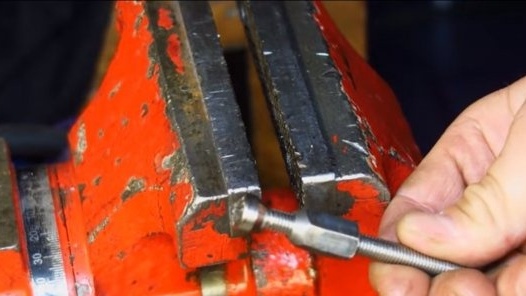
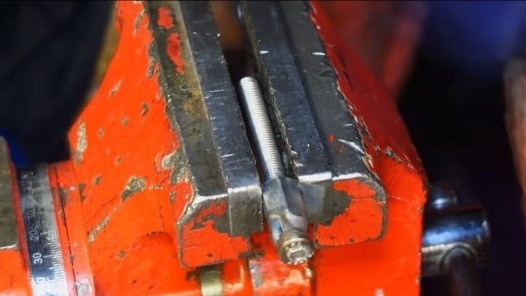
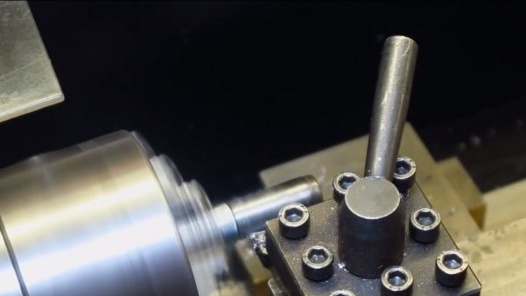
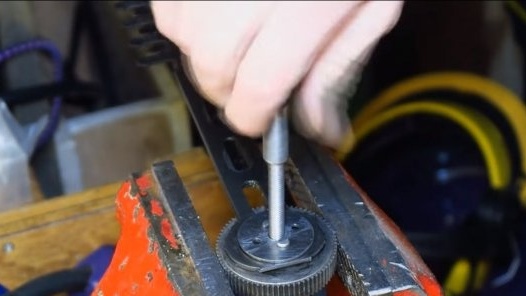
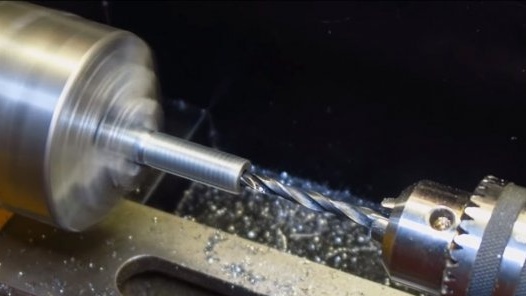
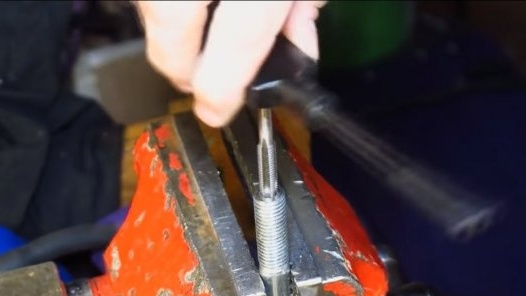
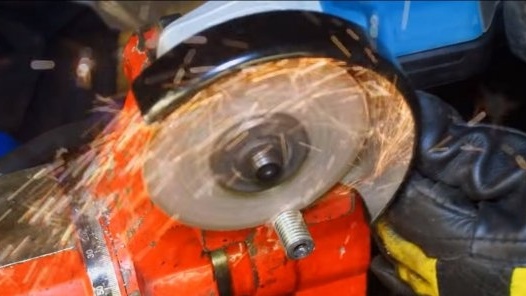
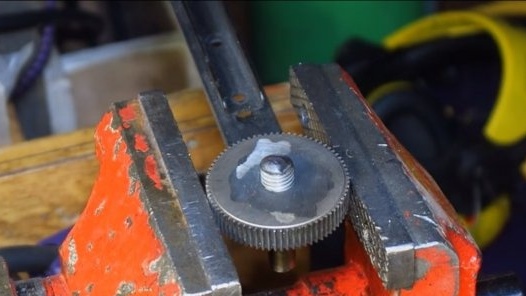
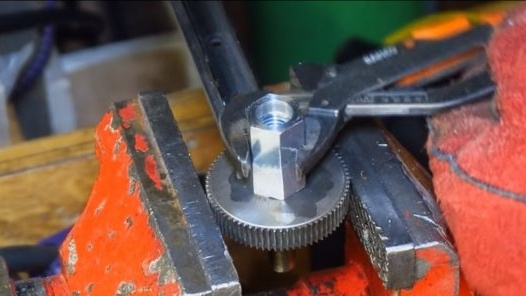
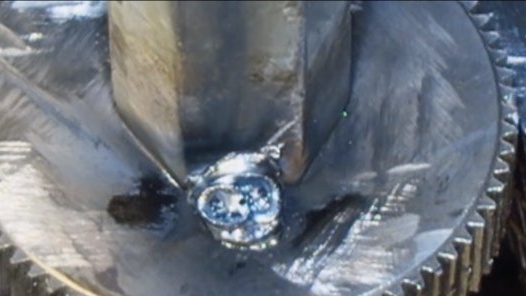
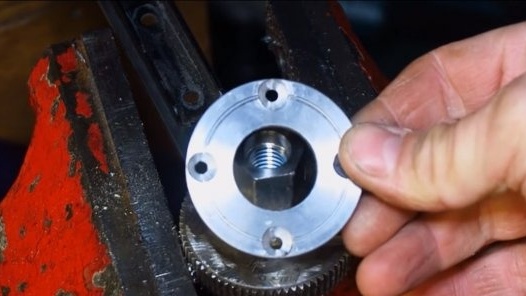
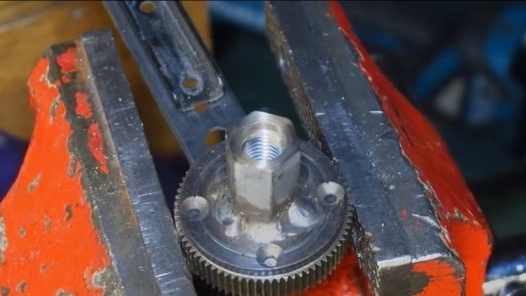
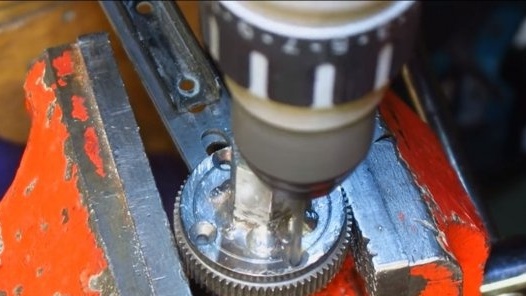
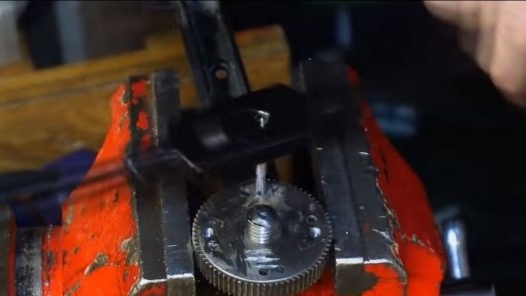
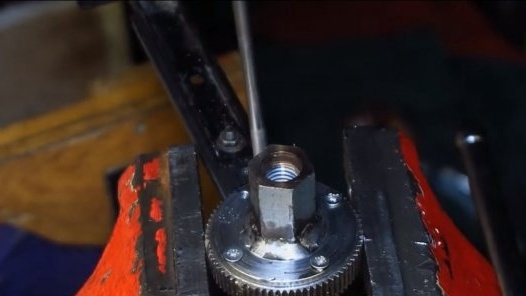
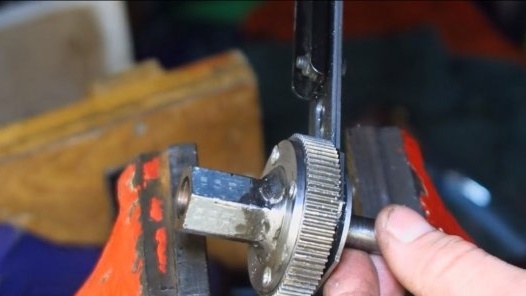
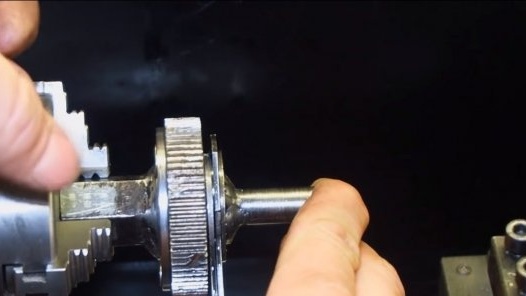
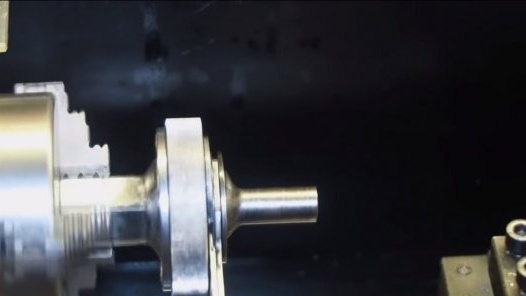
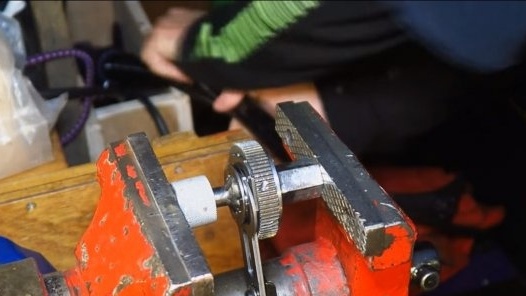
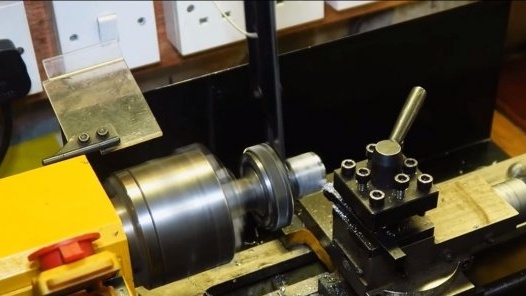
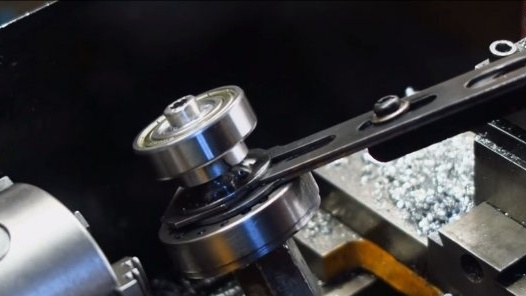
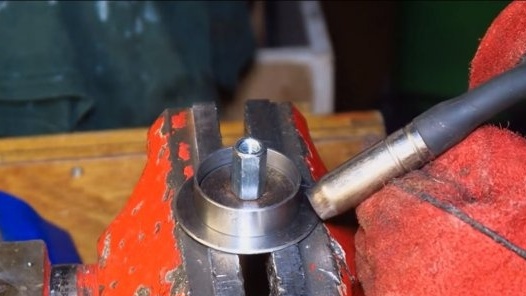
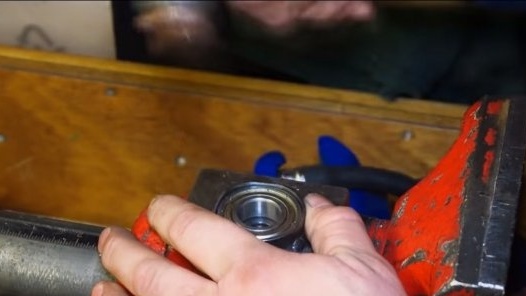
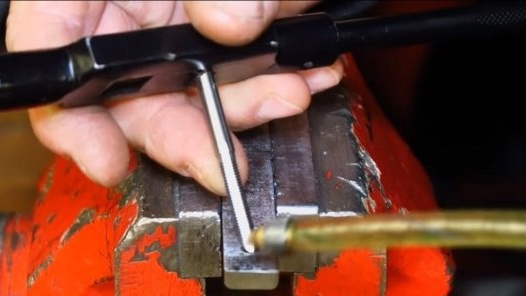
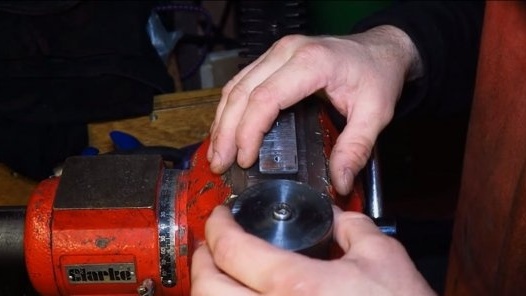
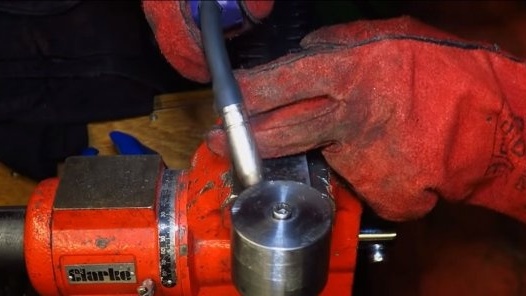
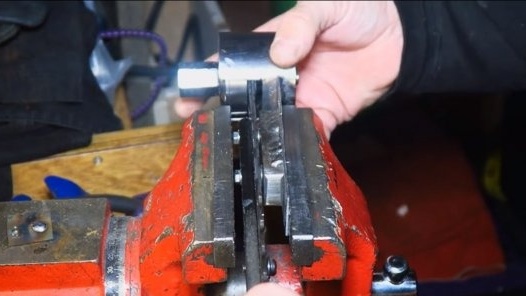
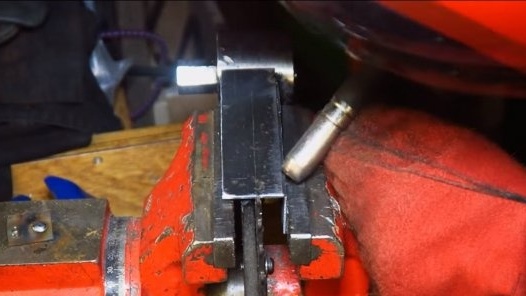
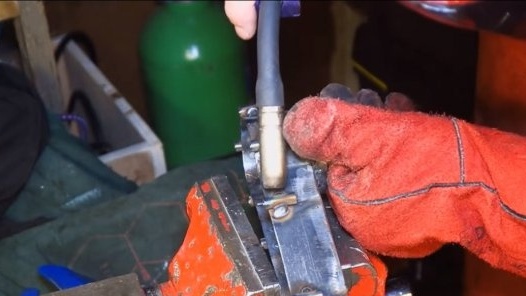
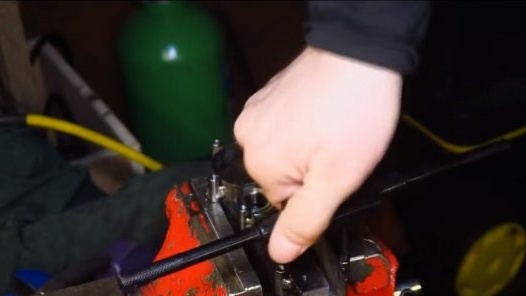
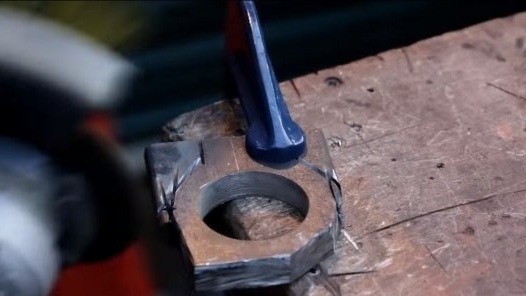
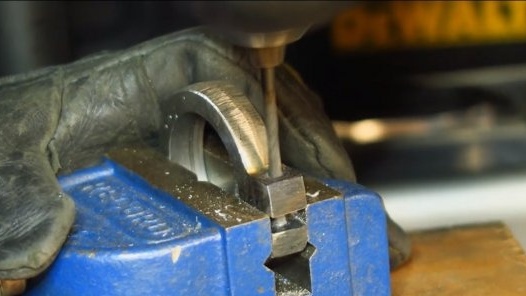
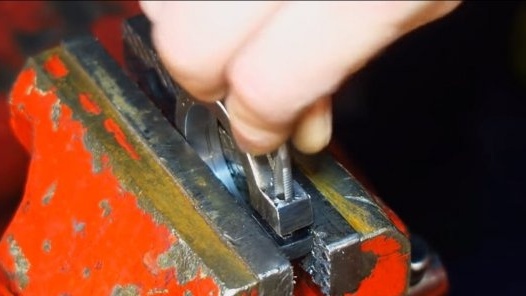
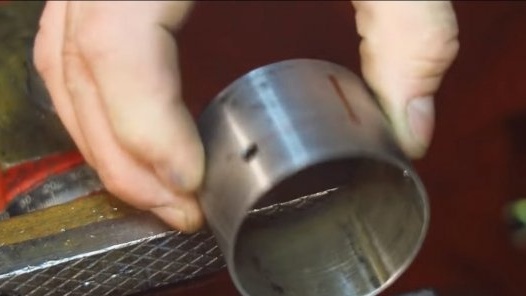
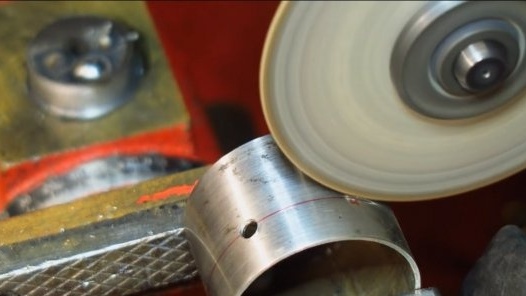
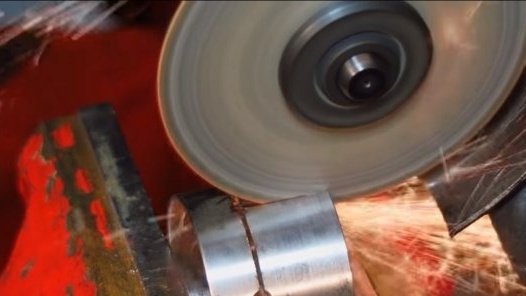
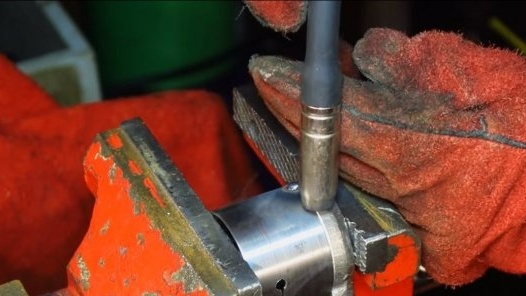
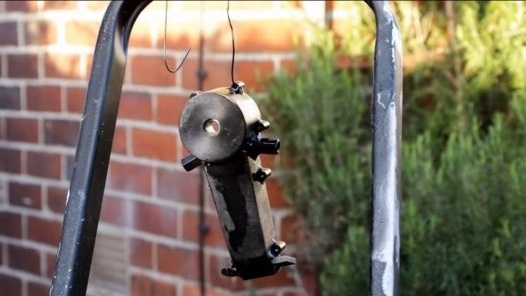
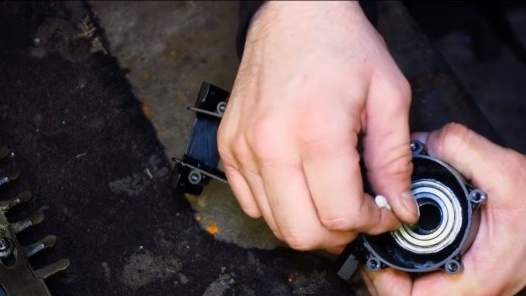
First, we need a nut of such a diameter so that it fits the shaft of the grinder. This nut must be docked with the axis, and the author made a new axis for the gear. We cut the thread in the gear and turn the screw, a threaded rod under the nut is screwed onto this screw, a hole is drilled in the rod and a screw thread is cut. At the end, the screw is welded to the threaded rod, and the nut is welded to the washer with holes, which are already screwed to the gear. But it’s easier to see how it is assembled than to tell once. A bearing is mounted on the other side of the shaft, under it on a lathe we grind the sleeve and press it onto the shaft.
Step Two Bearing cage
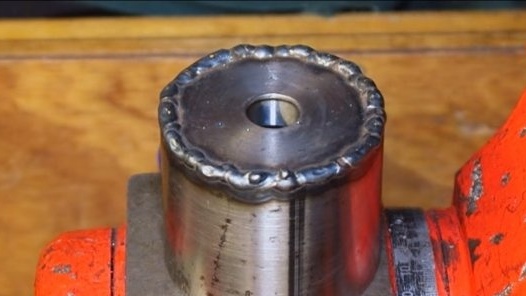
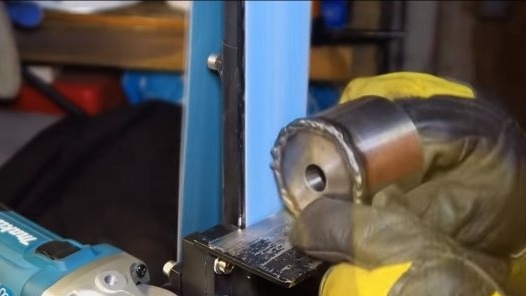
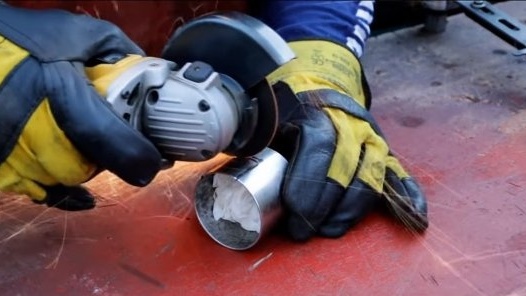
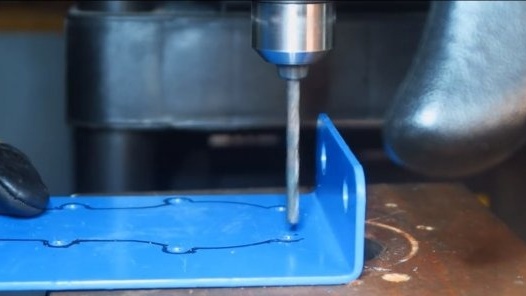
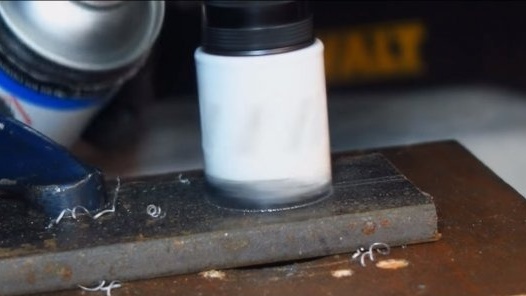
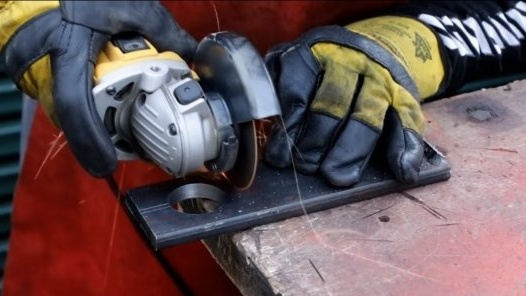
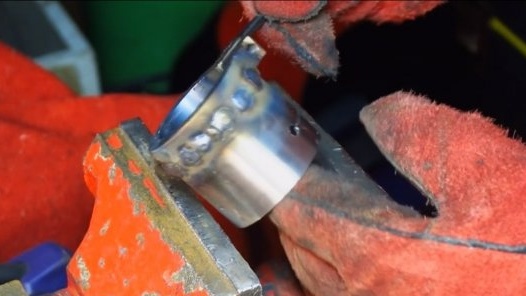
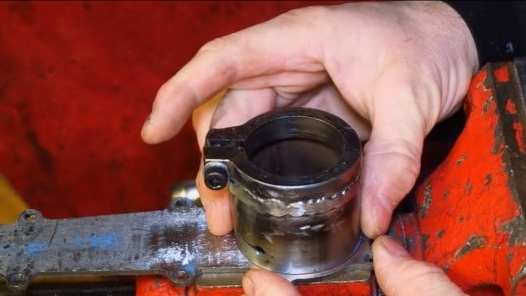
We make the bearing cage from a pipe of suitable diameter and weld to the base in the form of a circle cut from sheet iron.A part of the body is then welded over the holder to the base, which is also made of a round pipe of the desired diameter.
Step Three Fasteners and housing
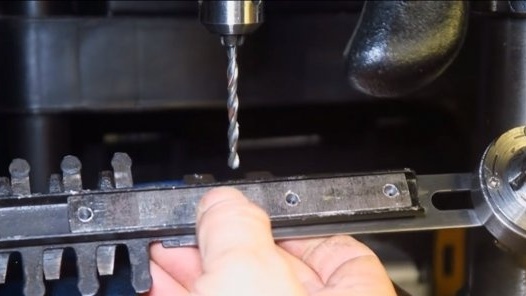
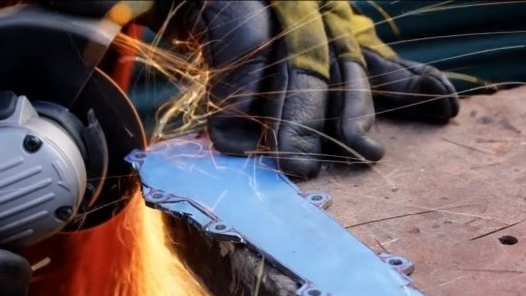
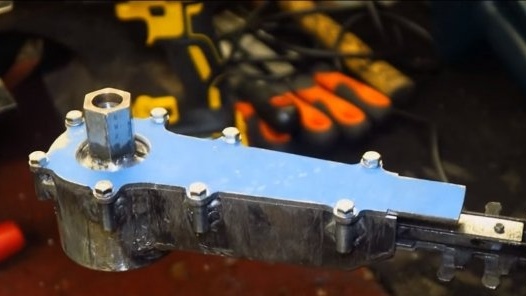
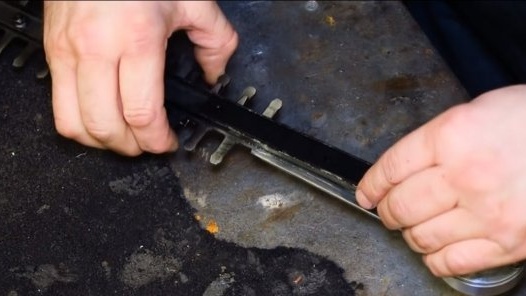
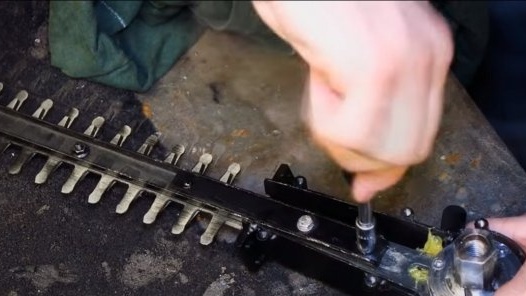
We make fasteners from thick sheet iron or other material that will allow you to install the knife. And after installing the knife over the work unit, we assemble the case, here you may need corners and sheet metal. This unit must be airtight so that dust and dirt do not get here.
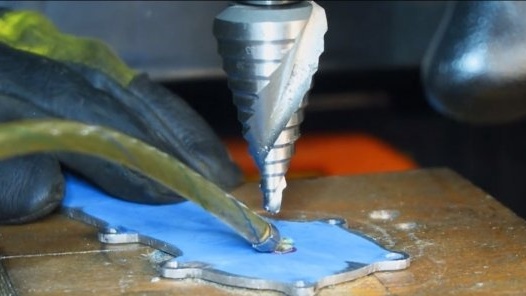
We weld nuts or tubes to the body, in which you can then thread the threads. We also make a metal cover, here you can use aluminum to make the design easier. We will fasten the cover with bolts, as a result, the case can be disassembled and see what's inside.
Step Four Clamp and handle
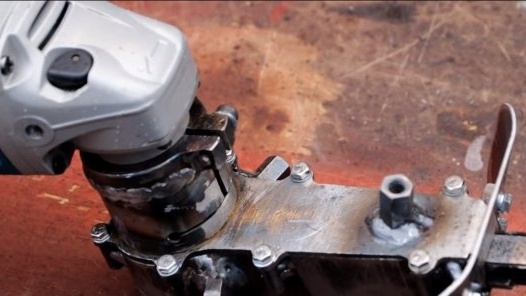
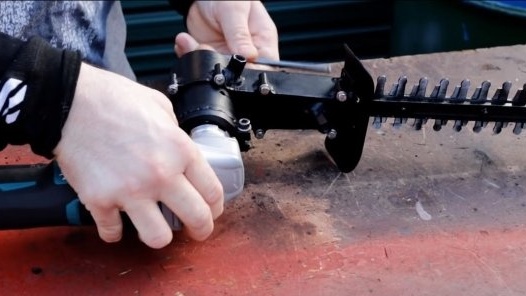
We make a clamp from thick sheet iron, which will be installed on the part of the grinder where the protective shield is attached to it. We weld the clamp to the homemade and the device is almost ready.
At the end, we weld three nuts for attaching an additional handle. As a result, we manage to install the handle in three positions, as it is convenient for anyone.
Step Five Painting and assembly
We paint all the details so that the homemade product does not rust and lasts a long time. After this, the product can be assembled, the author decided to use silicone sealant to seal the lid. During assembly, carefully lubricate all work units with grease. We install the nozzle on the grinder and can be tested.
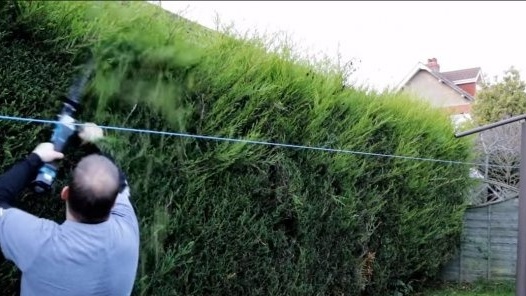
For the author, the homemade product works quite smartly and does not even feel the load. On this project can be considered successfully completed. I hope you enjoyed the homemade! Good luck and creative inspiration, if you decide to repeat this. Do not forget to share your ideas and homemade things with us!

