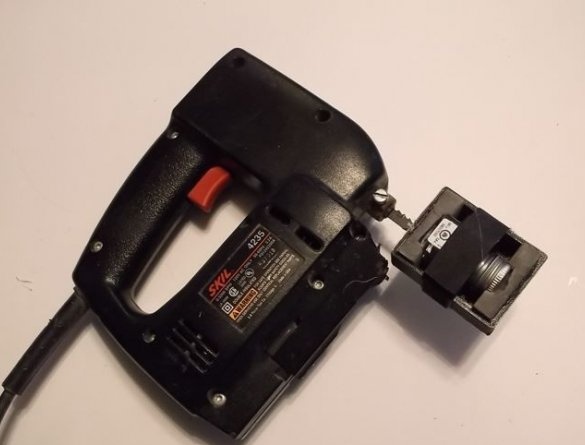
The master uses small containers with Testors brand paint.
They are great for small projects. The paint is excellent, it covers well, hides brush marks ... But any paint in small bottles can become a real pain. This is especially true for high pigment inks such as Testors. The pigment may fall to the bottom of the bottle, leaving the solvent on top. You need to shake the bottle to return the paint to perfect condition. Shaking them manually is simply impossible. Besides the fact that this work is time-consuming, it is also tiring.
While the paint is mixing, the hand goes numb from shaking. The master was looking for a good bottle shaker, but did not find one that he can afford.
Therefore, he realized his idea and has been using it for years. Works great. And so far there have been no problems. This impromptu shaker thoroughly mixes the colors in about twenty seconds.
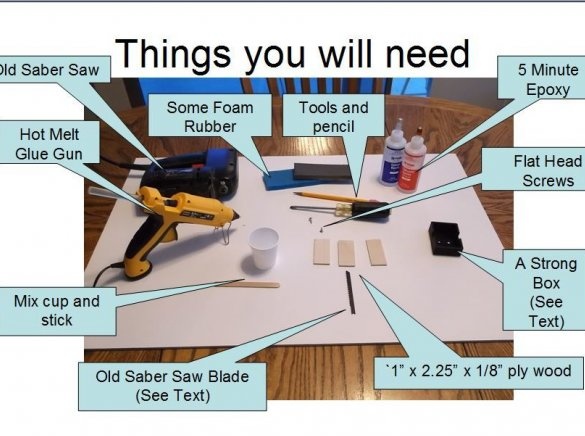
Step 1: Things You'll Need
The main detail is a small box for paint. The master developed it in Autocad and printed it on a 3D printer made of PLA plastic. It is designed with angular edges for added strength and has a thickness of 3 mm on all sides. Below there are holes for countersunk screws for attaching to plywood that surrounds the old file.
If you do not have a 3D printer, then the box can be made of 3 mm plywood. When the box shakes, a huge tension arises, therefore it is necessary to strengthen the corners in good conscience. Internal dimensions 57x44x19 mm.
In the lower part there are two holes for two self-tapping screws with a flat head 6x9 mm. They must be recessed so that the screw heads do not protrude inside the box.
The file should be very thick and strong, on hard wood, the more teeth, the better. Any old dull blade will do.
Make sure your jigsaw has a good solid working bearing and that the blade mount is in good condition. This paint shaker puts extra strain on the saw equipment inside. This is another reason why a jigsaw must have a variable speed.
If you are using a fully functional jigsaw, remove the countertop guide before using it to shake the paint. Otherwise, you will not have enough free space to fully insert the paint holder box into the blade.
Foam or packing foam will also be required.The craftsman uses hard but soft packaging foam from the shipping box for the electronics.
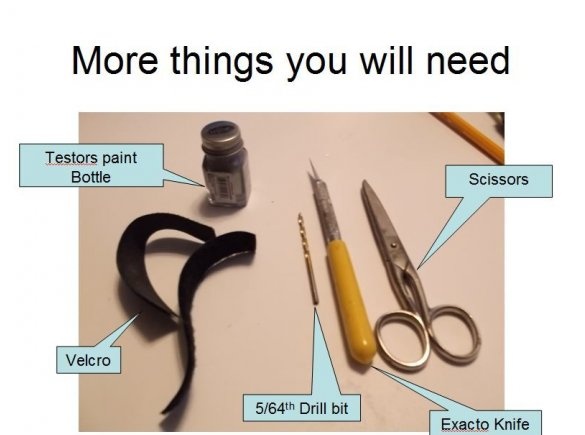
Step 2: Tools
- scissors;
- drill with a diameter of 2 mm;
- cutter;
- Velcro 19 mm wide;
- epoxy;
- glue gun with rods;
Step 3: Cutout for a jigsaw file
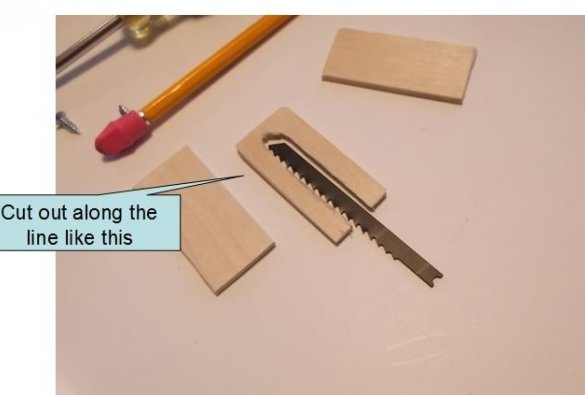
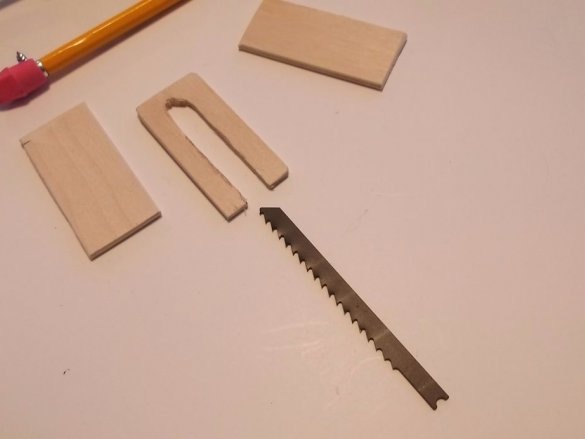
Lay the blade on 3 mm plywood and circle it. No need to be too precise. Enough for the blade to fit. Leave the blade sticking out 1/3 of the part, but it is better to make sure that the blade while in the saw is full, the plywood would not cut into the saw body.
Step 4: Cut Outline
Cut the material from the contour that you drew so that the blade fits freely. It is important that the epoxy has enough space to fill the entire space around the blade.
Step 5: Plywood Sandwich
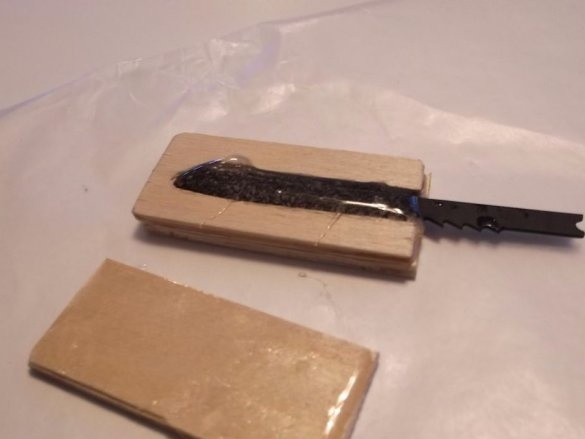
The idea is to glue three pieces of plywood together with a blade firmly embedded in the epoxy resin inside. Clean the blade of any oil or wax with a nail polish remover or nail polish remover (same) before applying epoxy.
Fully drown the file into the resin on both sides.
Step 6: Dry
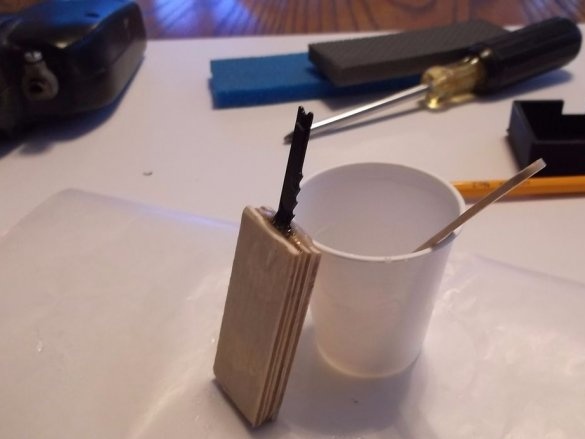
Lay the product upright, remove excess epoxy and allow to set for a longer time than recommended. The master used a five-minute epoxy resin and left to set for half an hour.
Step 7: While the glue is drying
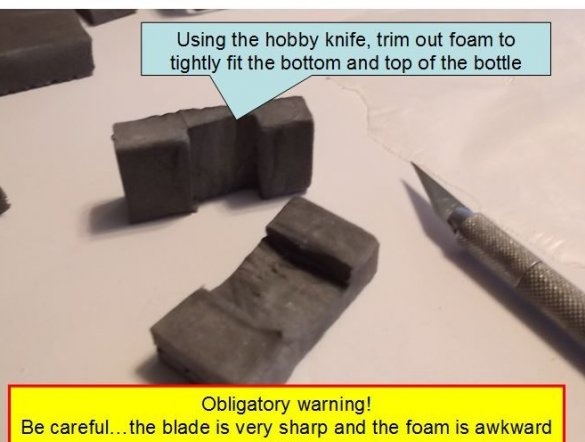
Cut a few small rectangular shapes of foam to fit on the top and bottom of the box. They should fit snugly against the sides of the box.
Step 8: Fitting the Bottle
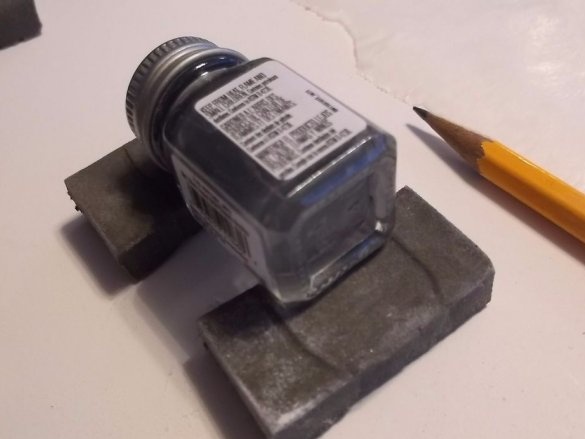
Put the sliced pieces of foam and place a bottle on them. Draw a few lines very close to the bottle. Cut off this foam to make a small “pocket” that matches the bottle.
Step 9: Foam Fit
The foam is soft, spongy and inconvenient to cut. The cut should not be perfect. Just cut off about half the foam and carefully peel off the part with the blade you want to cut. Enough to hold the bottle in your pocket. Put the foam and bottle in the box and cut it if it is too tight. The bottle should fit snugly, and not tighten. Remember that after mixing the paint you still have to take out the bottle.
Step 10: sticking the foam into the box
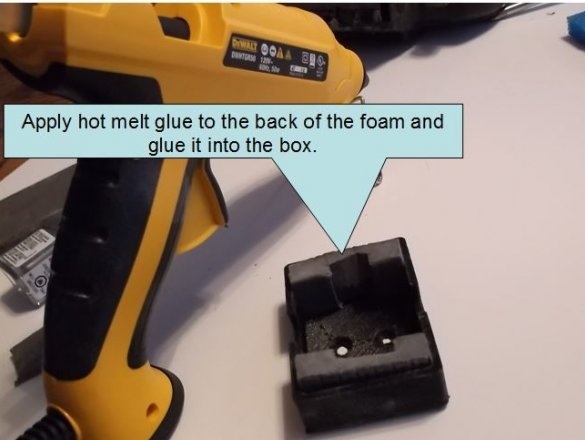
If all goes well, stick the foam. You can use epoxy or even super glue. The master uses hot glue because it never becomes brittle. It seems to withstand all vibrations and adheres well to foam and a plastic or wooden box.
Step 11: Mark Holes
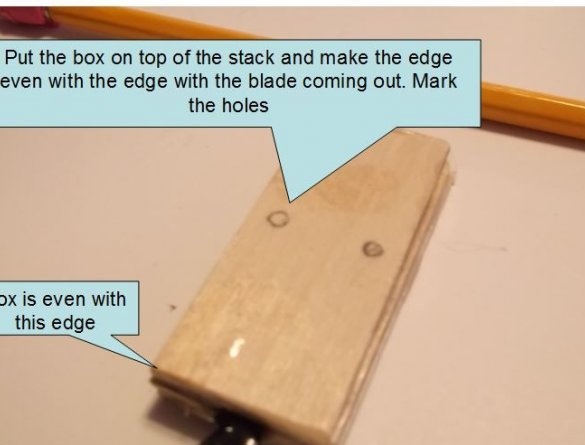
Place the box on a wooden "blade" and mark the holes where the screws will be screwed. You should place the box no higher than the edge of the tree where the saw blade sticks out.
Step 12: Drilling Holes
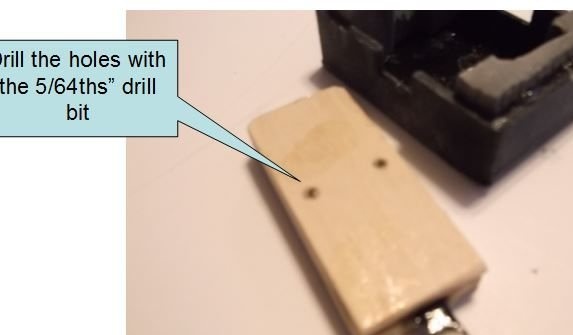
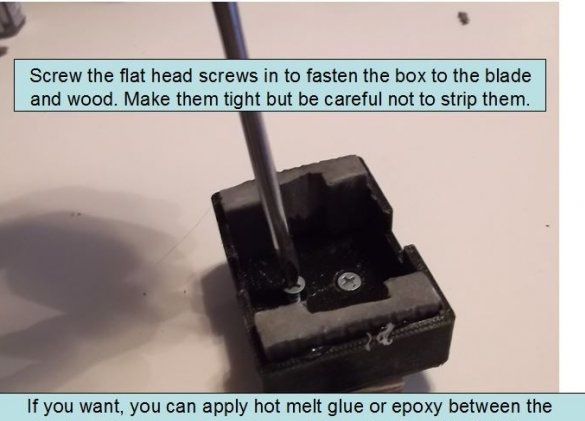
Using a drill with a diameter of 2 mm, drill holes for self-tapping screws with a countersunk head 6 x 9 mm. The holes are specially made too small. Plywood is strong enough, it will not break. It is important to use countersunk heads so that the heads of the screws do not touch the bottle. When shaking, the heads of self-tapping screws will act on the bottle if the heads are not recessed. Scratches and the like can cause weakness in the glass. If you make your own plywood box, be sure to recess the holes. If you use the wizard file to print the box, the holes are already recessed.
Step 13: Tighten the screws
You may wonder why the box is fastened with self-tapping screws, and not with epoxy resin or some other glue? The master used self-tapping screws because he needs to change the box with bottles from time to time, the size is different everywhere.
Step 14: Velcro Fasteners
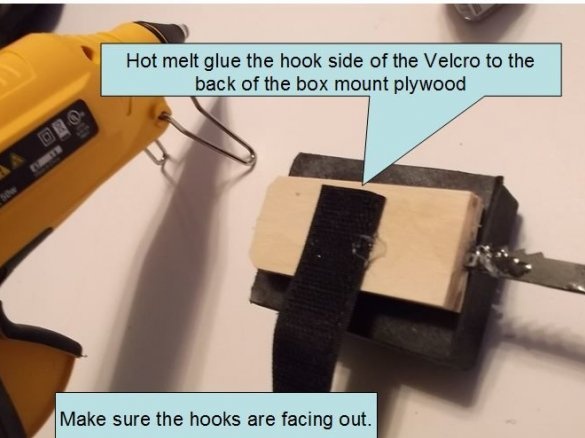
On the back of the "paddle" you need to glue the seat belt with Velcro.
Step 15: Product Inspection
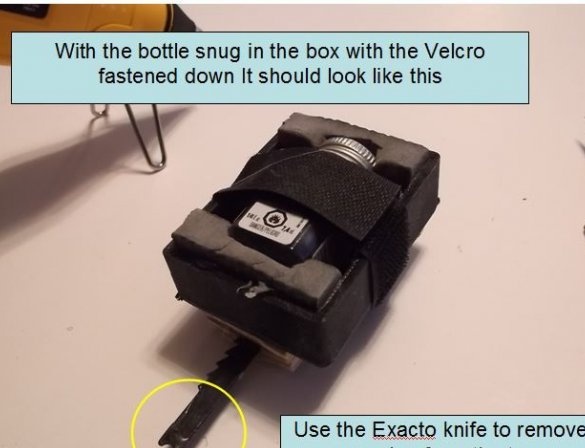
This is what the bottle in the product should look like. It doesn’t look perfect, but it works great.As practice has shown, a Velcro strap is more of a precaution. The bottle will not drop out if it fits snugly enough in a foam lined box.
Step 16: Product in Action
A 20-second shake at medium speed mixes the paint perfectly in any of the small bottles with paint, even with paint that has not been used for many years (liquid paint).
Shaking does not need fast speed. All that high-speed shaking can do is overload the jigsaw and file, which can lead to metal fatigue or even damage to the bottle. Liquids do not compress. Paint is a liquid, and if it hits too hard on the glass inside the bottle, it could well create a disaster.
Step 17: STL file for the box
The file is made to fit the 7 gram Testors paint bottle. Attachments

