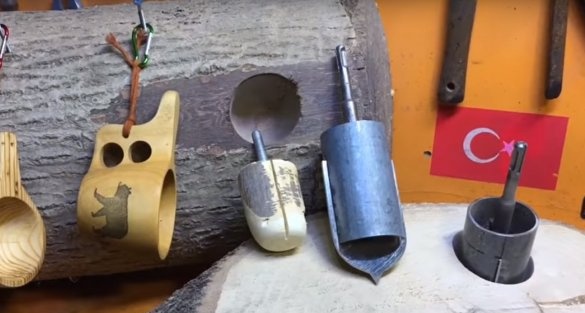
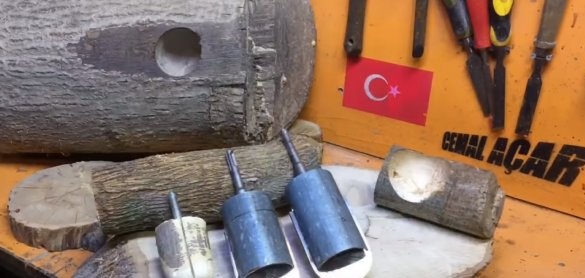
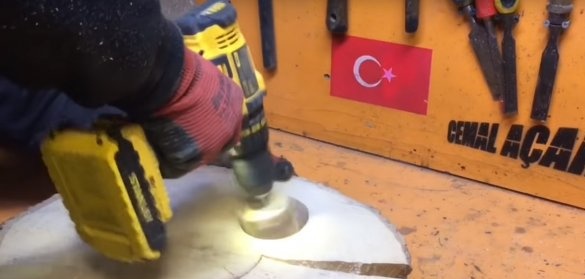
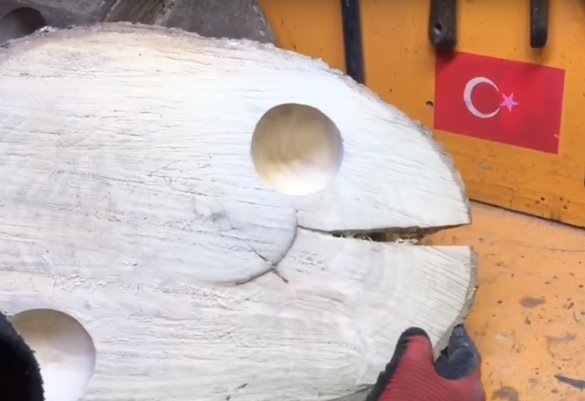
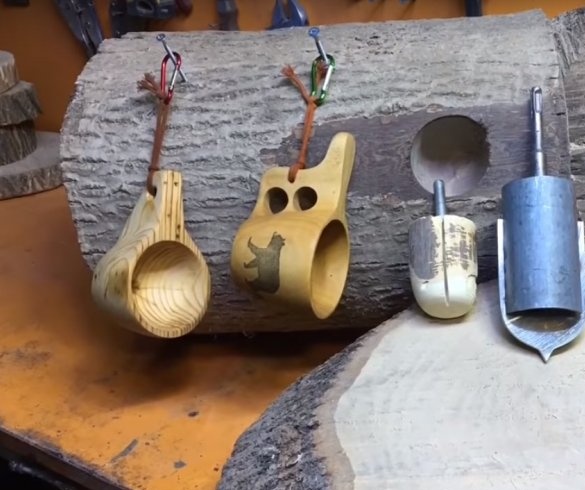
Good day to all. Today the author of the channel “cemaL AÇAR” will show us what he did fixtures in order to make it easier to work with wood. With the help of these devices, it will be possible to make such wood products as: mugs, cups, spoons very easily and quickly make different indentations in wooden blanks, as well as easily grind the indentations made. In addition, these devices can be made by anyone, and everyone can make the dimensions those that he needs.
And so, what did the author use for the data homemade.
Devices number 1
MATERIALS:
Galvanized pipe, diameter 60 mm
Bicycle spoke
Wood saw blade
Concrete drill bit (which is no longer used for its intended purpose)
INSTRUMENTS:
Calipers
Square
Roulette
Vise
Ushm
Circles: metal cutting and grinding (flap)
Files
Marker
Electrodes and welding machine.
To work with these devices, you will need such a power tool as: a drill.
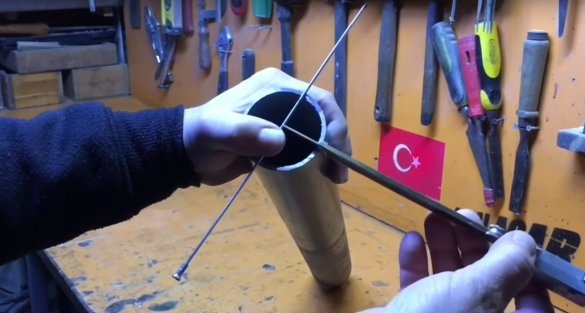
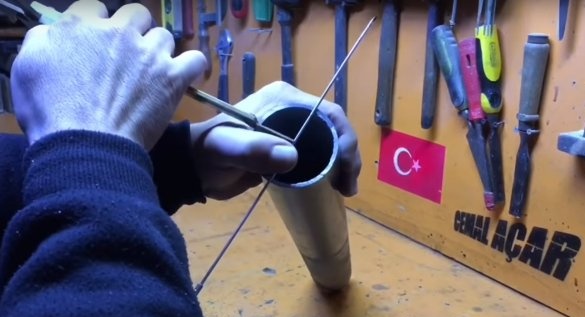
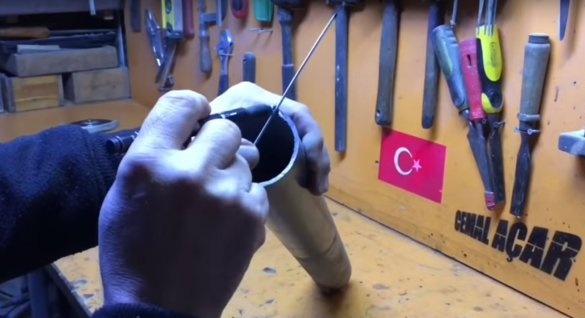
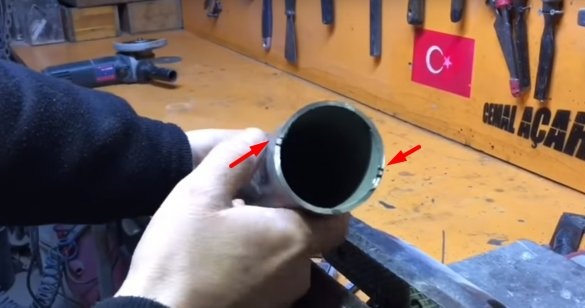
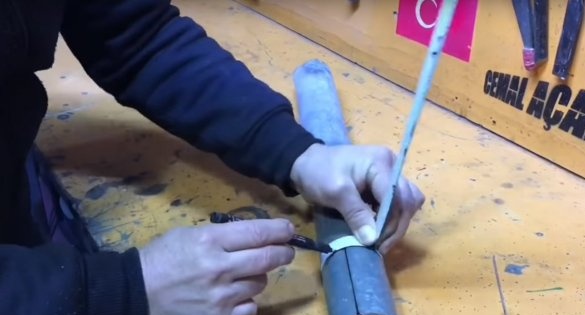
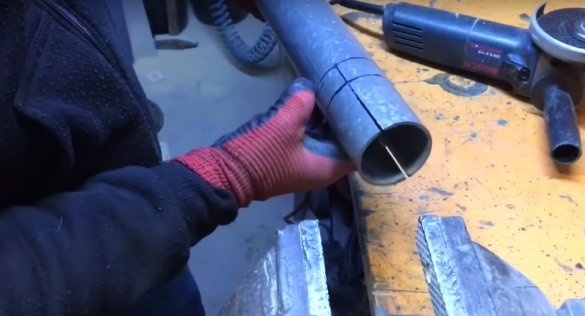
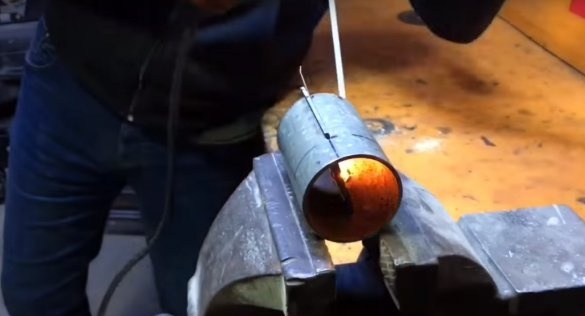
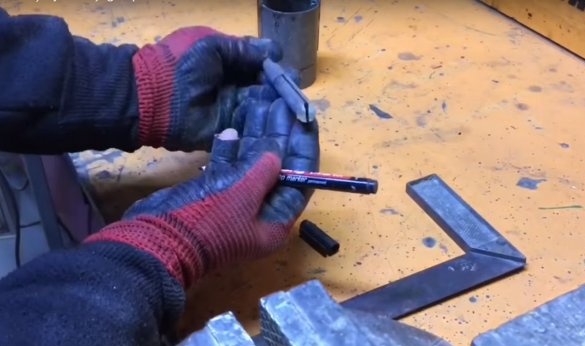
And so, first, the author put a spoke on the end of the pipe and found the center of the pipe. After made marks on each side of the knitting needle.
Like this.
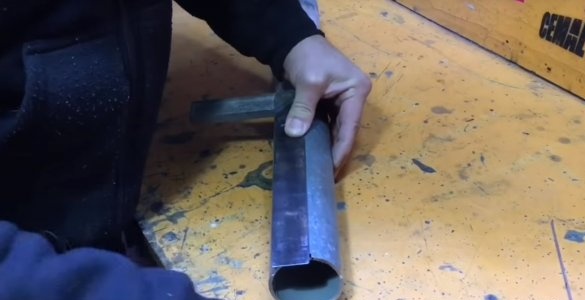
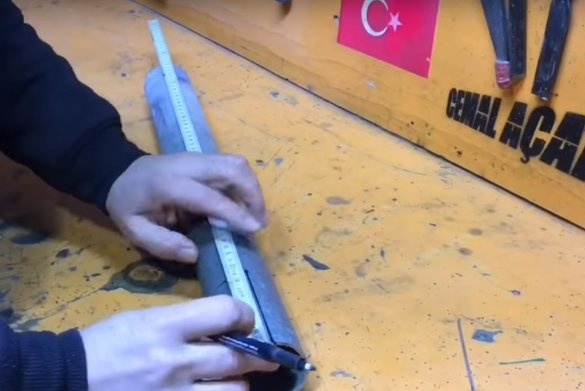
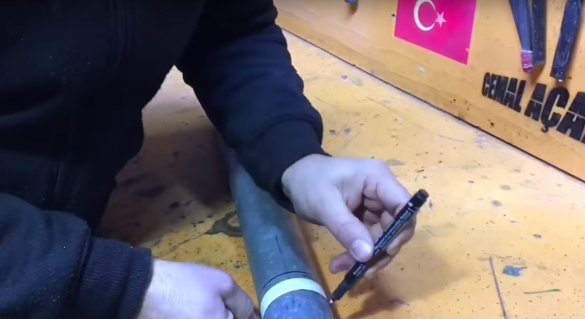
Then he drew straight lines along a pipe 90 mm long.
After outlined the location of the cut.
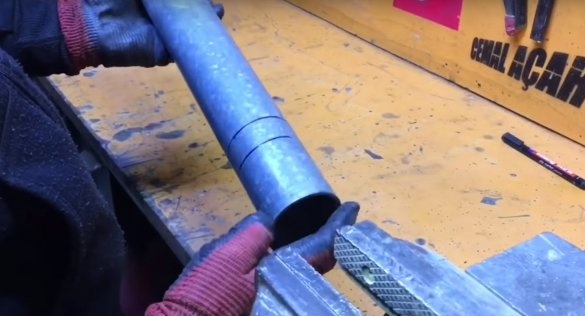
Then he stepped back from the cut point of 25 mm and made another line around the entire circumference of the pipe. To this mark, the author will make longitudinal slots.
It turned out something like this.
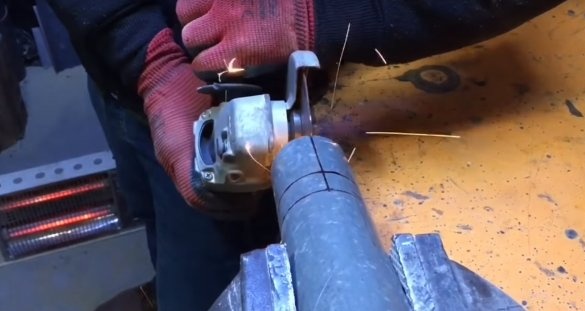
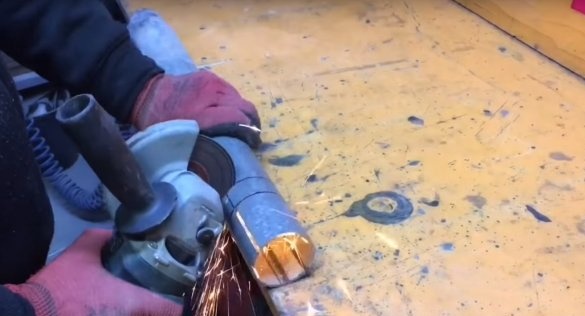
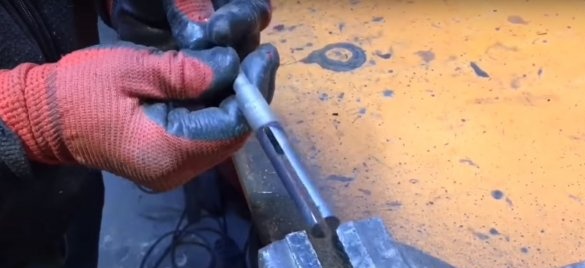
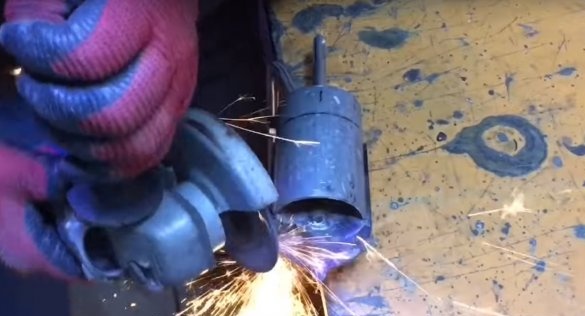
Next, the master made slots along the marks that were along the pipe.
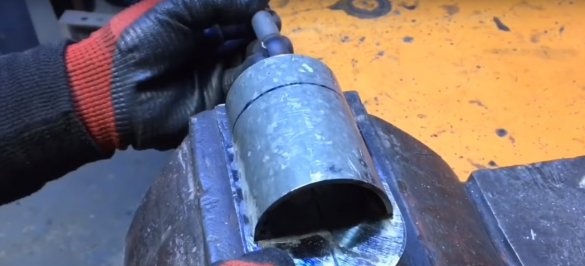
And cut off a piece of pipe with a length of 90 mm.
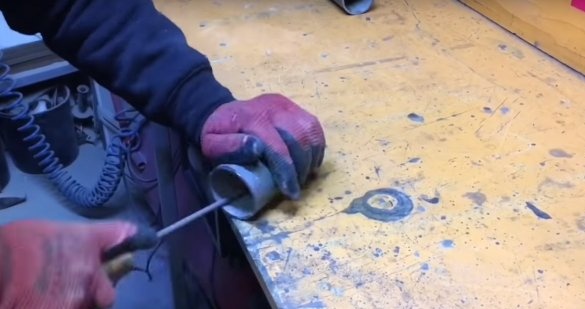
Then he removed the burrs at the cutting sites with a file.
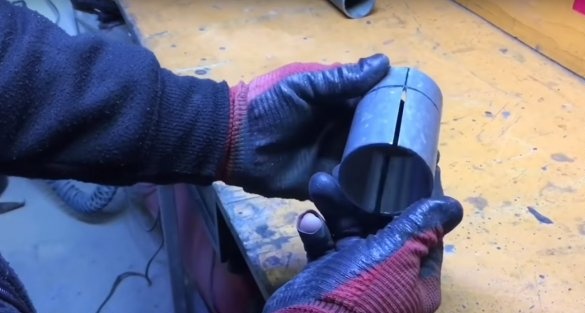
Such a workpiece turned out here.
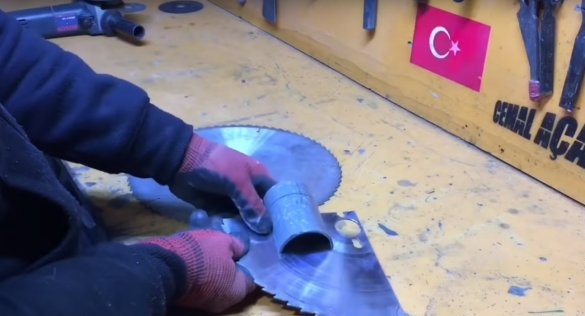
After installing the saw blade slot.
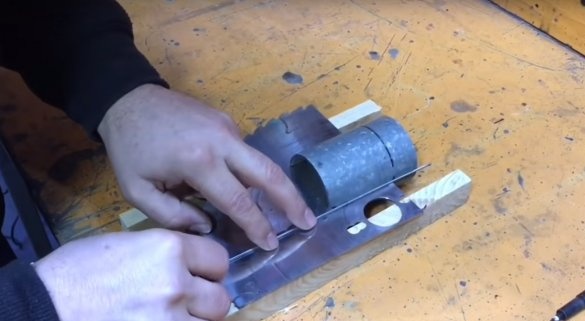
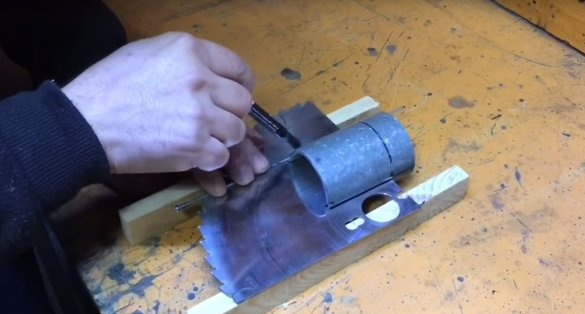
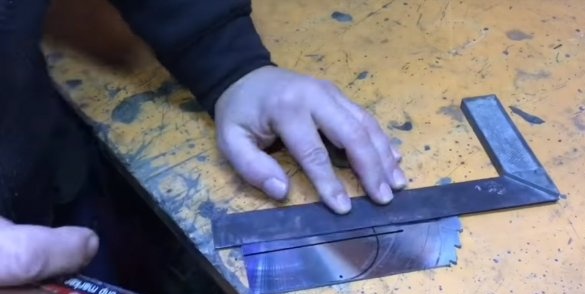
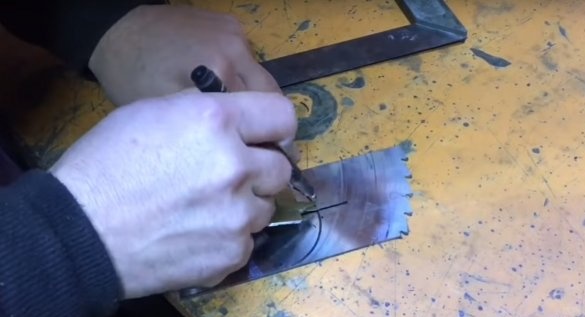
And putting the spoke to the outer wall of the pipe, he noted the places of cutting the saw blade.
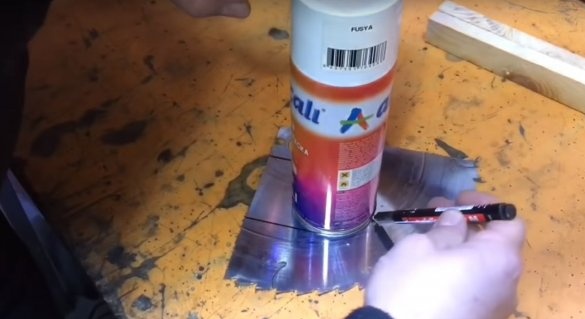
Then, using a spray can of paint, I made the markup, as in the photo.
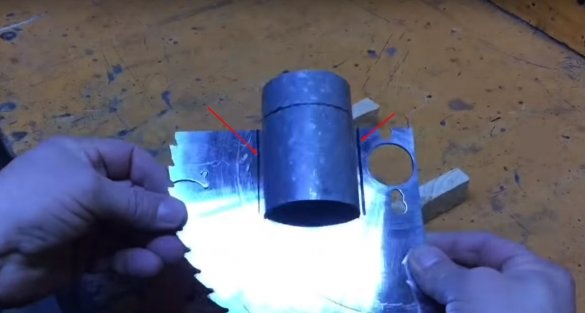
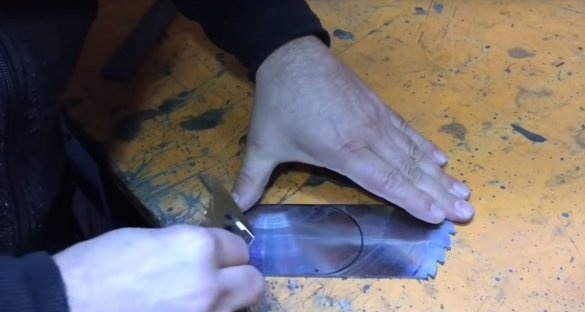
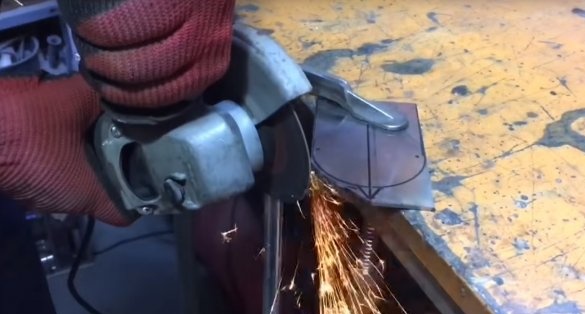
Then he cut off part of the excess.
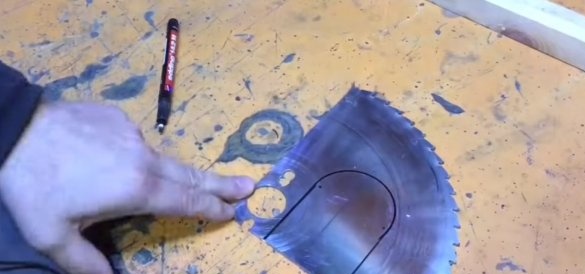
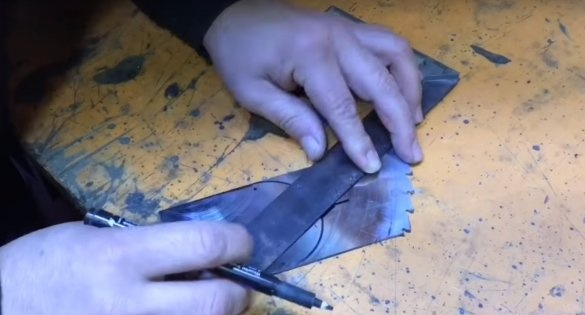
And finding the middle of this blank.
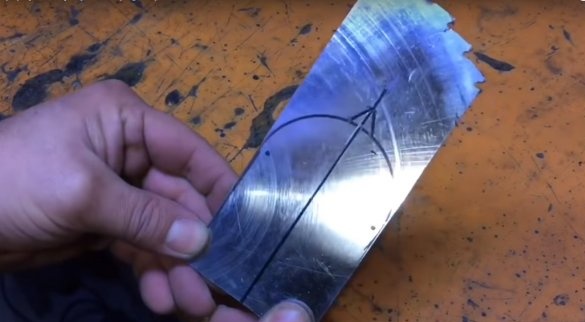
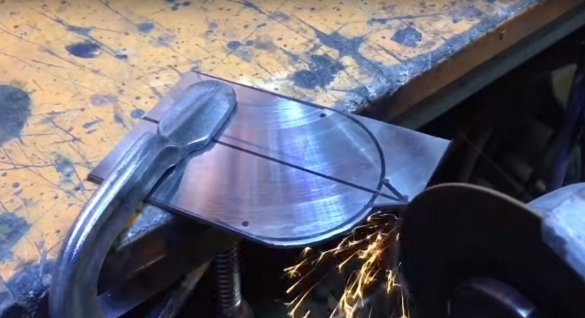
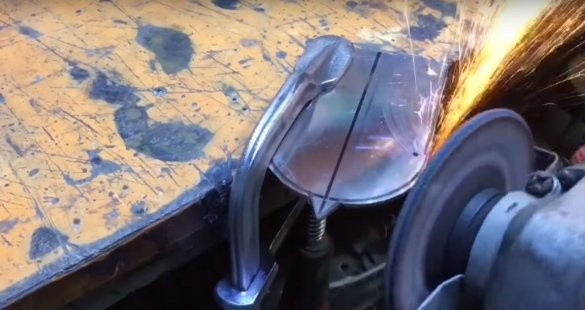
I made such a markup.
Sharp tip height 10 mm.
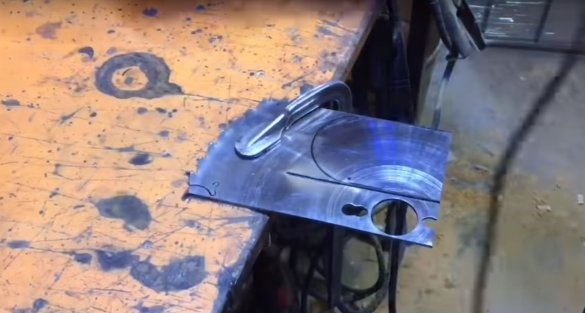
Then I cut the workpiece.
And he worked the edges with a petal circle.
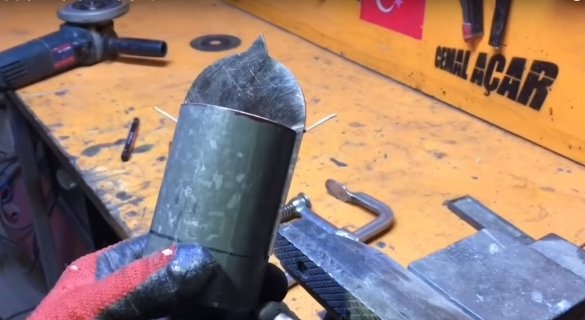
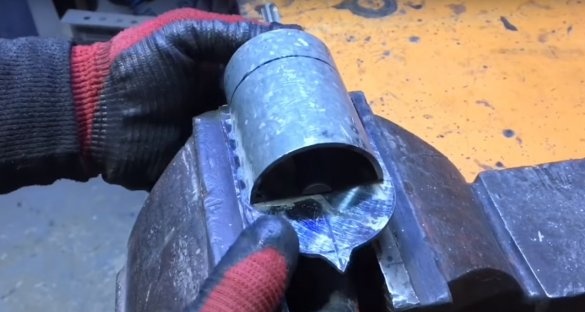
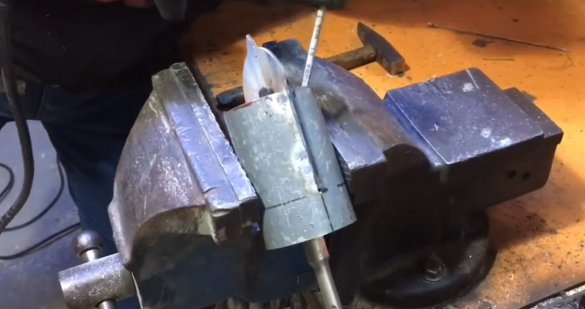
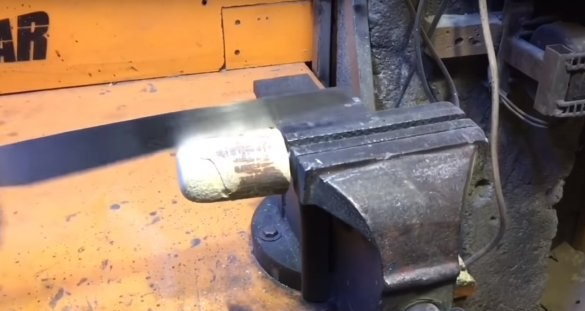
After installed this workpiece in the workpiece from the pipe.
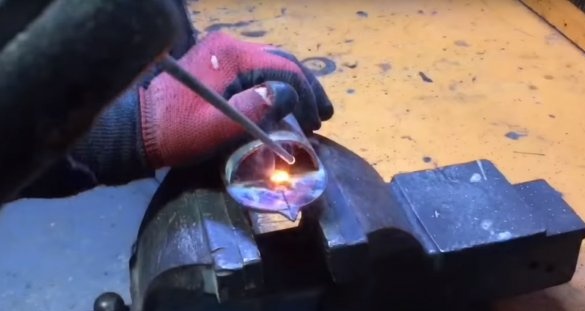
With the same protrusion beyond the walls of the pipe.And welded it to the pipe from the inside.
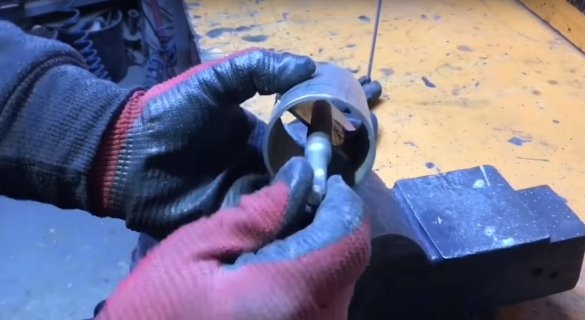
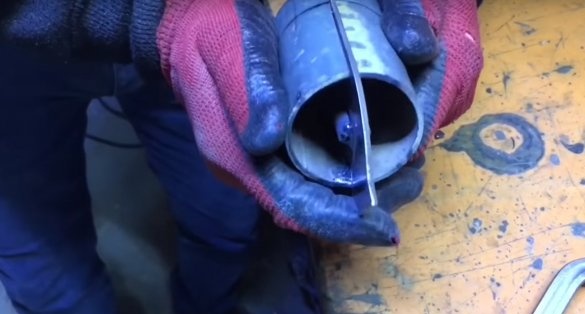
Then he cut the shank from the old drill and cut it lengthwise according to preliminary marking.
After installed it in its place.
And grabbed it with welding.
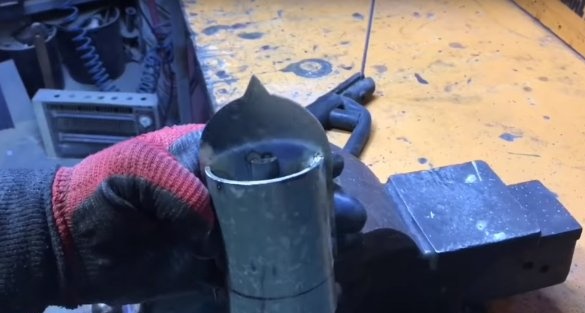
After corrected it.
And then he welded it well.
Verification
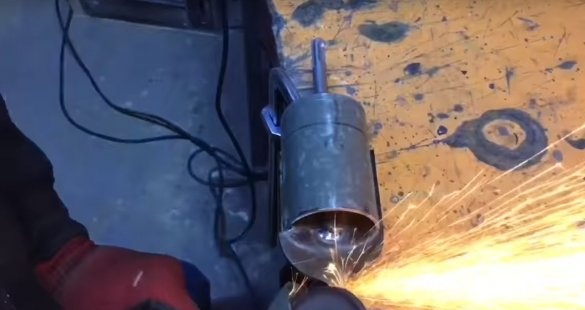
After verification, the author sharpened the device on the principle of sharpening a pen drill. First, one side.
And then another.
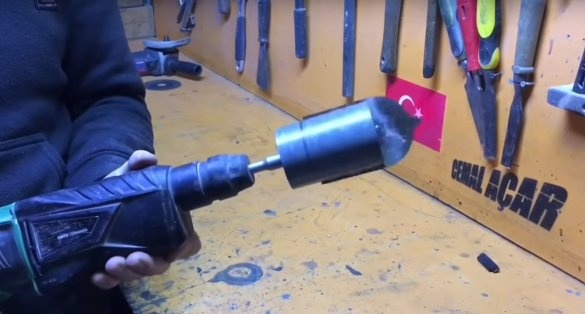
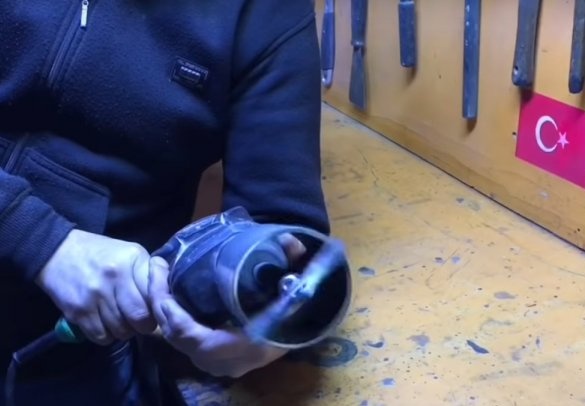
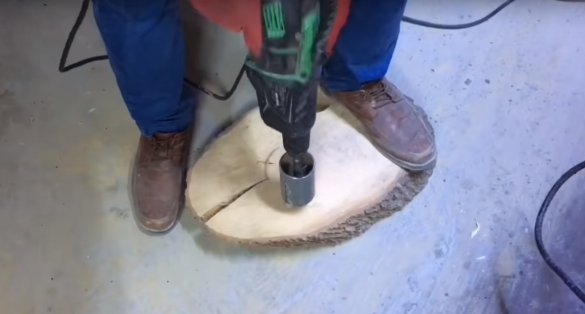
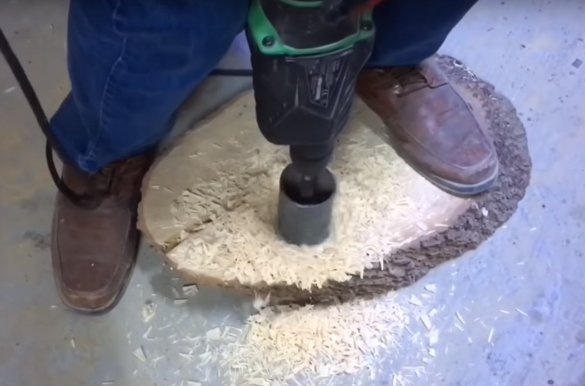
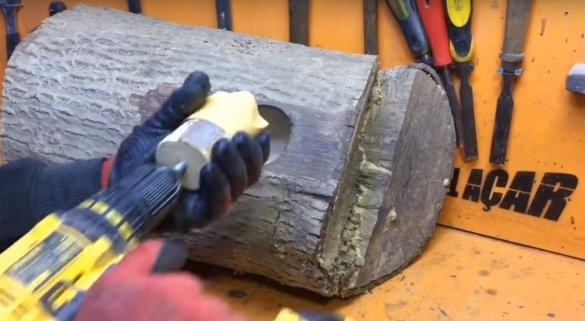
And so, the first fixture is ready. And the author is testing it.
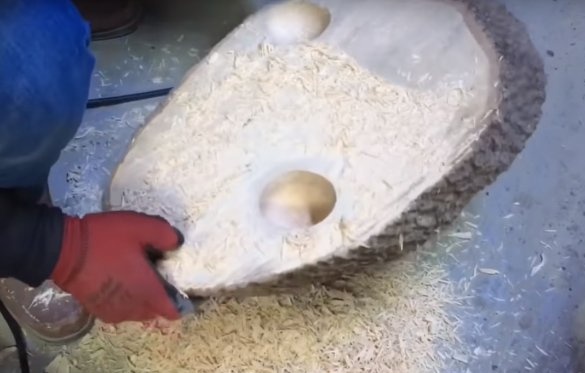
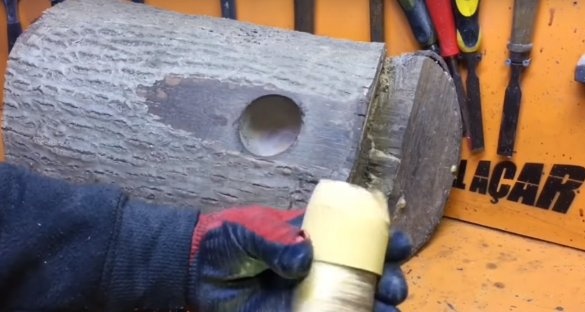
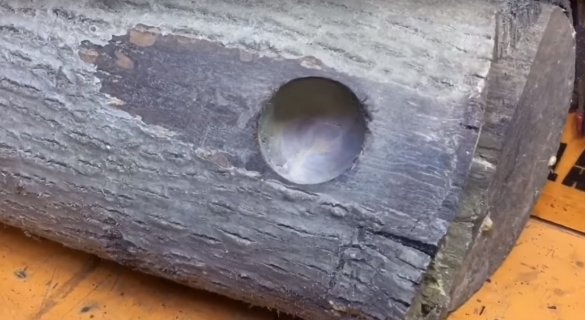
Homemade result: this device copes with the task, excellent.
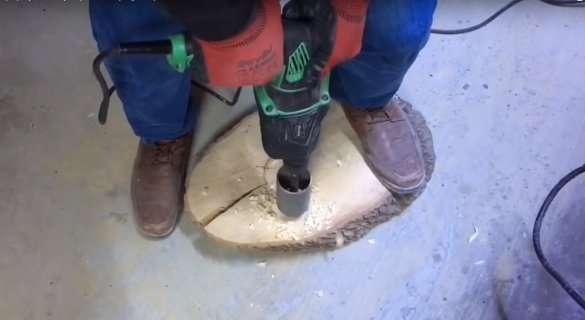
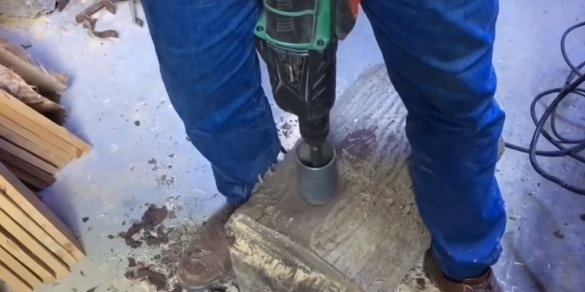
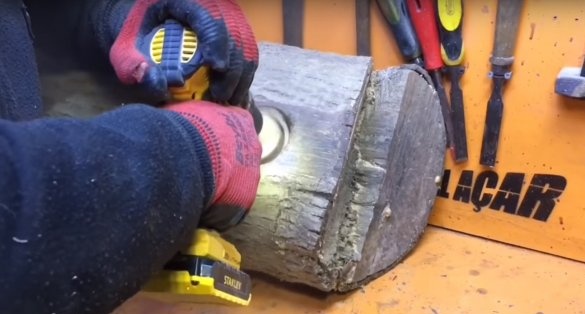
Another test on hardwood.
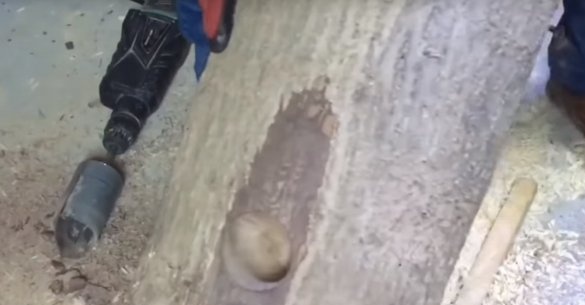
And the device "nibbles" this wood is also not bad. Only for working with hardwood, it must be borne in mind that the electric drill must be good.
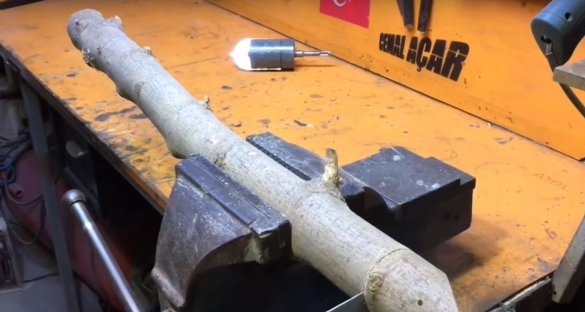
And for homemade No. 2, the author needs: a block of wood, a hacksaw for wood, a M 10 hairpin, a 9 mm wood drill, a screwdriver, a rasp and a piece of sandpaper. The author will process this device to a smooth state, in other words, to grind the grooves made by the first home-made.
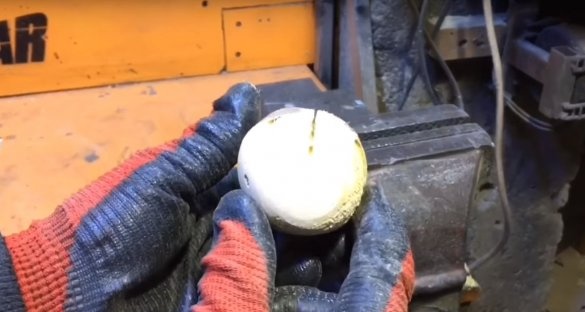
From a block of logs suitable in diameter, the author saws off a small piece, about 90 mm long.
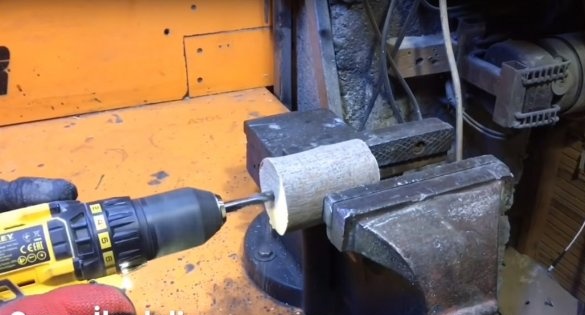
After in the center, it makes a hole with a drill of 9 mm, approximately to the middle of the length of the workpiece.
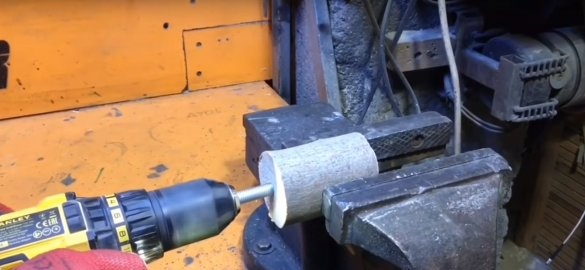
Then, holding one edge of the M 10 pin in a screwdriver, its second edge is screwed into the hole M 10 made.
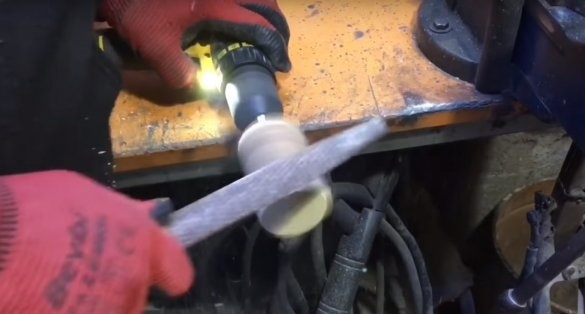
And by running a screwdriver, he processes the workpiece with a rasp, giving the edge of the workpiece a slightly rounded shape.
After doing a longitudinal, but not very deep cut.
Something like that.
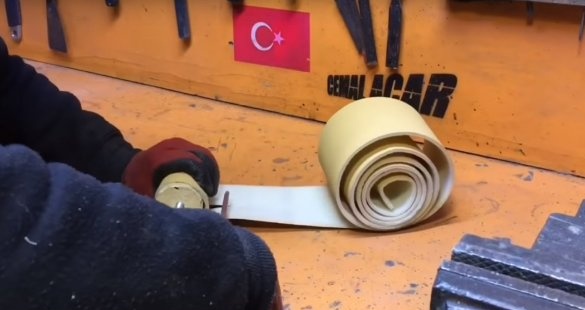
Then the master measures the sandpaper to the size of homemade and cut off this piece.
After setting one edge of the paper in the cut.
He wrapped it in a piece of wood.
And a little crushed the edge.
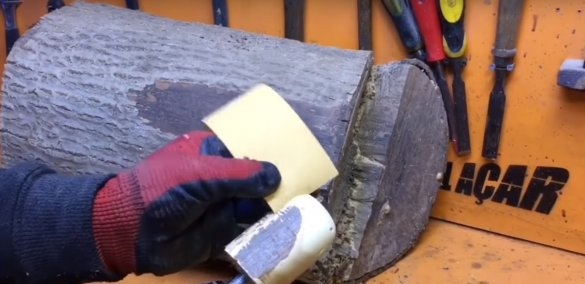
Homemade ready. And the author demonstrates it in her work.
The result of the work is pleasing. Grinding of future products is fast and high quality.
Many thanks to the author for such useful homemade products. I hope these devices come in handy for many.
And that’s all for me. Thank you all and see you soon!

