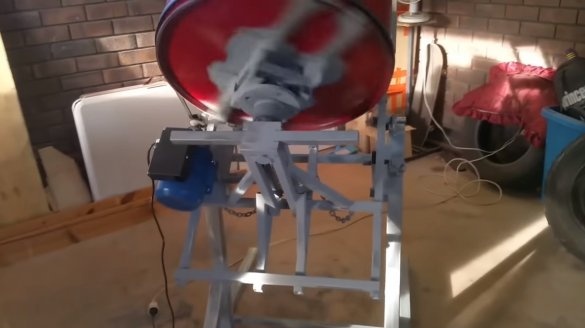
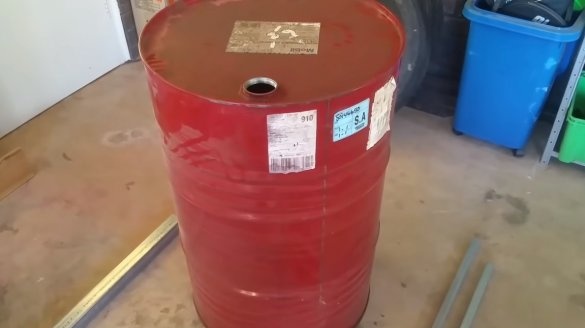
Hello everyone, today we will consider such a useful machine for construction work as a concrete mixer. Construction of this homemade quite simple, not counting the slightly sophisticated frame. The author used a large iron barrel as the basis for the container. The drive to the rotating tank is carried out by means of a belt drive, the belt is worn directly on the barrel. The frame of the machine is made of profile pipes, and a reliable hinge on ball bearings is provided for turning the barrel over. If the project interests you, I propose to study it in more detail!
Materials and tools used by the author:
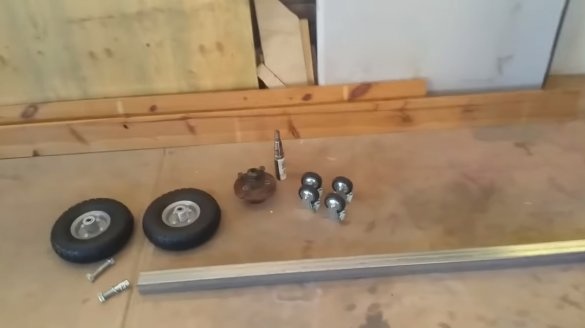
Material List:
- an iron barrel;
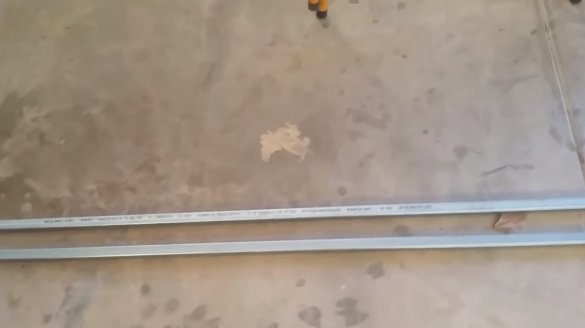
- profile pipes;
- castors for trolleys;
- bolts and nuts;
- car hub;
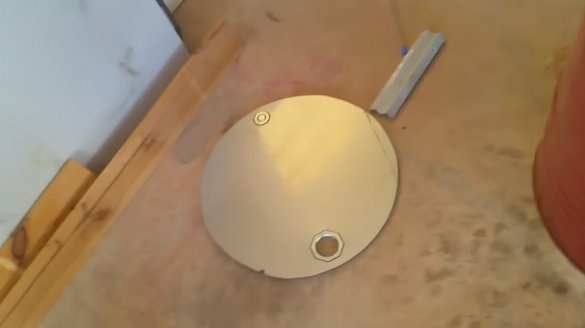
- sheet metal;
- two bearings with housings;
- round log for axles;
- chains;
- suitable engine and belt;
- paint for metal.
Tool List:
- grinder;
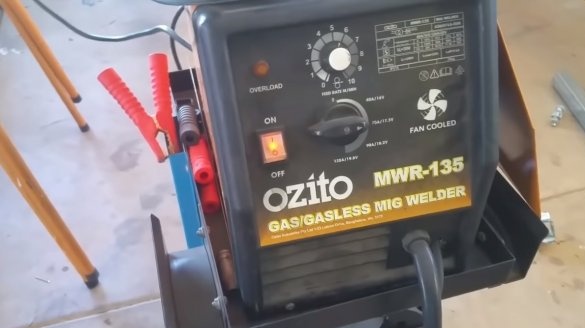
- welding machine;
- roulette;
- jigsaw;
- marker;
- a hammer, wrenches, etc.
Concrete mixer manufacturing process:
Step one. Barrel preparation
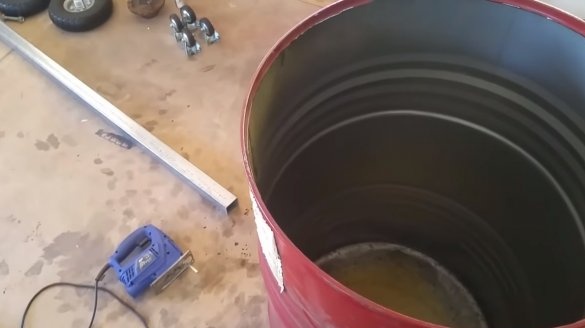
First of all, we will prepare the barrel, we need an electric jigsaw with a good metal blade. What is required is to cut off the top cover of the barrel, we will not need it. You can also cope with a similar task with the help of a grinder. Note that after cutting sharp edges of the metal will remain, do not cut yourself about them and grind them with a grinder.
Step Two The basis for the barrel
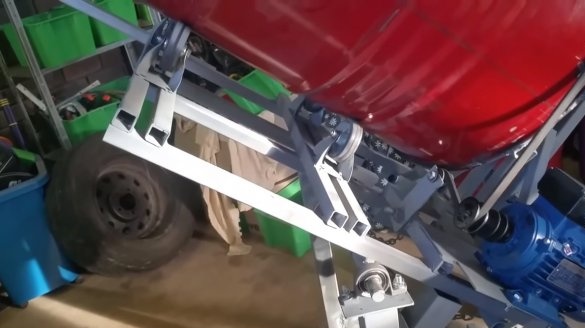
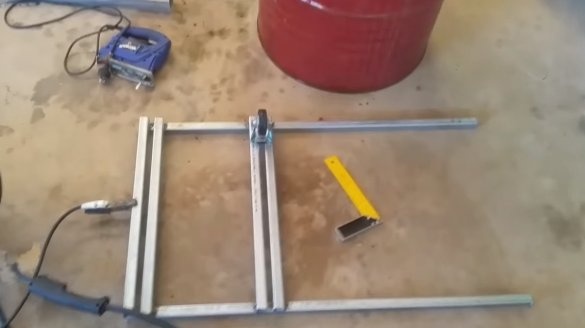
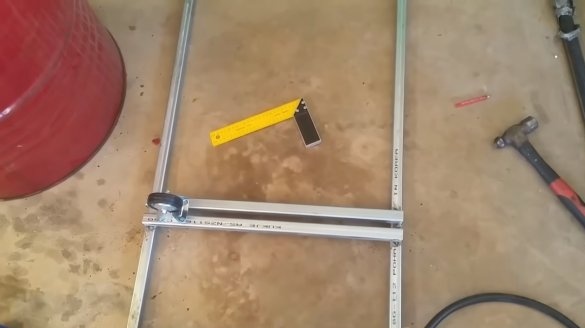
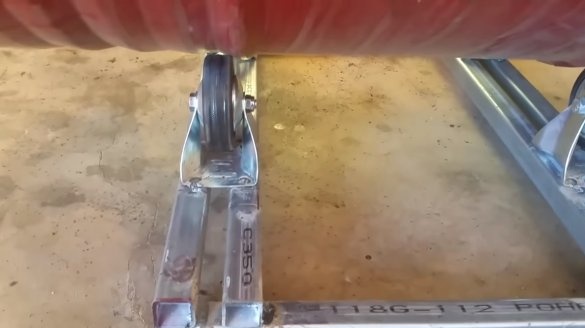
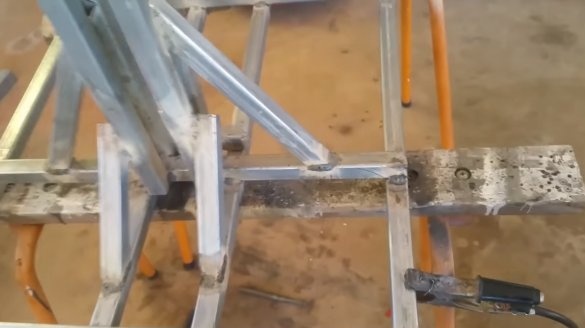
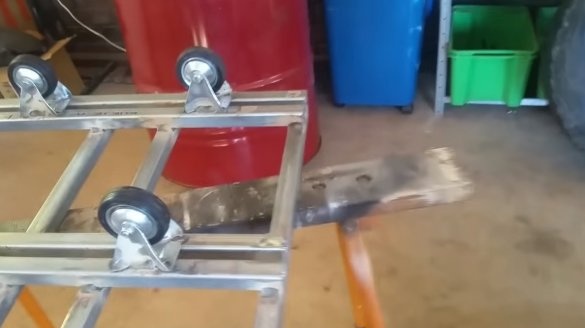
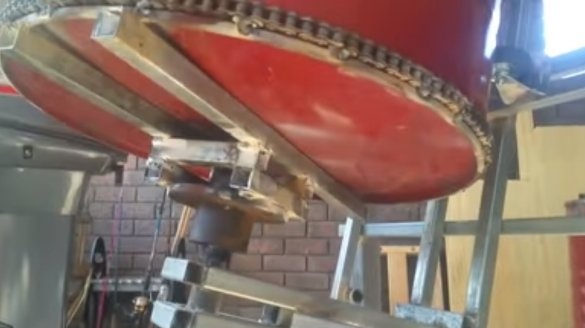
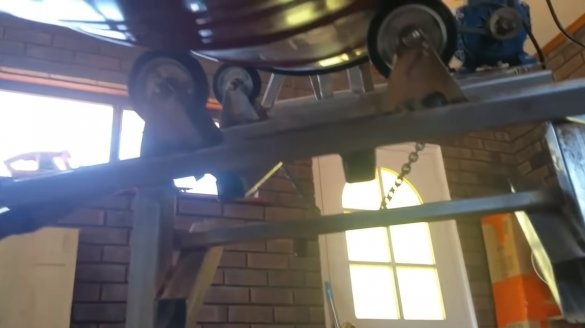
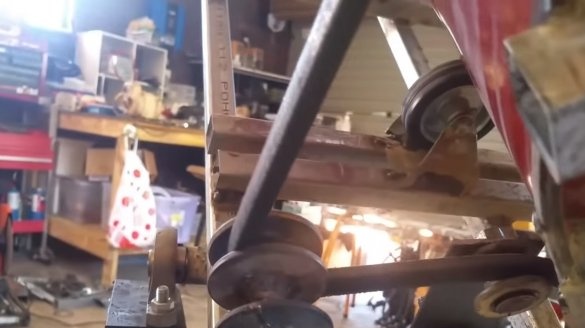
For a barrel, you need to make a foundation, otherwise the axis will not support the weight of concrete, and even the weight of the barrel. First, we weld the frame from shaped pipes or a similar material. Well, then on the frame there are 4 wheels for trolleys, on which the barrel rests. The result is excellent support. So that the barrel does not go sideways, the wheels are welded to the frame so that they are on the sides relative to the stiffeners of the barrel.
Step Three Axis
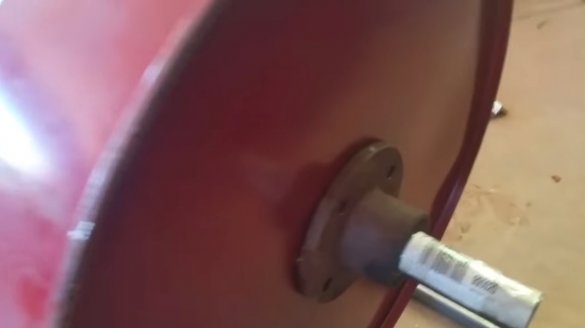
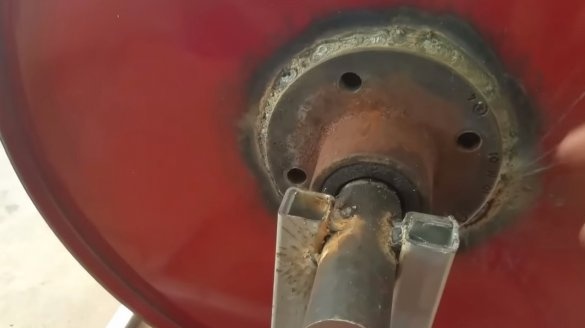
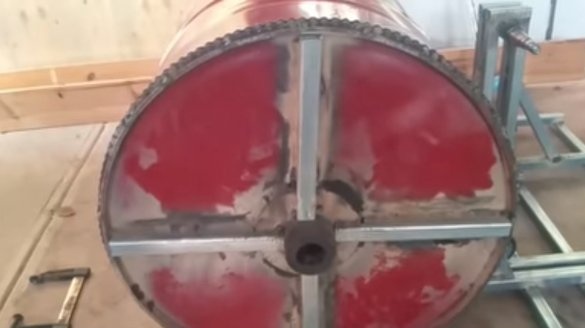
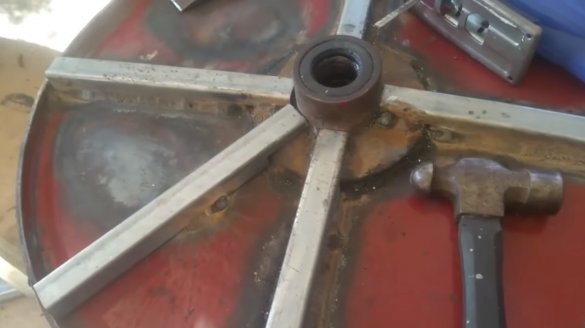
The author used automobile parts as an axis, this is the wheel hub. Directly the hub (housing with bearing) is reliably welded to the barrel, having welded in advance to the bottom of the barrel a frame of profile pipes. The most important thing here is to accurately find the center of the bottom of the barrel.
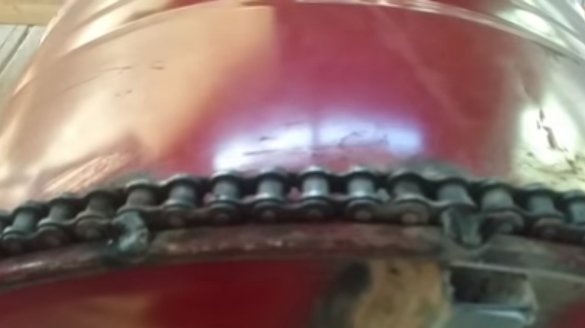
Well, the axis is welded to a stand made of profile pipes. The base is also welded from profile pipes. Initially, according to the idea, the transmission was supposed to be gear, so the author welded the chain directly to the barrel. But this design did not work, and then the author made a belt drive. And the hub was initially welded directly to the barrel.
Step Four Swivel unit
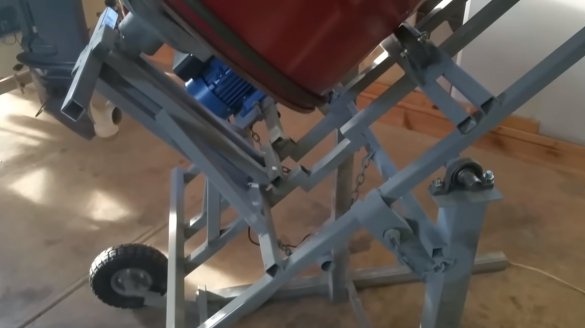
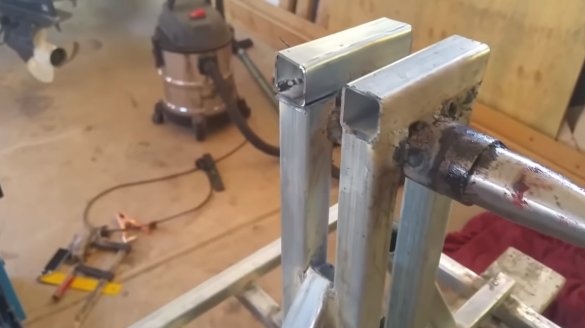
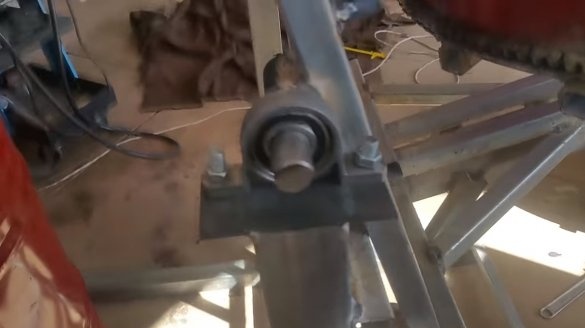
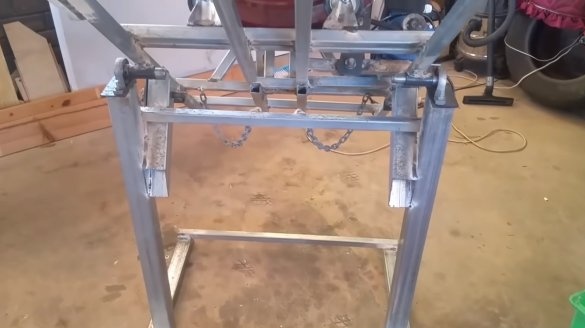
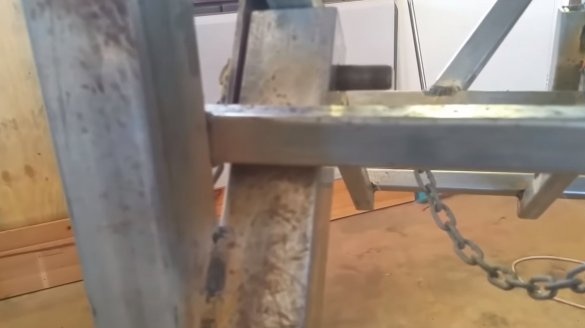
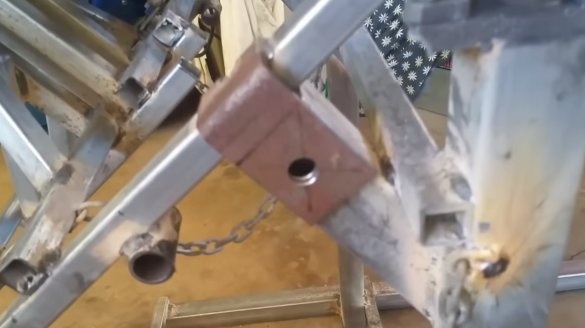
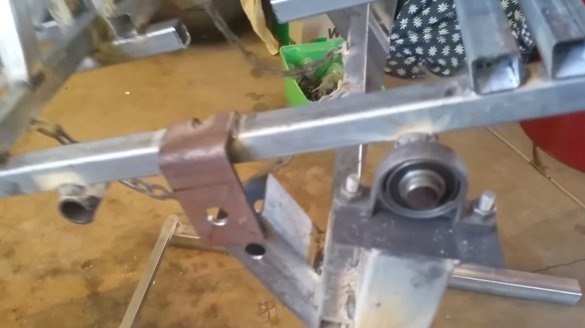
To turn the barrel with the solution, you need to make a swivel. The hinge must be attached to the frame on which the barrel is located. The author used ball bearings with housings as a hinge. In this matter, it is important to strengthen the frame as much as possible, since concrete will weigh quite a lot. Racks the author made them profile pipes, they are welded securely to the base.
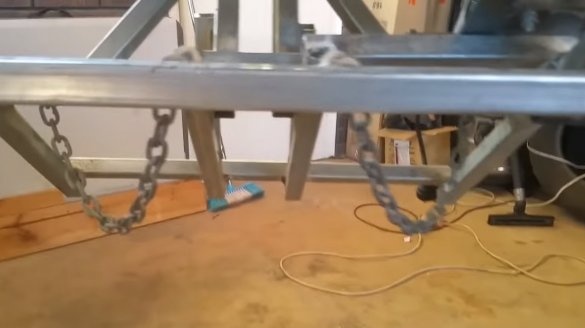
And so that the barrel does not tip over, the author made chains that hold the structure when the barrel is turned over.
Step Five Drive and Finale
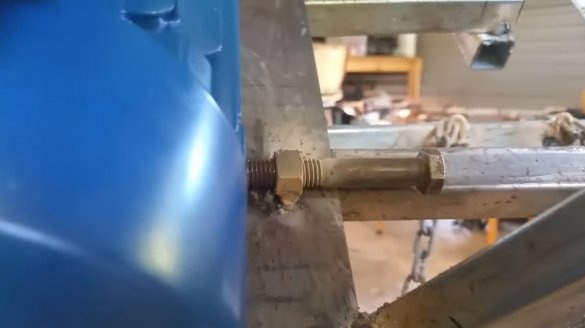
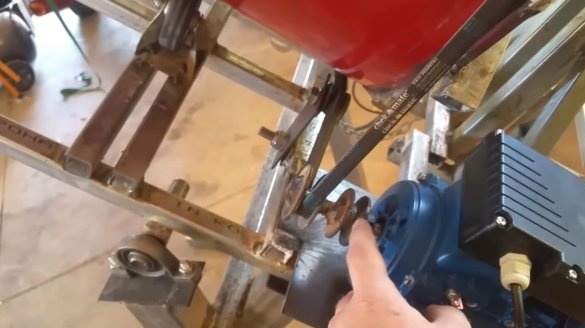
We use a belt drive as a drive. We fix the engine to the frame; a belt tension system should be provided. The author's tensioner is a bolt with a nut that pushes the engine away from the barrel. The belt clings directly to the barrel, and the author made the driving pulley himself, judging by the video. Of course, at idle the barrel rotates without problems, but how the machine will behave under load remains a mystery.
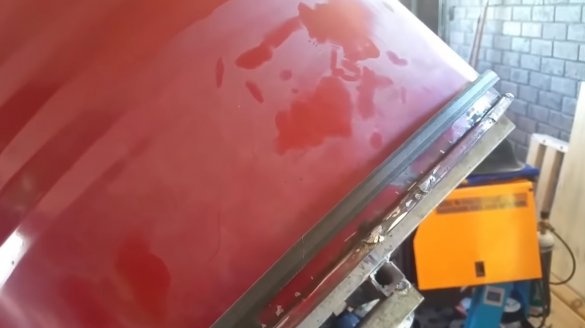
In the end, it remains to paint all the iron parts so as not to rust. That's all, the car is ready, the barrel rotates quite briskly, and the torque here is quite high. Doubts remain only in terms of whether the grip of the belt with the barrel will be good when working under load.
On this project is over, I hope you liked the homemade. Good luck and creative inspiration, if you decide to repeat this. Do not forget to share your ideas and homemade things with us!

