
Good day to all. I think this simple and useful homemadewill be interesting to many. And how to make this device, we will show the author from YouTube channel "cemaL AÇAR".
What the author used for his homemade work.
INSTRUMENTS:
Angle grinder with cutting and flap wheel
Sandpaper
Welding machine and electrodes
Vise
Compressor
Drill
Drill or screwdriver
Vise
Marker
Roulette
Hammer
Pliers.
MATERIALS:
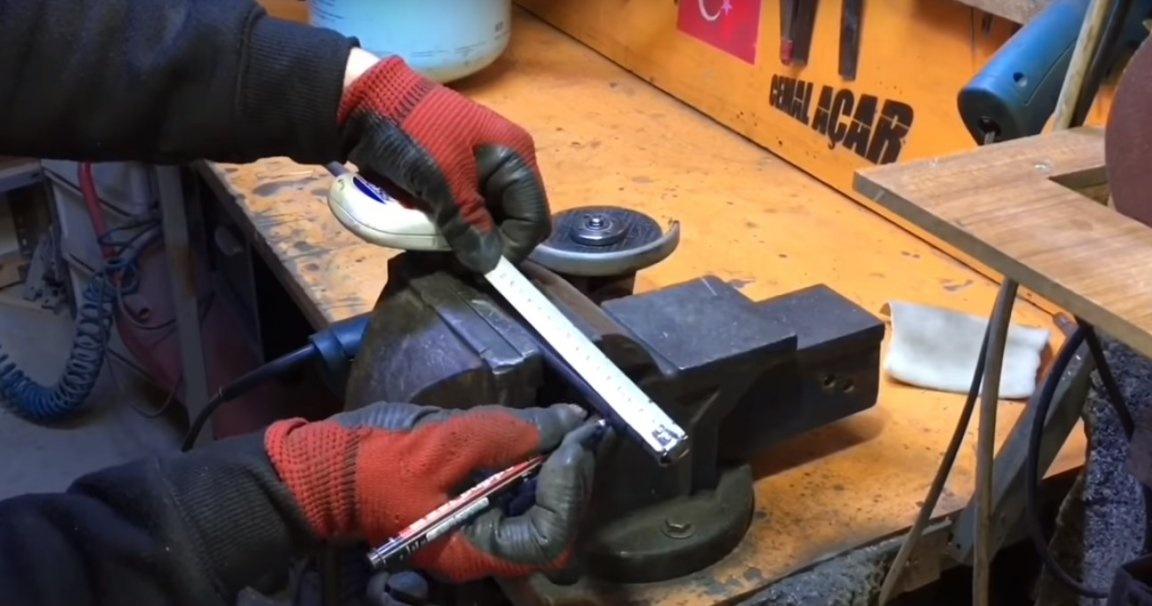
Steel strip
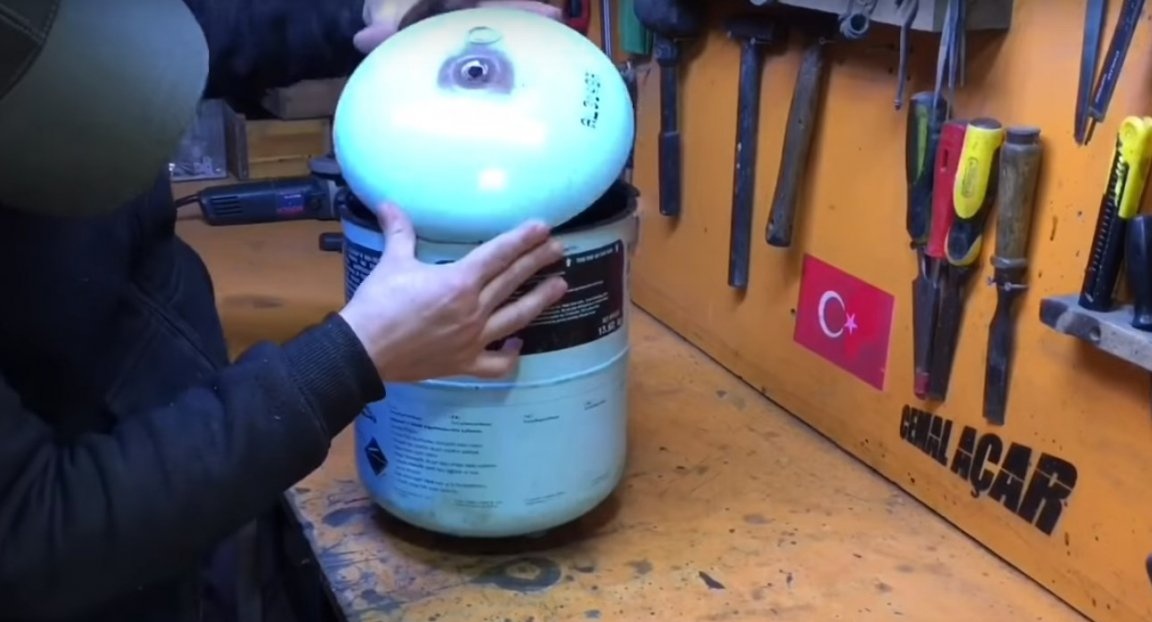
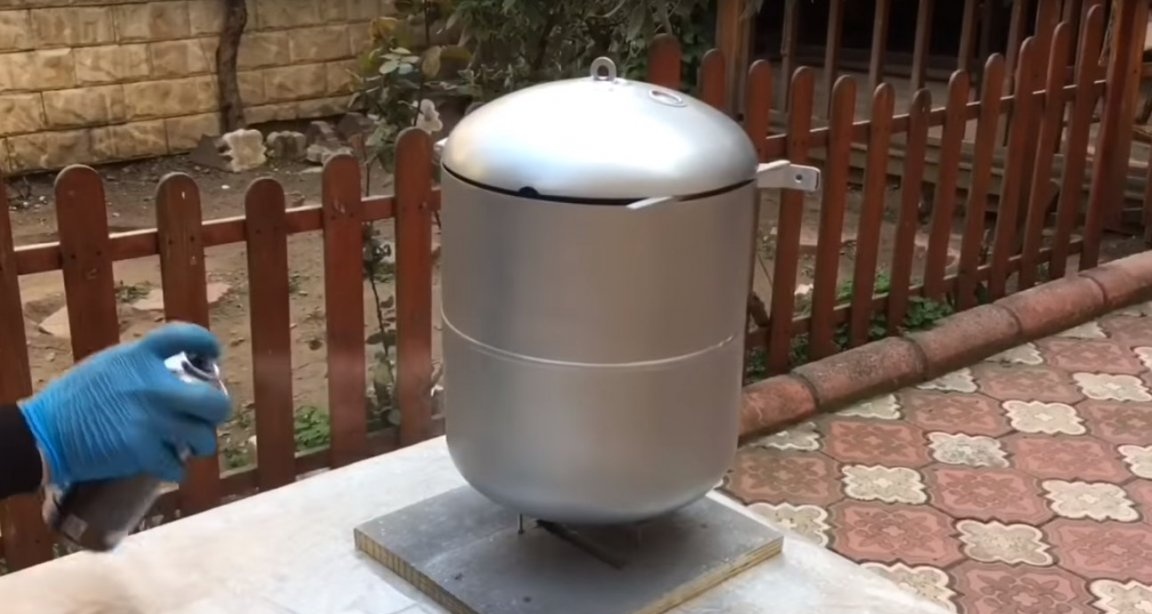
Freon cylinder
Plastic bucket
Washer
Wood screws
Paint
Piece of rope
Steel bar and metal tube
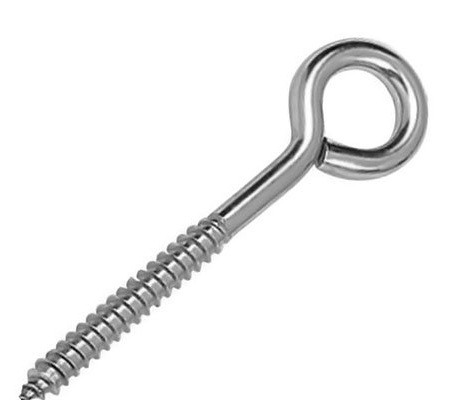
And one screw hook. (As in the photo)
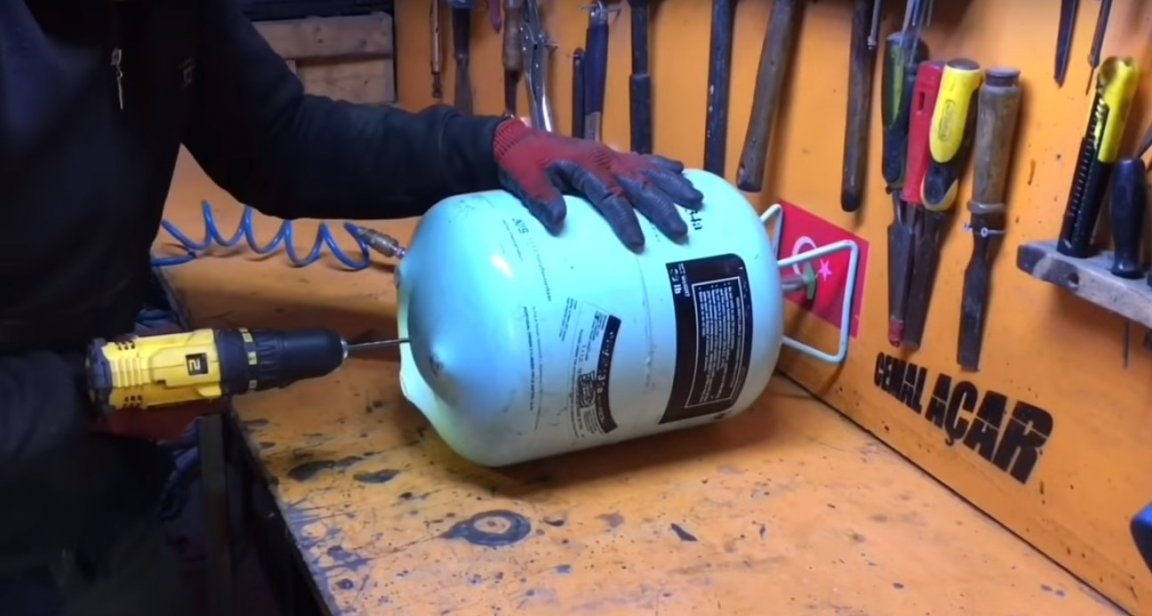
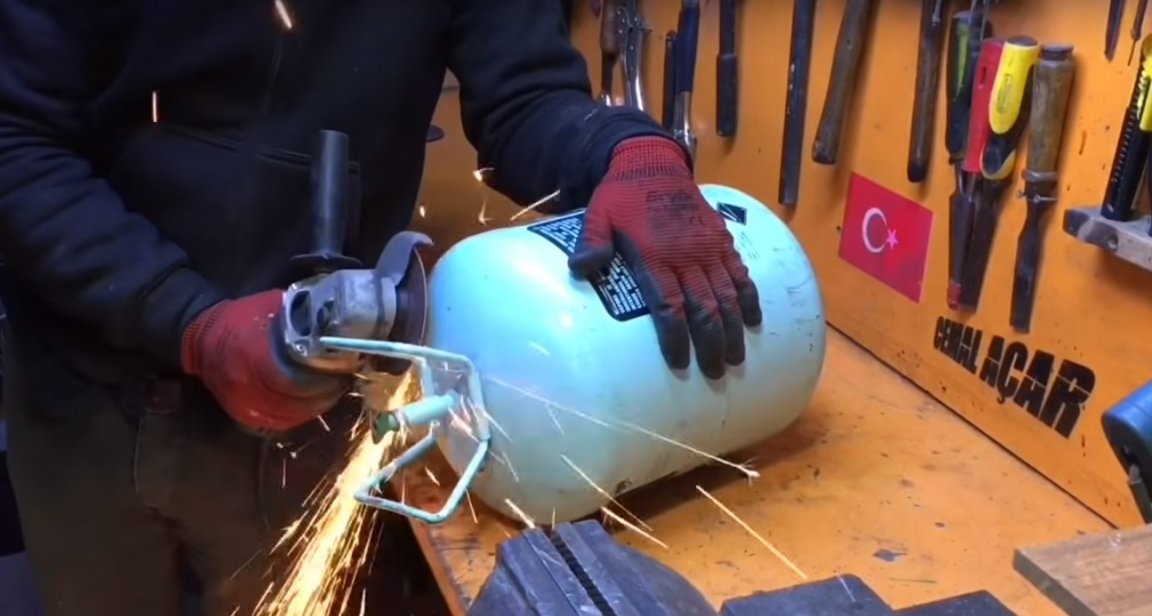
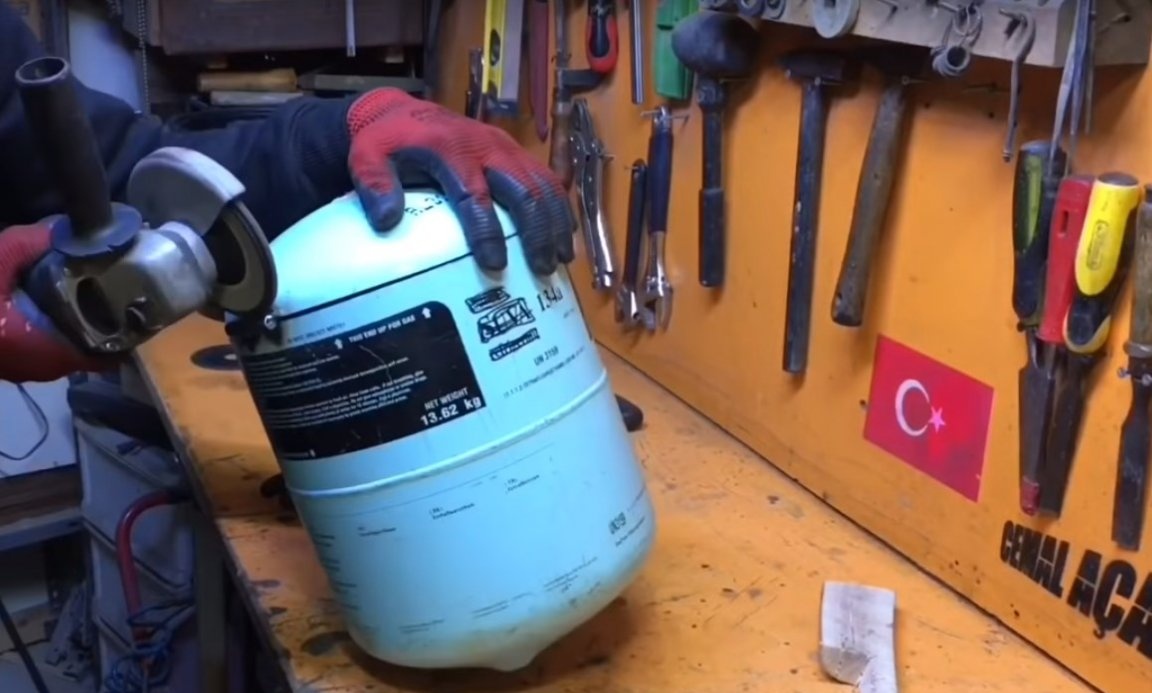
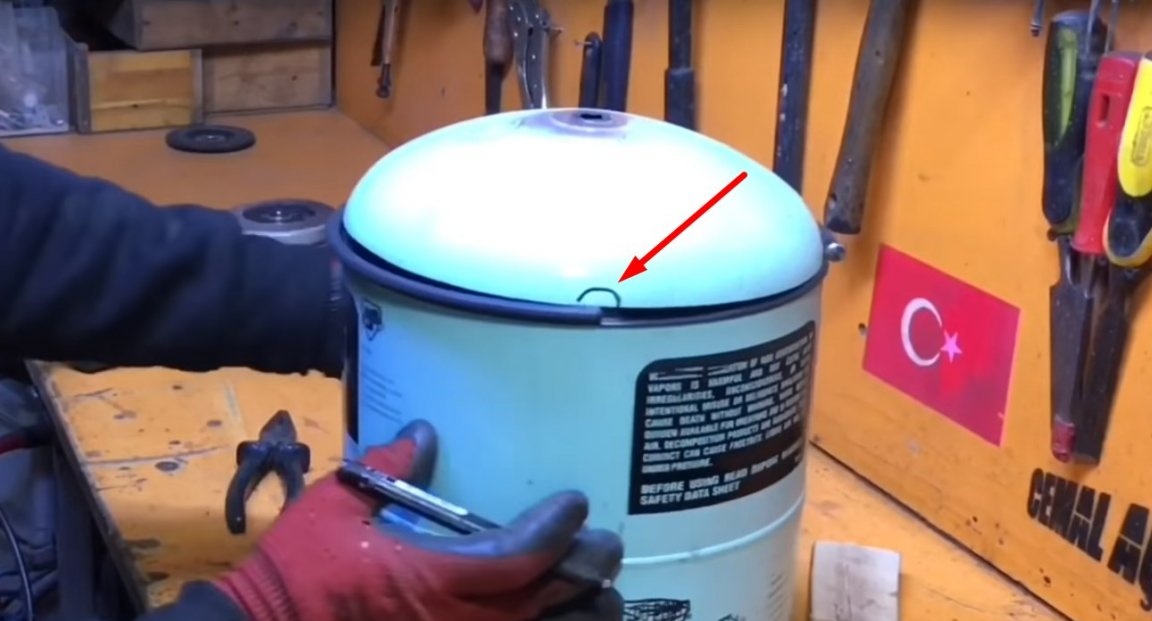
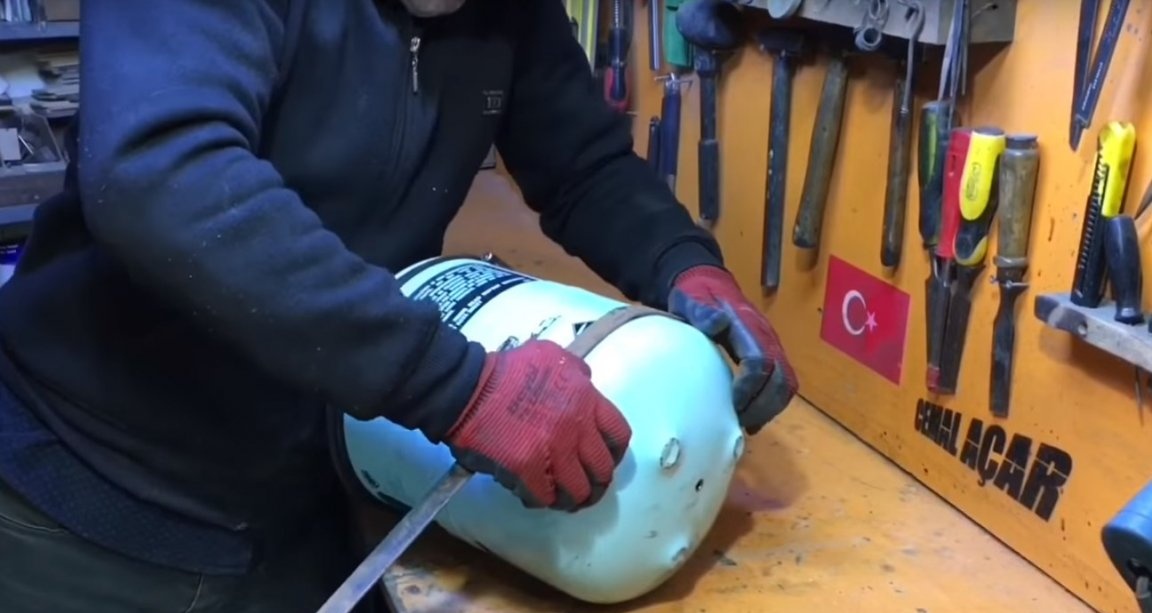
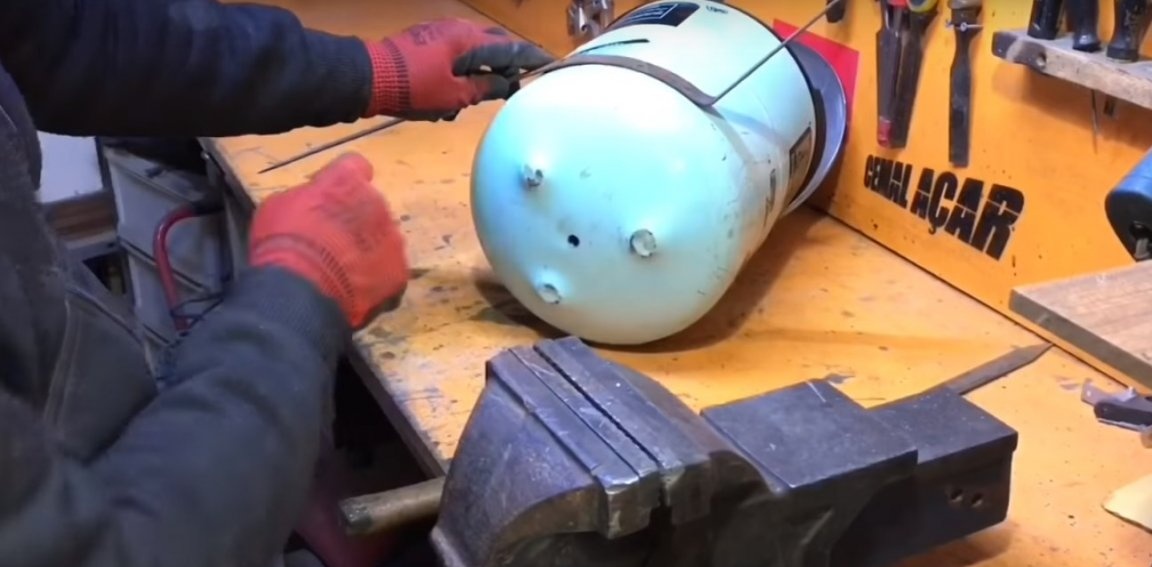
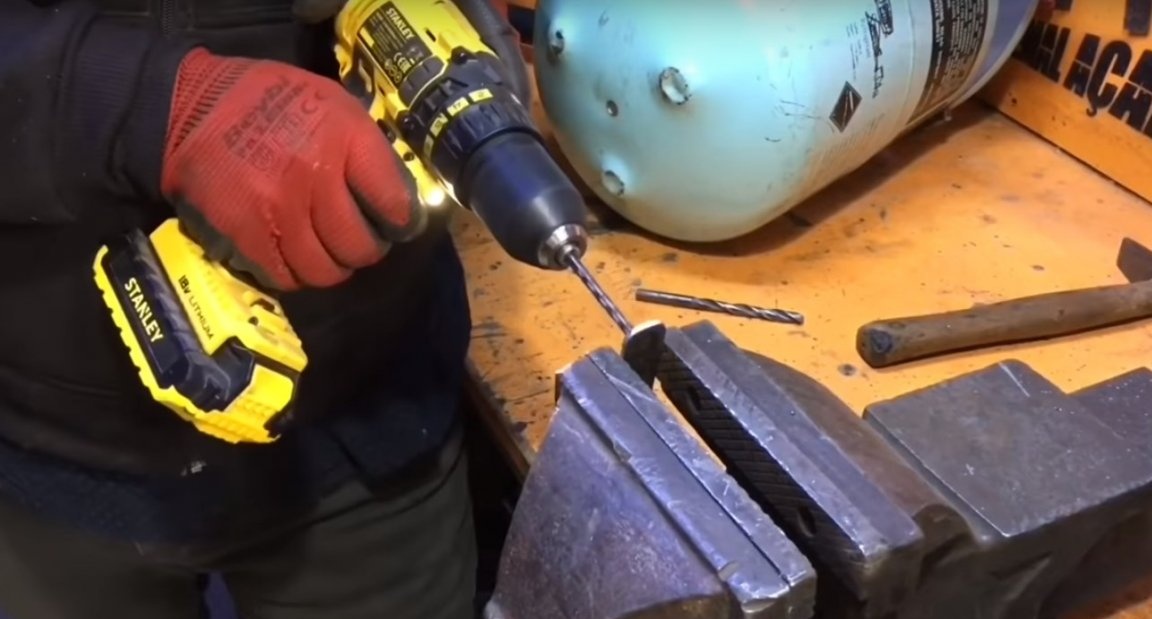
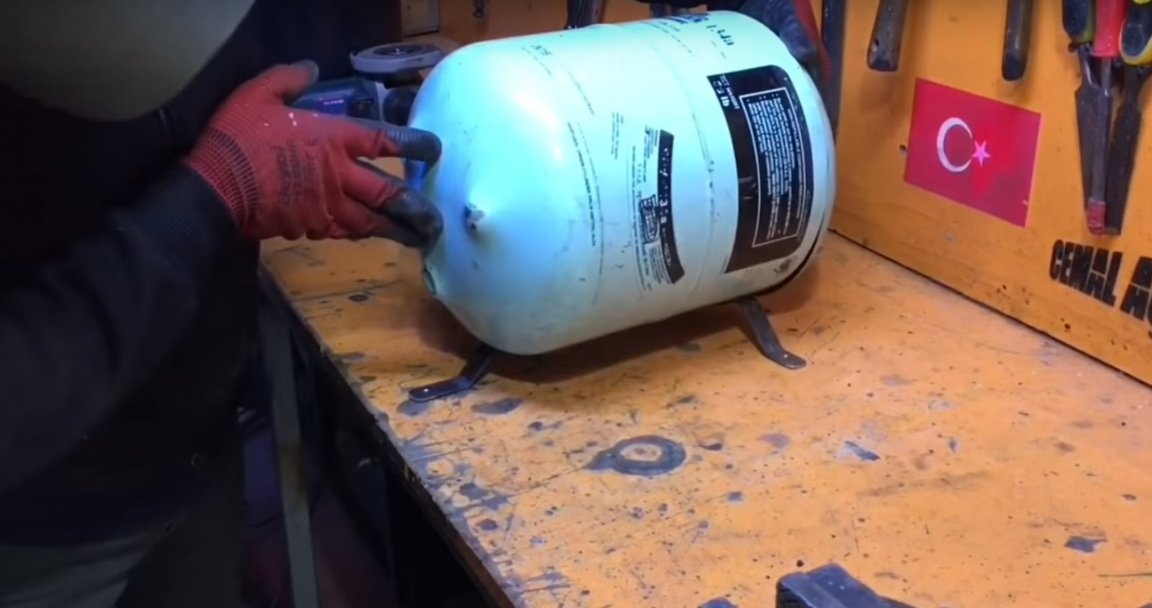
For the safety of work, the first thing the author will let down the remains of freon.
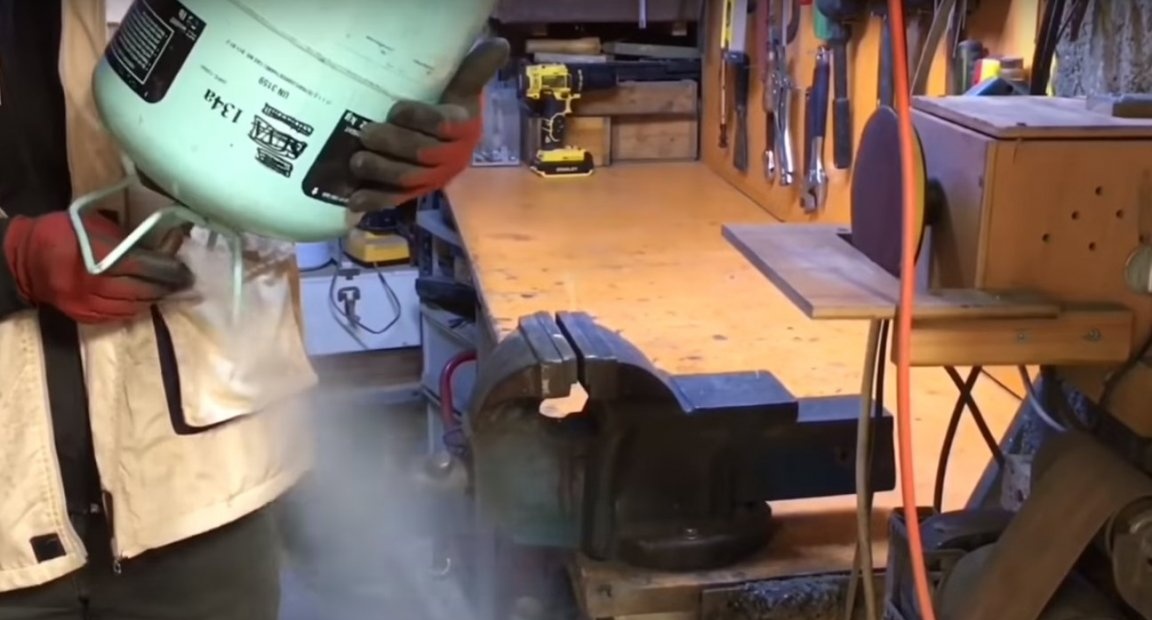
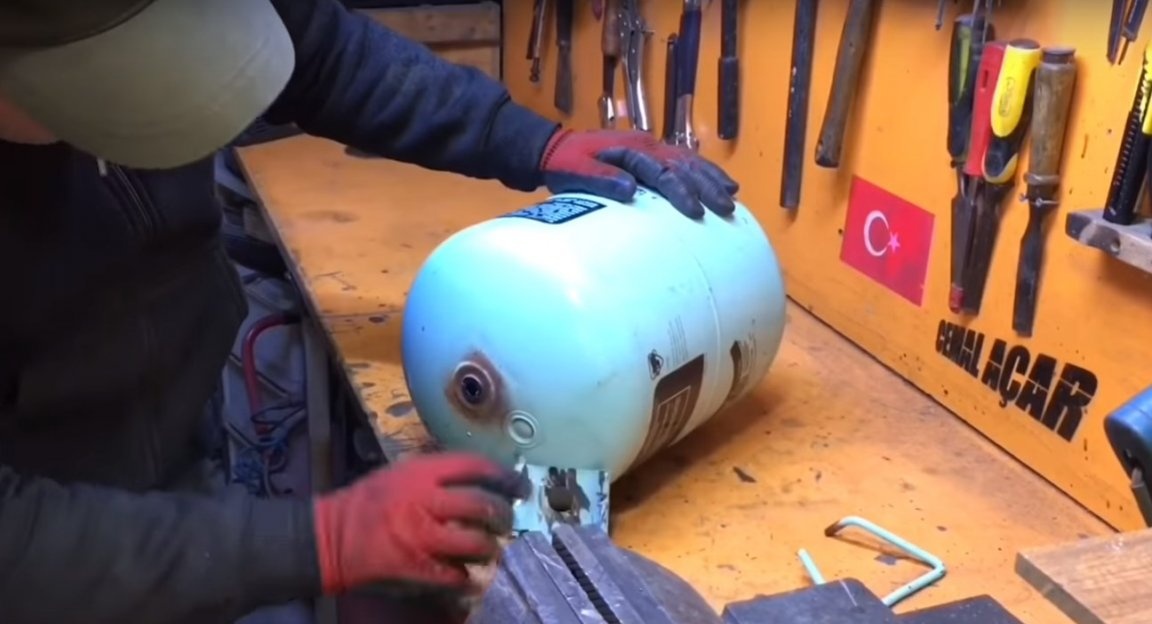
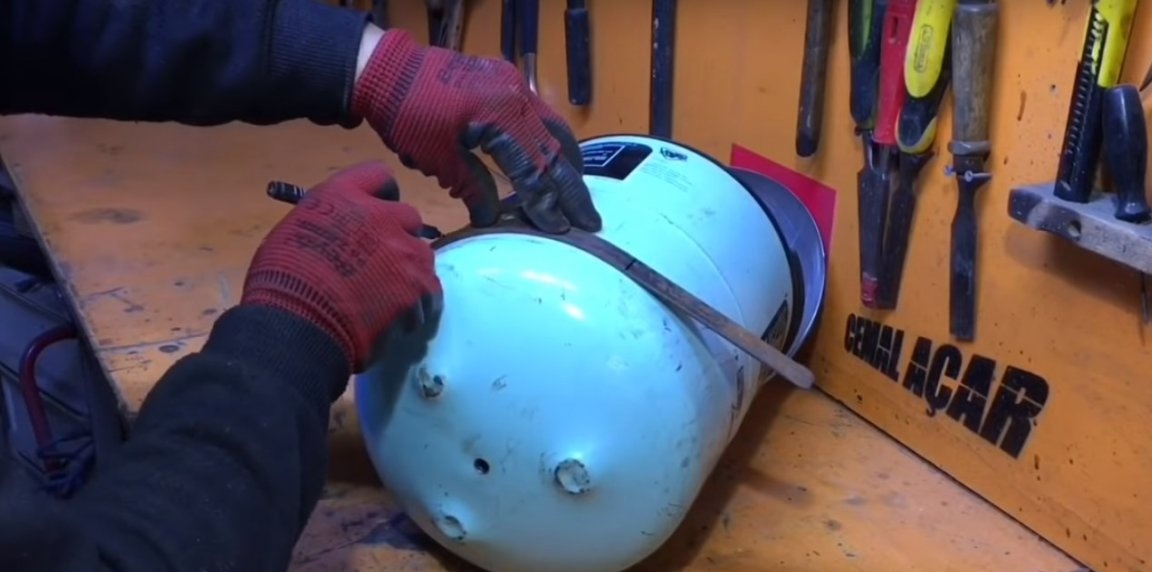
After he makes a hole in the bottom of the cylinder, first with a small drill, and then with a drill of a larger diameter.
Like this.
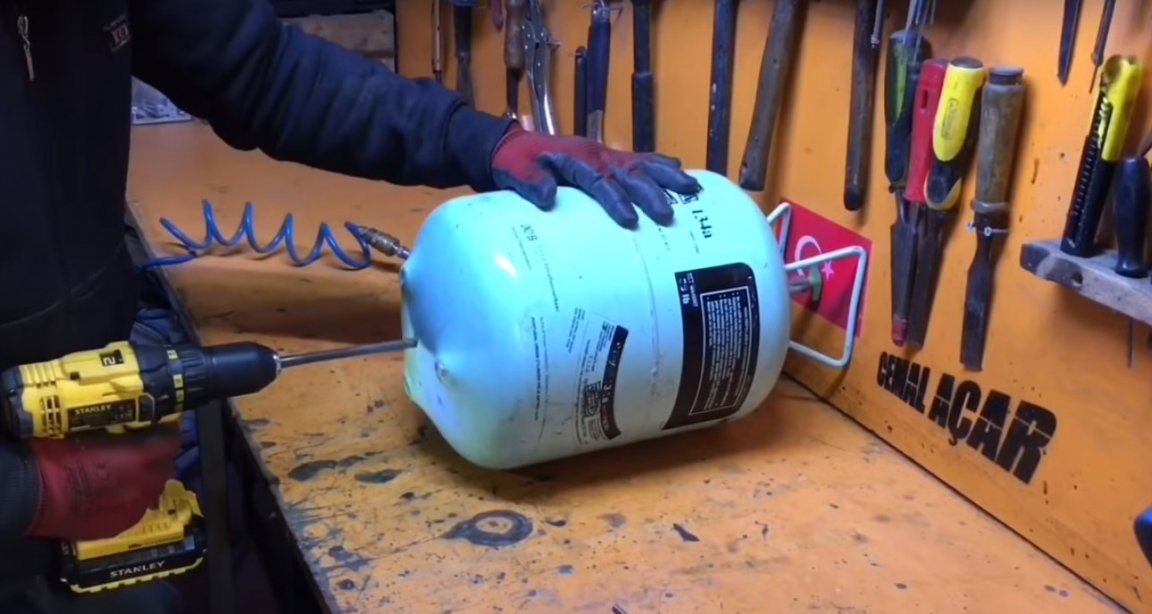
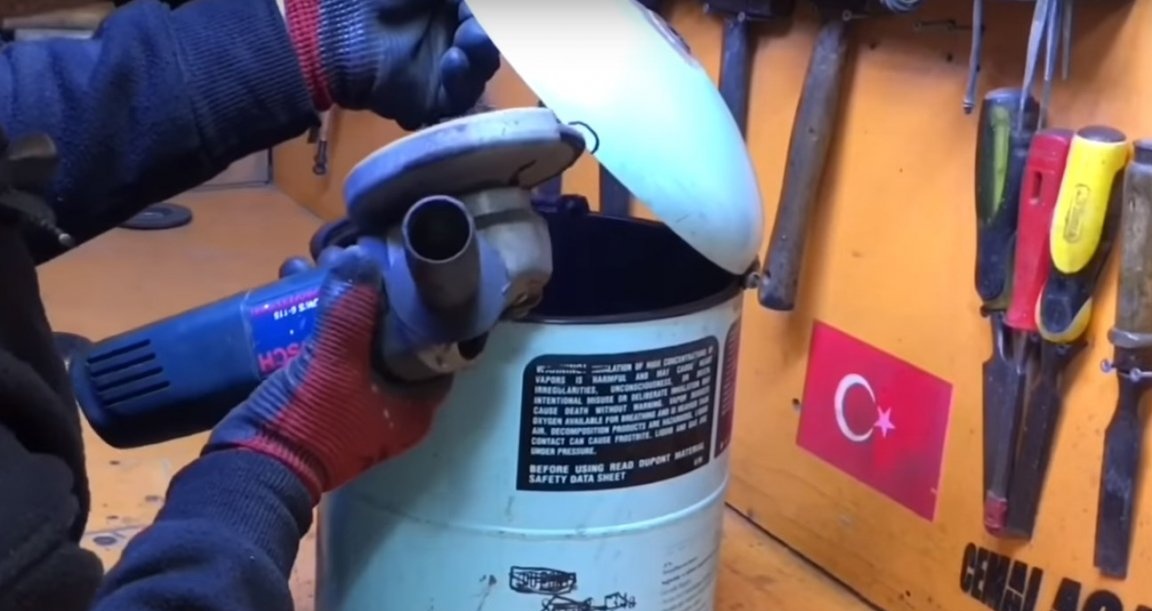
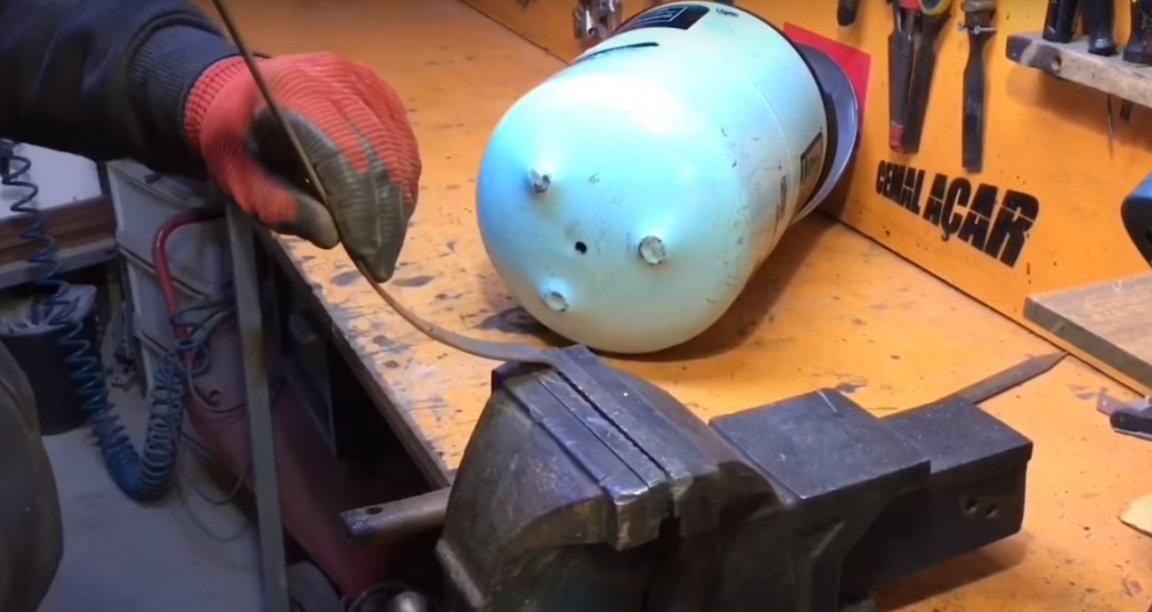
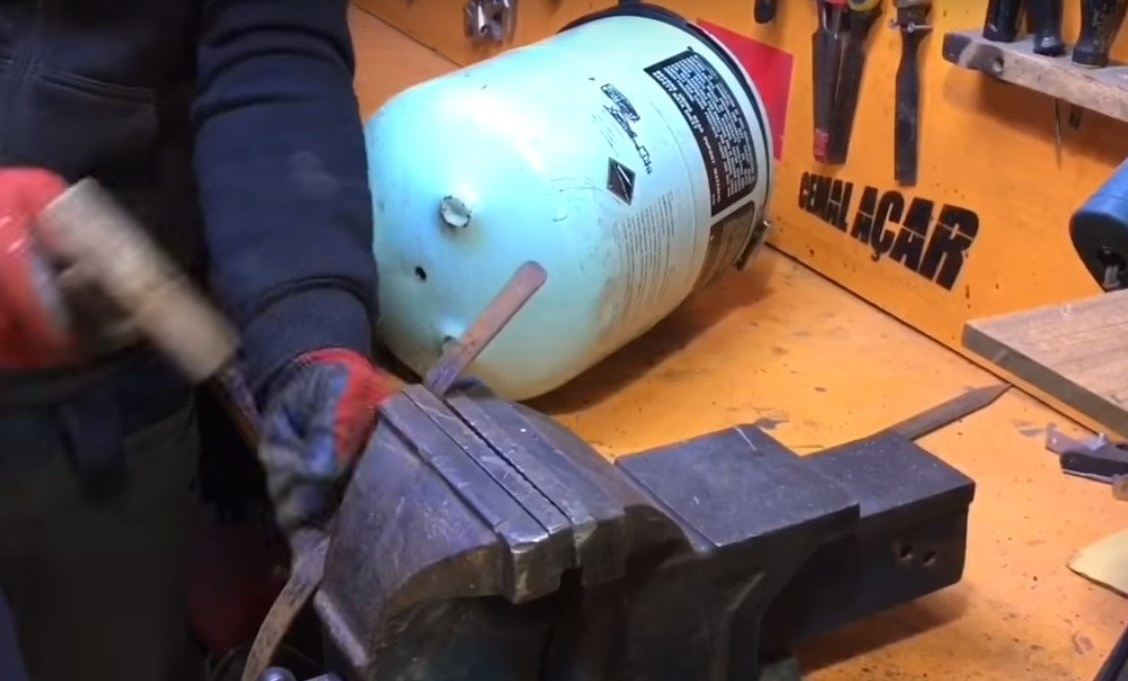
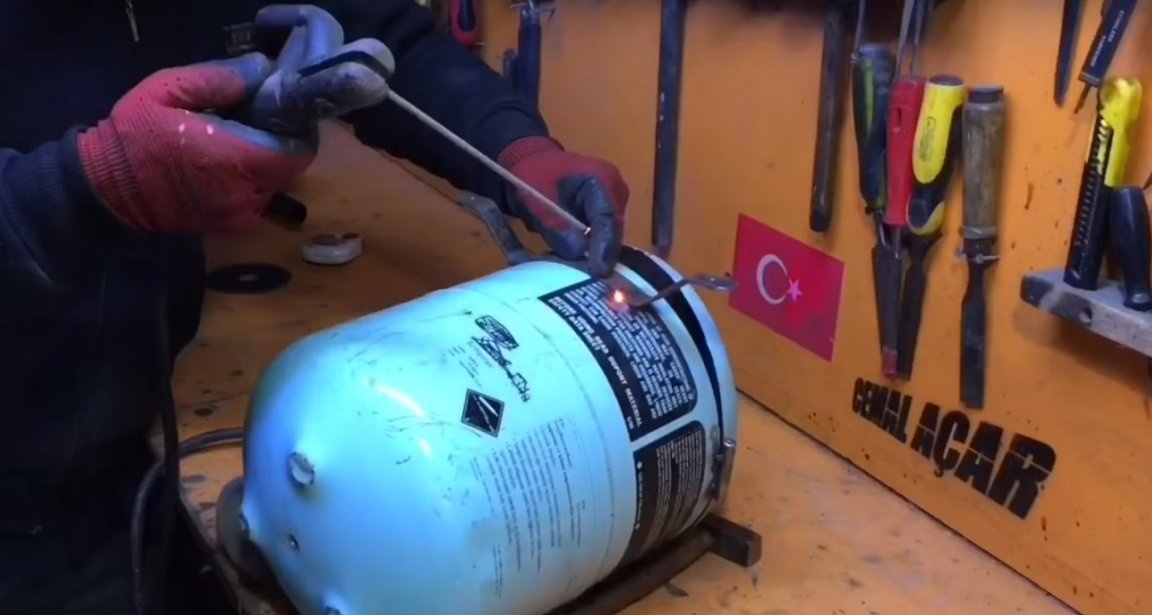
Then he blew it well with the compressor, through the hole made in the bottom, having previously unscrewed the valve on the cylinder.
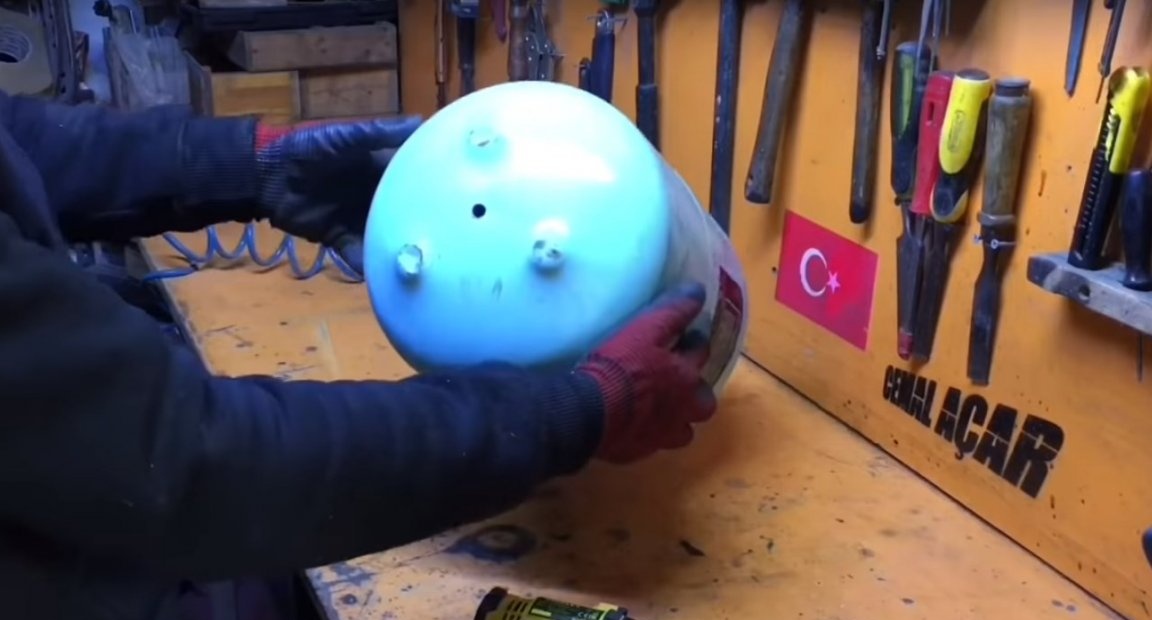
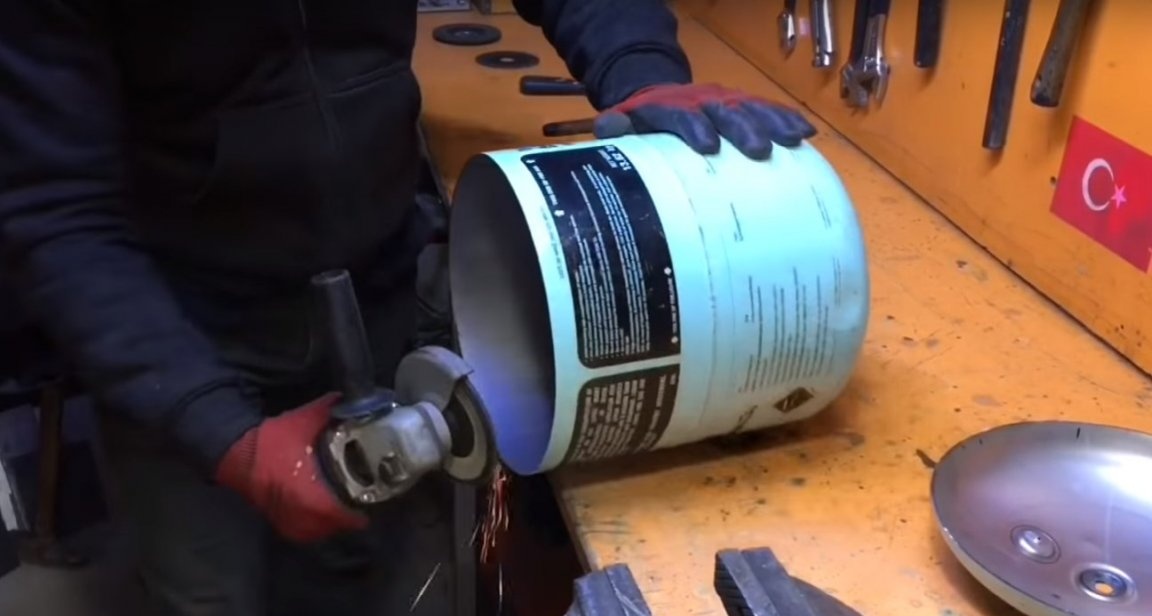
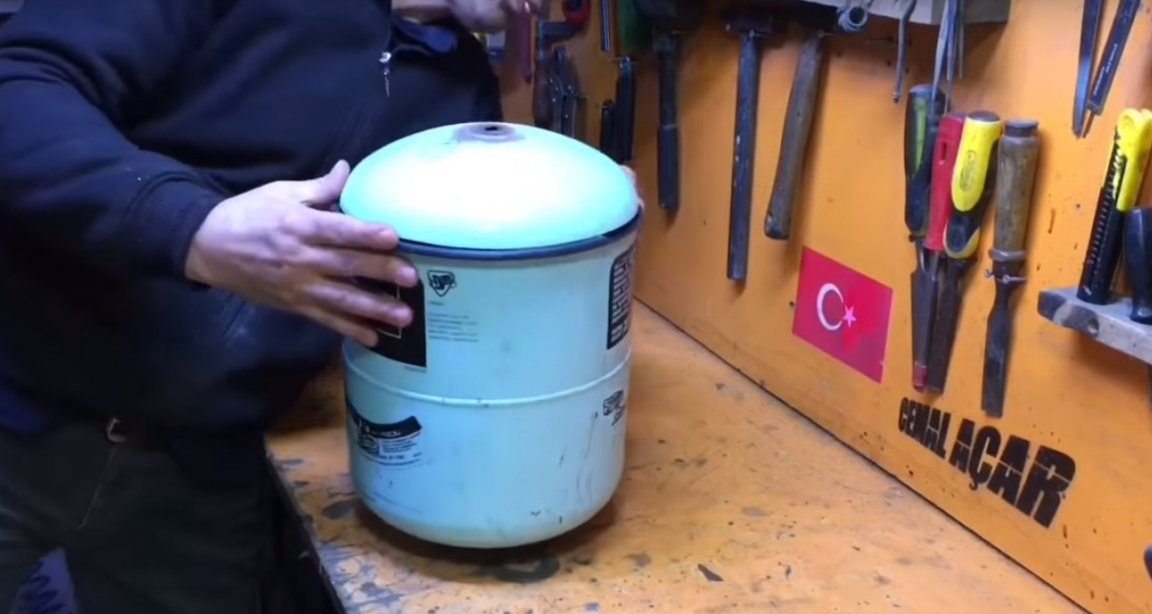
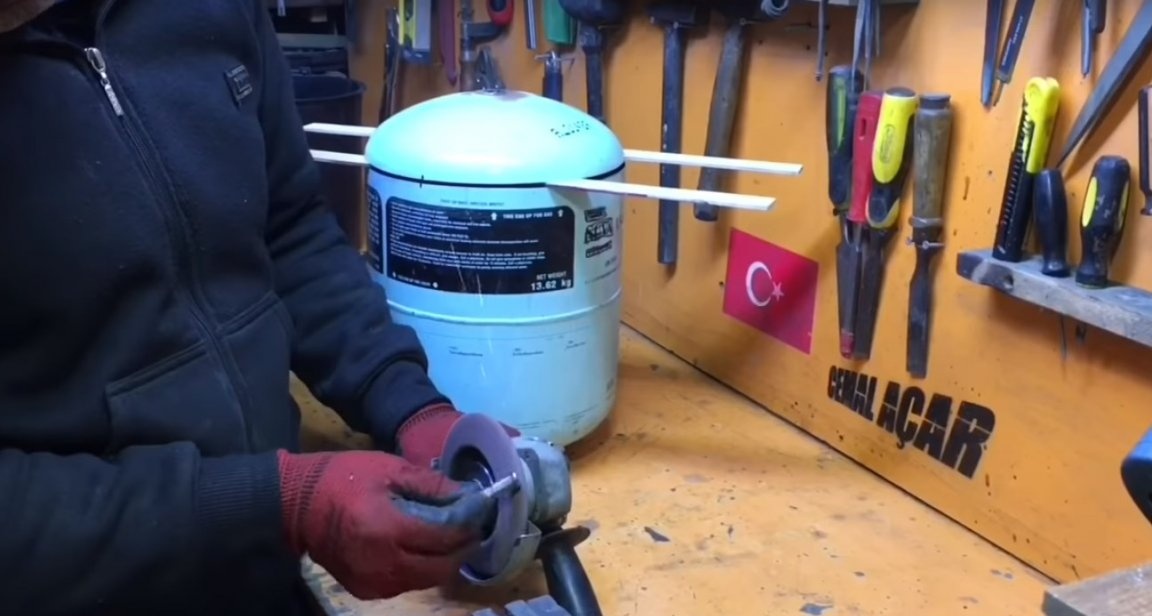
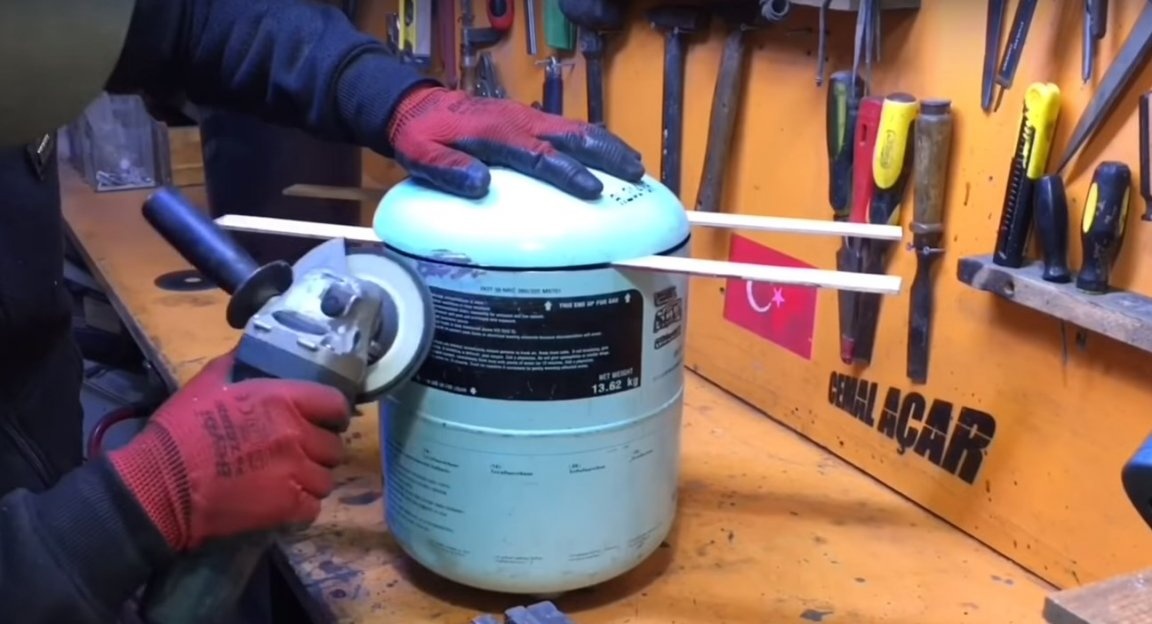
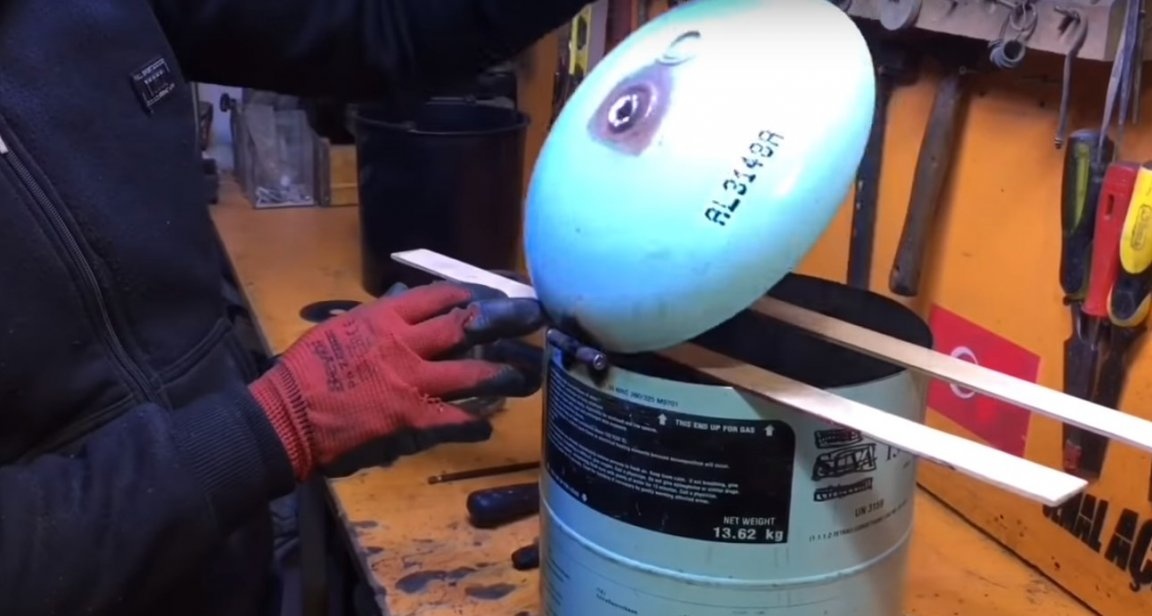
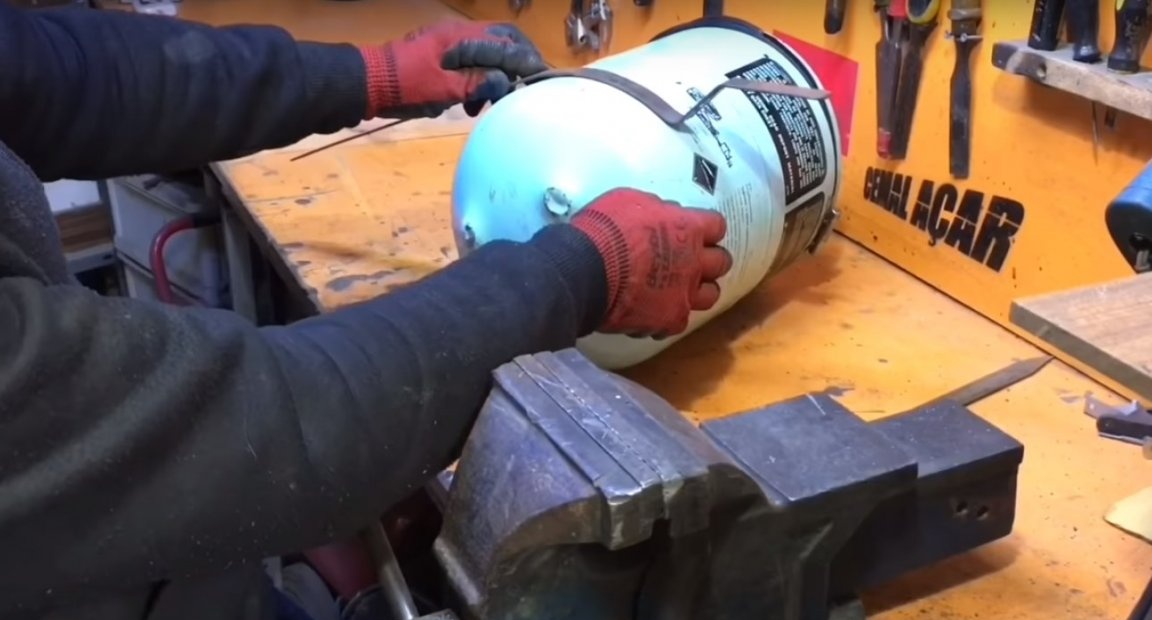
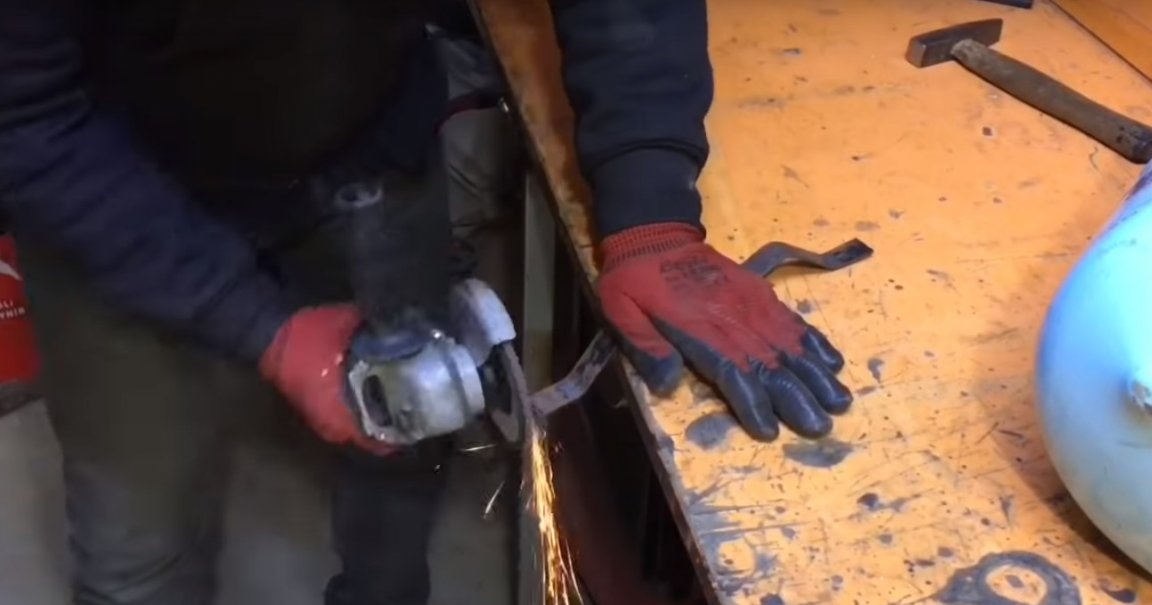
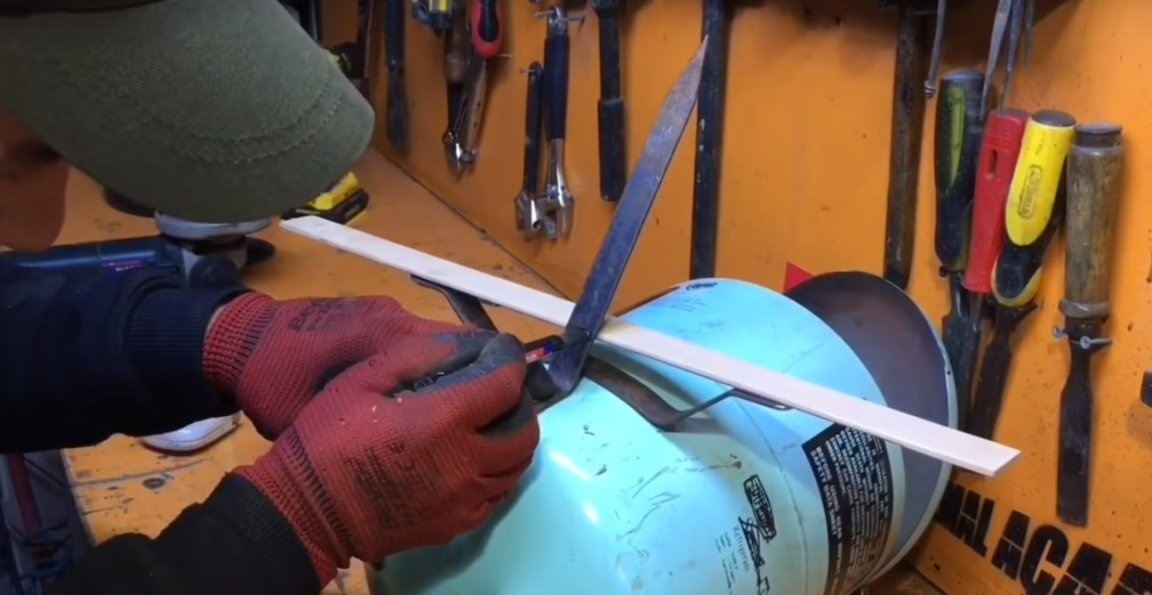
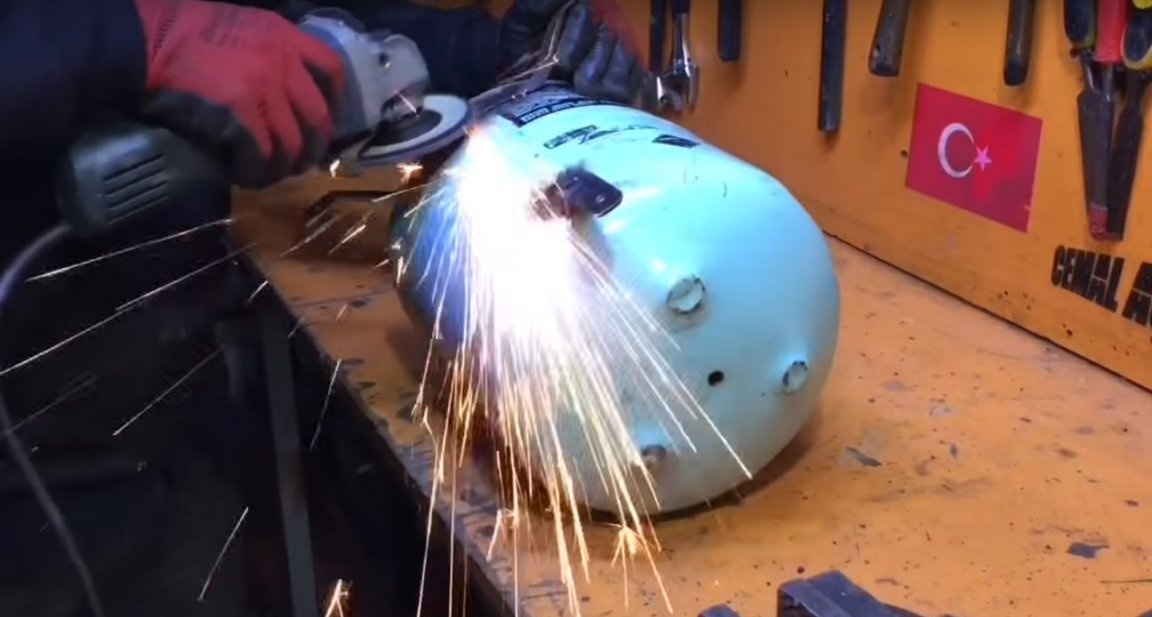
After he cut off the handle and tap.
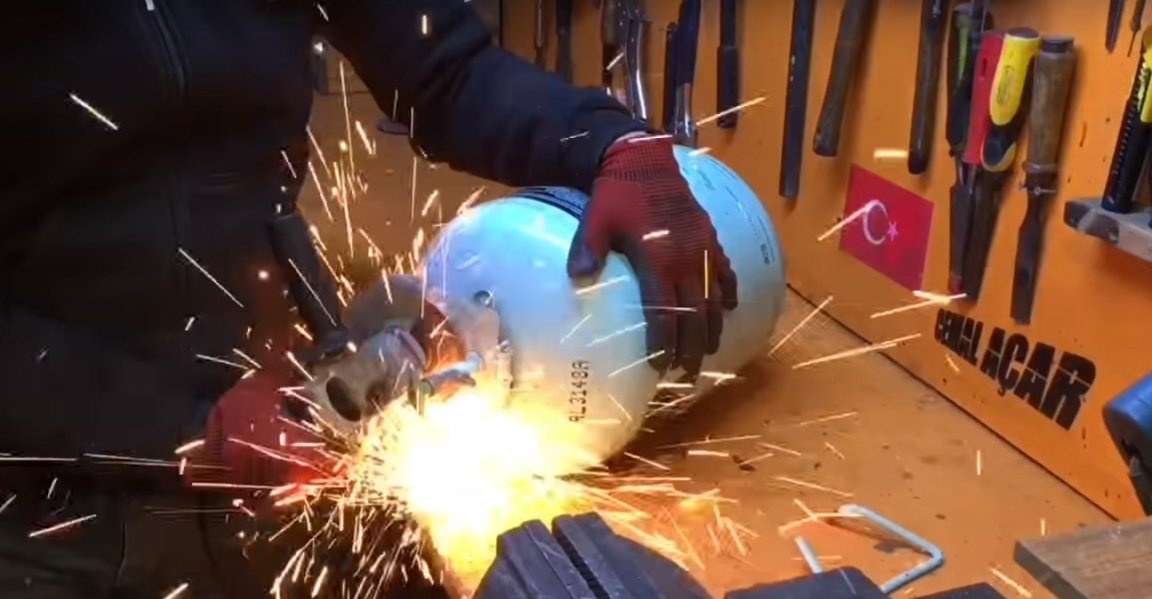
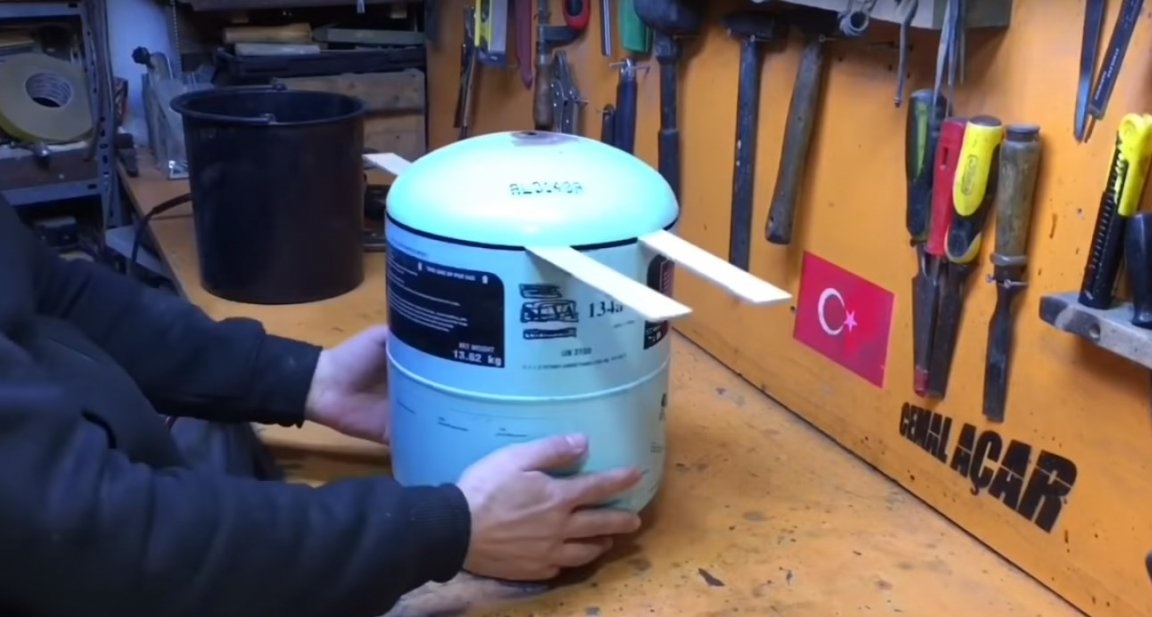
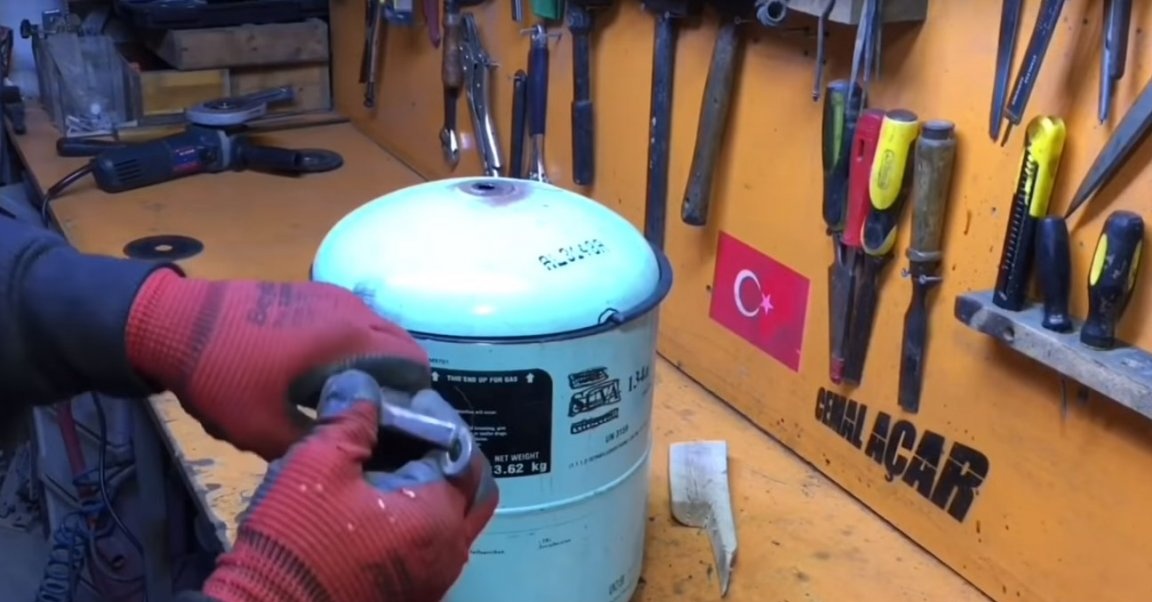
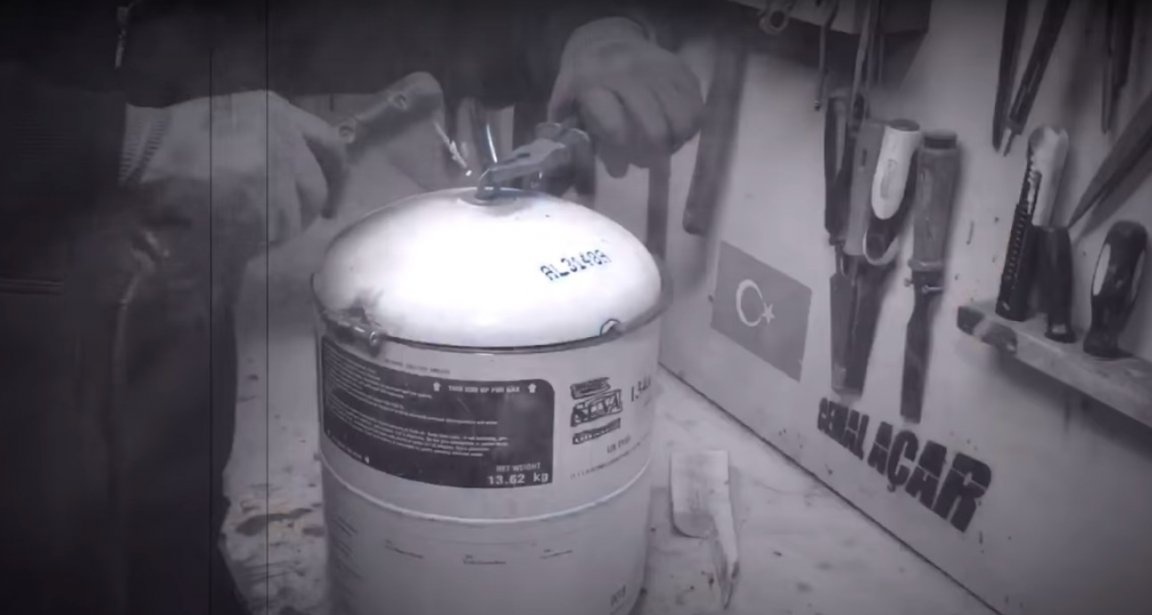
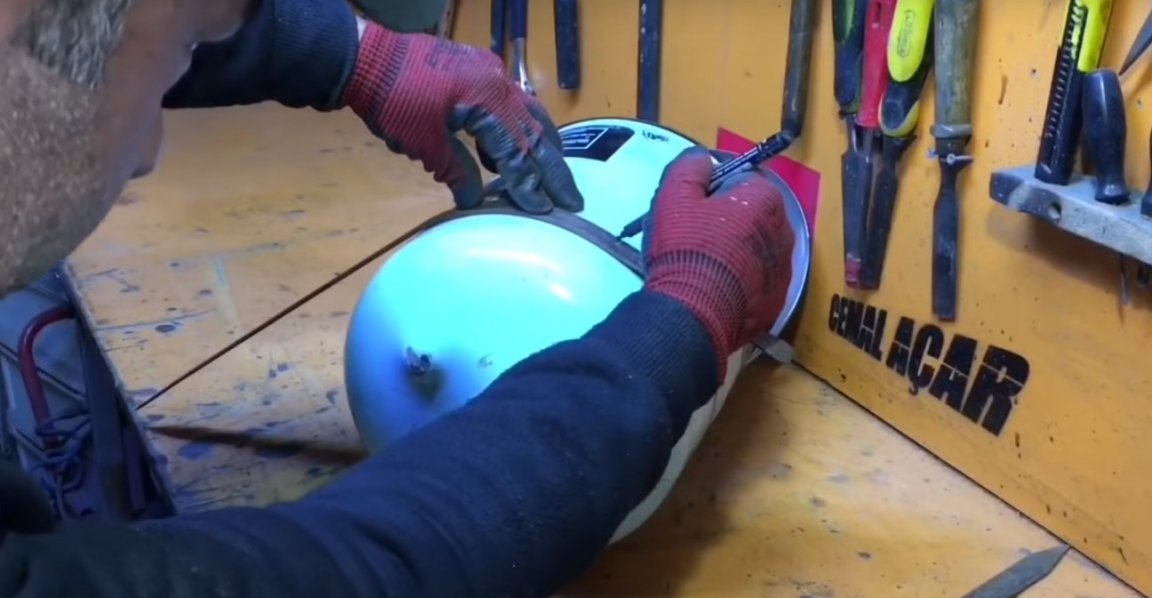
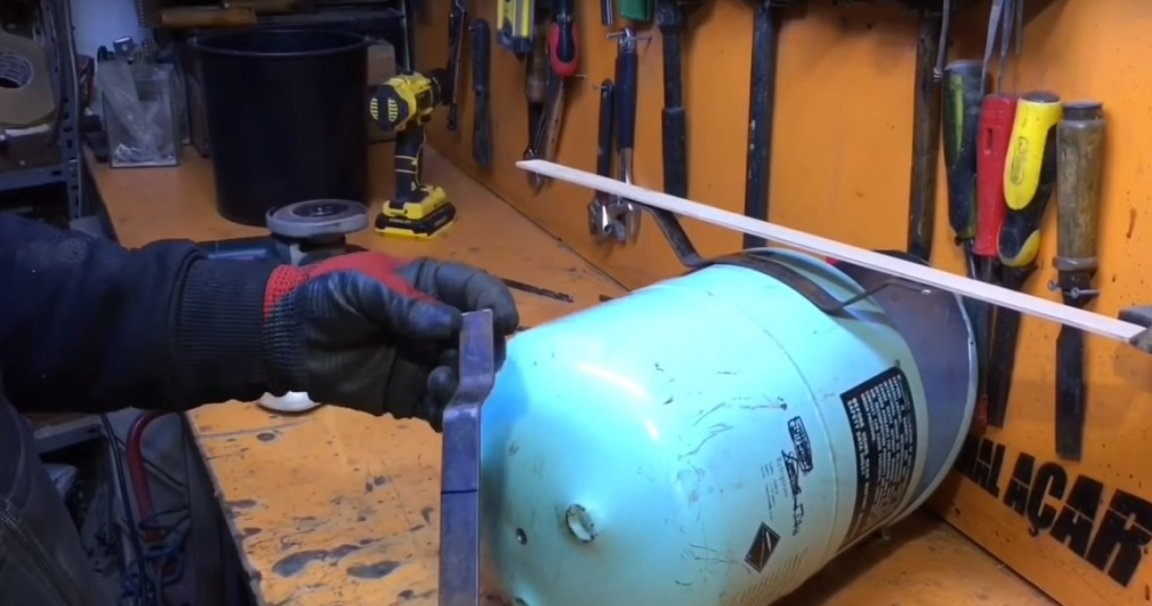
And outlining with a marker, he evenly cut off the upper part of the cylinder.

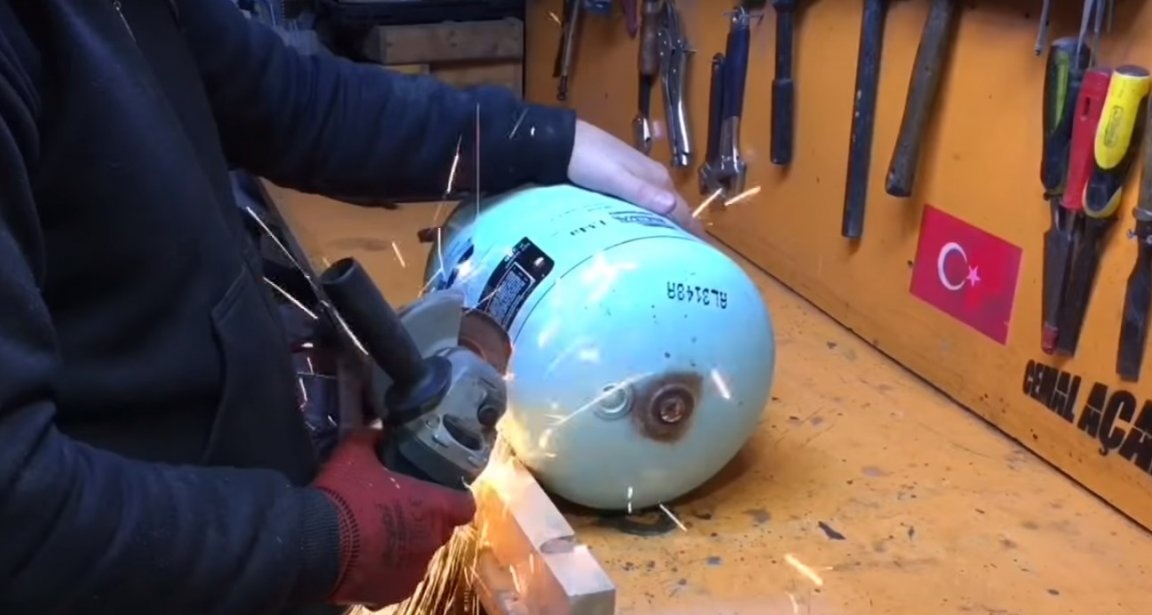

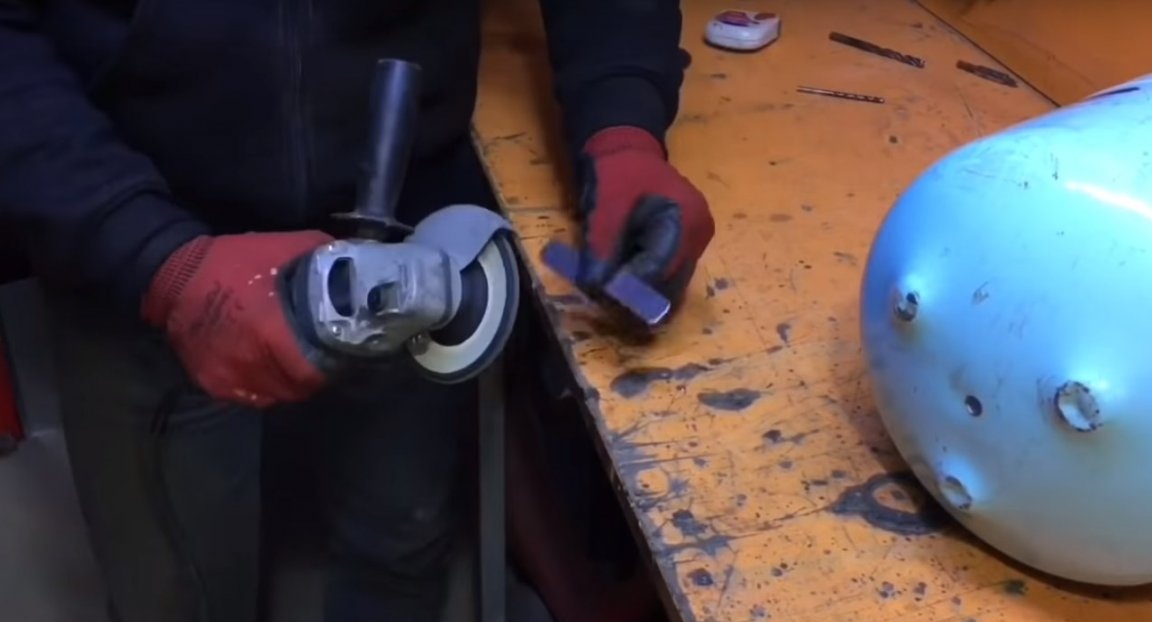
Edged the edges of the resulting blanks, first with a petal circle.
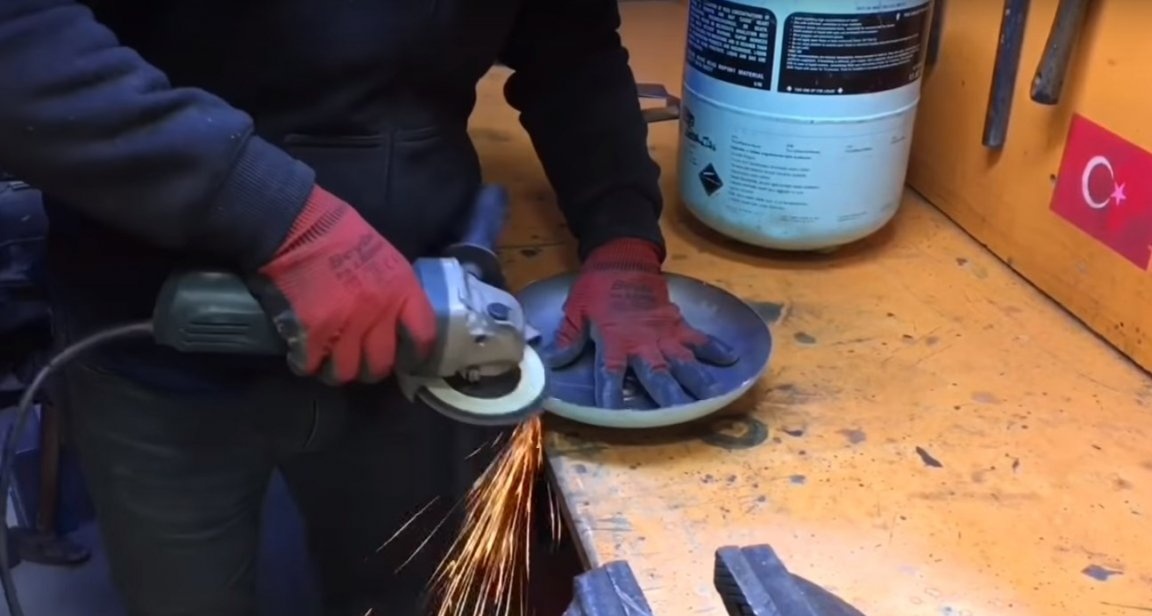
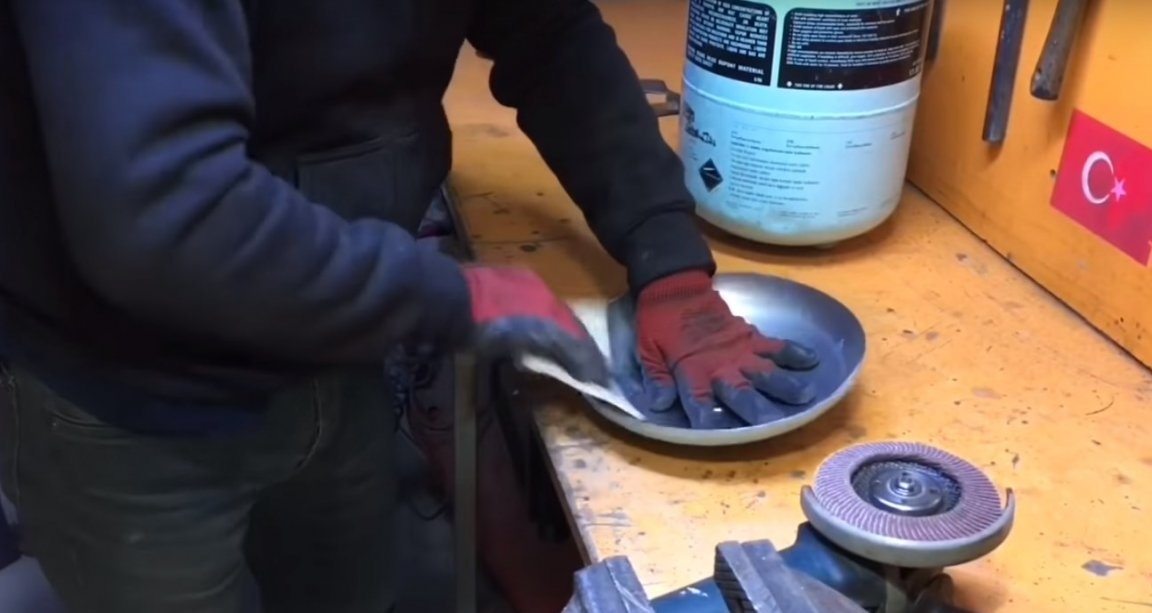
And then with fine sandpaper.
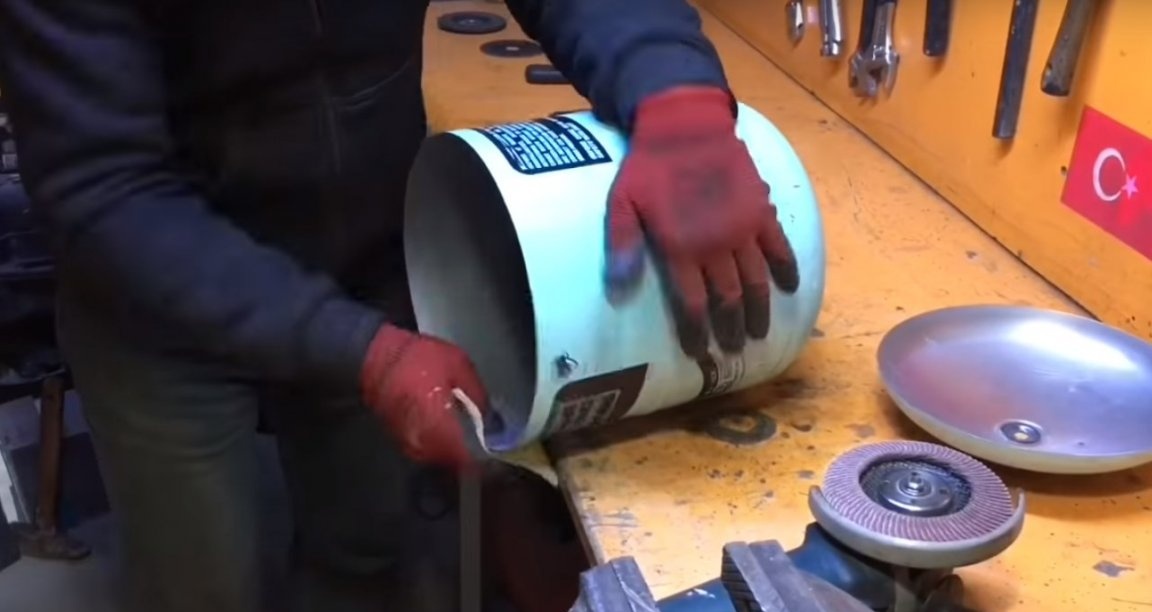
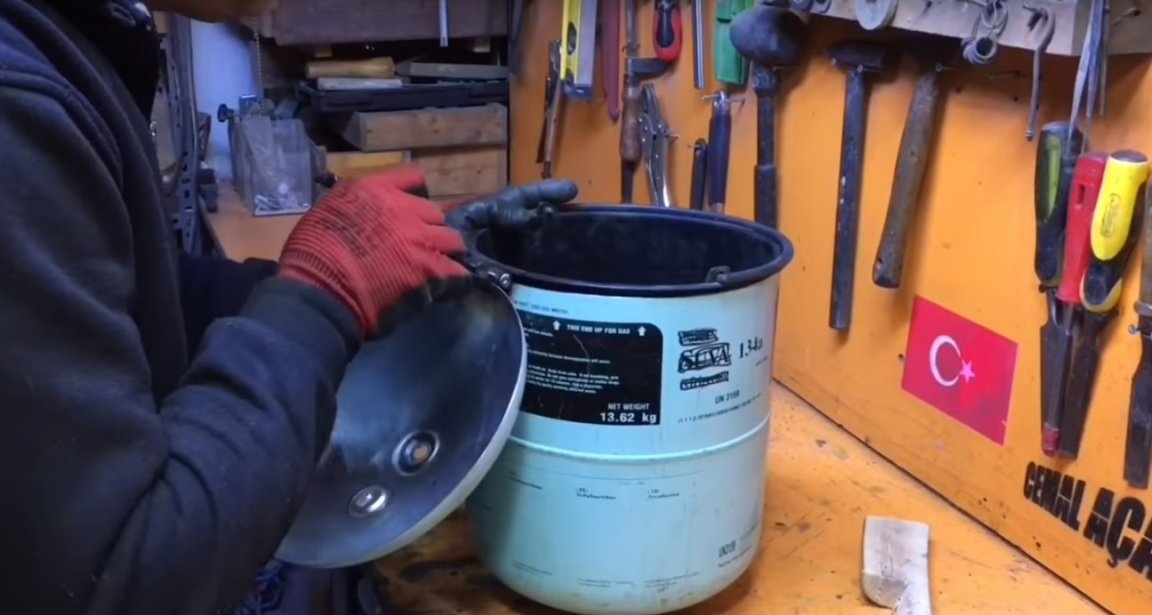
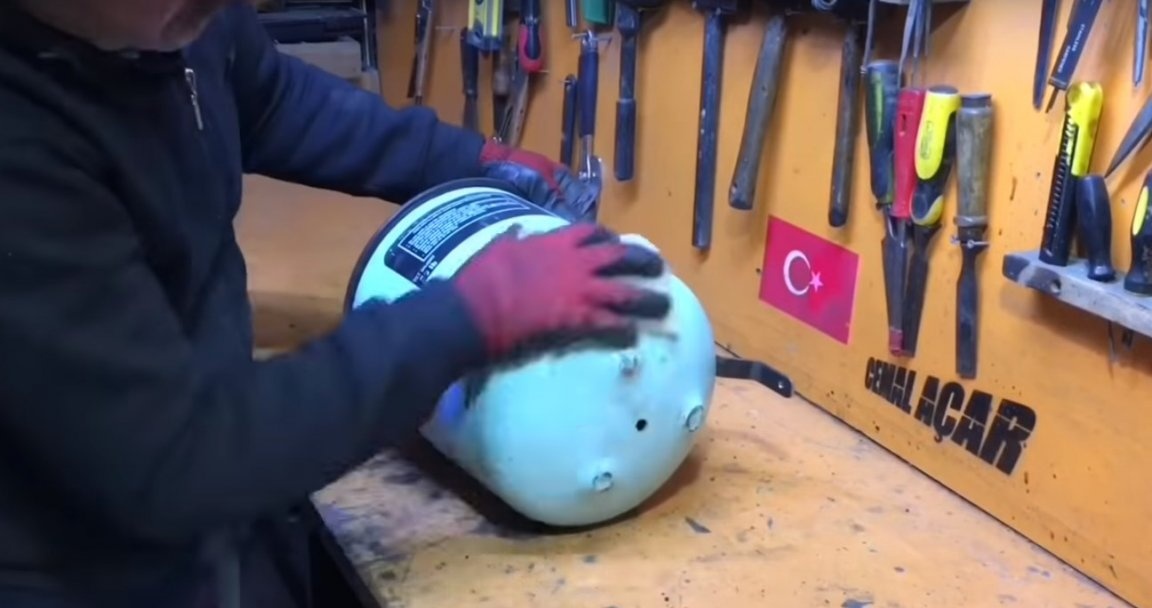
After he took a plastic bucket, suitable in diameter and height. (The bucket should loosely fit into the bottom of the cut off cylinder.)
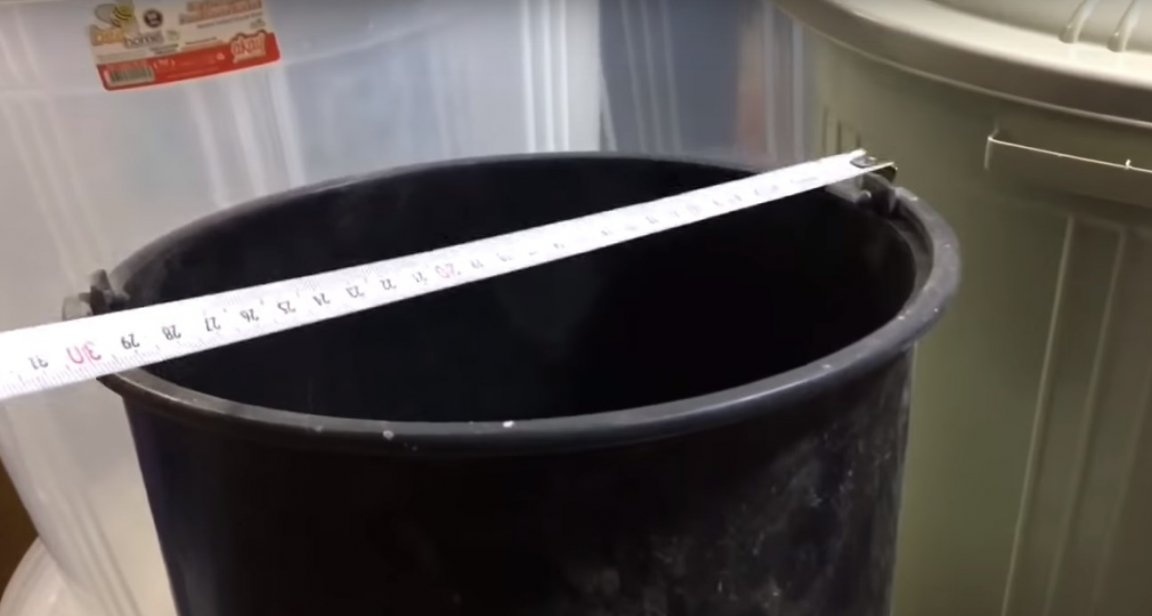
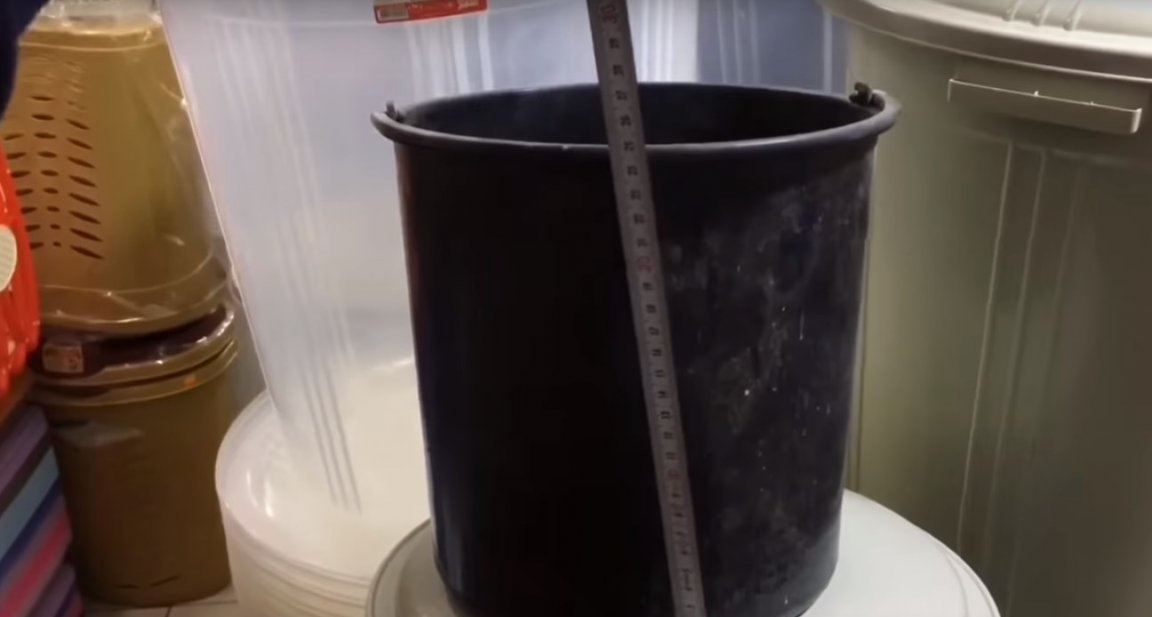
Fitting.
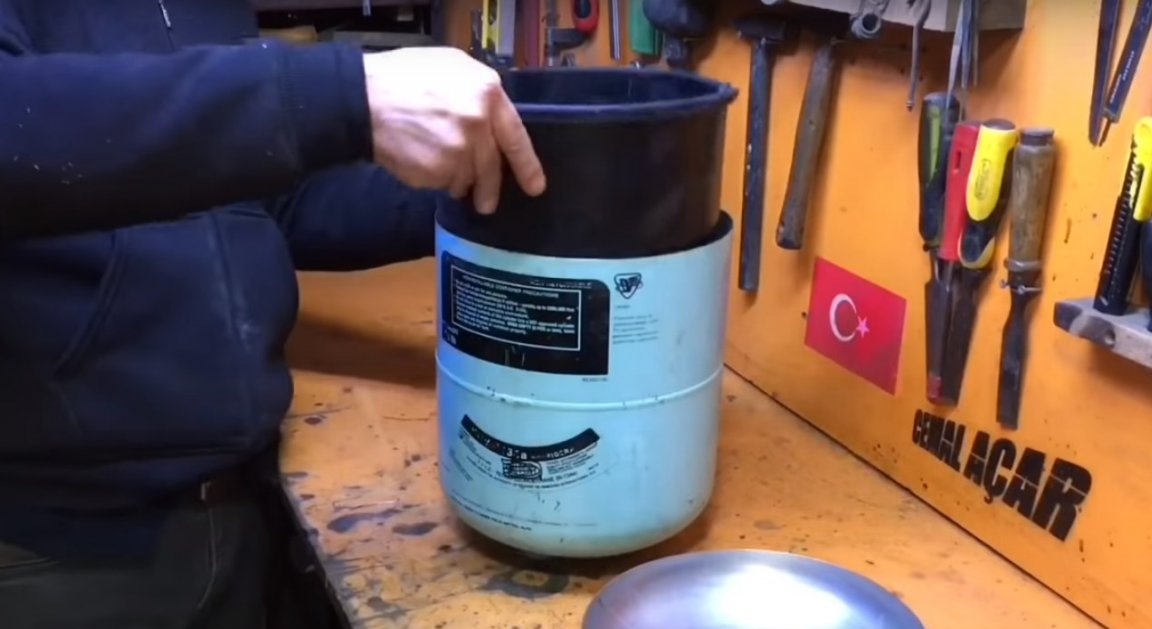
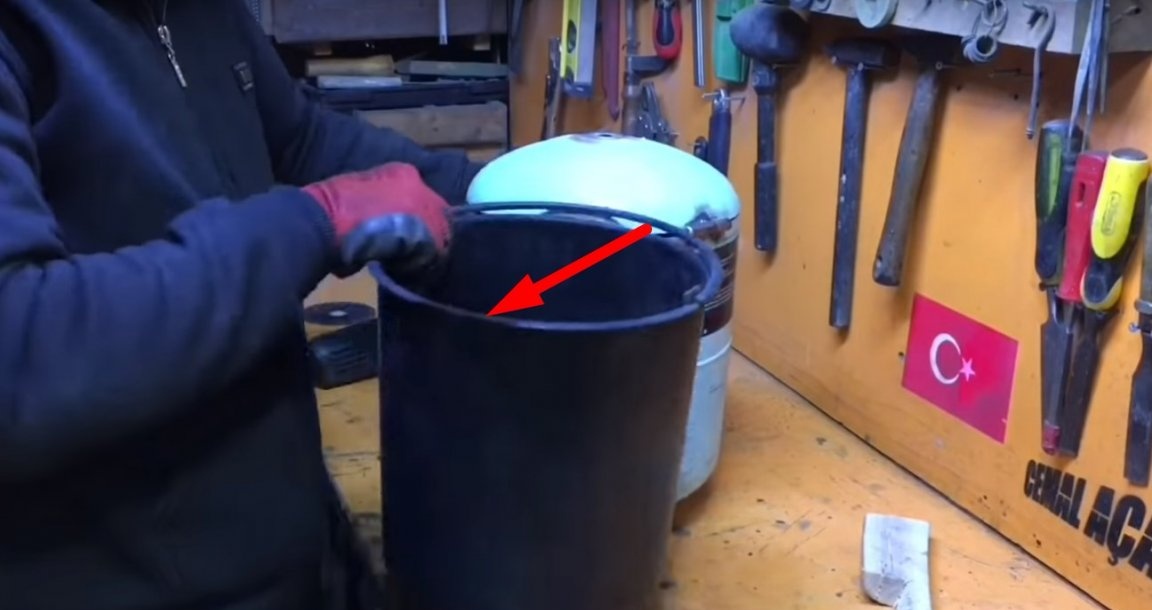
Then he took out a bucket. And put under the cover, a couple of not large rails. As shown in the photo, there should not be a large gap between the workpieces.
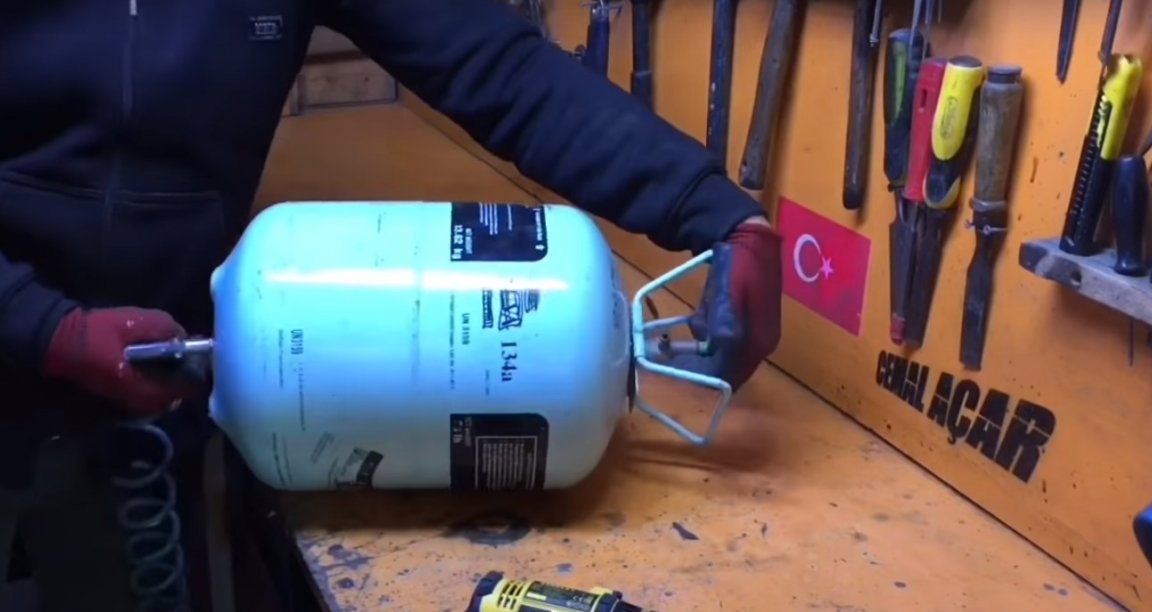
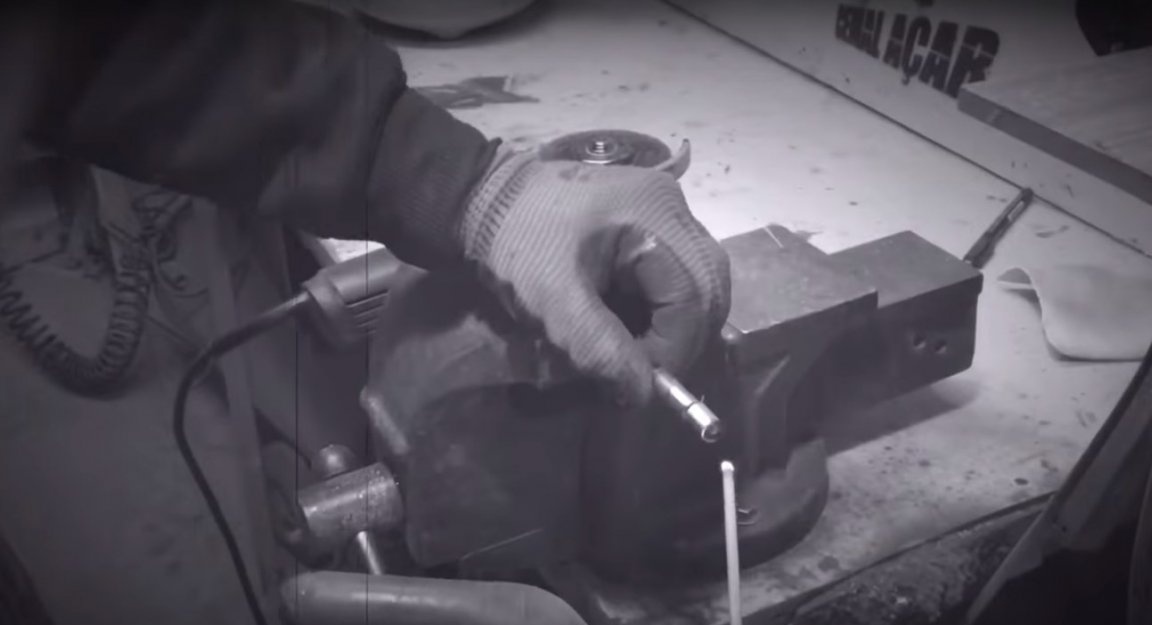
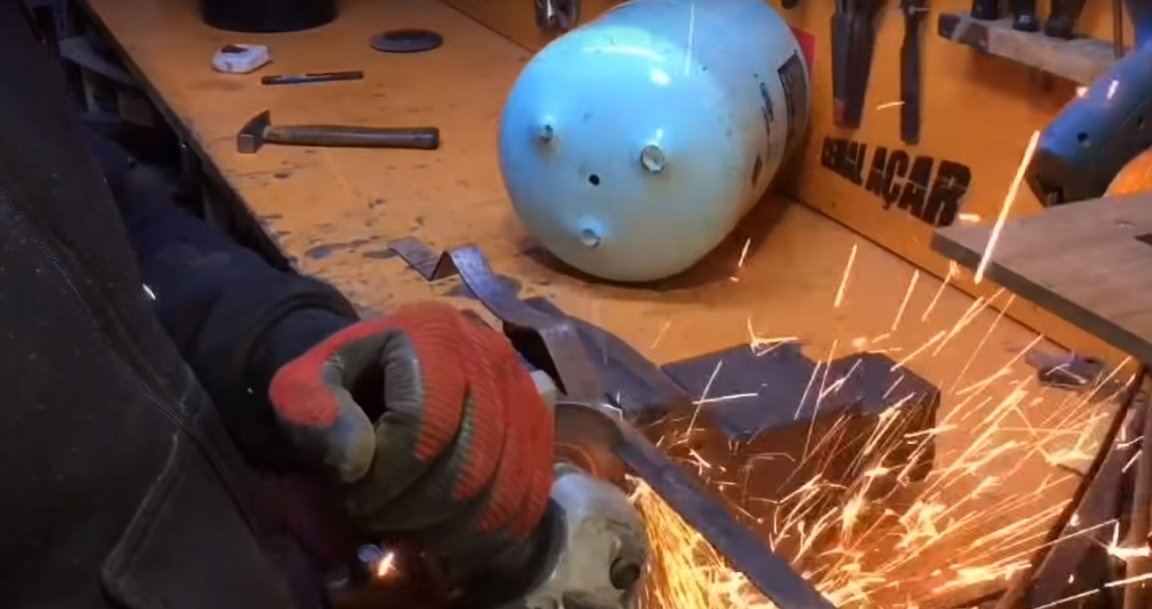
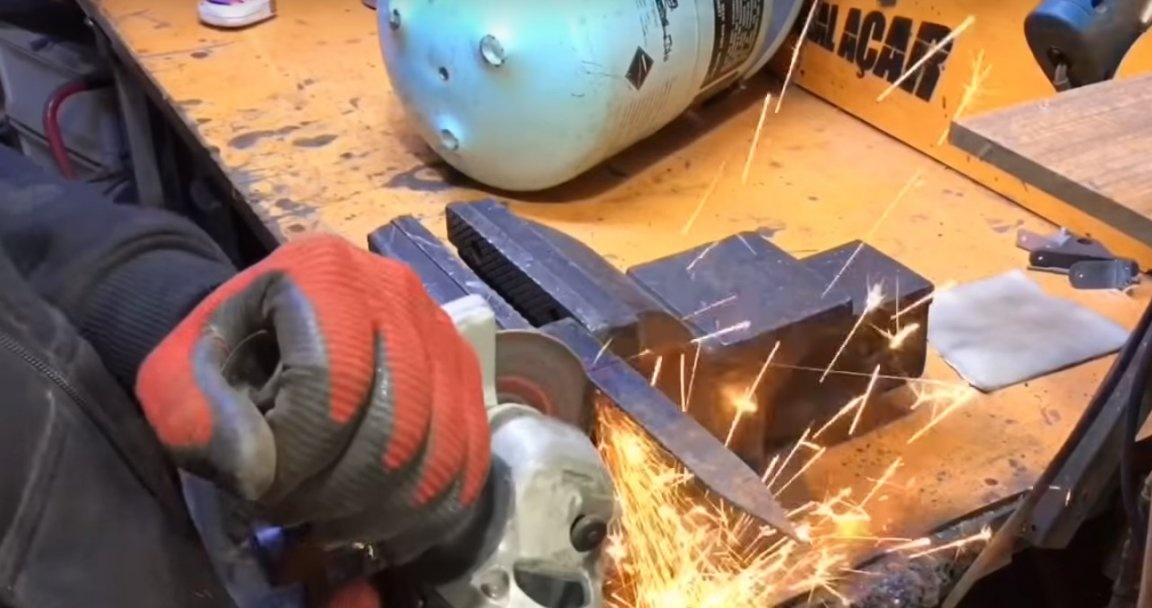
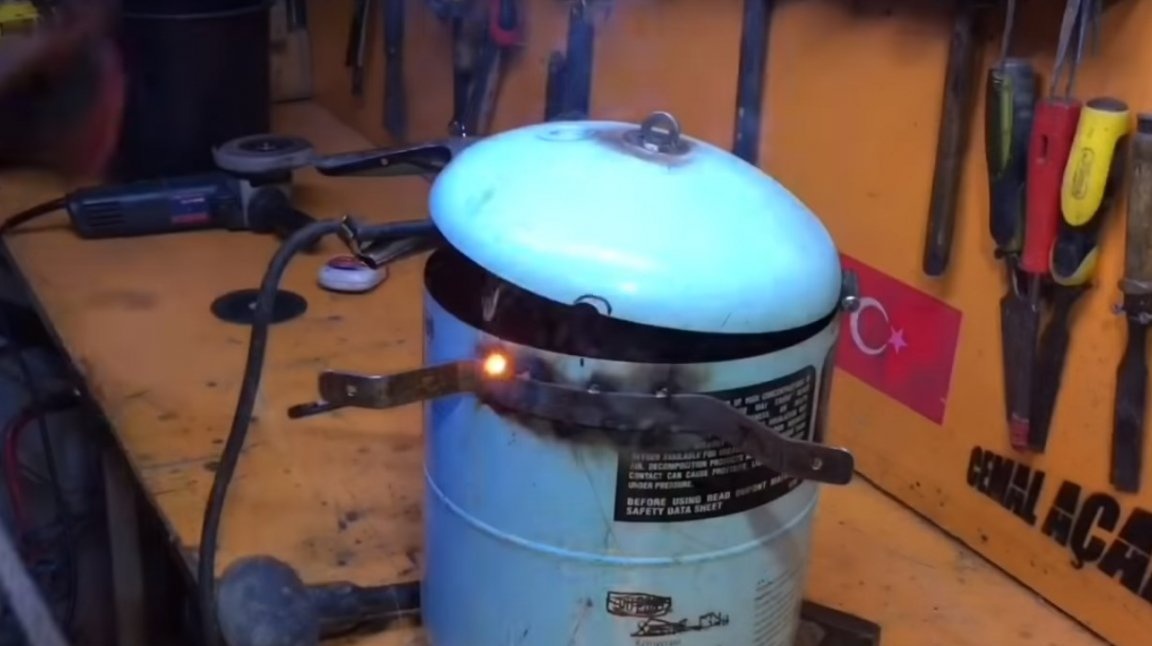
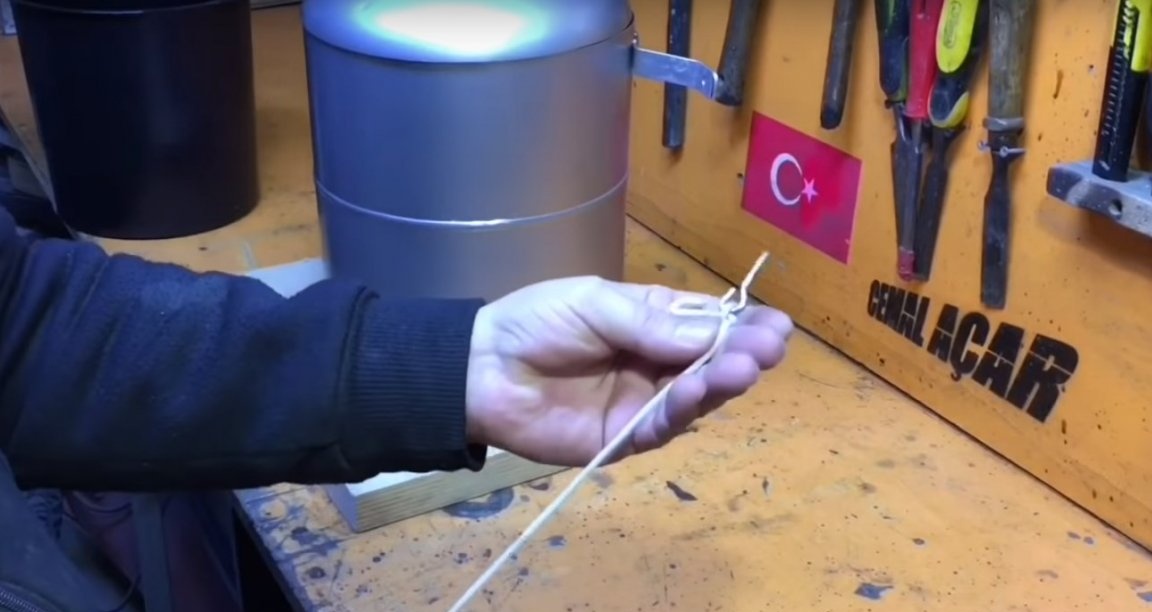
After the author made a loop, for this he cut three small pieces from a metal tube.


Aligned the edges.
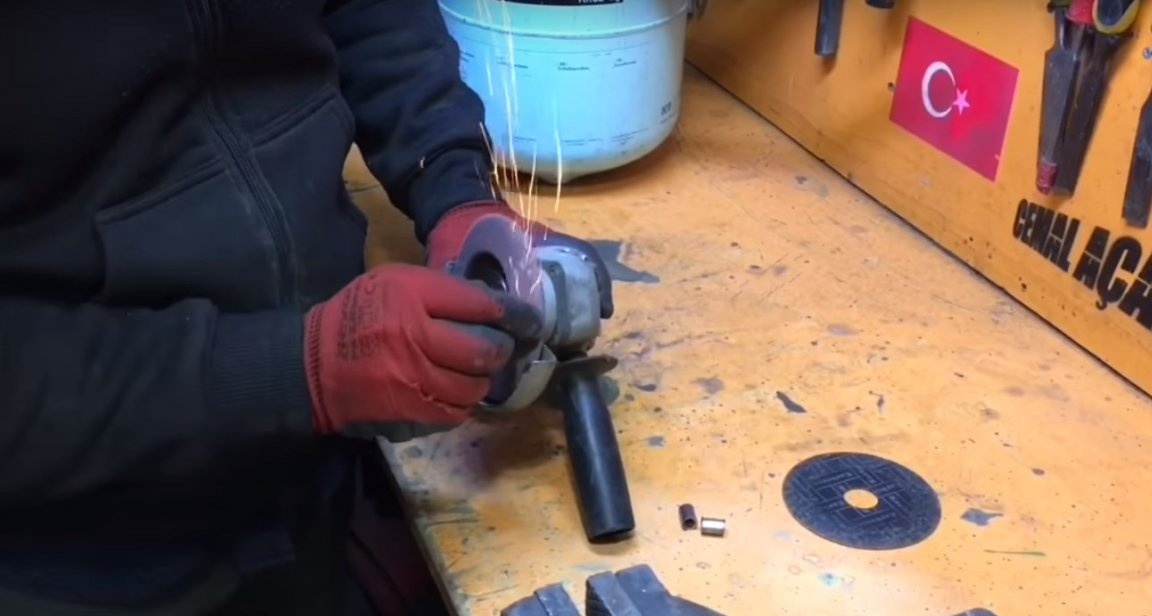
And put these pieces on a steel bar.

After welded the outer tube to the bar.
Cut off the excess part of the bar.

And on this side, I also welded the extreme workpiece of the tube to the bar.
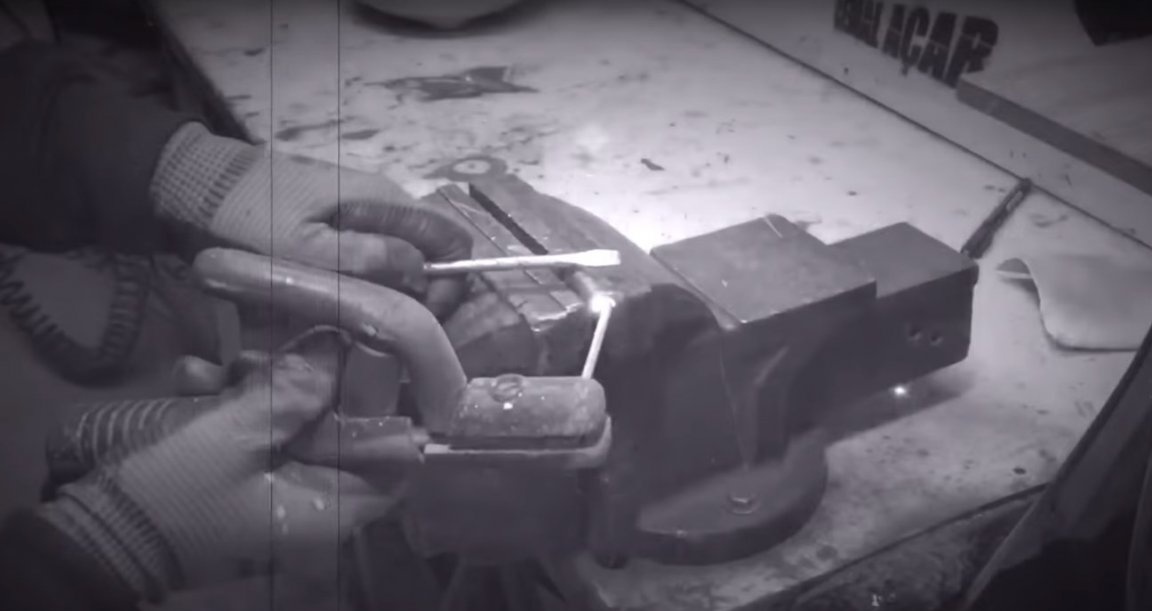
Then he cleaned the seams, and the place of fastening the loop.
After welded the loop to the blanks from the container.

Verification
He again cleaned the seams.
After I installed the bucket back and noting a place that interferes with the operation of the loop.
A little perforated this part.

And he also made small grooves in the lid of the device, under the ears of the handle of the bucket.
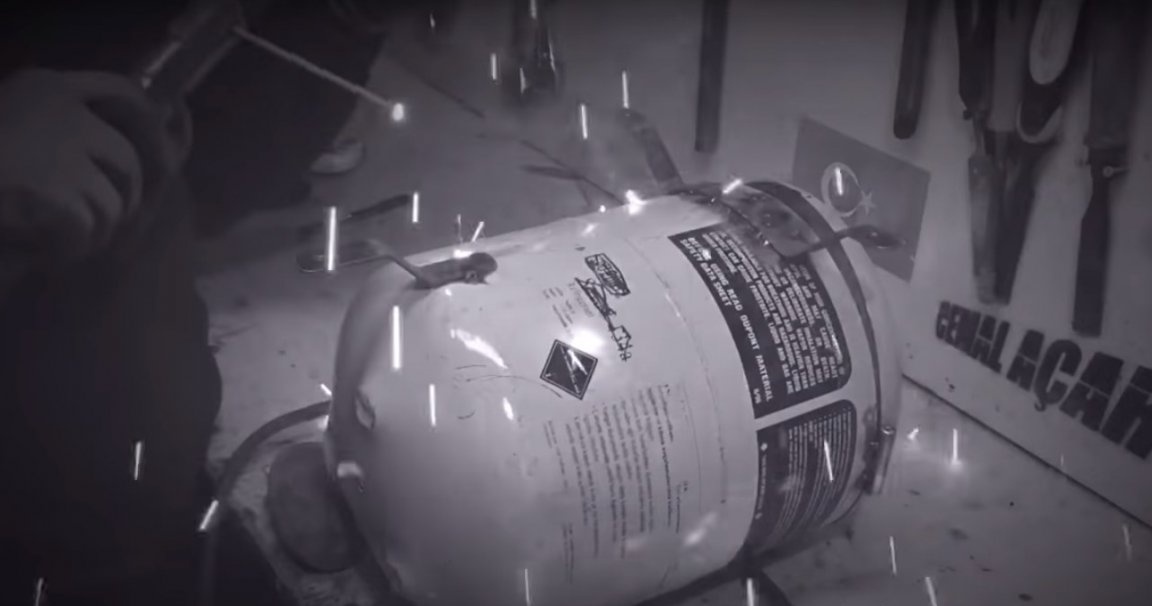
After he took the washer and welded it to the lid of the device.
Then, a part, the future fastening of the device, was bent from a steel strip.
Then he removed the sharp corners.
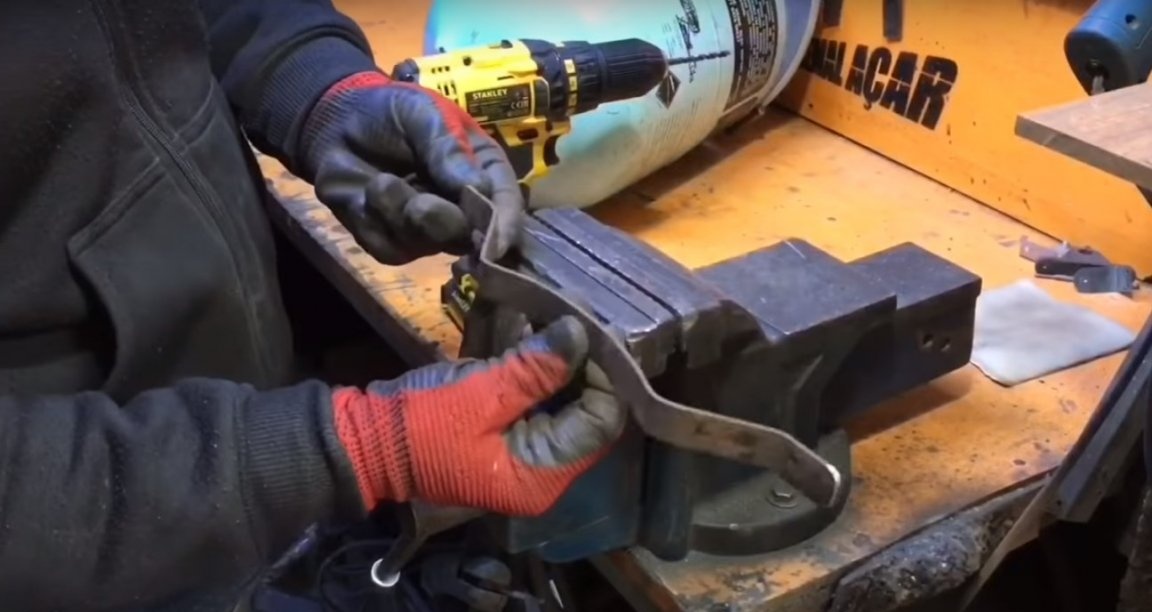
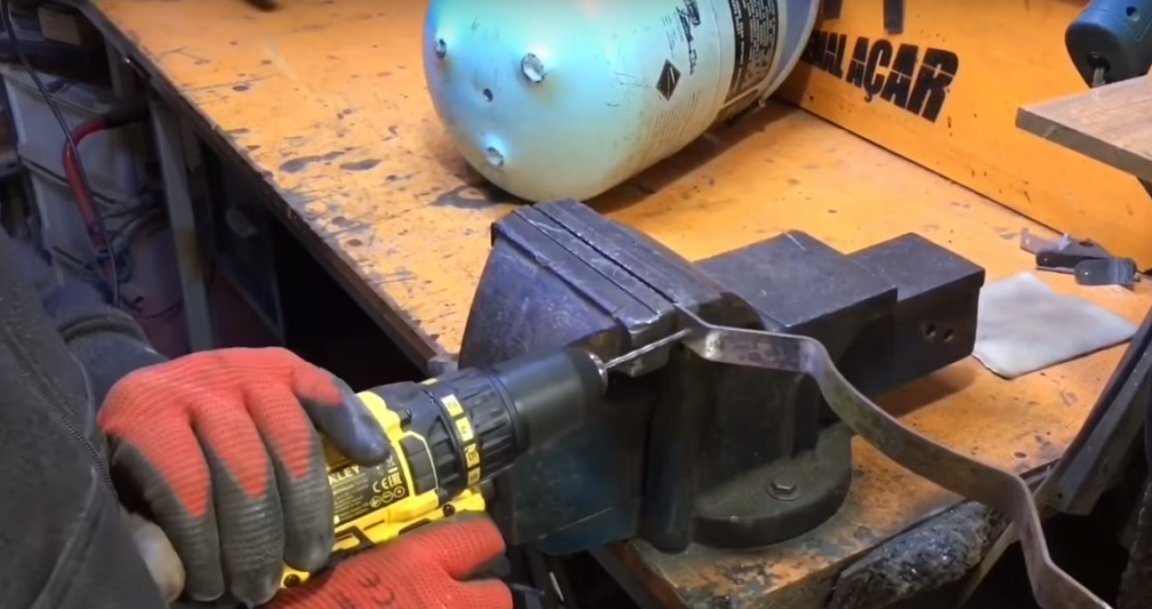
And he made at the edges, one hole for the screws.
Then I thought and decided, for reliability, to make another mount. From the same strip, he bent the part as shown in the photo.
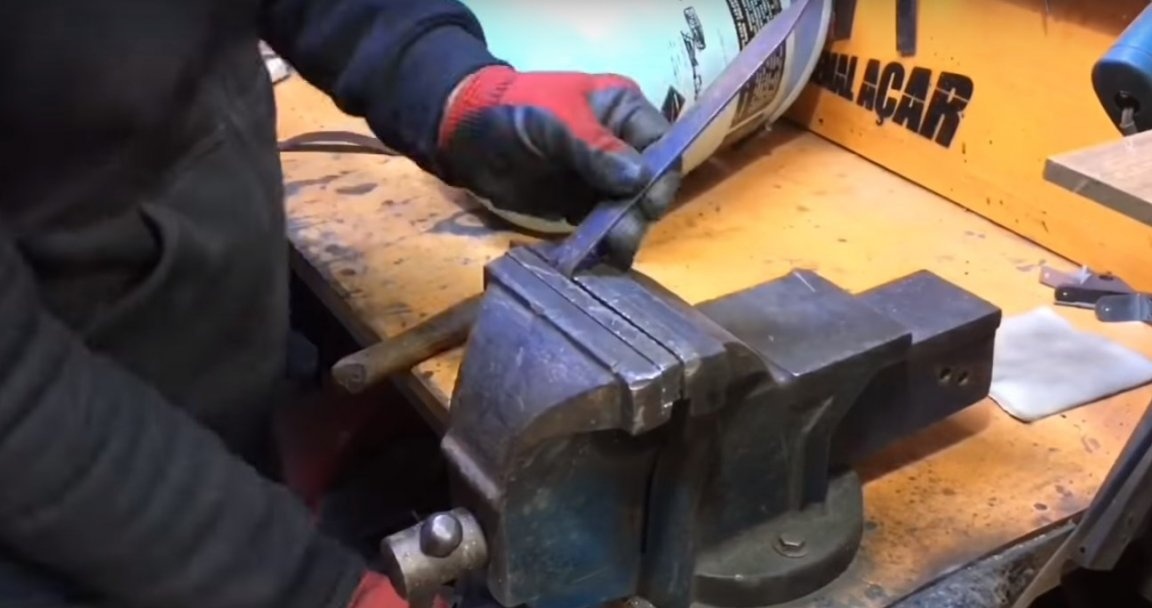
I cut off the excess and slightly rounded the edges.
And he also made a hole for the screw.
Then he welded these fasteners to the homemade product. The first mount is on top and the second is on the bottom.
It turned out something like this.
Then again, the processing of the seams.
And preparing the product for painting.
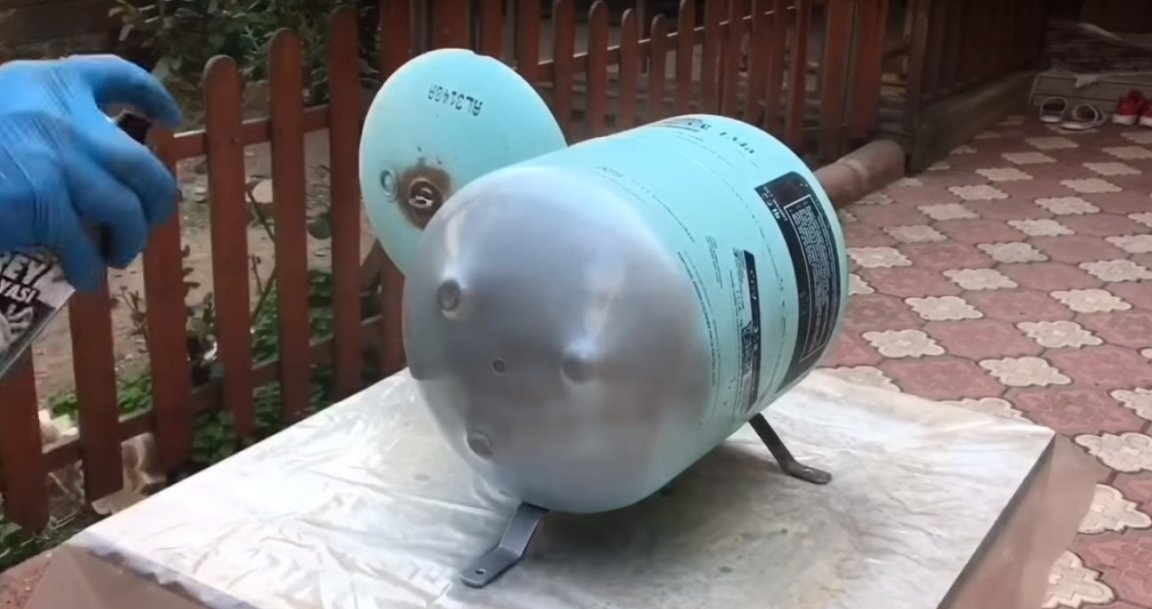
Now painting.

Then the master took a piece of rope and tied one of its edges to a screw with a hook, and the second to the washer on the lid.

Verification

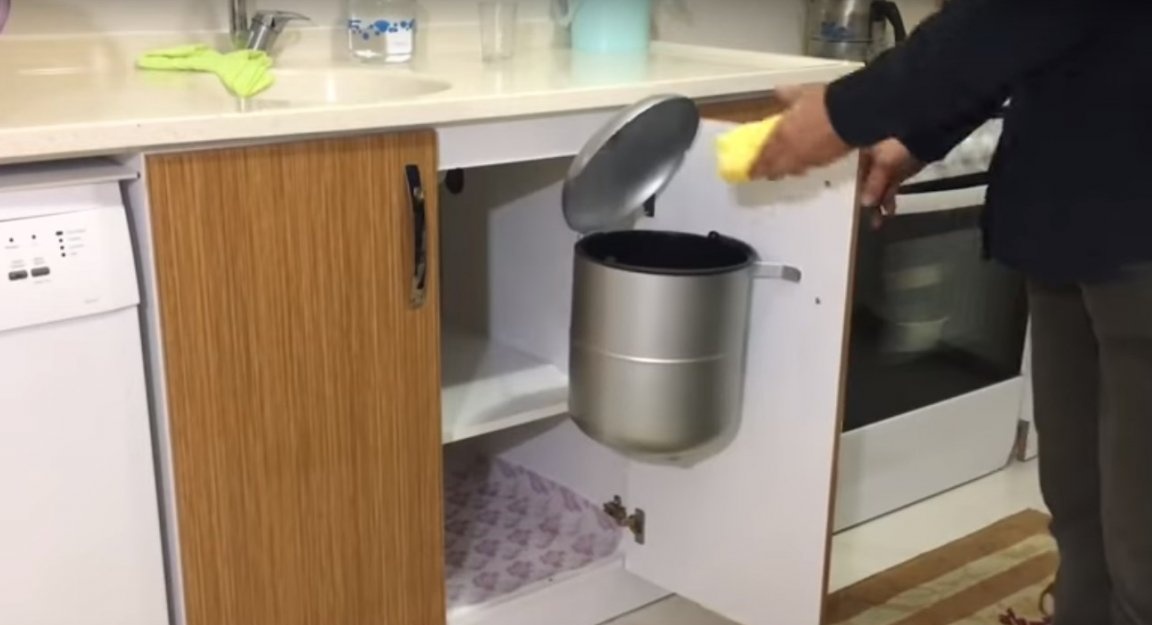
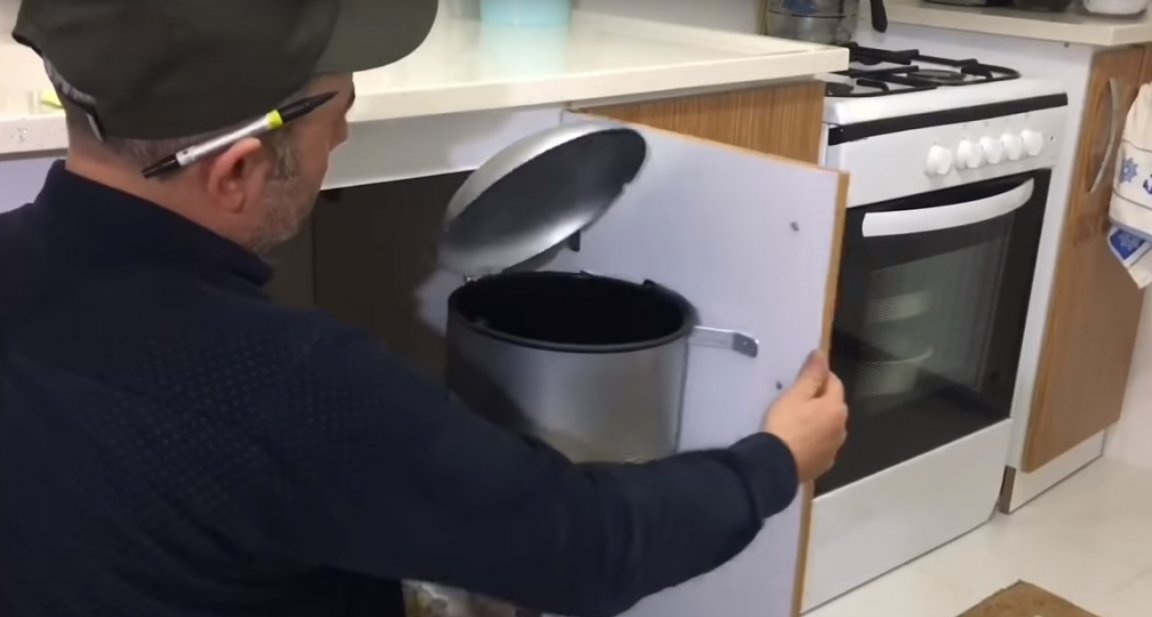
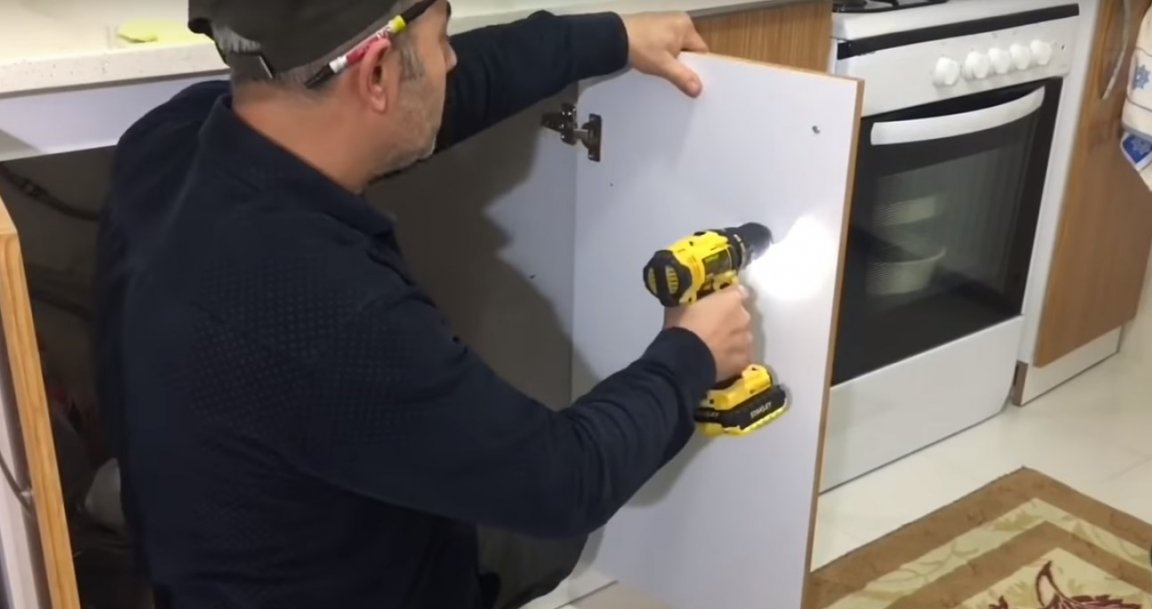
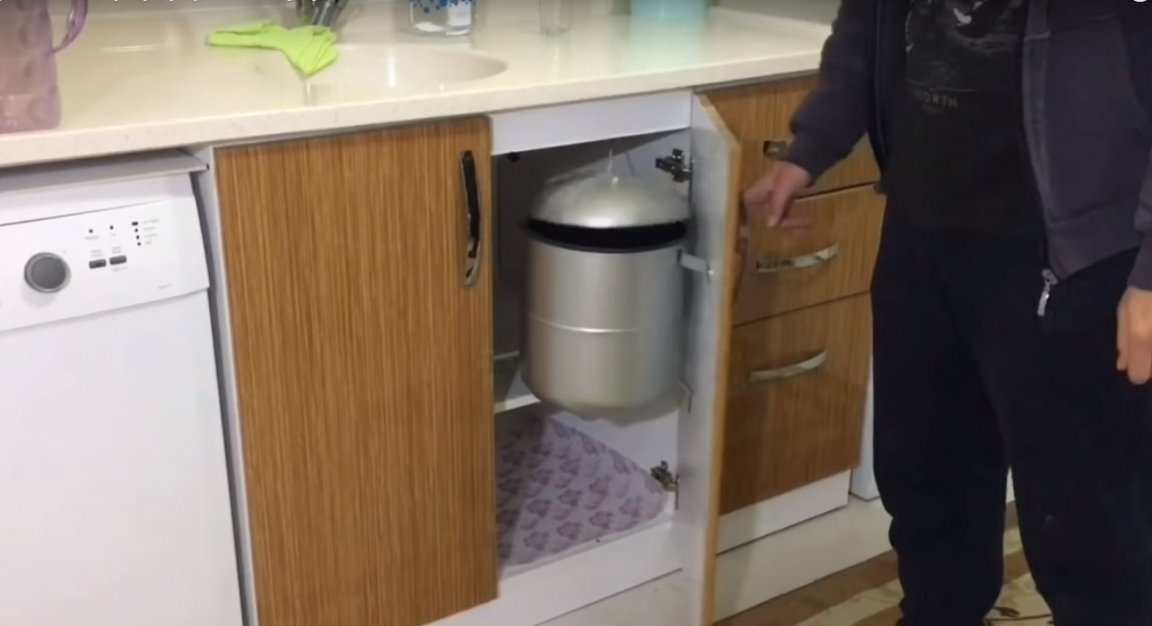
Then the author installed the finished homemade product on the cabinet door under the sink.
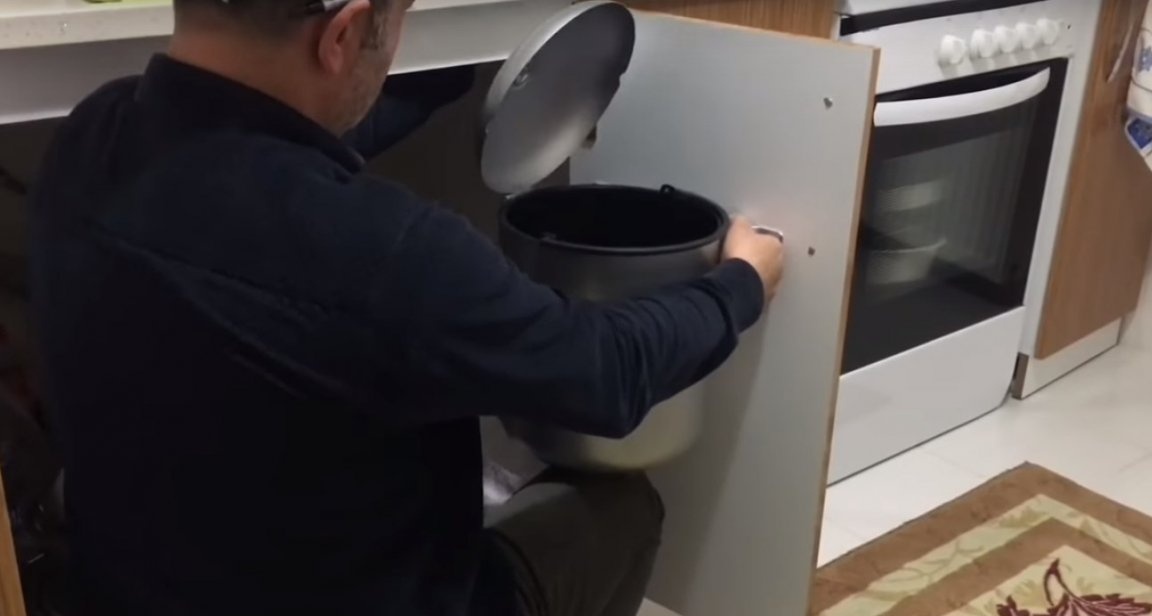
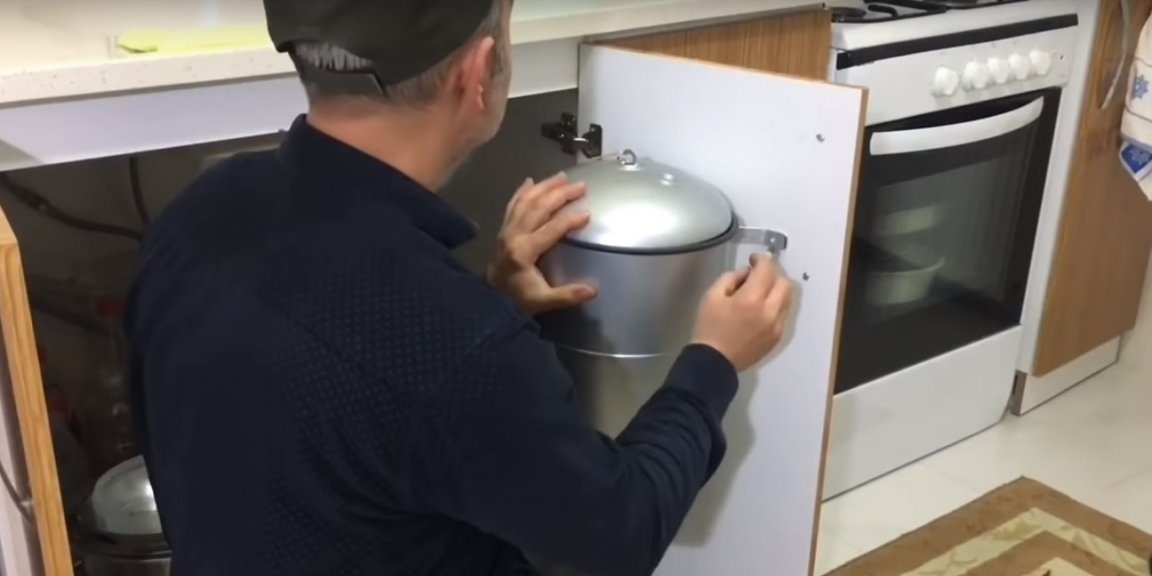
Securing it with screws.

And the author twisted the screw-hook into the cabinet wall.
Having previously removed the rope from it, and made a hole under it.

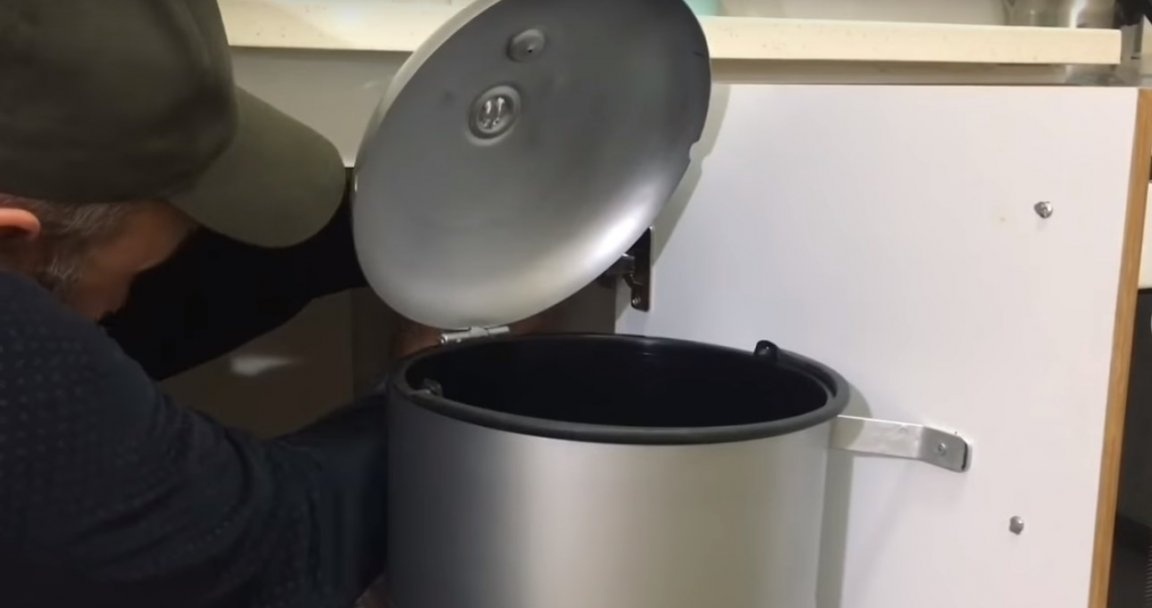
Then he tied the rope back and all the useful home-made is ready.

Now, when the author will open the cabinet door, the device cover will automatically open.
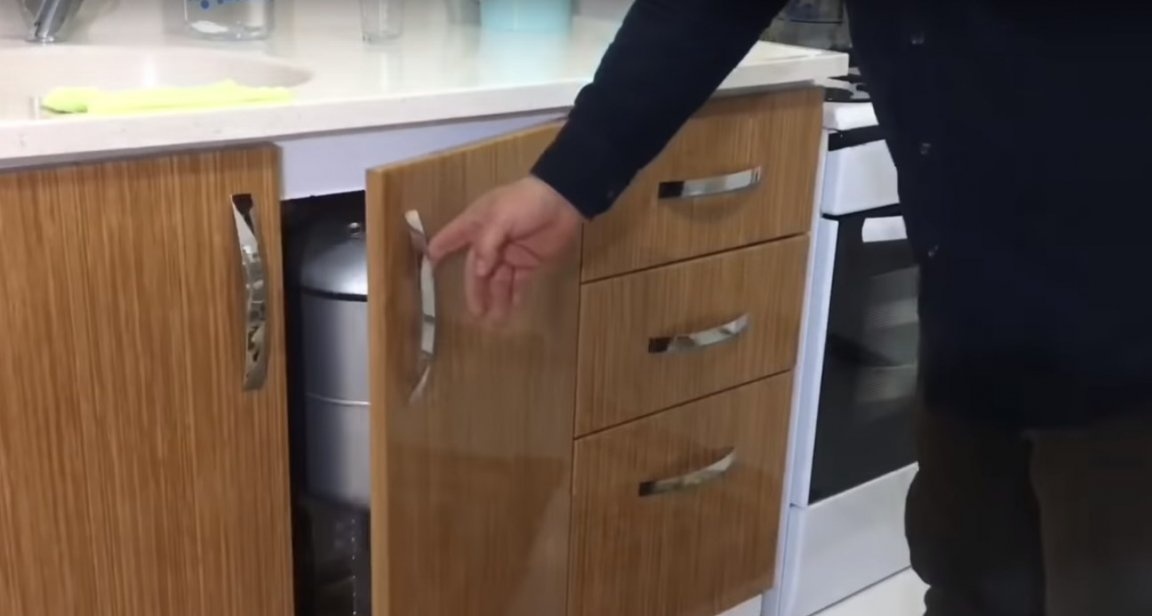
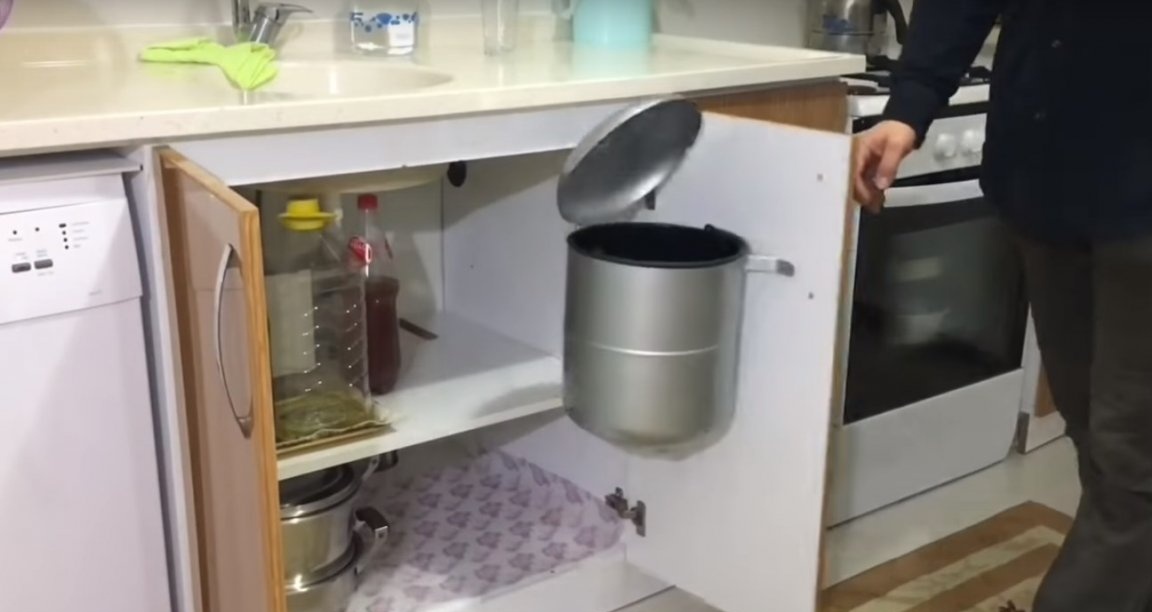
And vice versa, he closed the cabinet door, and the lid of the bin also closed.
And that’s all for me. Thank you all and a new meeting!