
It would be interesting to know who in ancient, prehistoric times came up with such a wonderful idea how to firmly fix various parts and blanks so that they remain motionless under the influence of various actions: sawing, grinding, drilling, and so on. Most likely, this unique would be extremely surprised that in the age of computer technology, when everything is computerized everywhere, this purely mechanical tool remains extremely popular to this day. Probably in any, even ultramodern workshop, where there is a great variety of various power tools and electronics, the vise is given great importance.
Vise is a carpentry or locksmith tool that helps to fix a variety of parts and workpieces. Because the design of this tool is quite simple, so the vise remains in demand to this day. The scope of their application is quite wide: this is their use in everyday life, and in huge industries.
In this article I want to tell you how the author of the YouTube channel Rescatando Chatarra made a vise.
To work, the author needed the following tools:
Bulgarian
welding machine,
vise
Step 1.
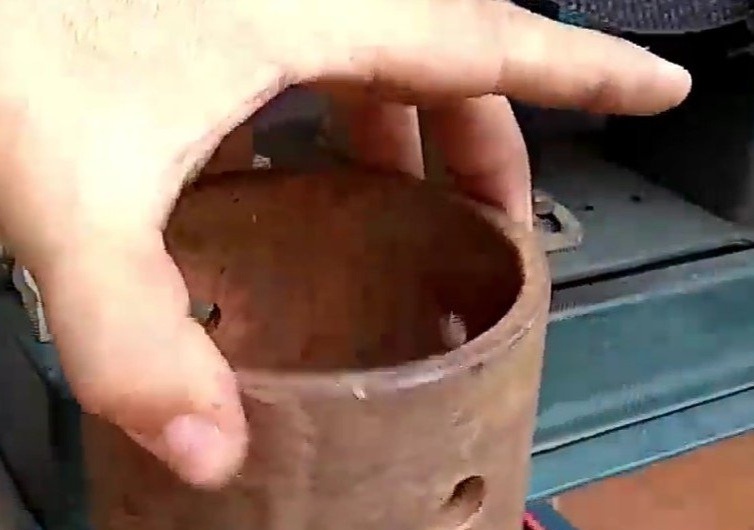
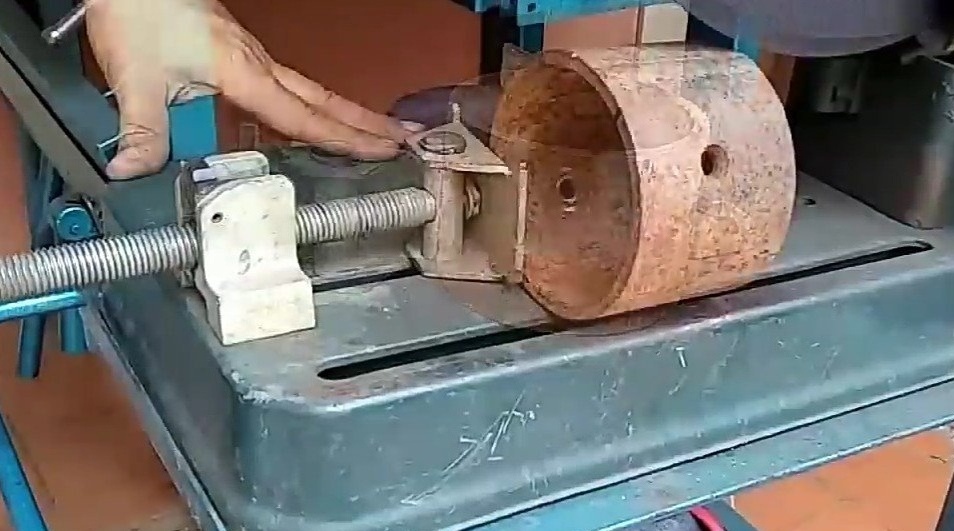
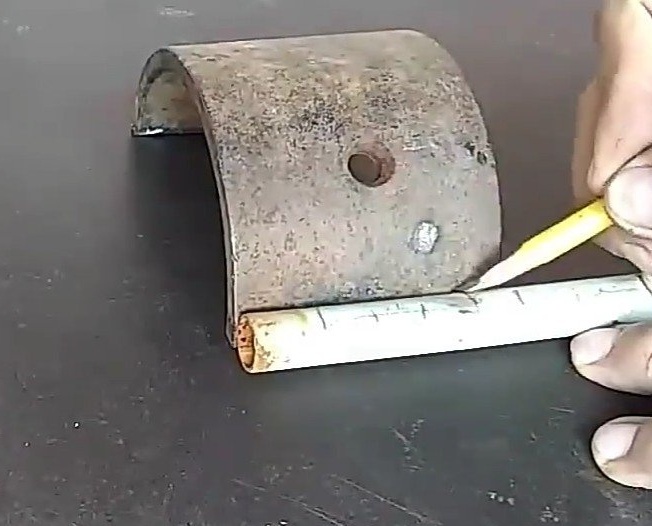
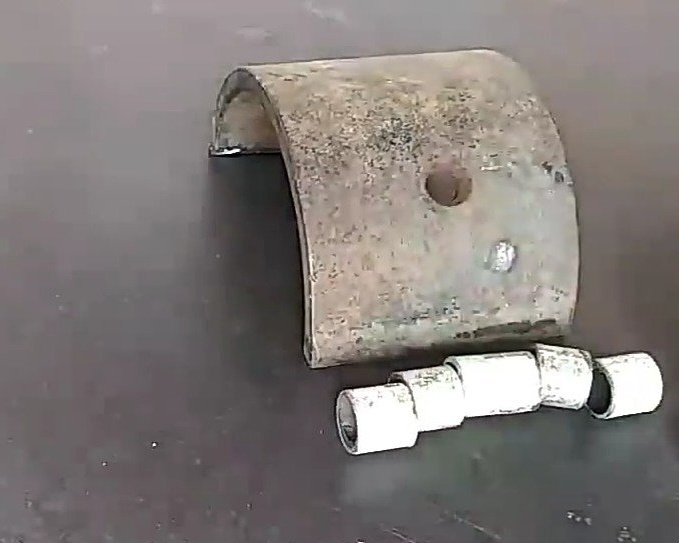
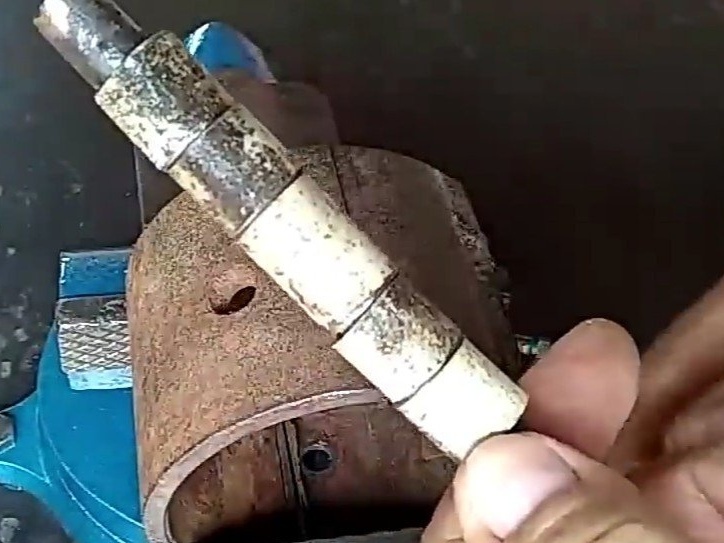
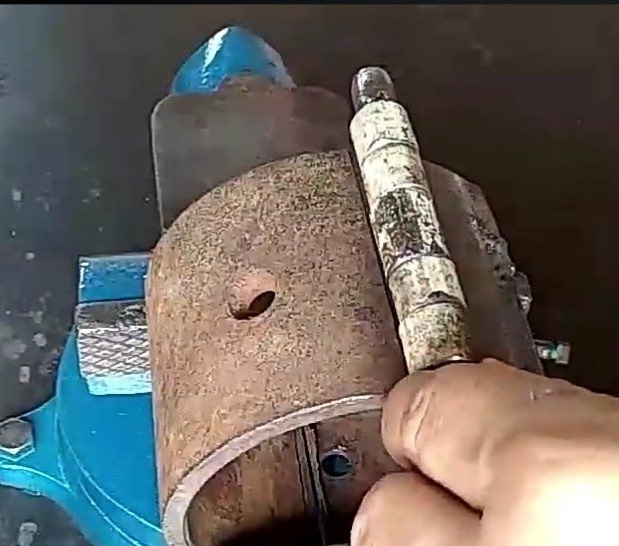
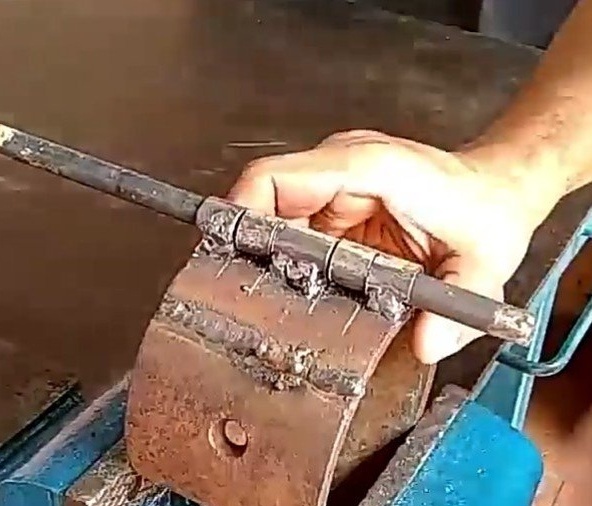
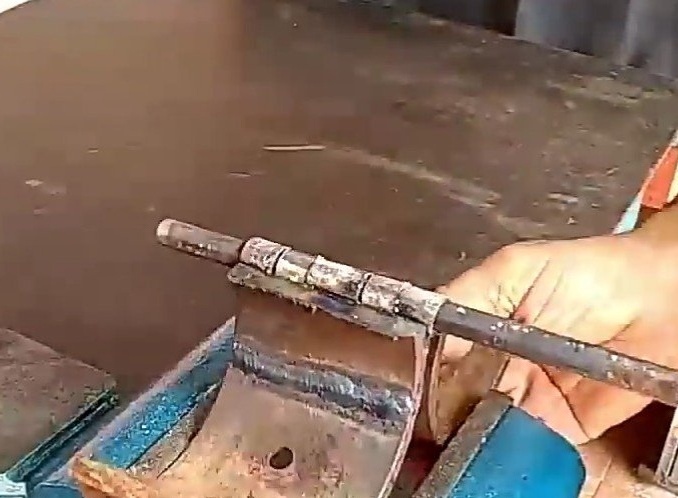
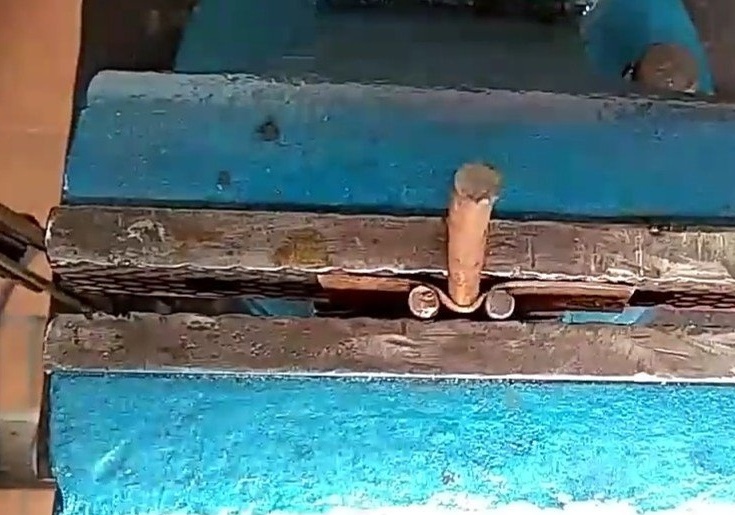
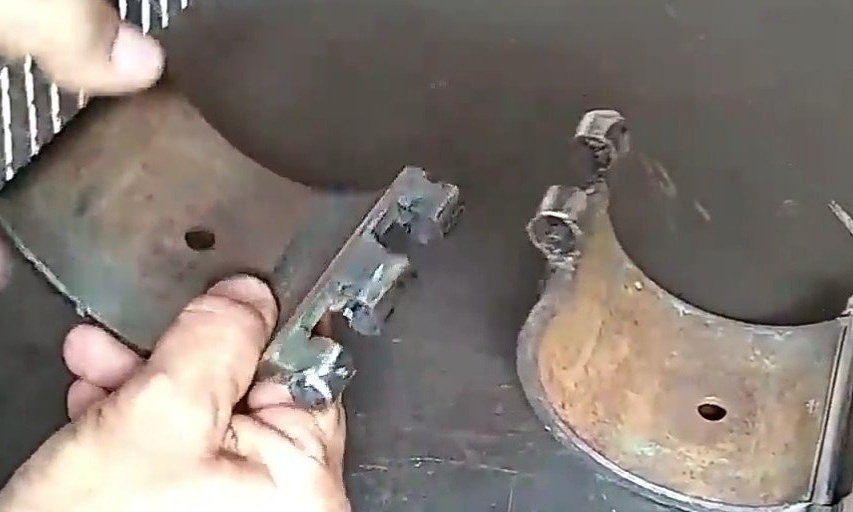
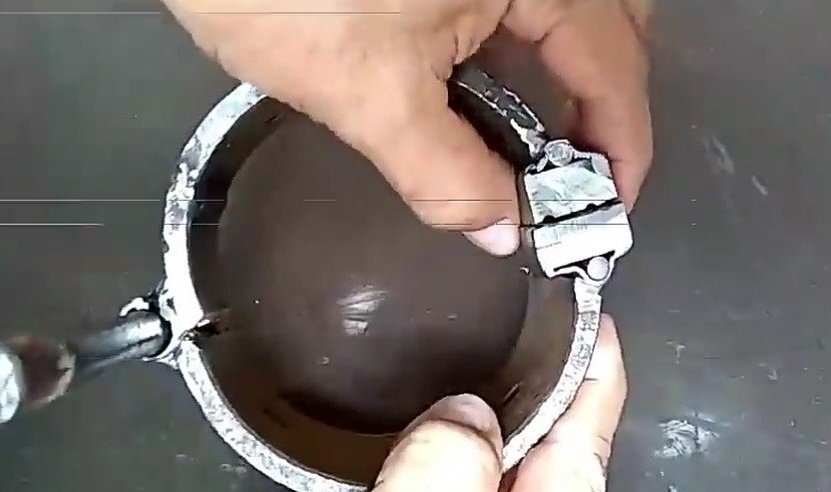
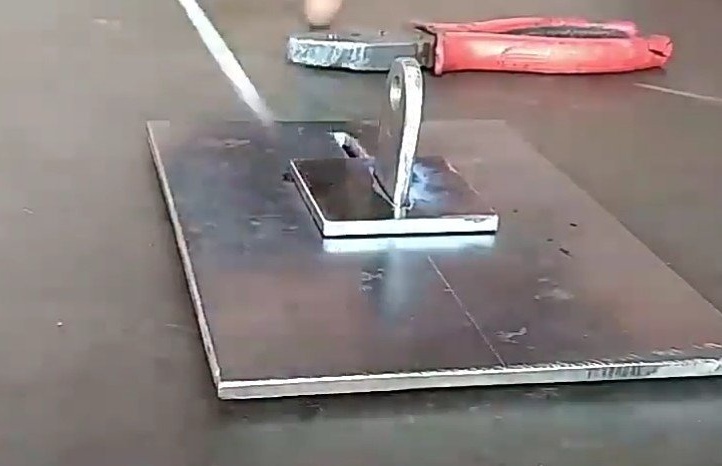
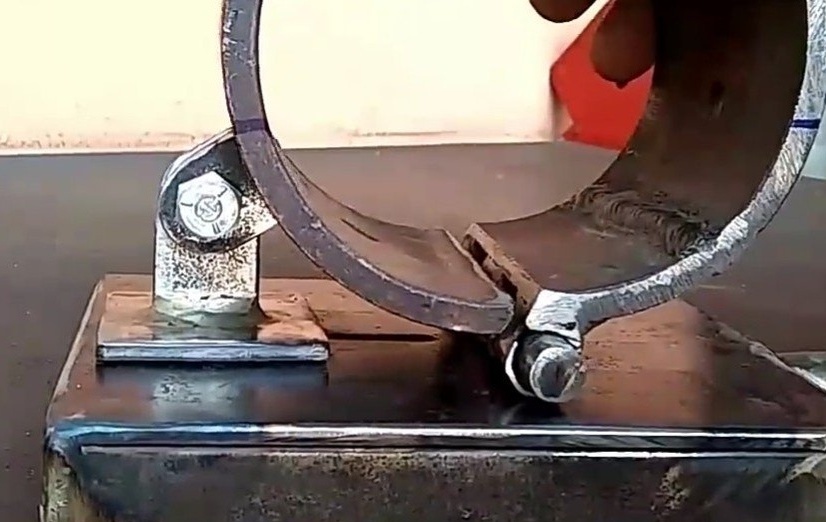
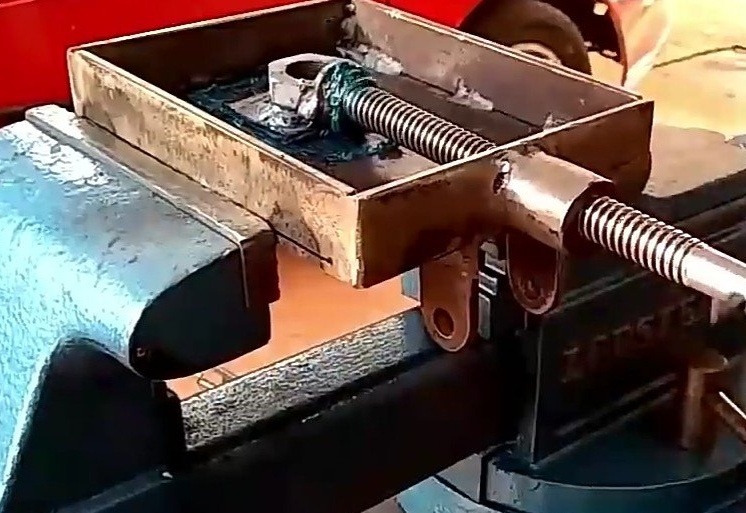
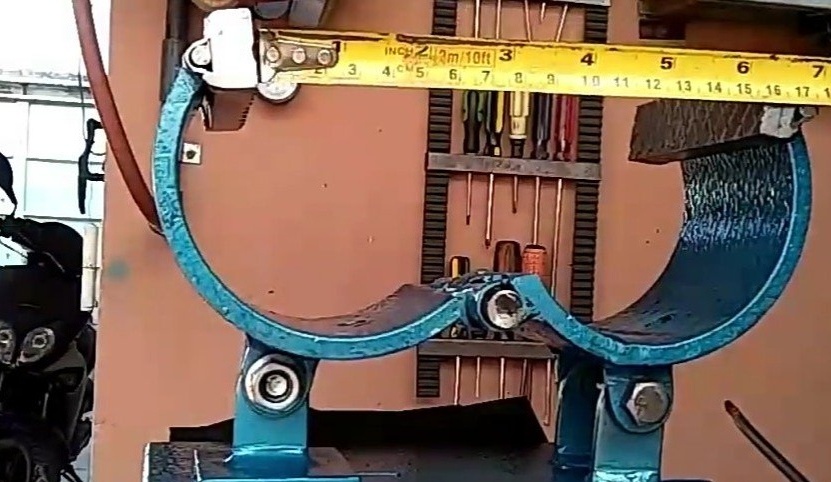
For the basis of a vice (movable jaws), the author uses a piece of metal pipe of large diameter. This workpiece must be sawn along the longitudinal axis into two equal parts. After that, loops are welded to them along the cut line on one side. They are also homemade. For their manufacture, a small tube was needed, which Rescatando Chatarra sawed into 5 small cylinders. Then he puts them on a tube of a smaller diameter, such that these cylinders can freely rotate on it. Vise blank, base, he clamps in a vise. Too tight the edges of the base do not need to be shifted to each other. Let a small gap of 2-3 mm remain between them. Having attached the part by welding, it grabs the cylinders in a checkerboard pattern, i.e. one catches on one side, and the next on the other. This is necessary so that the base can unfold. After scalding more and more firmly from the outside and from the inside. Next, each part is carefully cleaned with a grinder.
Step 2
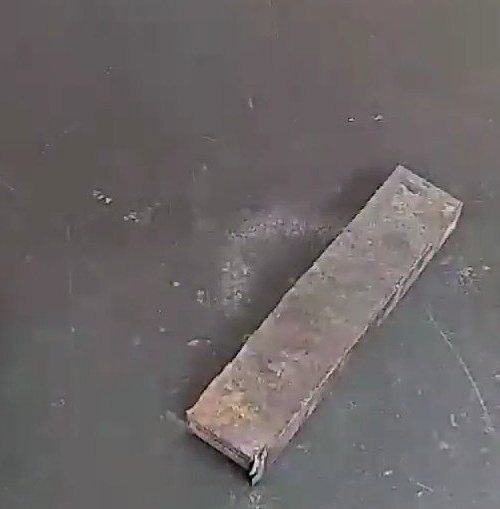
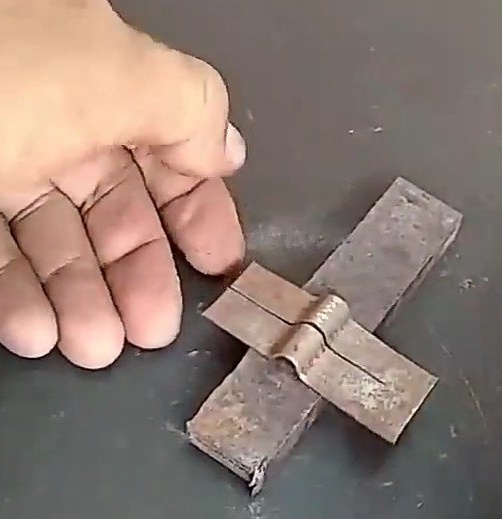
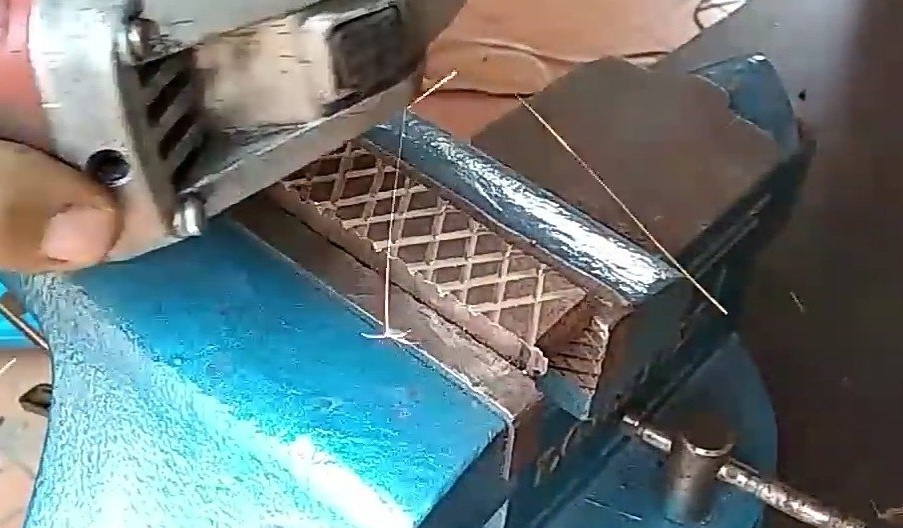
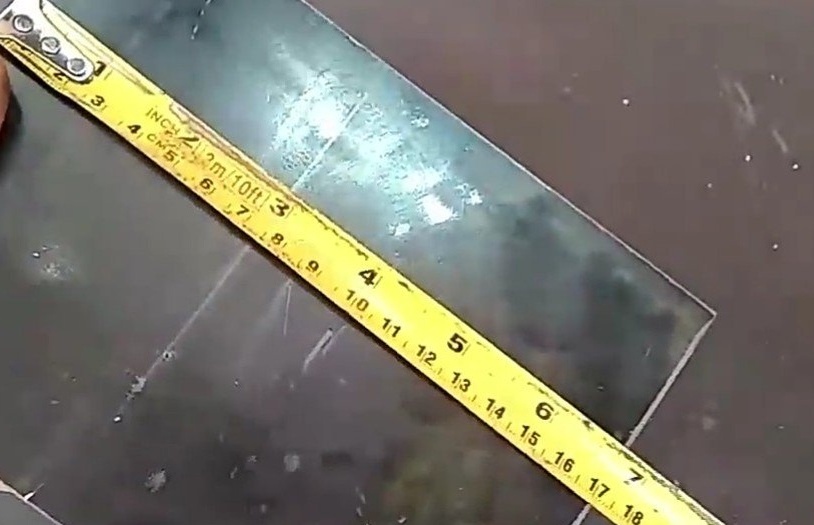
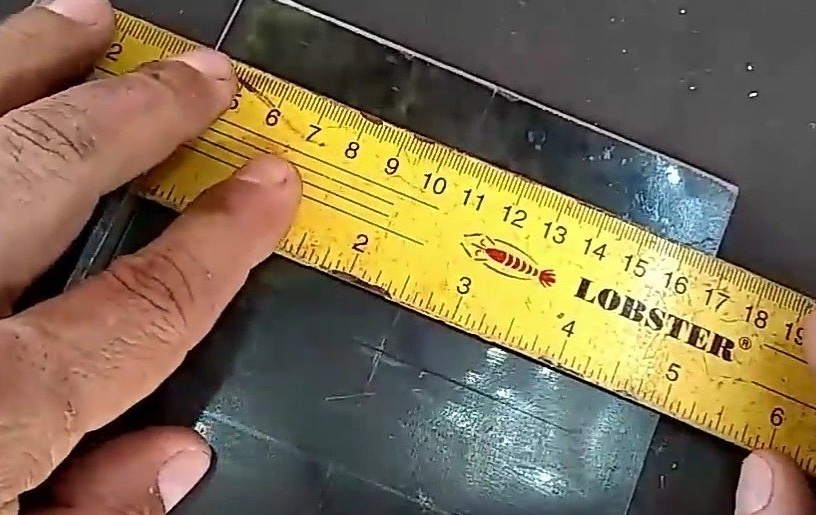
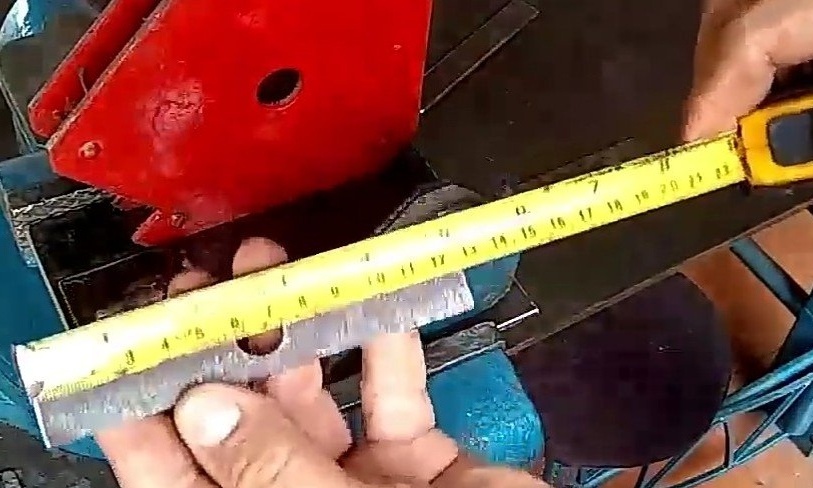
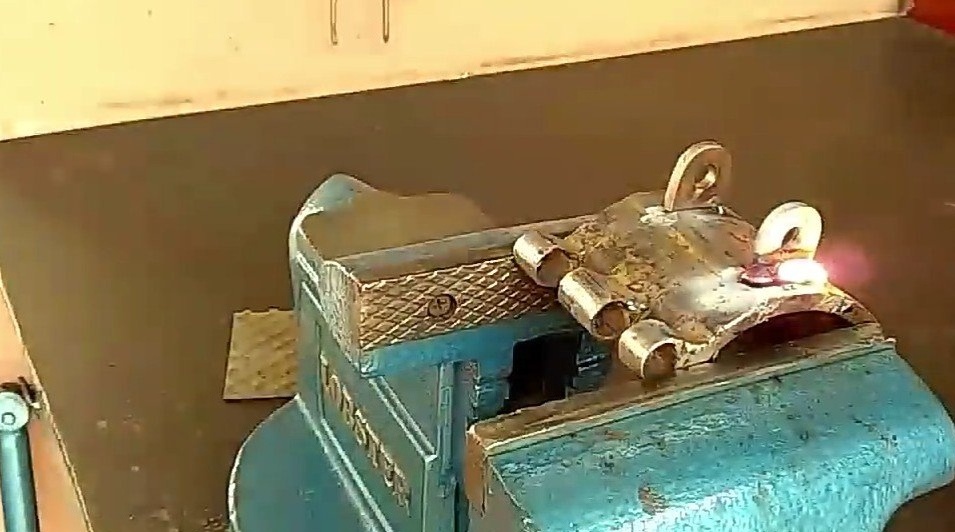
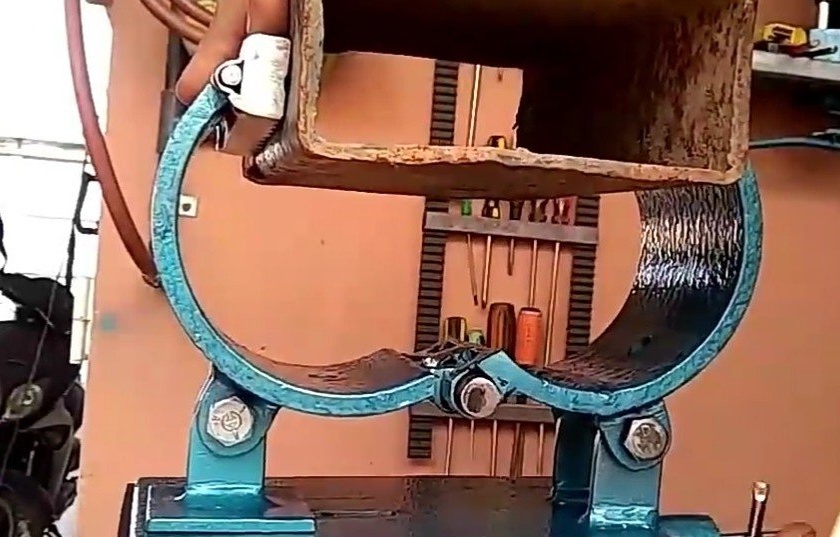
Now work begins on the clamping strips, which are designed for a more reliable grip and fixing of the workpiece, as well as on the device for their attachment to the movable jaws. For planks, the author uses a metal plate of about 10 mm.thick. Such items need 2 pieces. After their manufacture, they are temporarily laid aside. From a metal strip about 3-4 mm. parts for loops are made. A plank between which 1 thick wire is laid on one side and 2 on the other. Using a vise, this blank takes a wavy shape. This is part of the loop. Small pieces of hairpins of approximately 6 mm are welded to the movable jaws on the sides. in thickness. The loop blank is adjusted to the size of the clamping bars and sawn into 2 parts. Cross-shaped notches are made on the clamping bars. After they are welded to the movable jaws. The protruding parts are trimmed, and the entire structure is ground. The same thing is done with the second part.
Step 3
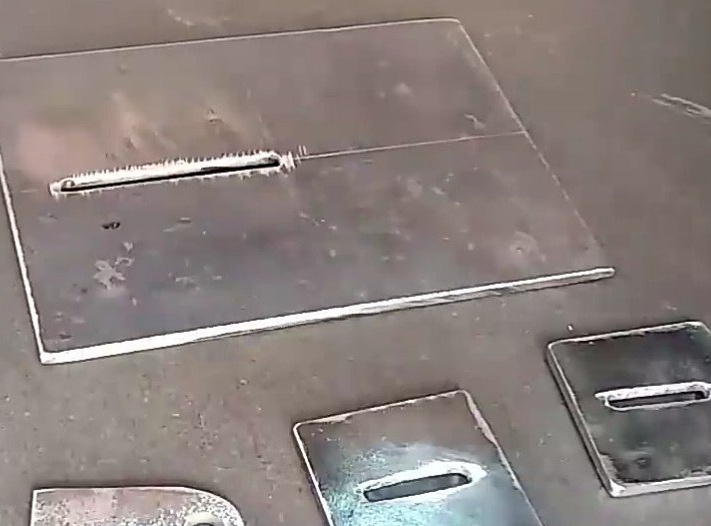
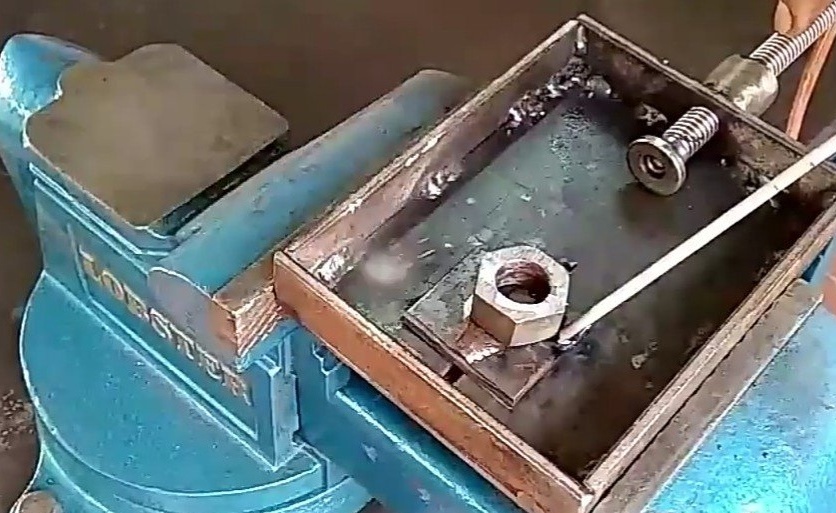
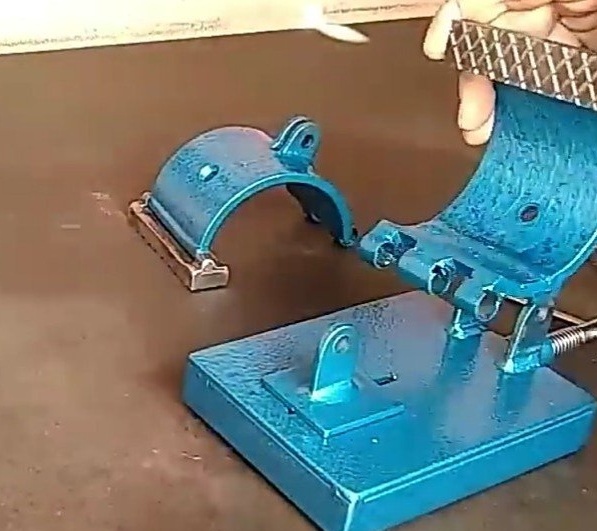
The base plate is made. This will require a metal plate, which is cut to the desired size. Further, the author outlines the location of the remaining parts of the vise. Drills a few holes for the convenience of drinking longitudinal
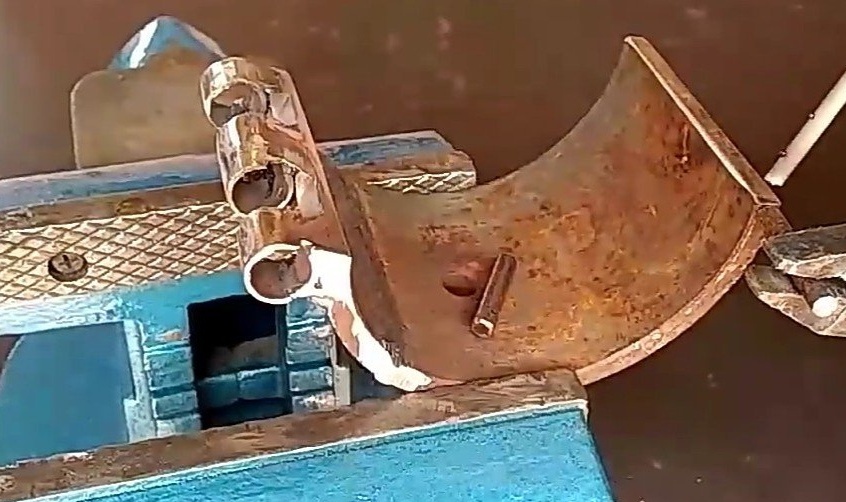
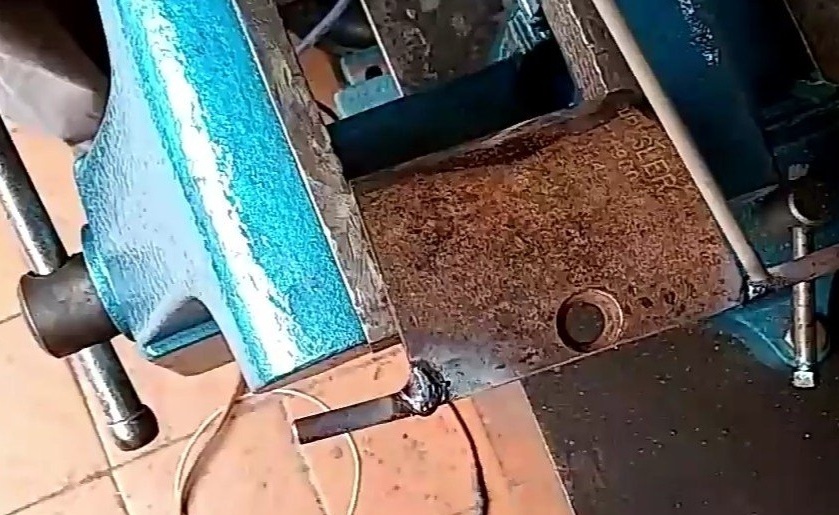
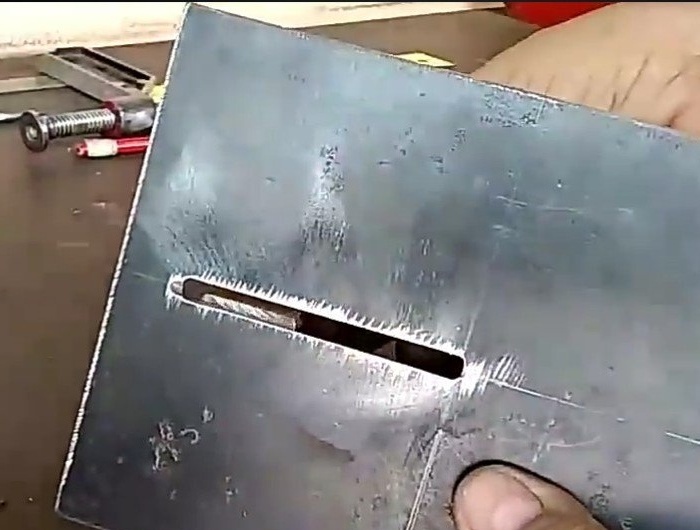
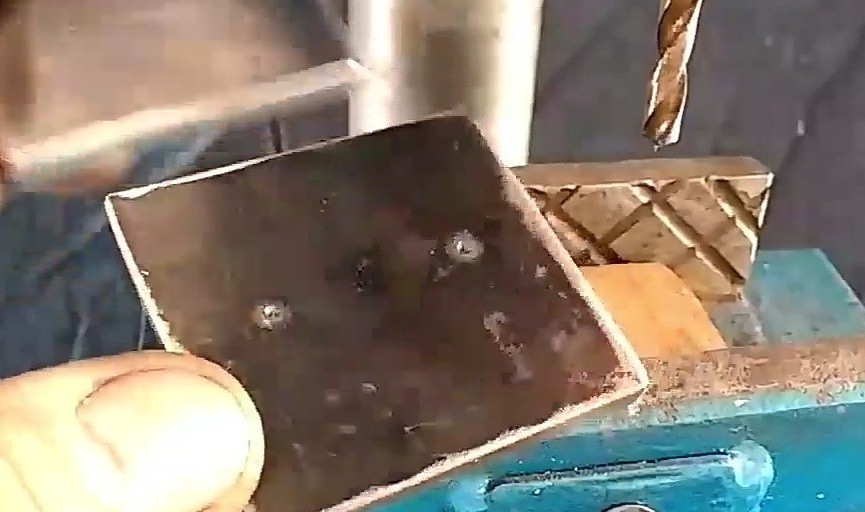
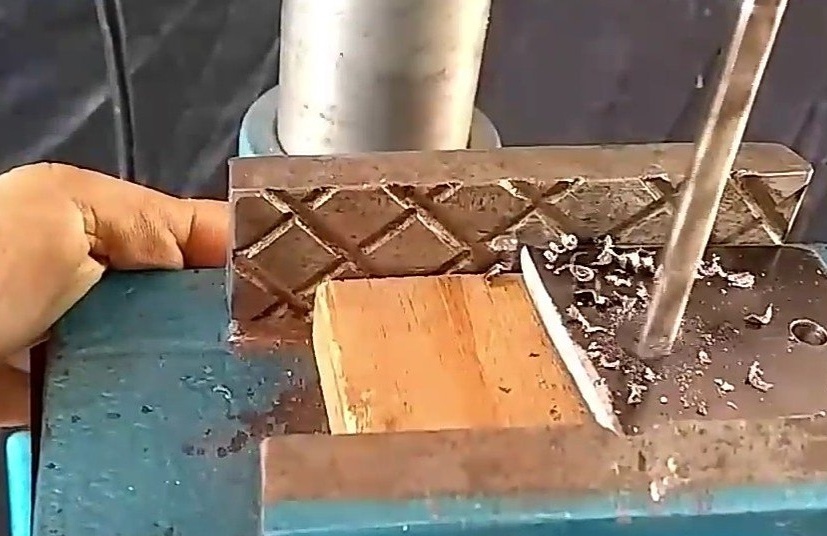
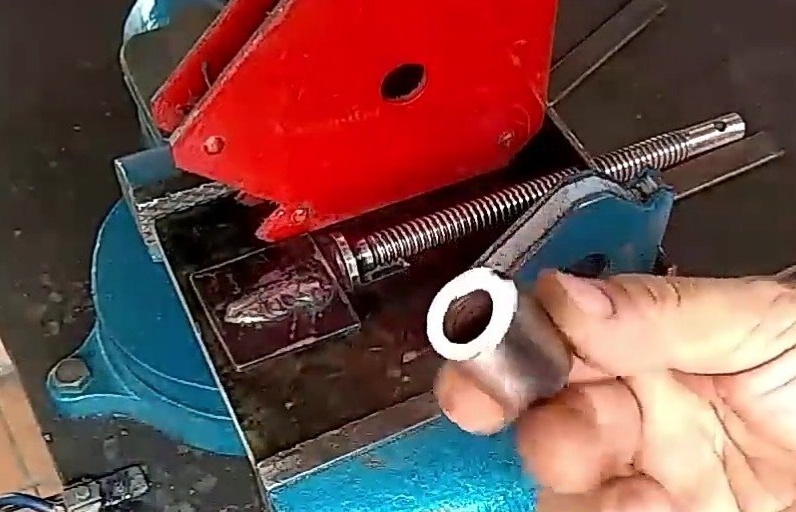
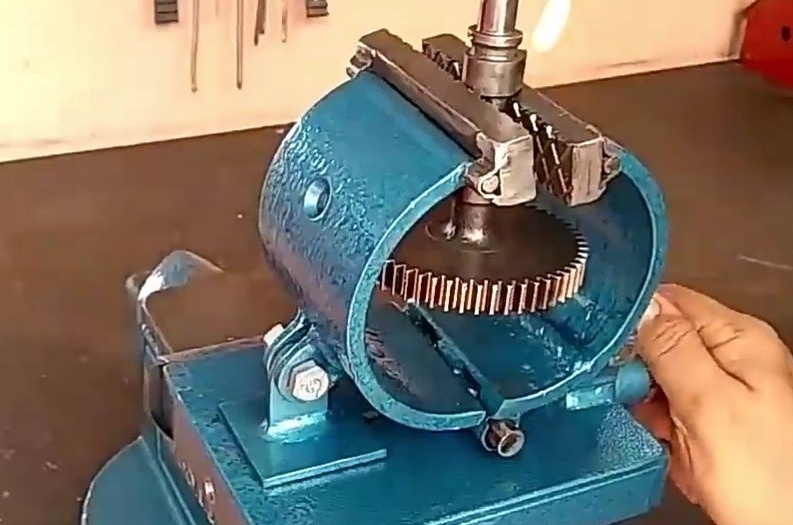
through excavation. The width of the cut should be slightly more than the thickness of the workpiece passing through this cut. Similar actions are carried out with two more blanks only smaller in size. One eye is cut out. These are blanks of the moving part of one of the jaws. Starts to build. Through the cut in the base plate, an eye passes, the lower part of which is inserted into the cut of the smaller workpiece. Another workpiece is also worn on top. The lower and upper parts are tightly attached to the eye. It turns out that the mount moves freely along the cut in the base plate.


Step 4
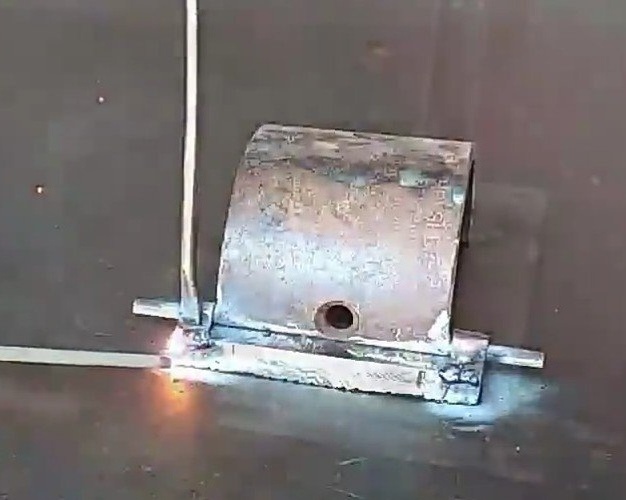
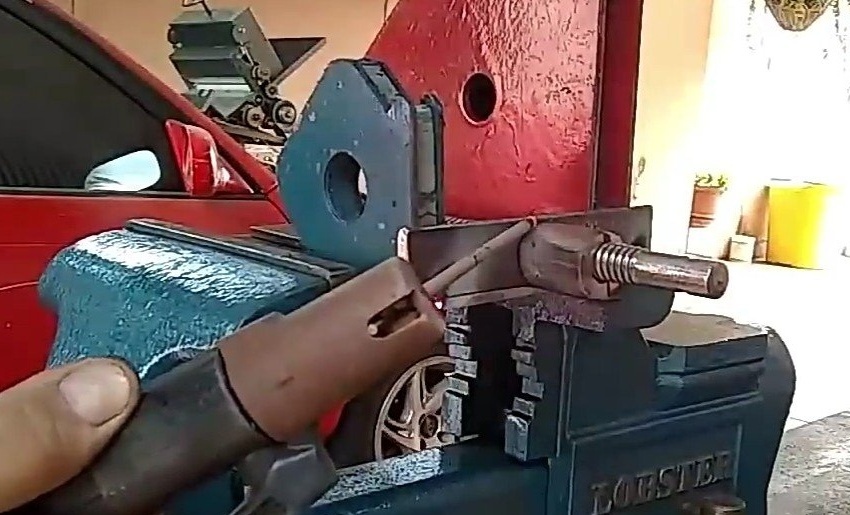
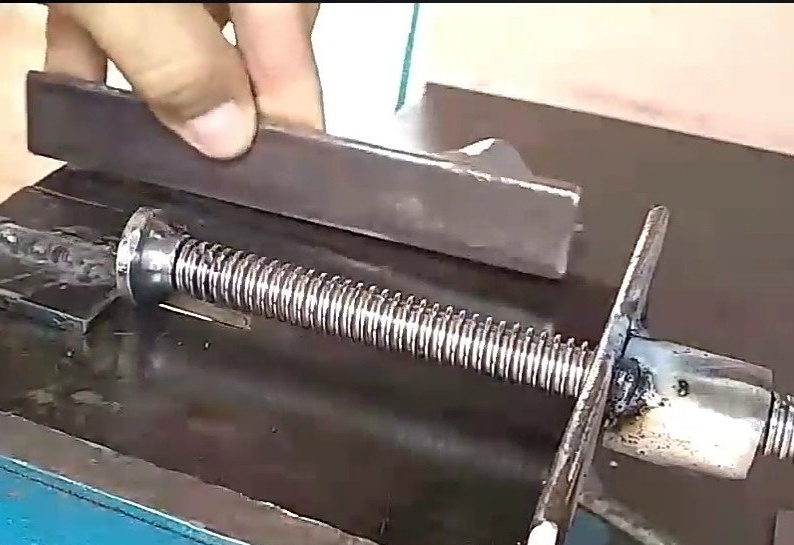
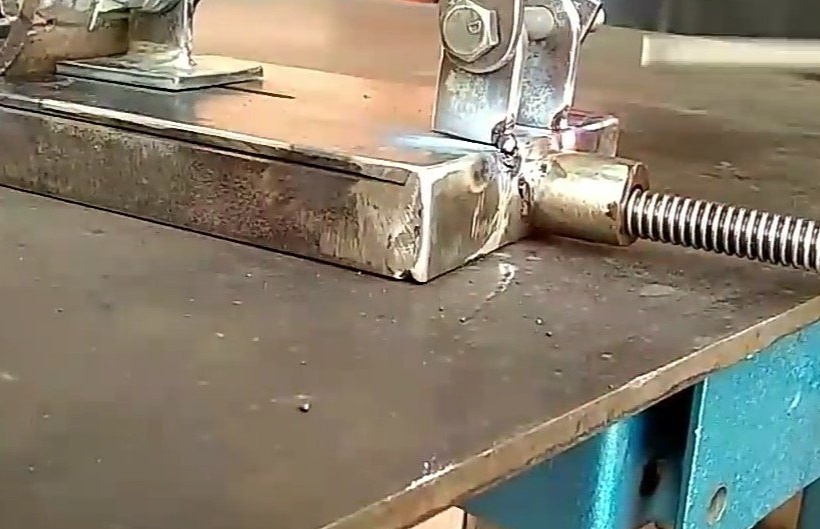
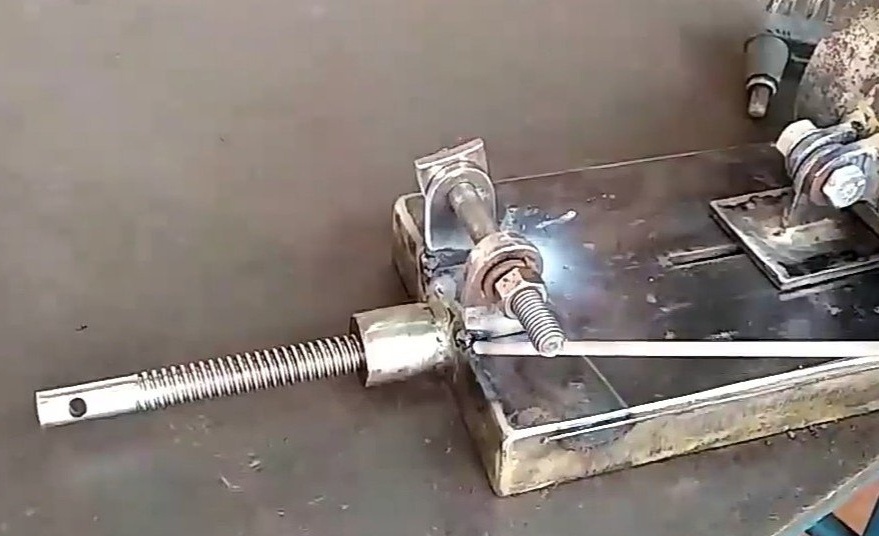
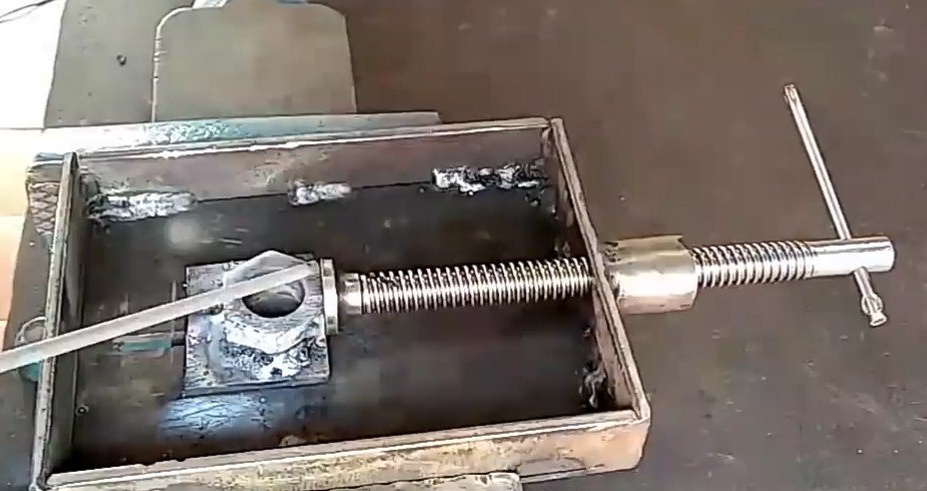
The next step is the manufacture and installation of the side walls of the base plate. Side walls are cut from the same metal as the base of the base plate. In the front wall, the one that will be installed in front of the moving part, the slide, in the middle, a hole is drilled for the lead screw. The slide slides back to the end. A screw is inserted into the hole so that its pushing part is leaned against the bottom of the slide. A nut is screwed onto the screw from the outside. All the way to the wall. There it is welded. All remaining walls are attached to the base. All welding seams are carefully processed with an angle grinder.

Step 5
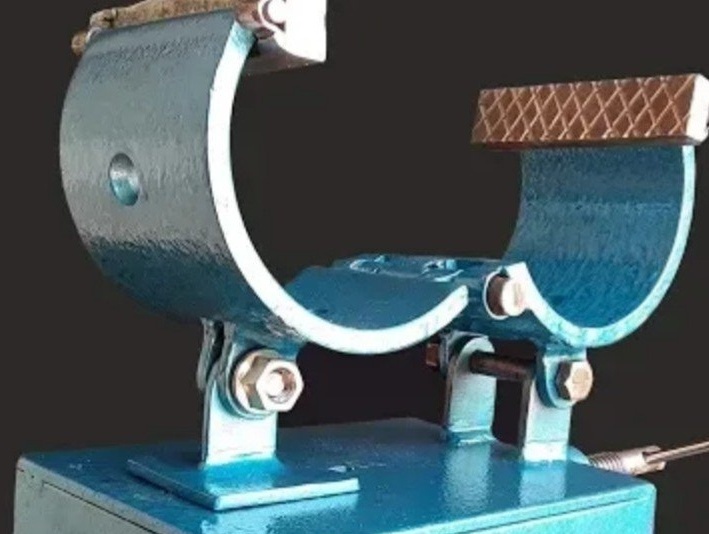
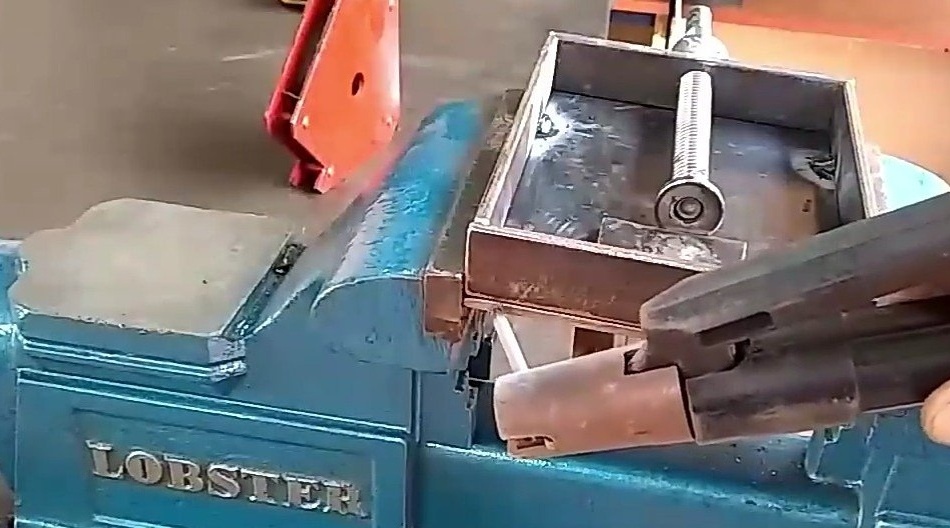
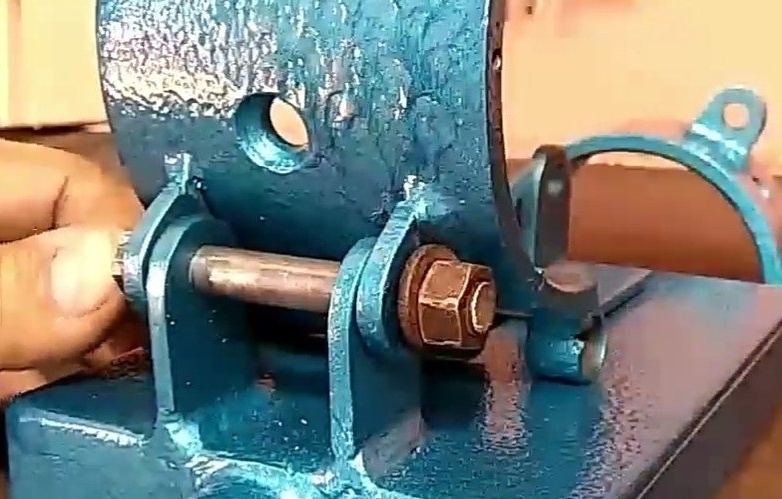
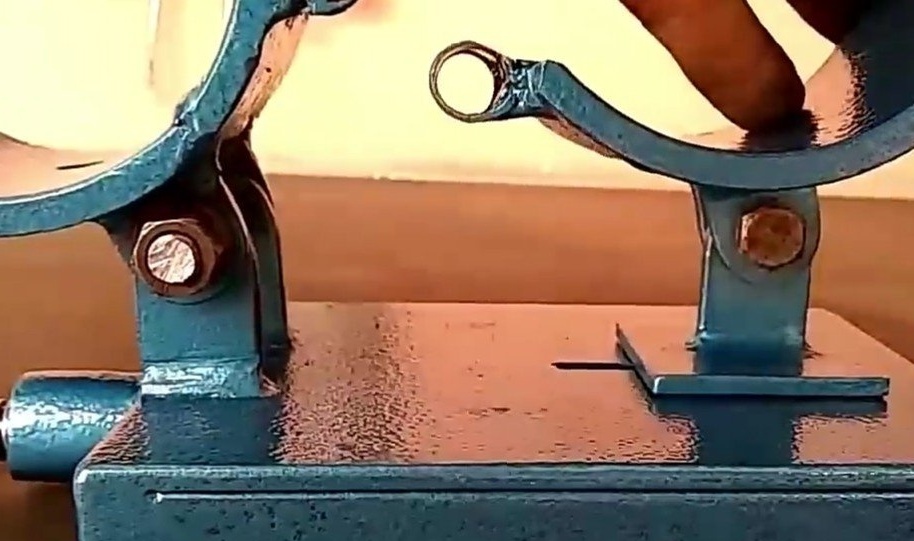
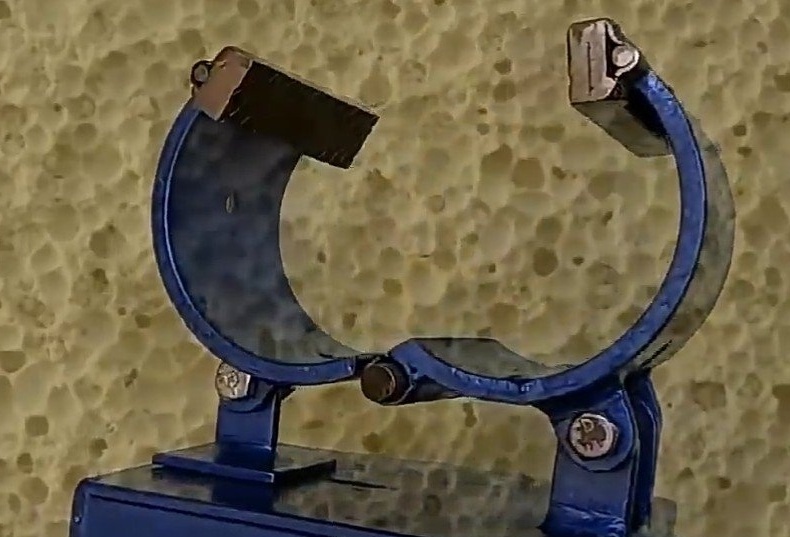
Two movable ties are attached to the eye with a bolt, which are welded to the movable jaws of a vice. Next, 4 more ears are made. 2 large, which are welded to the base plate and 2 smaller, attached to the second movable jaw. Between themselves, these parts are connected by means of a bolt and nut. This connection of the plate and one part of the vice is stationary relative to the base plate. All compounds are thoroughly boiled and processed. A nut is welded from the inside of the base plate to the bottom of the movable slide. A pushing screw is welded to the nut. A clamp handle is used to rotate the spindle. The product is ready. It is covered with paint to protect the metal from corrosion and give the finished product a more salable appearance.


This vice is interesting not only for its unusual appearance. It is much more interesting that the author in his product made the clamping plates movable. In all the vices, this structural element is rigidly connected to the jaws and does not have the ability to move.