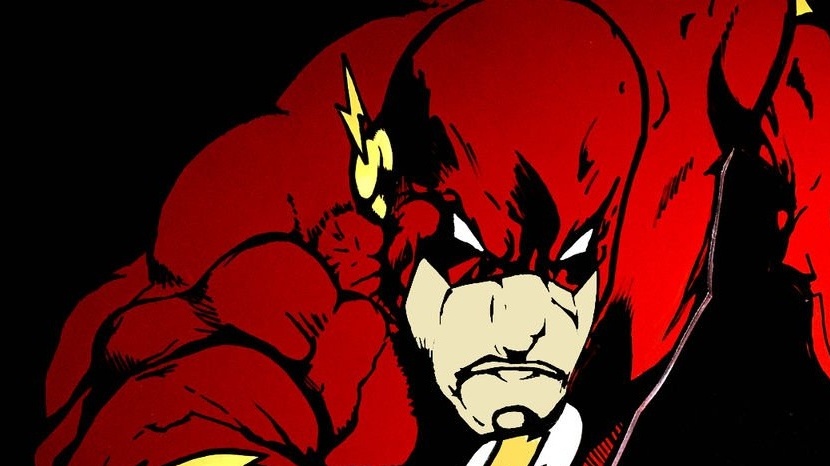
In this article, the master will guide us through all the stages of making a figure from MDF. According to the author, for the manufacture of such figures you do not need to be able to draw. Making such figures is available to almost anyone, would be a desire. After reading this material (and additionally with the video) you can make a colorful figure of at least Ilya Muromets, at least your own spouse-)))
So, what material and tool does the master use:
MDF;
-Aerosol paint;
-Glue;
- brushes;
-Blue masking tape;
-Knife;
-Rule;
-Pencil;
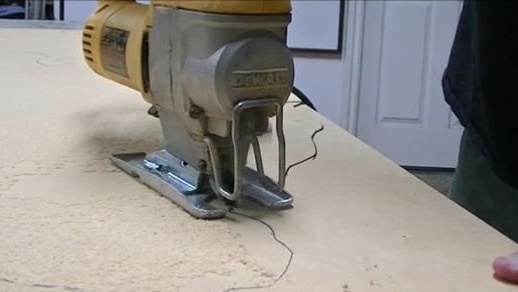
- Electric jigsaw;
-Sandpaper;
Felt-tip pens;
-A printer;
-Computer with software;
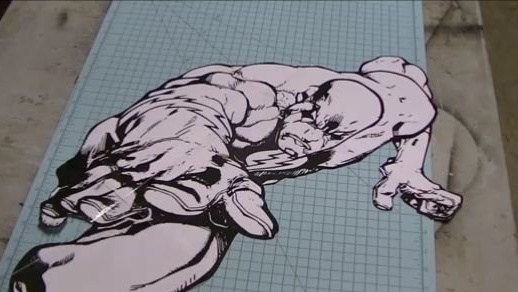
So let's get started. We find the image you like and process it in a special program. How to do this, the master did not write, but showed on the video.
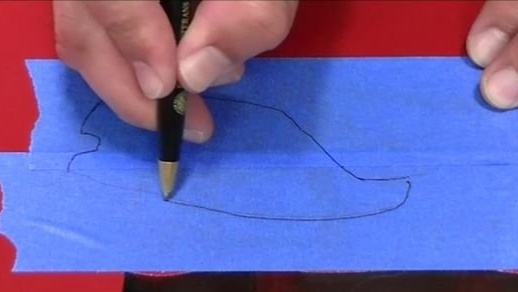
The image is processed, enlarged and printed, in parts, on plain paper. Then the sheets with the image are correctly assembled and glued on the back side with tape.
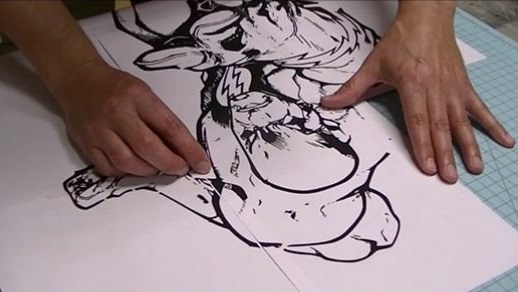
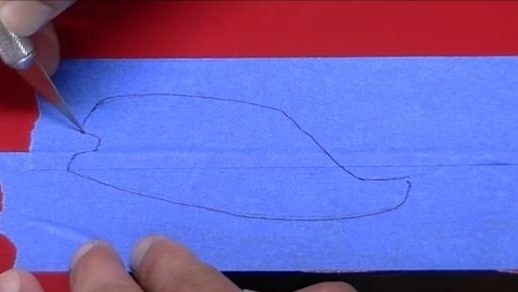
Further, the image is cut along the contour.
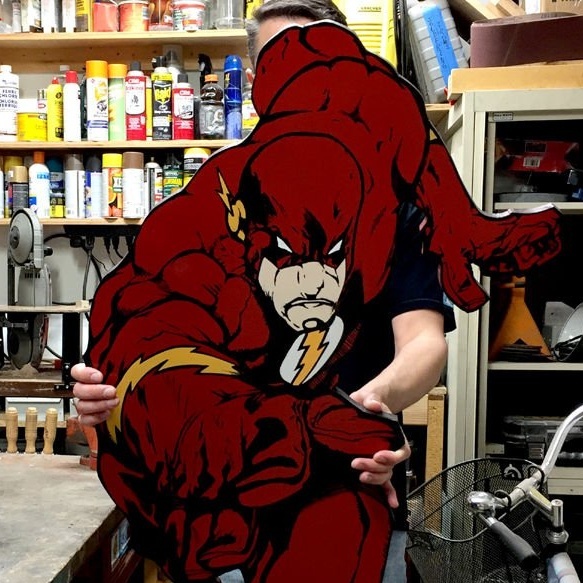
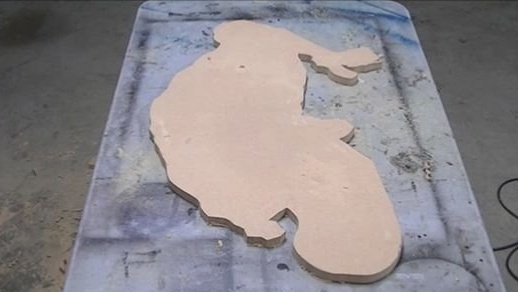
We fix the cut image on the MDF sheet. The master uses 2 cm thick MDF, but the foundation can be made from anything fiberboard, plastic, or even thick cardboard.
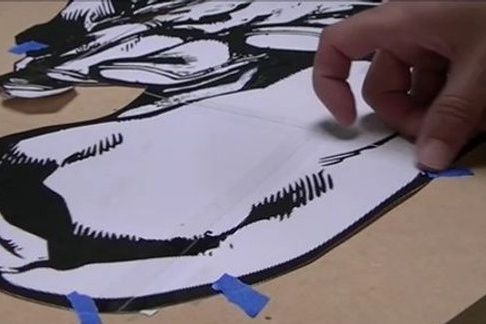
Outline the picture.

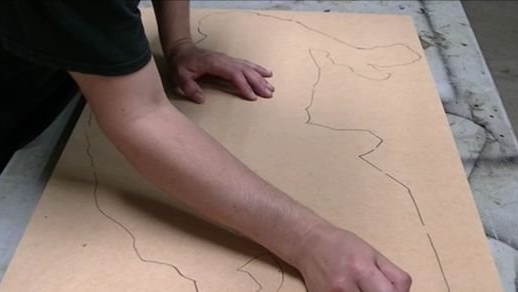
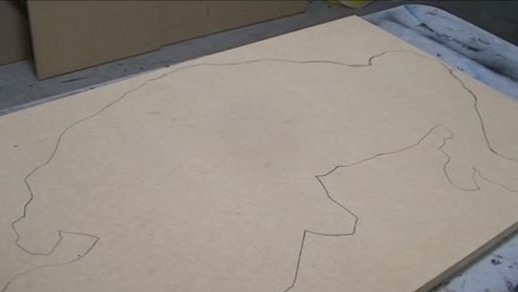
We remove the picture and cut the MDF along the contour of the picture.
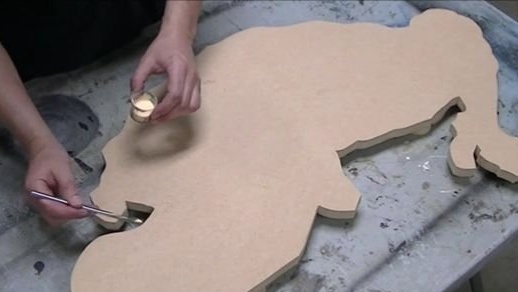
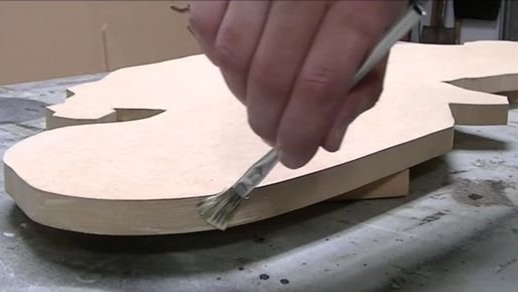
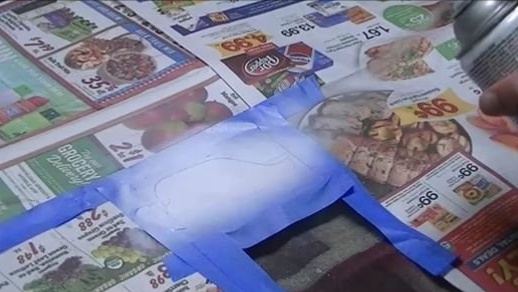
Grinds the cut base 220 with sandpaper.
The end face of the MDF must be lubricated with wood glue.
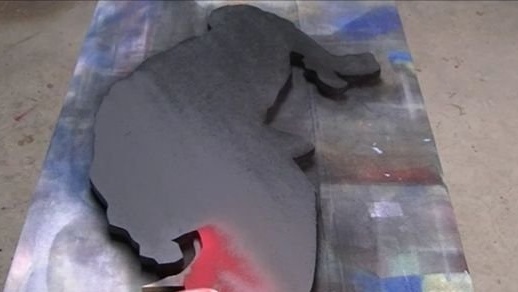
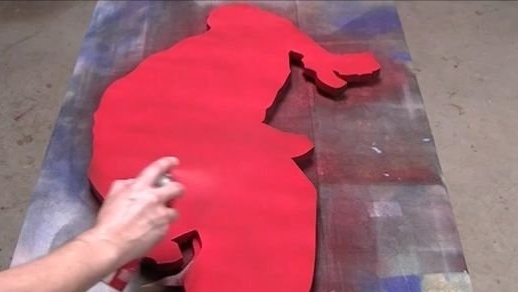
Now you need to primer the front side with black paint, then, after drying, red.
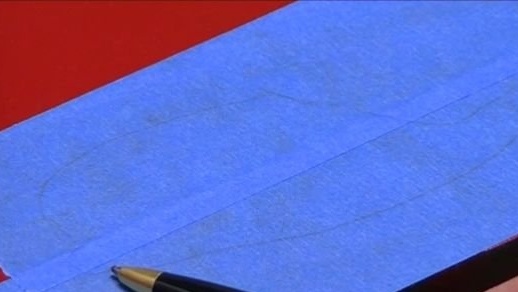
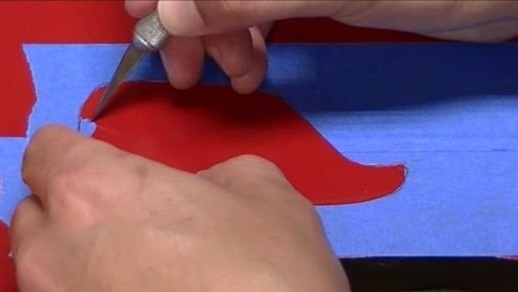
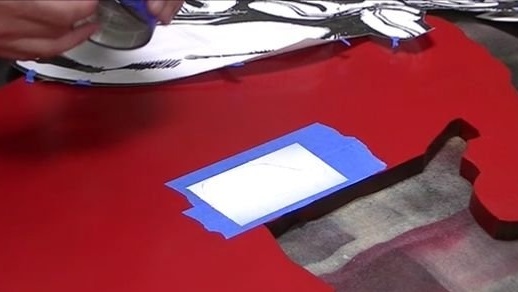
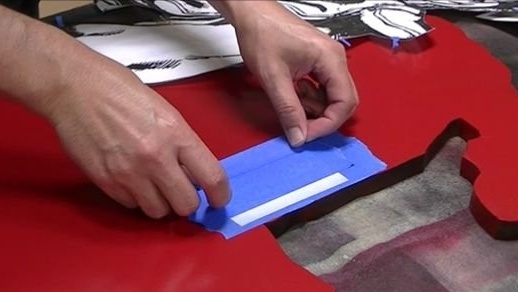
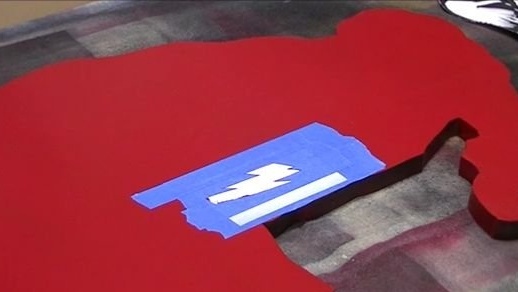
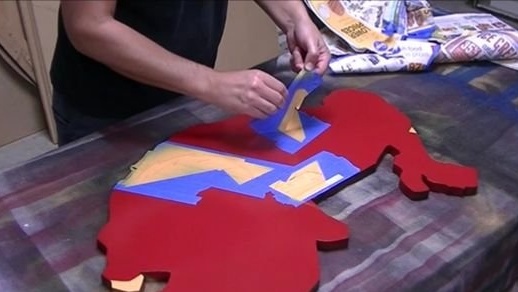
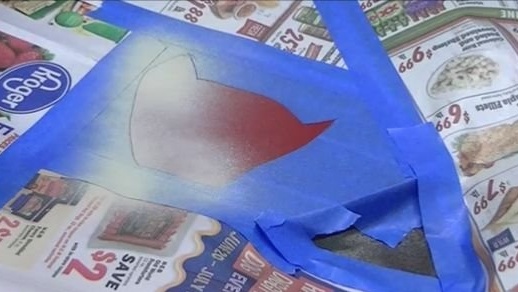
Next, the wizard proceeds to transfer the image to the base. The image template is black and white, so you need to check with the color source. The main trick is that colors are transferred in stages. Marks an area filled with white on the template. On the base closes this area + a few centimeters to the side with masking tape. Then he puts the template and outlines the white area along the contour with a pen or pencil. It is necessary that a trace remains on the masking tape. Then the template is removed and the masking tape is cut out and removed (the inner part along the contour). The space around the shaded area is covered by newspapers.Now you can paint over the desired place.
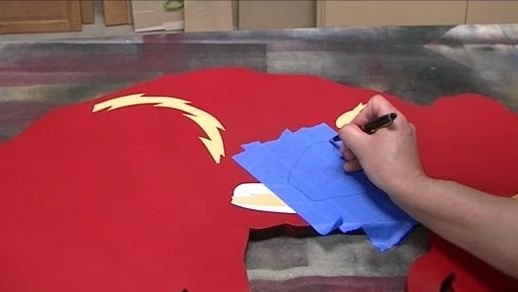
The yellow area is also painted over.


And other colors.
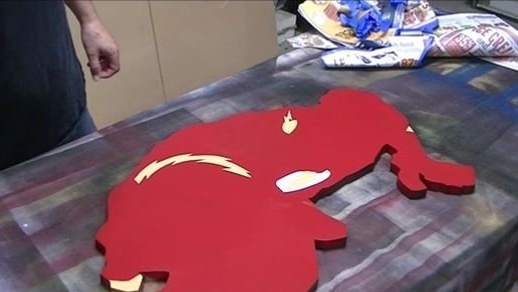

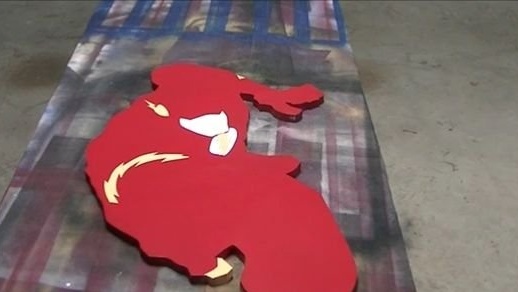
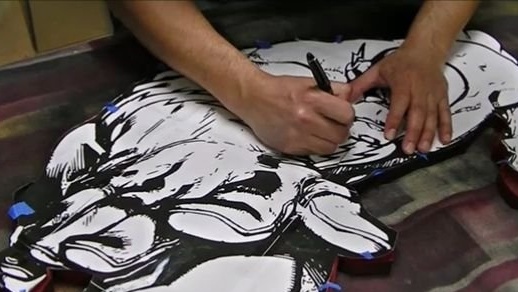
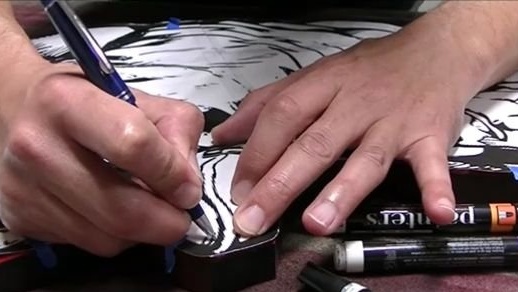
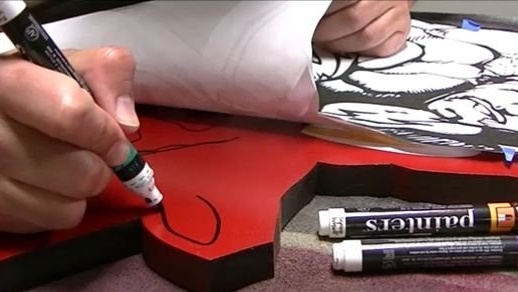
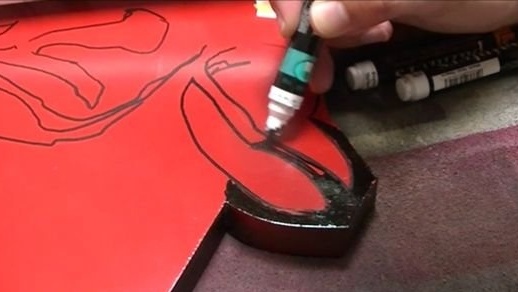
When all the colors are transferred to the base, you need to transfer the lines of the picture. A template is laid on the base and all black lines are drawn with a pen. When stroking, you must press the tool hard so that a trace remains on the base. Then the template is removed and markers draw lines on the base.
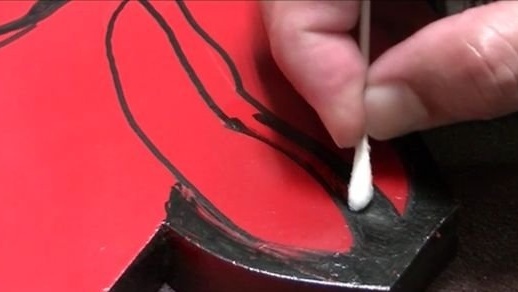
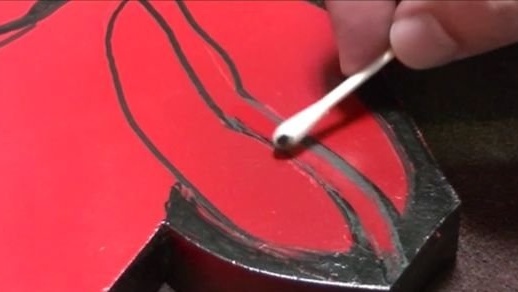
If you were mistaken when drawing lines, you can always correct the situation. The felt-tip pen is easily erased with a cotton swab dipped in alcohol.
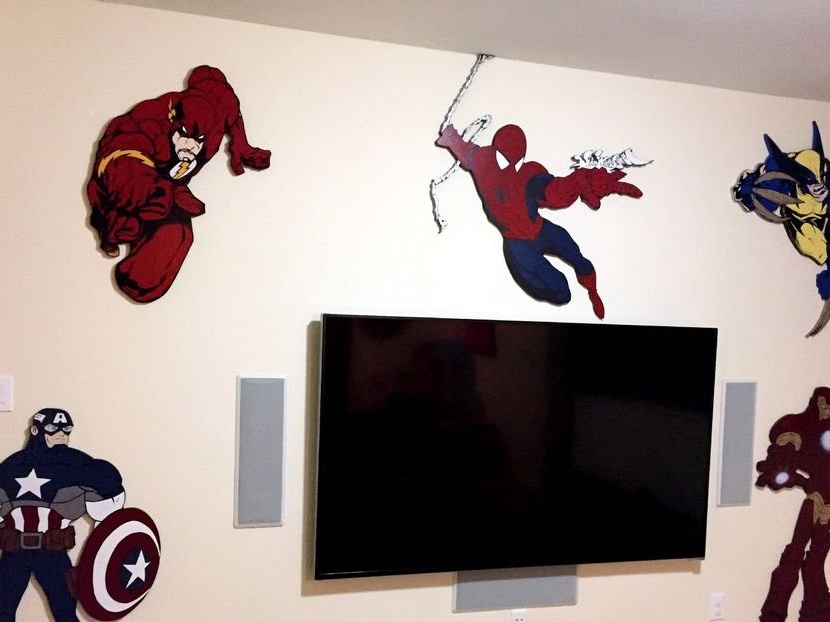
Now it remains to cover everything with colorless varnish and hang it on the wall.