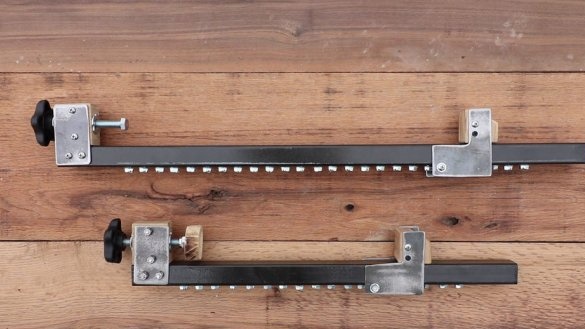
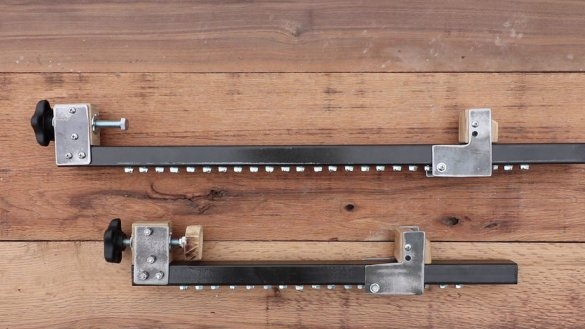
The network has many instructions on how to make a clamp yourself. But all these instructions use either wood, and correspondingly full-length threaded rods, or metal, and then welding is needed. The master wanted to make a clamp from improvised materials and without welding.
Tools and materials:
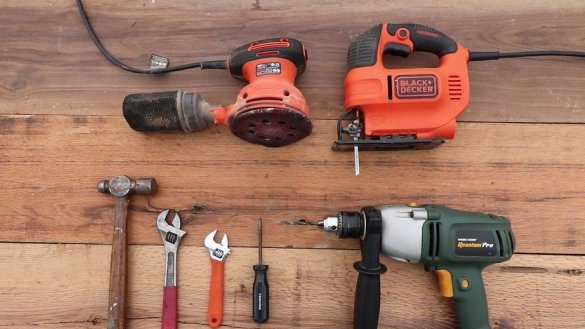
- Electric jigsaw;
-Drill;
-Grinder;
-Hammer;
- Adjustable wrenches;
-Screwdriver;
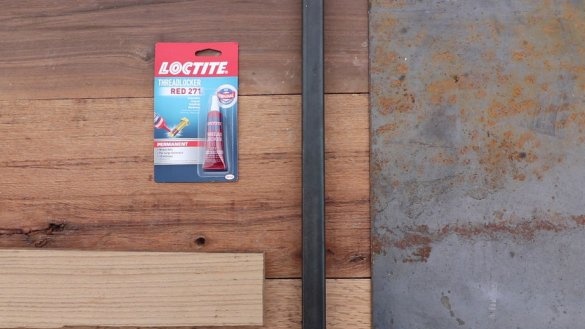
- Profile pipe 25X25 mm .;
-Sheet metal;
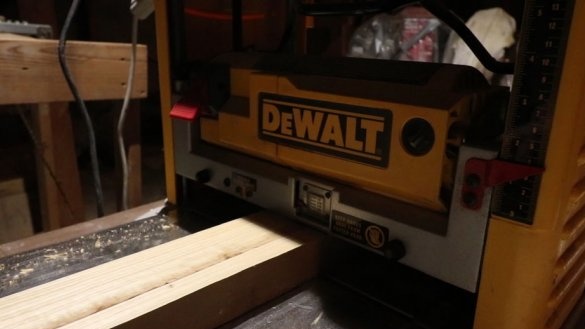
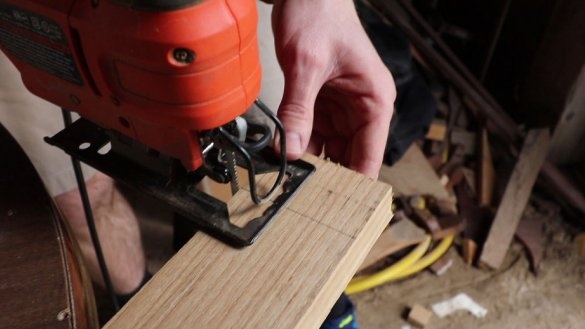
-Wood;
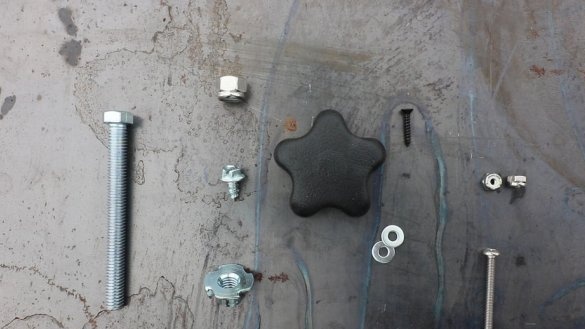
-Various fasteners (bolts, nuts, screws, etc.);
Step One: Resistant Pipe
The first step is the master makes a longitudinal part of the clamp, on which the mounting brackets will be mounted or supported.
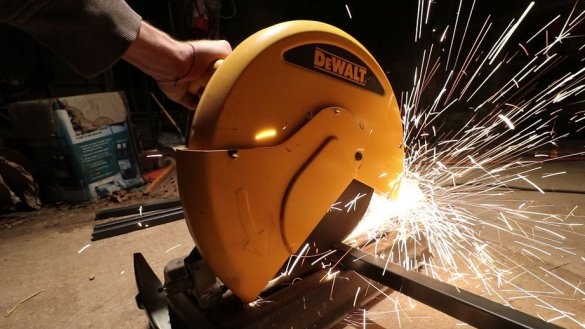
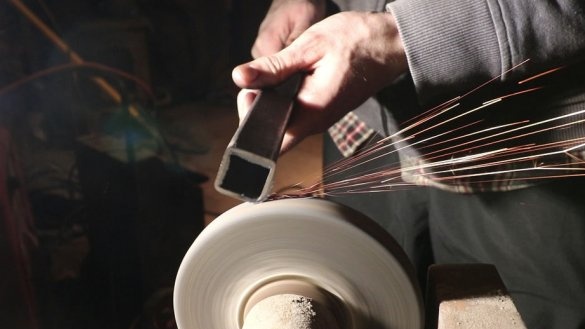
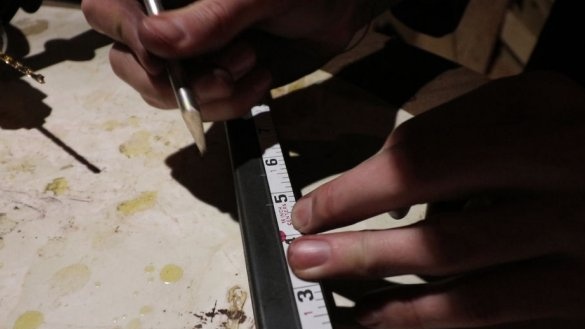
Cuts a square profile pipe to the desired size. The size of the cut pipe will be equal to the size of the clamp, minus the width of the staples. On one shelf, along the entire length, marks the center line.
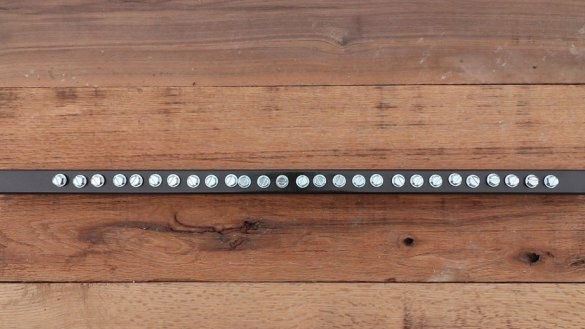
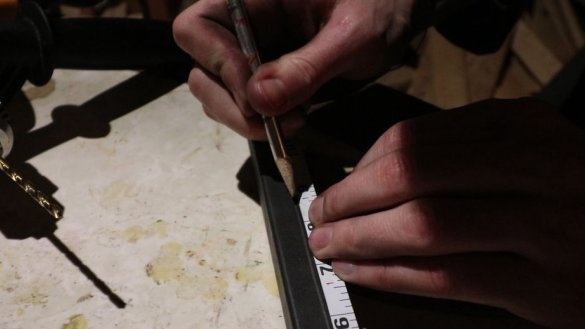
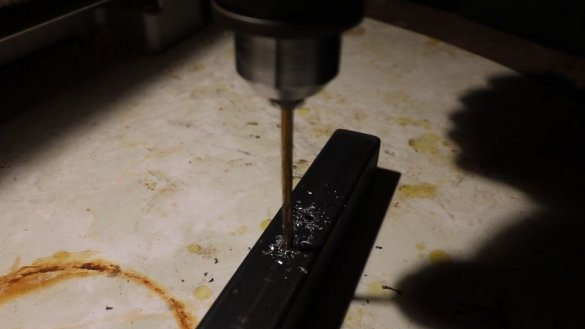
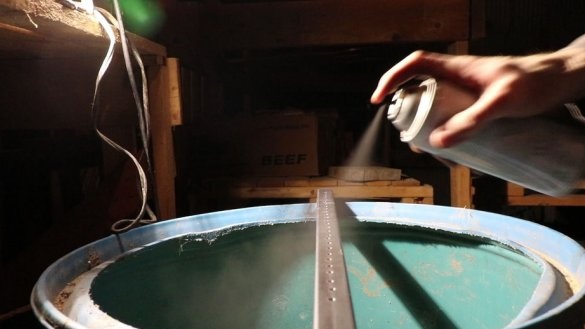
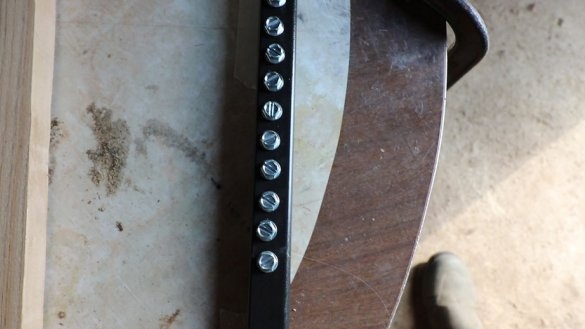
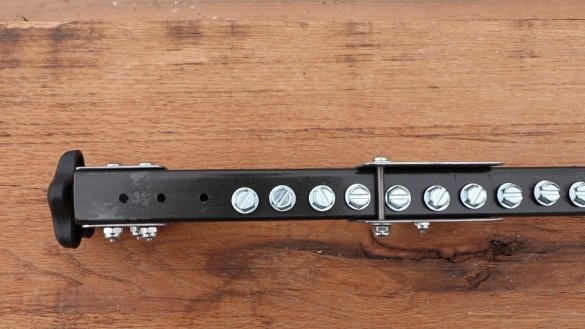
Every 2 centimeters (depending on the screws) marks and drills the holes. Paints the pipe. Screws self-tapping screws into the holes.
Step Two: Fixed Bracket
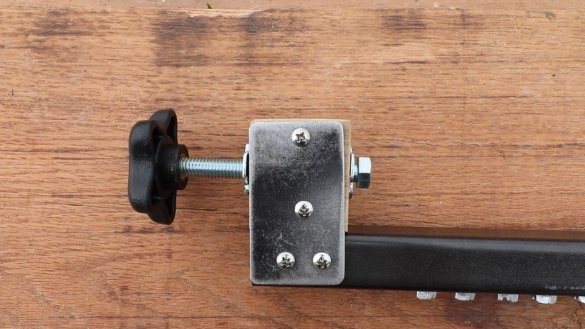
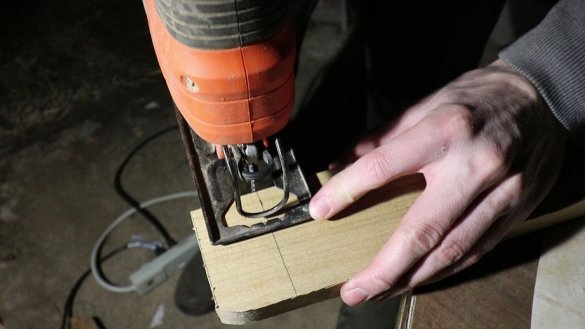
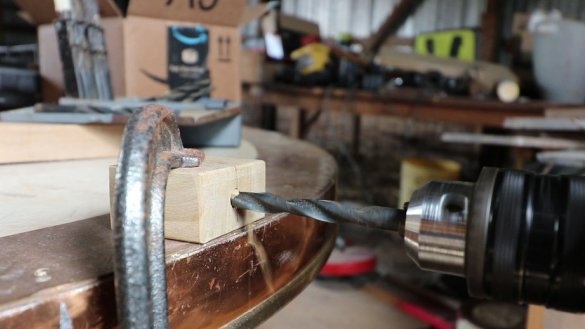
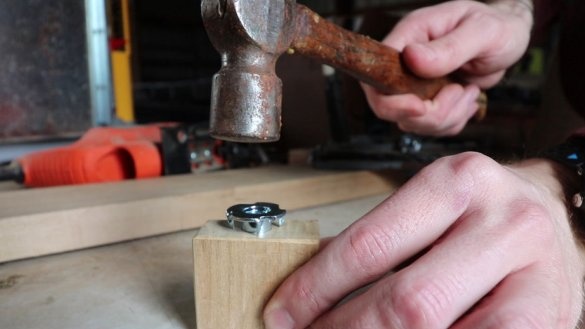
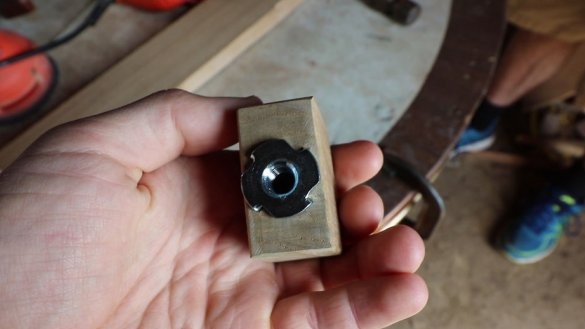
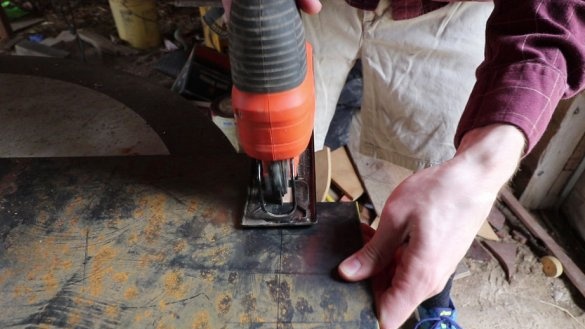
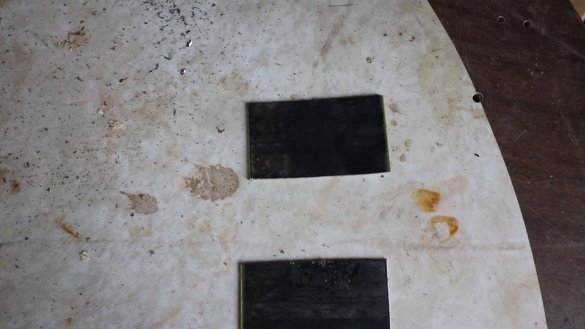
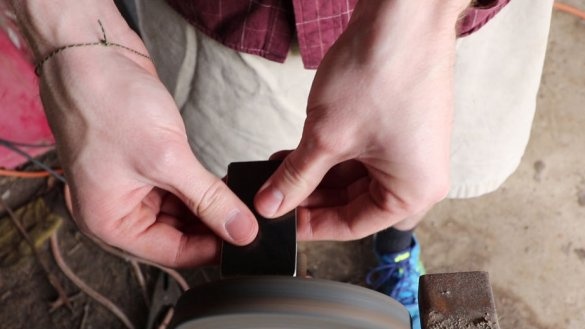
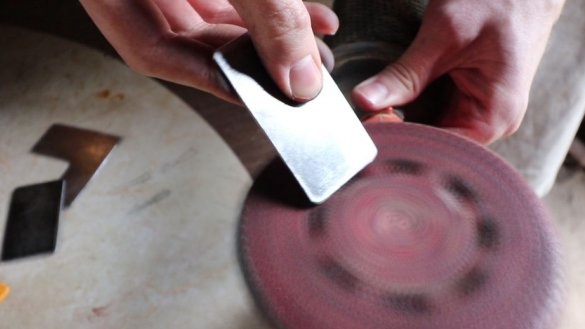
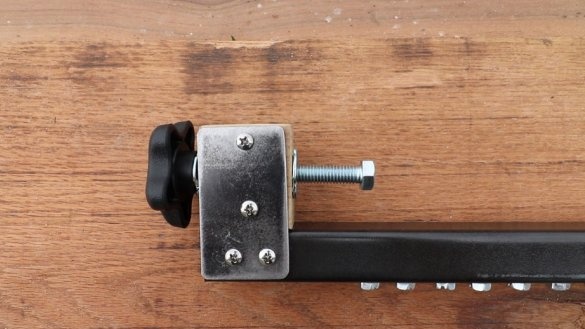
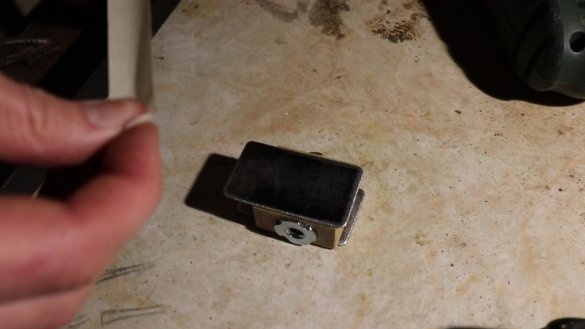
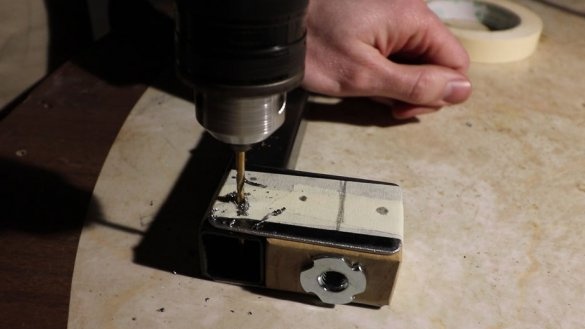
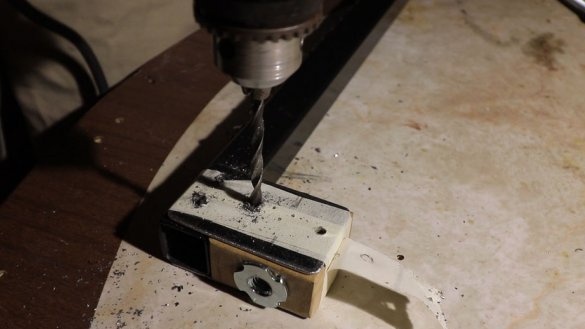
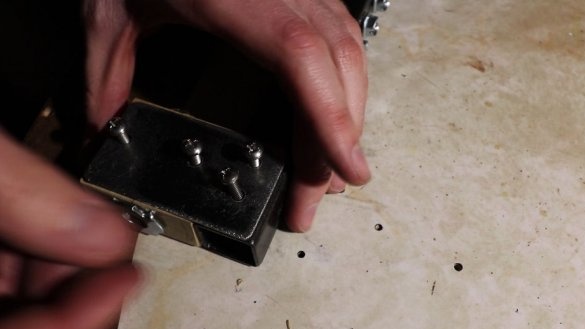
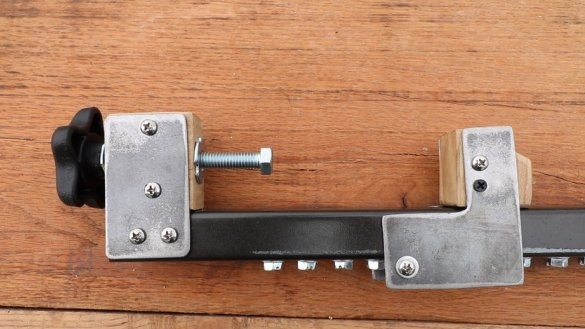
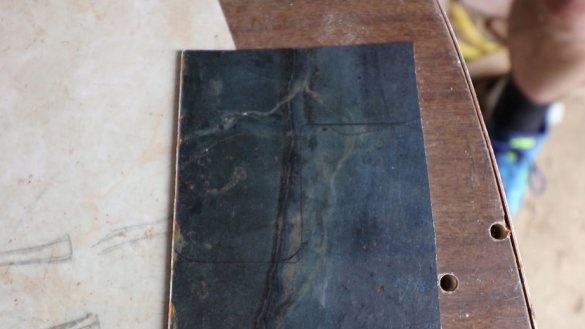
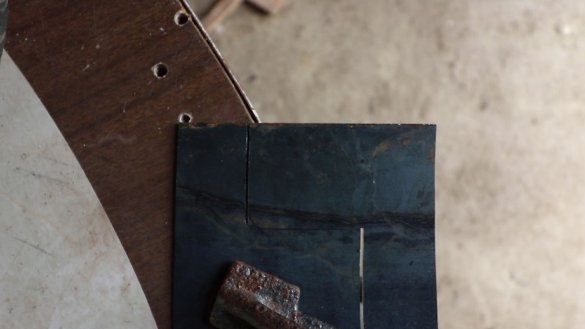
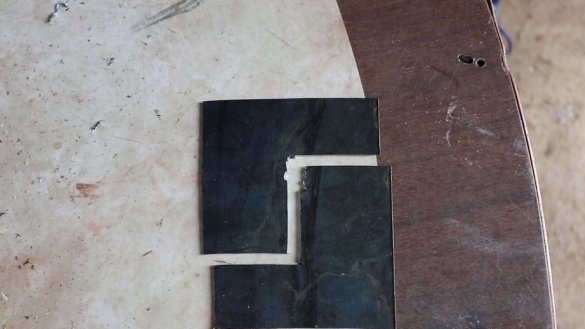
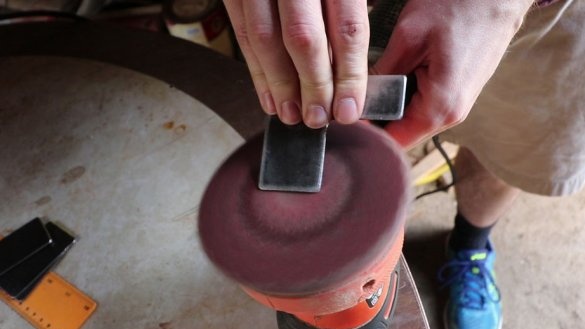
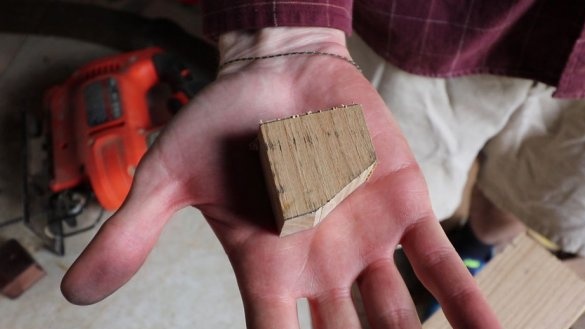
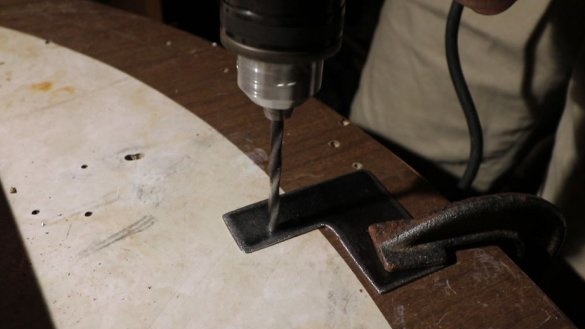
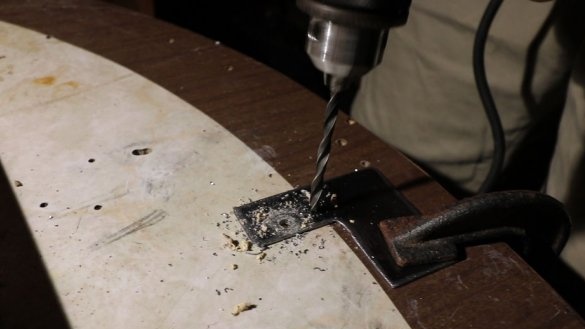
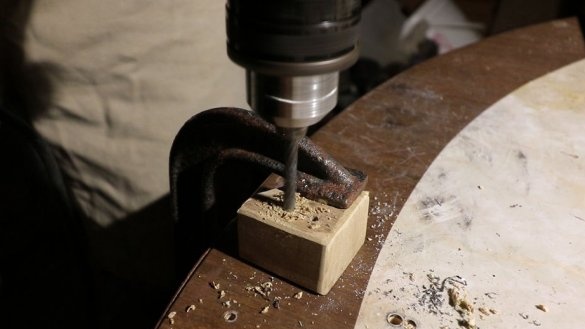
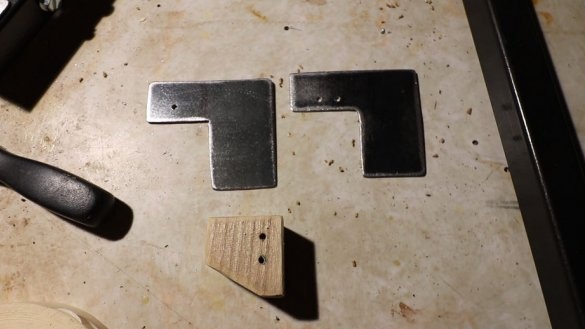
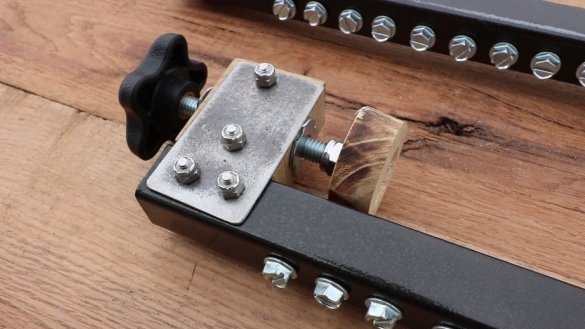
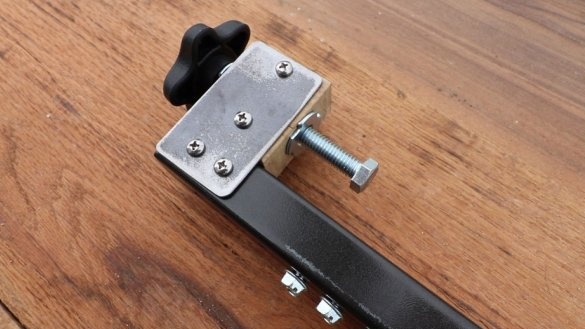
The bracket is made of metal plates and a wooden part installed between them. In the bar, the master drilled a hole and installed a threaded sleeve. Plates carved from a metal sheet.
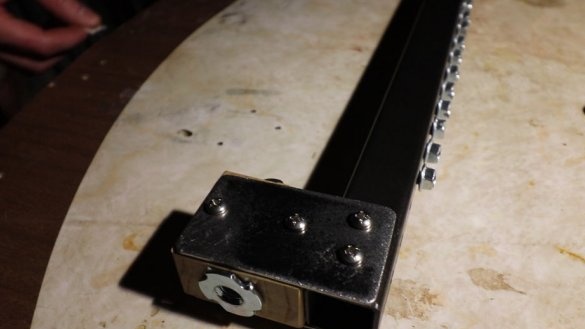
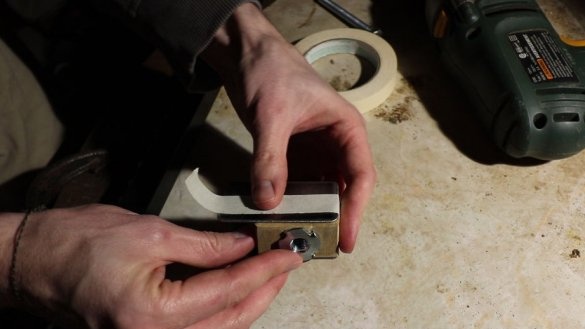
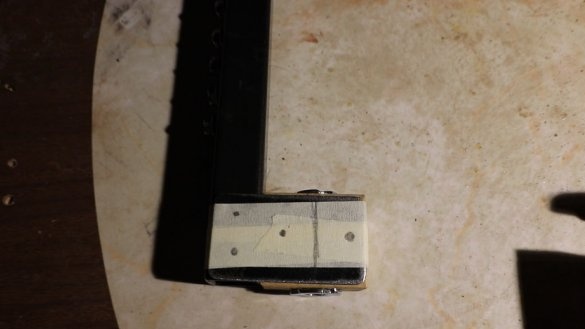
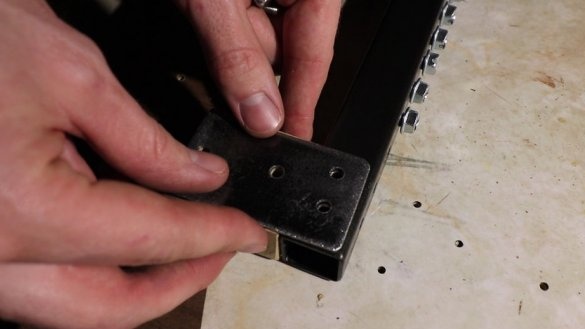
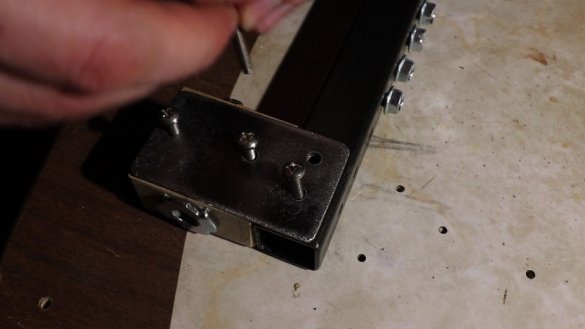
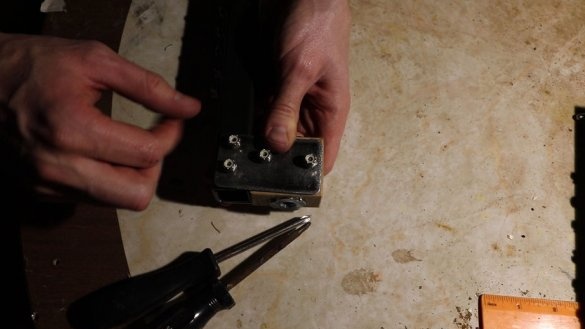
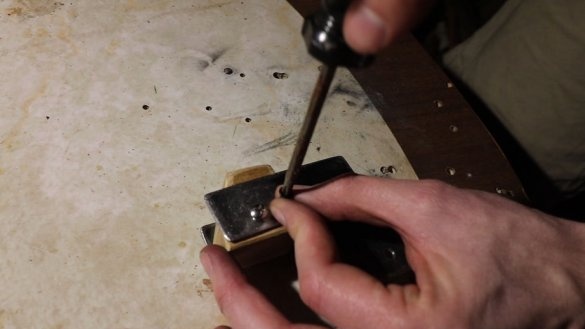
He assembled the bracket and temporarily fixed it with tape. Installed on the top of the pipe and marked the location of the mounting holes. Now it remains to drill holes and fix the bracket with screws. A threaded rod with a handle is screwed into the bar. A support plate is mounted on the other side of the rod.
Step Three: Movable Bracket
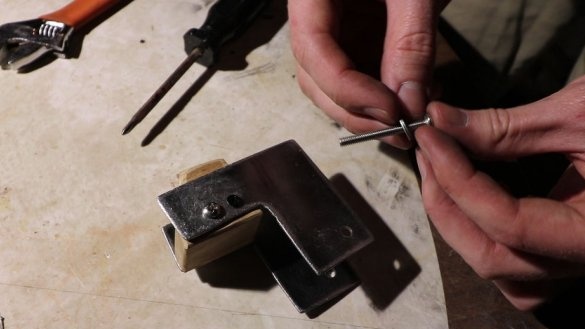
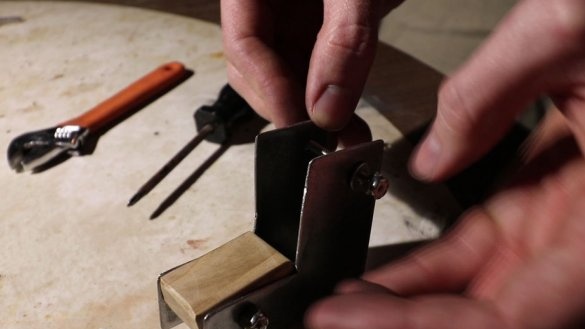
The movable bracket is made about the same as the fixed one. It just needs to be done, a little wider than the pipe, for free movement. The staple plates should protrude a couple of centimeters. These protruding parts of the bracket are connected by a screw. The screw serves as an emphasis. The bracket moves up / down and the screw rests on the heads of the screws.
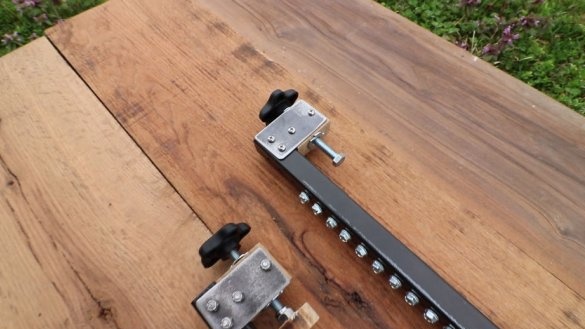
The clamp is ready. The master made several clamps of different lengths.
The entire clamp manufacturing process can be seen in the video.

