

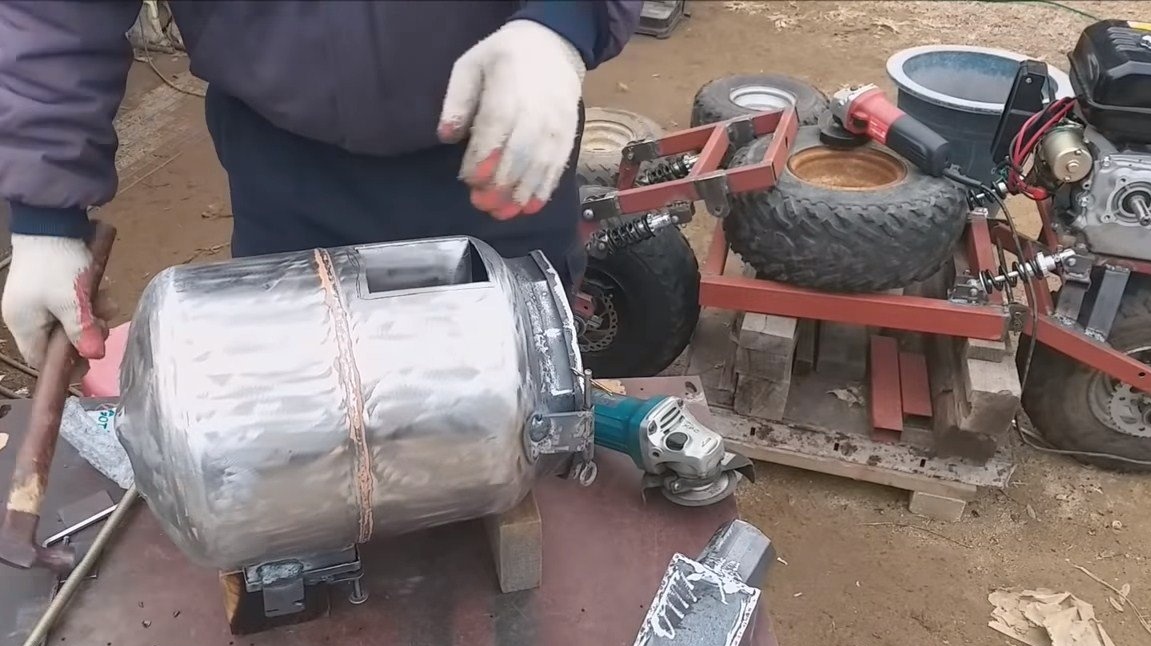
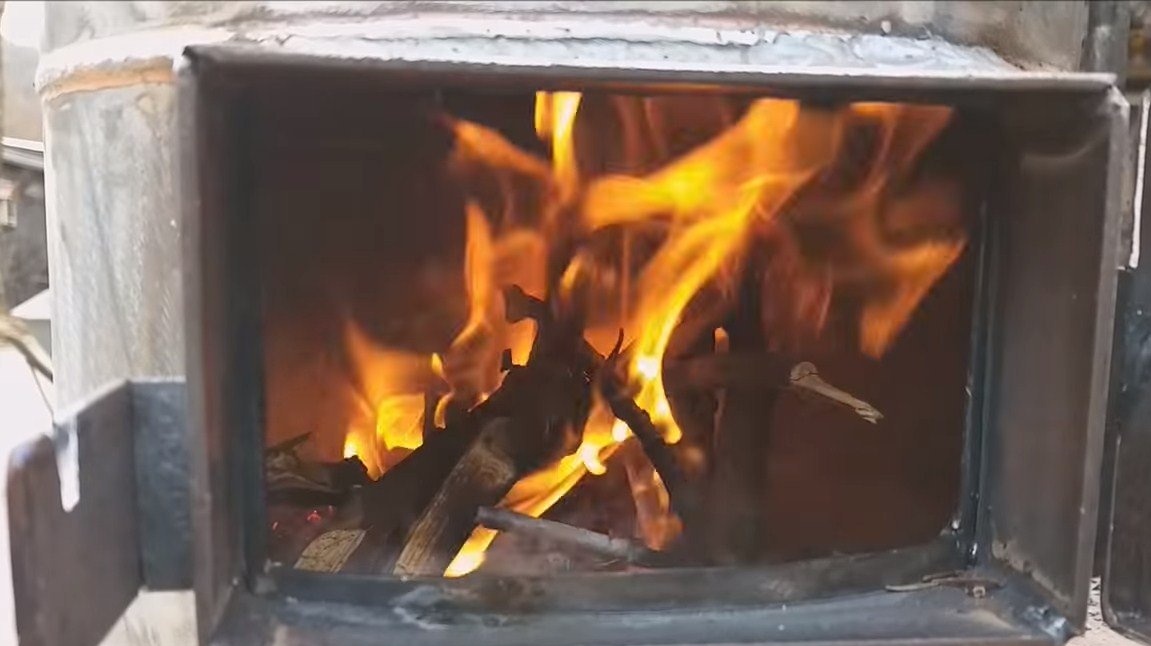
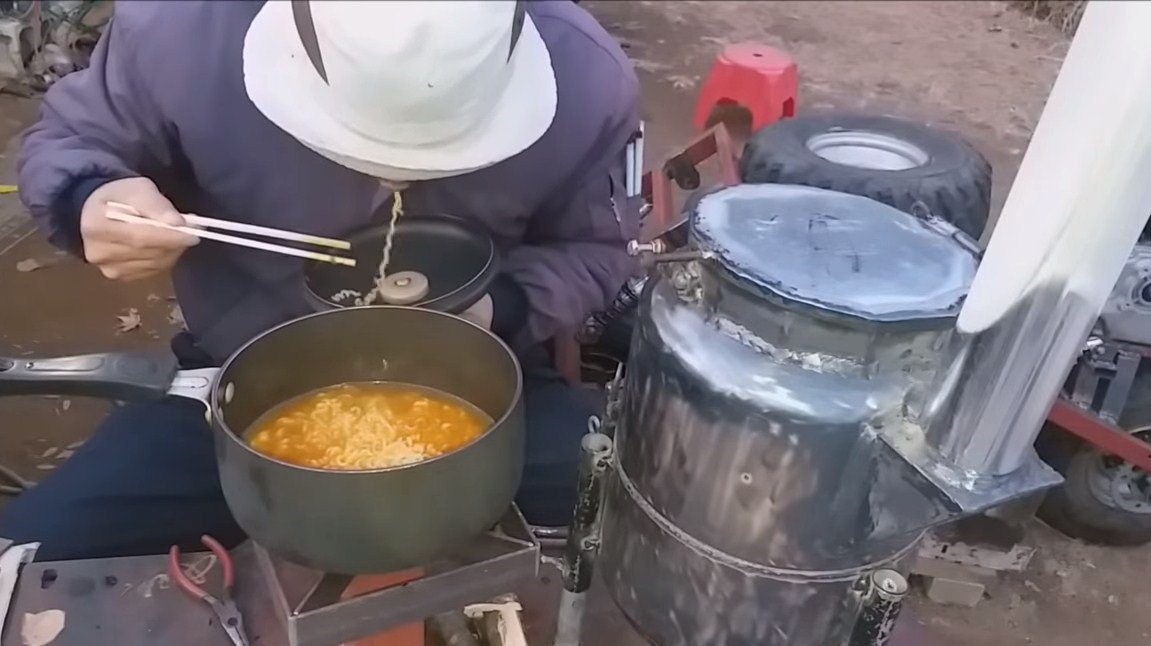
Greetings to all lovers of craftsmen, today we will manufacture a convenient stove from a gas cylinder. It can be cooked outdoors and even bask, the stove heats up quite a lot and emits a lot of heat. Though it looks homemade and intricate, everything is done quite simply from the available materials. If the project interests you, I propose to study it in more detail!
Materials and tools used by the author:
Material List:
- gas bottle;
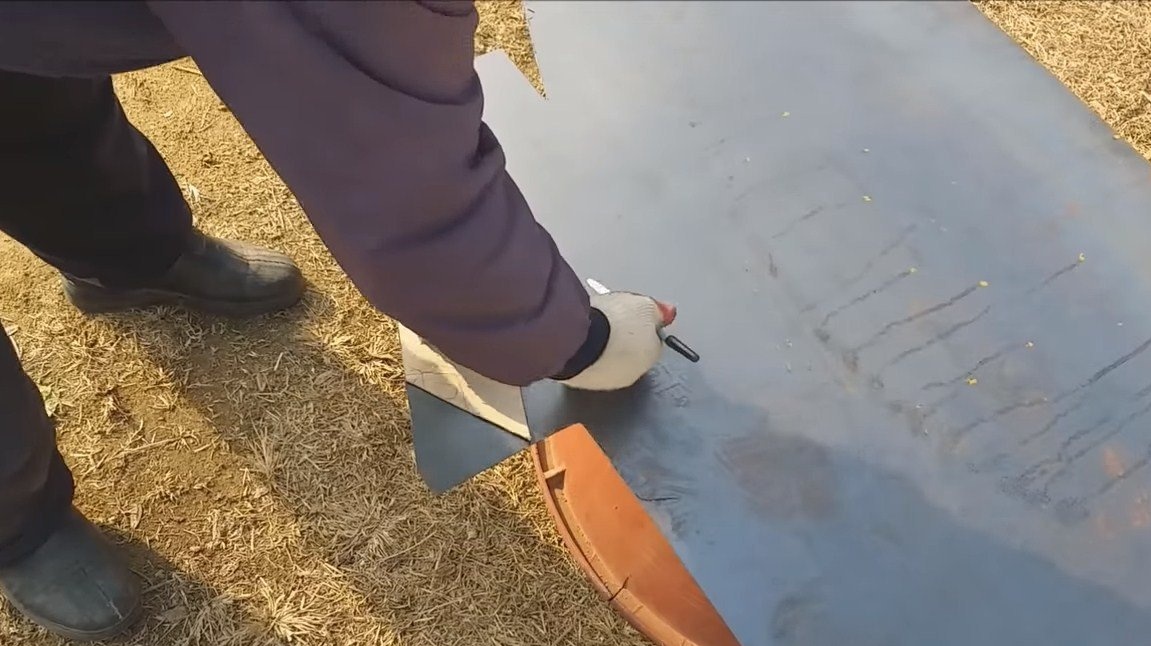
- sheet metal;
- pipes;
- bolts and nuts;
- iron grate;
- chimney.
Tool List:
- ;
- ;
- ;
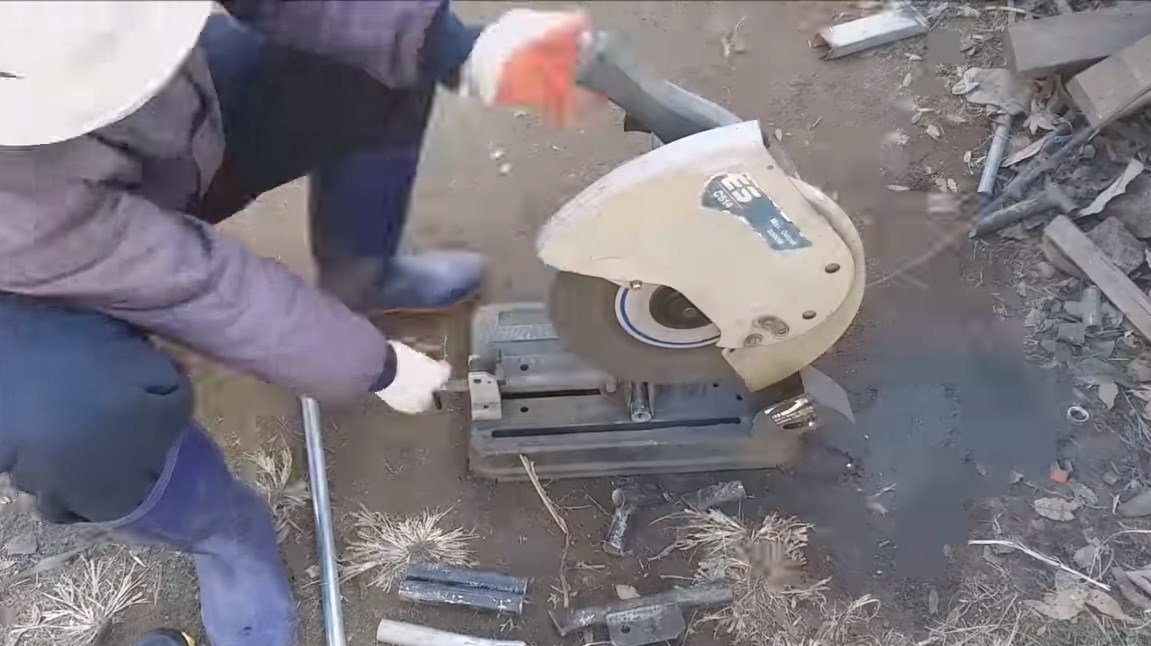
- Miter saw;
- welding;
- heat resistant paint.
Furnace manufacturing process:
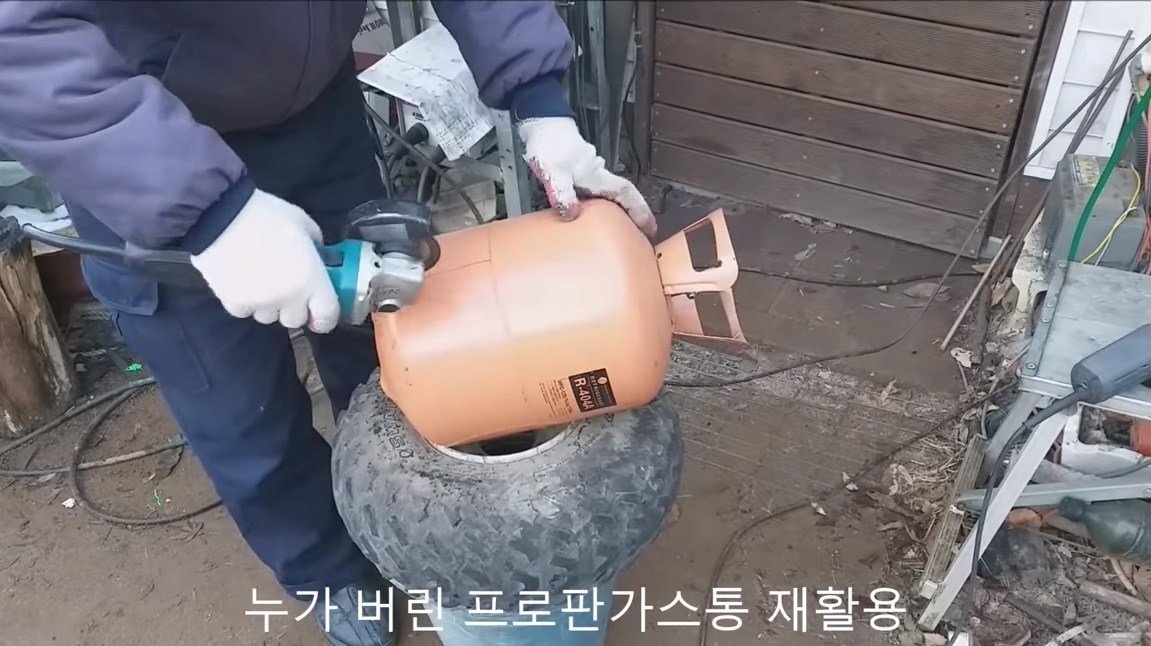
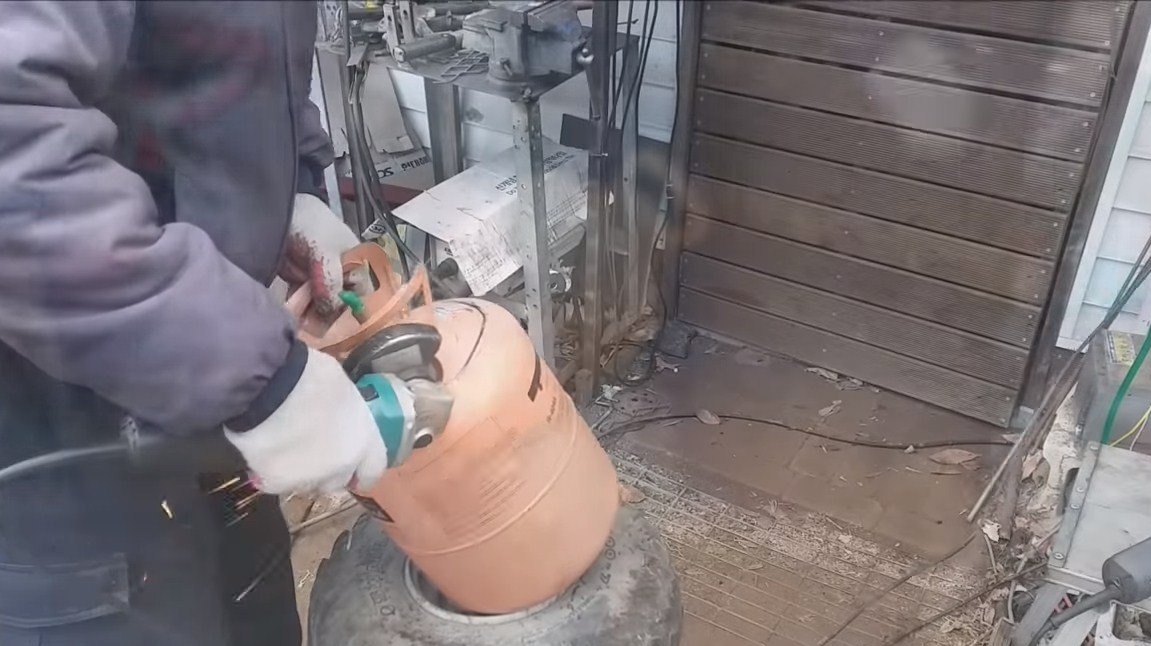
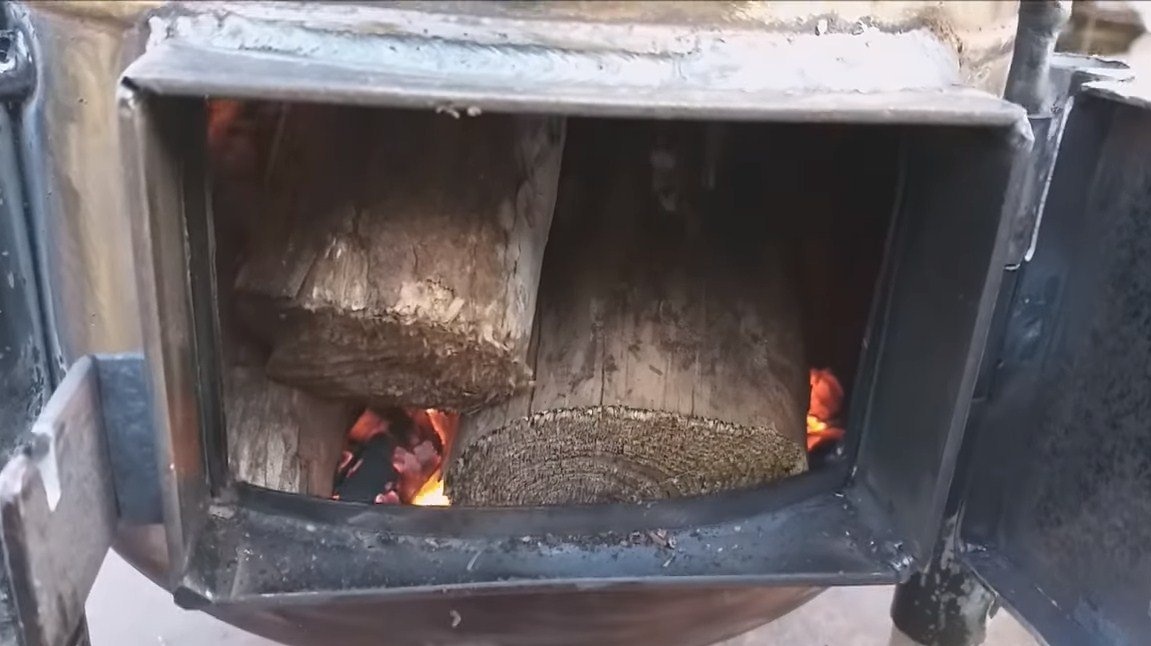
Step one. Preparing the cylinder and installing the combustion door
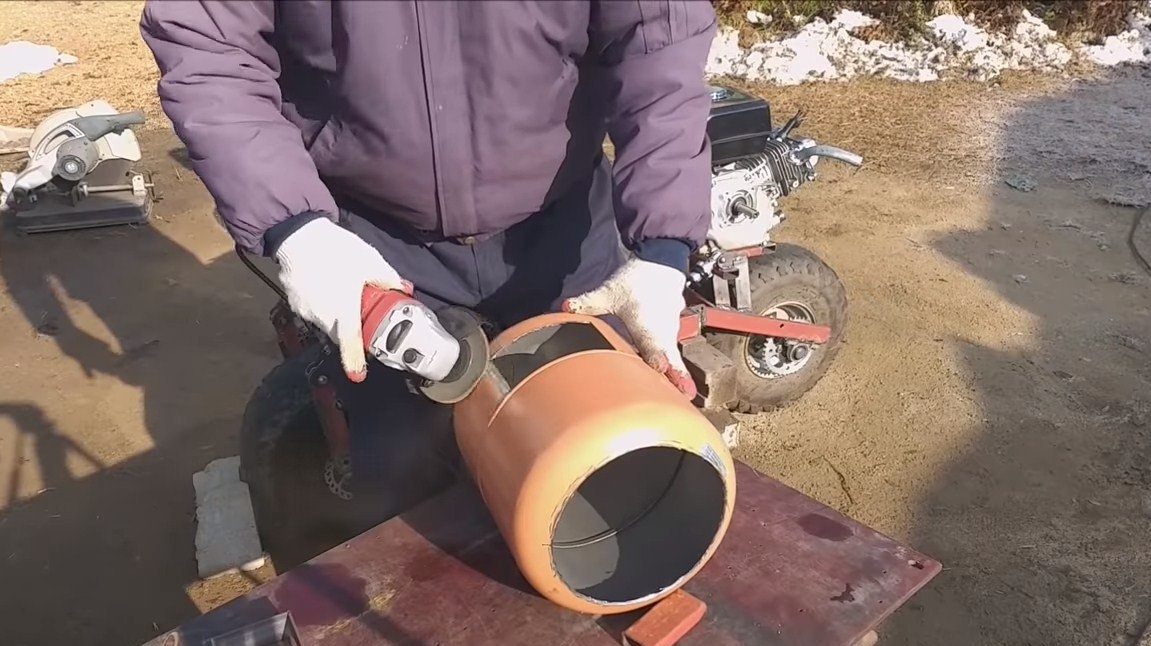
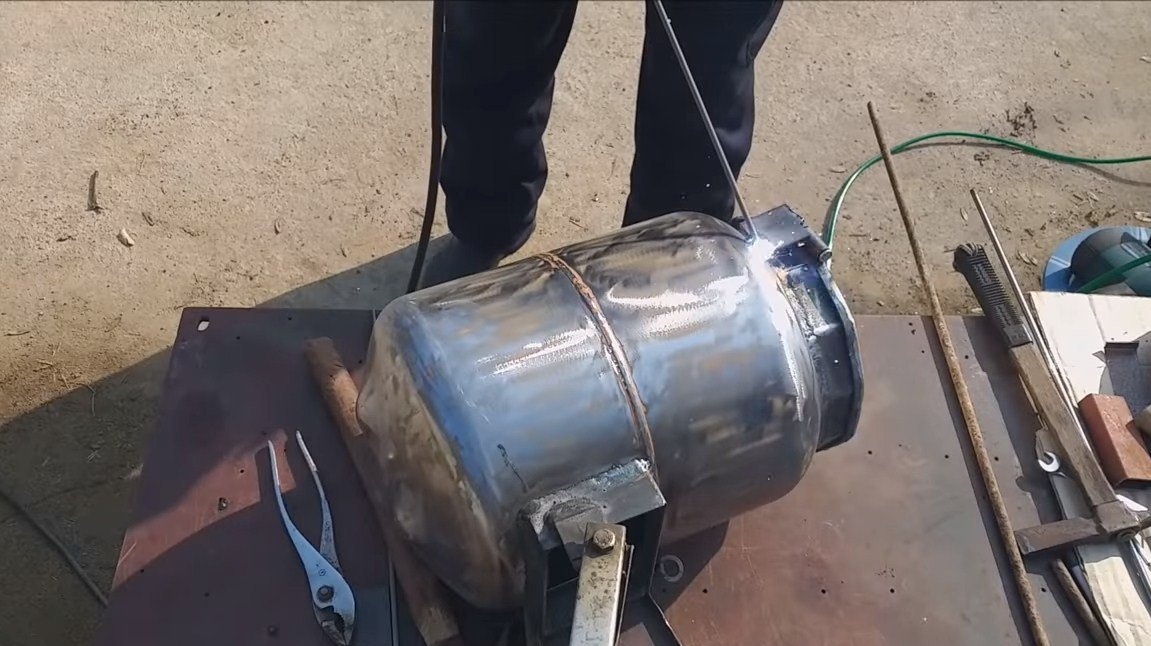
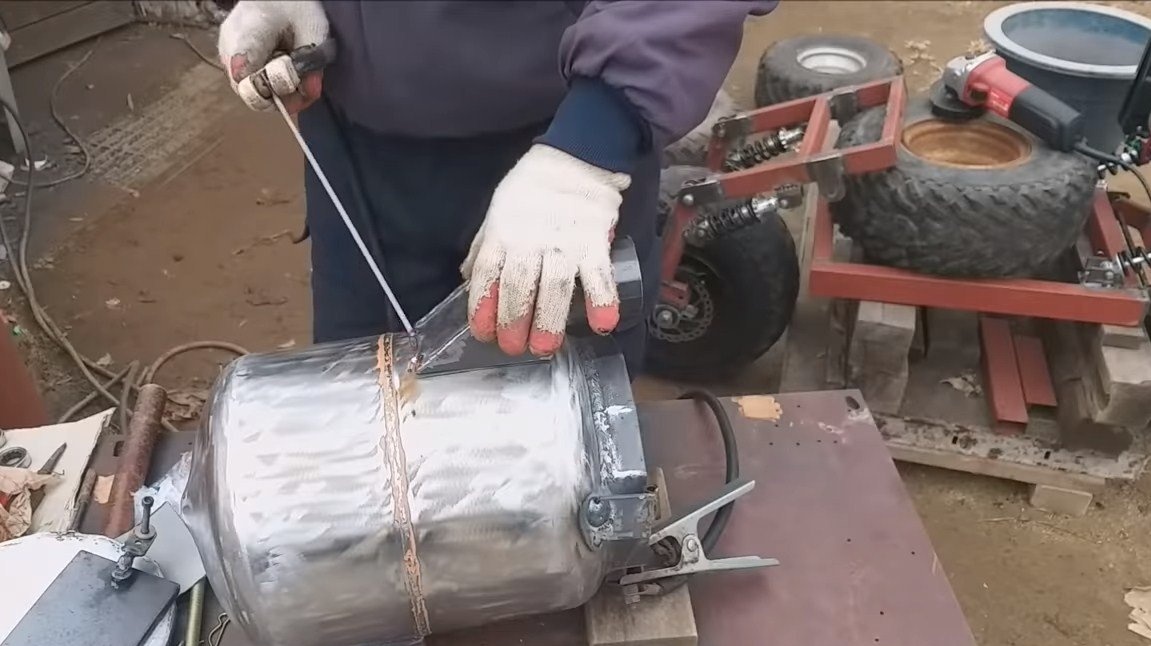
Be extremely careful when working with cylinders that contain flammable gas. Cutting such cylinders without special preparation will certainly lead to an explosion with all the ensuing consequences. Wash the bottle with water before cutting, or even better, fill the bottle with water and cut the tank with full water. There are also many other ways to protect yourself from an explosion.
We arm ourselves with a grinder and cut off the neck of a cylinder.
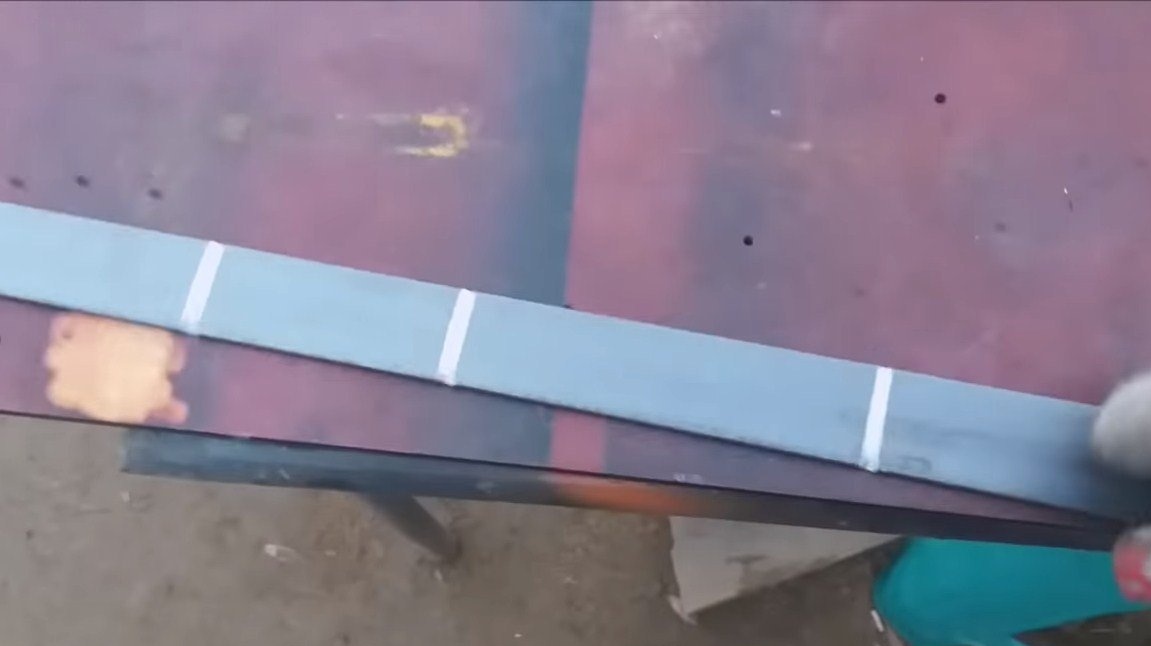
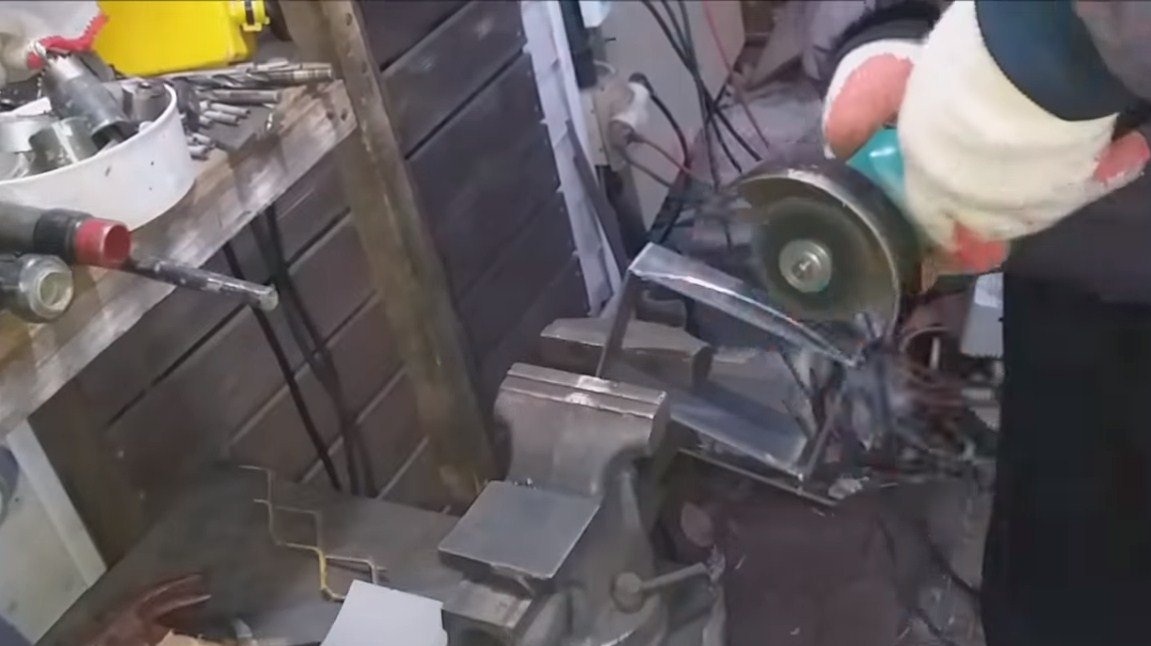
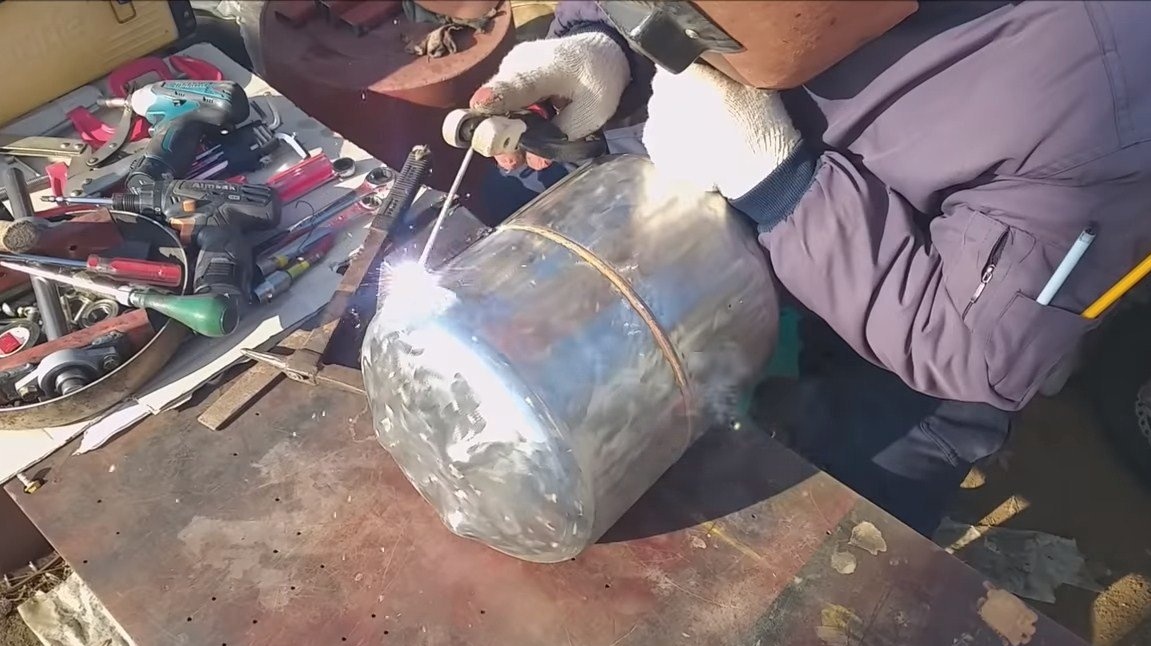
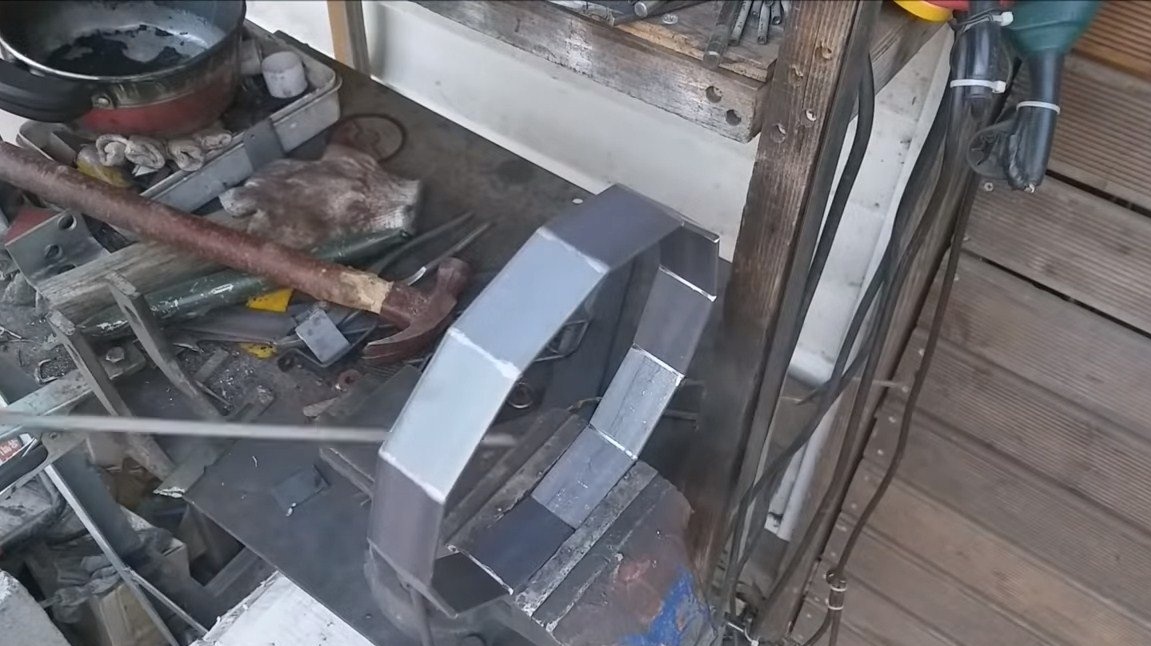
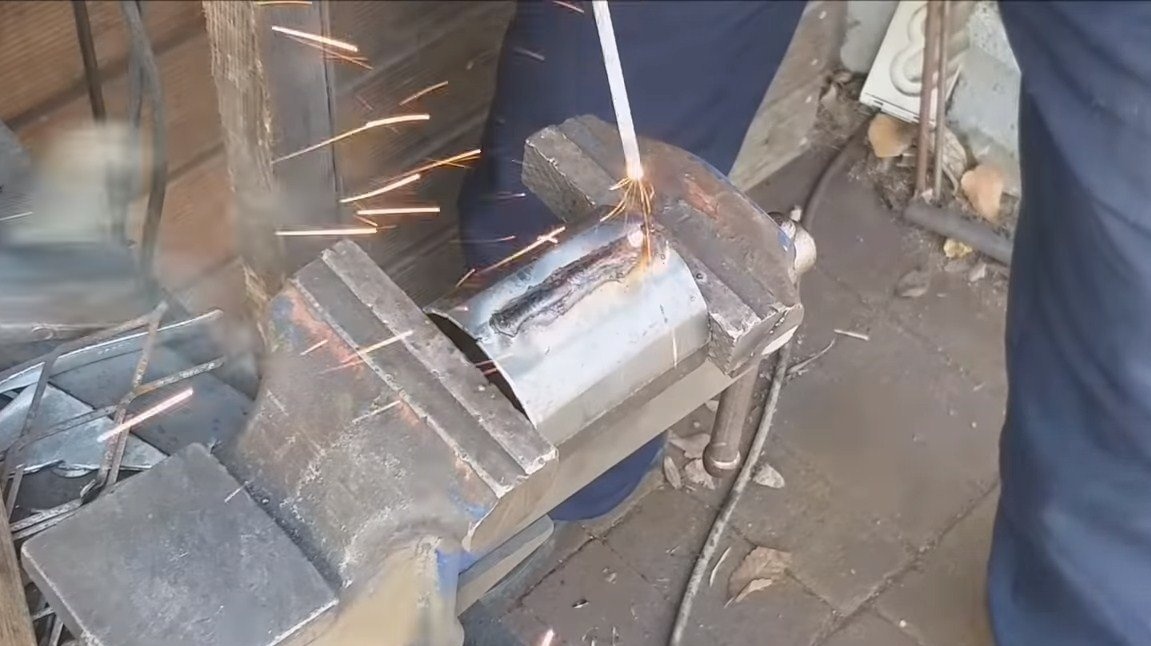
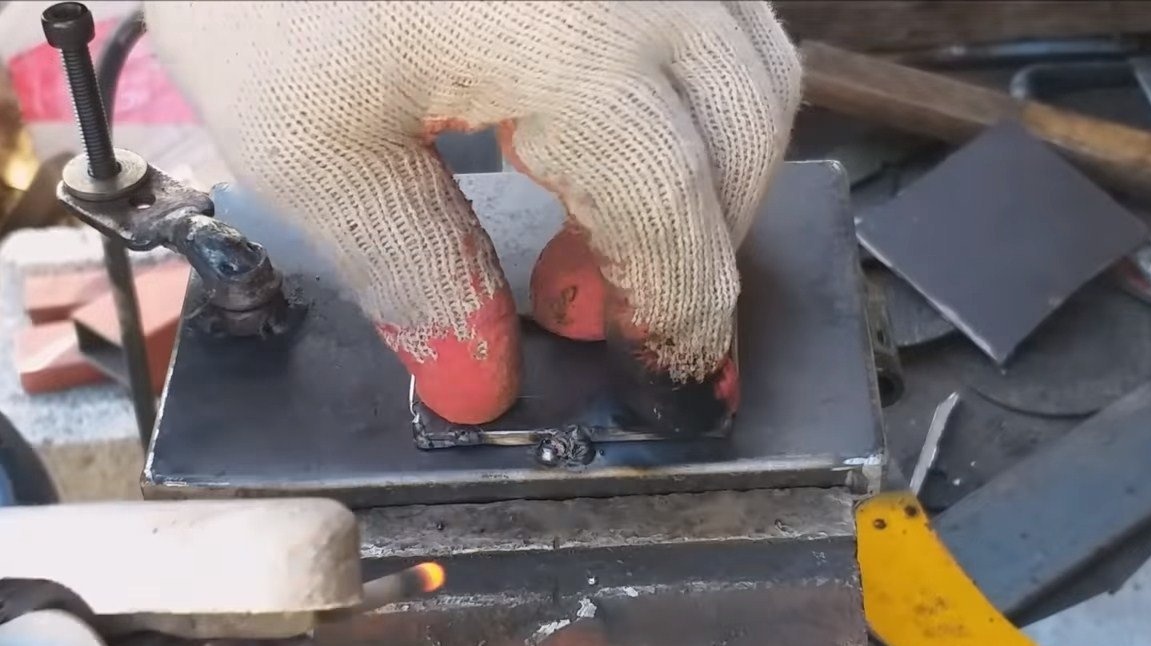
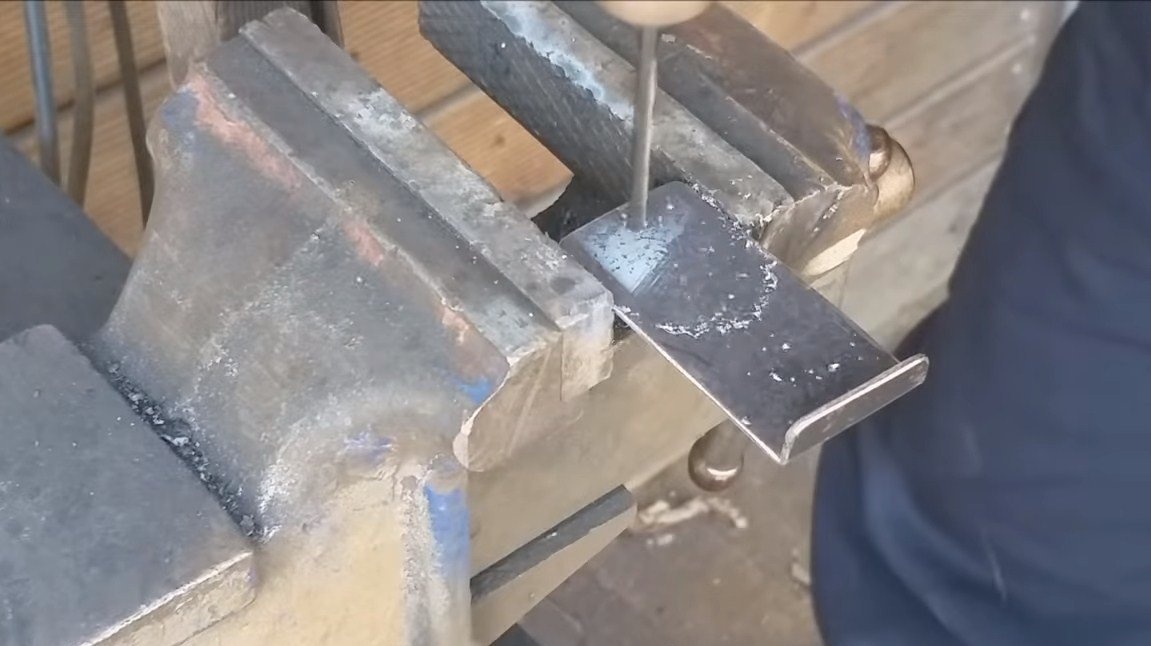
Next, we proceed to the manufacture and installation of the furnace door, cut out the corresponding hole in the cylinder for it. We make a frame for the door, here we need an iron plate, which needs to be bent into a rectangle in the shape of the hole. So that the plate bends in the right places, we make cuts with a grinder, and then we weld the structure and weld it to the cylinder. The entire cylinder must be well cleaned from the paint, since when heated it will smoke and burn.
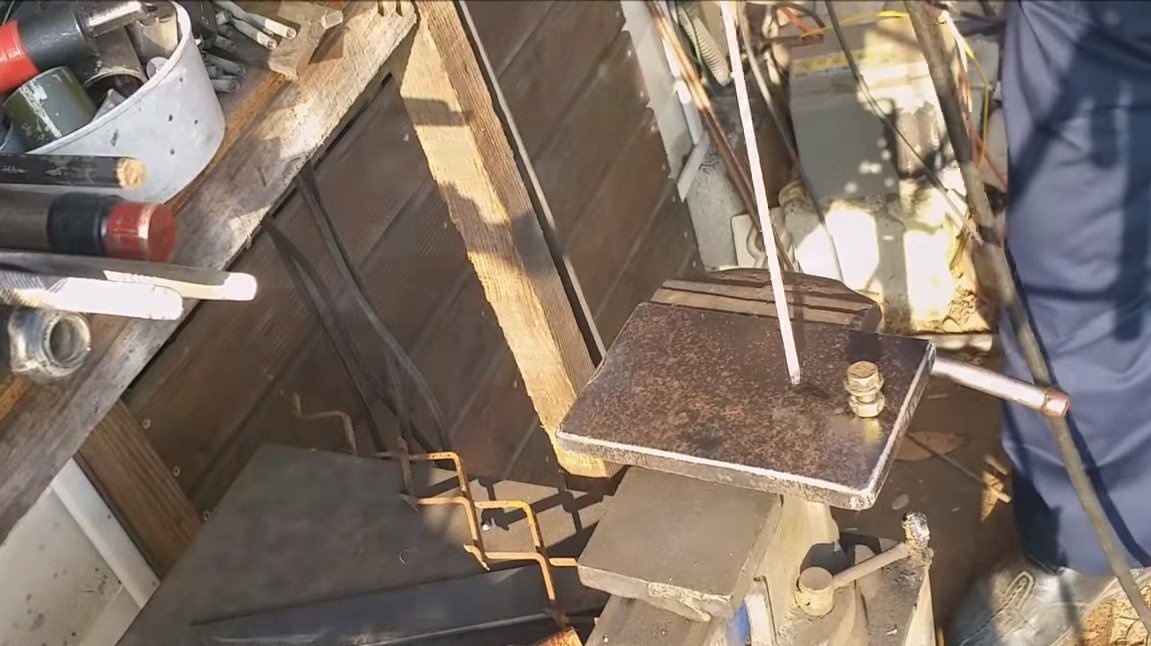
We weld the door from sheet metal and hang it on the door hinges. If there are no loops, you can make them yourself from an iron rod and pipe, as the author did. We drill a hole in the door and weld a nut into which we wrap a bolt. We will then attach a handle to this bolt.
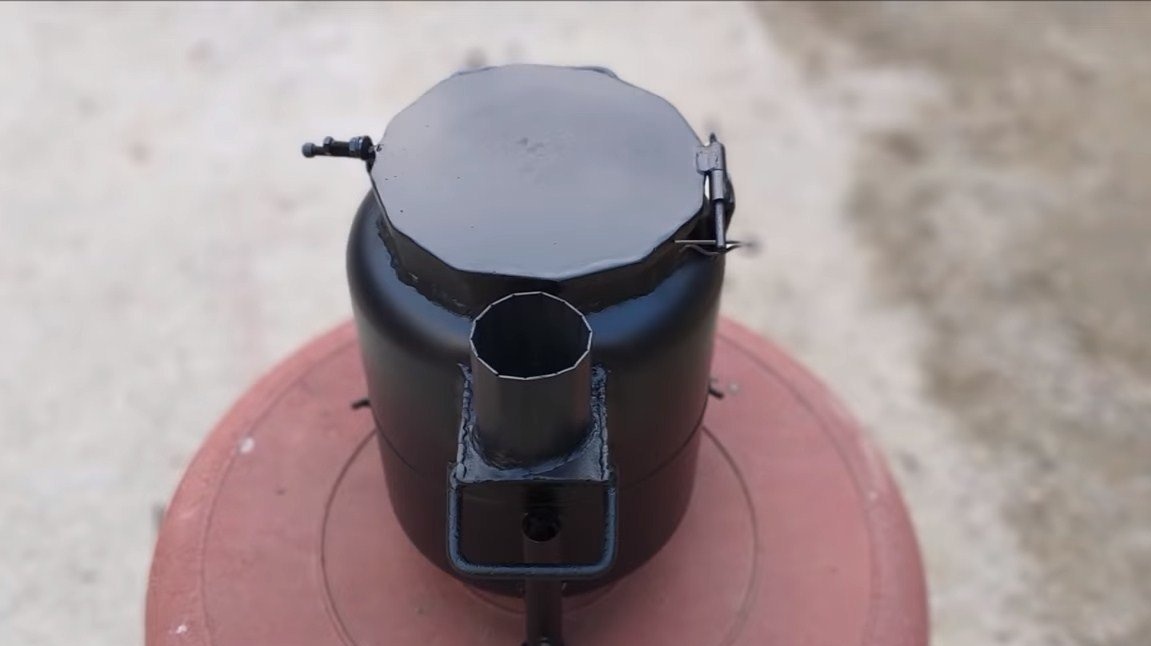
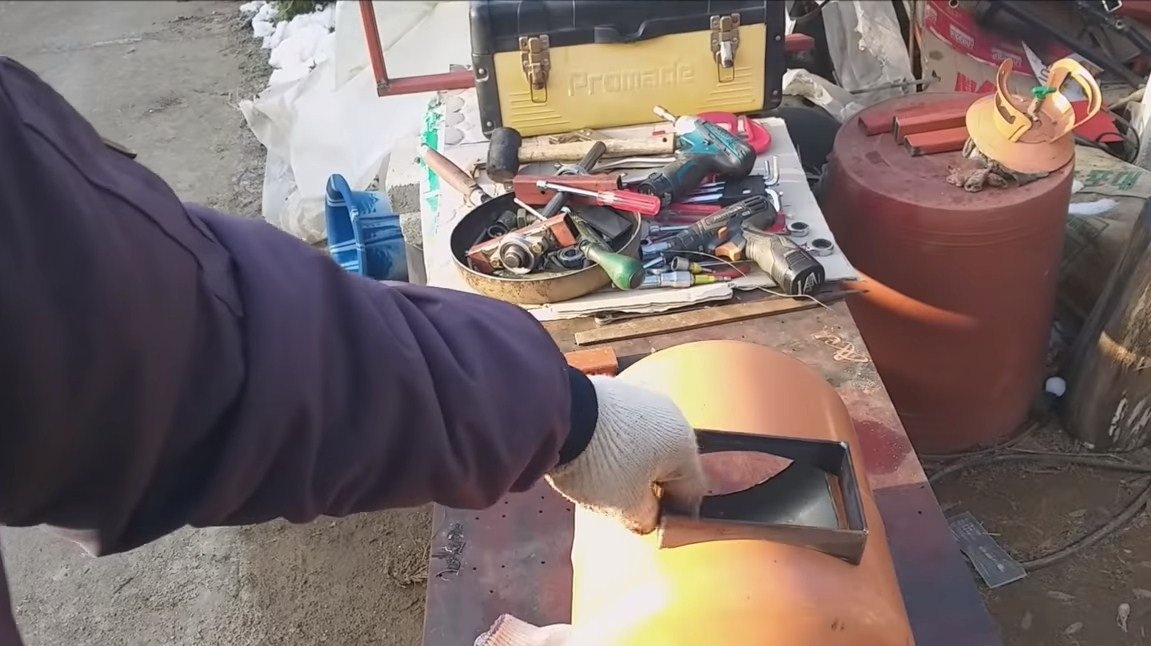
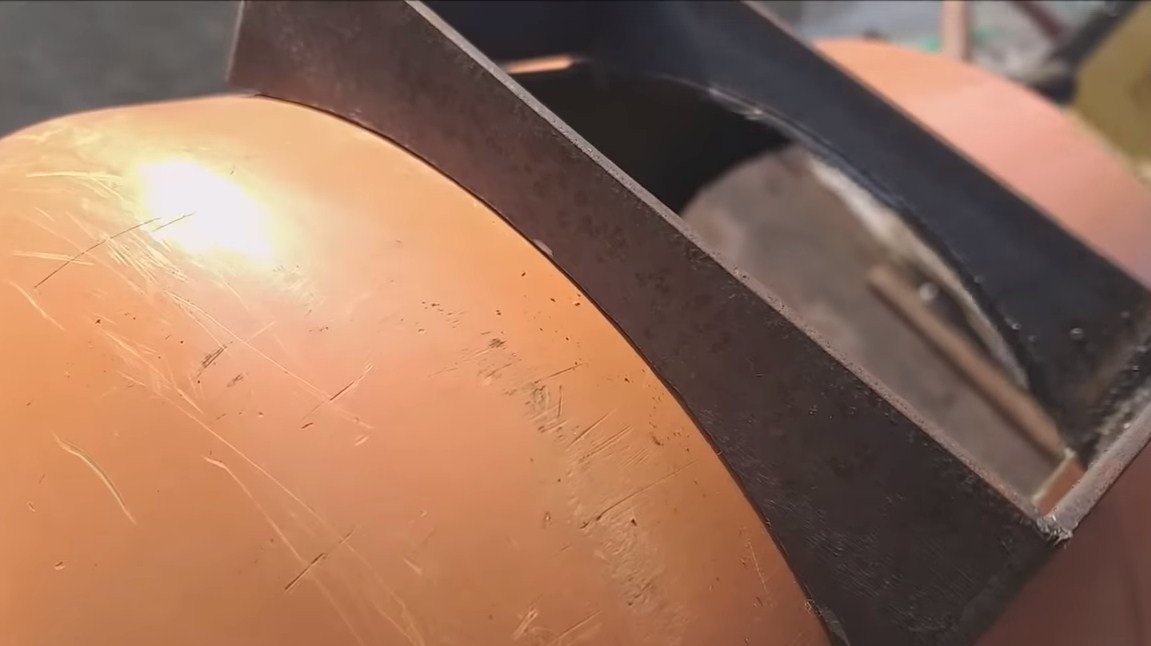
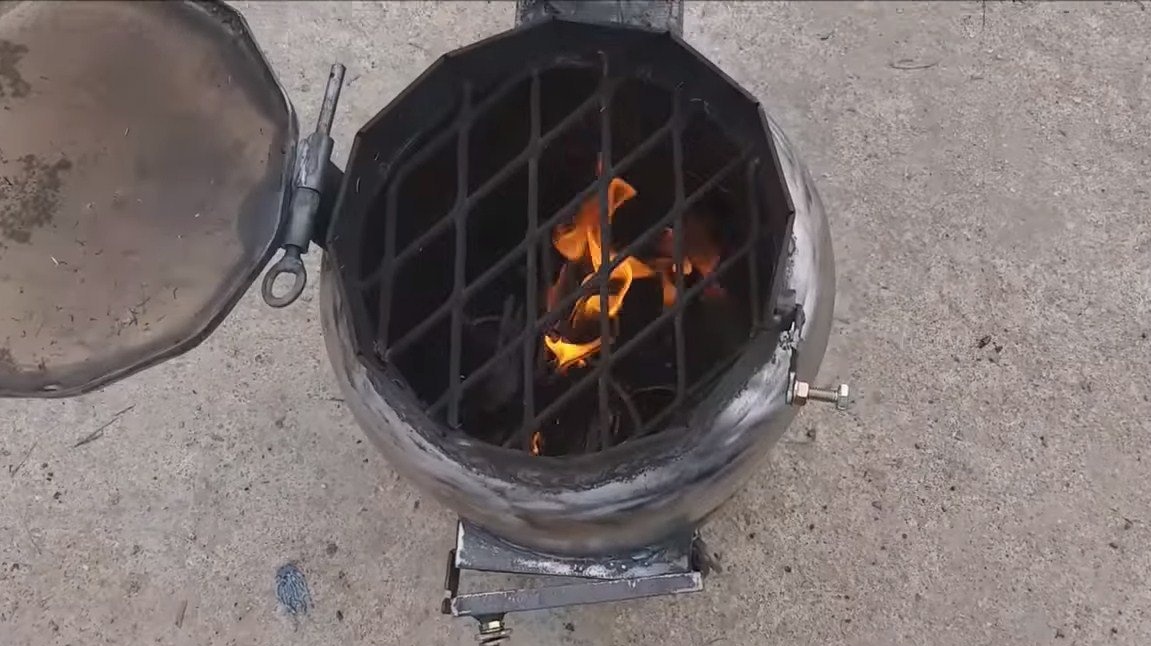
Step Two Neck
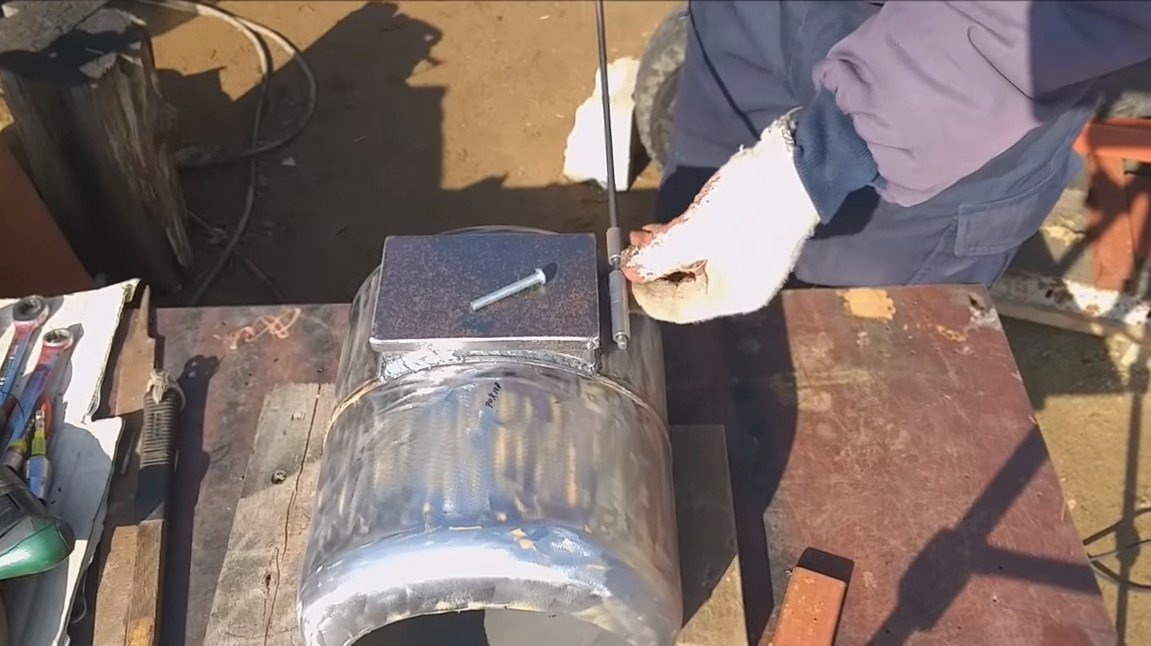
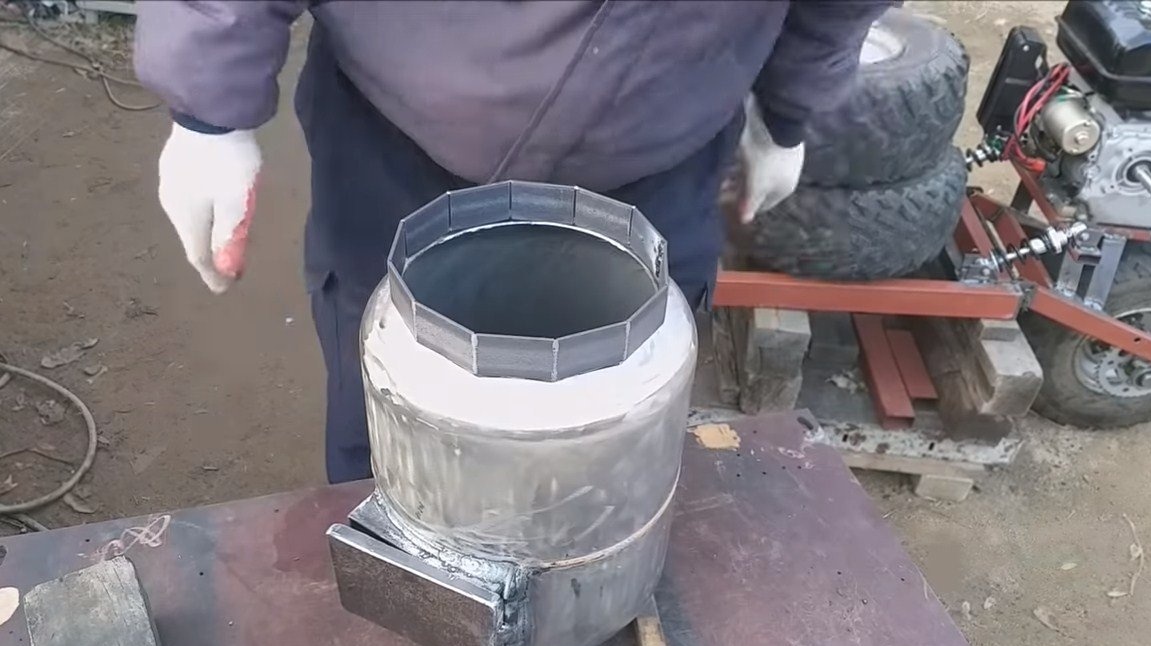
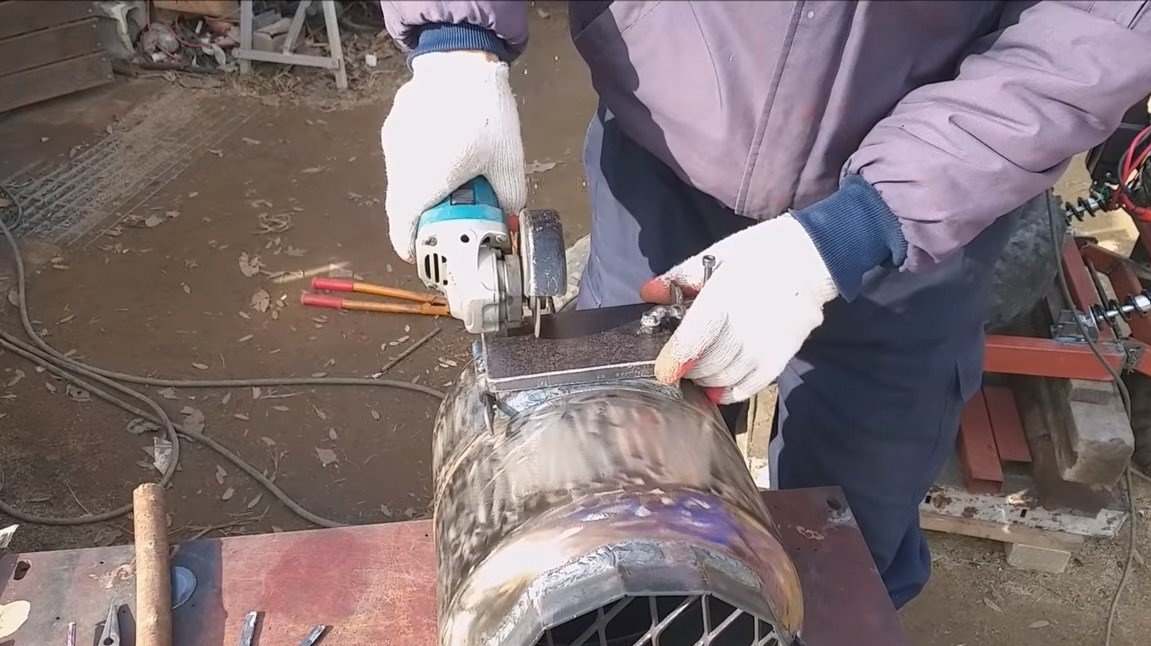
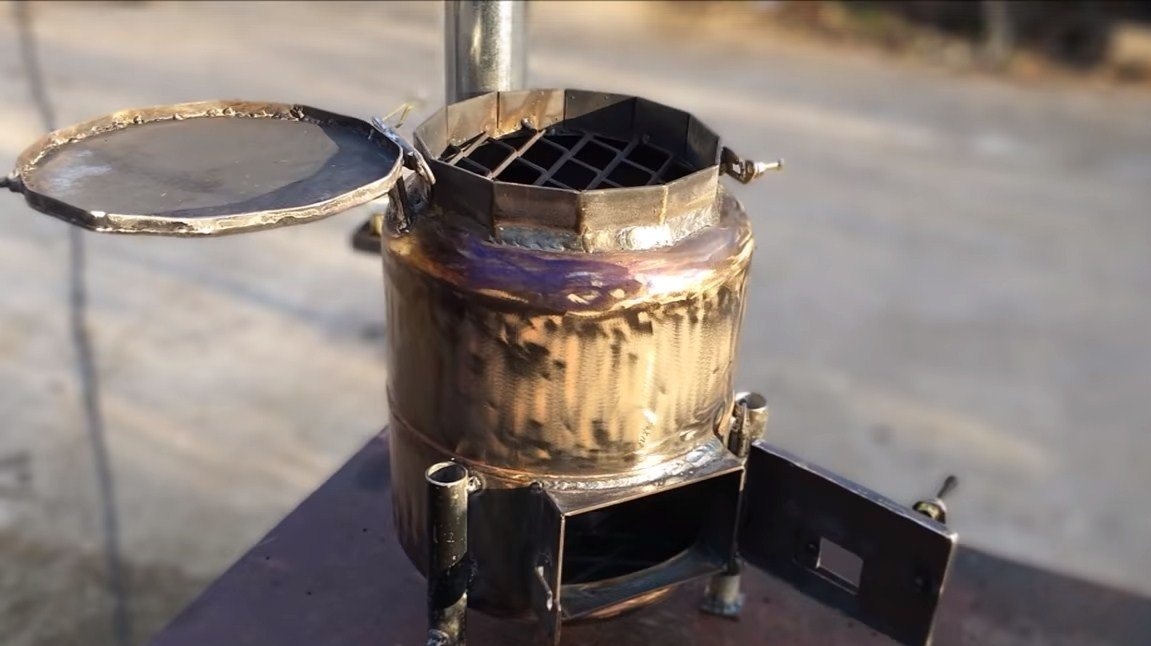
We make the neck for the stove, a grate will be installed here, on which we will put the dishes. We make the neck of the iron plate, make a series of cuts, and then bend the plate into a circle and weld it.
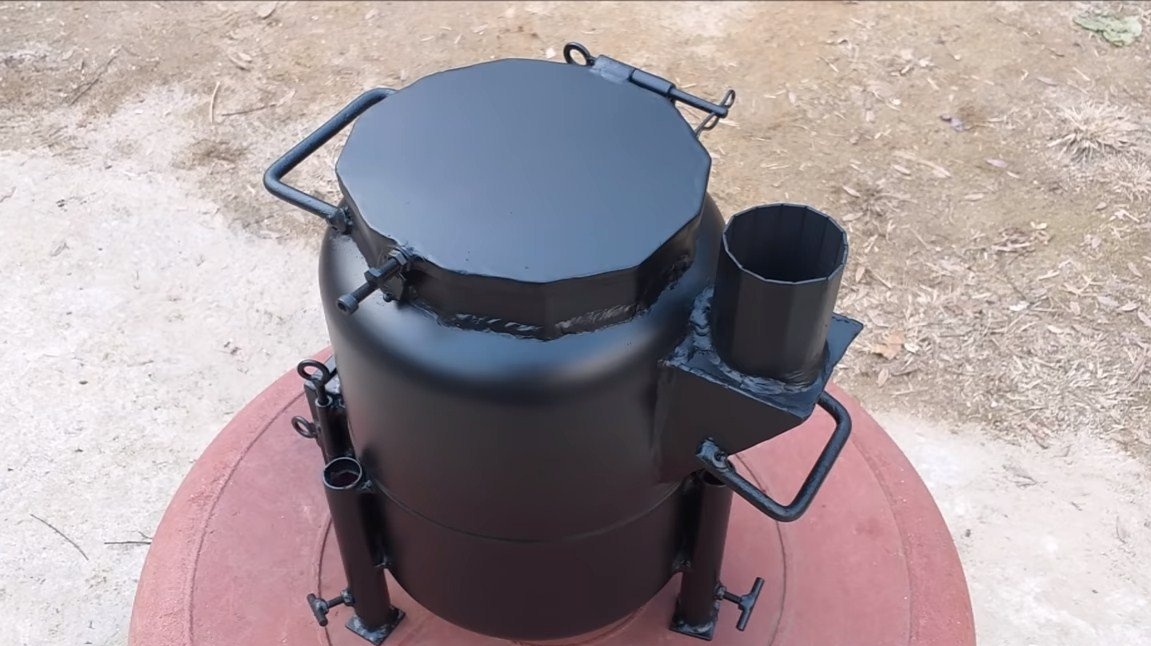
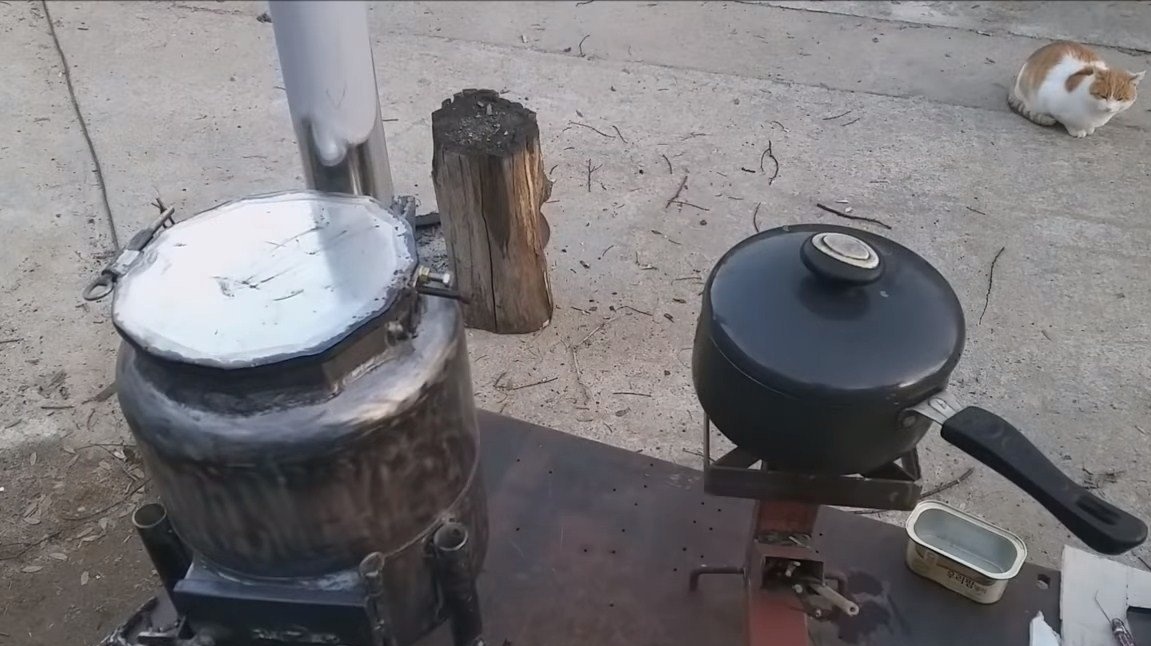
The neck is closed by a lid, it is also welded from sheet metal and hung on a hinge. When the stove is ignited, the lid can be closed and smoke will go into the chimney. Also, the lid itself is very hot, and you can cook directly on it.
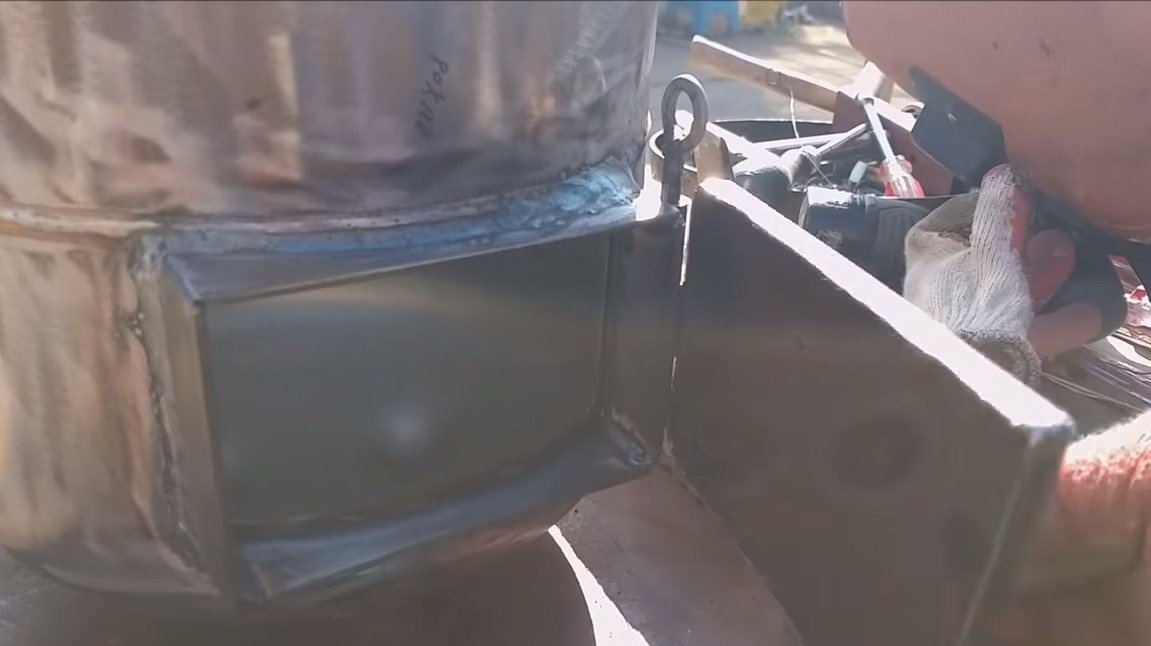
Step Three Branch pipe
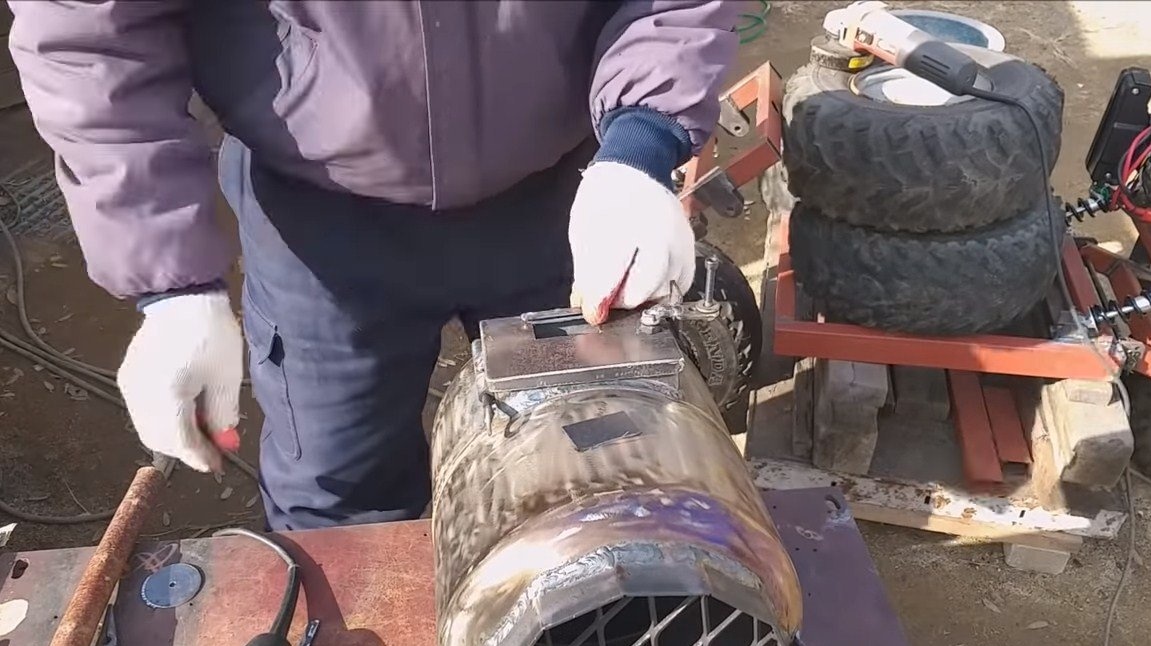
We weld the pipe to which we will connect the chimney. The author welds this pipe from sheet iron according to the technology described above. The entire structure is hermetically welded to the furnace.
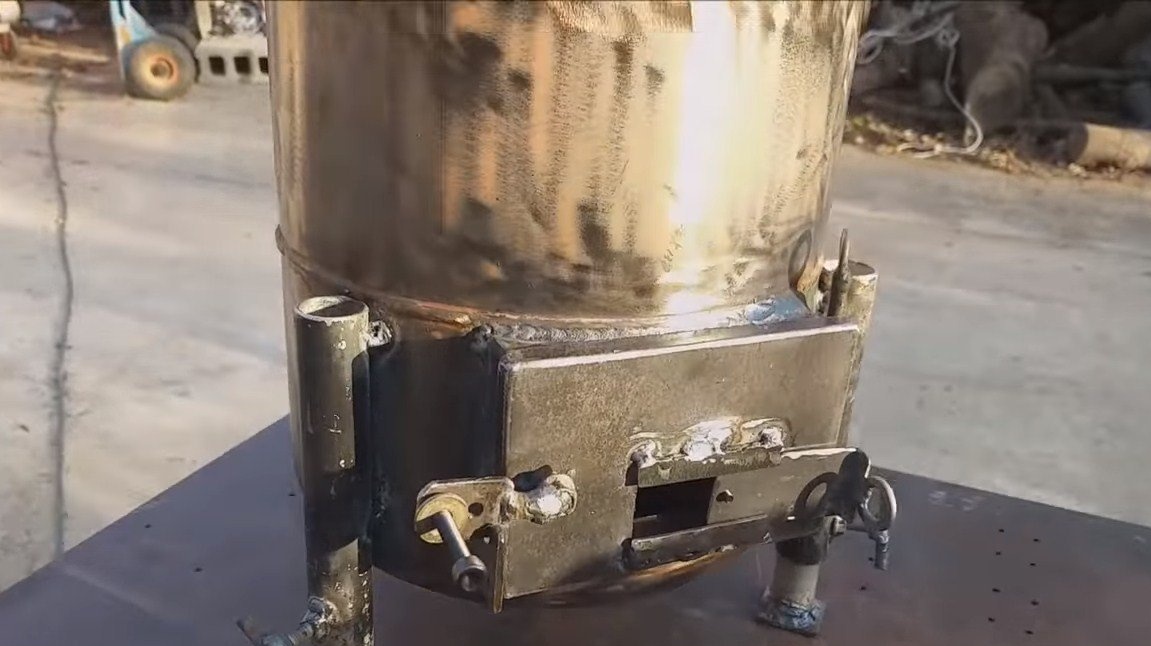
Step Four Locking mechanisms
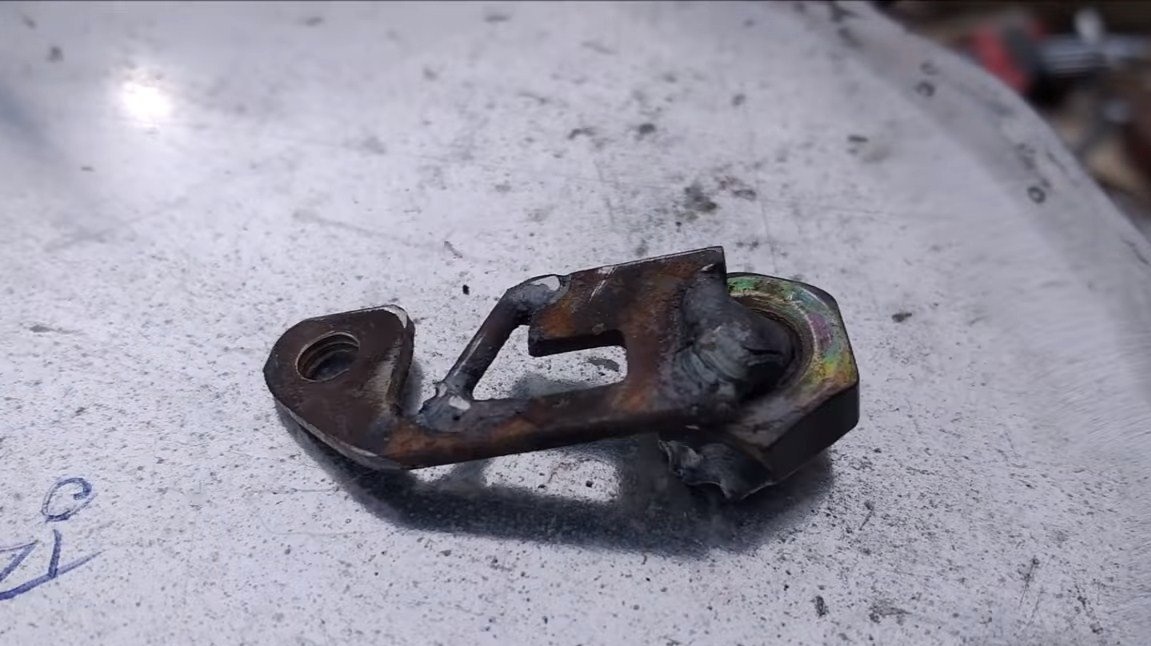
For the door and cover we make locking devices. They are made very simple, mobility is ensured by nuts that are welded to the body, and bolts are wrapped in these nuts.

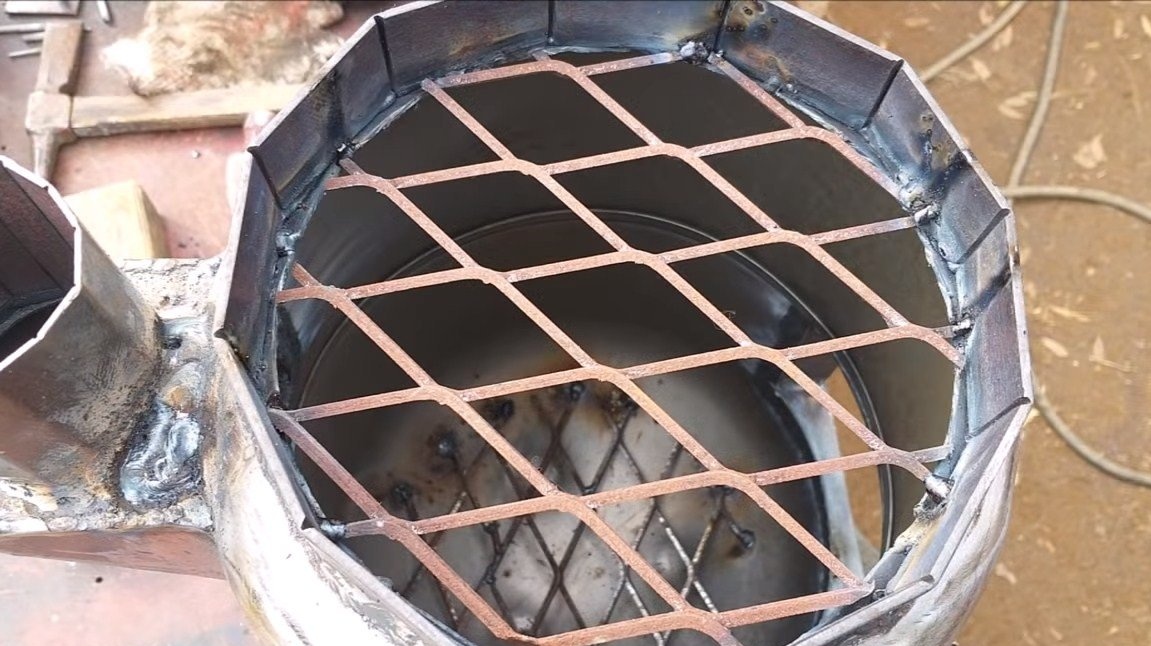
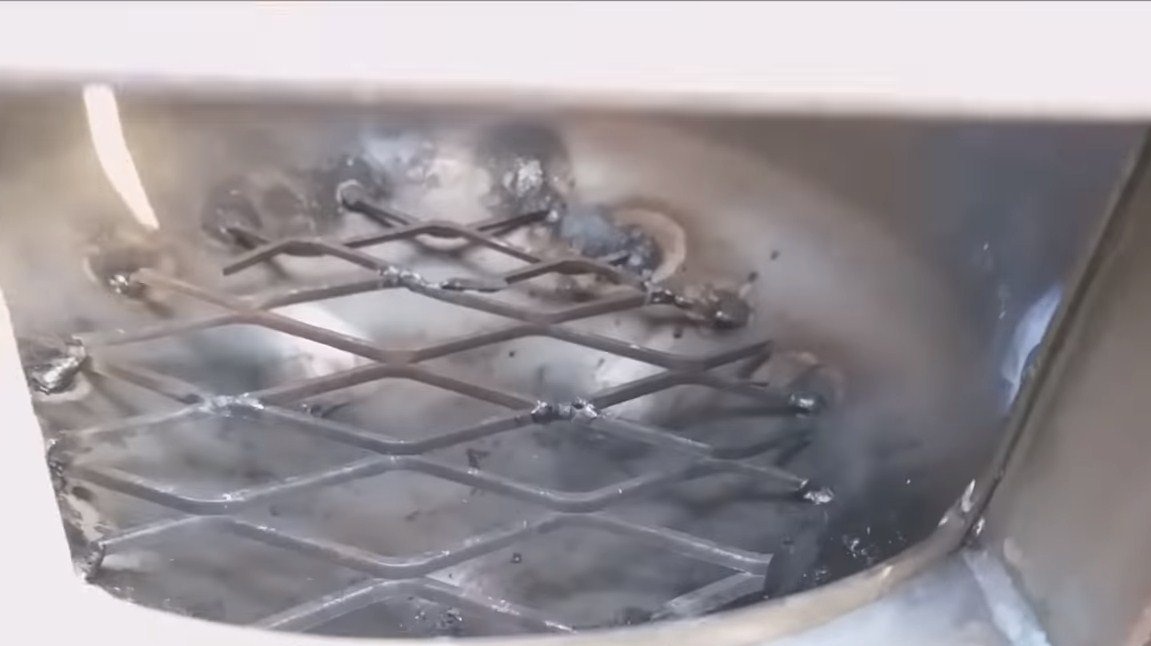
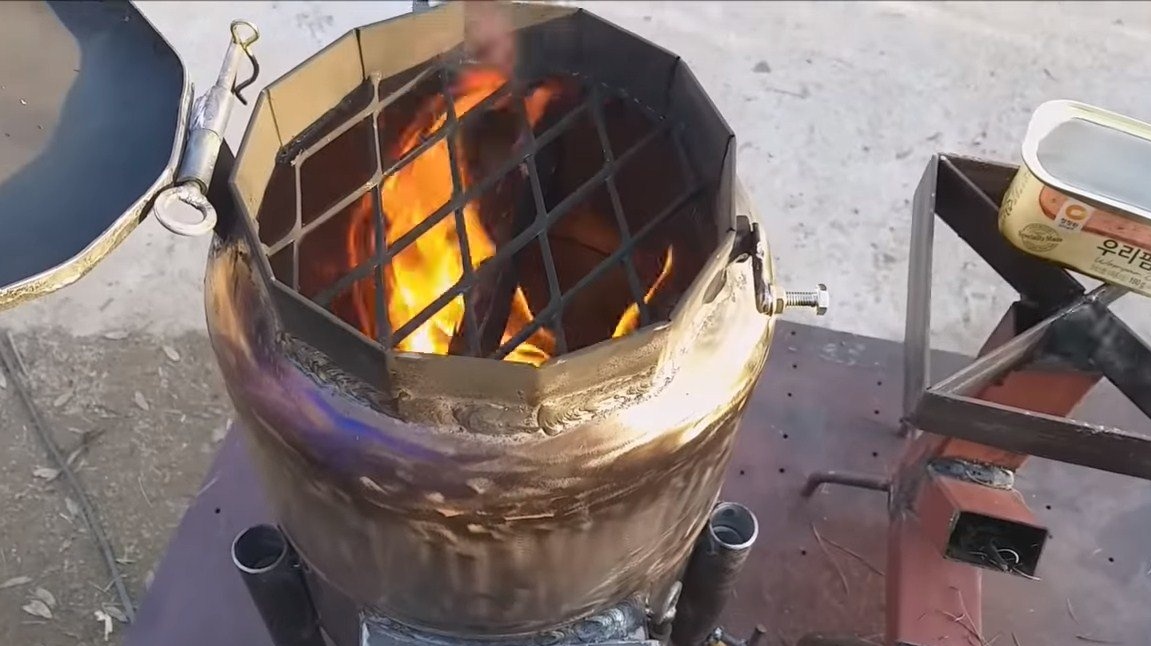
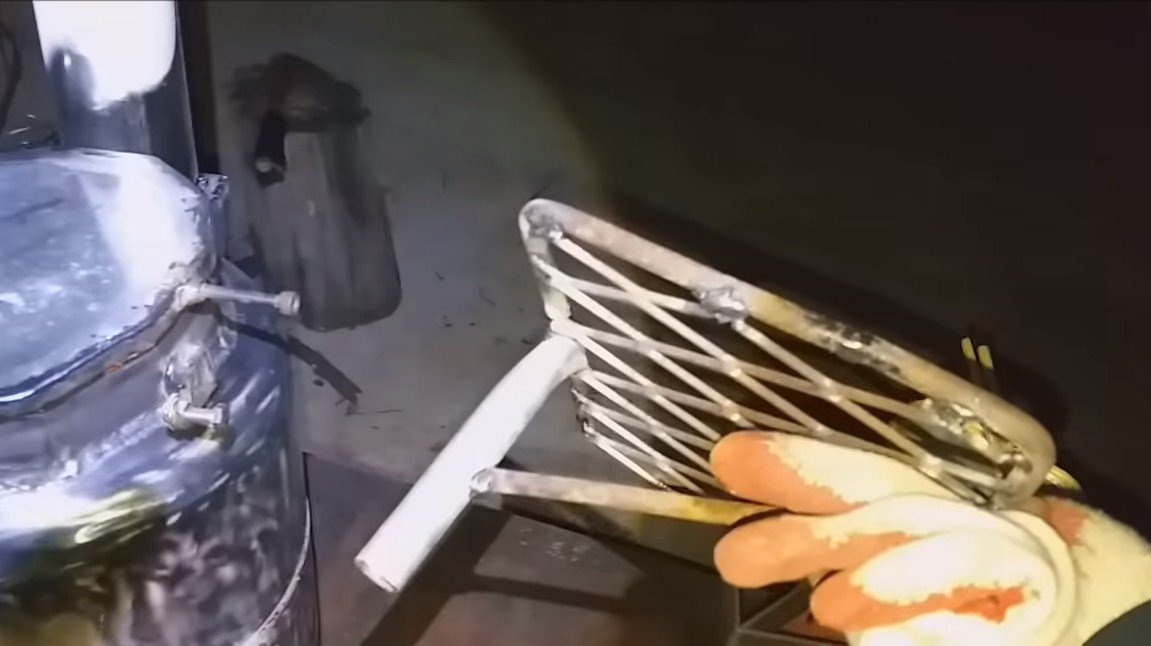
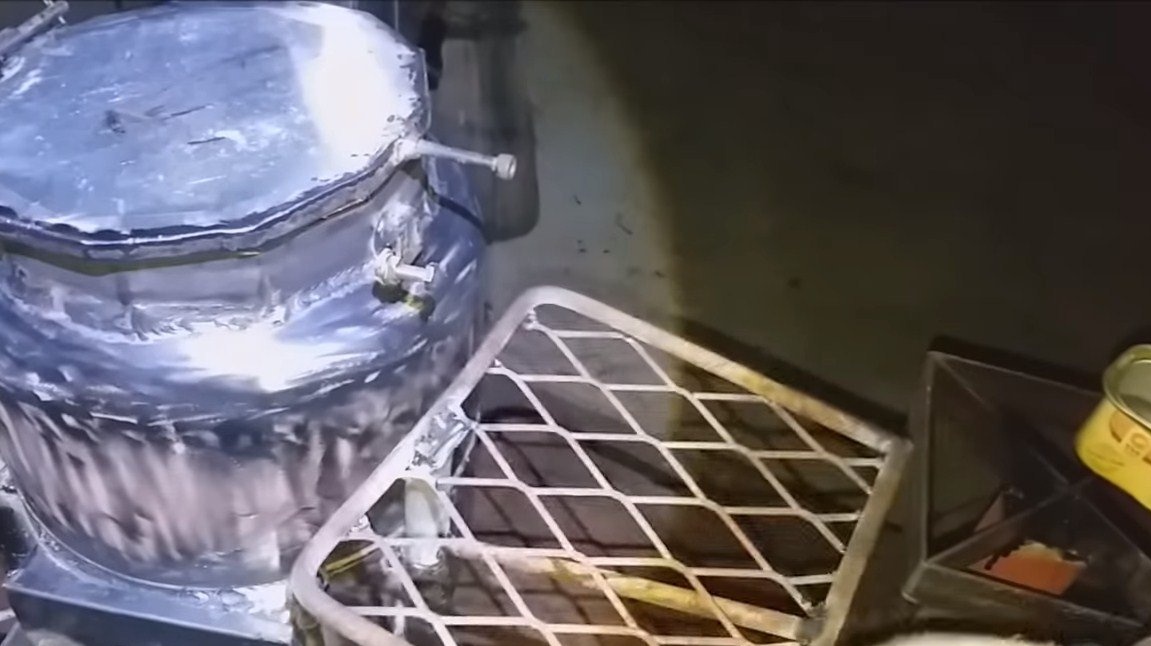
Step Five Grilles
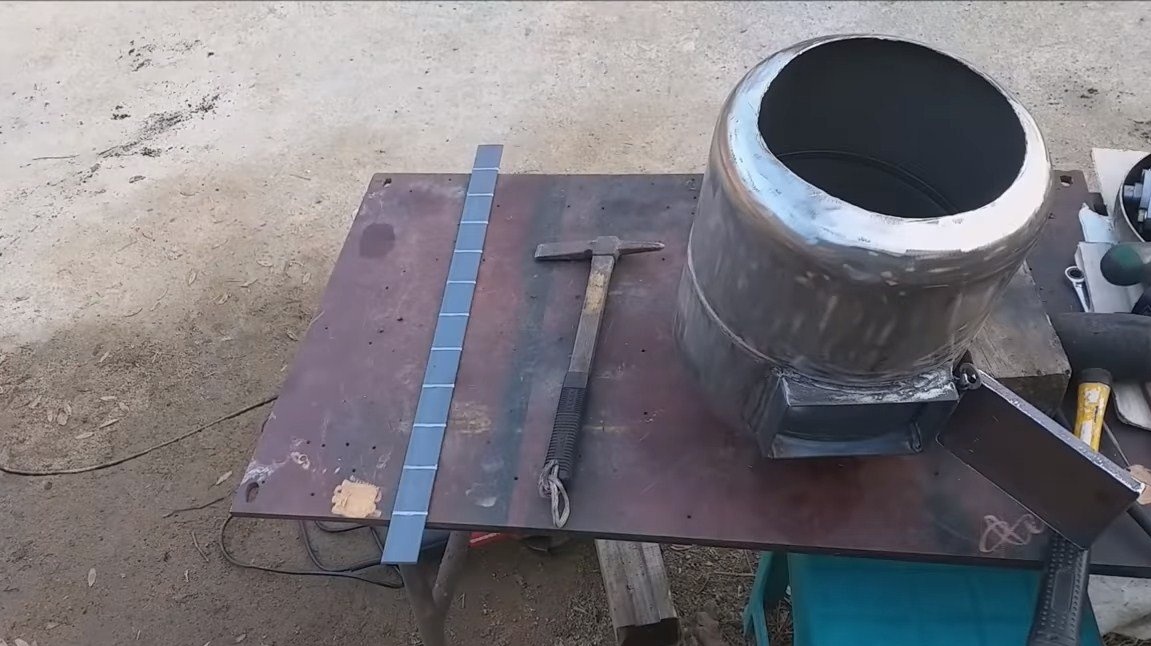
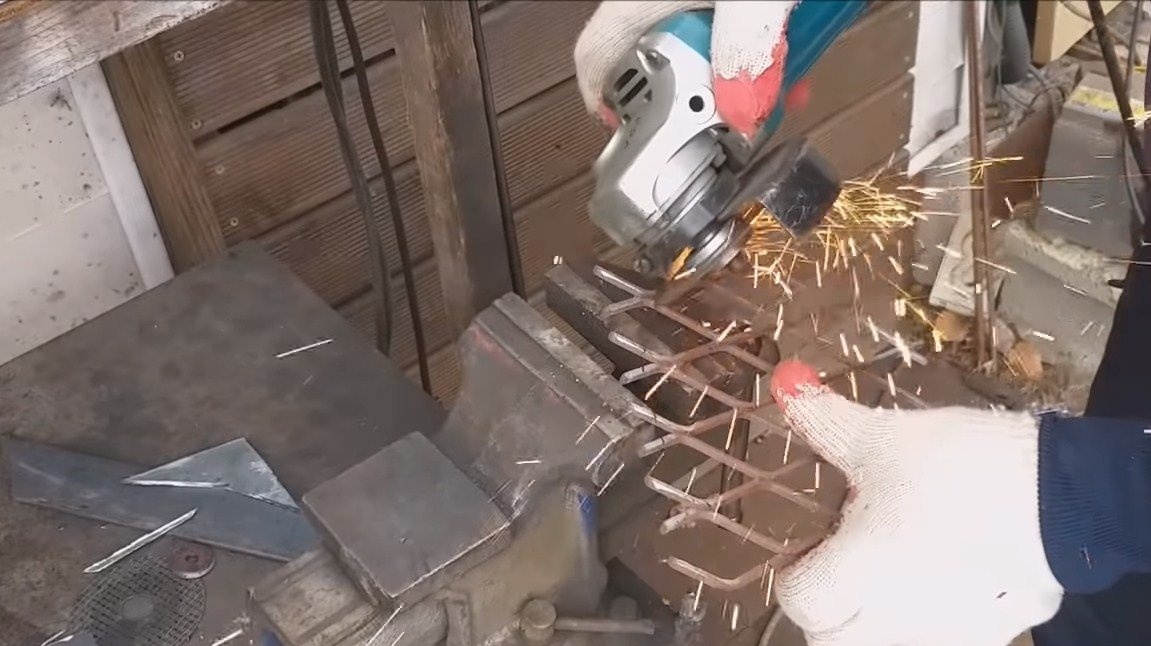
We weld the grill for the installation of dishes to the neck. If there is no lattice, it can be welded from fittings. It is also necessary to make grates and install in the lower part of the furnace. The primary design is ready, you can make a test tube to see what needs to be finalized.
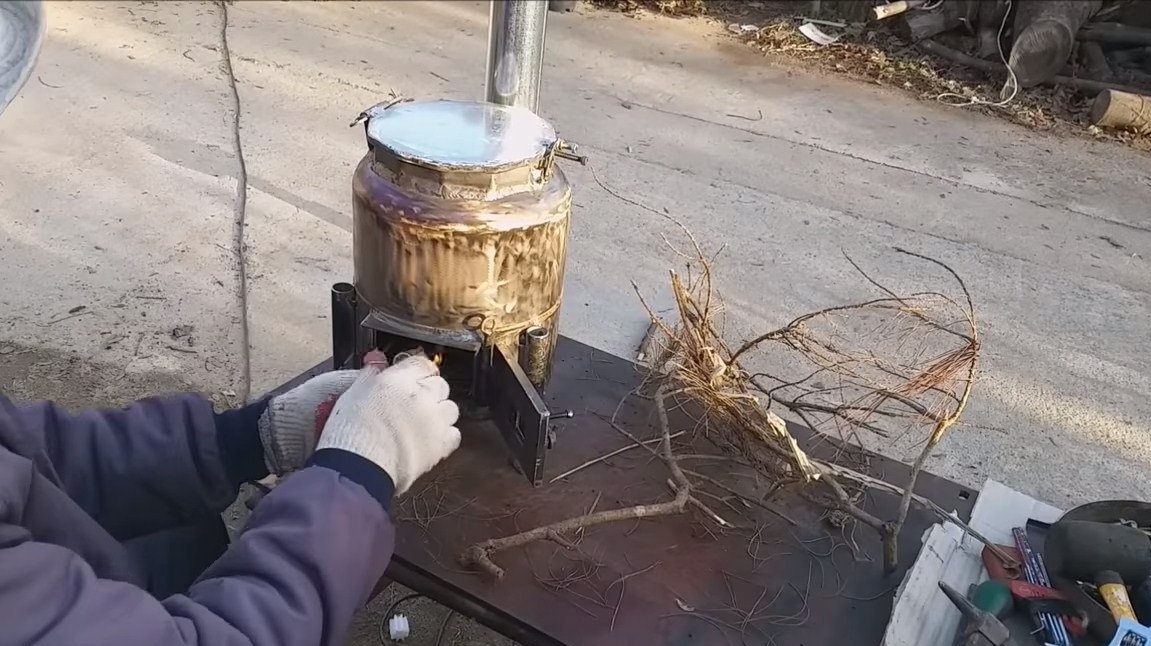
Step Six Blew
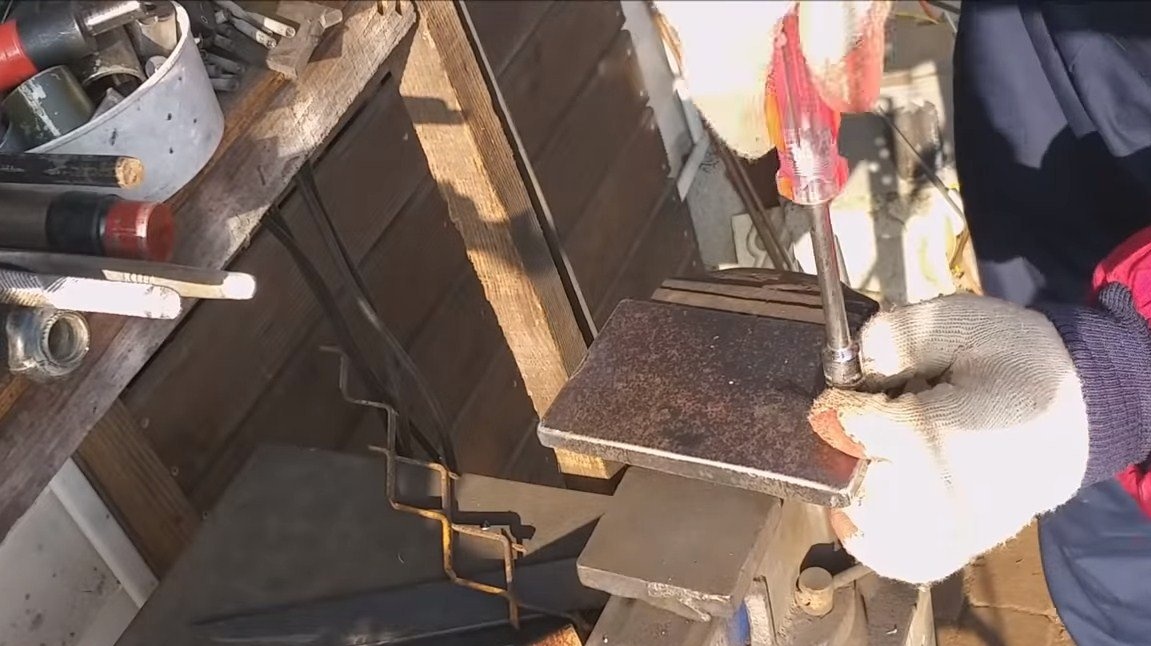
For the furnace you need to blow it, this will allow you to conveniently adjust the air supply and, as a result, the intensity of combustion. We cut a hole in the door and make a blowing door. It is an iron plate with a handle that travels along two welded rails.
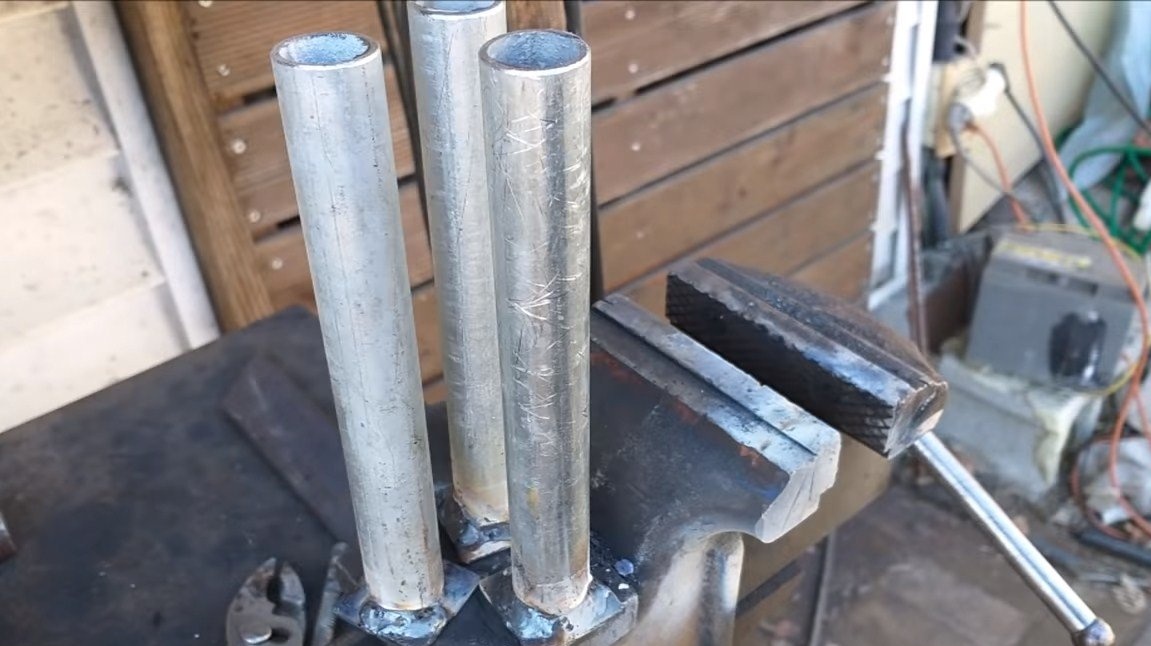
Seventh step. Legs
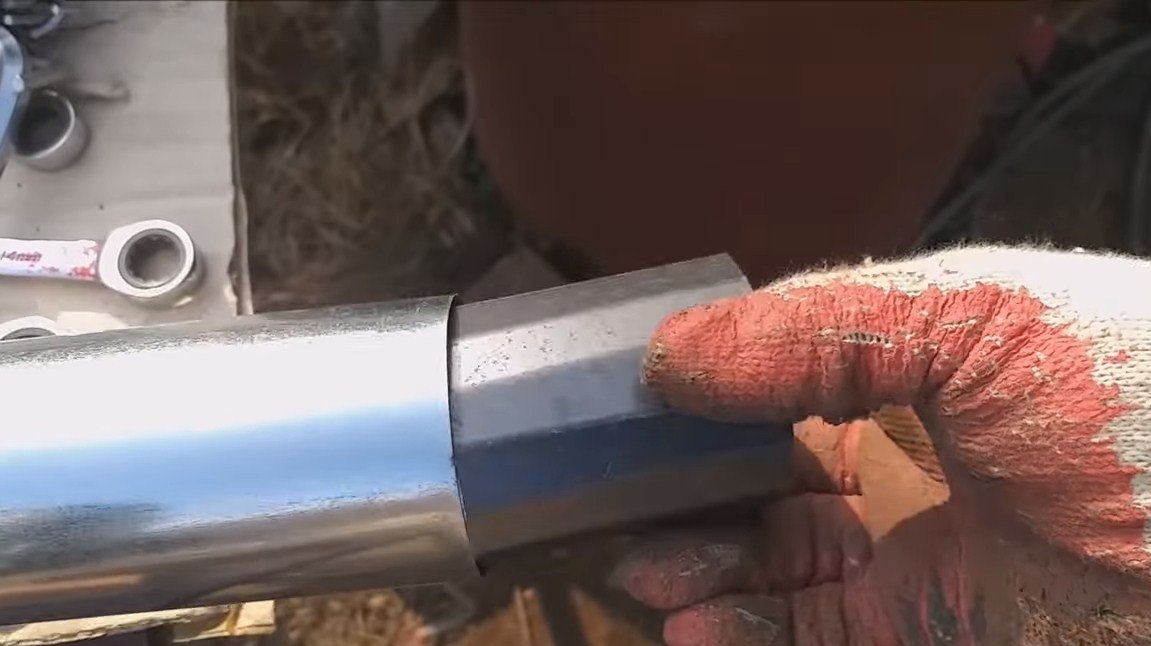
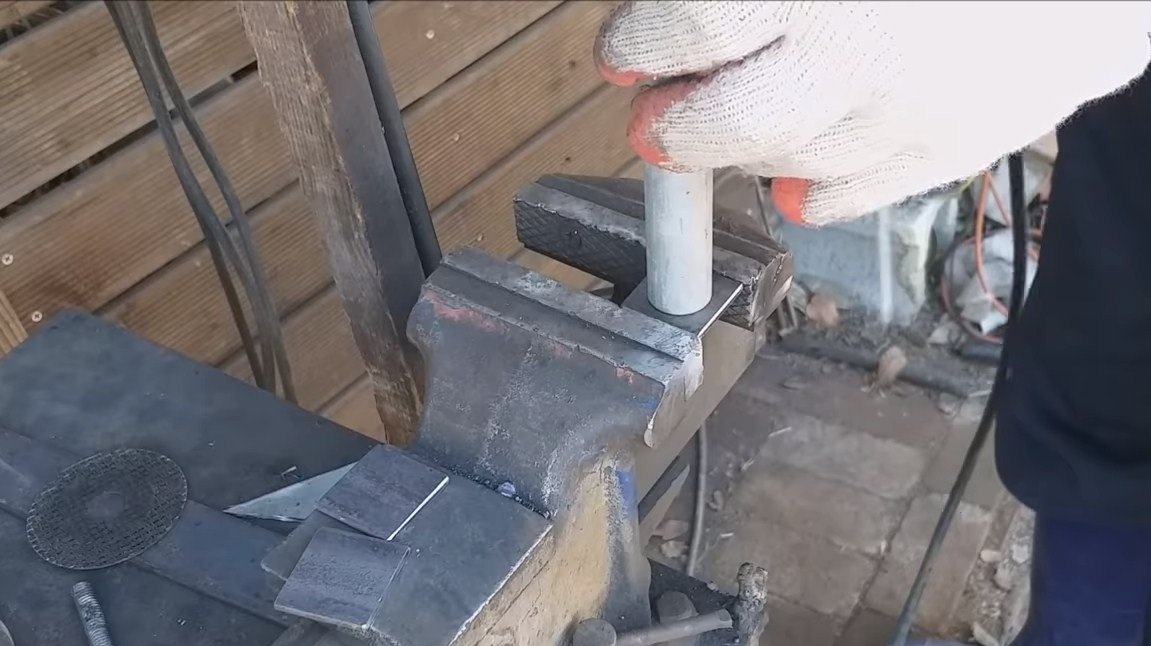
Make legs for the stove, here we need round pipes. The author made the legs adjustable in height, here the telescopic principle was used. We will need pipes of such a diameter so that one pipe comes into another. For legs, we make sheet iron and weld nickels so that the legs do not fall into the ground.
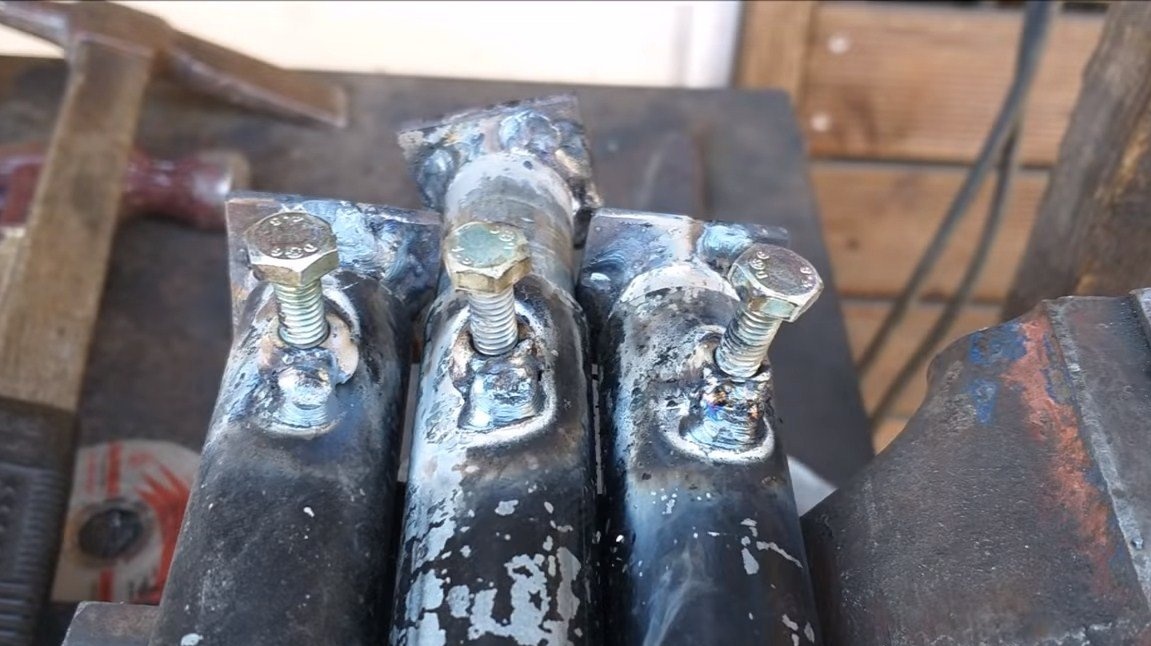
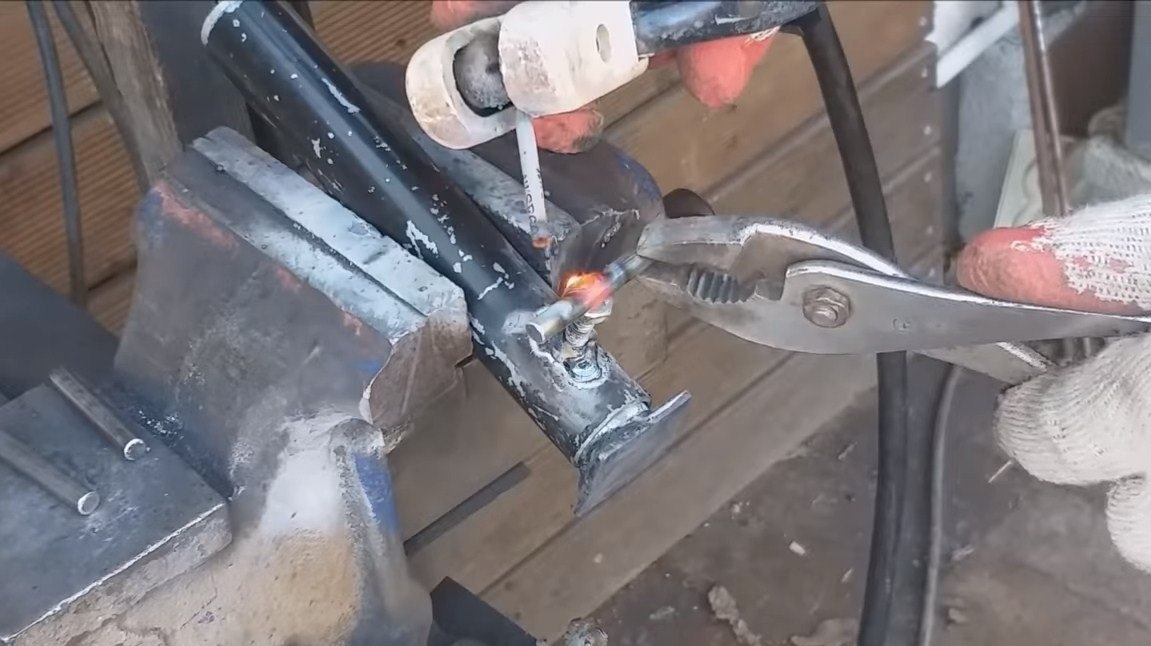
To fix the legs, drill holes, weld nuts and make handles out of bolts. We weld the legs to the oven and here the homemade product is almost ready.

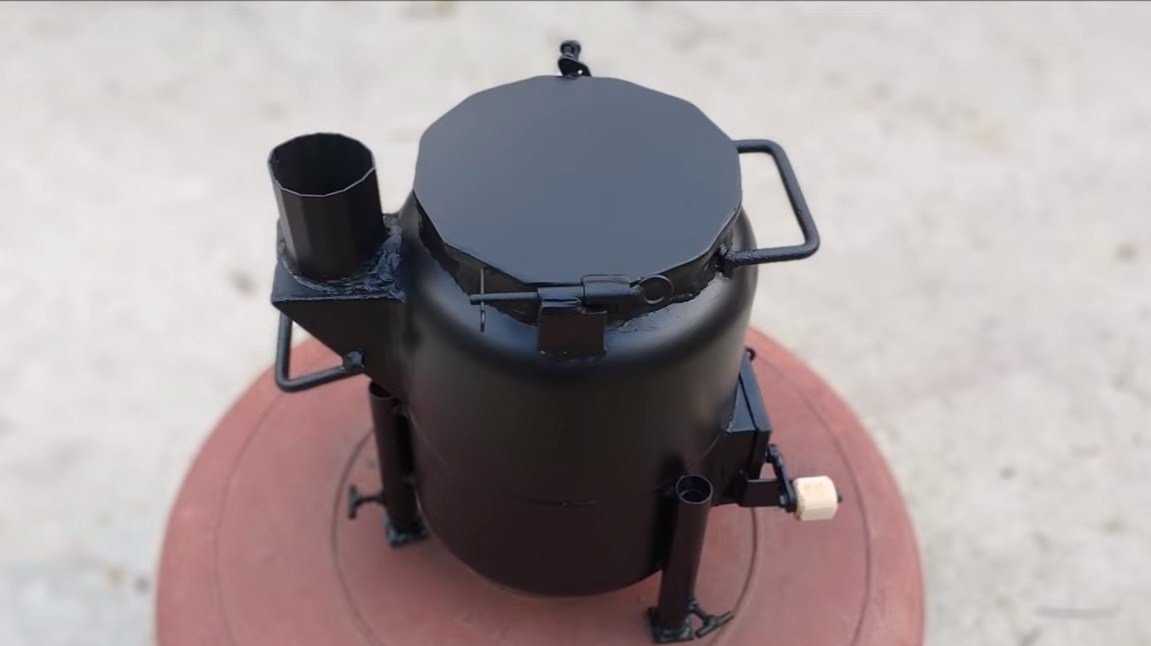
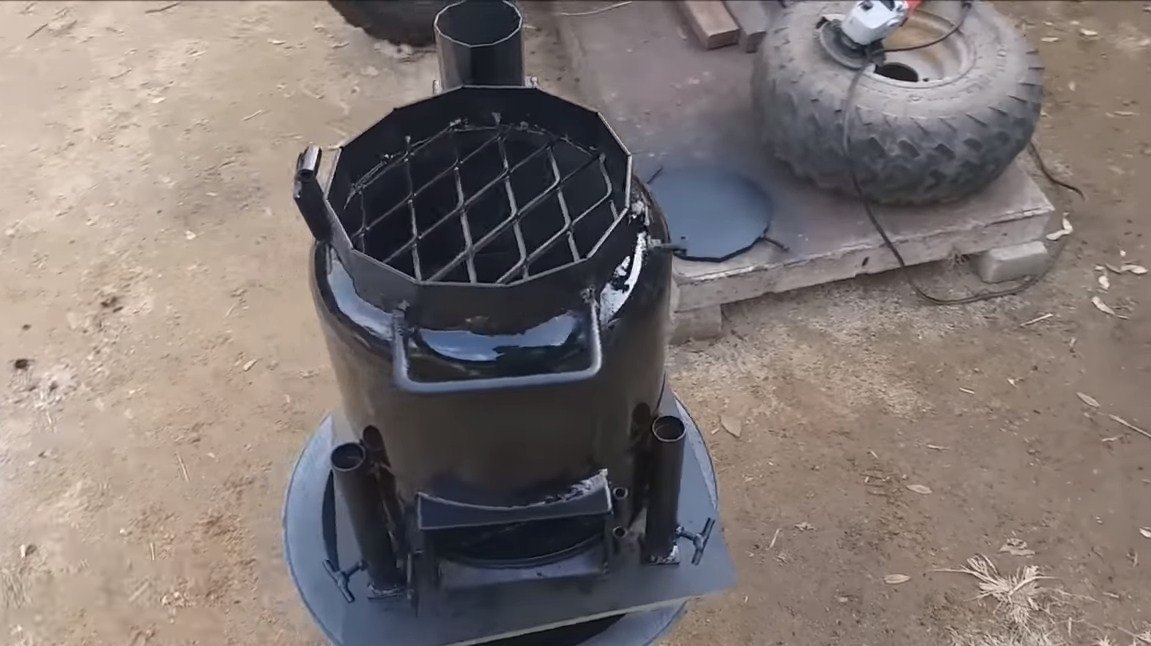
Step Eight. Final touches
At the end, the author welded a removable shelf from the grate and pipe, which is installed in the leg of the furnace. You can put dishes here and so on. The oven can be painted; heat-resistant paint will be needed. Without paint, the oven will not last long, since when heated, the iron will quickly rust.
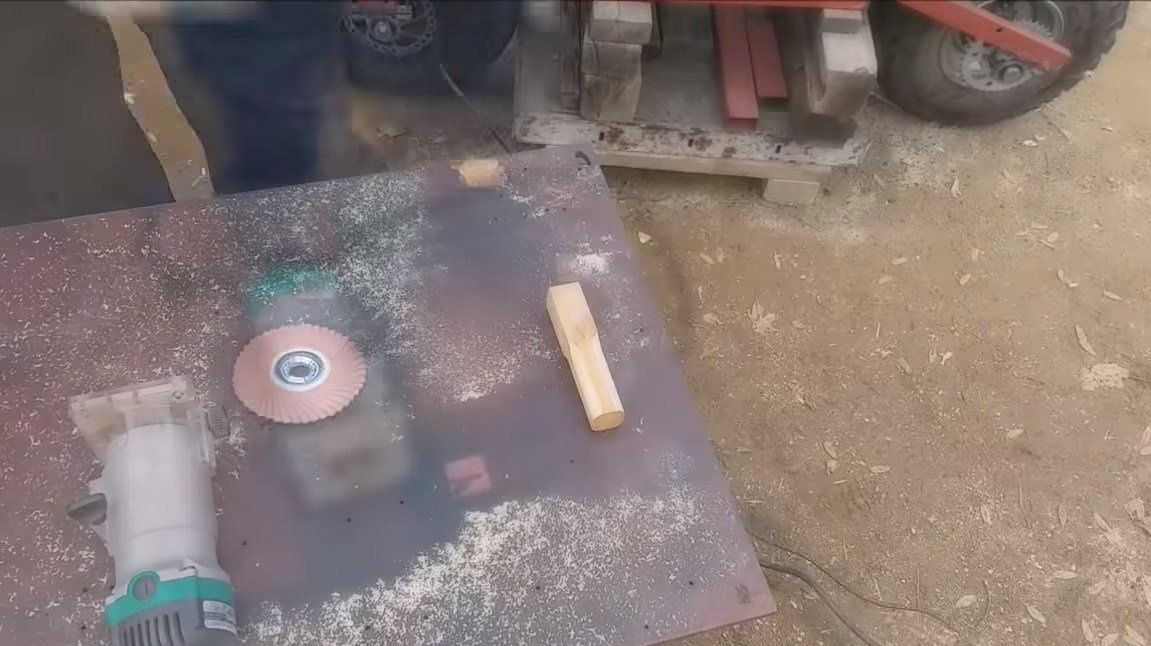
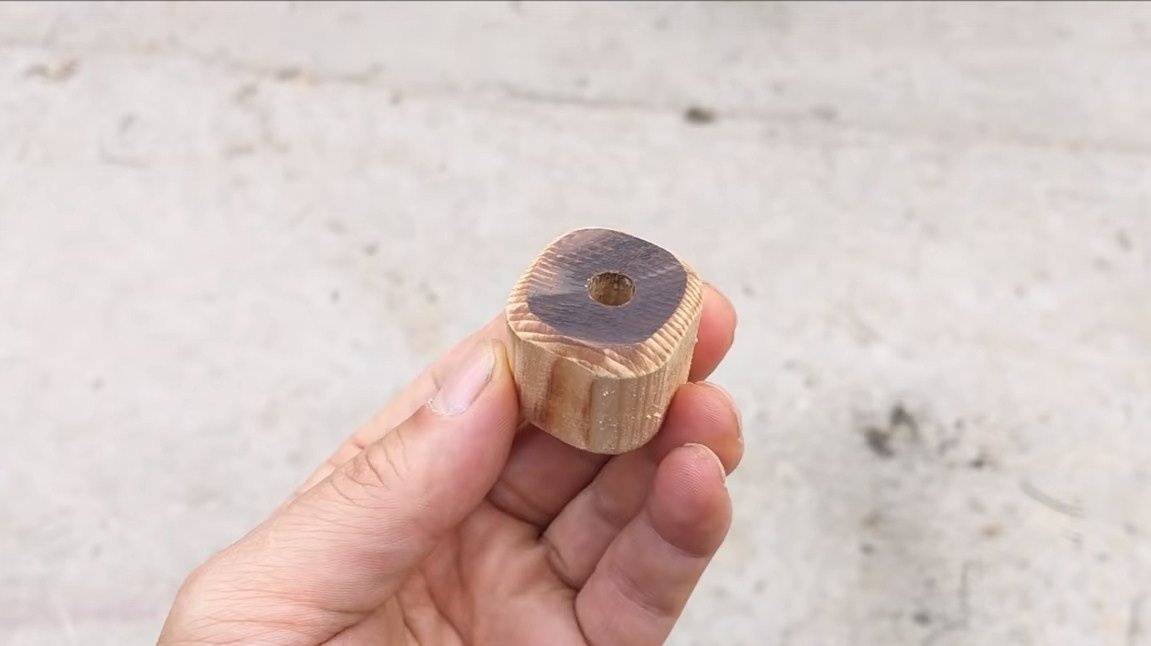
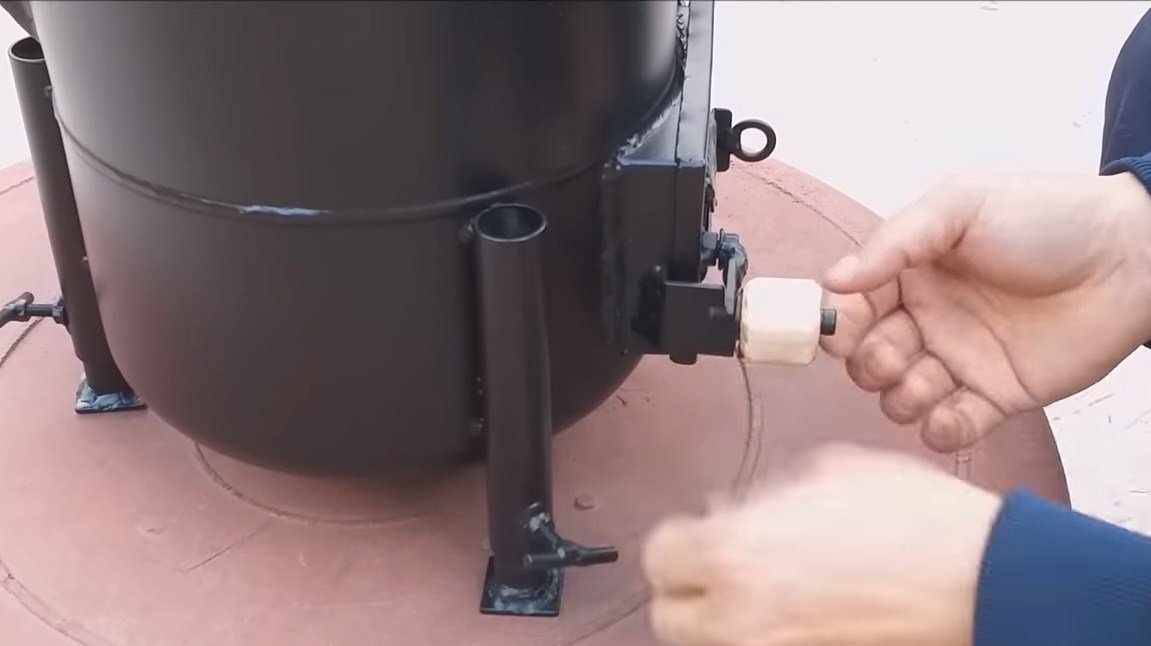
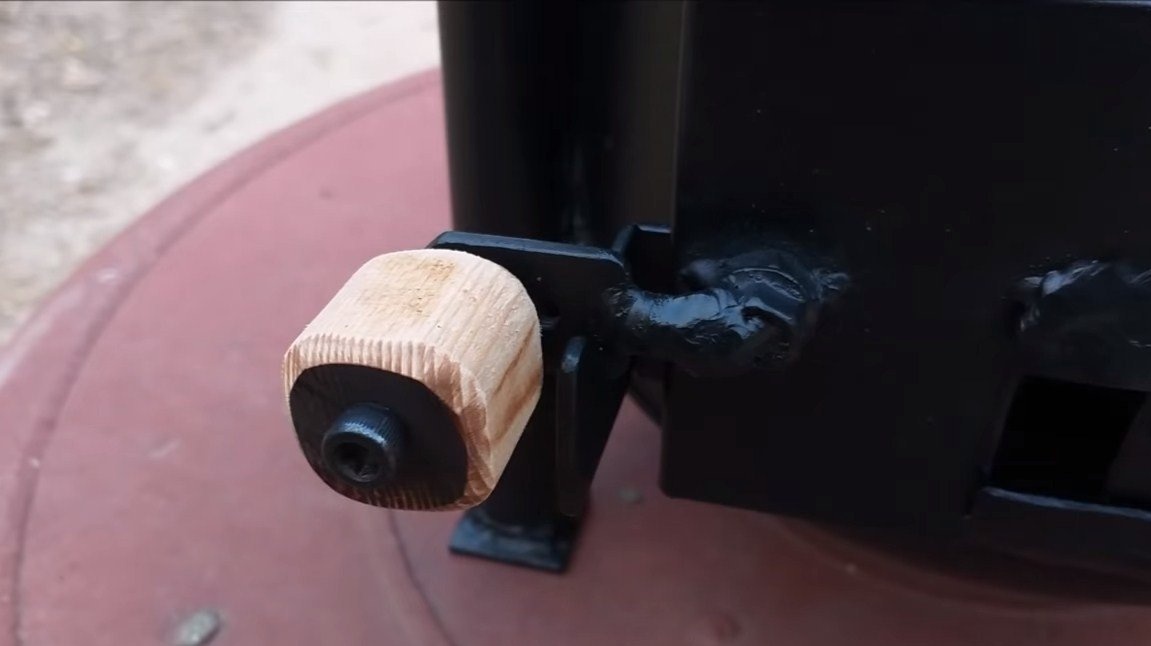
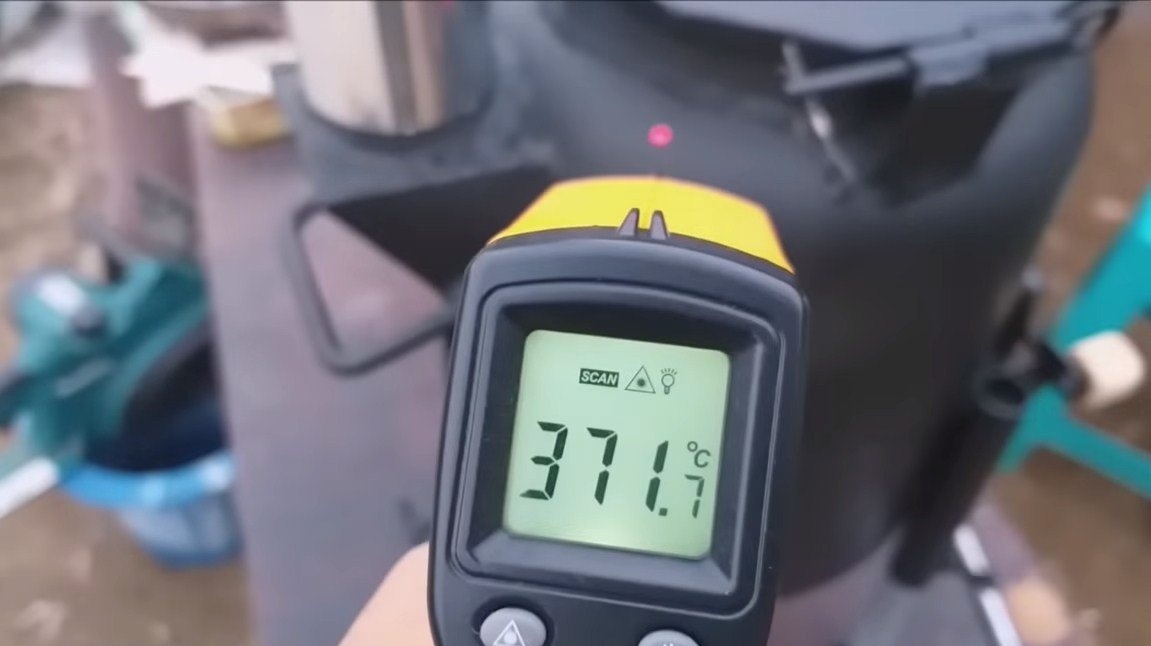
The furnace is heated quite strongly, the surface temperature can reach about 400 degrees Celsius. But it is not advisable to heat the furnace so much, since the metal here is not very thick. So that the handle is not hot, and you can grasp it with your hands, we grind it out of wood or make it as long as possible. On this project can be considered successfully completed, I hope you liked the homemade work, and you found useful thoughts for yourself. Good luck and creative inspiration, if you decide to repeat this. Do not forget to share with us your ideas and homemade products.