
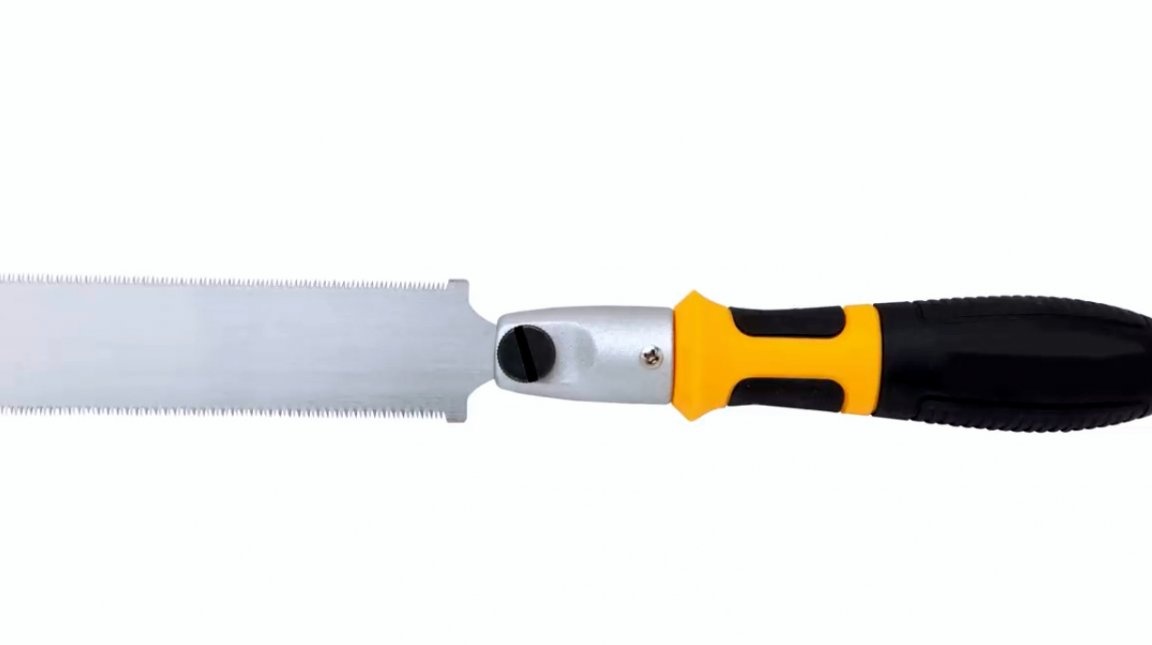
Perhaps some of you are familiar with a tool like a Japanese saw. It is very interesting both in operating modes and in the method of sharpening cutting teeth. Typically, its saw teeth are hardened using high-frequency currents, and have sharpening in three planes.
Such a saw cuts when moving it “onto itself”, which allows a very thin blade to straighten, and therefore a very high-quality and accurate cut is obtained.
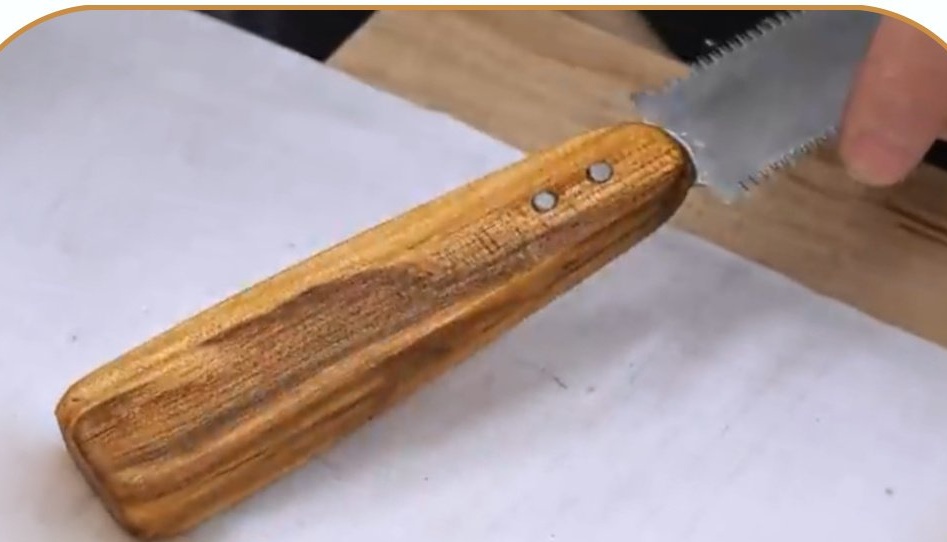
In this article, the author of the Woodworking Tips and Tricks YouTube channel will tell you how to make a very good grip for such a great tool.
Materials
- Maple Array
— Two-component acrylic adhesive
- Screws M4
— Linseed oil
- Sandpaper.
Instruments, used by the author.
- Hand planer
— Japanese saw
- Belt sander
— Screwdriver
— Bulgariancutting disc
- Workbench, vise of Moxon, hacksaw.
Manufacturing process.
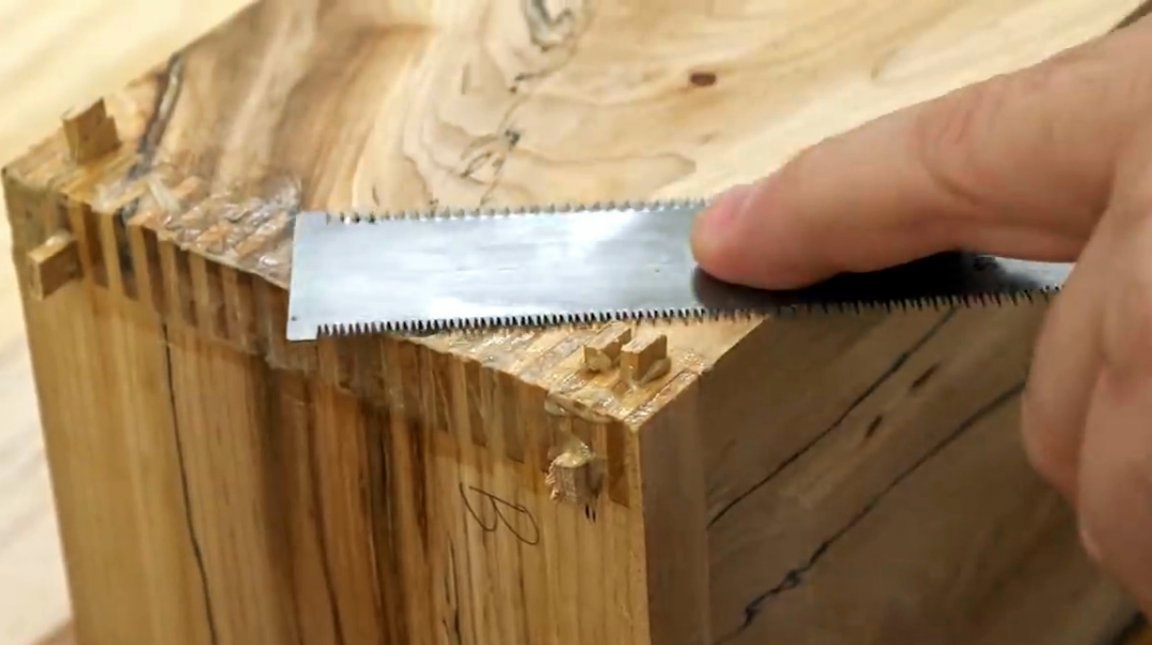
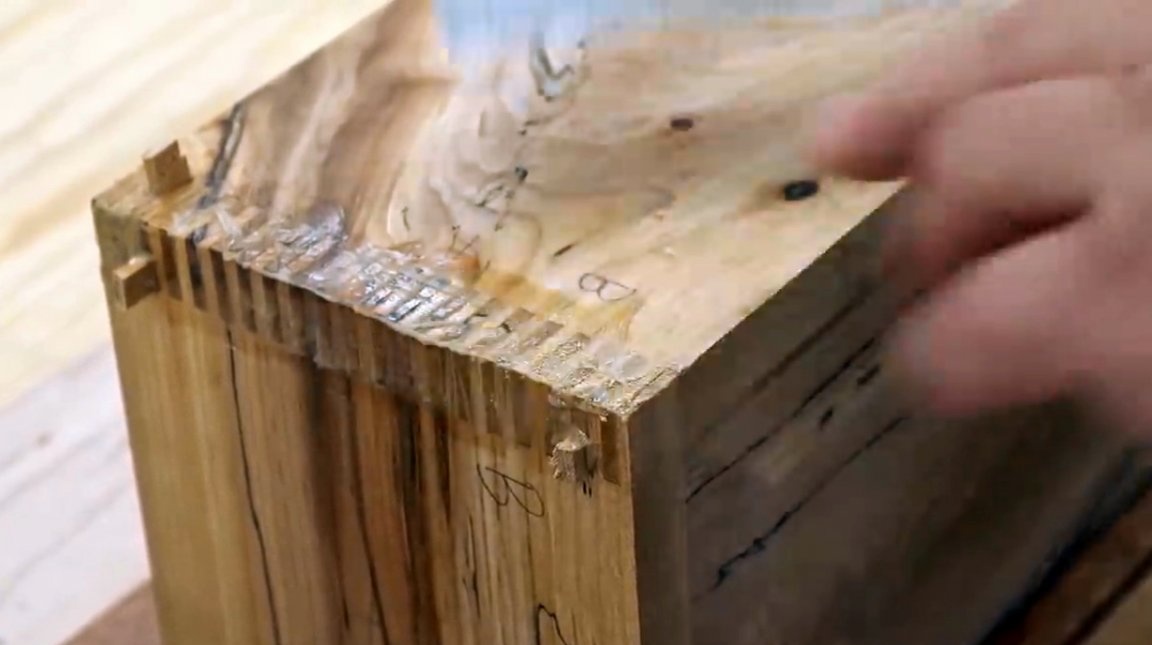
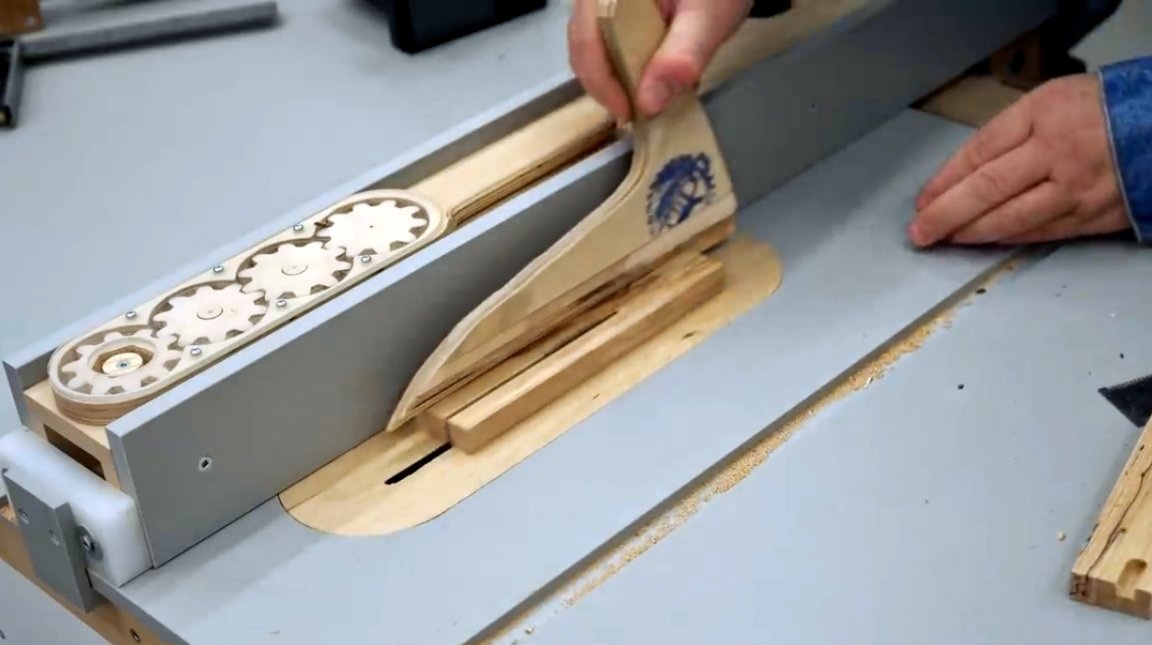
For those who have never used such a saw - the master shows it in work. It perfectly cuts dowels, while practically without damaging the outer surface of the product.
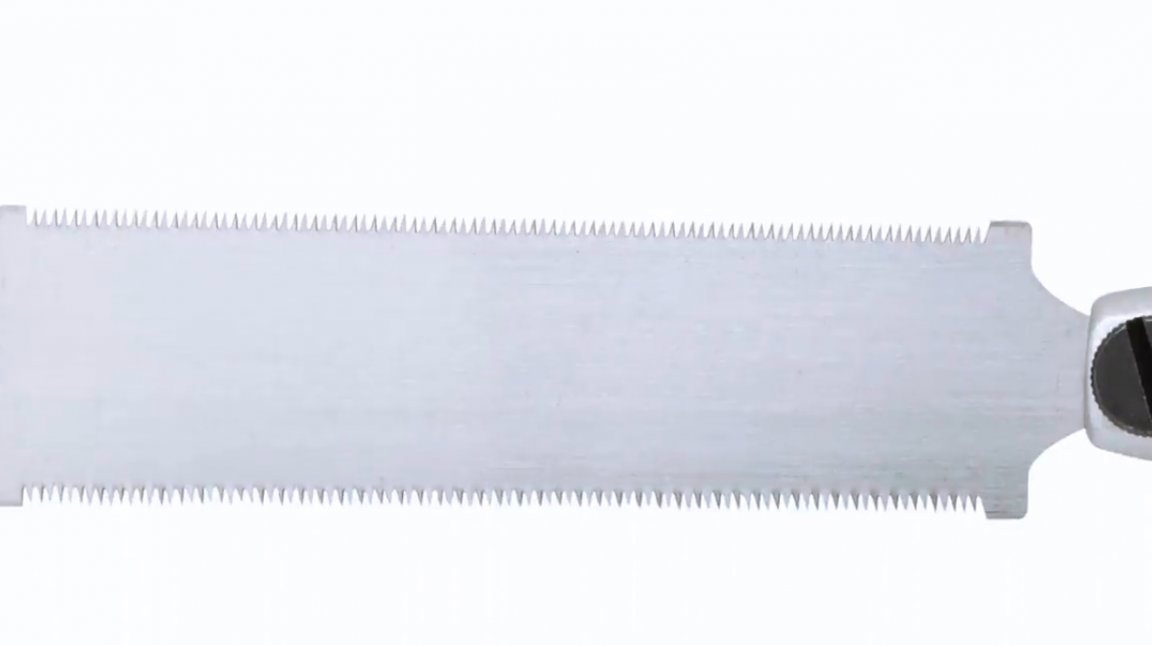
Such saws usually have a double-sided cutting edge having different sharpening.
The material for this project will be stained maple wood. First of all, the author cuts the workpiece of the desired size.
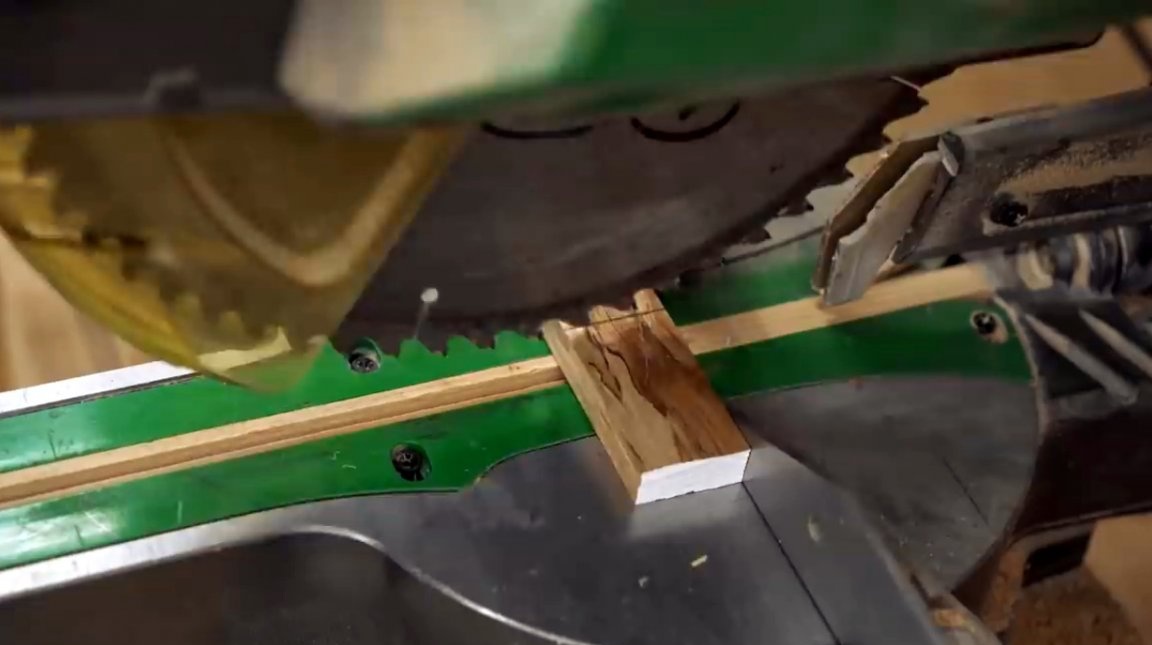
As conceived by the master, the handle should have the shape of a cone, expanding downward.
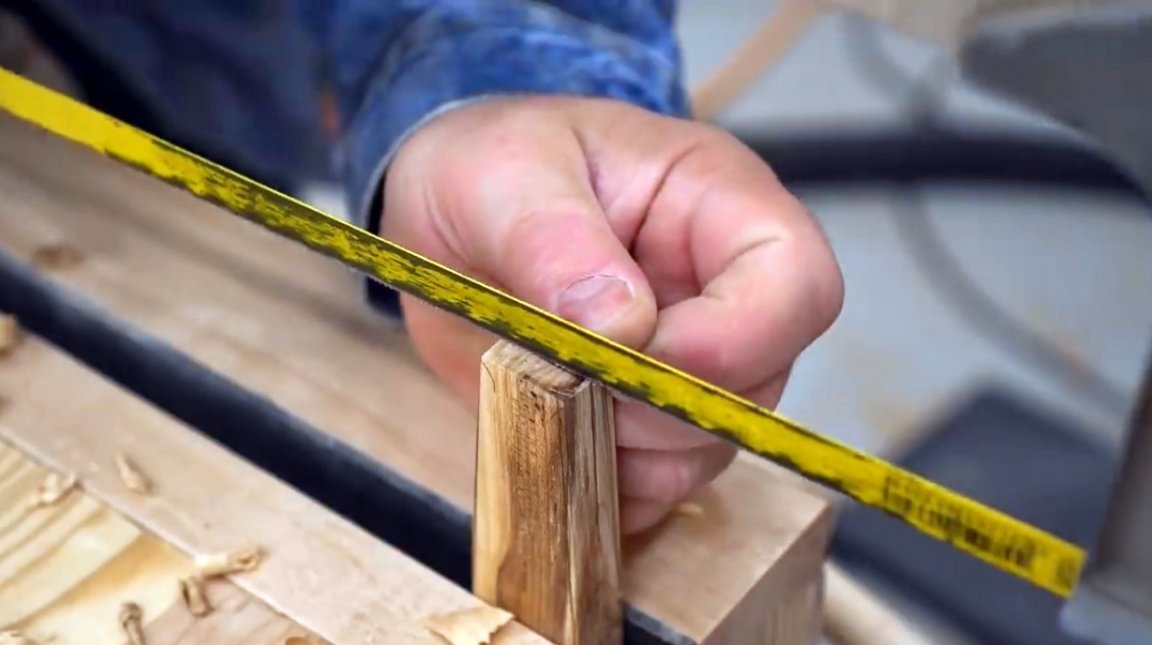
All processing of the tree to obtain the desired shape will be done manually, using a planer. The author previously tightly clamps the workpiece in a vise. He uses the vise of Moxon's own production. About their manufacture was described in one ofarticles.


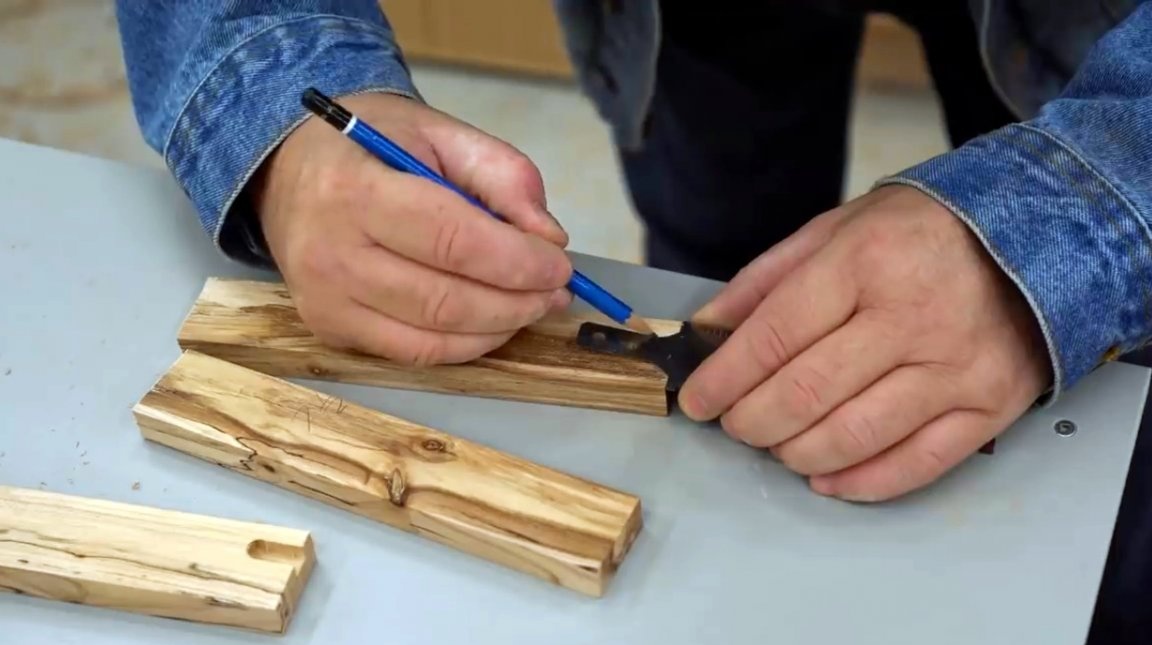
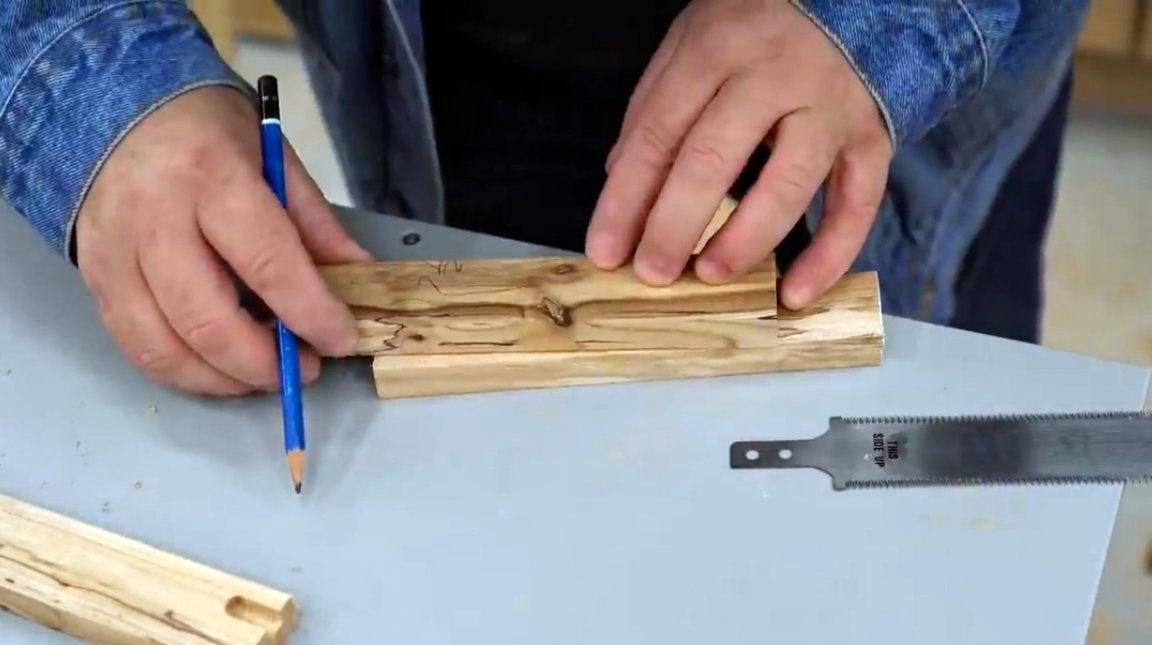
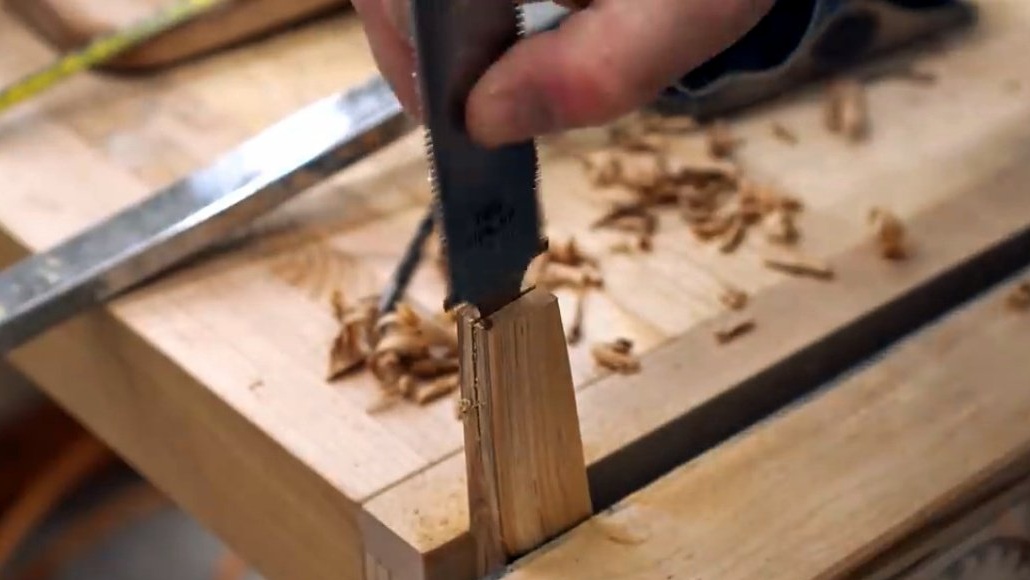
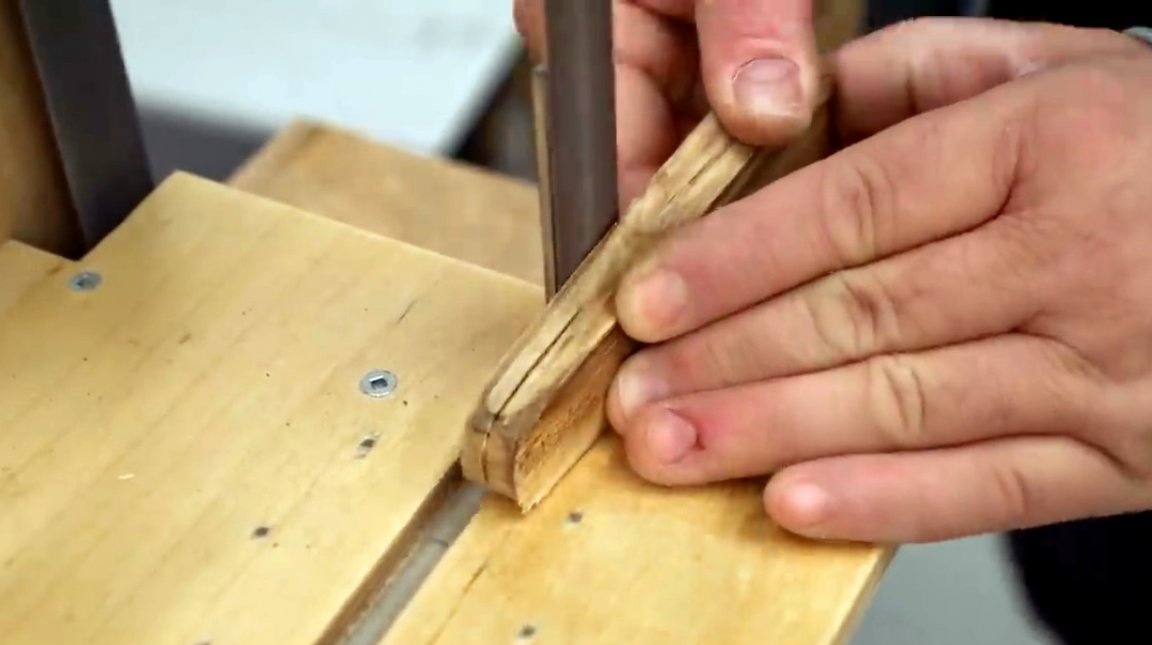
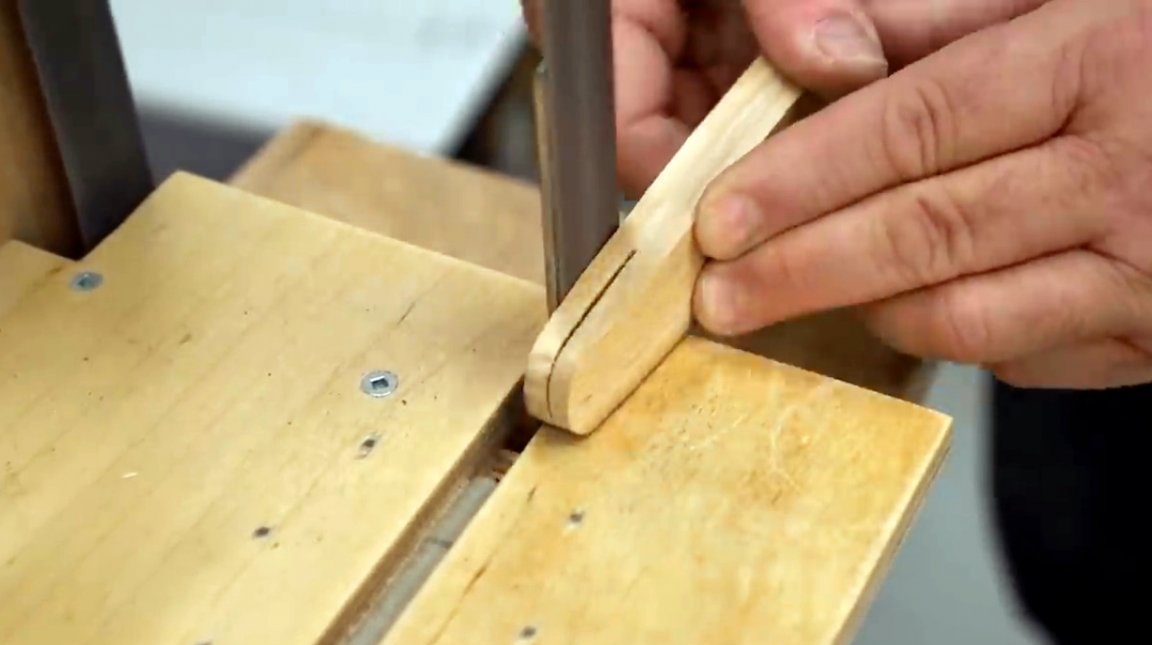
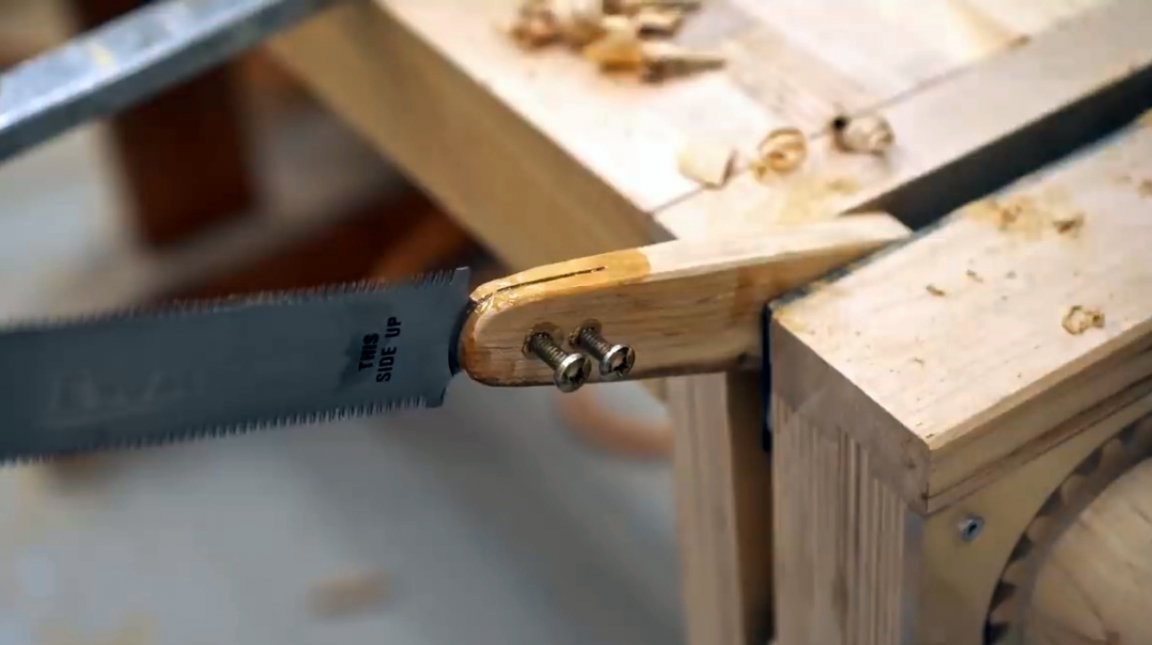
Further, in the upper end part of the handle, a hacksaw cuts a slot for the shank of the saw blade.

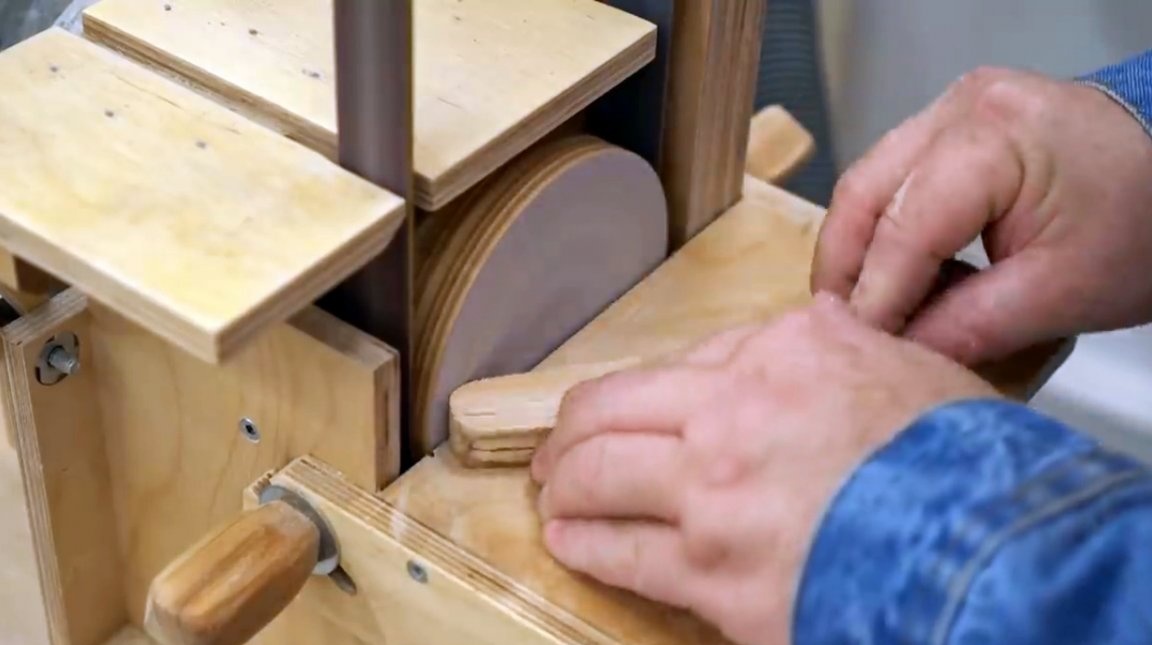
Then the author additionally cleans the end of the handle on a belt sander, giving it a rounded shape.

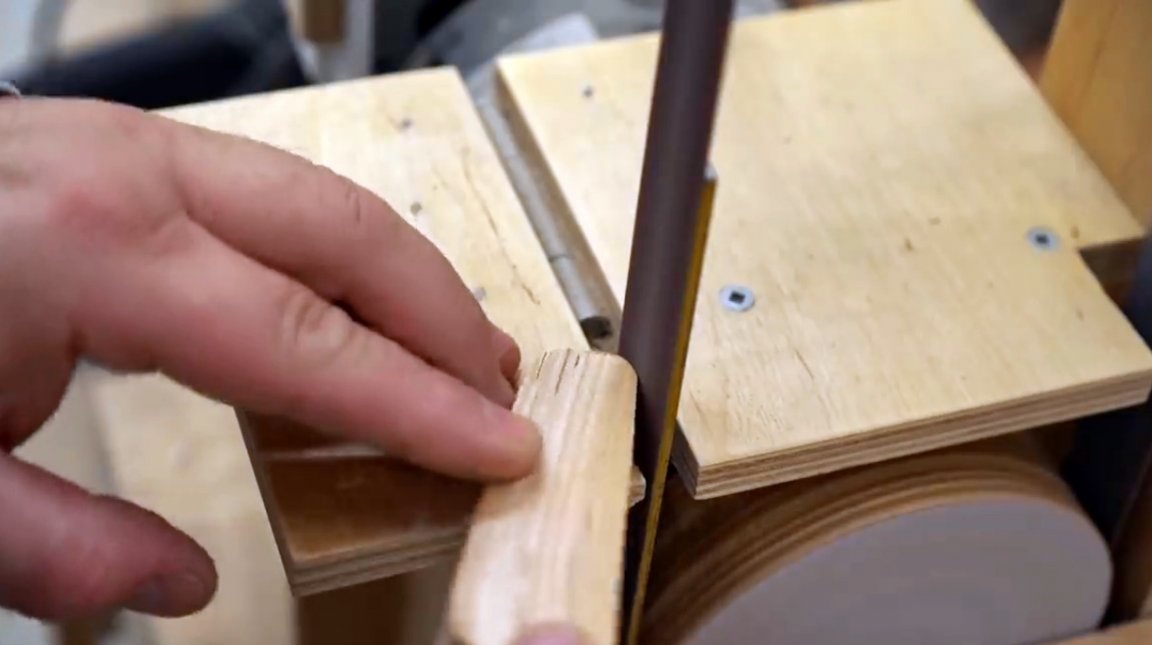
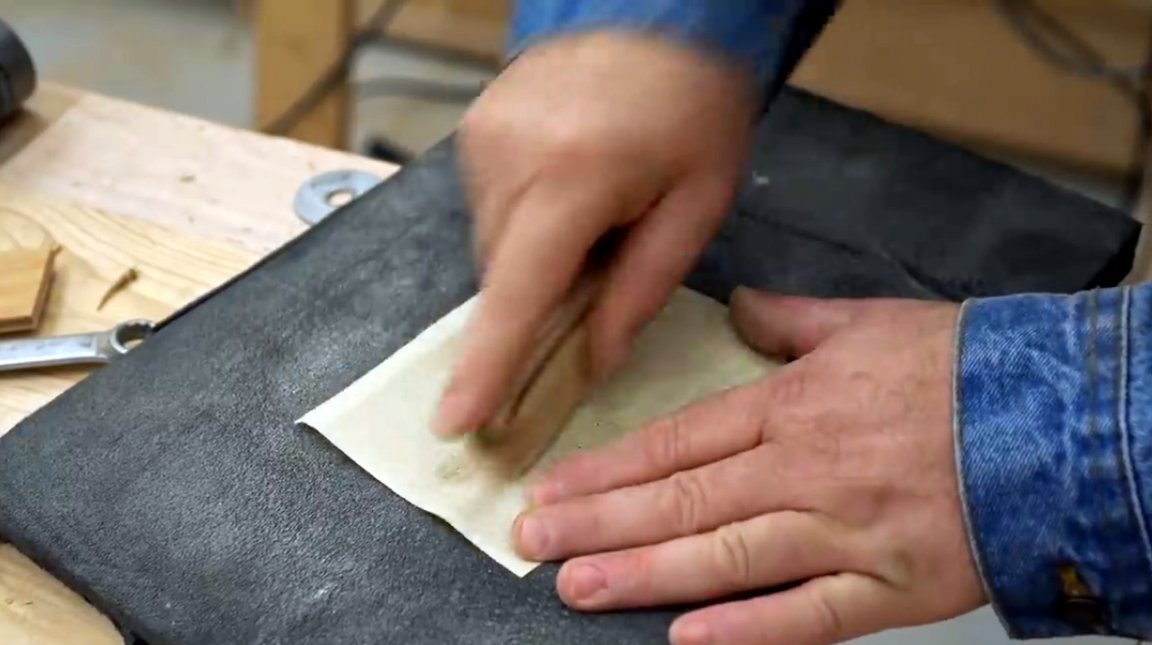
The edges and the wide surface of the handle are also sanded so that it acquires a more comfortable shape for the hand.
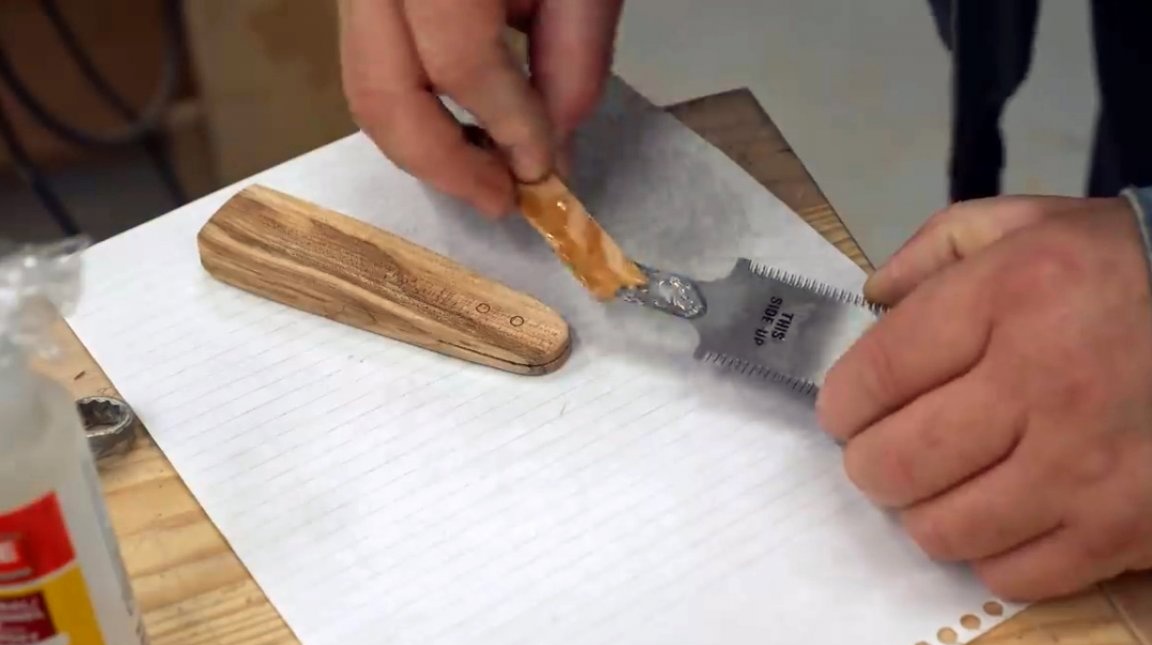
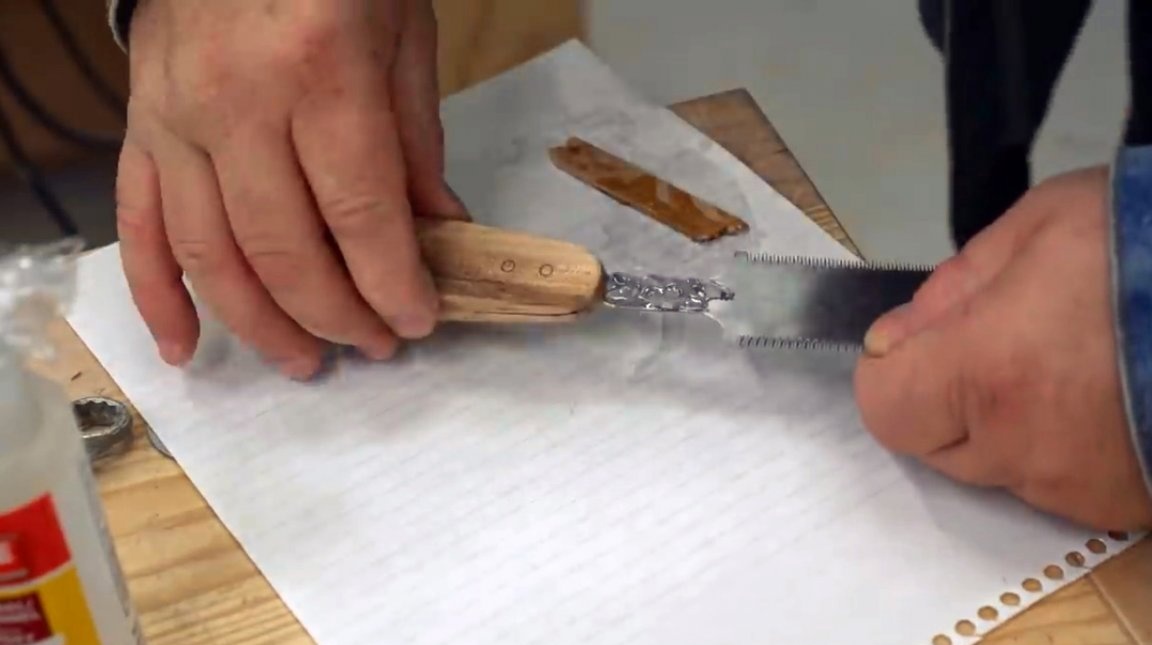
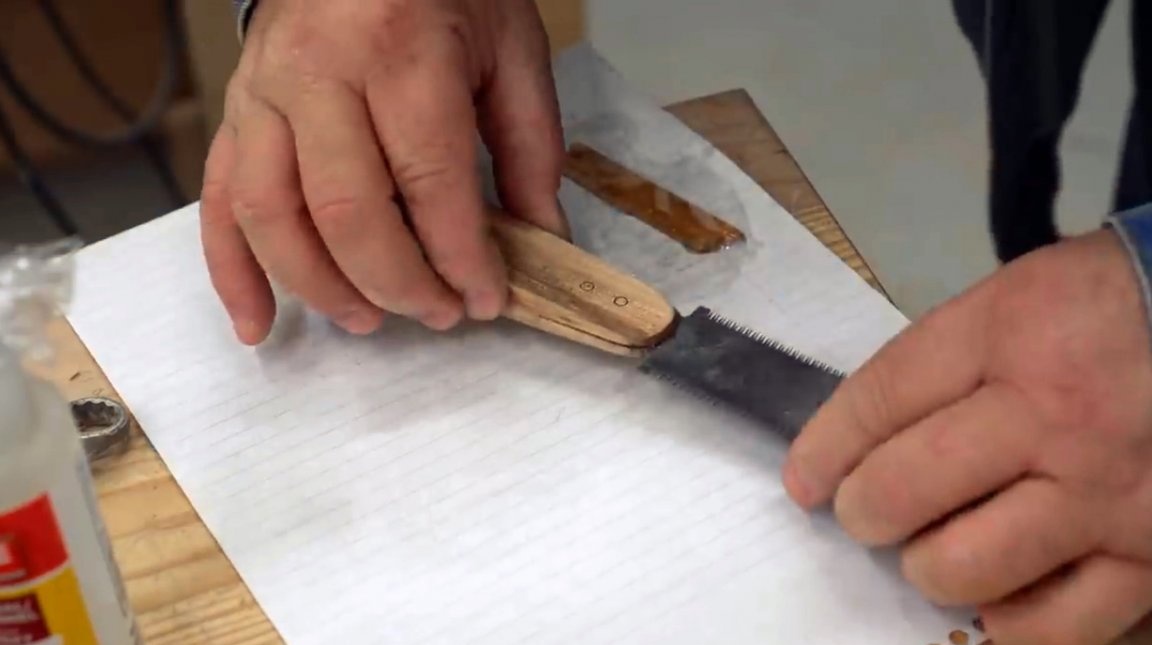
The blade shank is cleaned with sandpaper and the saw blade is now glued. For this, a quick setting two-component epoxy is used.
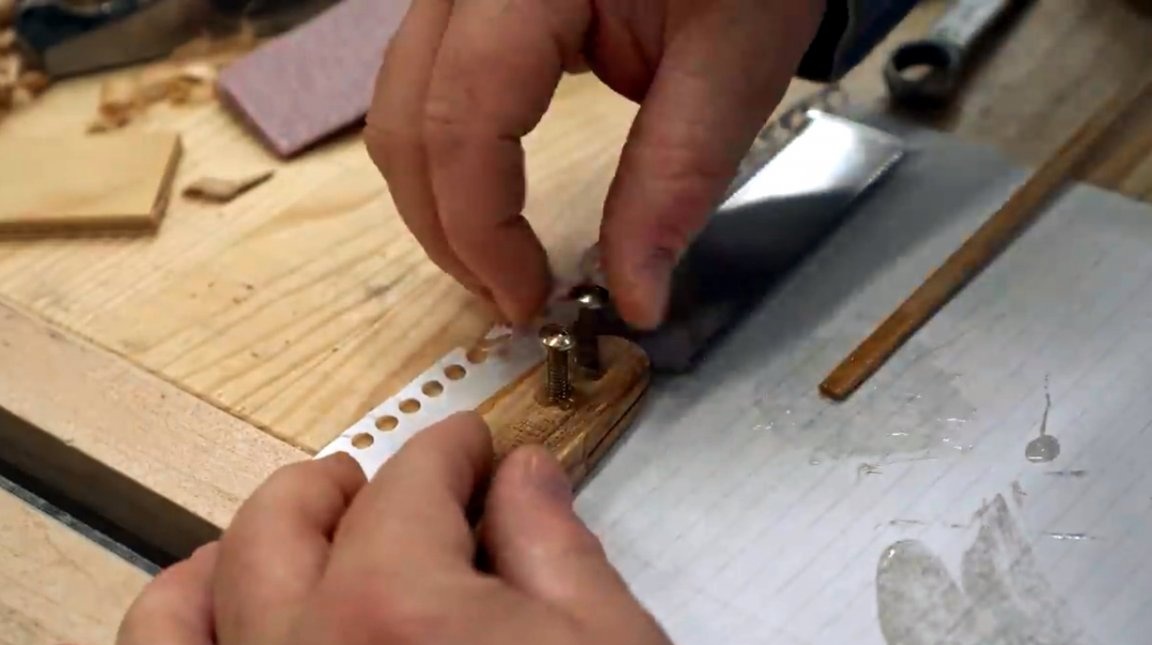
Then, on the handle, the master drills holes for rivets, which he can drill after the resin hardens. The author will use M4 mounting screws for this.
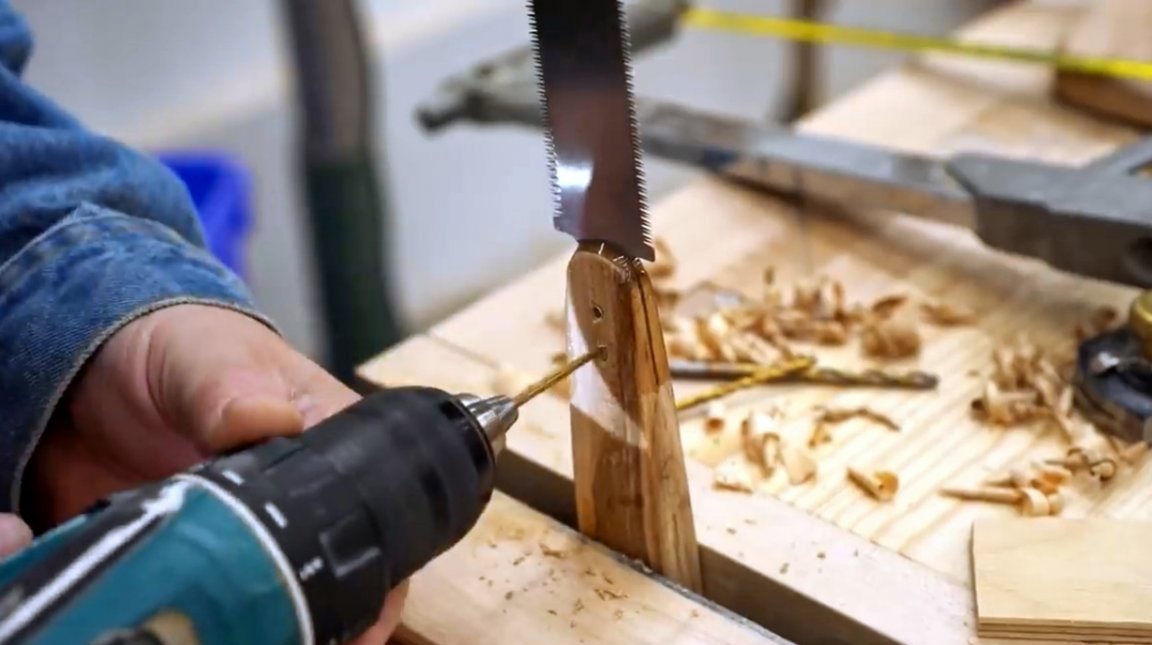
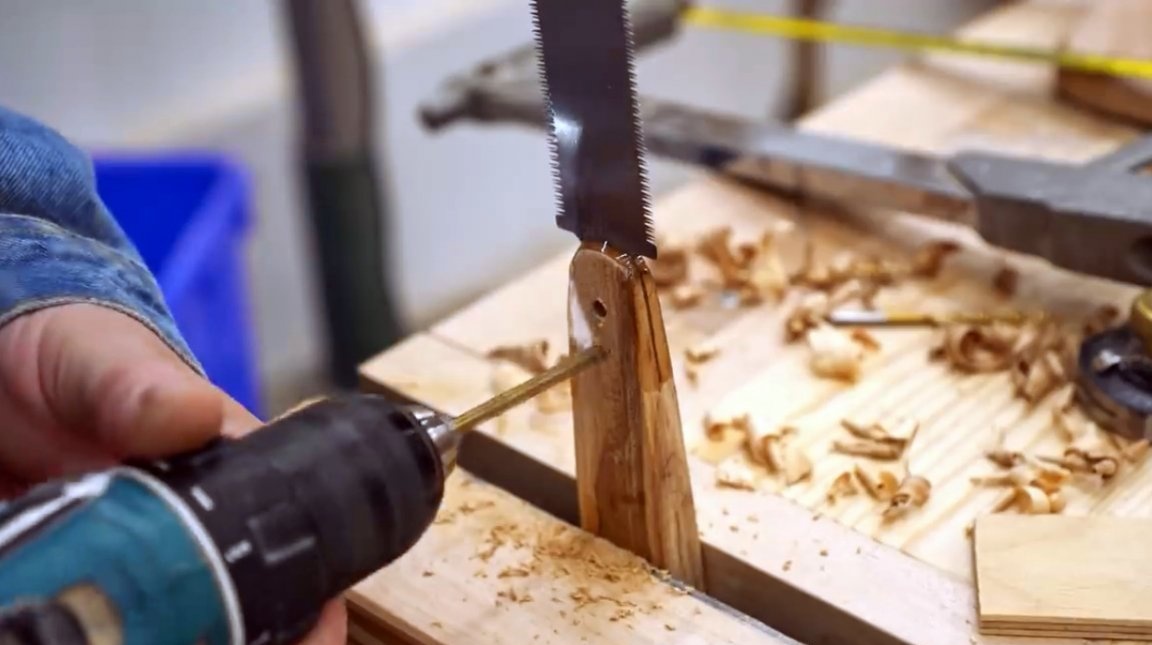
He also sits them on an epoxy resin, and thanks to the thread they are securely fixed in the handle array.

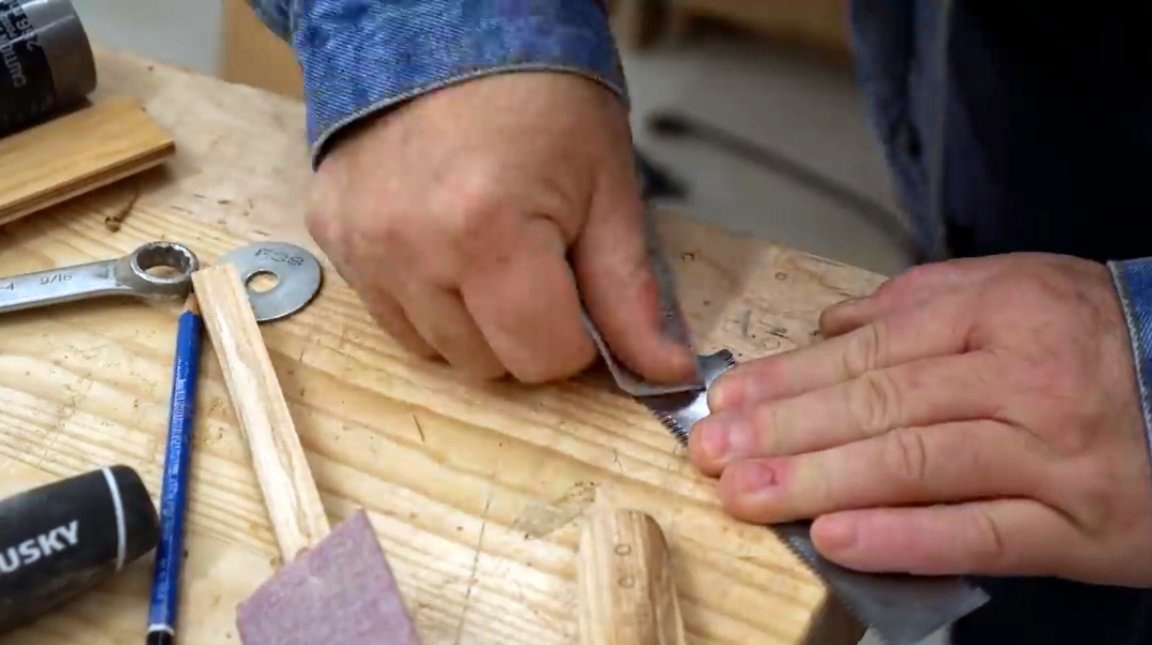
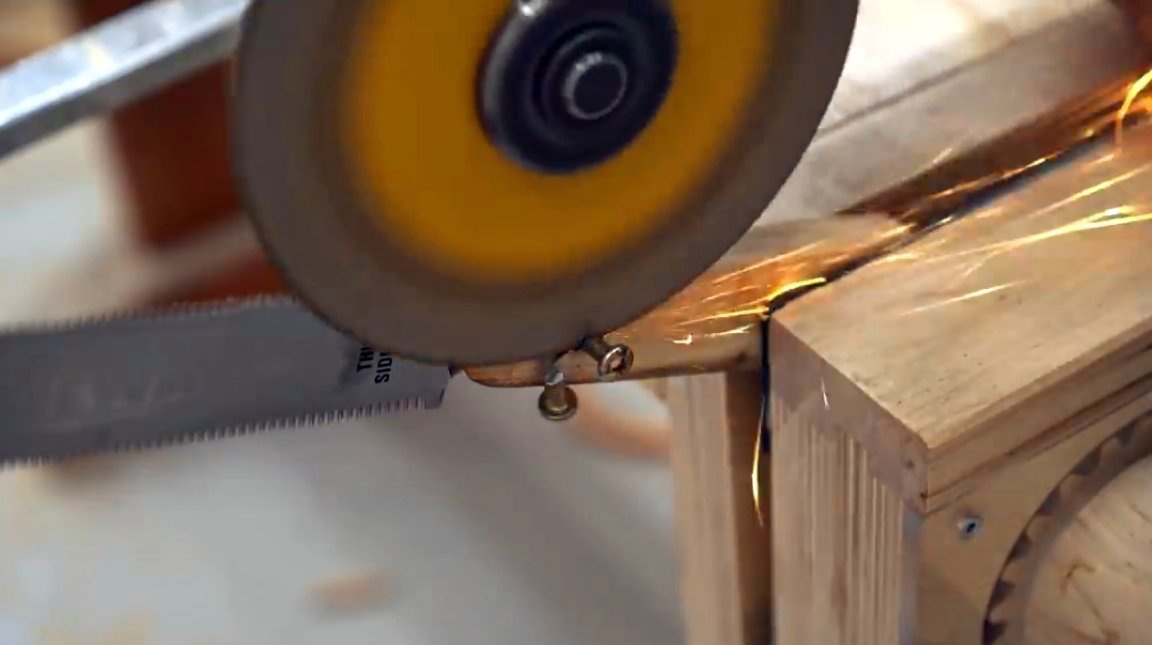
After polymerization of the resin, the protruding parts of the screws are cut off flush with the grinder.
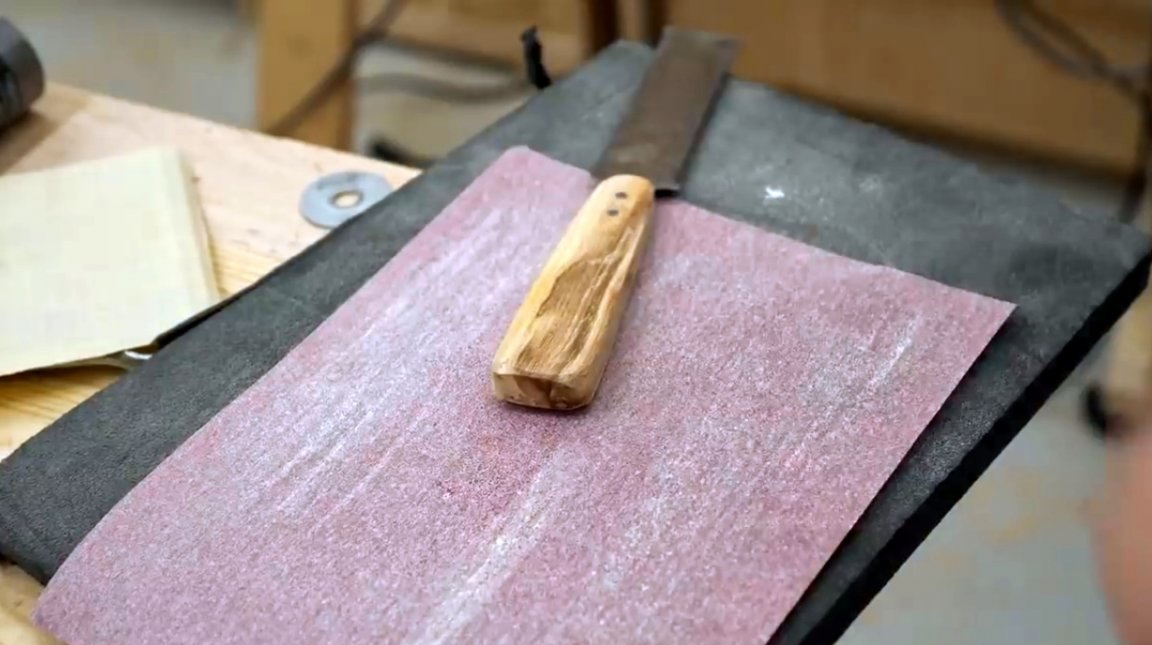
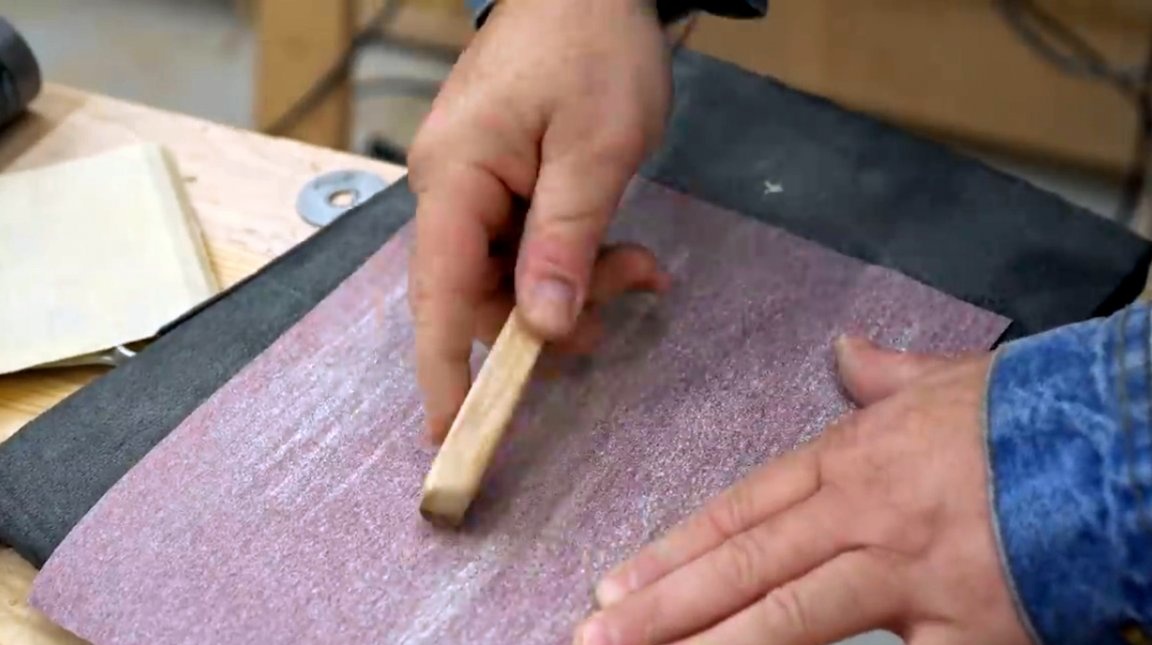
Then comes the finishing grinding on the machine, and then manually. The gritty of sandpaper at the finish, the master decides to leave no more than 320.

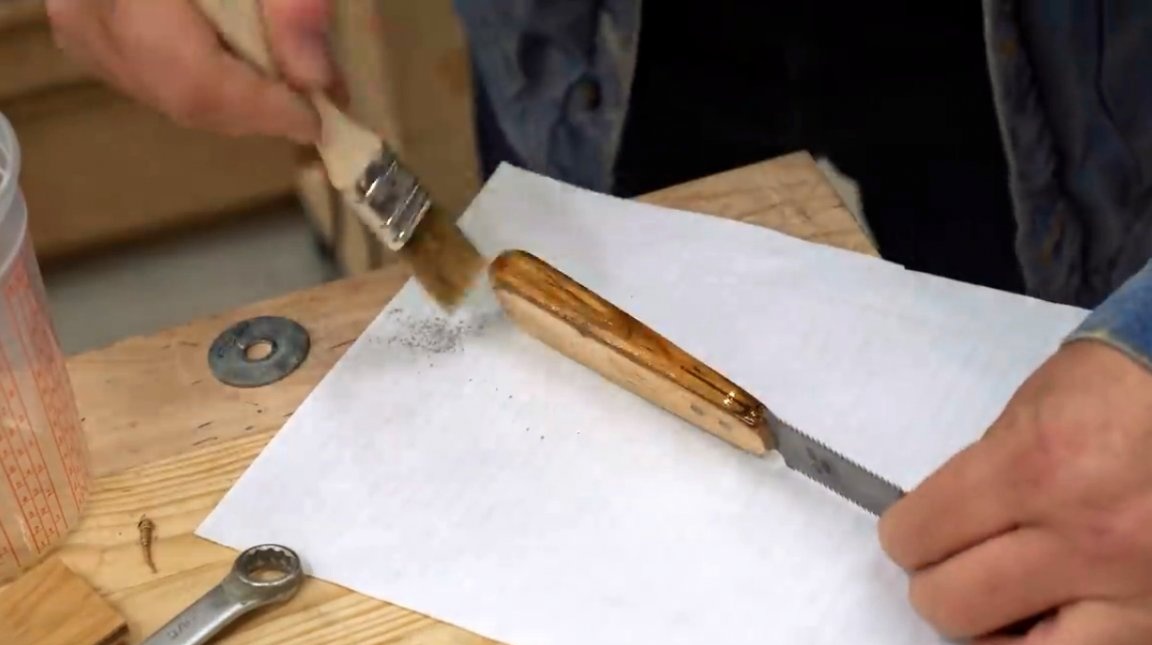
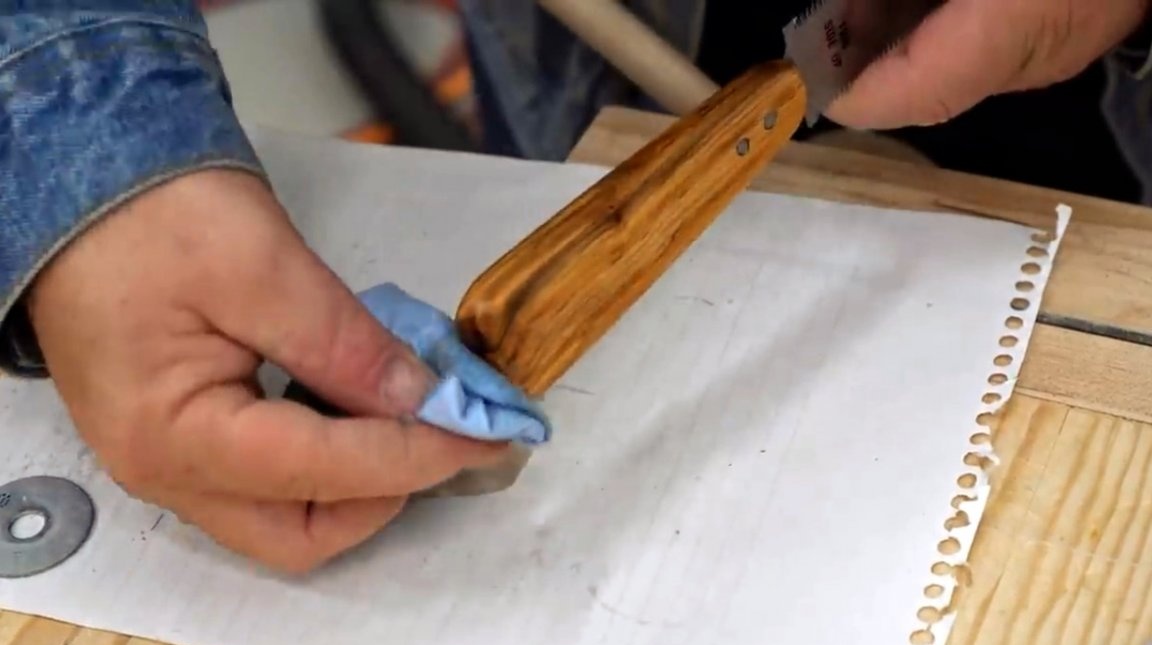
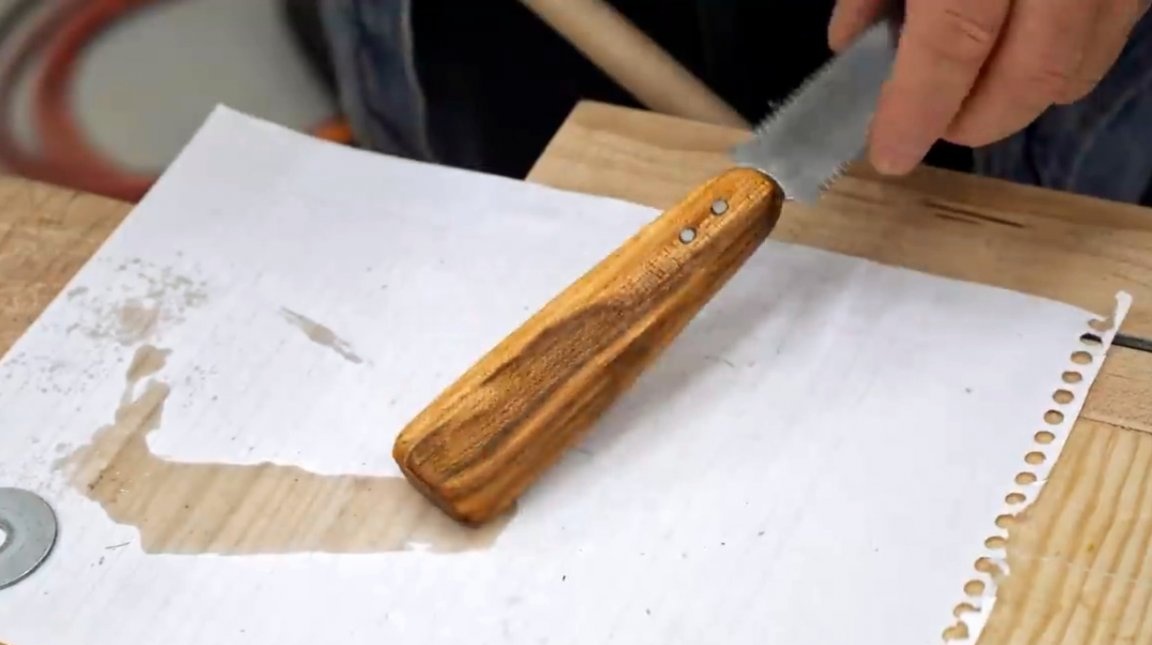
At the end, the author imposes two layers of linseed oil one after the other, allowing each layer to dry. This usually takes from 6 to 12 hours.
Some people do not really like the smell of this type of impregnation, and they prefer to use either pure rosehip oil, or its combination with beeswax. You can find out about the method of manufacturing such an impregnation here. It is very environmentally friendly, and can be used to treat the surfaces of wooden products in contact with food.
I thank the author for an interesting way to replace the plastic handle with natural wood!
All good mood, good luck, and interesting ideas!
Author video can be found here.