For many hundreds of years, a variety of objects served as money for humanity: beads, beautiful stones and unusual shells and much more. For all this abundance of means of payment, some kind of container was needed in which this old money could be stored and easily transported. The very first wallets were garter bags that were worn on belts and around the neck. For many centuries, the wallet has not changed, but over time it has become a necessary subject of wardrobe for both women and men. They began to decorate with beautiful embroideries, beads. Wallets will be in demand in the market as long as humanity uses money. History, as you know, does not stand in one place, everything changes. So the 21st century has brought changes to the variety of wallets. Have appeared electronic wallets. But nothing is more reliable than usual yet. Using the example of the author of the YouTube channel Black Beard Projects, we will look at how you can make a wallet of leather yourself.
Step 1.
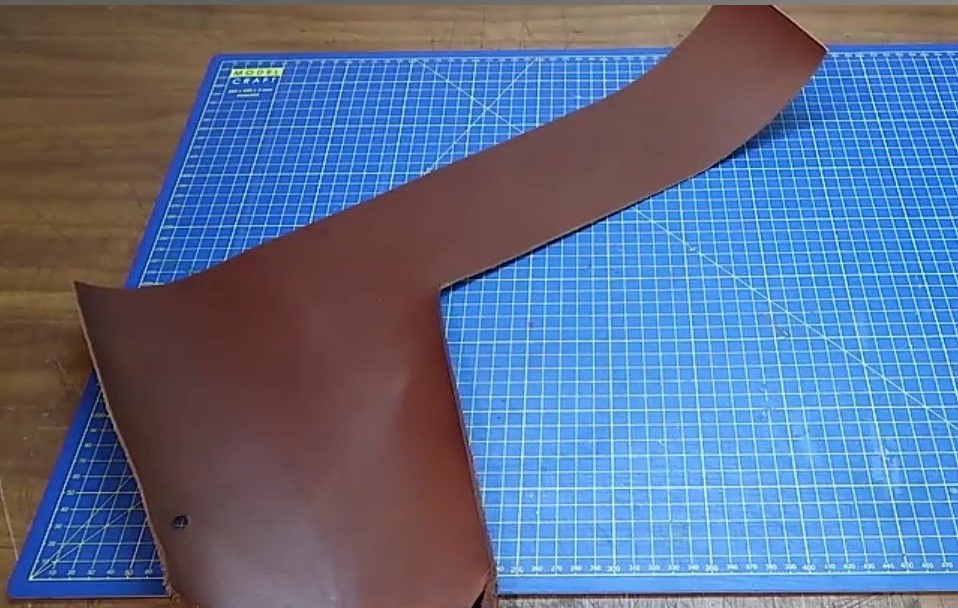
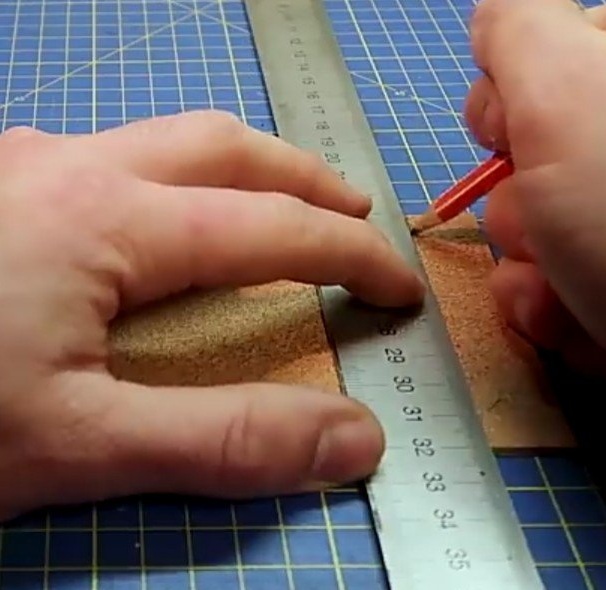
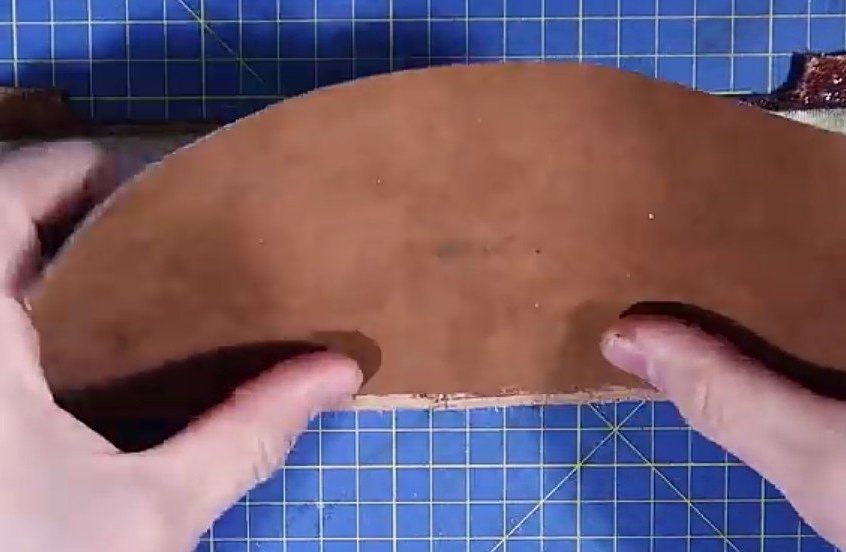
A piece of leather is taken and cut to the size you need. The author produces the cutting with a knife, which should be very sharp so as not to damage the material during the cutting process.
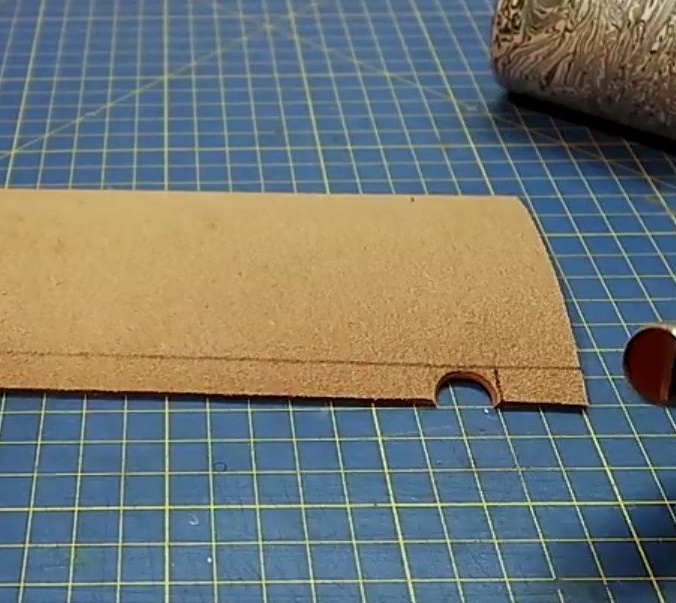
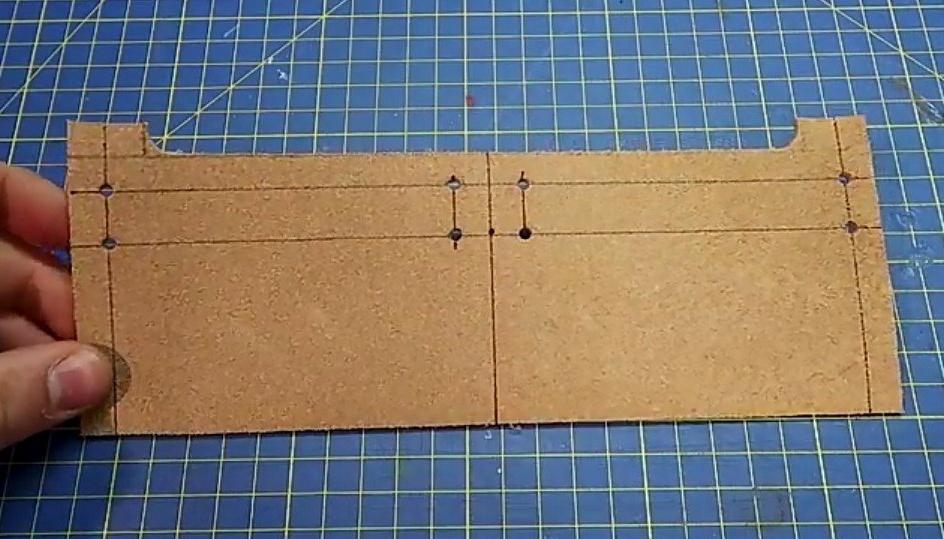
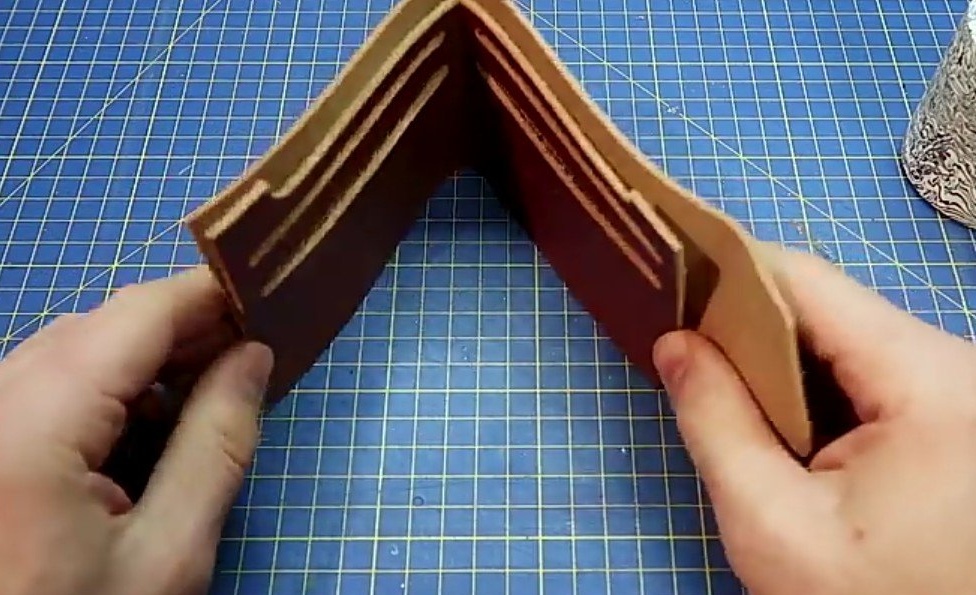
First of all, the author outlines the markup along which the skin will be trimmed and given the desired appearance. Having marked the workpiece, Black Beard Projects takes the punch and cuts out part of the material so that the inner workpiece has semicircular shapes. Further, a direct cut cuts off an unnecessary part of the skin. Next, the space for storing cards is marked. All the above actions are carried out, only with an already smaller diameter punch. Card pockets should not be large. Then the author aligns the edges with a special tool, trimming the edges of the pockets and the entire workpiece.

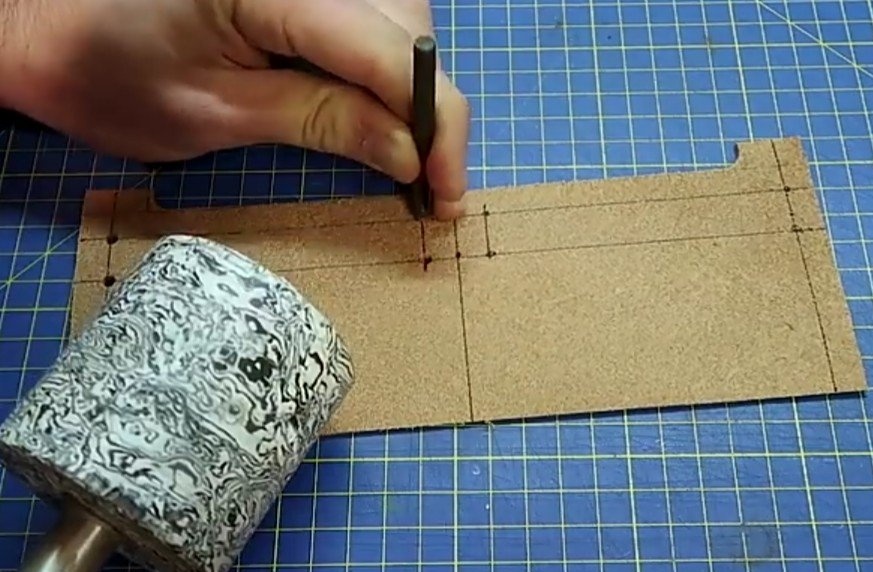

Step 2
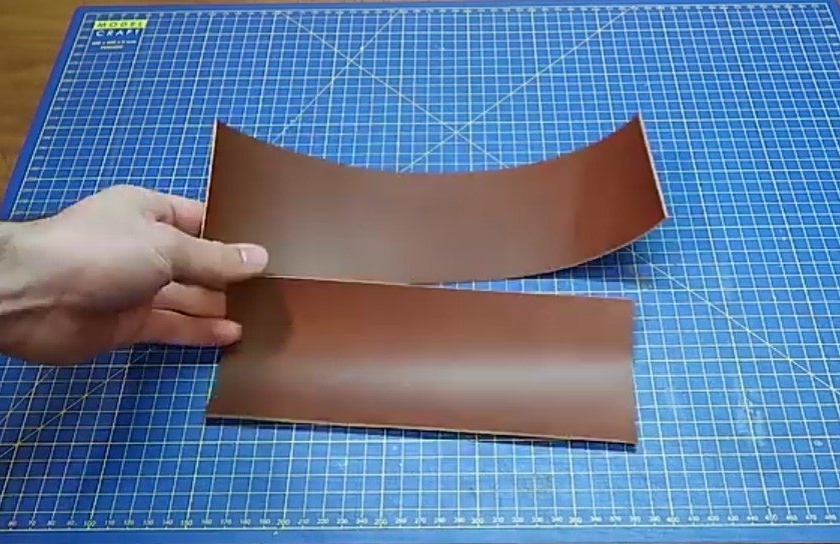
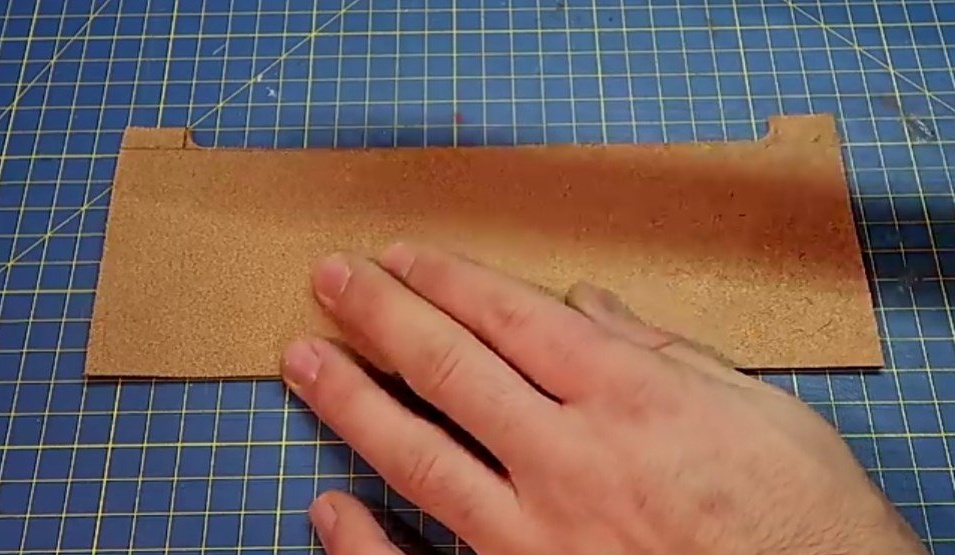
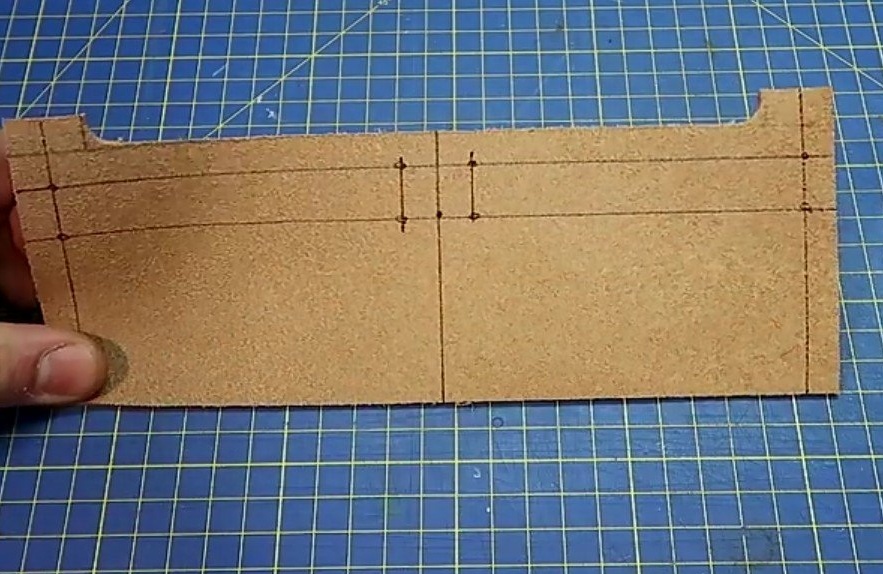
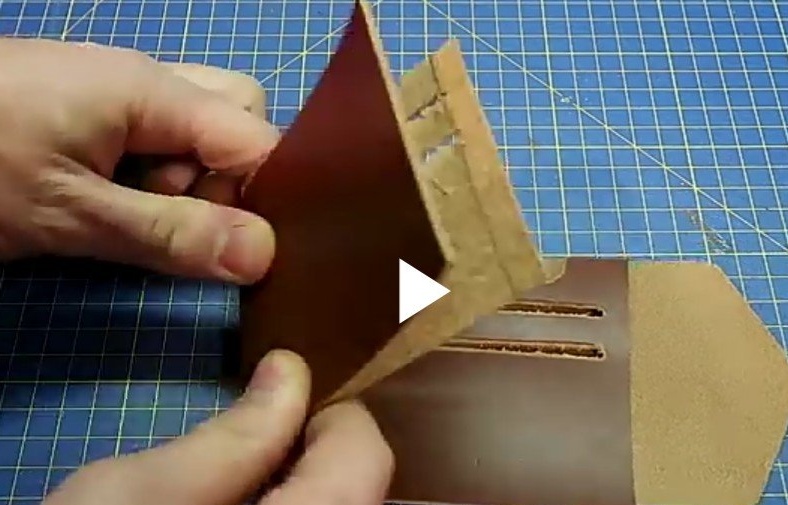
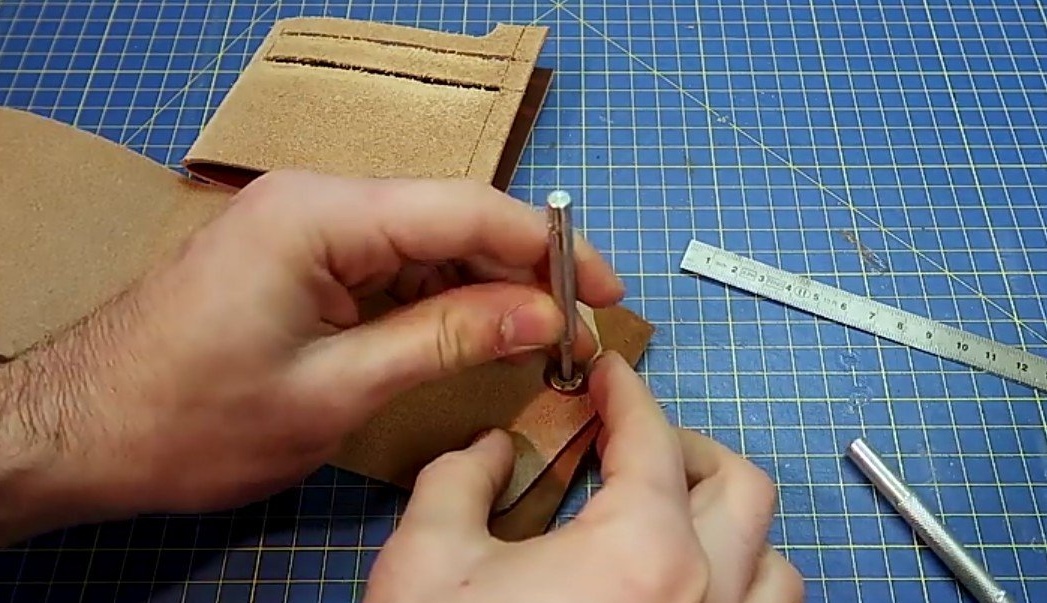
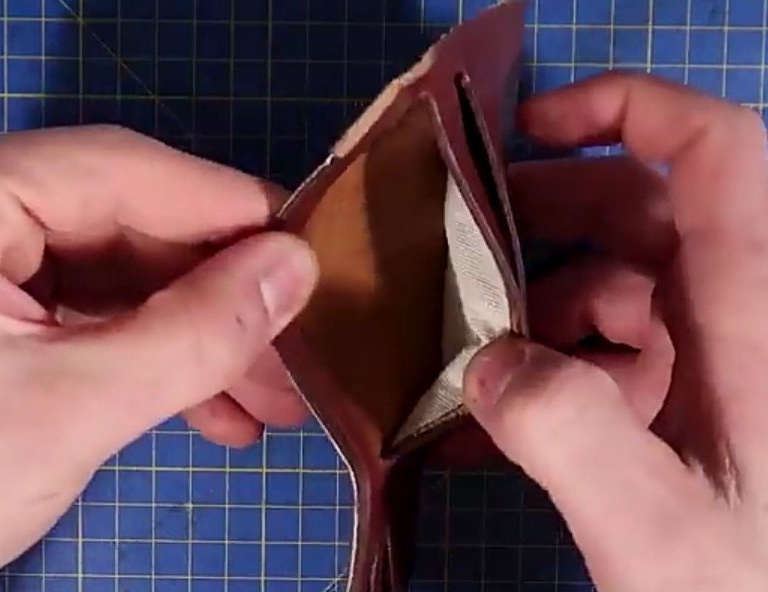
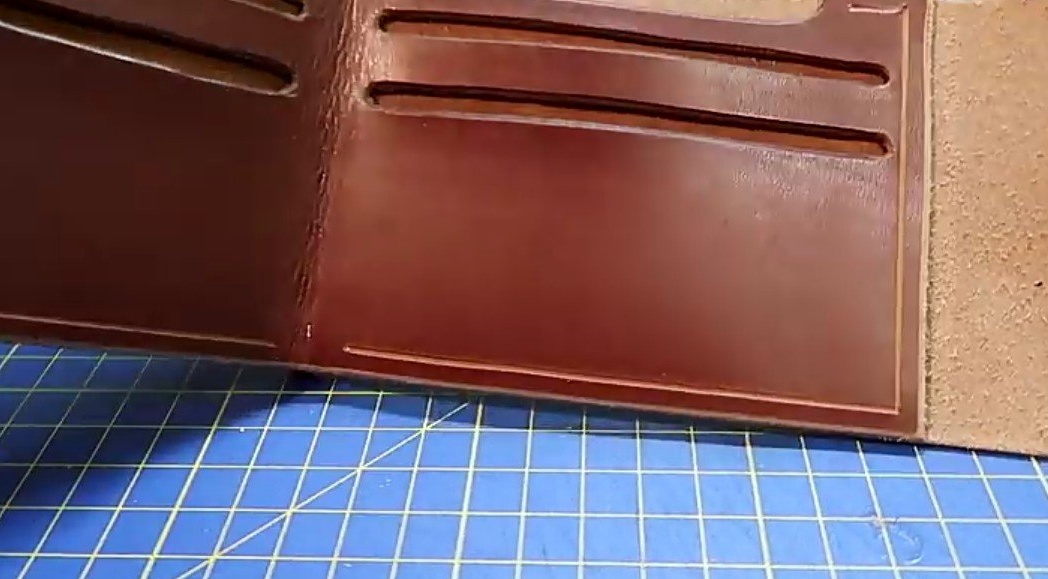
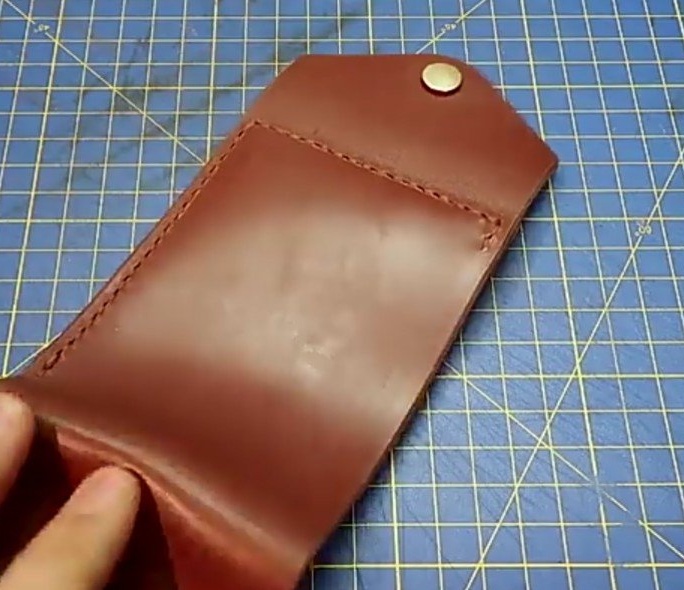
Now the outer cover of the wallet is made. The inner part with pockets for cards is applied to it. Since the skin is quite dense material, the author with help. a special mallet taps the folds for more comfortable work with the product. In the center of the closing pocket, a hole is made for riveting, on which the wallet will be closed.


Step 3
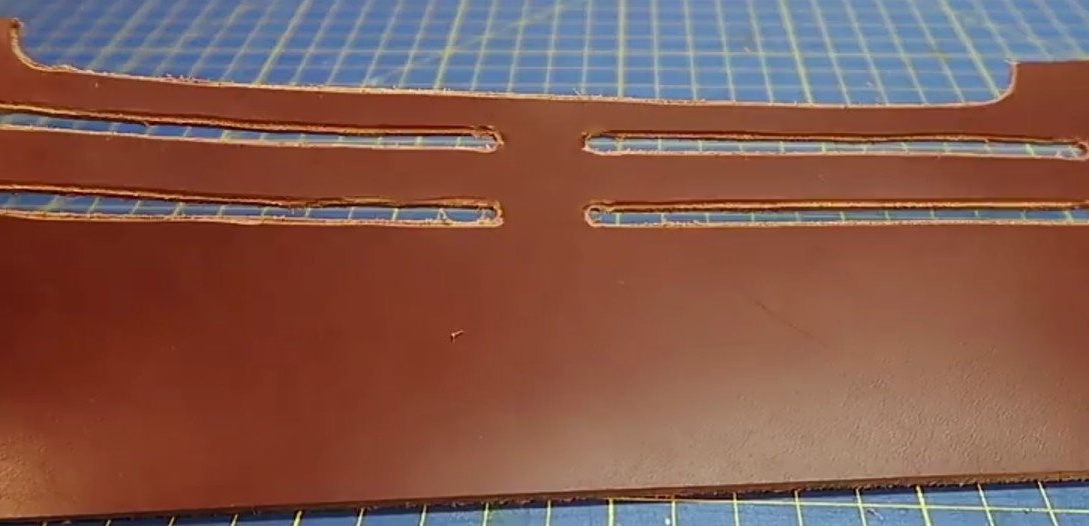
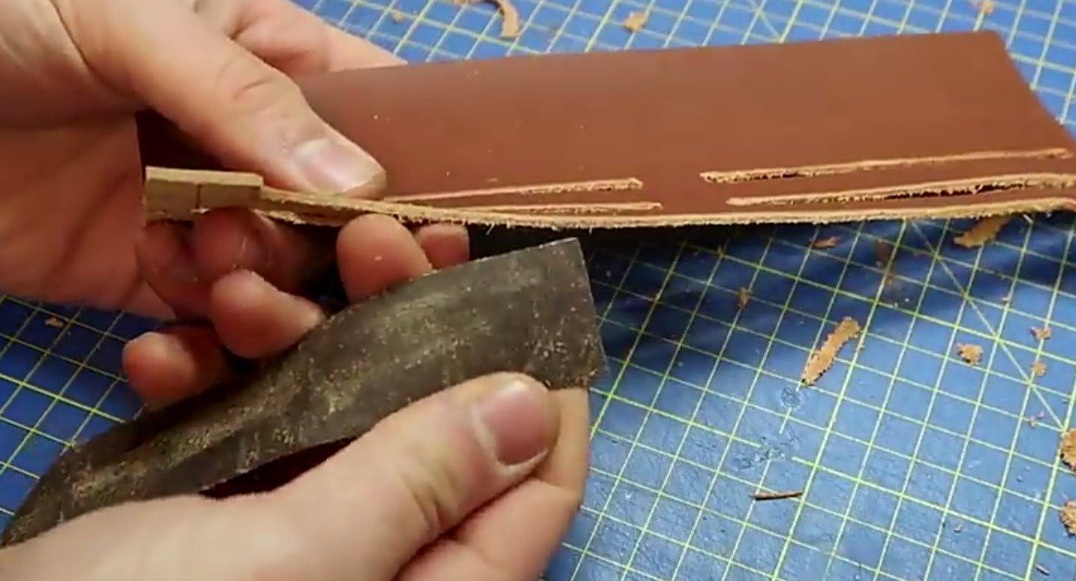
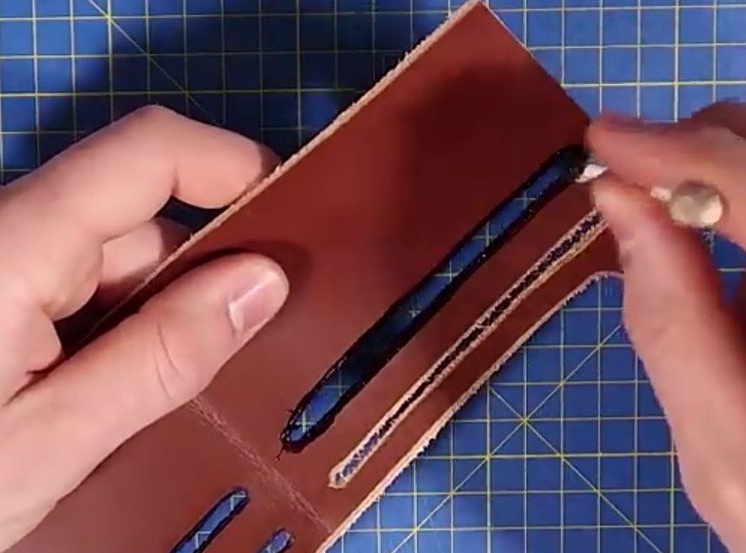
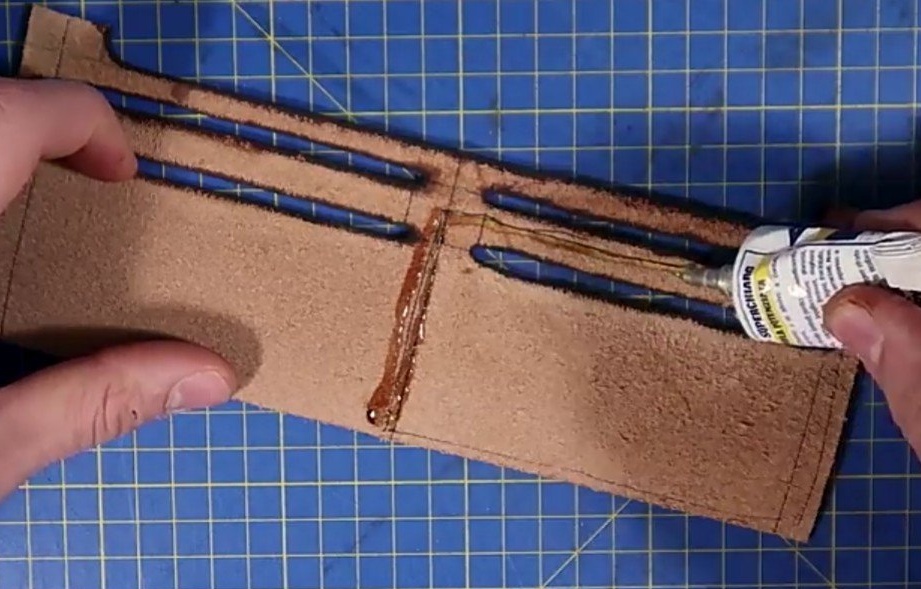
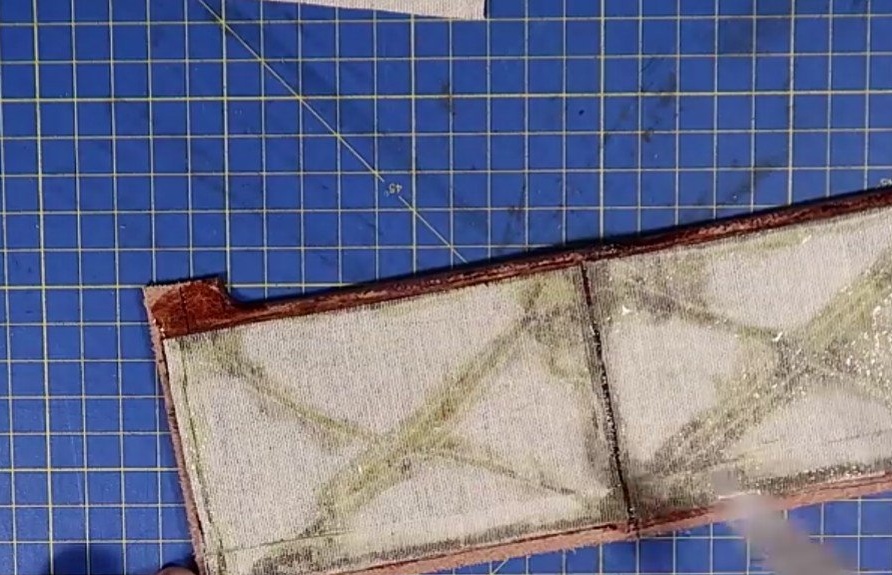
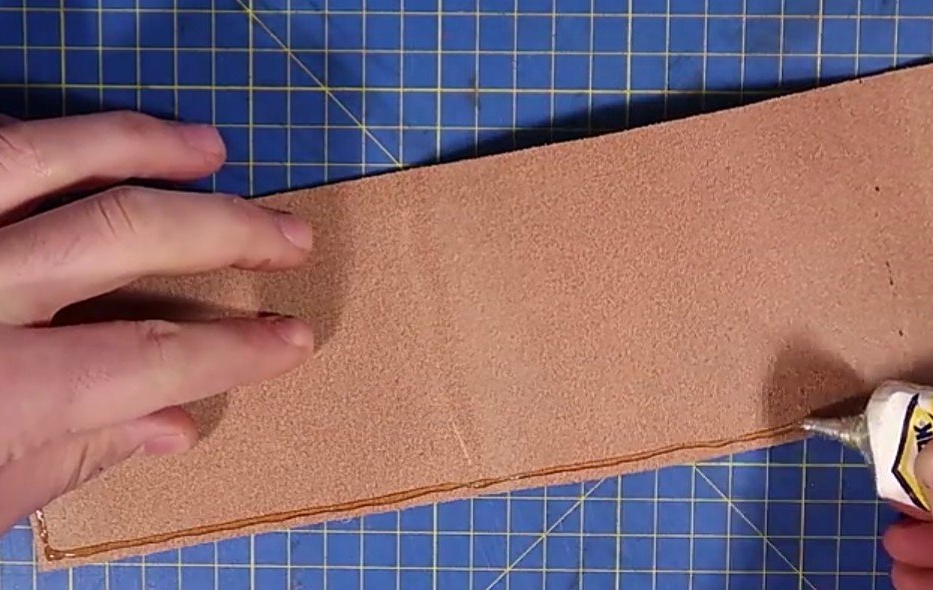
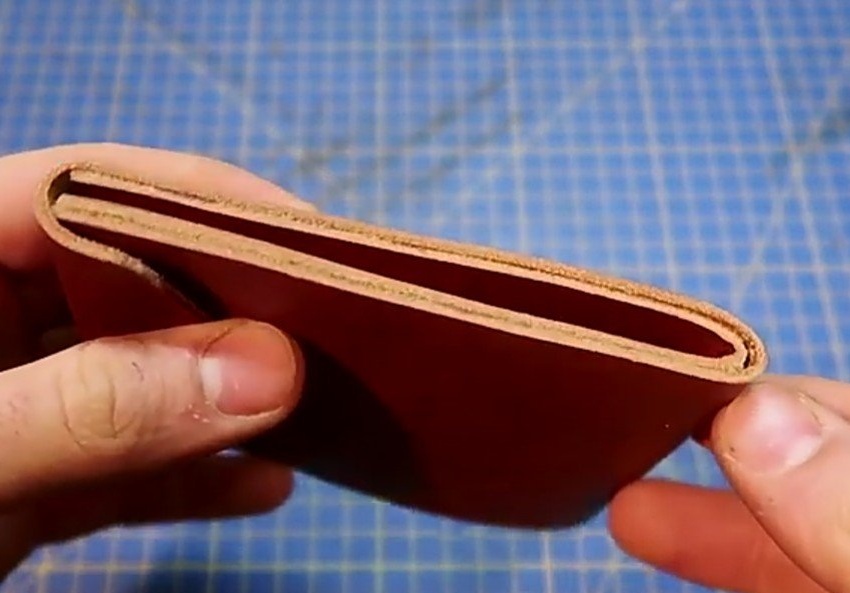
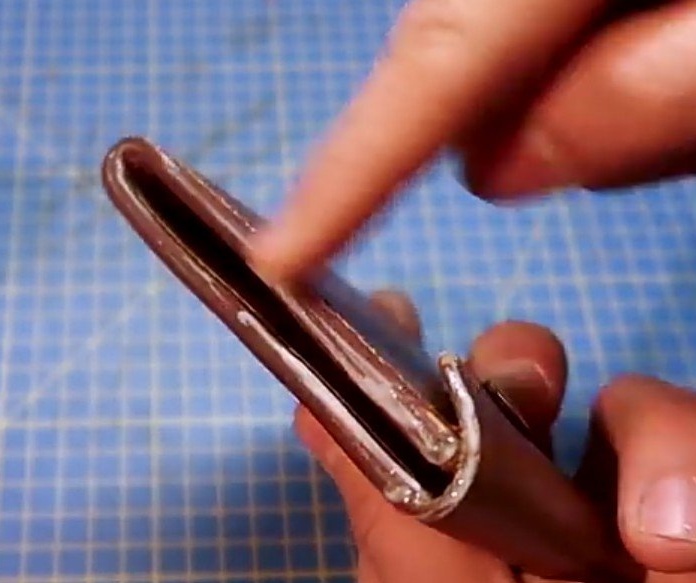
A piece of thin leather or suede is taken and the parts forming the card pocket itself are cut out of it. Cut out the holes and the end of the wallet the author paints. Having noted the locations of the pockets, he greases the edges of the workpieces with glue, apply them to each other and compress. The first step is glued to the lower slots, and then, on top of the glued one, the second layer is glued. The lining in the inside of the wallet is also made of the same material. After all of the above, both blanks are glued together. The edges are treated with an emery cloth. And the chamfer around the entire perimeter of the wallet is removed.


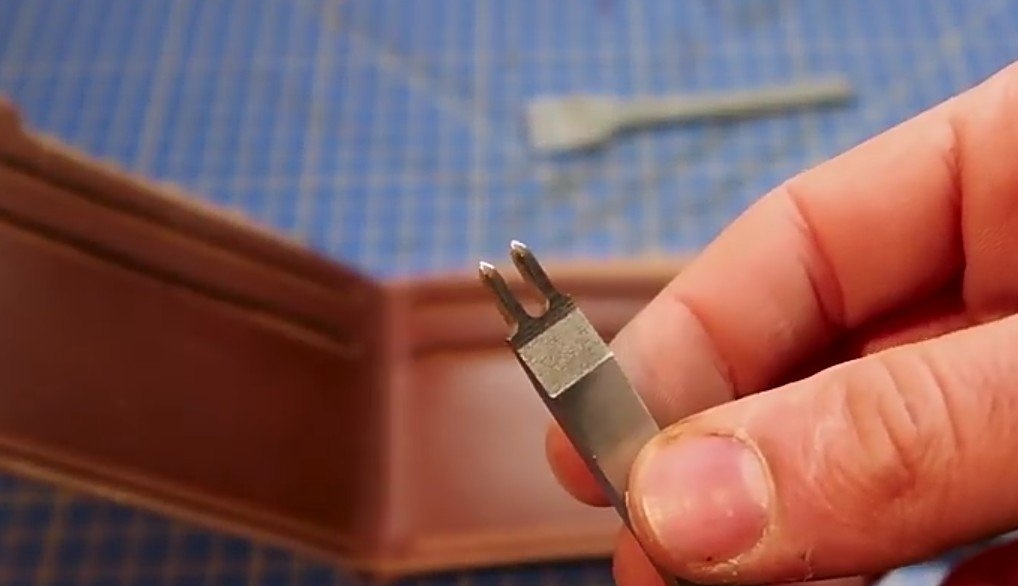
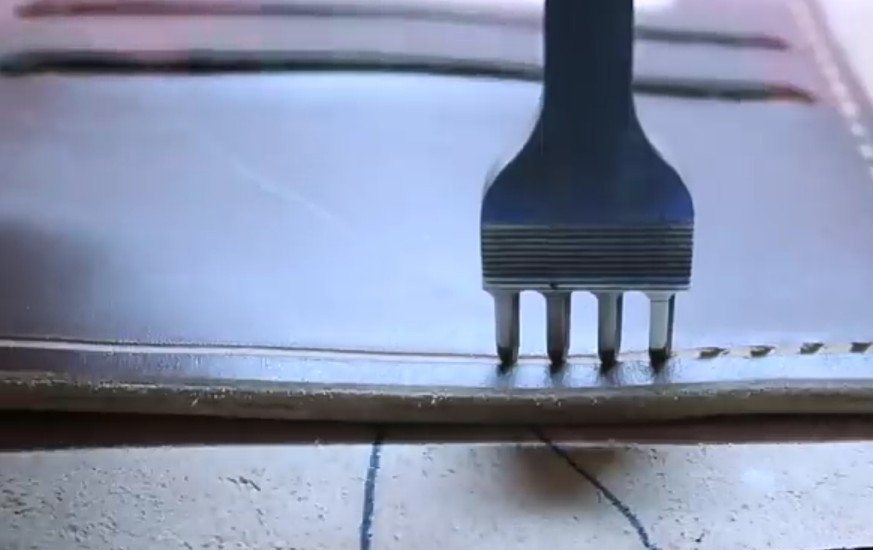
Step 4
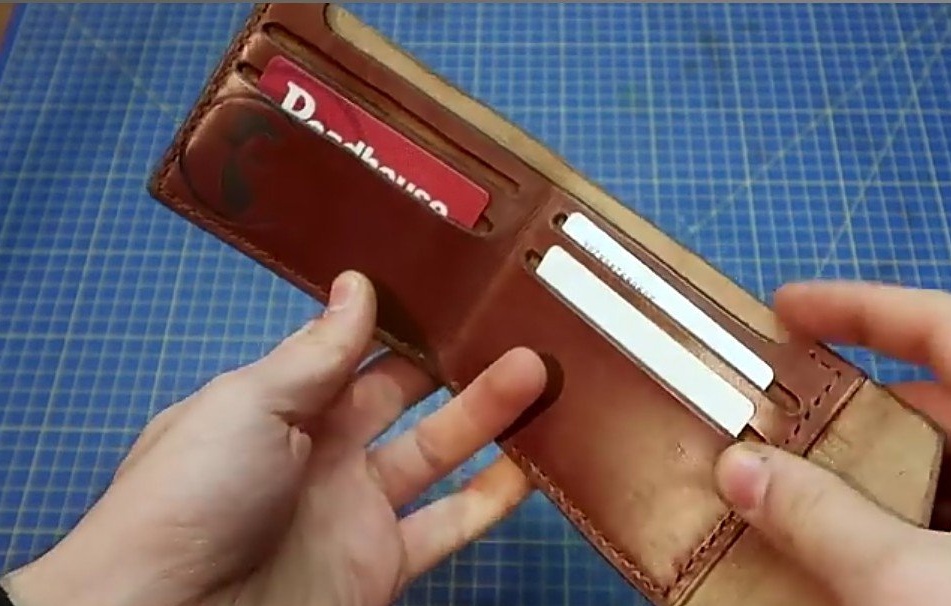
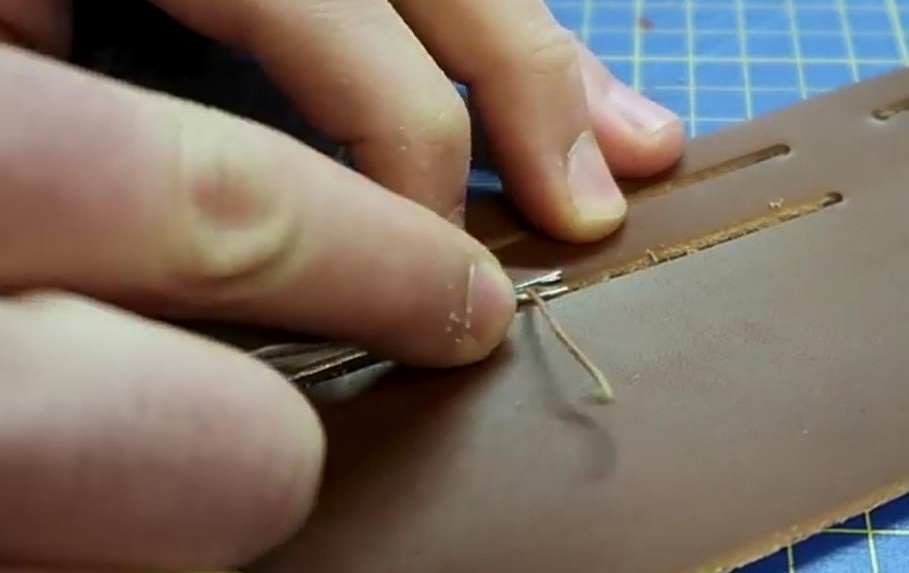
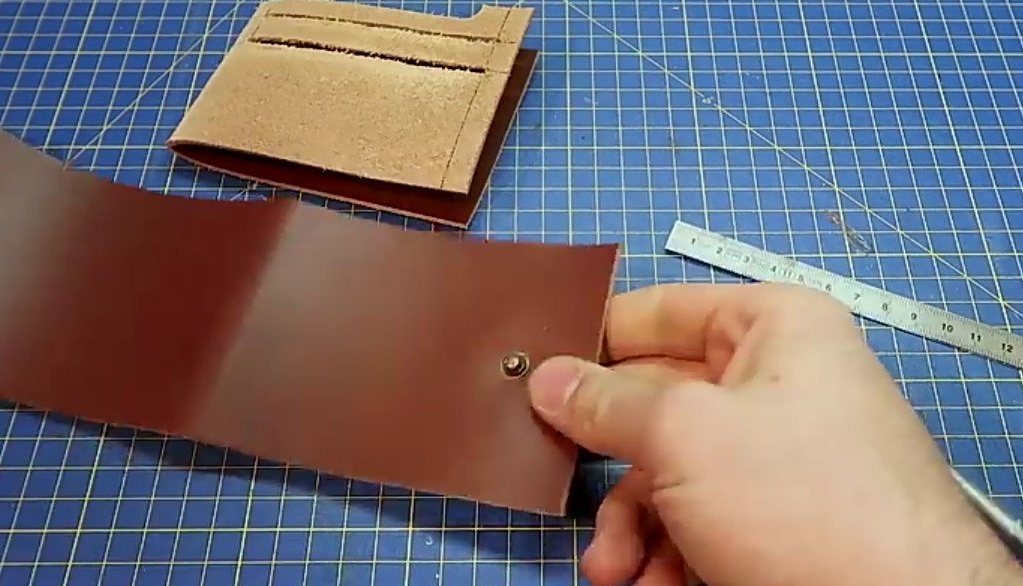
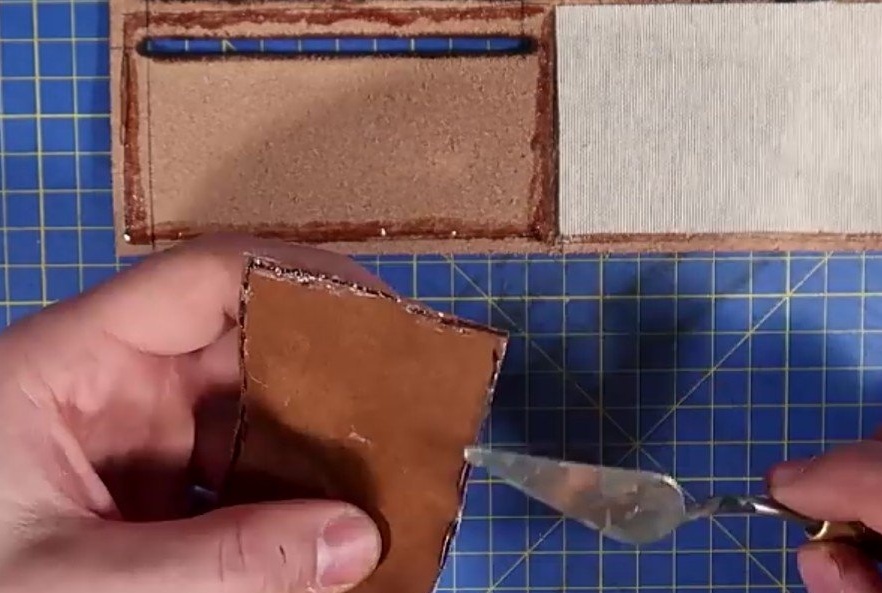
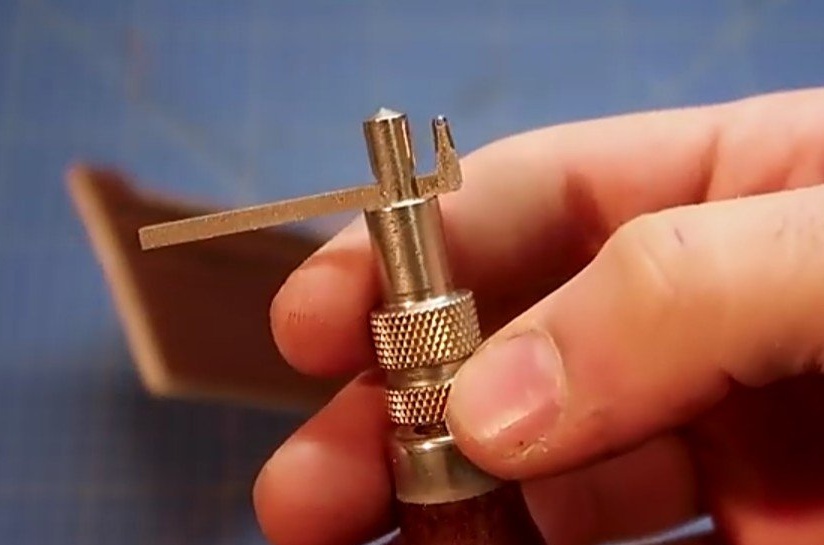
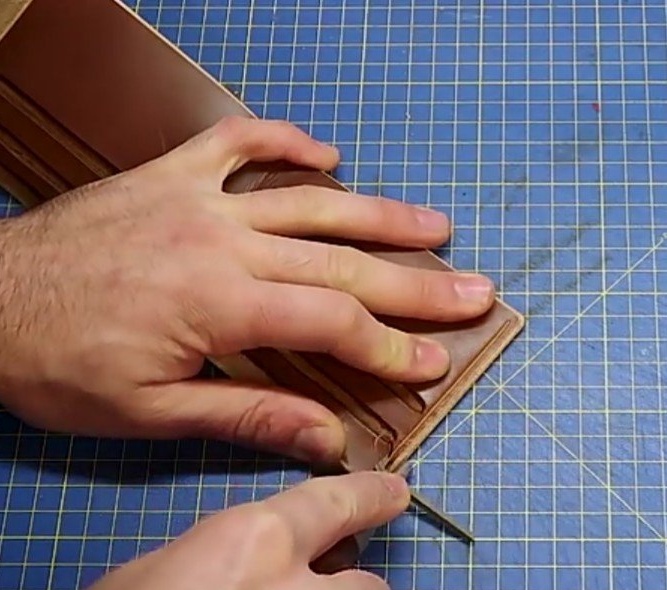
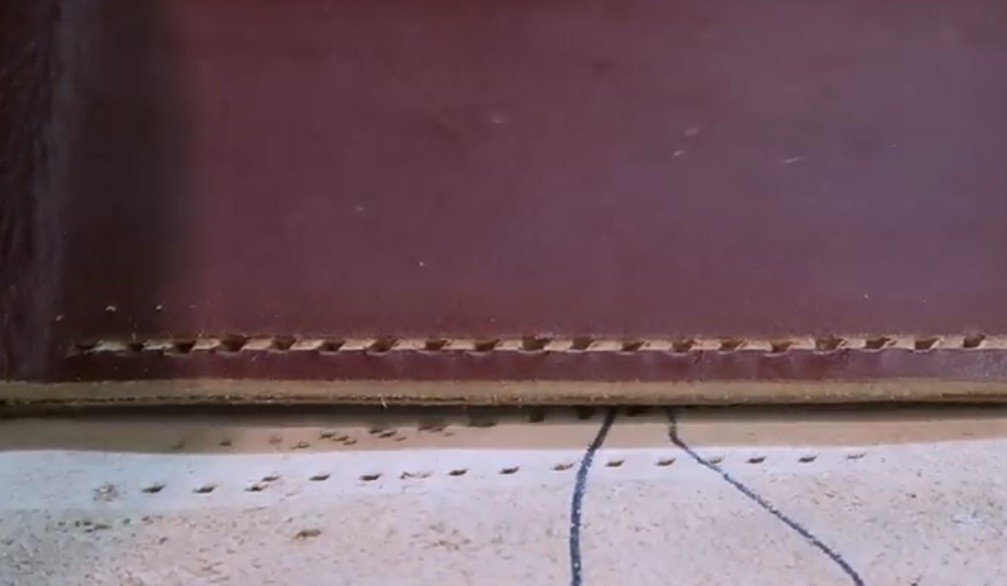
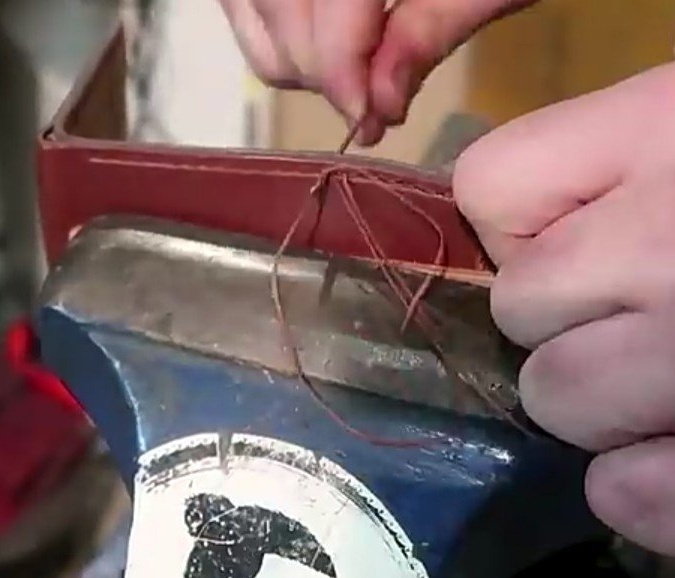
With the help of a thickness meter, a shallow marking recess is made along the edge of the inside of the wallet. According to it, the author makes holes for further processing of the product. Through holes are made with a punch and the wallet is flashed through them. After flashing the author a little aged the finished product, giving it scuffs. Stuffing its stigmas.

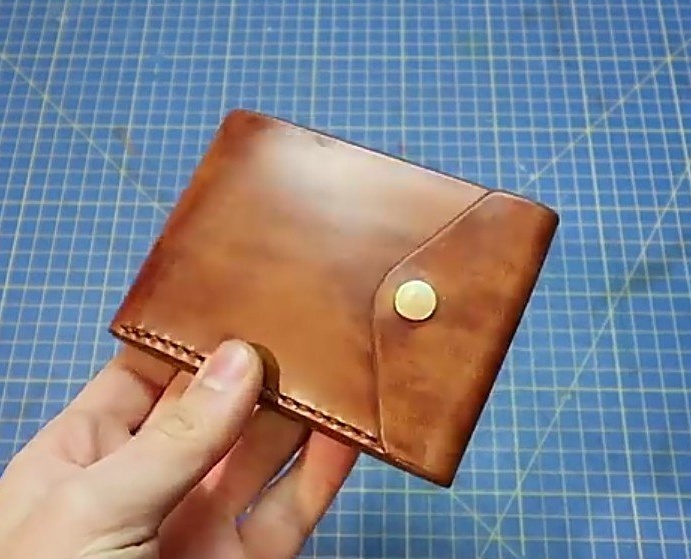
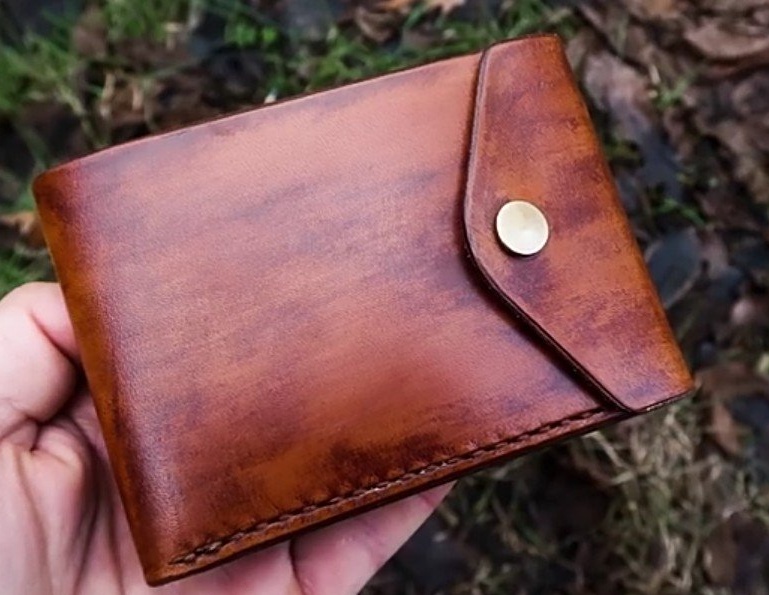
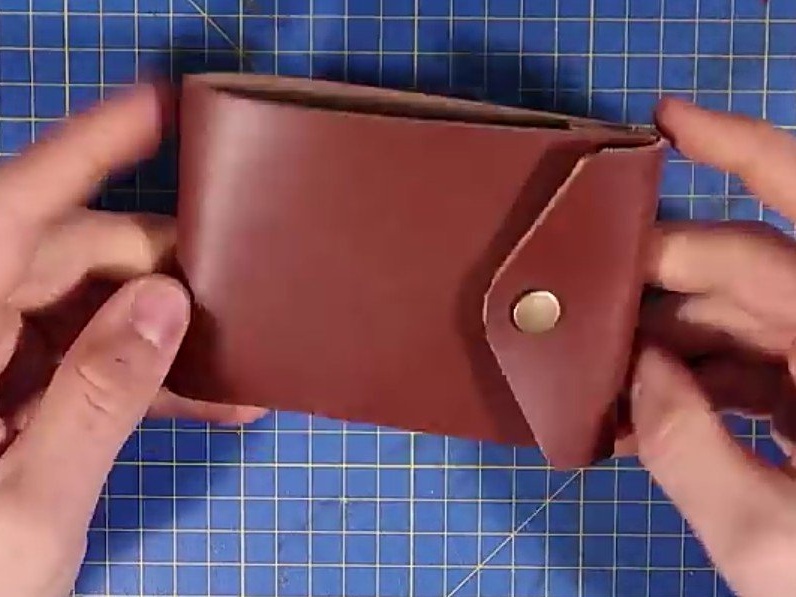
Here in this form, the finished product appears to our eyes.