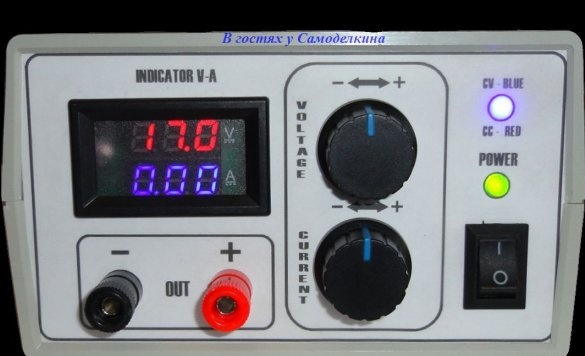
Good day to all. I bring to your attention one of the many options for a laboratory power supply. This design is made according to a hybrid scheme (linear and pulse elements are used) and operates in the range of 1.2-30V with current adjustment up to 6A. Although the idea is not new, I wanted to share what I got.
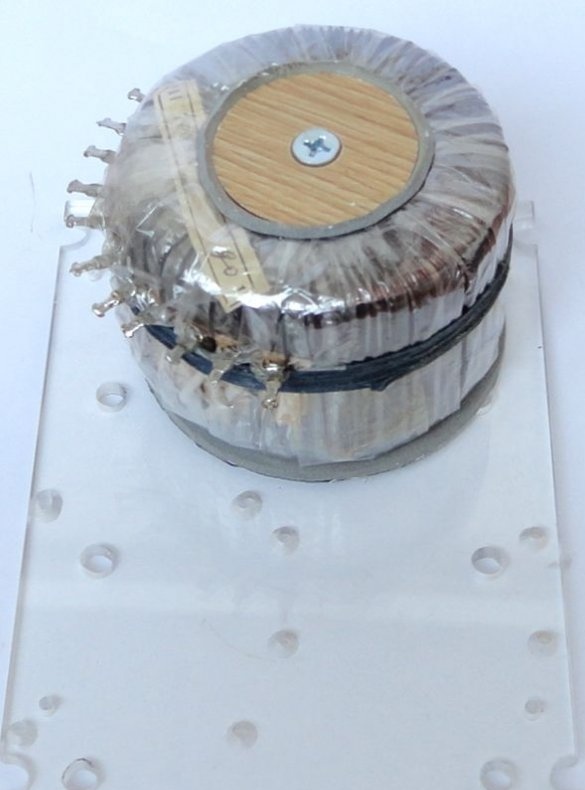
There was no need to strive for miniaturization of the structure. Therefore, the basis for the construction of steel: a power transformer from the Soviet slide projector “Diana-207” and Chinese modules.
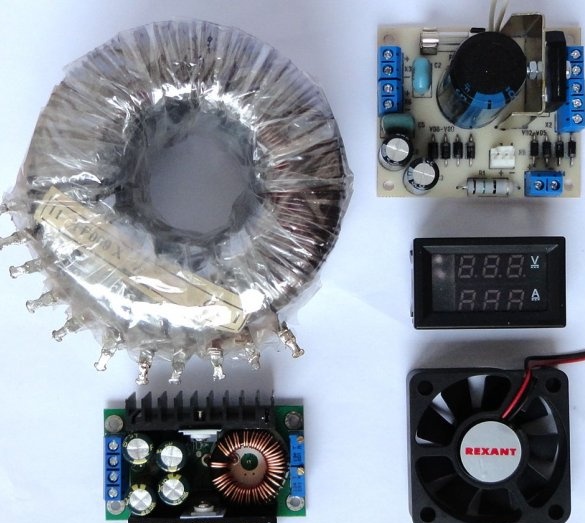
In this design was used:
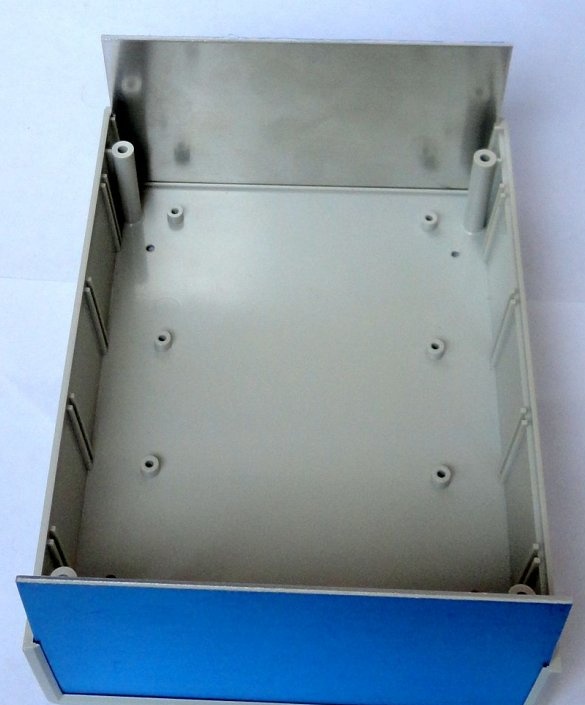
- Gainta case G768A of 140x190x80 size
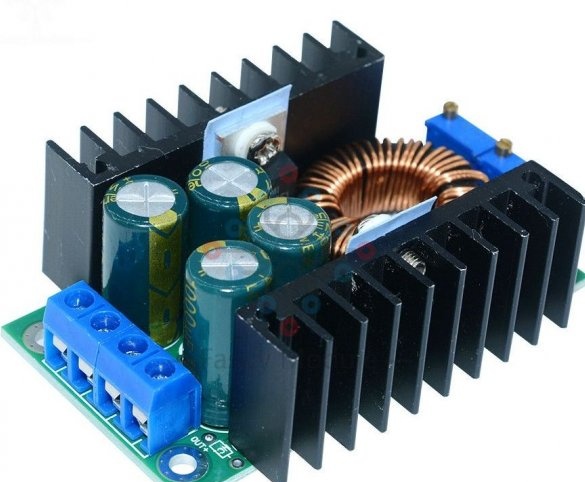
- Chinese converter module DC-DC CC / CV XL4016 9A 300W
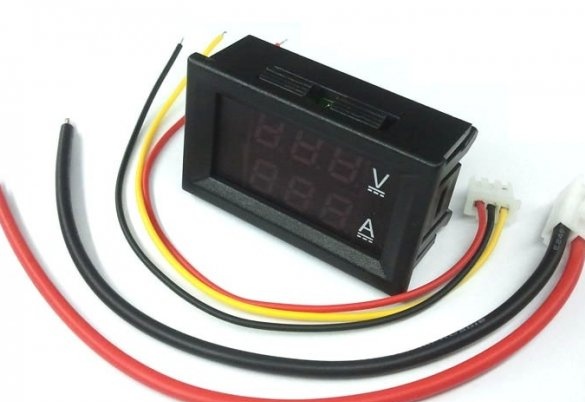
- Chinese module ampere voltmeter 100V 10A
- toroidal transformer from the Soviet slide projector "Diana-207"
- nests of type "tulip"
- cable entry 7mm
- holder for fuse 20x5
- fan 50x50x15mm 12V
- fiberglass foil one-sided
- a piece of plexiglass 125x175x5mm
- fasteners M3, M6
- mounting wire
- heat shrink tube
- radio components according to the scheme
- racks for 10mm boards with 3mm screw thread
Further and more detailed characteristics of the parts in the course of description
Of the tools used:
- drill (preferably on a rack)
- MFI type "Dremel"
- soldering iron
- screwdrivers, wire cutters, etc.
Basic structural elements
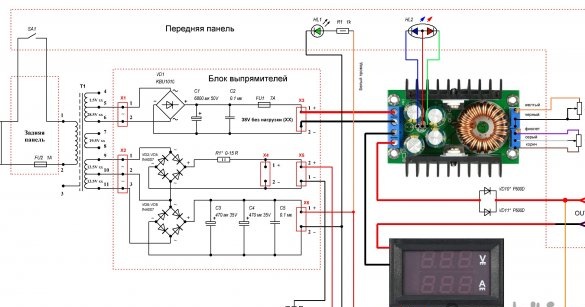
LBP Scheme
The power transformer in the overhead projector provides long-term power to the KGM 24x150 lamp, that is, it delivers 6.25A at 24V and has convenient additional windings. Voltages on the windings are indicated in idle mode. Therefore, everything else was selected for him. The inclusion of Chinese modules is typical, according to the schemes indicated on the seller’s website (Aliexpress) The ampere-voltmeter module is powered by a separate rectifier with filter capacitors. The voltage measurement wire is white (in the diagram it is red). Trimming potentiometers are soldered from the DC-DC CC / CV down-converter module, and in place of them, the adjustment panels are displayed on the front panel. I temporarily have ordinary regulators, but then multi-turn ones will be installed (places on the panel and in the housing were calculated just for them). The CC-CV indicator is also soldered to the HL2 two-color LED and, with the help of a small board, on which the HL1 "POWER" LED is installed, is displayed on the front panel. Diodes VD10, VD11 can be installed in the case of using the LBP as a charger. They serve to block the reverse current.I have not installed them yet, but the handkerchief is made (in case of need), on which P600D diodes are installed (each diode is designed for current up to 6A).
Rectifier unit.
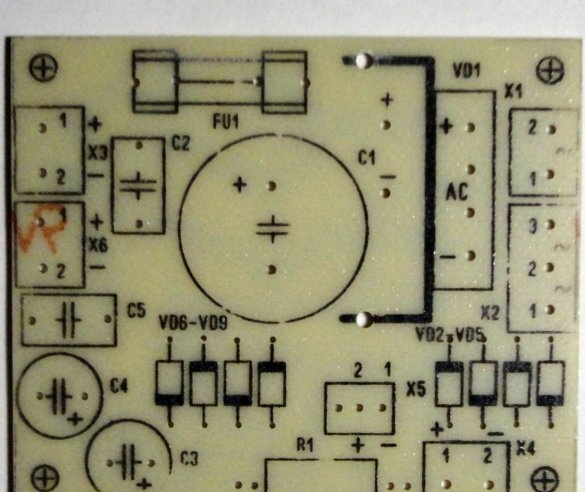
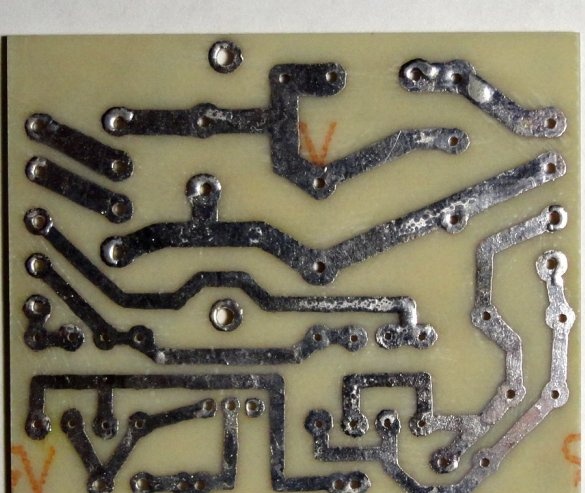
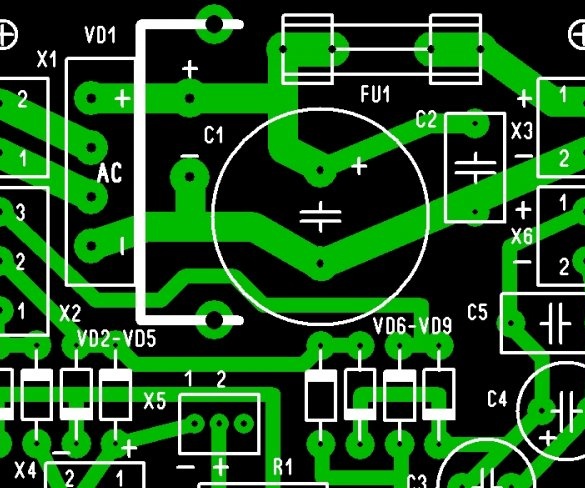
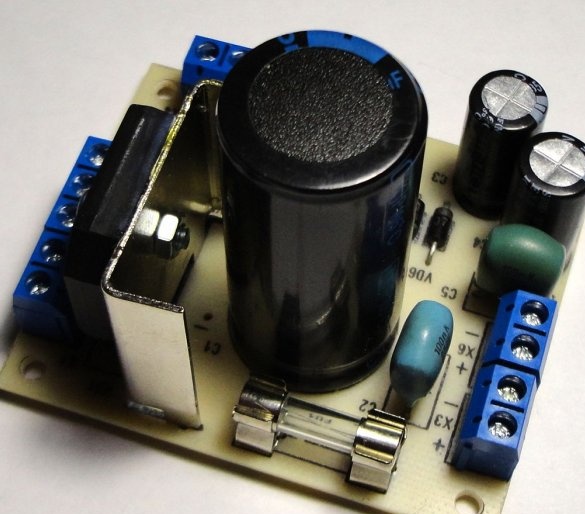
In the rectifier unit there is a KBU1010 diode bridge for current up to 10A on a small radiator. 6800 mF filter capacitor at 50V. For ease of installation, terminal boards and a connector for a fan (from computer trash) are installed on the board. A fuse is also installed on the board (in order to preserve the transformer, because the DC-DC module allows adjustment to 9A). The resistor R1 serves to reduce, if necessary, the fan speed. I ended up with a jumper. PCB size 55x66mm (see photo).
Chinese converter module DC-DC CC / CV XL4016 9A 300W (Detailed description on Aliexpress seller website).
Chinese Amp-Voltmeter Module 100V 10A (Detailed description on Aliexpress seller website).
Assembly of the structure in the housing.
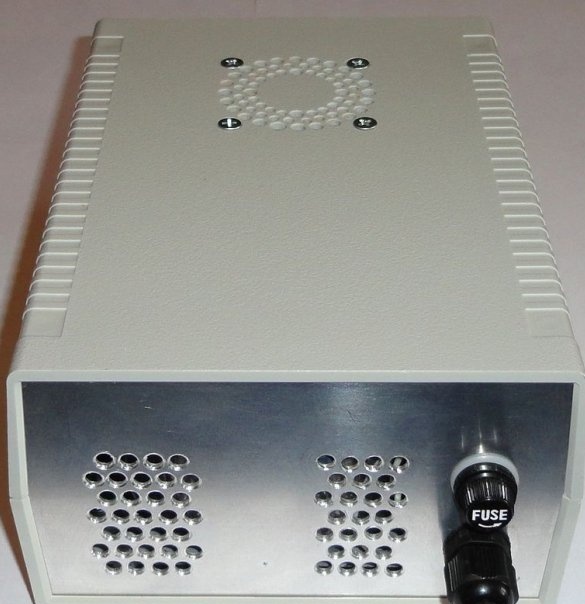
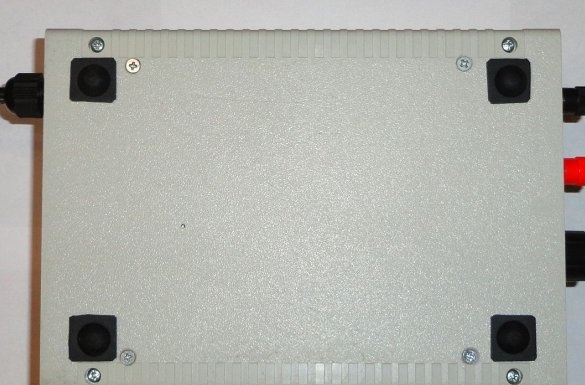
Gainta's G768A case with dimensions 140x190x80 is made of high-strength ABS plastic, the front and rear panels are made of aluminum. Self-adhesive rubber feet are included.
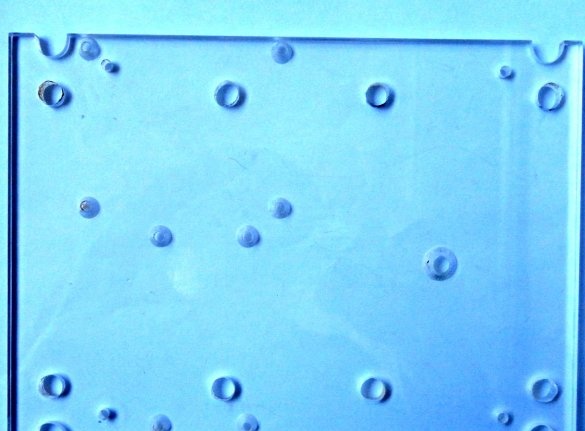
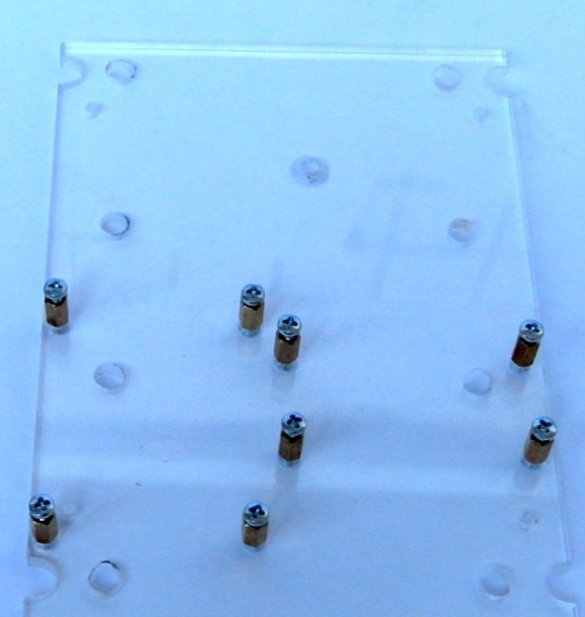
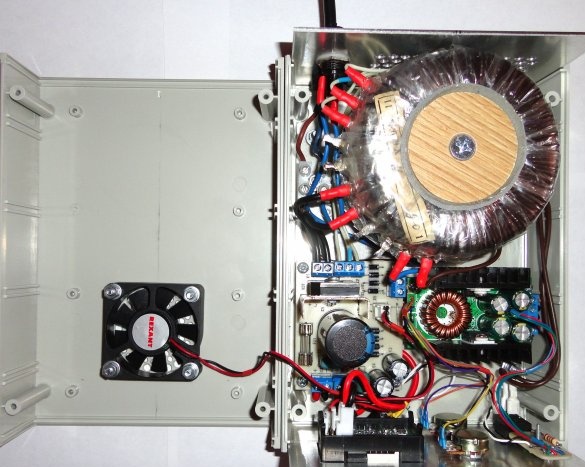
In order not to make extra holes in the case, the main structural elements are mounted on the installation panel of transparent plexiglass 125x175mm 5mm thick. The mounting plate is attached to the bottom of the chassis with four M3 screws.
In order not to make extra holes in the case, the main structural elements are mounted on the installation panel of transparent plexiglass 125x175mm 5mm thick. The mounting plate is attached to the bottom of the chassis with four M3 screws.
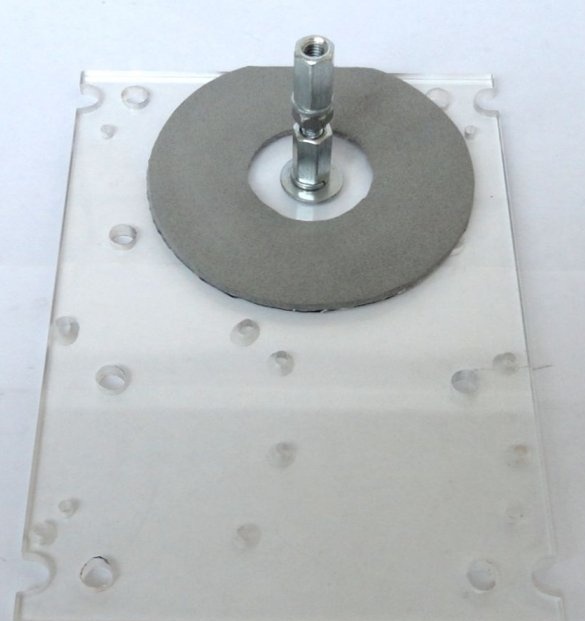
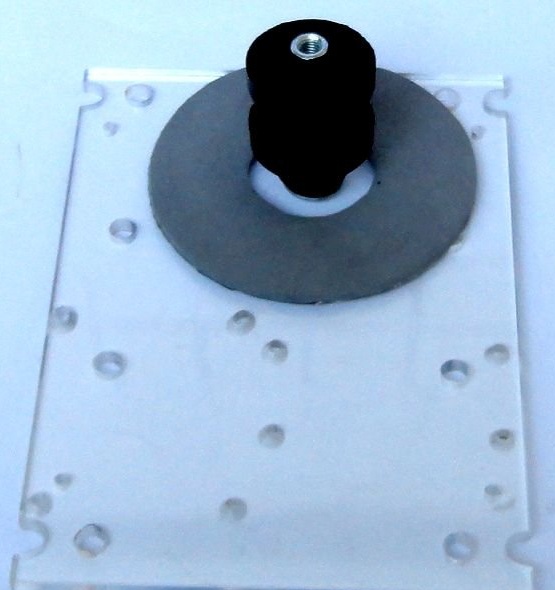
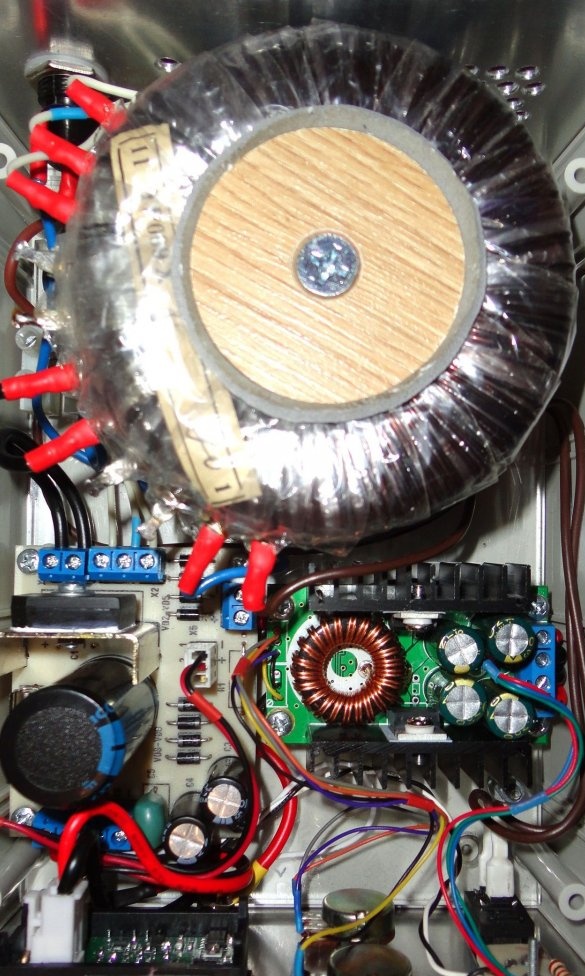
The rectifier unit and the converter module are mounted on racks 10 mm high for a 3 mm screw. The power transformer is mounted using a screw and 6mm racks. The transformer substrate is made of a self-adhesive base for furniture legs.
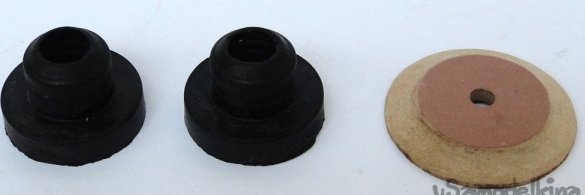
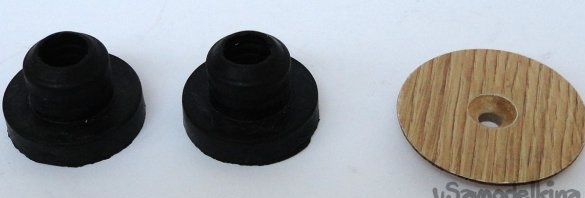
To fix the transformer, rubber bushings from the transportation fasteners for the washing machine were used. The clamping washer is made of a piece of laminate and is installed through a gasket of a self-adhesive base for furniture legs.
The layout of the elements in the housing.
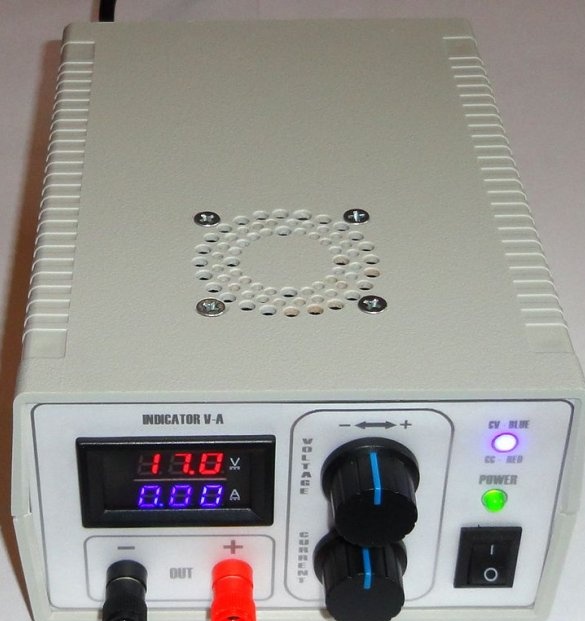
The grid of the fan is drilled directly in the case. On the rear panel, ventilation holes are located on the sides of the transformer. Since the transformer is located close to the top cover when assembling the housing, the air flow effectively cools both the power rectifier and the converter module.
The front panel is printed on plain paper. On the outside it is covered with a diffusing film from a broken LCD monitor.
Photos of Chinese modules are taken from the Internet, the rest are ours. If you need additional information, write to the post office, I will try to be sure to answer.
Feedback, suggestions and comments are very welcome.
April 2019


