
This ring can be made using conventional hand tools, but it is better to use power tools, as this makes manufacturing a lot easier. A belt sander is a desirable tool, but most people do not have this tool. The only thing that is really necessary to create a perfectly round ring is a drill and sandpaper, then it all depends on your creative approach.
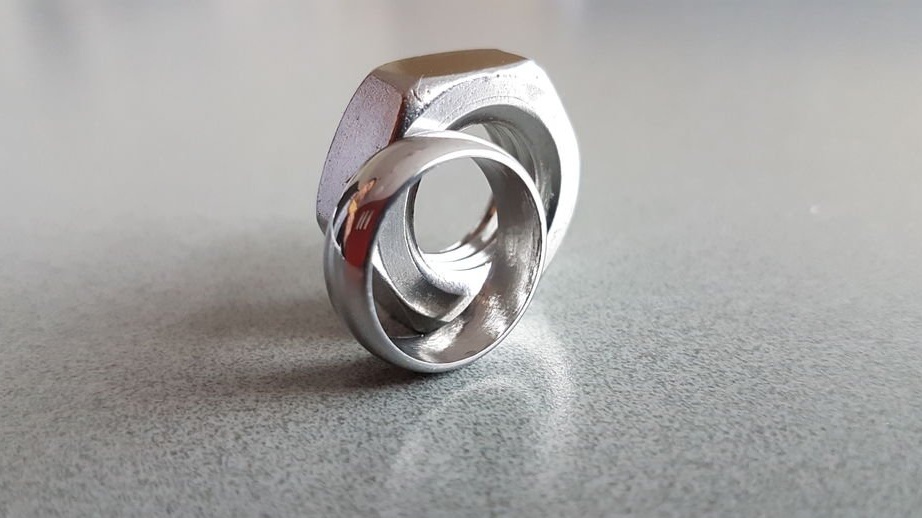
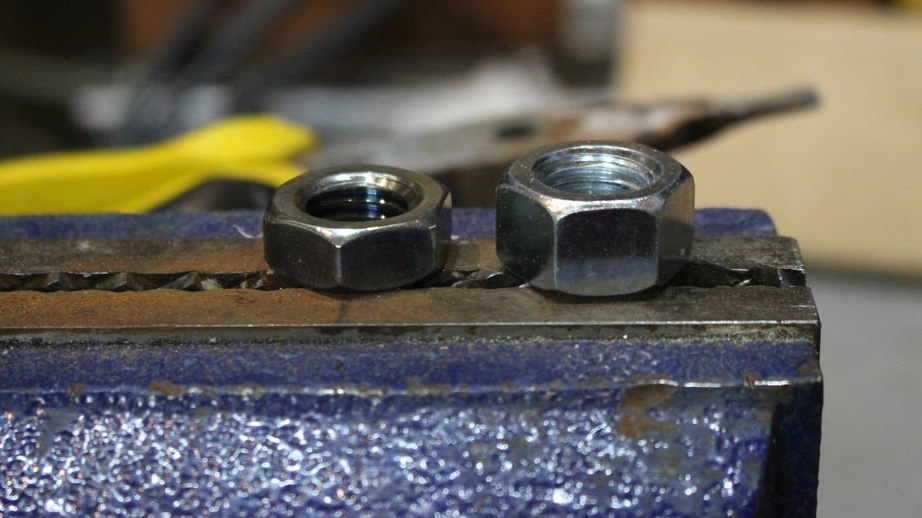
For the manufacture of the ring, a stainless steel nut was used instead of the usual mild steel nut, since stainless steel is less likely to oxidize and react with the skin. Using a nut from this type of steel will prevent rust, as it is polished to a super shine.
Step 1: The process of making the ring (video)
Step 2: Materials and Tools
Materials:
- A nut made of stainless or ordinary steel, sufficient for the ring;
Instruments:
- drill;
- Aluminum rod or wooden stalk;
- Insulation tape;
- Belt grinder, disk grinder or portable grinder for belt grinders (this will facilitate ring formation);
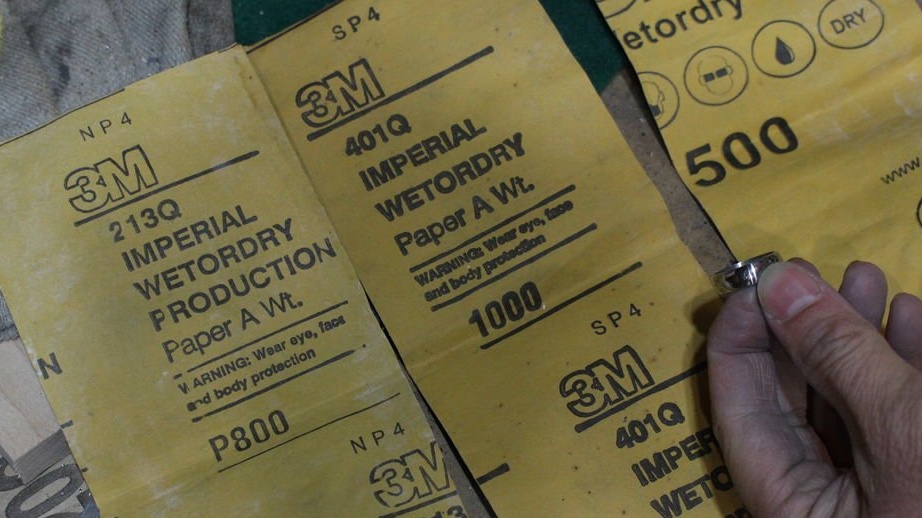
- Emery paper of various grain size (wet / dry, emery cloth) (60, 120, 220, 320, 400, 600, 800, 1000, 1500);
- Files are round and flat;
- Grinding machine or drill with stone-cutting or carbide-tungsten tip;
- Vise;
- Blowtorch (optional);
- Ring mandrel (optional);
Notes: emery cloth instead of ordinary emery paper will last much longer when working with steel.
* Other tools that you can use if you don’t have a belt grinder are a portable belt grinder, woodworking stationary belt grinders or disk grinders, a mini grinder (patchwork disk or grinding disk), a sanding adapter with coarse sandpaper .
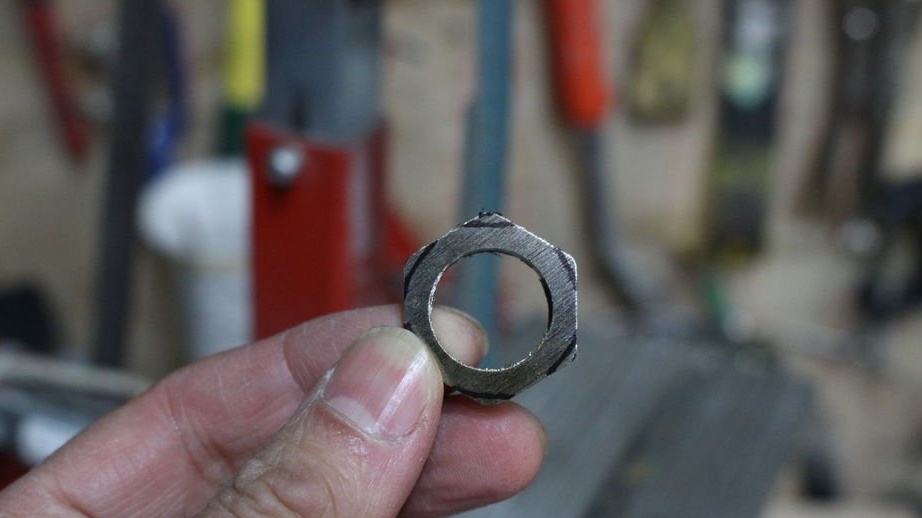
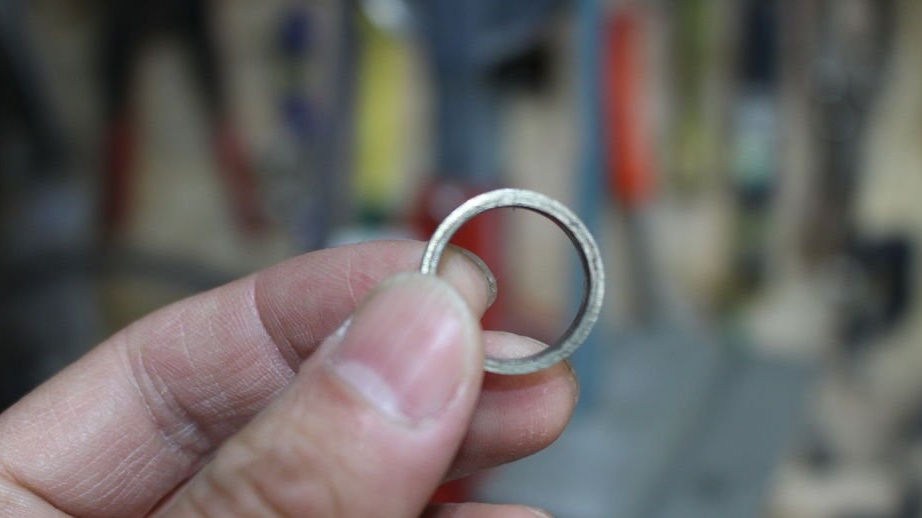
Step 3: Determine Ring Size

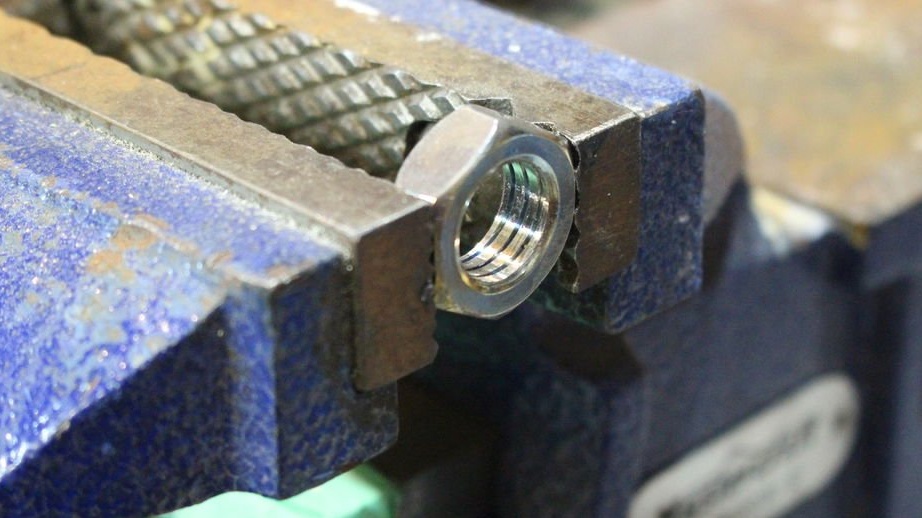
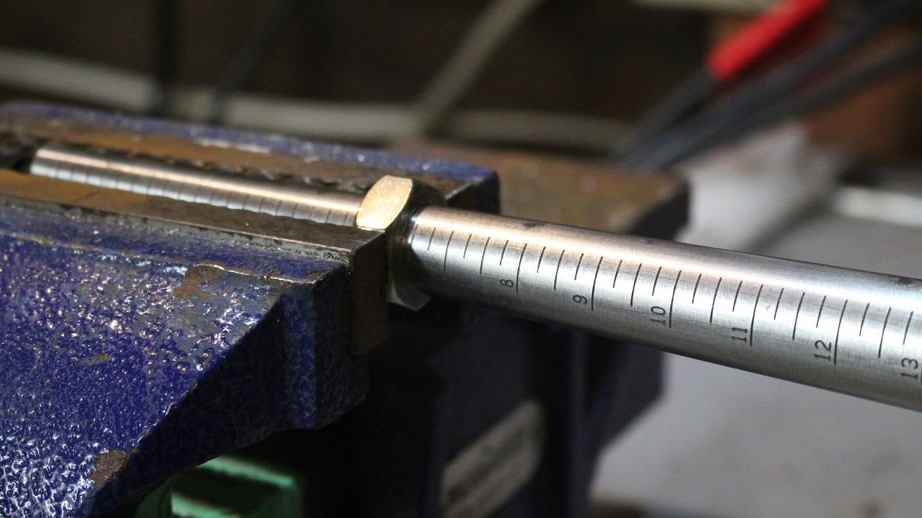
The first step is to determine the size of the inside of the ring so that it matches the size of the finger. It’s better to reduce it to the right size, and then adjust it as soon as you test it on your finger.
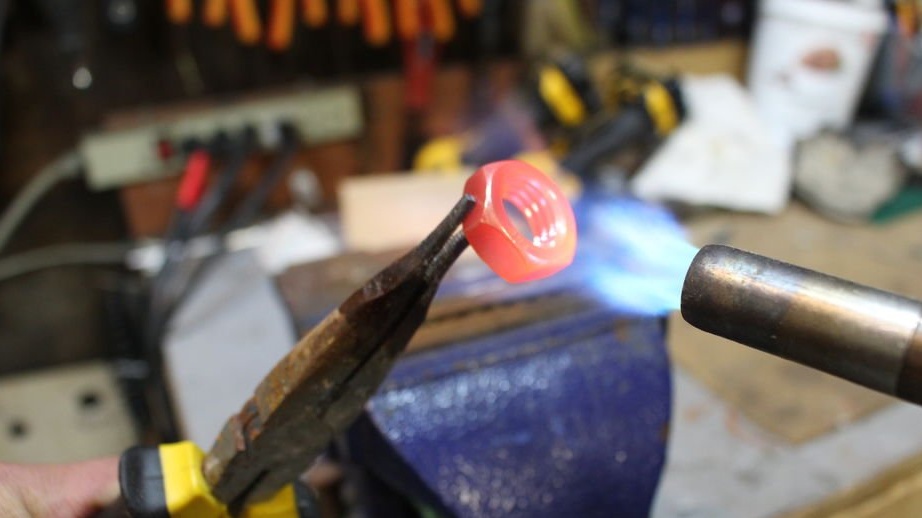
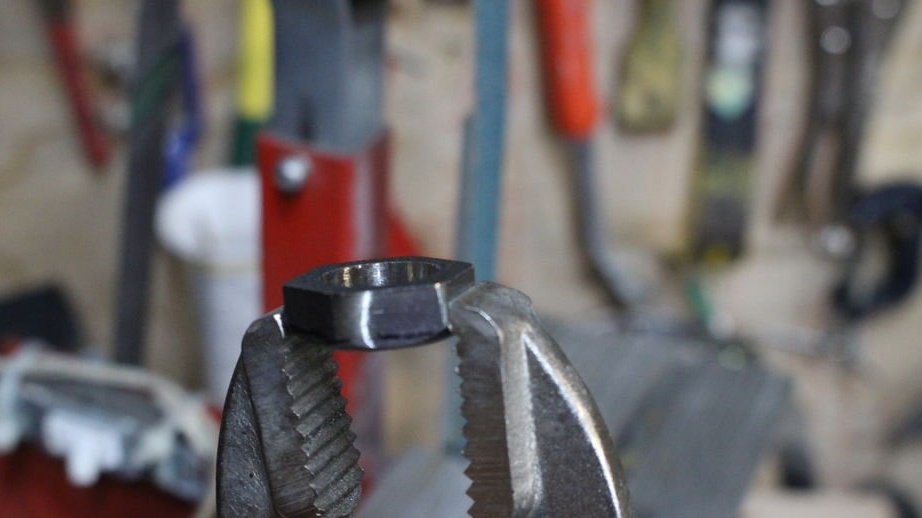
Anneal the nut before working with it, heating it with the burner until it turns red. Then let it cool. This is not necessary, but this step will facilitate the work with metal.
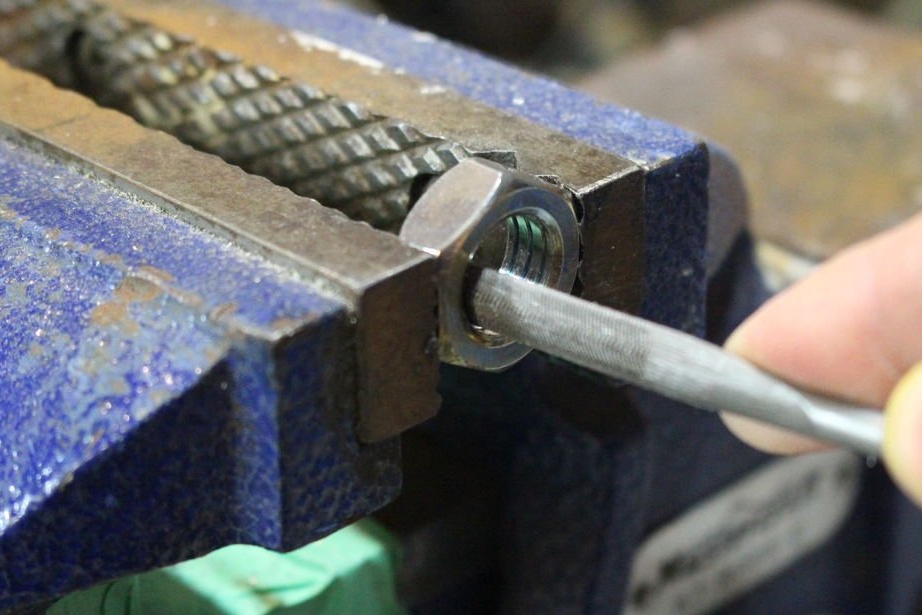
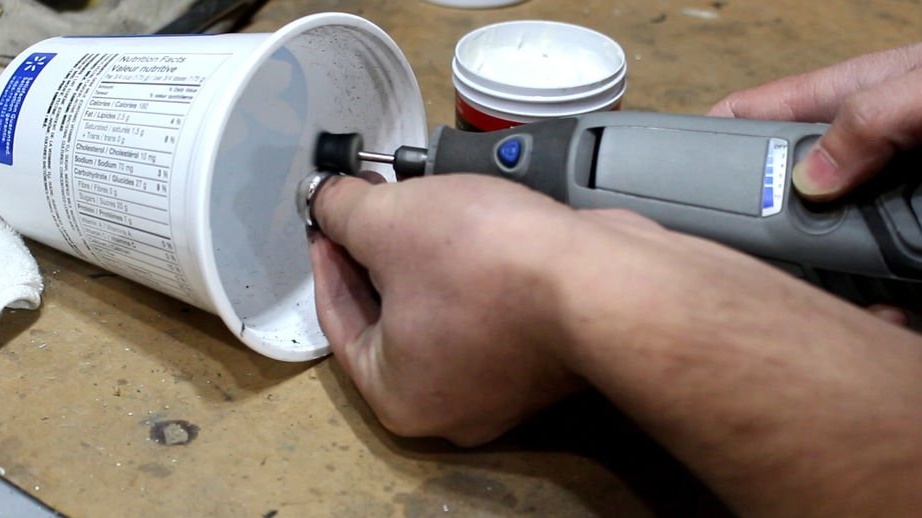
For calibration, a grinding machine with tungsten carbide grain was used. Most people do not have this tool, so a drill with a cutter for stone is also suitable. Using a round file is also suitable if you do not have any of these tools.
When using a grinder or drill, be sure to work in a circle, otherwise in the end you will get an uneven hole.
Use a ring mandrel to check the size, or you can use your finger.
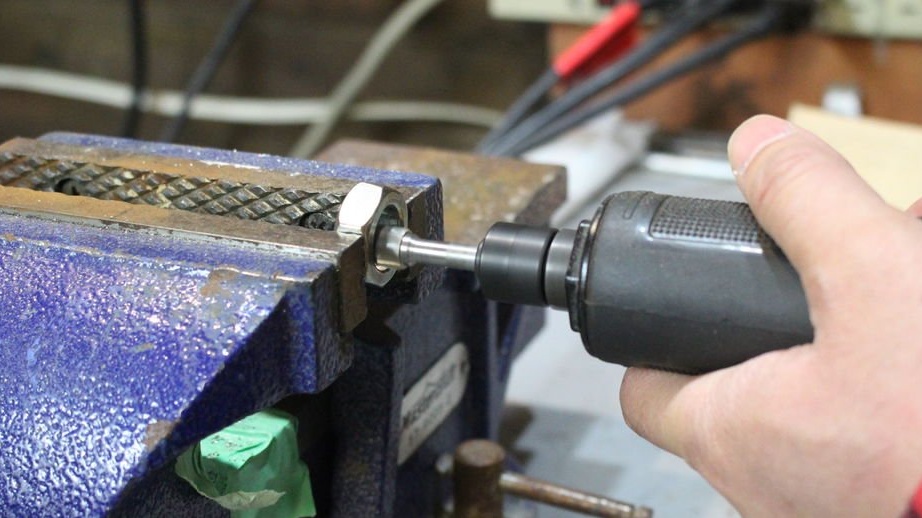
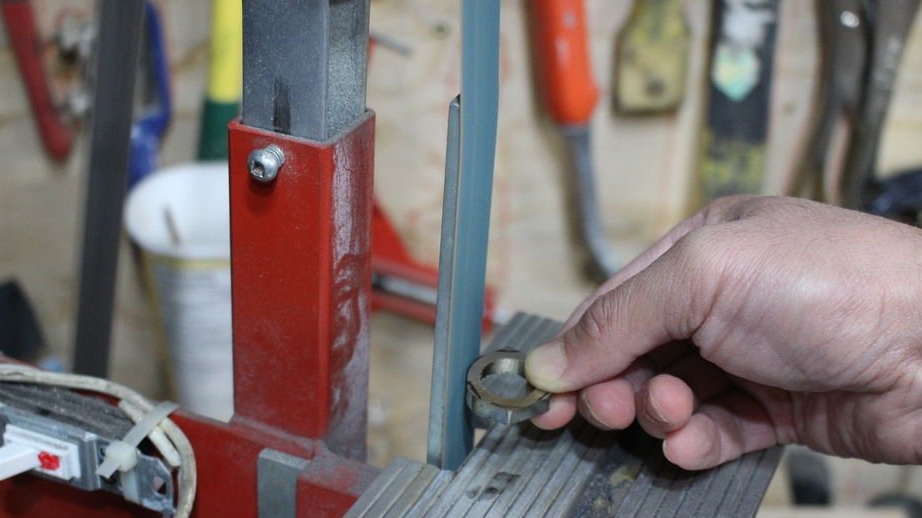
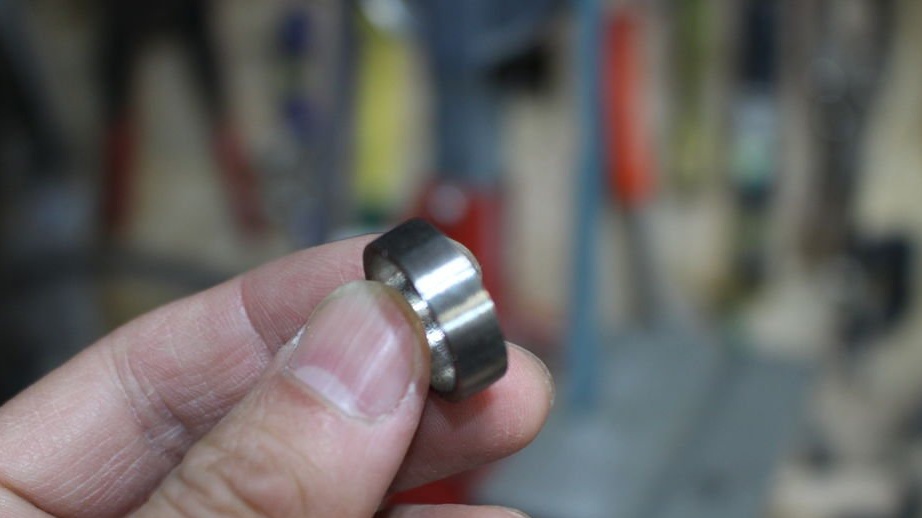
Step 4: Formation of the required ring thickness
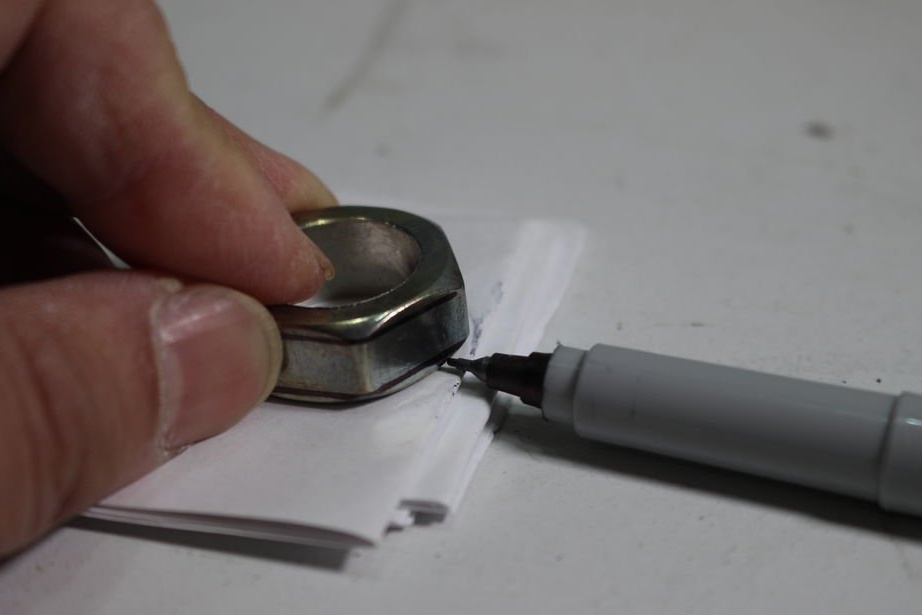
This nut was too wide, so it was sharpened to a finer size.
The required thickness of the ring was marked with a thin pen, and then the excess material was removed using a belt sander. If you do not have a belt grinder, this can be done with belt or disk grinders. In this case, the author used a coarse sanding belt with a grain size of 60 units to bring this nut to the required size.
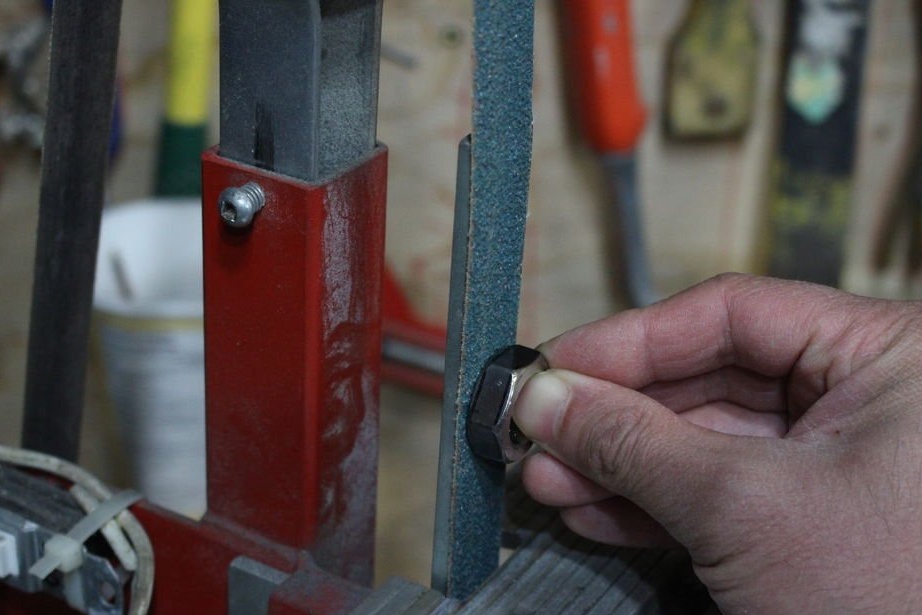
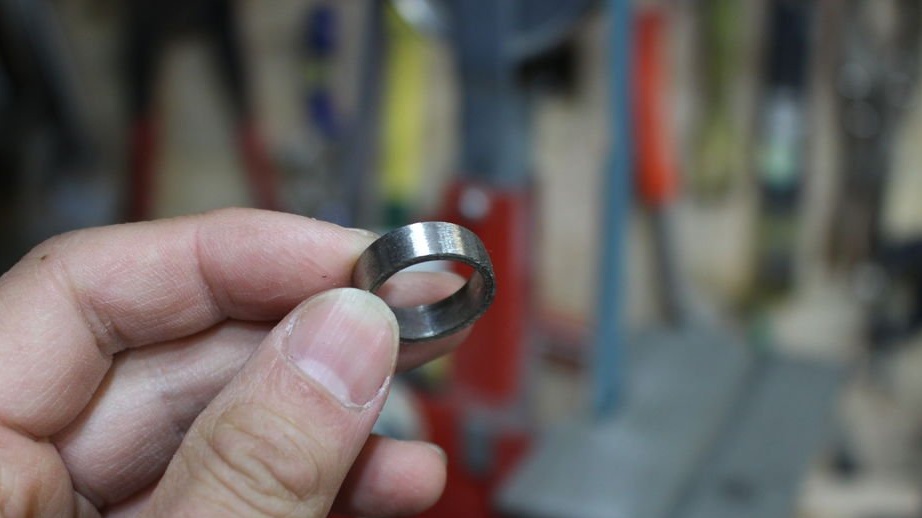
Step 5: Forming the Outer Side of the Ring
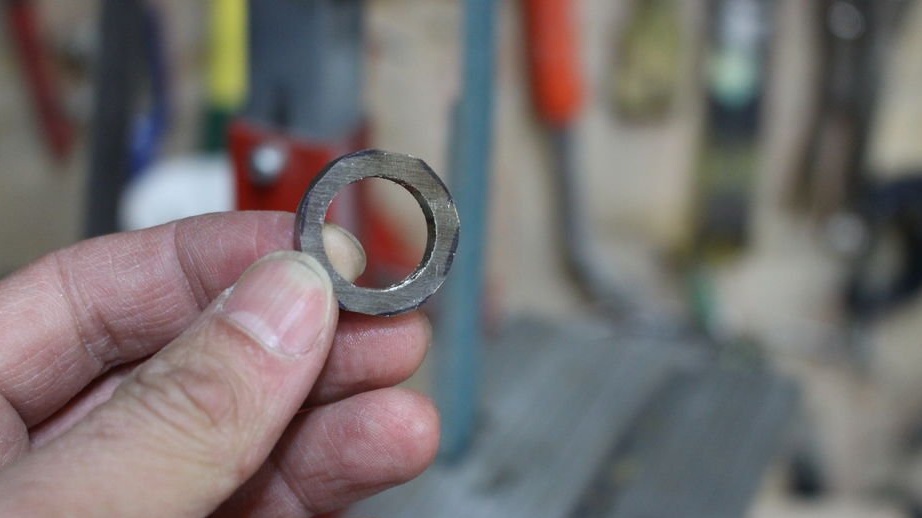
Since this ring will be smooth and perfectly round, it is necessary to grind the edges of the nuts.
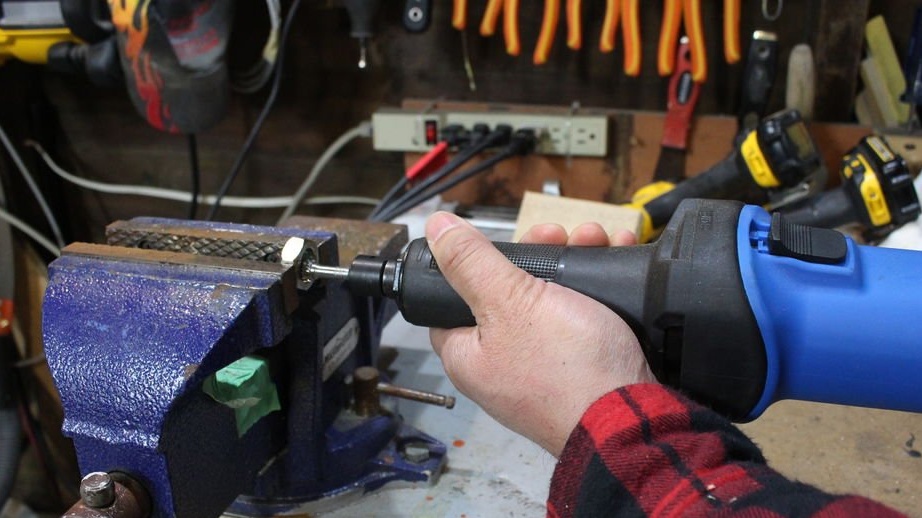
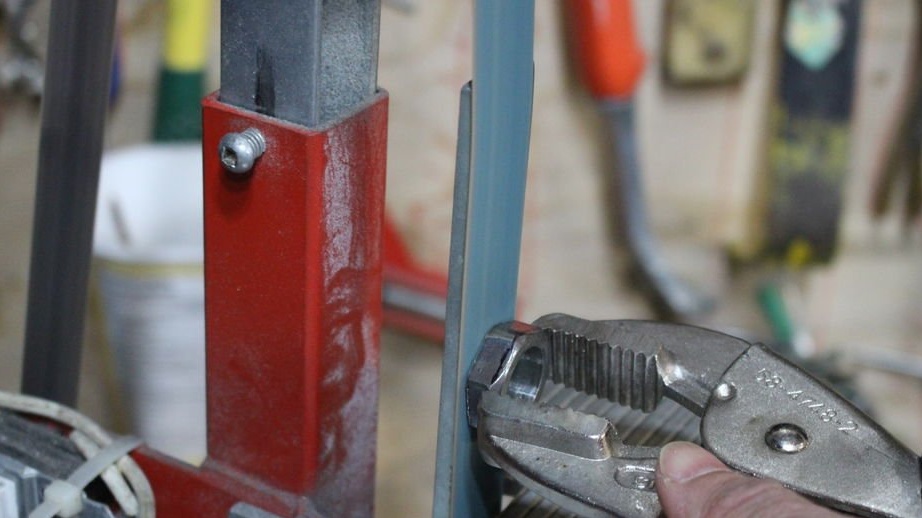
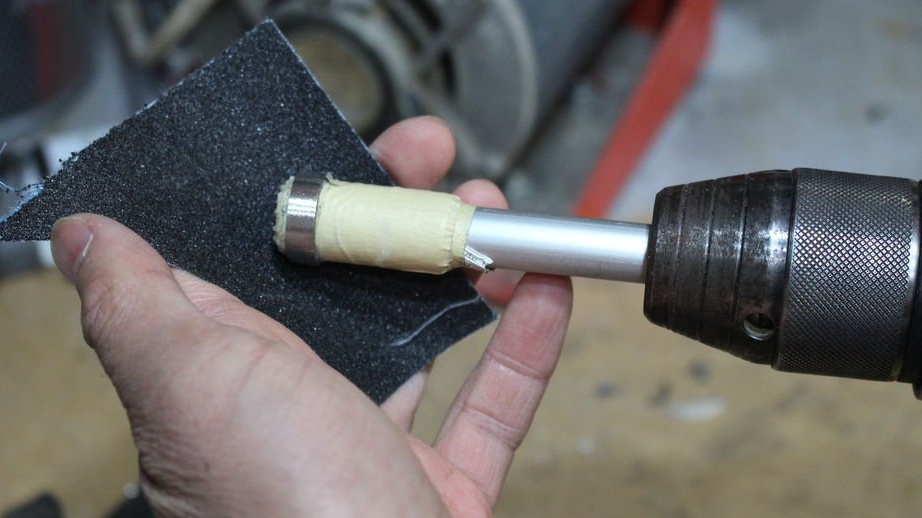
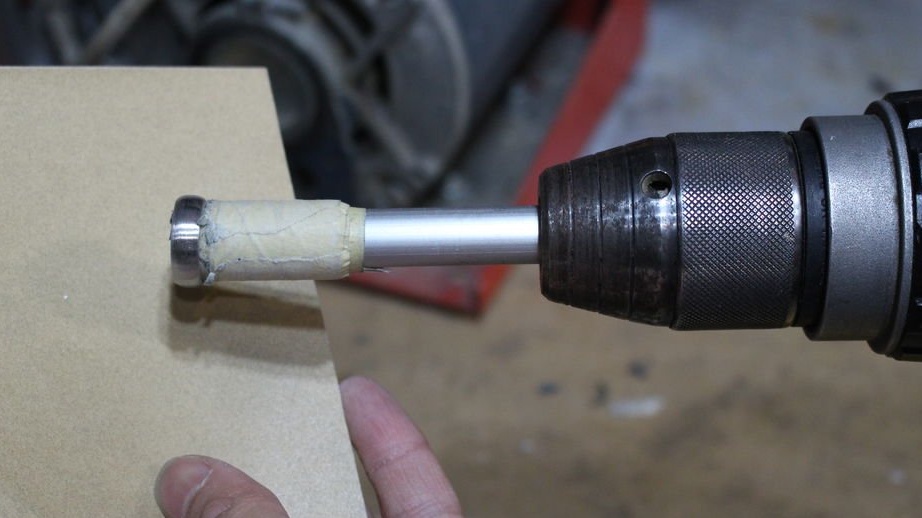
Step 6: Improvised Ring Lathe
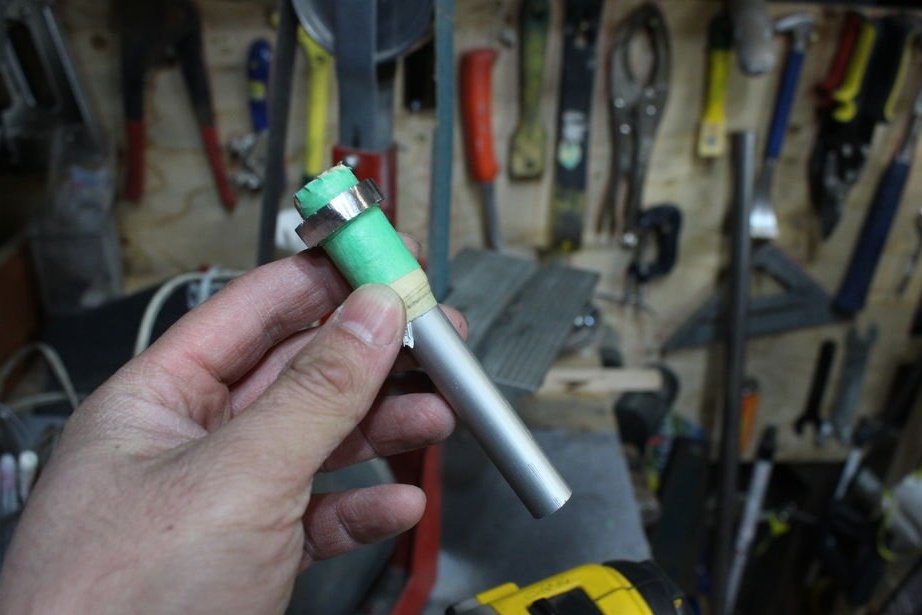
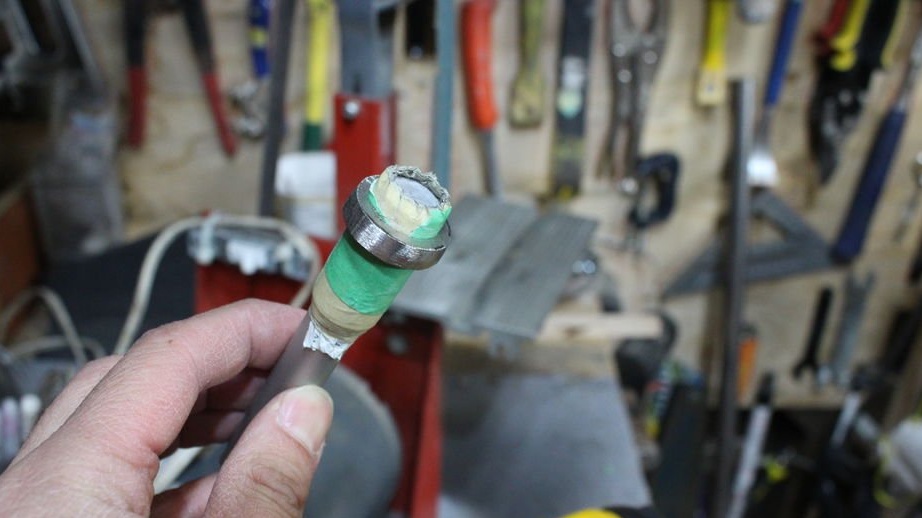
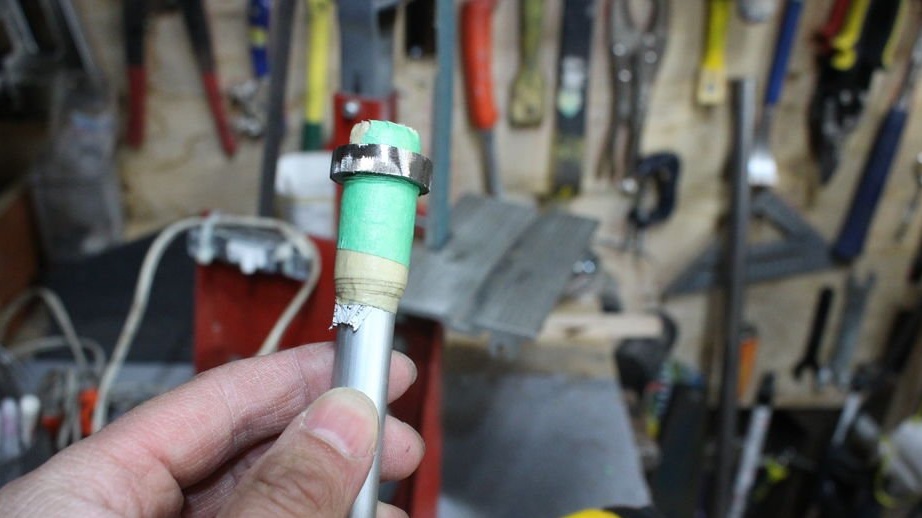
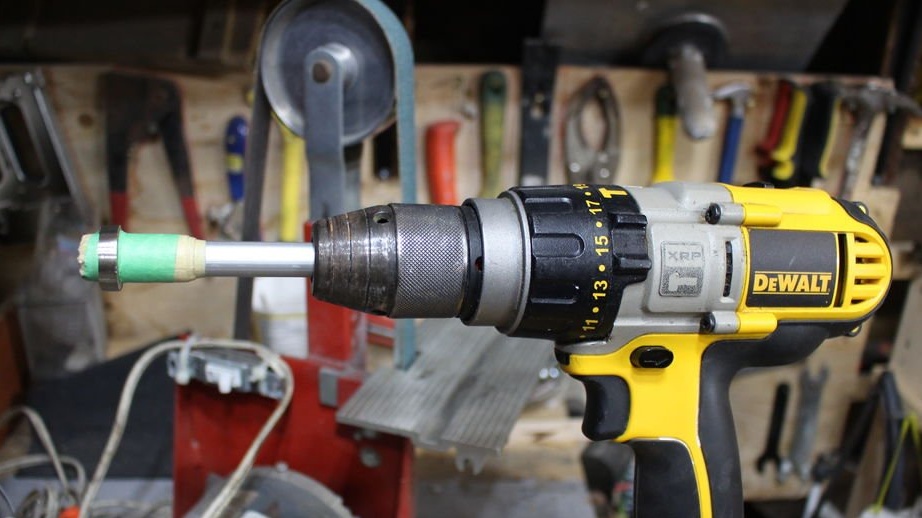
This tool will make the ring perfectly round and smooth. Improvised "mini-lathe" with an aluminum rod and adhesive tape. Instead of an aluminum rod, a wooden handle is also suitable. The aluminum rod wrapped around with adhesive tape matched the size of the ring. The ring is held only by friction. You must add or remove tape so that the ring fits snugly. Then this rod must be inserted into the drill.
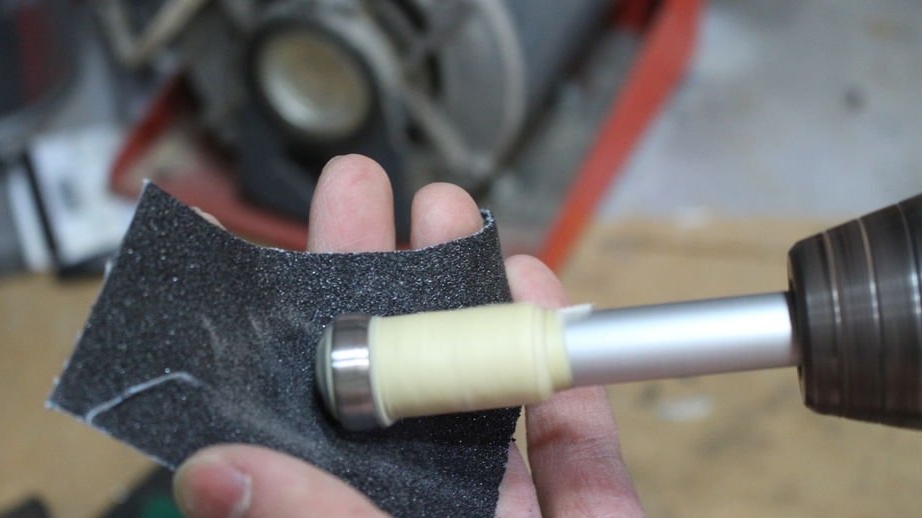
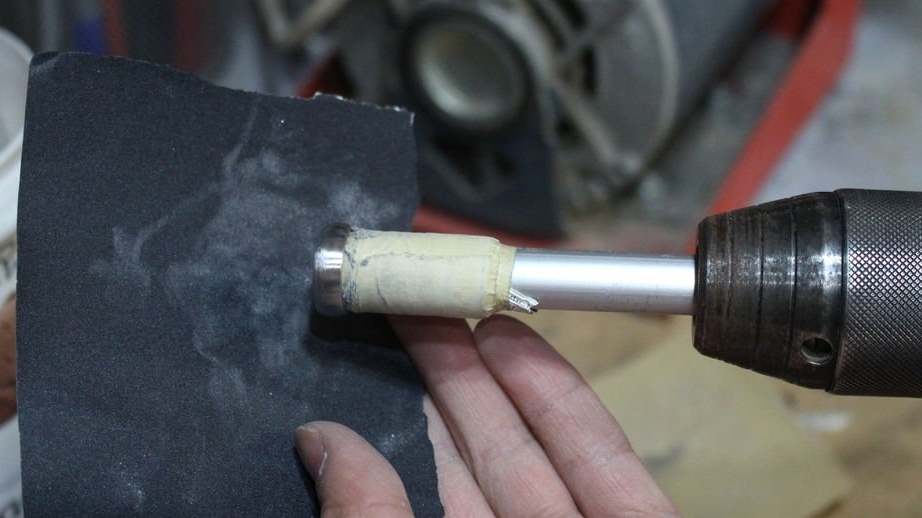
Step 7: Coarse grinding the ring
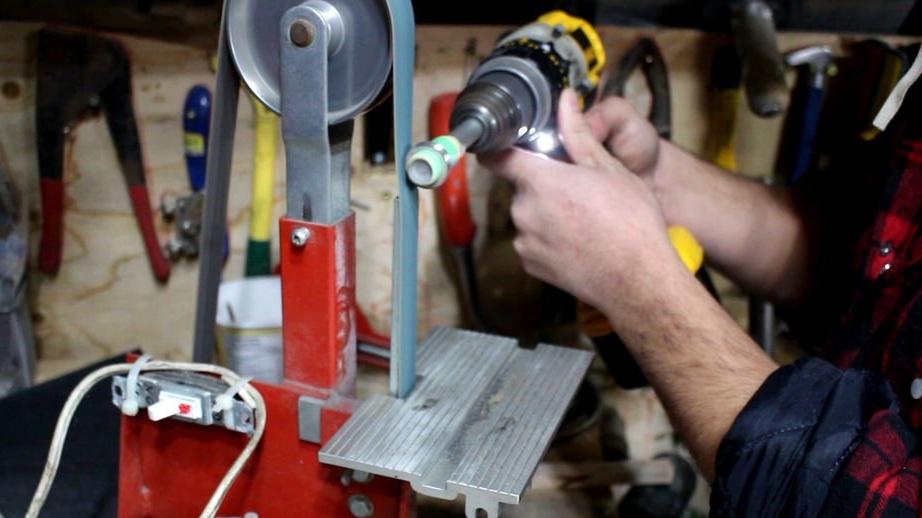
With the help of an improvised lathe for the ring, it's time to shape it into final shape. In fact, you will rotate the pseudo-drill and at the same time grind it on a belt grinder. Again, if you do not have a belt sander, you can use a disk sander or a portable belt sander.
You can simply hold the nut attached to a piece of wood and grind it on large sandpaper. This also works, but will take a very long time. Because the manual work is painstaking and long.
The ring will begin to round and take shape. Try to keep the ring even so that it has a flat profile.
At this stage, you need to determine the thickness of the product and grind until you reach the desired thickness of the ring. It can be a thin elegant or thick wide ring.
Step 8: Milling and Finishing
It's time to add the beveled edges to the ring to the desired size. Adding bevels will make the ring comfortable to wear. You can simply round the edge and get a stocky ring. The author decided to make an elegant and comfortable ring.
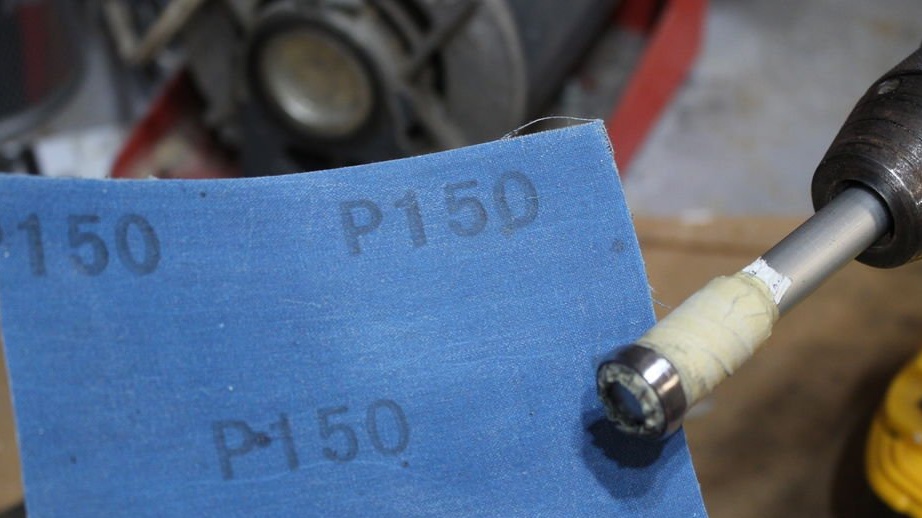
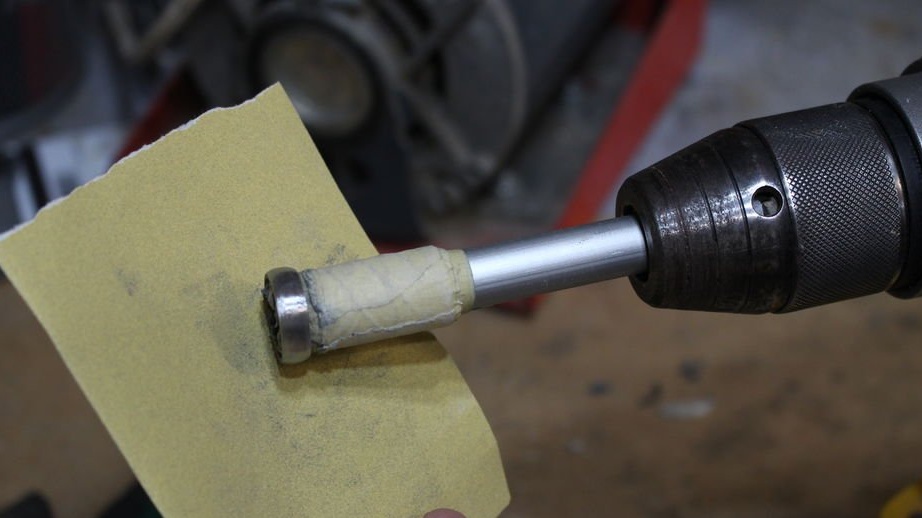
Using an emery cloth and a screwdriver, the author mowed the edges. Inside the ring, the metal had to be processed manually. Once the ring has reached the desired shape, it is time to move on to a smaller sandpaper.
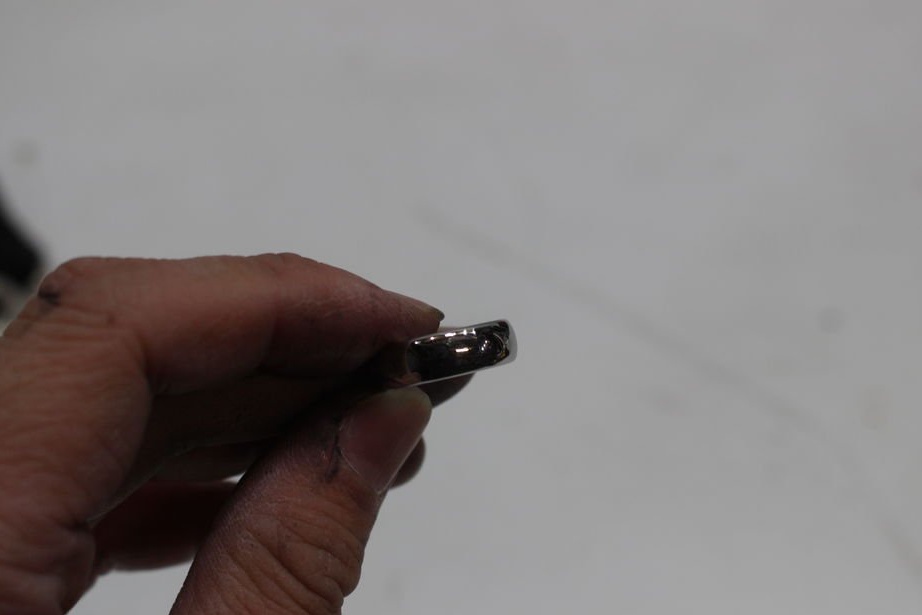
Gradually advance to finer grain on sandpaper. Each grain will remove previous scratches. Grinding time should take a minute or two for each grain size. When you reach a grain size of 800-1000 units, the ring should begin to shine.
At a grain size of 1,500 units, the ring will indeed be brilliant. And this is even before polishing.
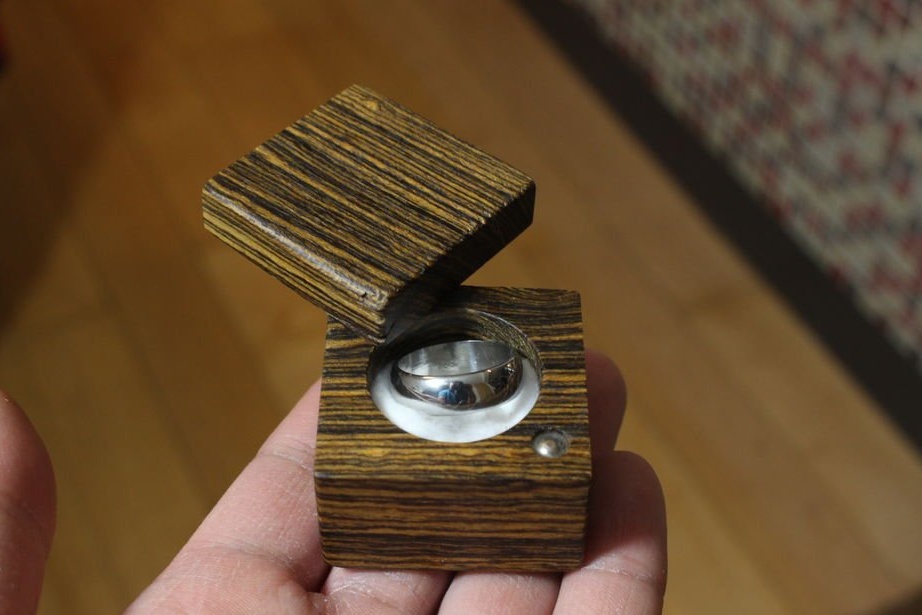
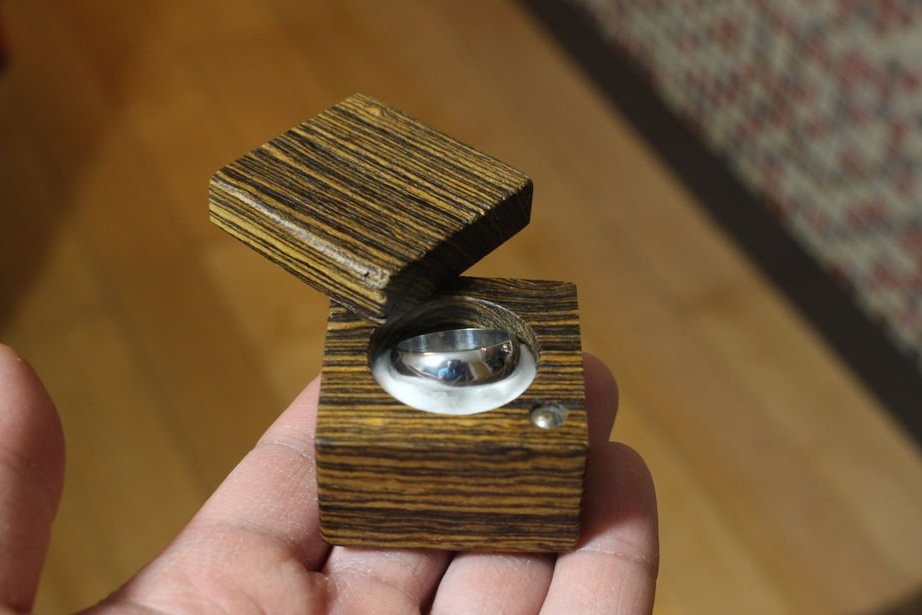
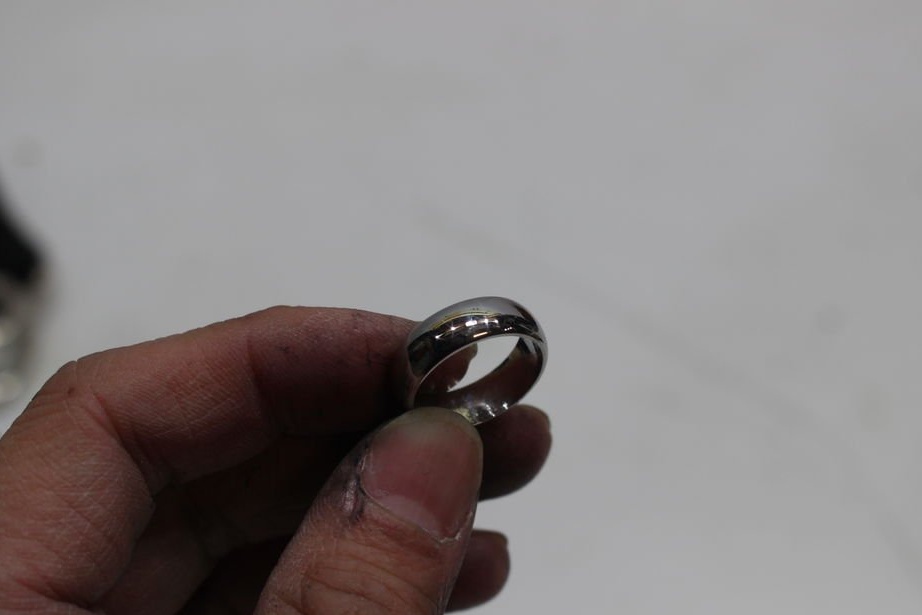
Step 9: Polishing
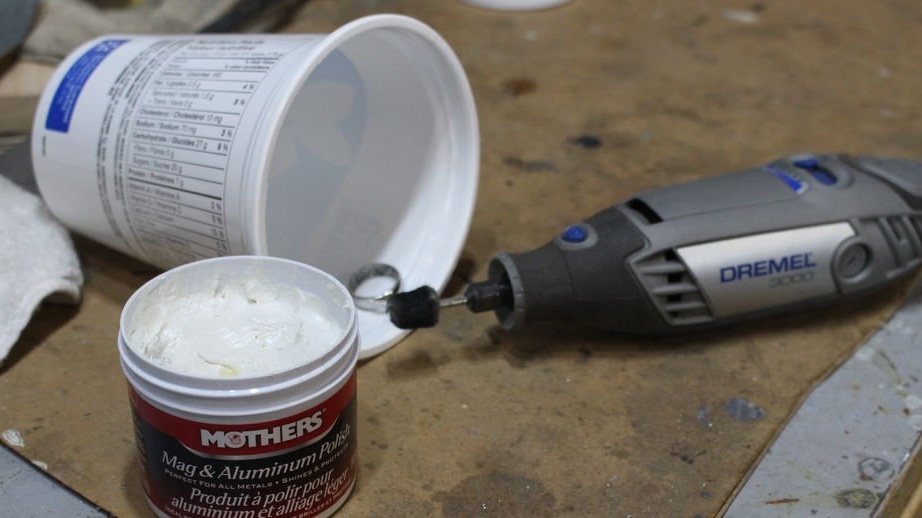

The last step is polishing the ring.
Polish the ring with a polishing cutter. In this case, it is necessary to add polishing paste for the metal, both inside and outside.
It is advisable to use a container so as not to splatter everything around.