The master who made this bag painted his and his family’s life for 10 years ahead))) More precisely, he made a family travel plan for the next 10 years until the children grow up. Usually when traveling he travels with a backpack, but after seeing a bag in one of the shops, he decided that this is what is needed for a 10-year plan.
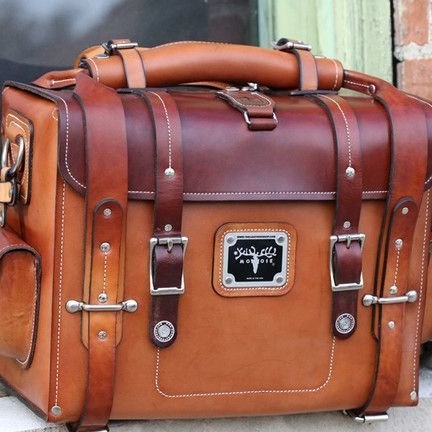
The problem is that the cost of such a bag is $ 1,600. Having no such amount, the master decided to make such a bag on his own.
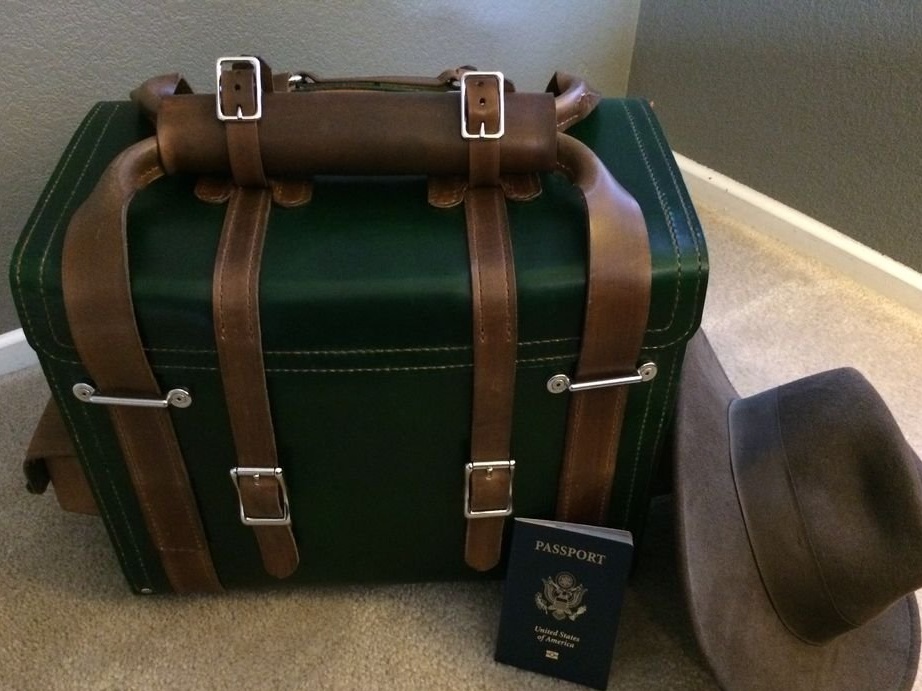
The basic requirements in the manufacture of the traveler's bag were as follows: strength (for 10 years), capacity, size not exceeding 56 x 36 x 23 cm (airline requirements).
Making the bag for the master cost an order of magnitude cheaper and amounted to $ 400: 200 leather, 100 tools, 100 accessories. In time, it took about 40 hours.
Tools and materials:
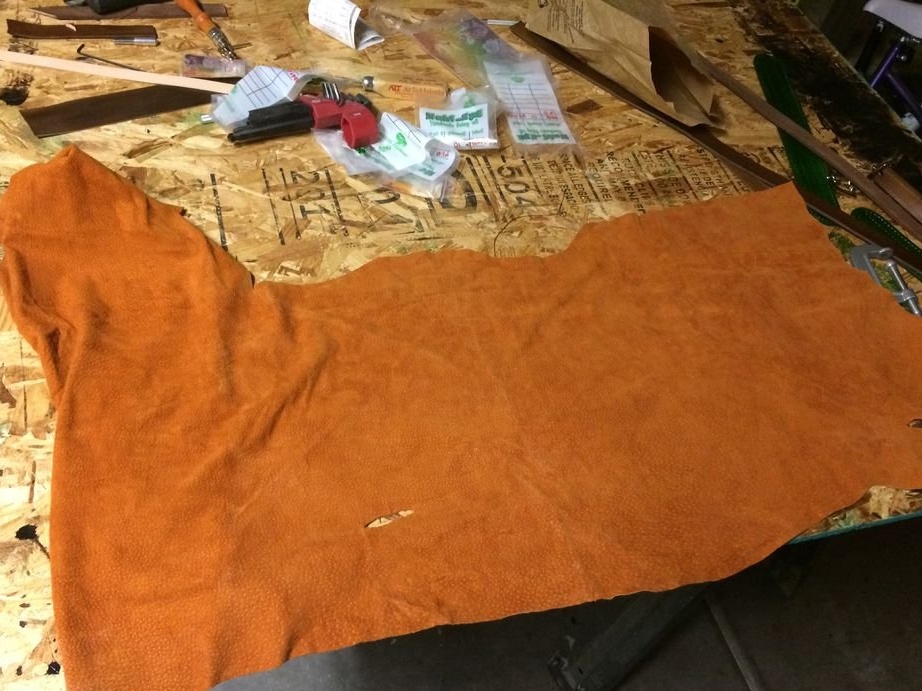
-Leather;
-Tool for working with skin;
-Fittings (buckles, latches, buttons);
-A pen;
-Rule;
-Plastic glasses;
-Plastic capacity;
-Thread;
-Needle;
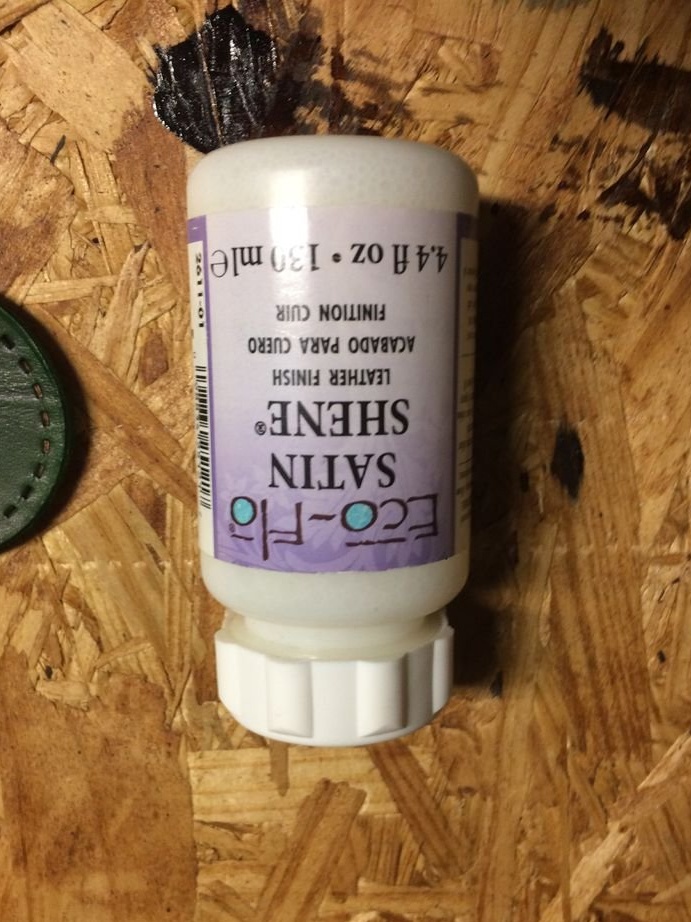
-Paint;
-Old jeans;
-Drilling machine;
-Polishing paste;
-Polishing nozzle;
-Protective composition;
-Roulette;
-Pliers;
-Office clips;
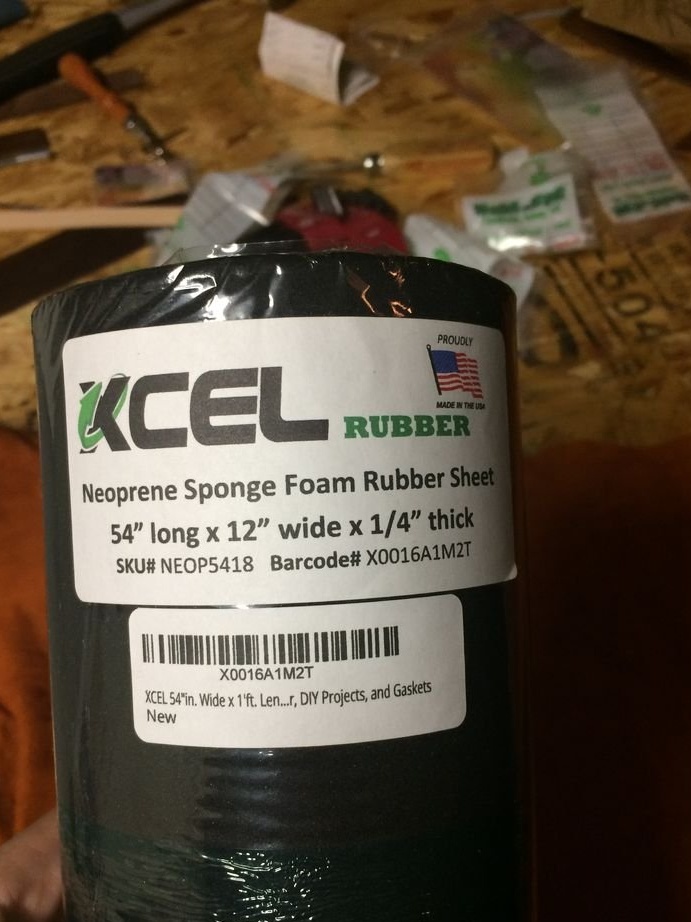
-Porolon;
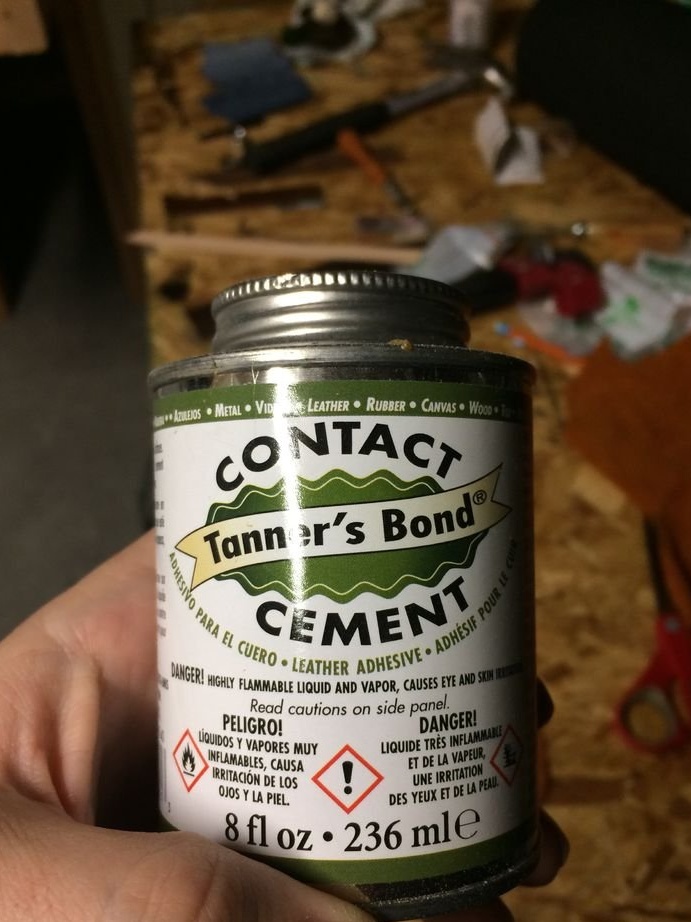
-Glue;
-Blades;
-Plywood;
-Board;
-Stapler;
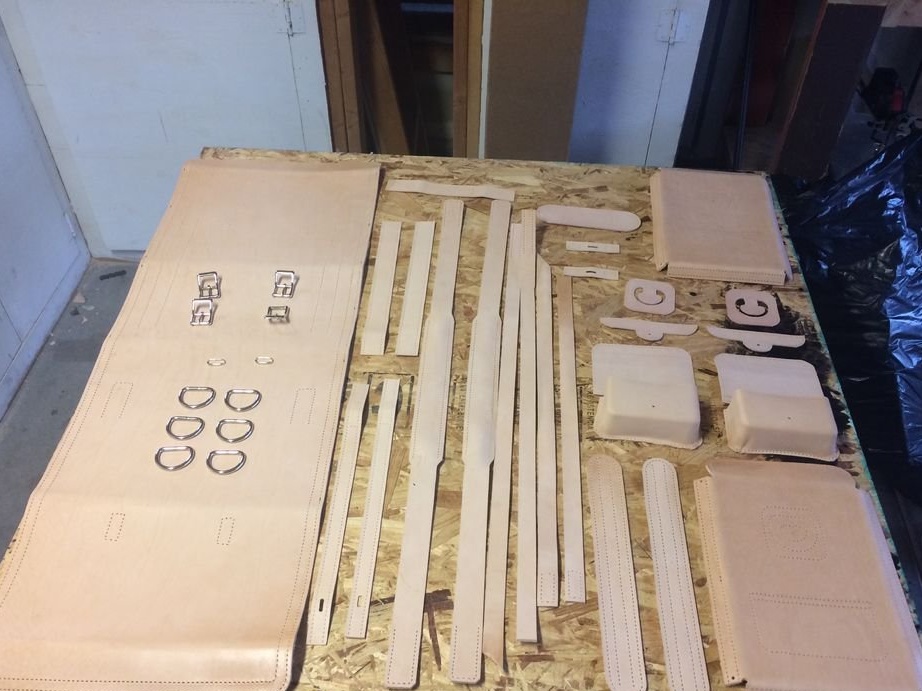
Step one: procurement of parts
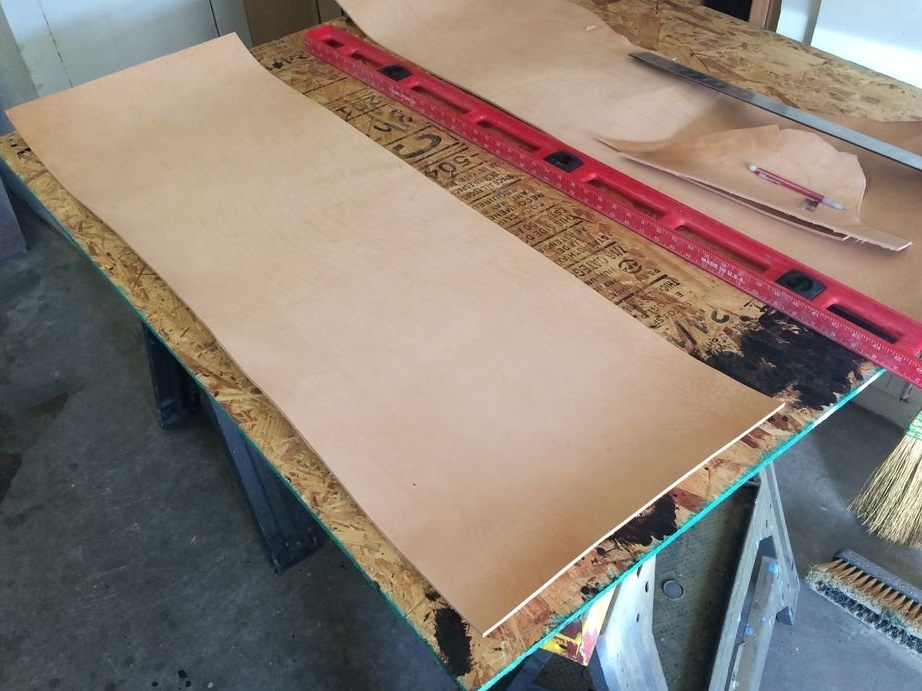
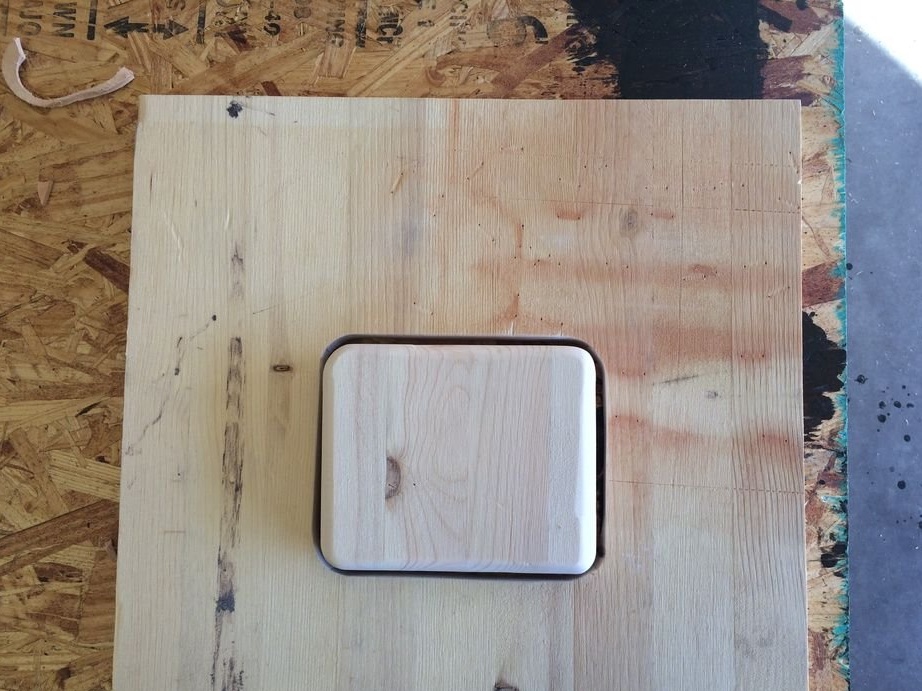
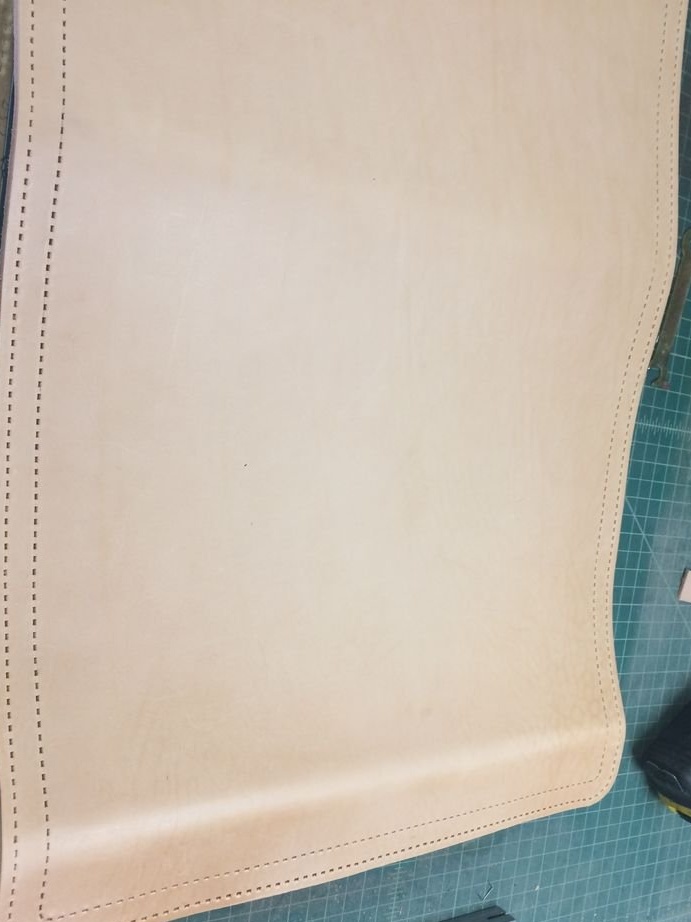
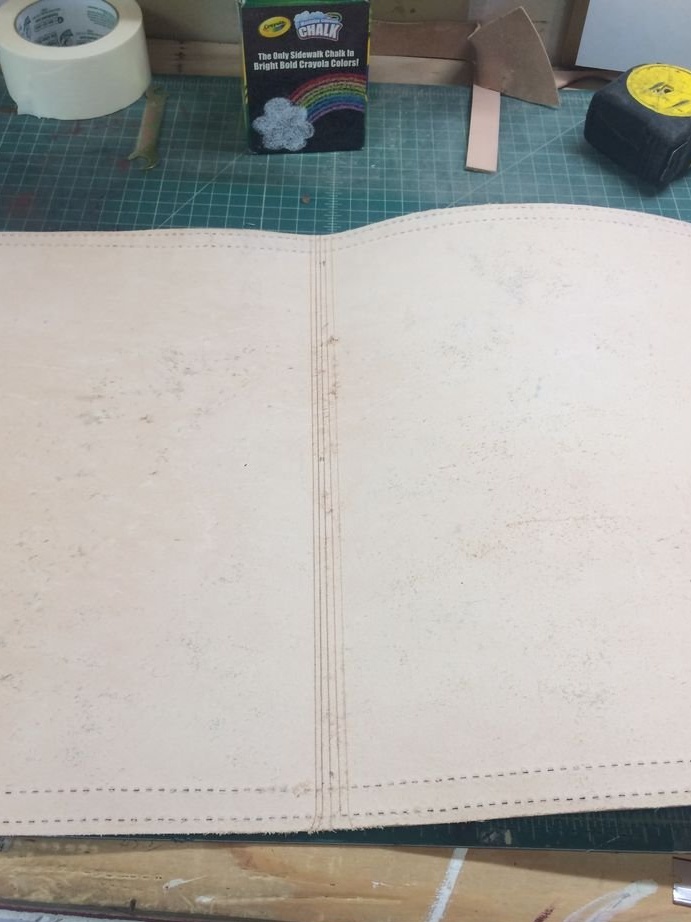
To understand the principle of manufacturing such a bag, you can do model square made of paper. By the same principle, a bag is made taking into account the valve and pockets.
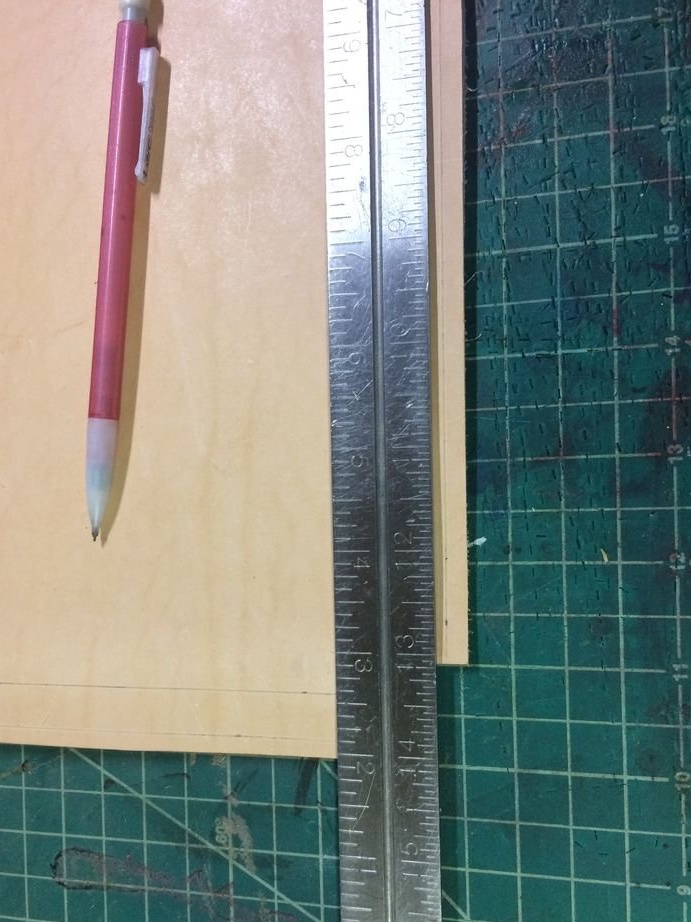
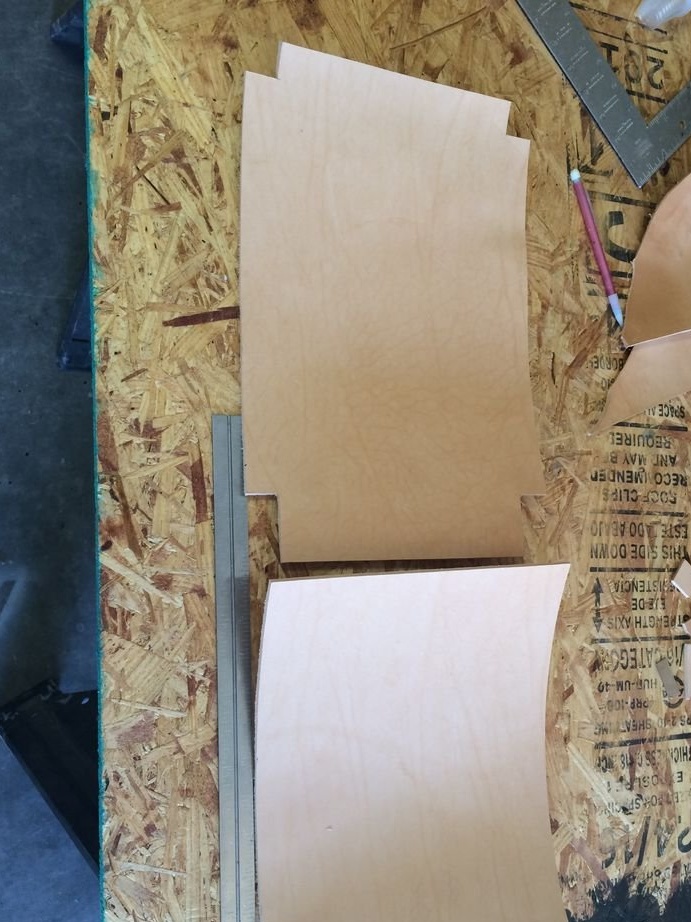
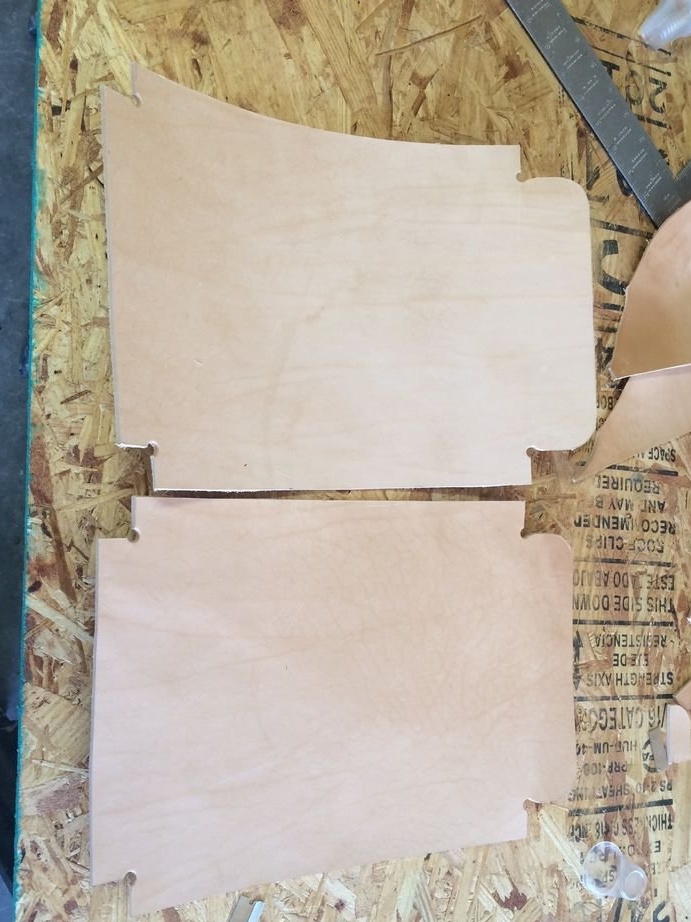
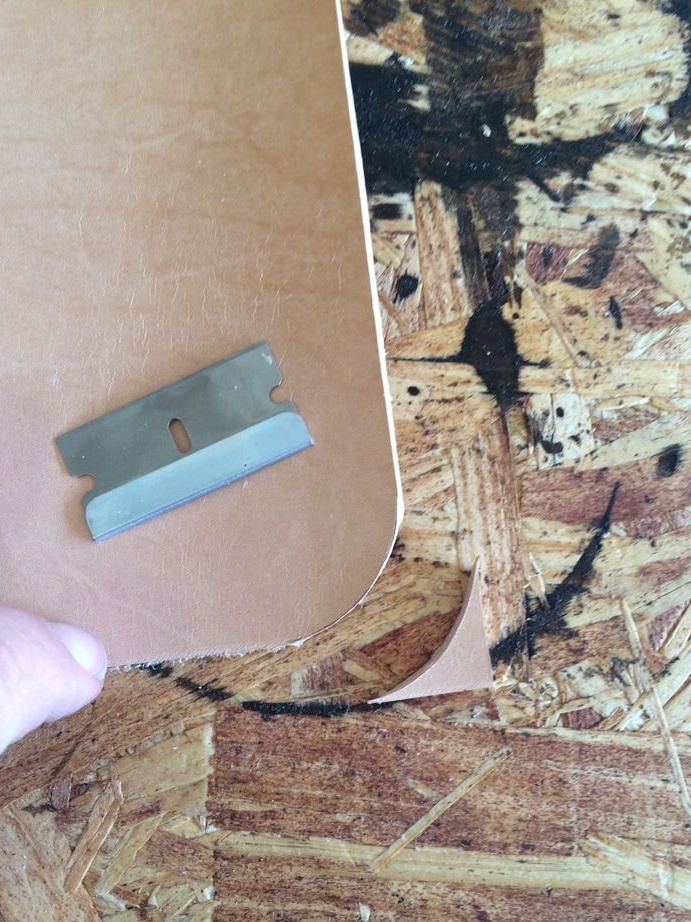
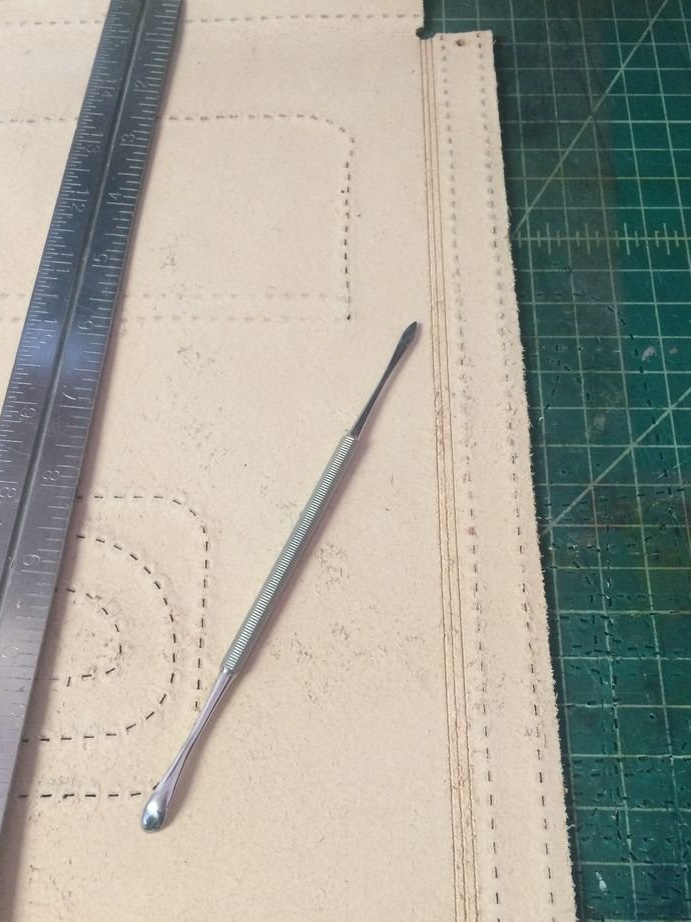
Leather master used thick and durable. With this in mind, the skin is cut with bending and stitching tolerances. For cutting, you can use a special knife, but the master cut with a blade.
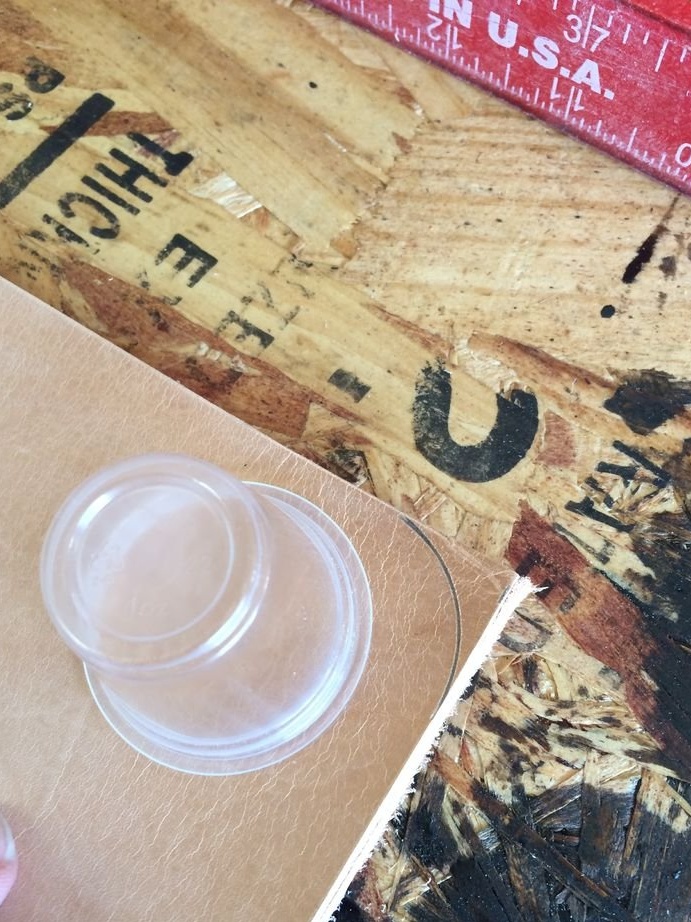
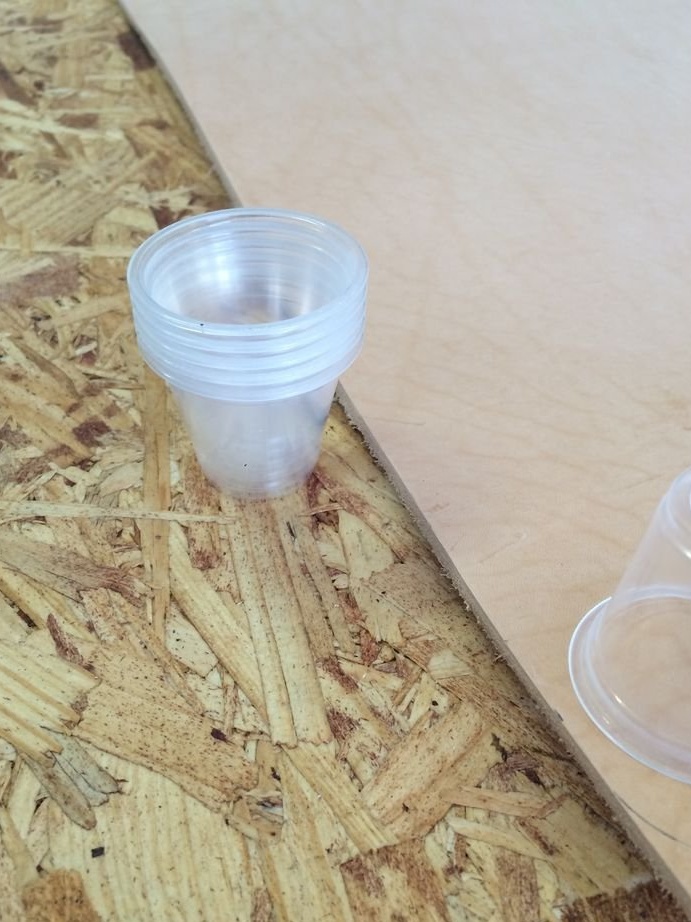
There are special tools for drawing radii, but even here the master managed with improvised means, namely plastic glasses.


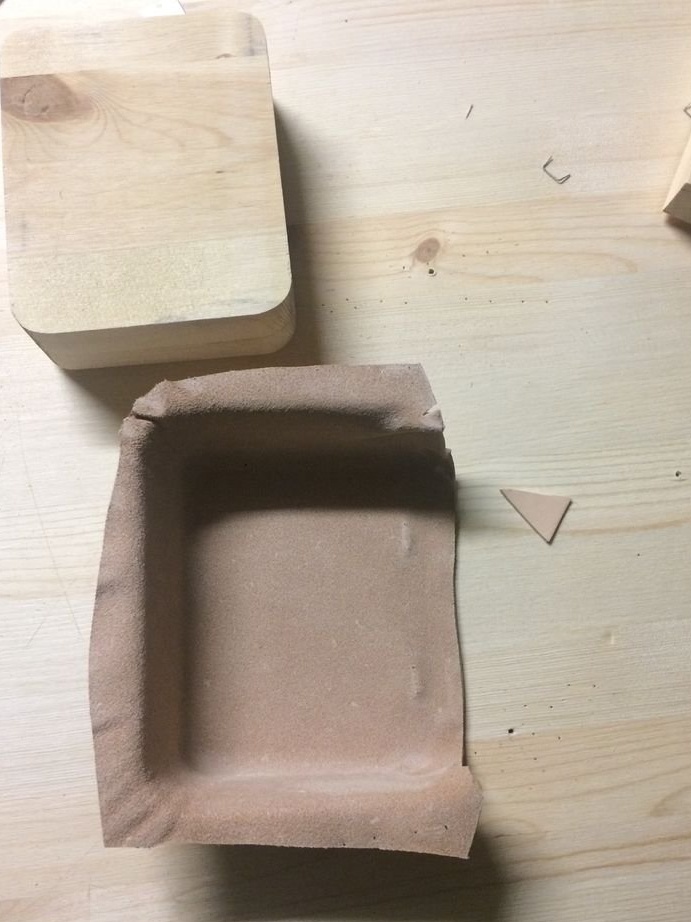
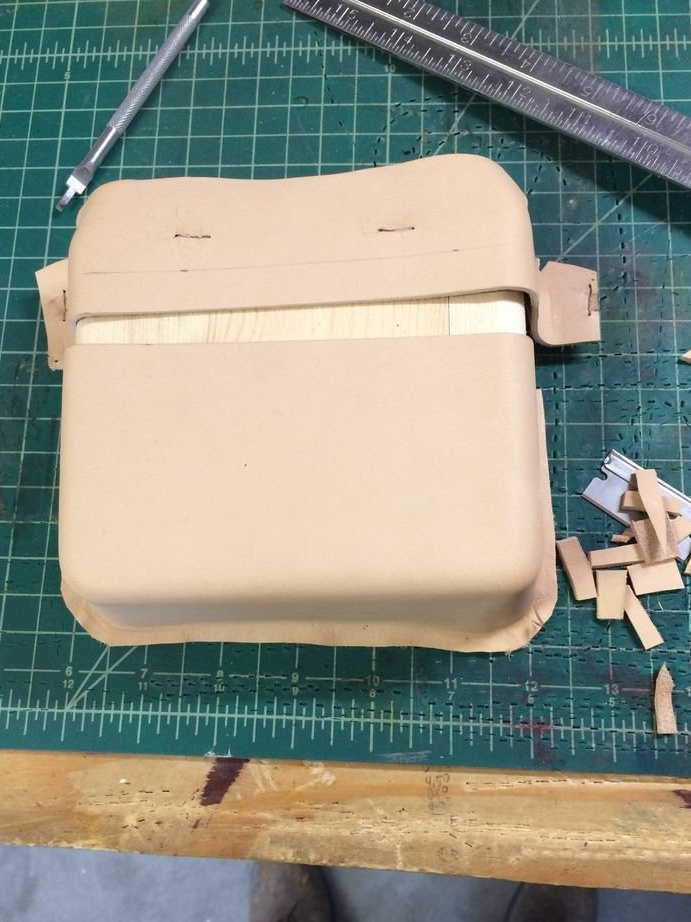
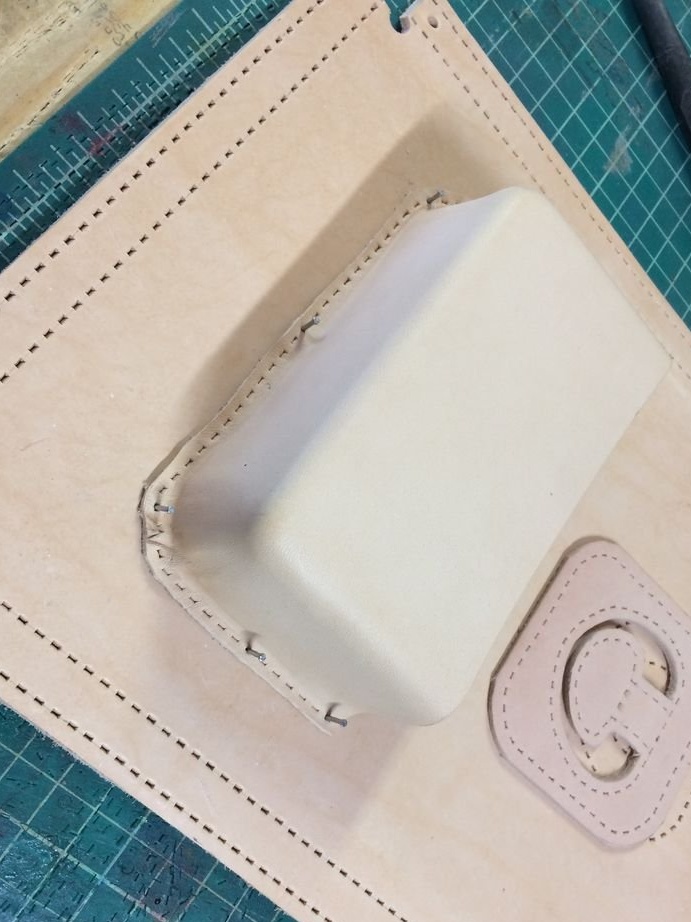
Step Two: Pockets
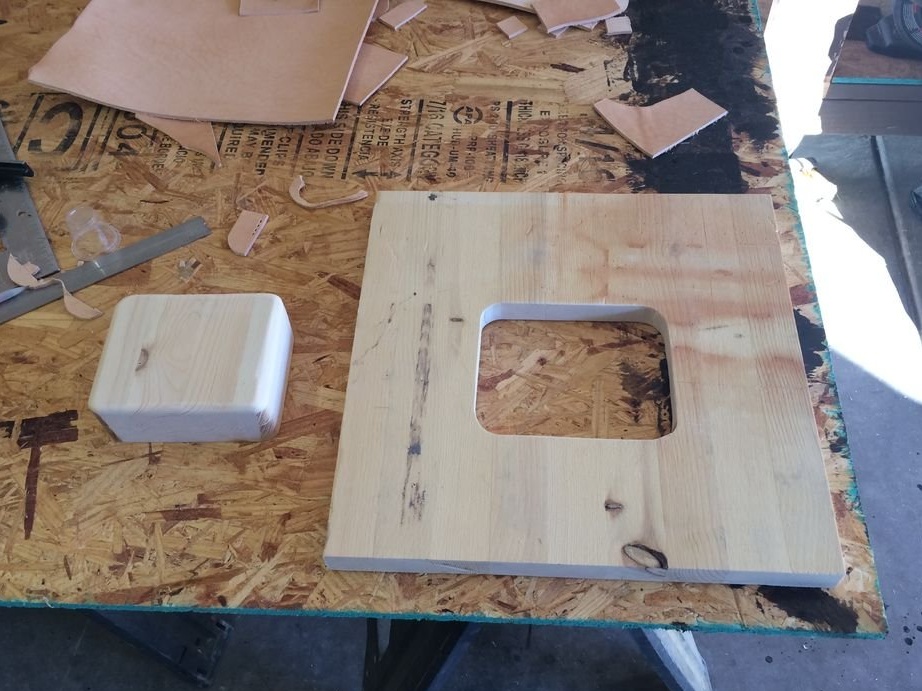
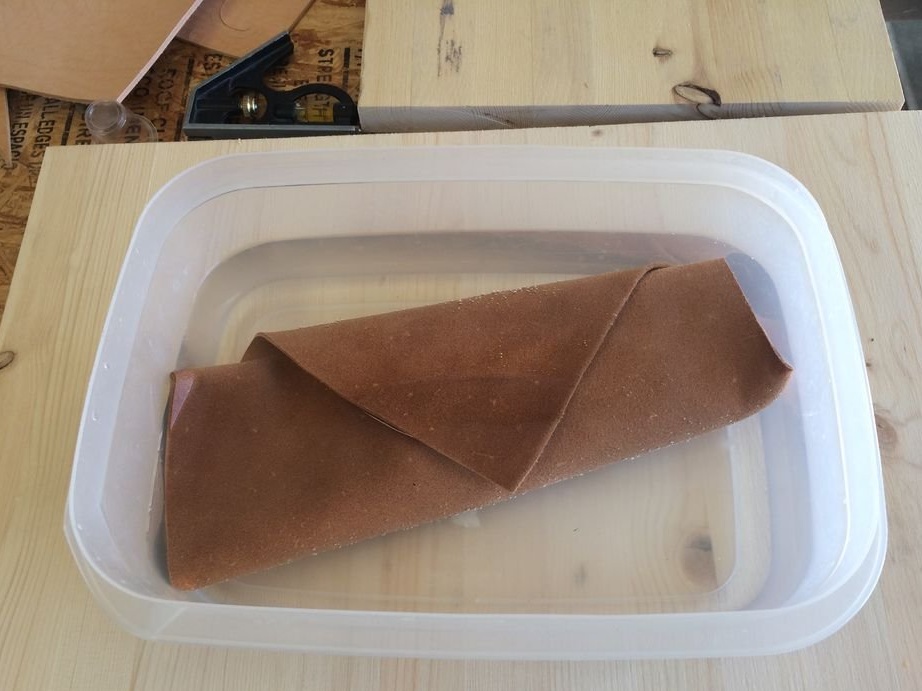
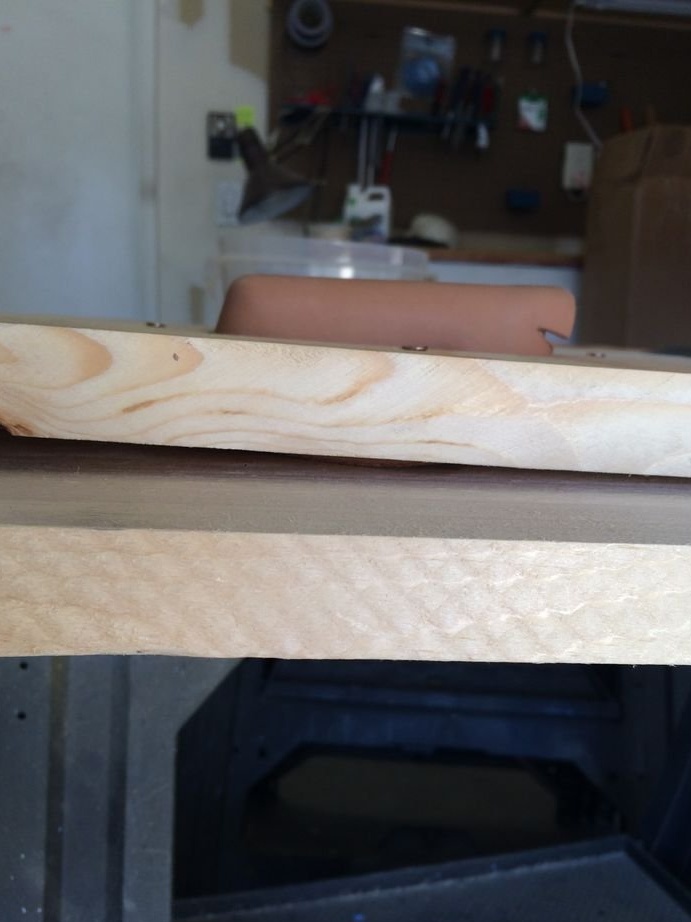
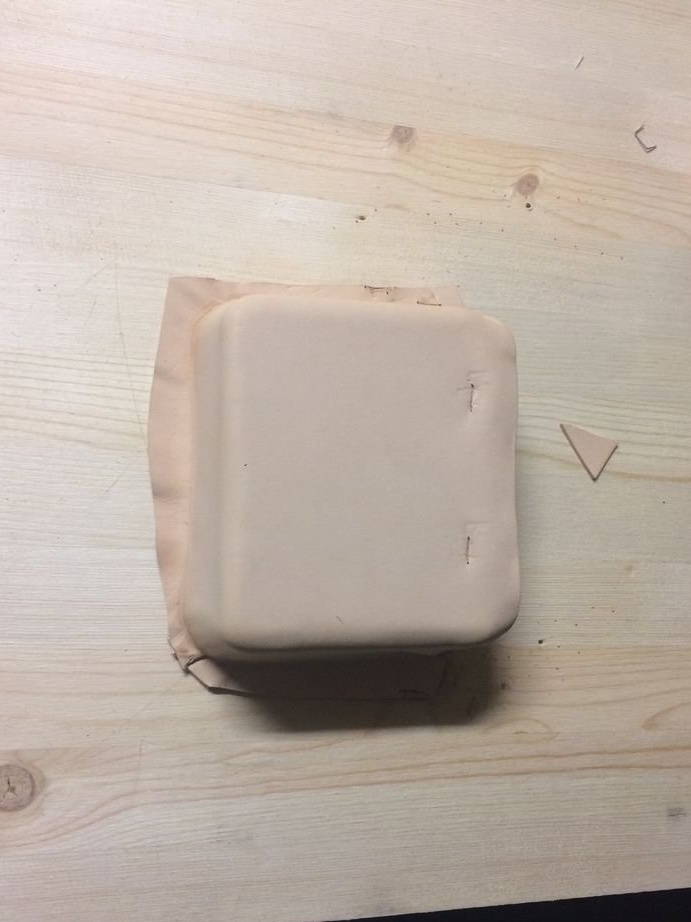
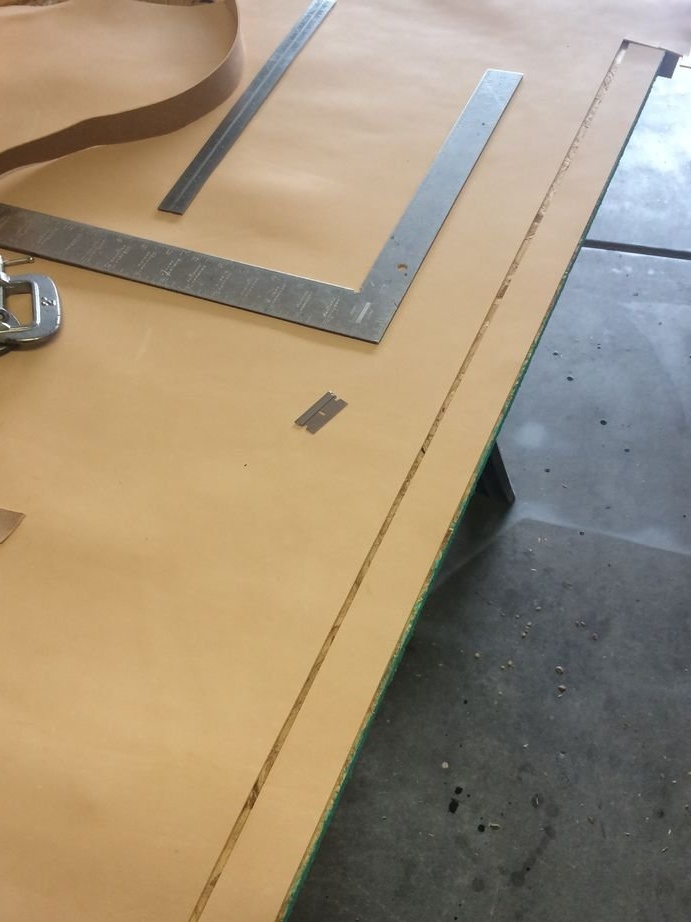
Pockets are made by wet molding. First you need to make a template. In a plywood sheet, a window is cut into sizes slightly larger than the size of the pocket. A shape is cut from a thick board. The skin (leather is used for a pocket thinner than the main one) is soaked for 10 minutes in a container of water. Then a piece of leather is placed on the mold and inserted into the “window”. The skin is smoothed in corners and faces, and then fixed with a stapler. After drying, the workpiece is cut.


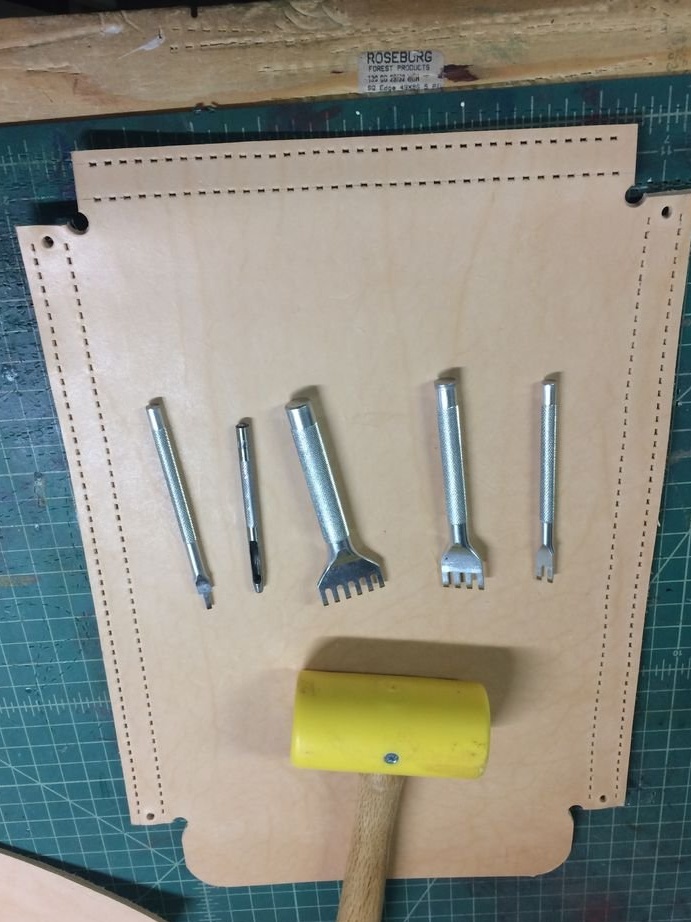
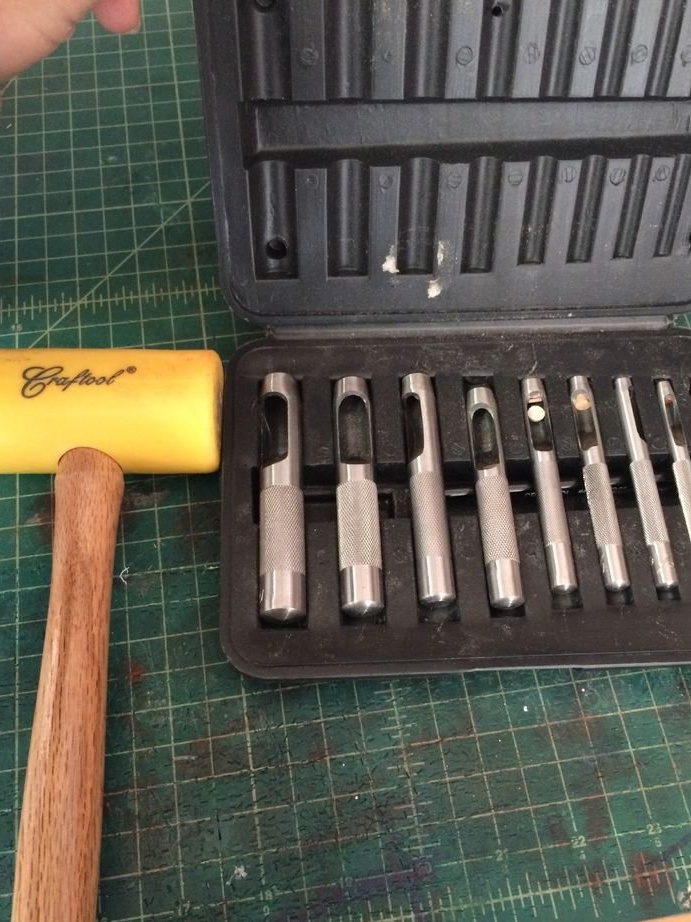
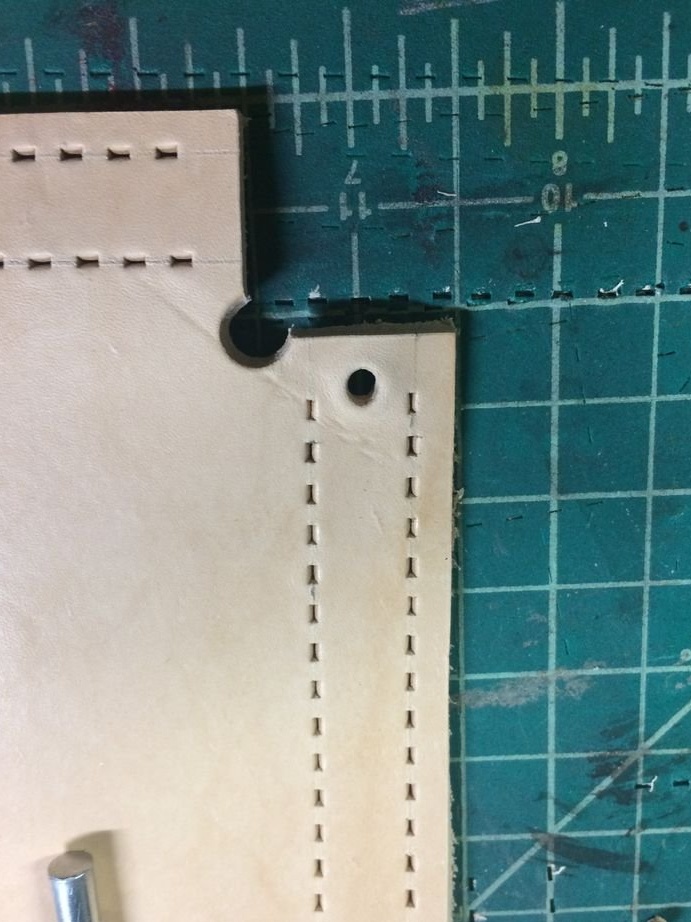
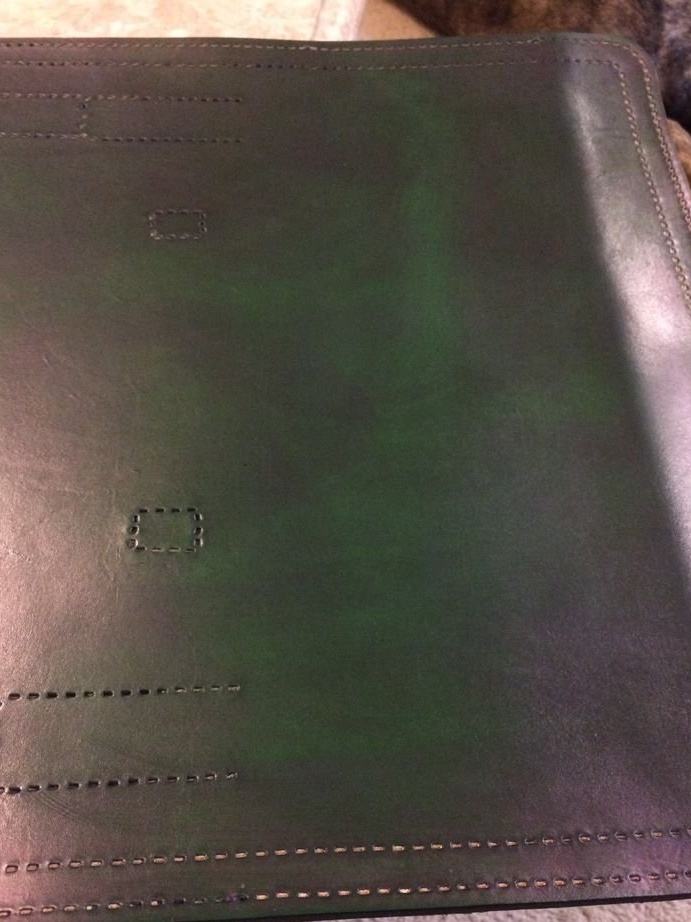
Step Three: Holes
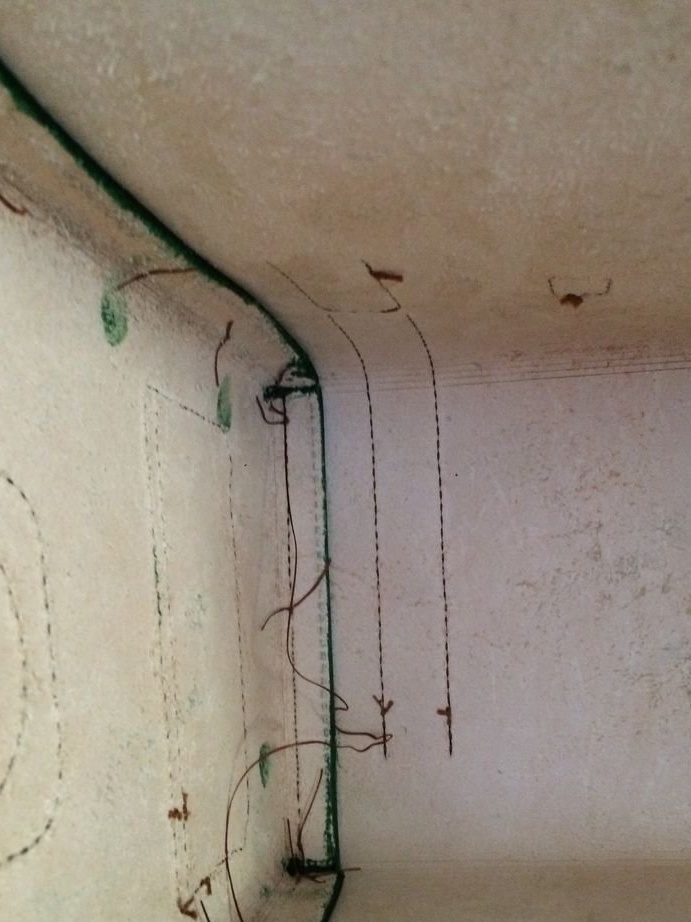
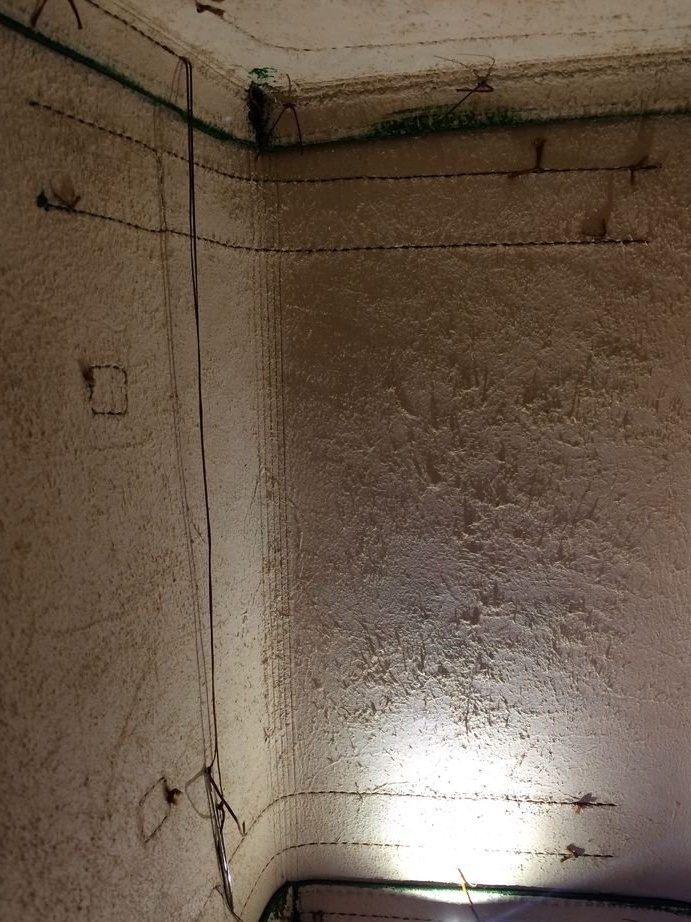
Pieces of blanks are stitched through pre-punched holes. For punching holes there is a special tool that has teeth at the same distance. The technology is as follows.two pieces of leather are taken that need to be stitched. On both workpieces, at the same distance from the upper point of both workpieces, the location of the first hole is marked. A line is drawn along the edge of the workpieces. Holes are punched along the line starting from the marked point. First on one workpiece, then on another. Now, if you combine the two workpieces, they will ideally converge along the holes.

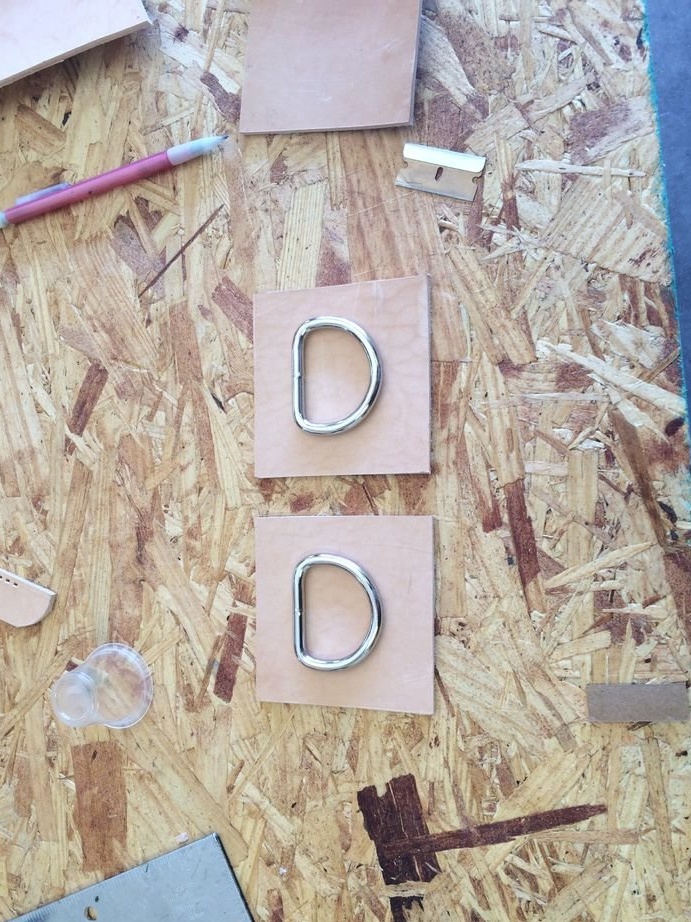
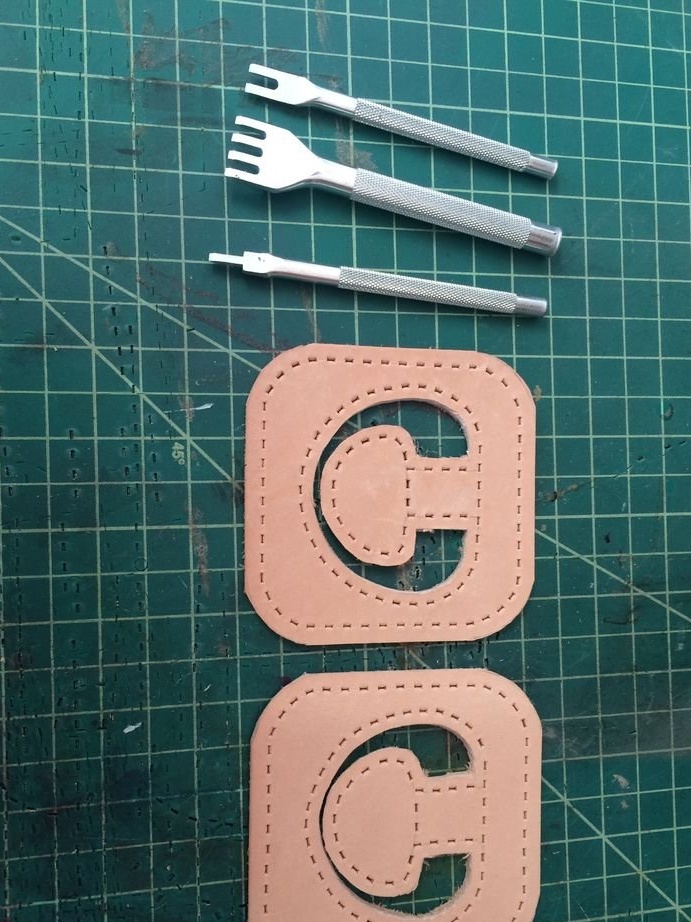
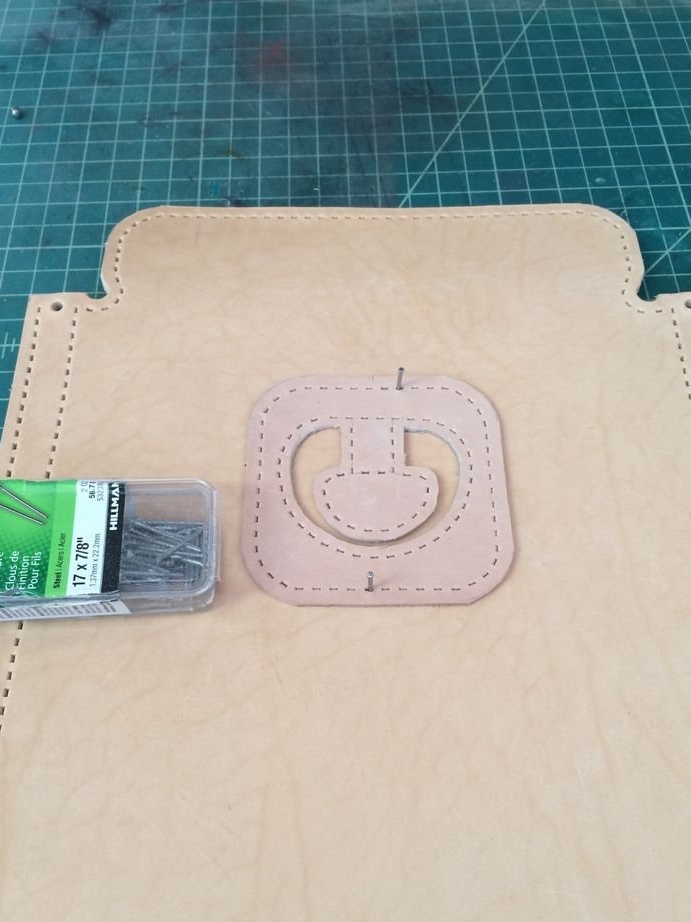
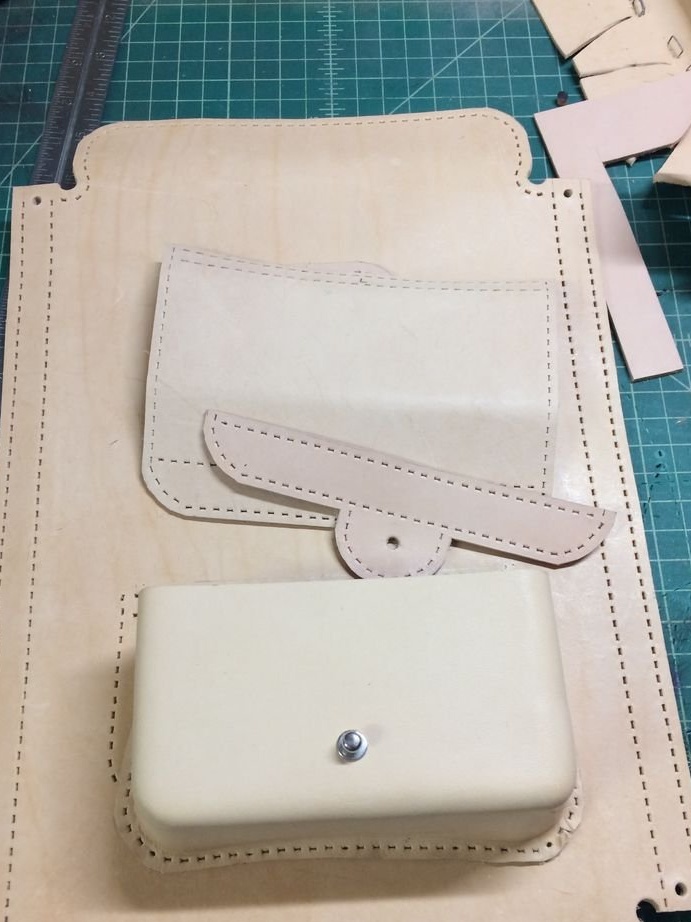
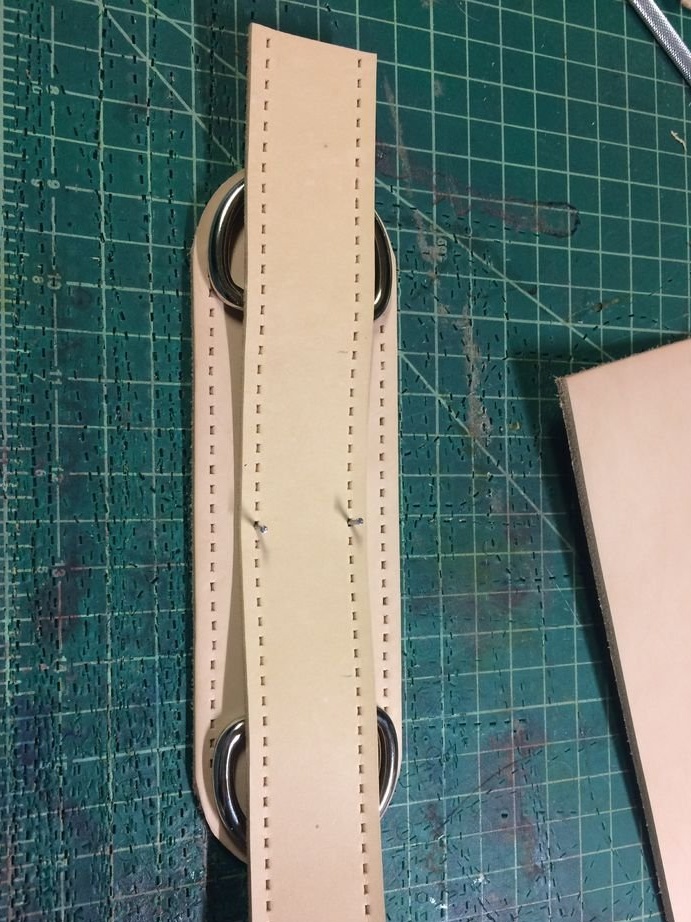
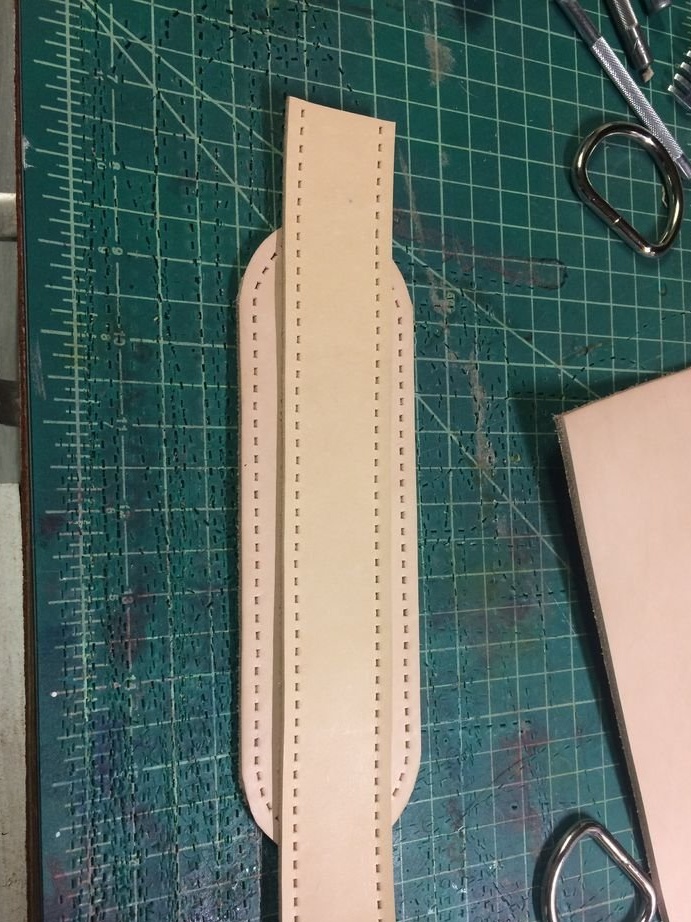
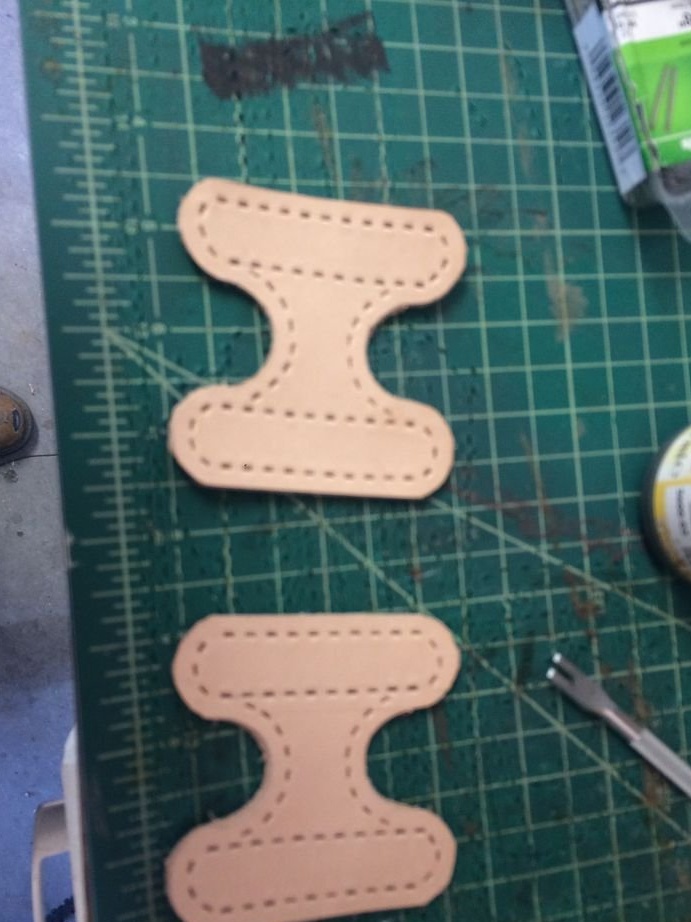
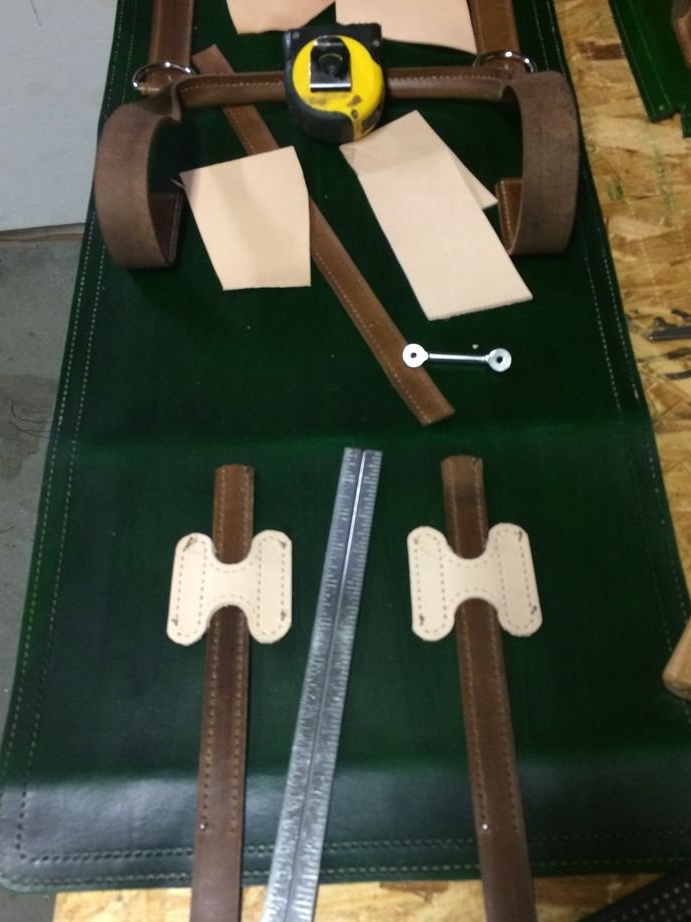
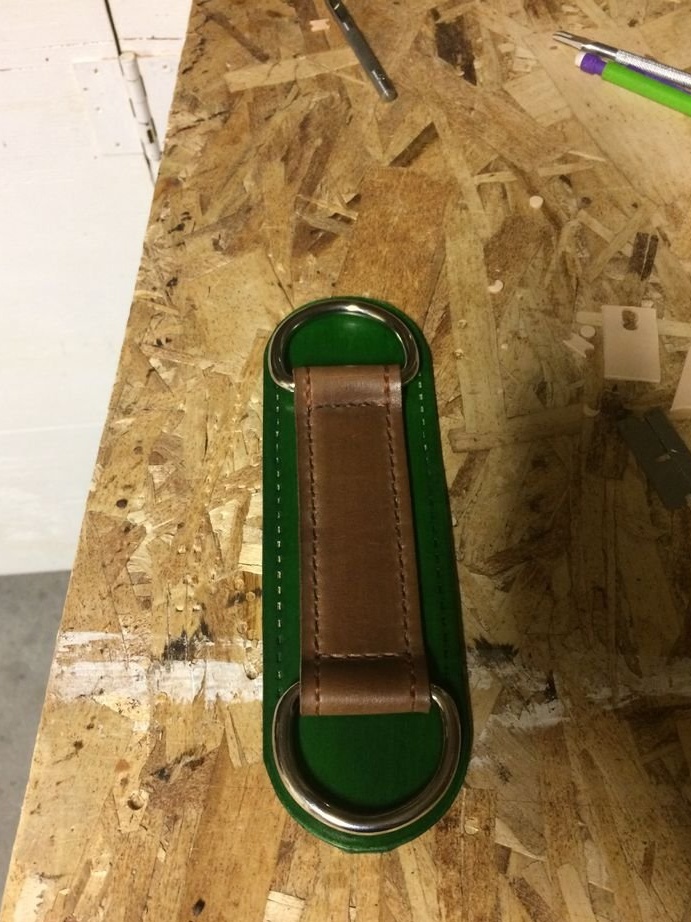
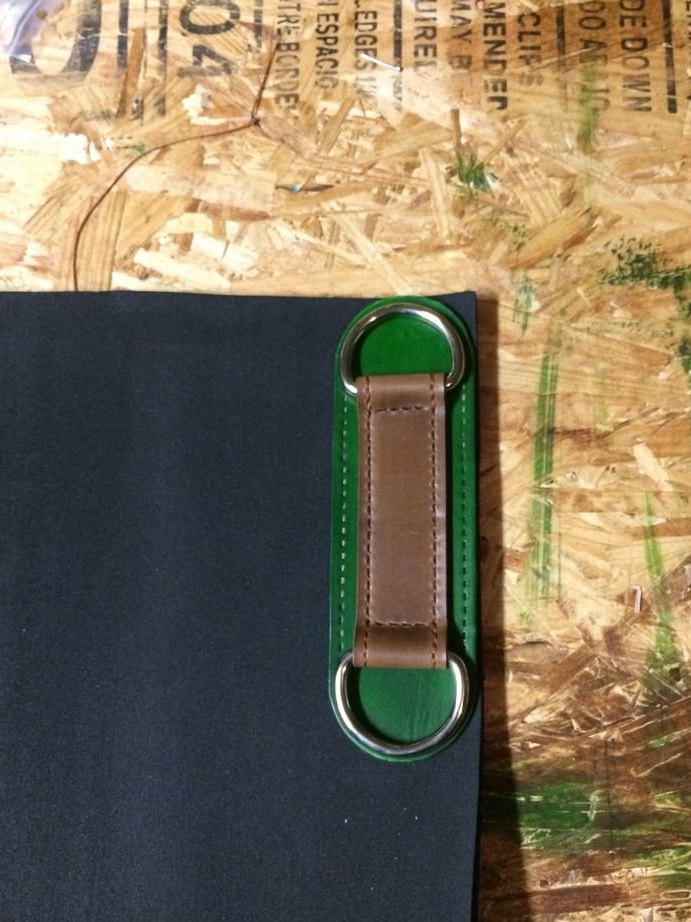
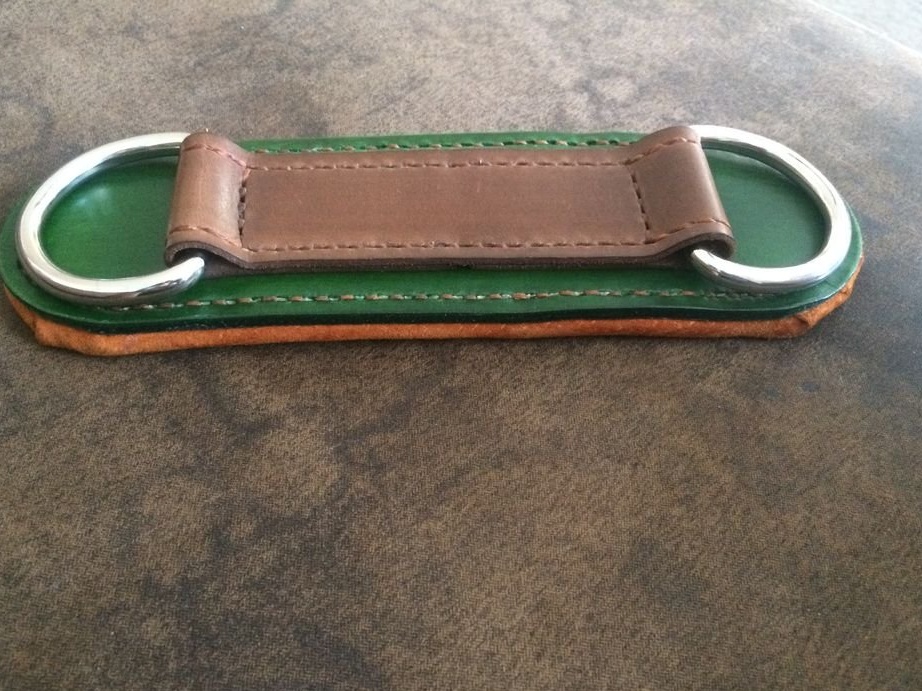
Step Four: Ring Holders
The ring holders are cut out as in the photo, then holes are punched. The finished workpiece is fixed on the details of the bag on which it will be sewn, and is used as a template. The master advises marking the blanks so as not to confuse the left and right sides.


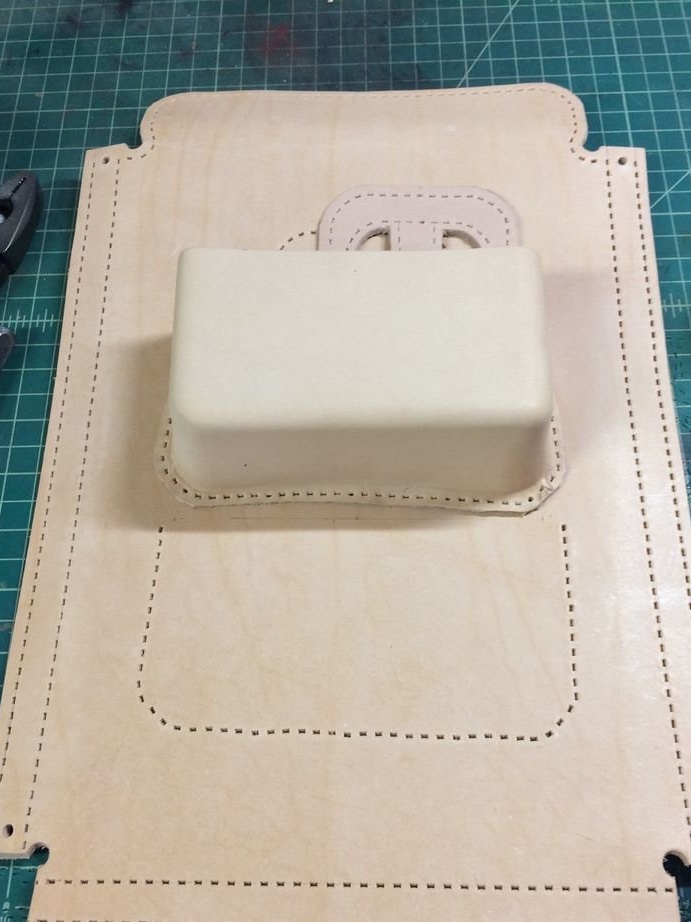
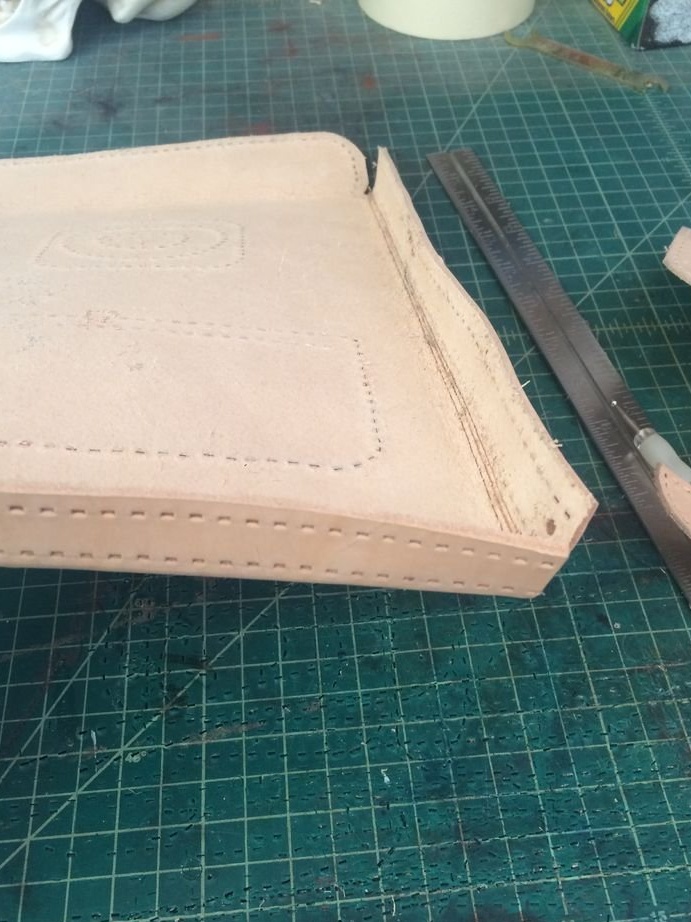
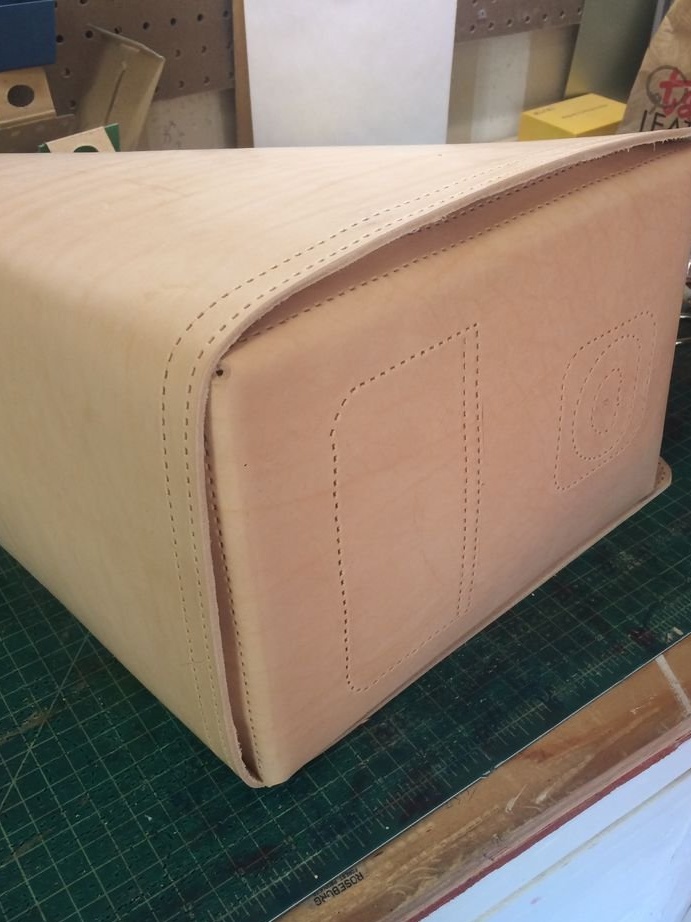
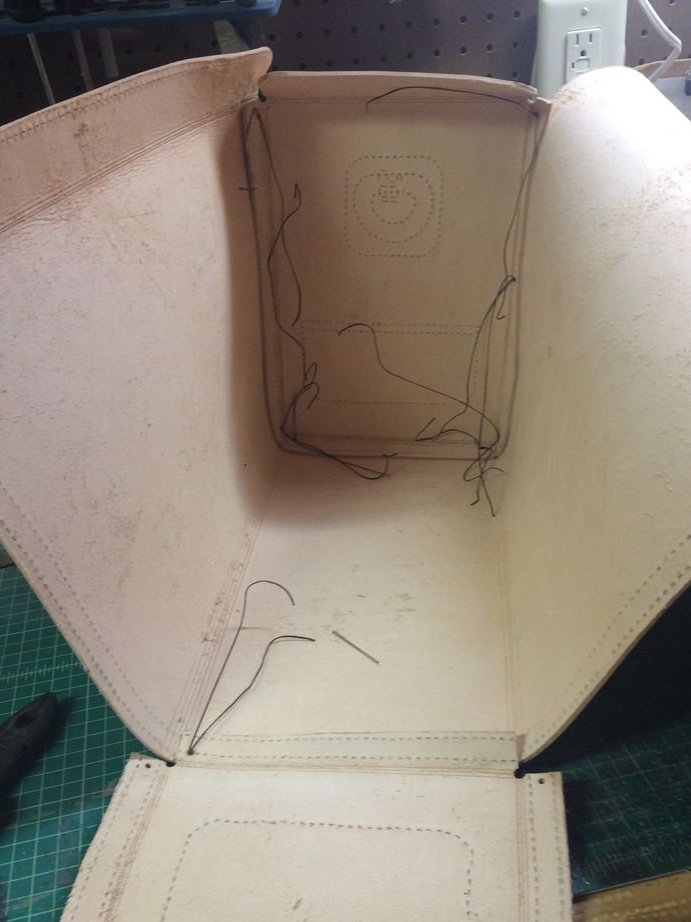
Step Five: Pre-Fitting
Master, pre-collects the frame of the bag and fastens with several stitches. At this stage, it is important to make the correct bends of the stitched parts, if necessary, cut the material. The skin is thick and, in places of bending, the master makes incisions.

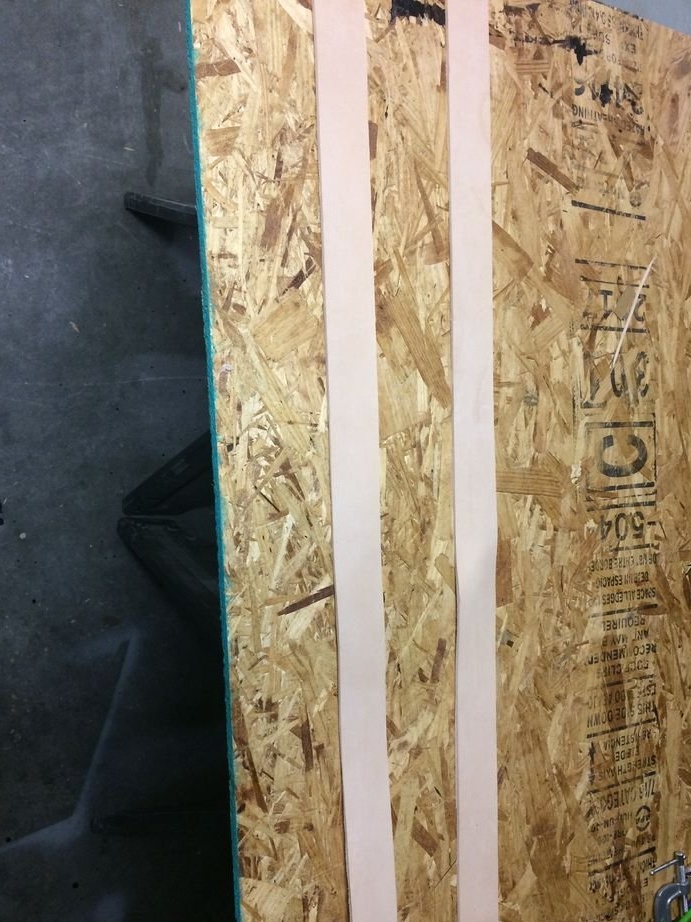
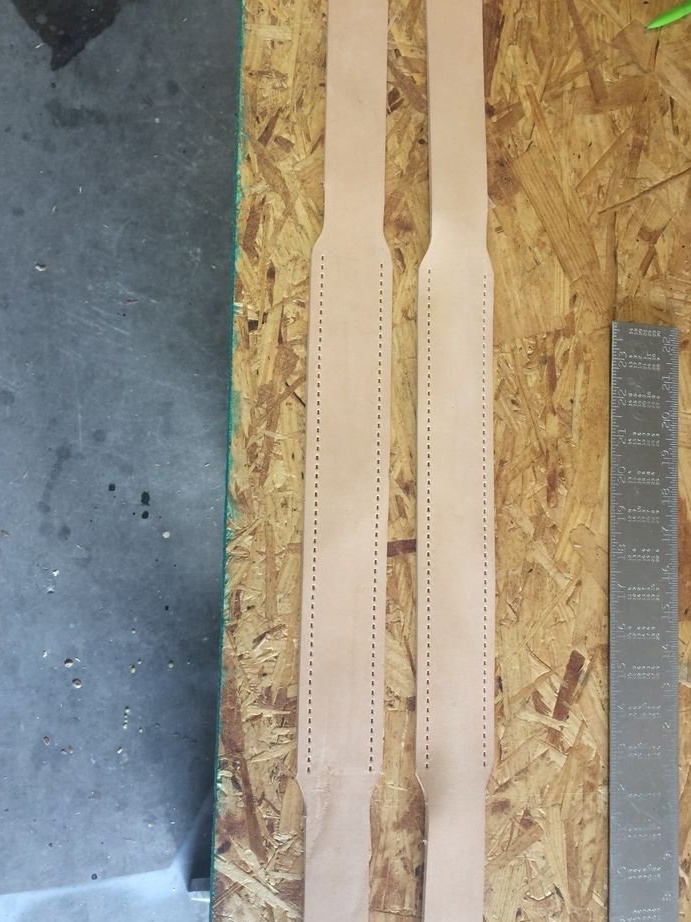
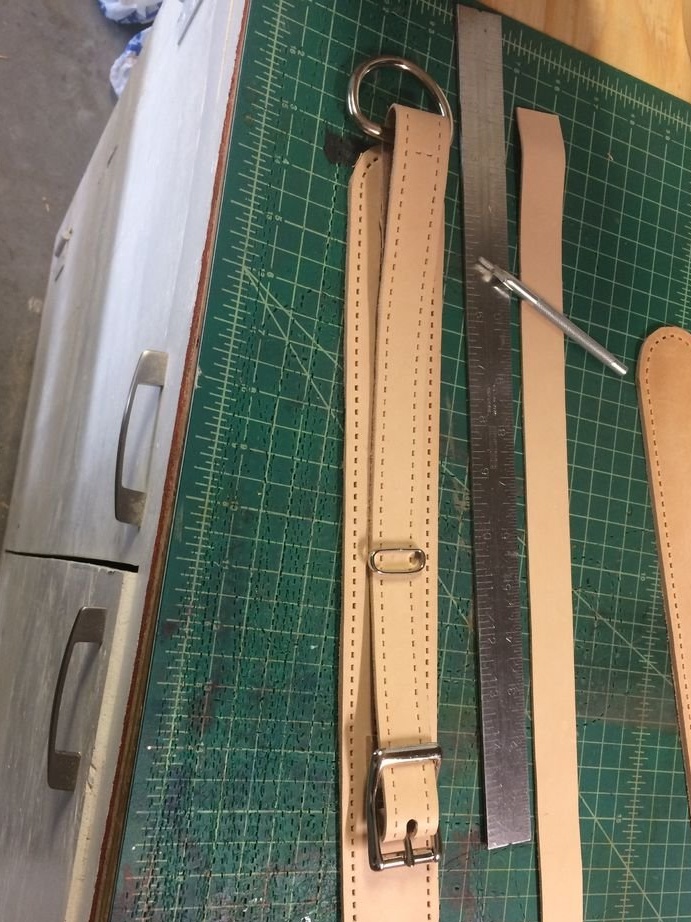
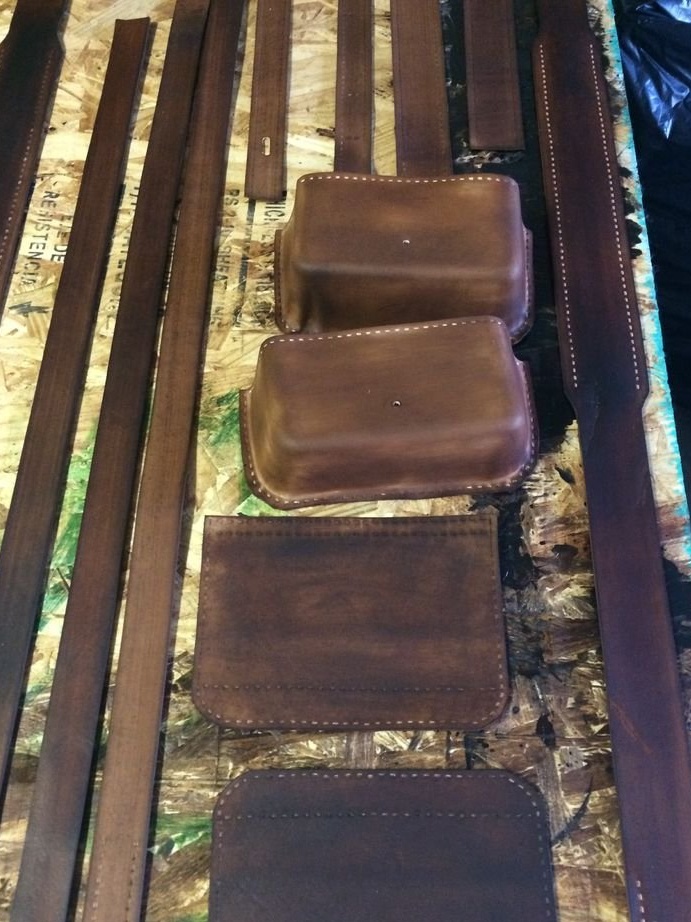
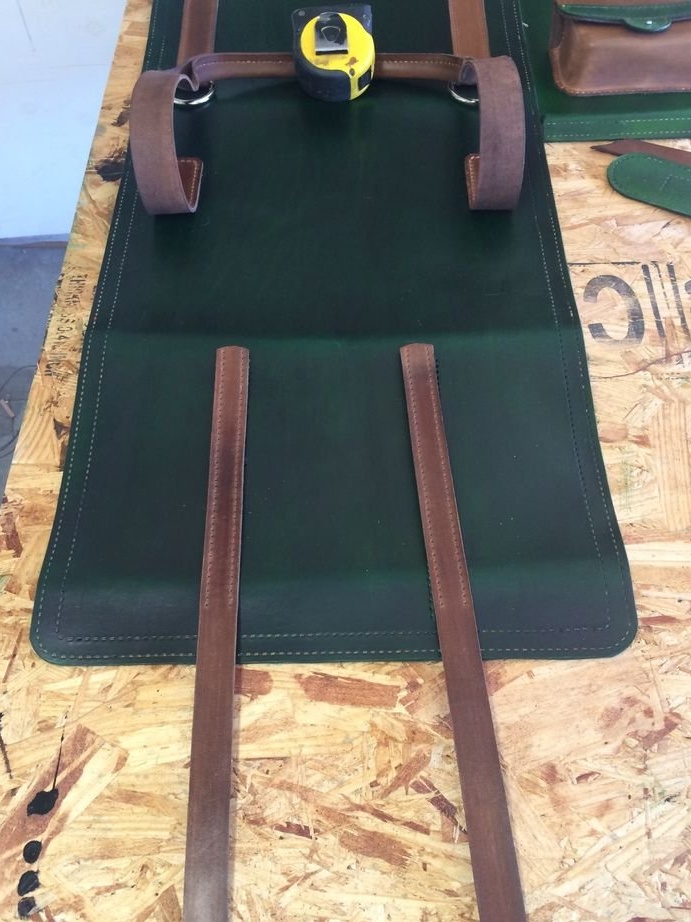
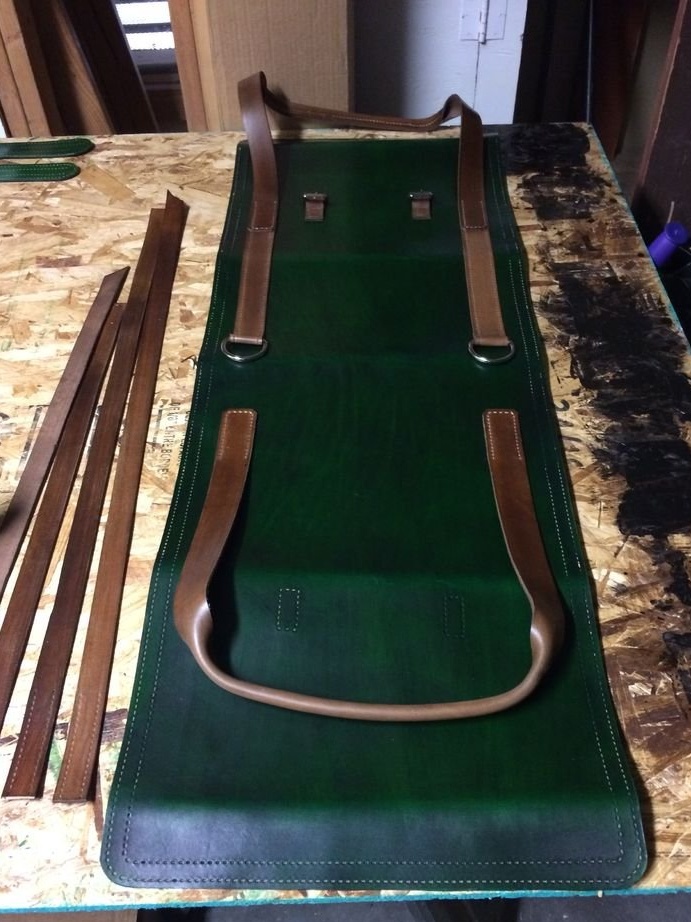
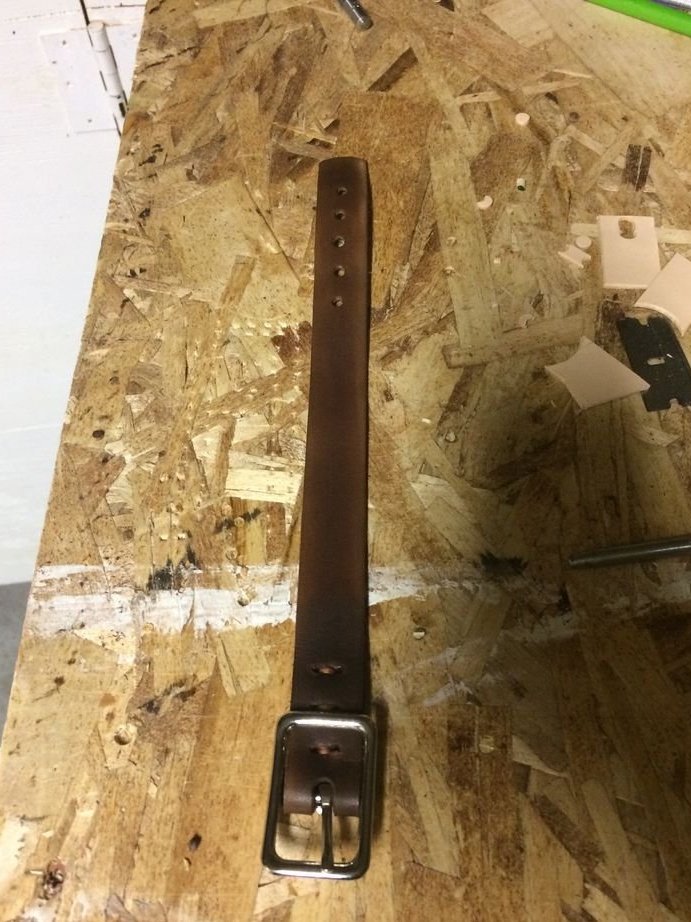
Step Six: Belts
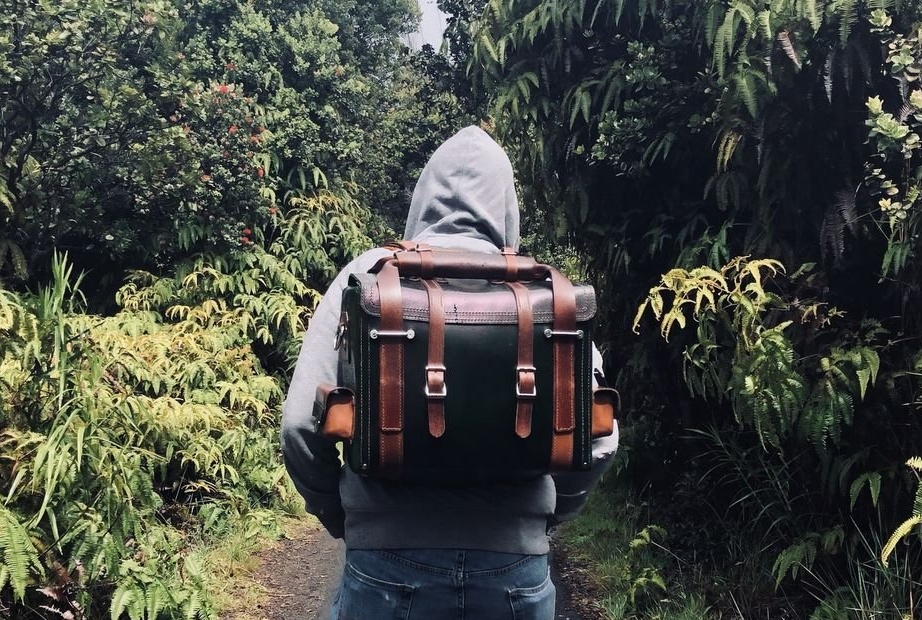
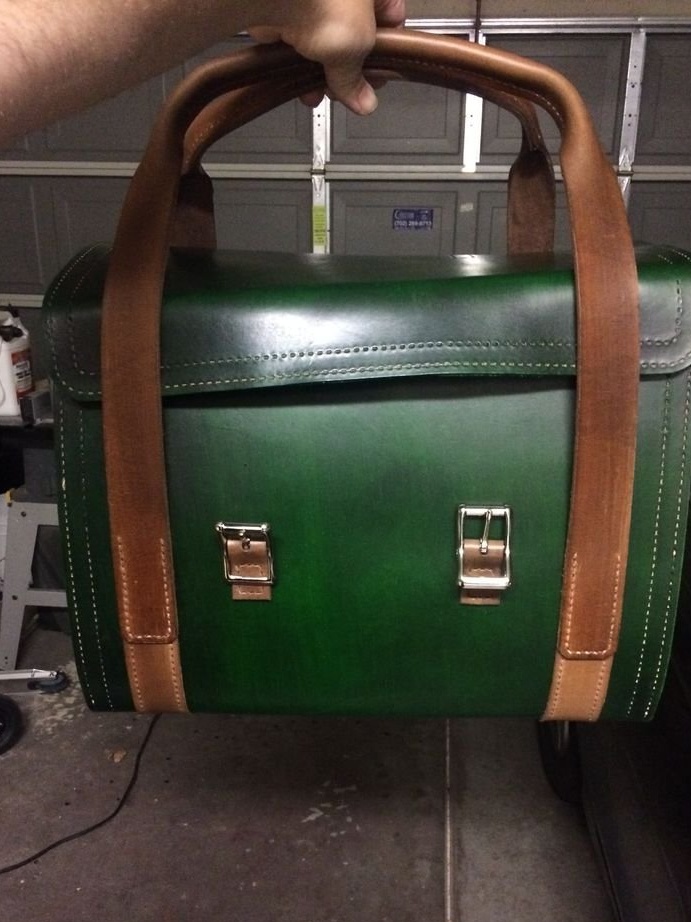
Cuts blanks for belts. The bag can be carried in three positions: behind the back, on the shoulder and in the hand. Workpieces also need to be perforated for stitching.


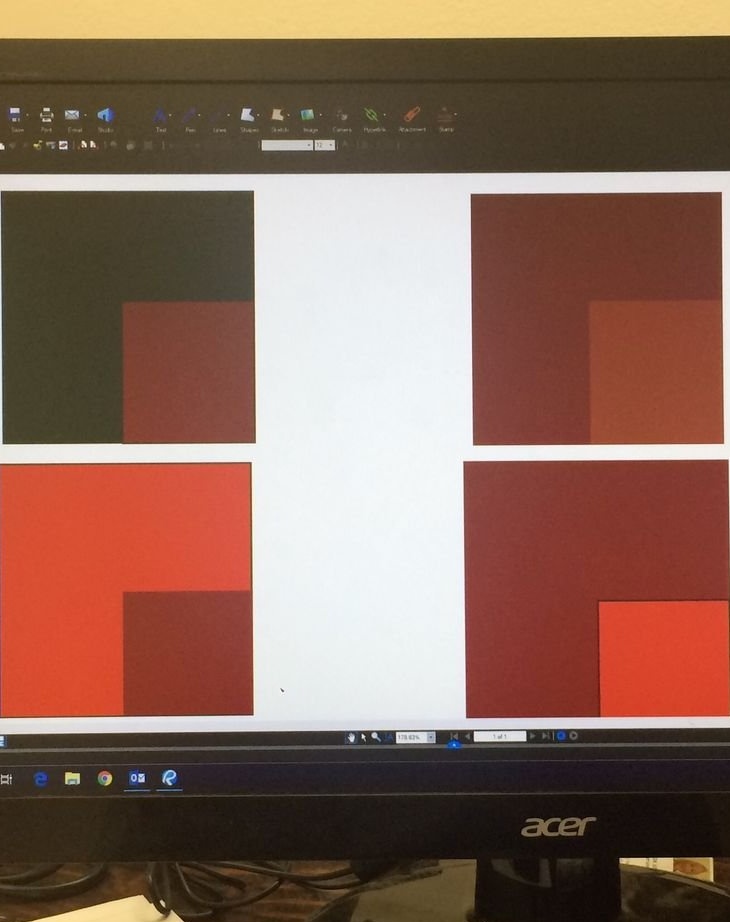
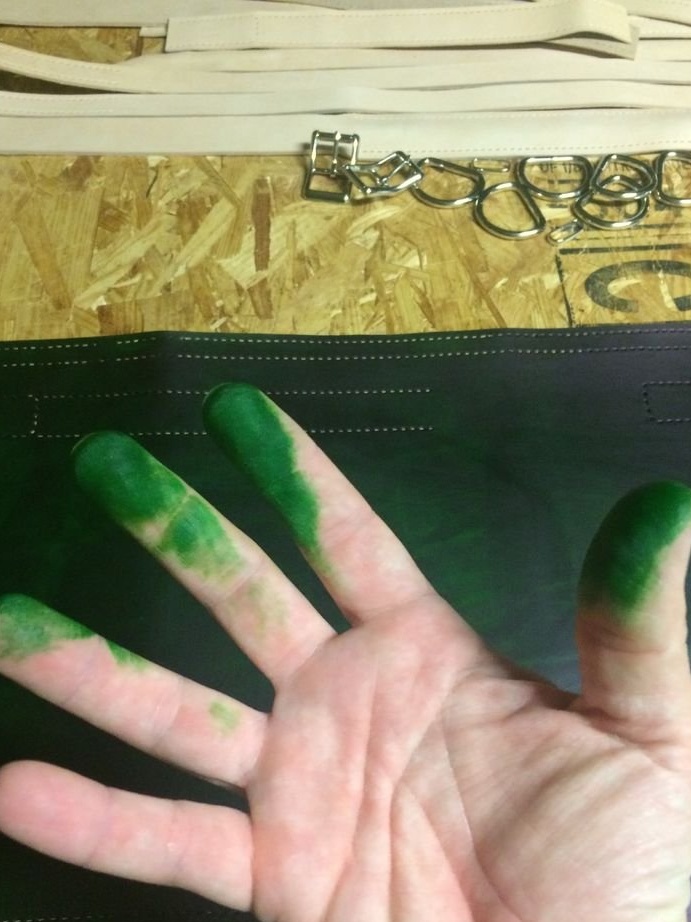
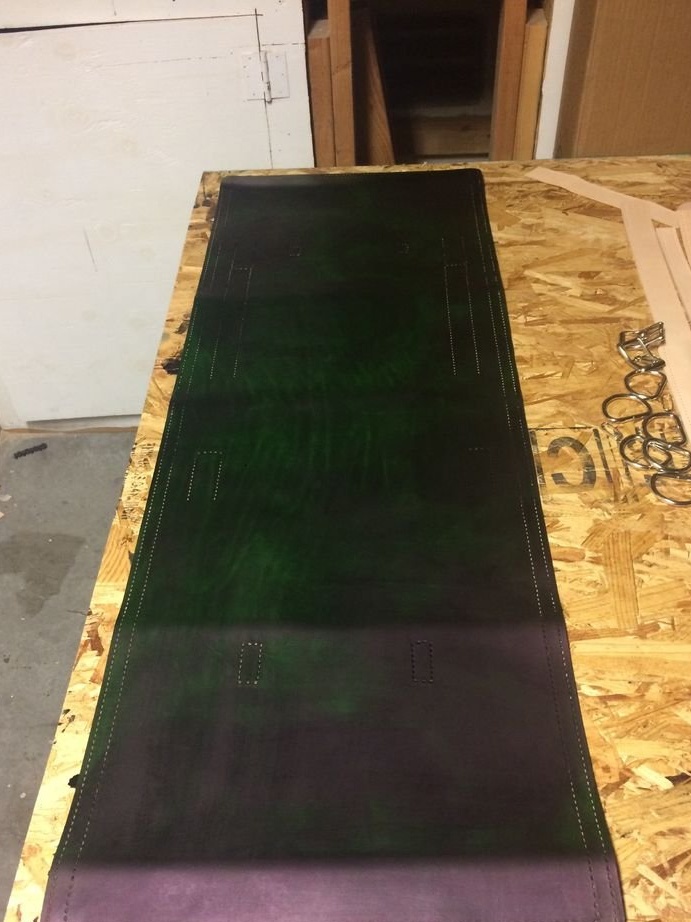
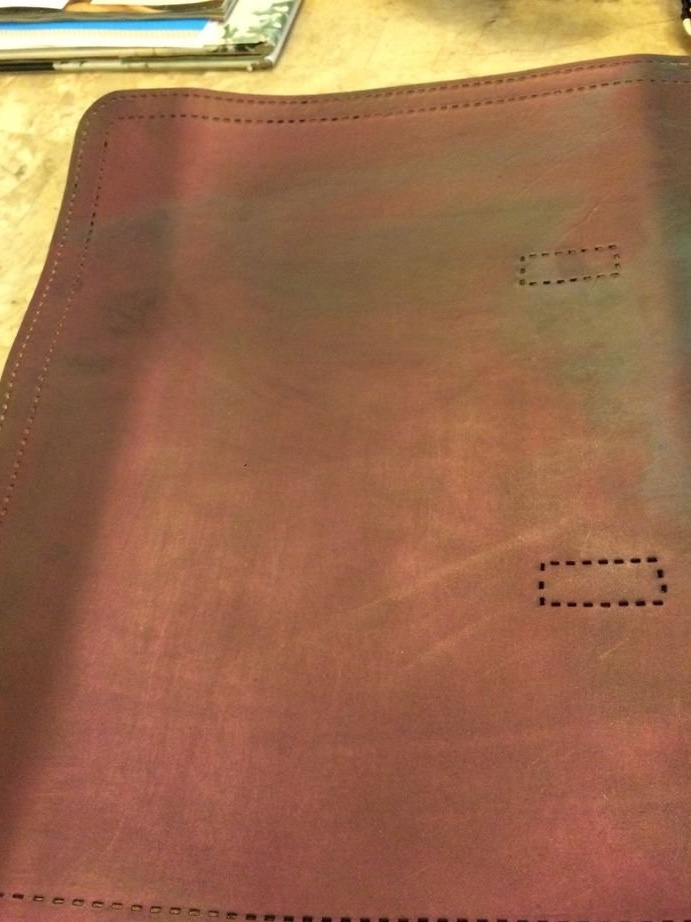
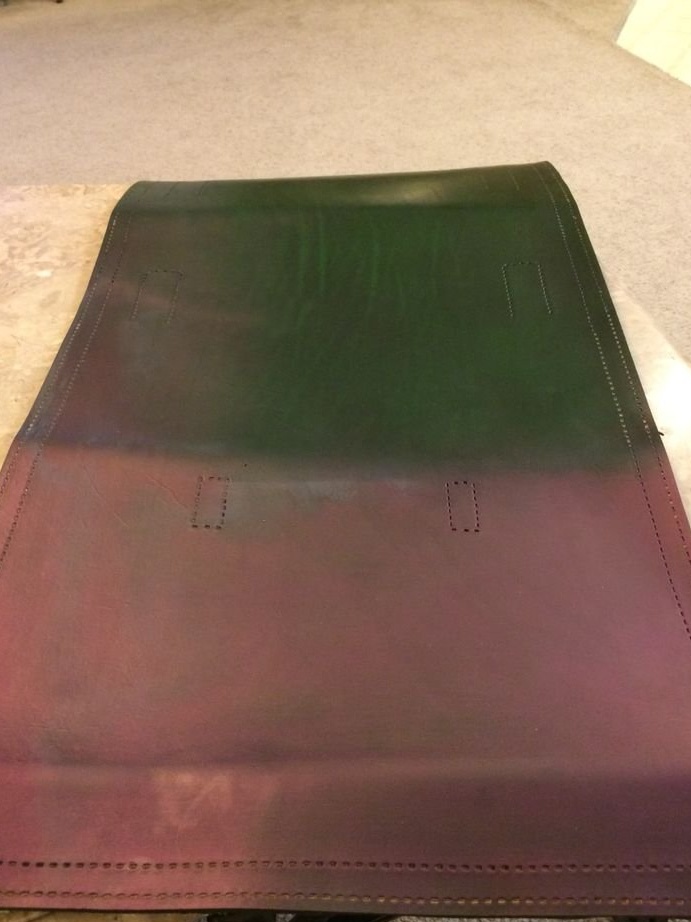
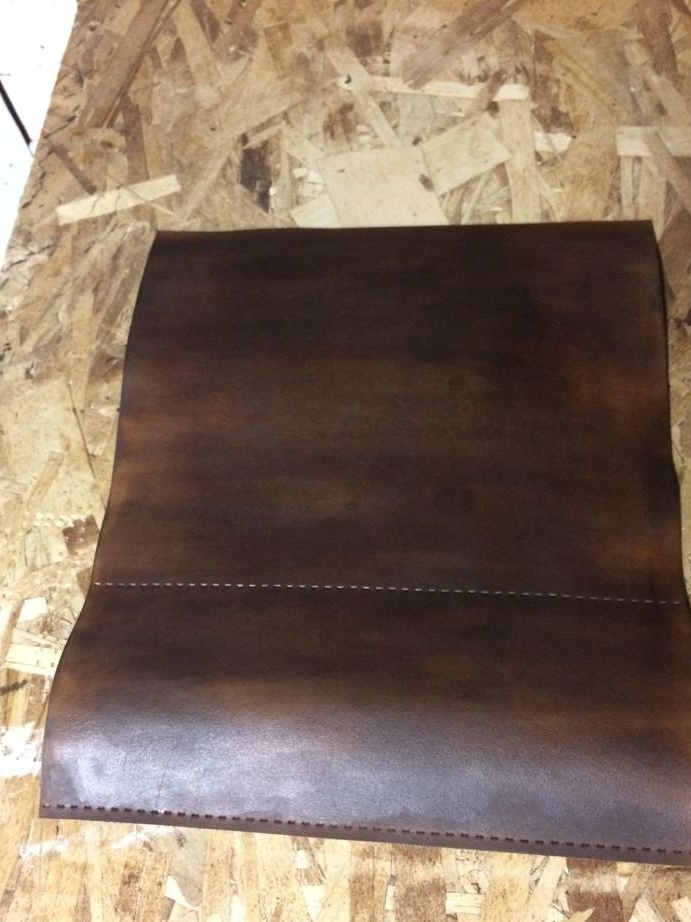
Seventh step: staining
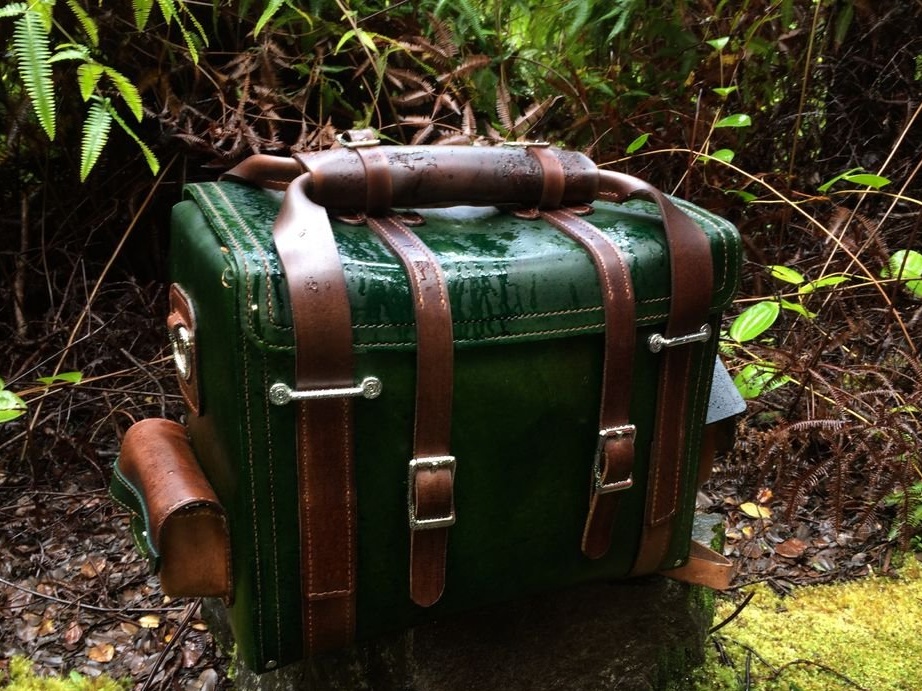
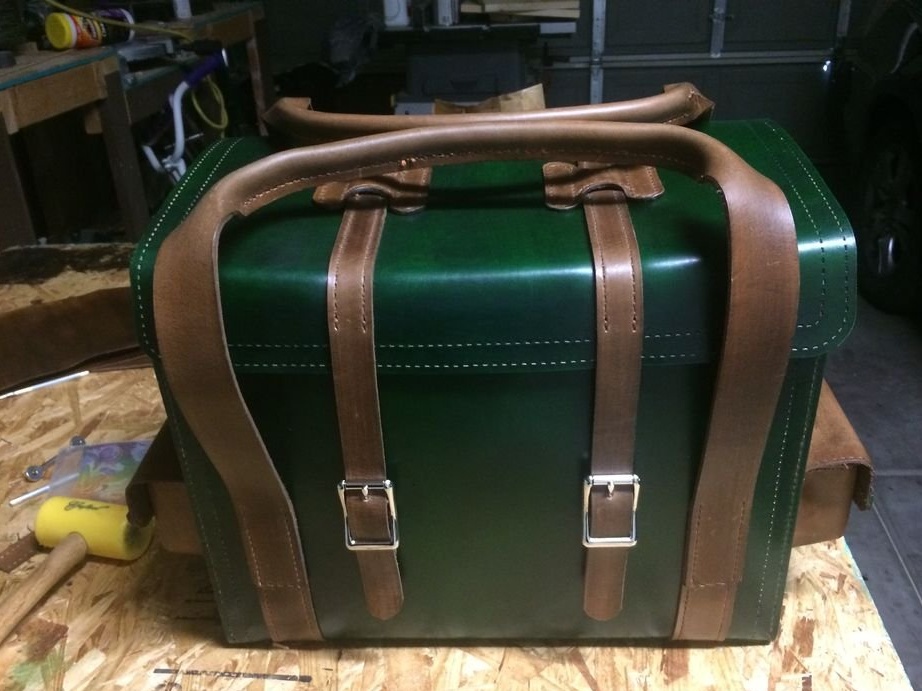
First, the master picked up a suitable color for the bag on the computer. The bag itself will be painted in dark green, belts in brown. Then you need to wear gloves and thoroughly degrease all parts. Now you can start staining.
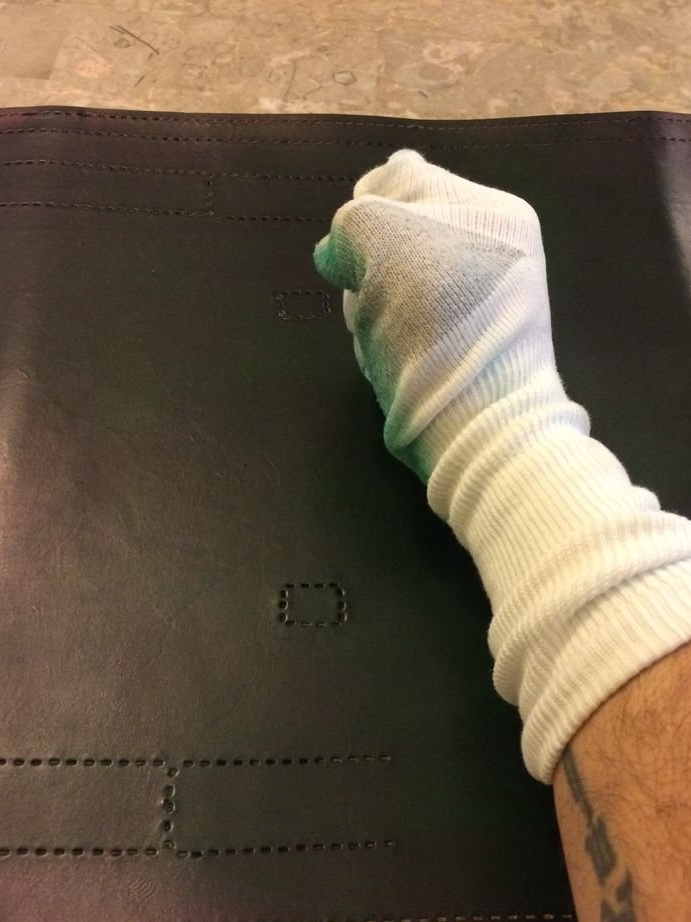
Step Eight: Polishing and Protection
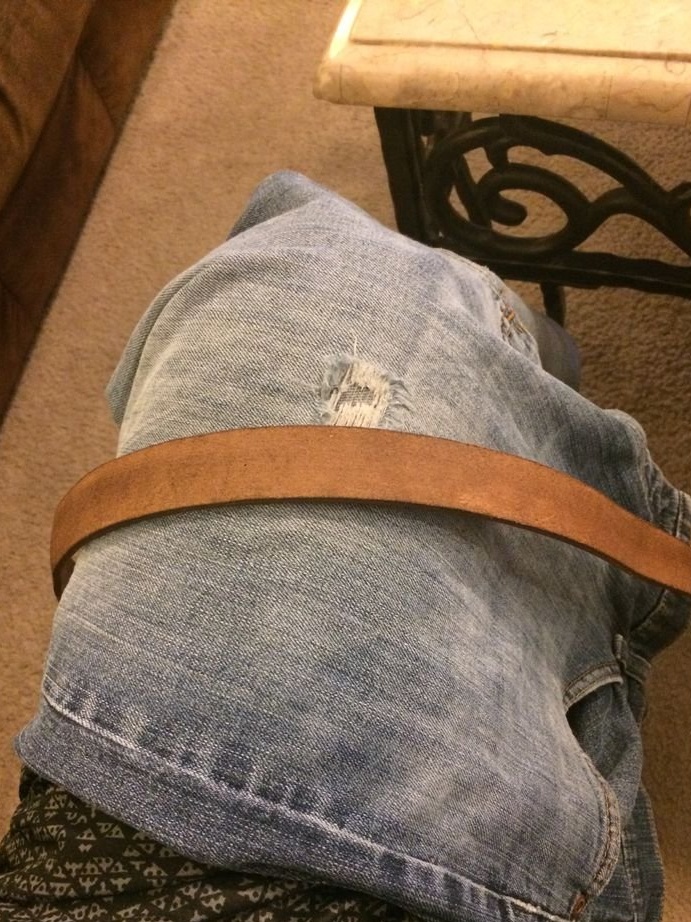
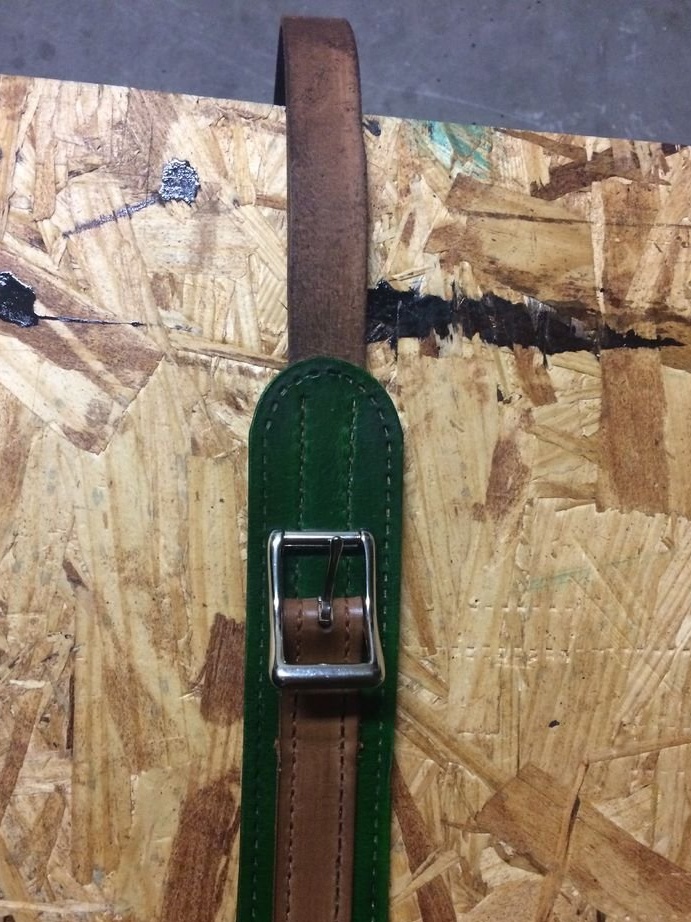
After the paint dries, polish the parts. The master does this with a sock on his arm. For polishing belts uses jeans mounted on a board.

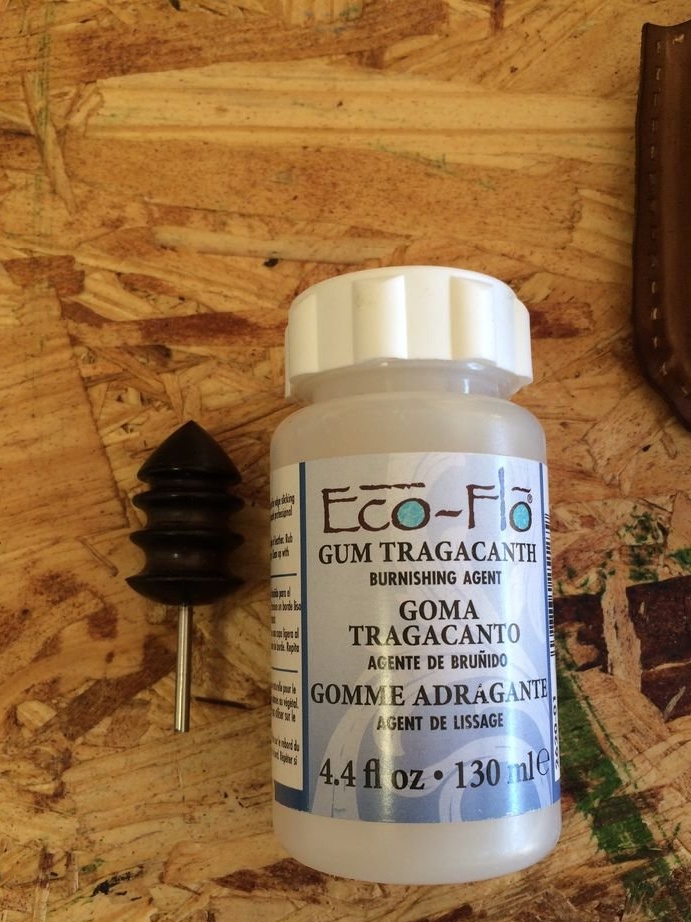
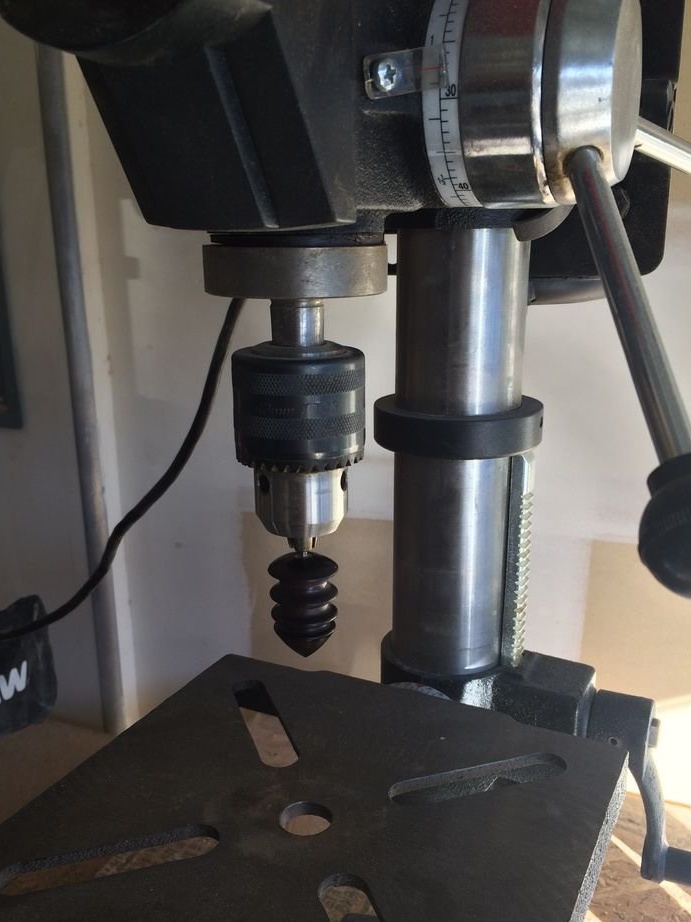
Then you need to apply a special protective compound Gum Tragacanth to the ends of the parts and rub it into the ends. This can be done by installing a special nozzle in the drilling machine. This operation will protect the product from moisture.
The end parts are protected and now you need to apply a protective coating to the entire surface of the parts.

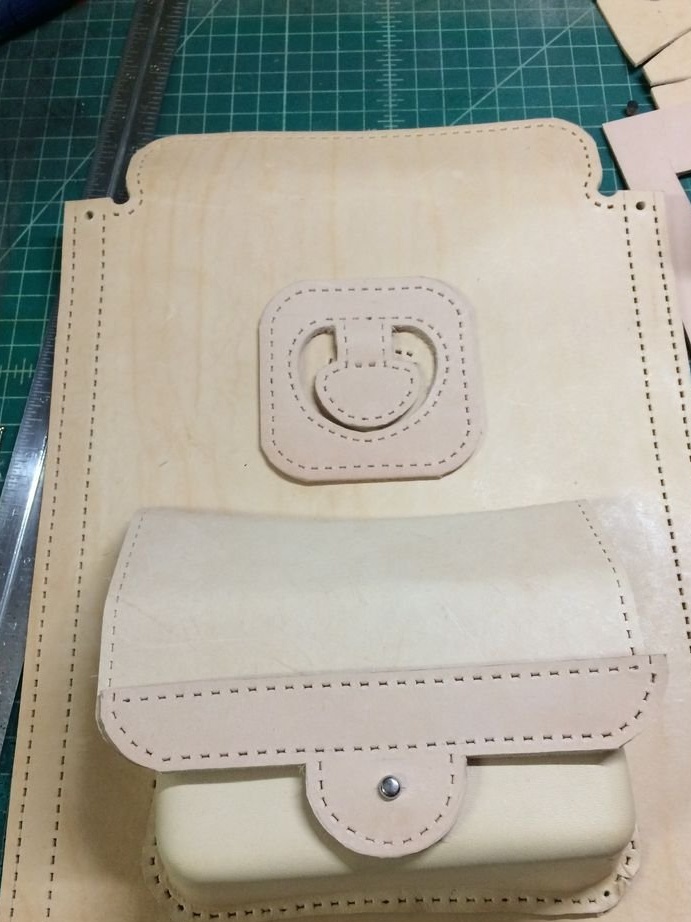
Step Nine: Staple
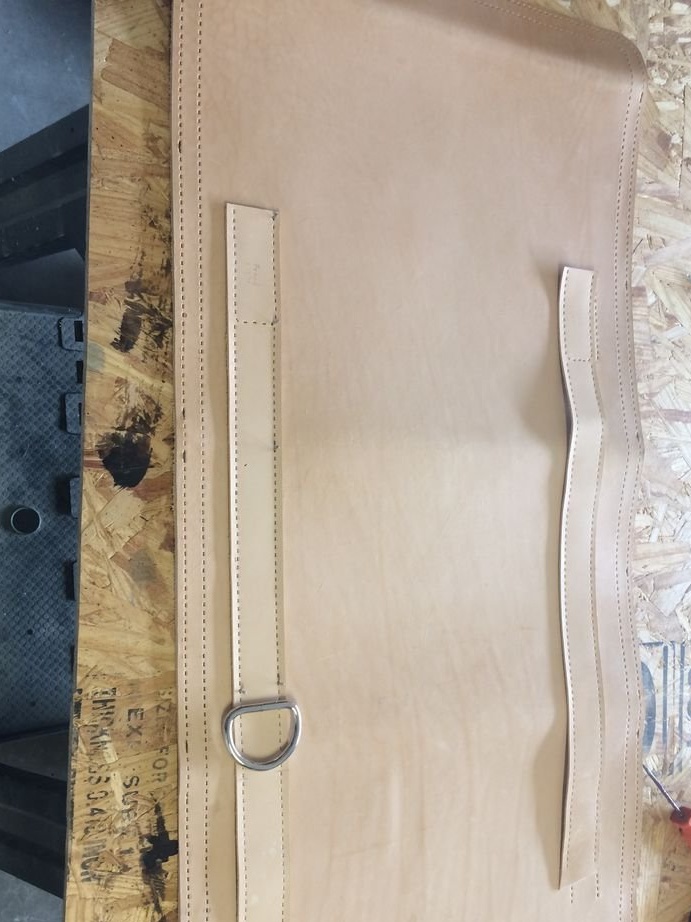
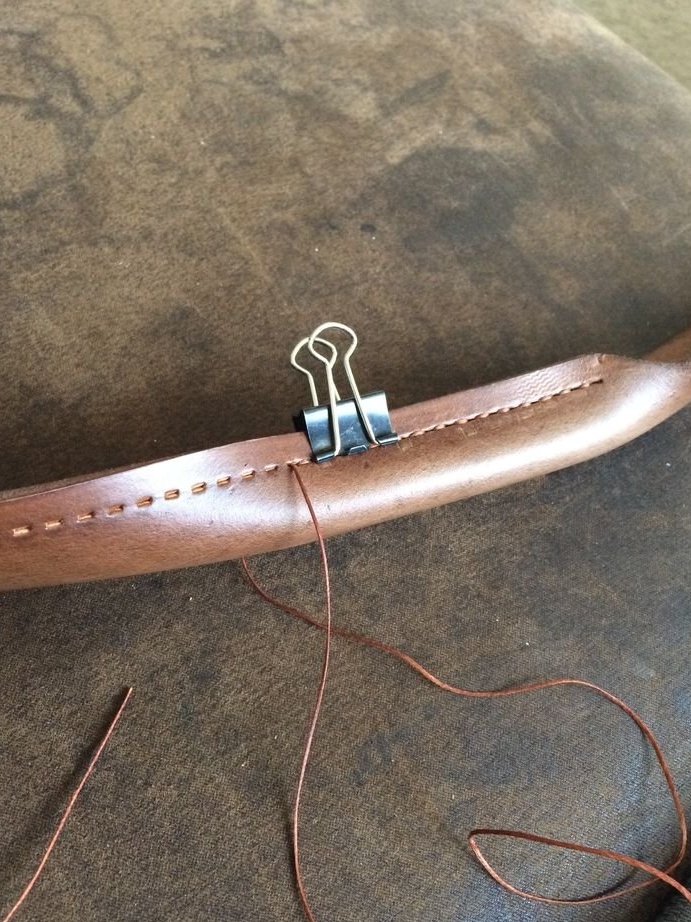
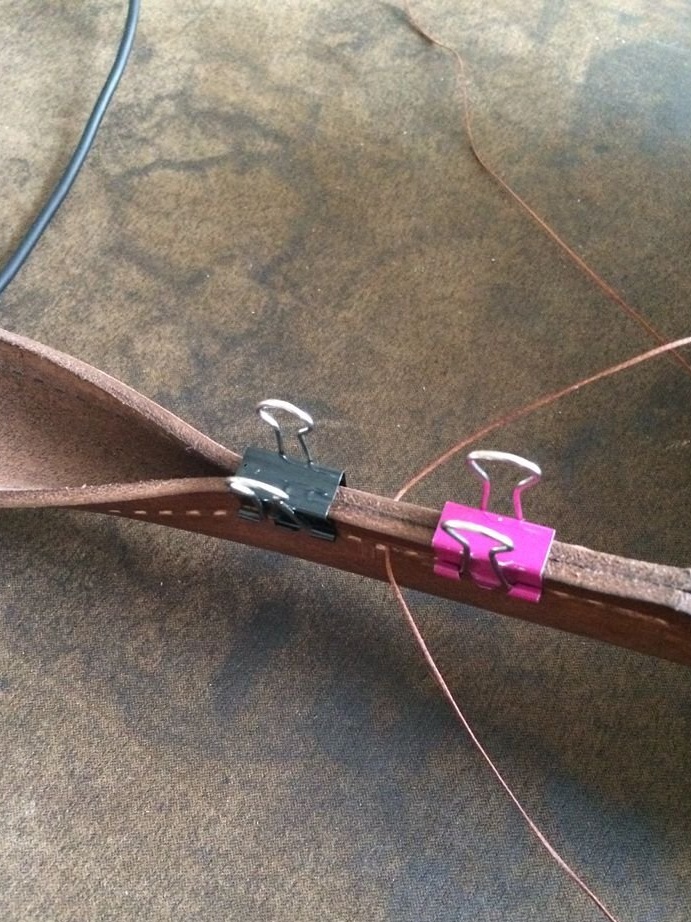
As soon as everything was painted and processed, the master proceeded to stitching the bag. He started with simple things, such as attaching side pockets and D-ring holders and then straps. With proper cutting and pretreatment, all holes must match. A strap with a top handle is just a thicker piece of leather. For stitching thin skin, the master uses stationery clips.


For durability, some parts are joined by a double seam.
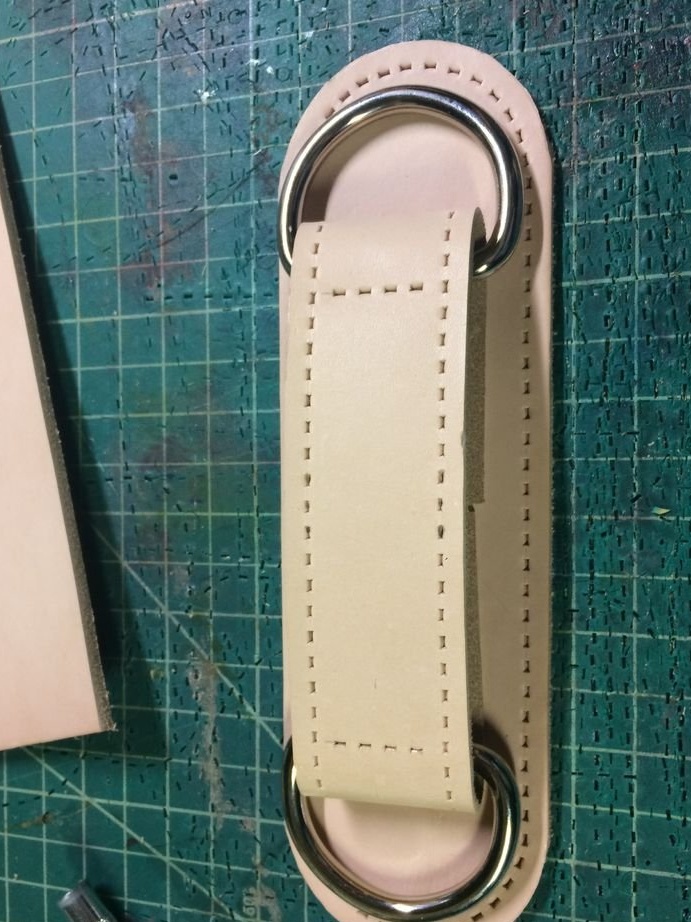
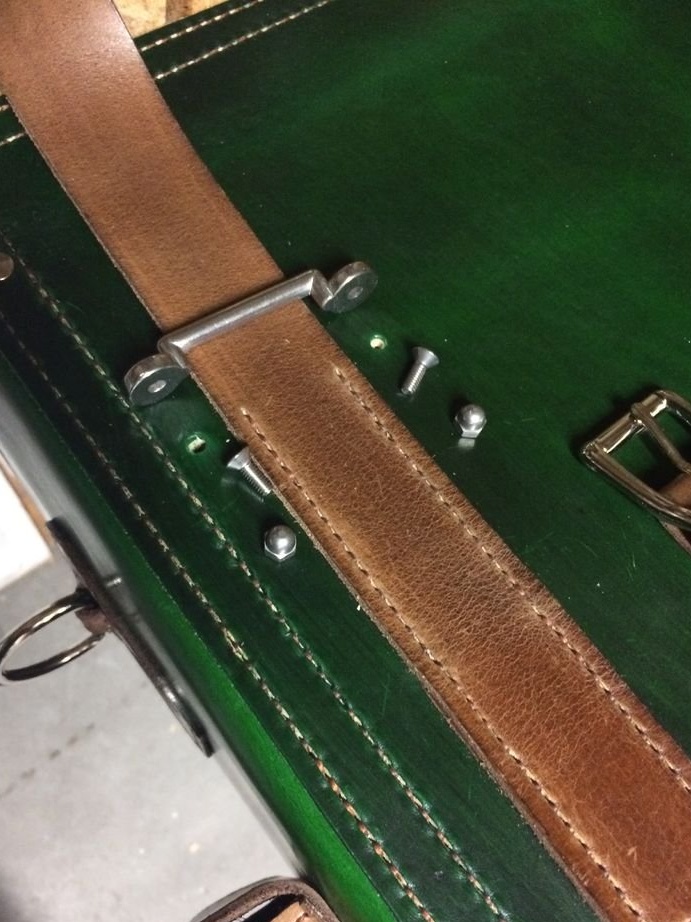
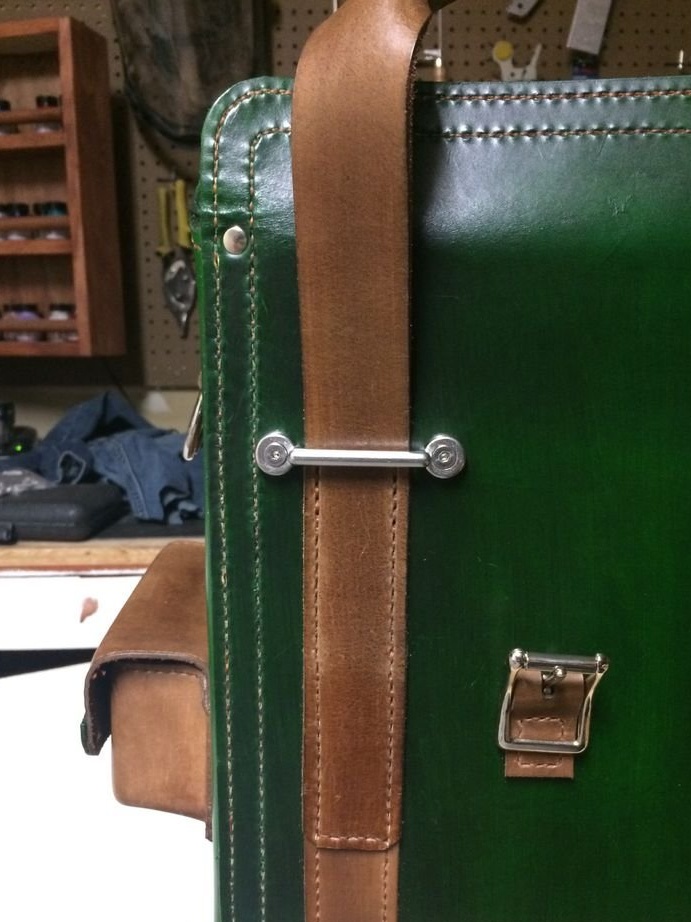
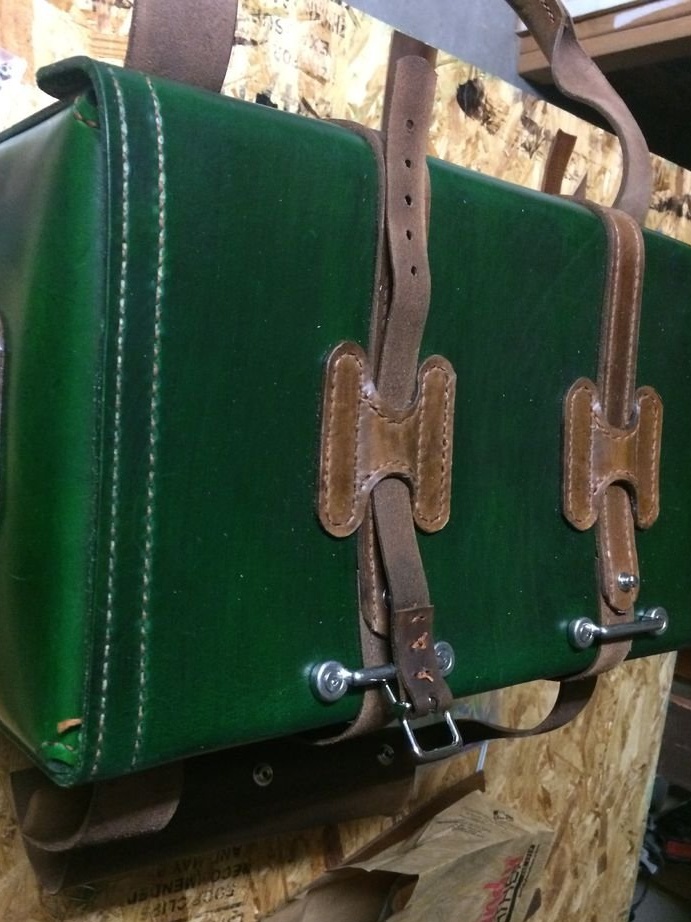
Step Ten: Hardware
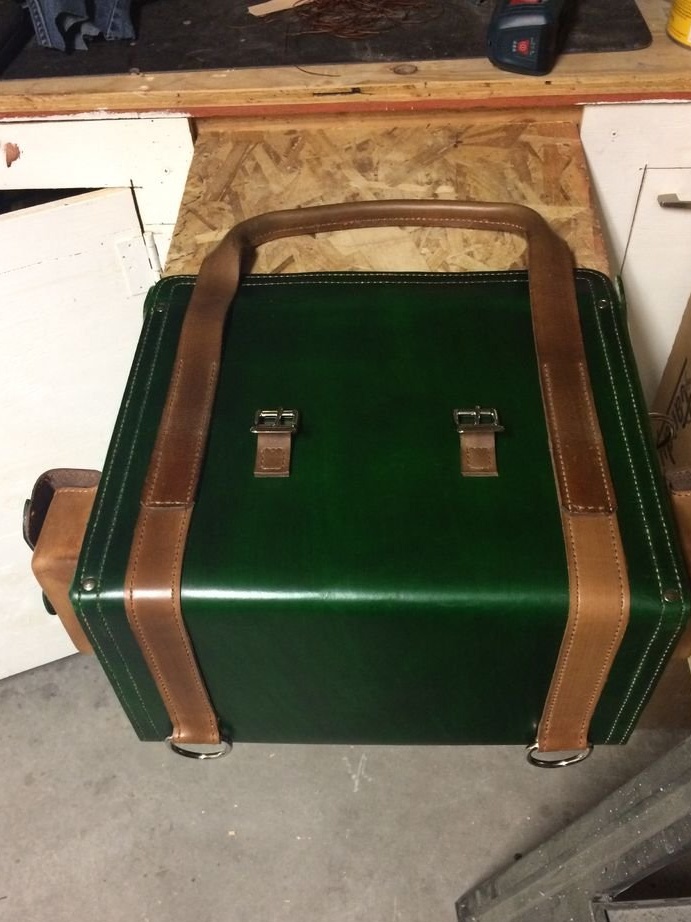
Now the master fastens the buckle accessories, rings.


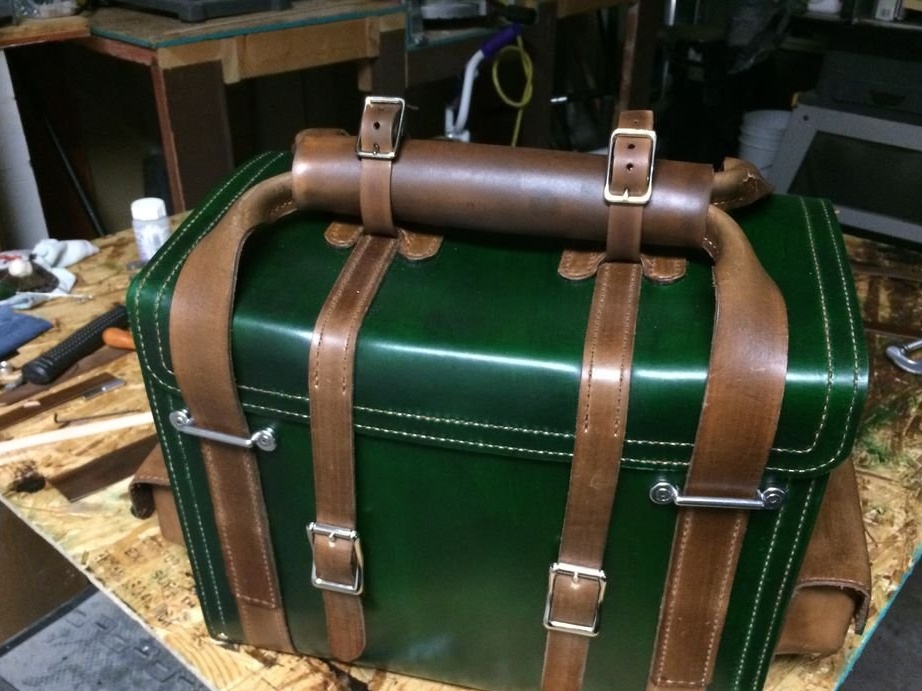
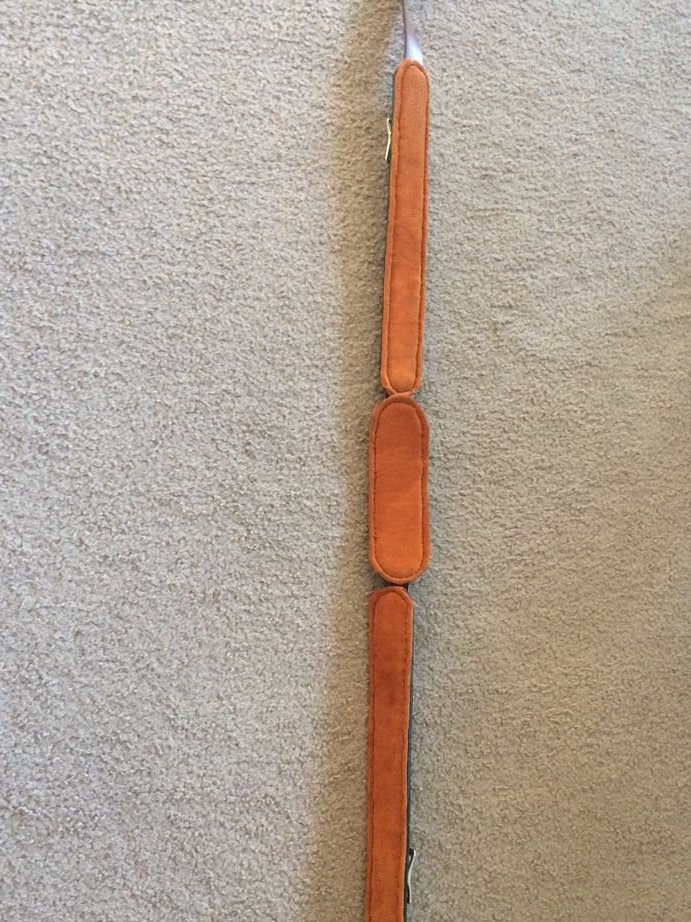
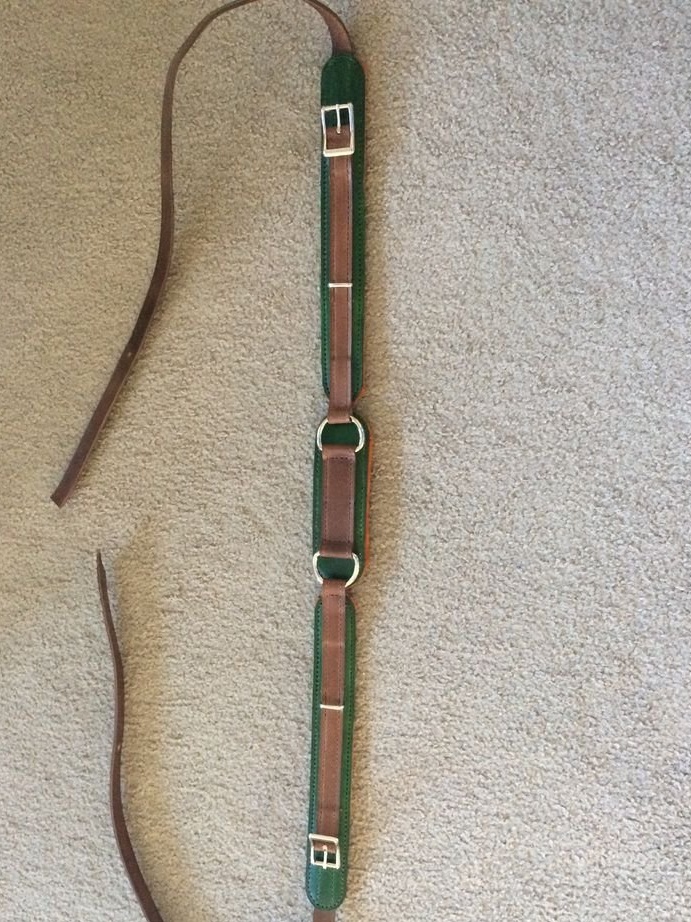
Step Eleven: Shoulder Strap
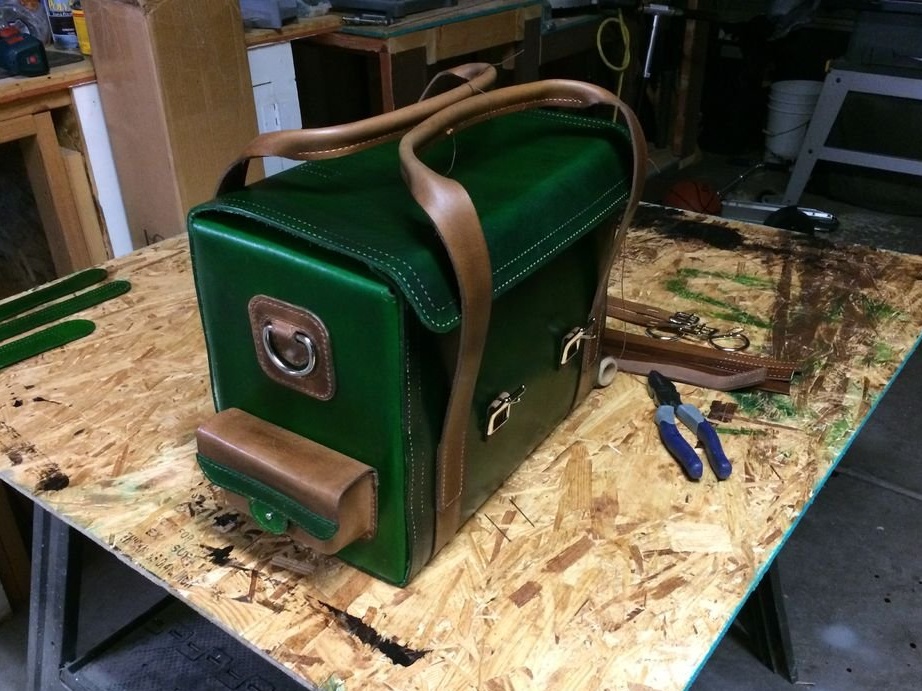
The last step was the assembly and installation of shoulder straps. The shoulder strap should be soft and not rub your shoulder. The master made a four-piece belt. A holder with rings was sewn onto the front of the base. Neoprene was glued from the bottom and leather was sewn on top.


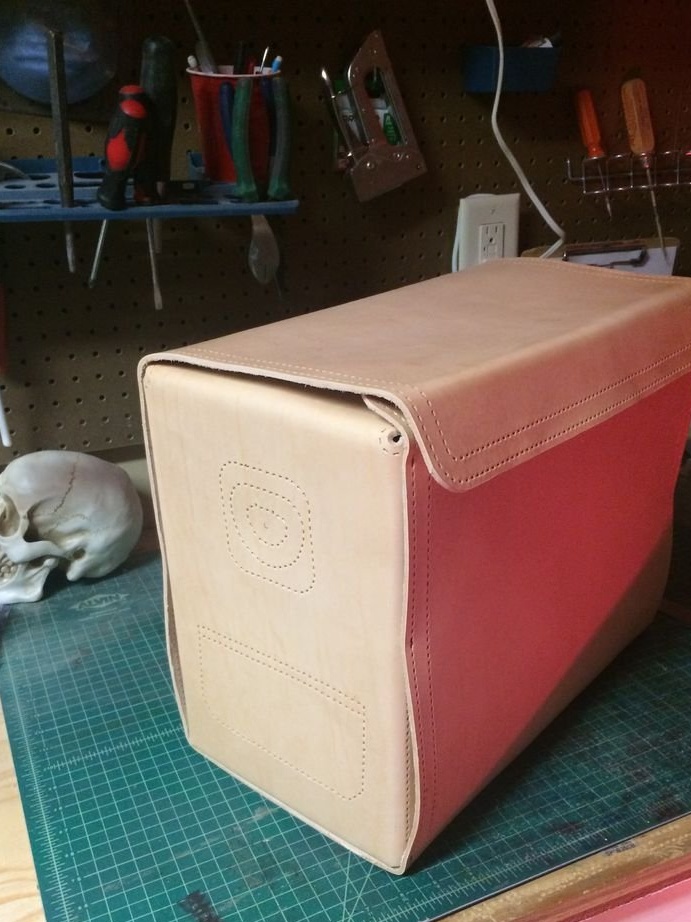
The traveler's bag is ready. In my opinion, the product turned out to be solid and beautiful.