
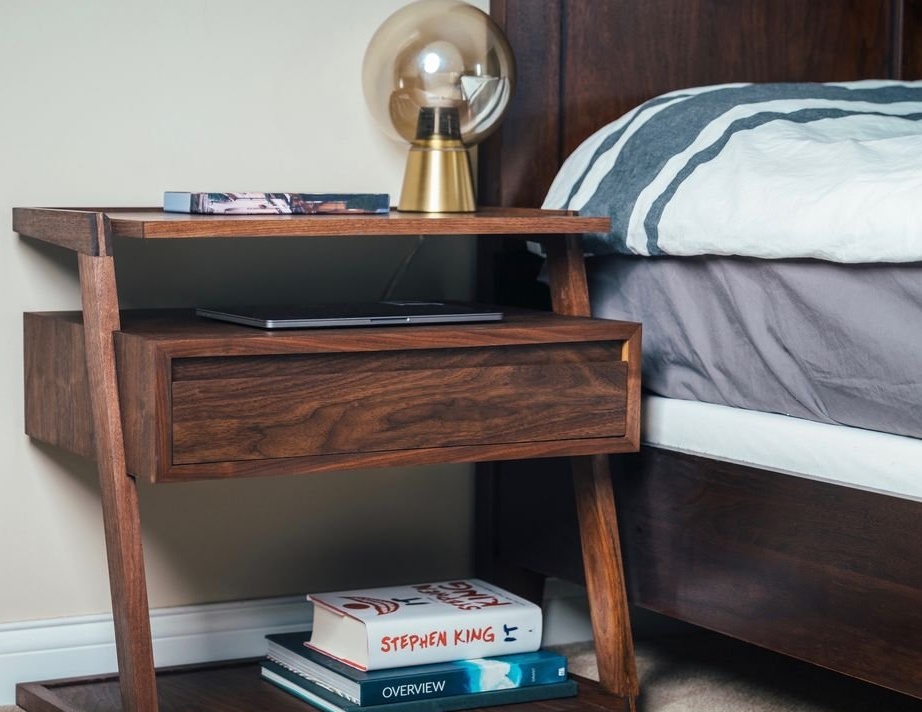
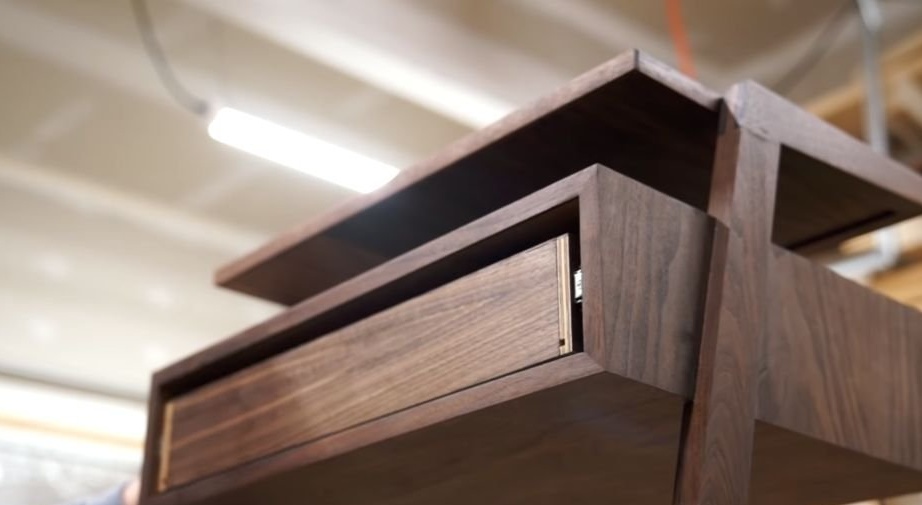
In this article, the Wizard will tell us how he made a bedside table with wireless charging, a place to store the tablet and a wire organizer.
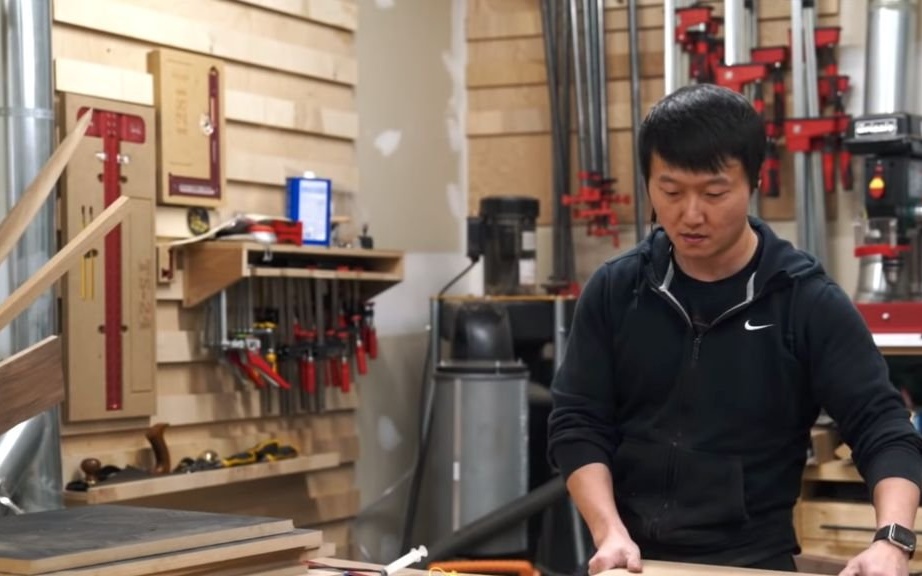
For the manufacture of night tables, the master used the following
Tools and materials:
-Board;
-Plywood;
- Guides for a box;
-Circular Saw;
-A circular saw;
-Roulette;
-Marker;
- Joiner's glue;
-Level;
-Gon;
- brush;
- Clamps;
-Plane;
-Chisel;
-Milling machine;
-Glue gun;
-Wireless charger;
-A screwdriver;
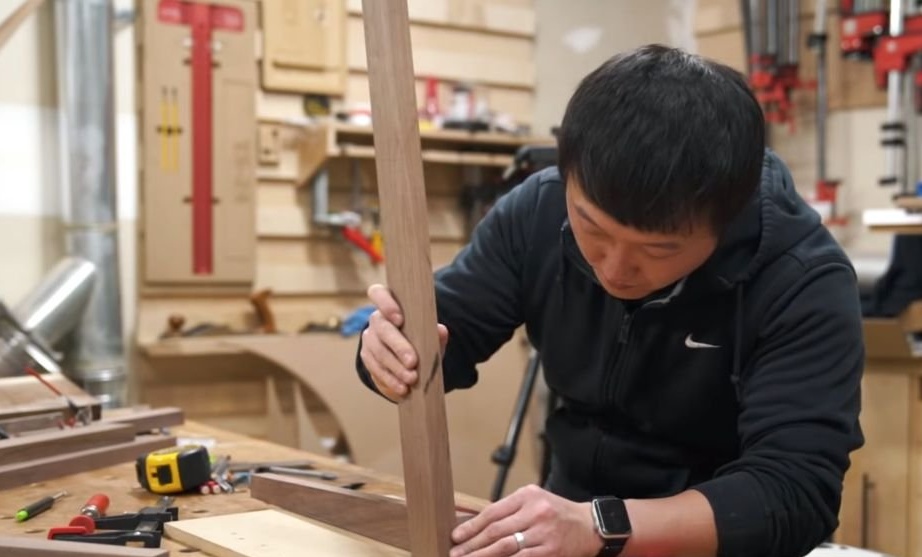
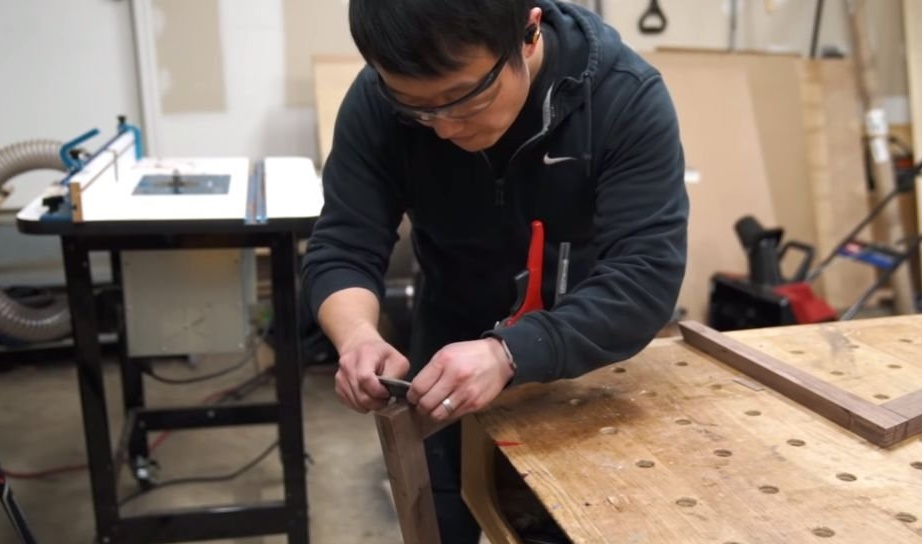
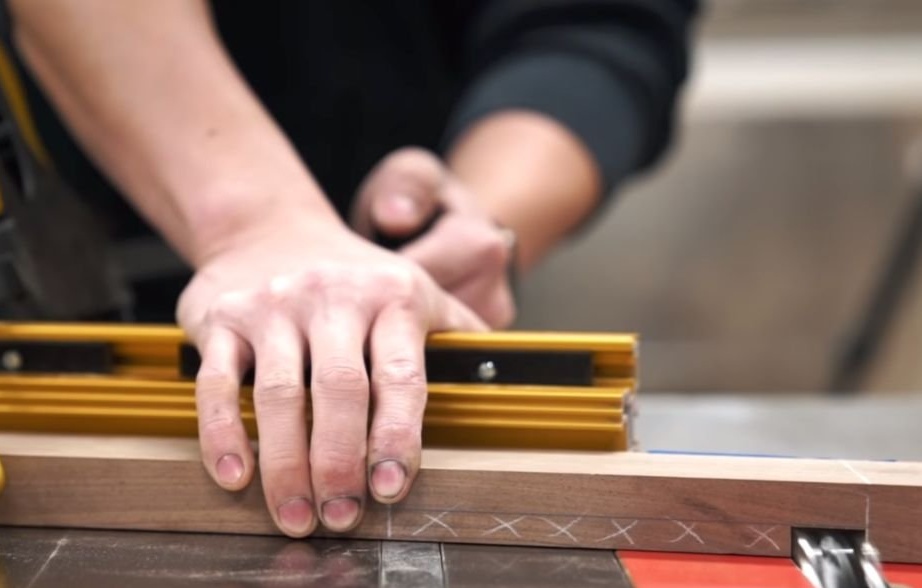
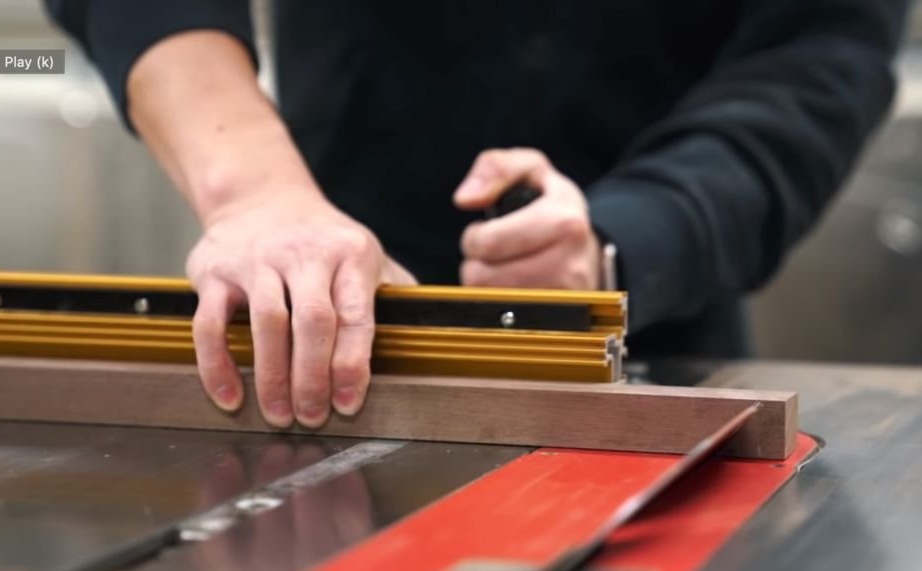
Step One: Racks
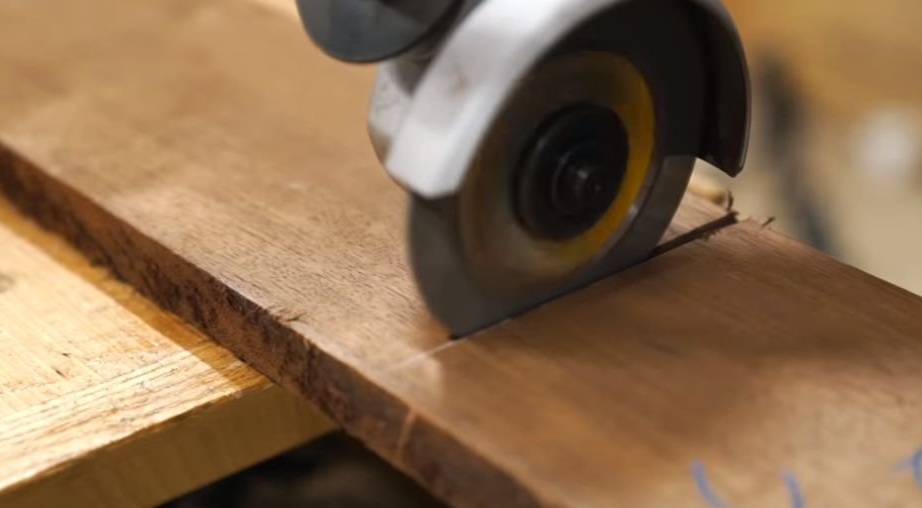
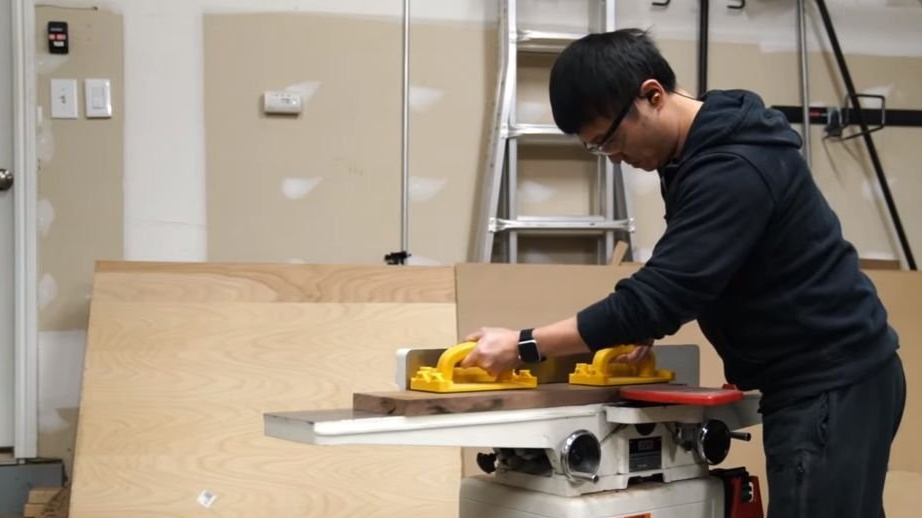
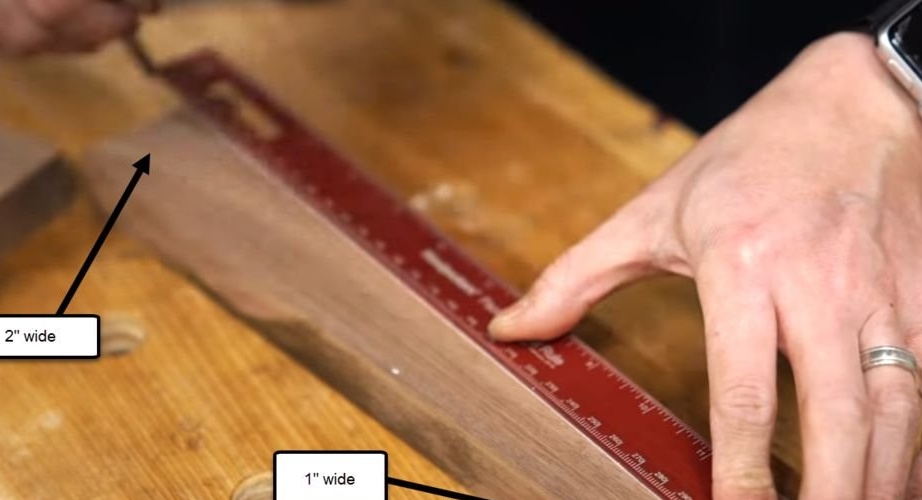
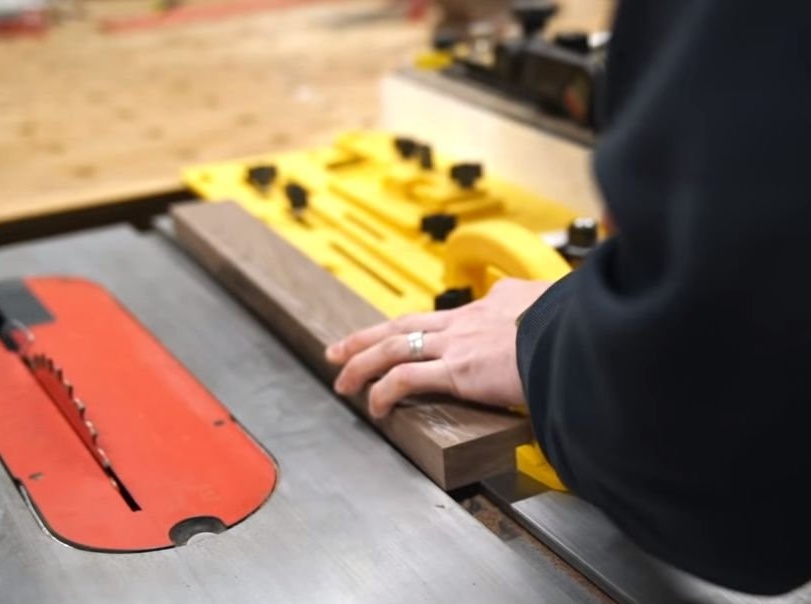
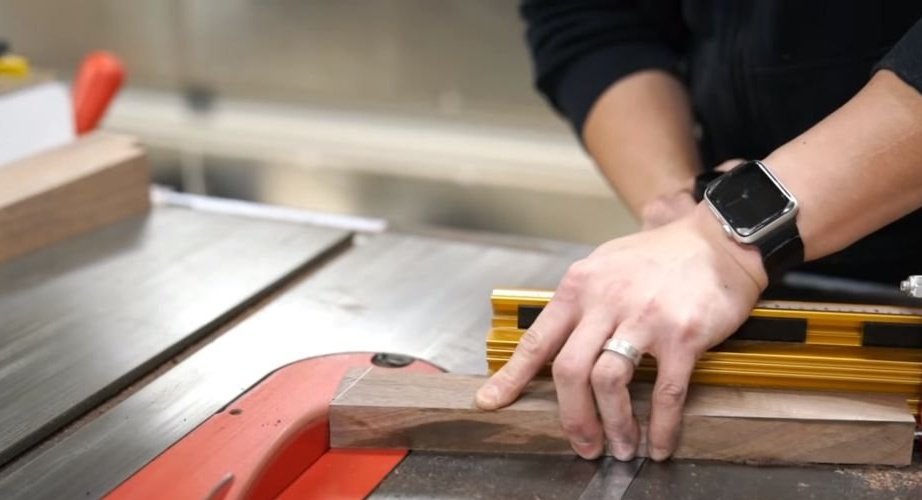
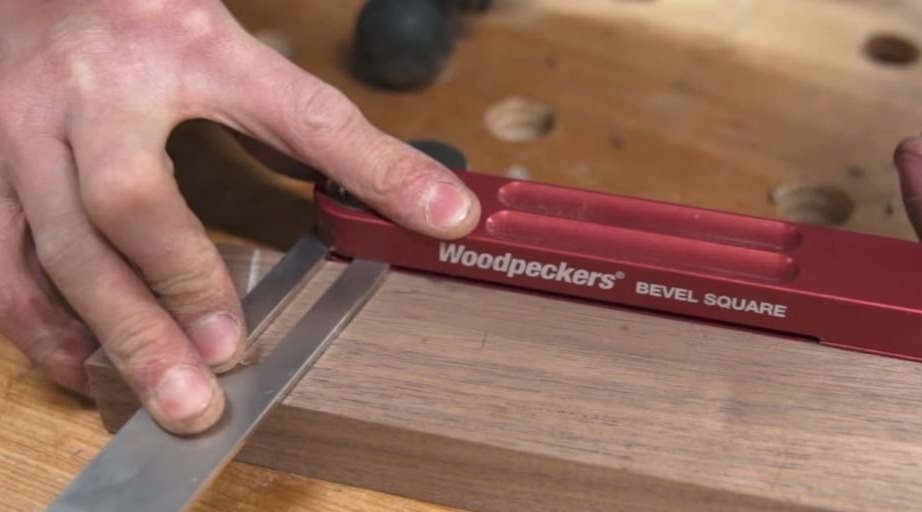
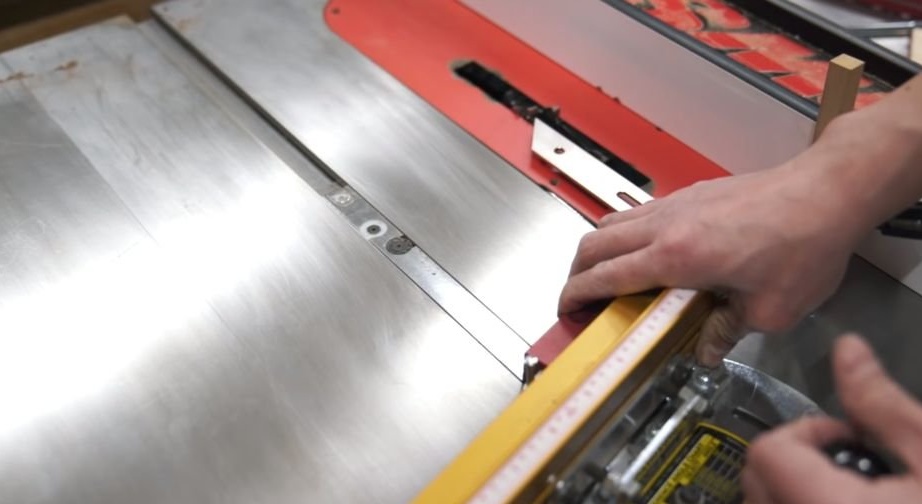
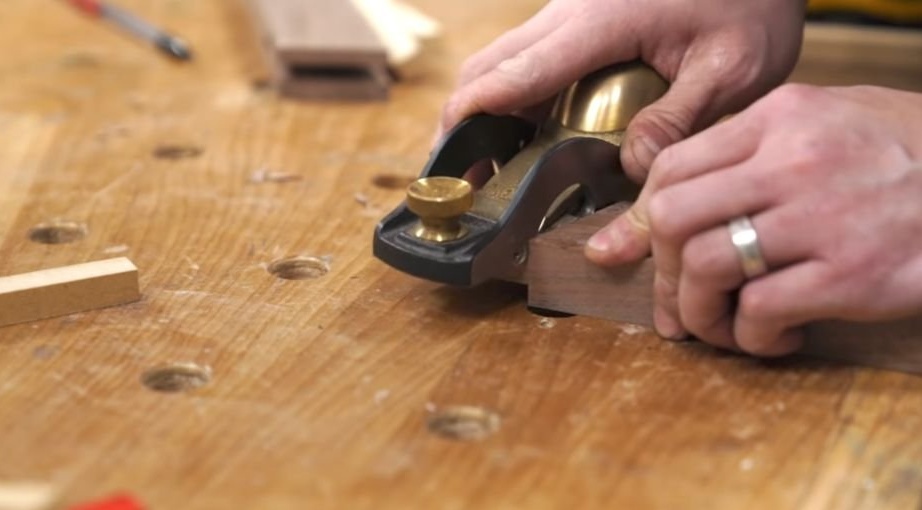
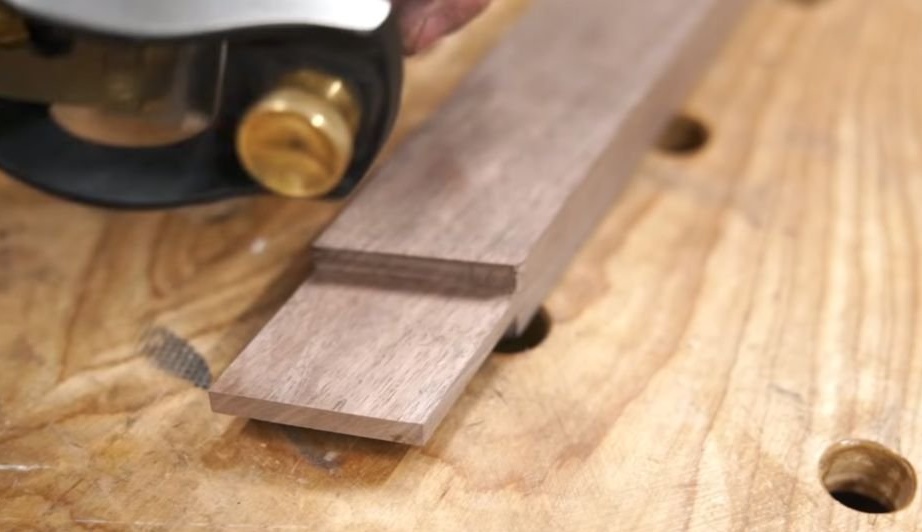
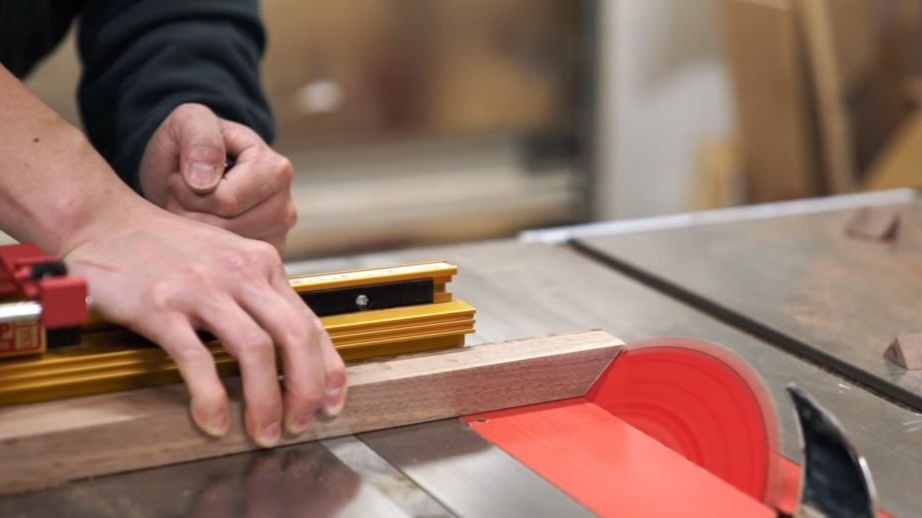
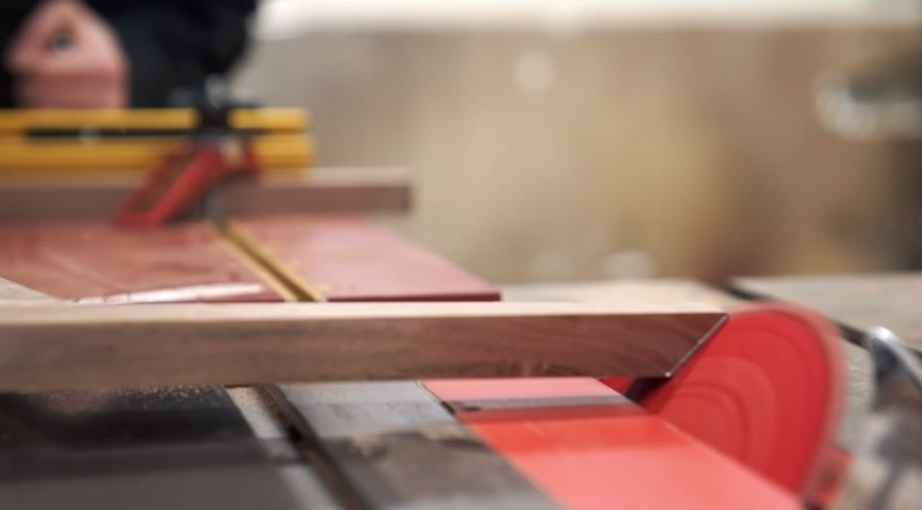
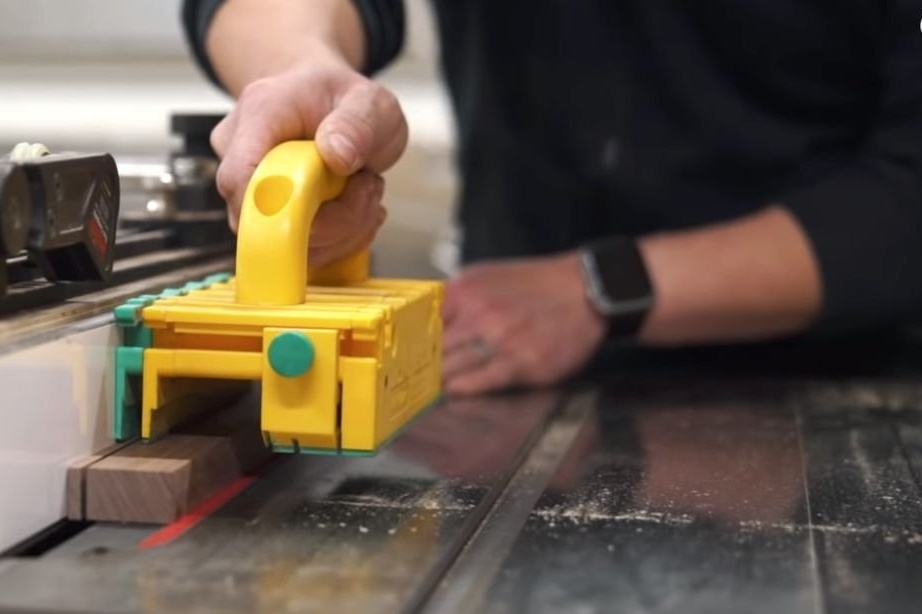
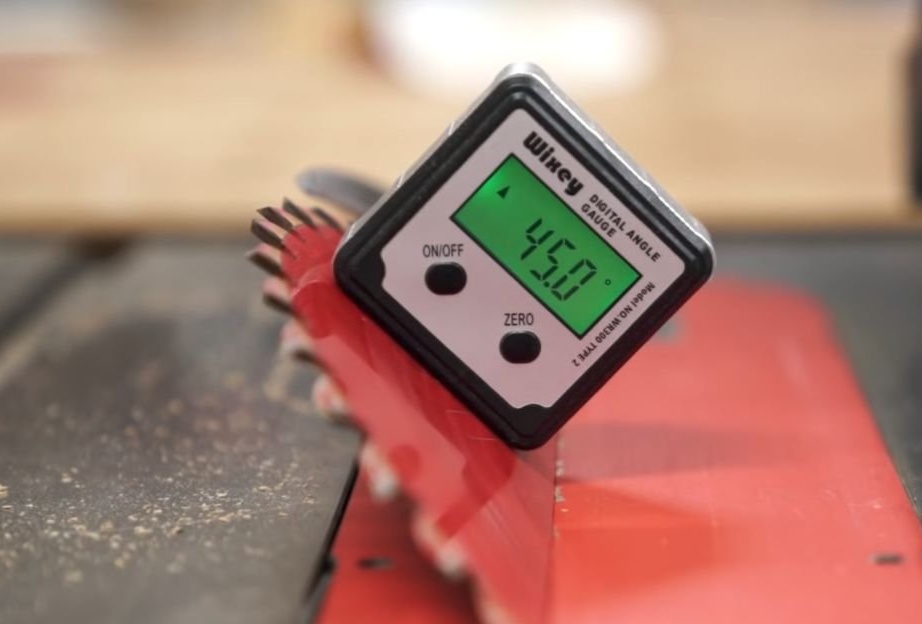
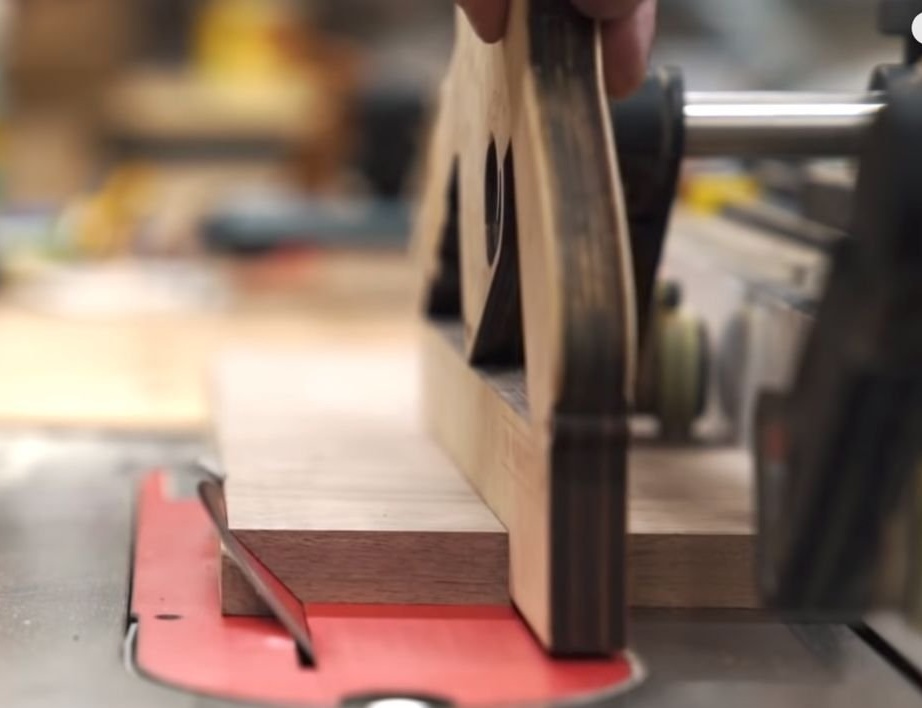
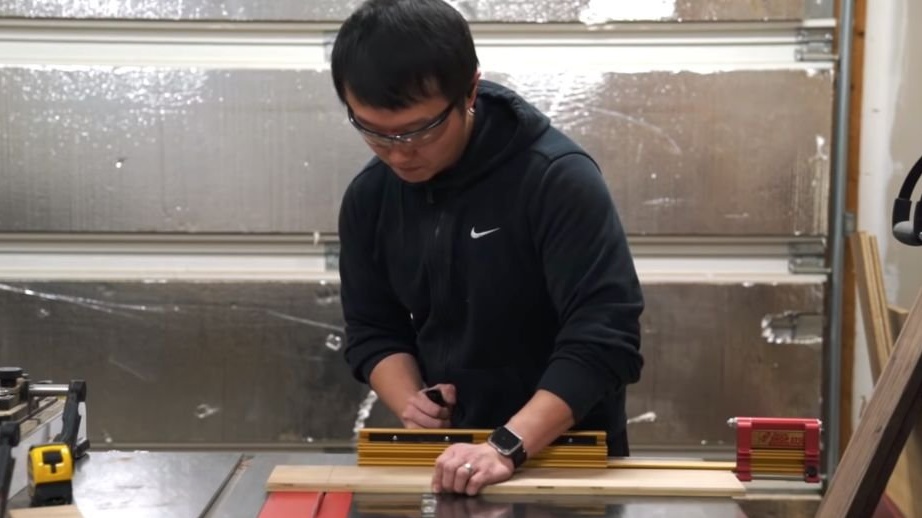
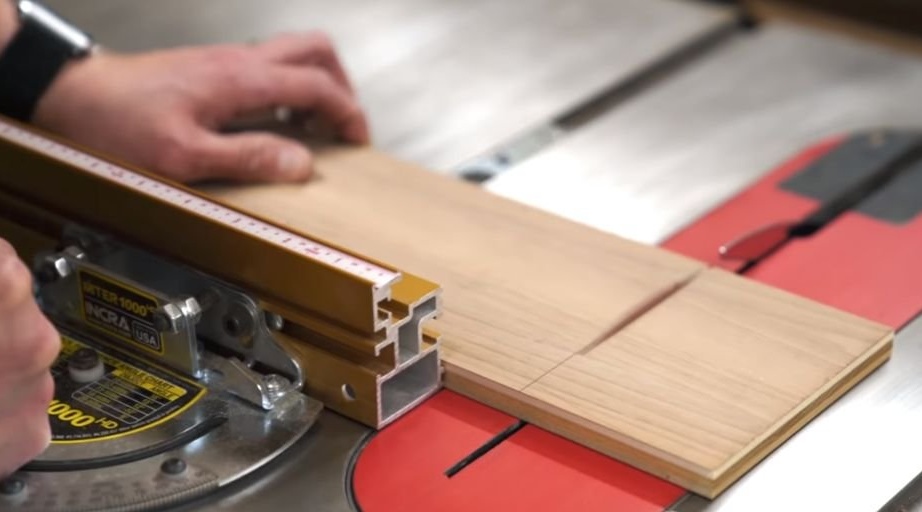
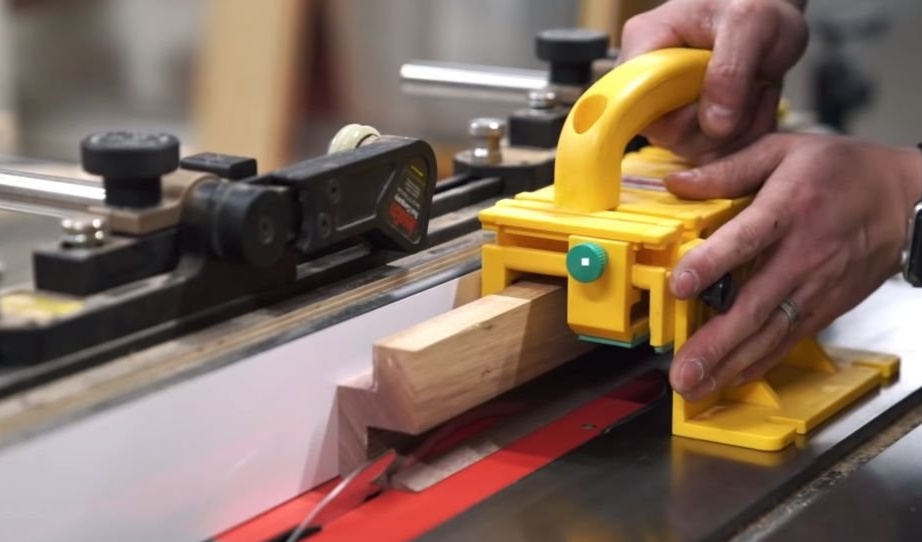
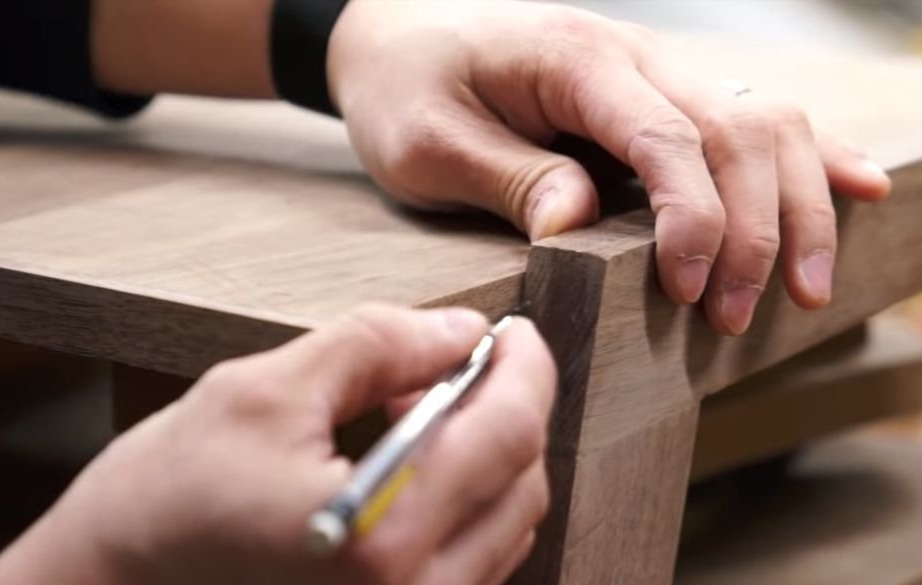
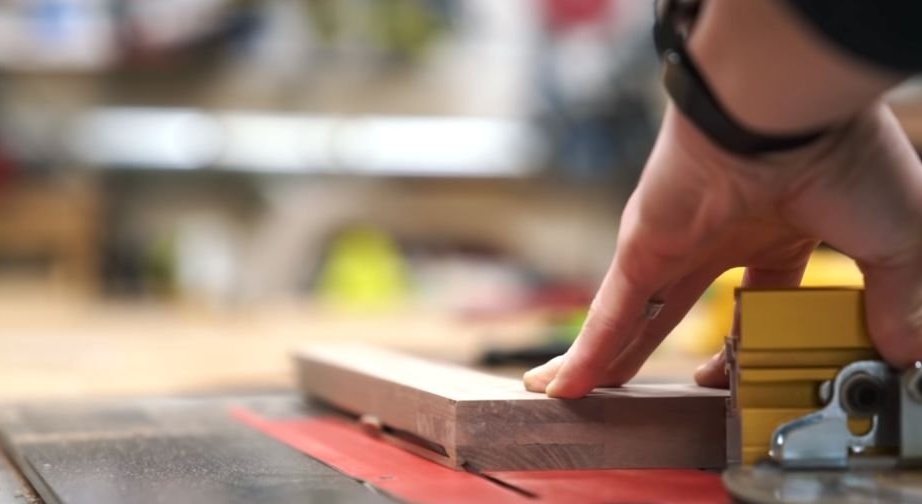
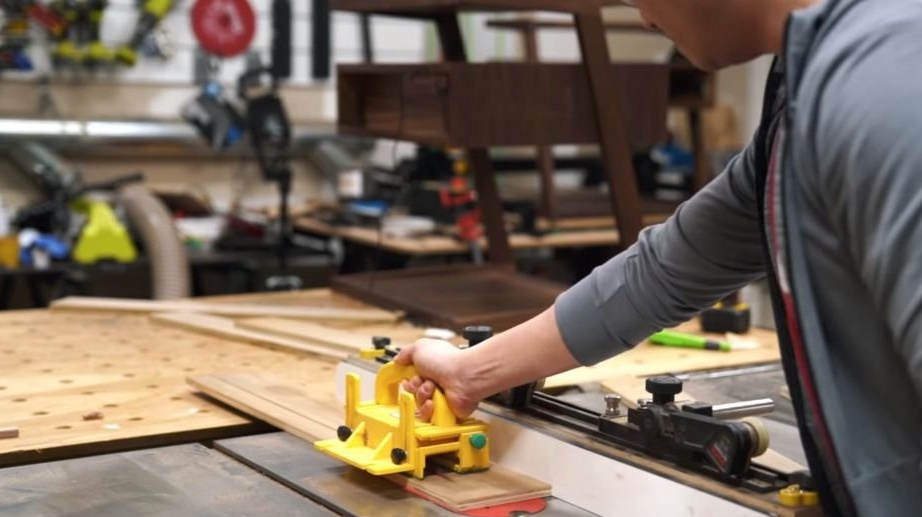
First, the master made the racks. The main material for the manufacture of bedside tables is walnut, board and plywood. racks are made of boards. Sawing a board into blanks. Trim lengthwise. Saw down at an angle of 15 degrees the vertical element of the rack.
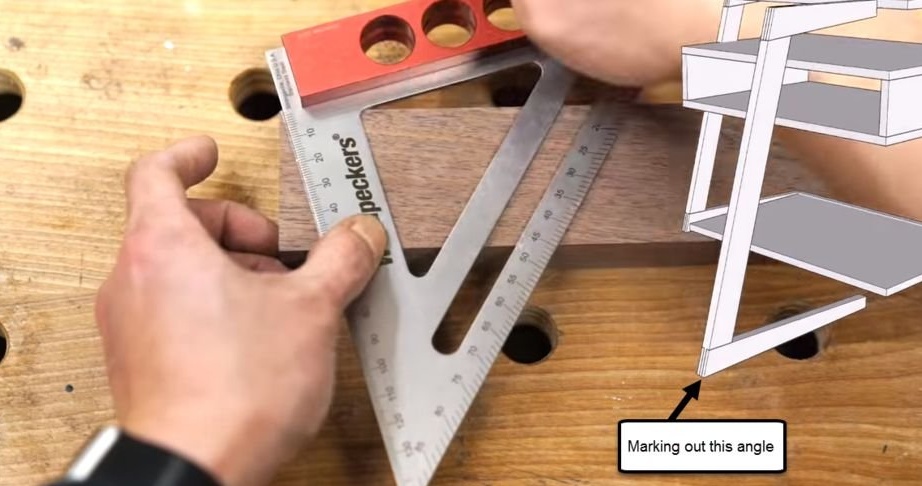
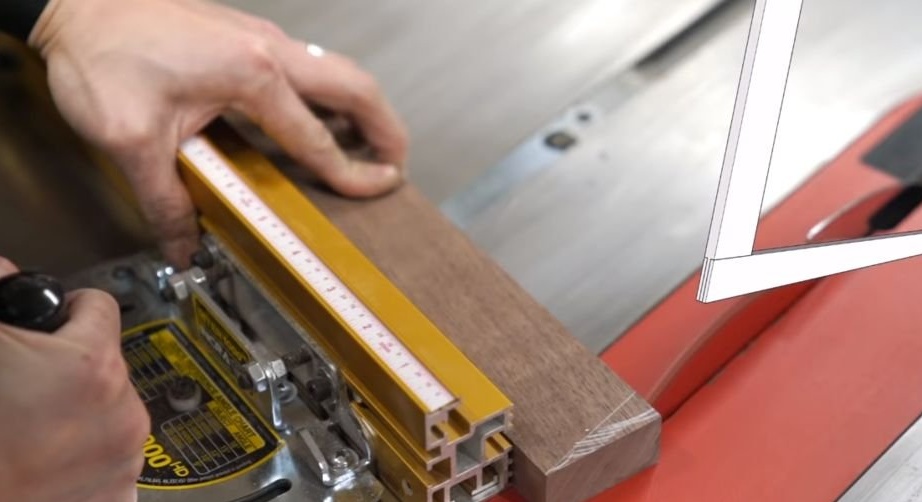
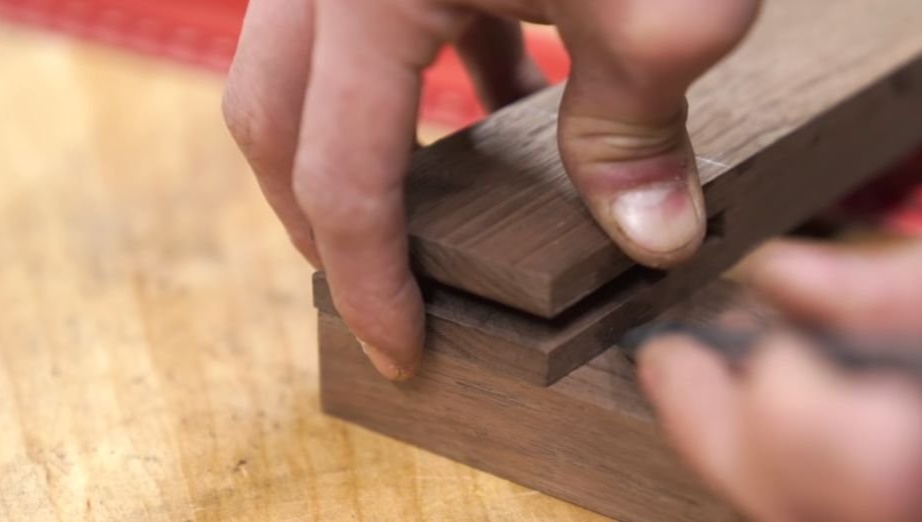
The elements of the racks will be connected using the classic thorn groove connection.
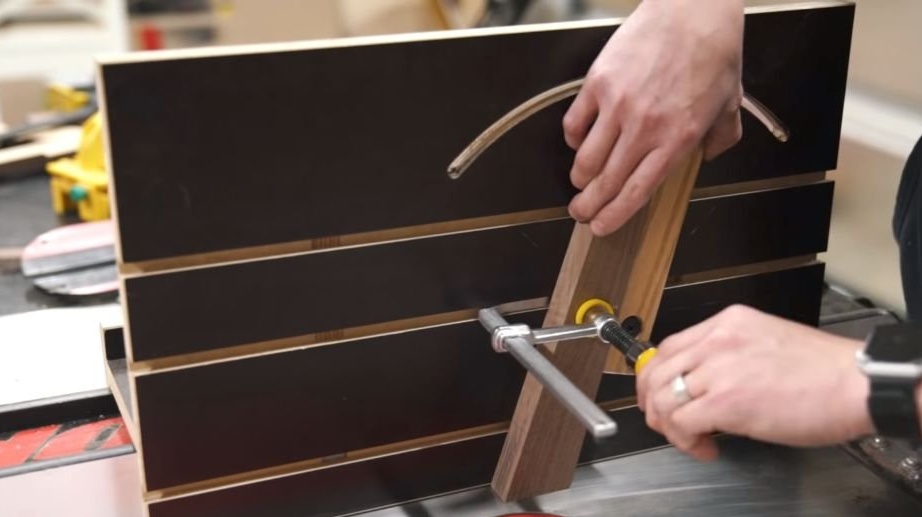
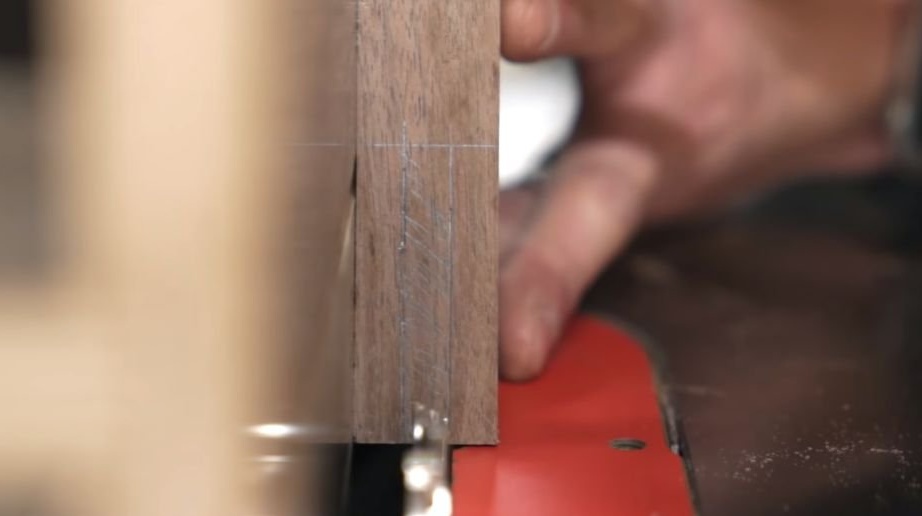

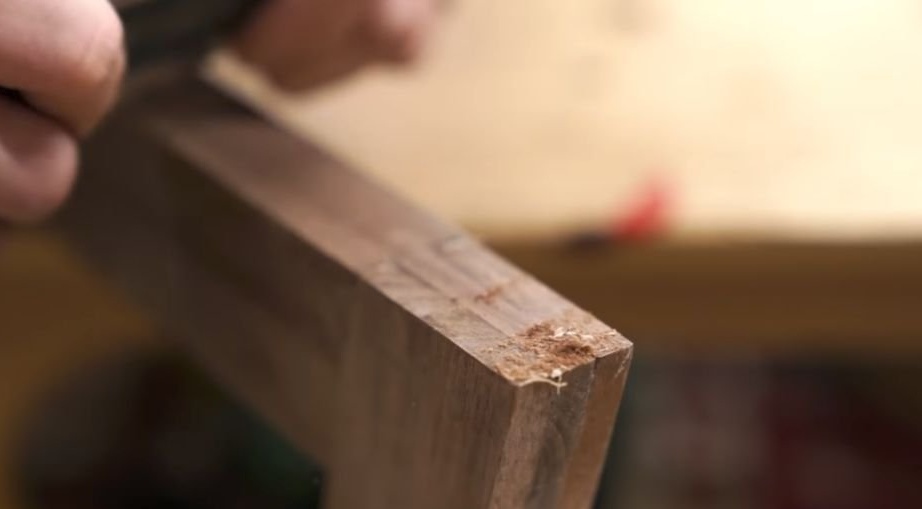
Continues to make connections.
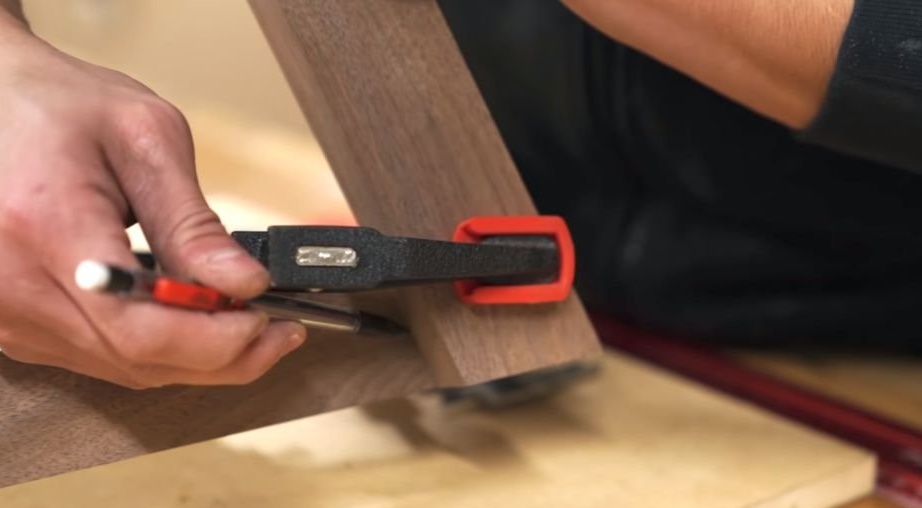
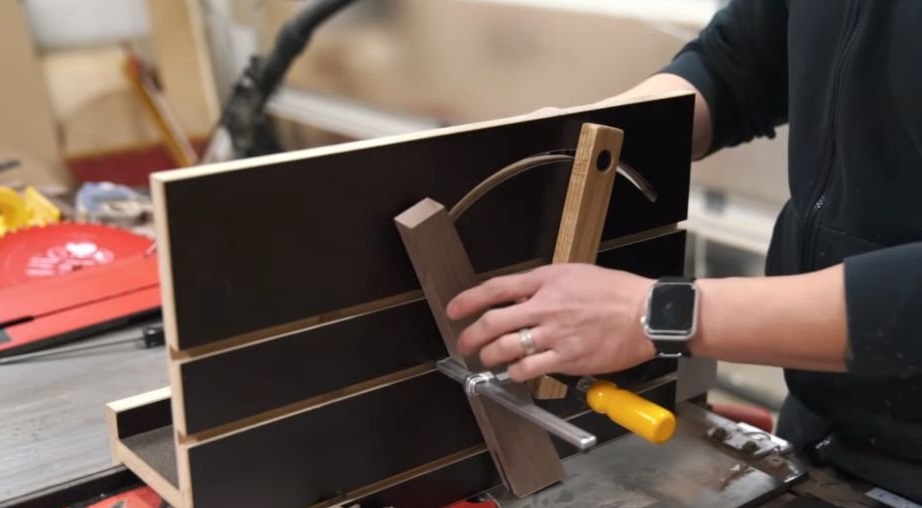
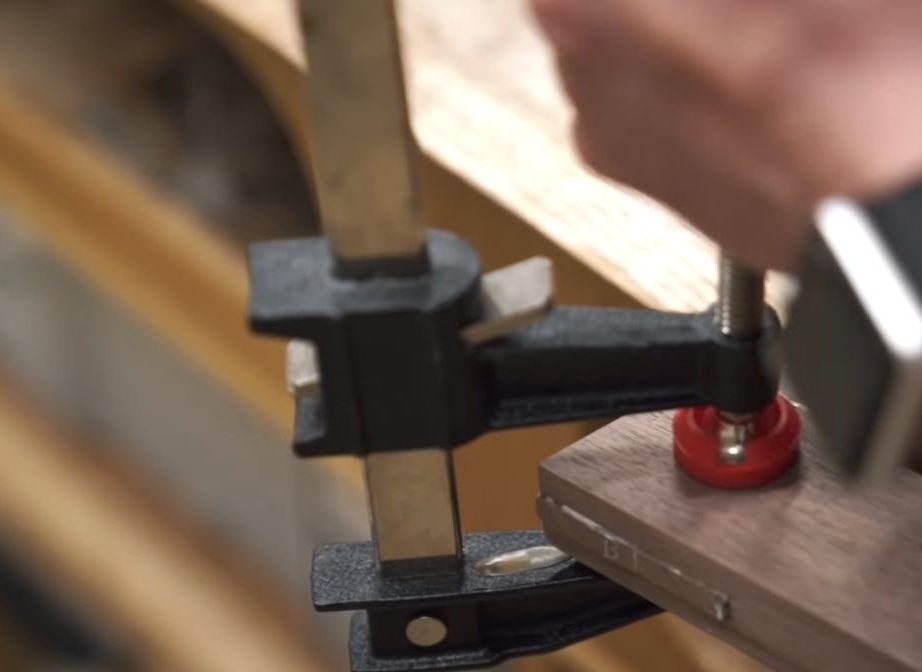
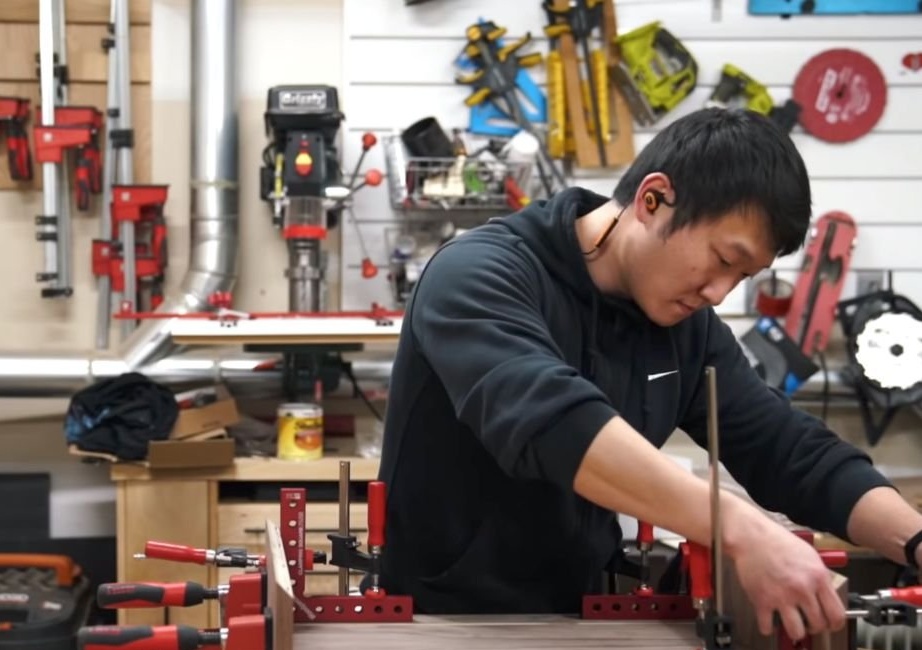
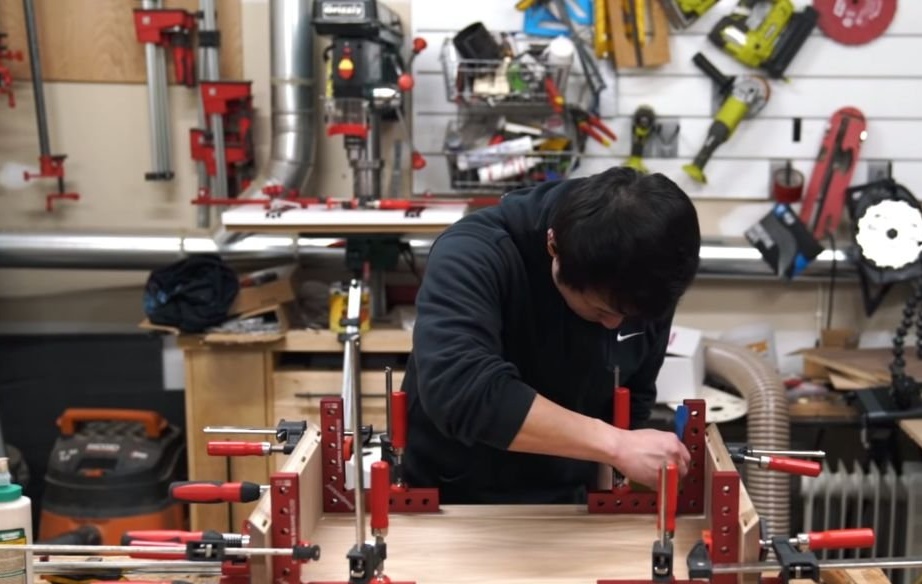
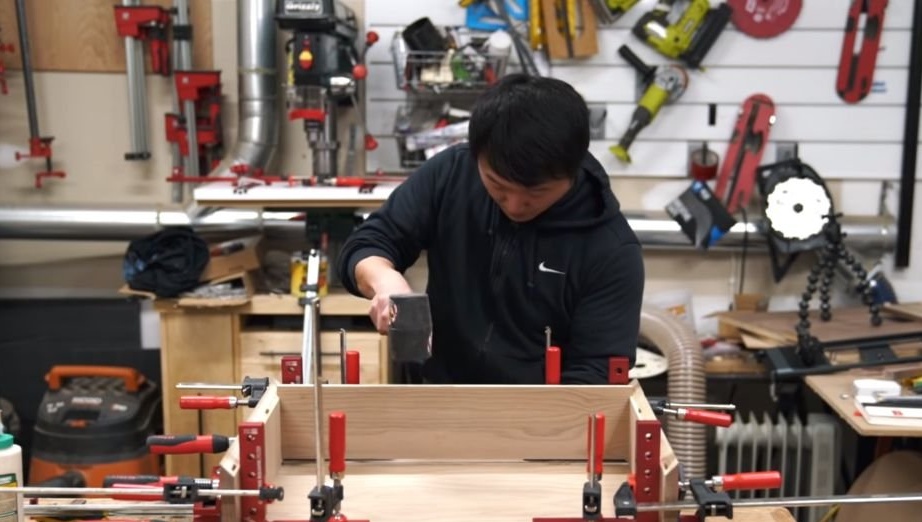
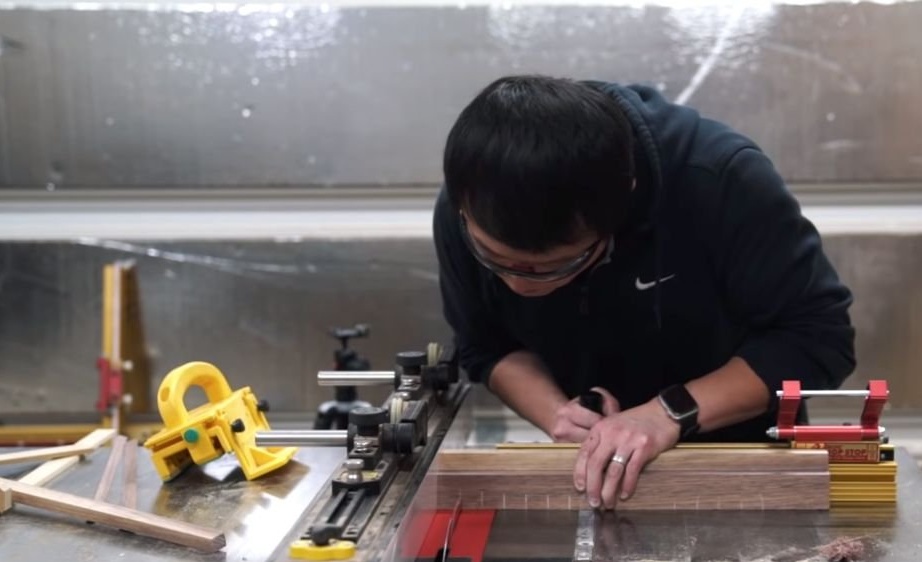
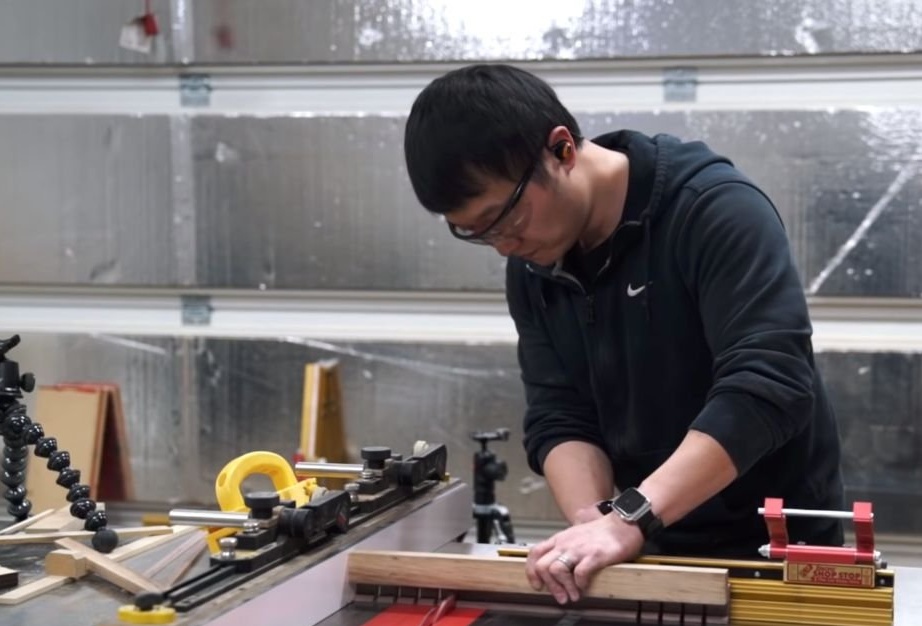
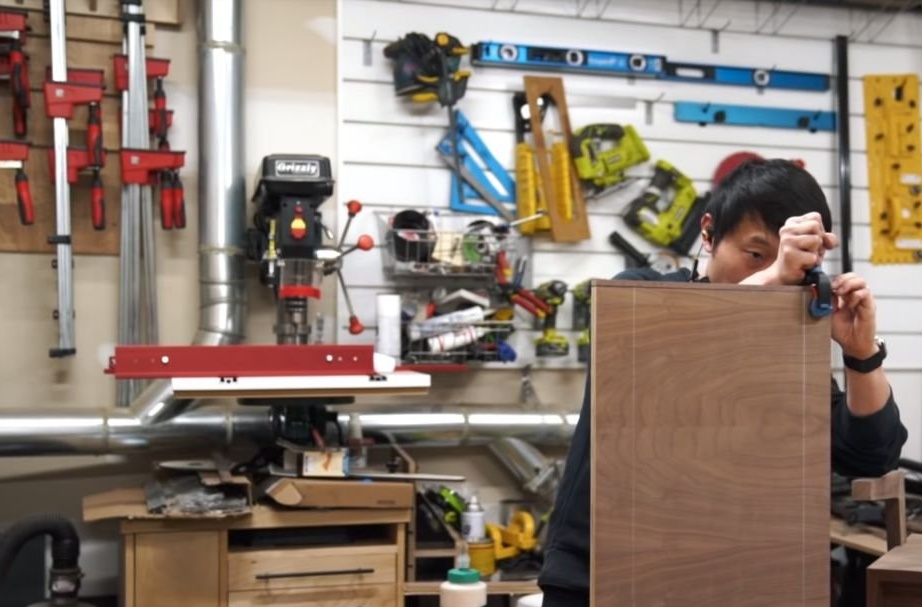
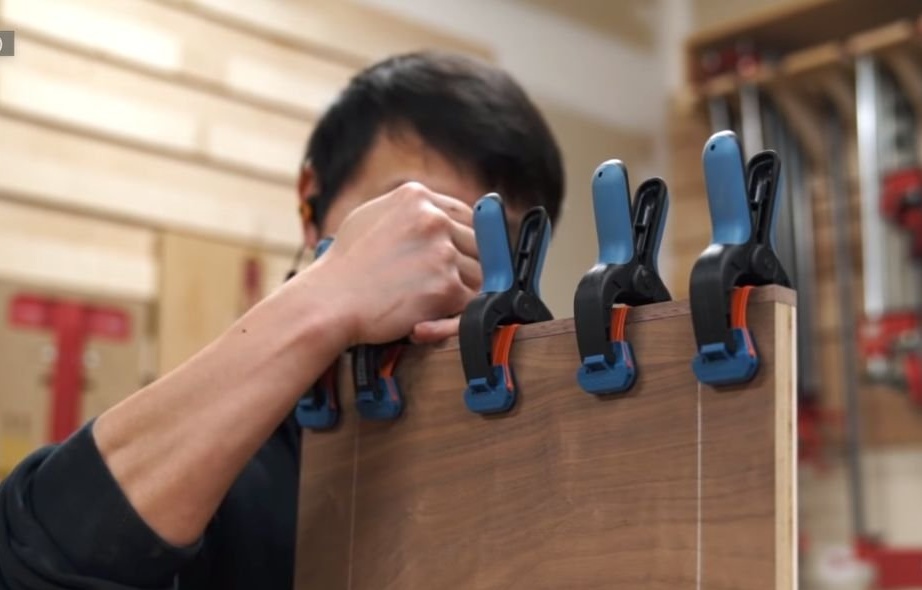
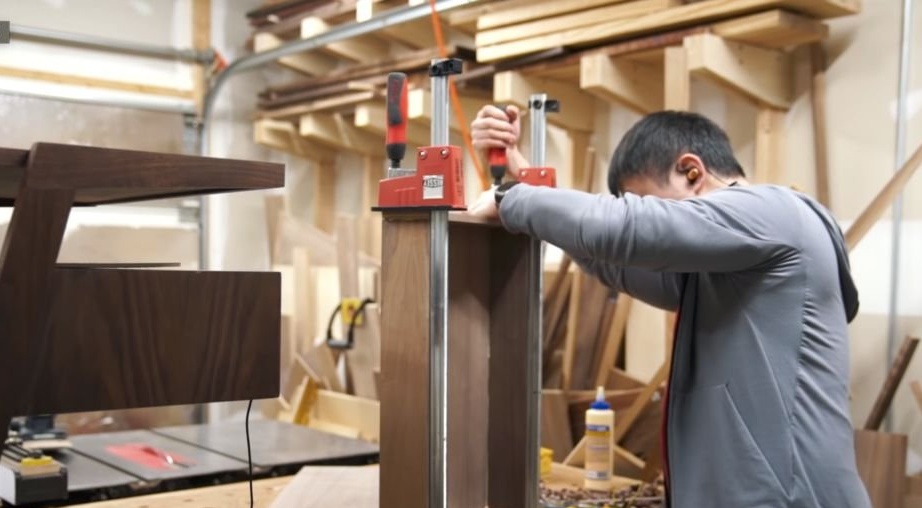
Step Two: Rack Assembly
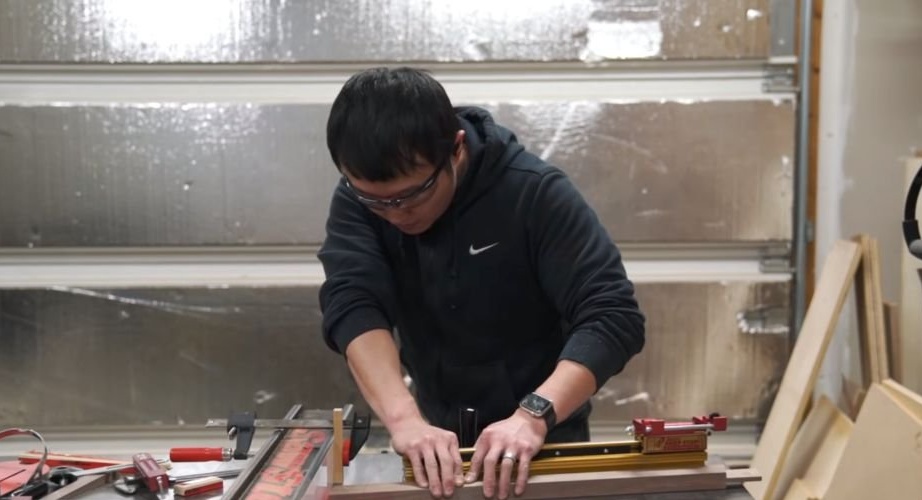
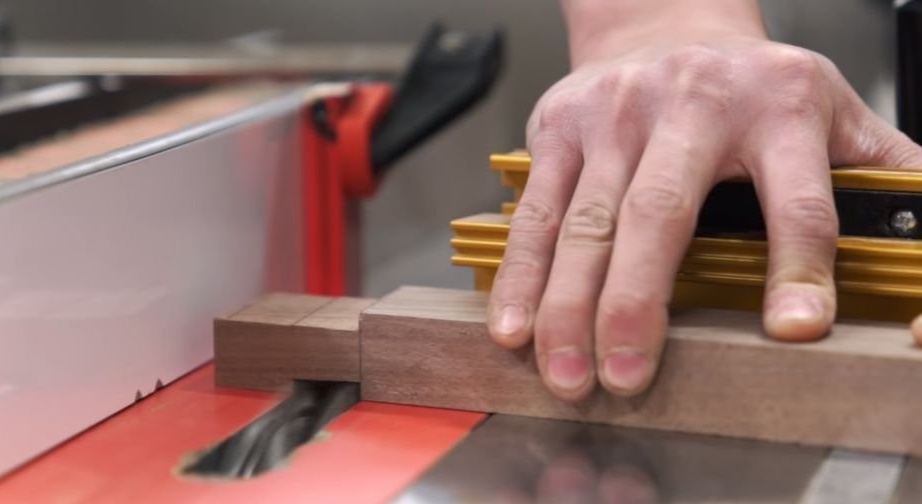
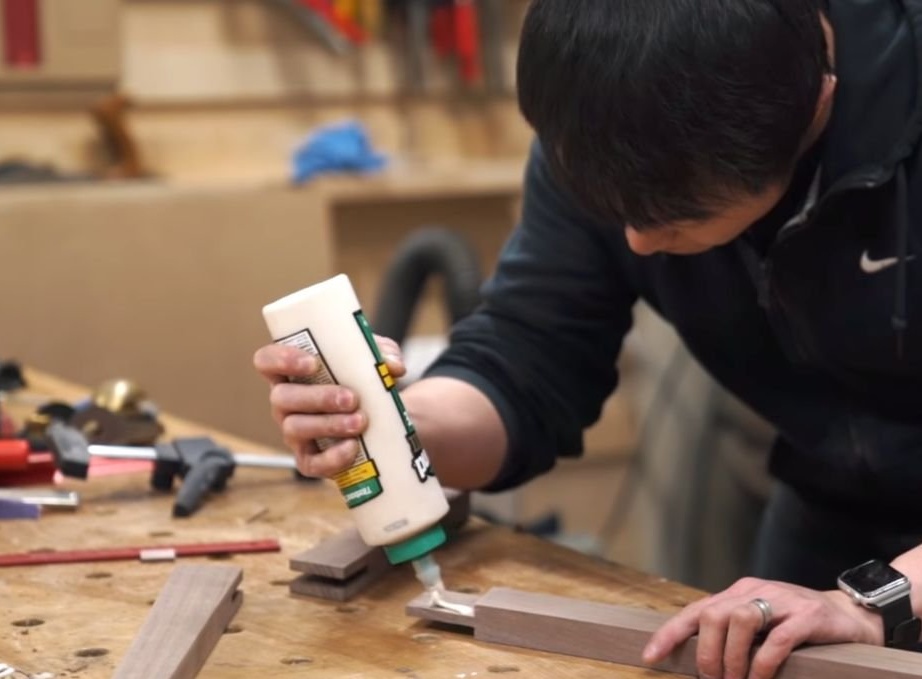
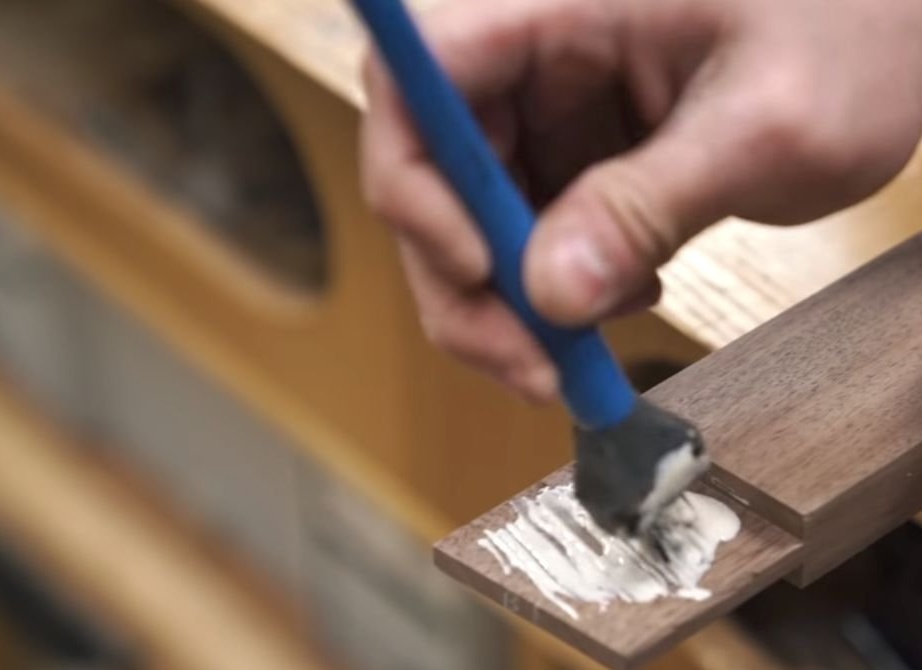
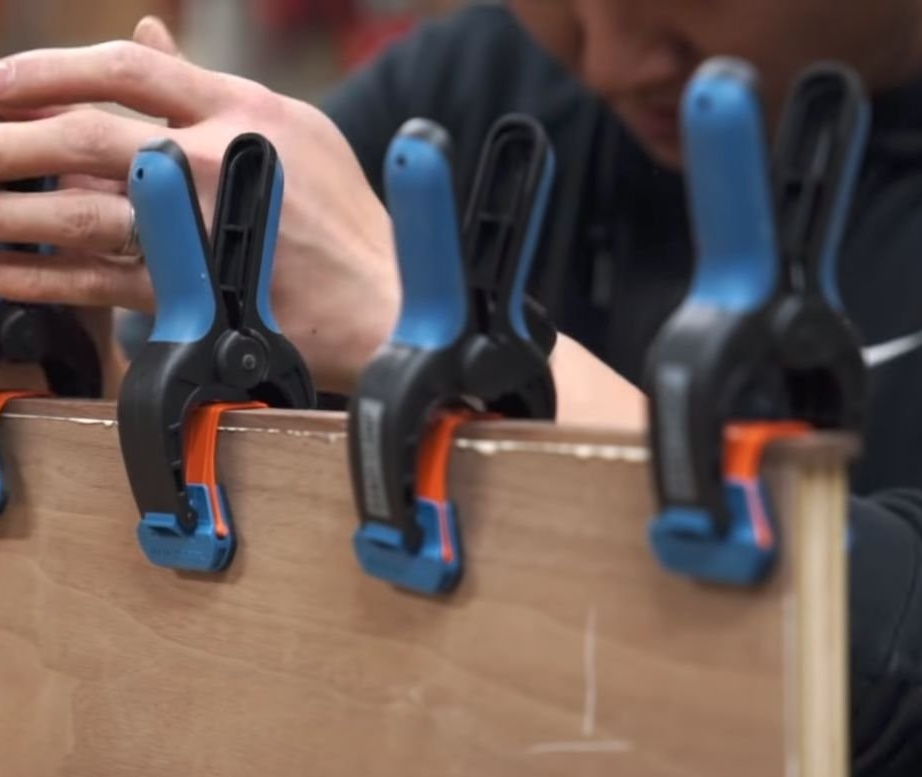
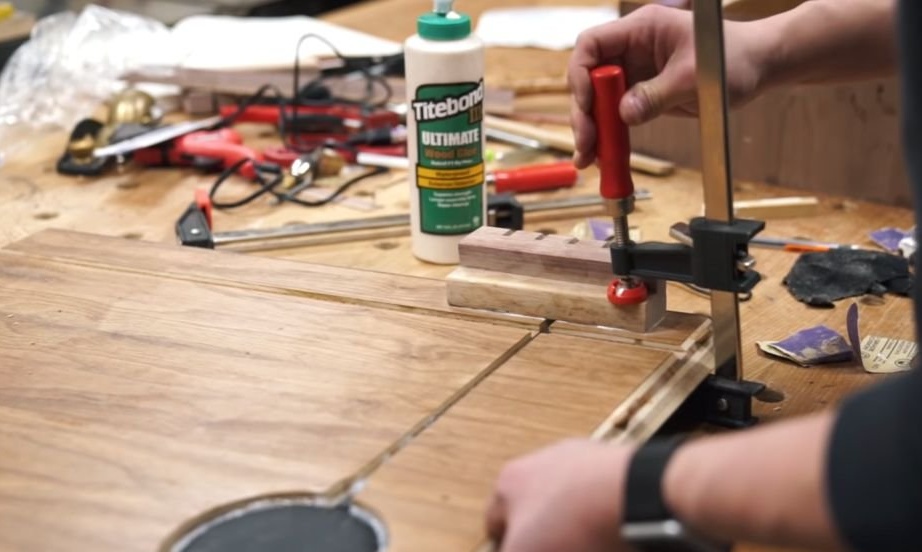
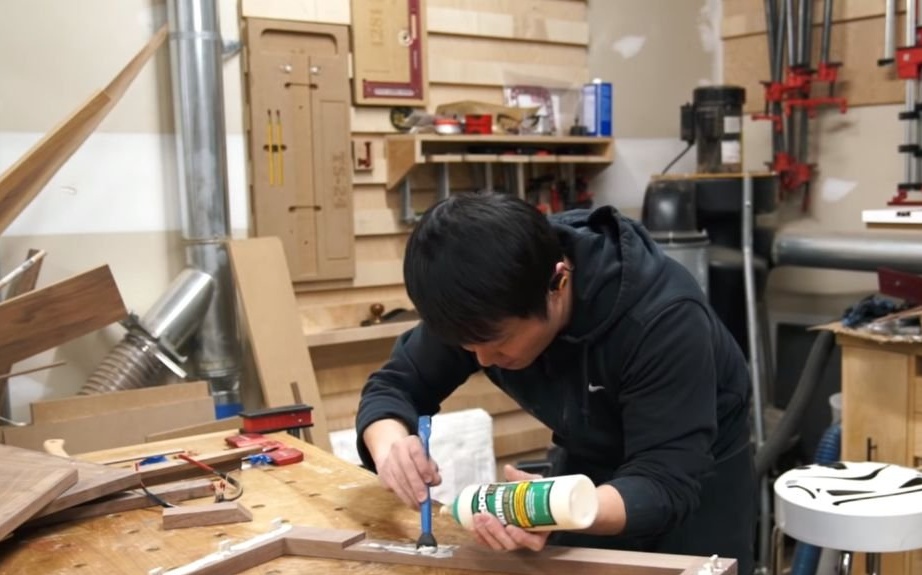
It applies glue to the spikes and connects the racks. Clamps joints with clamps. After the glue dries, the master cut the ends at an angle of 45 degrees.
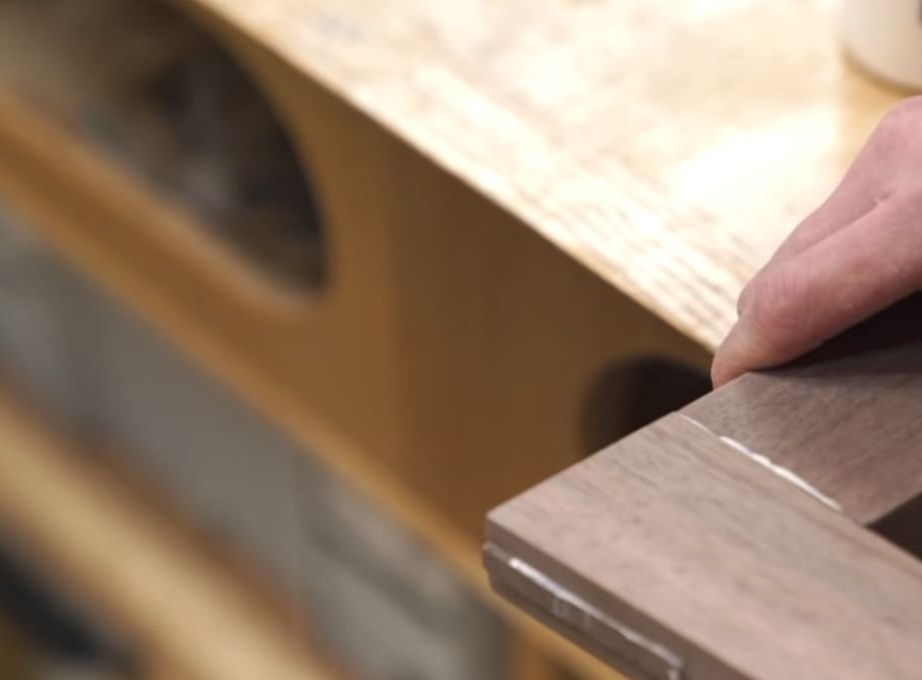

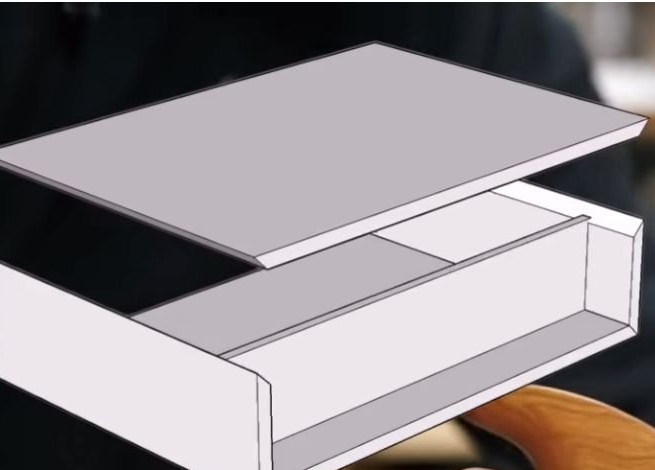
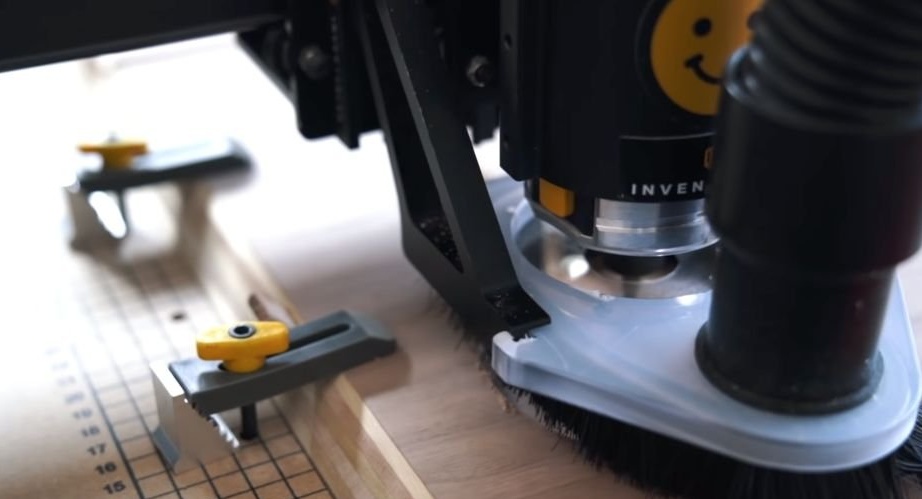
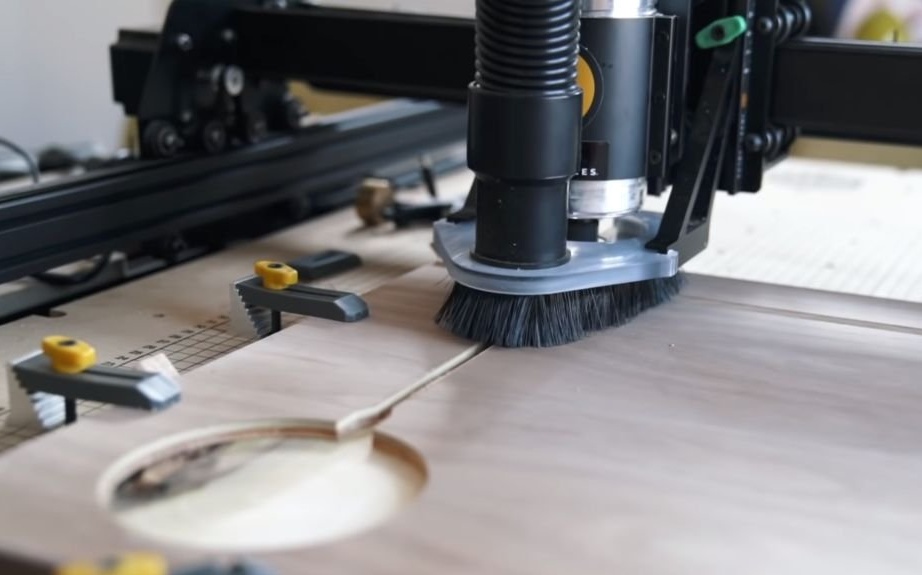
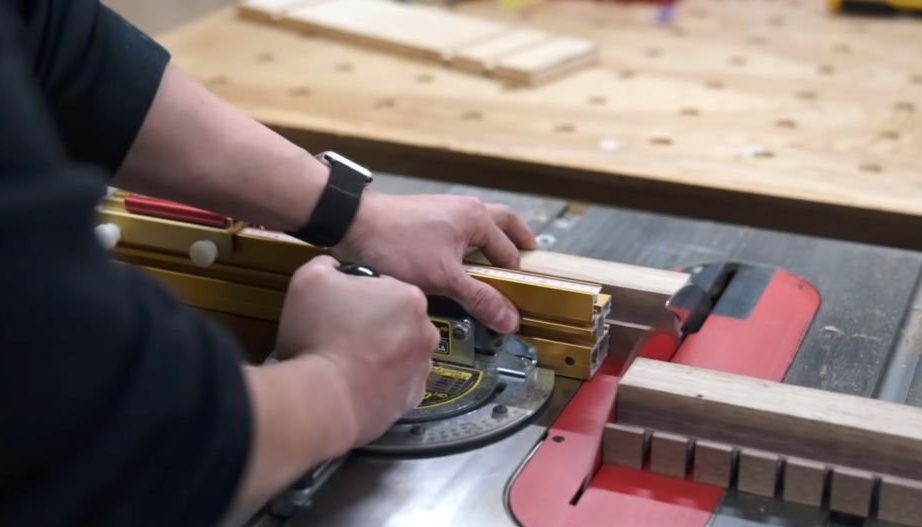
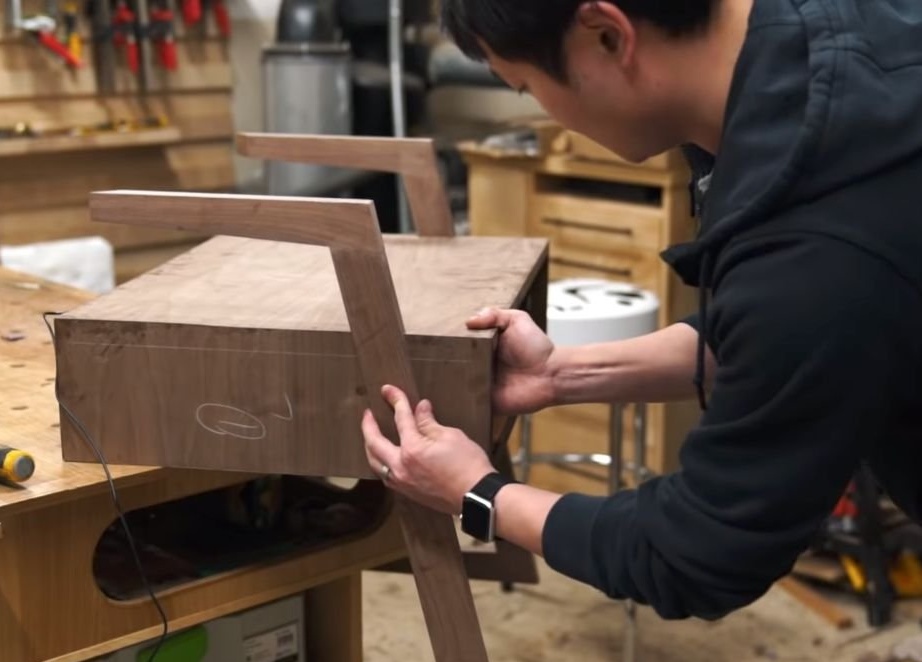
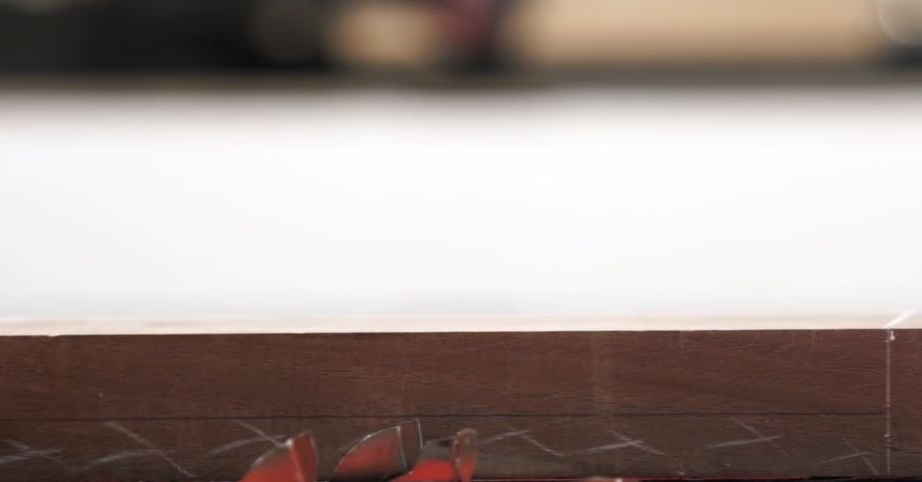
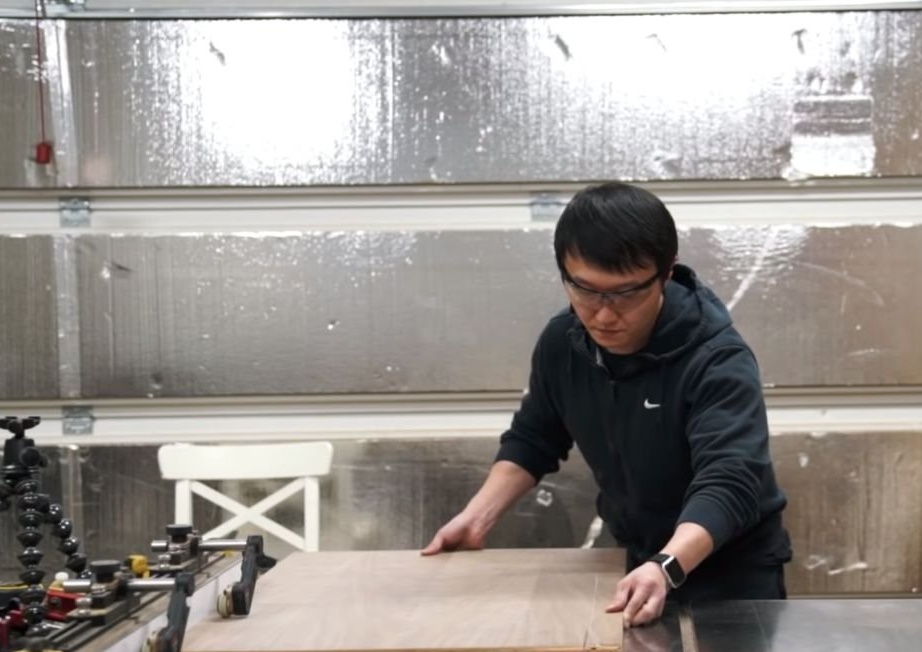
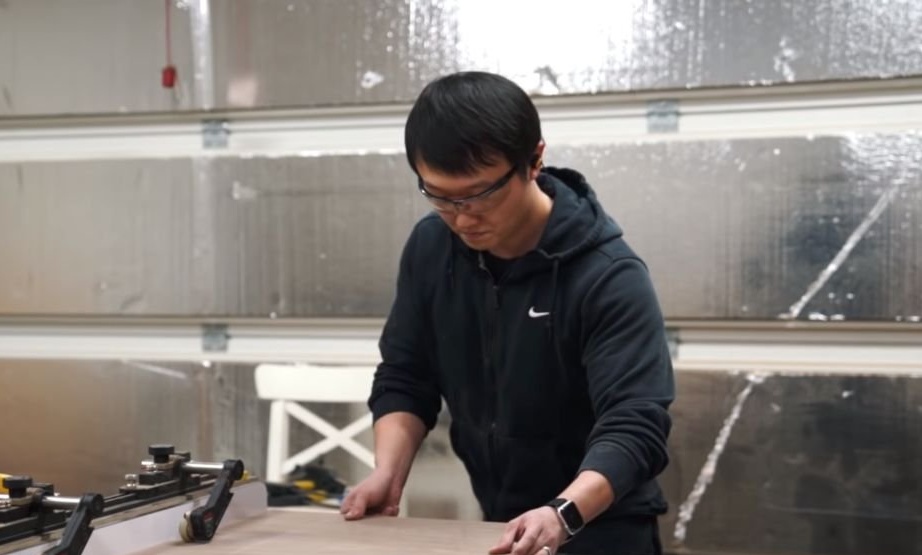
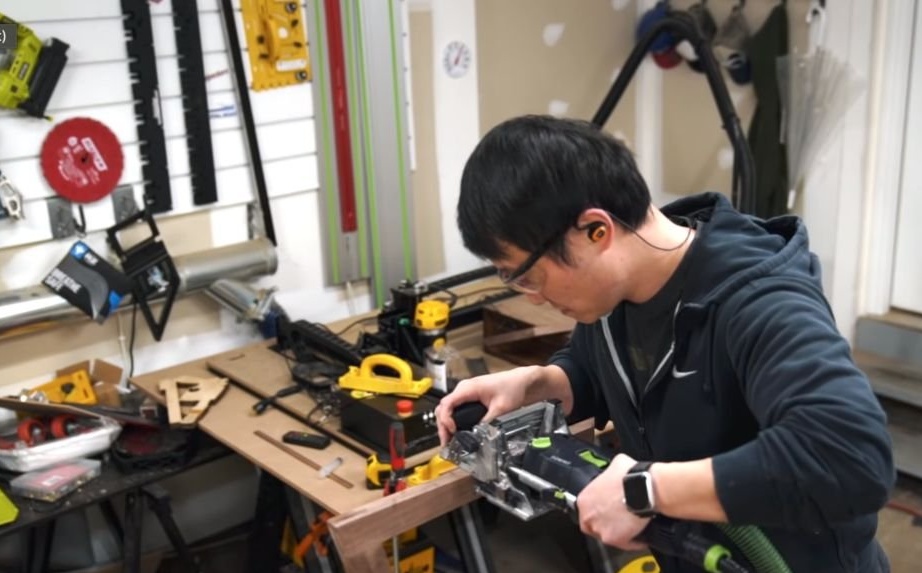
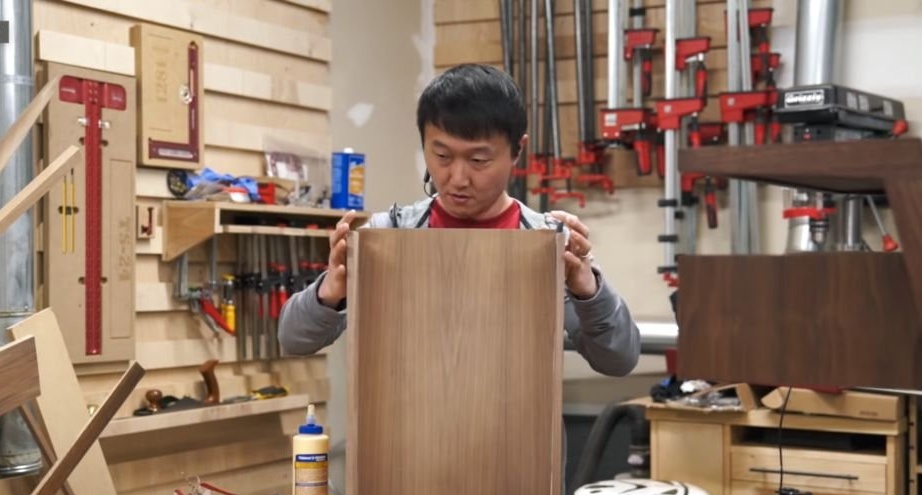
Step Three: Case
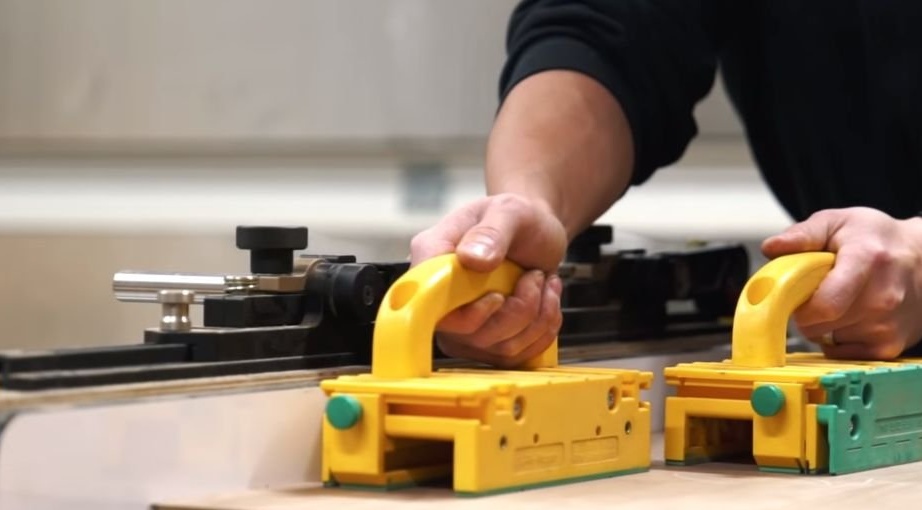
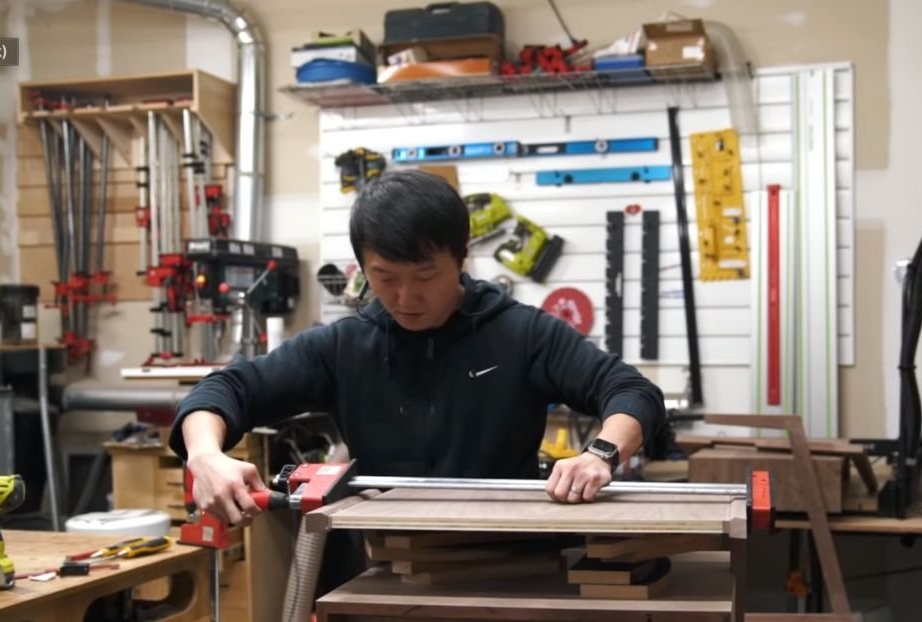
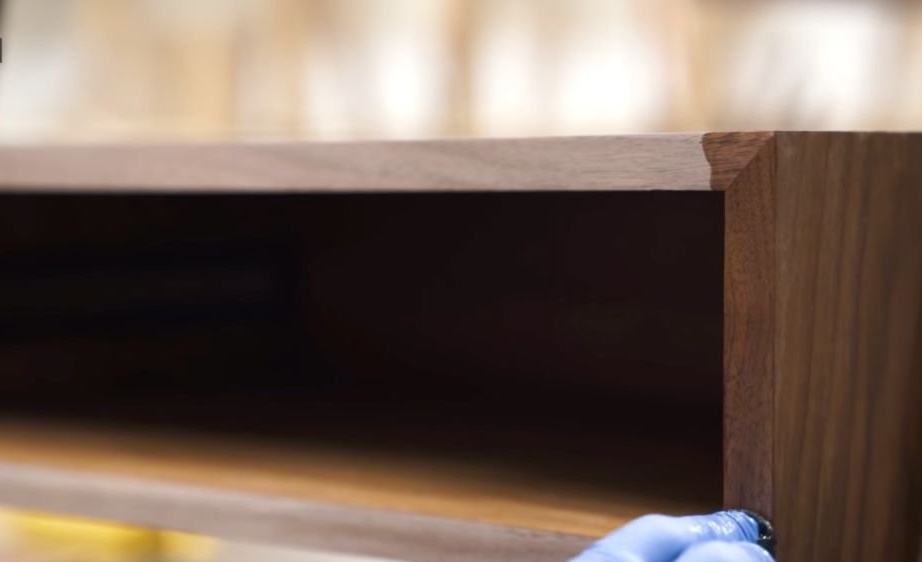
The case is made of plywood and is, in shape, an ordinary box. The inner part of the body is divided into two unequal parts. Cuts plywood to size. Sticks veneer to it. Cuts off the ends at 45 degrees. Assembles a body (without top).
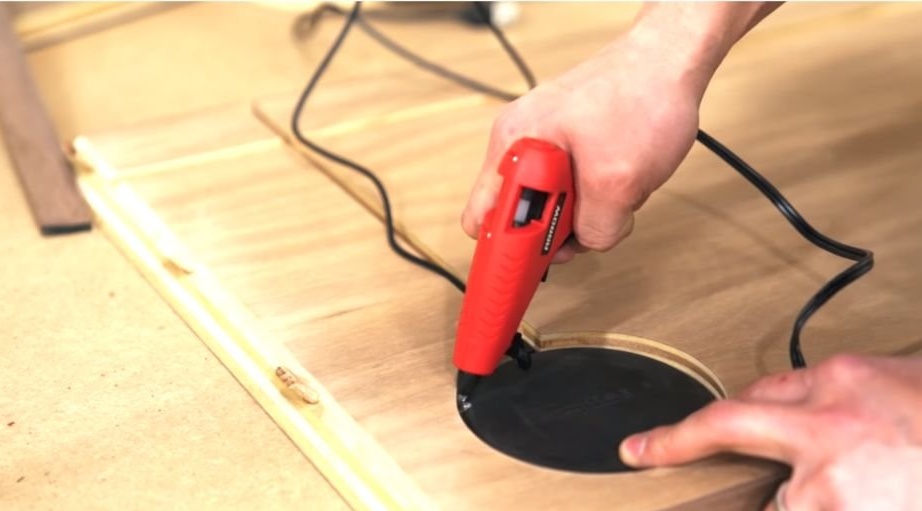
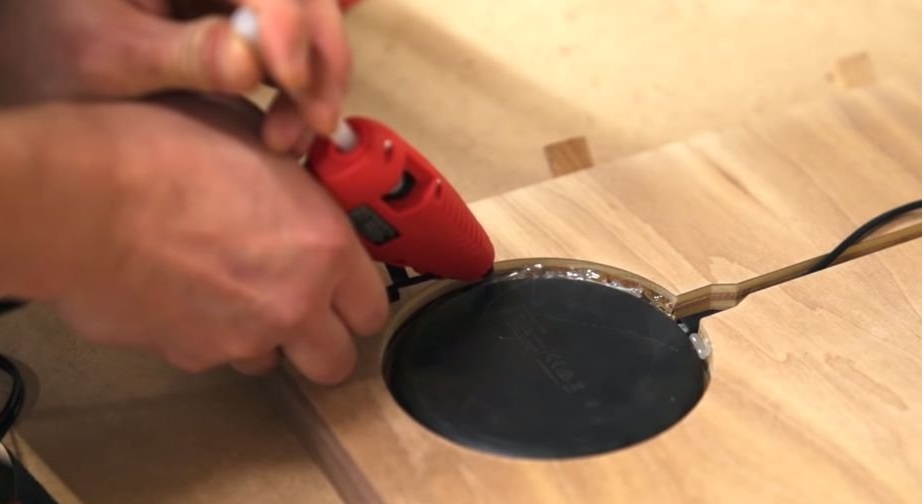
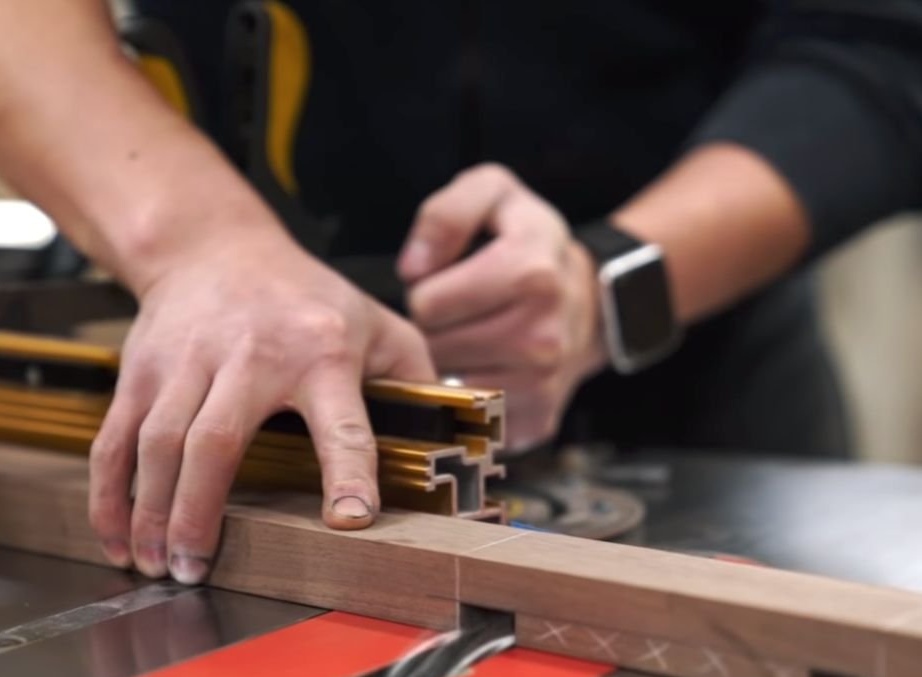
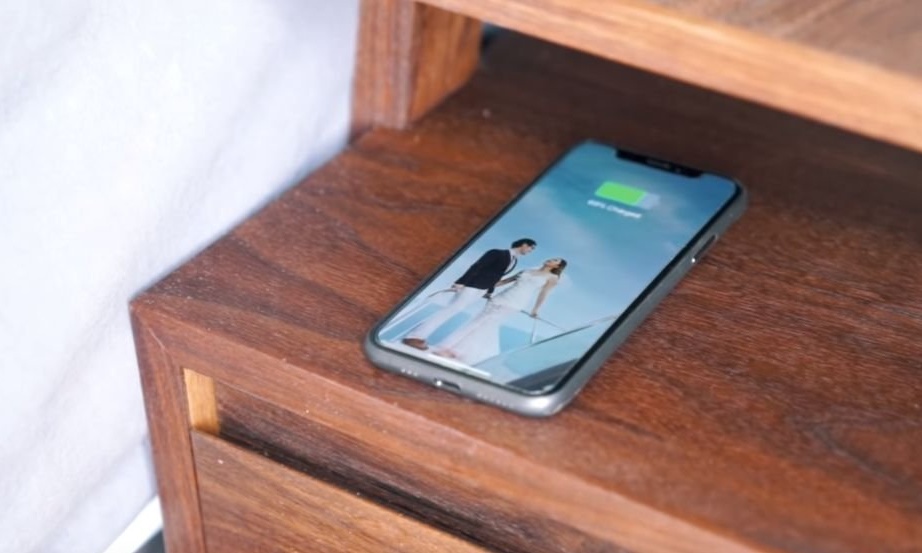
Step Four: Charger Guides
Bottom of the upper part of the cutter makes a niche for a wireless charger. The device itself is fixed in a niche with hot melt adhesive. The inside of the box is covered with finishing material. Screws the drawer guides.
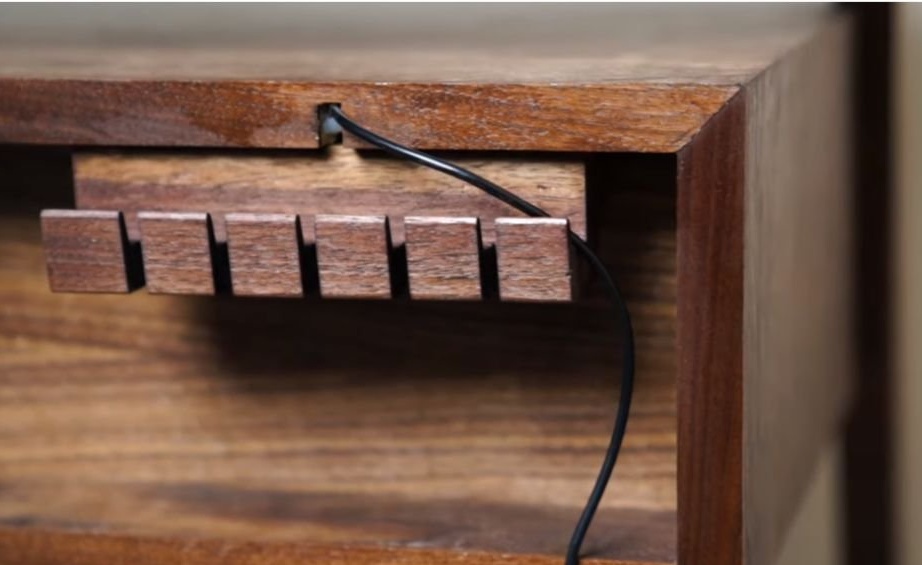
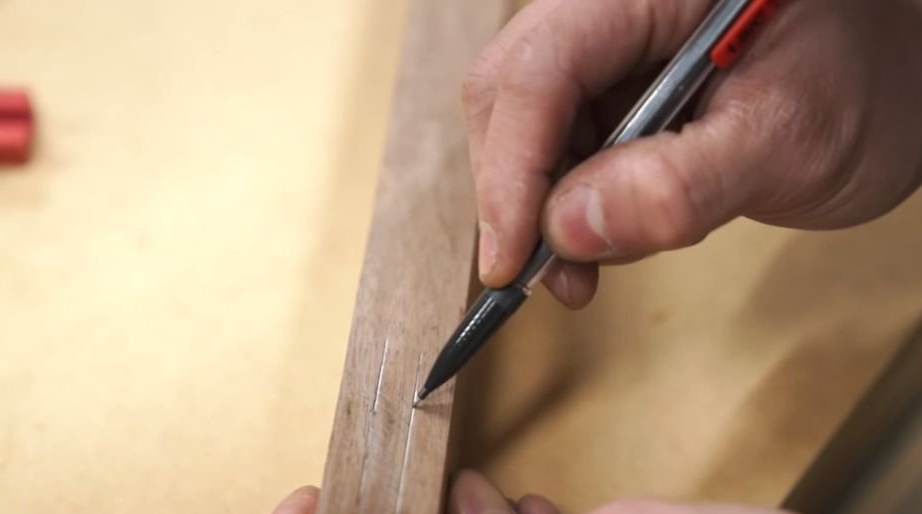
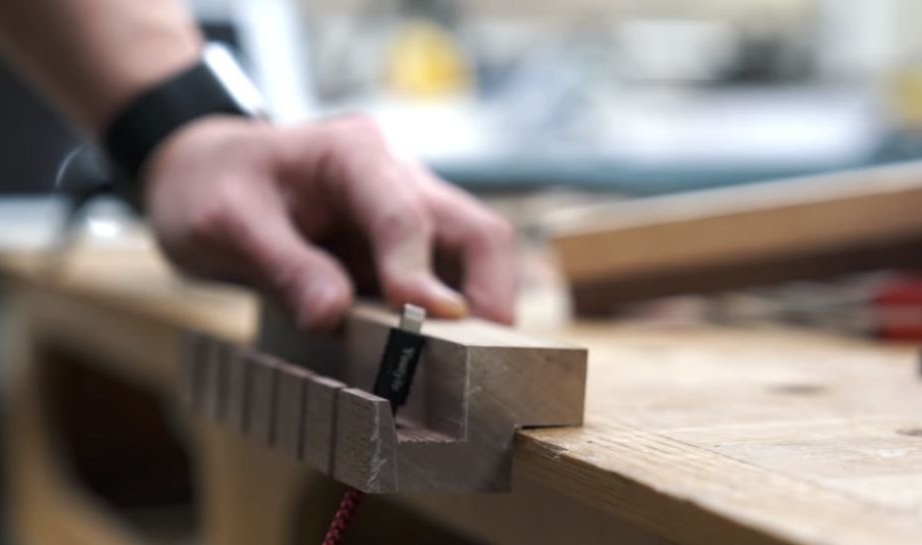
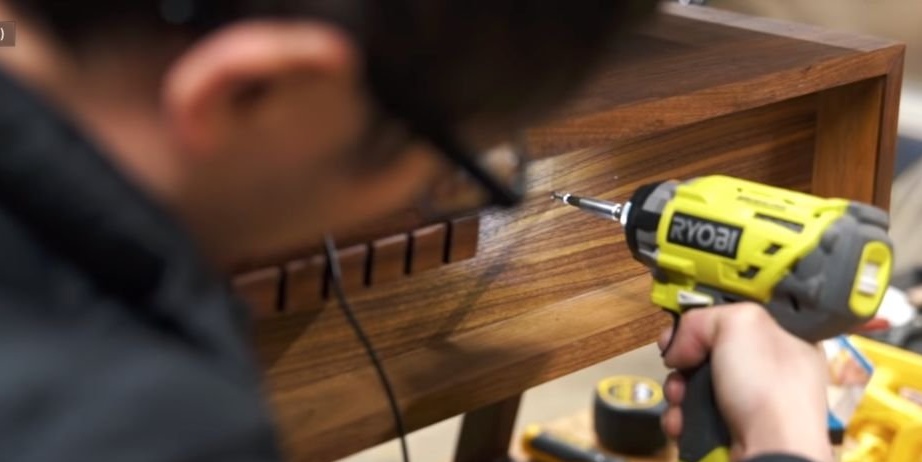
Step Five: Organizer
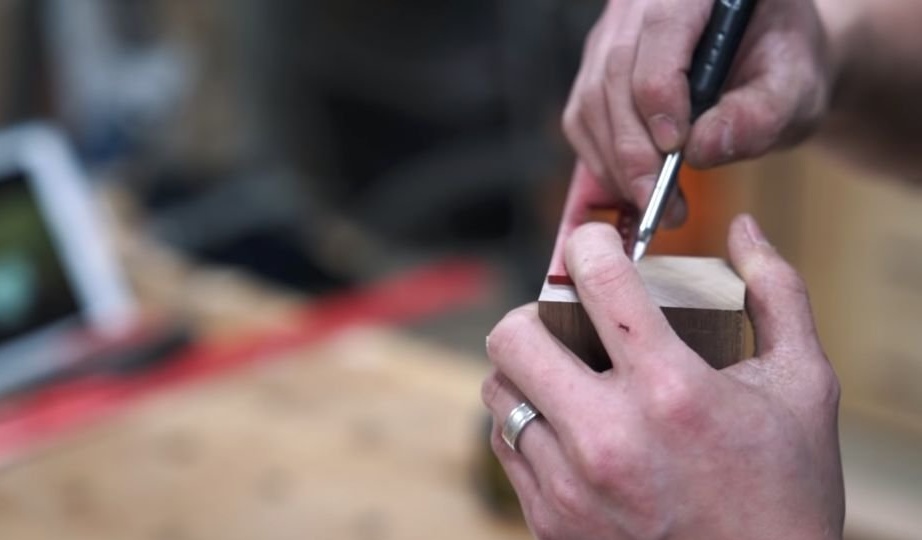
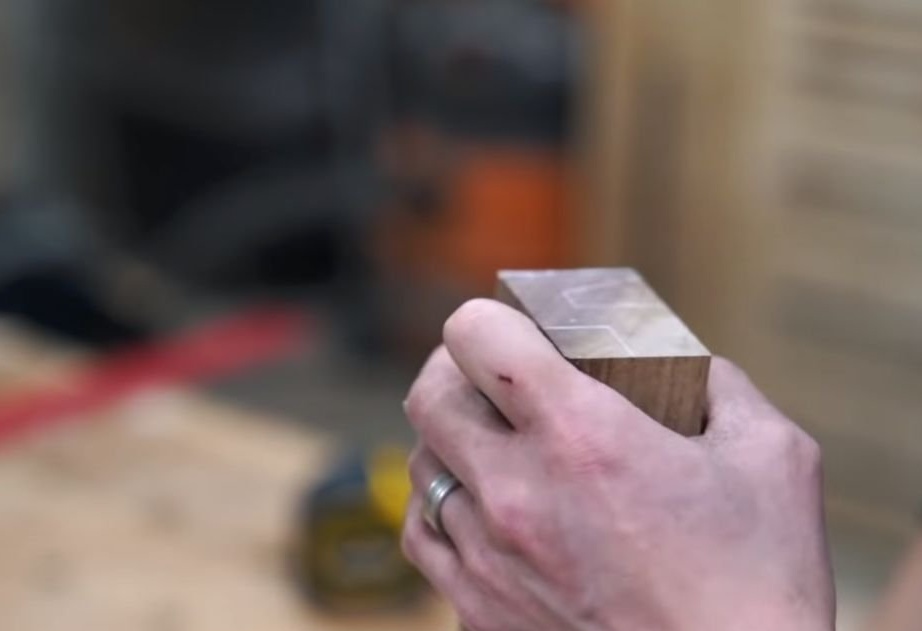
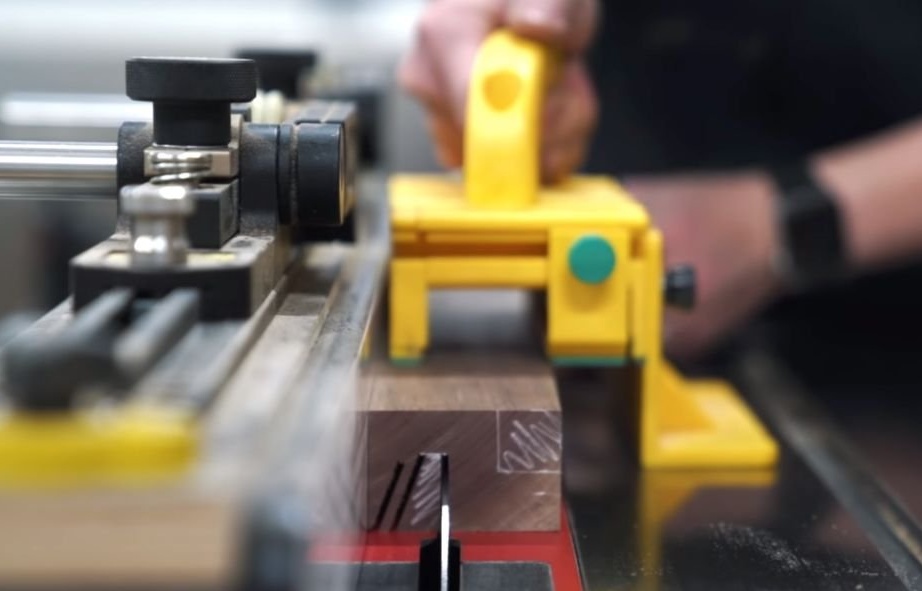
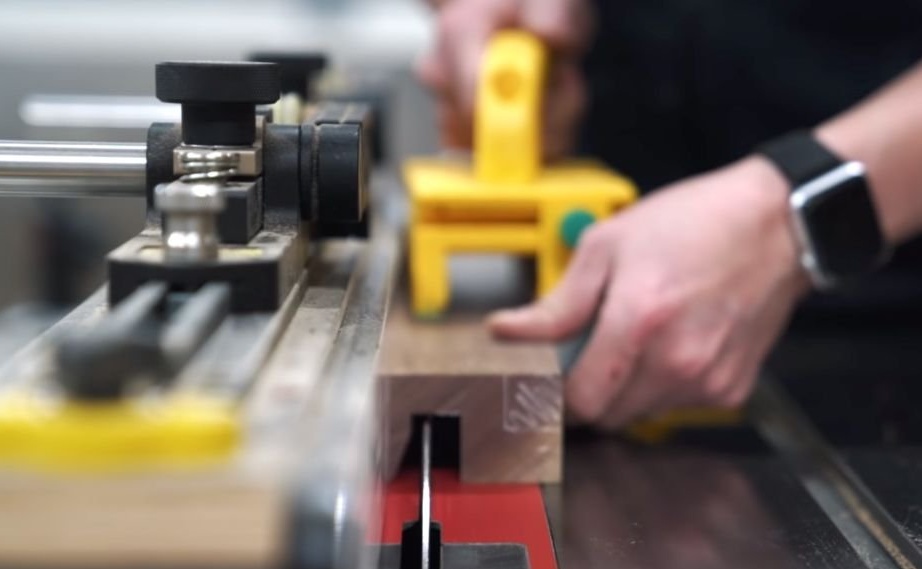
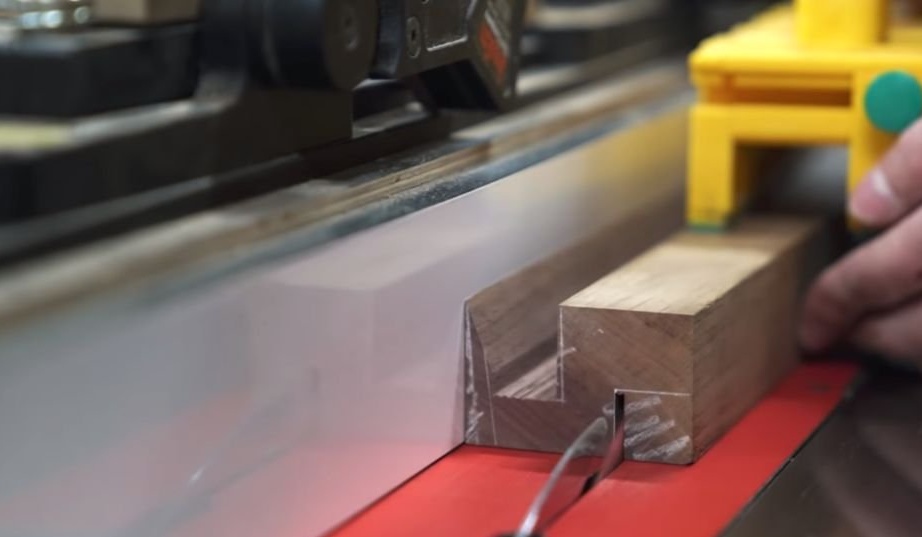
In fact, this is not even an organizer, but a wire holder. The master makes it from a bar. Marks the bar. cuts out, as in the photo. makes cuts in the scallop.

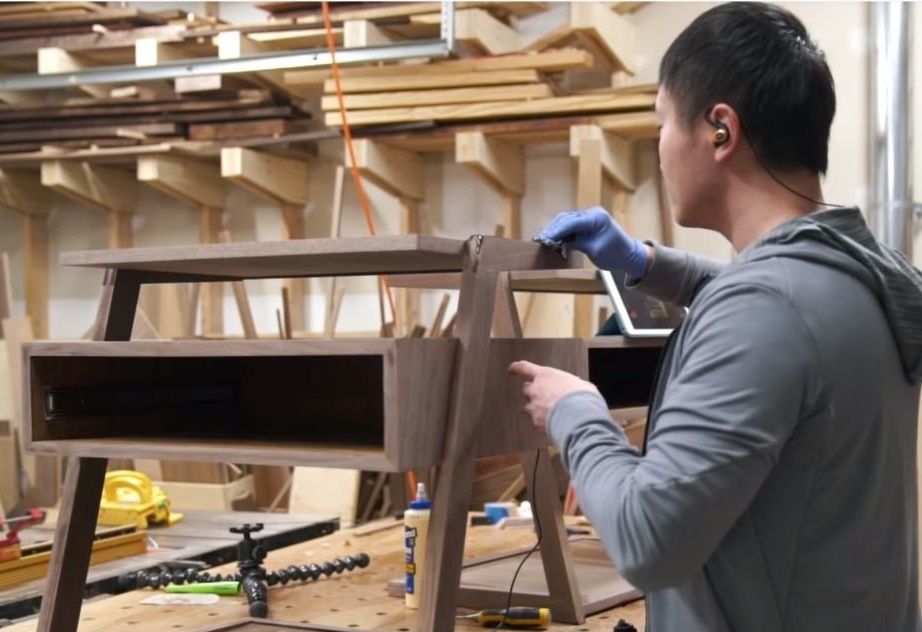
Step Six: Installing the Top Cover
Sticks the organizer to the cover. Glues the cover to the body. The organizer is obtained from the bottom of the cover.

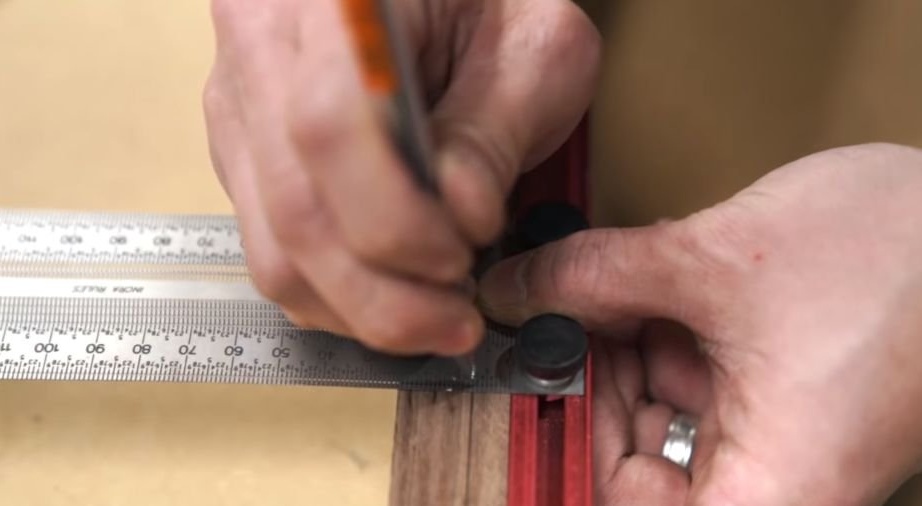
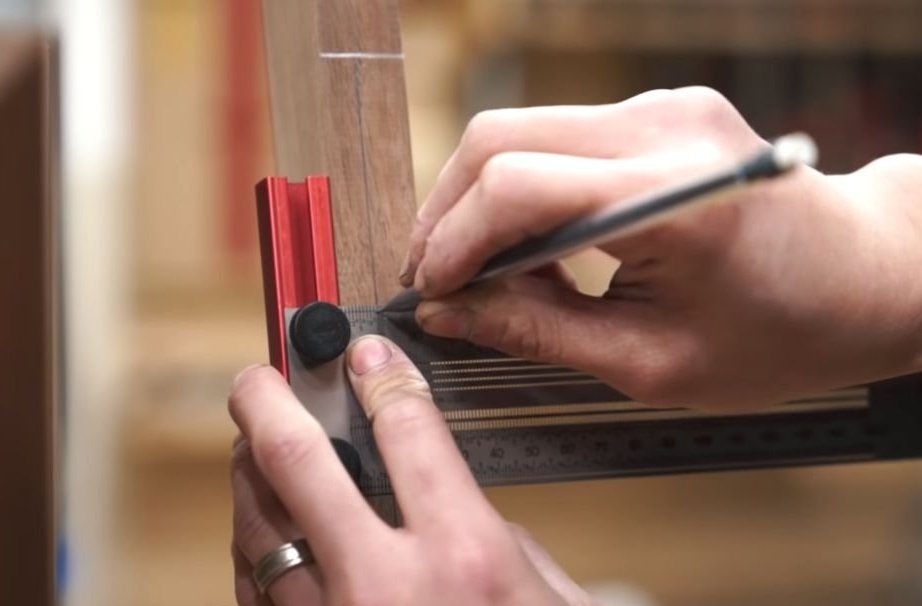
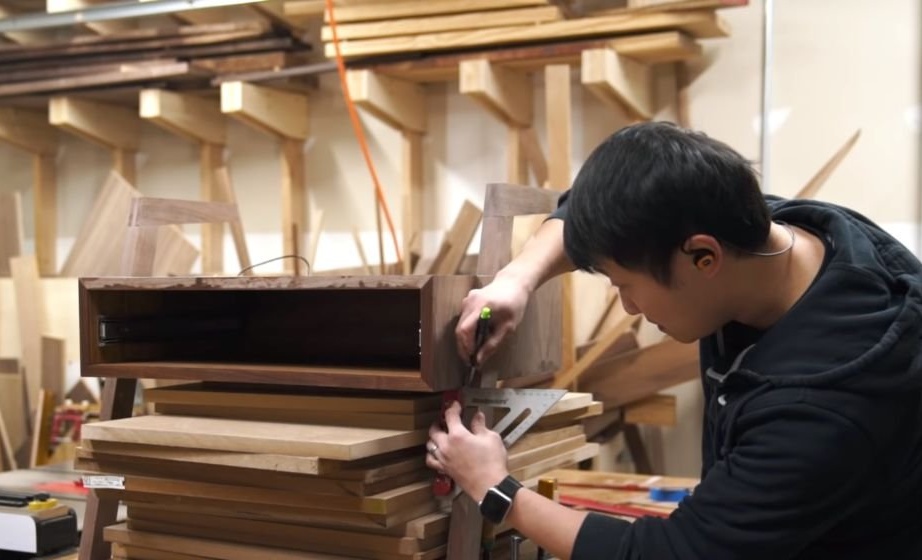
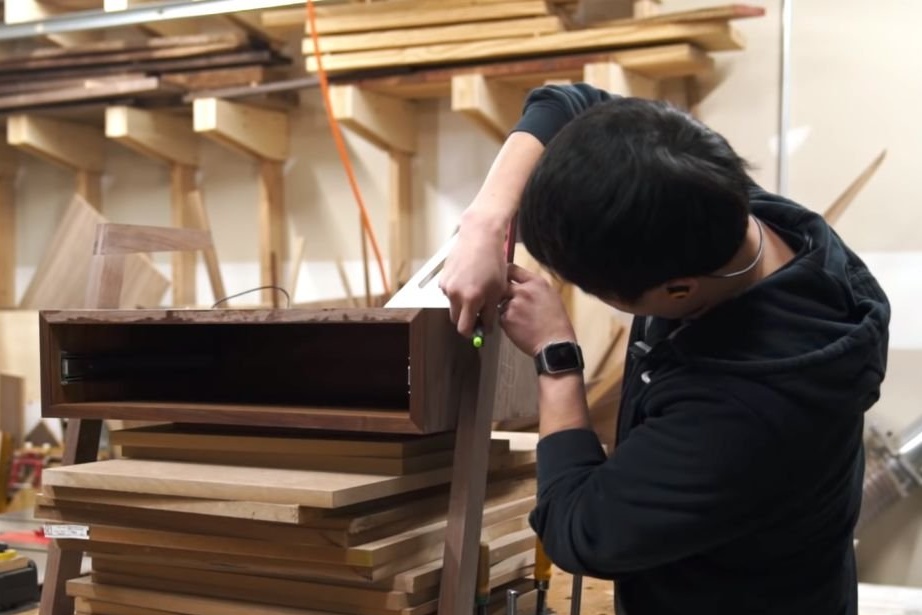
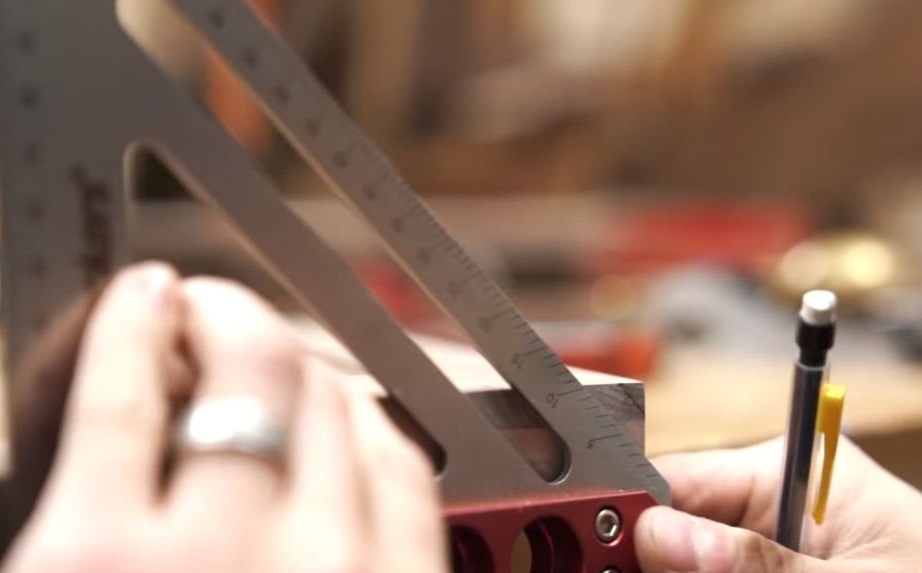
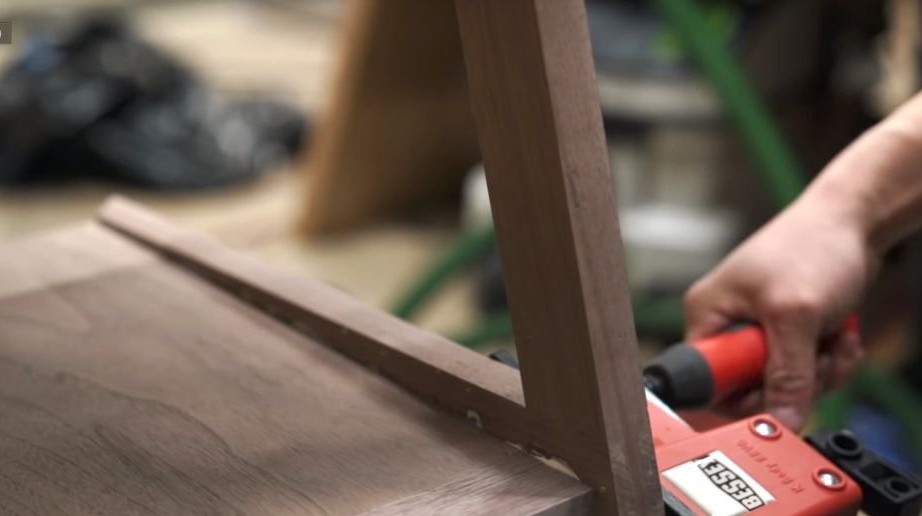
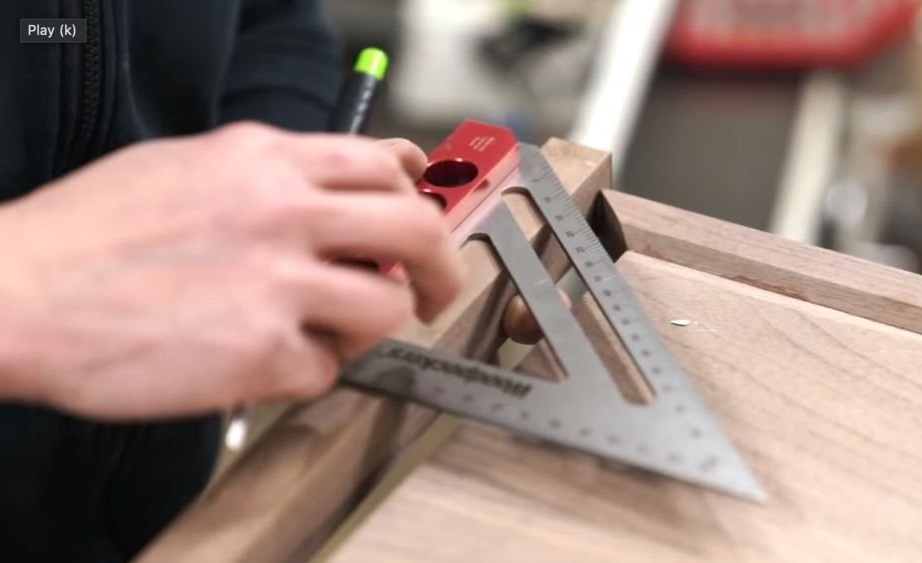
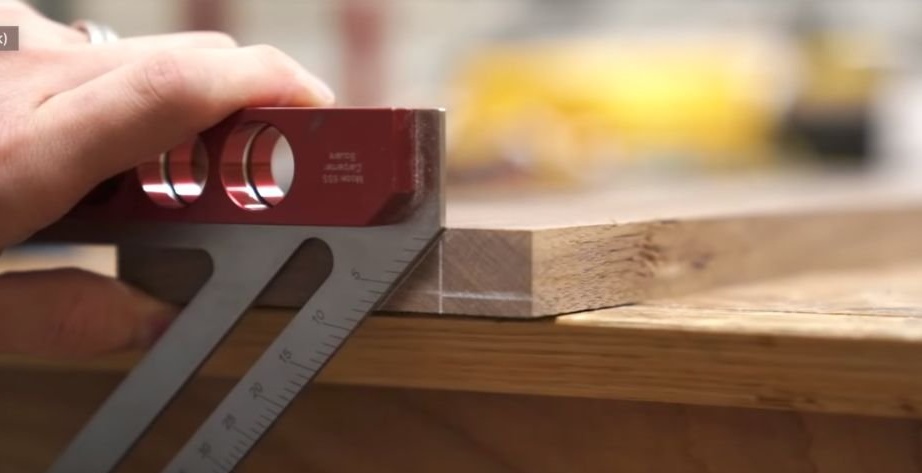
Seventh step: cutout for rack mounting
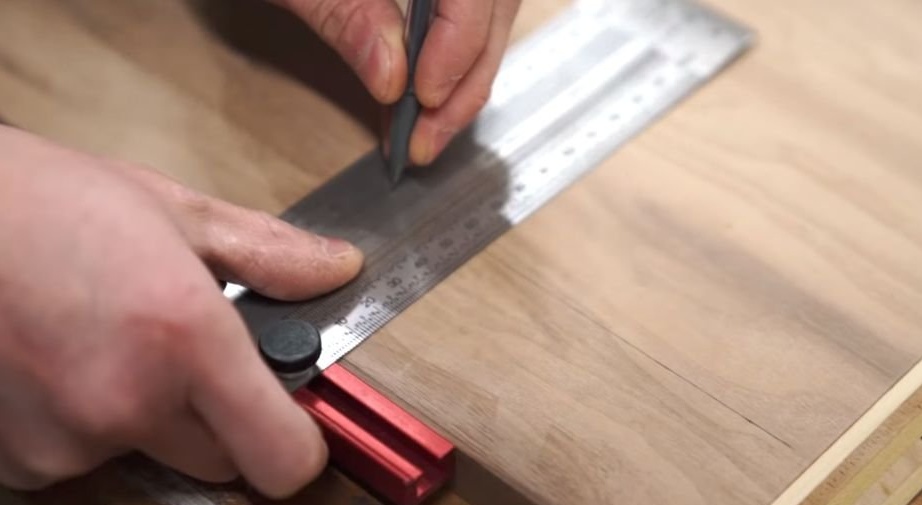
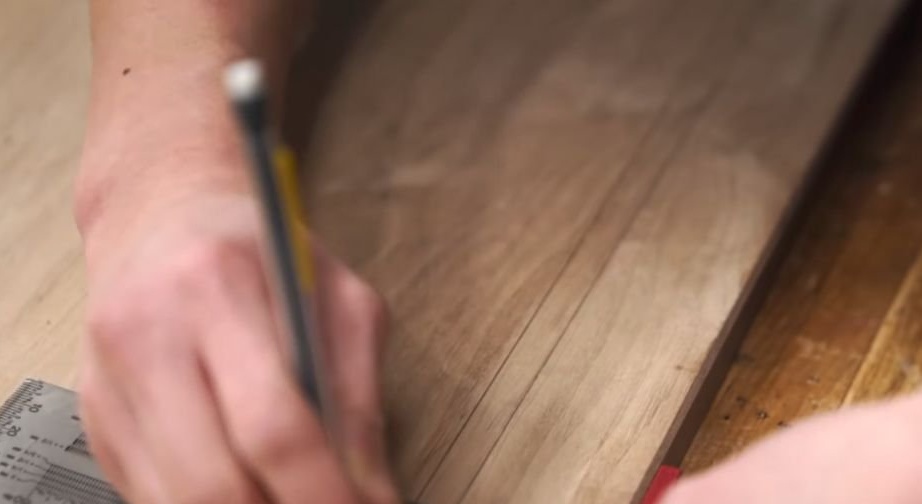
The wizard measures the height at which the housing will be mounted.transfers dimensions to the rack. On racks makes cuts in half boards.
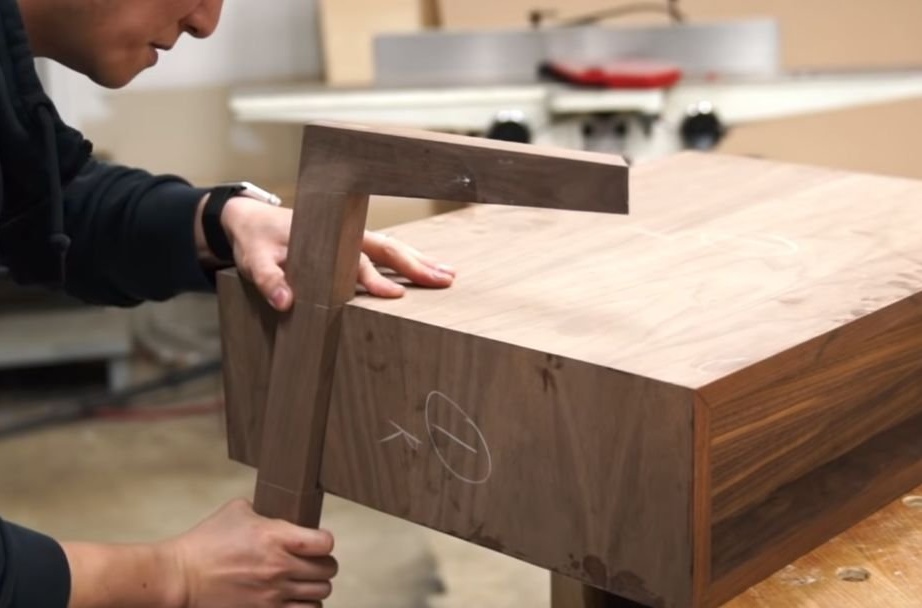
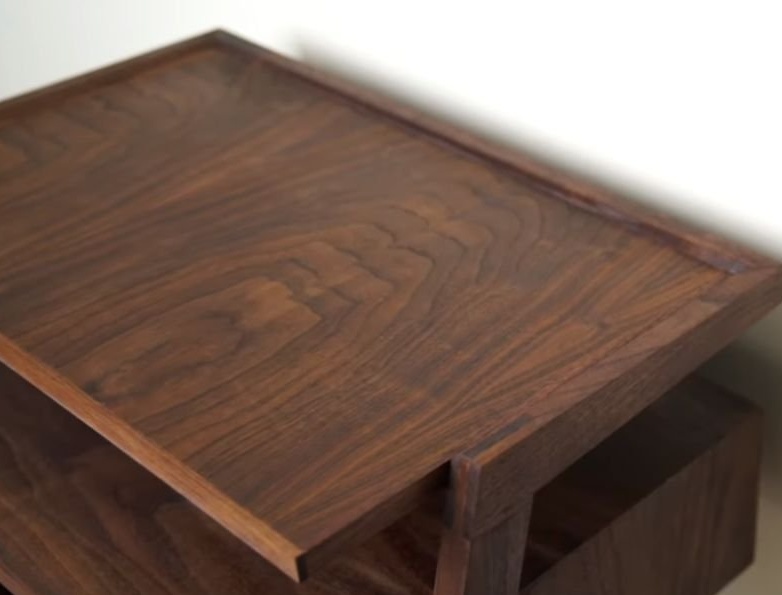
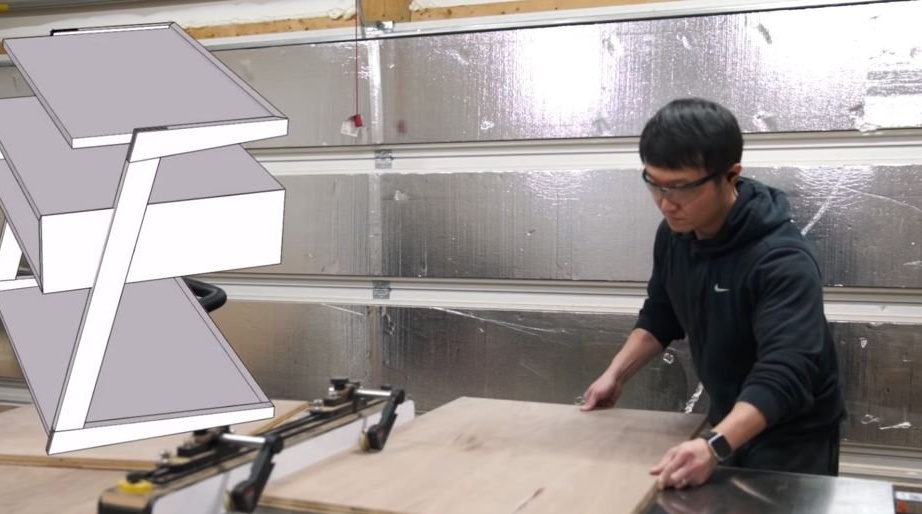
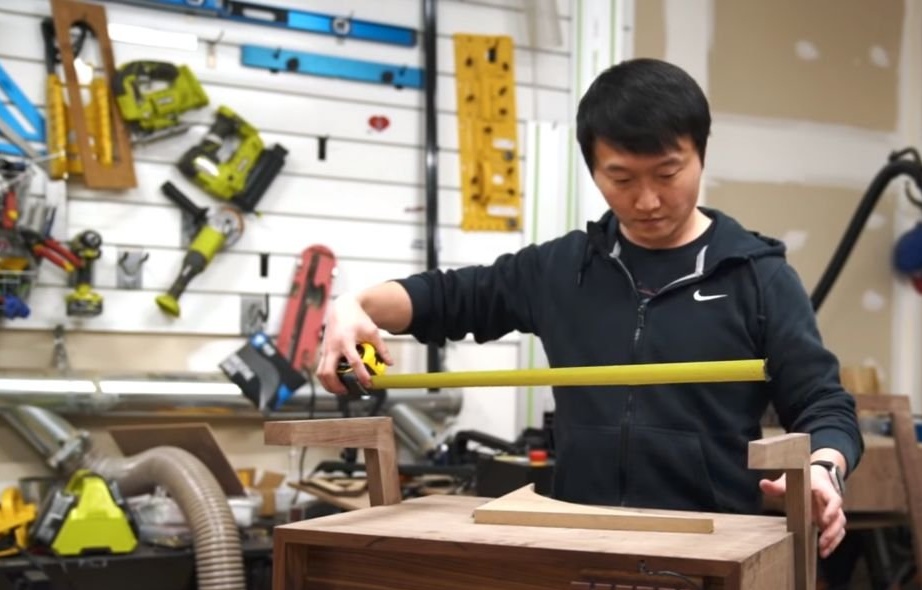
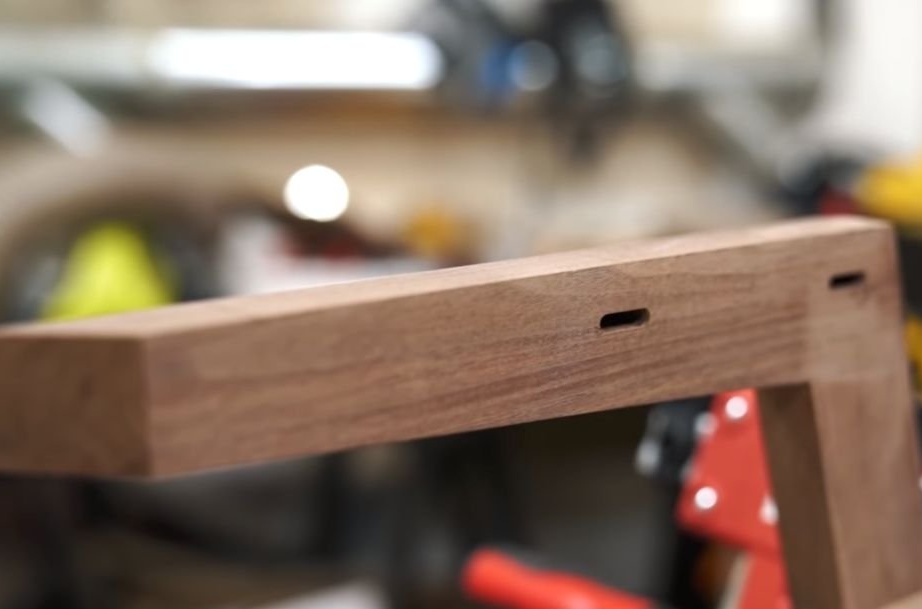
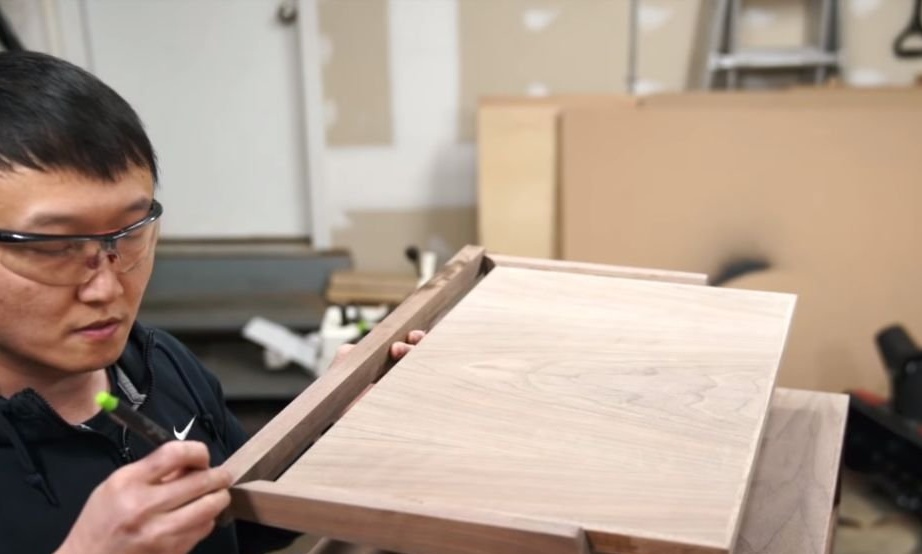
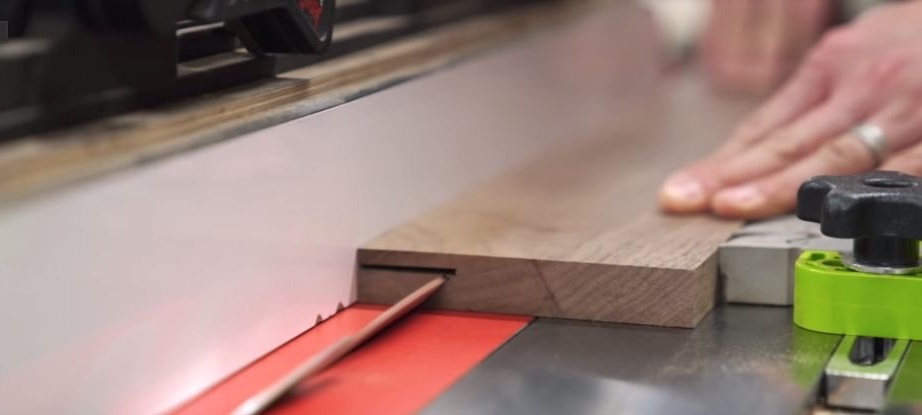
Step Eight: Top Shelf
From plywood cuts the top shelf of the bedside table. Paste it with veneer. On the horizontal bars of the rack and on the upper shelf makes cuts for dowels.
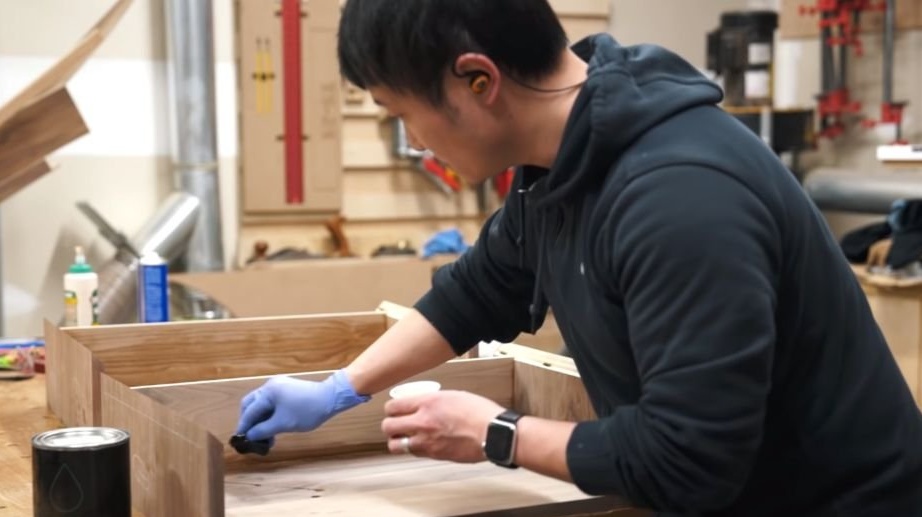
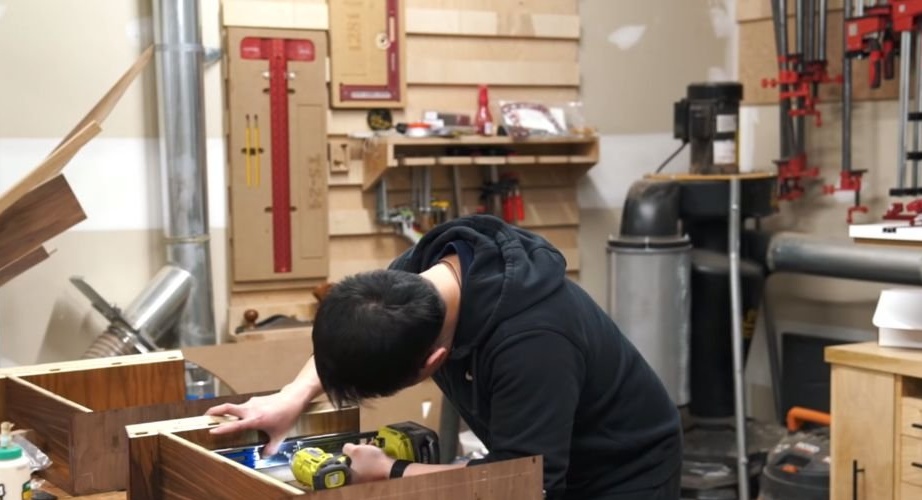
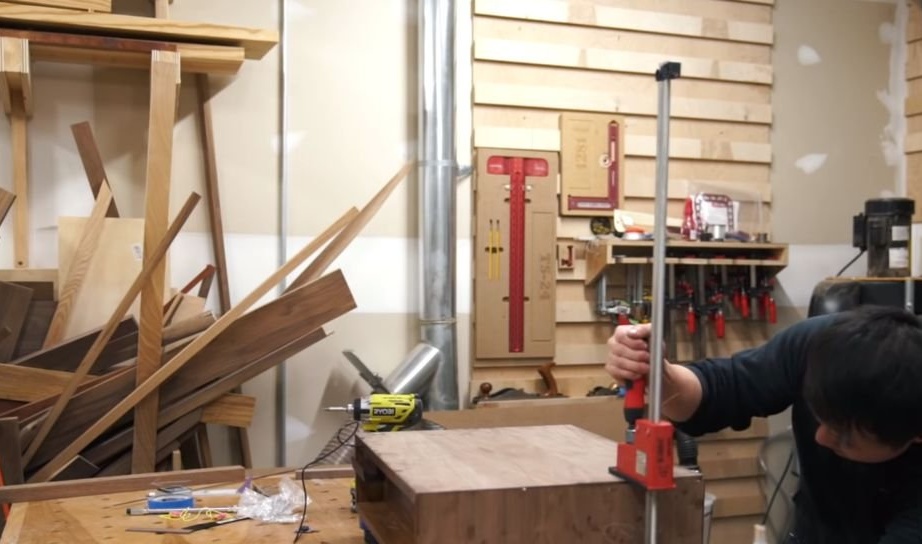
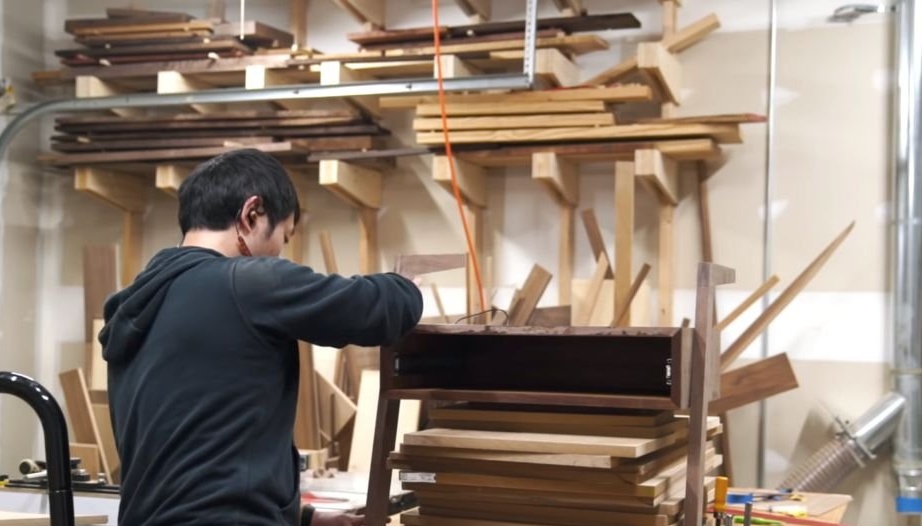
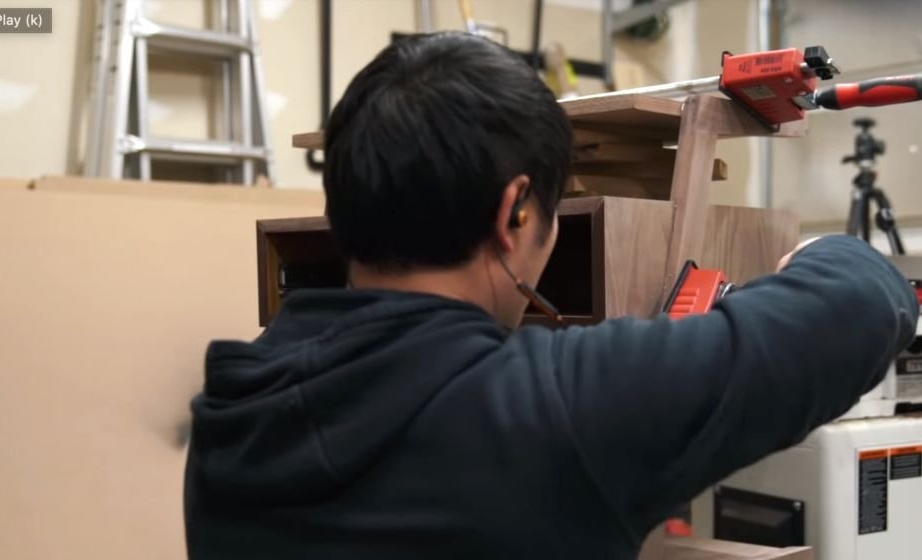
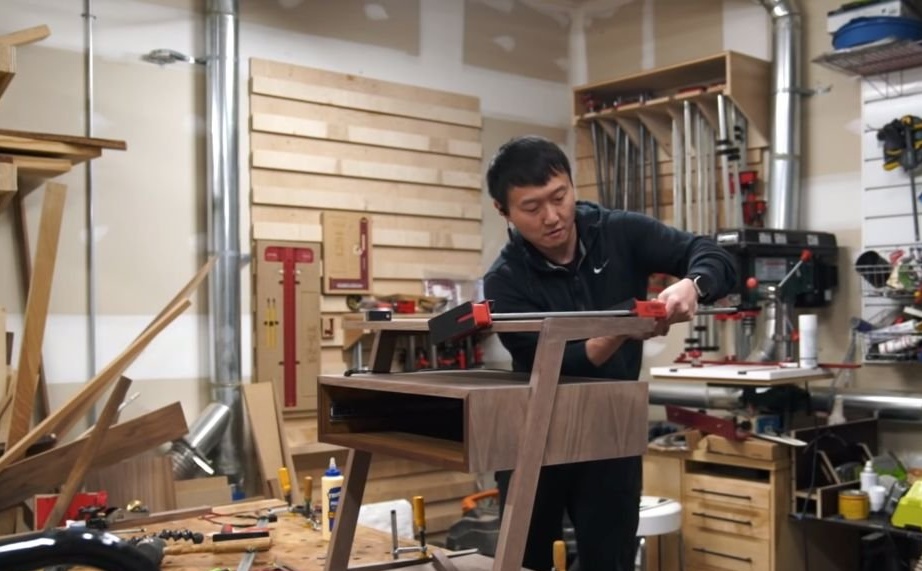
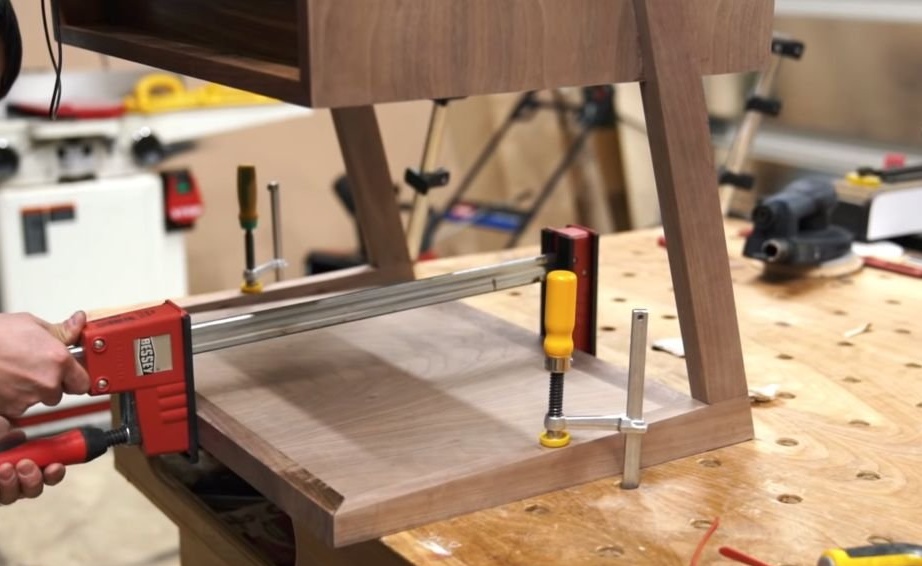
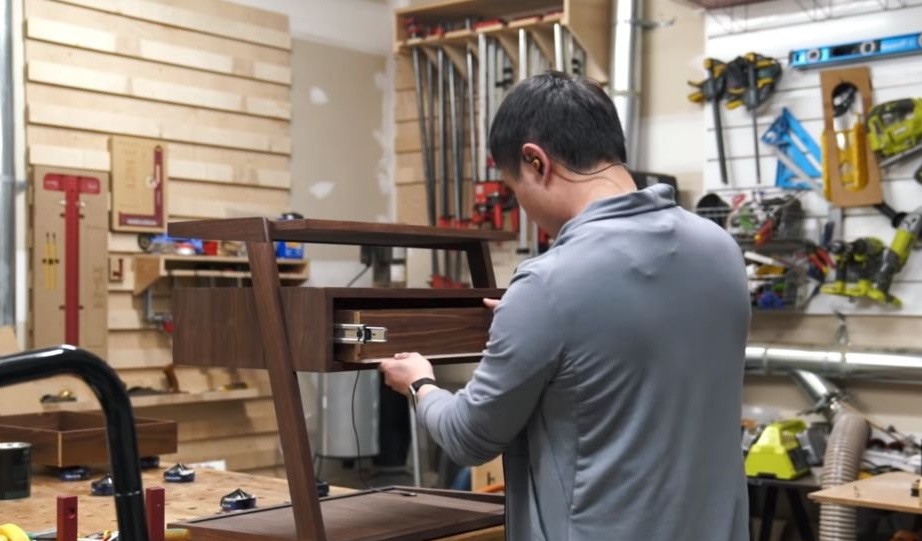
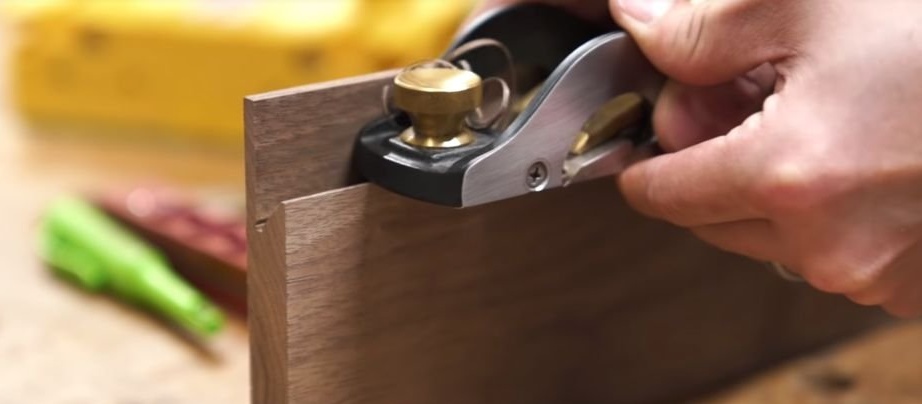
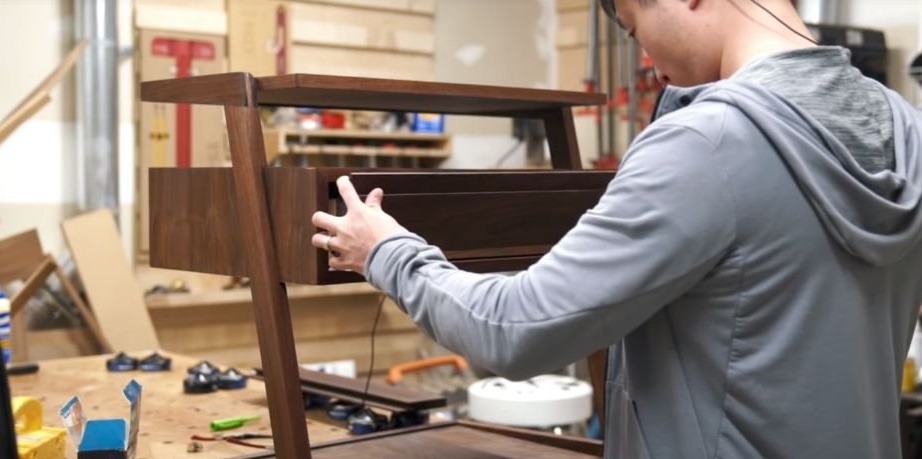
Step Nine: Assembling Nightstands
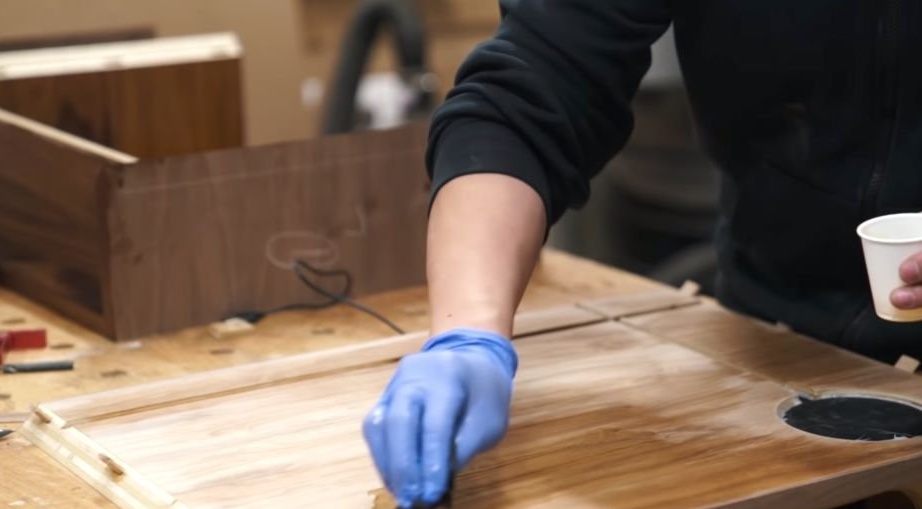
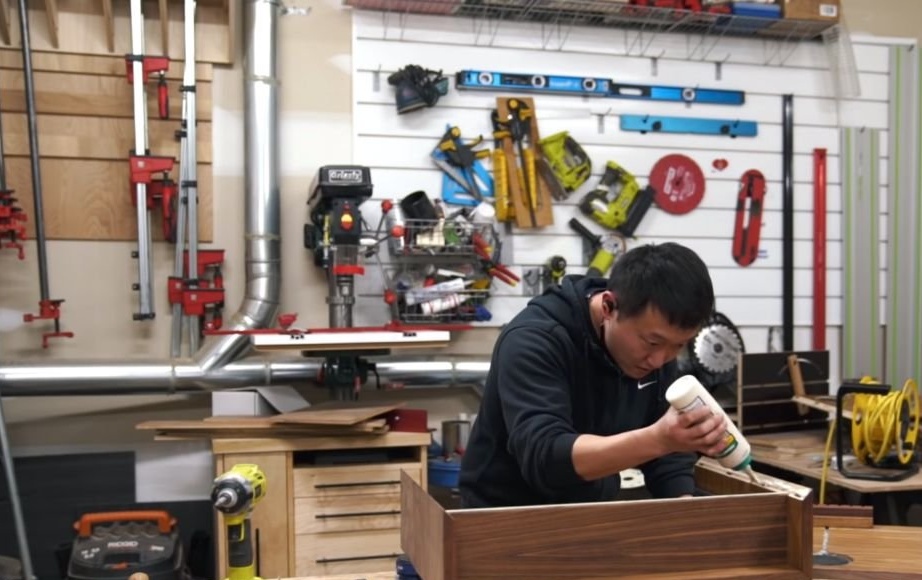
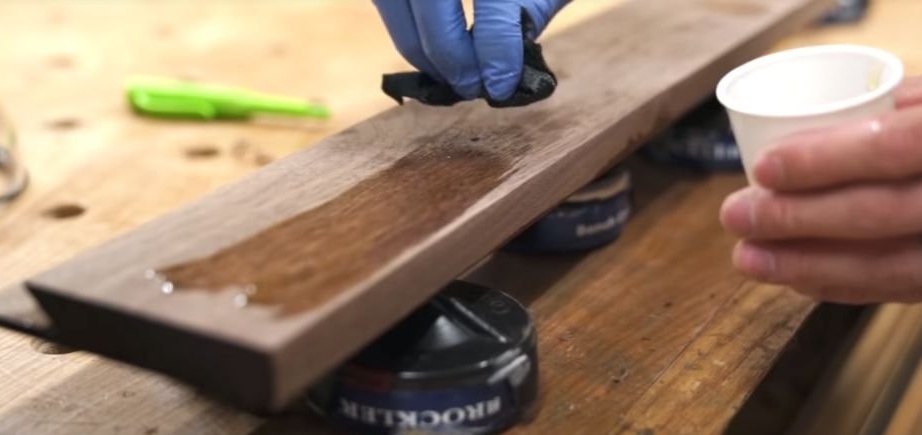
Everything except the drawer is cut and fitted, now you need to collect the details of the nightstand, fixing them with carpentry glue. After assembly, the master once again covers the inner and end surfaces with impregnation.

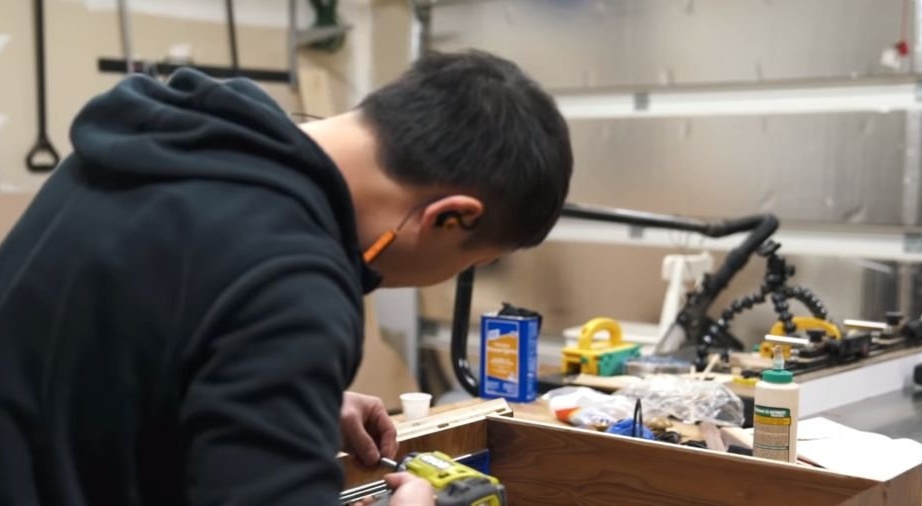
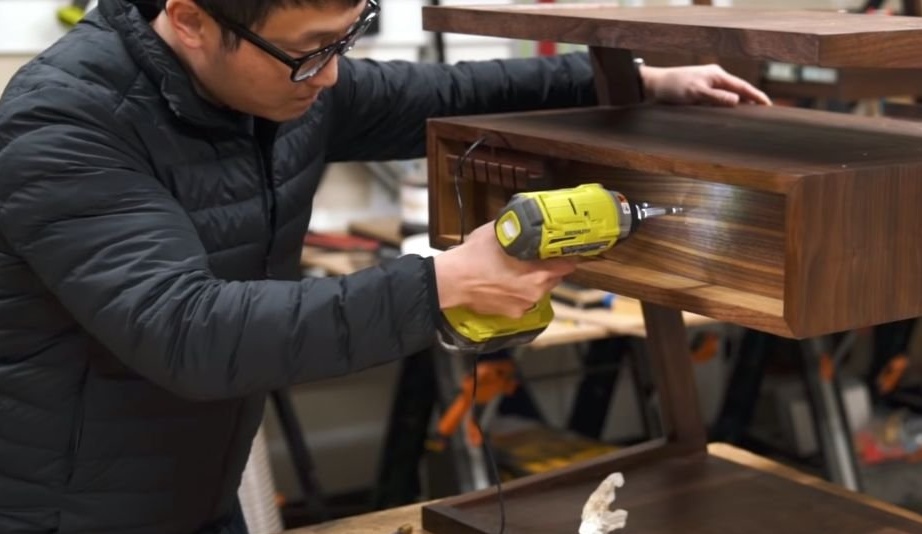
Step Ten: Drawer
Next, the master makes a box.


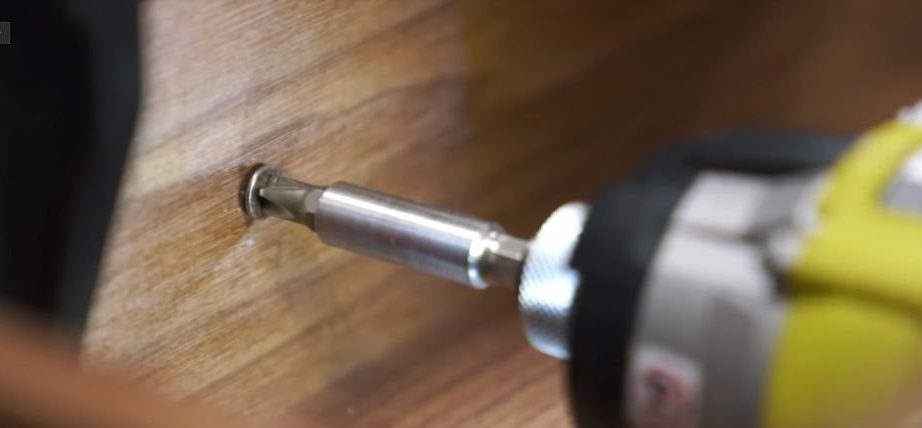
Screws the guides.
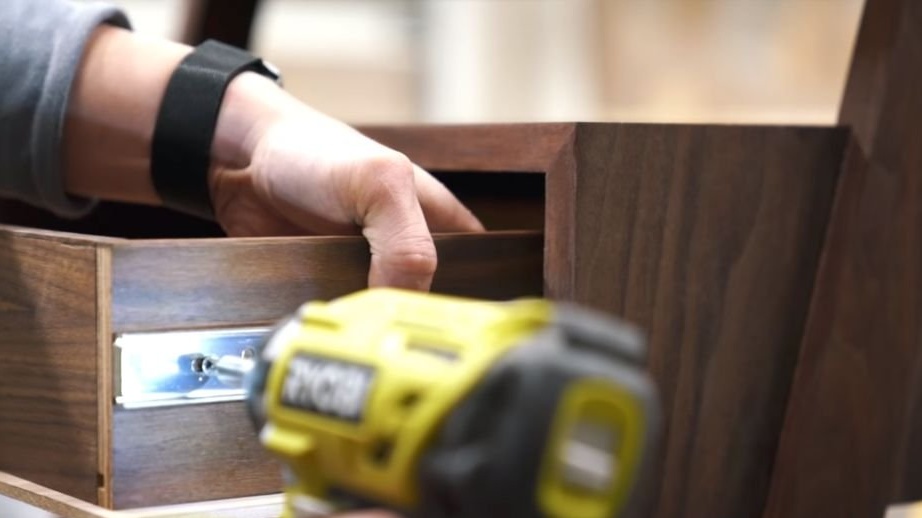
Cut and screw the front cover.

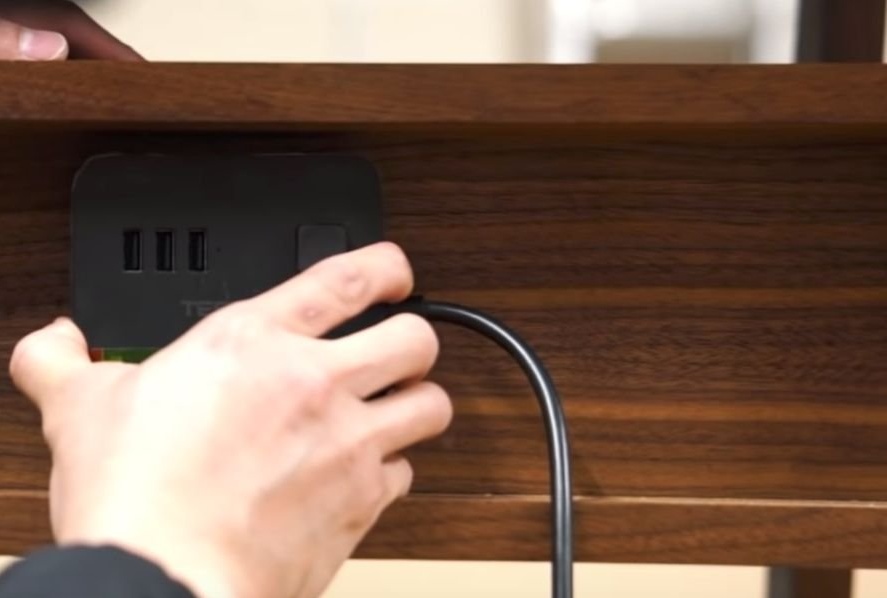
Step Eleven: Extension Cable
The last step is the master, fixes an electric extension cord to the bedside tables.
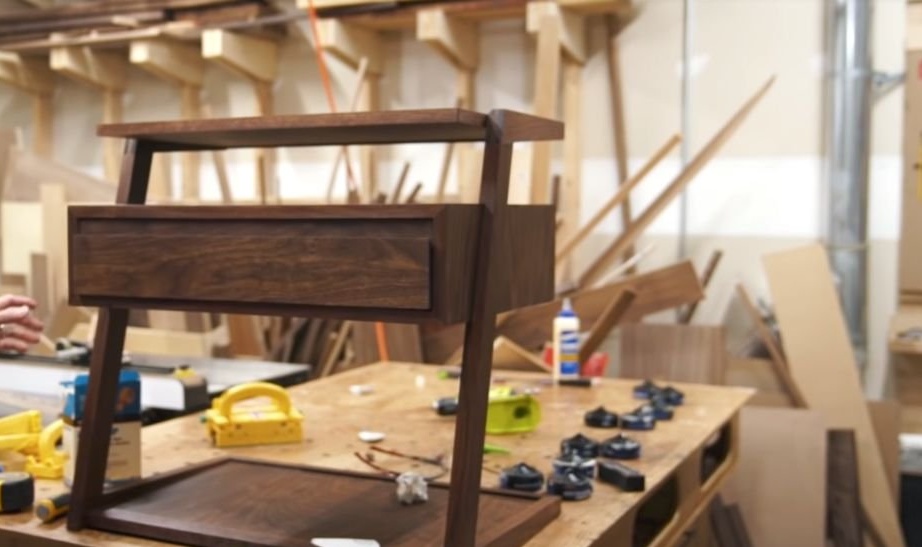
The bedside table is ready.
Below you can see the full video report on the manufacture of bedside tables.