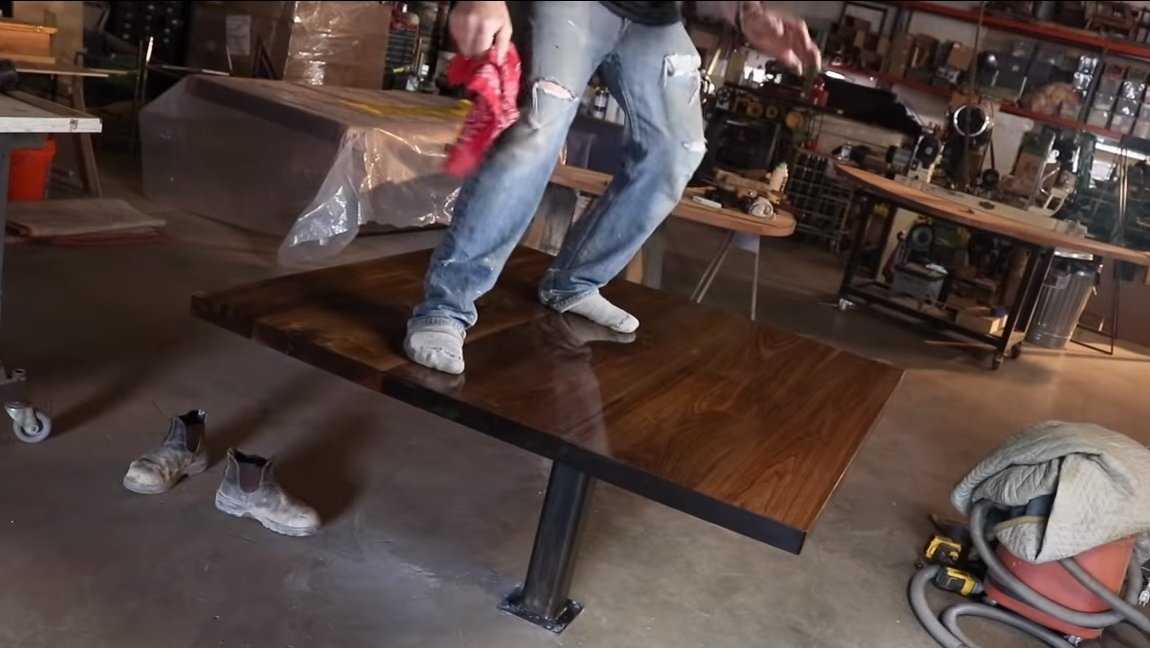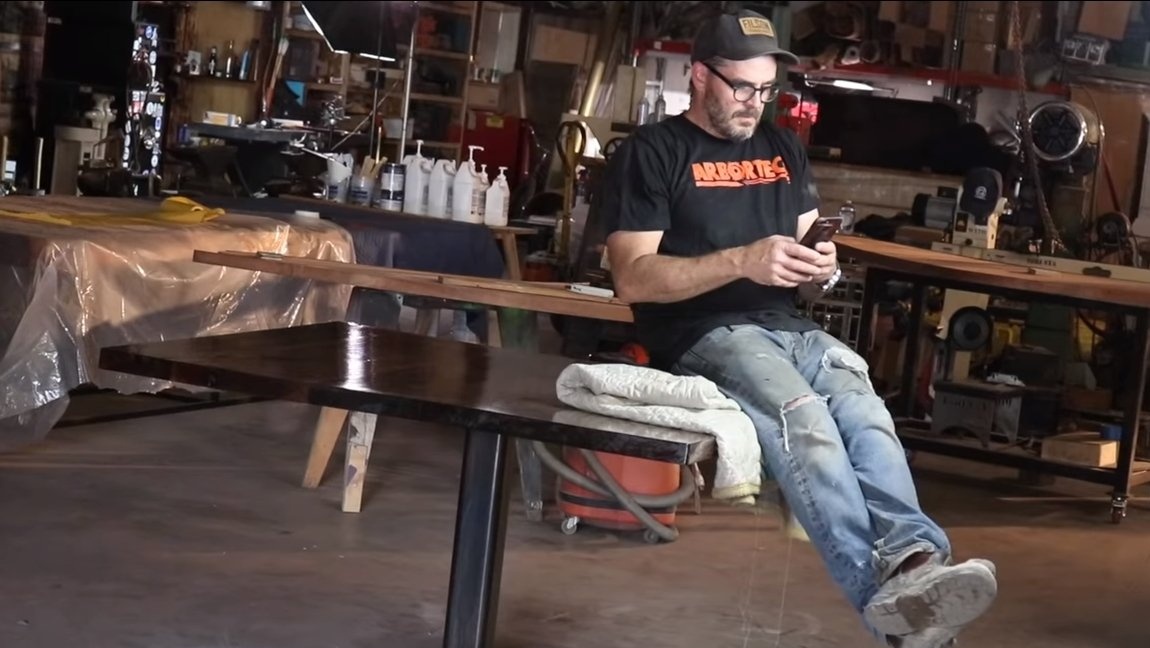
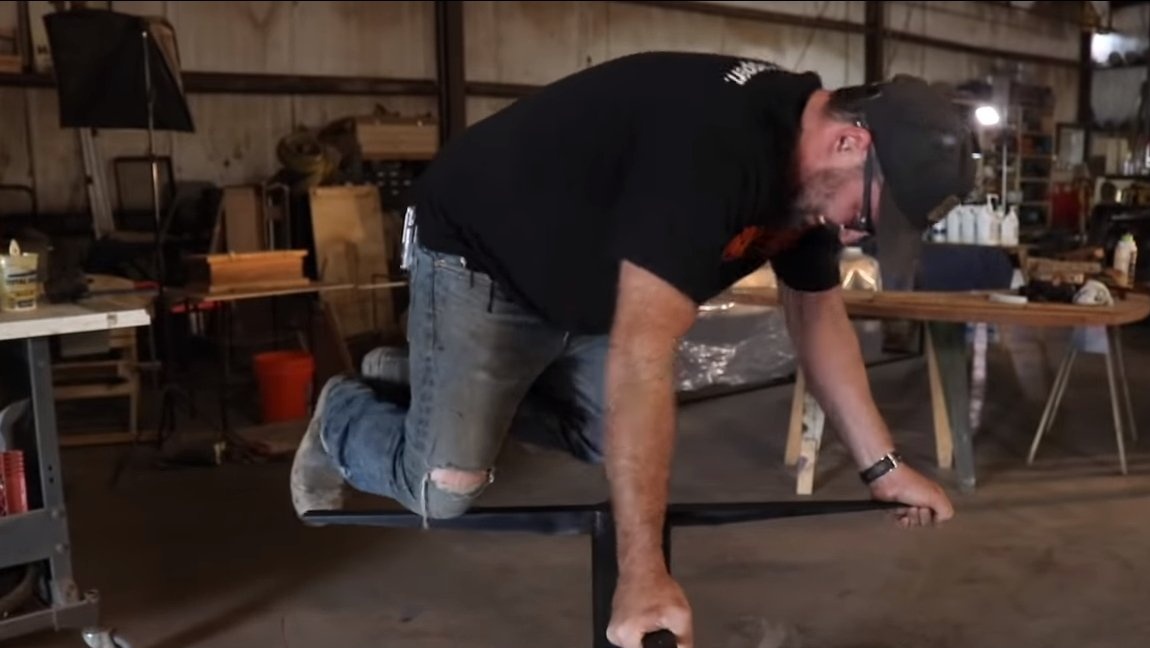
I welcome fans to craft, I propose to consider a simple, strong, beautiful table made of walnut. Such a table can be put in the workshop, it will be pleasant to take breaks for rest, drink coffee and have lunch. The table stands on one leg, so it will not interfere. The table leg is made of a profile pipe of large diameter, it is attached to the concrete floor. To demonstrate the reliability, the author climbs onto the table, the design copes with the load. The table top is made of thick boards that are combined into a wood slab. If you are interested homemade, I propose to study the project in more detail!
Materials and tools used by the author:
Material List:
- thick boards (in our case, walnut);
- furniture dowels;
- carpentry glue;
- a piece of a square profile pipe of large diameter;
- sheet metal;
- corner;
- bolts for attaching the table to concrete;
- self-tapping screws;
- epoxy resin.
Tool List:
- a circular saw;
- surface gage;
- furniture milling cutter;
- long clamps;
- planing machine;
- Miter saw;
- paint or patina for iron;
- ;
- ;
- ;
- drilling machine.
Table making process:
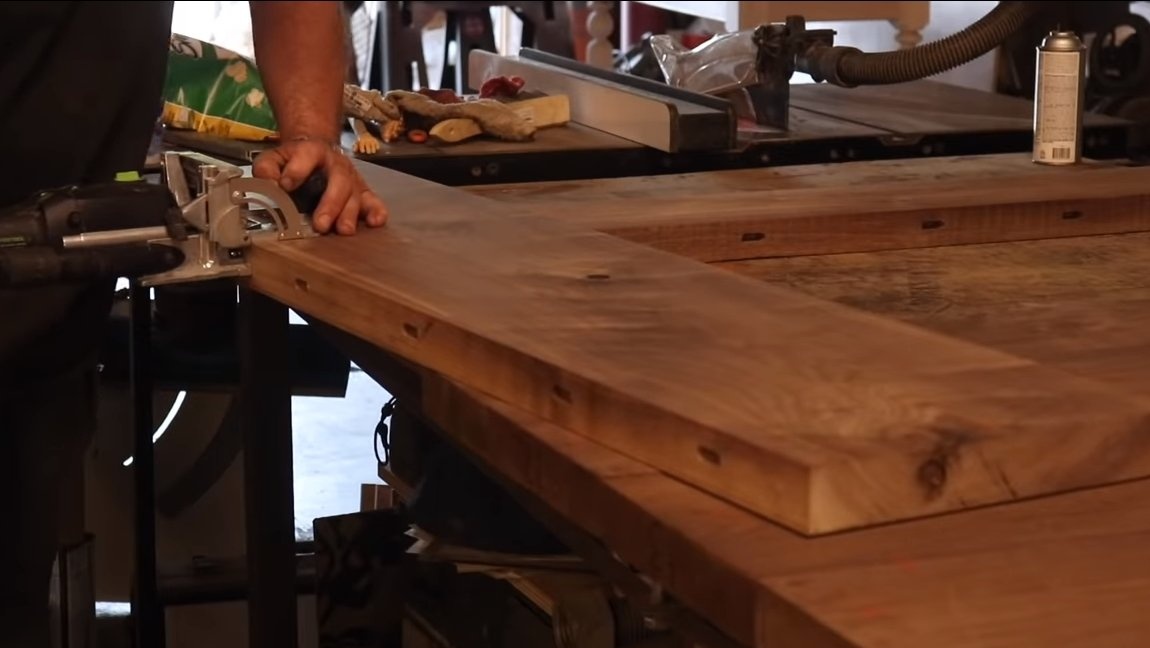
Step one. Preparation of material for countertops
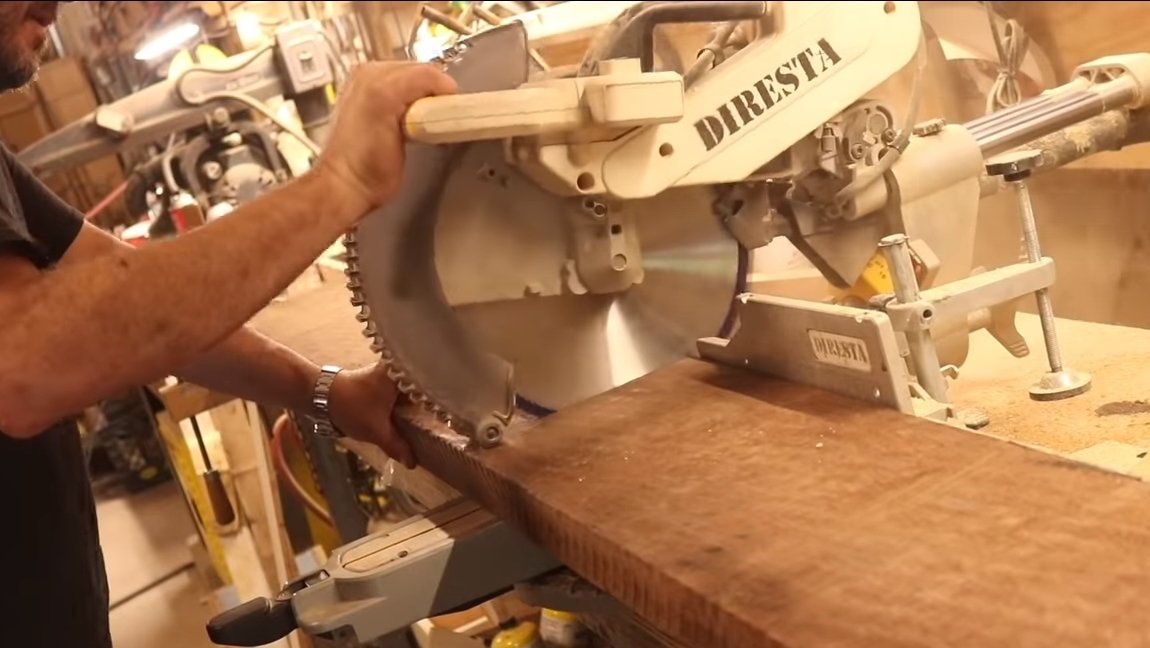
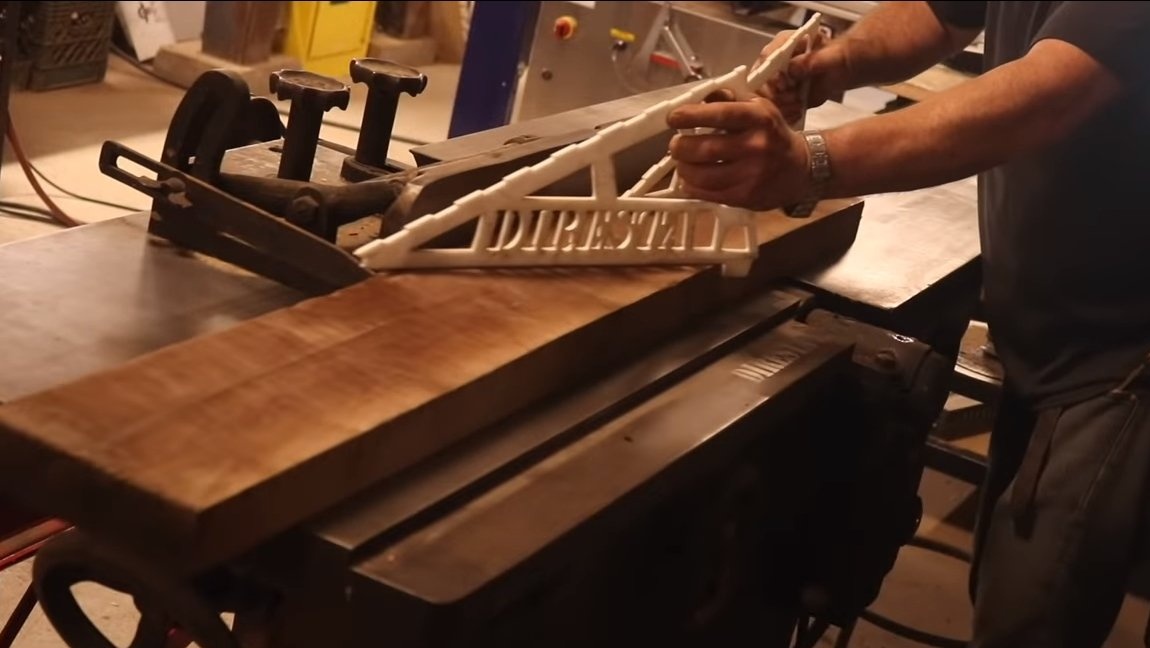
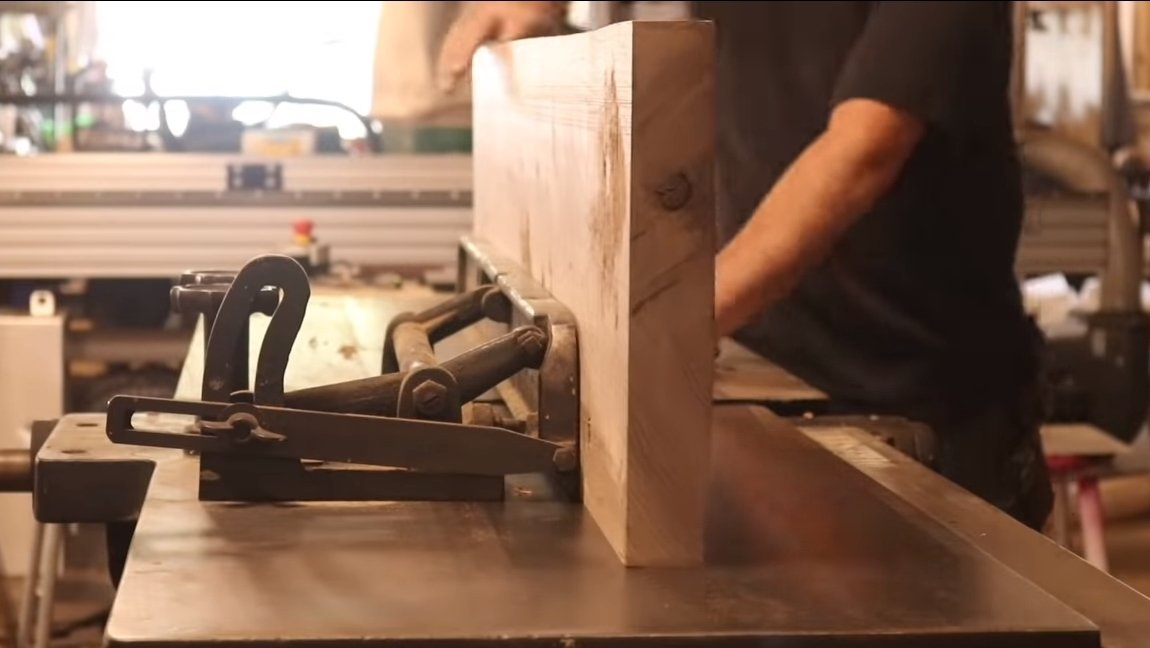
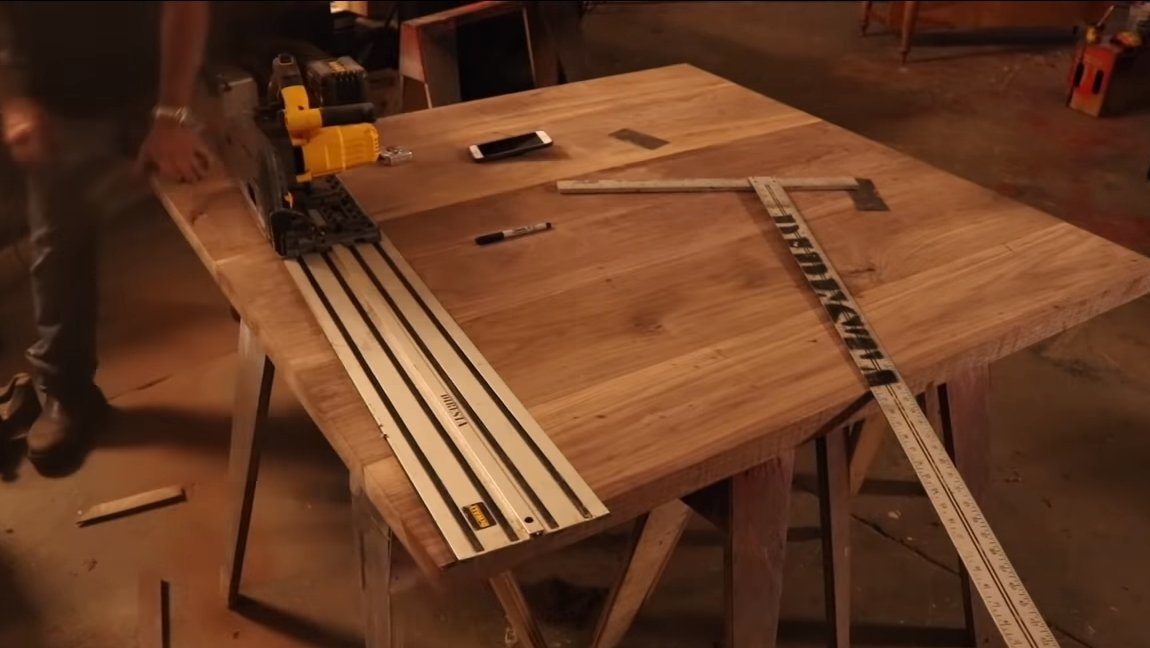
To start, we cut the boards to the desired length, then a miter saw will help us. Next, the boards need to be driven away on a planing machine in order to remove all defects. After the planer, the author aligned the side parts of the boards on a circular saw.
At the end of the board, you need to level it to one thickness, in this case the thickness gauge will help us.


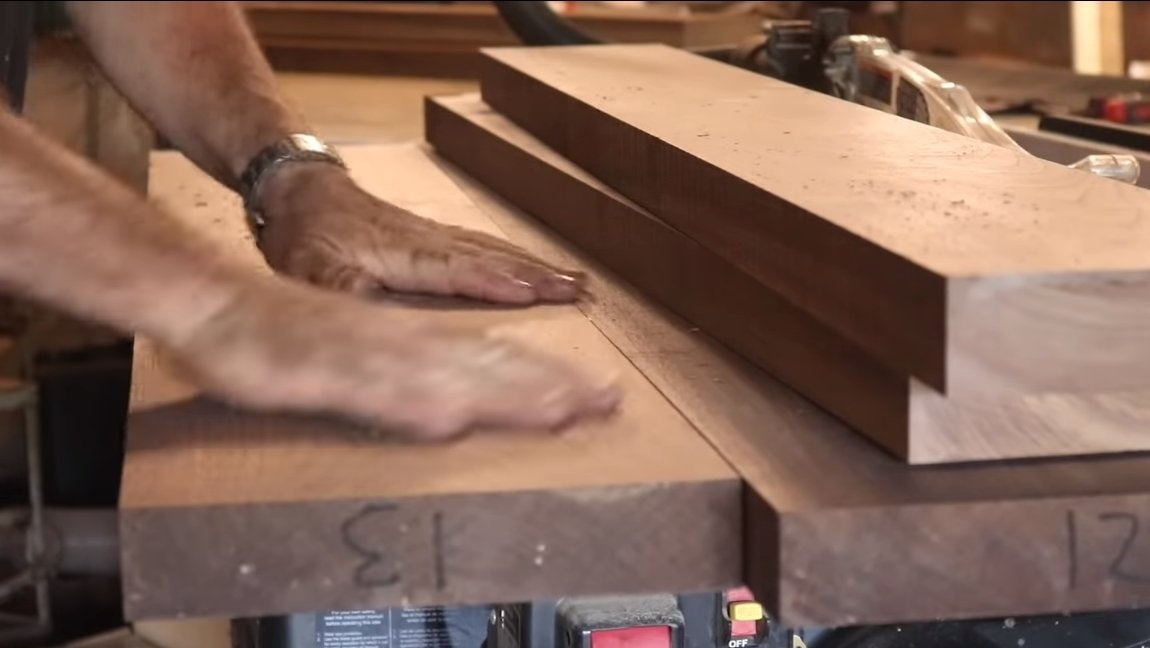
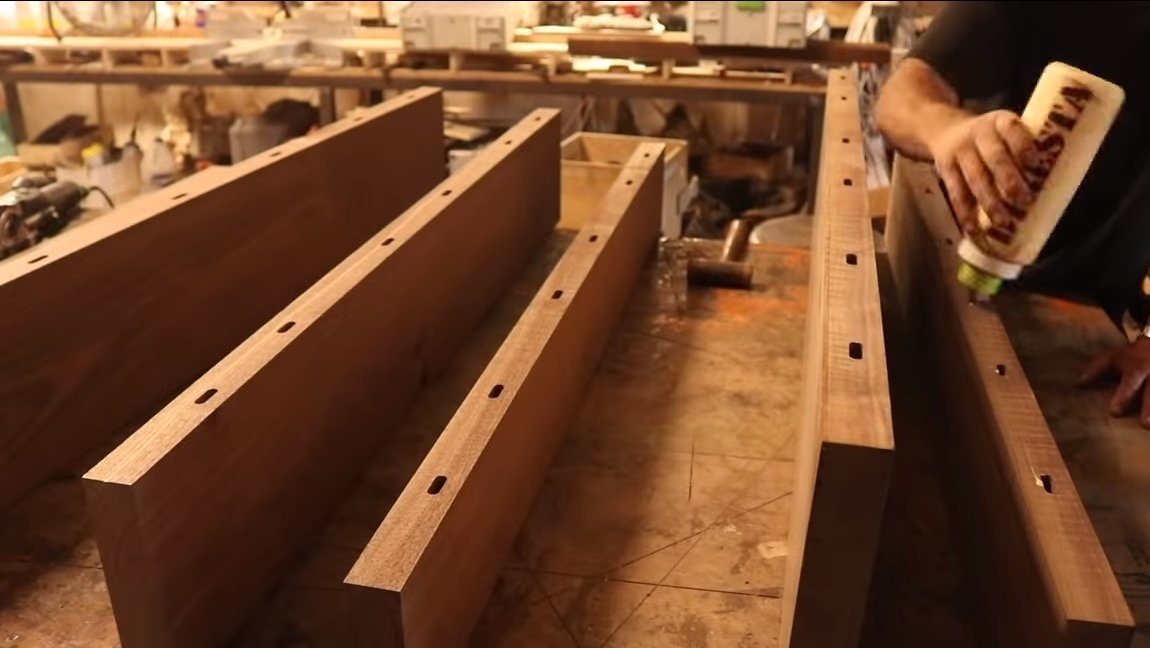
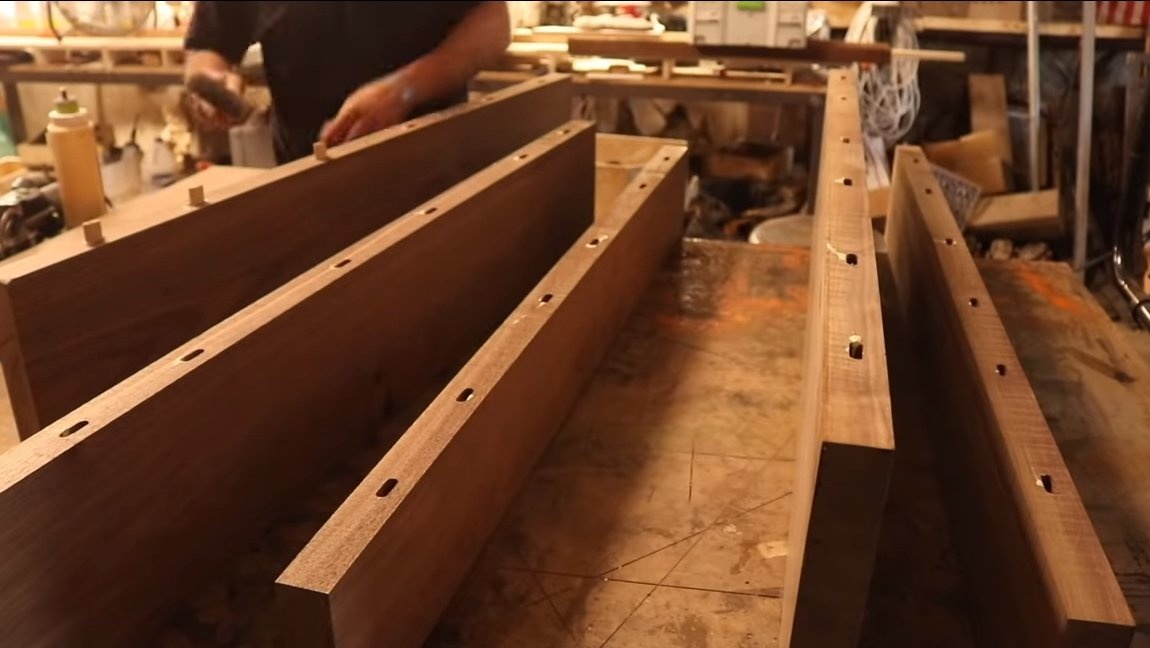
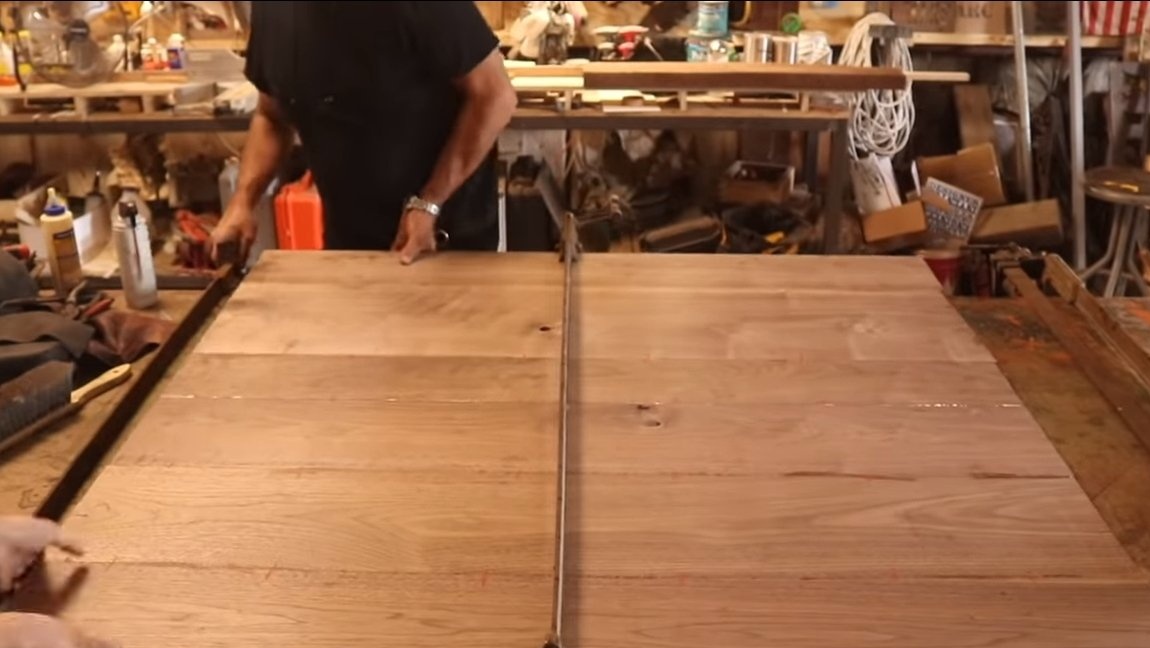
Step Two Wood board assembly
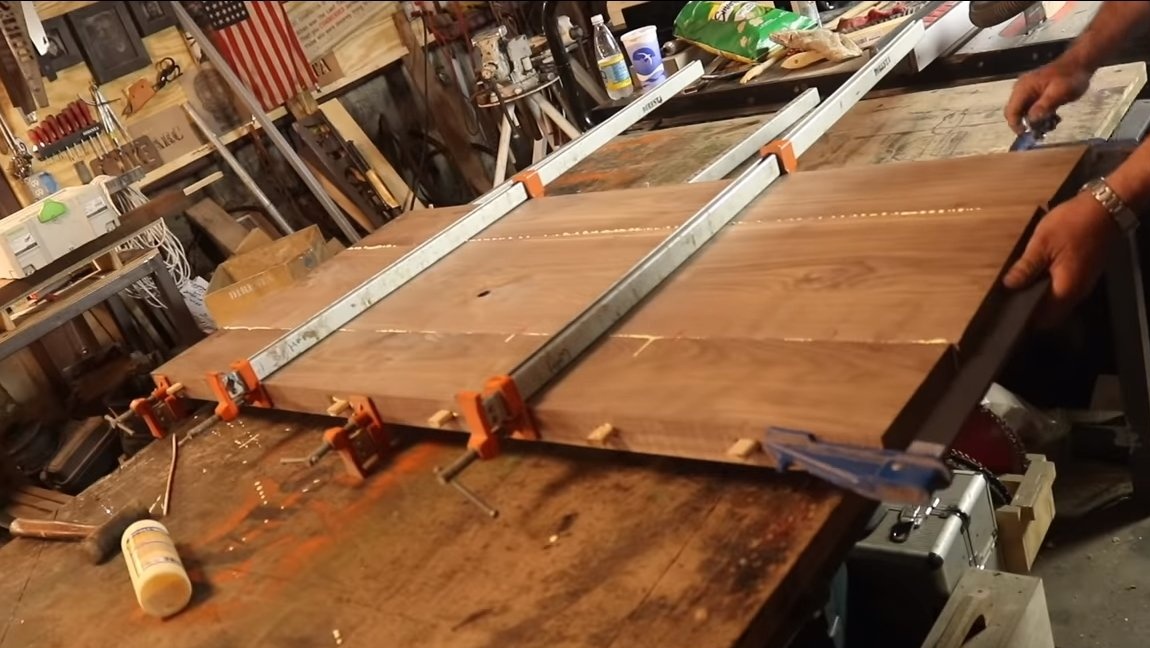
The boards are ready, now they need to be connected to make a plate. In boards, you need to cut holes for dowels, in our case they are oblong, here you will need a special milling cutter. We glue all the boards in stages, that is, we glue the first two boards and allow the glue to dry. Then we fix the third board, tighten everything with screeds and again let the glue dry. At the end, the last fourth board is also attached.
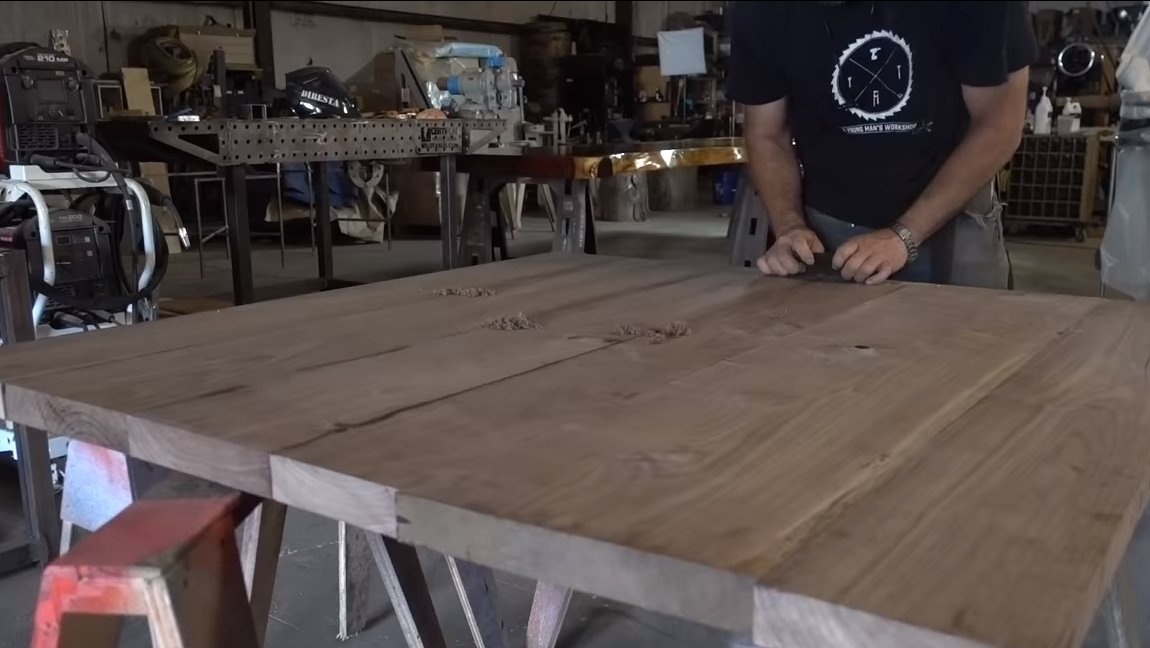
Once the glue dries, you can modify the joints with a staple or a planer. Also trim the wood slab with a circular saw.


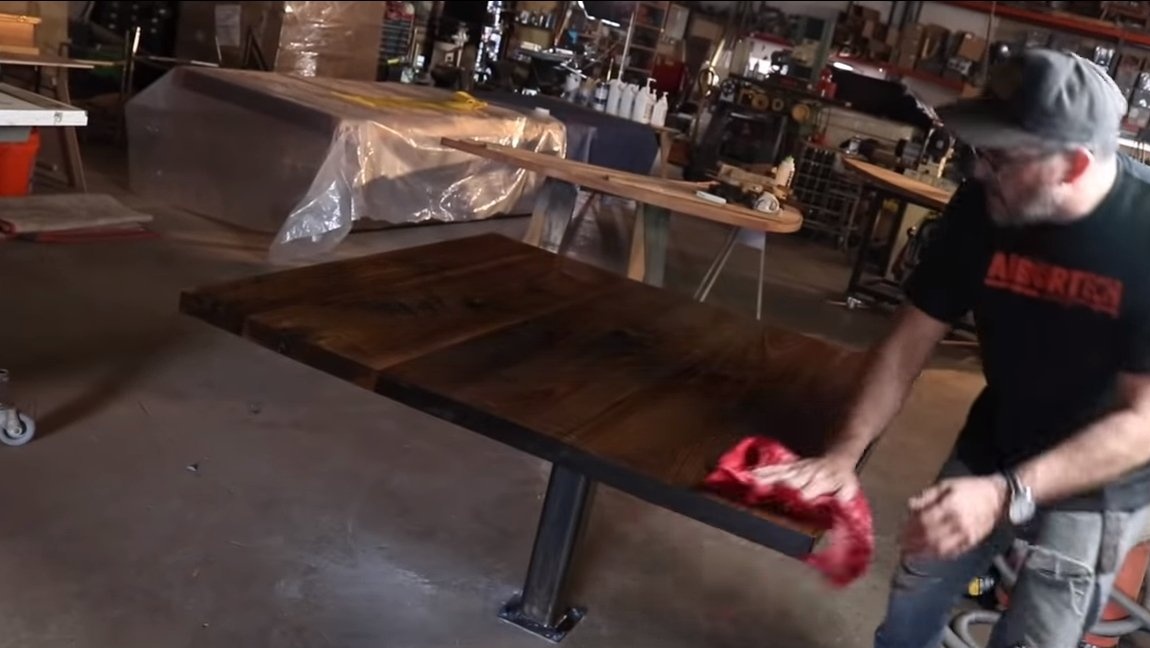
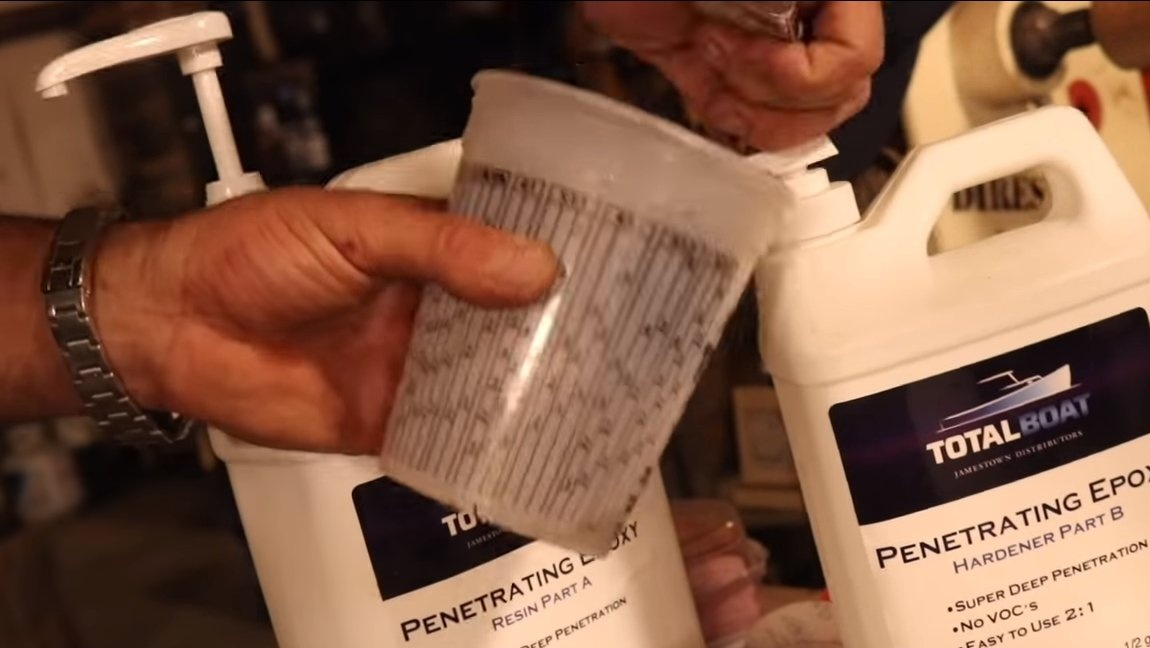
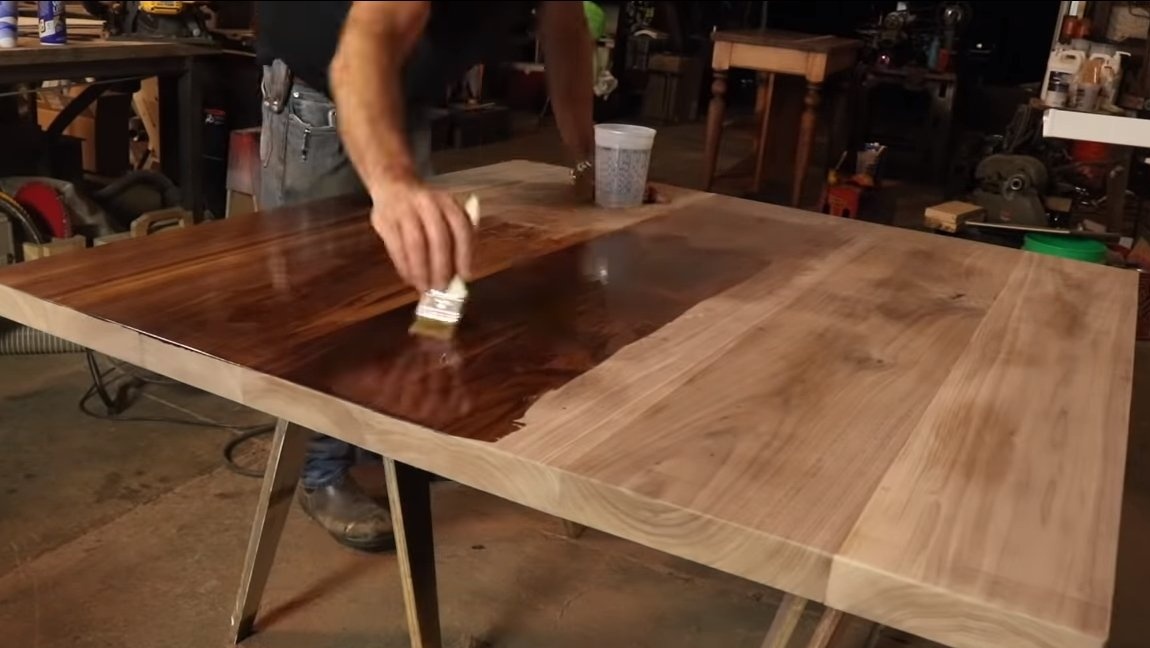
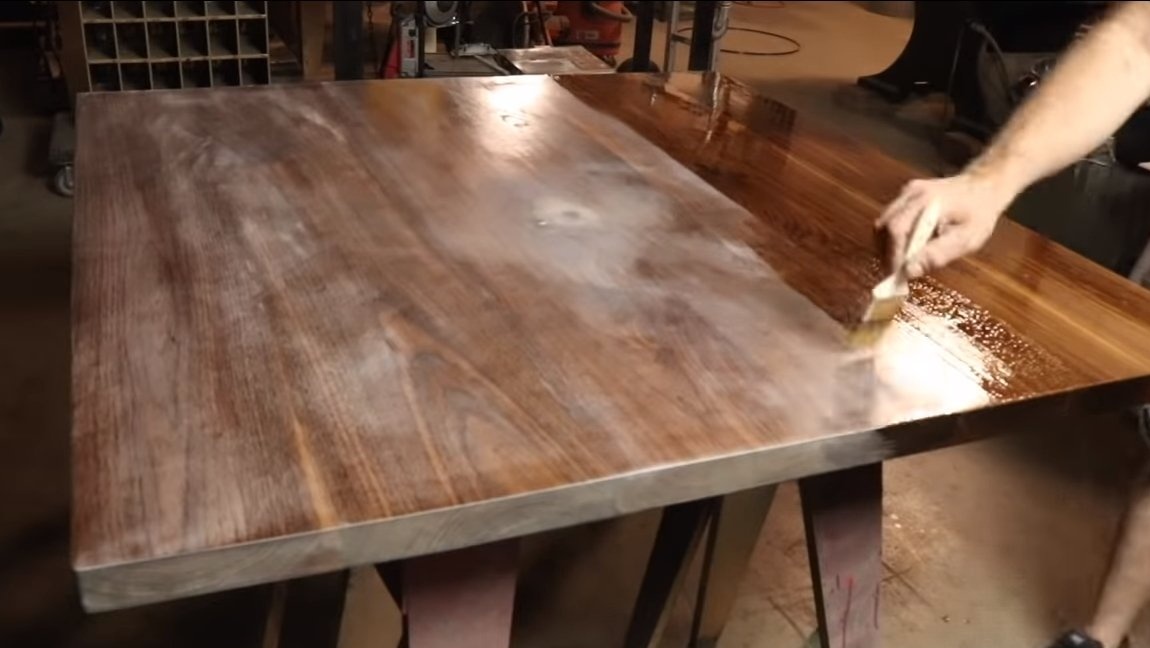
Step Three Impregnation
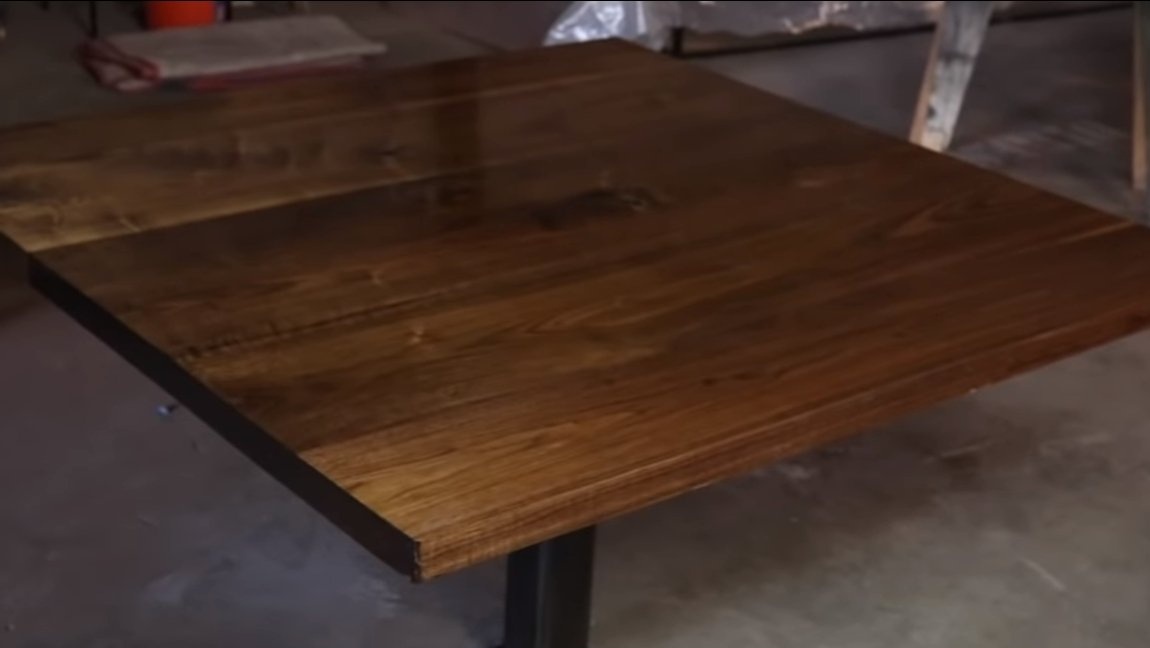
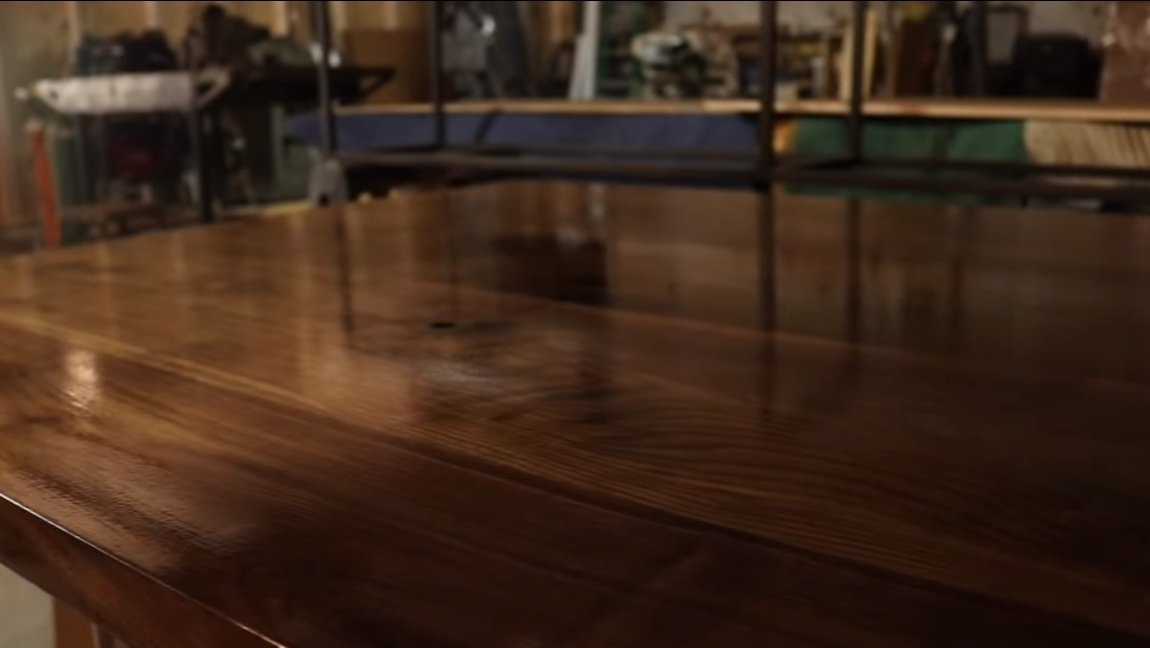
Wood always needs impregnation to protect it from dirt and moisture. If the table is in the workshop, then this is especially true. One of the most resistant coatings is epoxy, it is well absorbed into the tree and protects it reliably. We dilute the resin with the hardener and apply it to the countertop with a brush. When the first layer dries, grind it and apply the second, and if desired, the third. Between each new layer there should be a grinding of the plane. That's all, now the countertop looks great and has a very reliable coating.
Step Four Making legs
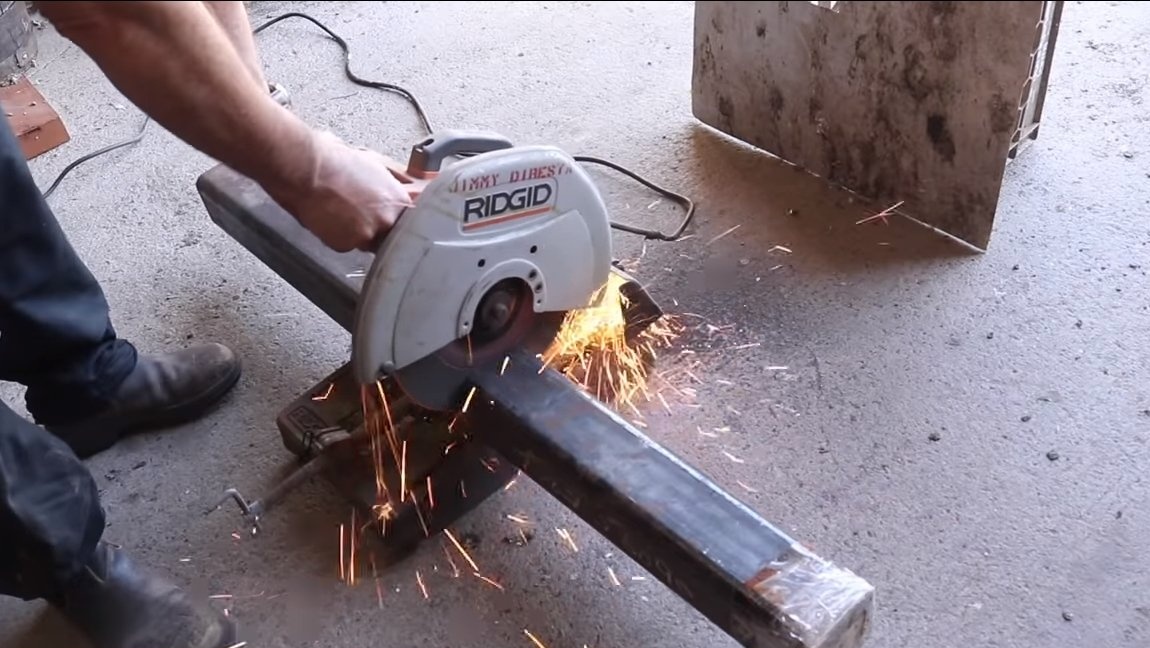
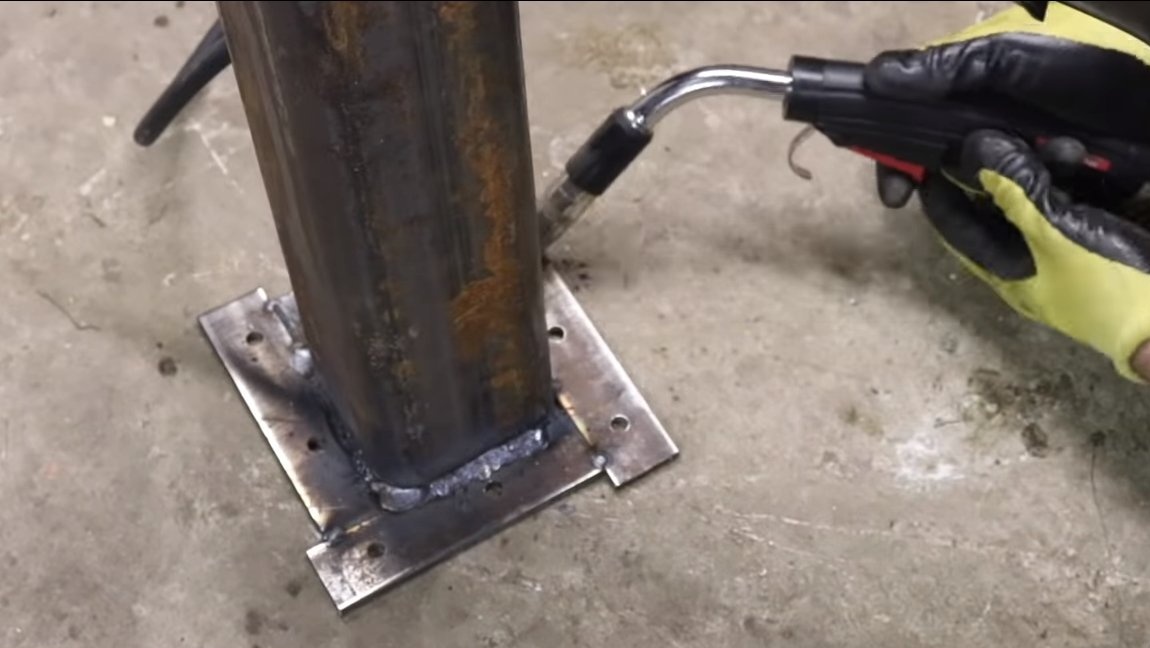
Bottom mount
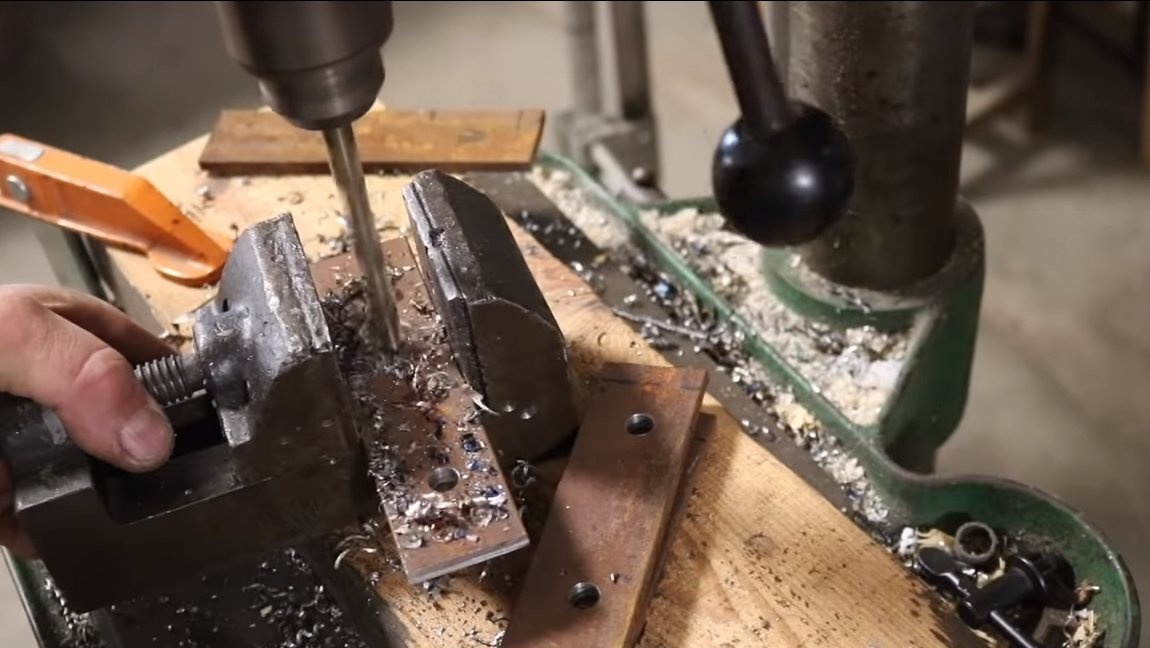
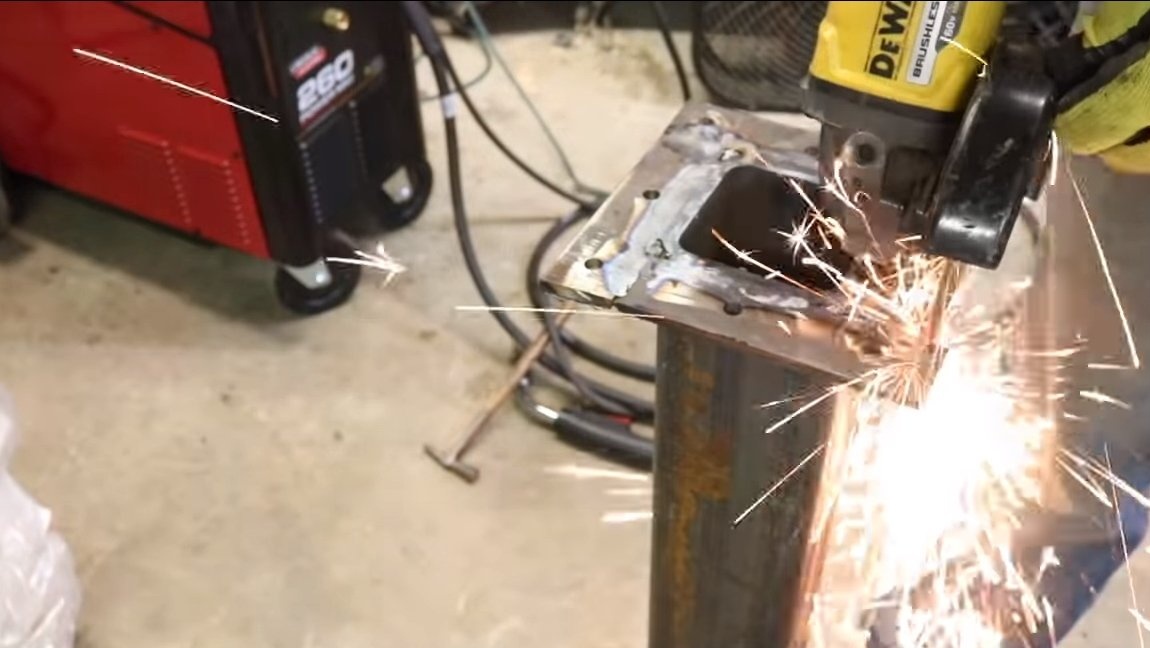
As a leg we use a piece of a profile pipe, for a start we will make the lower fastener, and we will fasten it to the concrete floor. We cut sheet metal or look for suitable plates, drill holes in them and weld to the leg. We clean the welds, on this mount is ready.
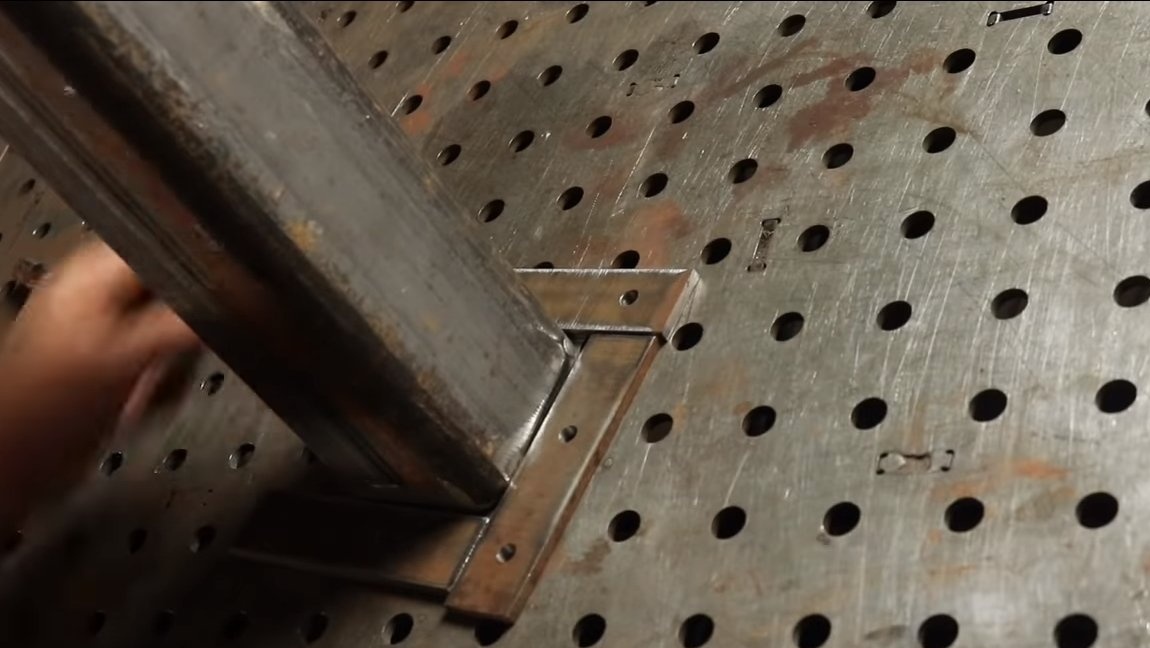
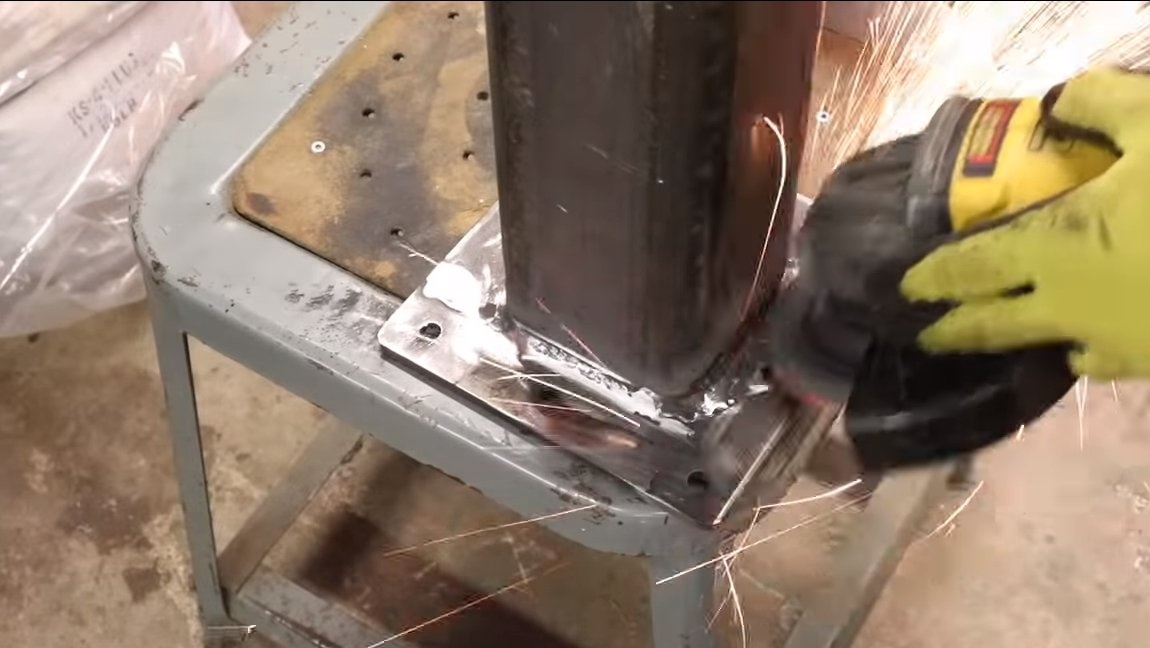
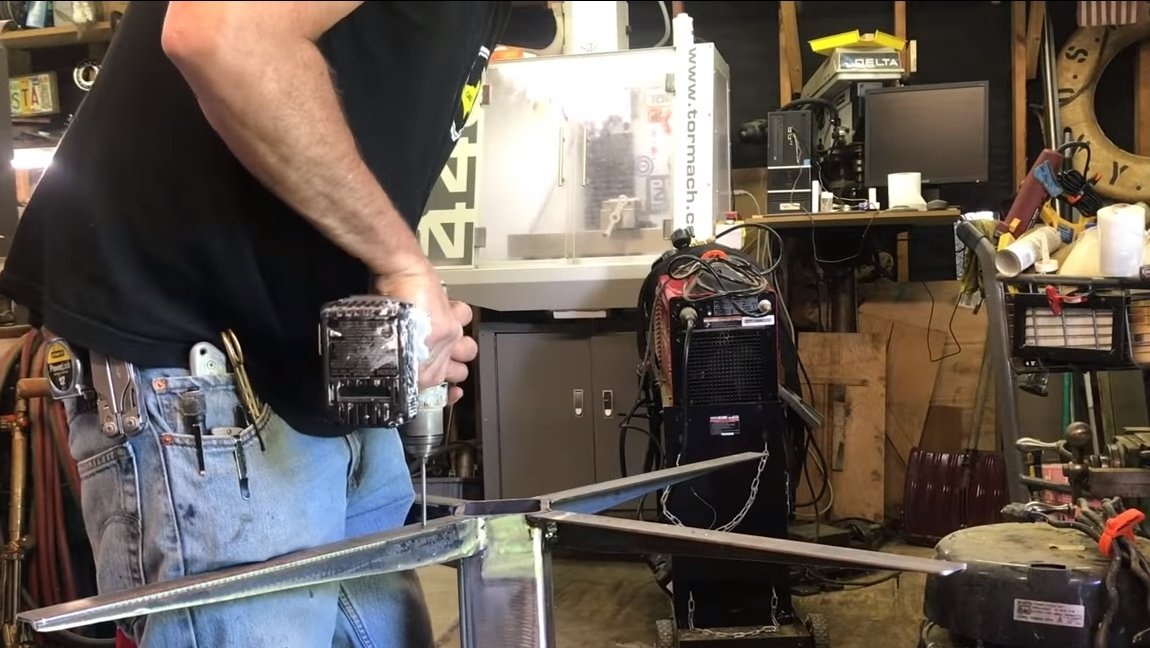
Top mount
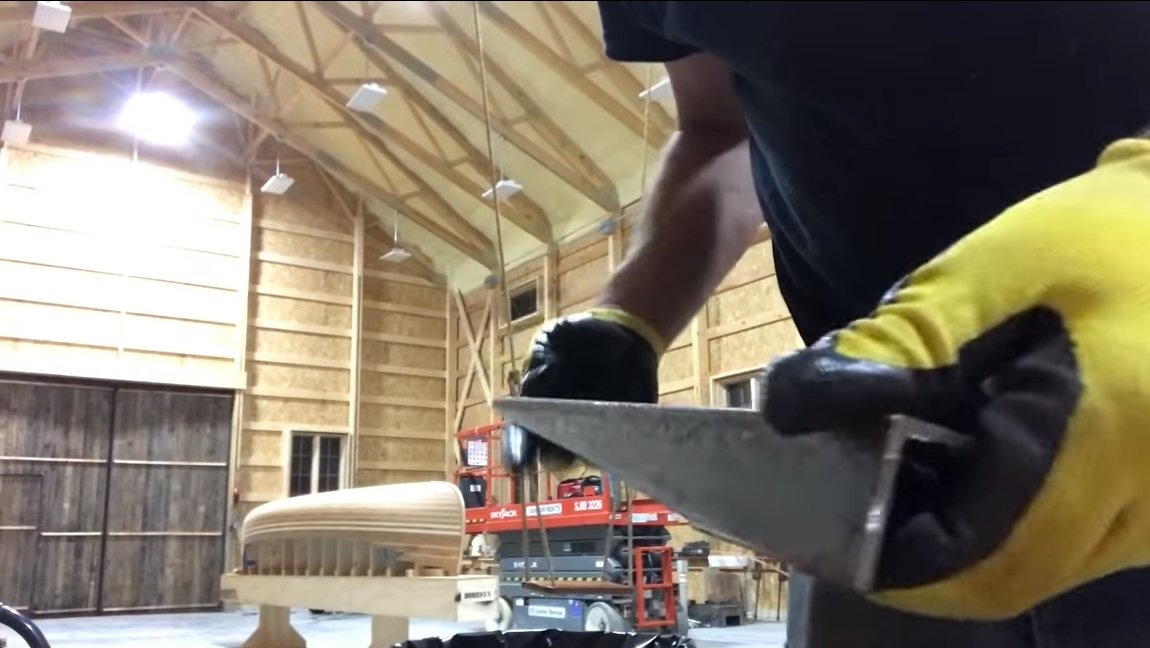
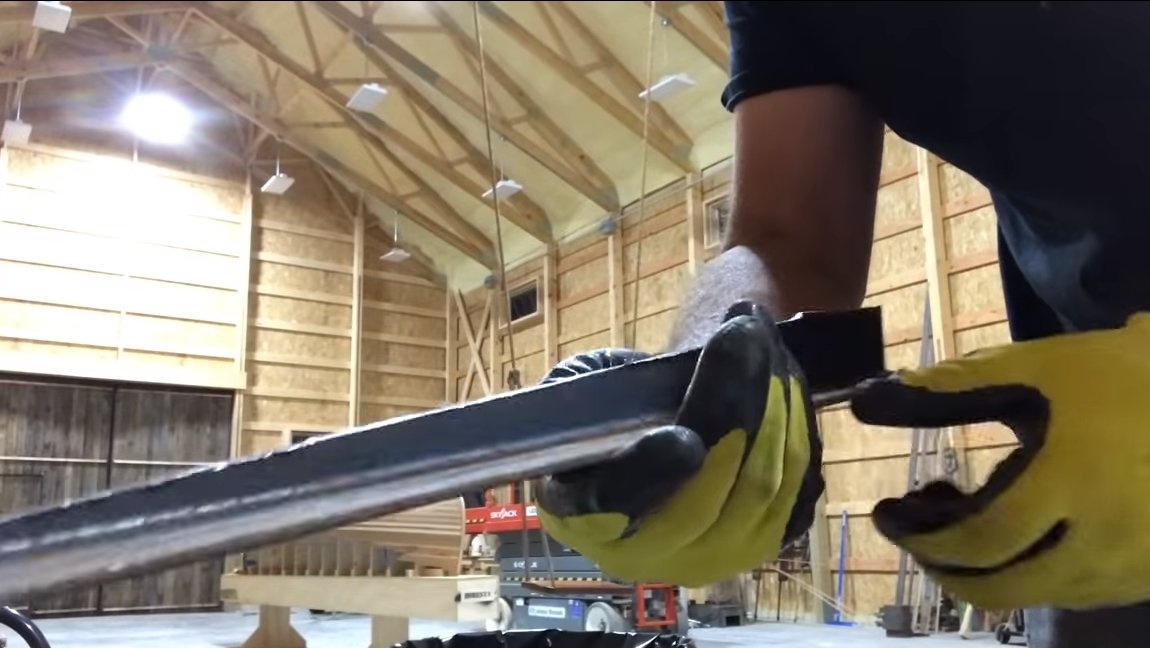
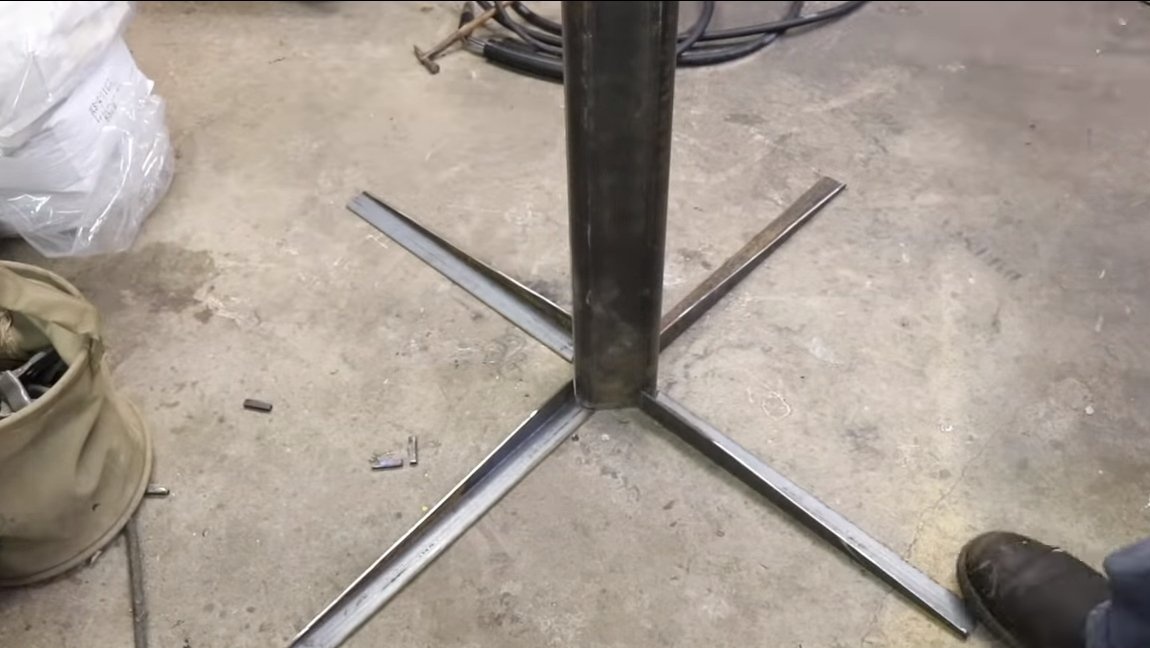
We also make the upper mount, it is needed for fastening to the leg of the countertop. The area of this fastening should be large, since the tree is not so durable in comparison with concrete material. We need a corner, in total 4 blanks will be needed to make a cross. The author cut the corner to the ends, but this is not necessary, for such a fastening is simply less likely to catch. We weld the cross in its place and clean the welds.
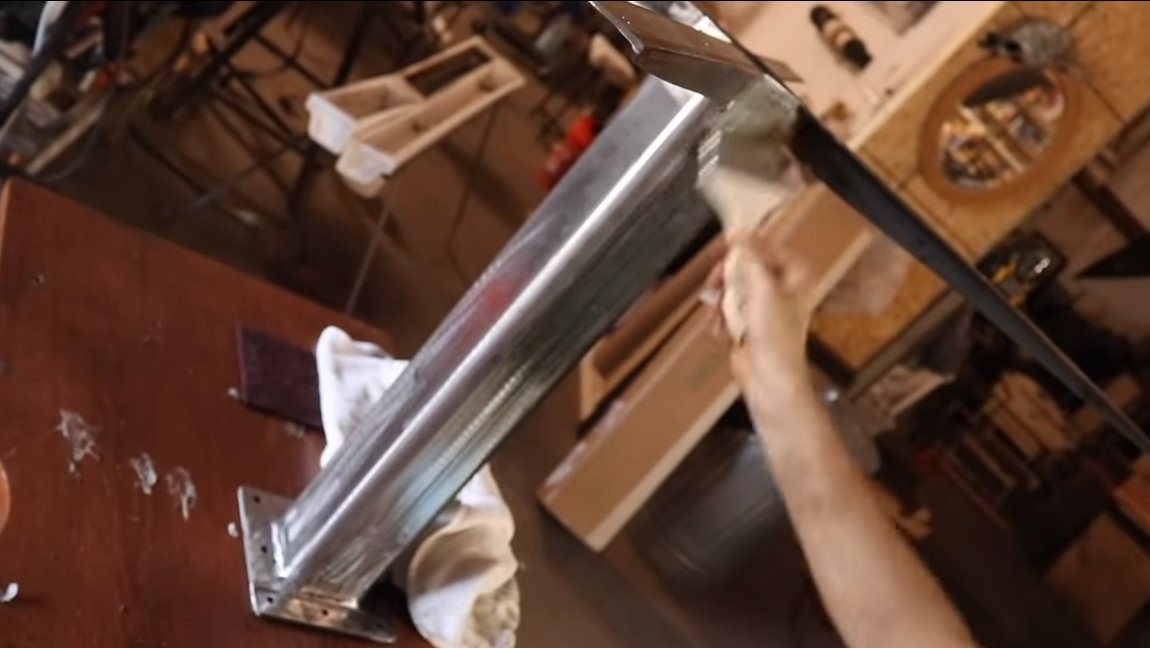
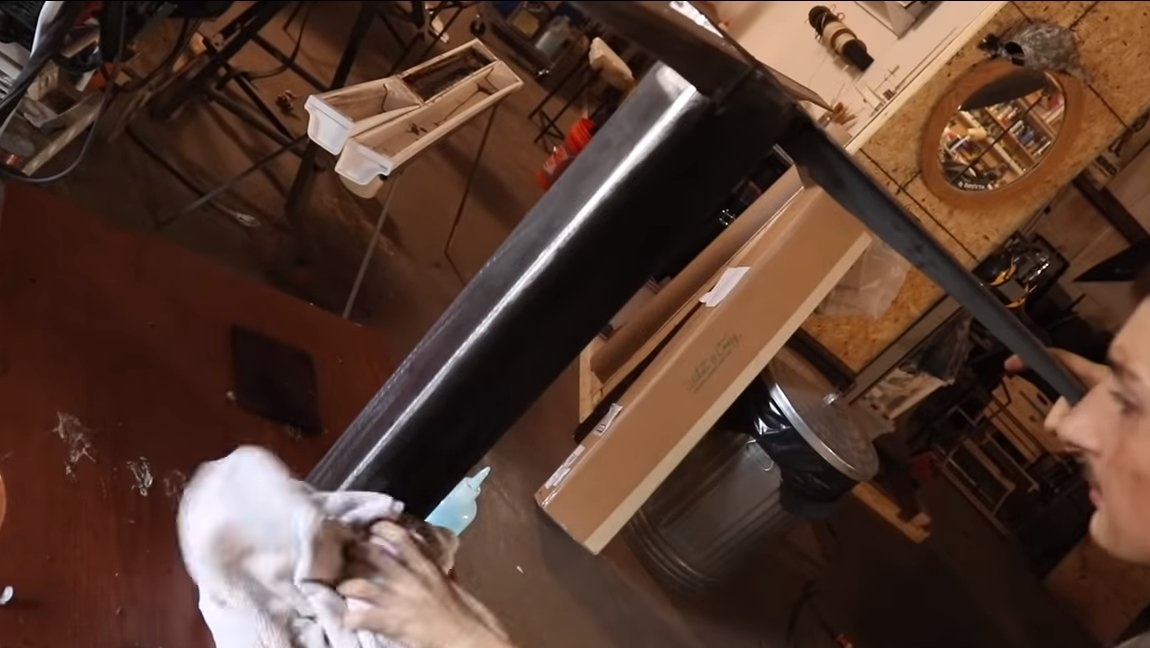
Step Five Painting and fixing the legs
The foot can be painted to protect against rust, or it can be coated with a special patina for iron.
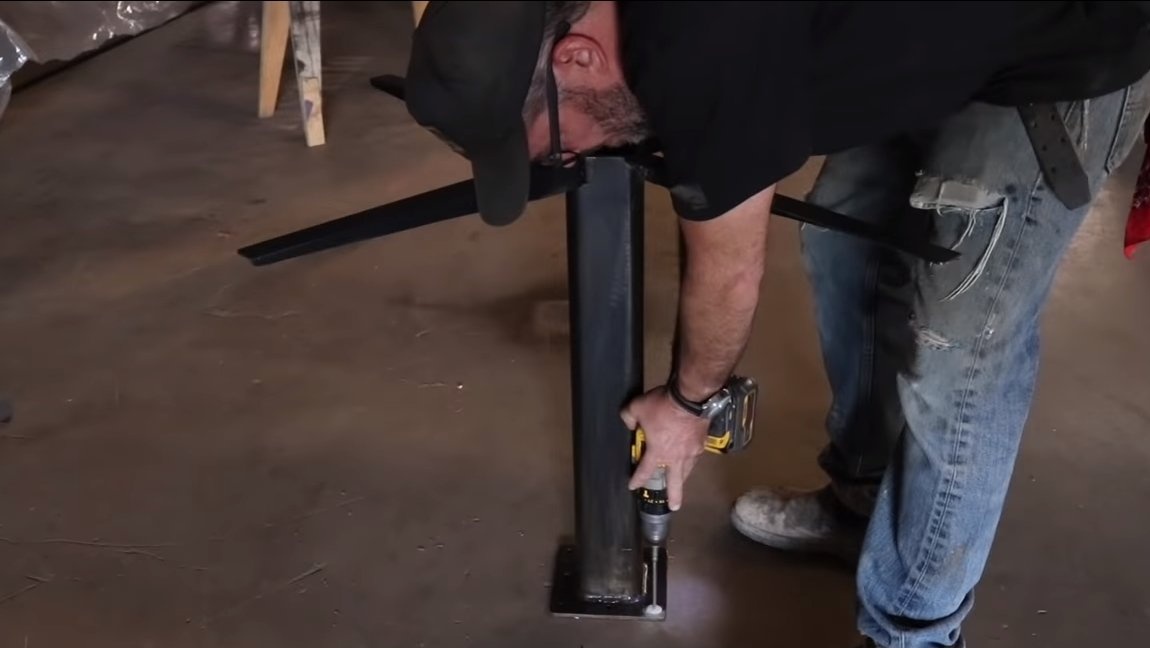
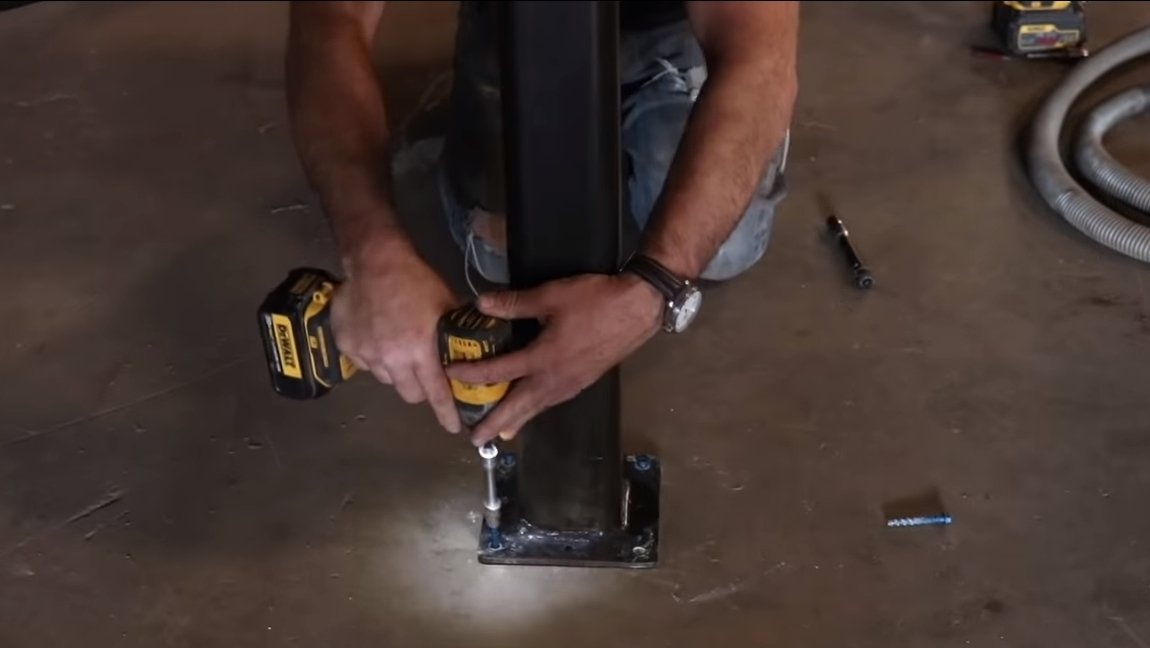
Now the leg can be installed, we will fasten it to the concrete floor. We drill holes and hammer dowels, the screws need to be used more authentically. As a result, the leg is fixed, the author climbed onto the upper fastener and tried to stagger the leg, everything holds rather tightly.
Step Six The final
At the end, we screw the countertop to the leg, then we need screws. That's all, now the table is ready, it easily withstands the weight of the author. The design turned out to be strong, the table looks pretty nice, and thanks to only one leg you will not cling to the table with your feet.
On this project, we consider it successfully completed, I hope you liked the homemade work, and you found useful thoughts for yourself. Good luck and creative inspiration, if you decide to repeat this. Do not forget to share your ideas and homemade things with us!