I welcome fans to craft, today we will consider how to assemble a simple hand-cutting machine for threading. The machine is very simple, similar to a drill, only with a manual drive. Do you need this homemade, you decide. If the homemade product is interesting, I suggest studying the project in more detail!
Materials and tools used by the author:
Material List:
- profile pipe;
- sheet metal;
- round timber;
- bolts and nuts;
- steel shaft;
- drill chuck;
- paint.
Tool List:
- ;
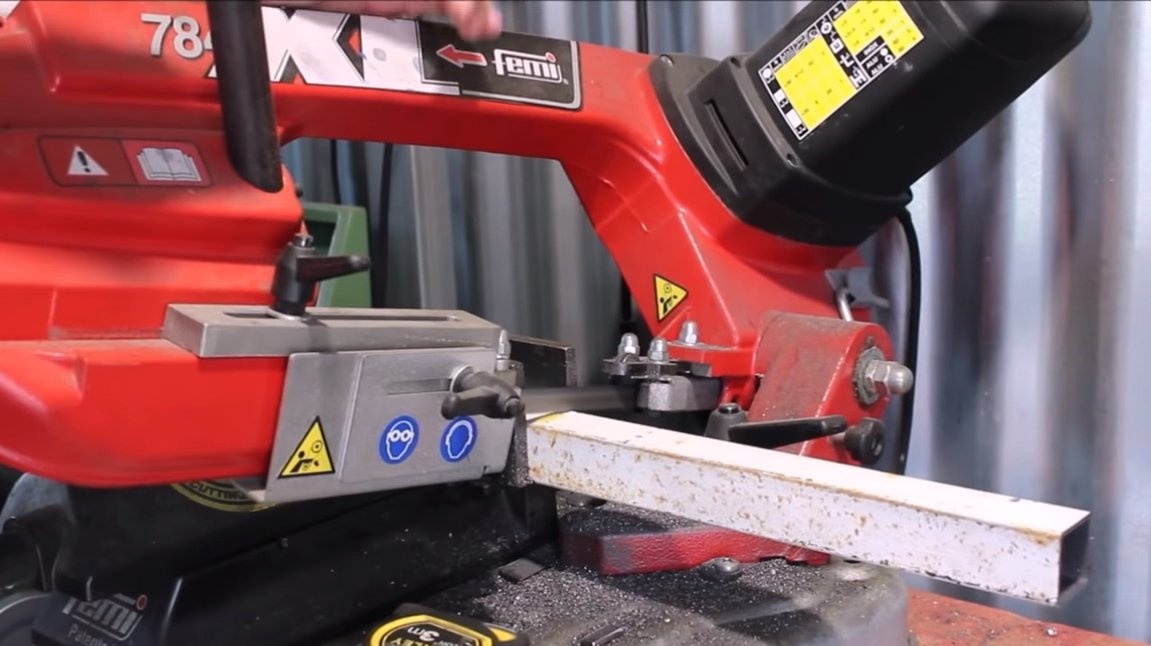
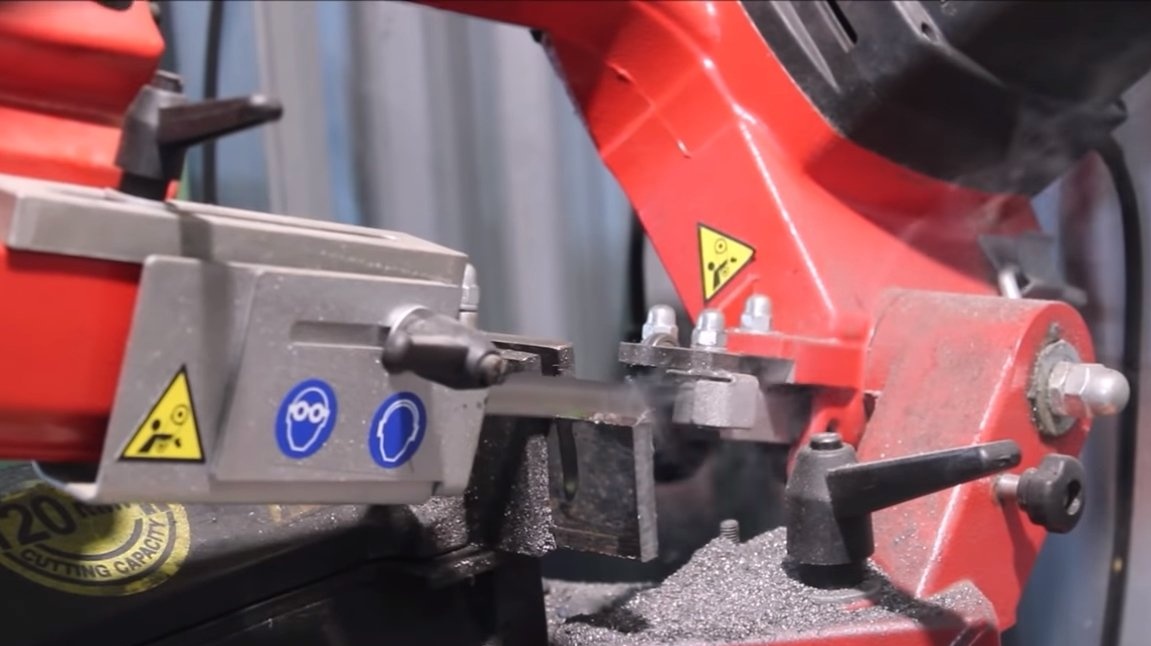
- tape cutting machine;
-
- vise;
- lathe;
- welding machine;
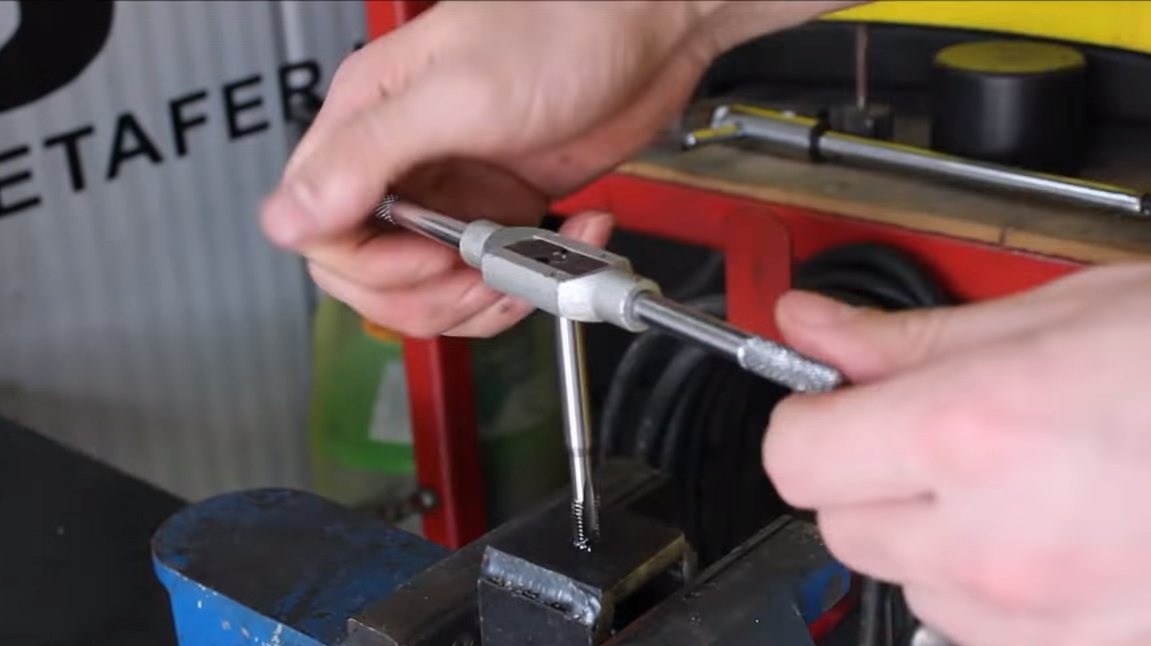
- taps for threading.
Homemade manufacturing process:
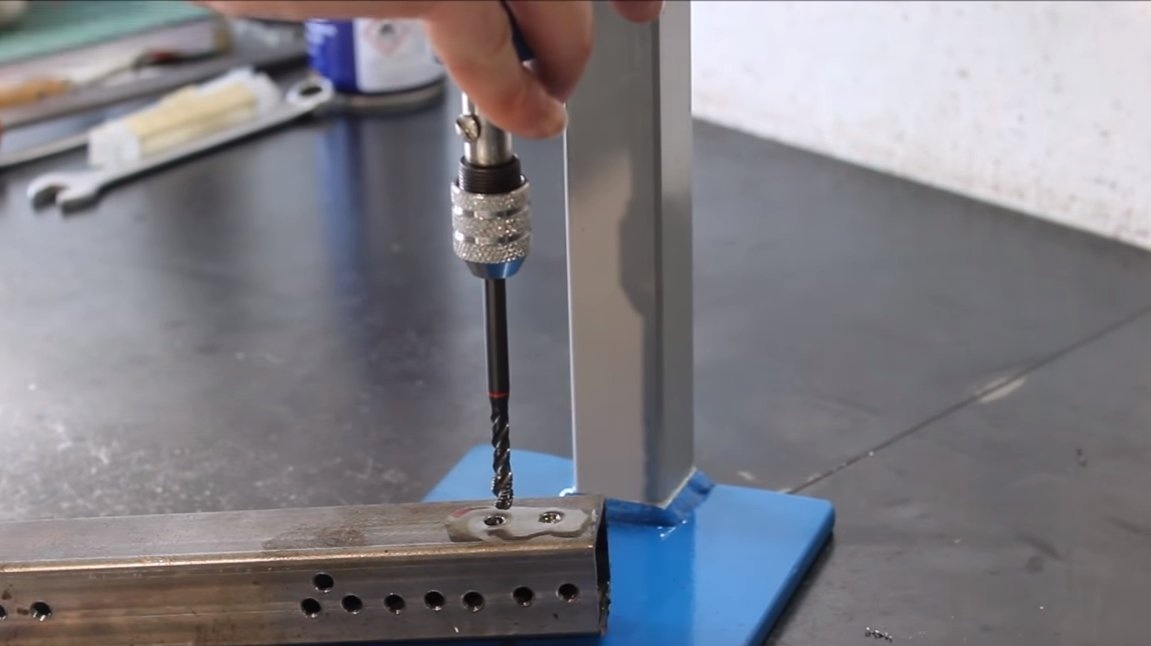
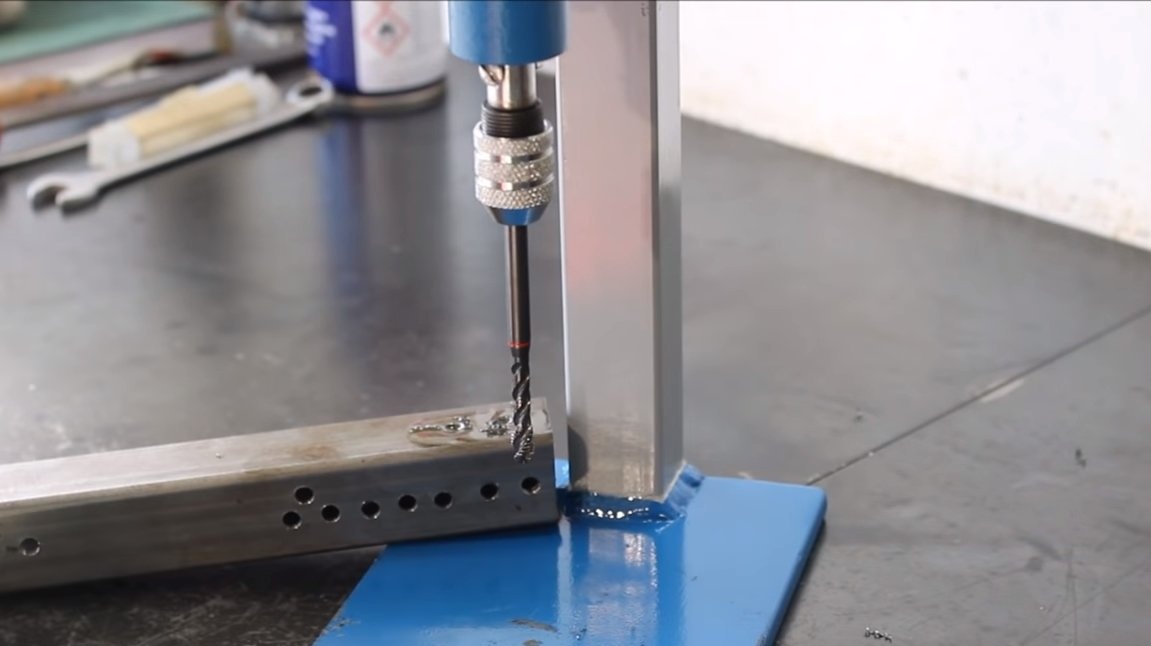
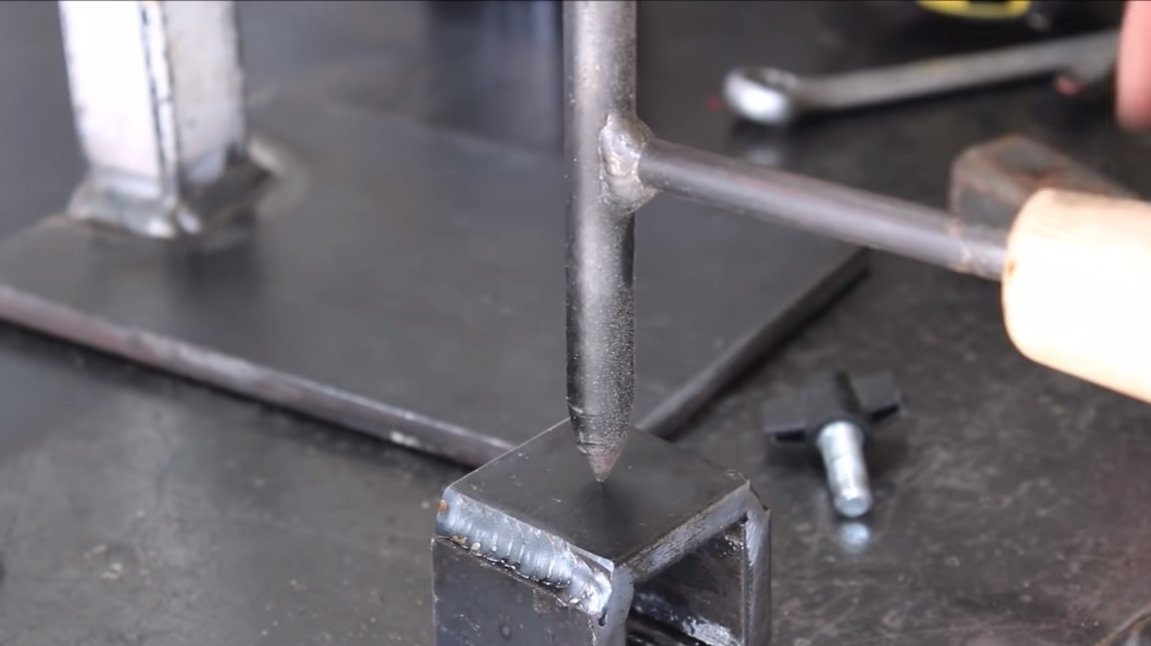
Step one. Rack
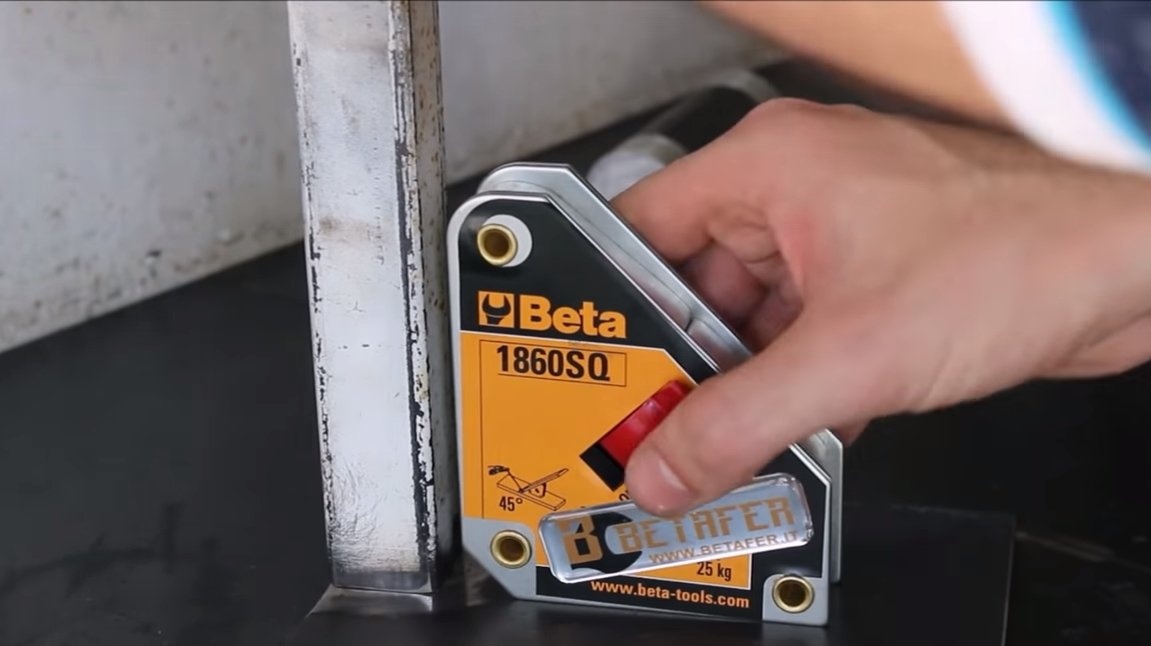
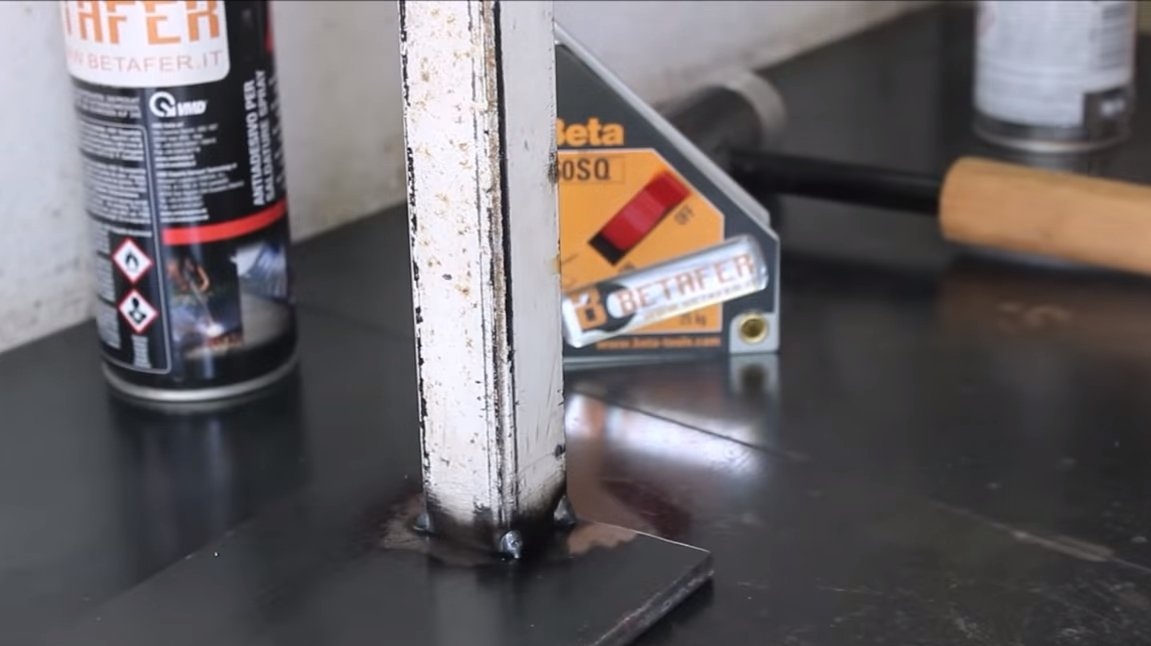
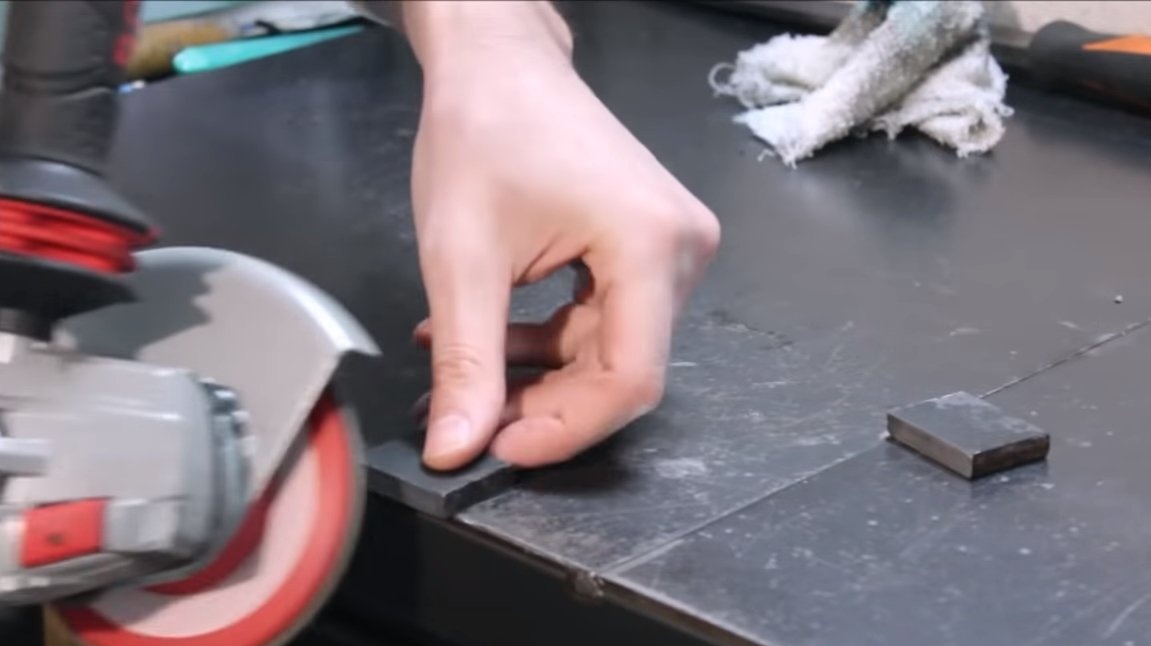
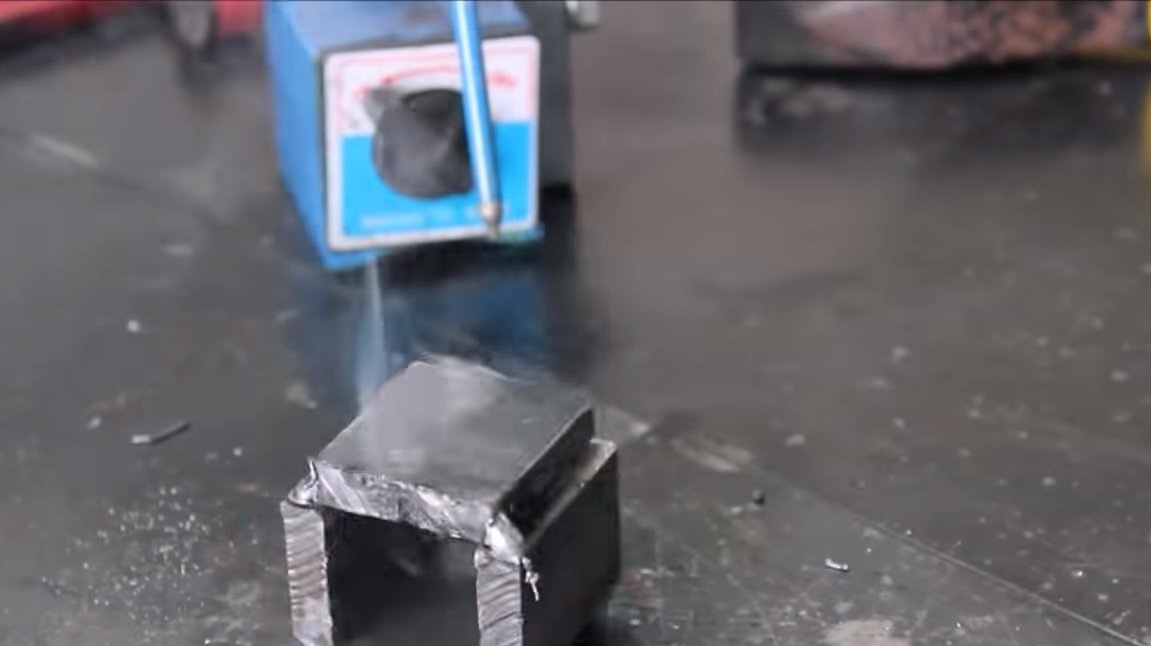
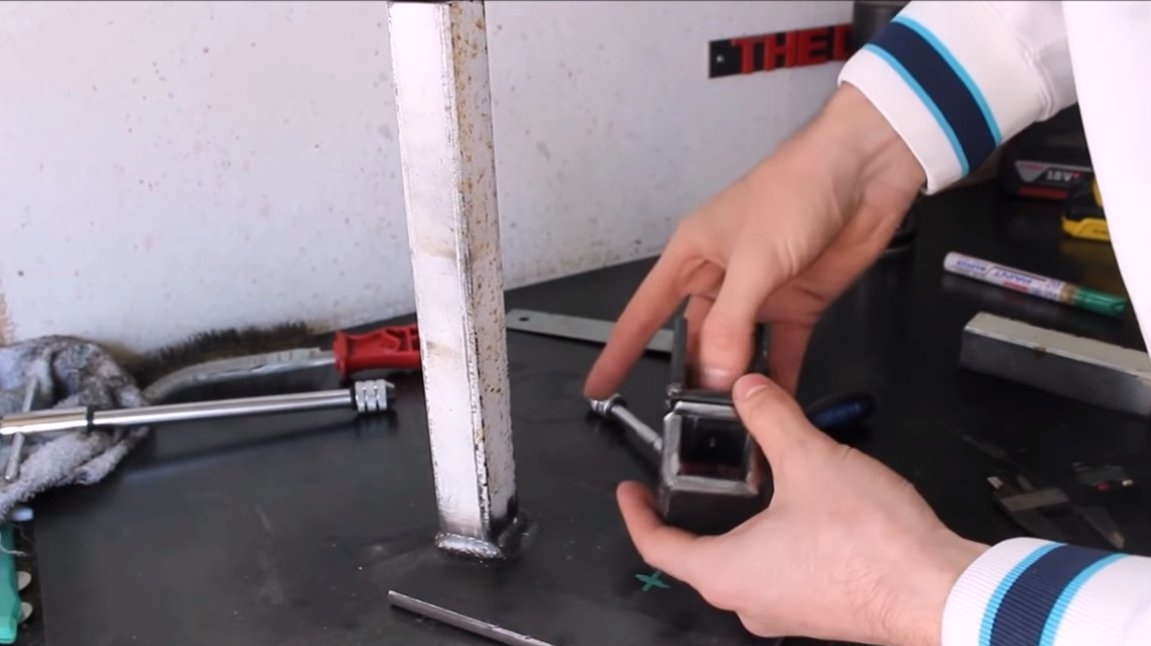
First of all, we will make a rack, for such purposes we will need a piece of a square profile pipe. The stand must be welded at right angles to the base. As a basis we use a thick iron plate.
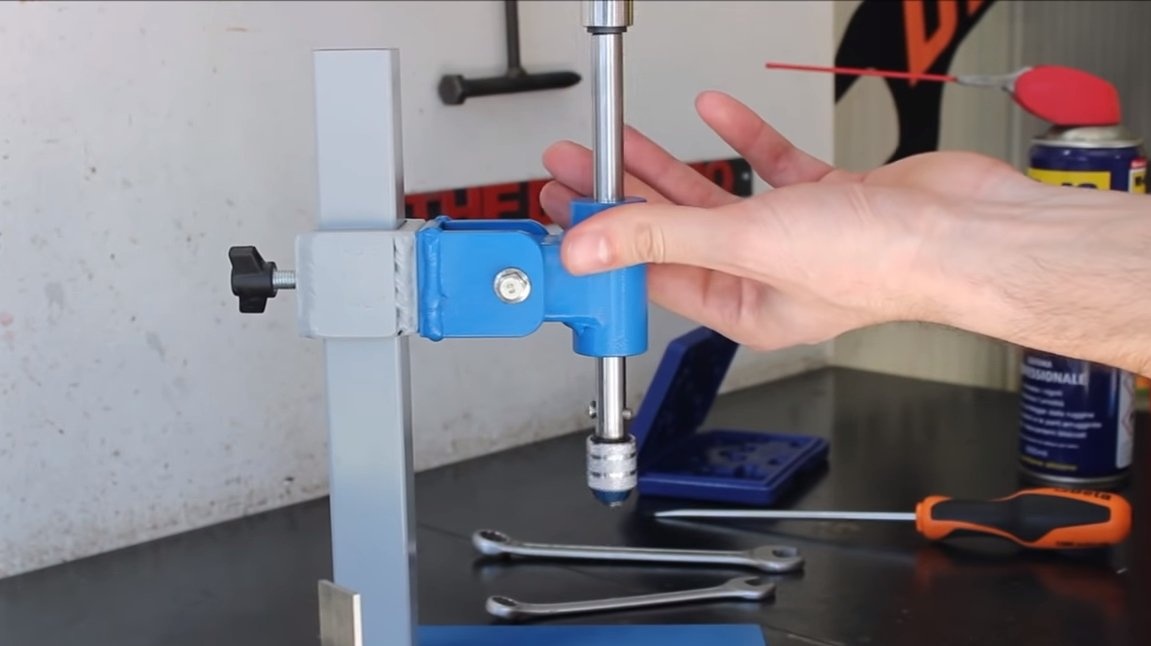
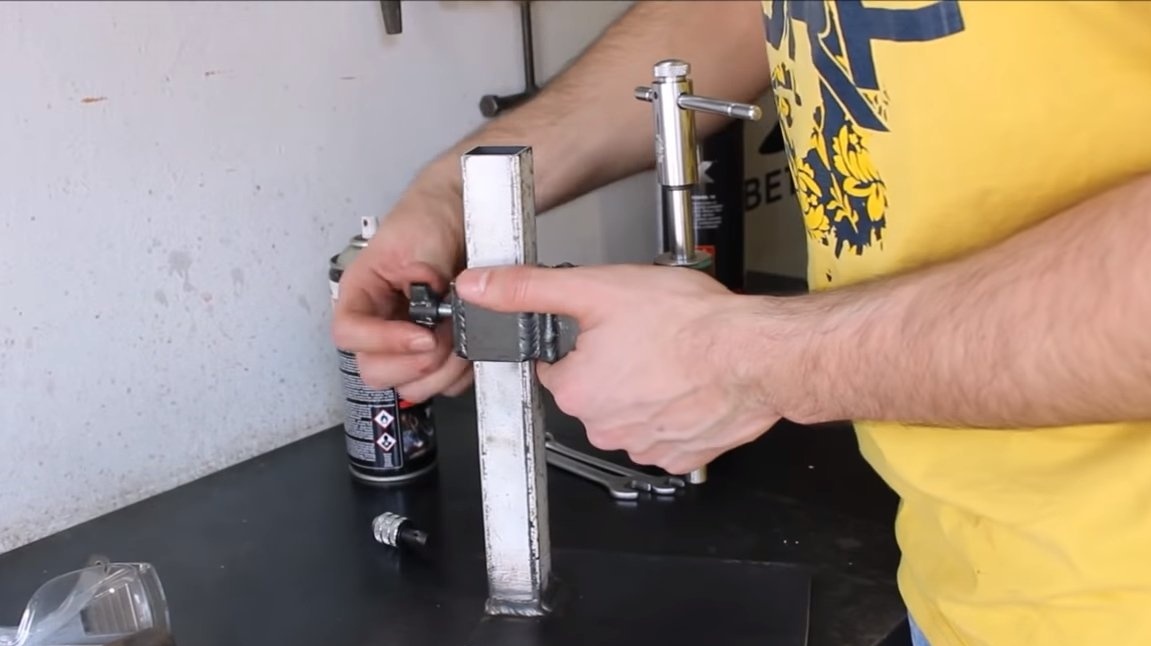
Step Two Hinge
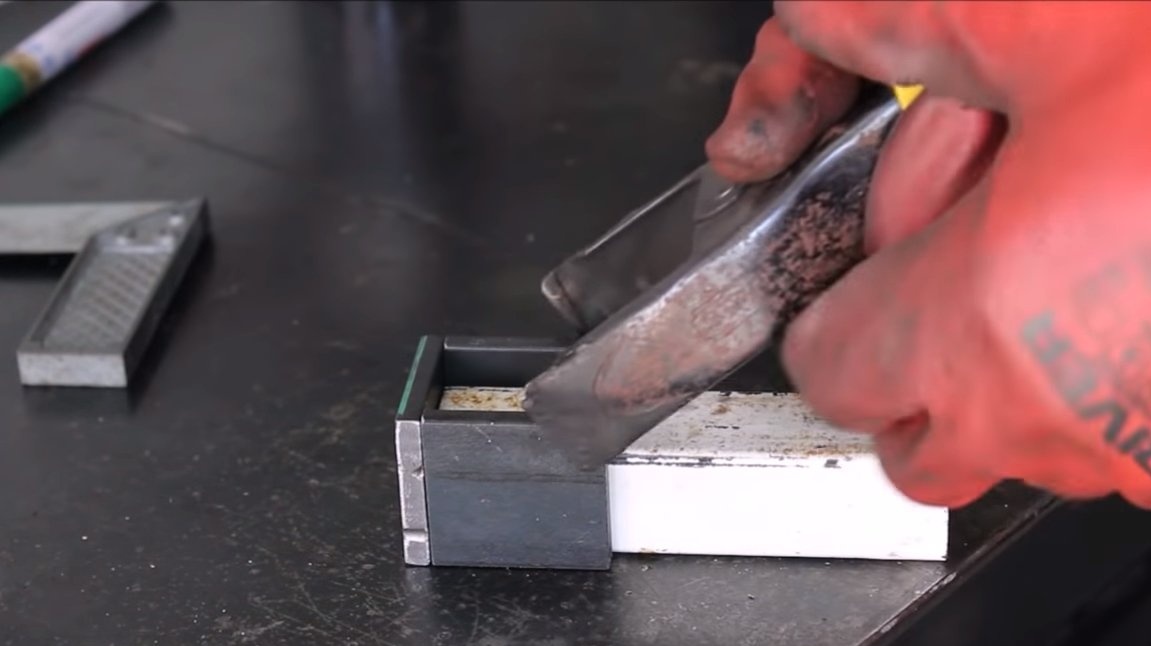
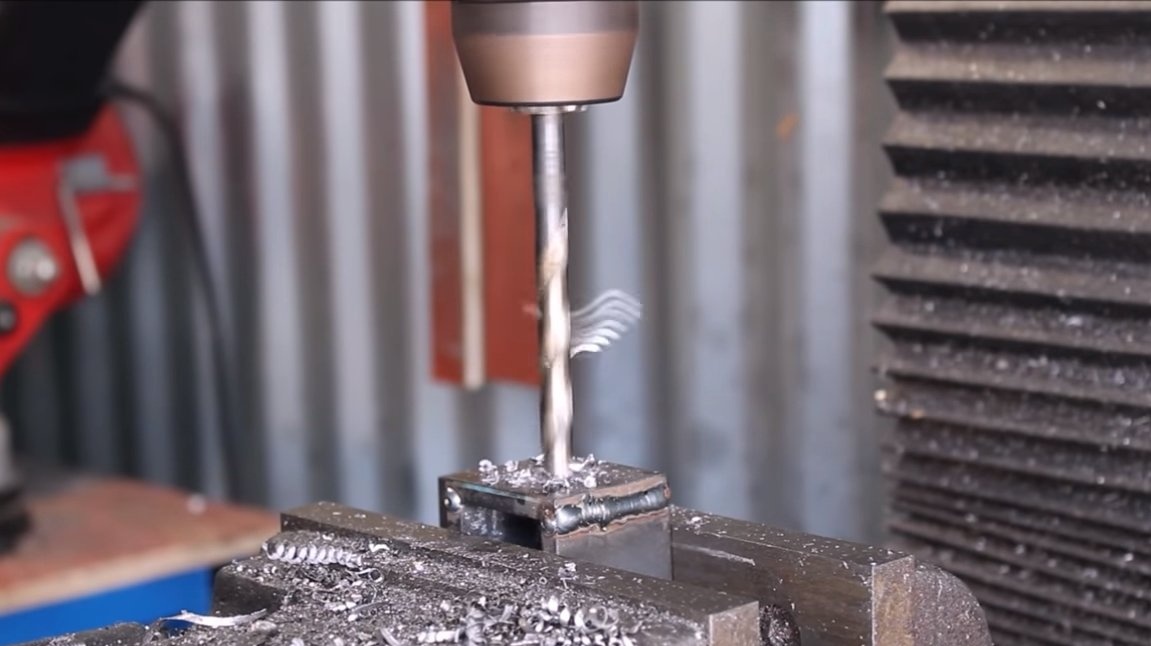
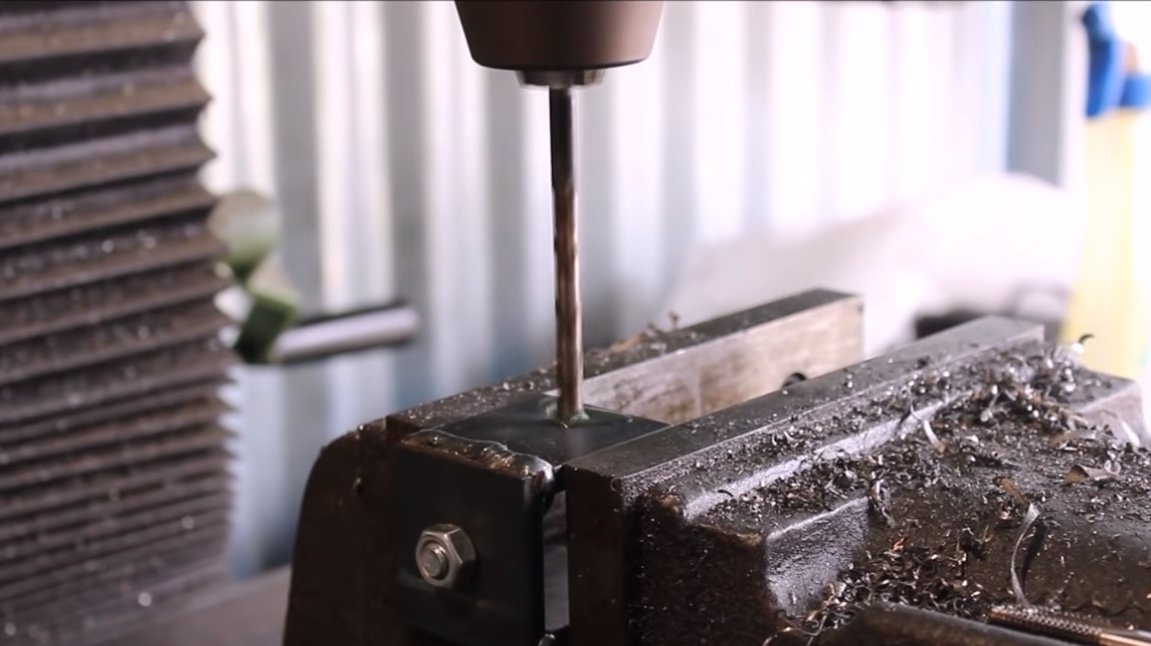
Next, we make a hinge, it will ride along the rack with us, a holder for the working shaft of the machine will be attached to this hinge. We weld the desired design of iron plates, we must strive to ensure that the gaps are minimal. We drill a hole for the bolt in the hinge, and you will also need another hole and cut the threads so that all this riding structure is fixed on the rack with a bolt.

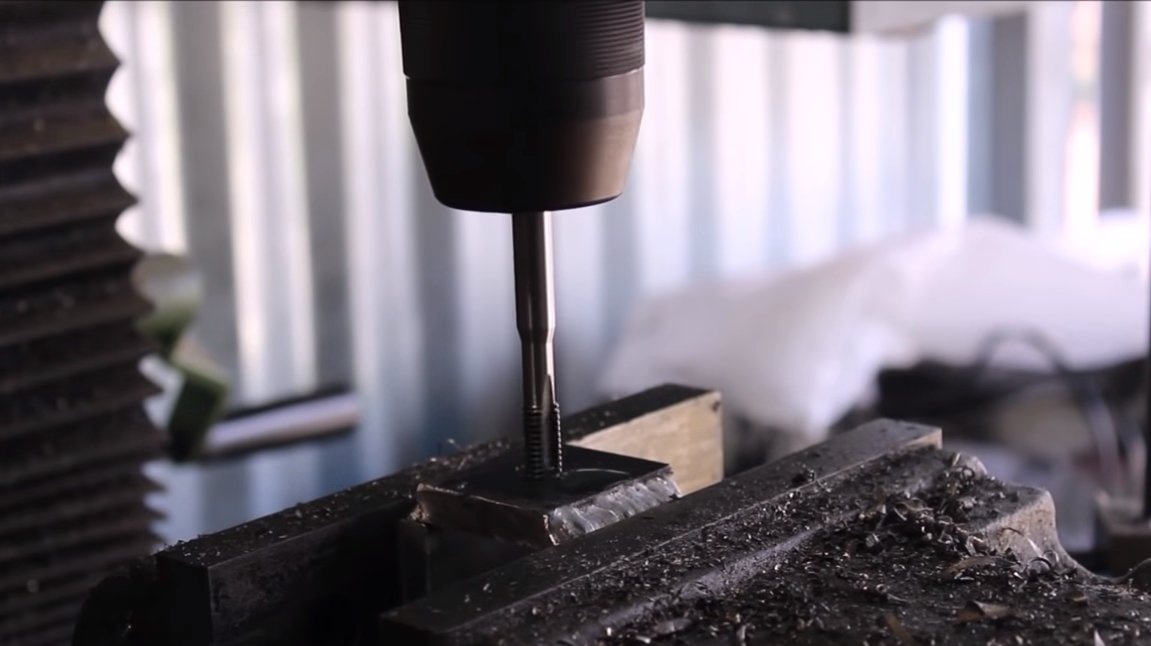
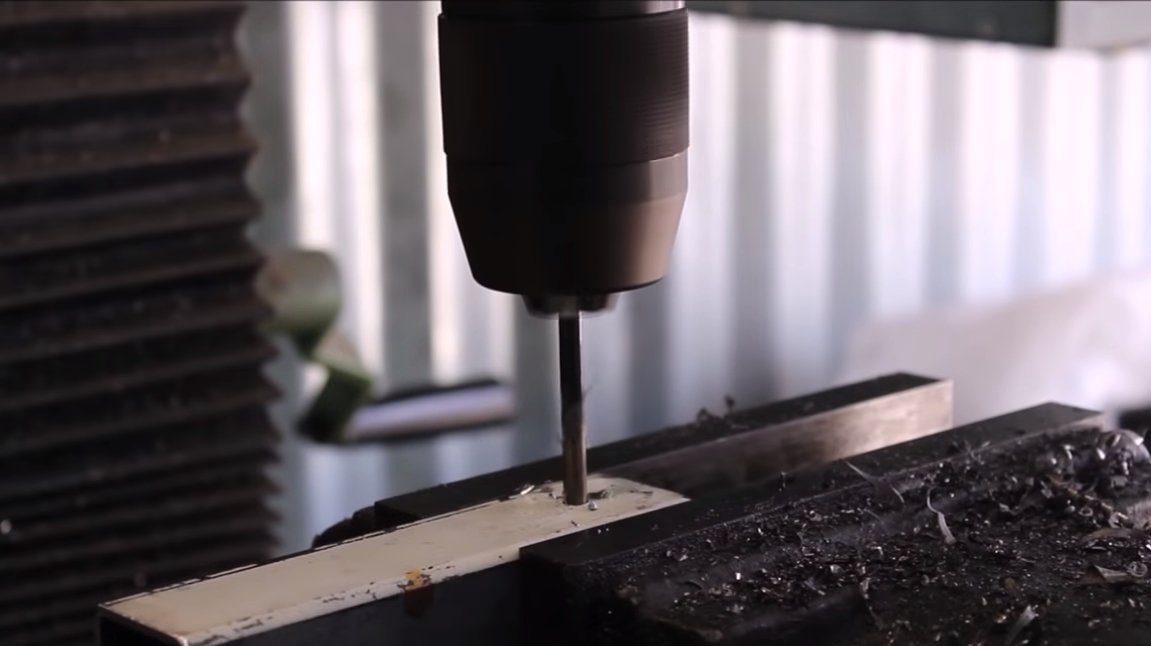
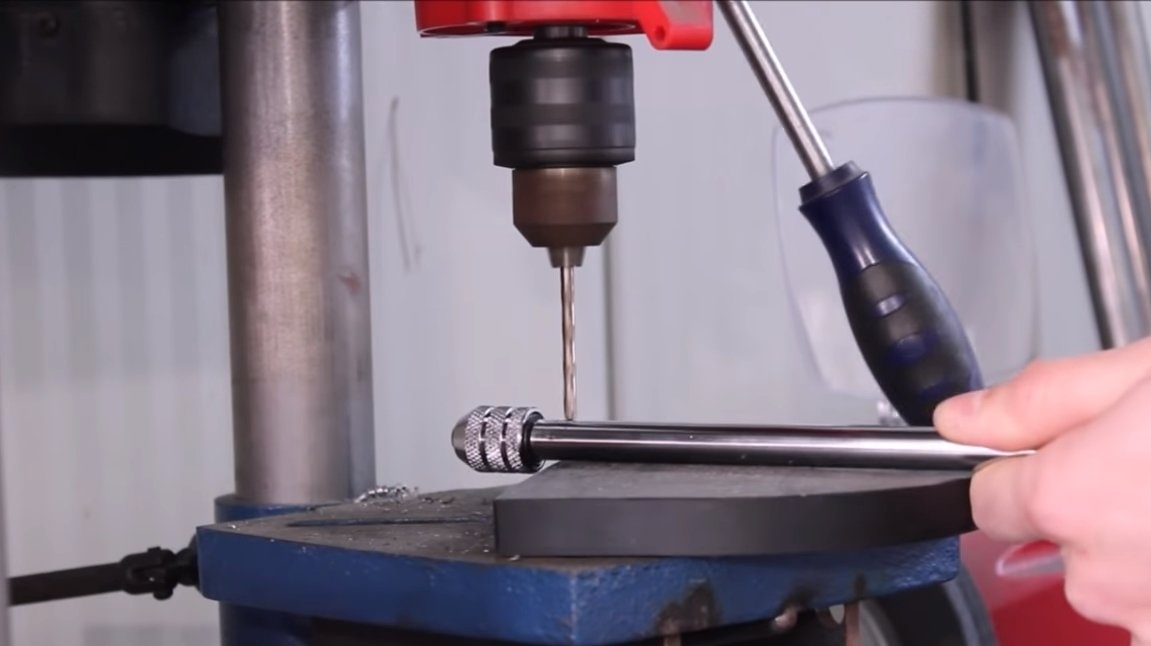
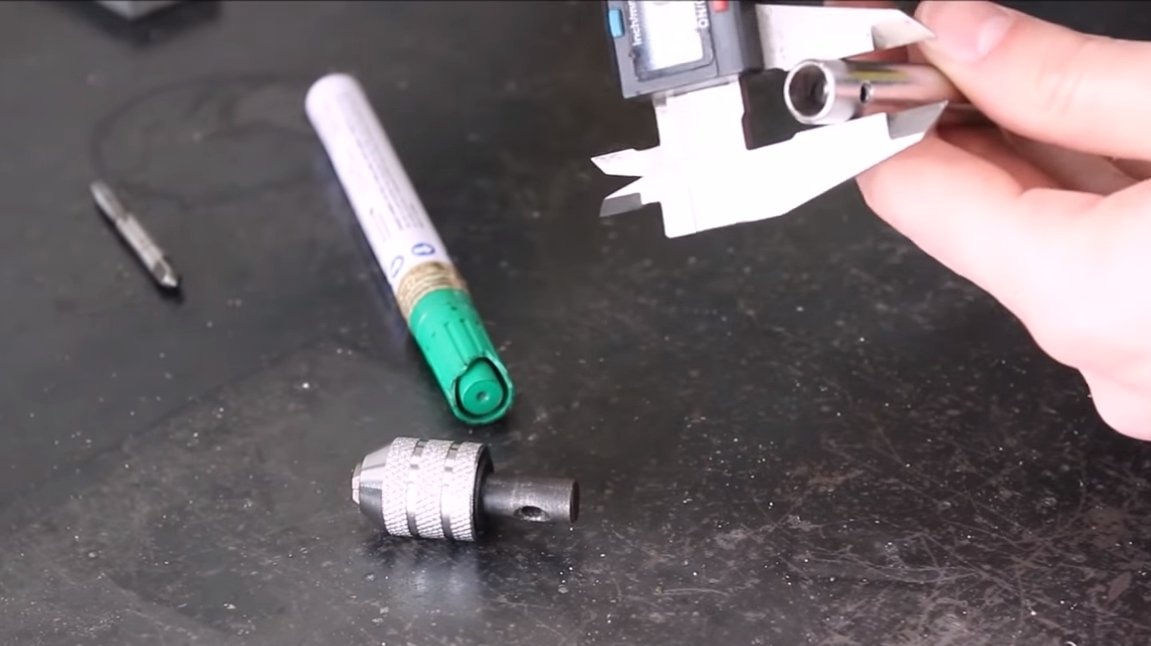
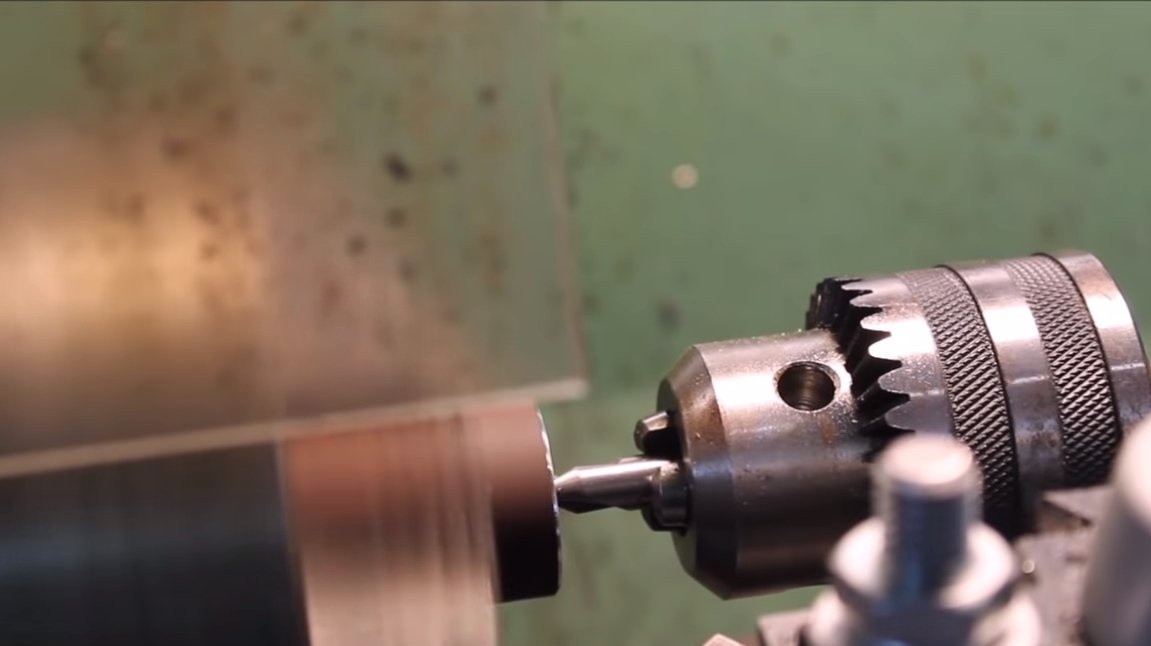
Step Three Working shaft
Let's make a working shaft, for this you need a metal tube. It is desirable from stainless steel. On it you need to install a cartridge. We drill a screw hole in the tube with a nut and fasten the chuck.
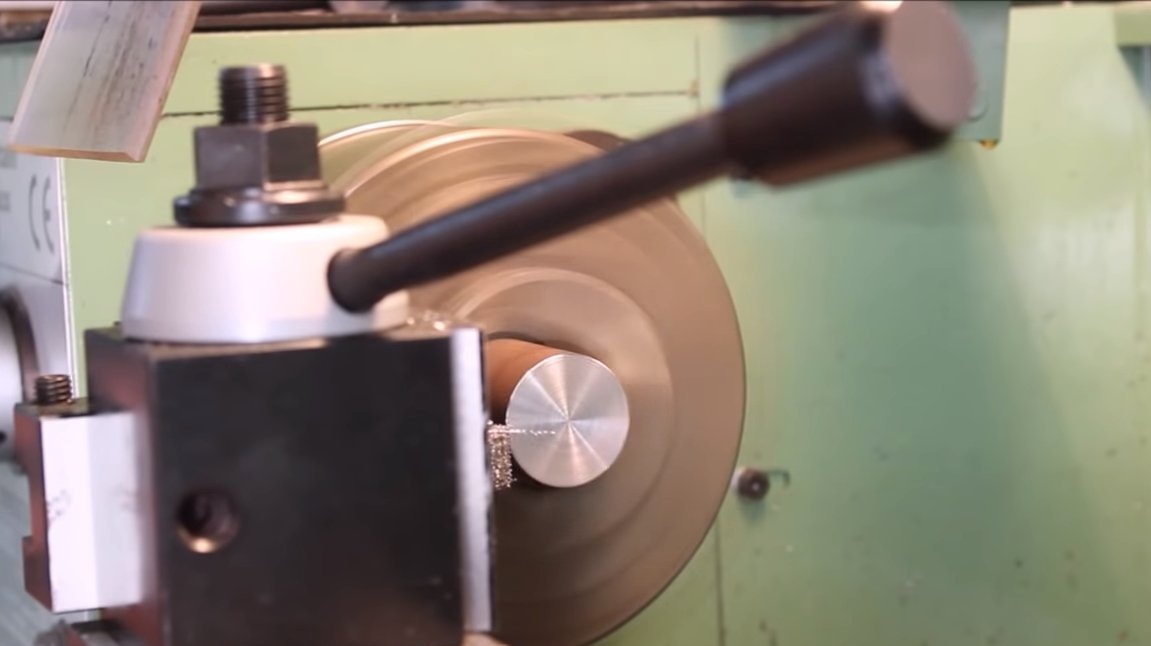
Step Four Shaft holder
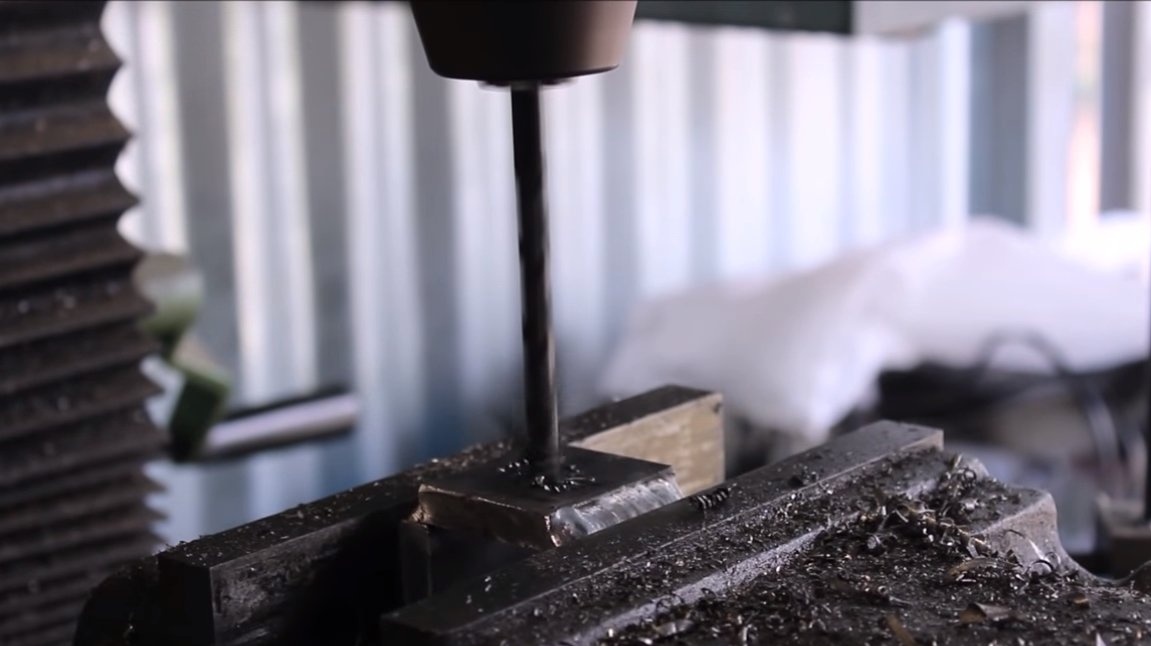
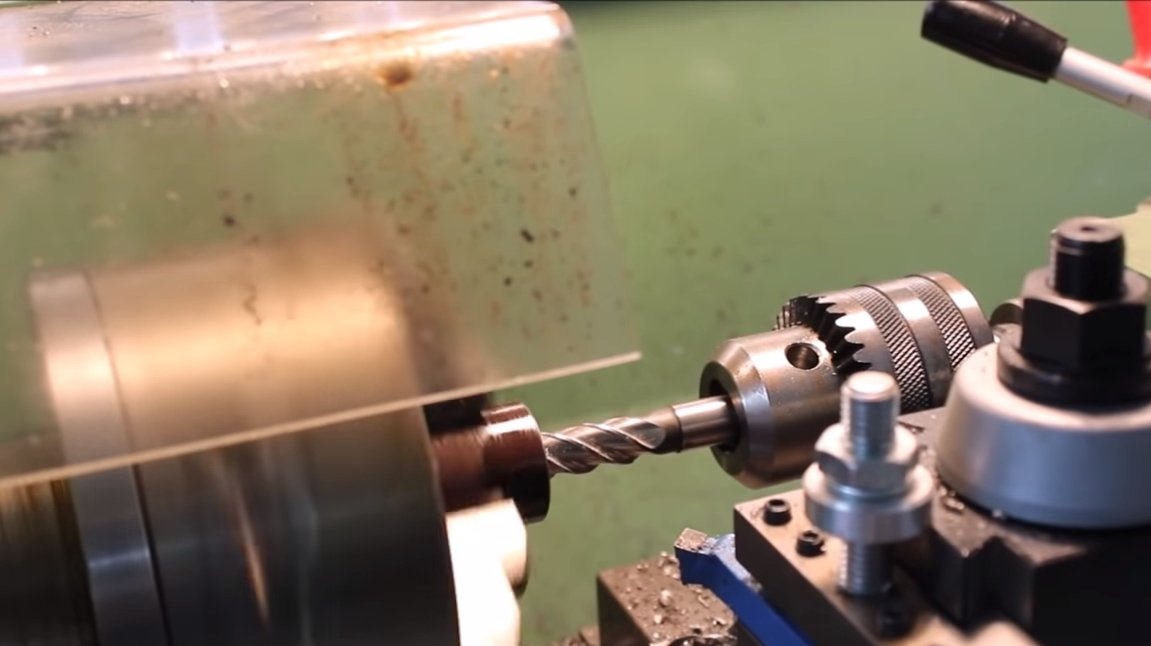
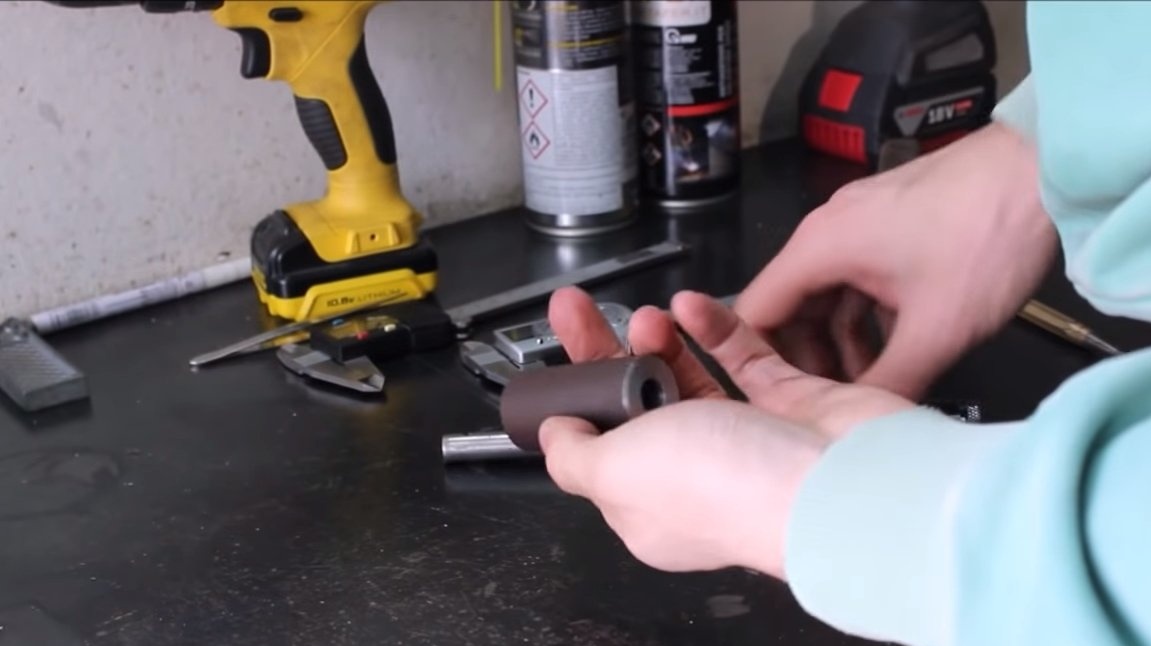
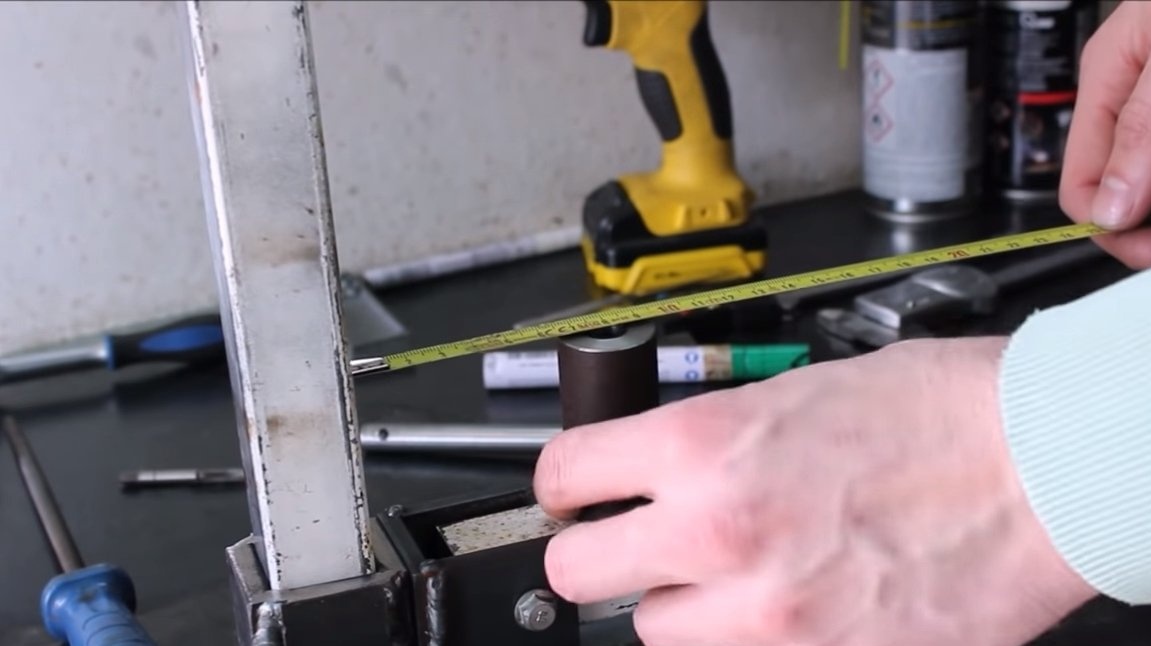
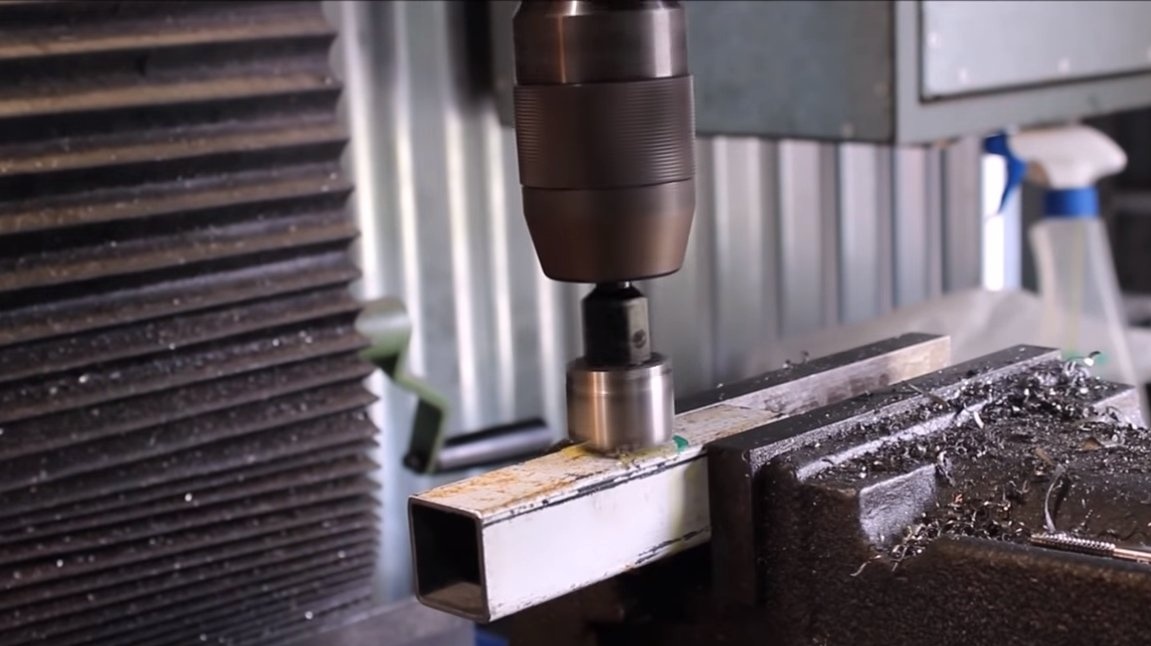
We make a holder for the shaft, here we need a round saw, as well as the help of a lathe. In a round timber, it will be necessary to drill a hole of such a diameter so that the working shaft comes in with a small clearance, we do not need any backlashes.
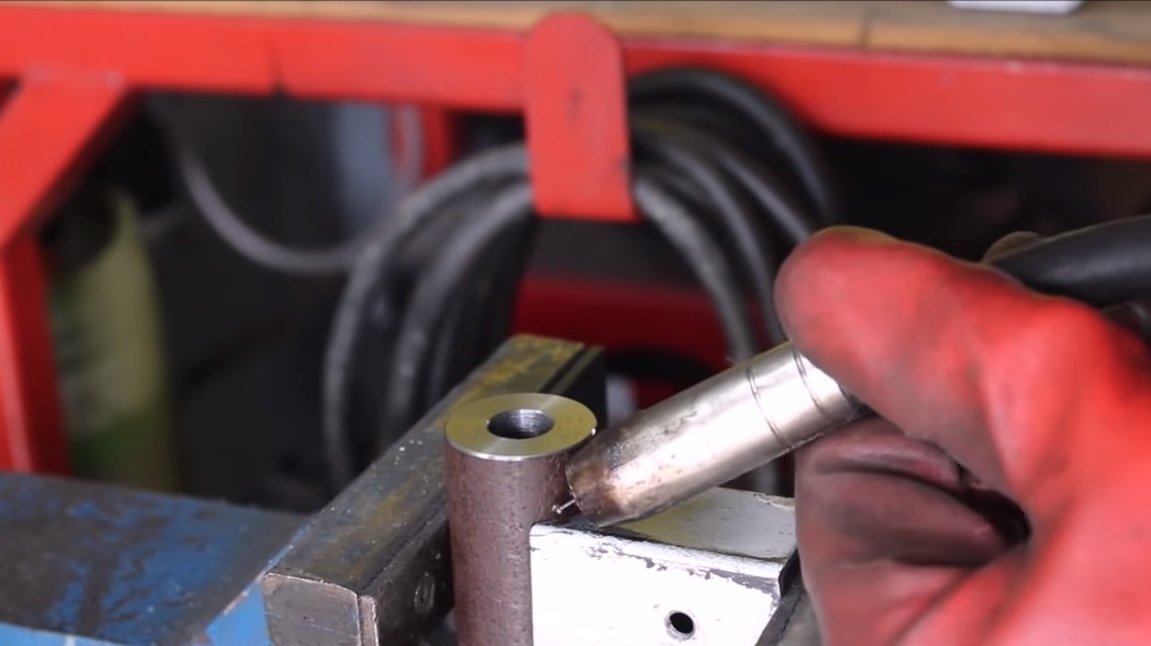
We weld a piece of the profile pipe to the manufactured part and drill a hole for the bolt with nut.
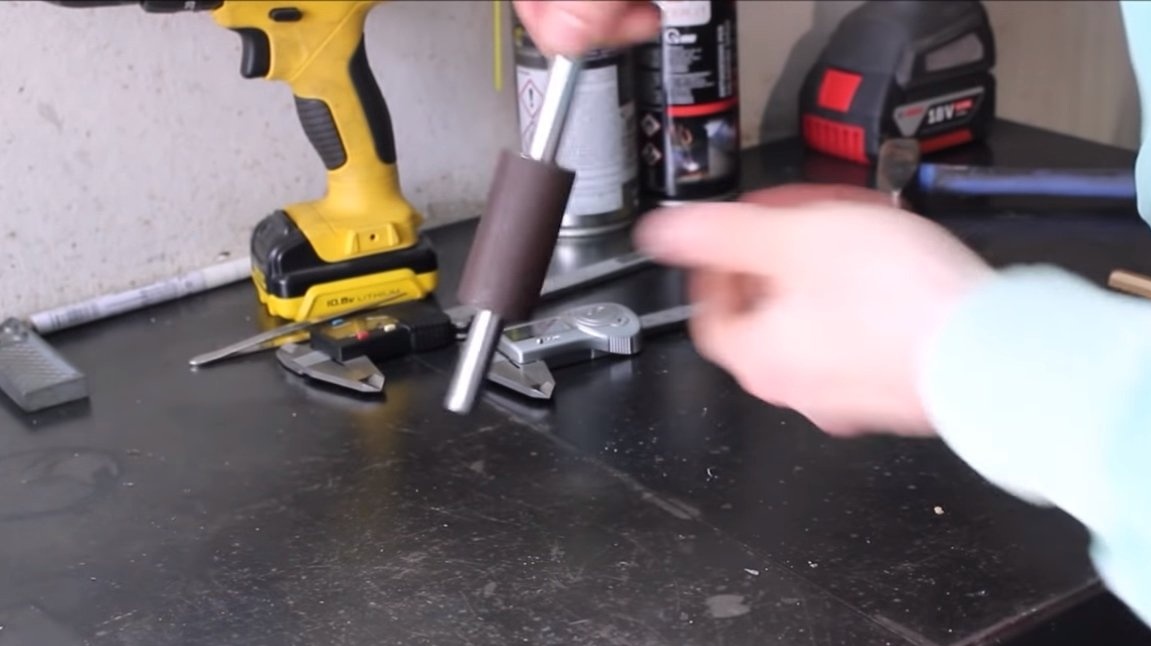
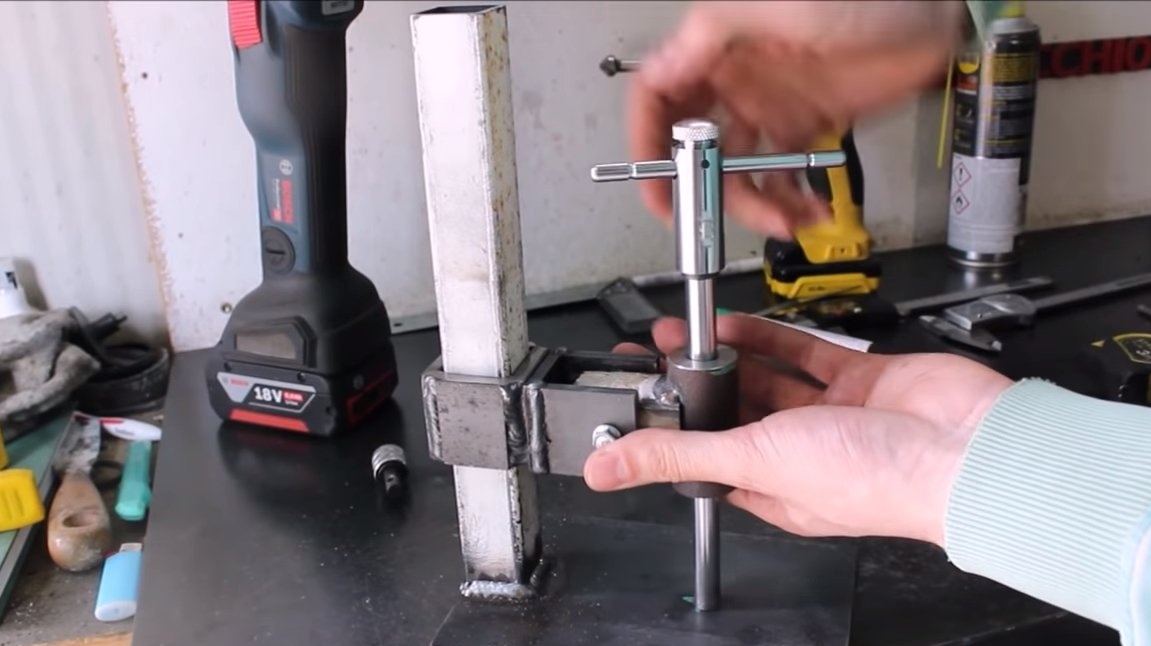
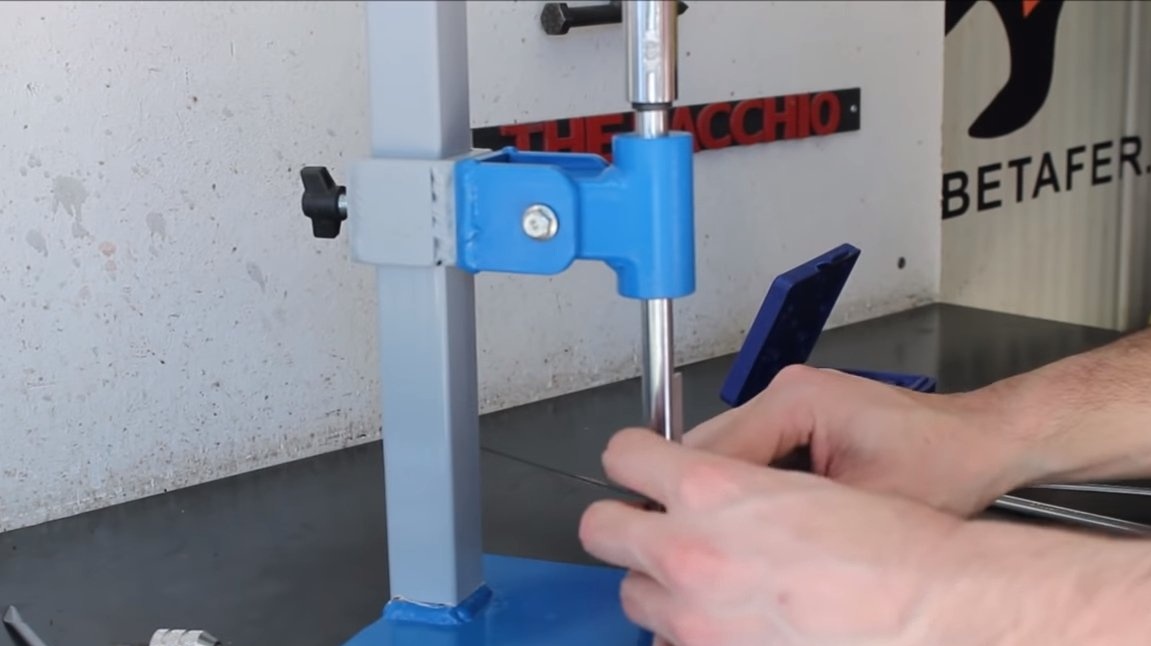
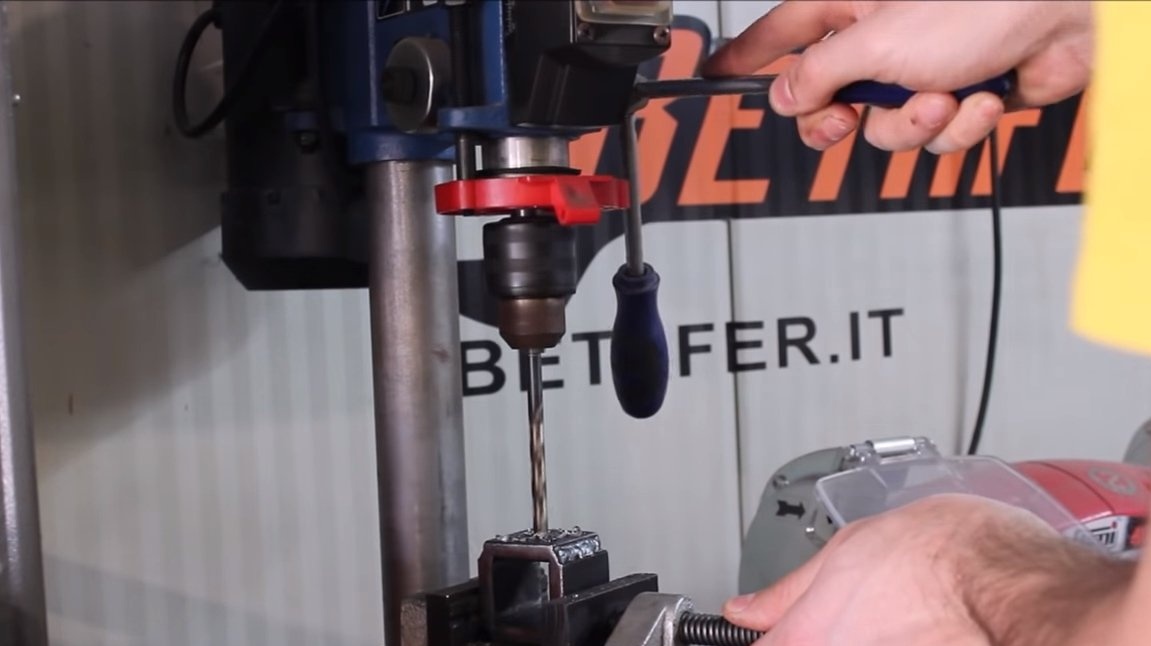
Step Five Final touches and tests
At the end, we clean the welds so that everything looks neat, well, then we disassemble the machine and paint. After painting the homemade product is ready, install the hinge on the rack at the desired height, install the tap and get to work. Homemade works perfectly, using the machine is quite convenient.
On this project can be considered successfully completed, I hope you liked the homemade work, and you found interesting thoughts for yourself. Good luck and creative inspiration, if you decide to repeat this. Do not forget to share your ideas and homemade things with us!