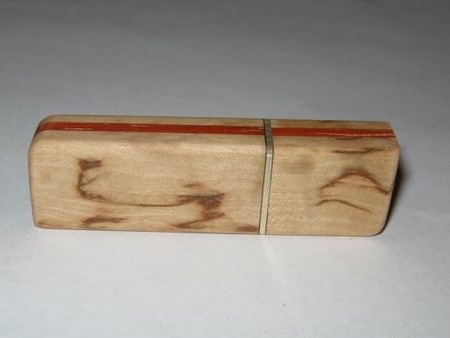
Stylish designer accessory made do it yourselfIt always looks bright and unusual, especially if it is a flash drive in a wooden case. However, this will require a lot of time and effort, but believe me - the result will be worth it. In order to make the original flashunder the tree with your own hands you will need: three planks, a sharp knife, a cutter, wood and metal drills, a file, a file, epoxy and super-glue.
DIY homemade case for a flash drive made of wood
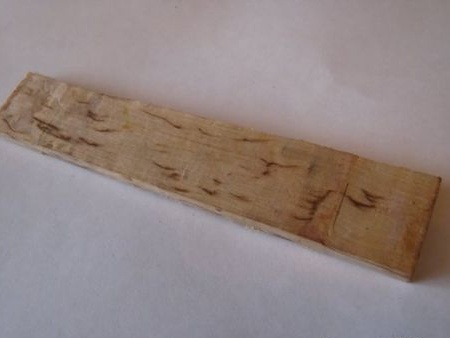
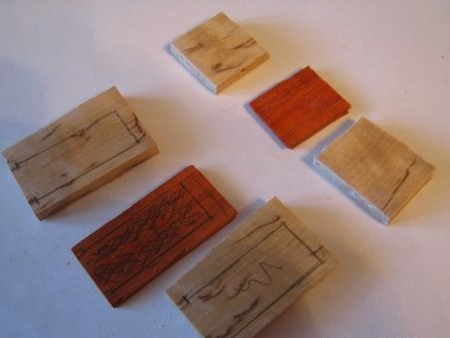
First you need to cut three planks, which will be larger in size than the board from the flash drive. One thing should be made from a different from the other two varieties of wood - it will give the craft an interesting and stylish look.
As a result, this is exactly what your three blanks should look like.
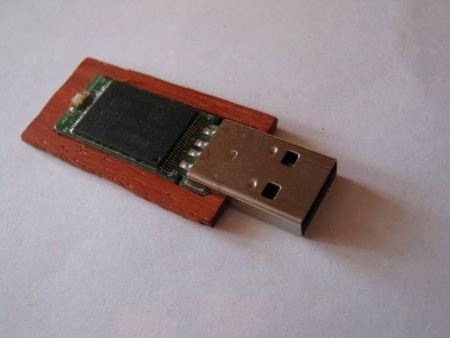
Now in the central plank you need to make a hole into which you need to fix the flash card. The hole should fit very well, and its edges can be smeared with super-glue.
Now you need to make a hard layer so that the flash drive does not break with significant physical exertion. For example, it often happens that flash drives just break out of their plastic cases, then what about wooden.
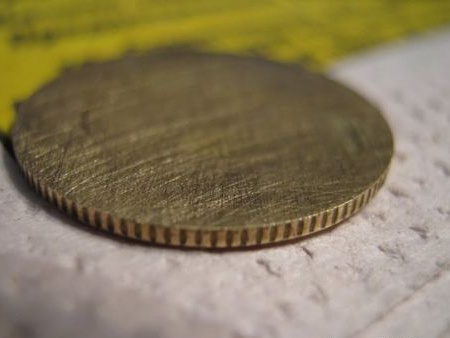
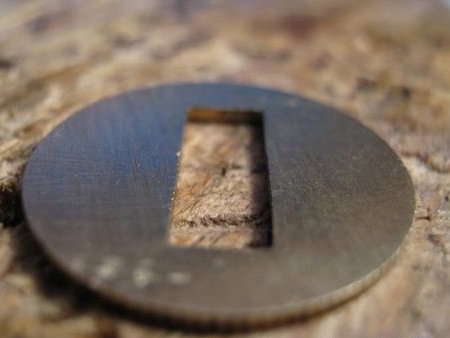
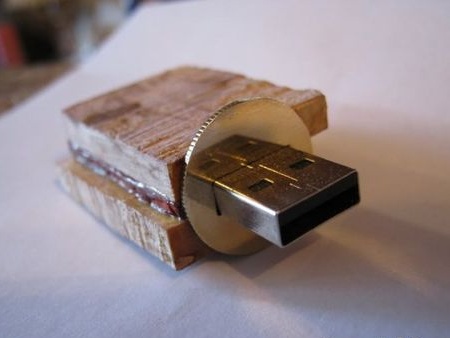
For this, a ruble coin is perfect, which must be carefully cleaned with sandpaper. (Almost polish). Then, using epoxy, we glue the metal blank to the wooden case. In advance, of course, we make a hole in the coin with a drill and a file, into which the USB connector will pass.
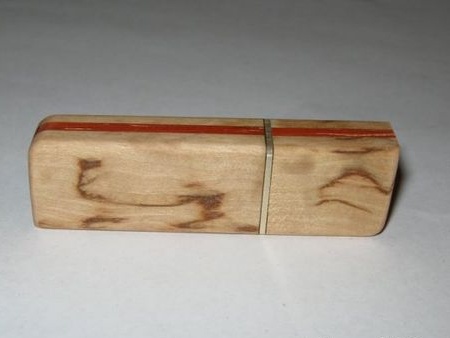
You should get such a “rough” flash drive with which you still have to work a lot. Similarly, following the above instructions, you should make a cover for your author's craft. Please note that after all the operations performed, the craft does not yet look stylish.
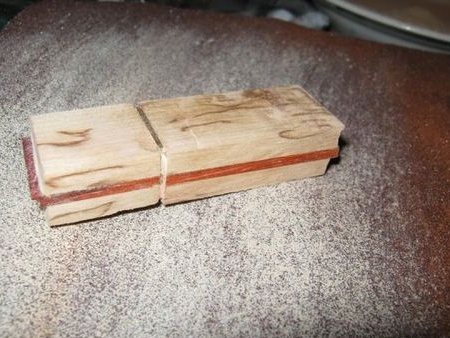
In order for the author’s flash drive to really get a "presentation", the workpiece must be carefully processed with a file. After that, the surface can be varnished (or you can leave the natural wooden coating intact) Agree that this craft will be a truly original accessory. I bet you will never see such a flash drive.

