Hello fans to craft, today we will look at how to make a gas burner. Using such a generator, you can solder or cast. Such generators can be ordered from China, but their quality and power leaves much to be desired. In this regard, it makes sense to create a similar generator do it yourself. The principle of operation of the generator is quite simple and it is assembled from available materials. If you are interested in the project, I propose to study it in more detail!
Materials and tools used by the author:
Material List:
- burner handle;
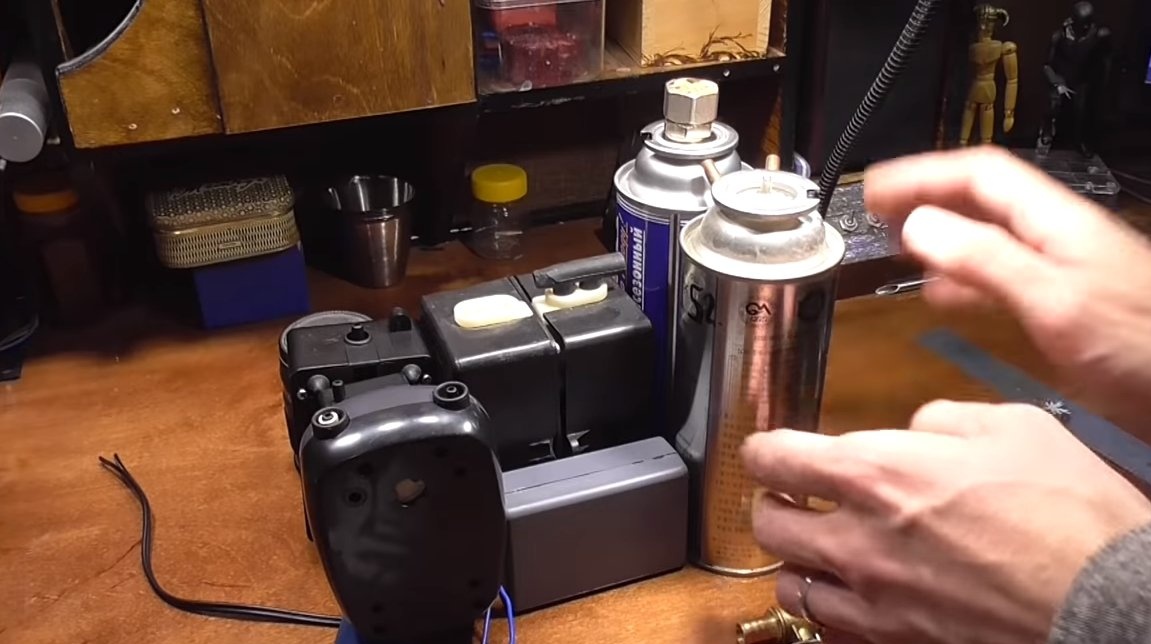
- spray cans;
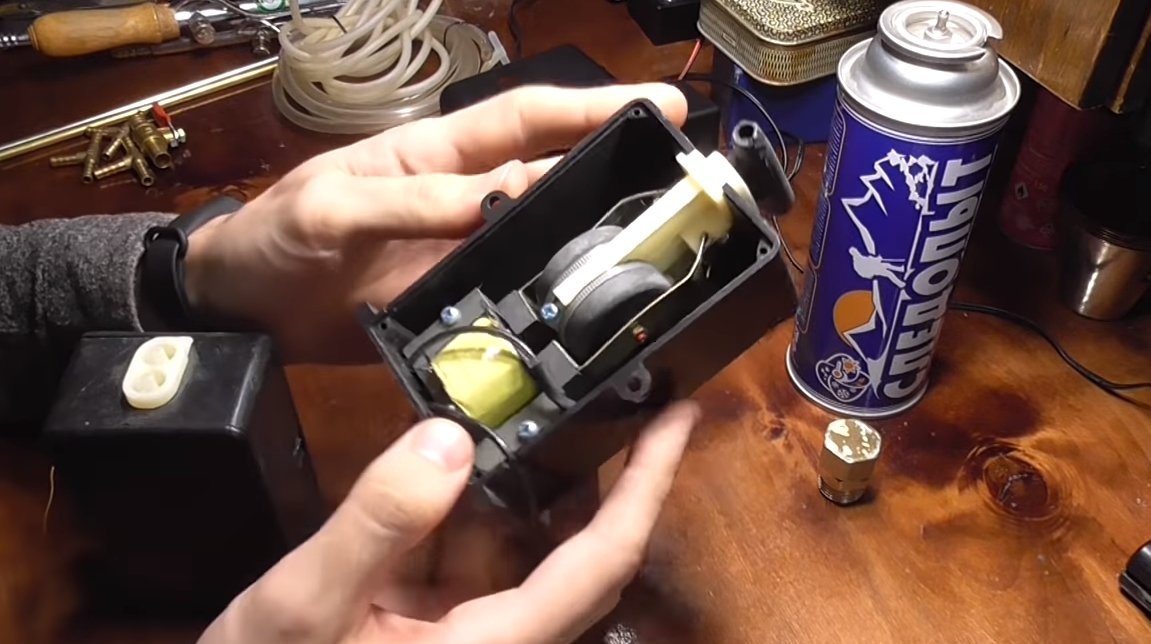
- compressors for the aquarium;
- hoses;
- brass or copper tubes;
- plumbing tap and fitting;
- ;
- power supply unit 12V;
-;
- wires;
- plywood;
- fiberboard;
- stain, varnish;
- switches;
- epoxy adhesive;
- .
Tool List:
- soldering iron;
- drill;
- stationery knife;
- jigsaw;
- screwdriver or screwdriver;
- pliers.
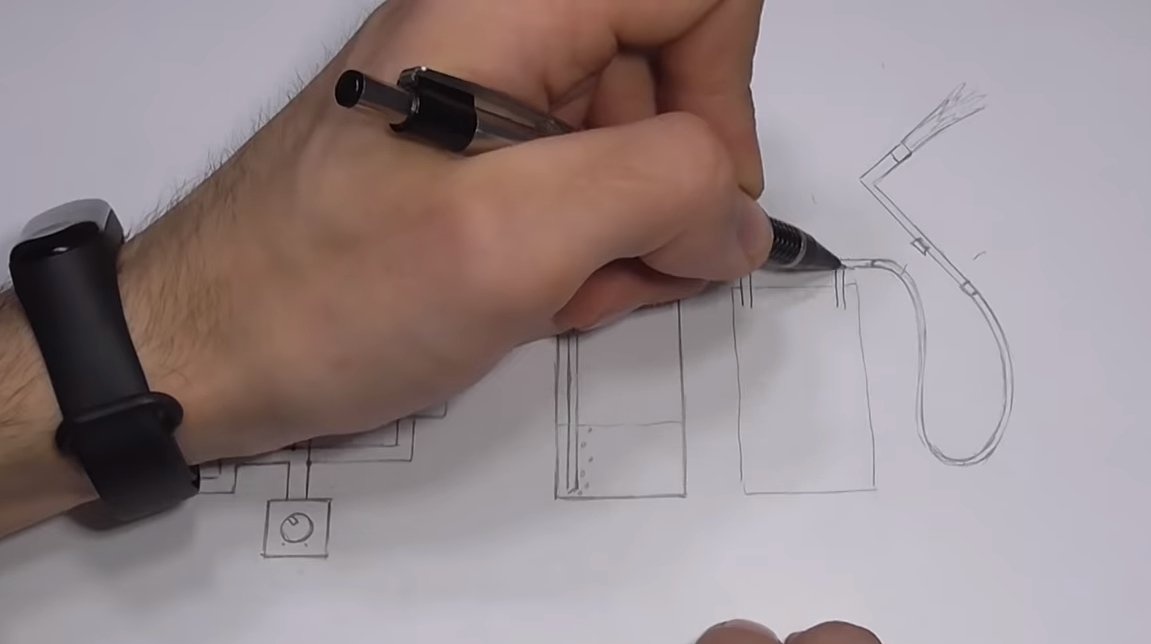
Manufacturing process homemade:
Step one. Principle of operation
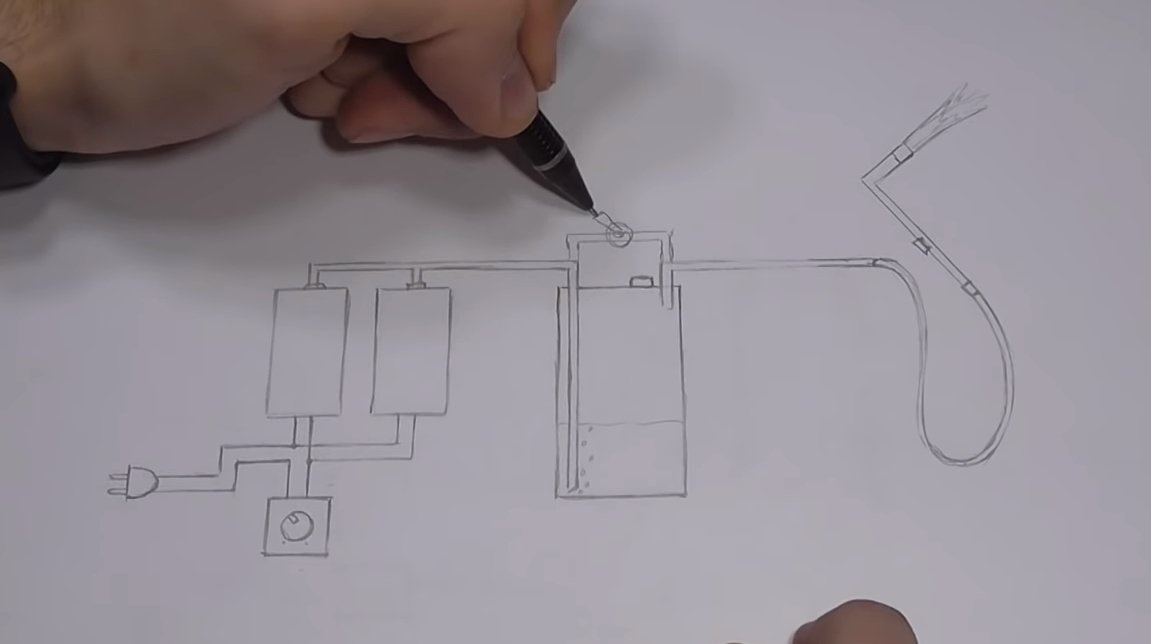
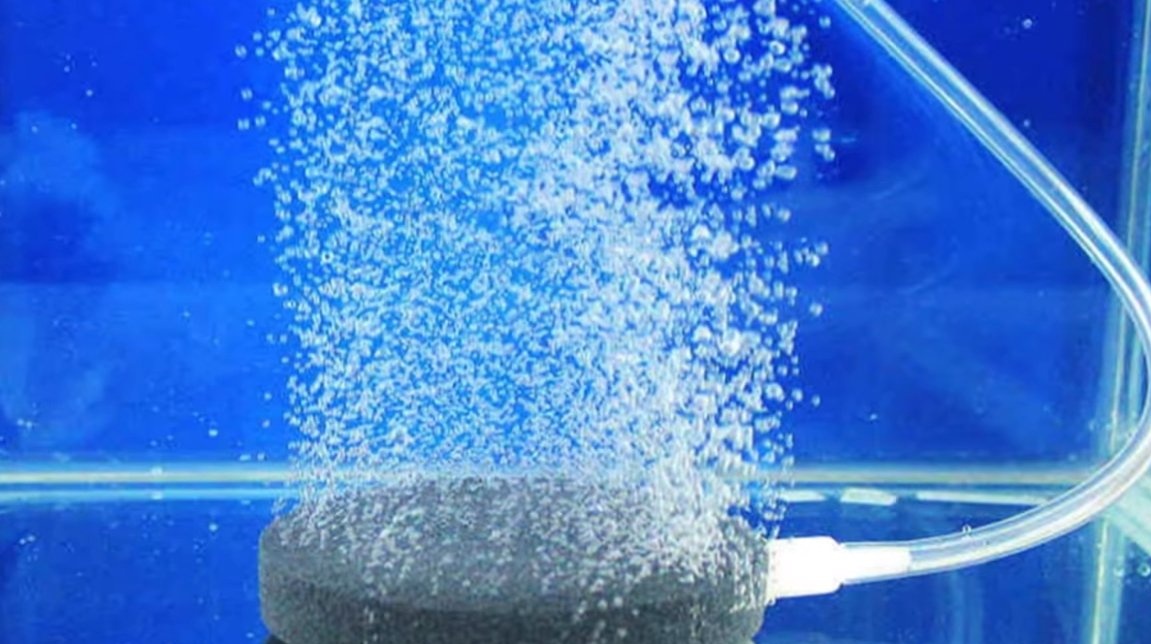
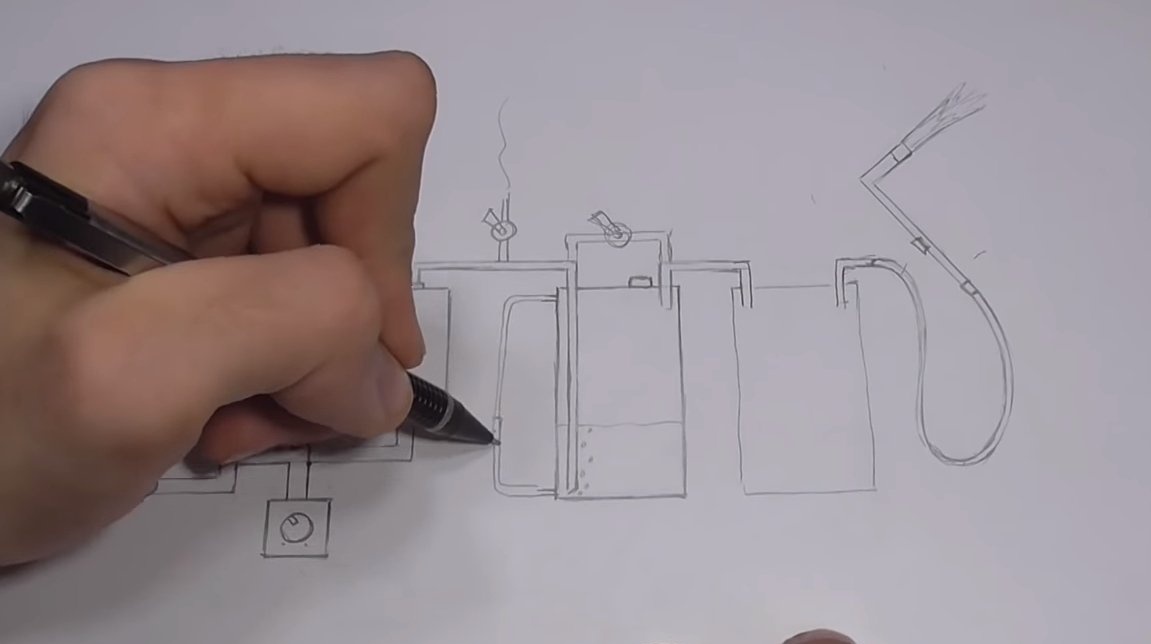
The system works quite simply, we have a gas tank with an inlet and an outlet pipe. The inlet tube is lowered down the tank and immersed in gasoline. When air is supplied to the inlet pipe through gasoline, air bubbles will flow, which will carry small particles of fuel with them. The result is an emulsion, which through the outlet tube will go to the burner. To adjust the quality of the fuel mixture, a valve is installed on the supply pipe between the gas tank and the compressor, which will allow you to control the amount of air that enters the gas tank.
The author also installed a receiver after the gas tank, it is designed to dampen ripple from the compressors, as well as to prevent excess gasoline from going into the burner. We will study the circuit in more detail during the assembly process.
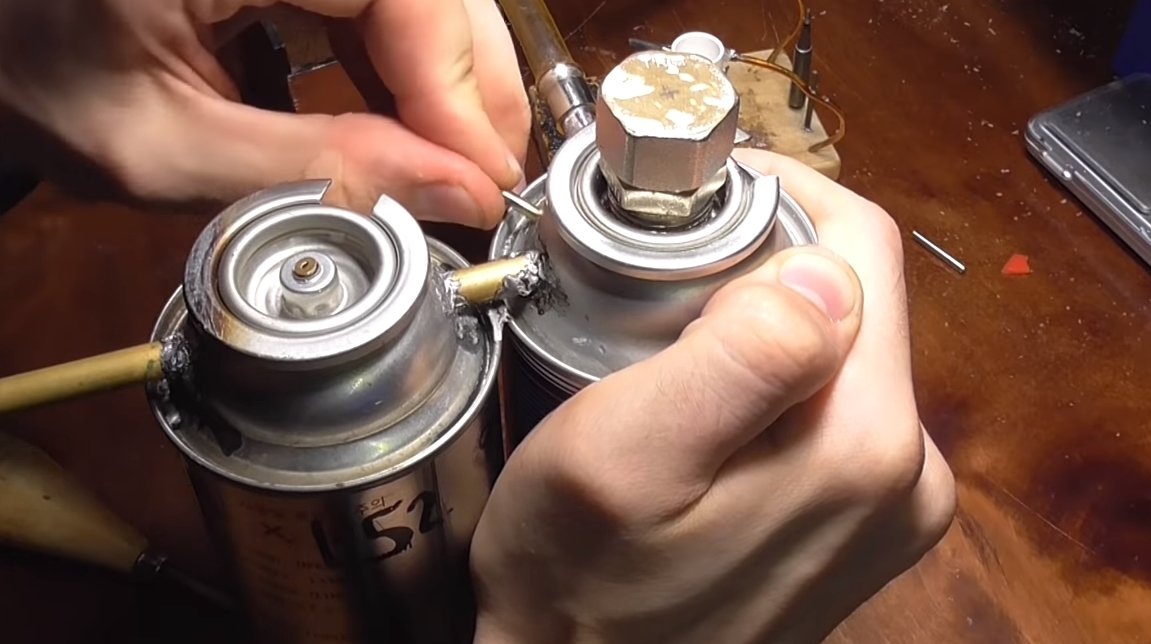
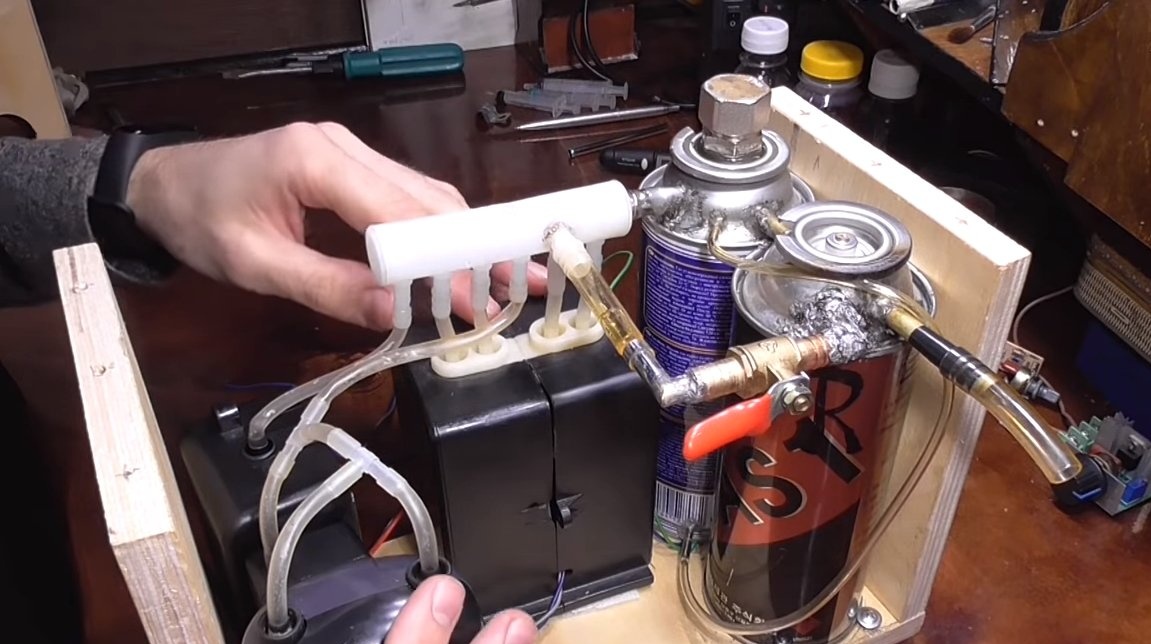
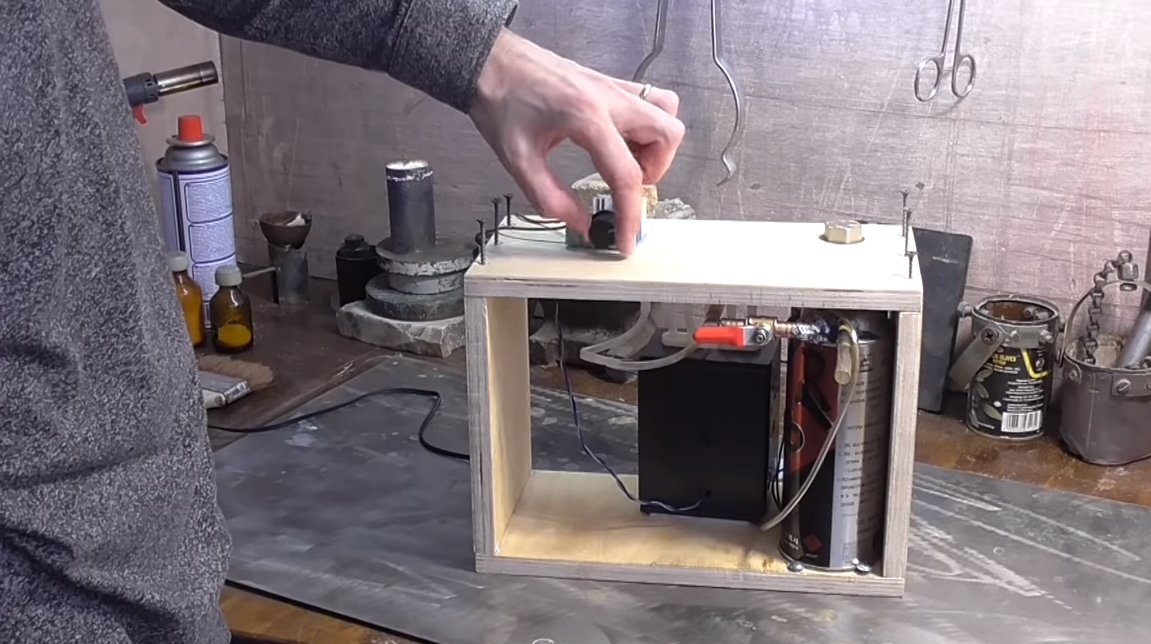
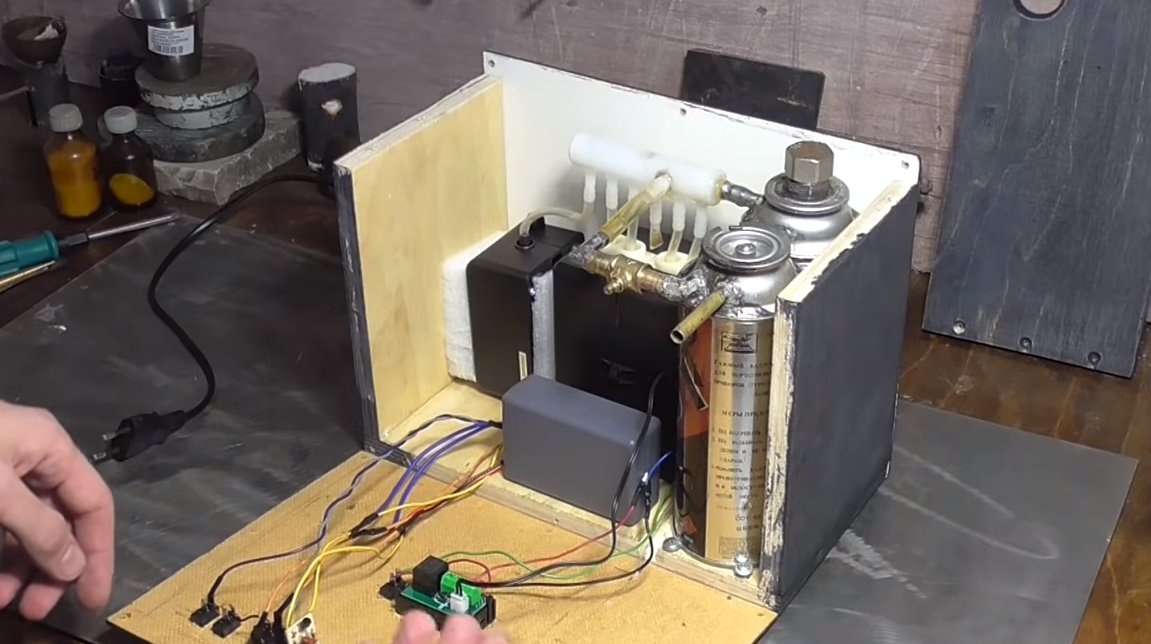
Step Two We collect the gas tank and receiver
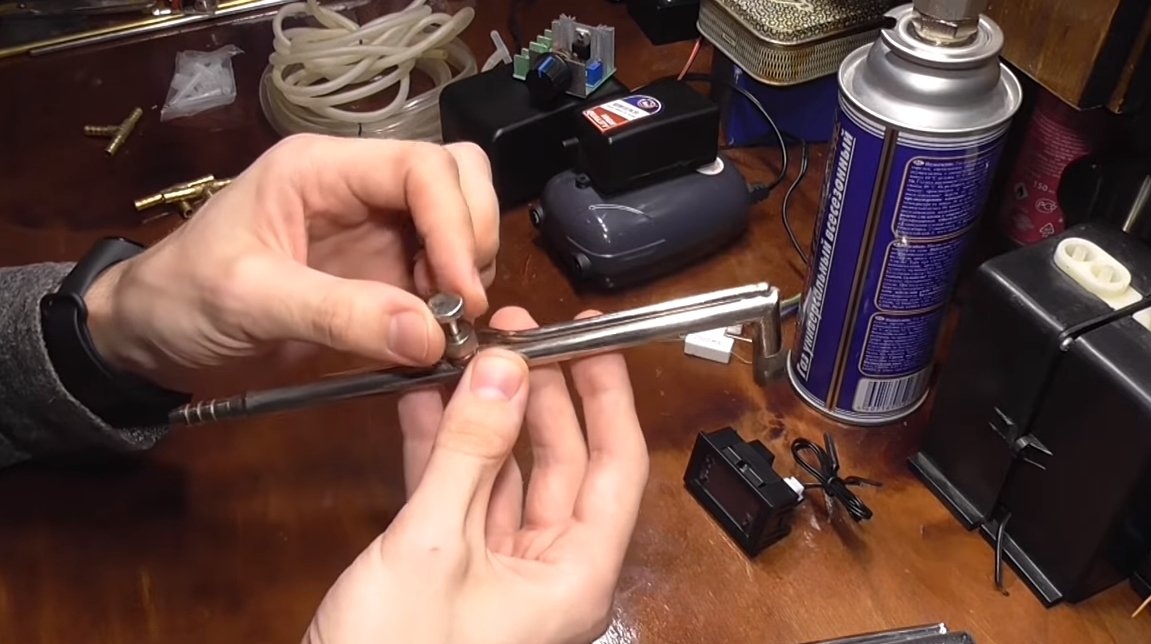
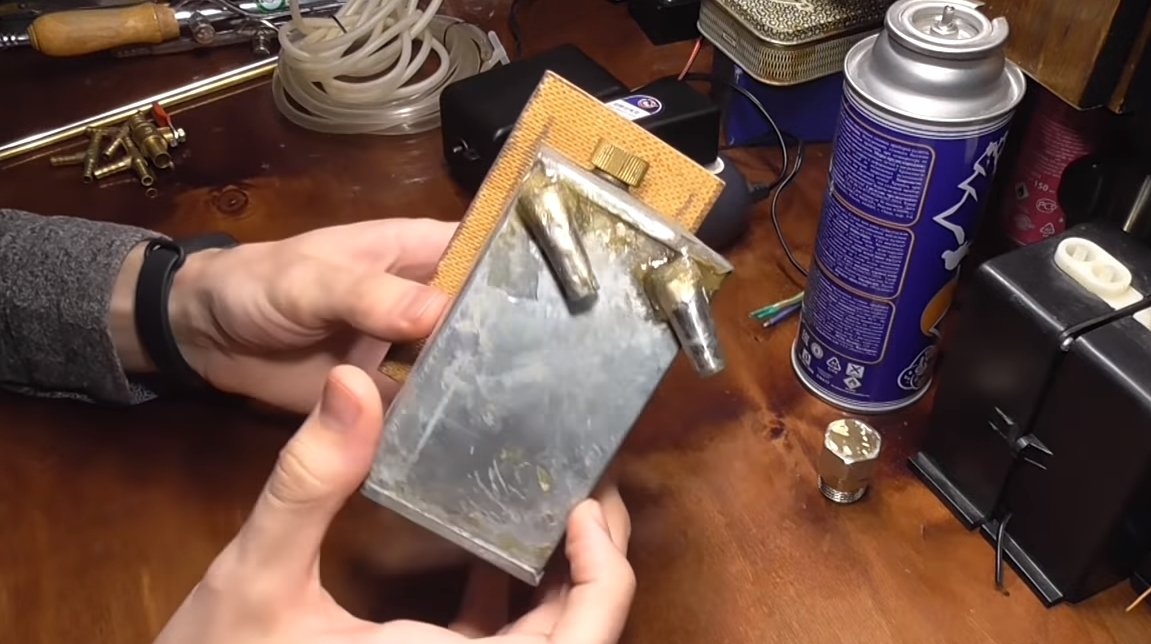
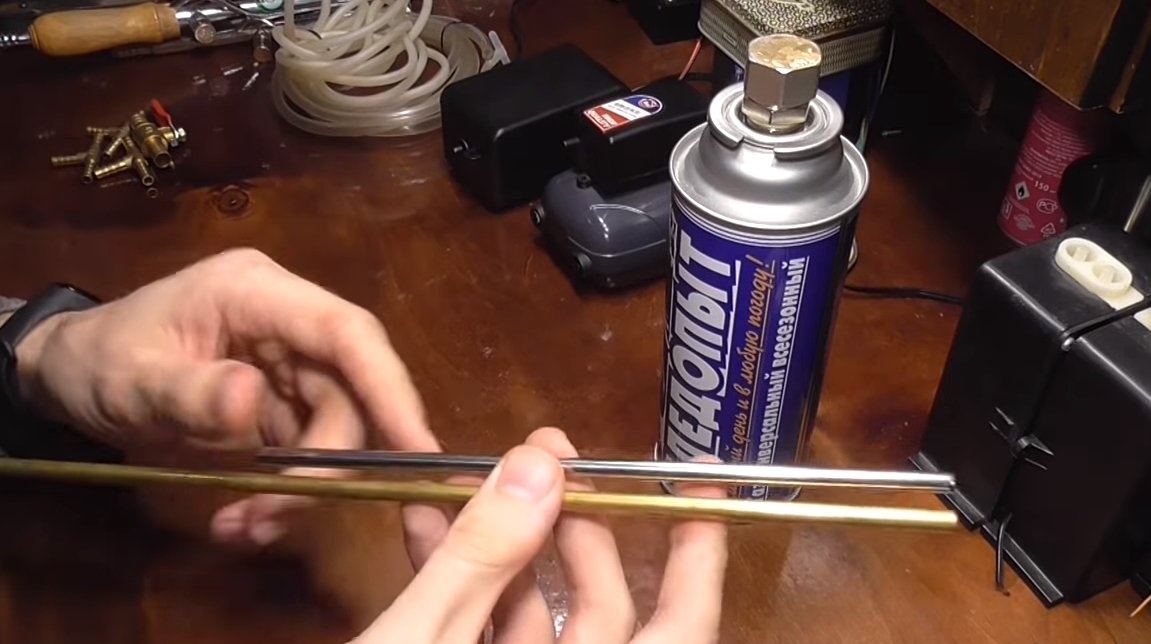
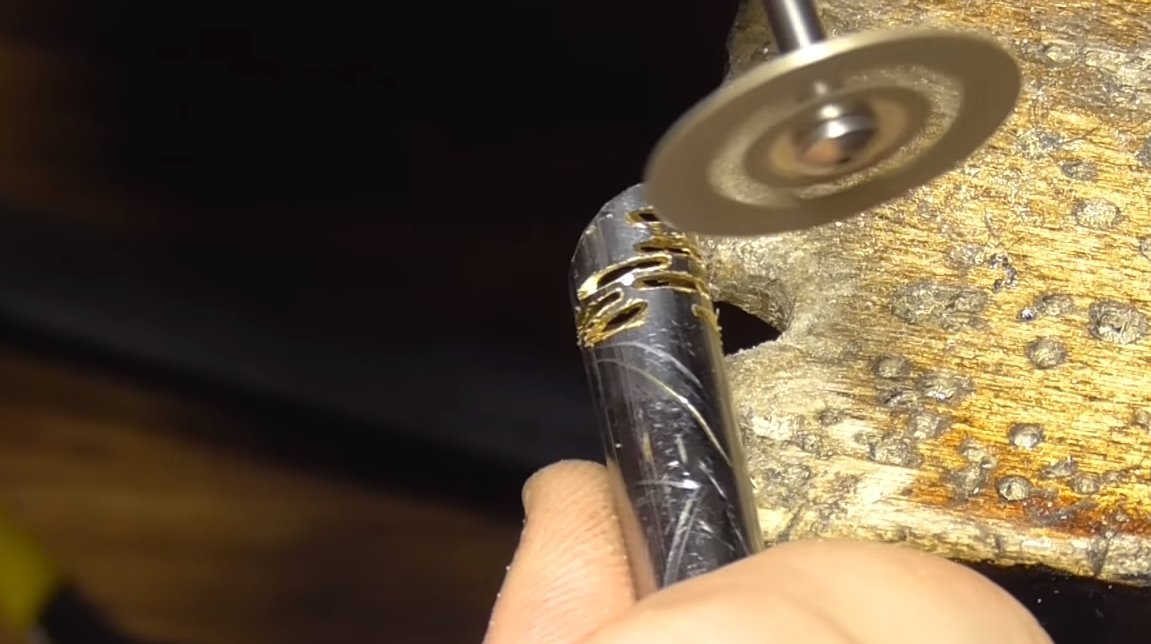
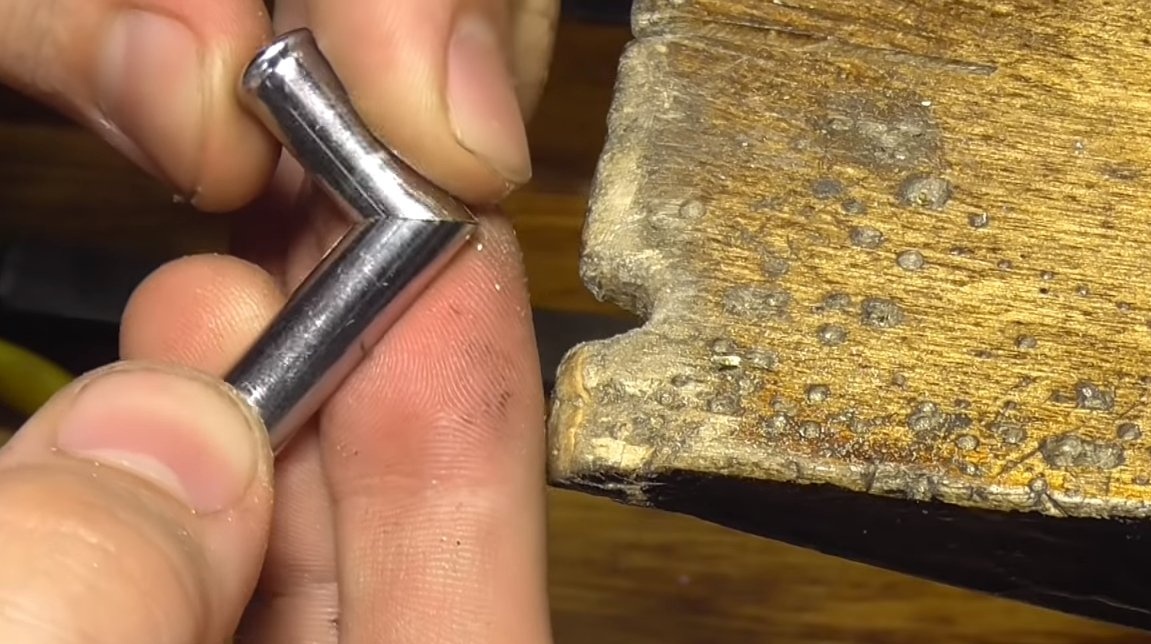
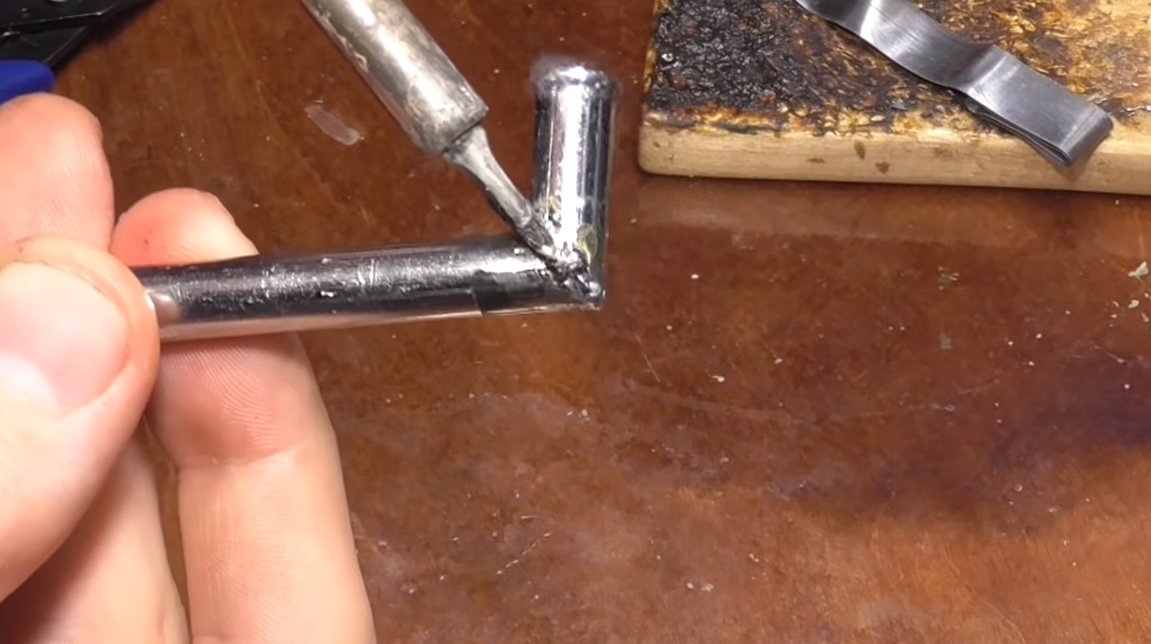
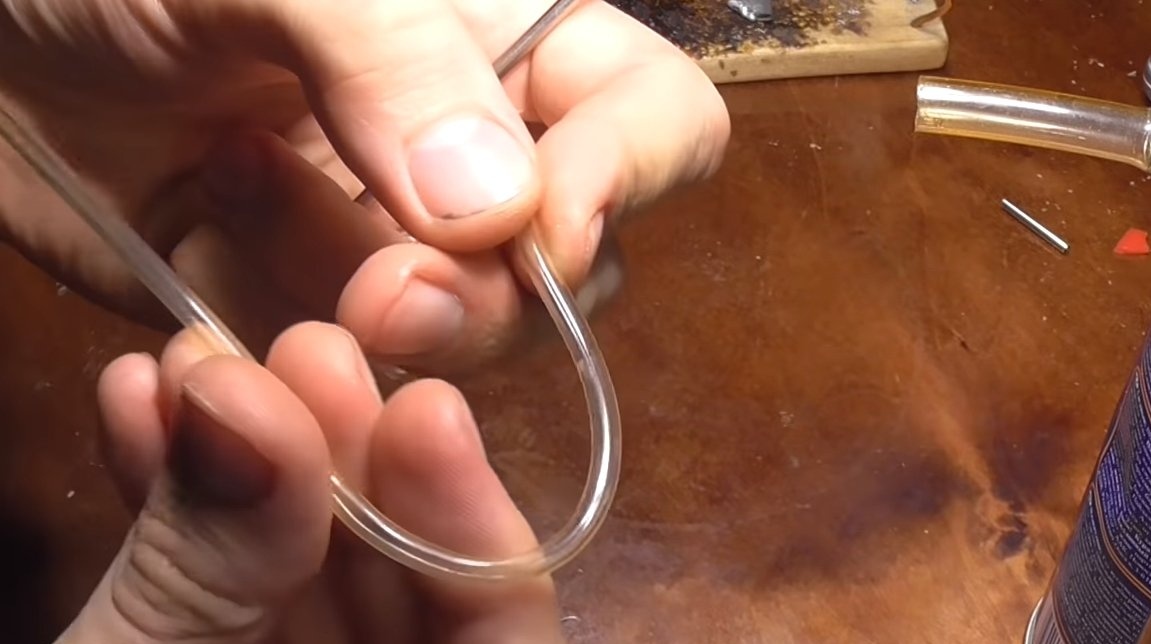
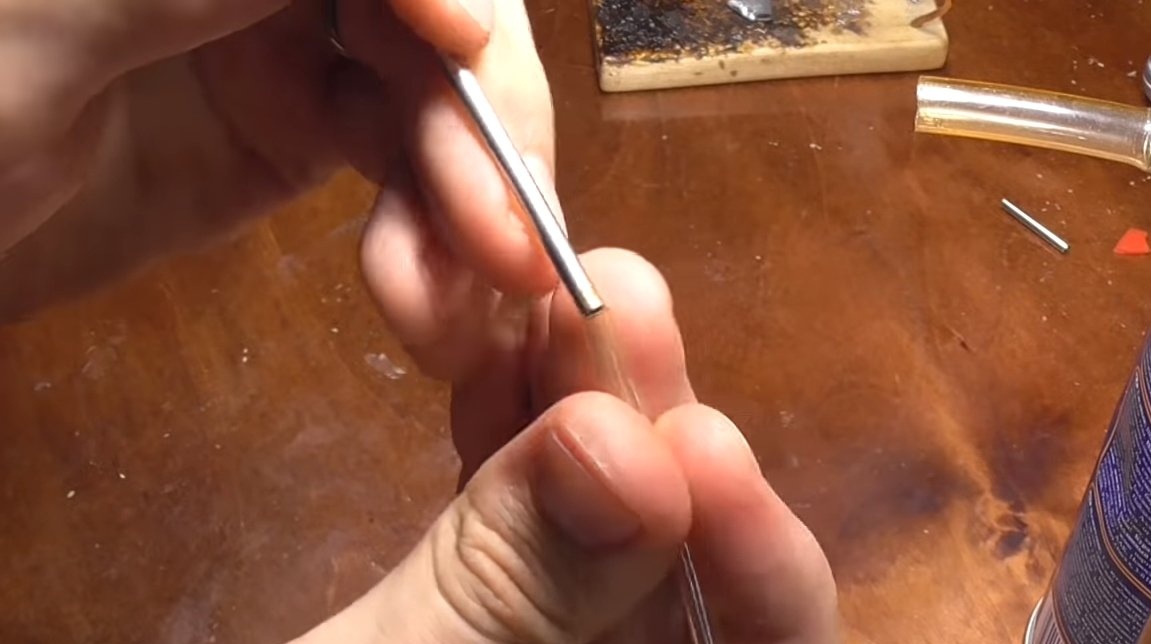
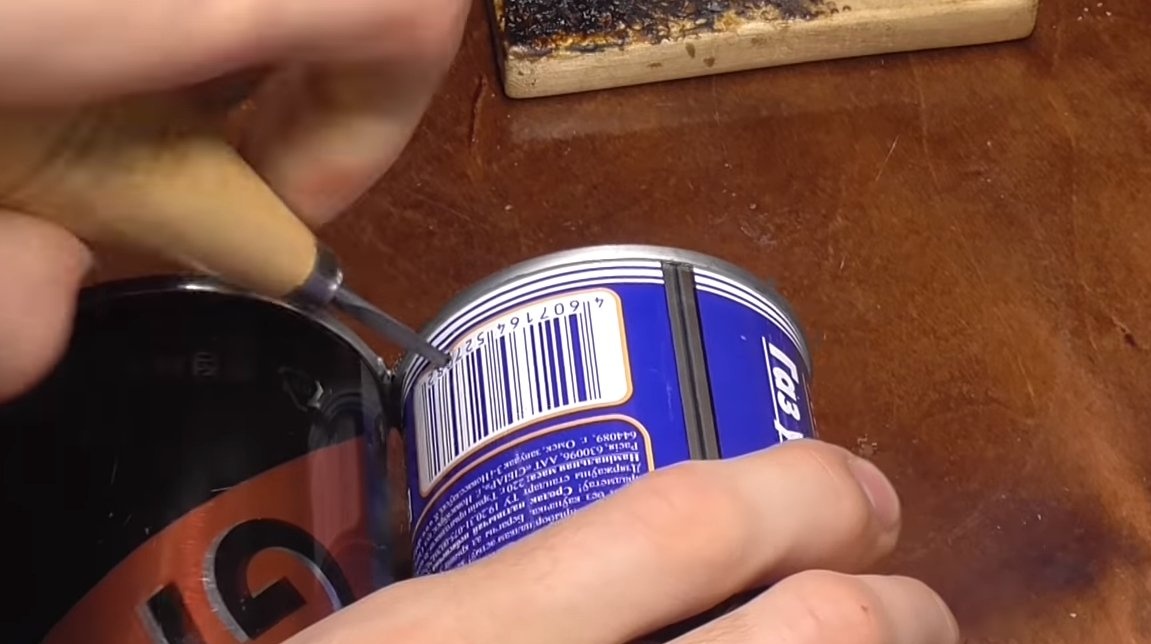
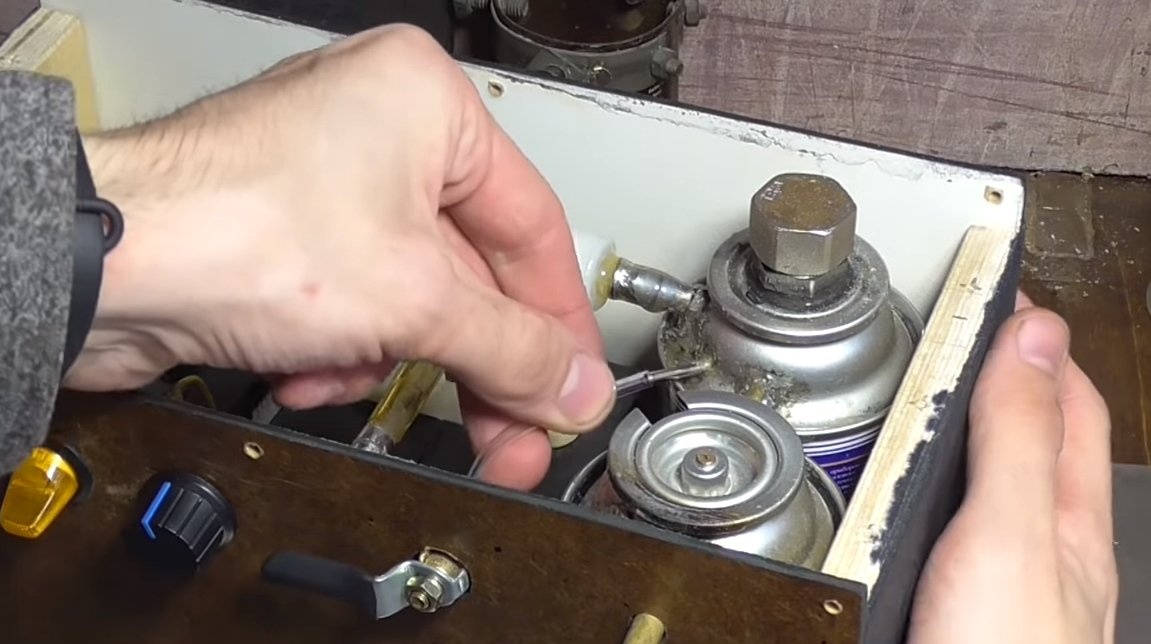
For homemade work you will need two paint cans or the like. One cylinder will be a gas tank and the other a receiver. First, prepare the necessary tubes that will be needed. We will need a long “G” -shaped pipe for the gas tank, this will be the inlet pipe. It can be made from an old antenna. Cut the tube and solder to the desired shape. At the end of the tube, you need to make slots, through them air bubbles will flow into gasoline.

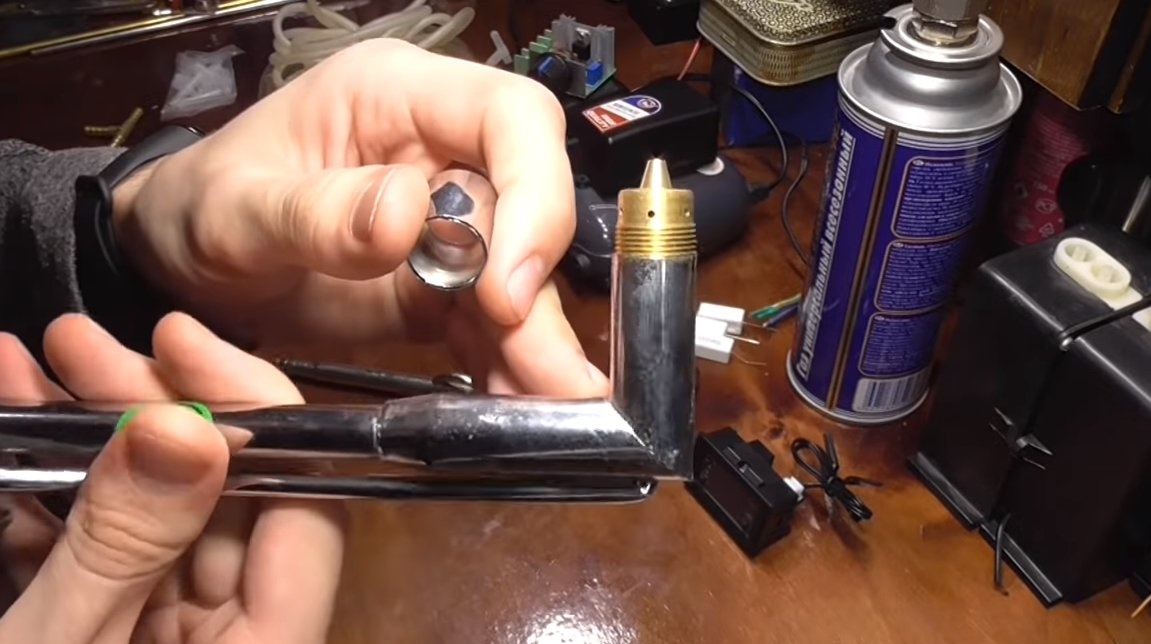

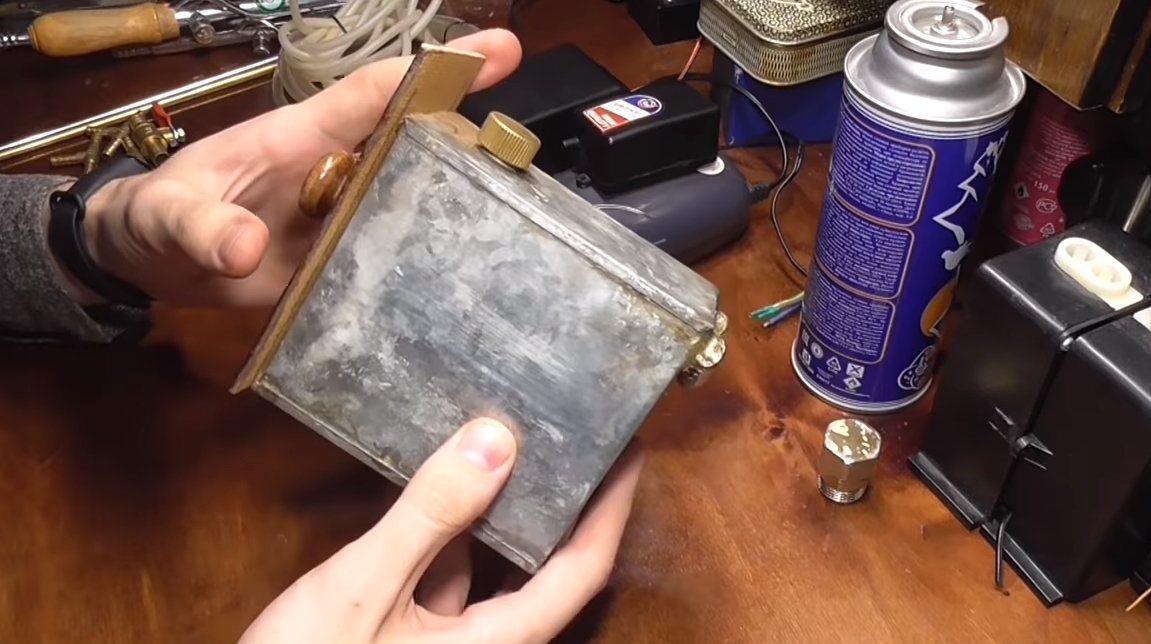
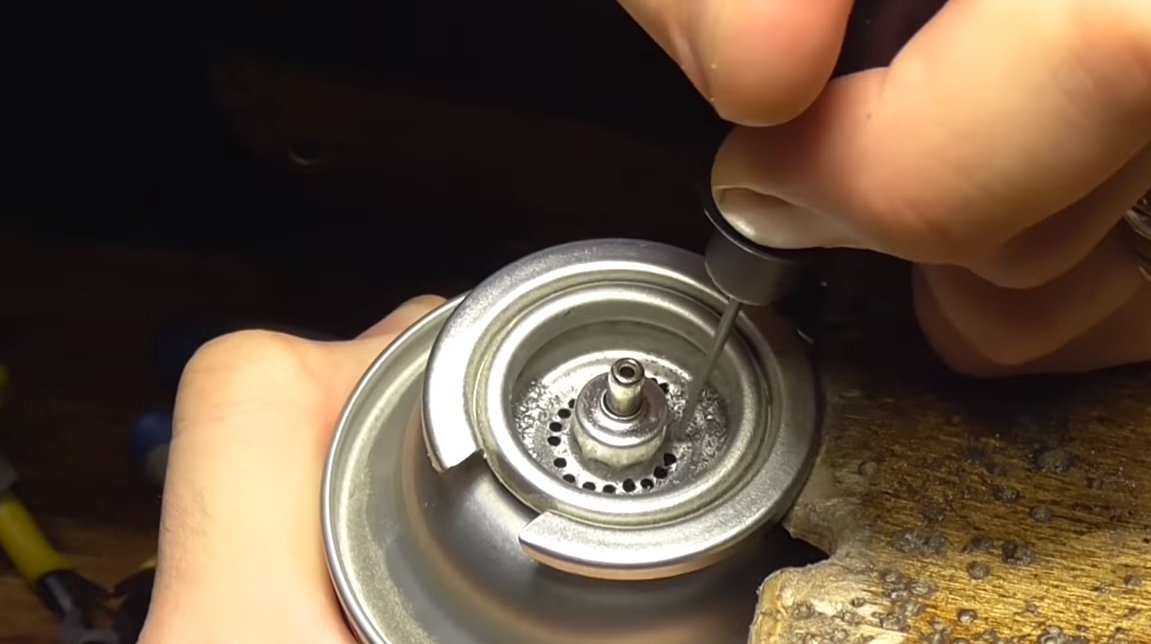
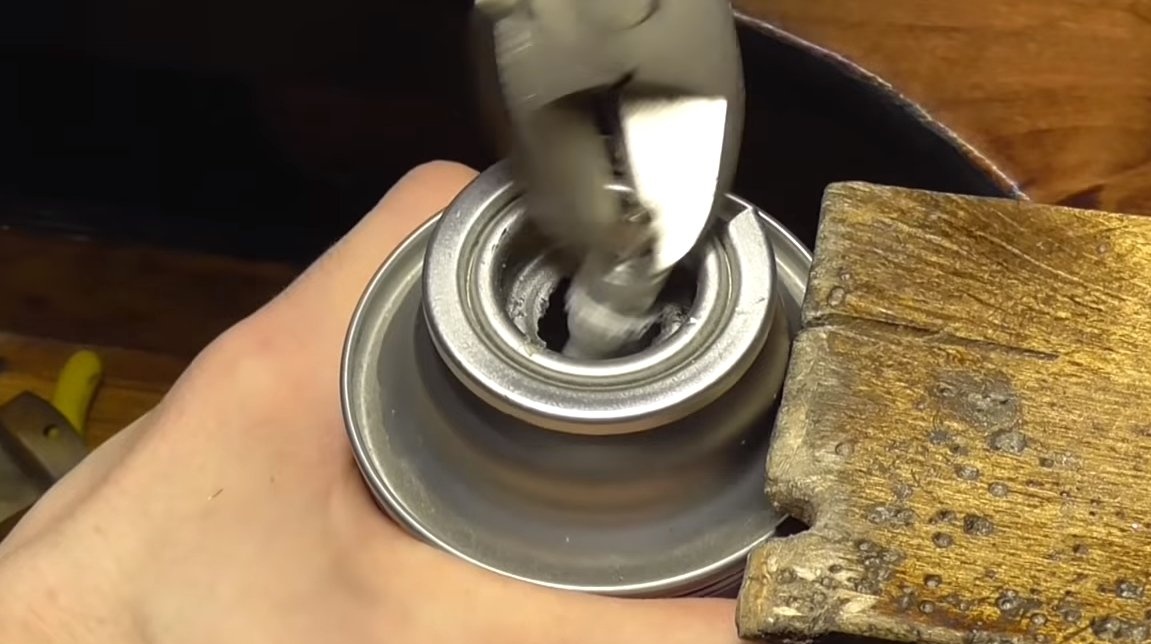
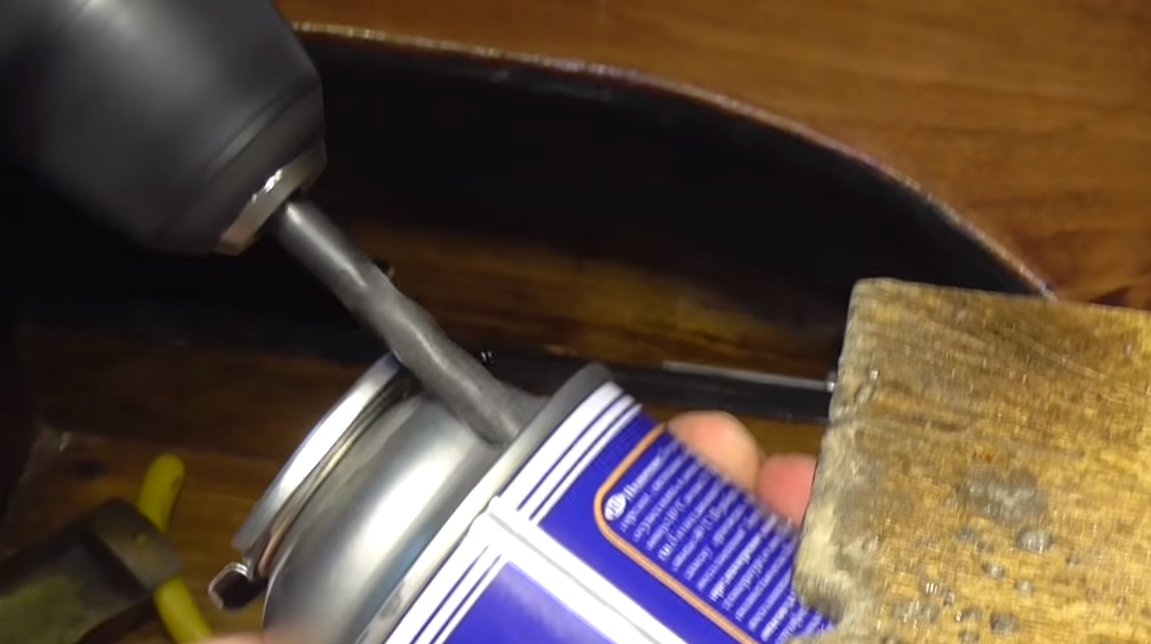
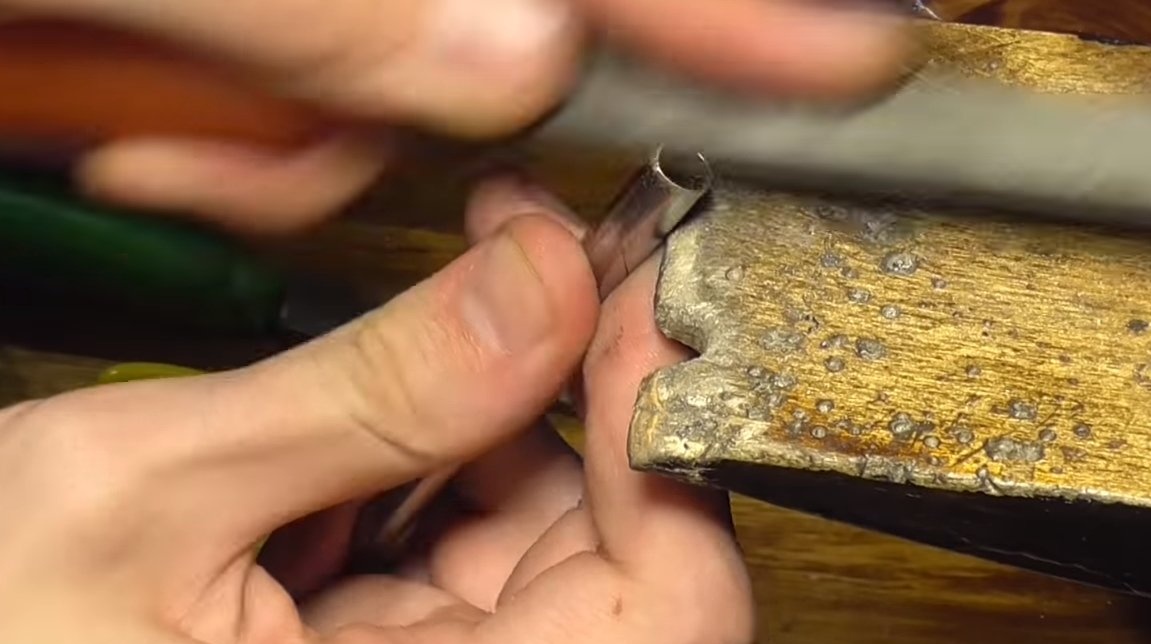
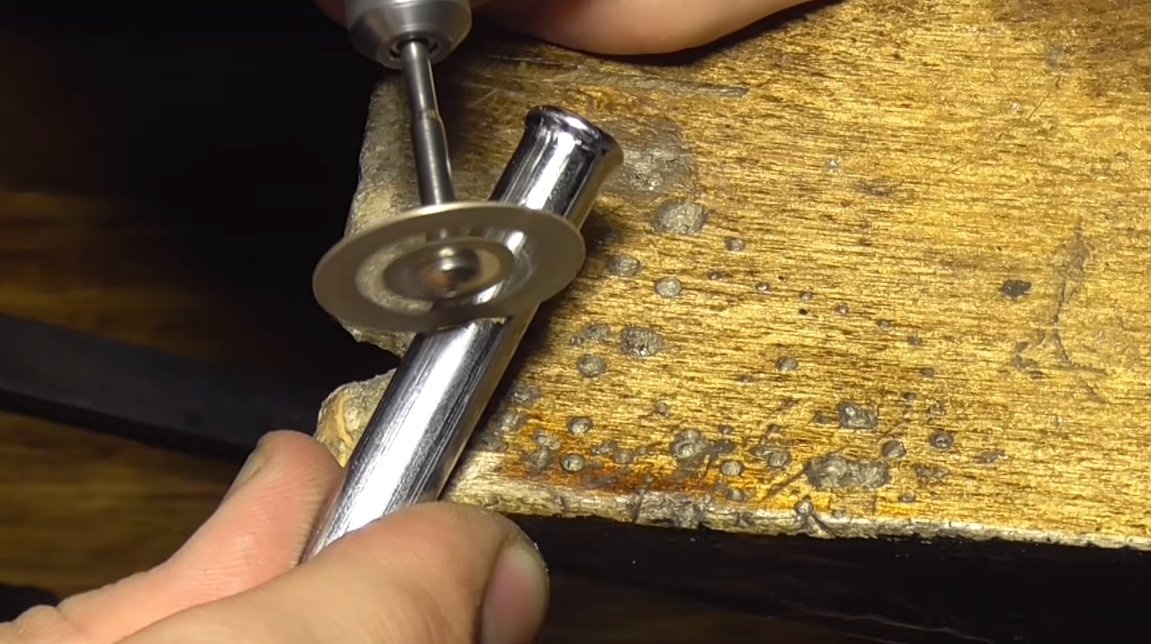
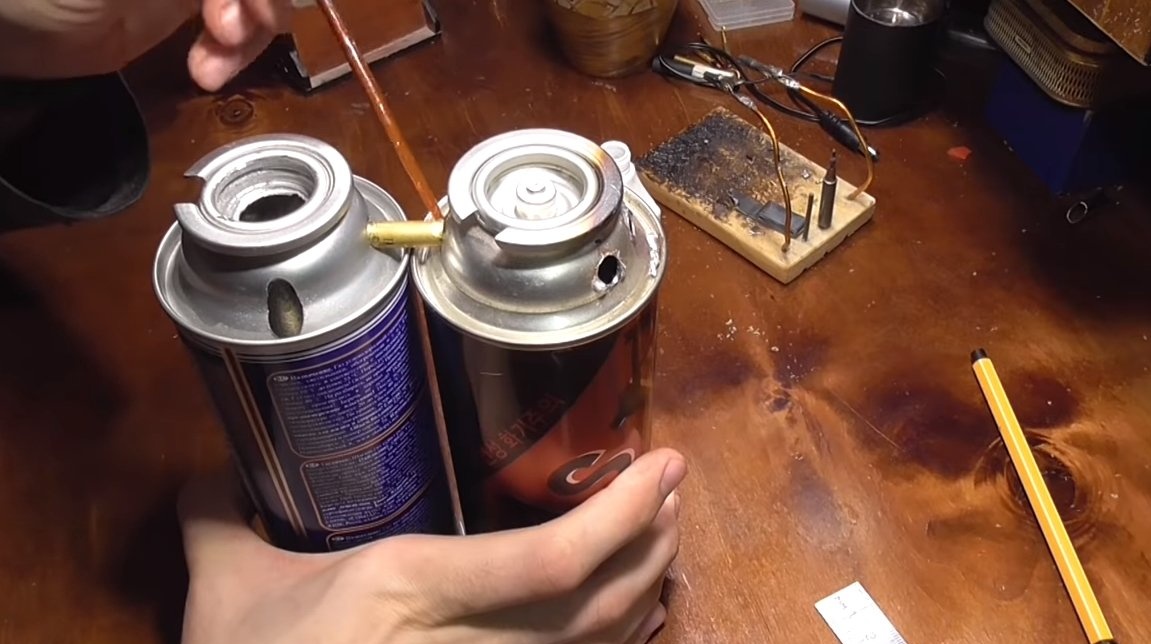

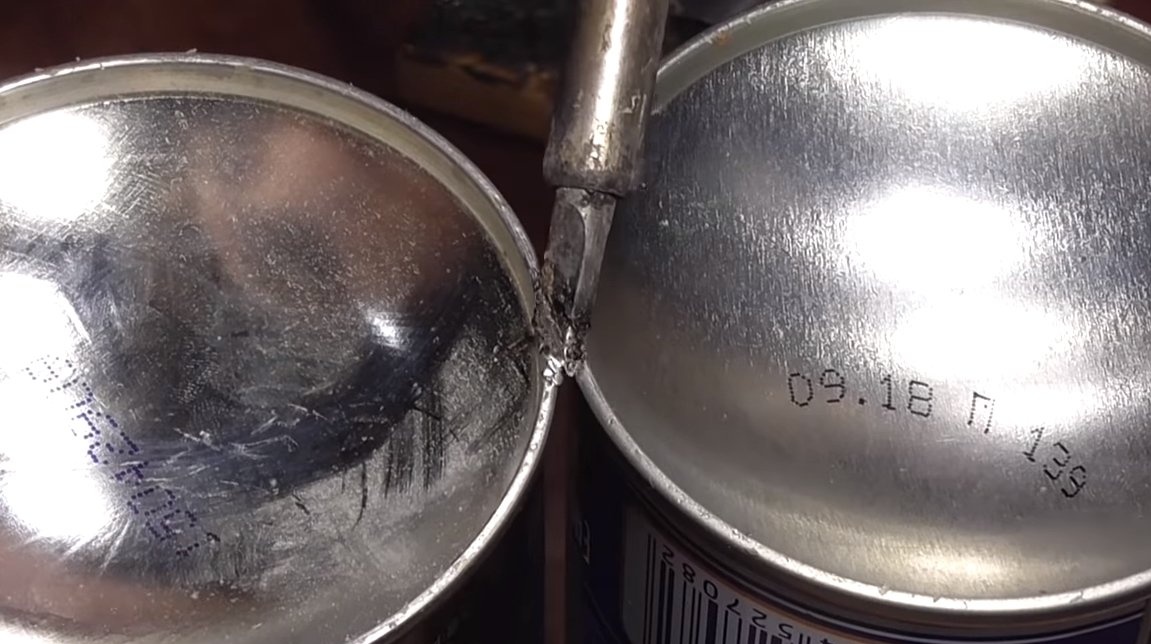
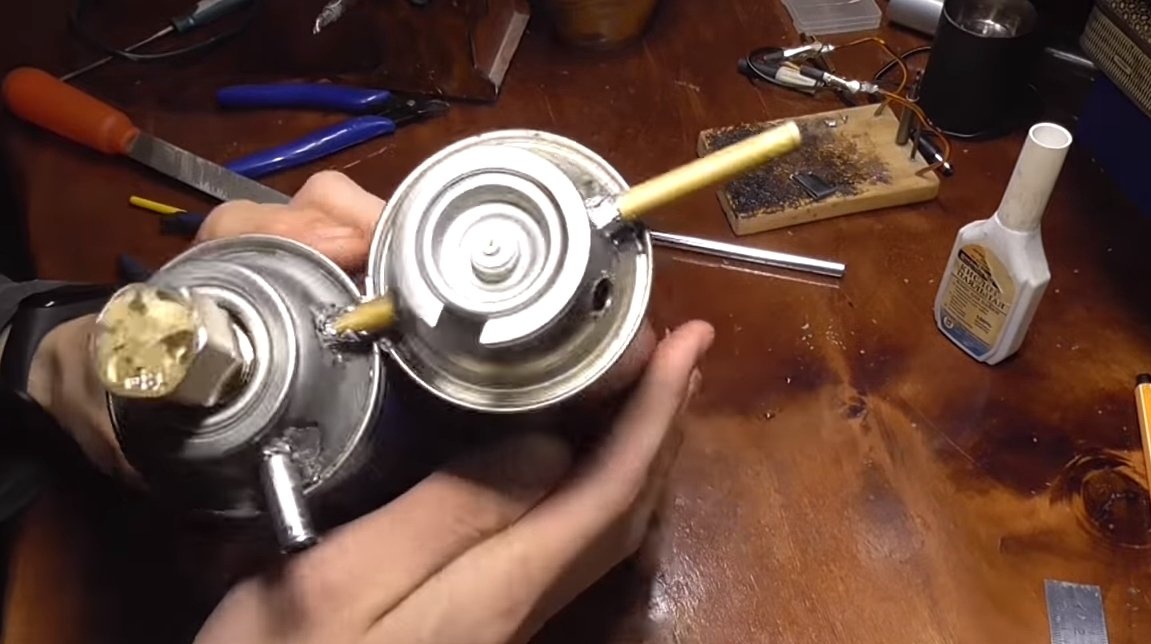
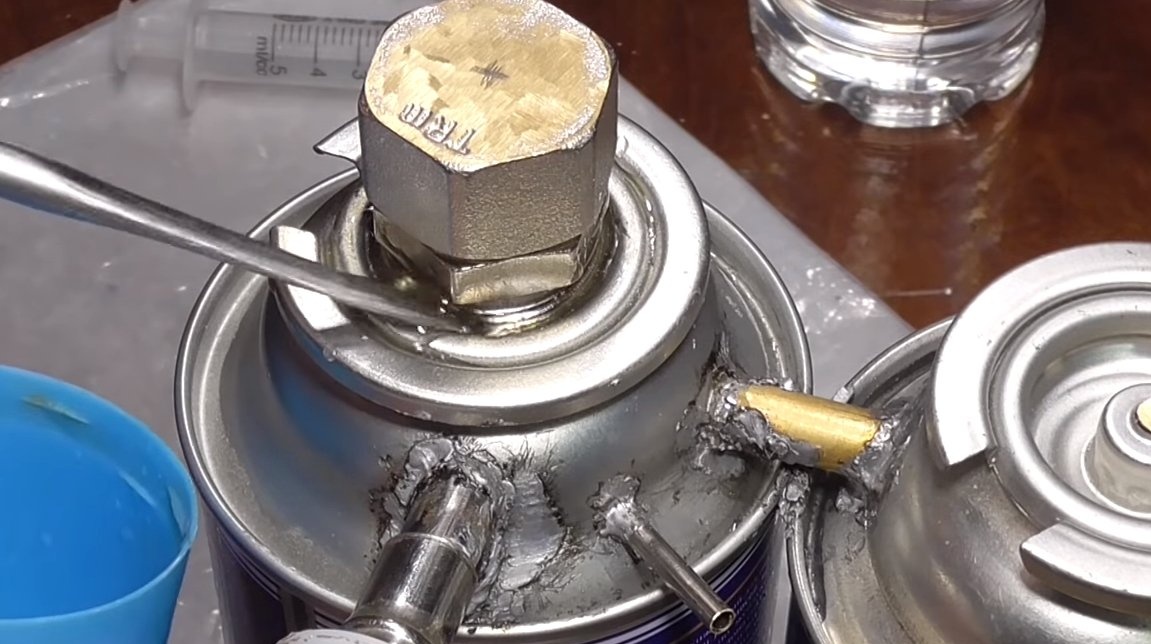
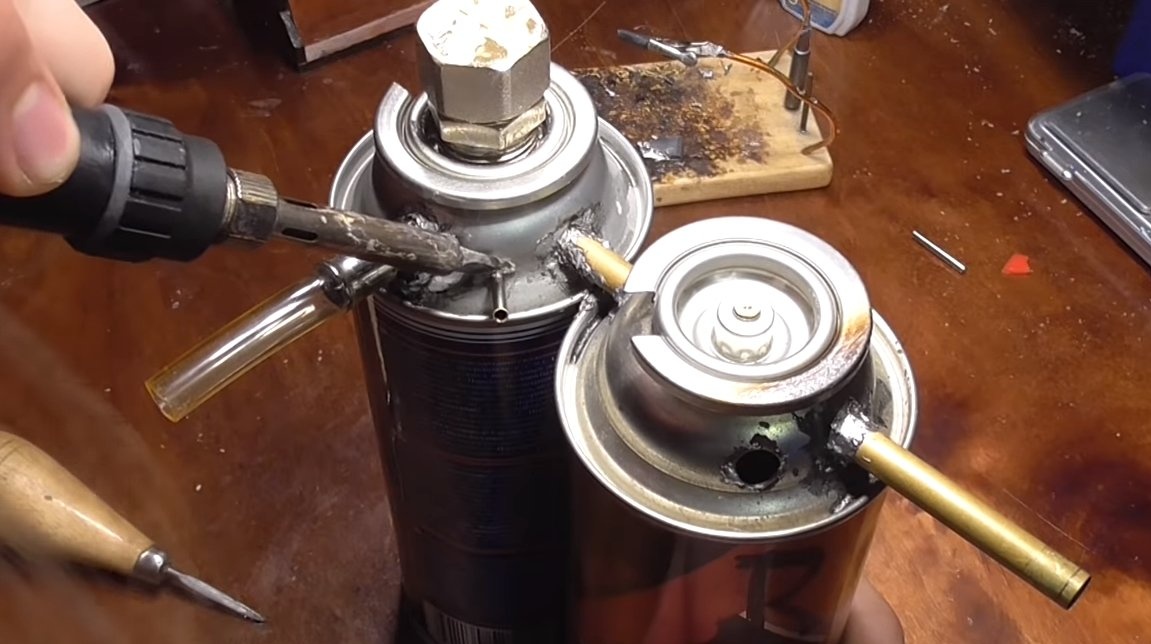
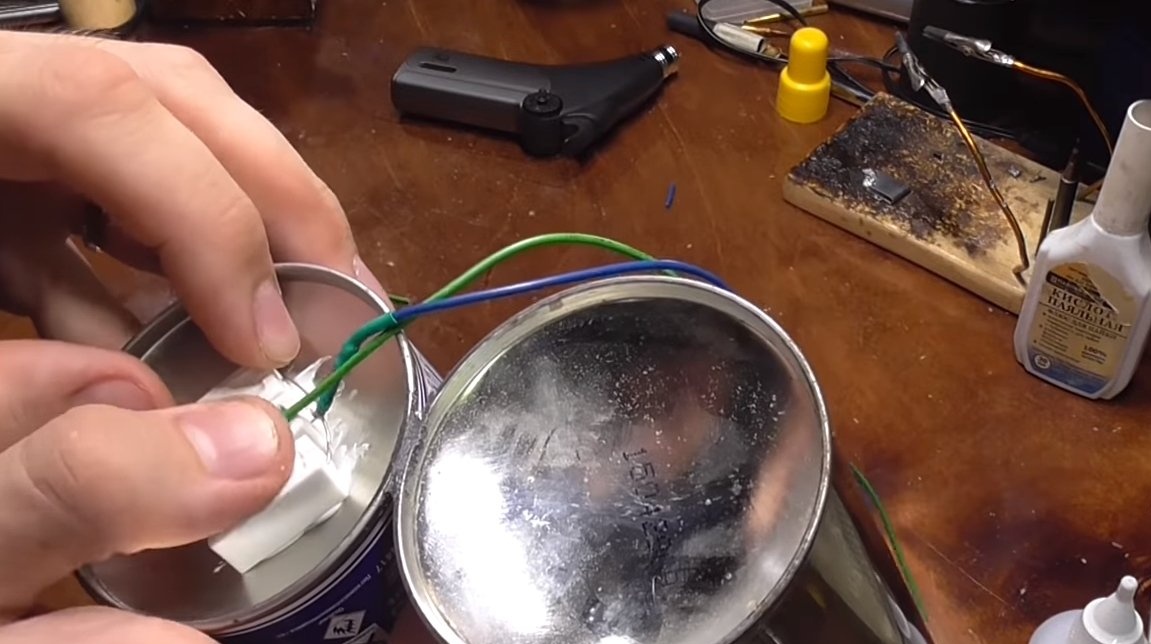
We solder the cylinders together at the base, and in the future gas tank we cut a hole under the neck.As the neck, you can use a plumbing fitting and another part. The cover must be airtight, for this we use a plug with a good gasket. We solder the fitting well in its place and coat the soldering place with epoxy glue for sealing.
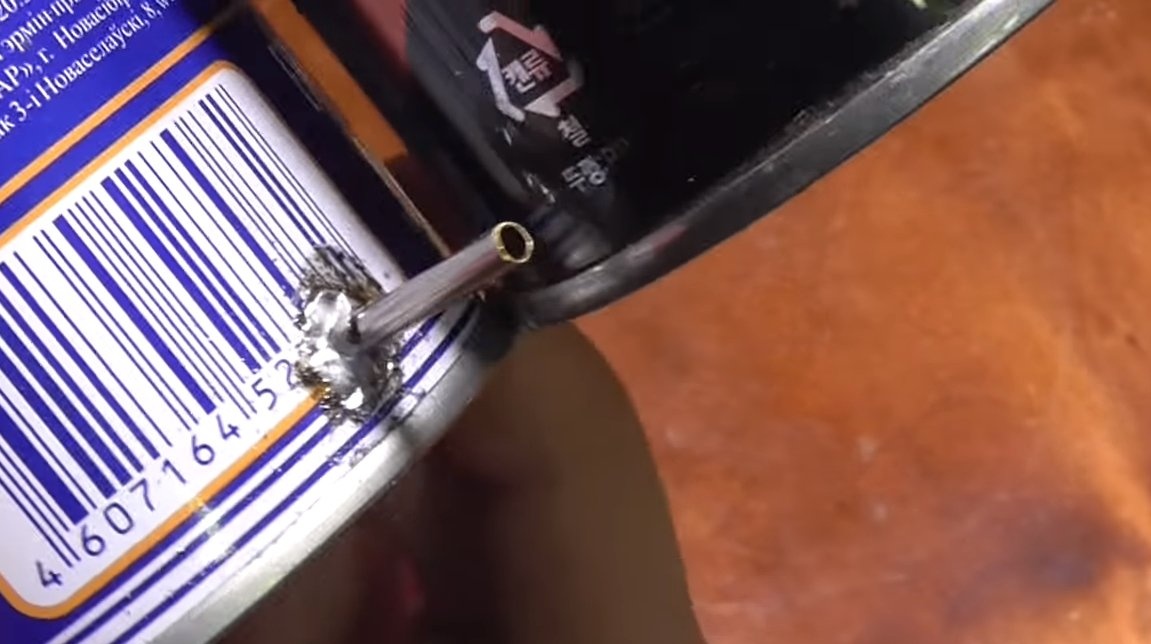
Solder the tube between the cylinders, and also solder the outgoing tube of the receiver. In addition, the receiver has another hole, the output of the control tap is soldered here. It is necessary to solder the tap reliably, since we will have to put pressure on it when using it. At the end, the author smeared all the soldering spots with epoxy glue.
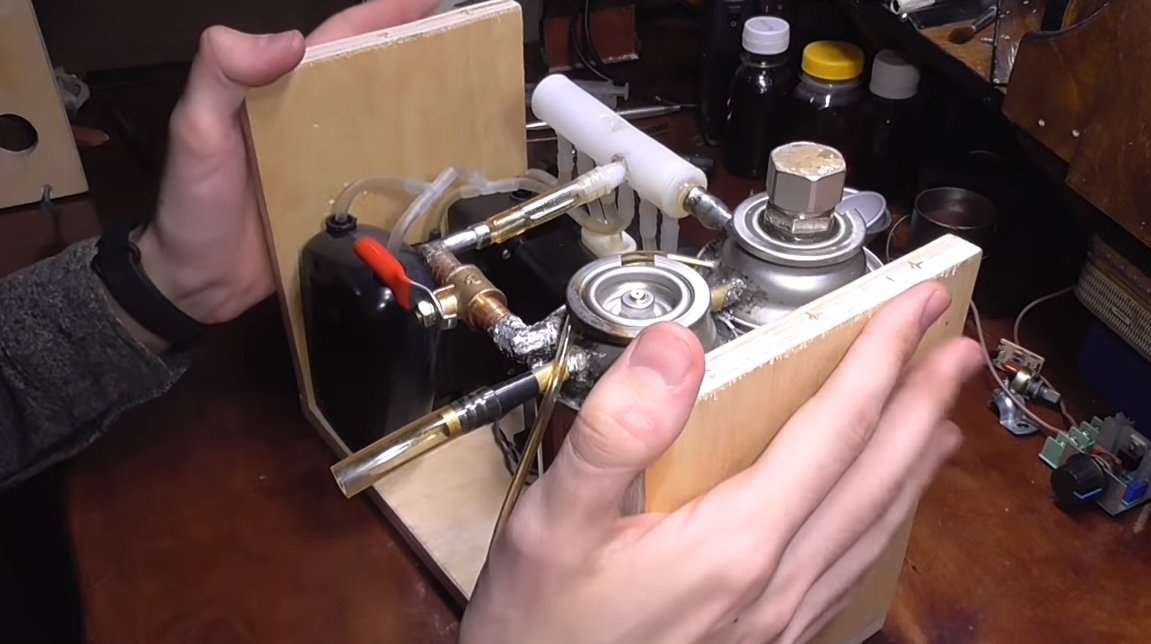
Step Three Fuel level
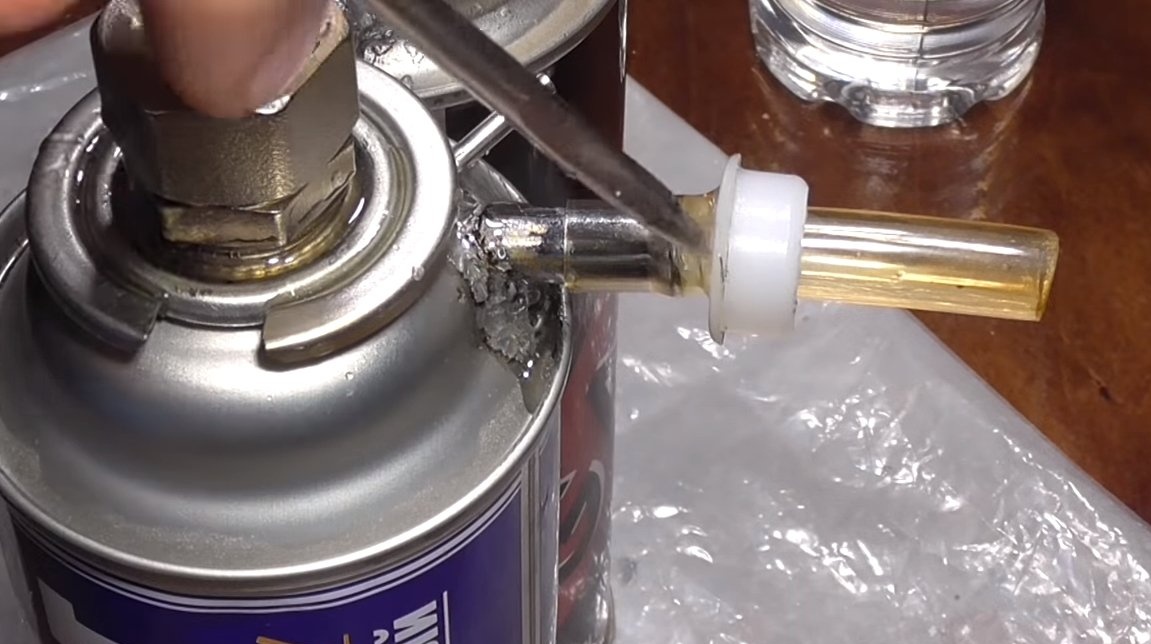
It is useful to equip a homemade product with a fuel level indicator. So it will be convenient to monitor the amount of gasoline left, and you can protect yourself from excess overflow. For such purposes, we need a tube from a dropper, as well as an iron rod from a pen. Solder everything so that a communicating vessel is obtained.
Step Four Heating
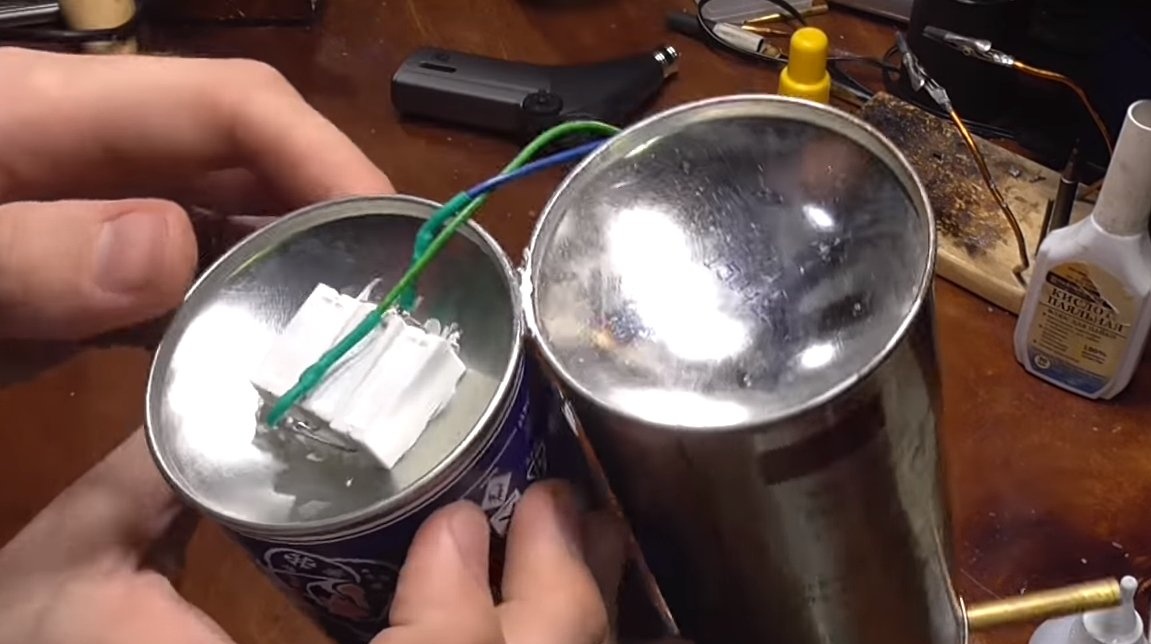
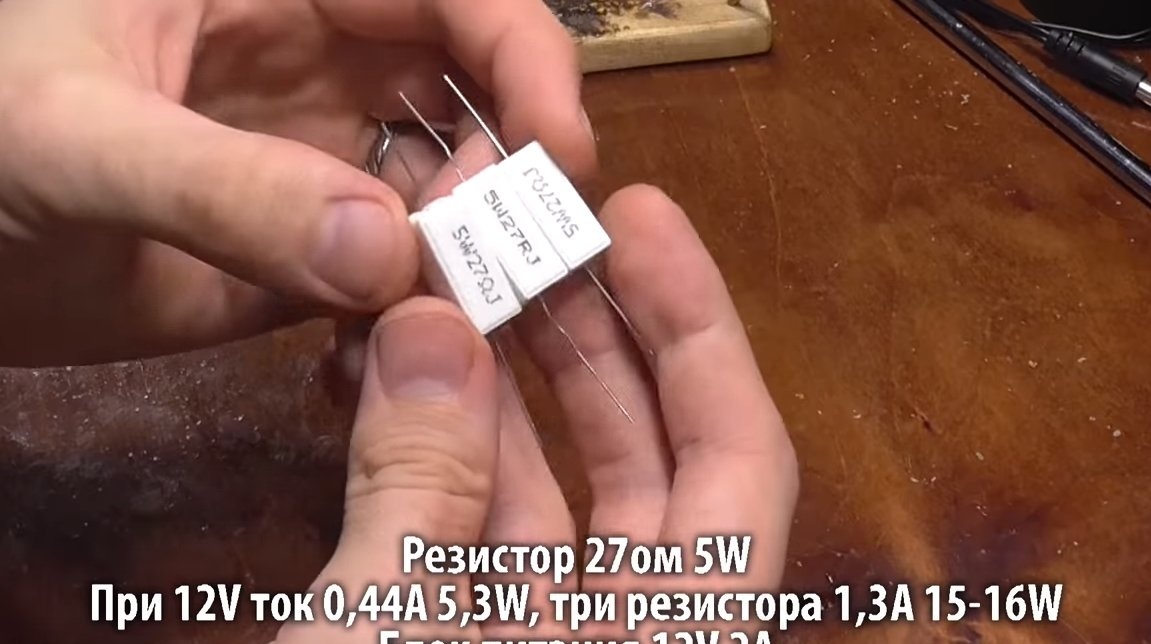
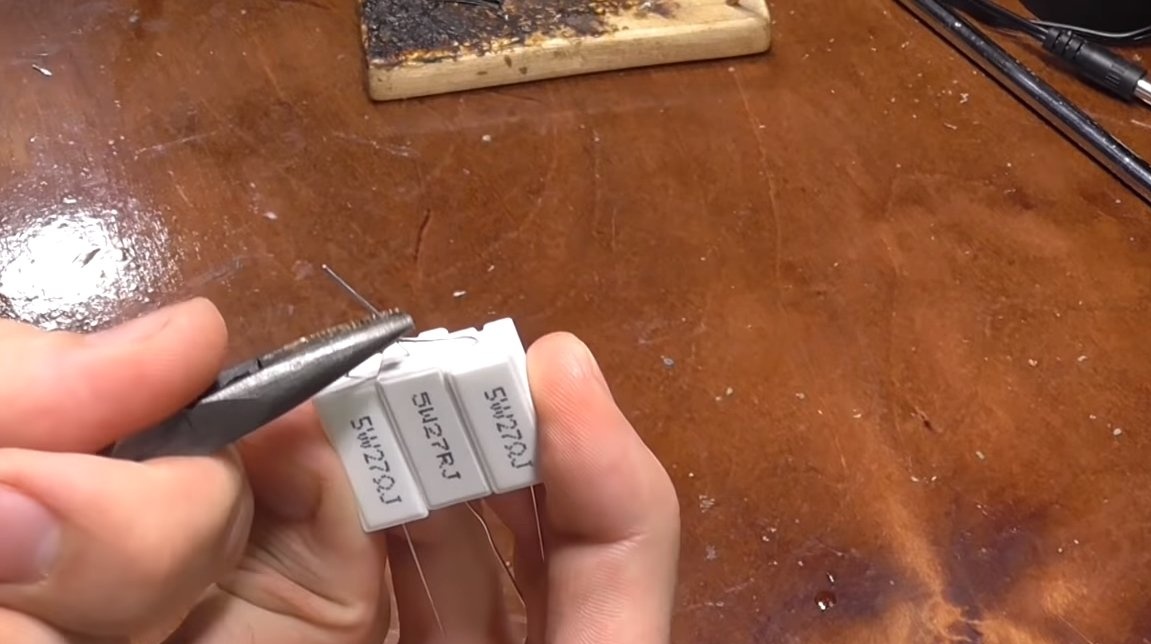
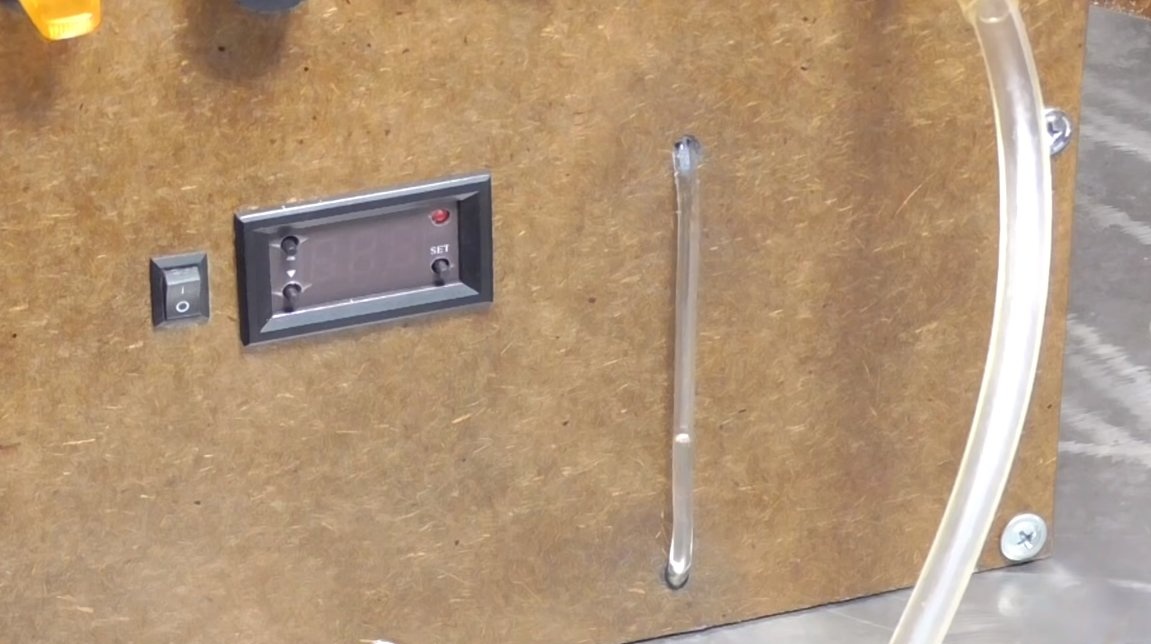
When the gas tank evaporates, the gas will cool very much, with time it will become so cold that the gas will stop evaporating and the device will not be able to work. The gas tank must be heated, for such purposes we need 3 resistors of 27 ohms, 5W. When a 12V voltage of 2A is applied to them, they will start to warm up and will heat up the tank. Of course, we also need a temperature controller, it will allow us to maintain the desired temperature in a given range.
We solder the resistors and attach to the base of the gas tank. Despite the supply of electricity, the entire structure is safe; gasoline vapors will not ignite even in the event of a short circuit. The author conducted several experiments, trying to set fire to gasoline with electricity.

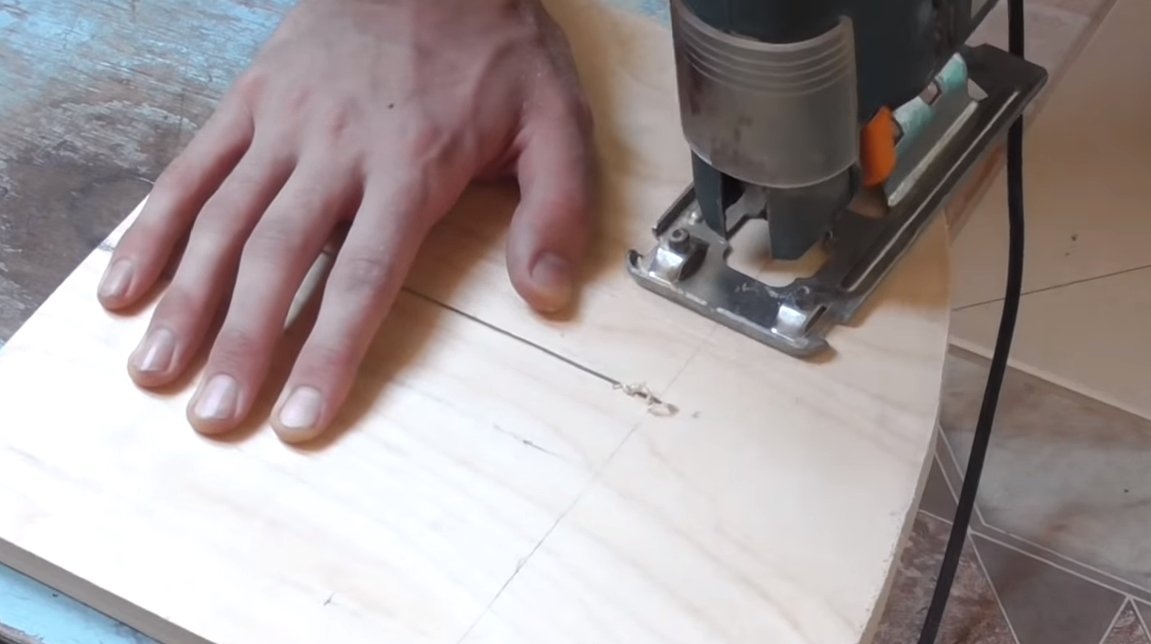
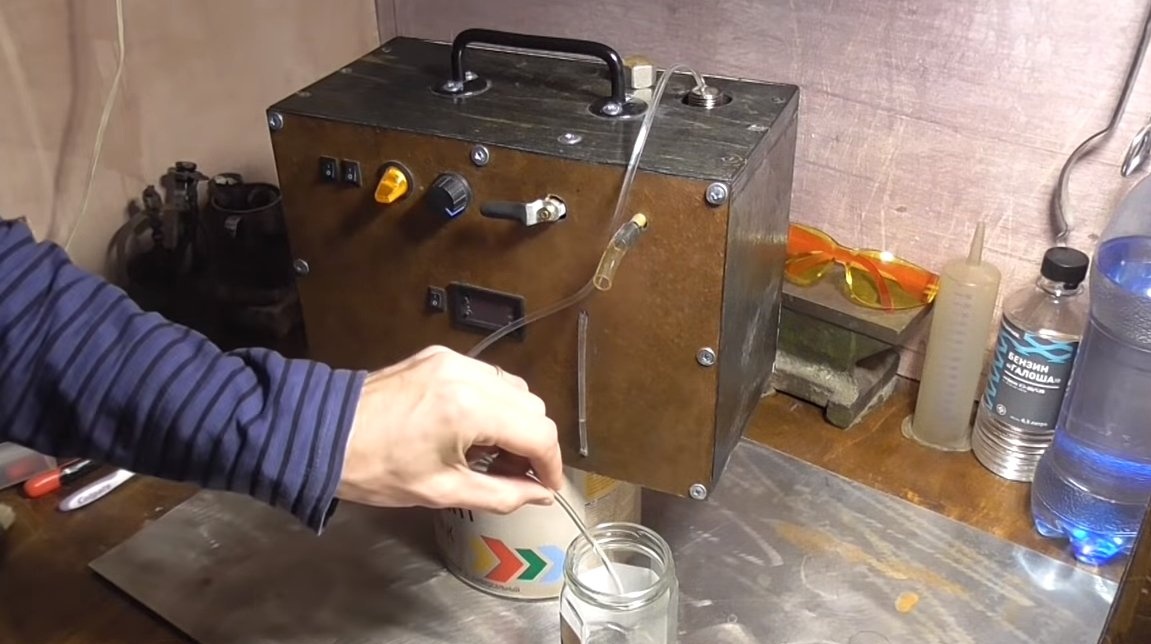
Step Five Case and test
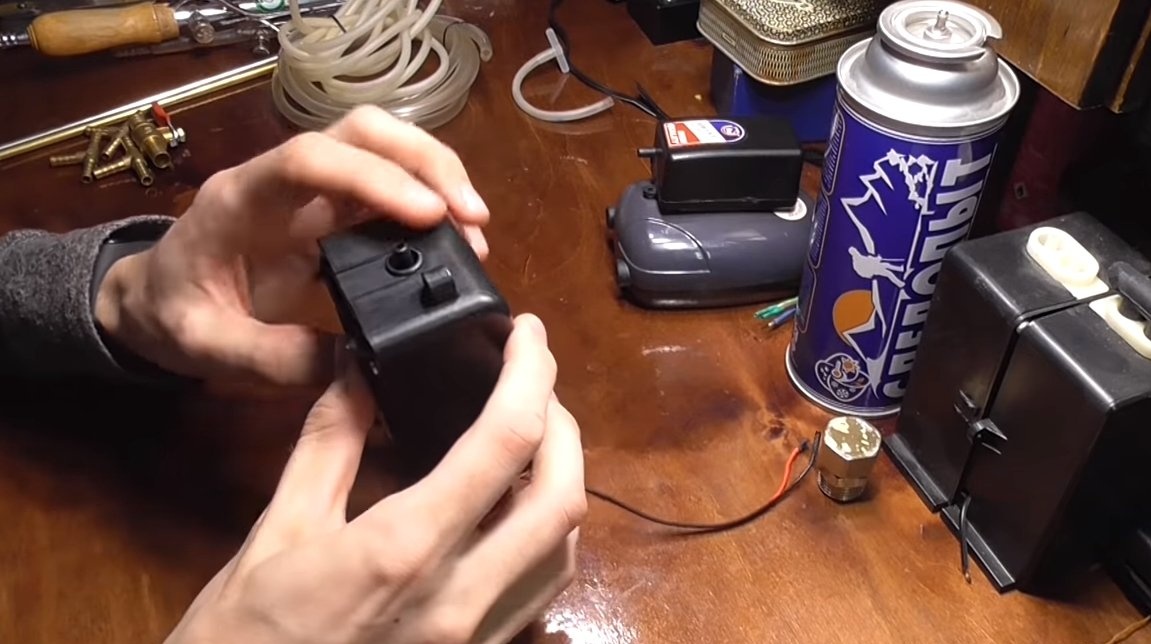
We assemble the case, here we need plywood, reliably fasten all the components to the base. You need to connect a dimmer to the compressors, which will allow you to additionally adjust the volume of the supplied air.
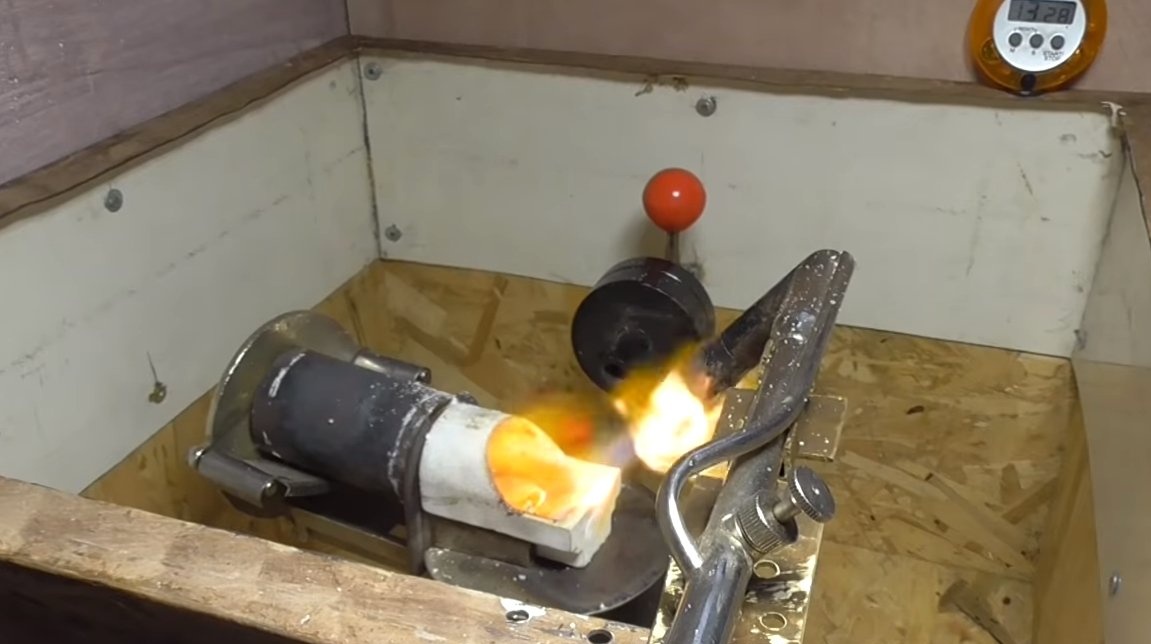
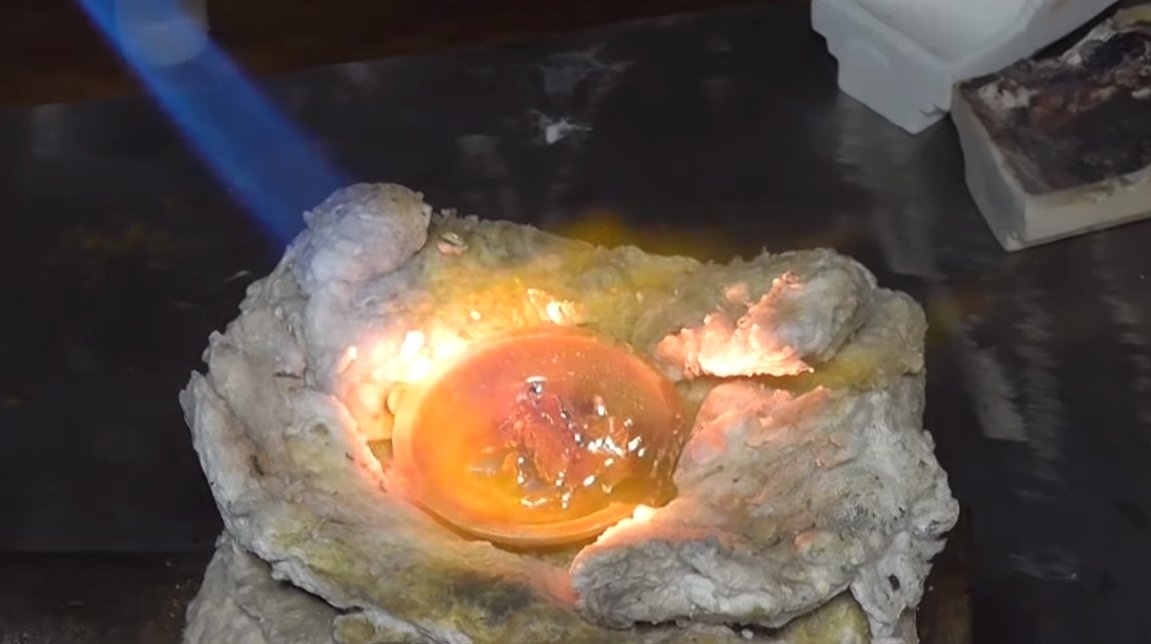
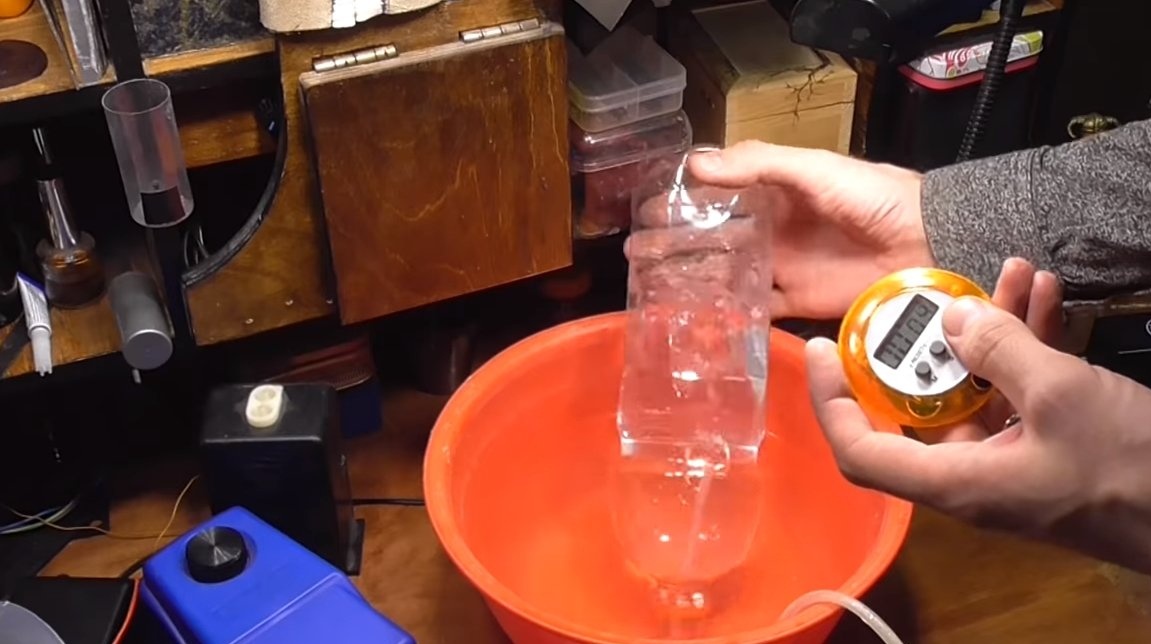
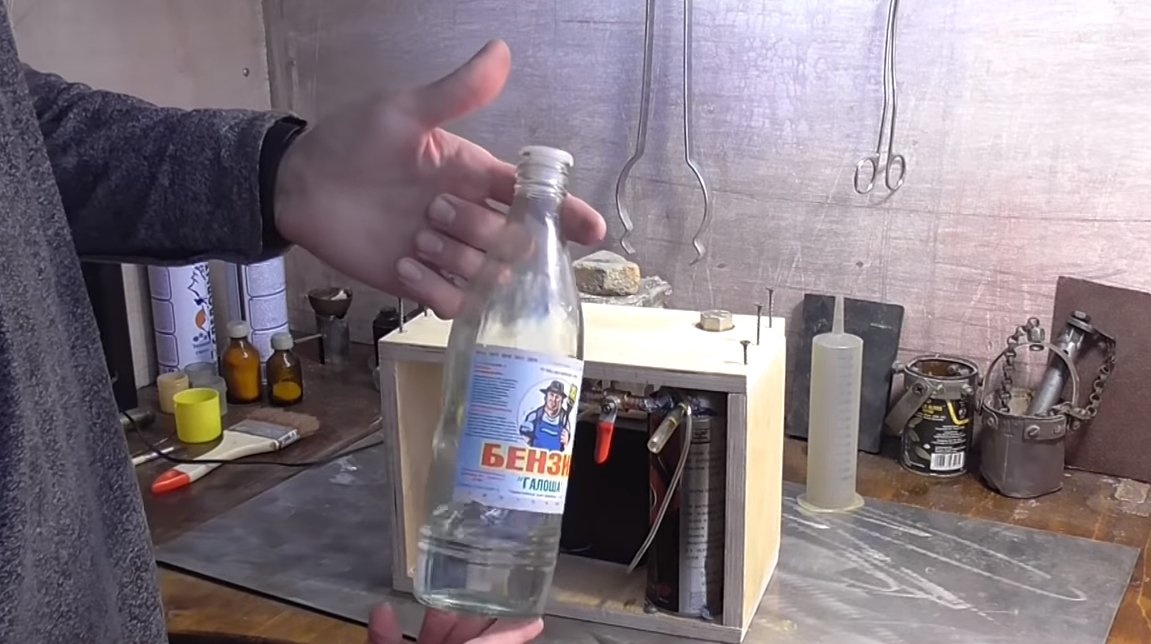
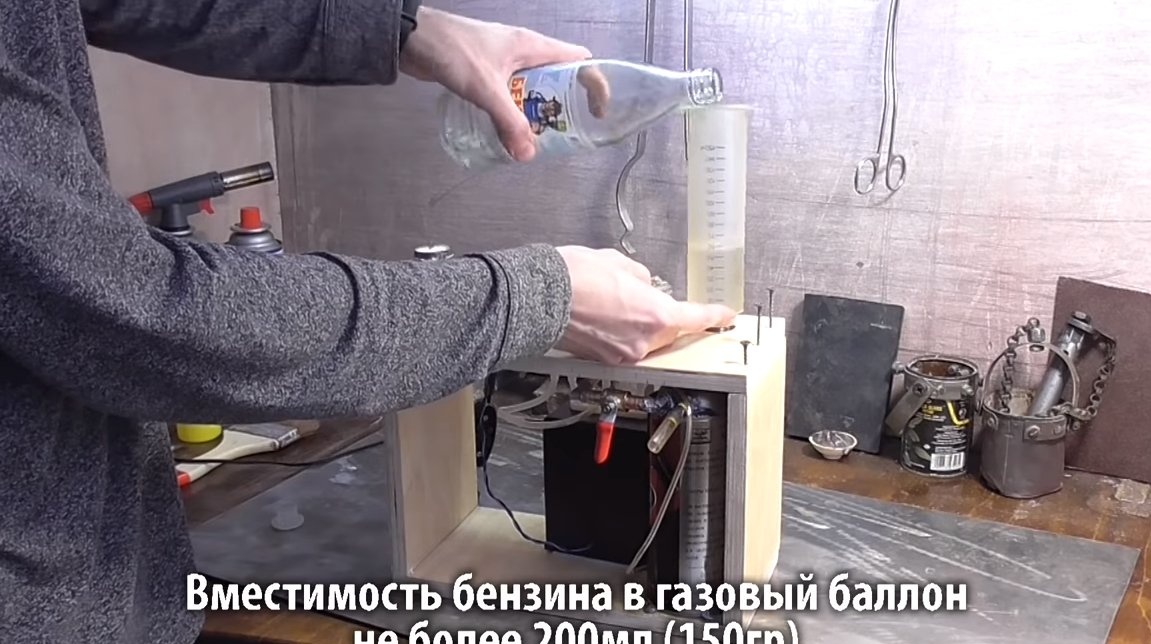
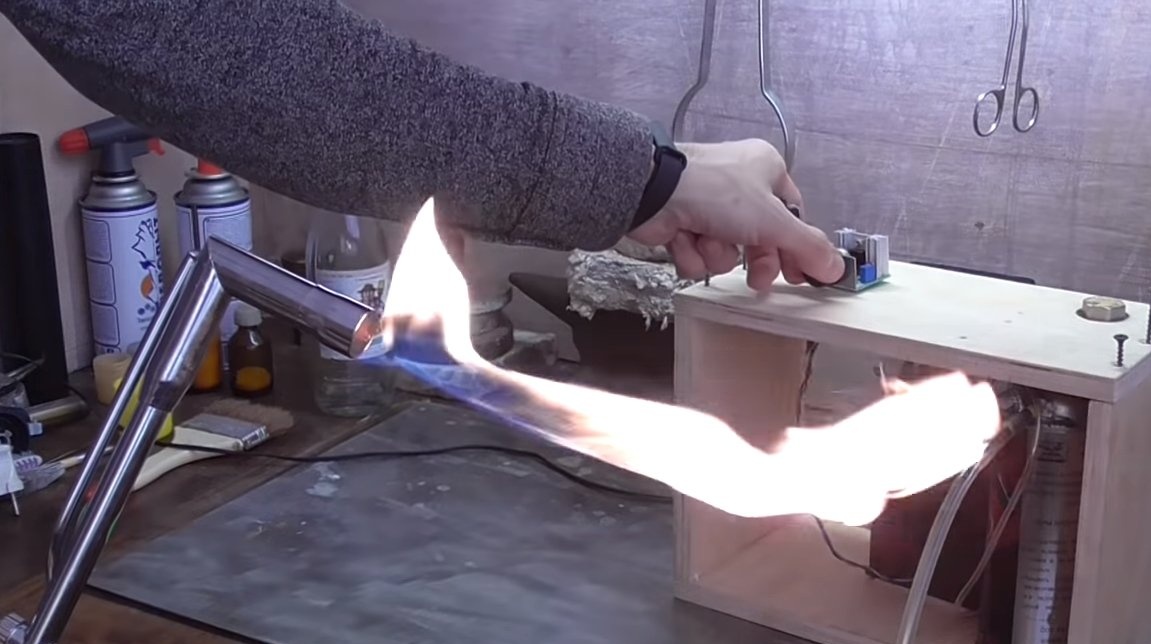
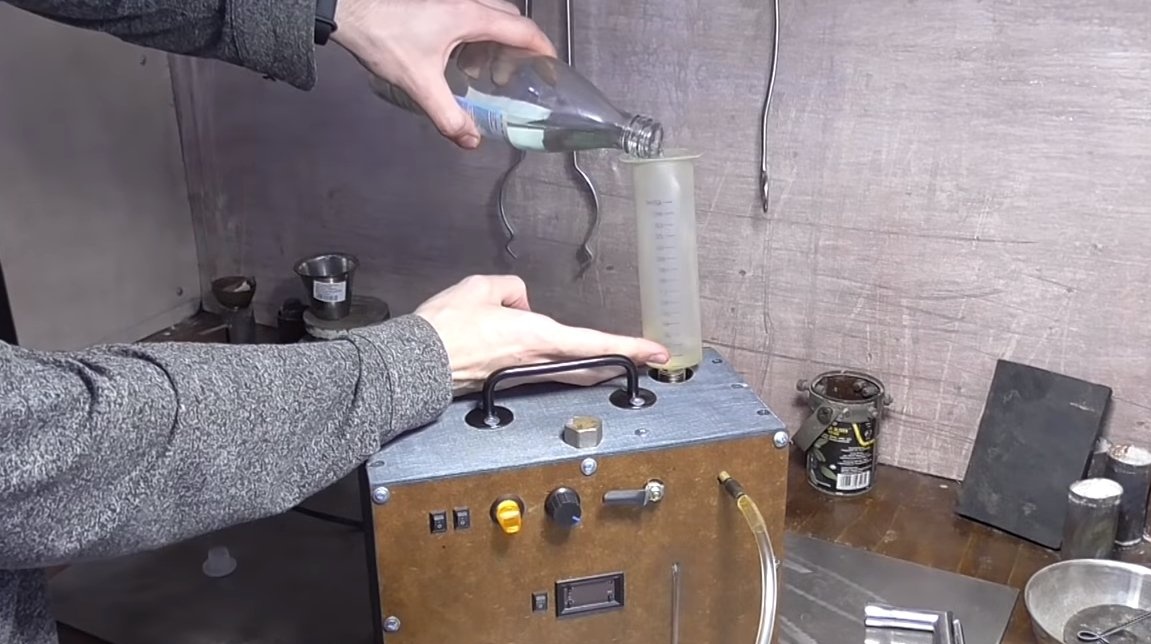
Fill Galosha gasoline into the gas tank, close the lid well and try to start the car. The author’s torch first turned out to be large, but the combustion temperature is low. The highest combustion temperature is reached when the torch is buzzing. We expose the correct mixture and here we get a narrow blue flame that perfectly melts aluminum.

Step Six Final assembly
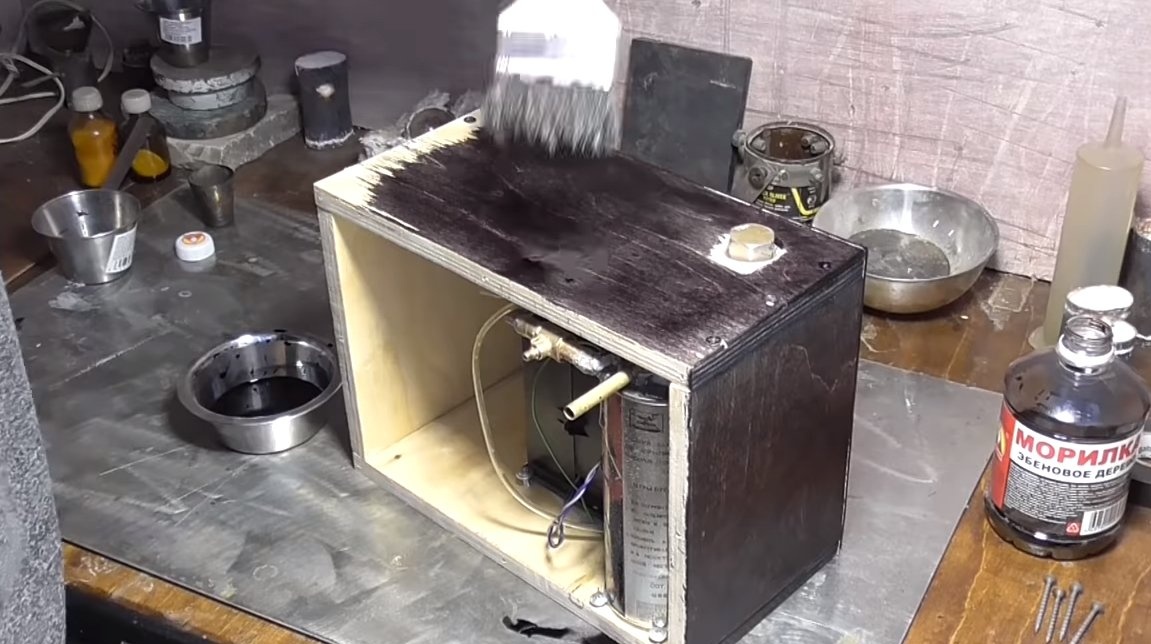
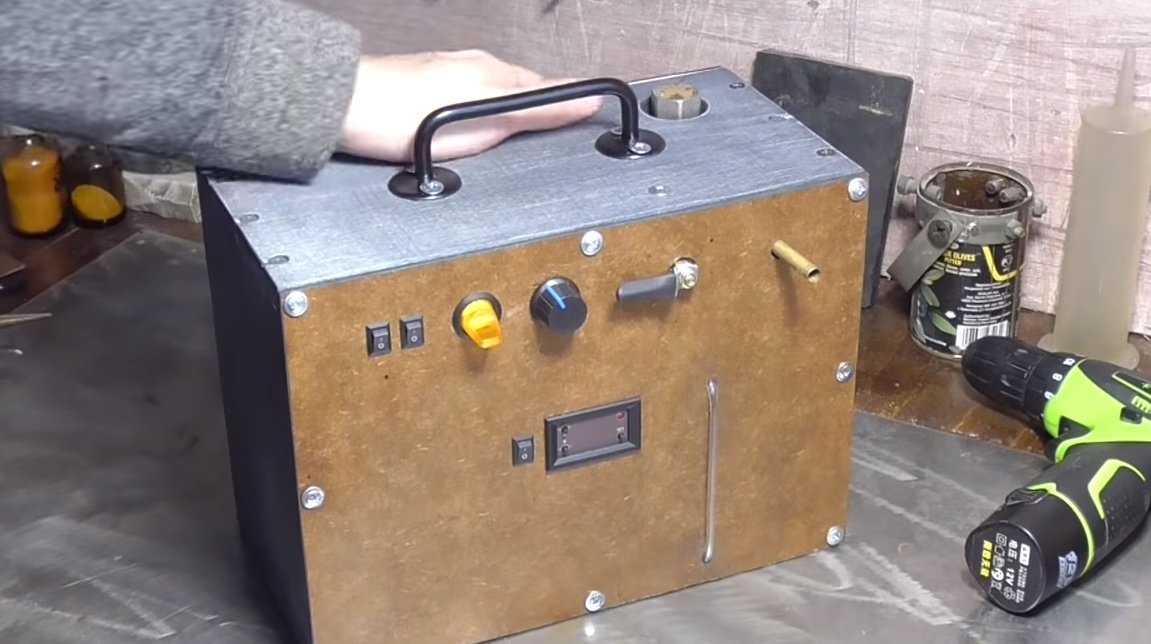
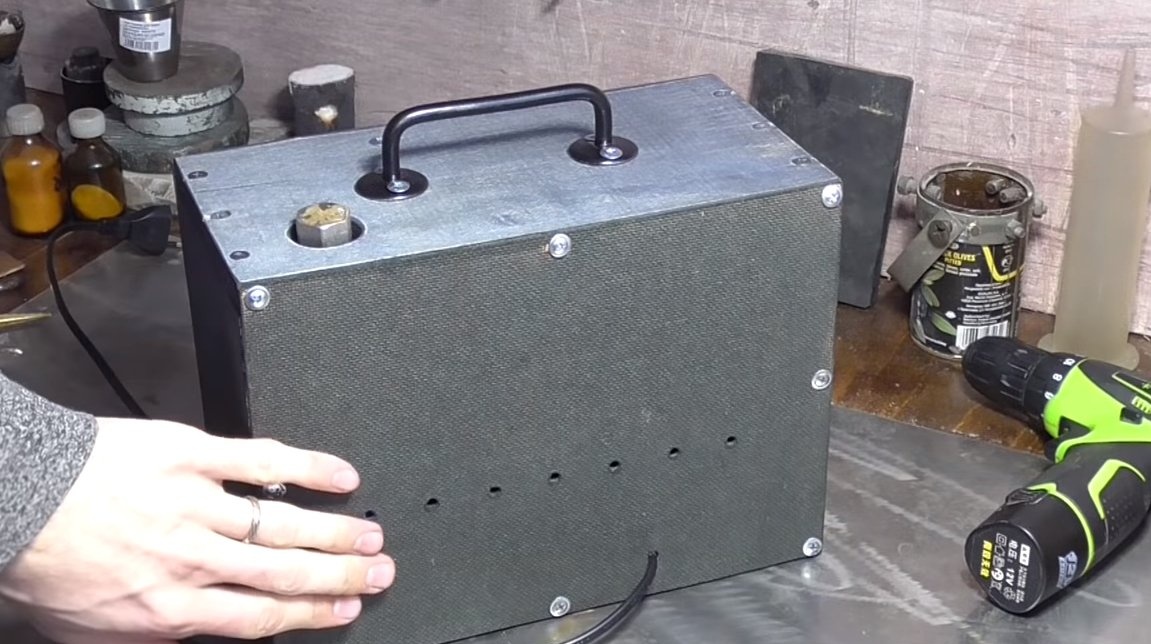
Impregnate the body with stain, paint, varnish, everything is at your discretion. The back cover is made of fiberboard, you need to drill ventilation holes in it. Through these openings, air will be drawn in through the operation of the compressors. We also install a door handle for convenient transfer of homemade products.
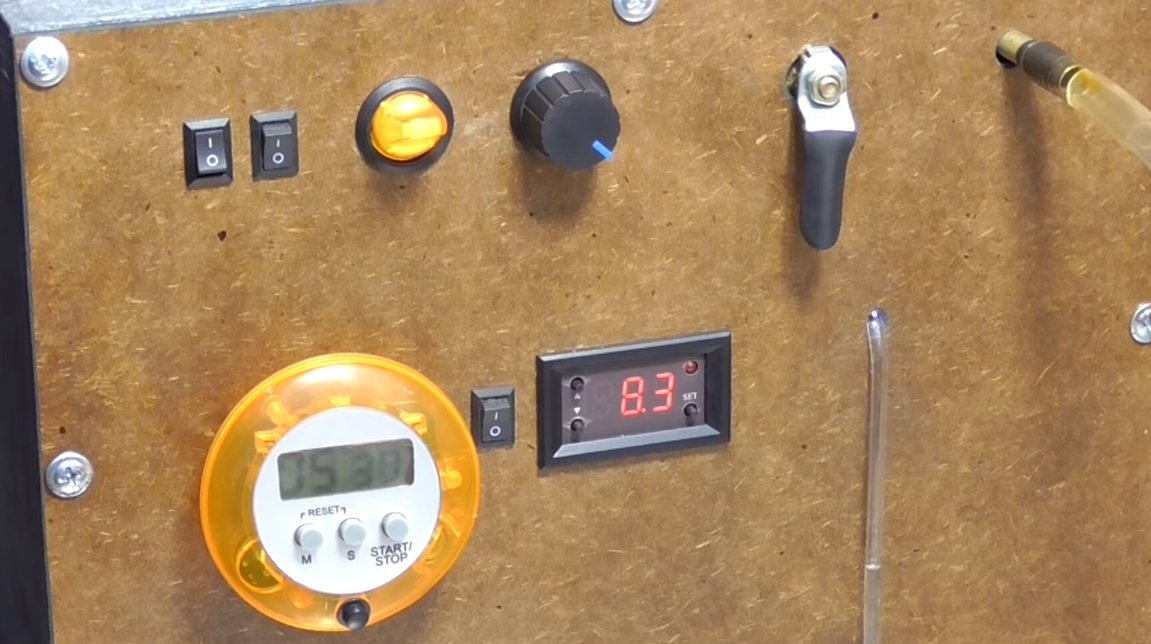
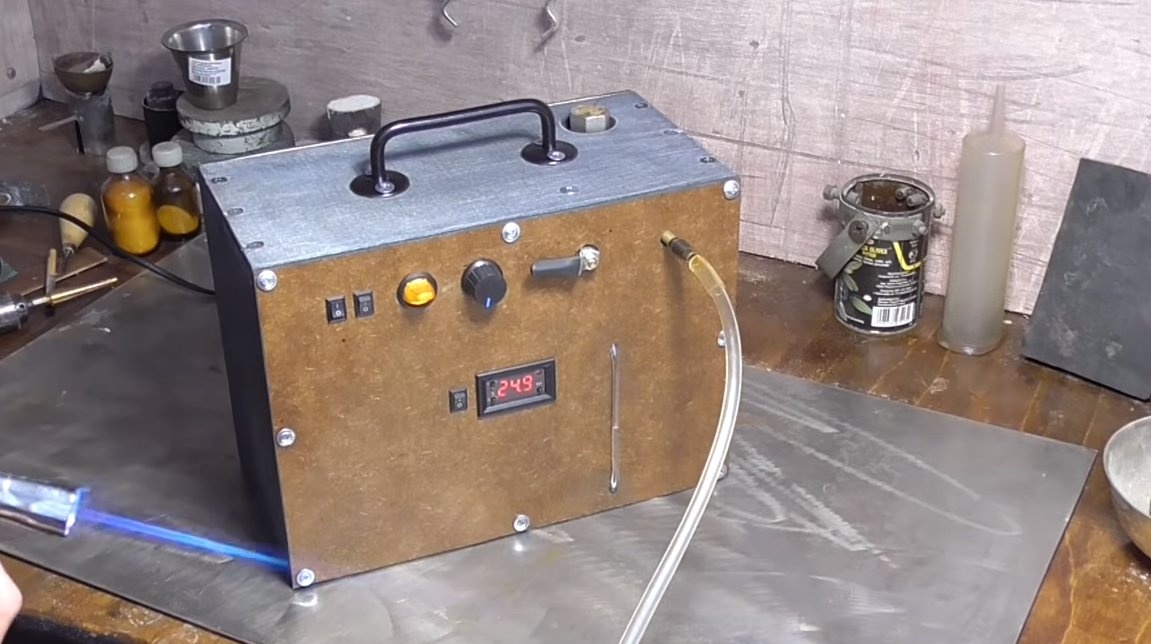
We also do the front part, here are all the controls and controls.
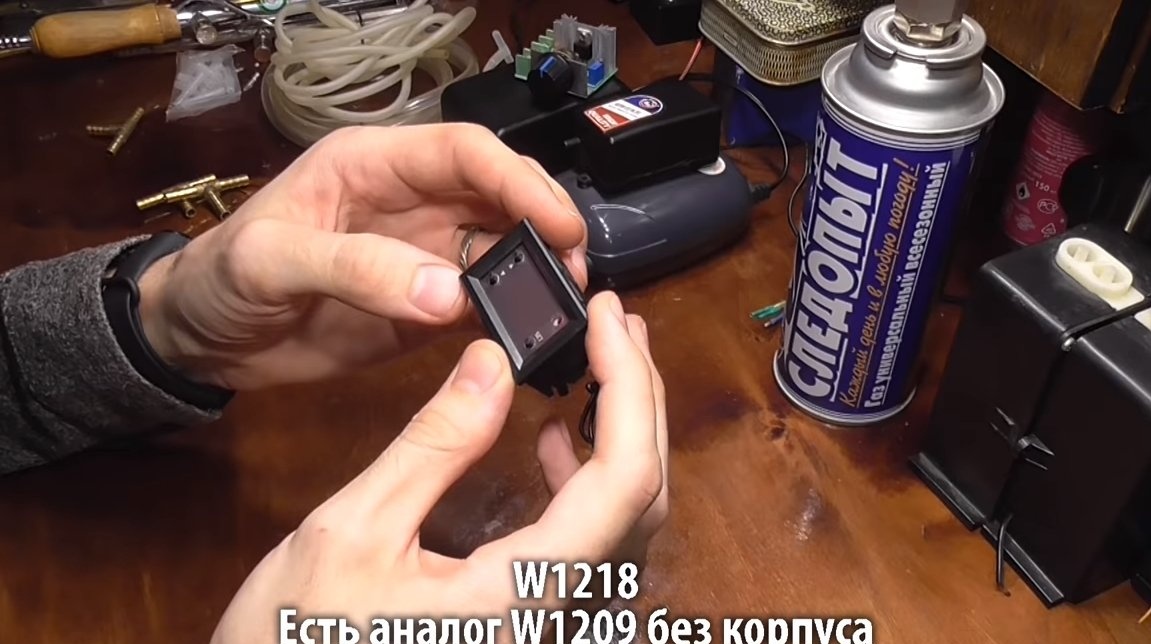
Here there is a faucet for adjusting the quality of the mixture, a heating control toggle switch, compressor activation keys, and a display for monitoring and temperature control. Of course, on the front part, the author also fixed a pipe, which allows you to track the fuel level in the gas tank.
Seventh step. Test
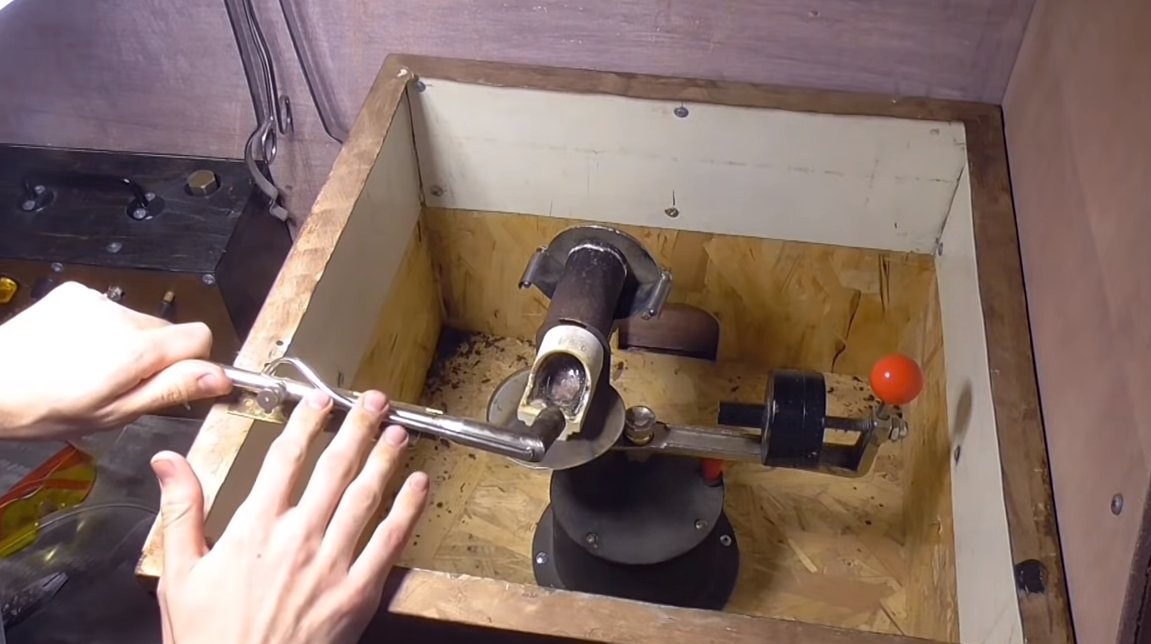
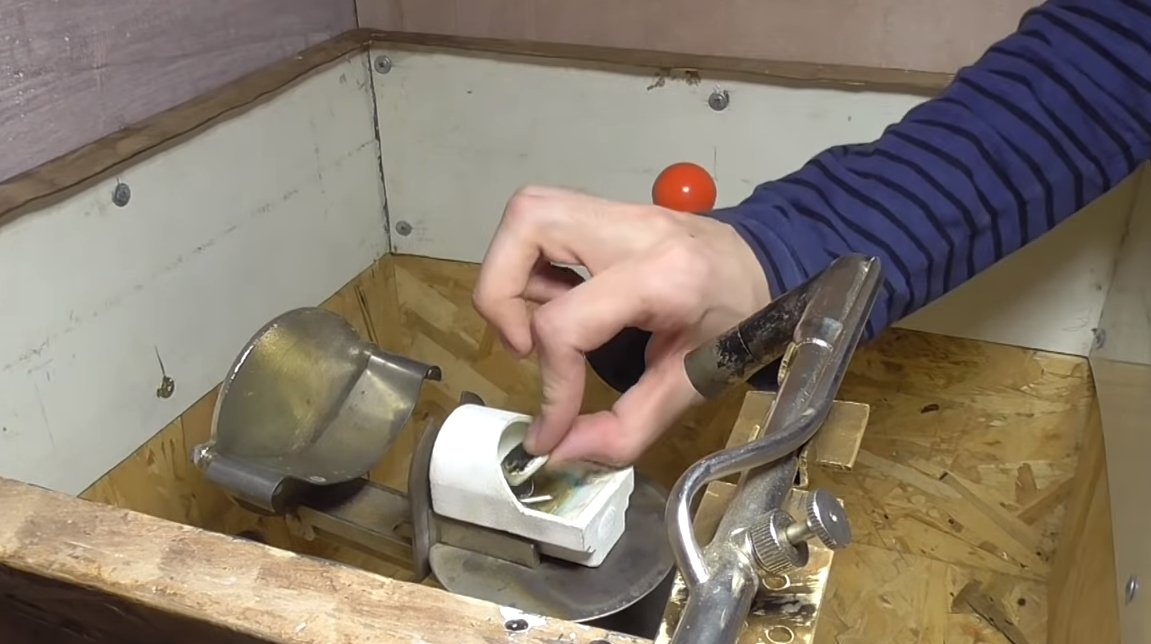
We start the burner, adjust the flame so that it buzzed, and was on the verge of collapse. The author casts under pressure, for this he has a special centrifugal machine. The burner is installed statically, which makes the whole process easier and safer.
Closer to the end of the melting, it is necessary to set the flame so that there is soot, that is, enrich the mixture. Such a flame will absorb a lot of oxygen, which is what we need, because we do not need excess oxygen in the product.
The homemade product proved to be excellent, it works quietly, is convenient to use and even safer than a purchased car from China.
I hope you enjoyed the project and found useful thoughts for yourself. Good luck and creative inspiration, if you decide to repeat this.Do not forget to share your ideas and homemade things with us!