
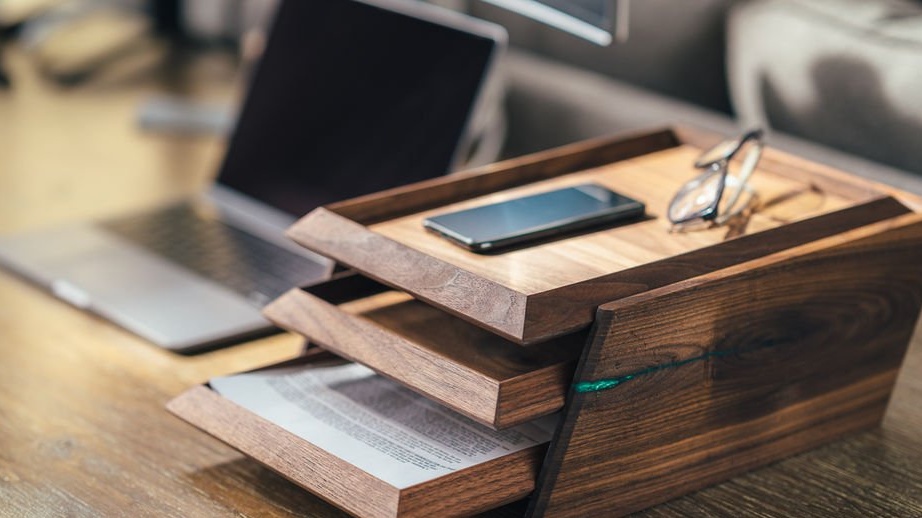


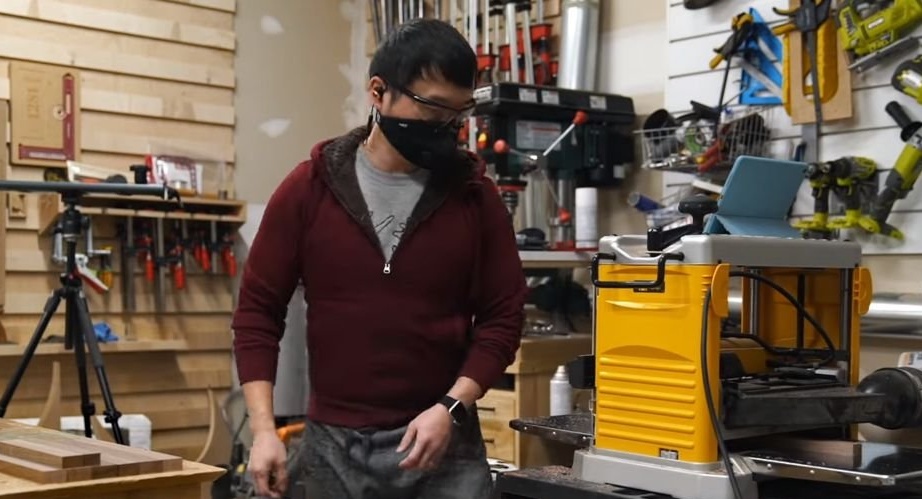
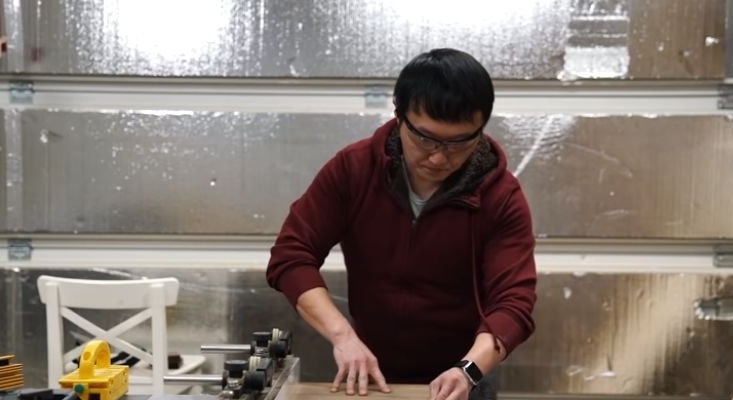
In this article, the Wizard will tell us how he made a tray for storing paper from wood. There are many office trays for storing paper on sale and, basically, they are all plastic and nondescript in appearance. As conceived by the master, his product should be beautiful, durable and not inferior in functionality to the purchased models of trays.
Tools and materials:
- Walnut board;
-Plywood;
Epoxy resin;
- Paint tape;
-Dye;
-Clips;
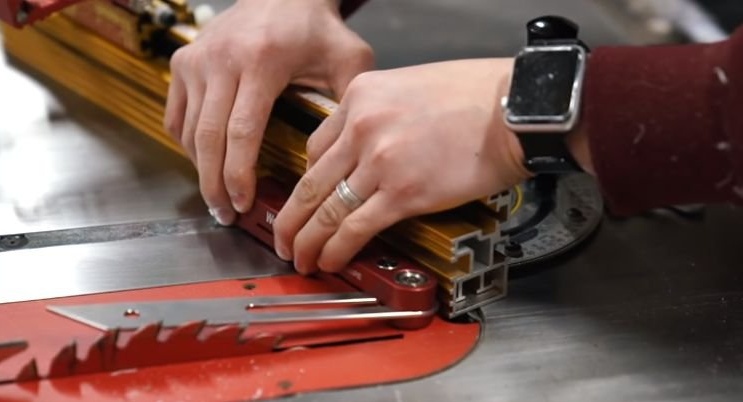
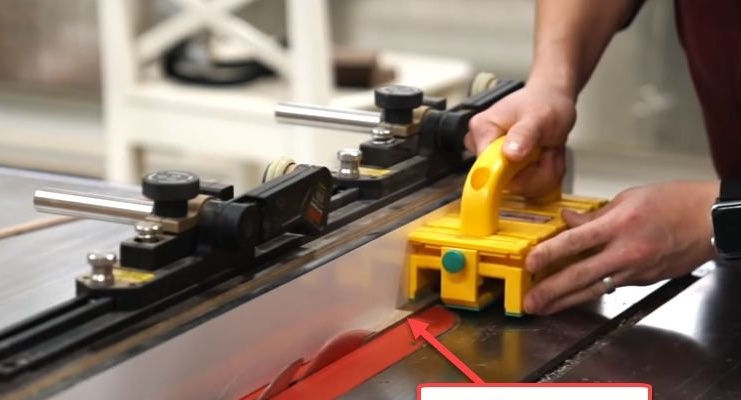
-A circular saw;
-Marker;
-Gon;
Milling cutter;
- Joiner glue:
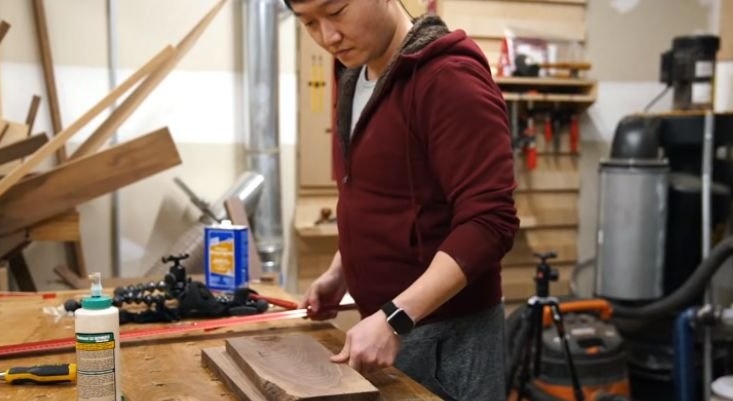
Step one: stocking parts for trays
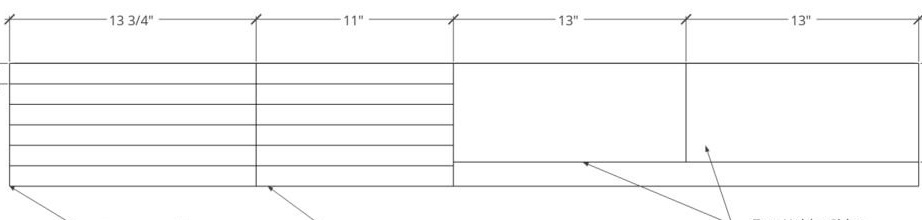
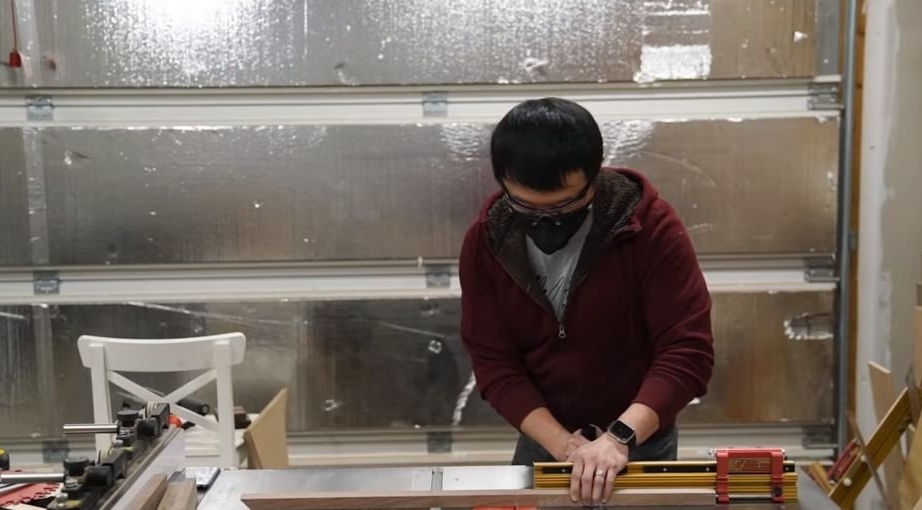
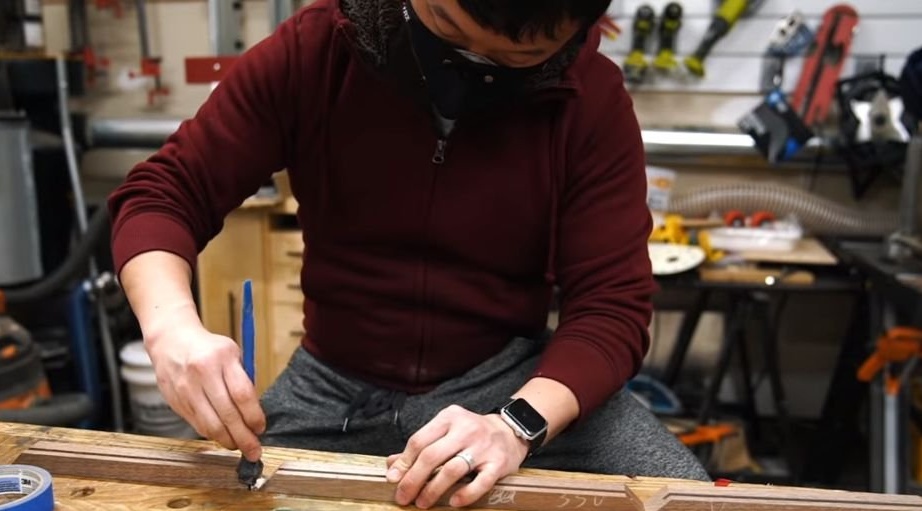
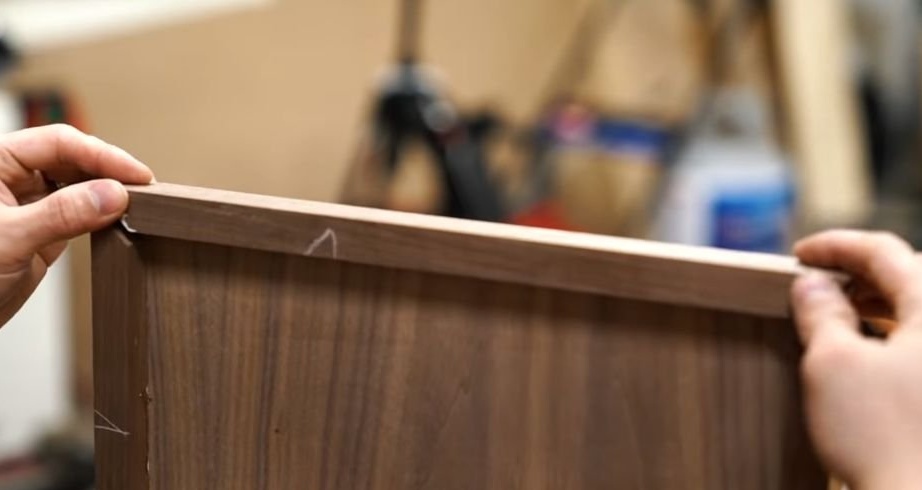
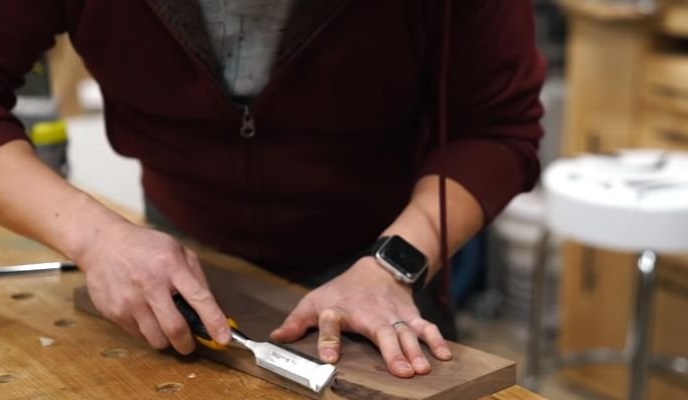
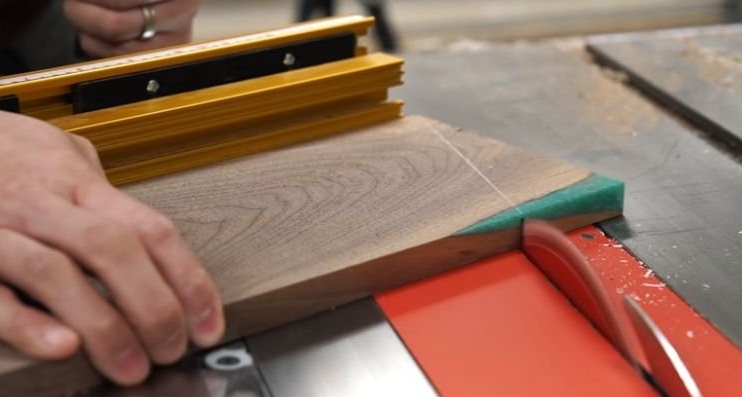
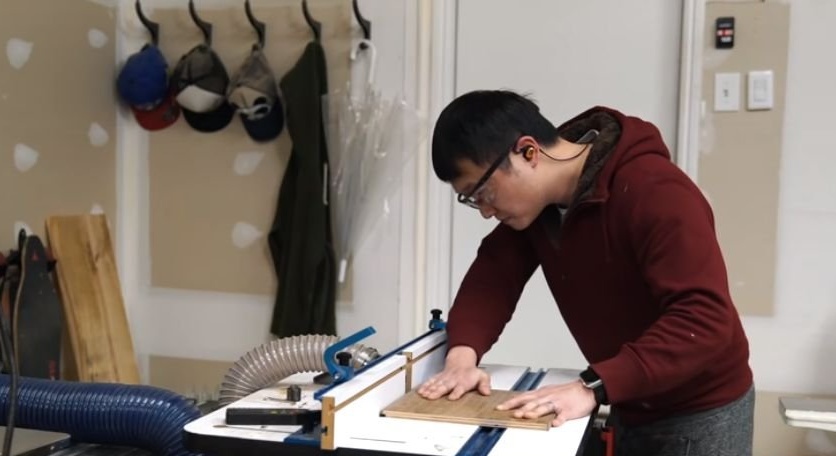
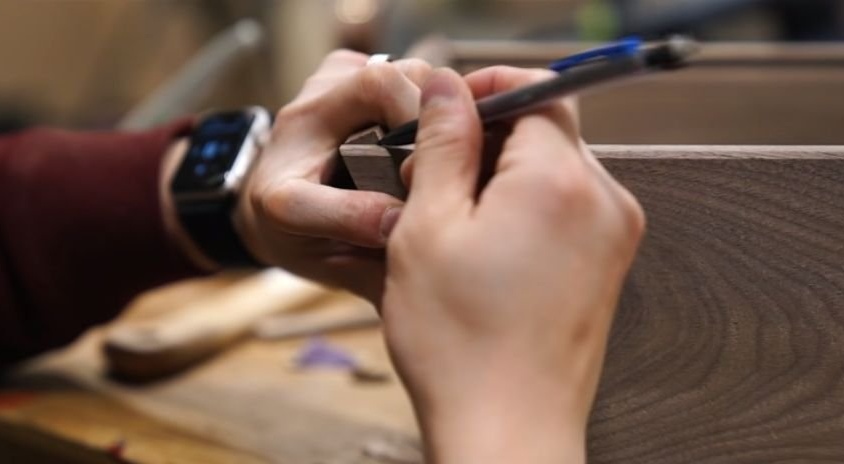
First, the master cuts the workpiece, according to the drawing, for the framework of the tray. All dimensions are in inches.

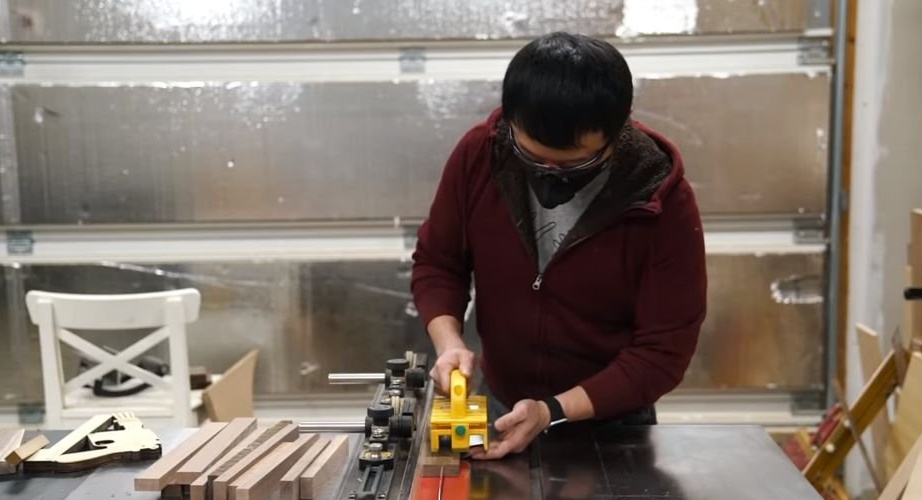
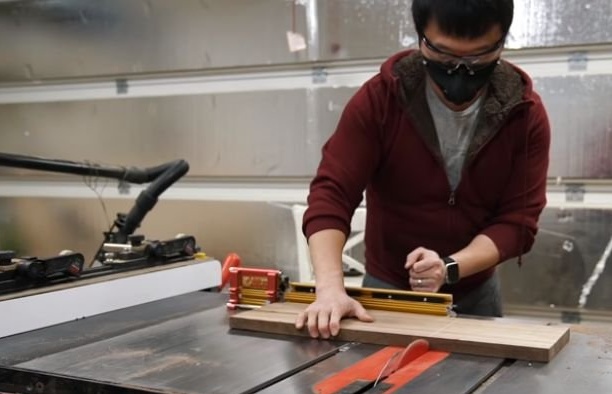
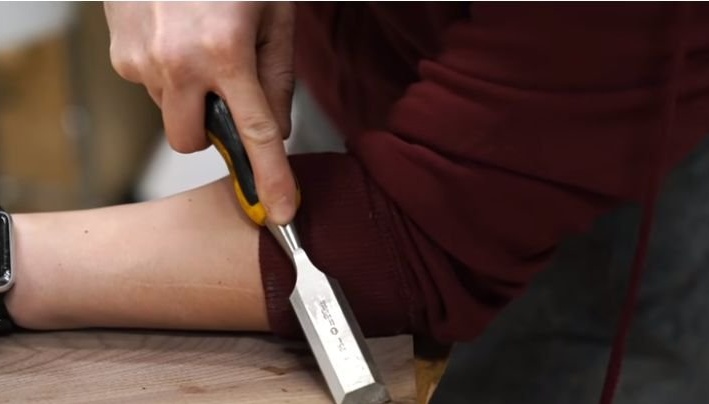
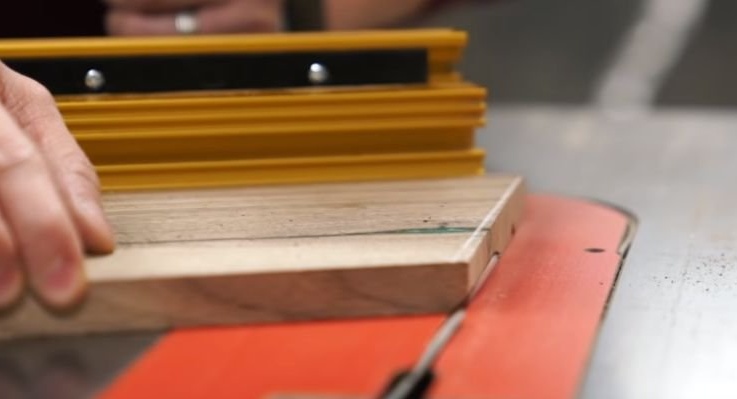
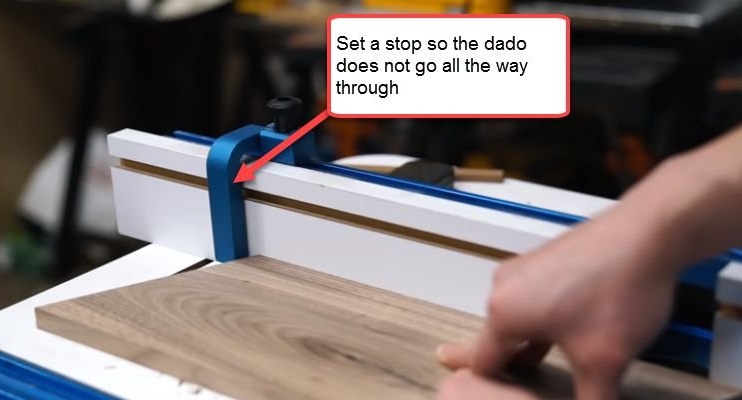
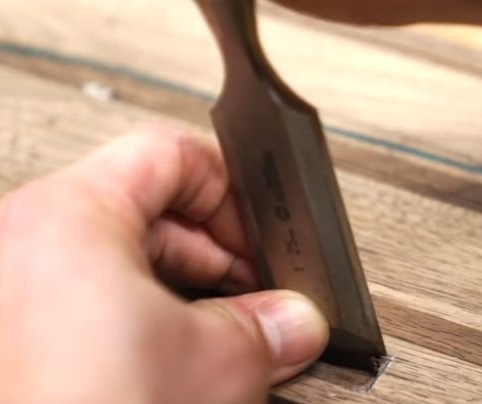
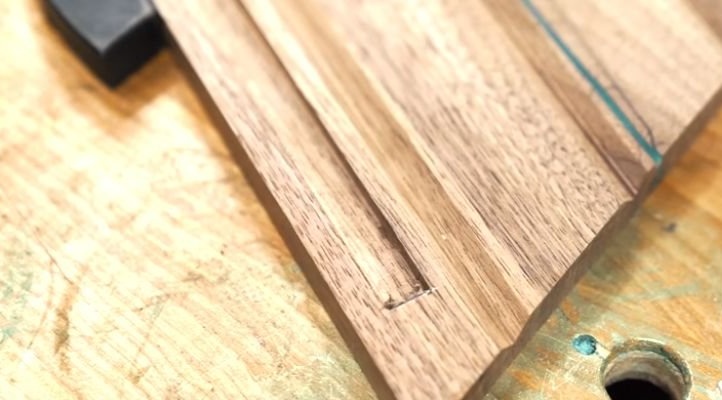
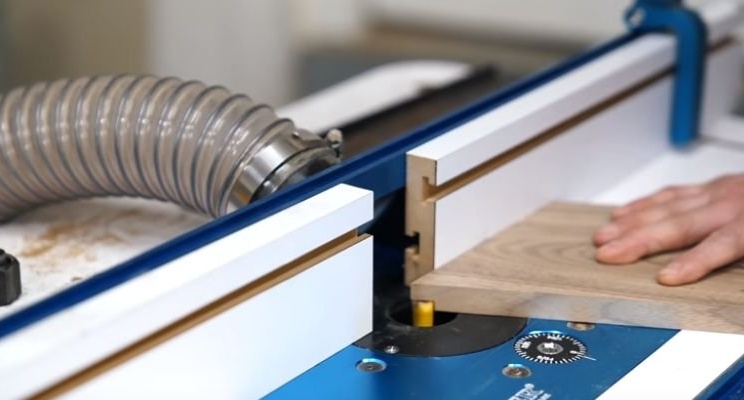
In every detail makes a groove for installing plywood sheet.
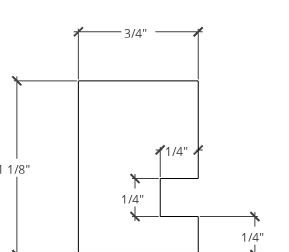
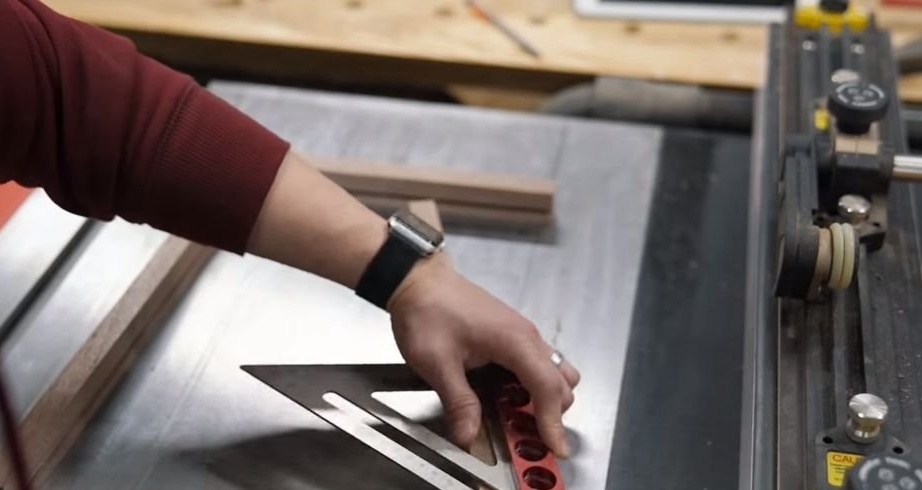
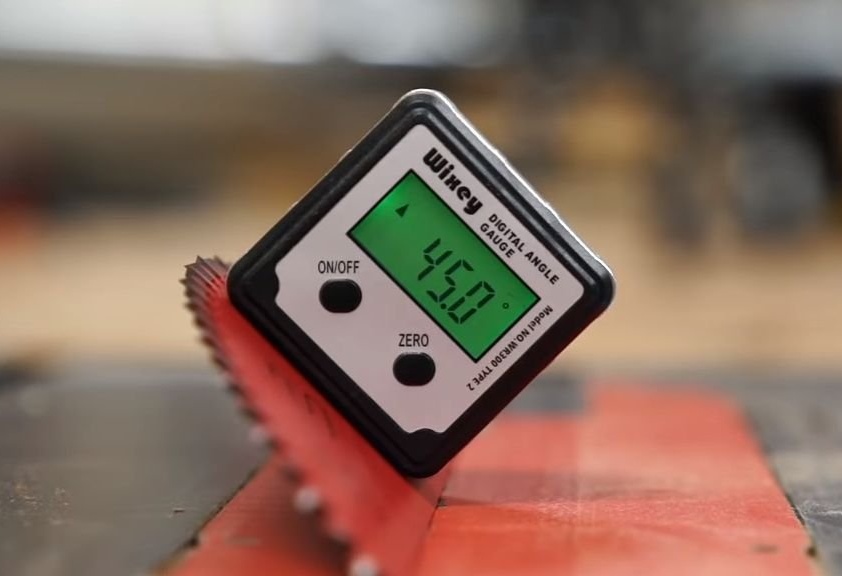
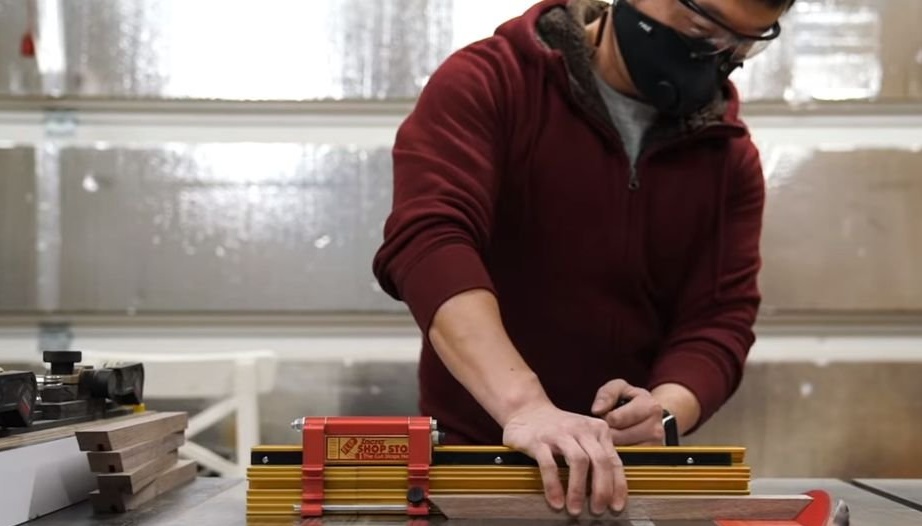
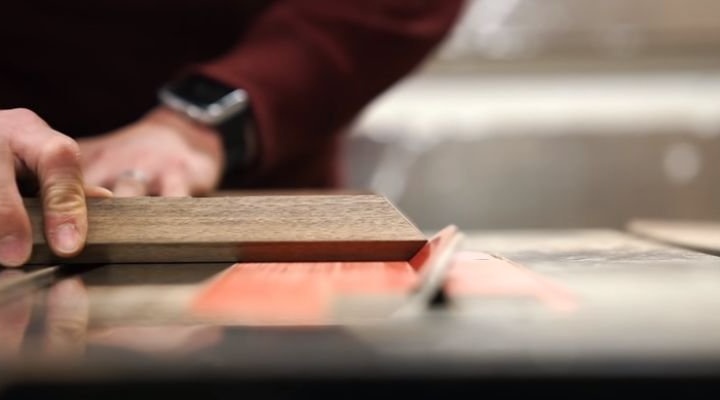
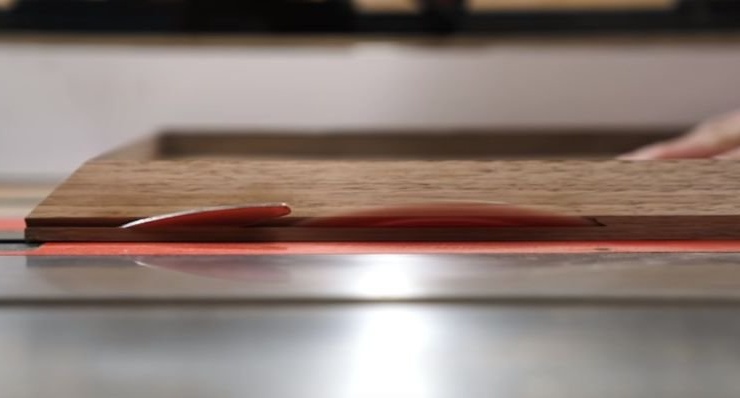
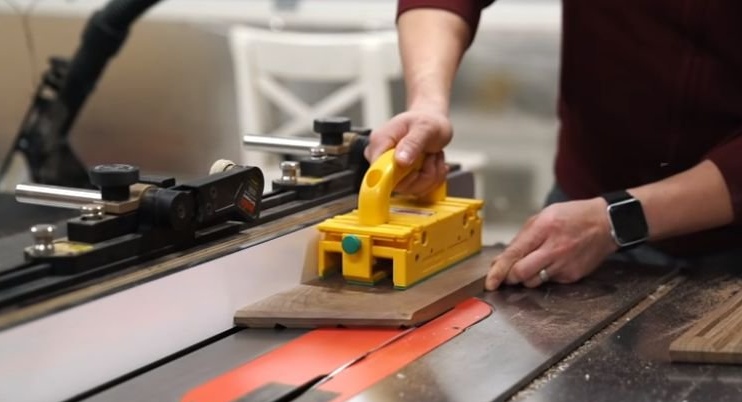
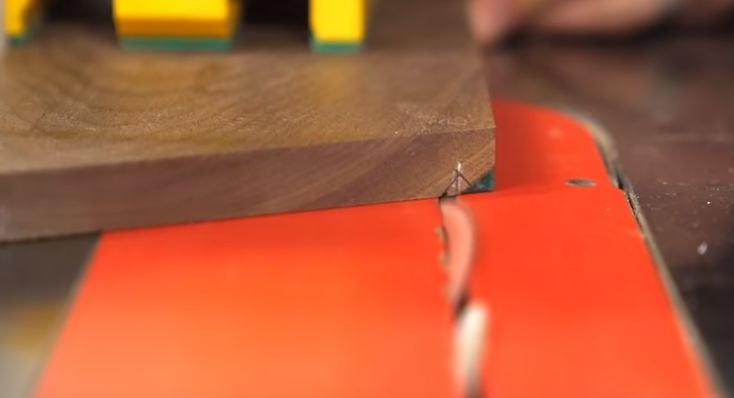
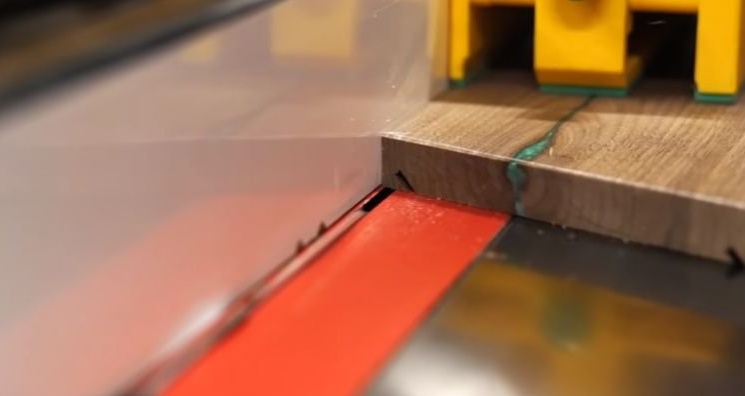
Twigs the workpiece at an angle of 45 degrees.

Step two: tray assembly
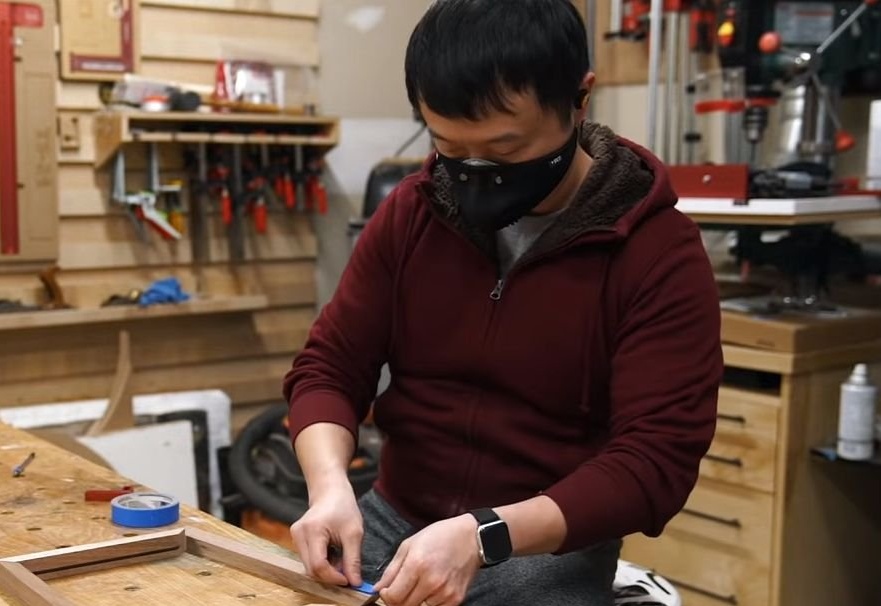
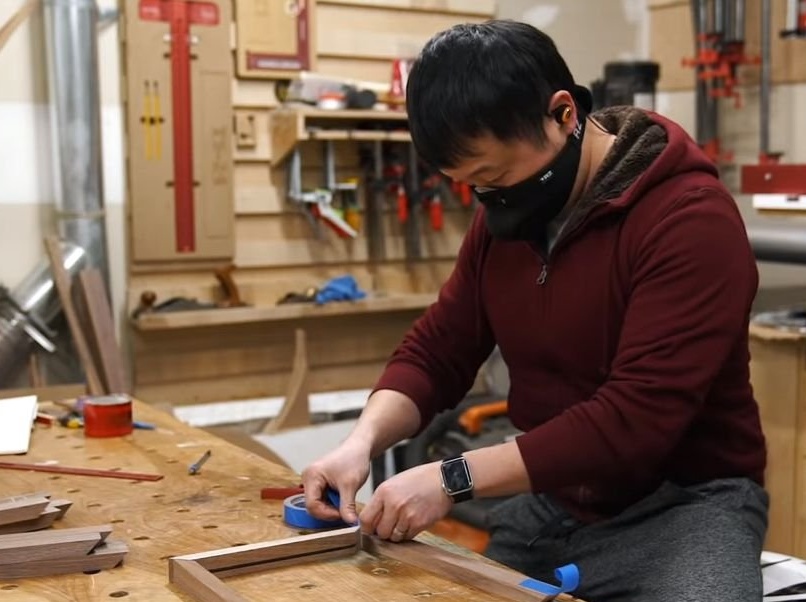
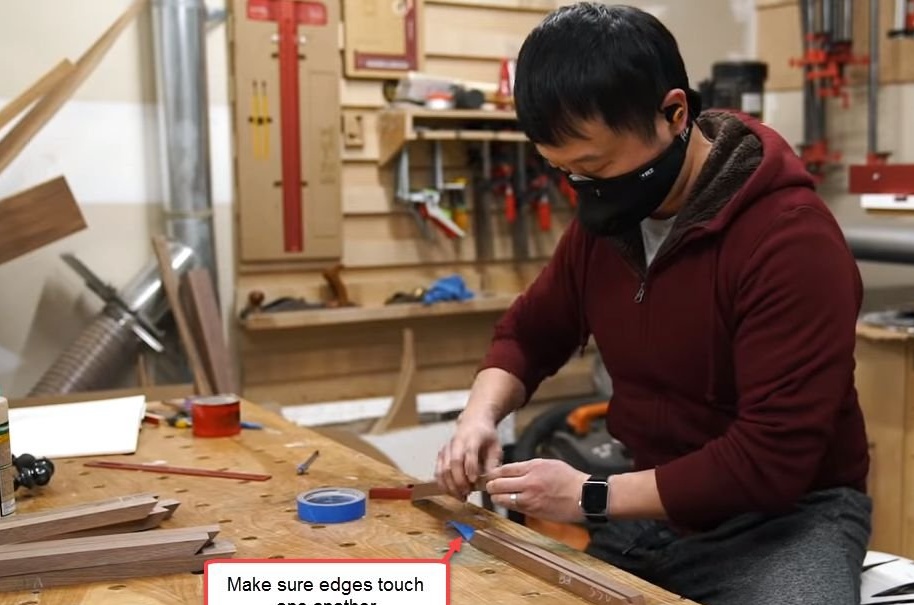
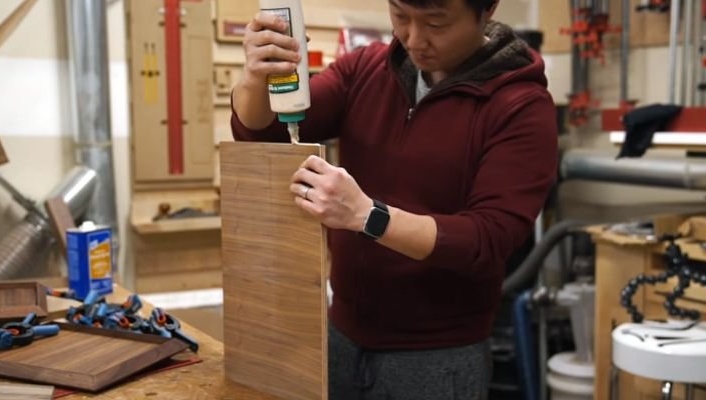
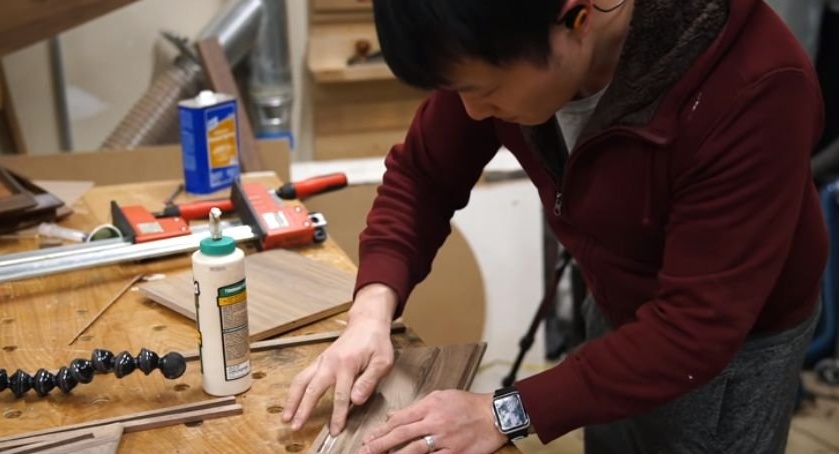
Glues the three sides of the trays with wood glue. Cut the bottom of boxes from plywood. Sets the cut blanks into the grooves of the tray frames and glues the fourth side.


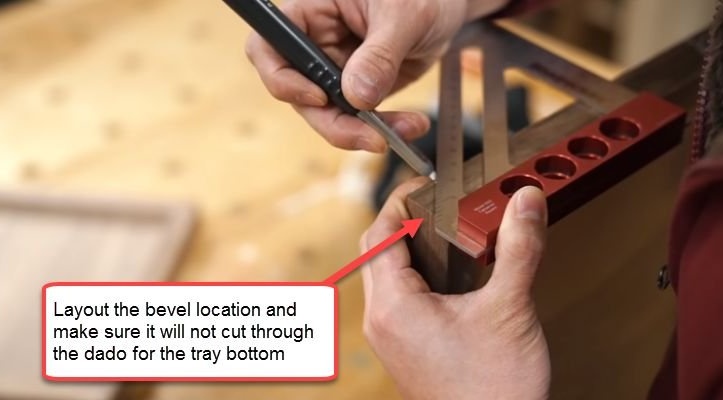
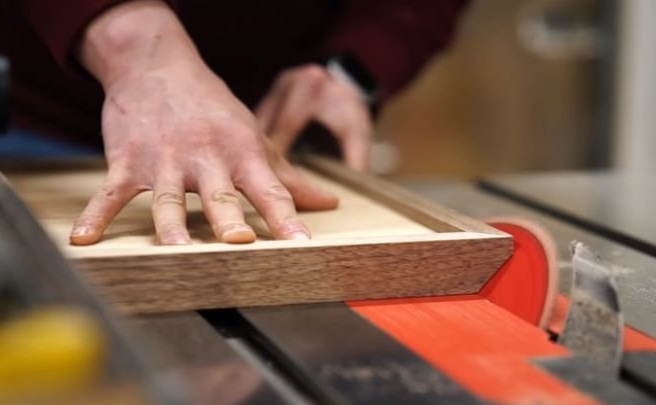
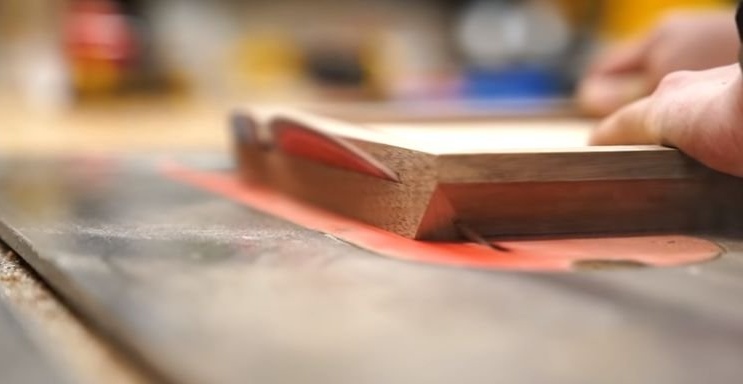
Step Three: Bevels
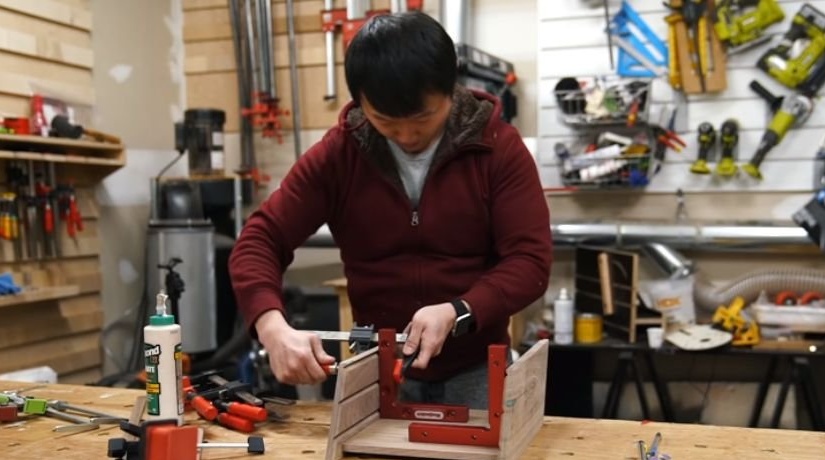
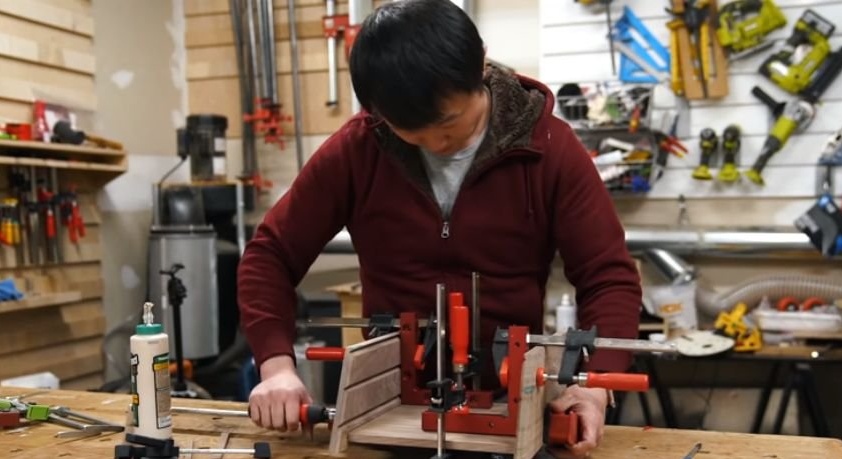
The frames are glued together, and the master cuts the corners of the frames at 45 degrees.


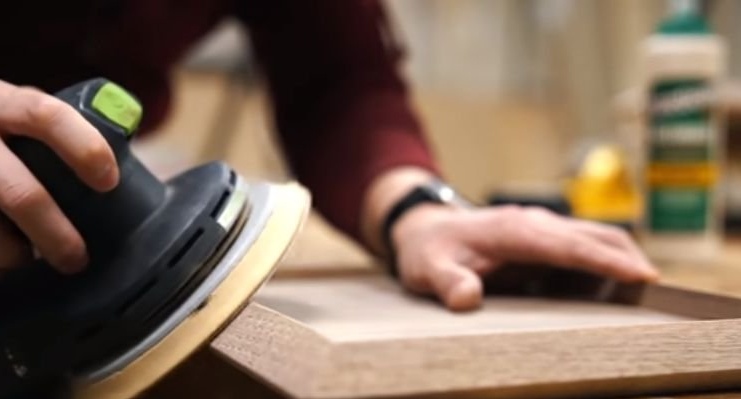
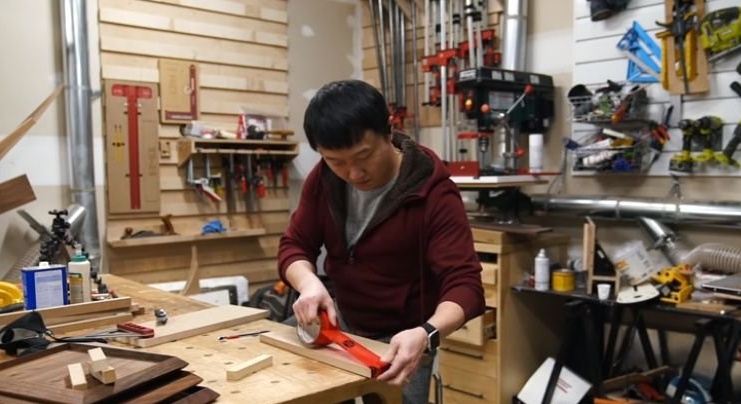
Step Four: Grinding
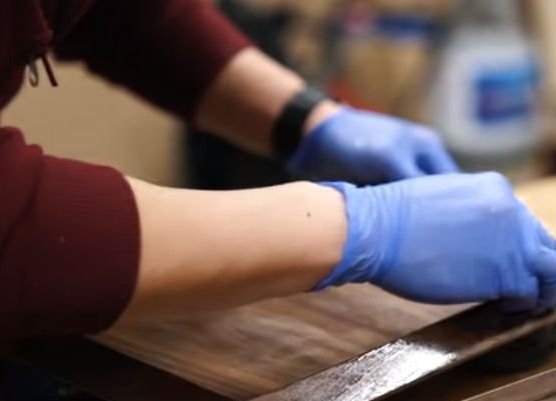
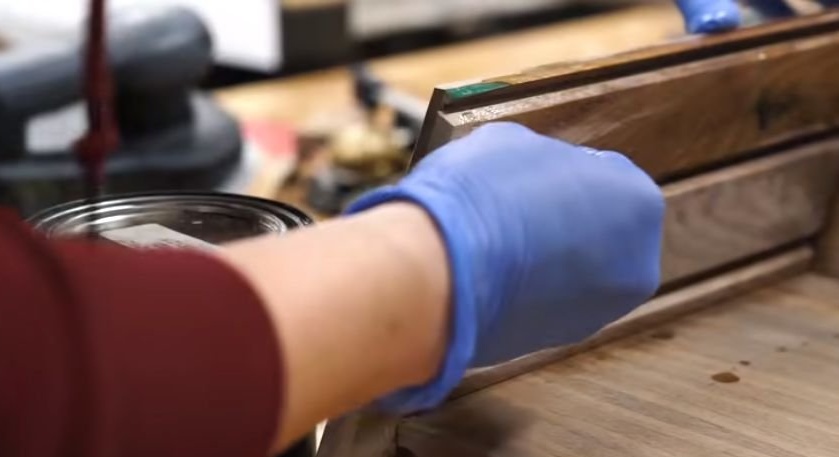
Now you need to sand the trays with sandpaper from 80 to 220 greens and cover with oil and wax.

Step Five: Preparing Materials for the Case
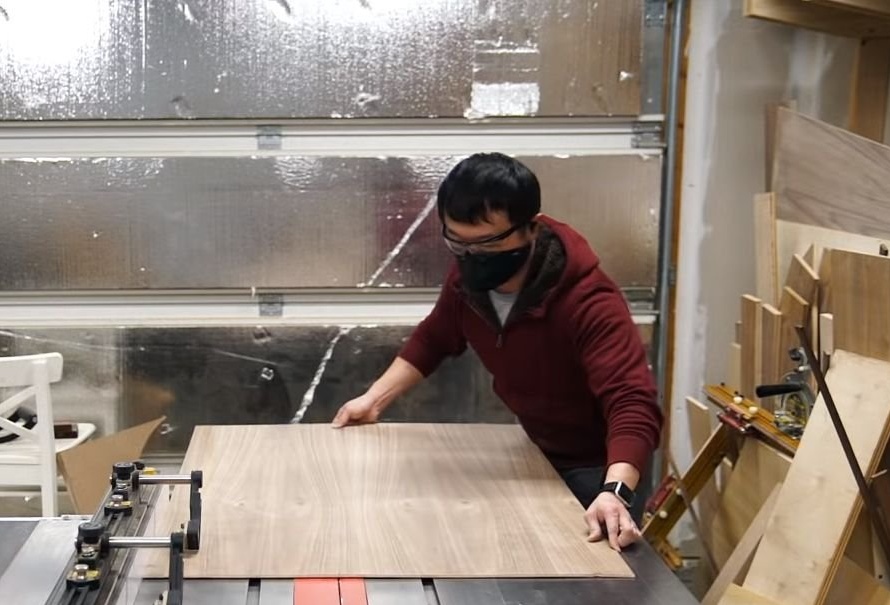
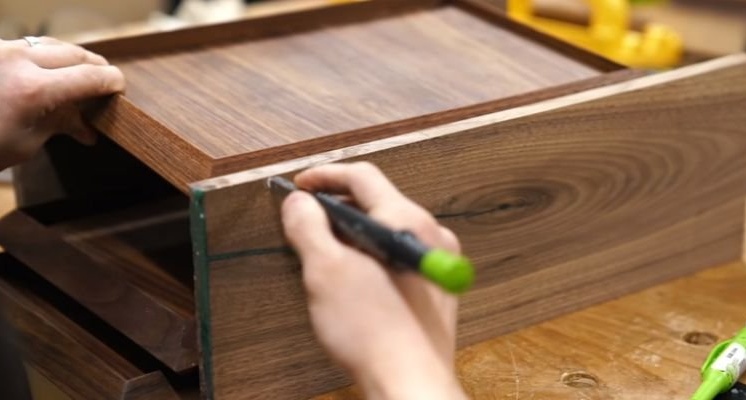
Rounds off and cuts boards for the case, two side and one back.
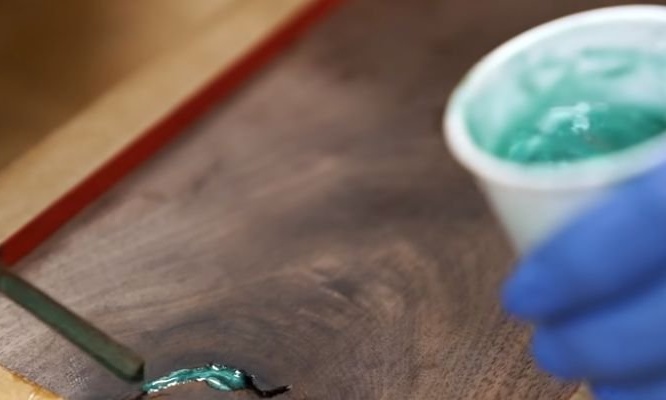
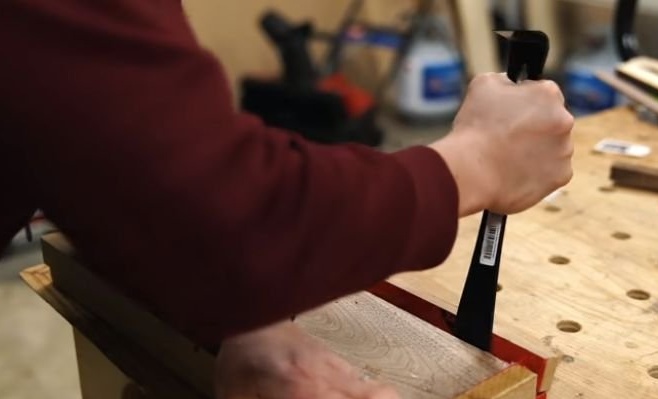
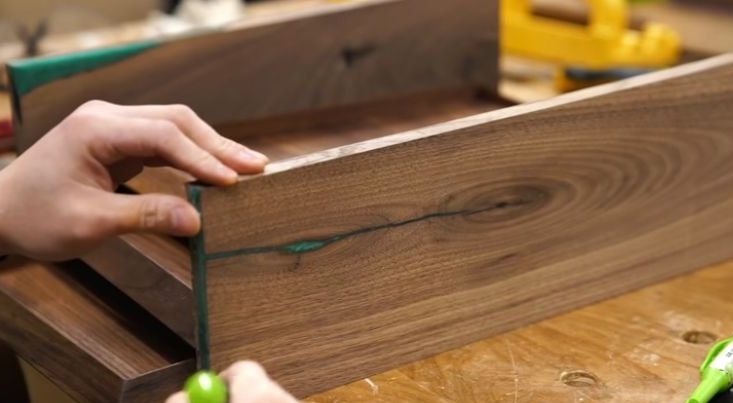
It removes loose areas and cleans cracks in one of the workpieces.
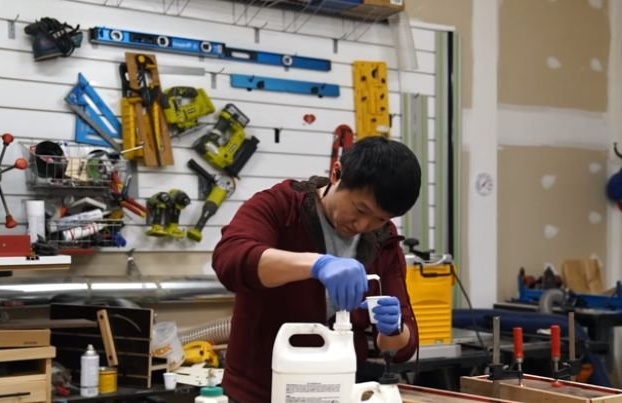
Step Six: Fill
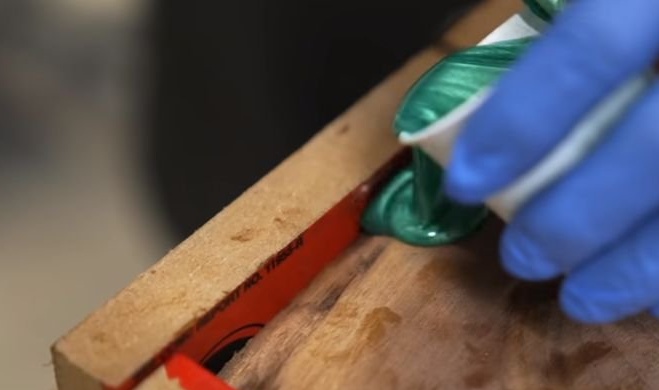
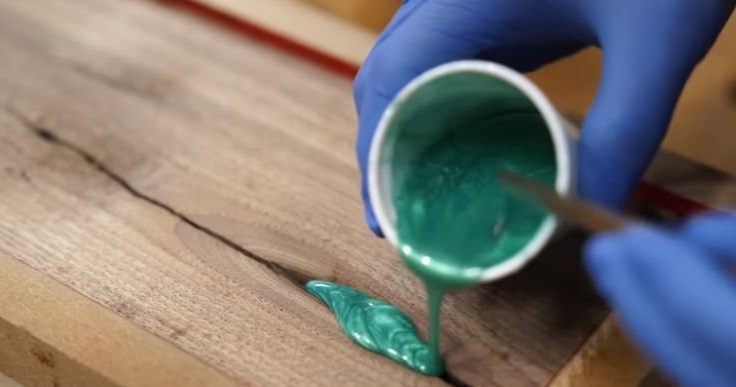
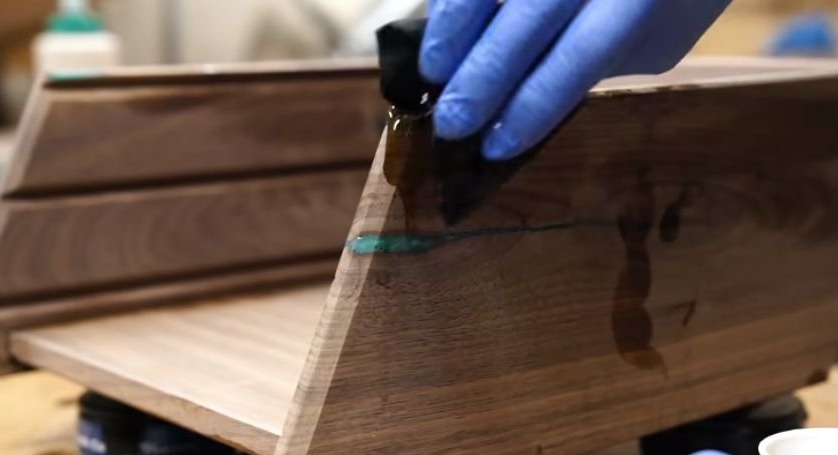
The boards are old and the master decided to eliminate the defects and at the same time give them an unusual look with the help of epoxy resin with color. First he made the mold.

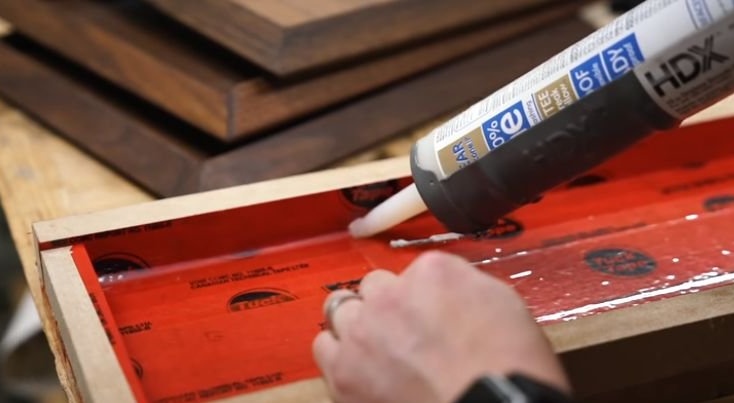
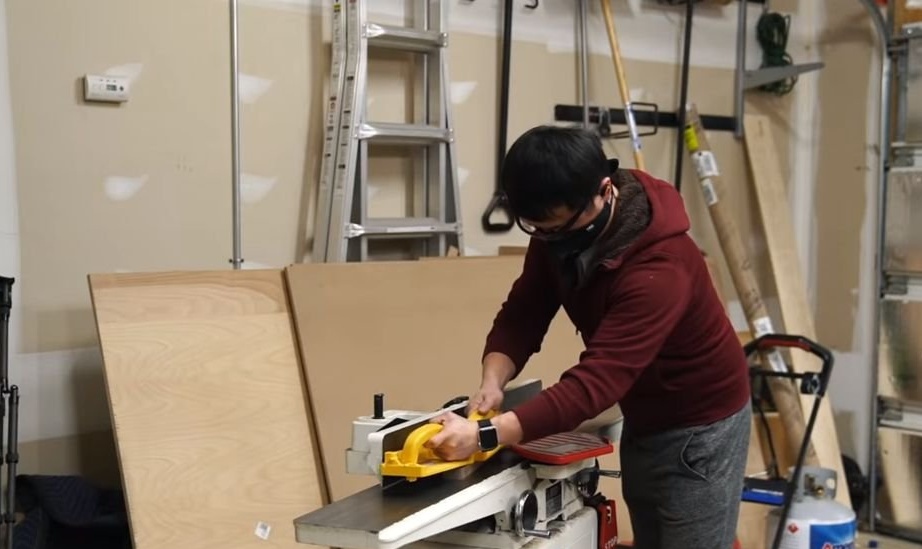
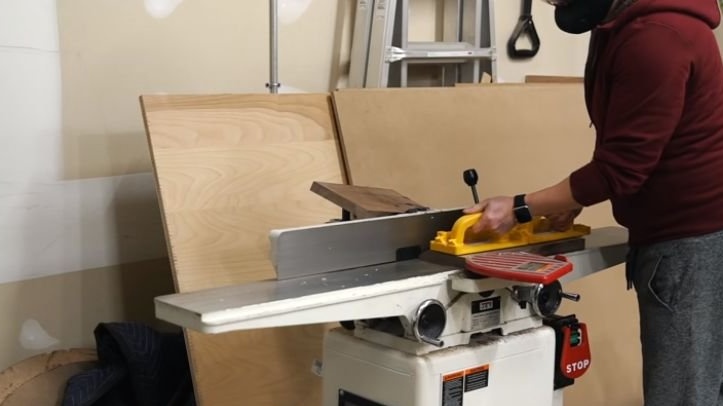
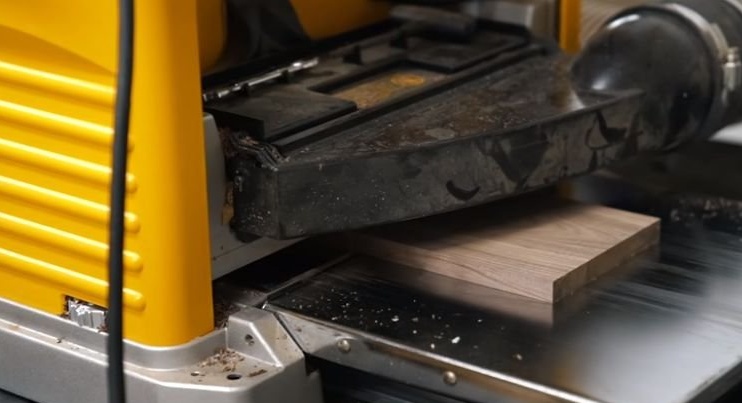
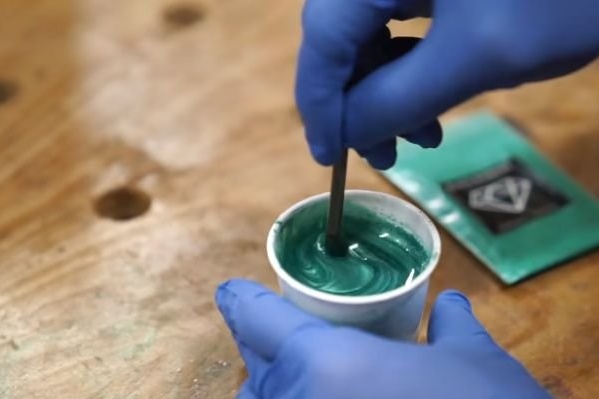
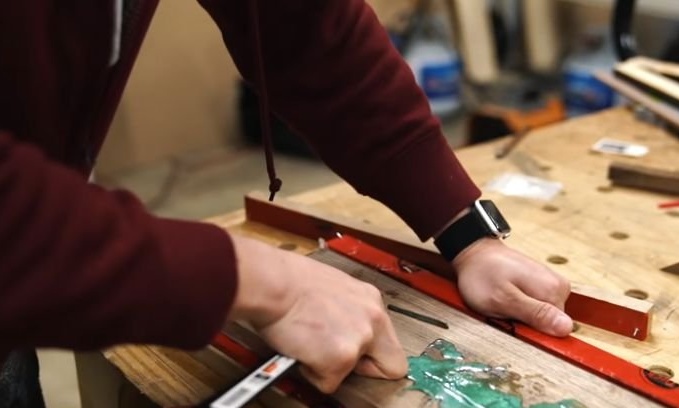
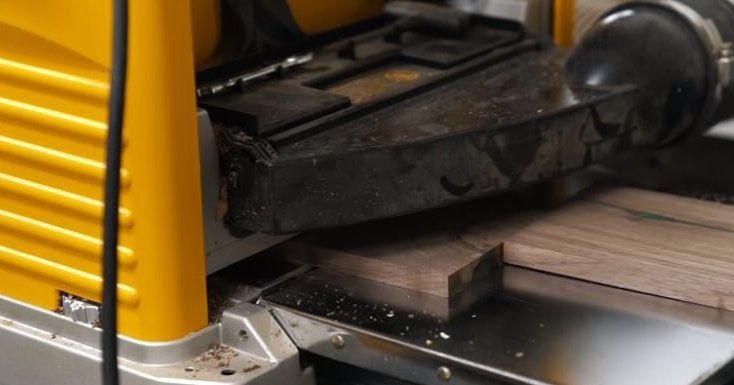
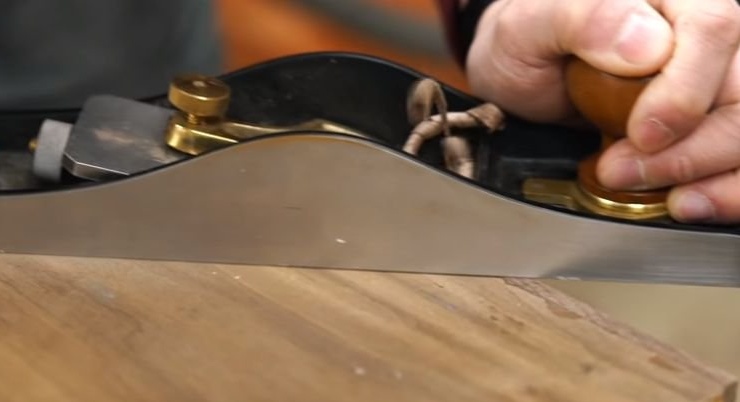
Then it dilutes the epoxy resin, adds dye and applies to defective areas. After a day, the workpiece was removed from the mold and planed.
Seventh step: slice
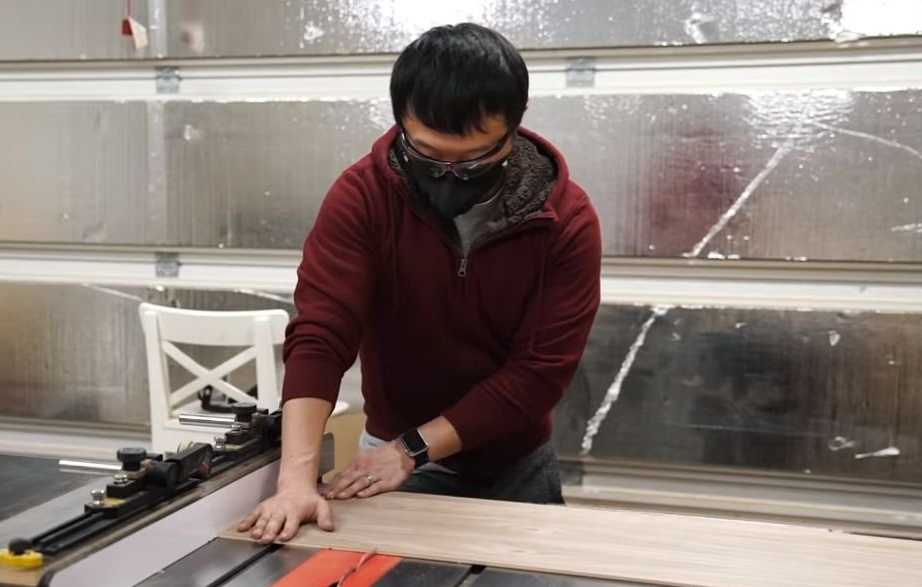
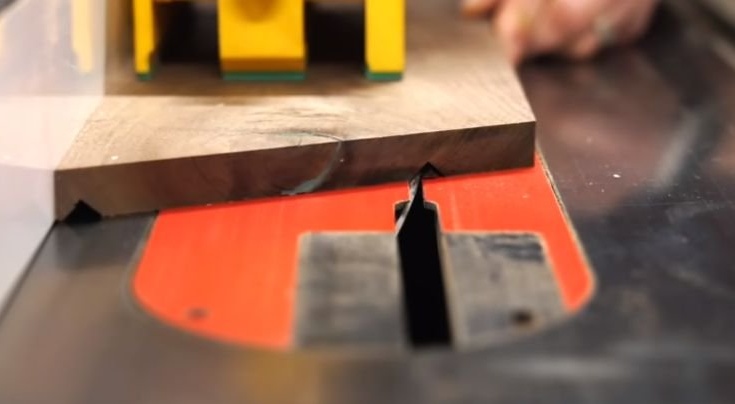
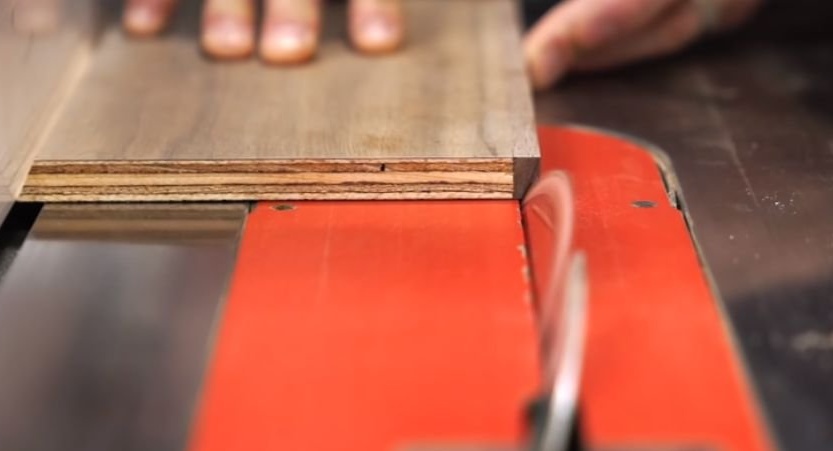
Clips the side boards of the case at an angle of 25 degrees, on both sides.

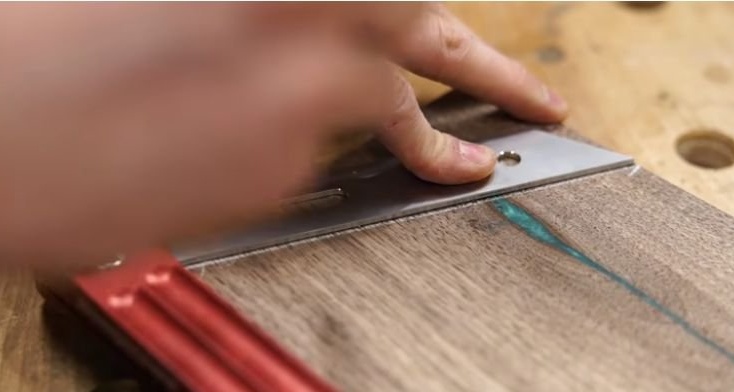
The edges of the blanks are cut at an angle of 45 degrees.
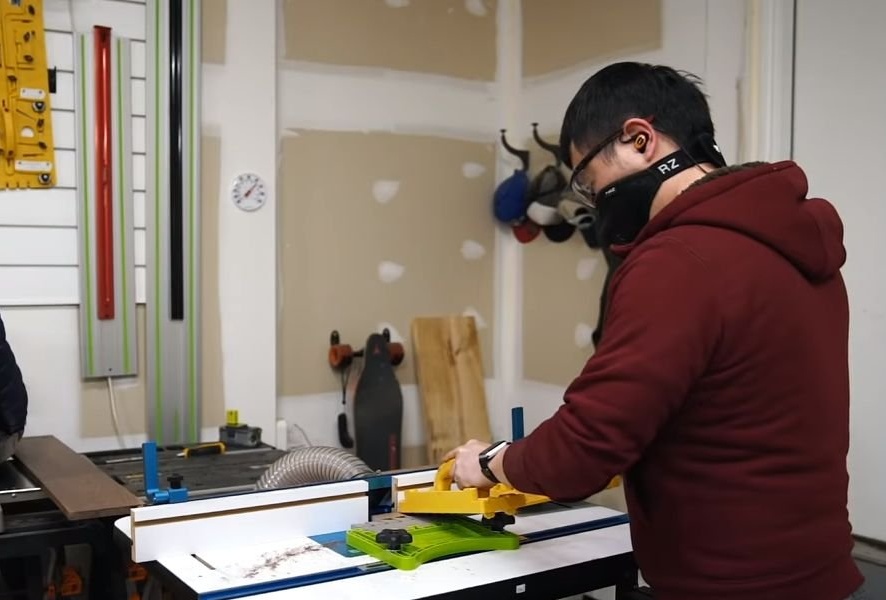
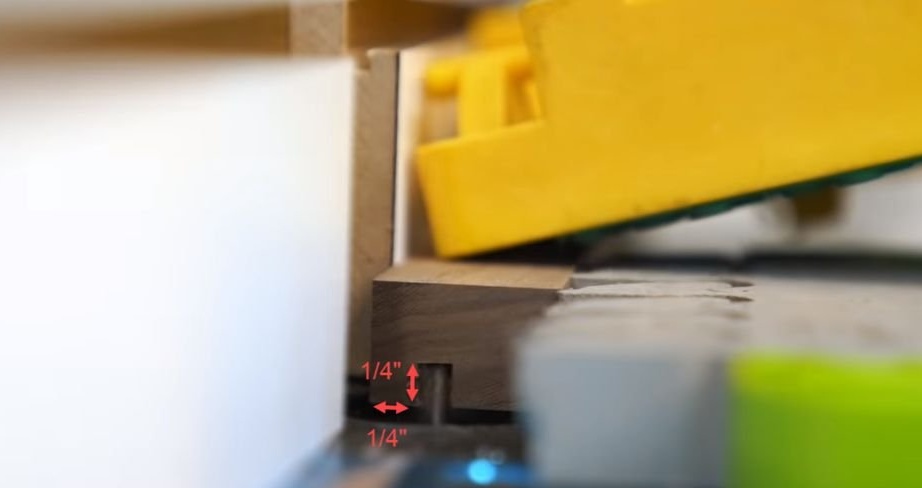
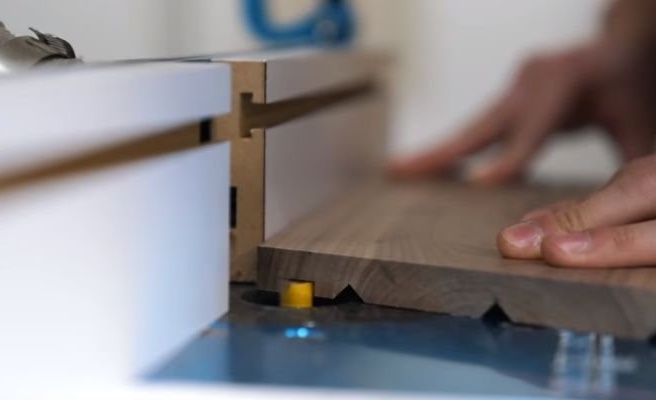
Step Eight: Runners
The sharp corners of the tray frames face down. To extend the trays, the master cuts out grooves on the side boards of the cabinet. Trays will lean corners on the inside of the grooves. Due to this, they will not fall down and they can be put forward by pulling on themselves.


Step Nine: Lower Groove
The lower groove is to install the bottom of the housing.

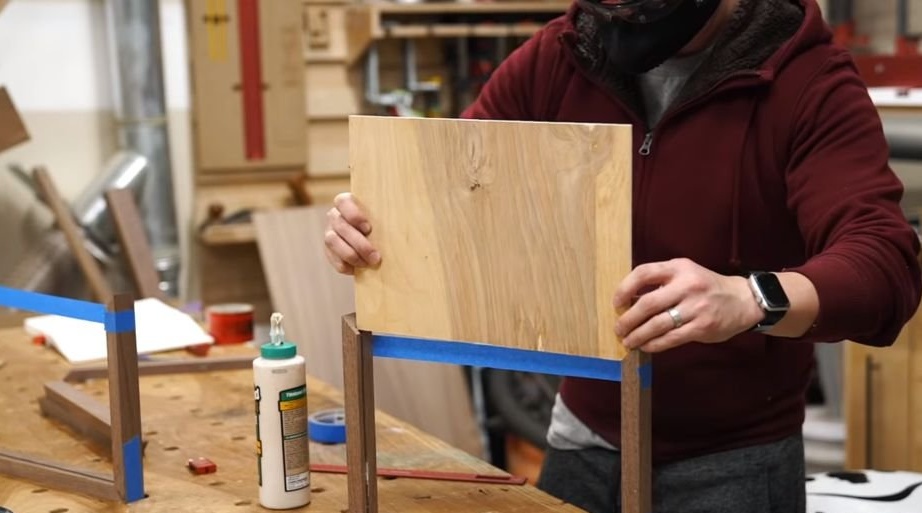
Step Ten: Bottom and Back
Cuts the bottom and back of the case. To the end parts of the workpieces glues strips. After the glue dries, it aligns the edge with a planer.


Step Eleven: Final Assembly
Installs the lower part in the grooves of the sidewalls (for glue). Measures and trims the back of the case. Sticks.


Now it remains to cover the case with wax oil, place the boxes and the paper tray is ready.
The whole process of making a paper tray can be seen in the video.