Hello everyone, today we will look at how to make a small, economical and convenient oven for cooking in the open air. However, such an oven can be put in the garage or a workshop, then it will also be possible to heat the room, since the furnace body is heated rather not weakly. Homemade It’s easy to manufacture, everything looks neat, and the homemade work perfectly. If you are interested in the project, I propose to study it in more detail!
Materials and tools used by the author:
Material List:
- a small gas cylinder;
- sheet metal;
- bolts and nuts;
- fittings or iron rods for legs;
- heat resistant paint;
- iron grate for grate.
Tool List:
- plasma cutter;
- grinder;
- welding machine;
- drill;
- hammer.
Furnace manufacturing process:
Step one. Case preparation
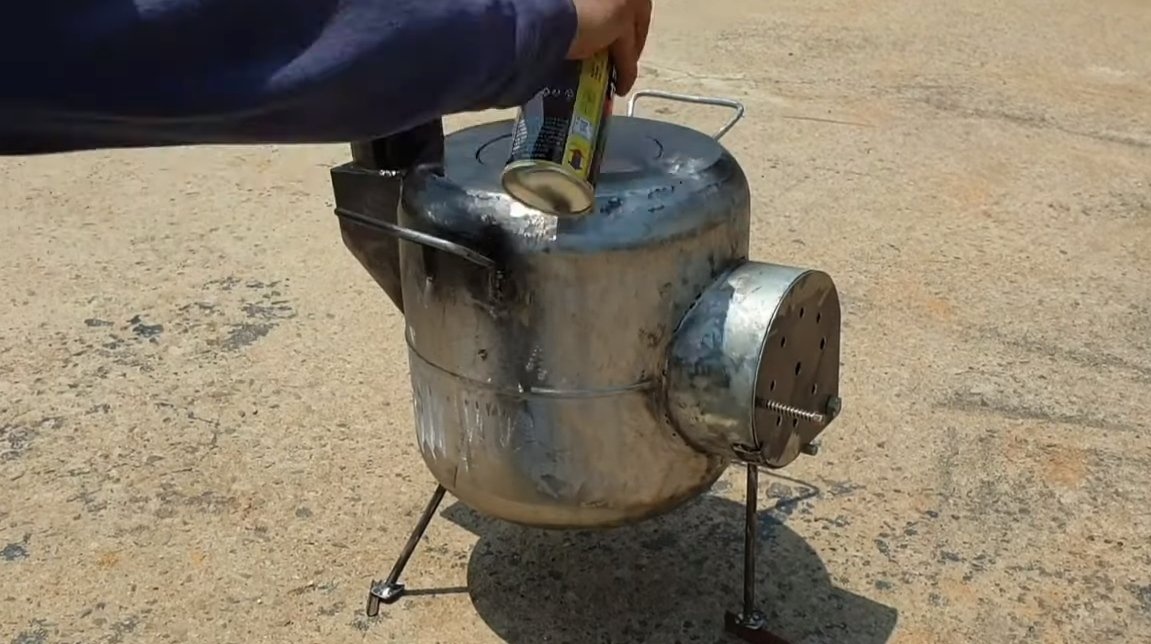
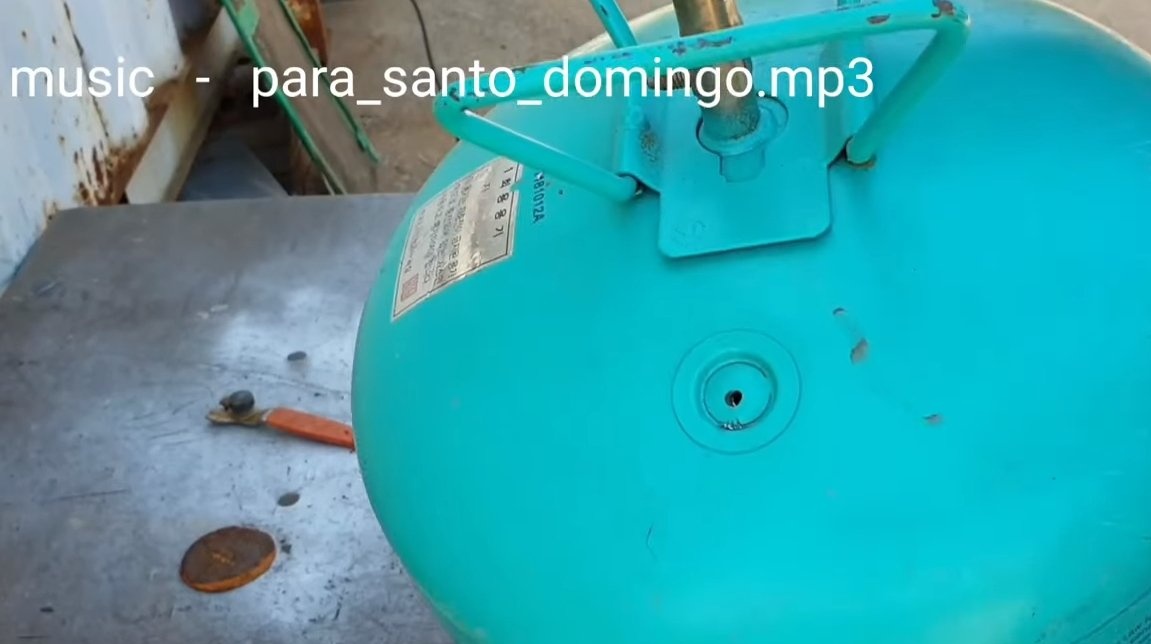
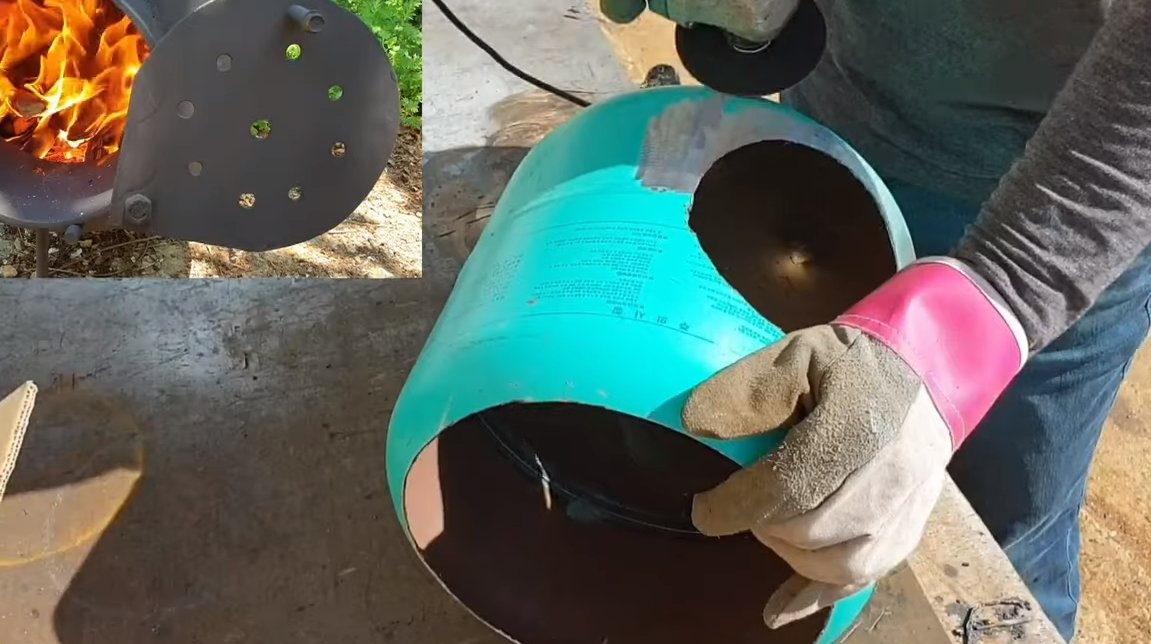
A gas cylinder protrudes from the body of the furnace, be extremely careful if there was previously flammable gas in the cylinder. All necessary measures must be taken to clean the cylinder of combustible gas.
The author drills a hole in the cylinder and drains the contents, you can also open and turn off the tap, but sometimes it is not so easy to do if the tap is soured.
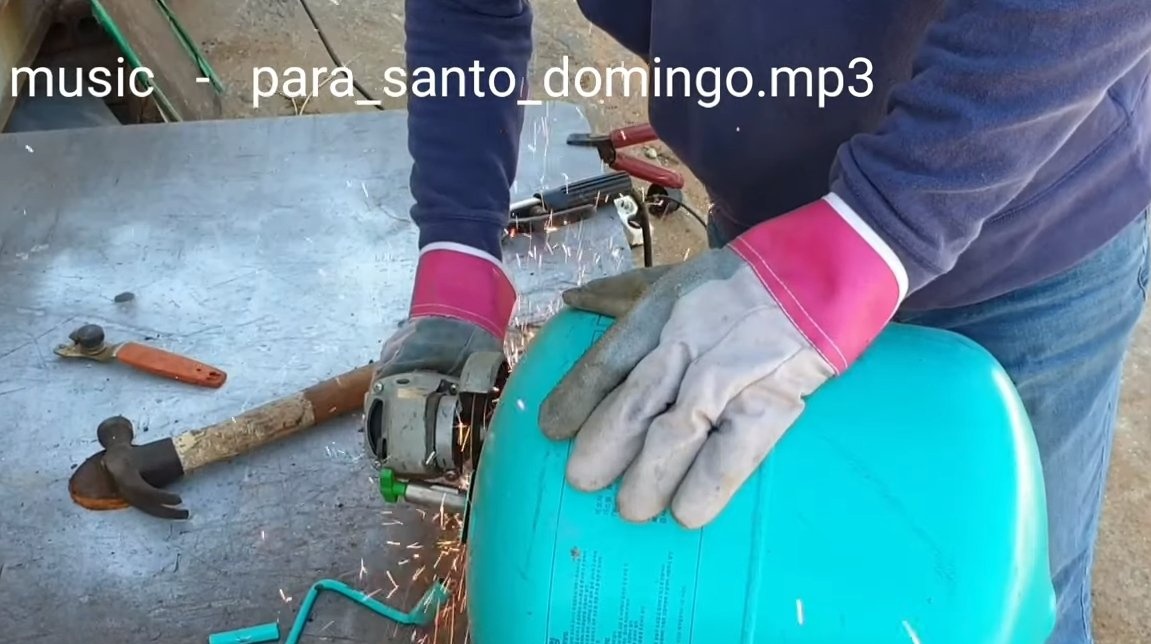
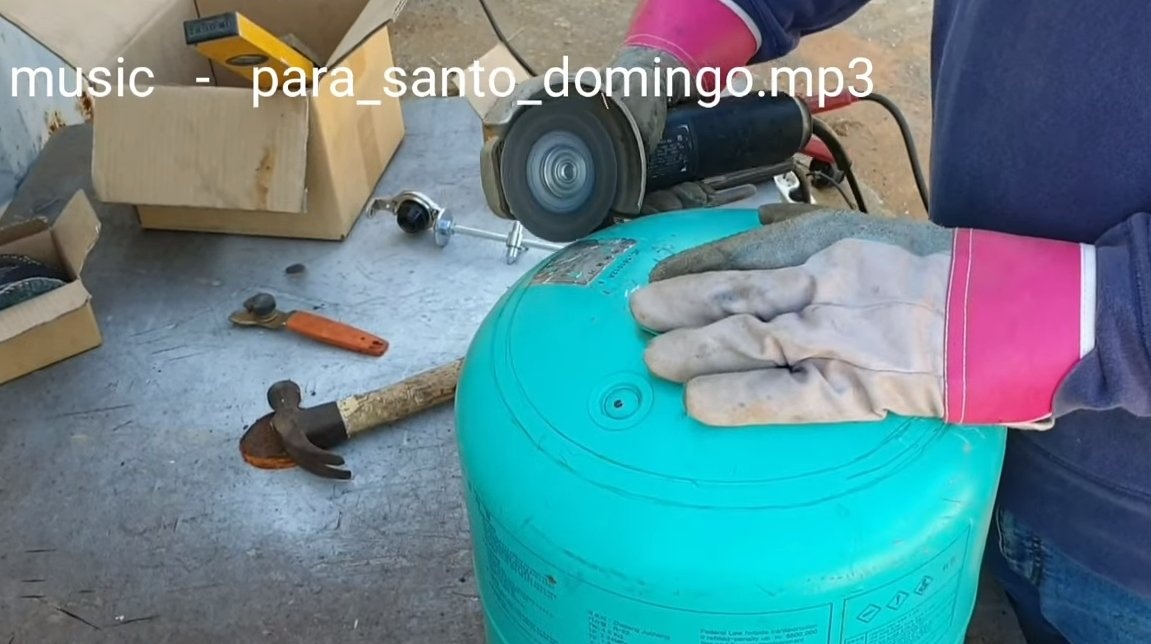
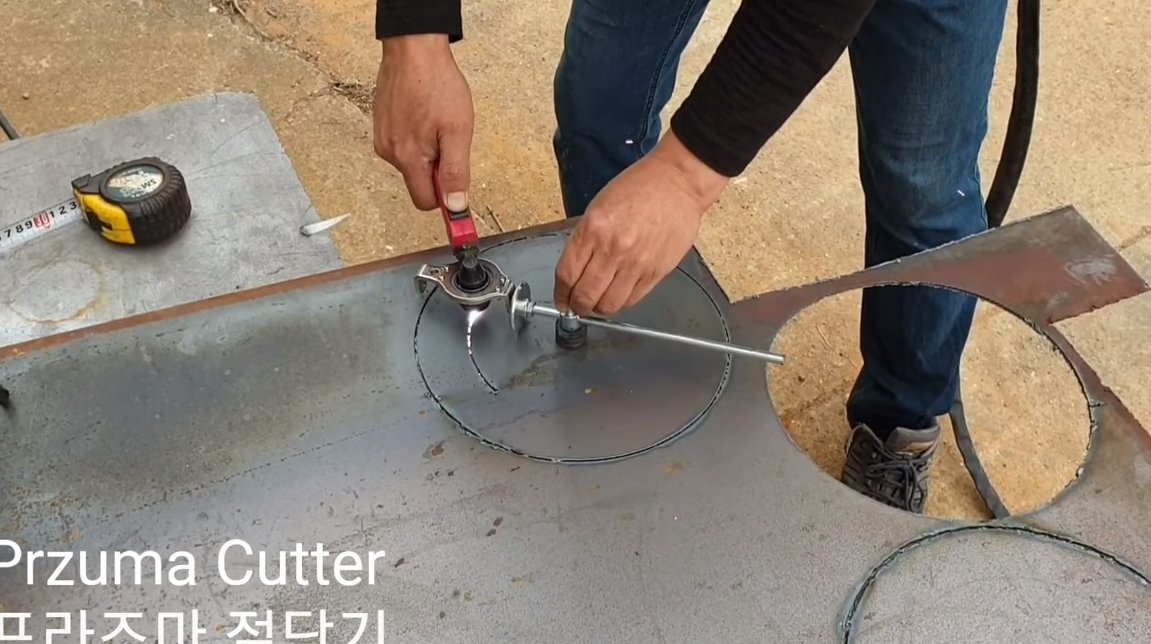
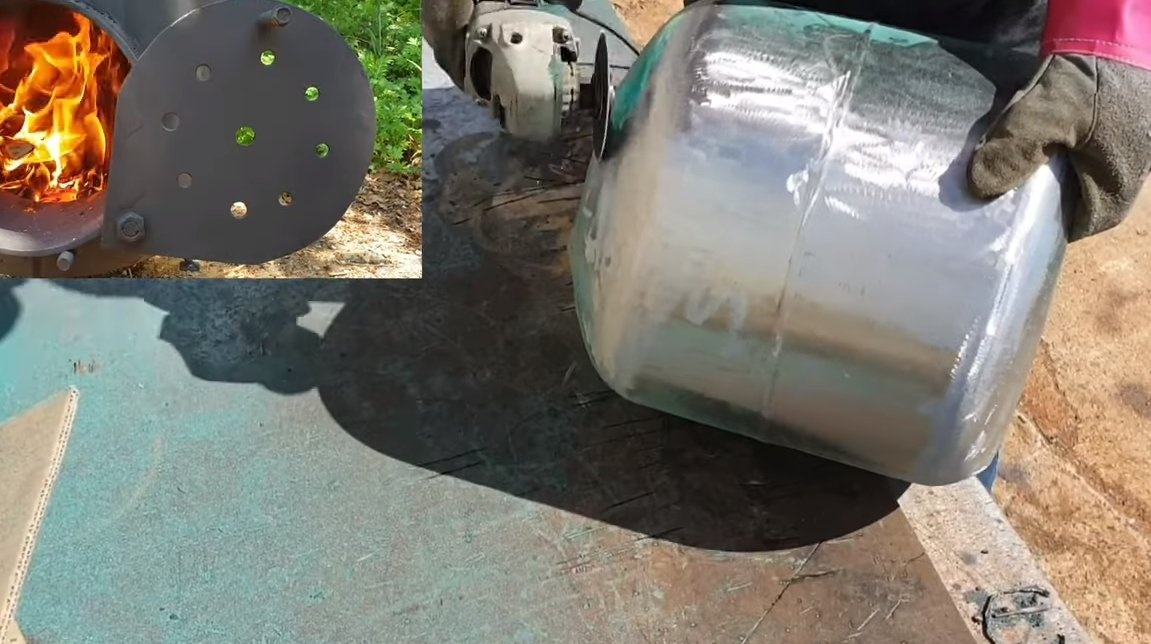
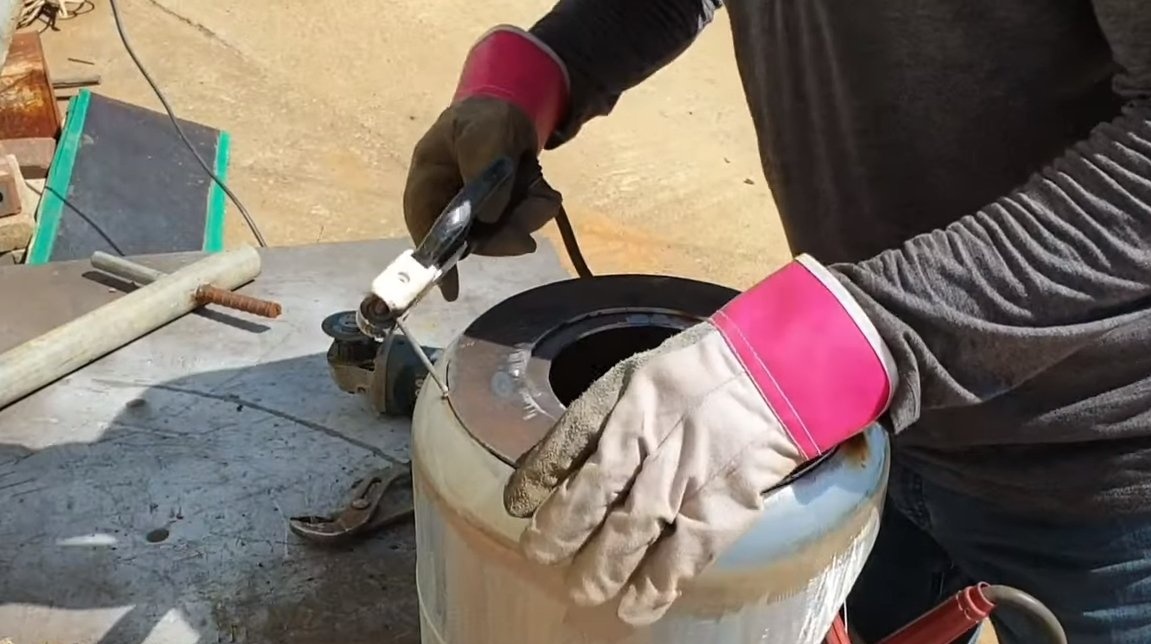
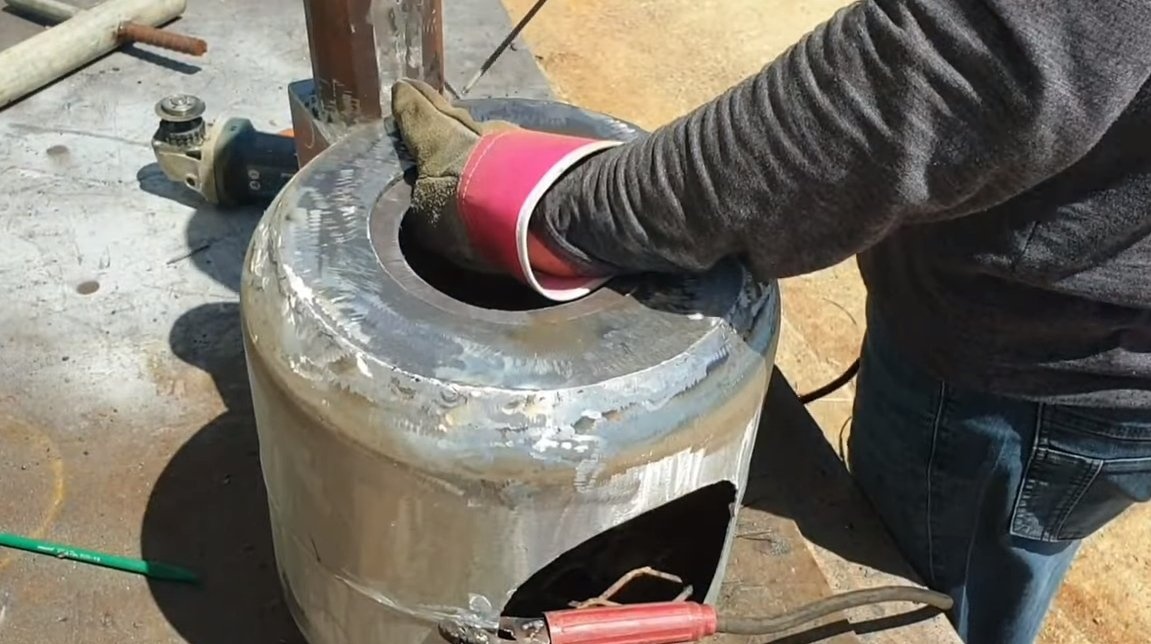
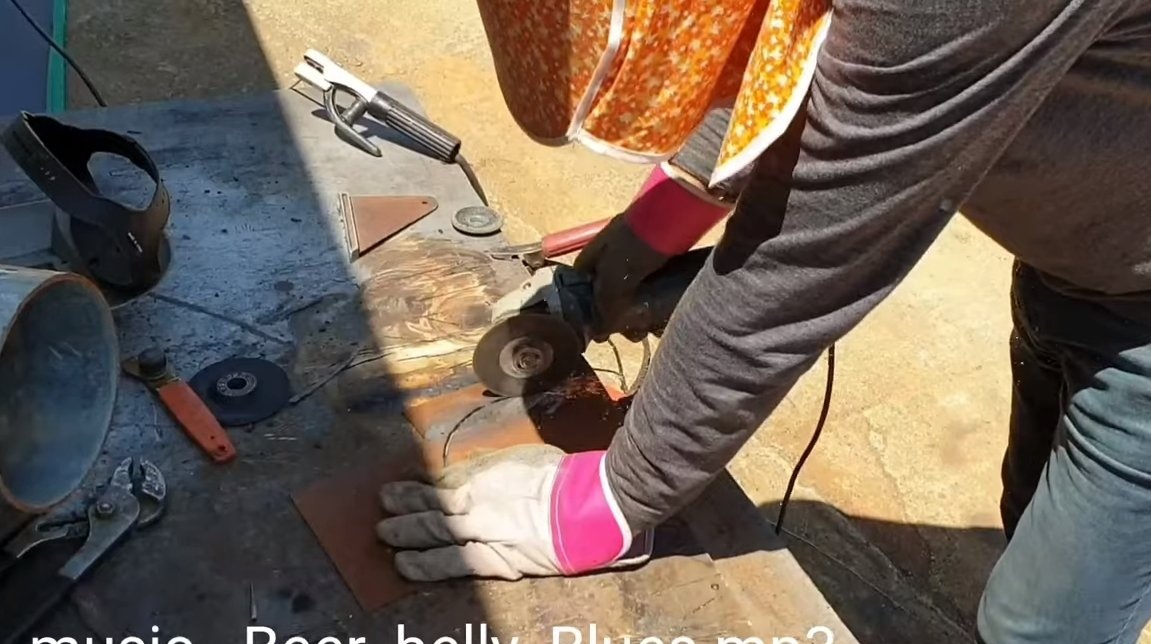
Our first task will be cutting the neck of the container. To begin with, the author draws a circle with a special compass, and then you can start cutting. Work is carried out using a grinder.

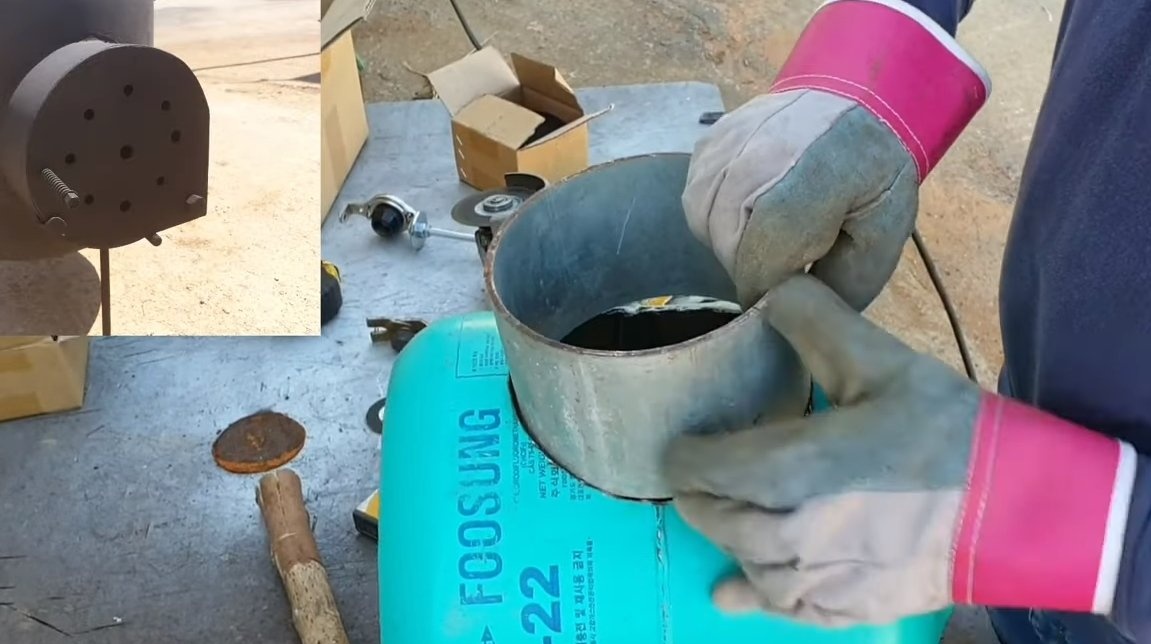
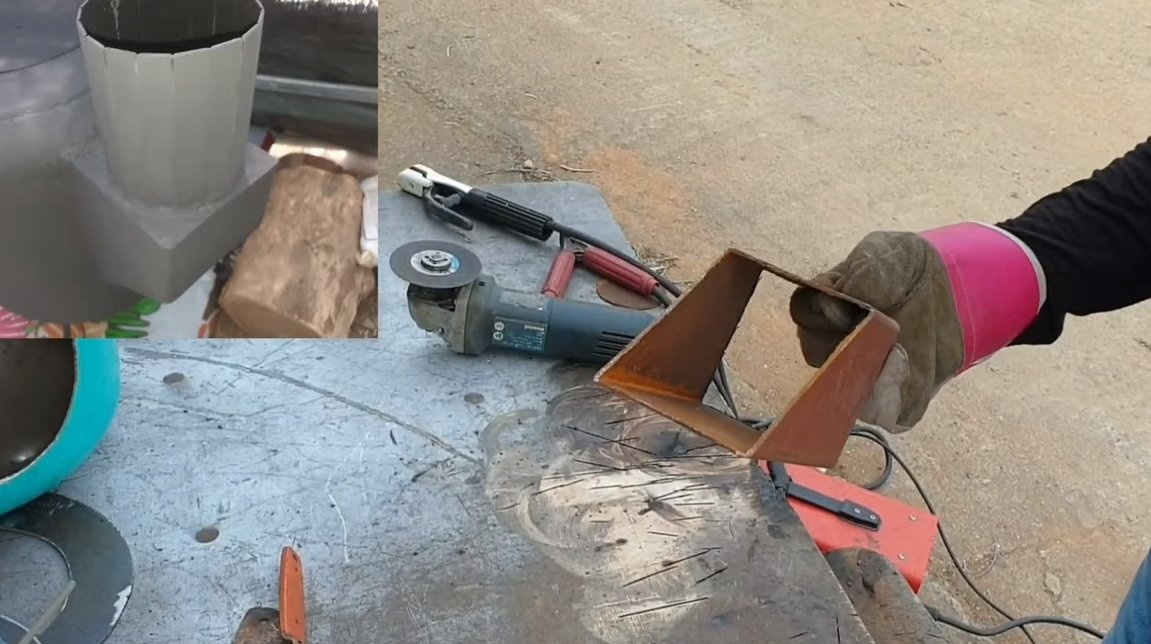
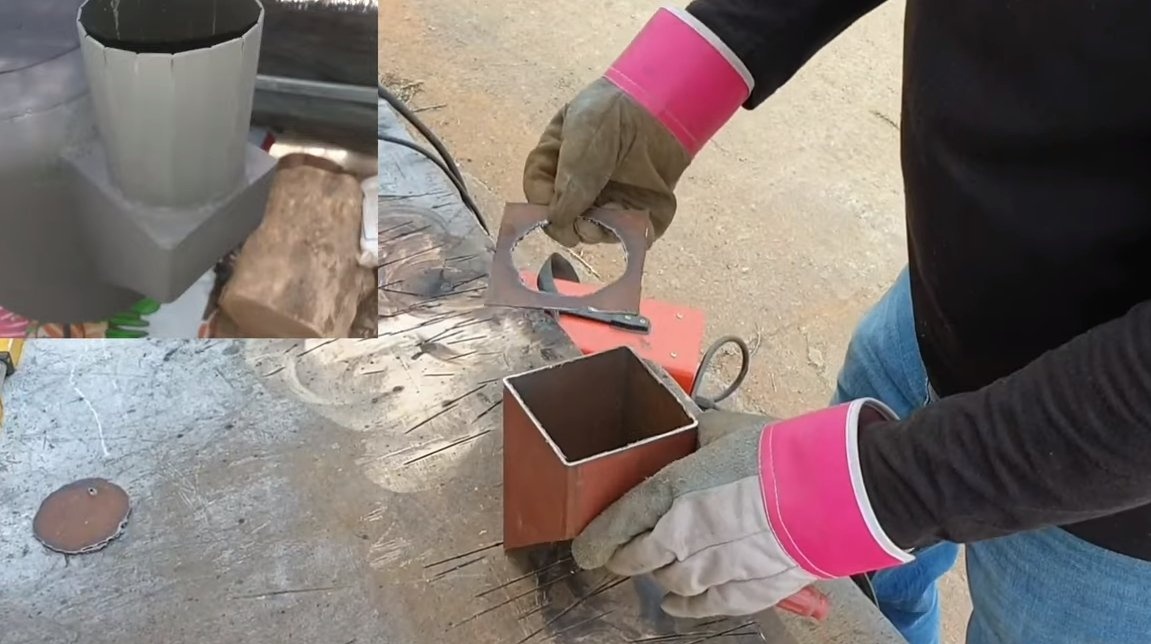
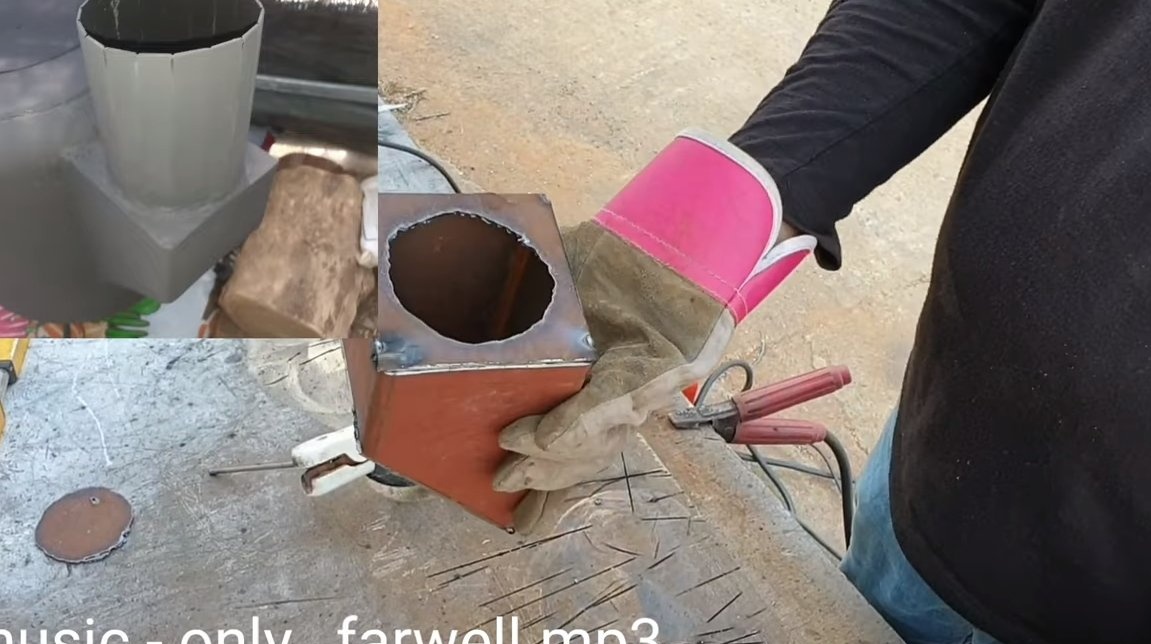
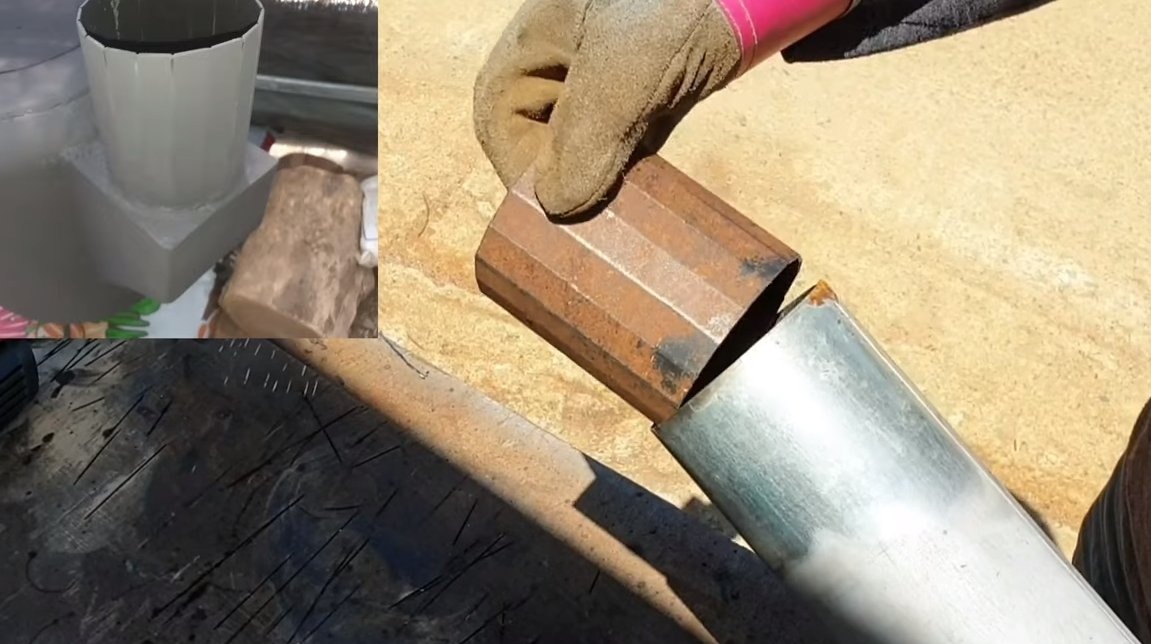
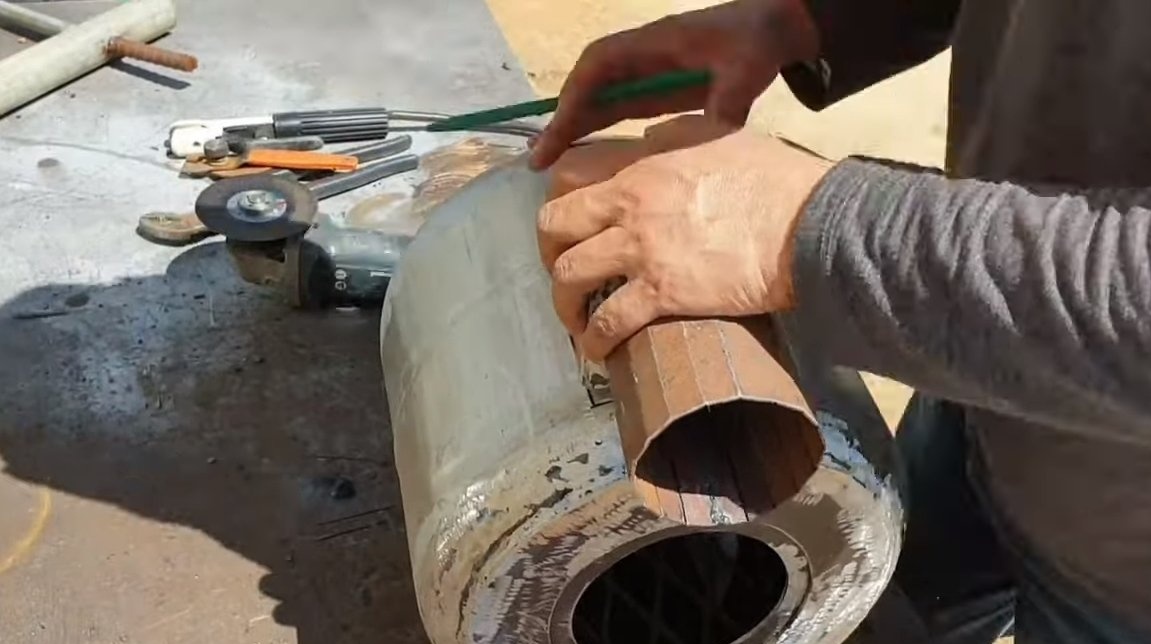
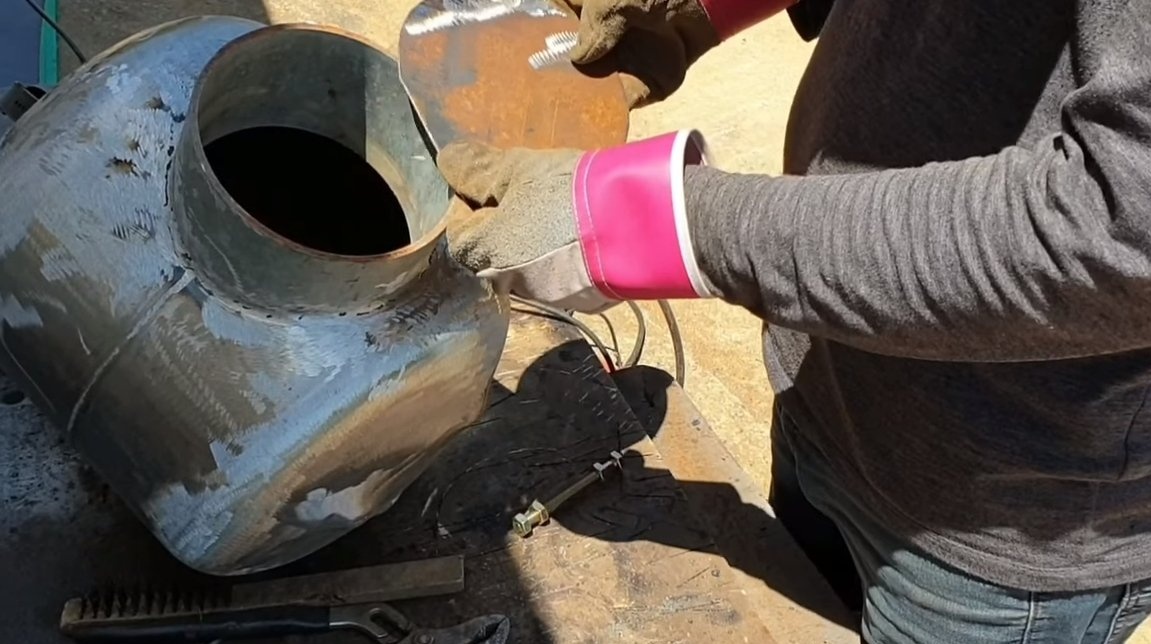
Step Two Furnace sleeve
Next, we need to weld a furnace sleeve to the furnace body, through which we will load firewood, the door will also be installed immediately. For such purposes, you will need a piece of iron pipe of suitable diameter. We cut a hole in the furnace body and weld the prepared part well. All welds must be airtight.


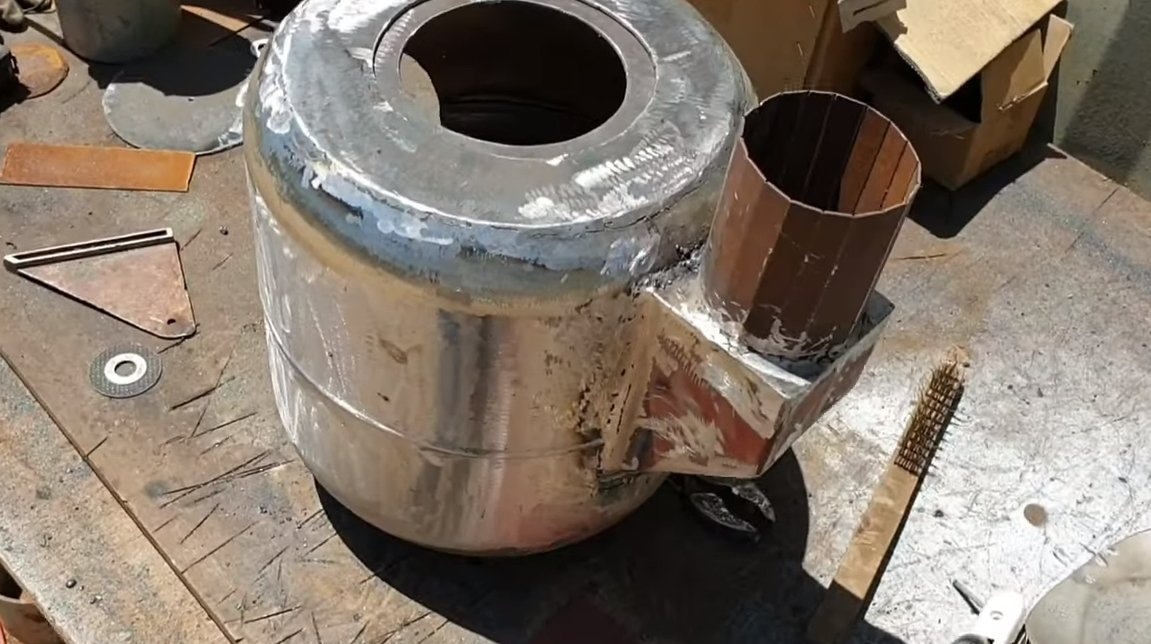
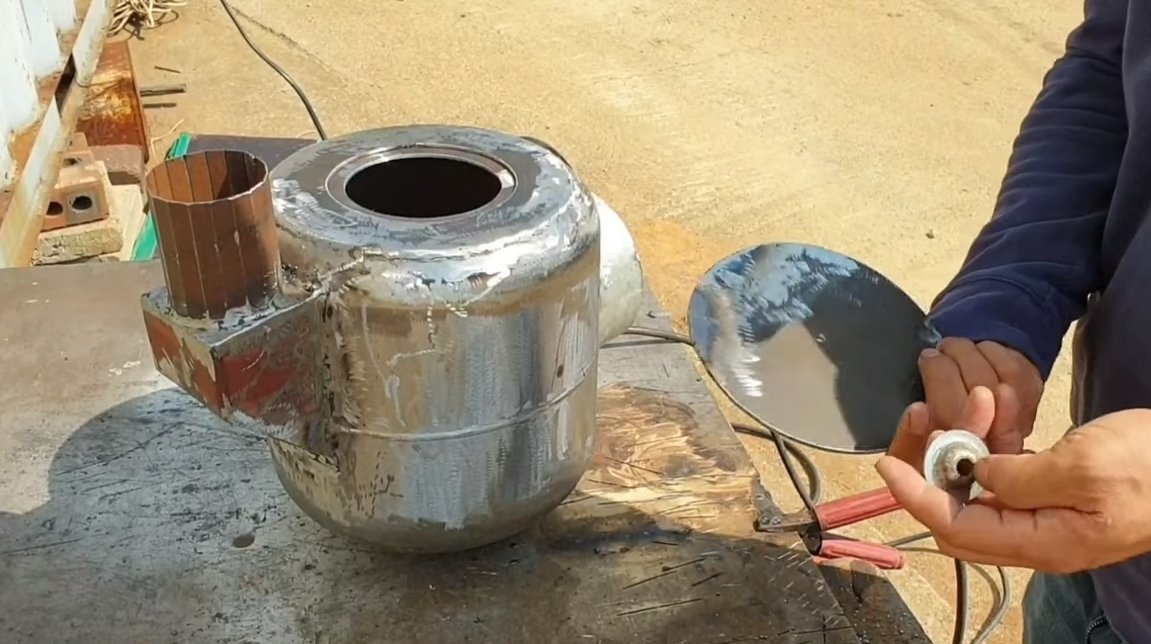
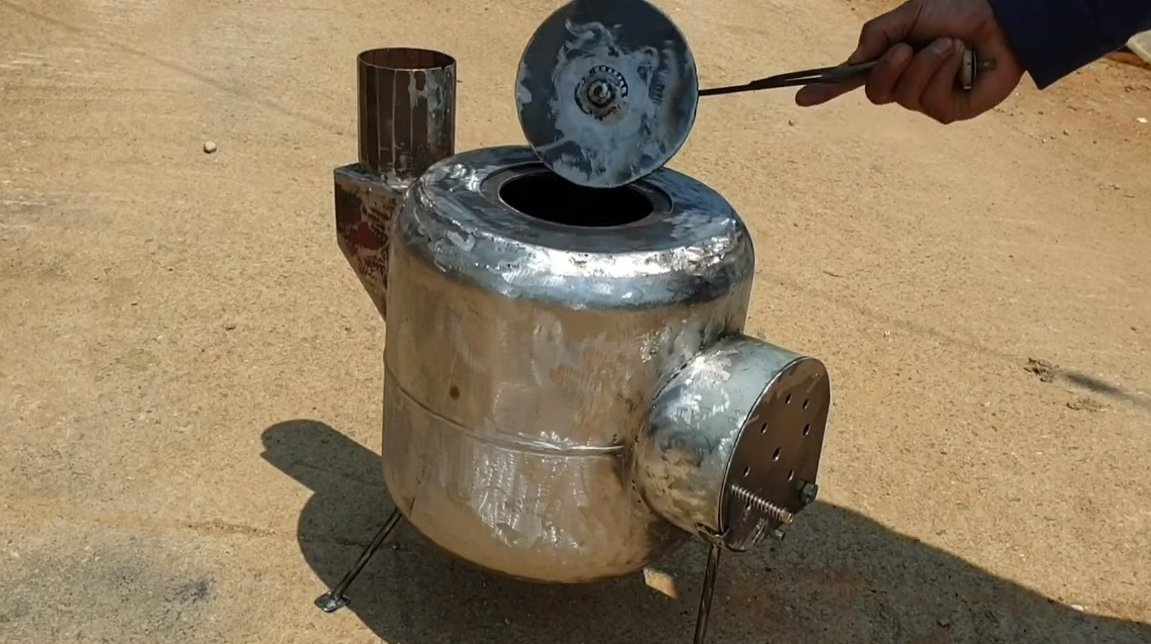
Step Three Burner
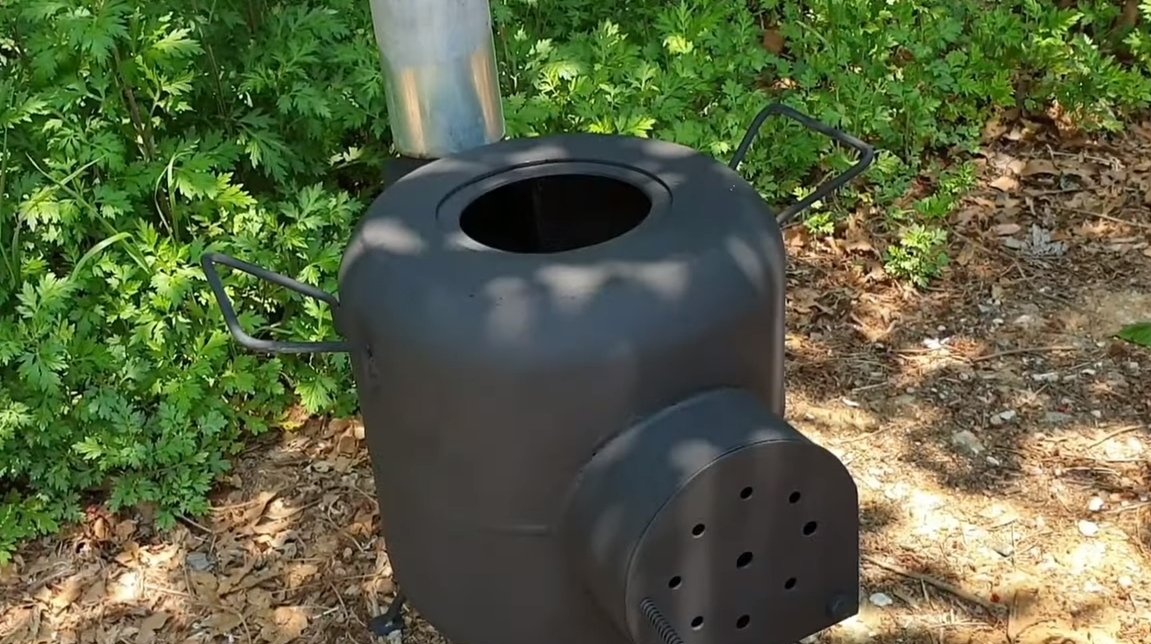
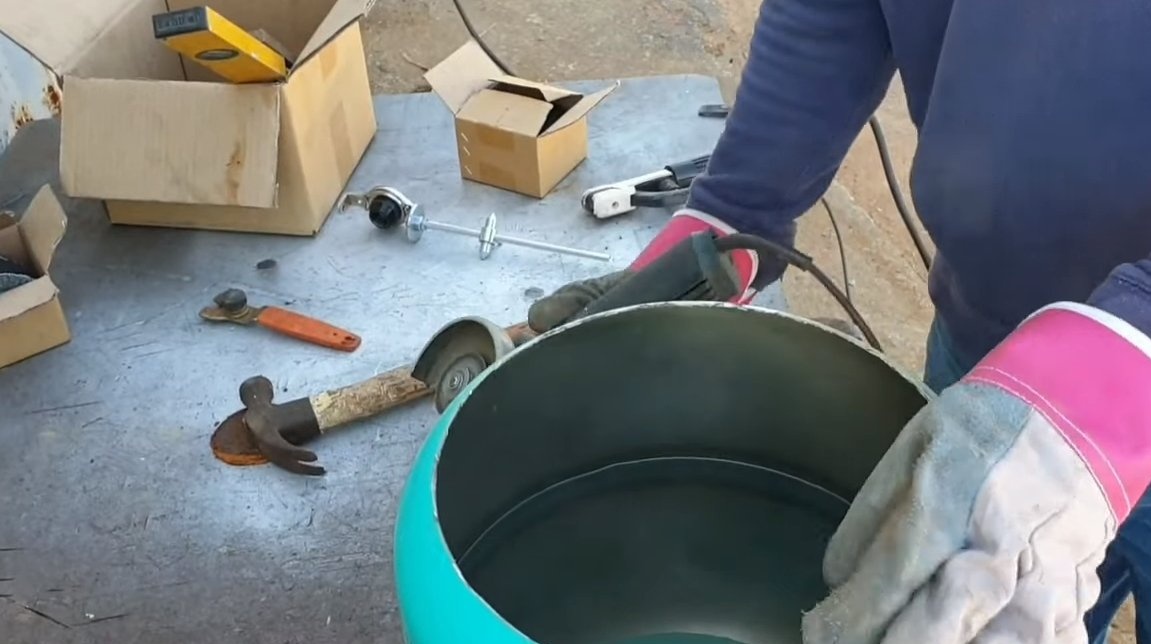
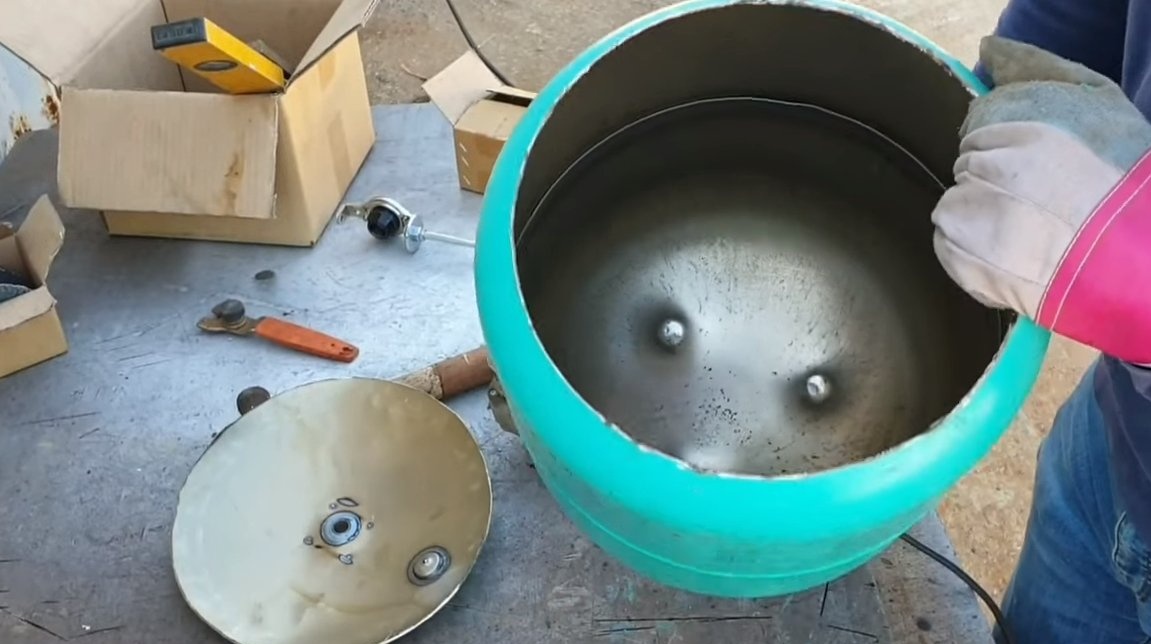
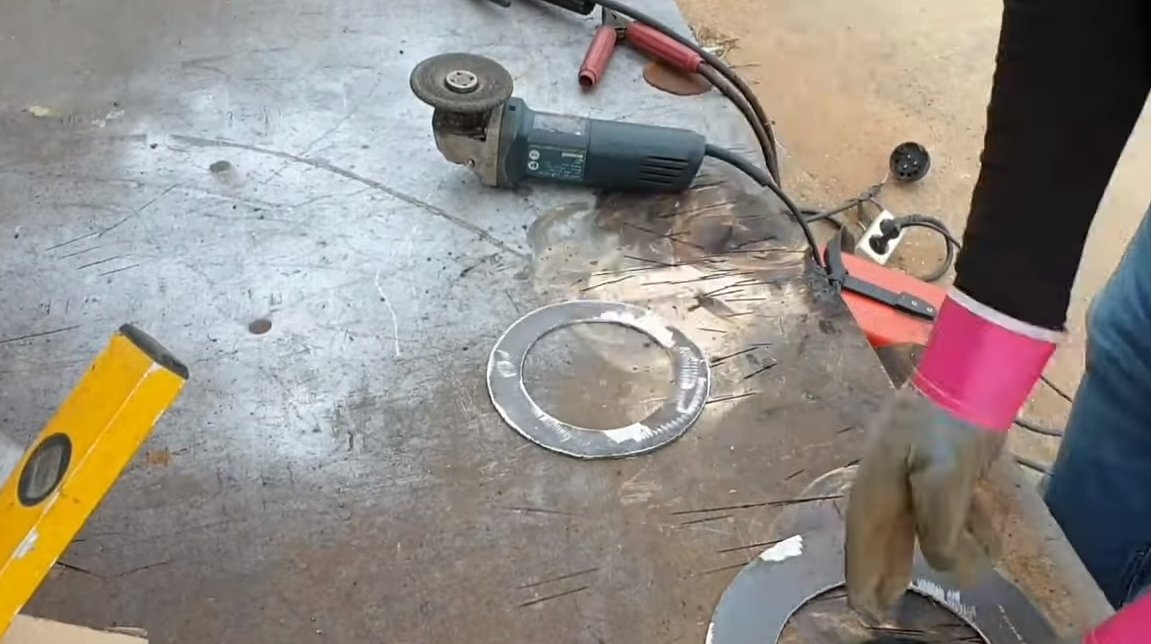
Now we need to make a burner for the furnace, for such purposes we will need sheet metal, and it is better to choose a thicker material, since this section of the furnace will be very hot.We will need to cut three parts, this includes the lid, as well as two rings, from which the burner is assembled.
We weld the rings together, as a result, a depression under the lid will turn out on the burner. The finished structure is well welded to the top of the furnace. It is very important that the welds be strong and airtight, otherwise there will be smoke.

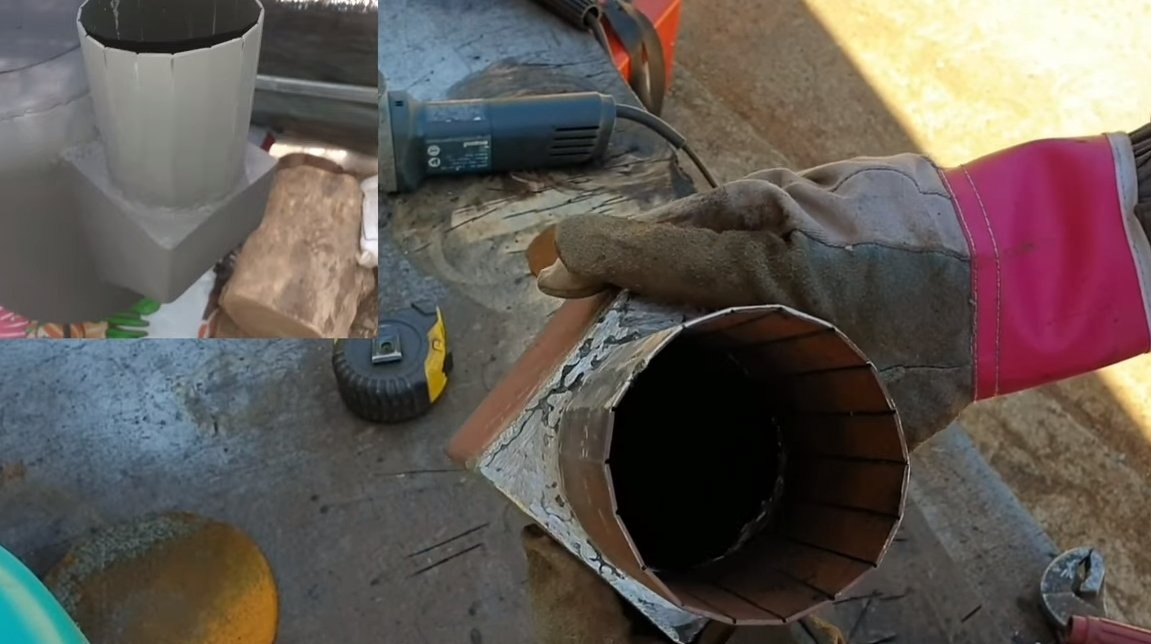
Step Four Chimney pipe
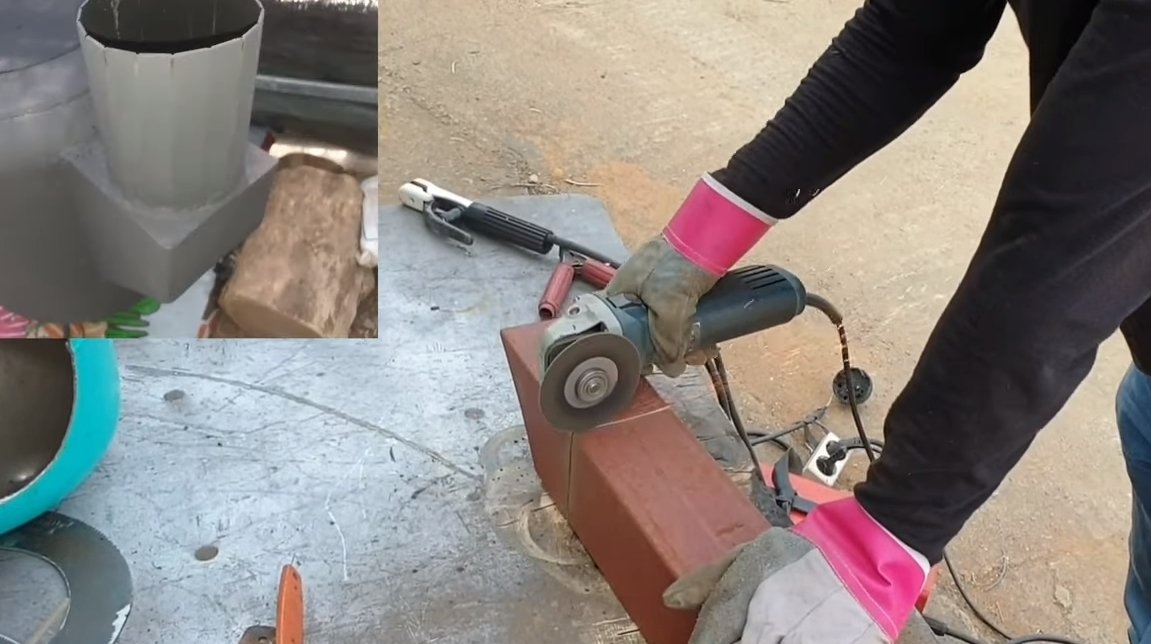
We make a pipe for the chimney, the chimney can be used one that is designed to equip ventilation systems. The author makes the pipe of the desired diameter from sheet metal. To bend the sheet, simply make rows of cuts, and then bend the sheet. The metal will bend clearly along the cut lines.


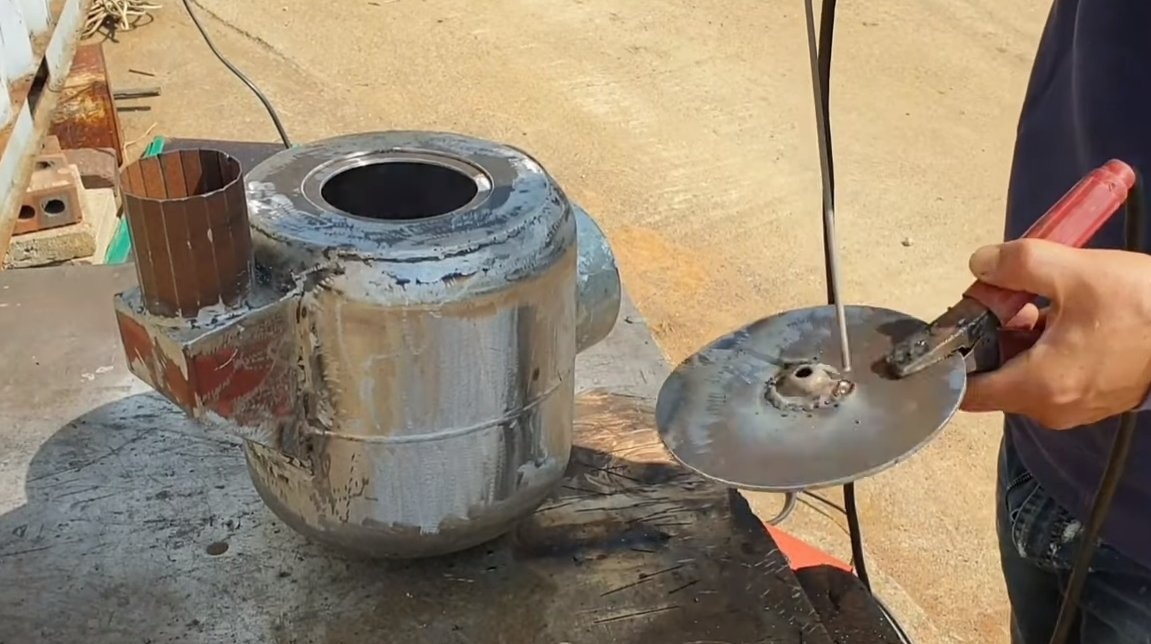
Step Five Grate
We make grates for the furnace, for these purposes we need an iron grate, cut off the desired piece and weld to it the legs from the round timber so that the grates are at some distance from the bottom of the furnace. If desired, the grate can be welded inside the oven, but then there may be difficulties with cleaning the ashes.

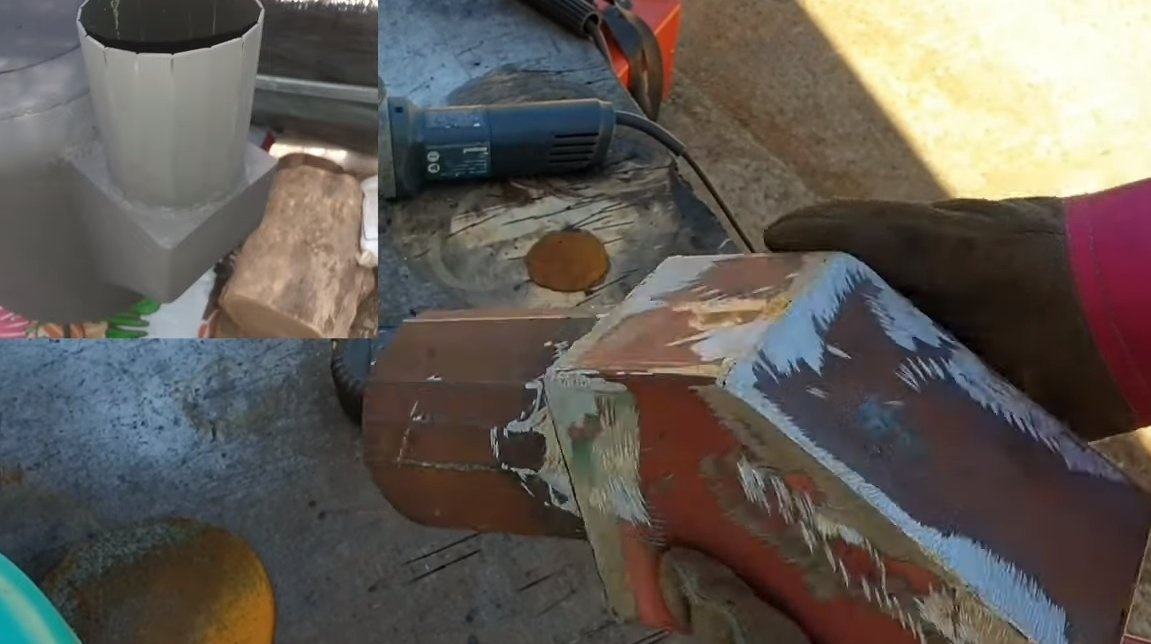
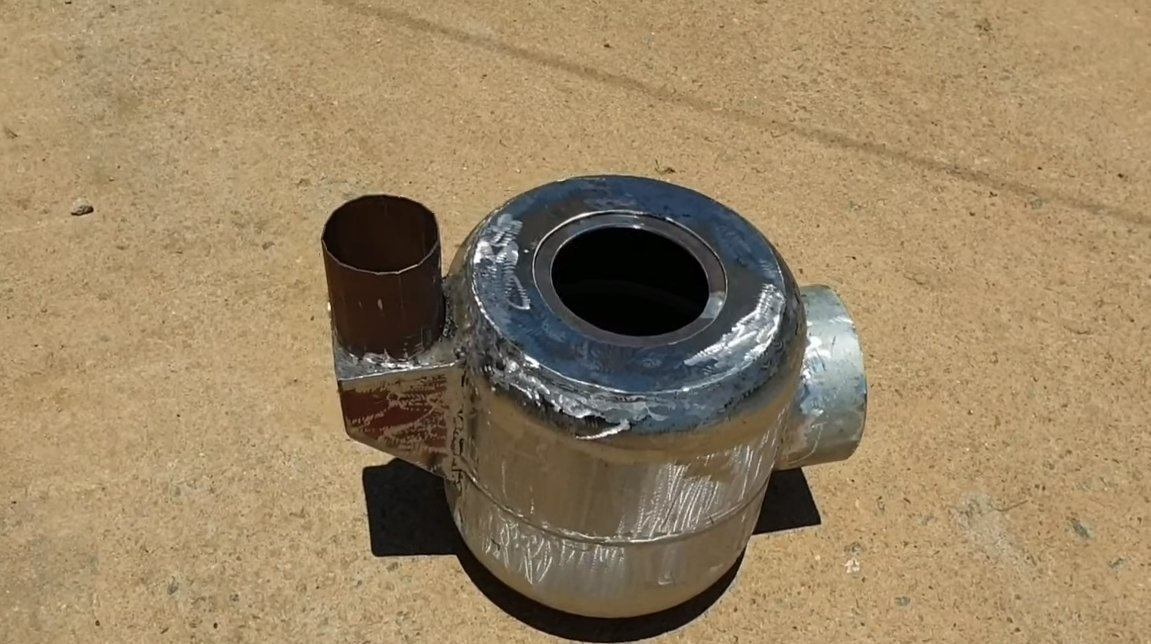
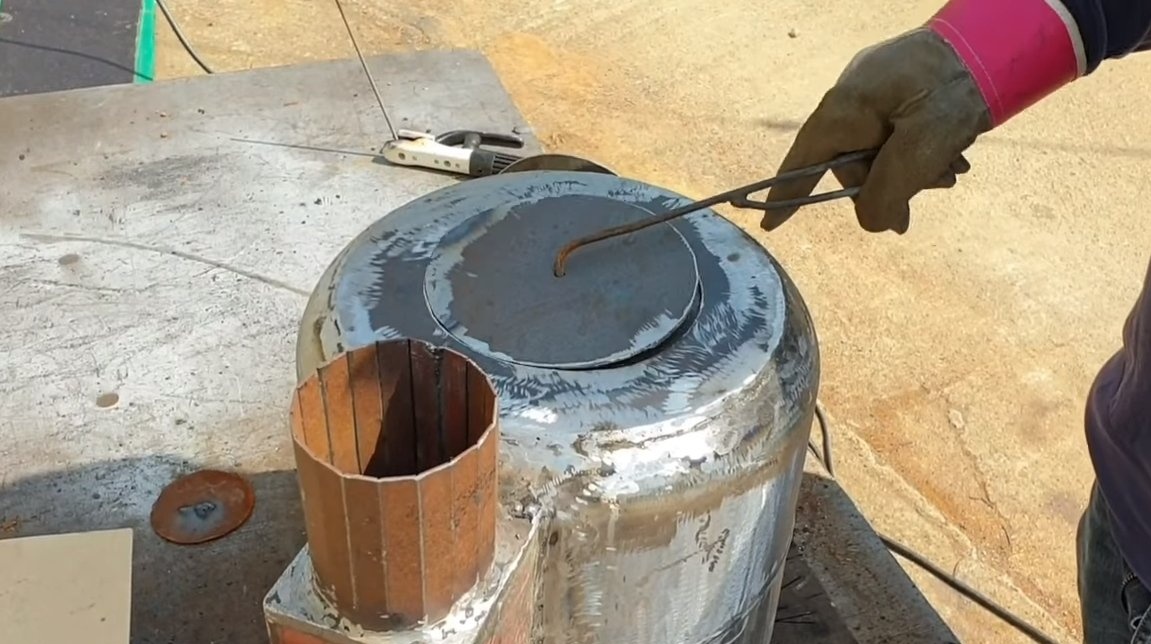
Step Six Assembly
All parts of the furnace are ready, now the furnace can be assembled. Well we clean the furnace body from paint, as it will burn. Some masters first burn the metal, and then clean the paint, so everything turns out easier. We weld all the components of the furnace into place, we make the welds sealed. To make everything look neat, we clean the welds with a grinder with a petal nozzle or a grinding disk. The oven is now ready for painting.


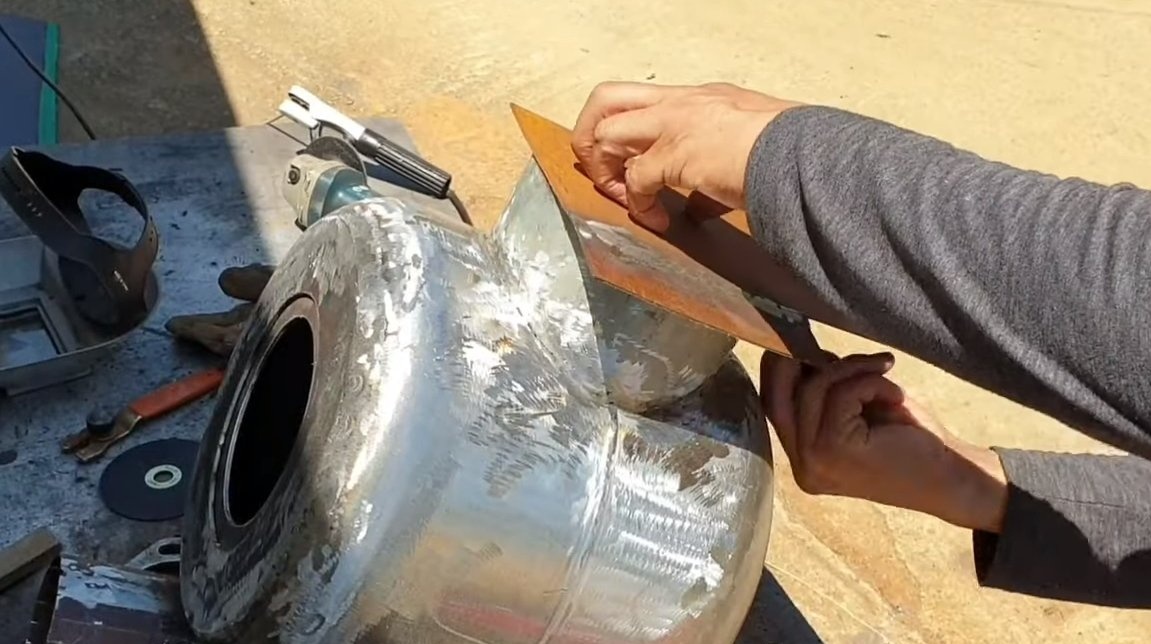
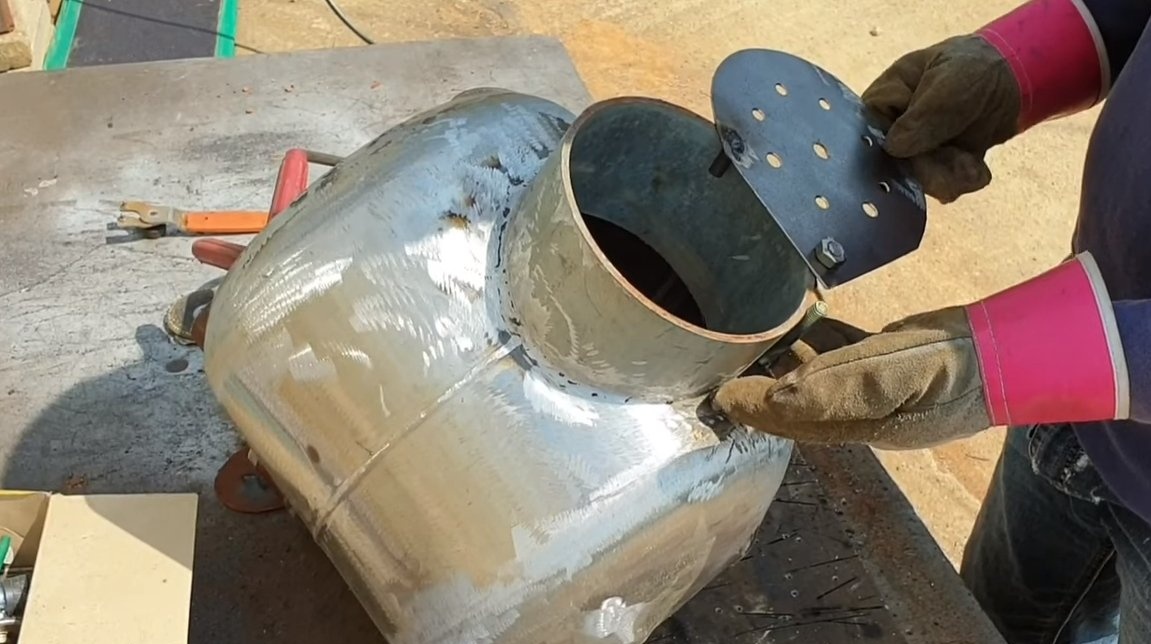
Seventh step. Door
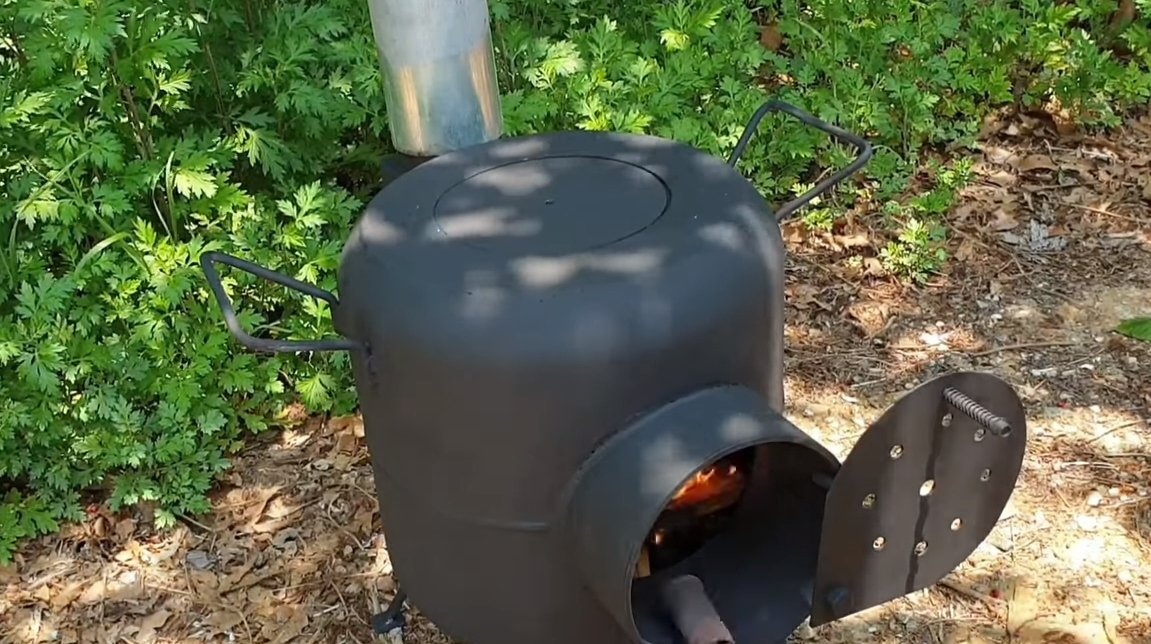
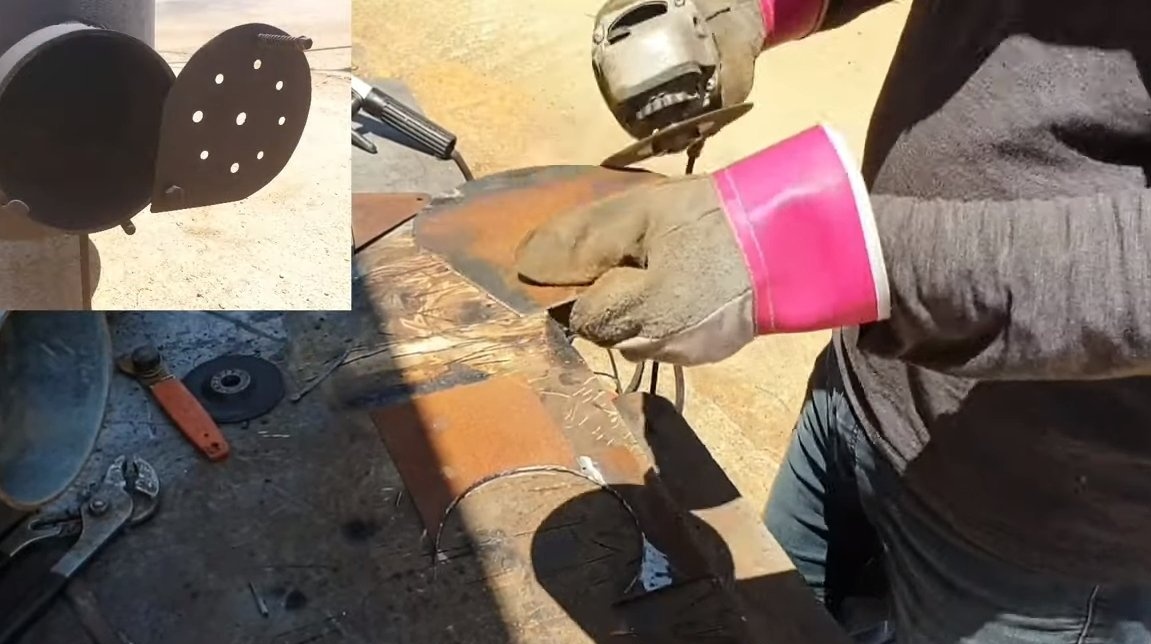
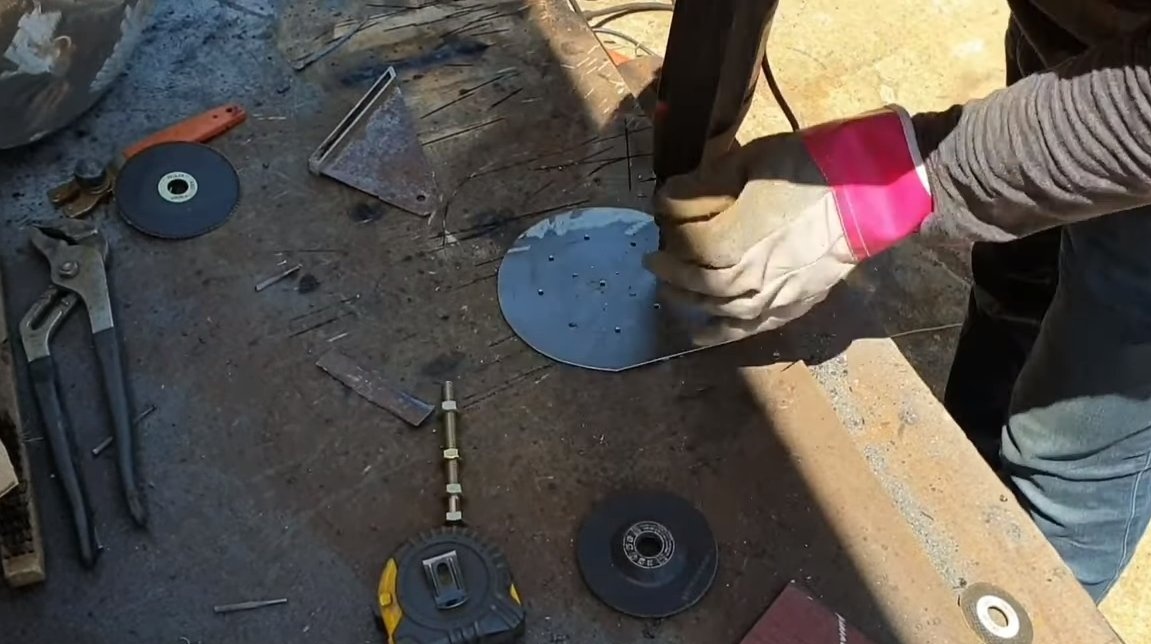
We will make a door for the furnace, which will allow us to control the intensity of combustion. The author makes the door from sheet iron; it will open to the side. Rows of holes are drilled in the door through which air will enter the furnace to maintain combustion. The author hangs the door on a bolt with a nut; it opens by turning sideways. For the door you need to make stops, you can use bolts, rods and other details.


Step Eight. Handle and legs
We need to make a handle for the door, it should not heat up. As a handle, the author welds a screw with a spring installed on it. The spring will cool well, and you can grab such a handle with your bare hands.
As for the cover, its author decided to open it with a special hook made of thick wire.

Also for the oven you need to make reliable legs. As a material, you can use rods, fittings, pipes and other materials. Be sure to weld nickels to the legs so that they do not fall into the ground.
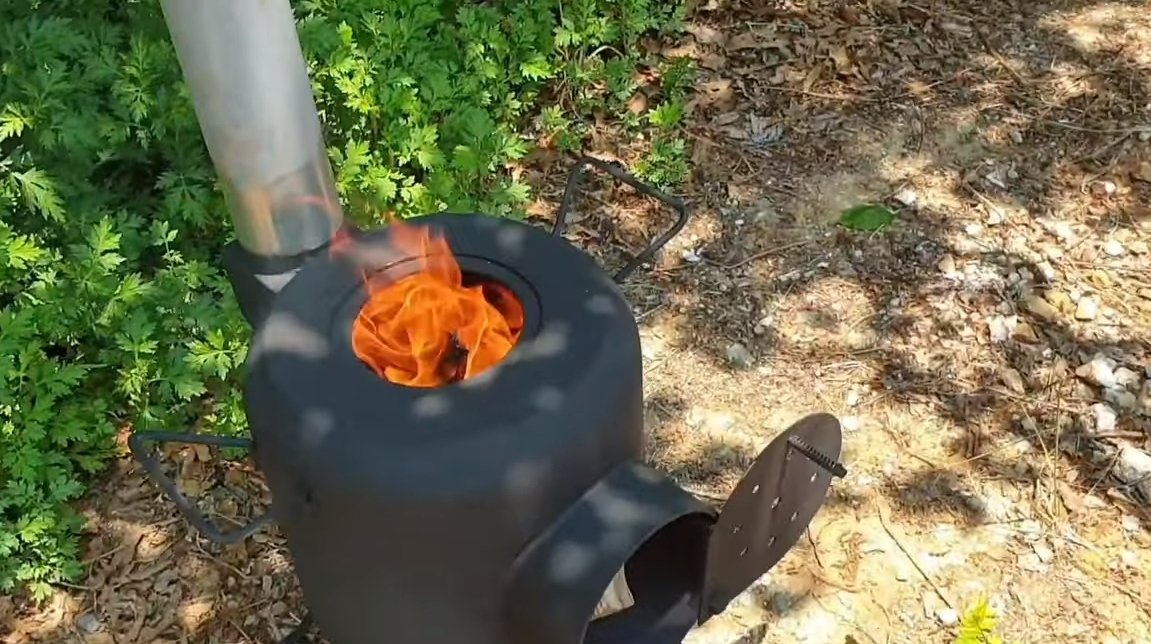
Step Nine. Painting and testing
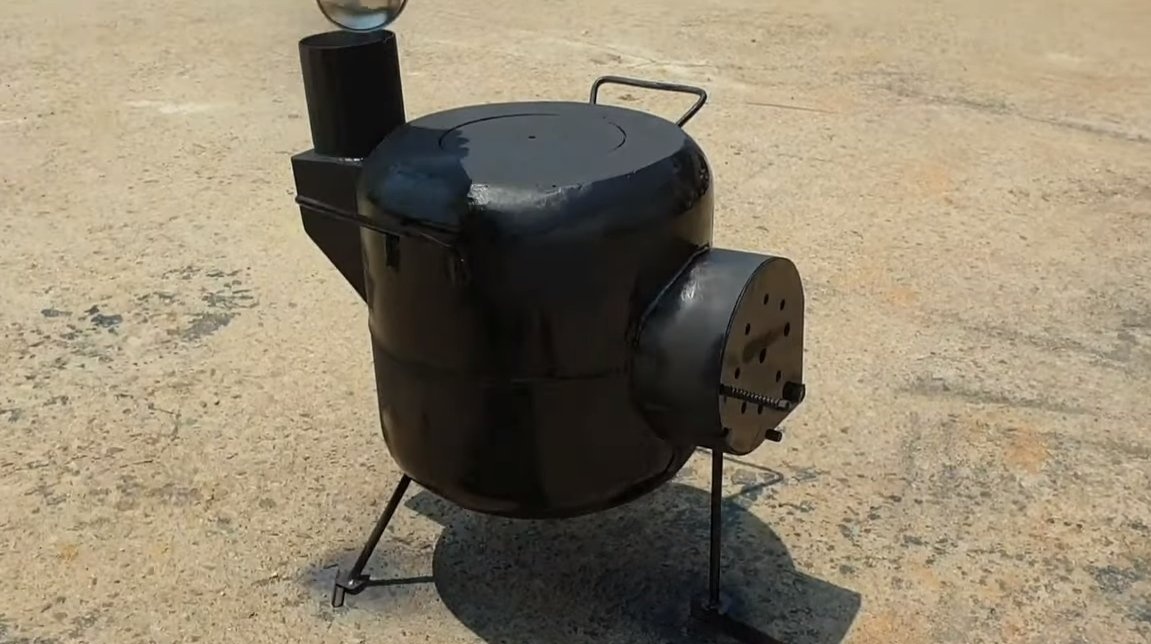
Then the oven can be painted, we need heat-resistant paint, any other will burn. The author uses a matte black paint, it looks amazing.
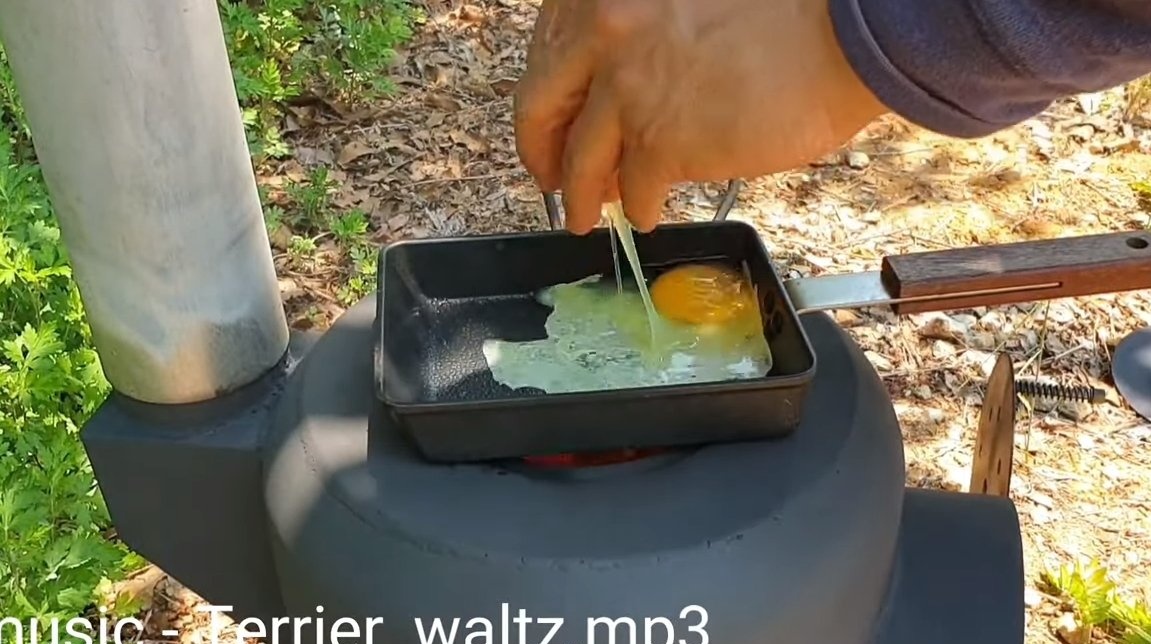
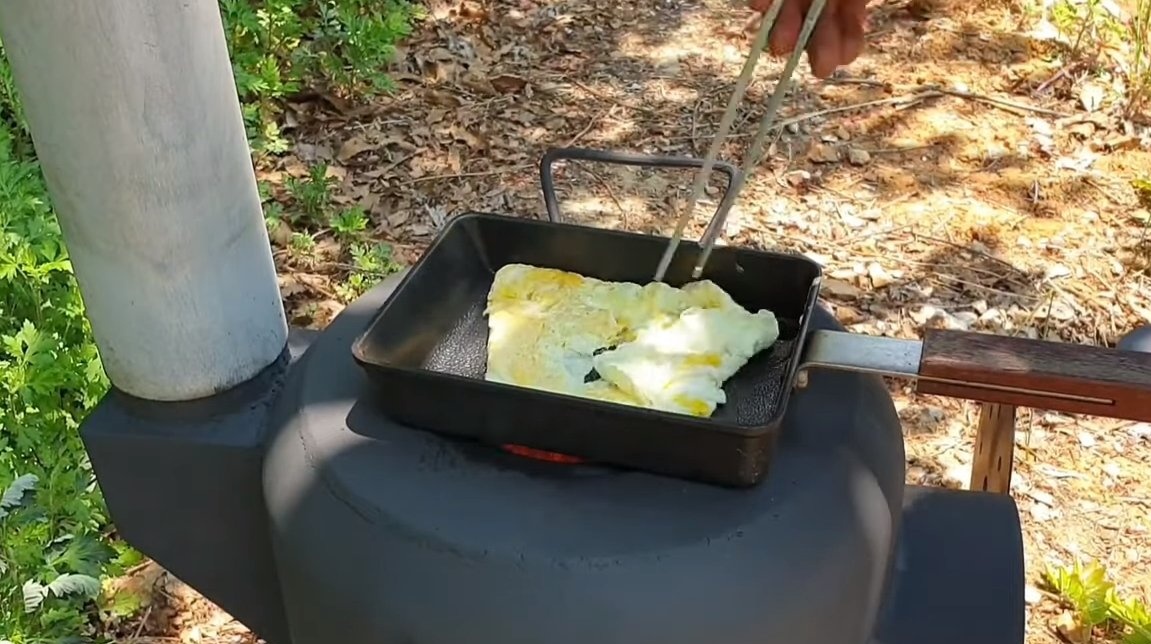
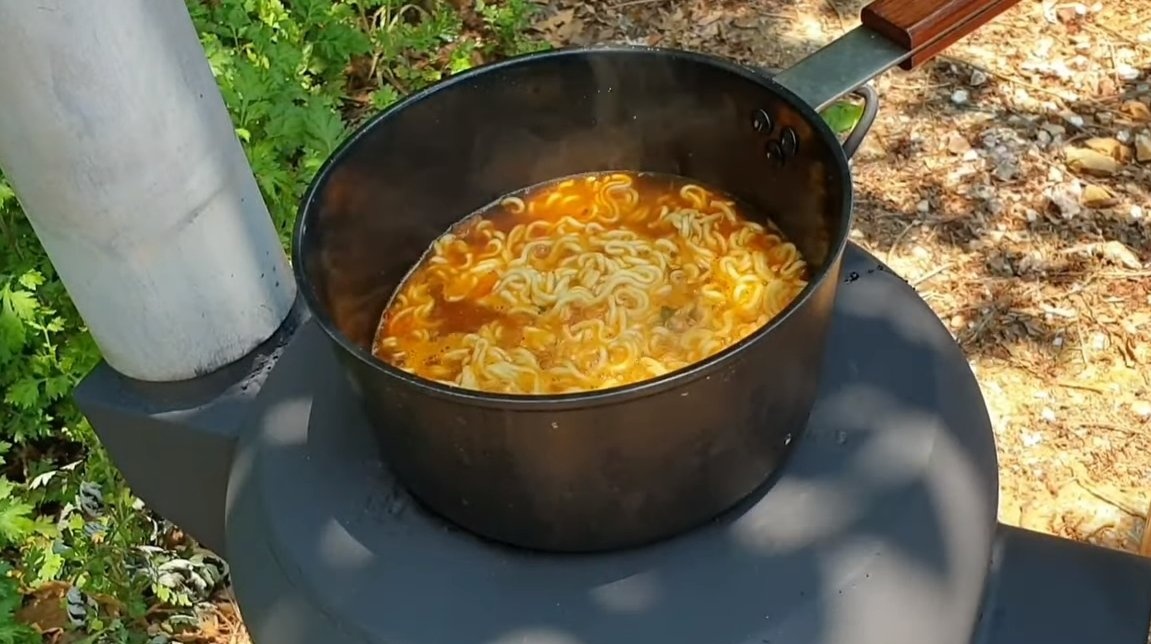
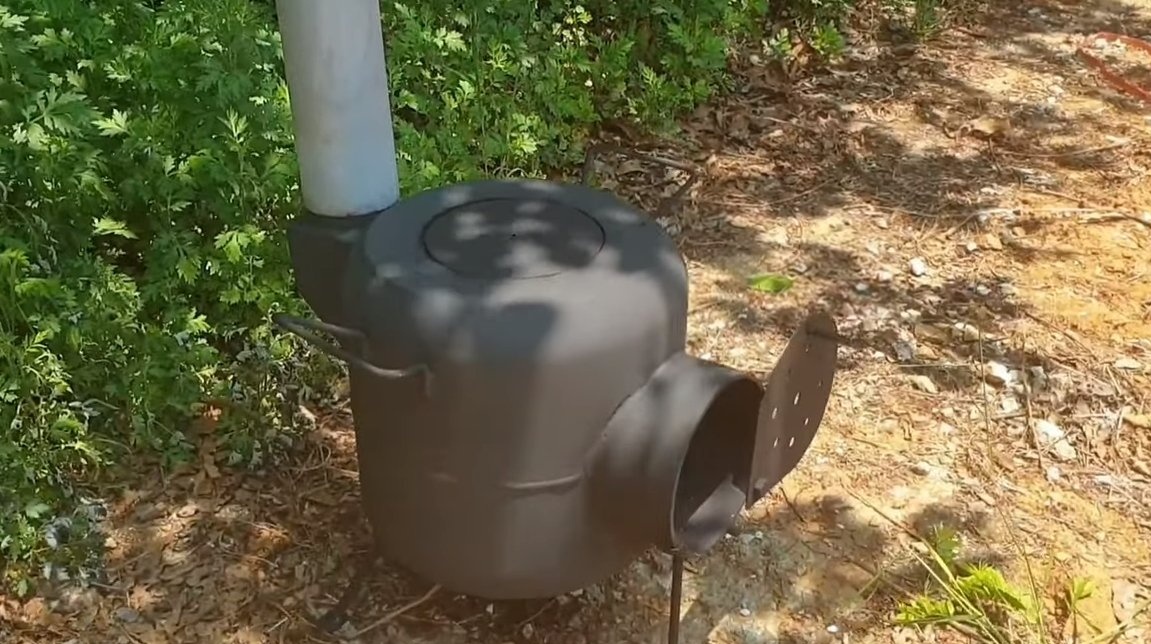
That's all, the stove is ready, you can experience it. As an experiment, the author fries scrambled eggs, and also cooks vermicelli. Such an oven will also be excellent to warm, so you will definitely not freeze near it, even sitting outside in the cold season. The design weighs a little, so you can even move the oven yourself.
It is recommended to drill one or more holes in the bottom of the furnace, water will flow through them if rain pours onto the furnace. This is the end of the project, I hope you liked the homemade work, and you found useful thoughts for yourself. Good luck and creative inspiration, if you decide to repeat this. Do not forget to share your ideas and homemade things with us!