Materials and equipment:
- MDF 6 mm thick.
- wood with a thickness of 12 mm to 20 mm.
Audio kit: (The author used the ready-made KIT kit, which consists of the following electronic components)
- 1 PC. x TDA2822M audio amplifier IC
- 1 PC. x 8 pin IC holder
- 1 PC. x 1 kOhm resistor
- 2 pcs. x 10 kOhm resistors
- 1 PC. x 10 kOhm double potentiometer
- 2 pcs. x 4.7 ohm resistors
- 1 PC. x red 5 mm LED
Capacitors -2 pcs. x 100 nF ceramic disk
Capacitors -2 pcs. x 470 microfarad, electrolytic
- 2 pcs. x 100 uF electrolytic capacitors
- 1 PC. x 10 uF electrolytic capacitor
- 1 PC. x iPod cable
- 1 PC. x PP3 clamp
- 1 PC. x rectangular power switch
- 1 PC. x DC socket
- 2 pcs. speaker (8 ohms, 66 mm) and connecting wire
- 1 PC. x stereo amplifier pcb
- Spray paint (primer and topcoat) of any color you like
- Velcro
- Magnets
Instruments:
- grinding machine / sandpaper
- PVA glue and alraldite
- Bulgarian with cutting discs
- Drill, drill and drill
- Disk mill
- Saw
- soldering iron
- Square
- Roulette
- clamps
- chisel
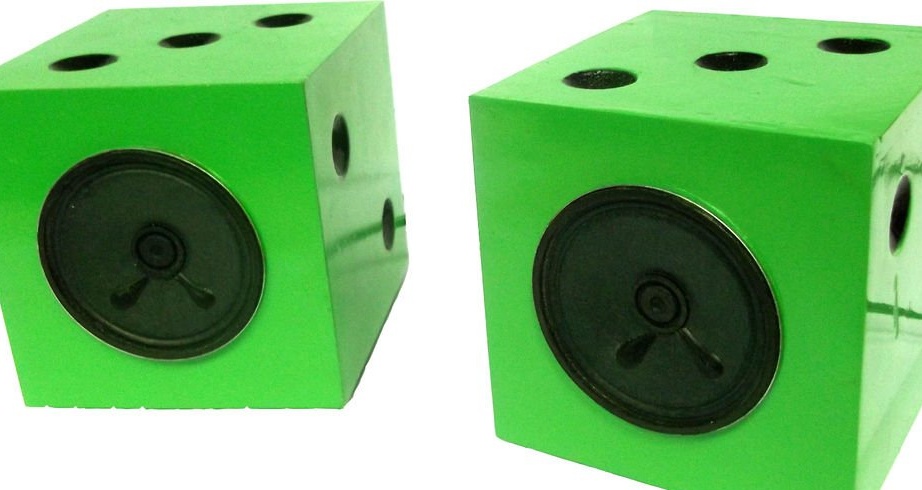
Step 1: Making the Box
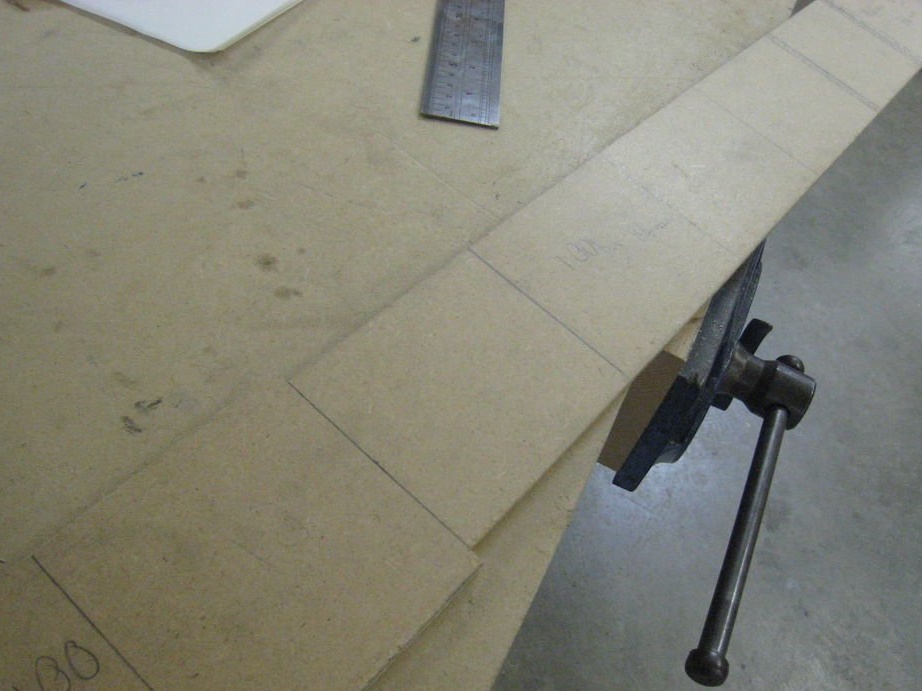
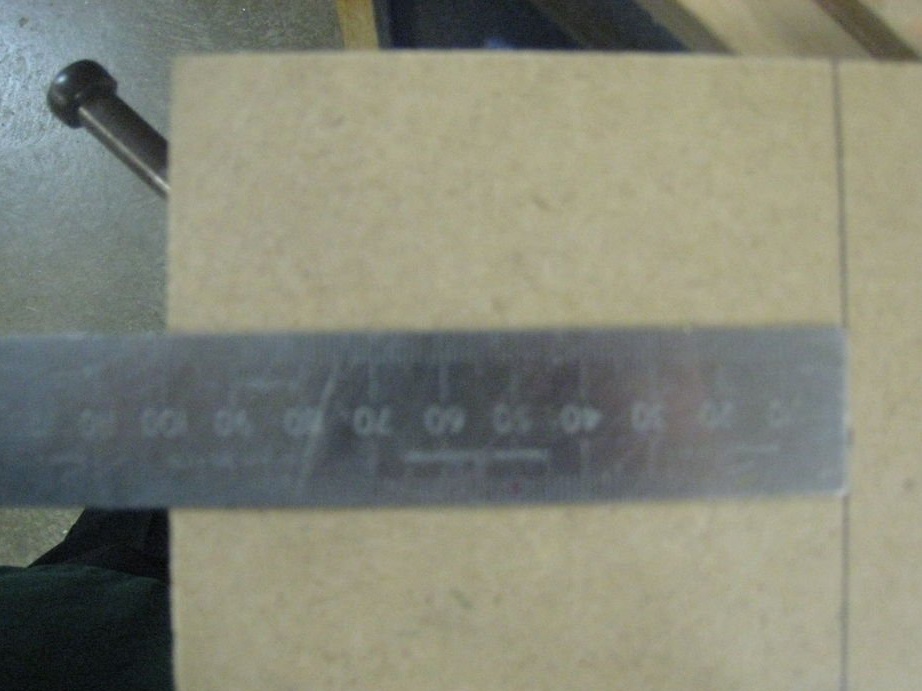
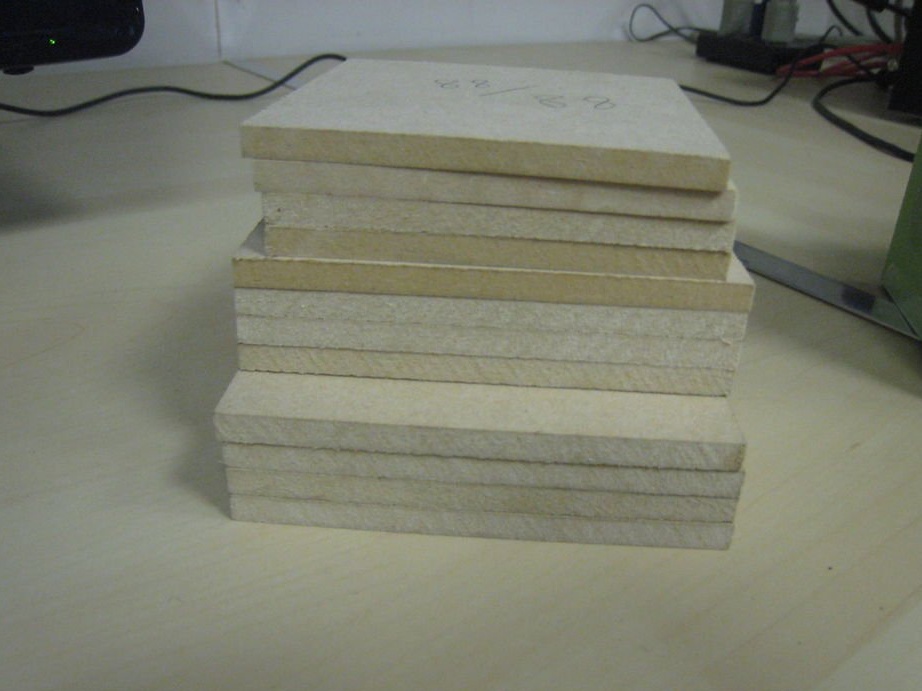

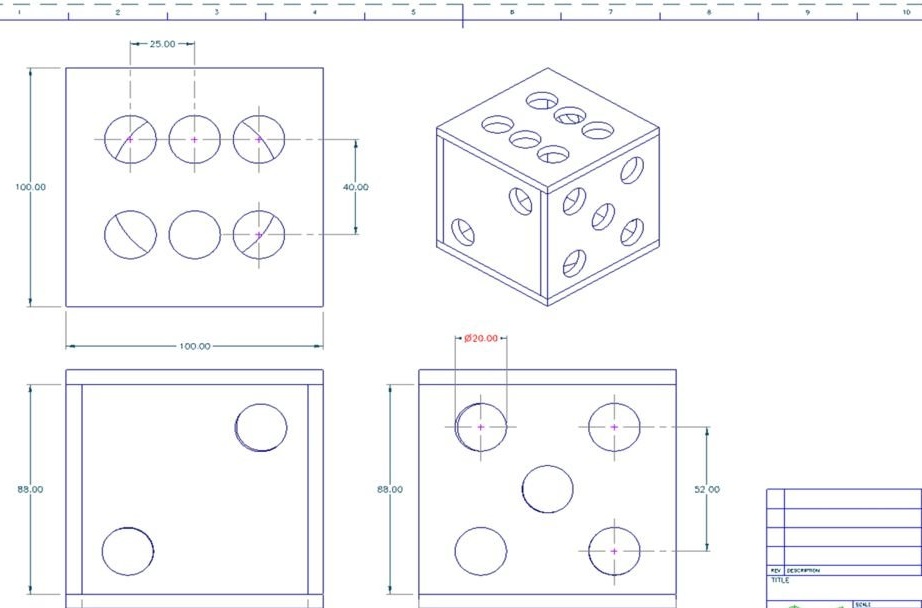
Cut 4 MDF boards measuring 100x100 mm, another 4 - 100x88 mm and another 4 - 88x88 mm. From these plates stacked together should be 2 boxes of 100x100 mm. Make sure you are accurate so that all parts can fit together well. (If you use MDF of a different thickness, calculate how much more your parts should be in order for the box to be 100x100 mm in size).
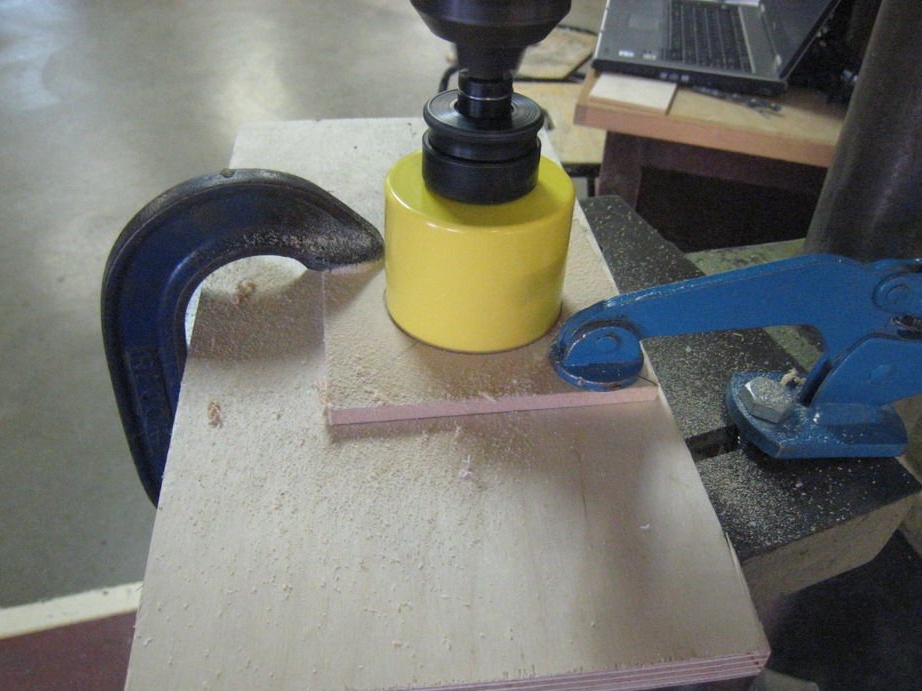
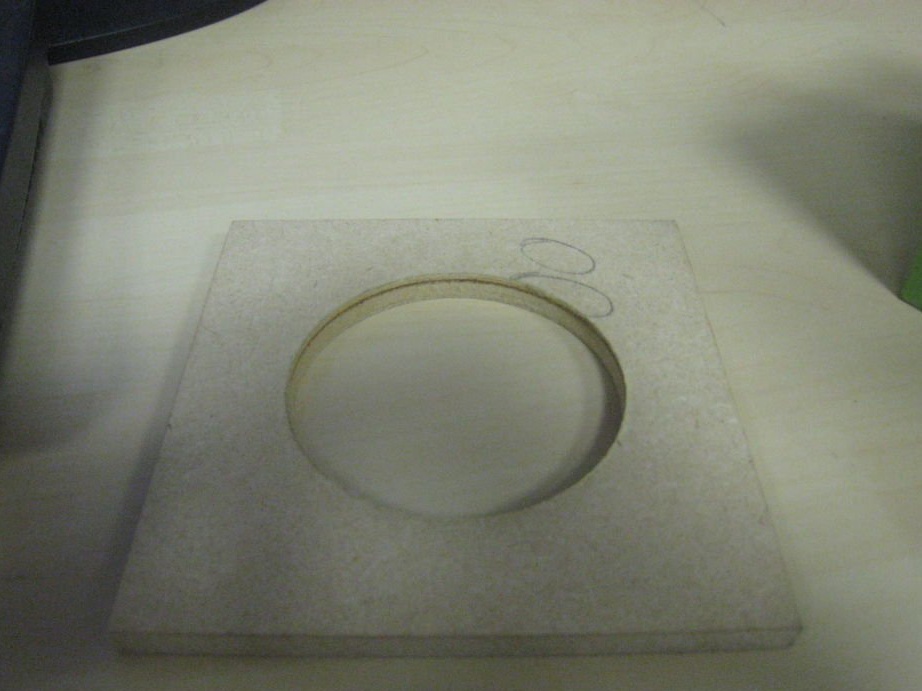
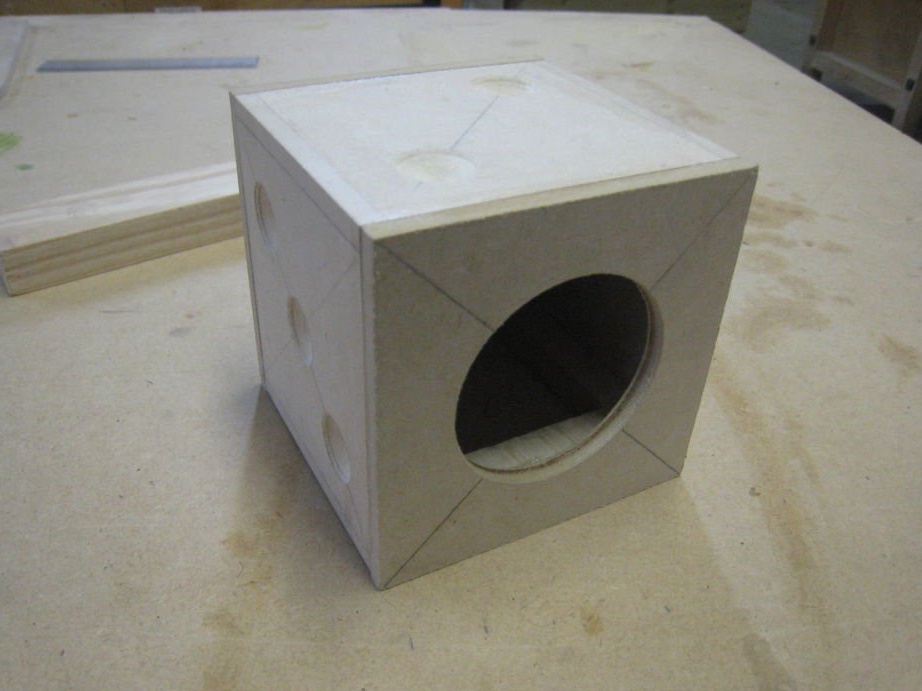
Then cut a hole for the speaker in 2 MDF boards measuring 100x100 mm. using a circular mill. Make sure you are using a circular cutter with a diameter slightly smaller than the diameter of the columns.
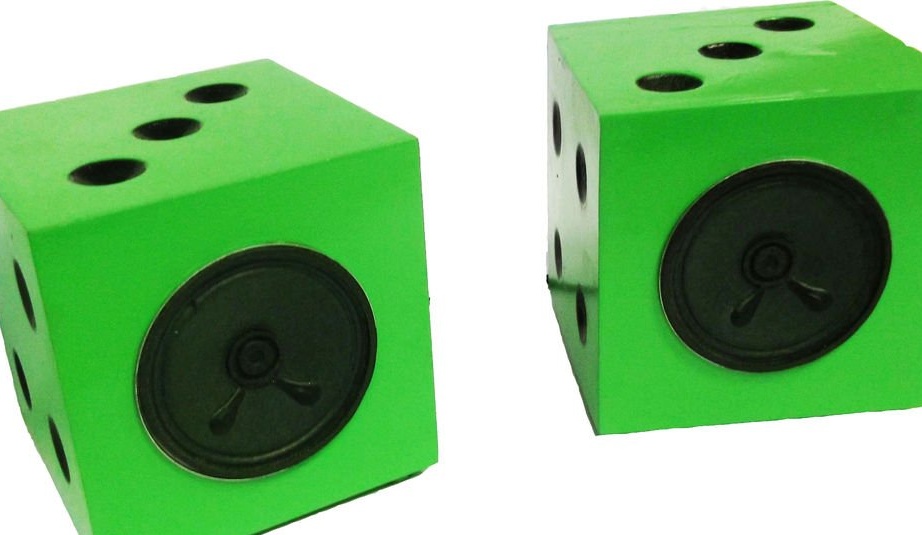
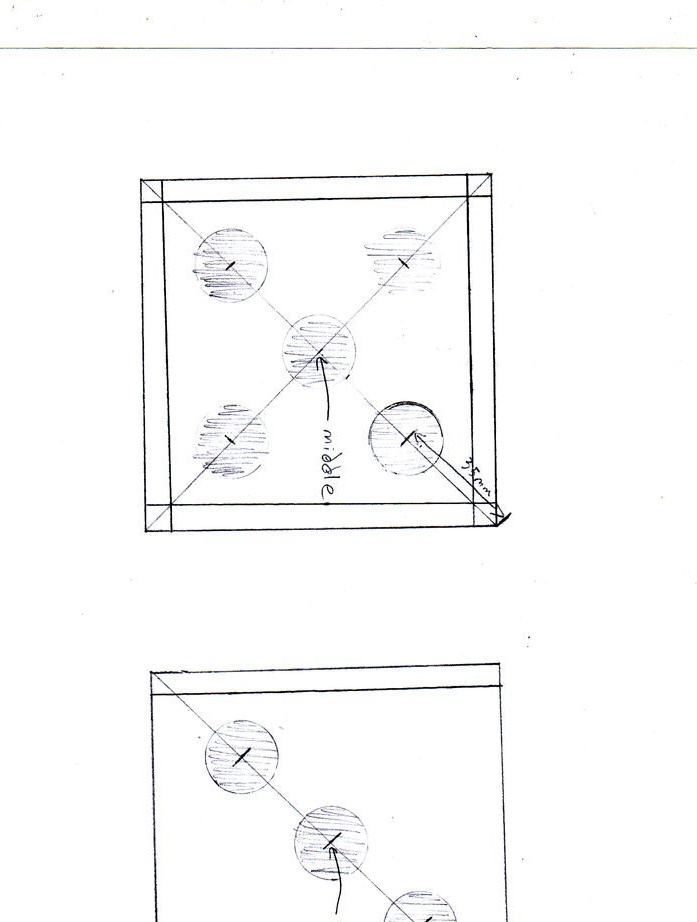
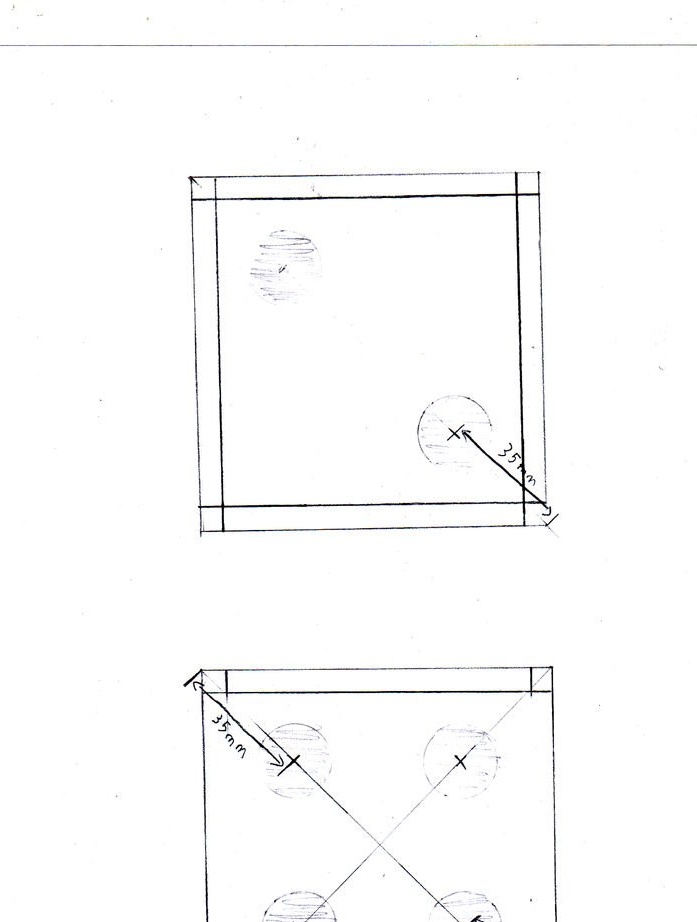
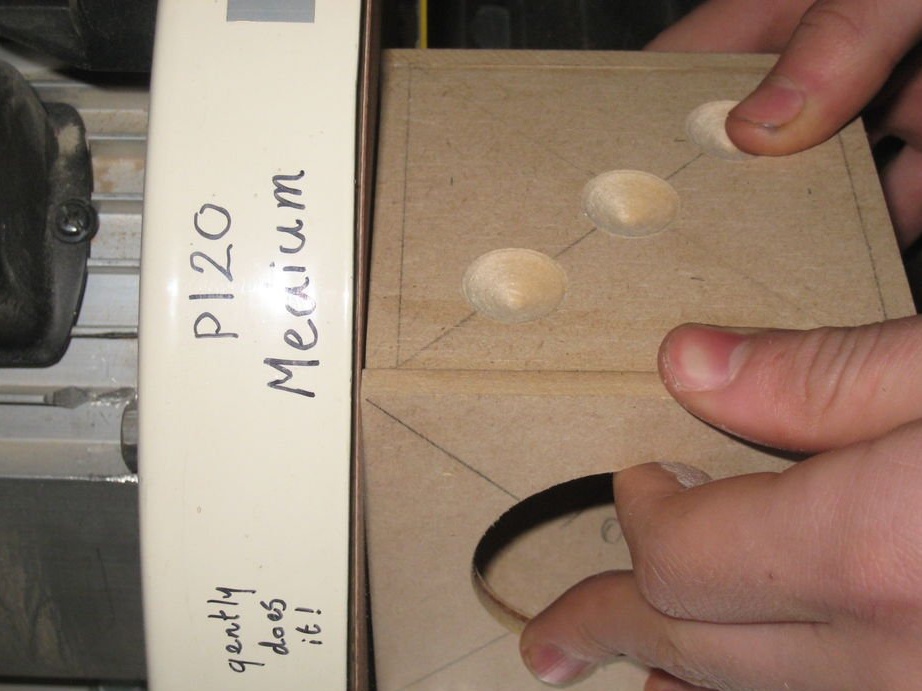
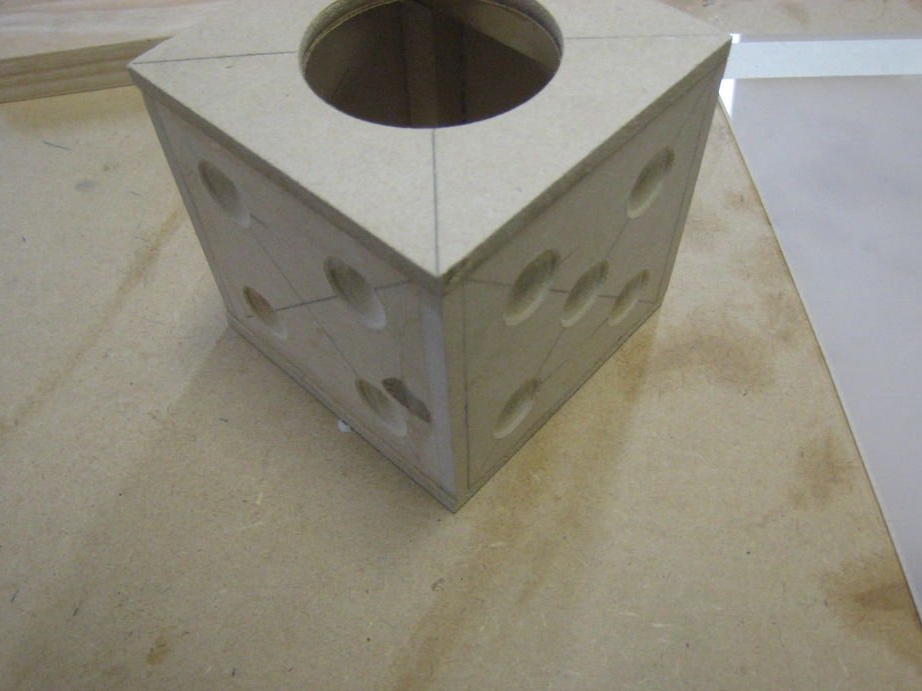
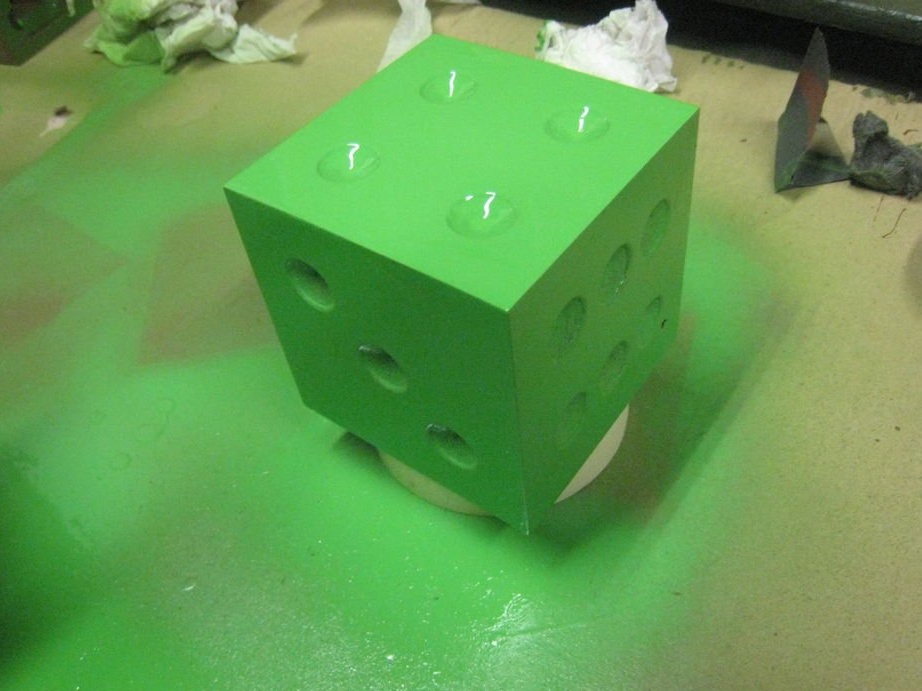
Step 2: Dice Recesses
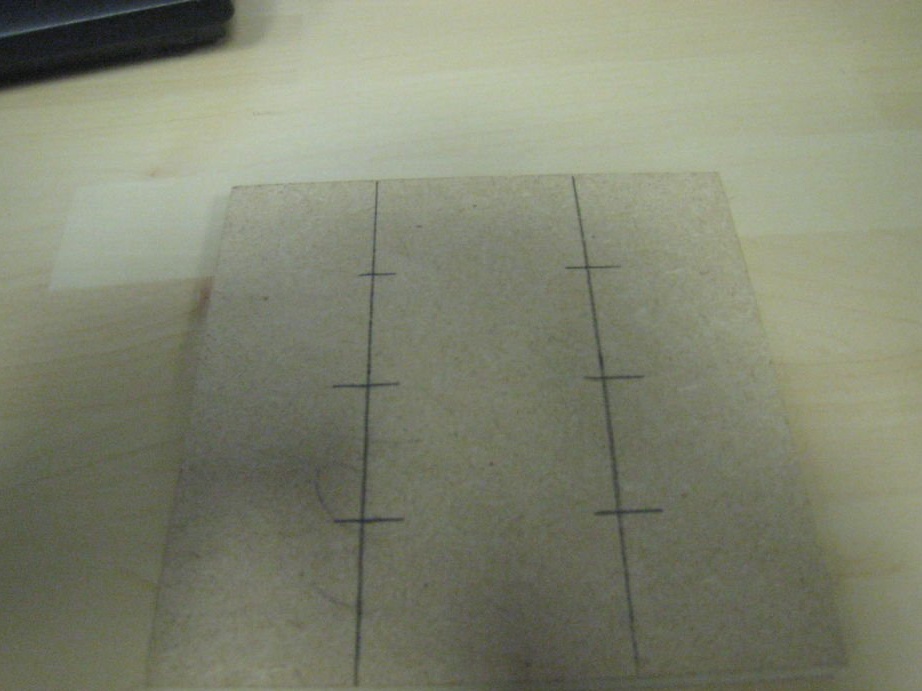
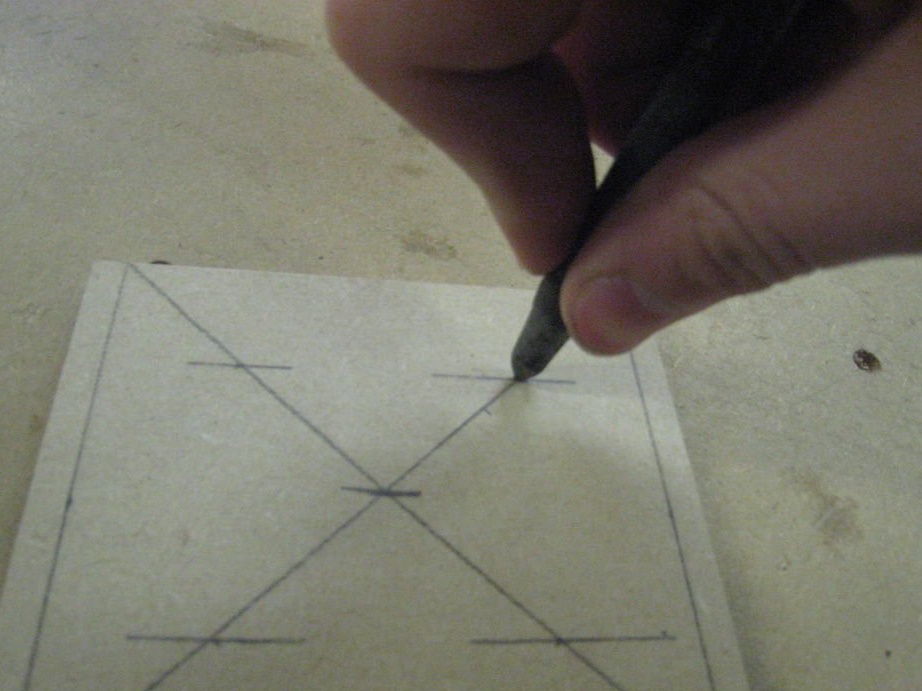
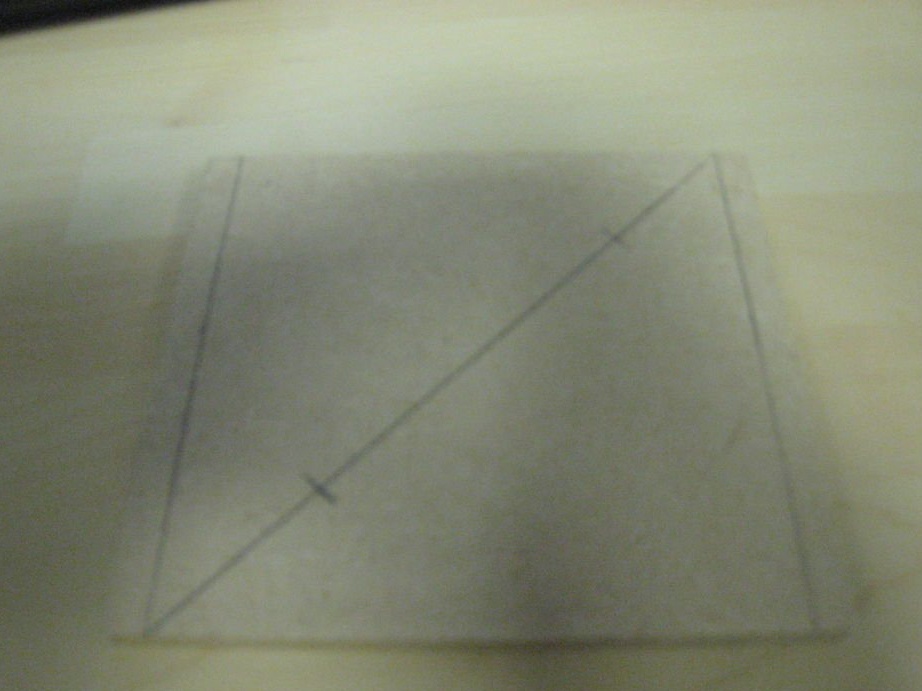
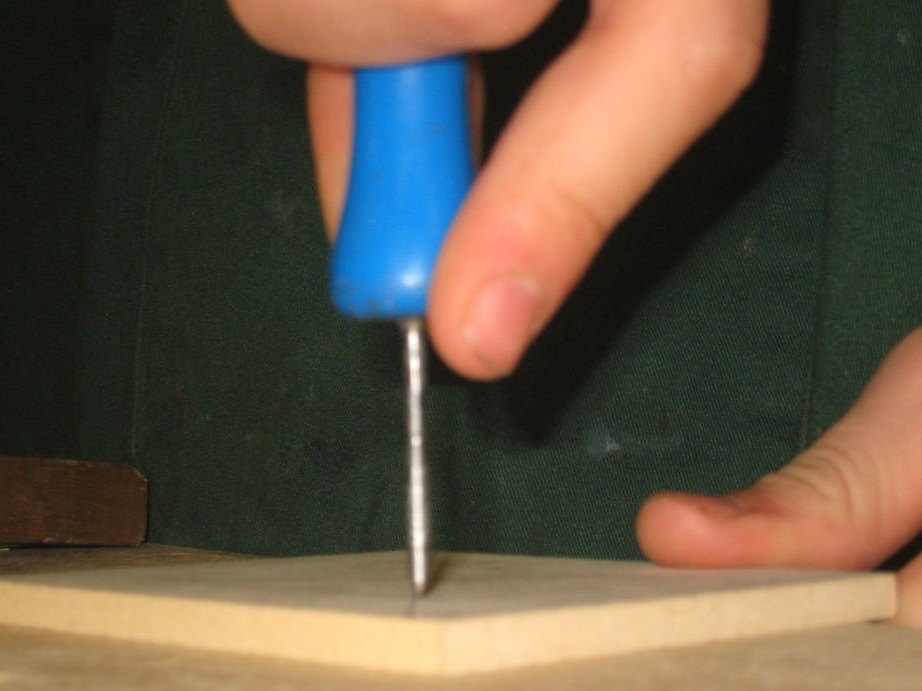
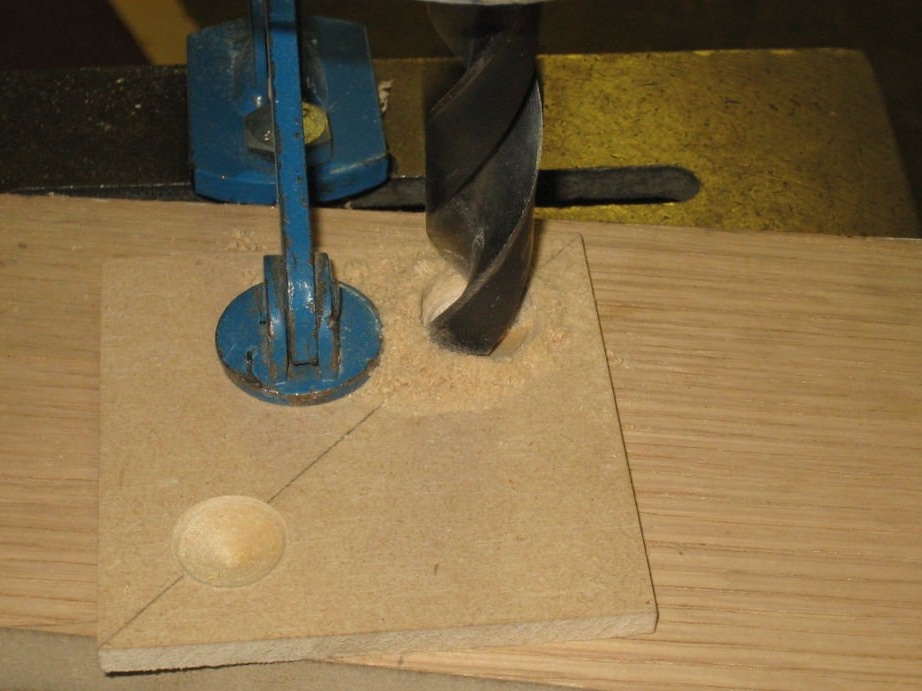
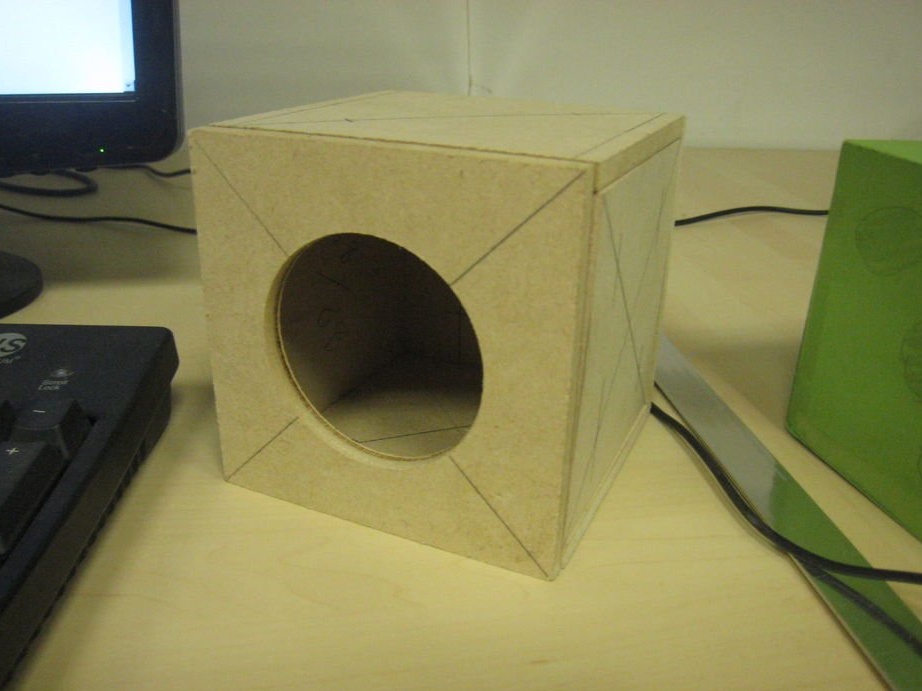
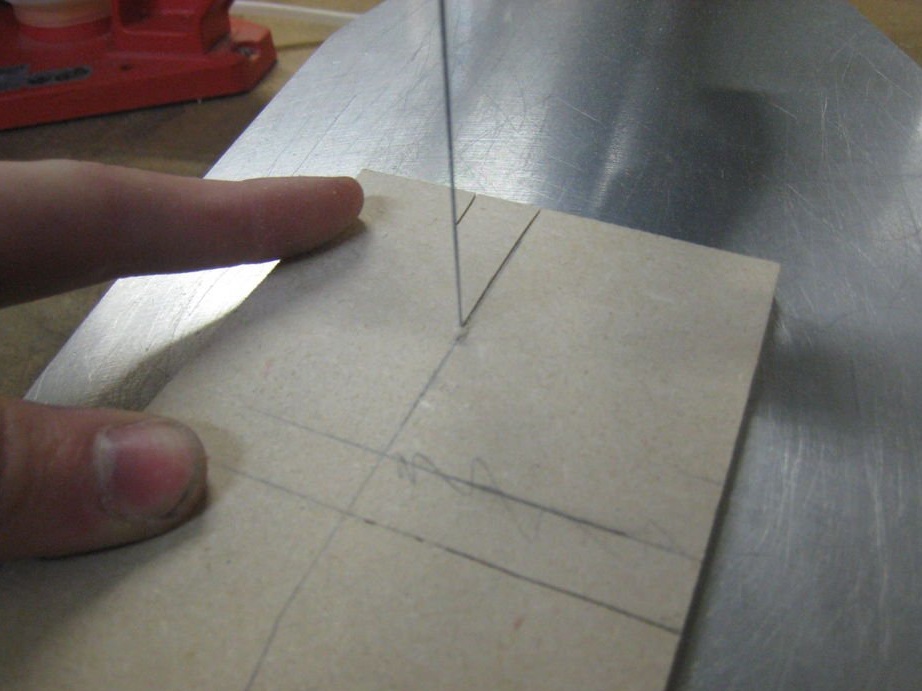
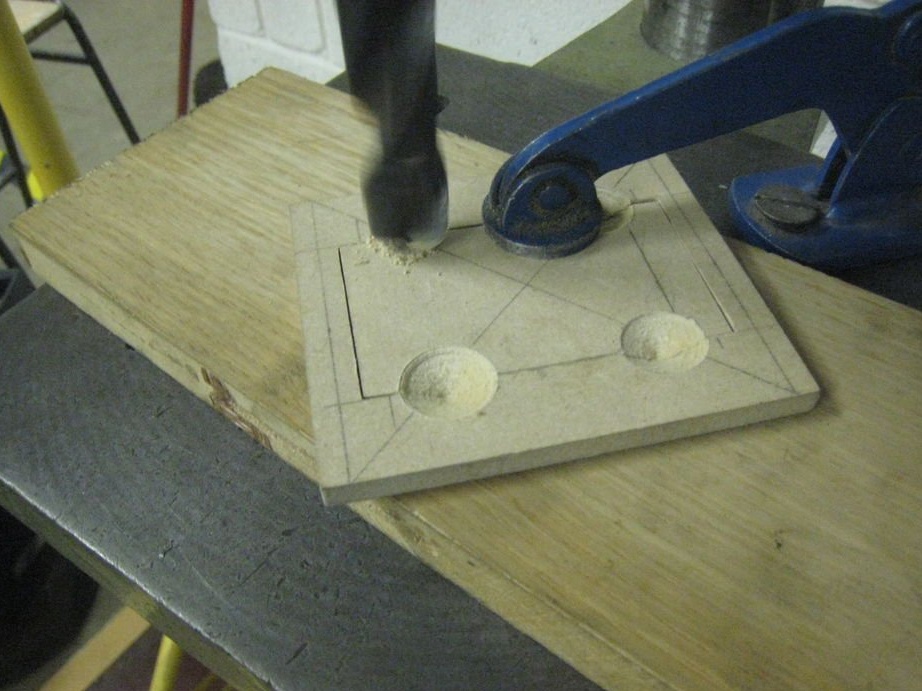
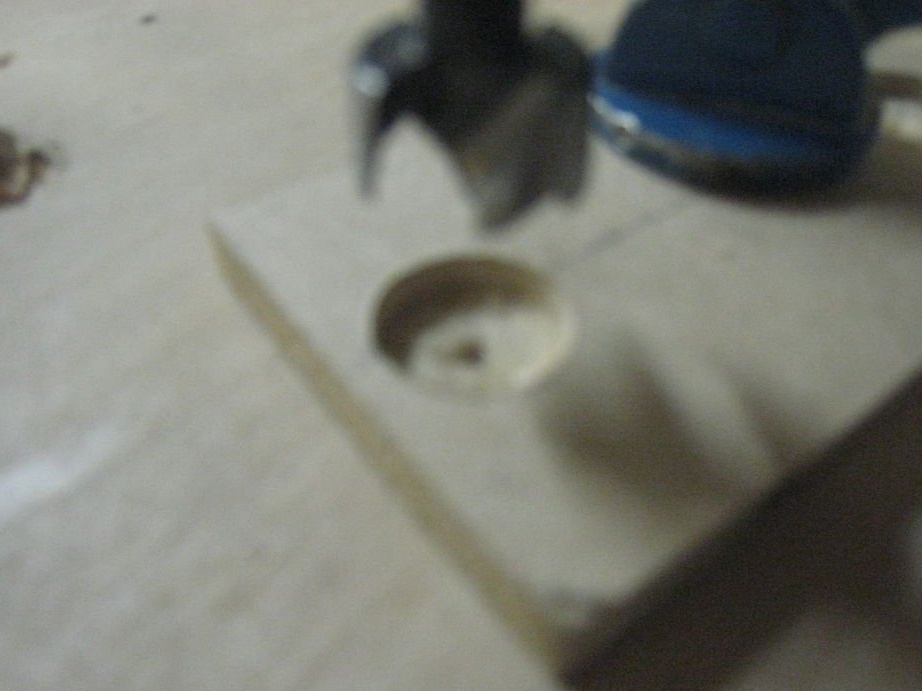
Then you need to drill the recesses to indicate the knuckles. Therefore, measure and mark the necessary places where they should be located and mark the center of each with a small hole so that the drill can be accurately installed.
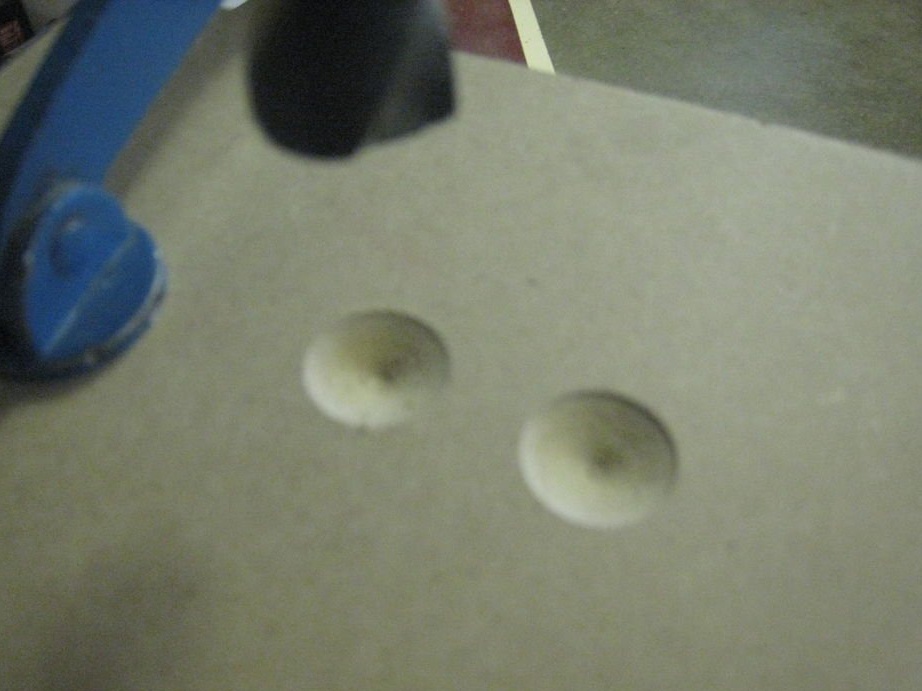
For this, the author of this homemade I used a drill with a diameter of 19 mm, but you can choose any size that you find more successful and interesting. Do a few test runs on a wooden trim to set the required depth to which the drill should be buried.It does not have to go far. Make sure to drill the right number of holes on each plate so that they are folded together to resemble bones.
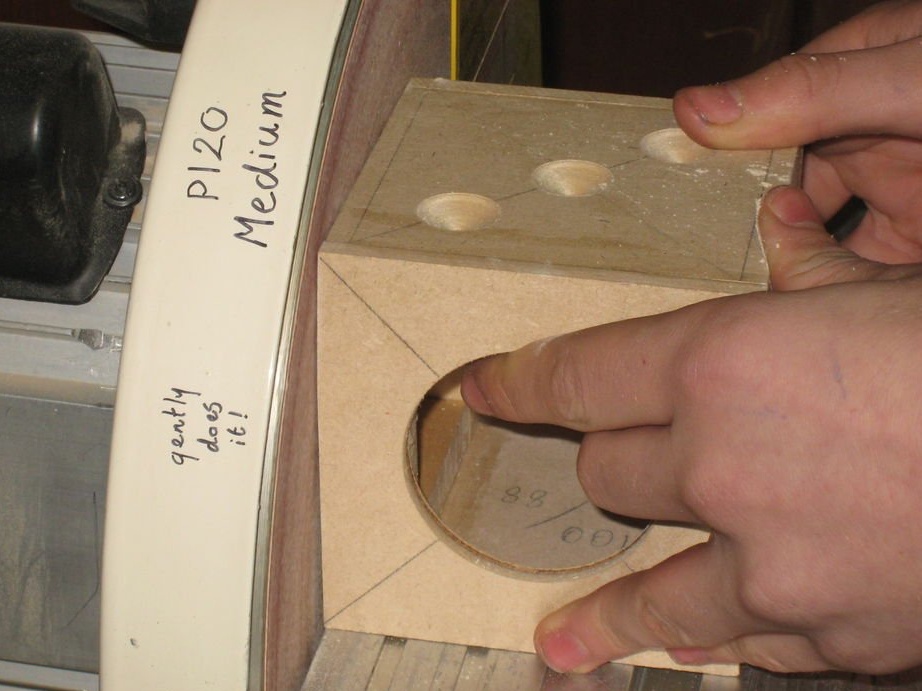
Step 3: Cutting / Drilling All Electric Holes
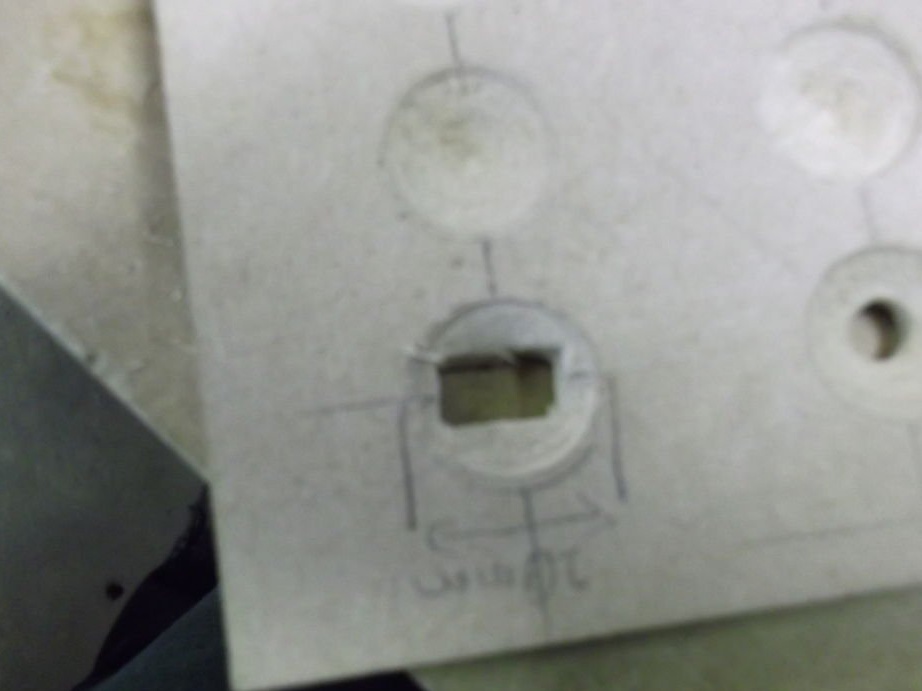
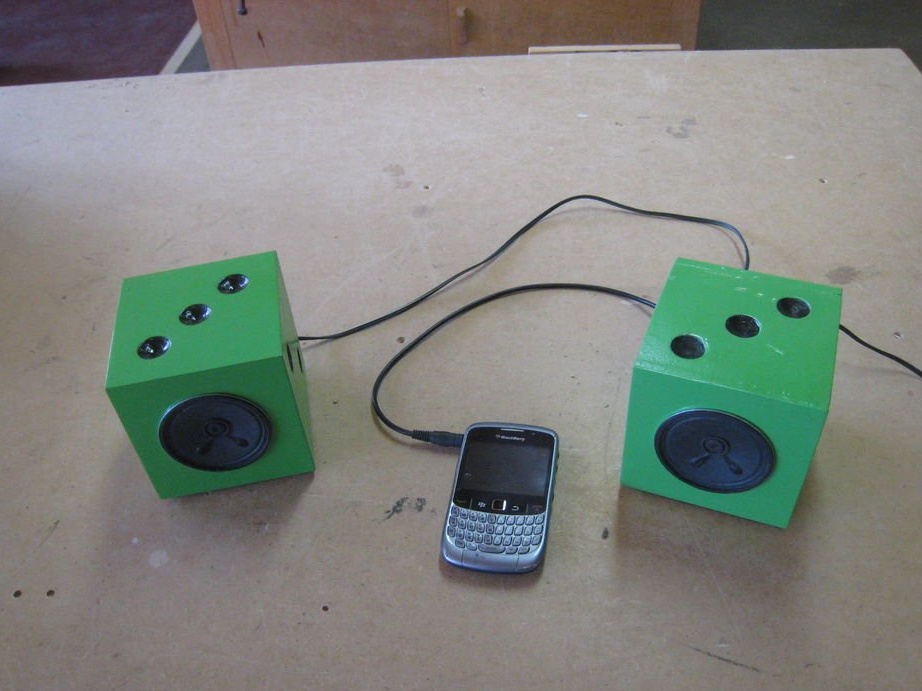
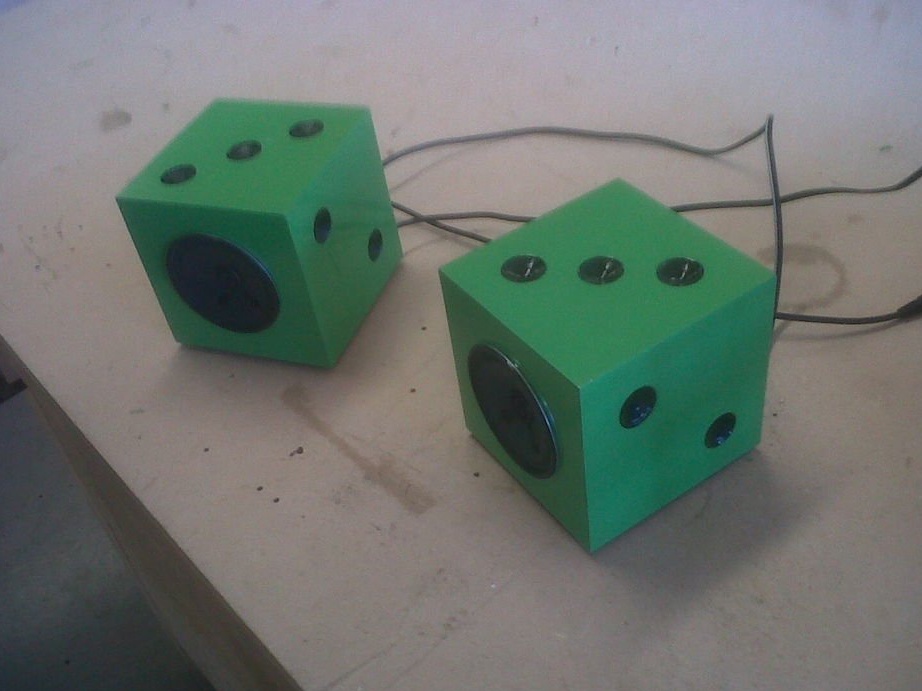
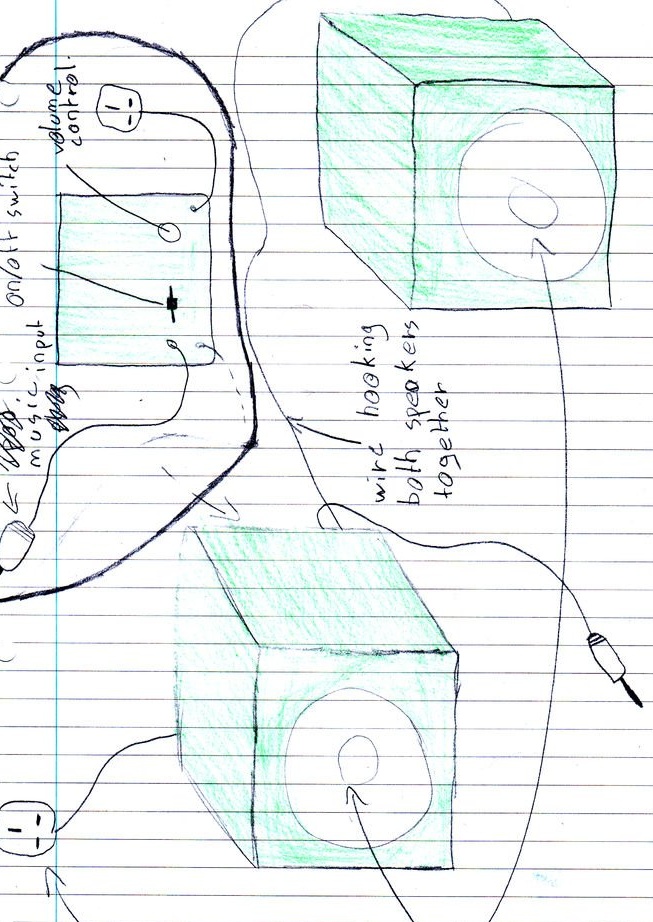
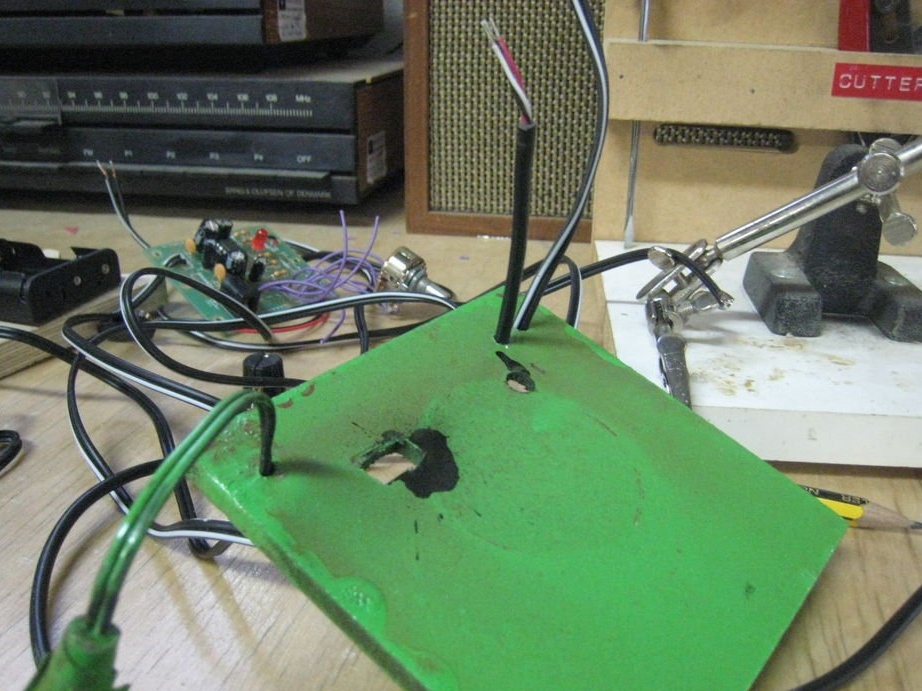
After cutting holes indicating the knuckles, cut holes through which the wires will pass after the speakers are assembled. It will take 2 holes for the wires on the main speaker and 1 on the other speaker (the author drilled them in the side six).
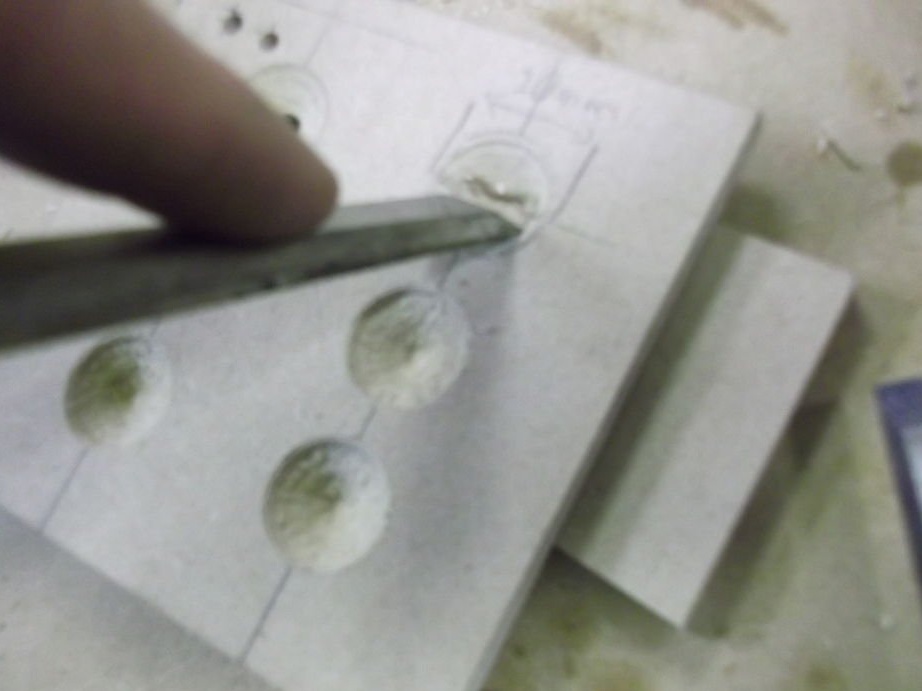
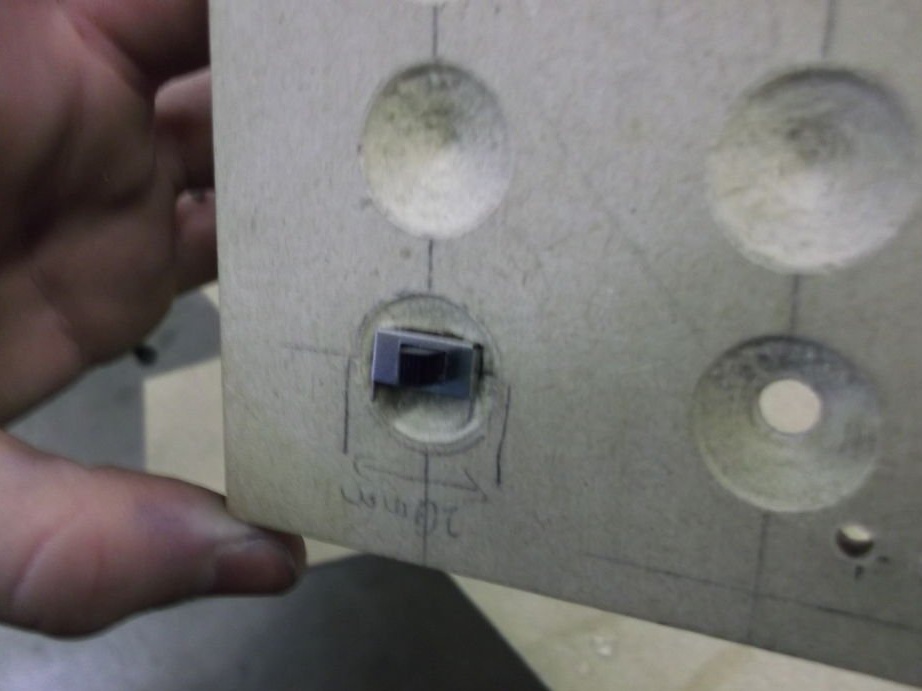
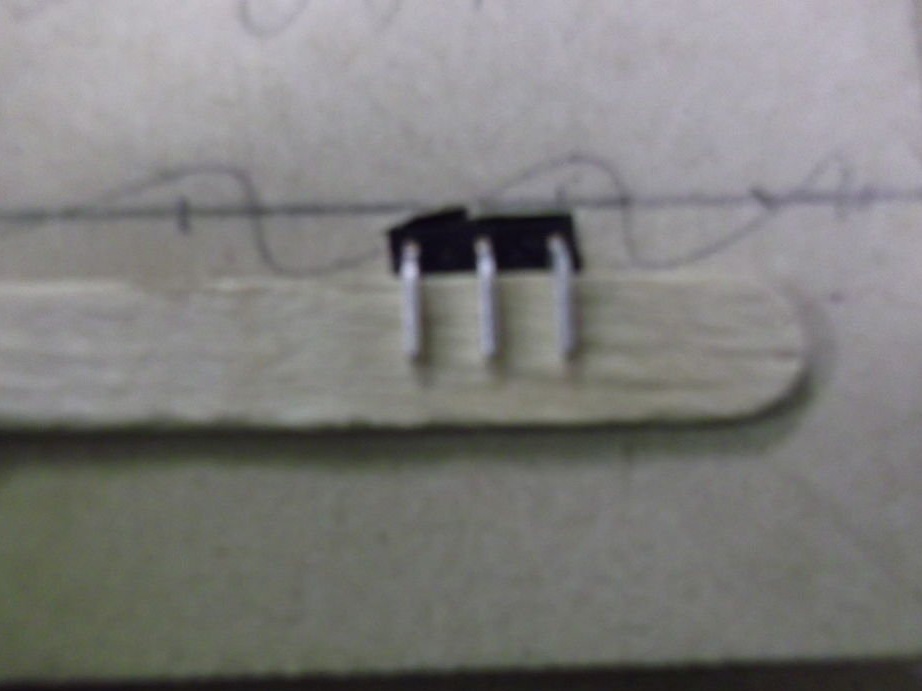
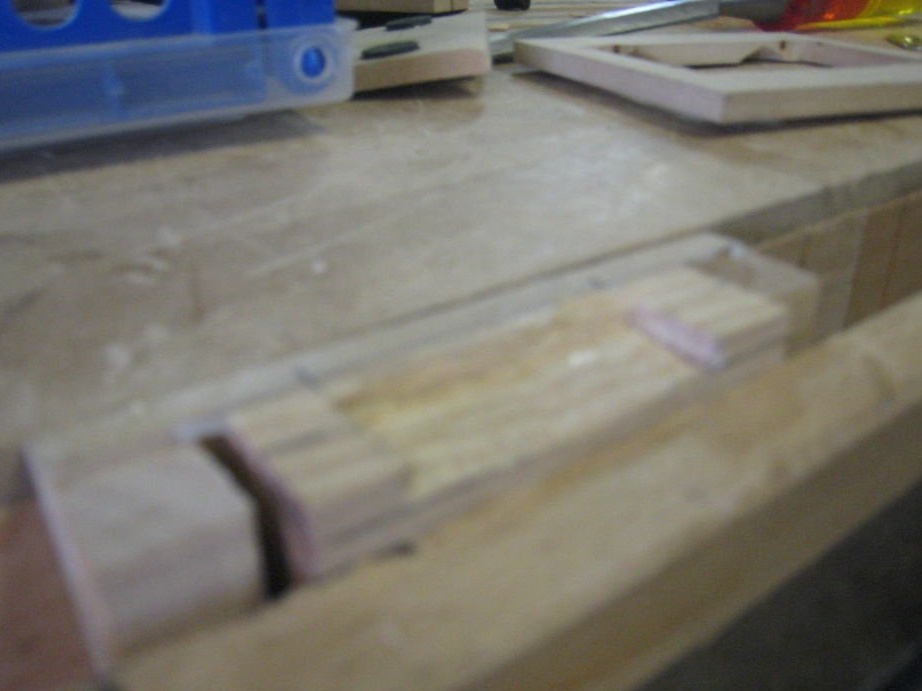
Drill holes for the volume control. Also cut out the hole for the speaker switch with a chisel. They should be located in the 2 lower holes for the cubes on the sixth side of the speaker knuckles. To keep them in the slot, the author used an ice cream stick, as shown in the figure.
Step 4: gluing parts
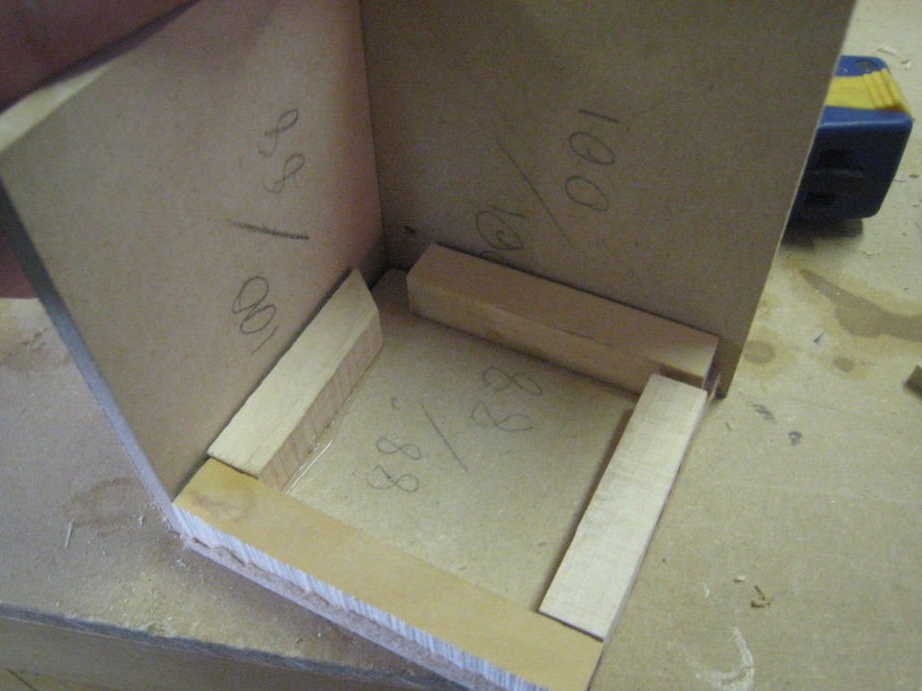
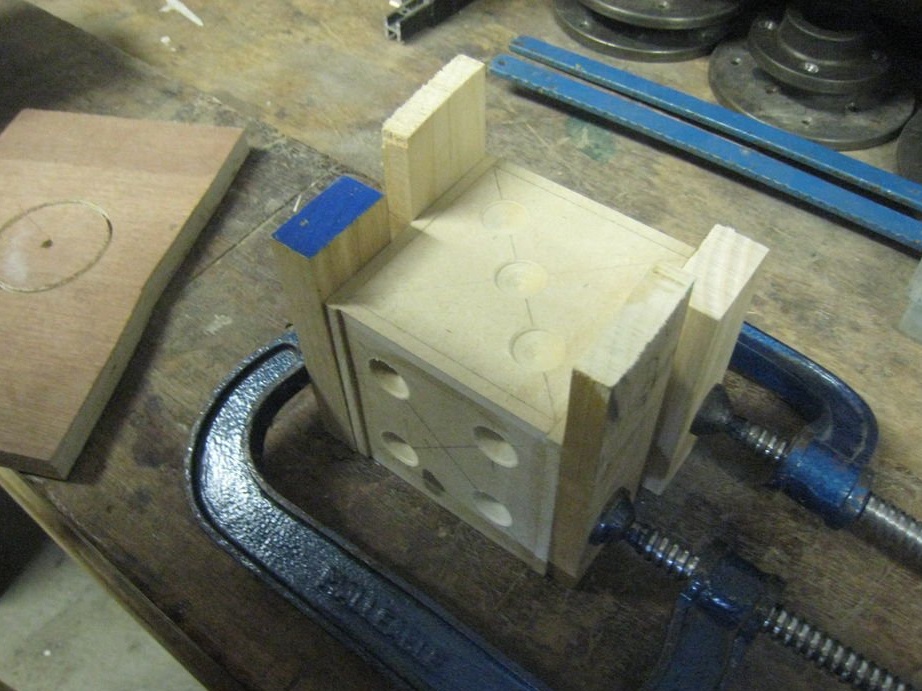
Now, the author cuts the board into wooden blocks, which will act as internal joints in order to hold the entire structure together.
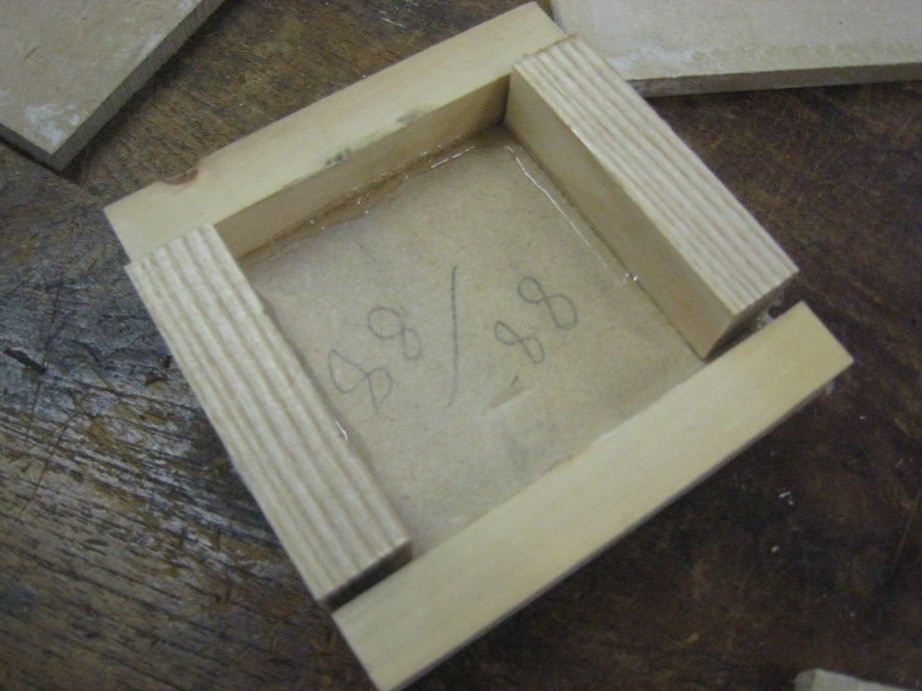
He cut them so that they could fit around a 88x88 mm MDF board. This must be repeated for four segments of MDF 88x88 mm in size.
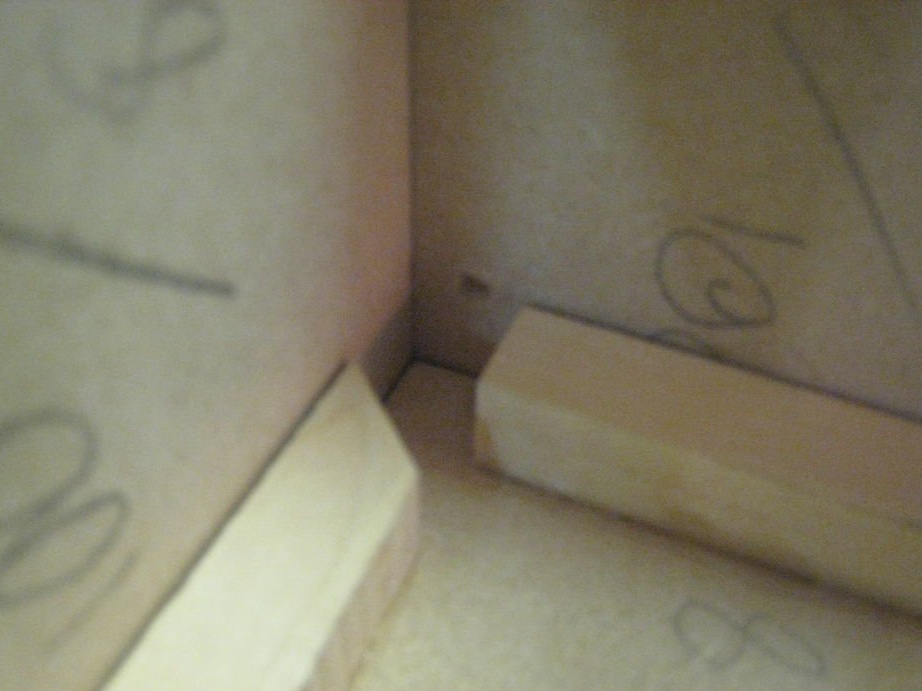
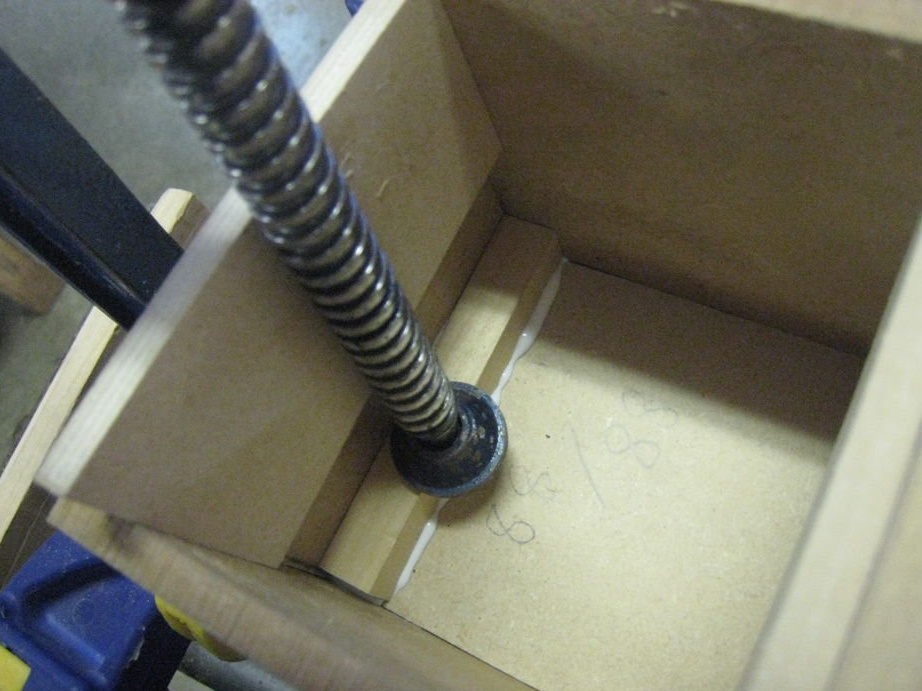
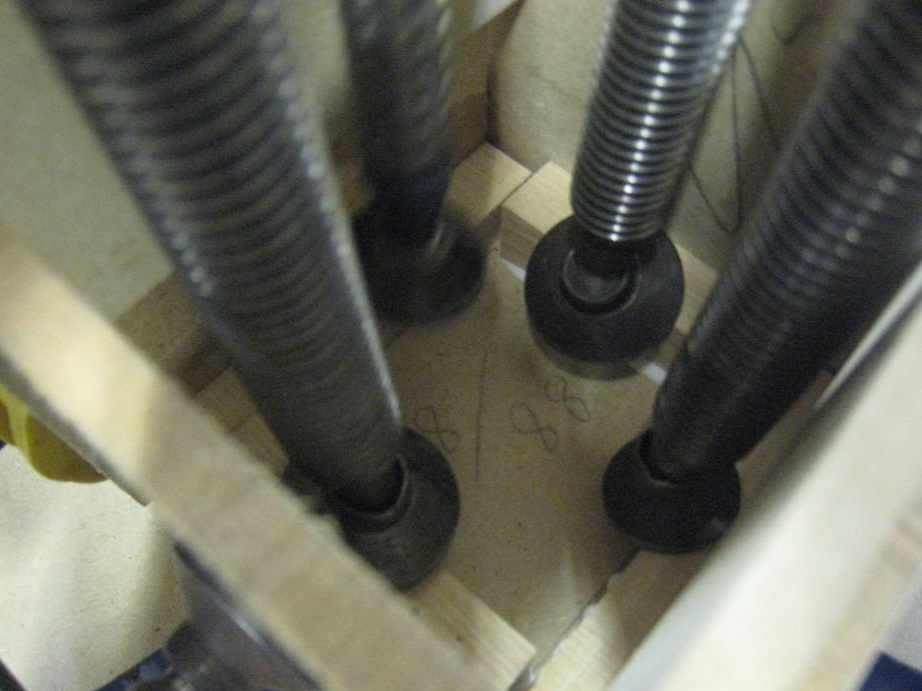
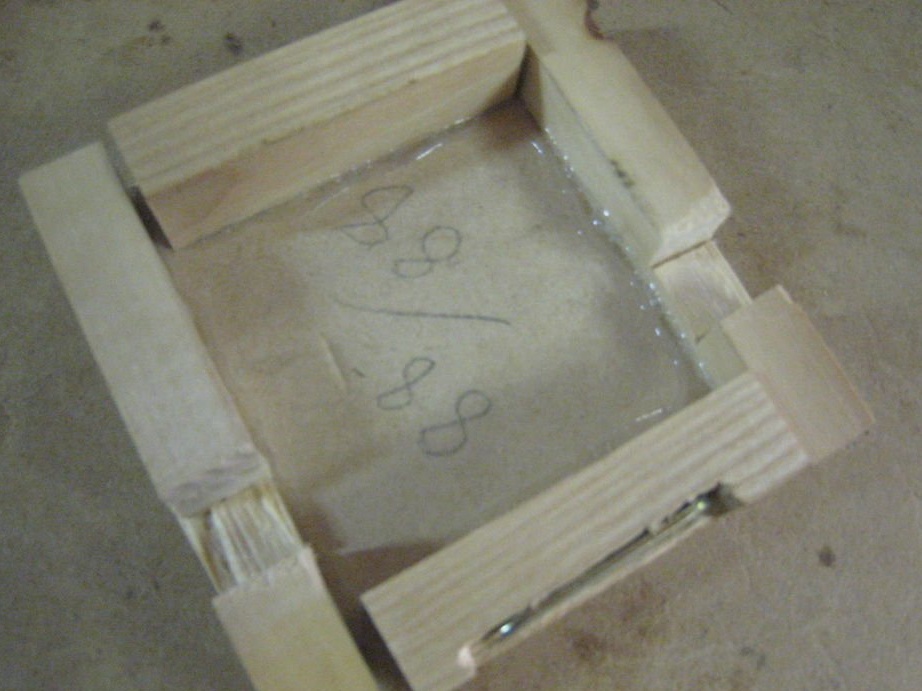
Then, the author glued the cut bars onto the internal joints of MDF boards 88x88 mm in size. with PVA glue so that they are as close to the edge as possible. The author used clamps to hold the wooden block in place and left the glue to set. When everything is ready, the result should look like in Figure 6. Then you should glue the front part (the one in which there is a hole for the speaker) and the back part, in which there will be no printed circuit board. It remains to grind all the edges to get the perfect box.
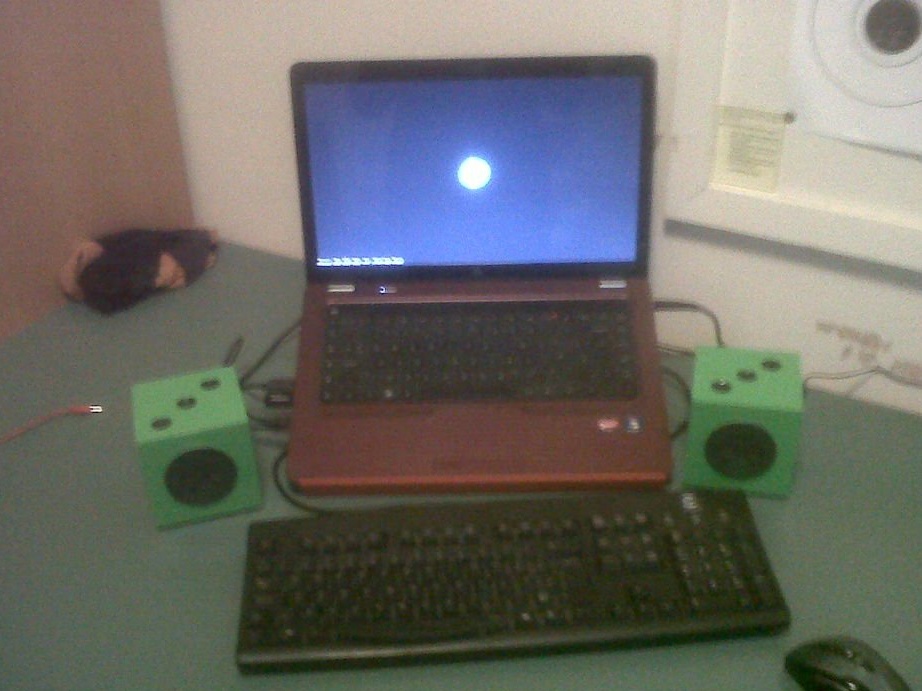
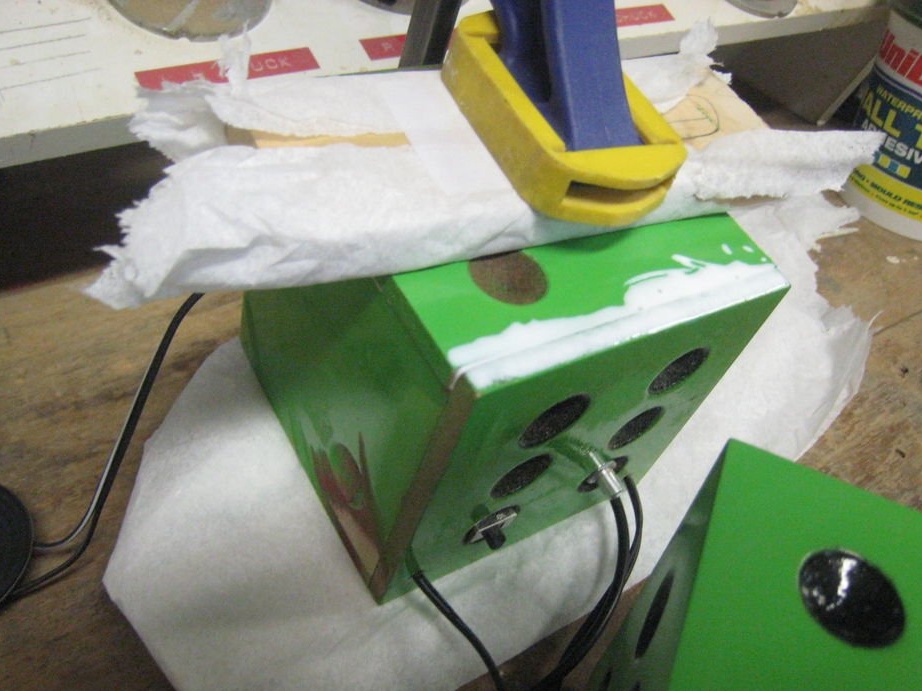
Step 5: Painting
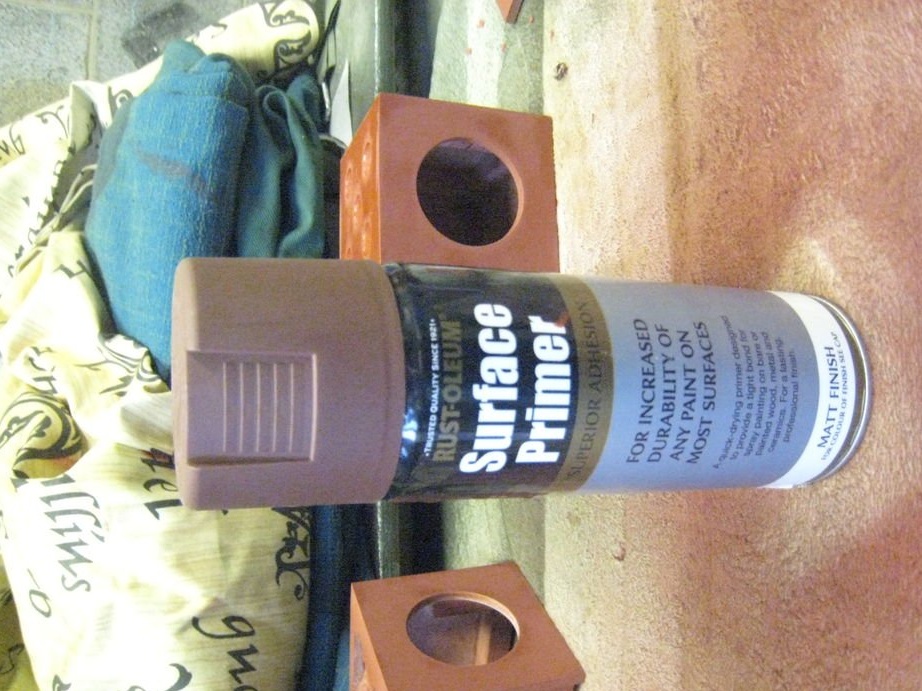
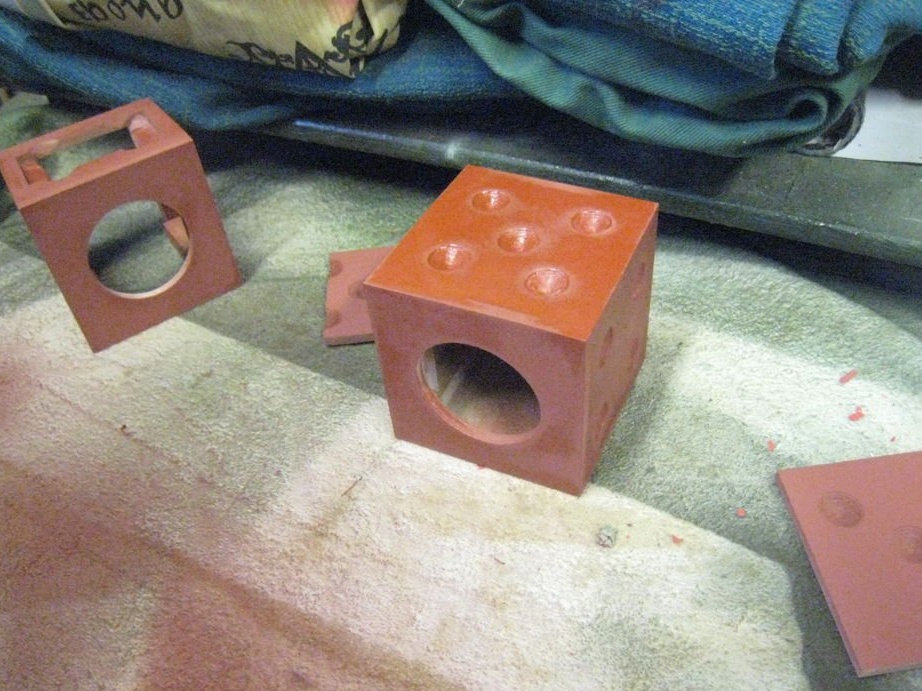
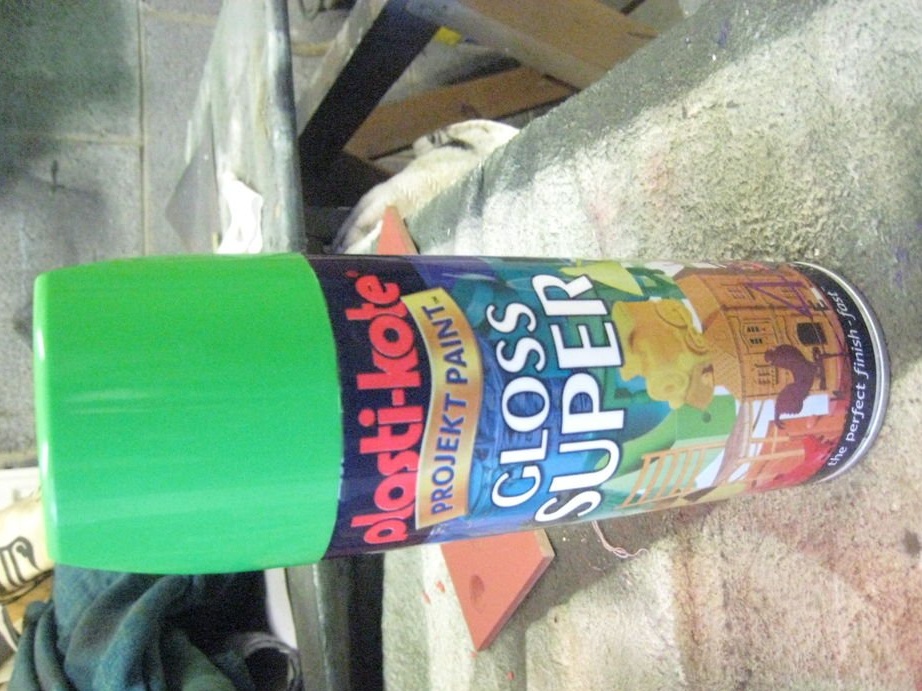
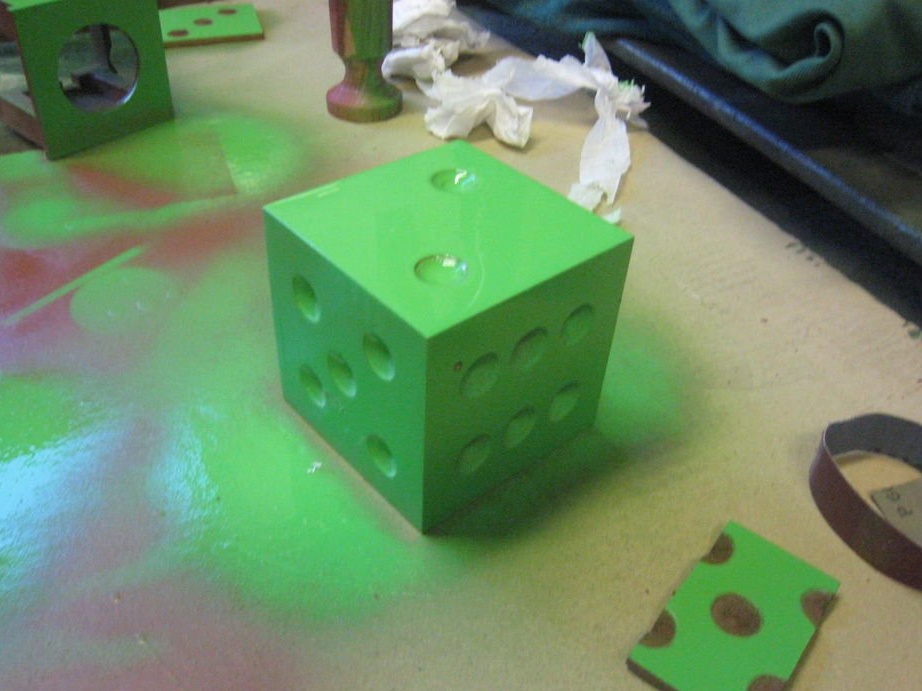
Now the speaker box needs to be painted using spray paint. First use a primer coat, apply several coats. If at this stage you find any gaps or holes in your speaker, for example, in the connection of plates, fill them with PVA glue mixed with sawdust. After applying several layers of primer paint, spray on top of it several layers of paint of any color that you like, the author used green. Do not apply a lot of paint at a time, otherwise it will leak.
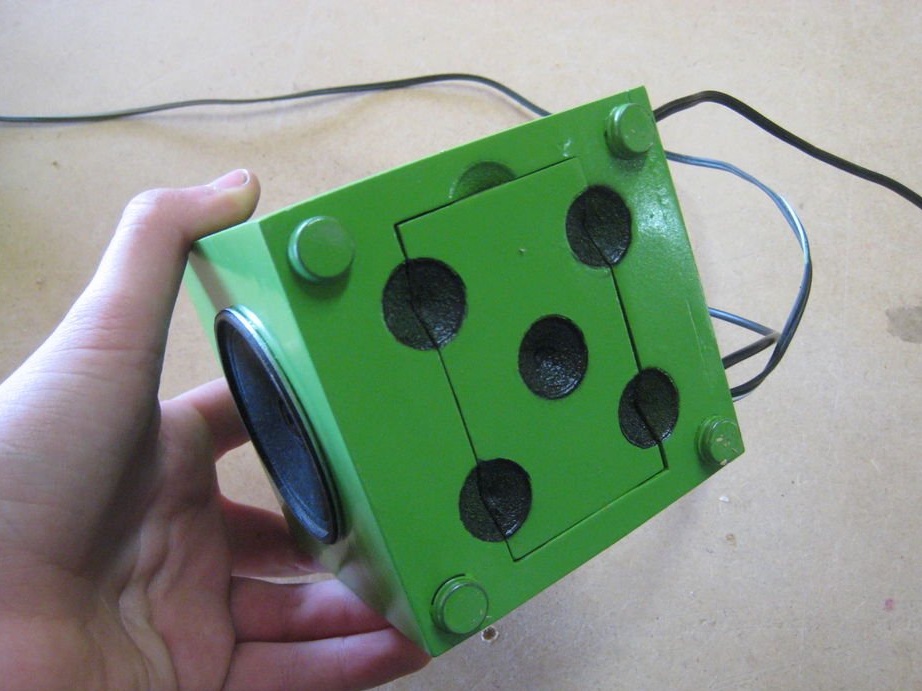
Step 6: painting the dots
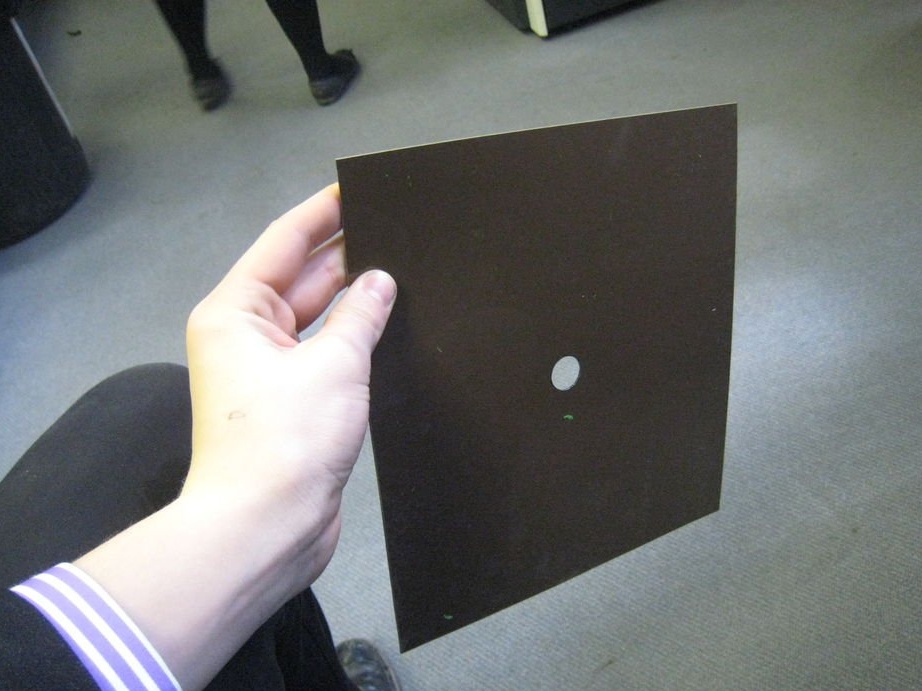
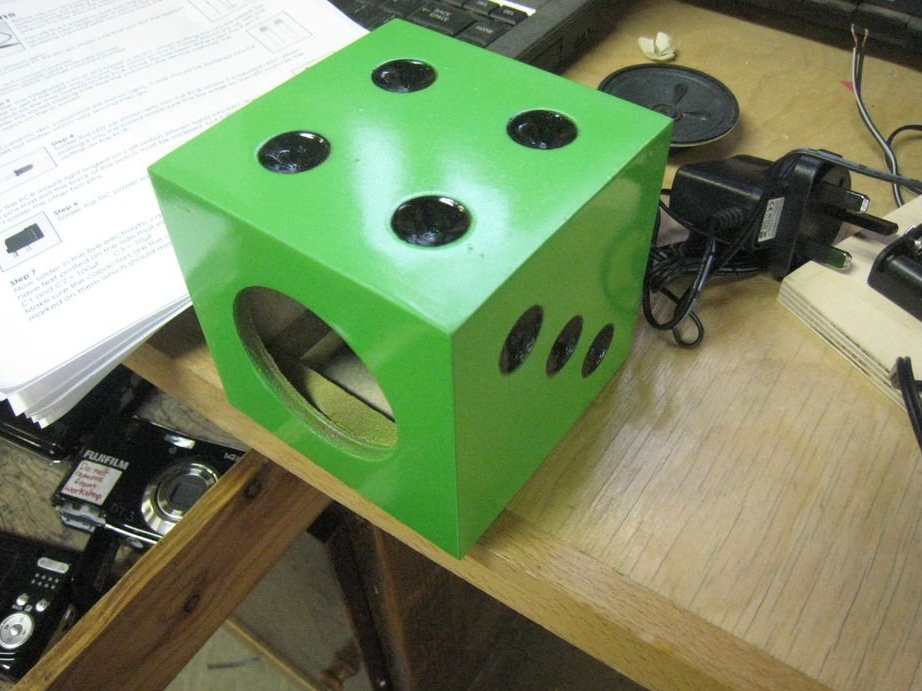
To perform this operation, it is advisable to take a piece of thin plastic and cut a 19 mm hole in it so that you can draw black dots on the cubes, without spraying paint everywhere. Place a hole above the drilled spot, and then spray paint of any color. The author chose black.
Step 7: Making the Battery Cover
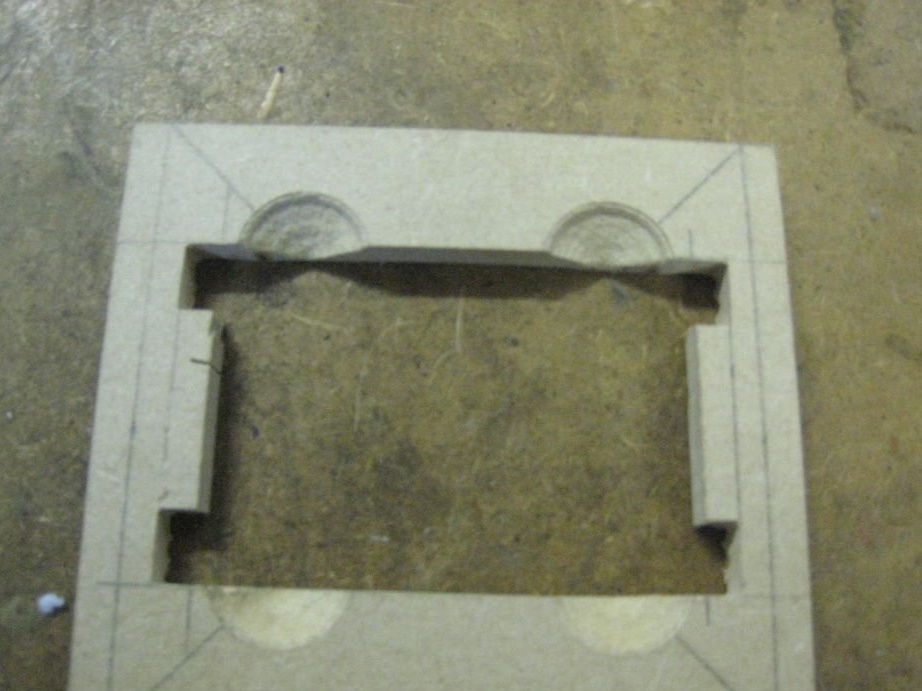

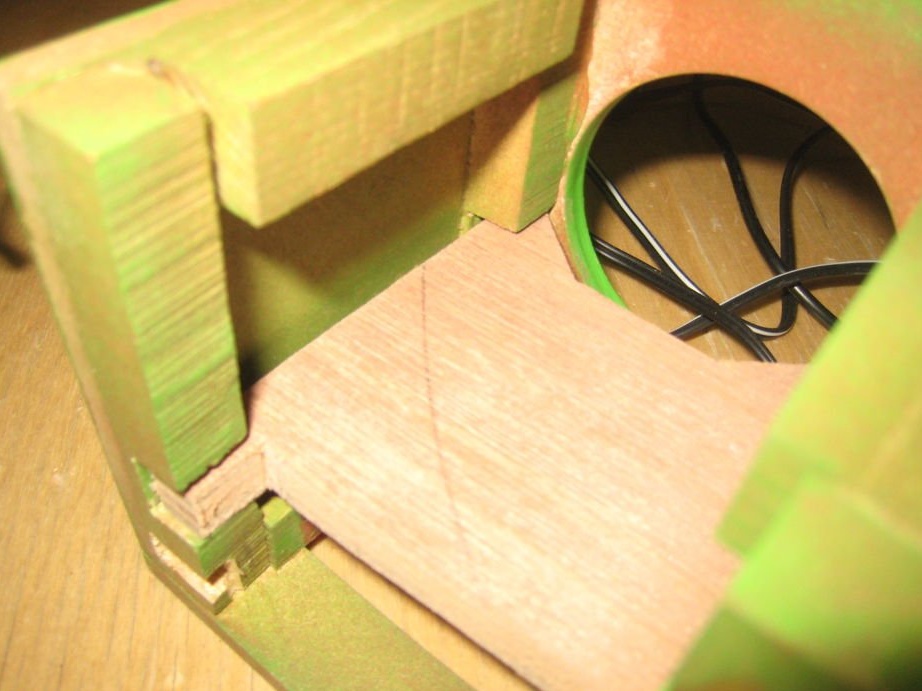
If you intend to use the battery pack, you will need to cut a hole in the bottom of the second speaker. It should be large enough to fit the battery pack, plus space for magnets. At each end there are holes with which you can open the battery pack, as can be seen in the picture.
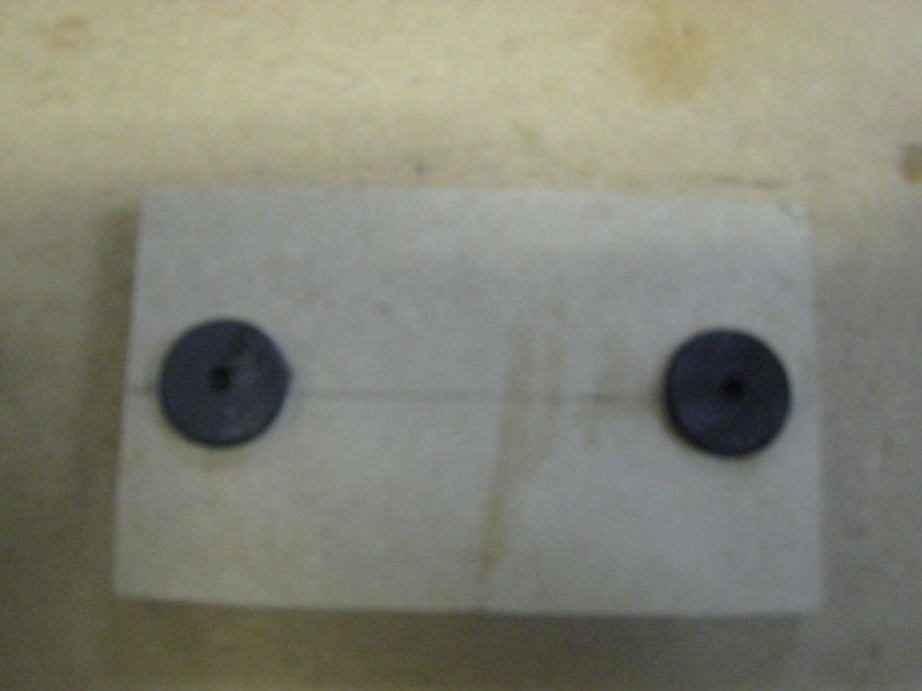
So, now you need to cut a small piece of MDF of the same size as the hole. Then you should place it in the lower part and fit the 19-mm part of the knuckle holes so that the battery cover matches.
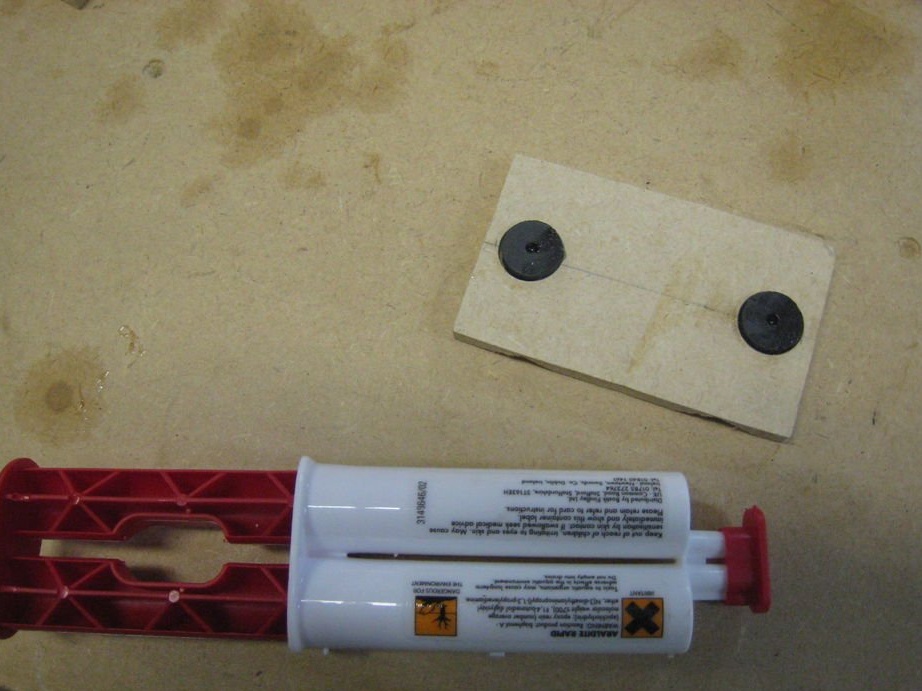
It remains to stick the magnets that will hold the cover.
Step 8: Bonding
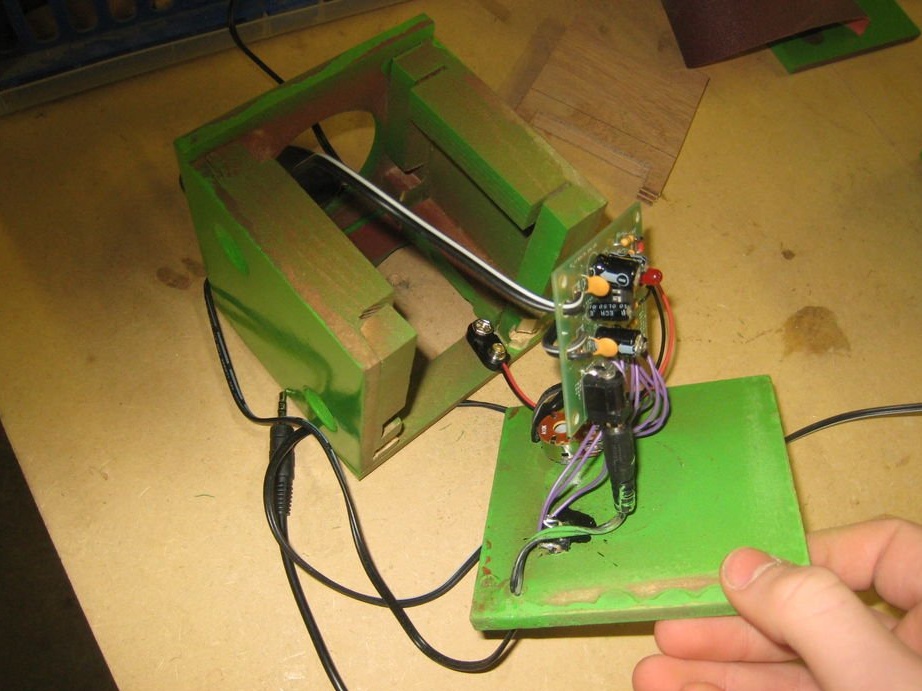

Now glue all the parts together. Make sure that all electronics are connected correctly, because after that there will be no way to replace them.
After the speaker is glued, it remains to install the electronic part inside and tint a little.