

I have a 2.1 speaker system at home. A multifunction player is connected to it. He has a USB and you can connect a USB flash drive with music. There is no card reader and wireless connection. I decided to fix this defect. I’ll assemble a small box with which you can connect to acoustics. You can listen to music from a smartphone and laptop without using wires.
For the construction we need:
- ;
- RCA jacks;
- ;
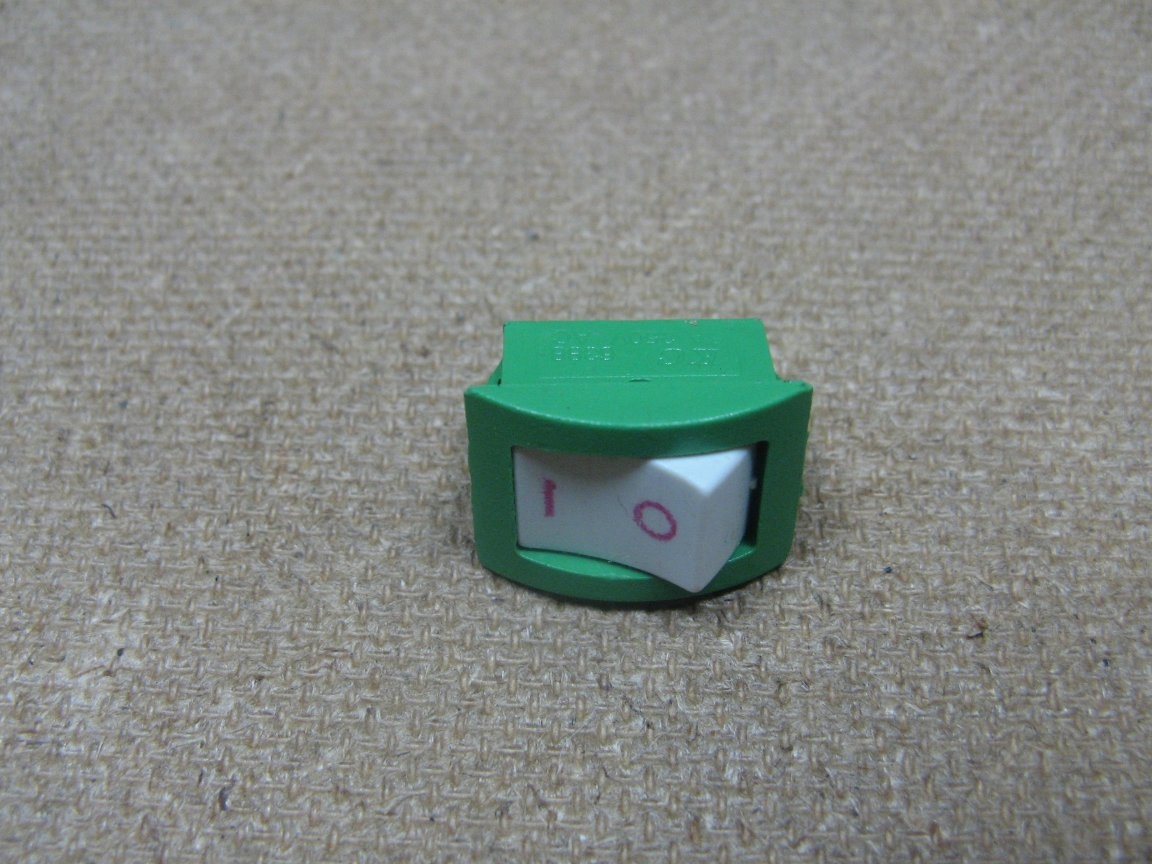
- switch;
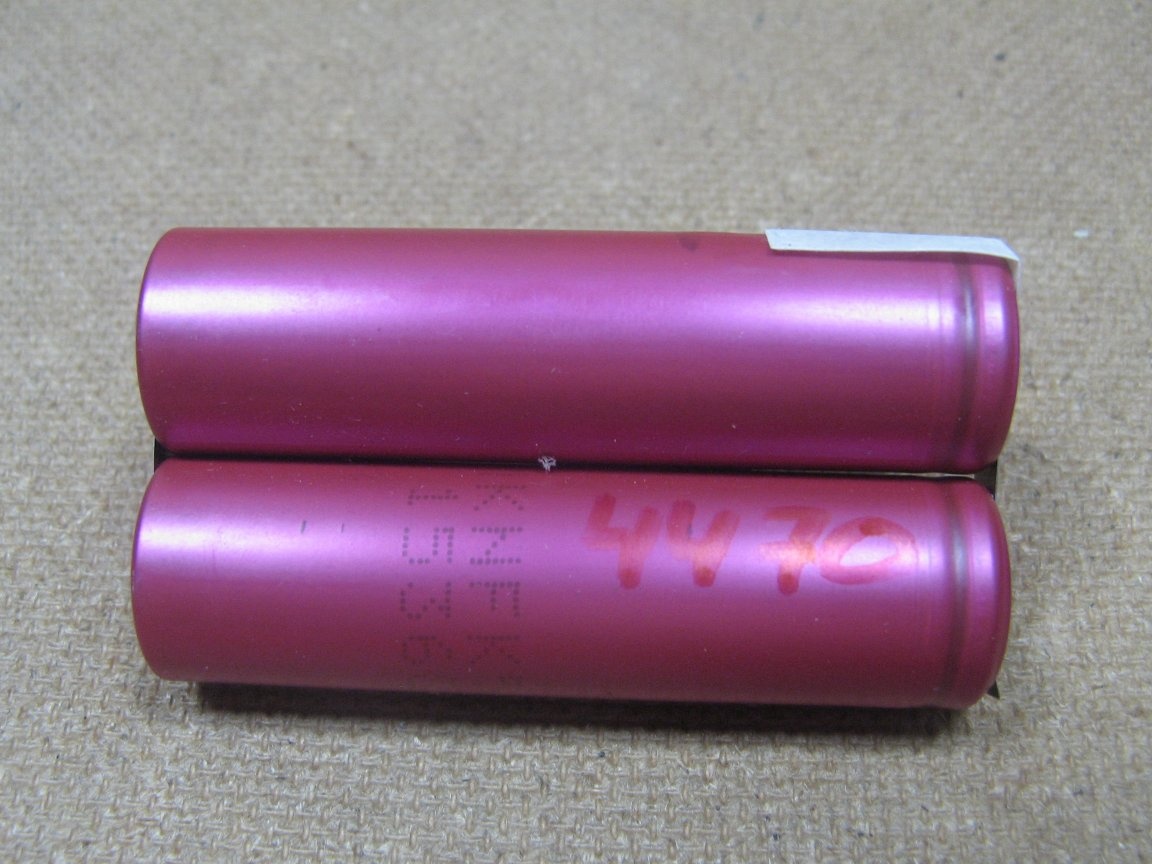
- Li-ion batteries;
- ;
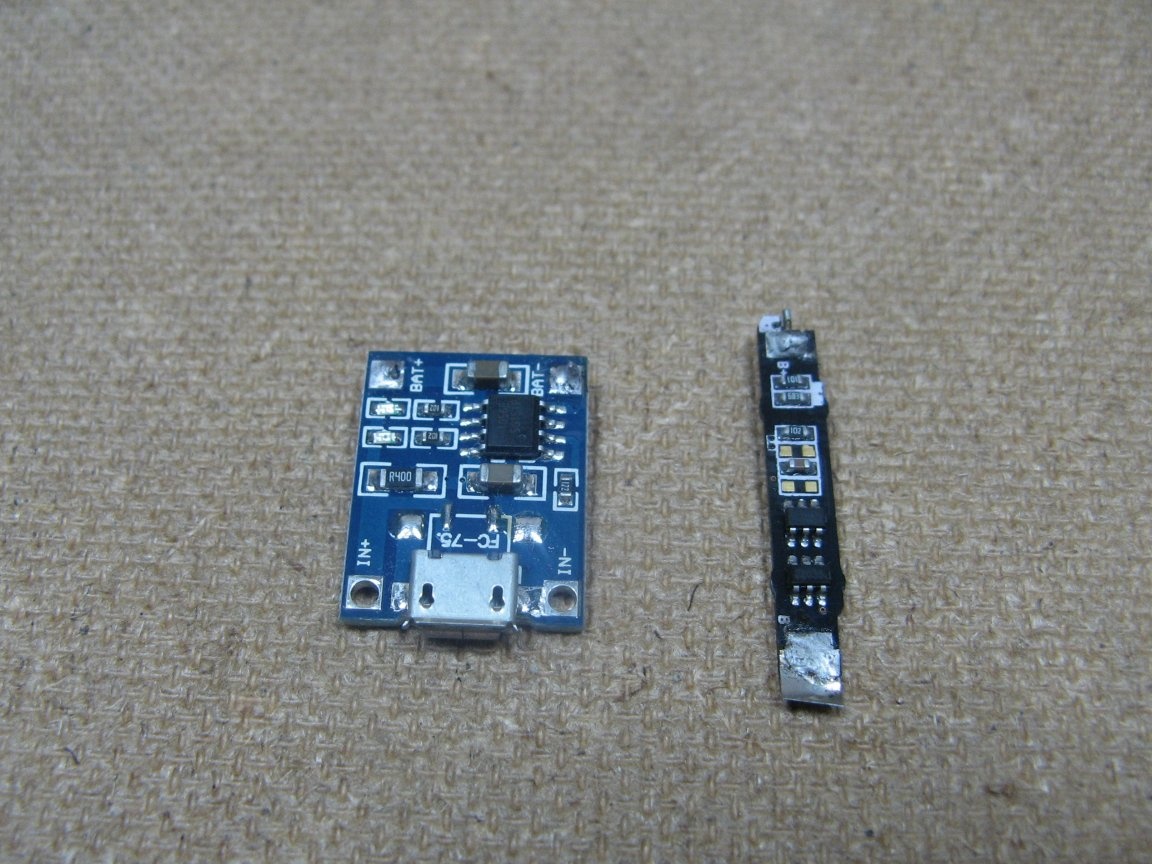
- protection board;
- ;
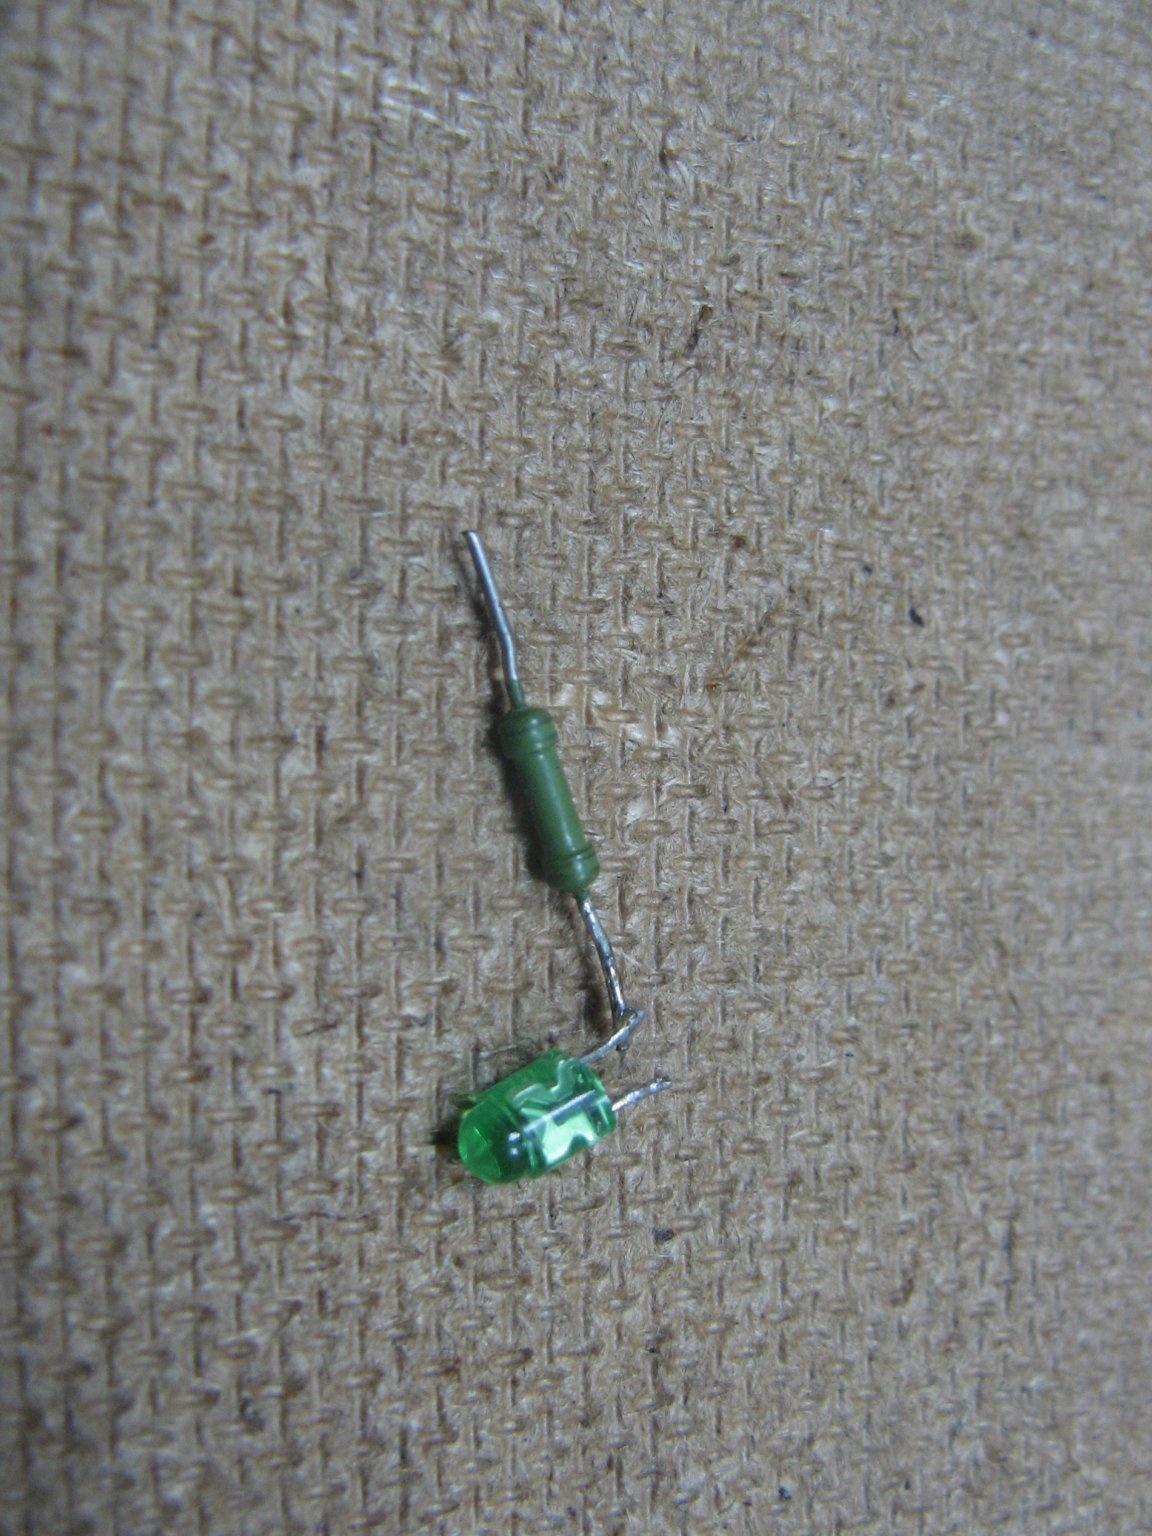
- LED with a resistor;
- PVC plastic;
- wires, tools, glue.
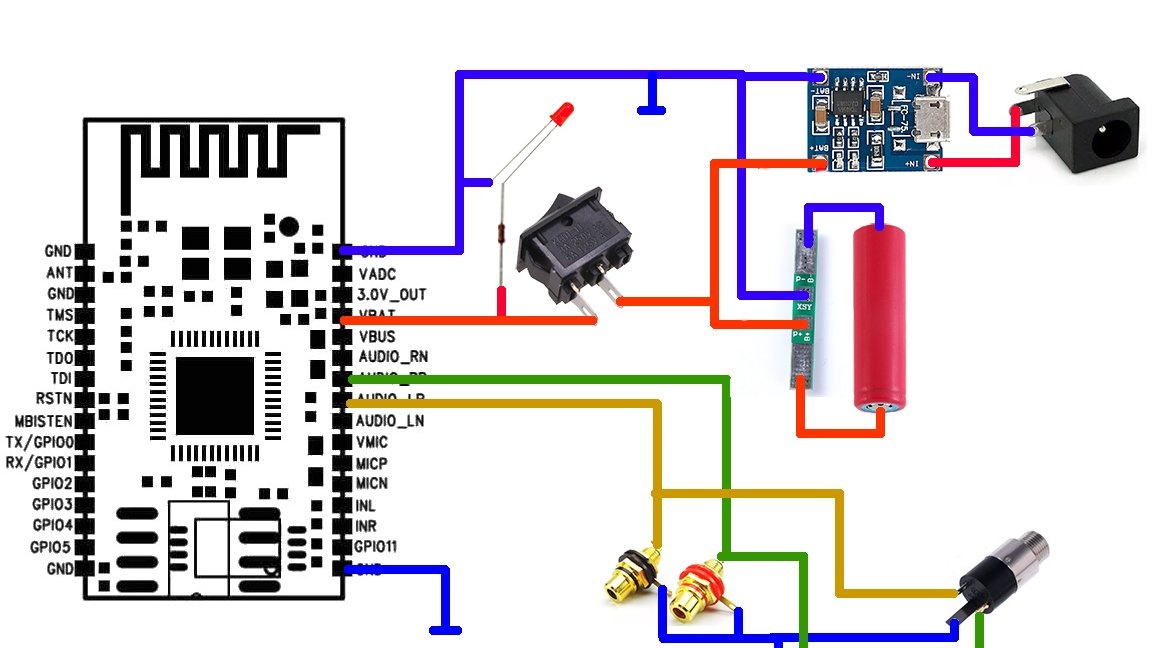
Scheme.
A very simple design, which makes it easy to repeat. This is almost a passport scheme, with minor changes.
The battery is charged by the charge controller, from the charger of the smartphone. Also, I installed a power connector on the controller input, 5 volts are supplied to it. From the battery, through the switch, power is supplied to the module. The indicator of inclusion is the LED. Connected via a 120 ohm resistor. If the amplifier is turned on, then a loud sound of switching on is heard in the speakers. The outgoing signal is sent to the output jacks. The conclusions of RP and LP are involved, as well as a common wire, it's a minus.
About accessories.
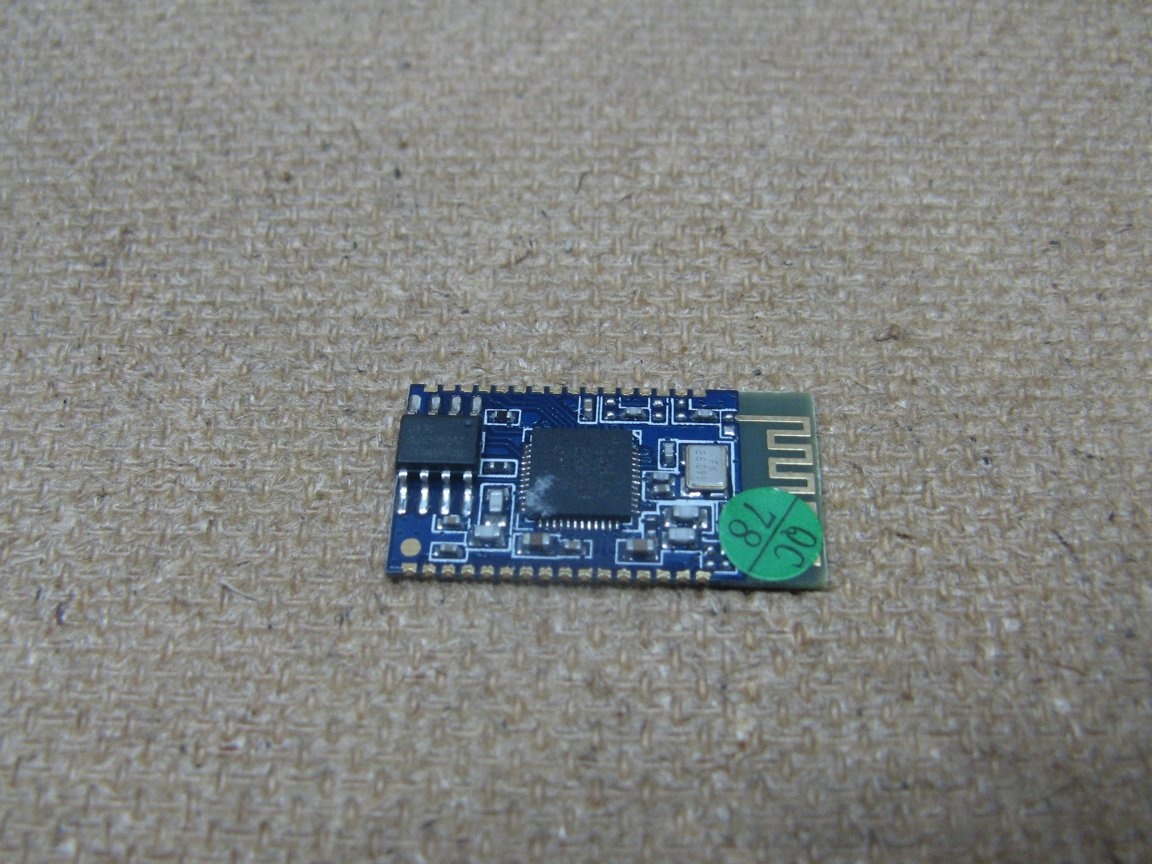
The module is called the BK8000L. It is quite small, you need to solder with a soldering iron with a narrow sting. Also, after soldering wires to it, you need to “ring” nearby contacts on the short circuit.
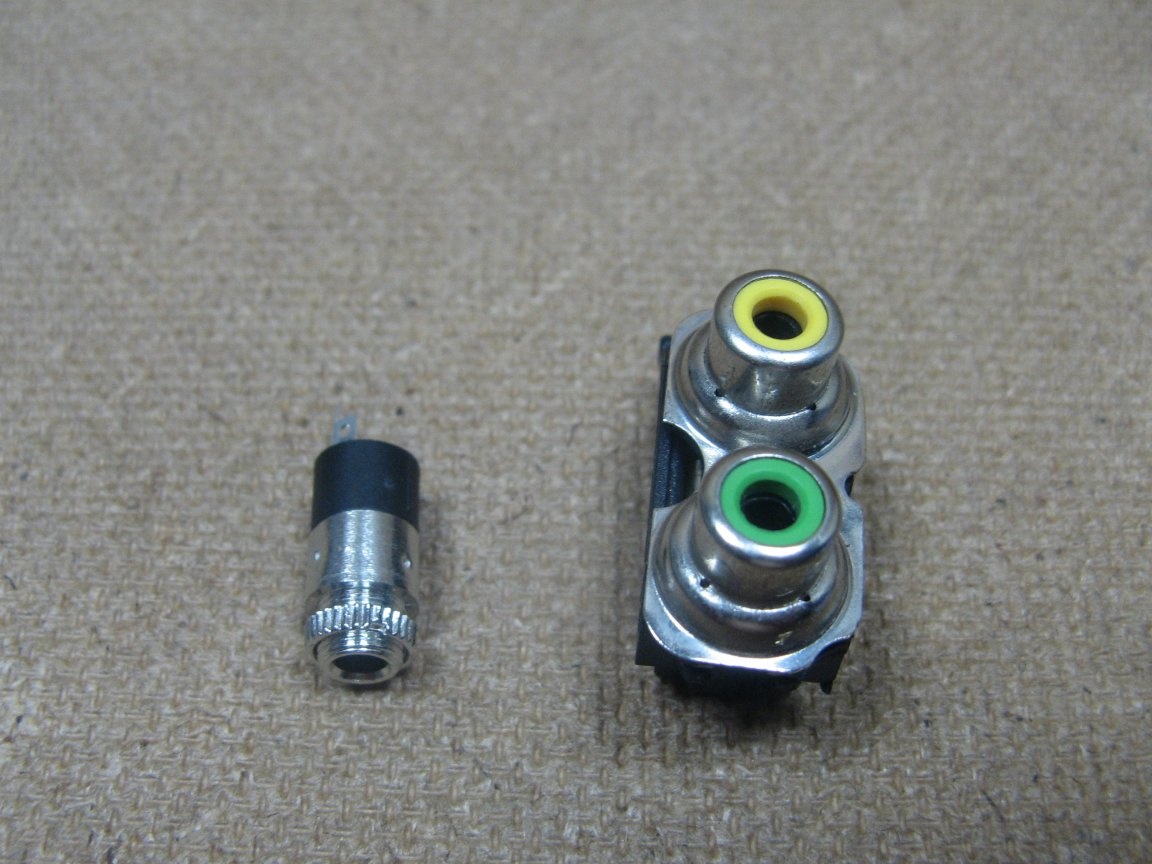
RCA type connectors (most needed) 3.5 jack. RCA jacks found in deposits. Color is not critical. 3.5mm jack out
The switch is small in size, which was in the deposits.
18650 batteries with a residual capacity of 4470 mAh.
The charge controller and the protection board are separate for me, which were. Sold and combined in one board.
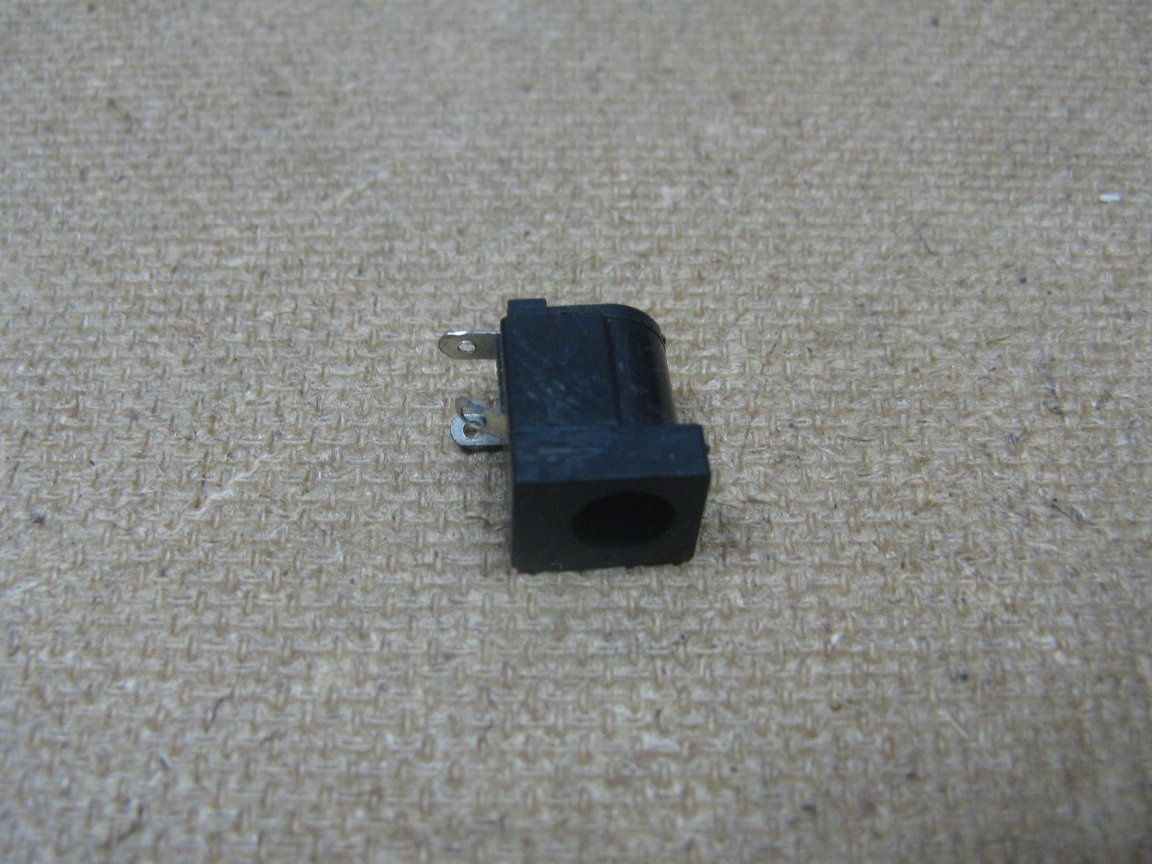
Power connector 5.5 * 2.1 mm from the Middle Kingdom.
3 mm LED with 120 ohm resistor.
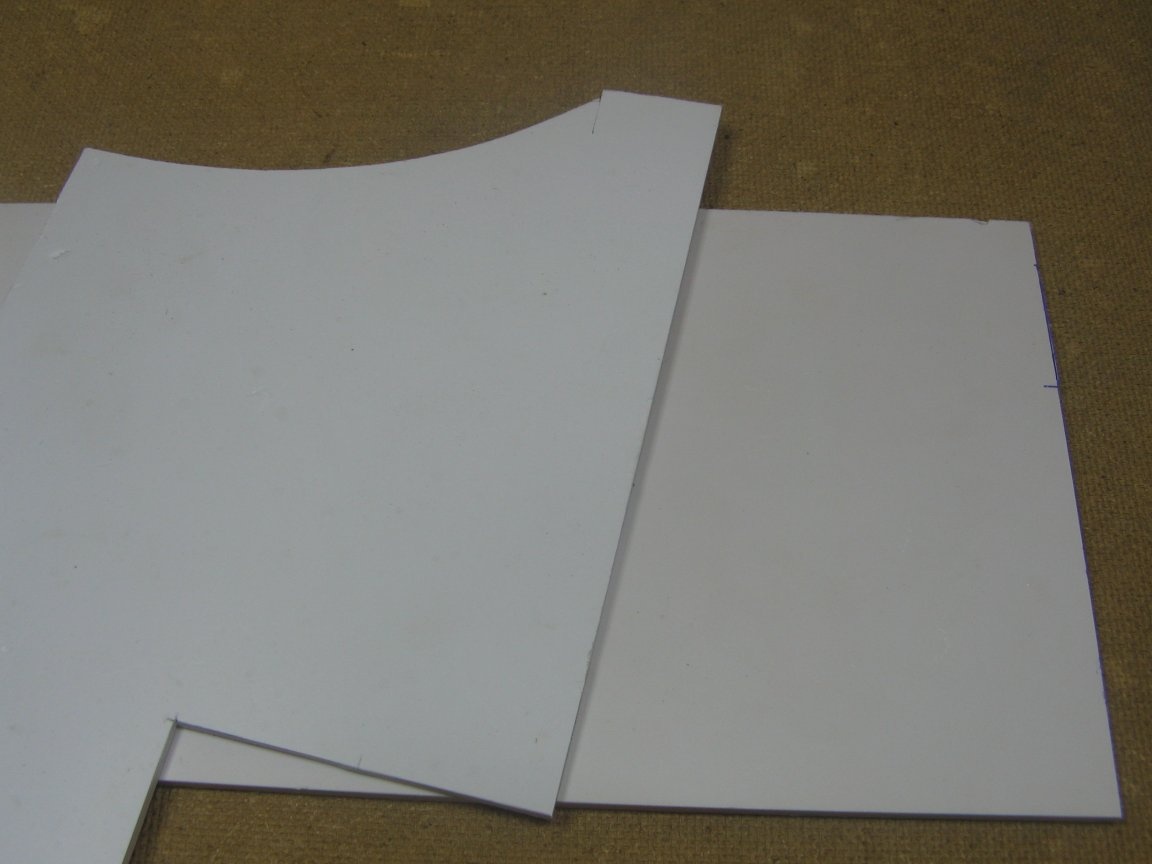
PVC plastic. It is very convenient in work, it is cut with a knife.
Assembly.
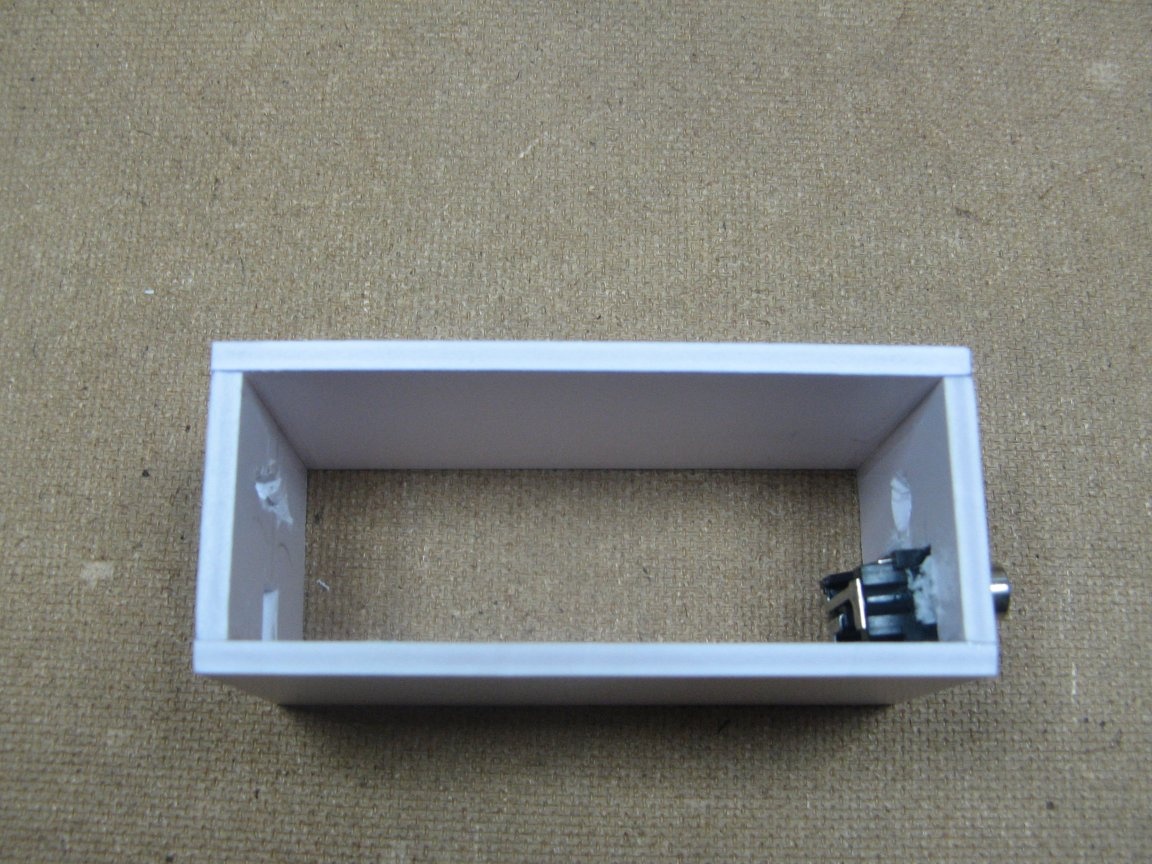
From PVC I cut the box blanks. Two in size 50 * 100 mm. Two in size 30 * 50 mm. Two more, a cutout during assembly.

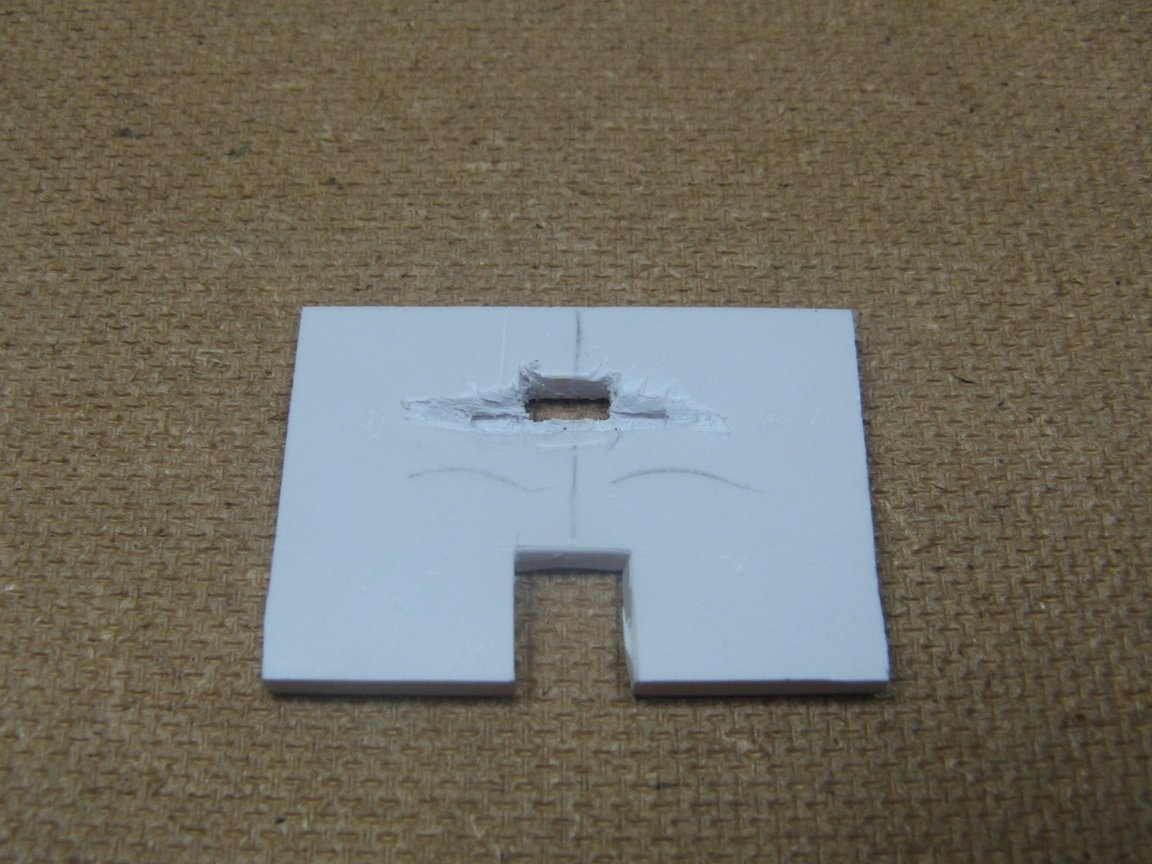
In one small blank, I cut a window under the power socket and the connector of the charge controller. I make a deepening, otherwise the controller connector turns out deep.
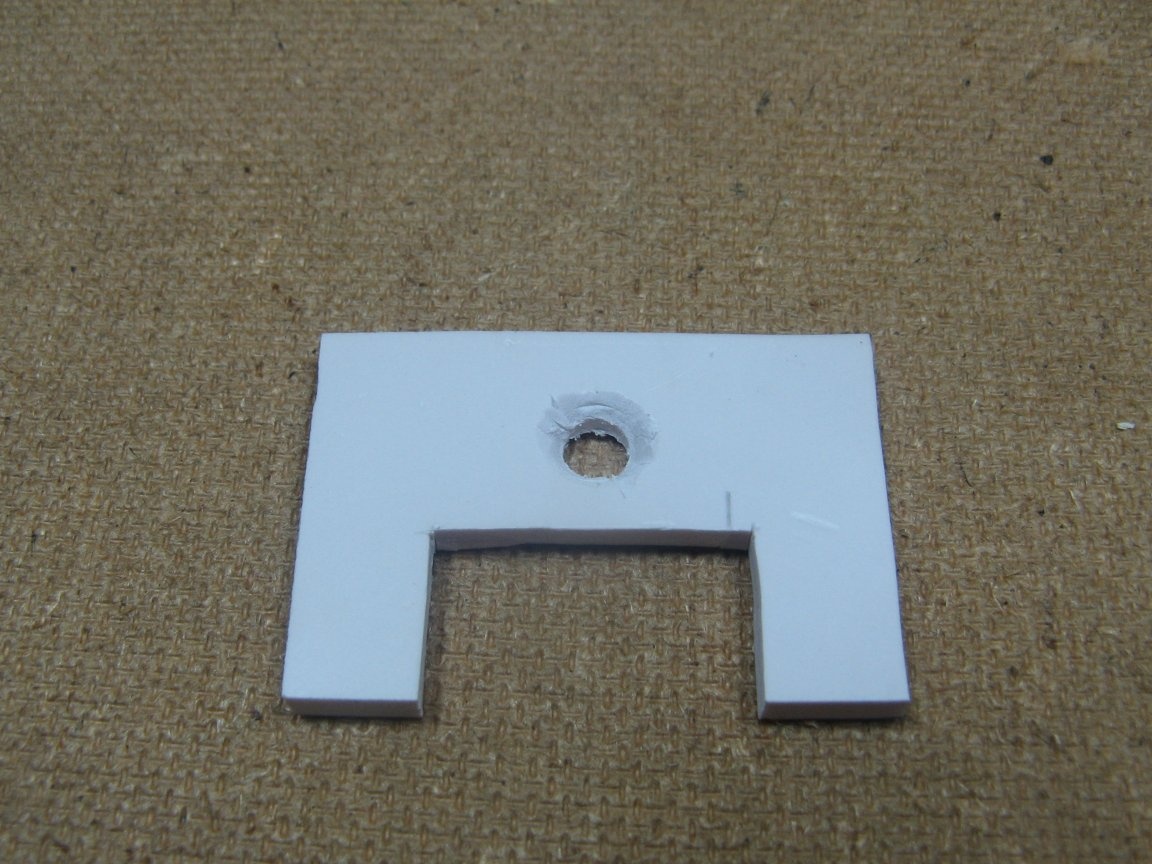
In another blank, I cut a window for the nests.I will drill a hole for the 3.5 mm connector, make a small recess, otherwise I can’t tighten the nut.
I install the nests and attach them to super glue sprinkled with soda.
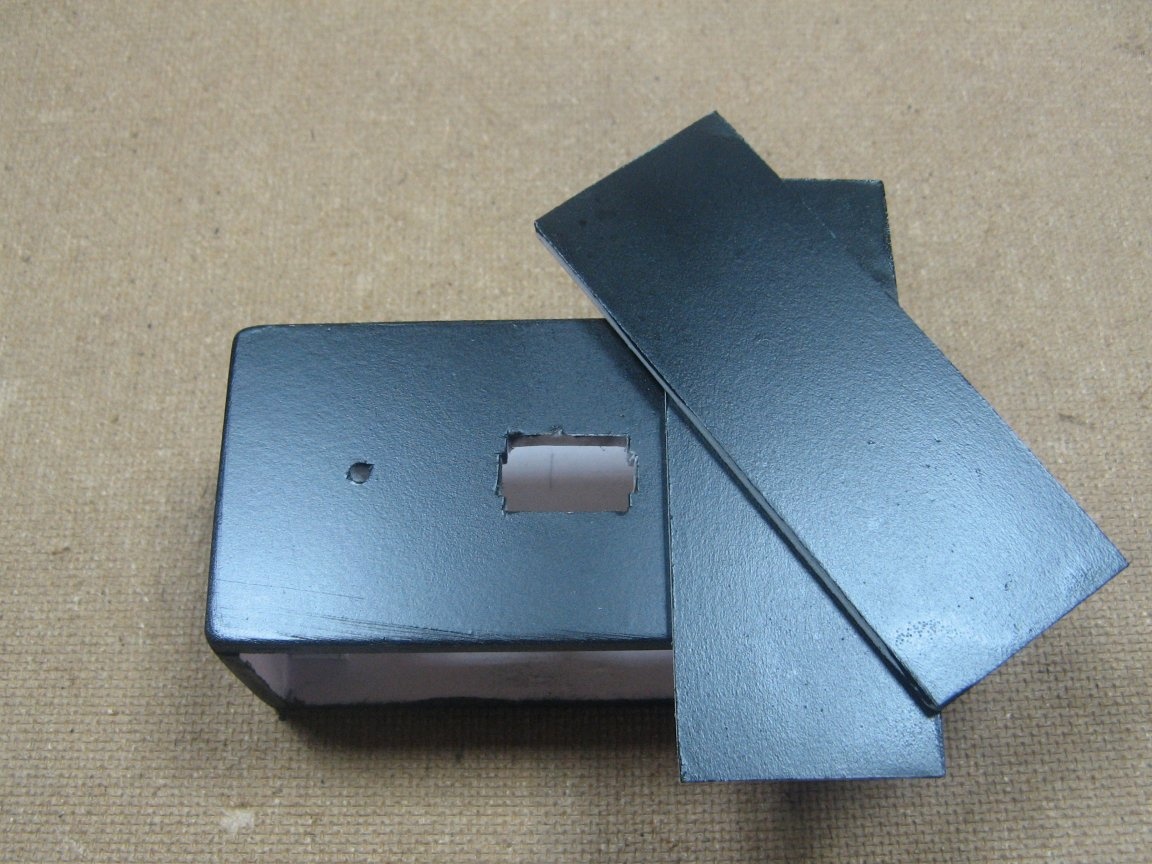
Cutting the side blanks, I install them temporarily. I paint from a spray can. The paint dries, I take off the side. I also cut a window under the switch.
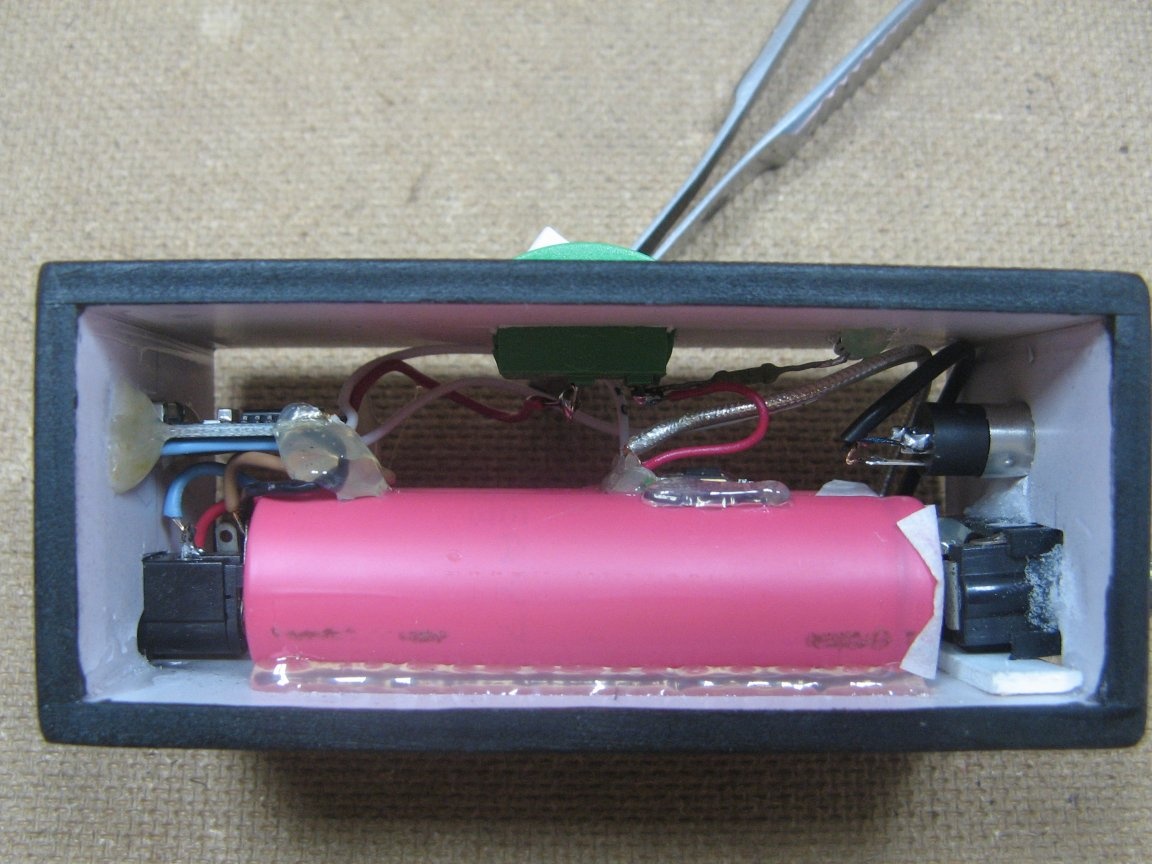
I fix 18650 batteries on hot glue. I also solder a charge controller to it. I solder the output connectors in parallel.
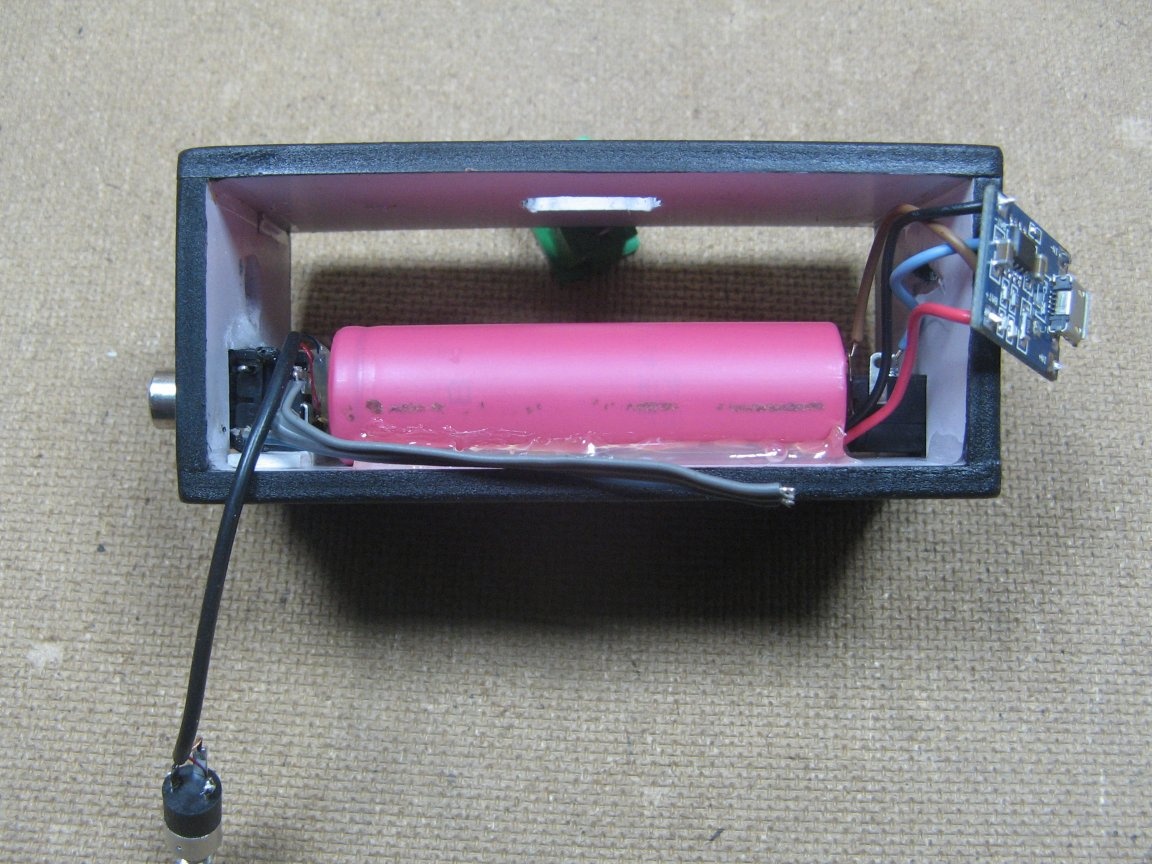
I solder everything according to the scheme.
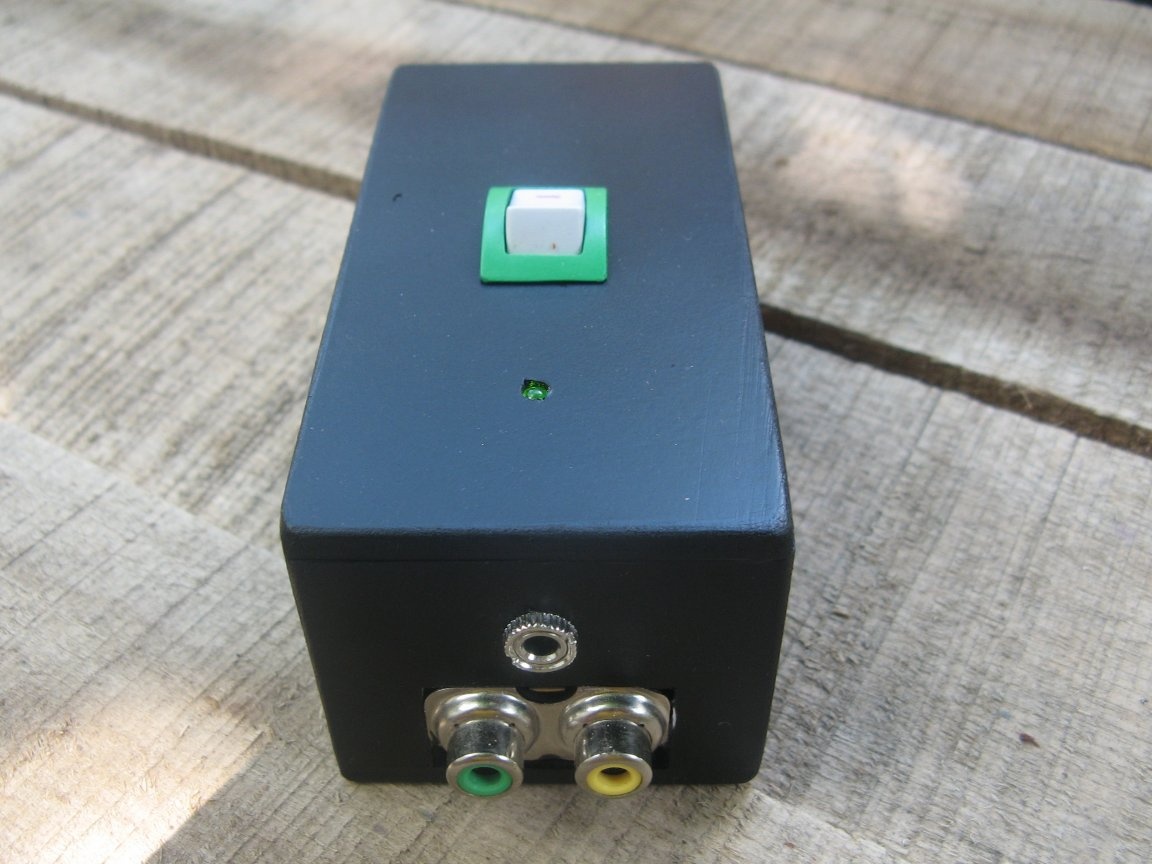
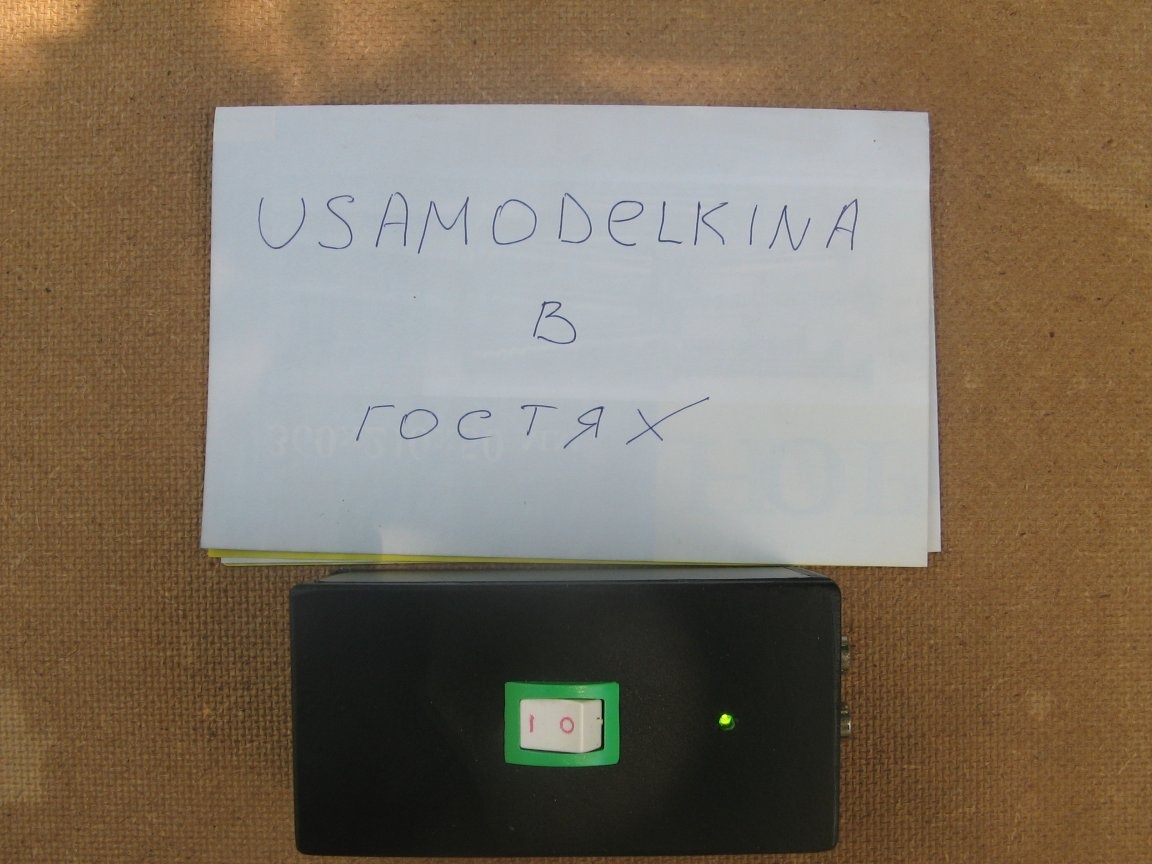
Such a device turned out. The current consumption is scanty, I will rarely charge.
Assembly video: