

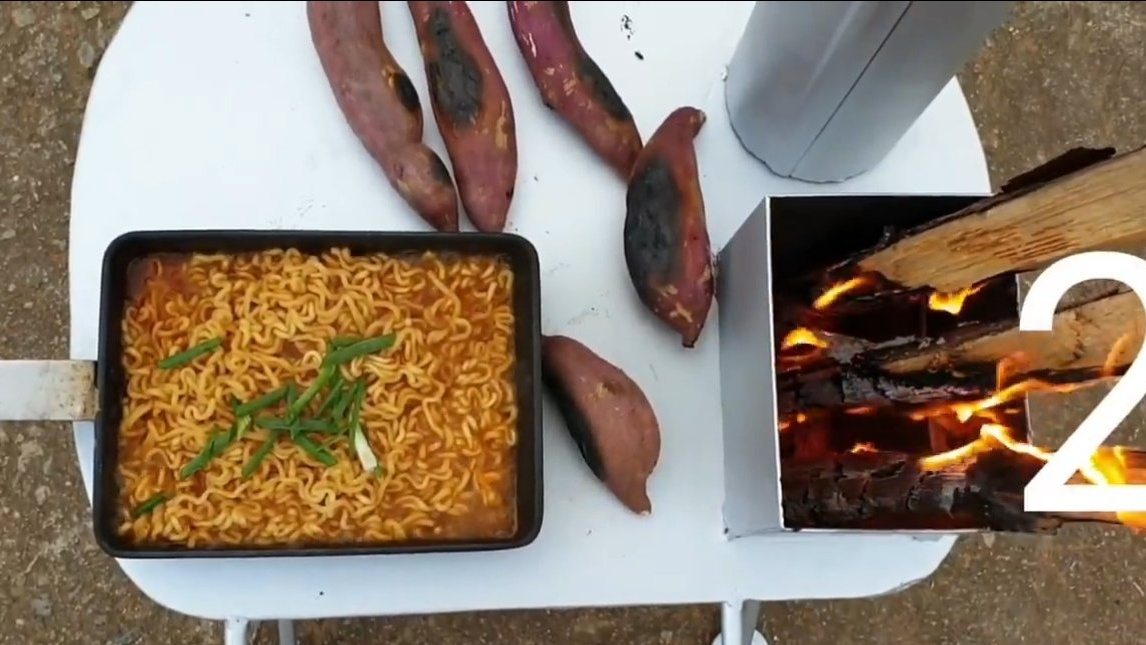
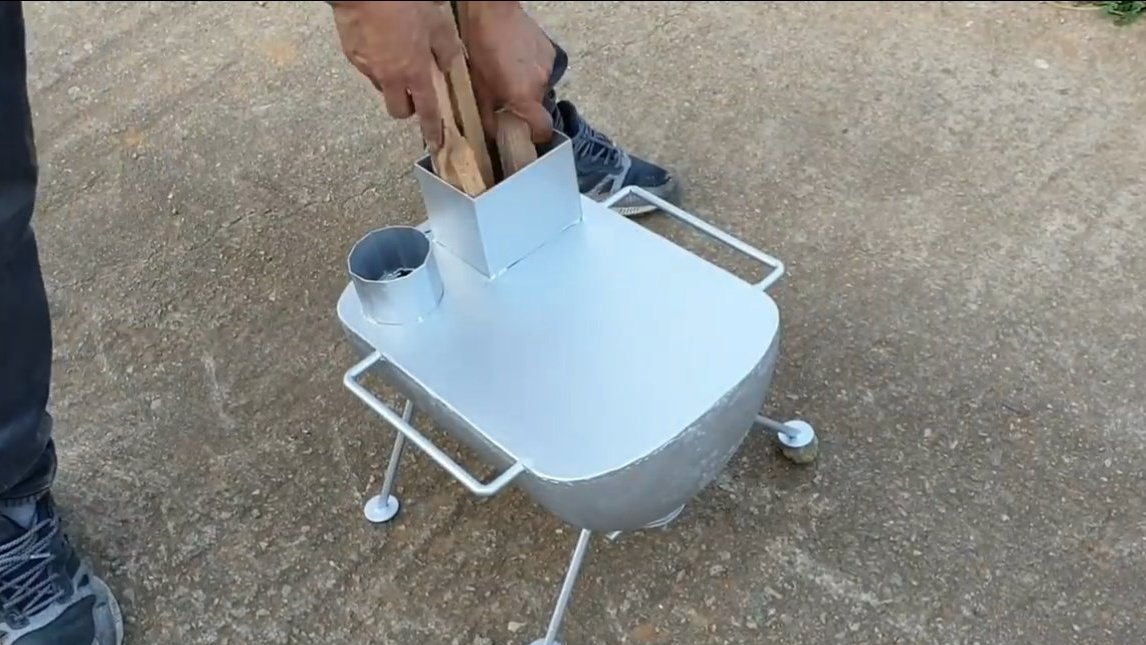
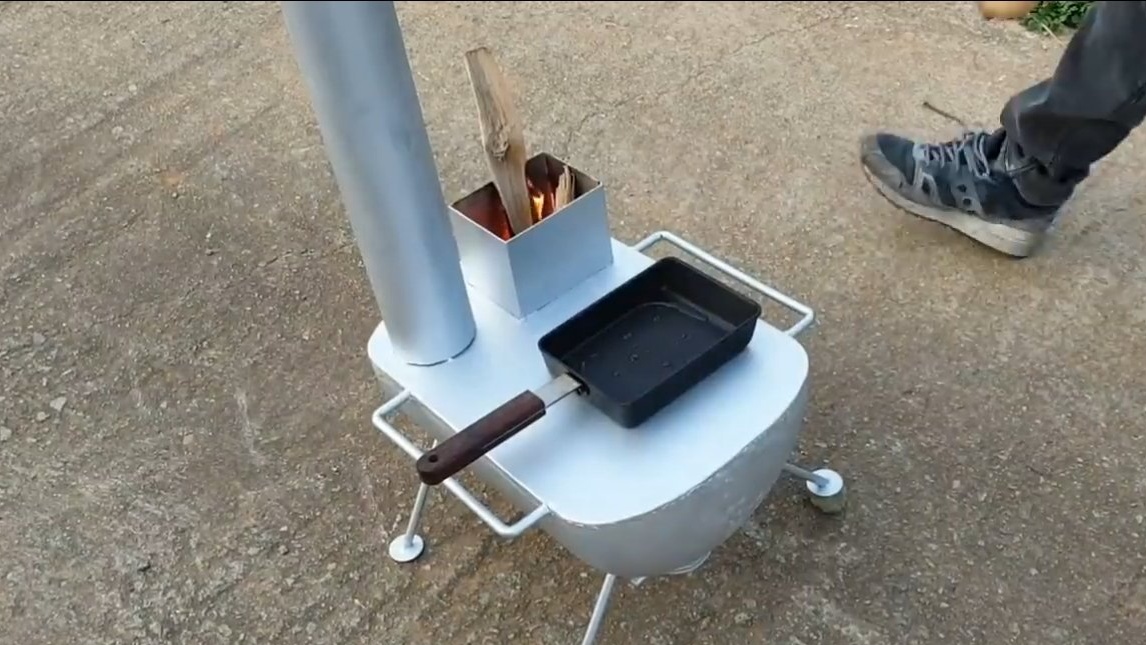
I welcome all fans to craft, I propose to consider instructions for the manufacture of a simple heating and cooking stove for tourism do it yourself. Such an oven can be placed in a tent, it will warm quite strongly. There is a hob on the stove, here you can boil a kettle of water, fry meat, cook the ear and whatever you want. The stove is small, the chimney is removable, the stove fits easily in the machine. The furnace is equipped with a blower with a damper, through it you can pour ash. The furnace loading is vertical, which simplifies the furnace process, you can load long sticks, and they themselves will advance into the furnace as they burn. If the project interests you, I propose to study it in more detail!
Materials and tools used by the author:
Material List:
- gas cylinder;
- round timber or fittings;
- thick sheet steel;
- sheet steel for the manufacture of nozzles;
- bolts, nuts, washers;
- paint for metal.
Tool List:
- grinder;
- plasma cutter;
- welding machine;
- tape measure, marker.
Manufacturing process homemade:
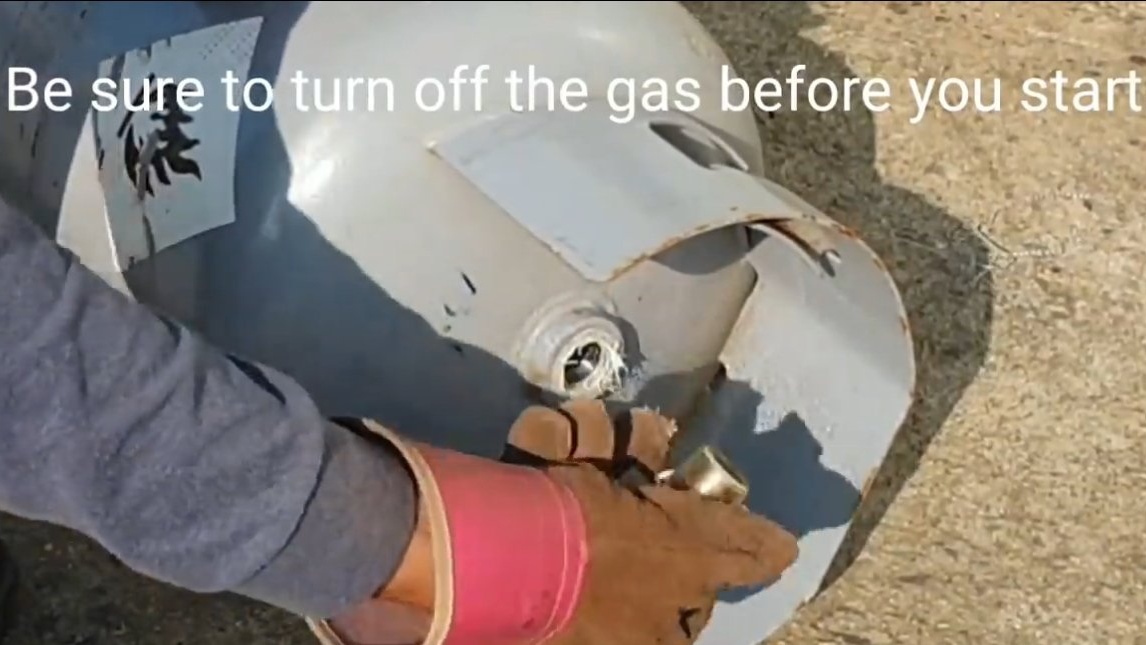
Step one. We cut the balloon
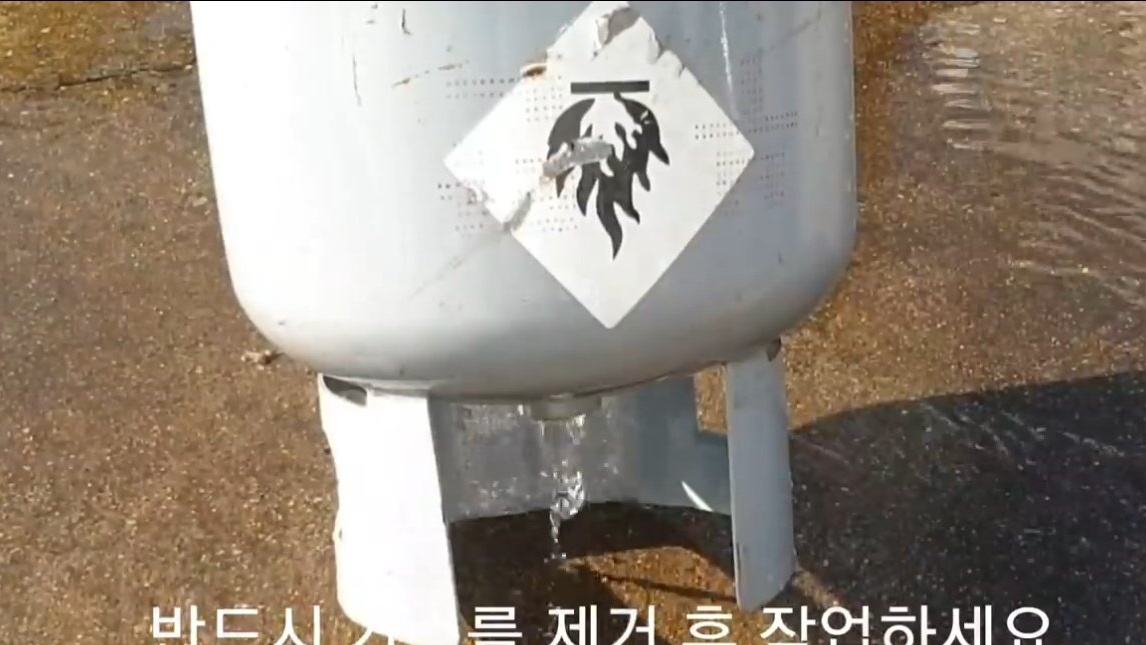
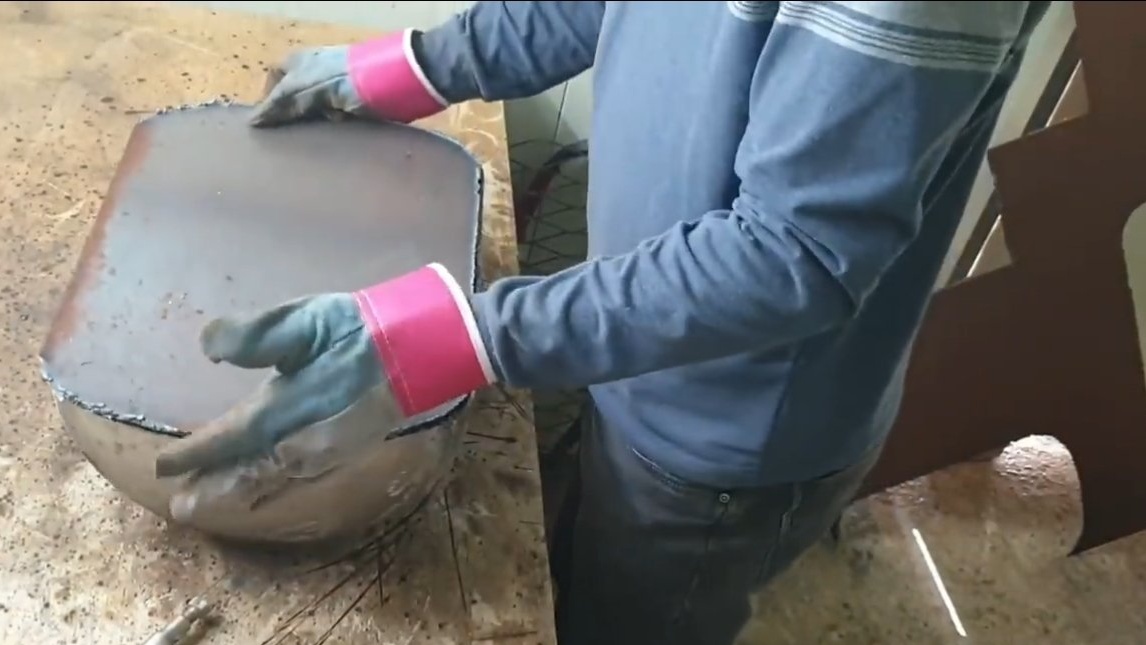
Two furnaces can be made at once from one cylinder; not only two halves will need to be cut. Never cut the cylinder without rinsing, it will cause an explosion! We turn off the tap, release the gas and then drain the residues away from the source of open flame. The cylinder must be filled with water and the contents drained, it is better to repeat the procedure three times, otherwise the remaining gas may explode, only a few flammable vapors are enough for the explosion. Some craftsmen cut cylinders directly with water inside, so there will be nothing to explode.

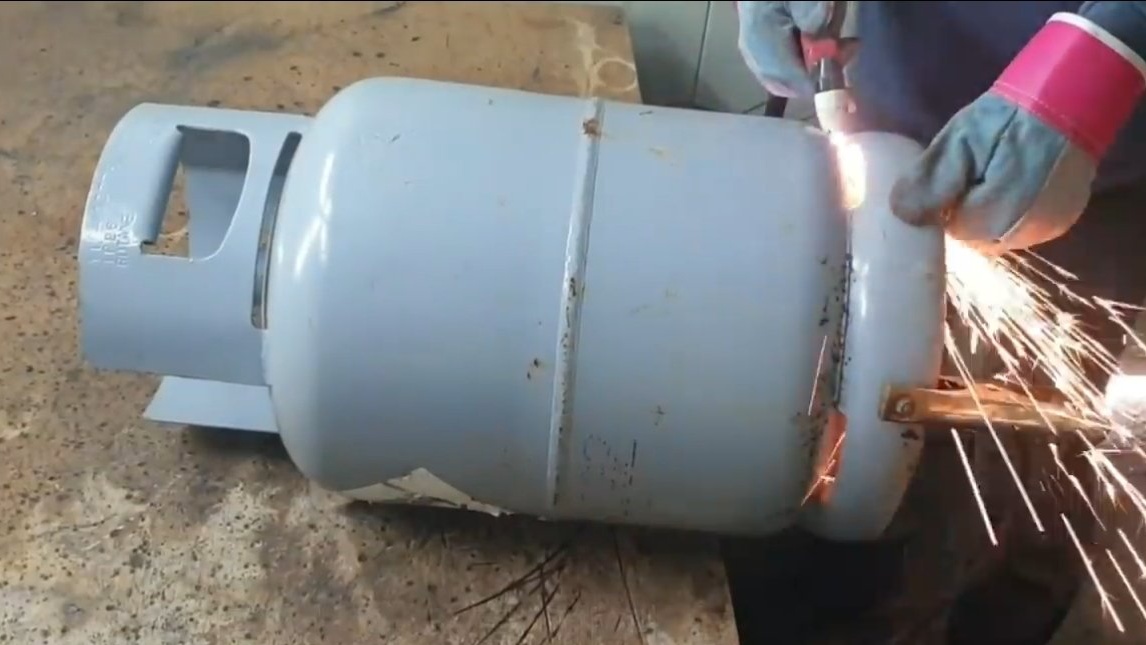
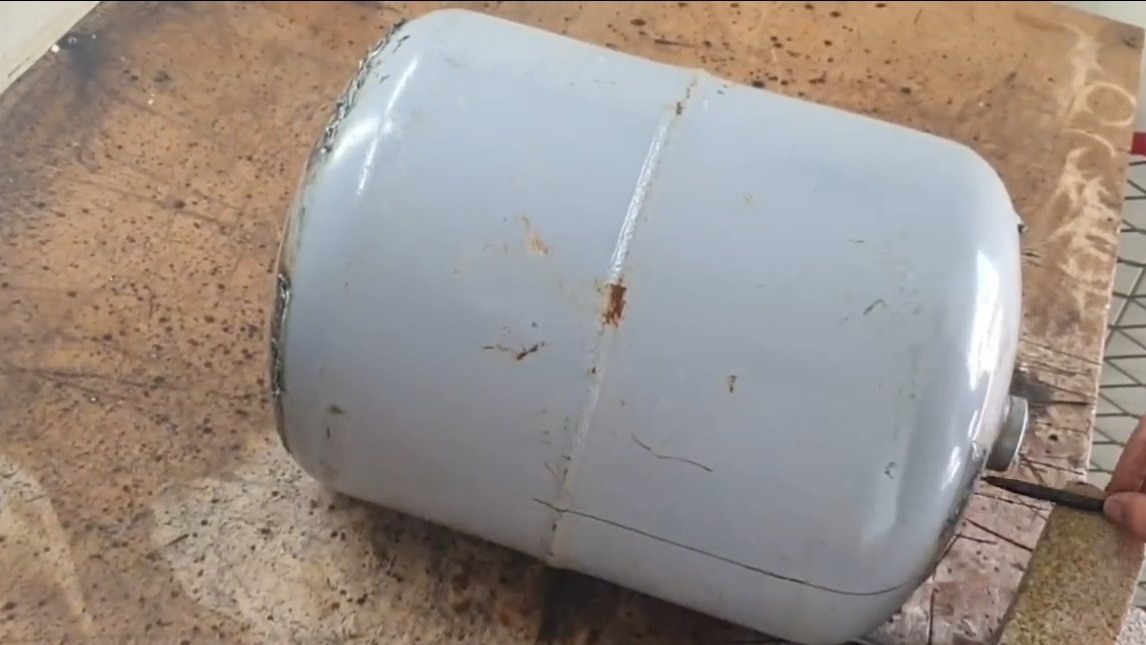


Having marked the balloon with a marker, you can start cutting, work with a grinder, cut the balloon into two halves. Next, you will need to immediately remove the paint from that half, which will be the body of the furnace. For work, a grinder with a petal disk or a thick disk for grinding work is suitable. The paint must be removed all, otherwise when the furnace heats up, it will begin to smoke and burn.
Step Two Hob
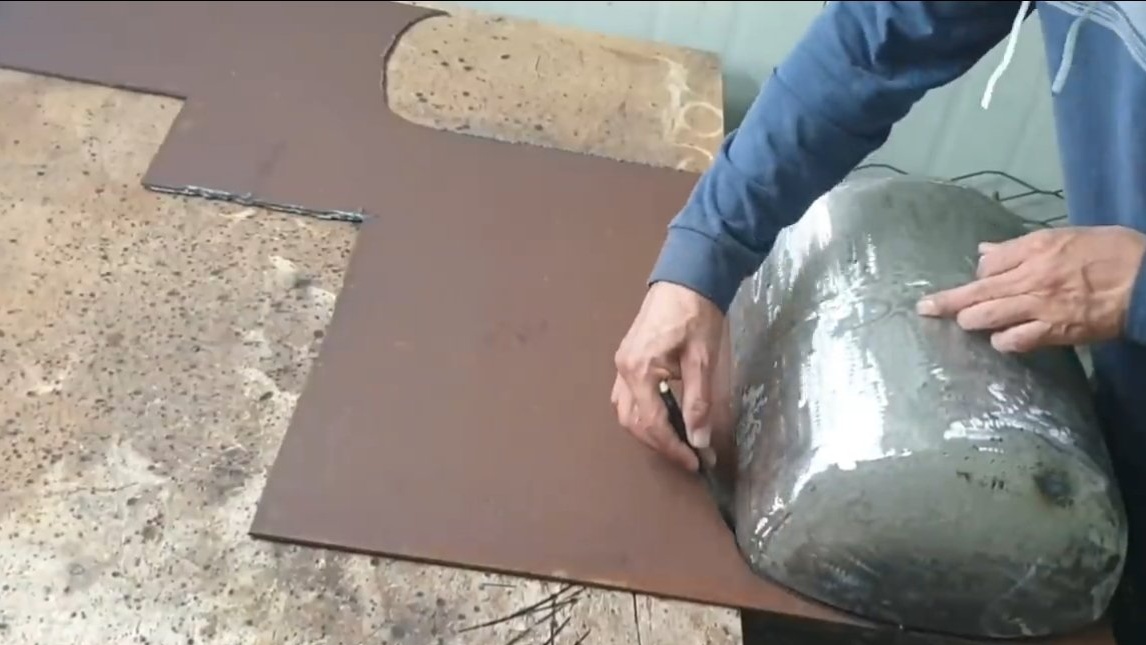
We proceed to the manufacture of the hob, for such purposes you will need thick sheet steel. Of course, cutting such material will be possible using a plasma cutter, a grinder can do this, but it will take a lot of time. We trim the edges of the cut-out plate with a grinder, remove the slag.

Step Three Smoke pipe and firebox
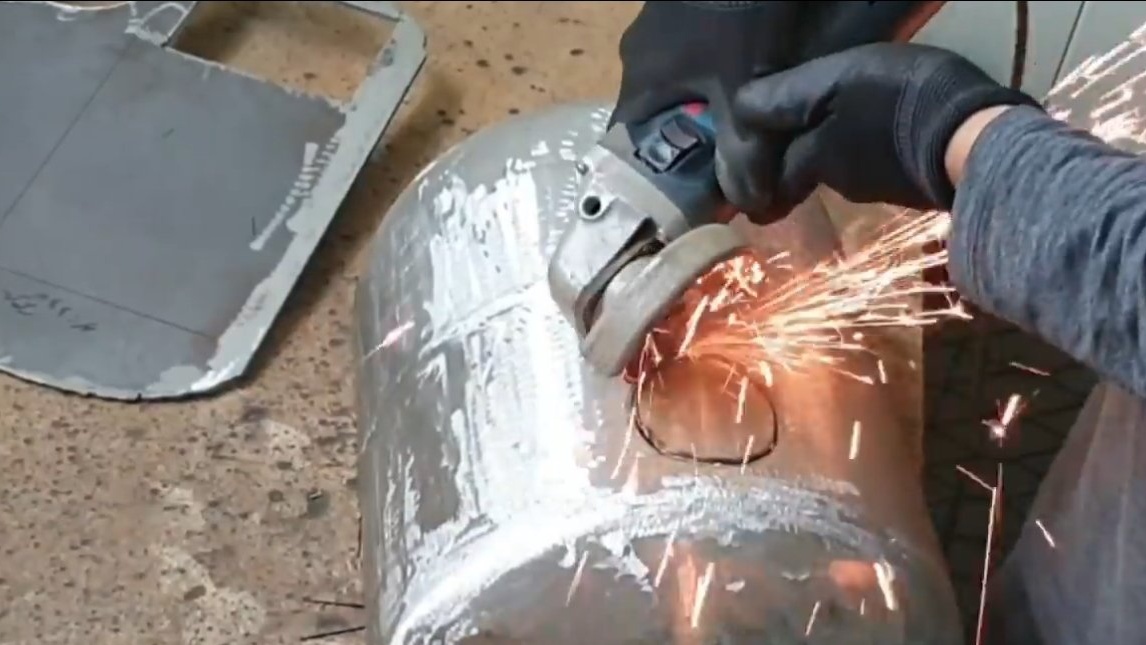
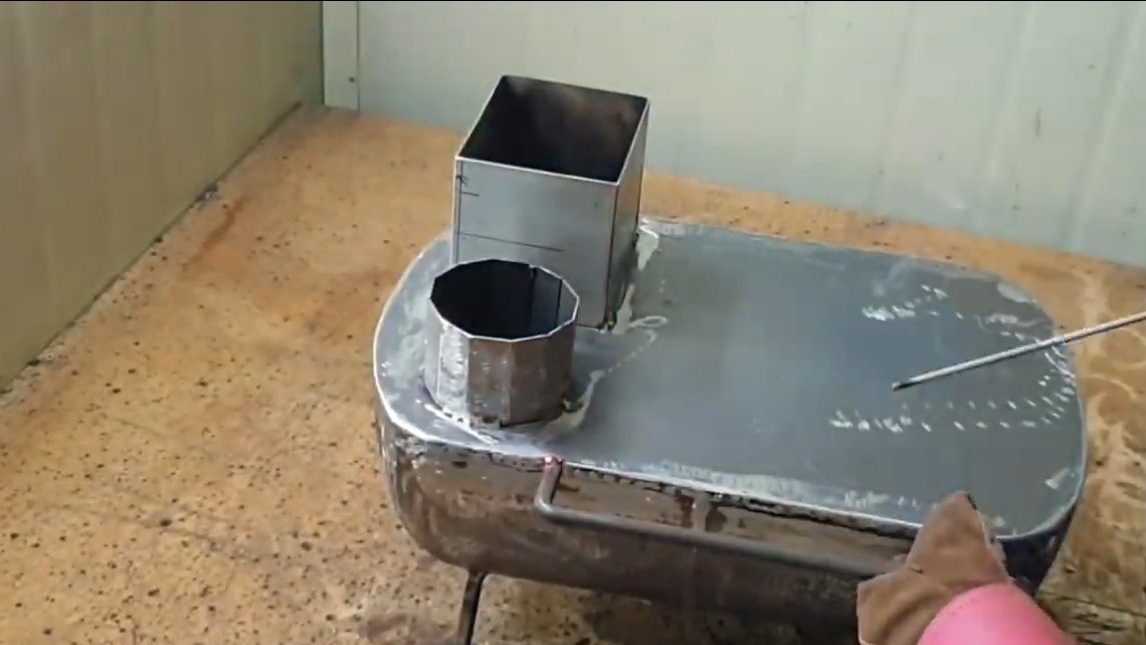
We make a pipe for installing a chimney. The author uses a chimney from a hardware store designed for ventilation. Note that such pipes are galvanized, and zinc produces harmful gas when heated, so it is better to carry out the first starts in the open air.
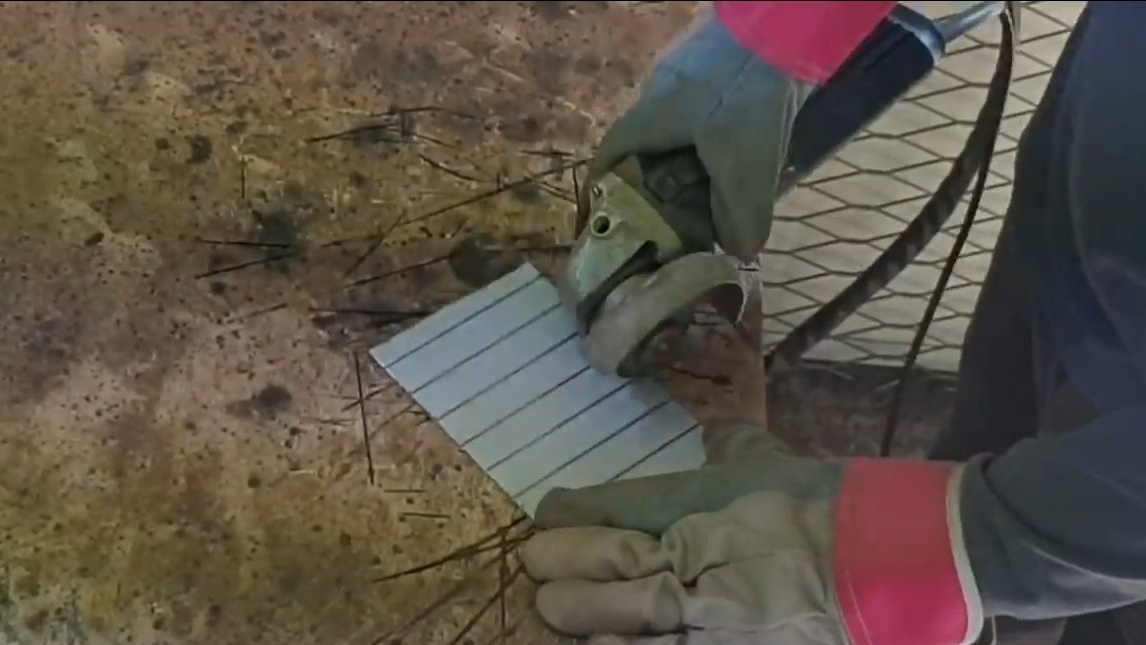
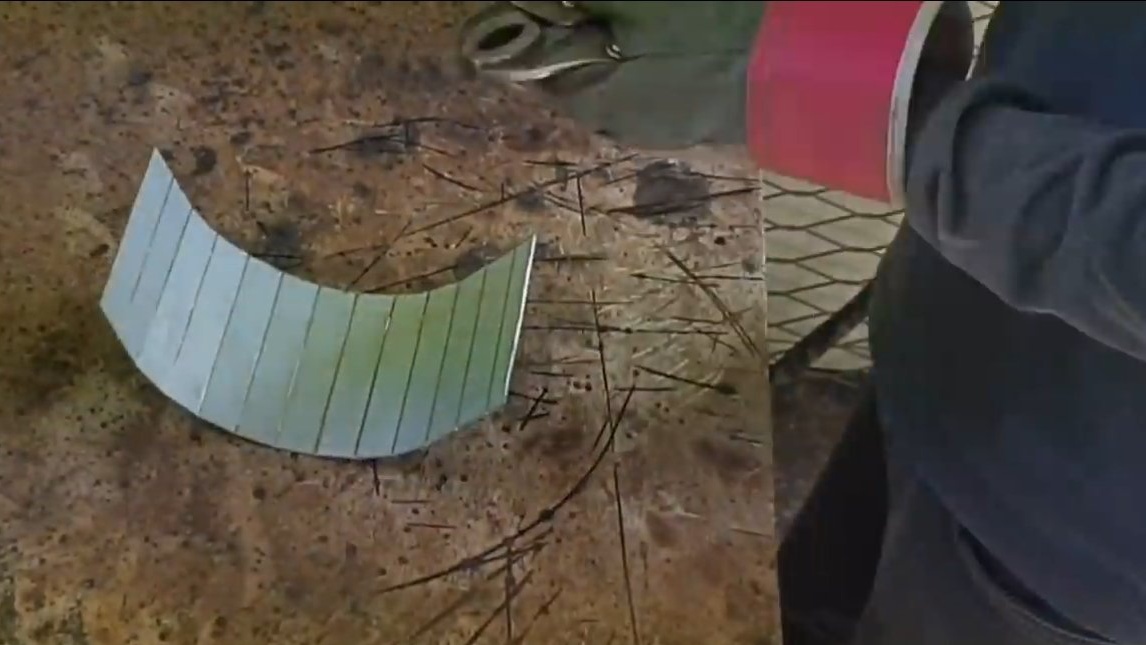
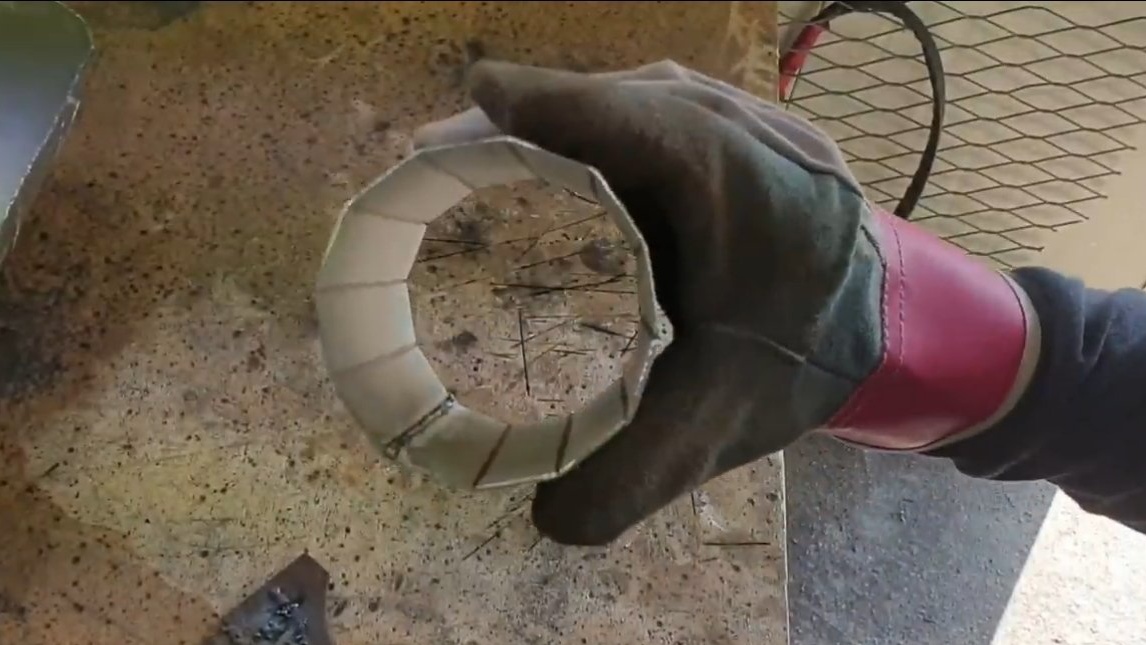

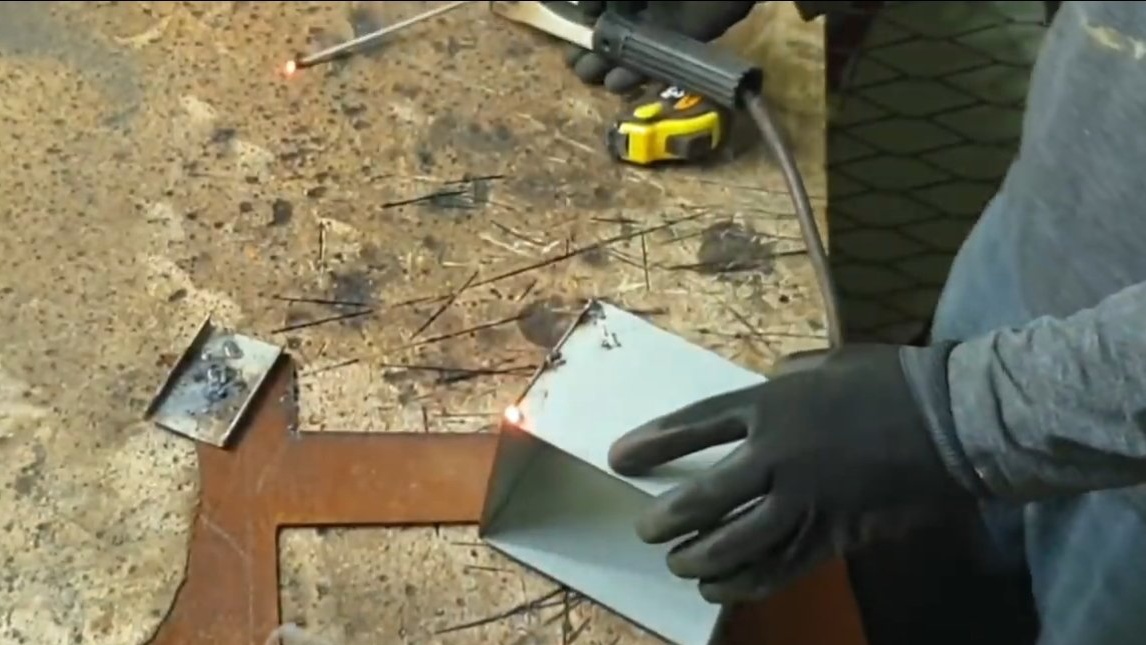
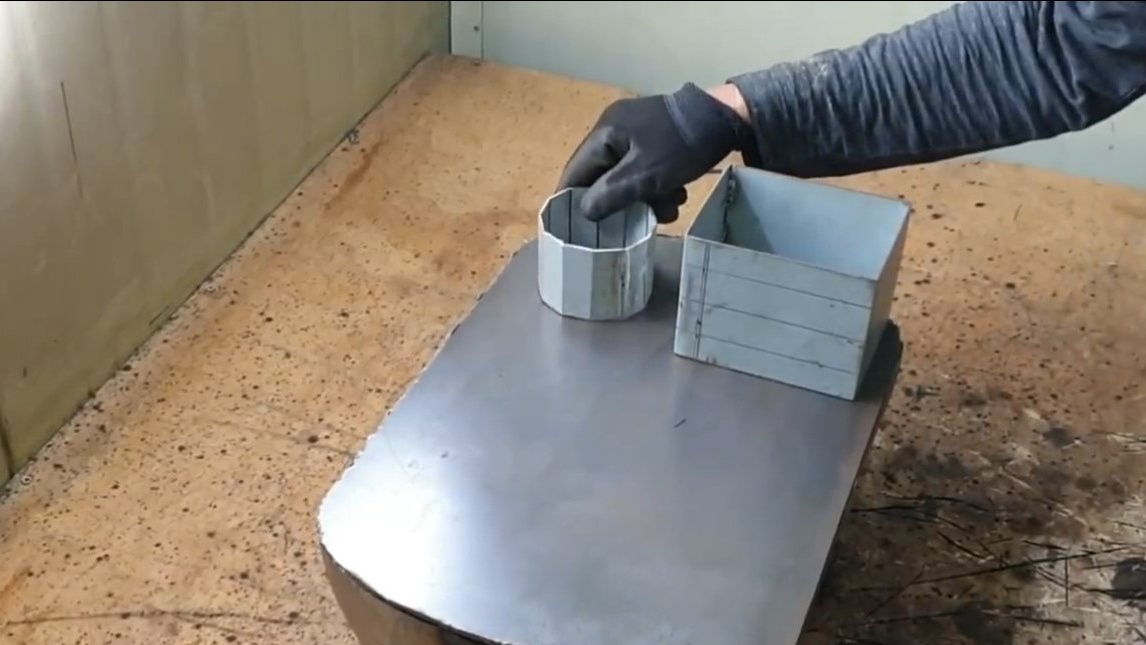

The author made a pipe under the pipe from a steel plate. To bend the plate, we make a series of cuts in it with a grinder and then bend, the plate will bend clearly along the cuts. At the end, weld the pipe and weld it into the cooking plane, not forgetting to cut a hole.
The author also made a firebox sleeve out of sheet steel; it turned out to be rectangular.
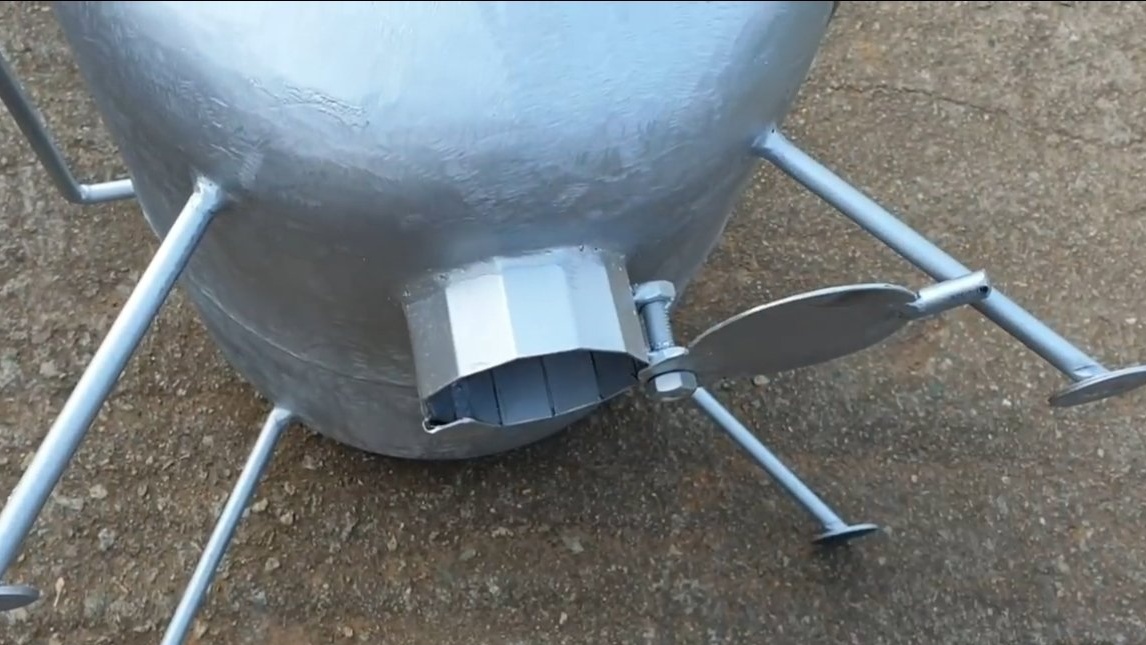
Step Four Blew
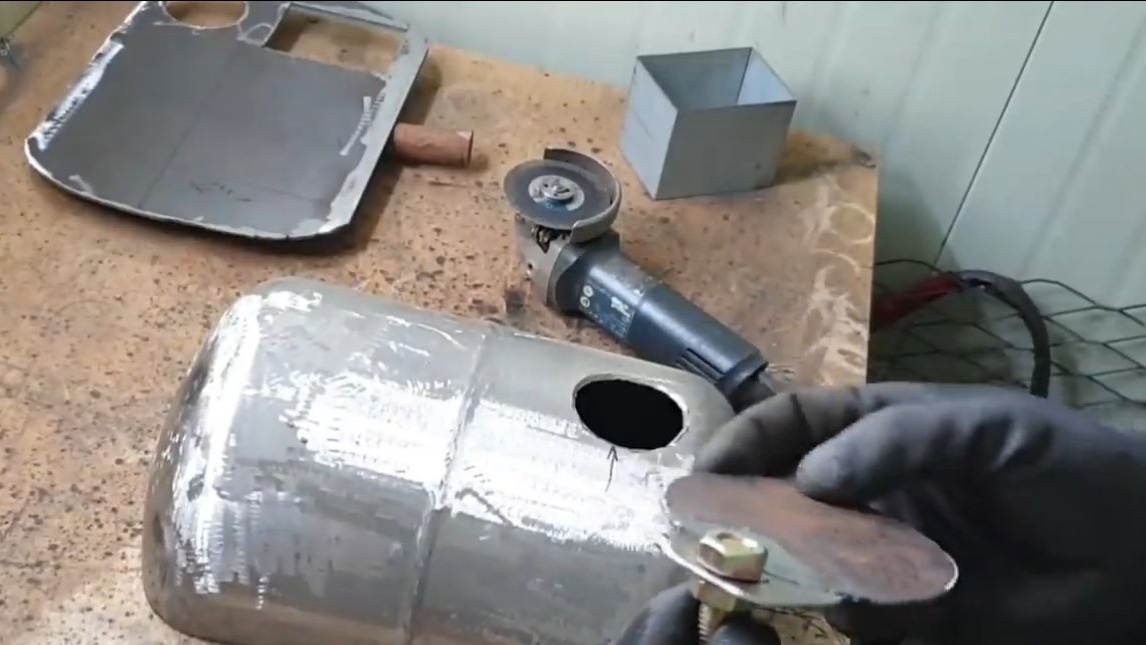
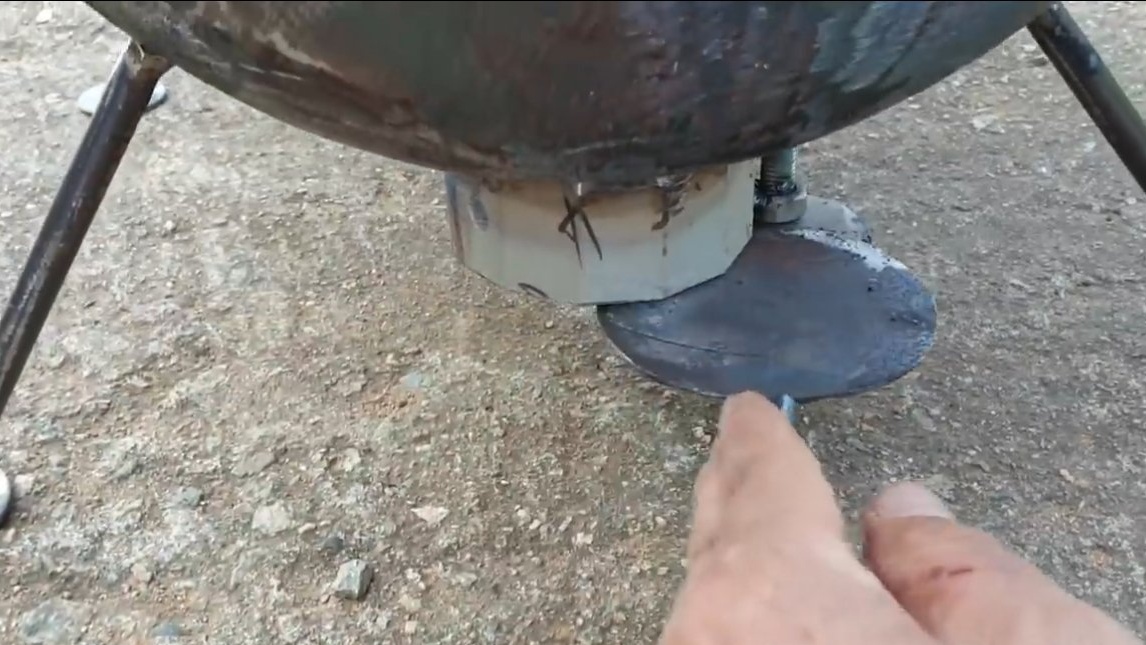
We make a blower for the furnace, it is located at the lowest point, the same part of the furnace is used to pour ash. We weld into the lower part of the furnace a piece of a round pipe or weld a pipe nozzle from sheet steel. Be sure to make a steel plate damper for the pipe. The author used a bolt with nuts as a hinge; it is simple and durable.

Step Five Feet and first start
When everything is ready, the hob can be welded to the furnace body. Inside the furnace is divided into two halves by a steel partition, this increases the efficiency of the furnace, since the hot gases pass a longer way.

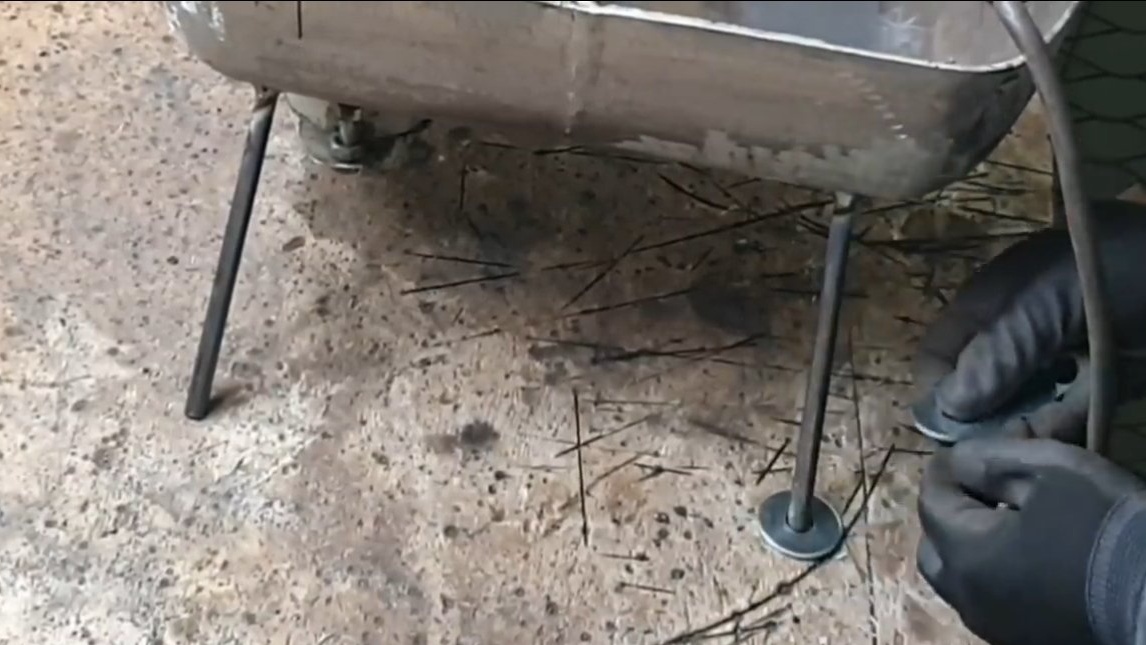


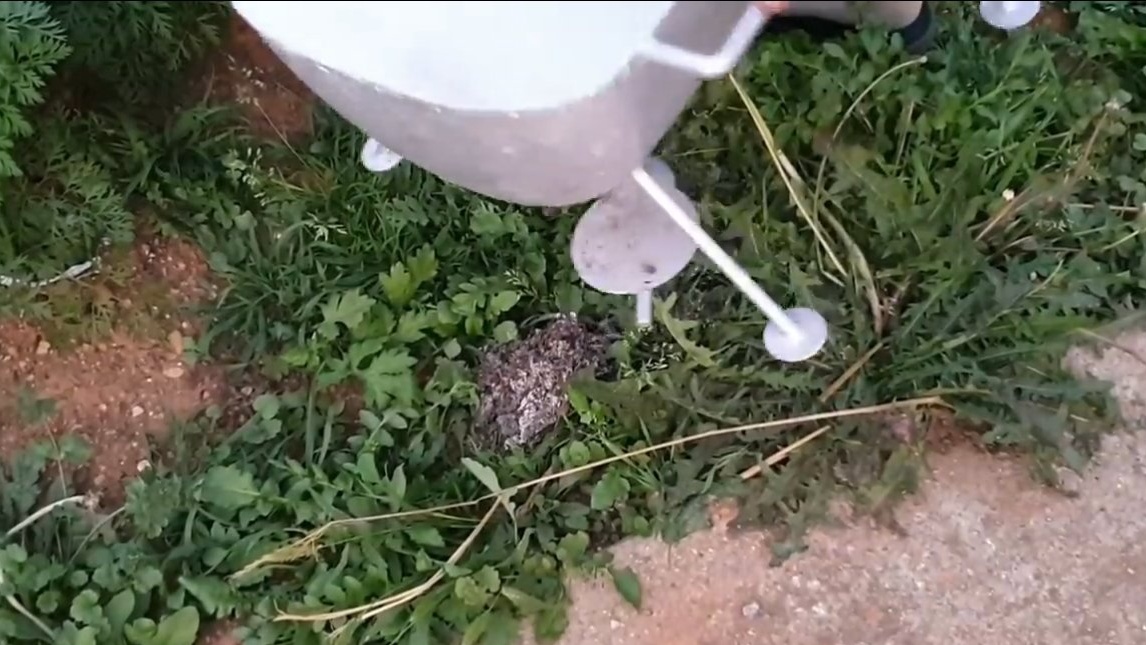
We weld the legs to the furnace, for their manufacture you will need reinforcement or other similar rods. To prevent the legs from falling into the ground, the author welded the washers as supports.
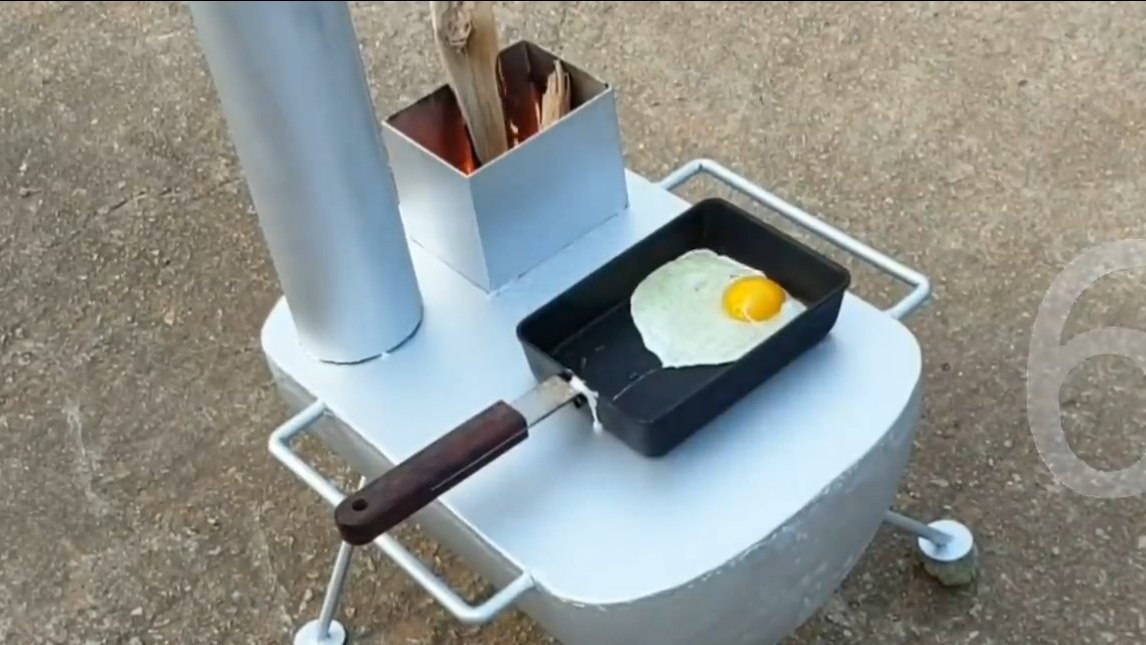
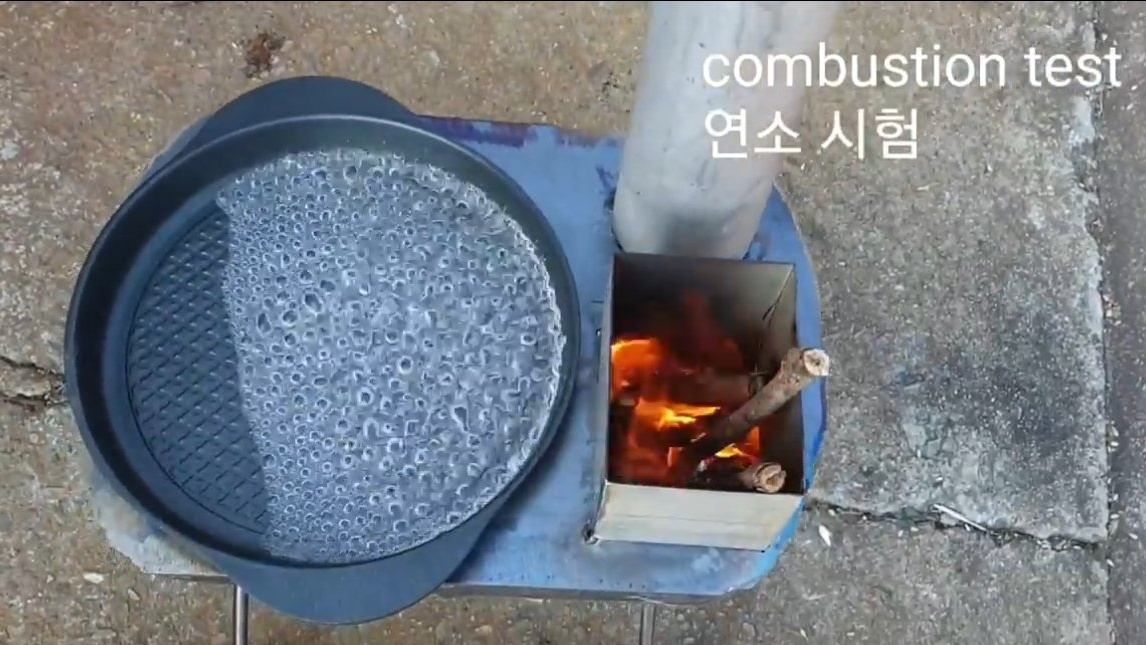
You can do the first run in order to see how everything works, and if there are any holes. The stove behaved perfectly, the water in the pan boils pretty quickly.
Step Six Final touches
At the end, we weld handles made of reinforcement or similar material to the furnace. Now it can be conveniently moved together. When everything is ready, paint the oven with heat-resistant paint and let it dry.

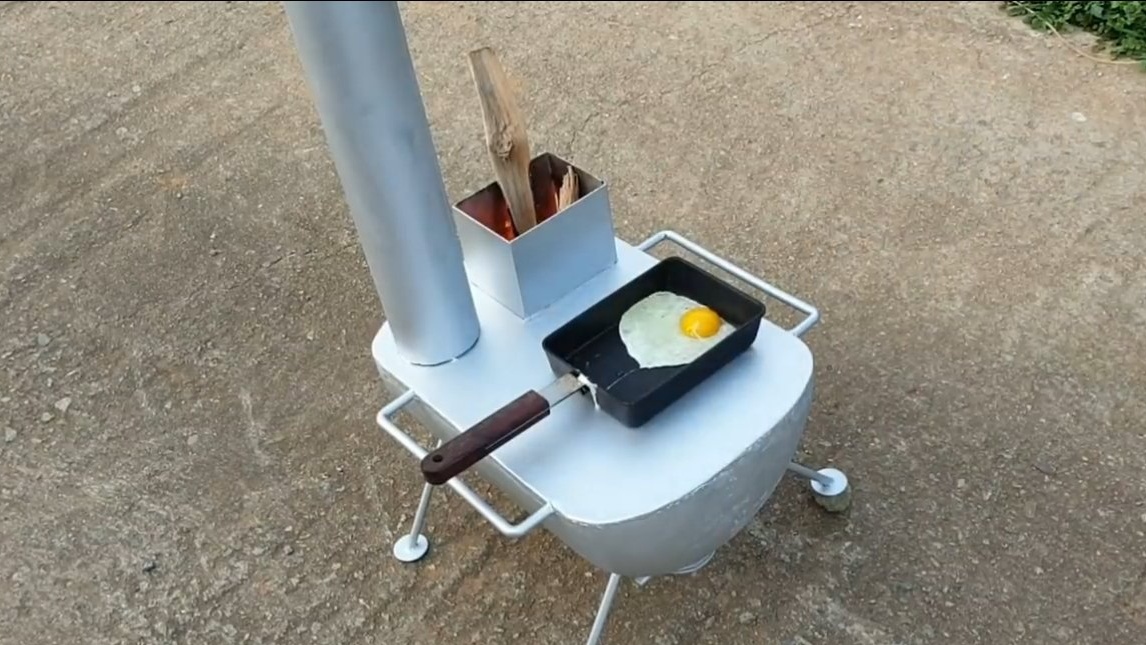
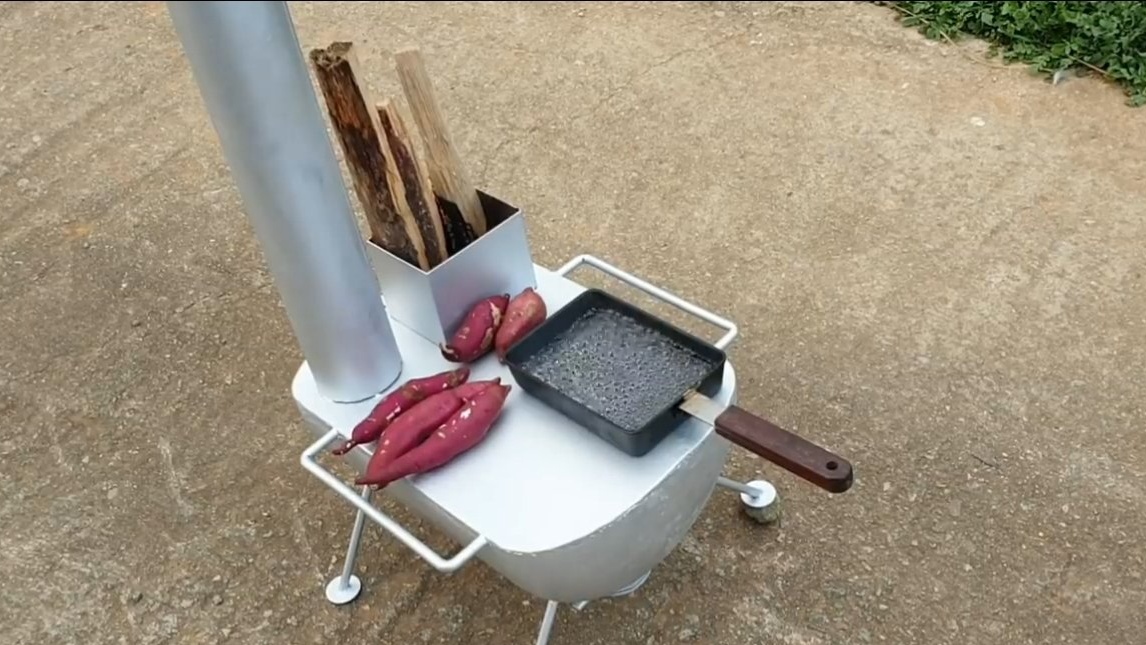
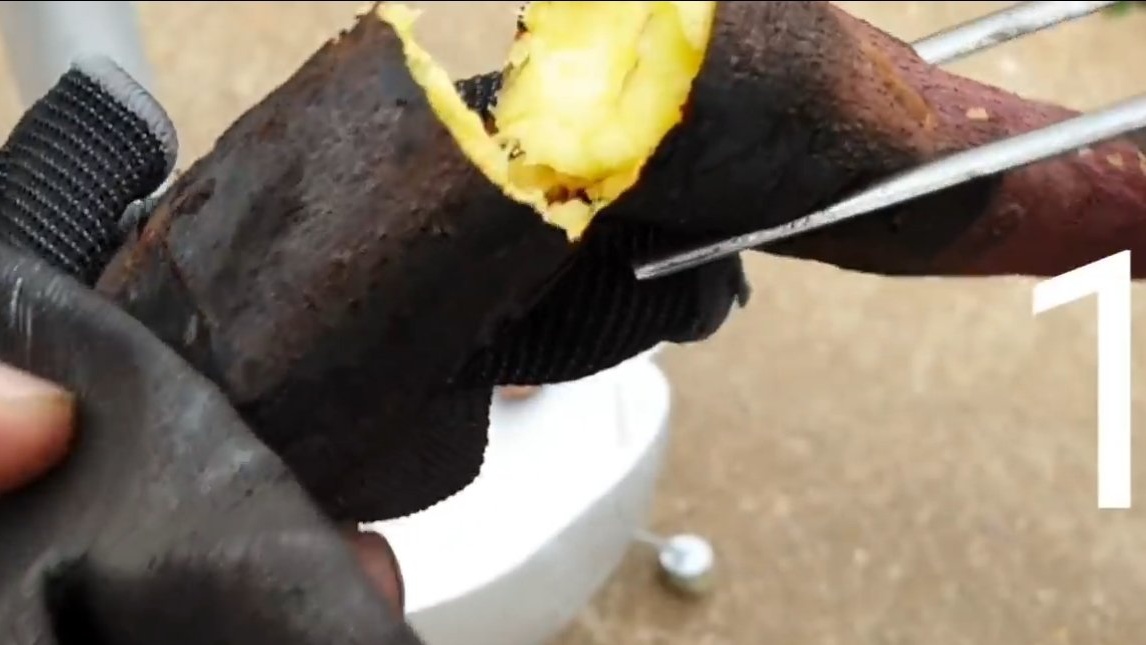
The oven is ready, the first warm-up after painting is best done in the open air so that the oven rings out. The author managed to fry even meat in a pan, which indicates a rather high heating temperature. Also, the author easily bakes sweet potatoes (sweet potato) on the stove.
The project is completed on this, I hope you liked the homemade work, and you found useful thoughts for yourself. Good luck and creative inspiration, if you decide to repeat this. Do not forget to share your ideas and homemade things with us!