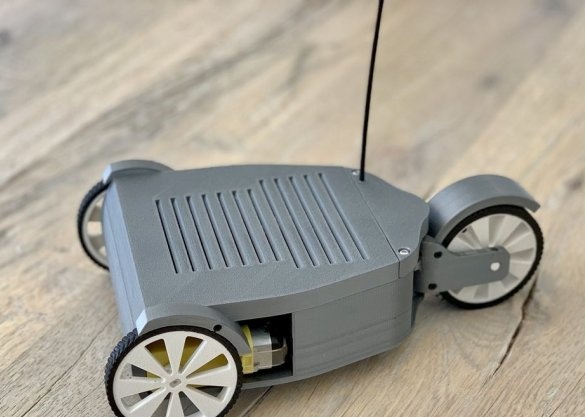
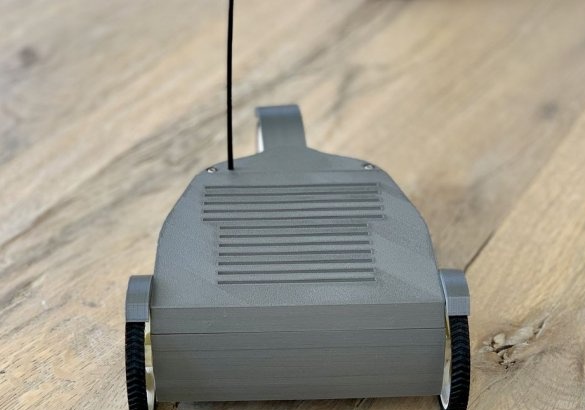
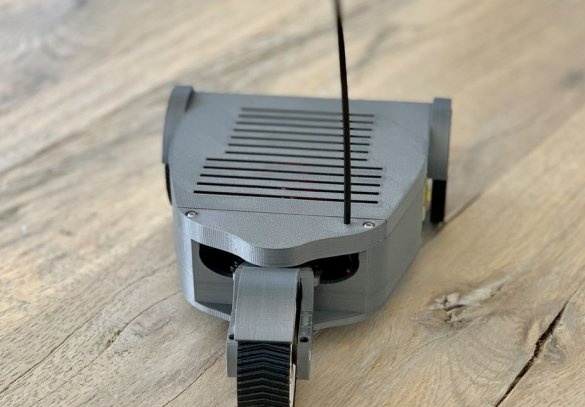
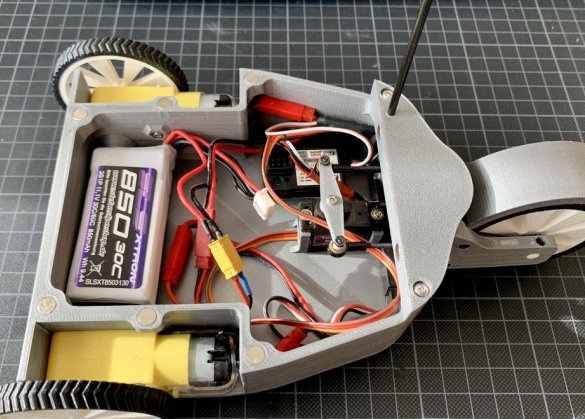
The master had some details from his previous project, and he decided to make a small radio-controlled machine. But the machine is not simple, with a rear steering wheel.
Let's watch a demo.
Tools and materials;
- Remote control with receiver;
-Neodymium magnets;
-Wire with connectors;
-Tips;
-Bearings;
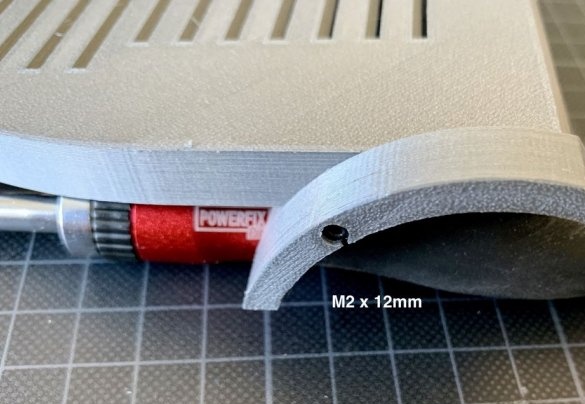
-Fasteners;
-Servo;
-Two engines;
-Wheels with tires;
-Battery;
-Controller;
-Super glue;
-Glue gun;
-Screwdriver;
-Soldering accessories;
-3D printer;
Step One: Printing Parts
On the 3D printer, the wizard prints the necessary details. You can download files.
Step Two: Preparing the Motors
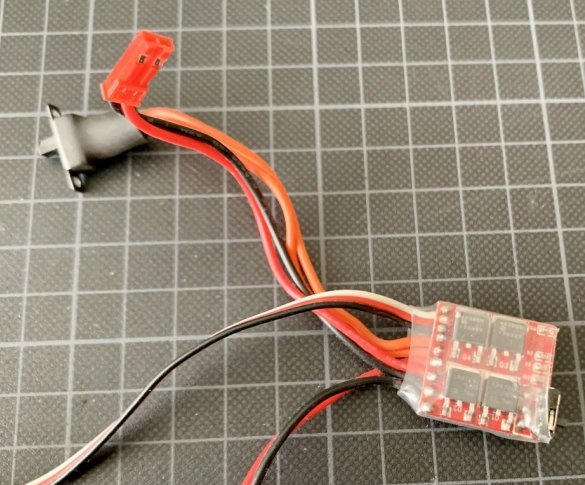
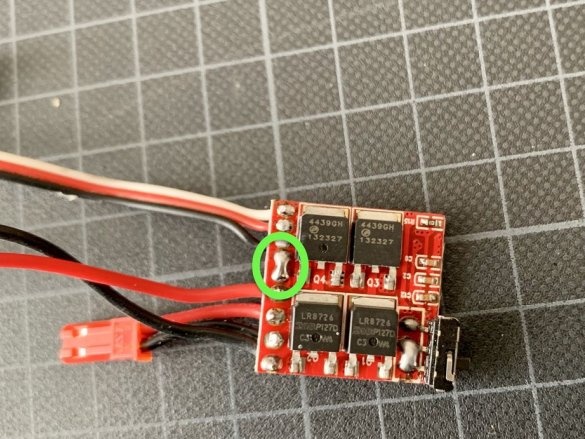
ESC has a switch that can be removed. Solves two cables and disconnects two pins. Thus, ESC is always on.
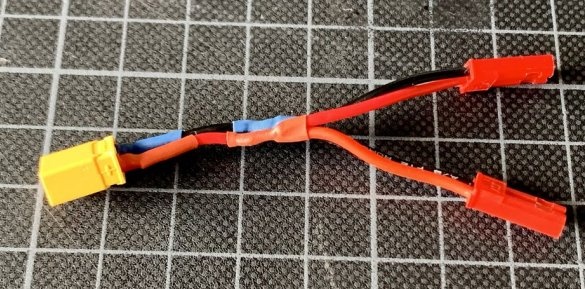
Solder the JST plug to the motor. You can solder the ESC directly to the engine, but in the event of a breakdown it will be more difficult to replace.
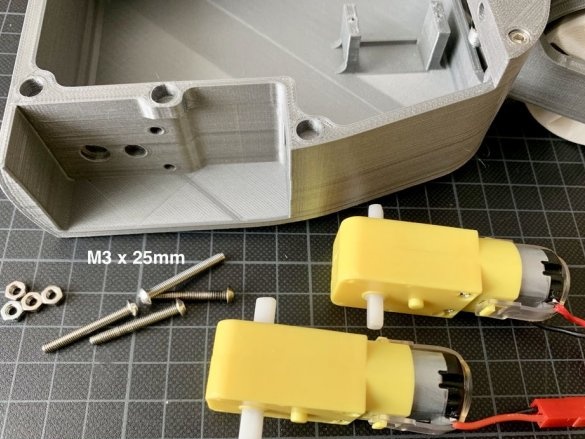
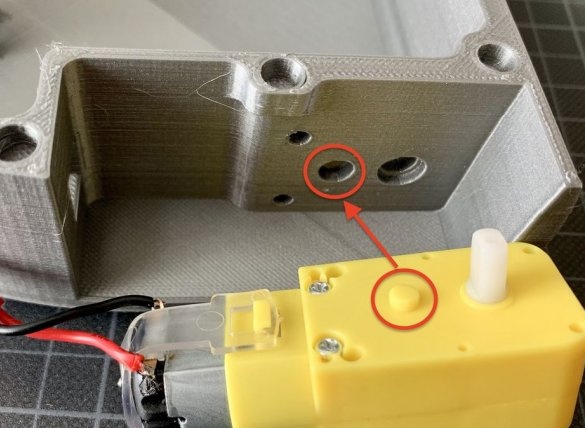
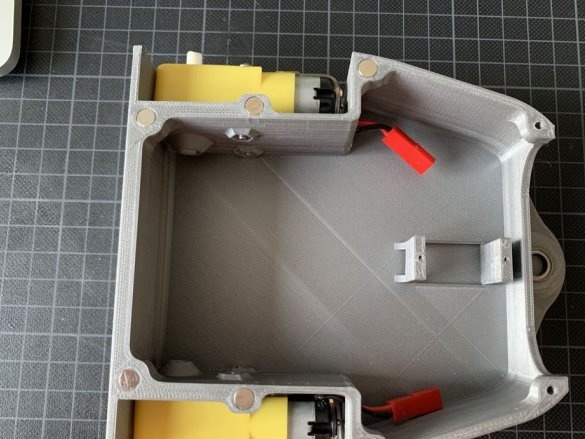
It installs nuts in the holes in the body and fastens the motors.
Step Two: Magnets
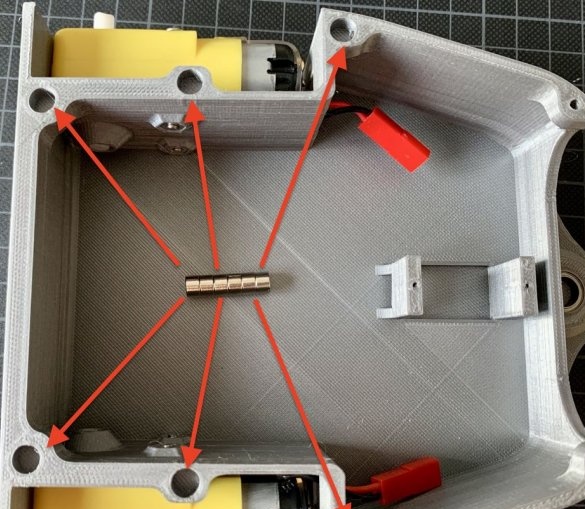
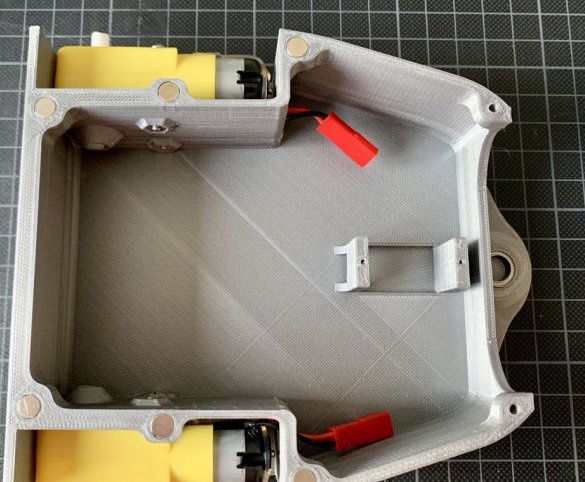
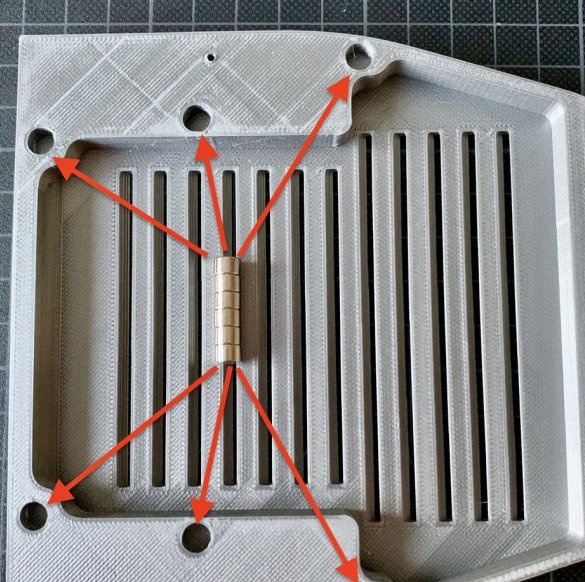
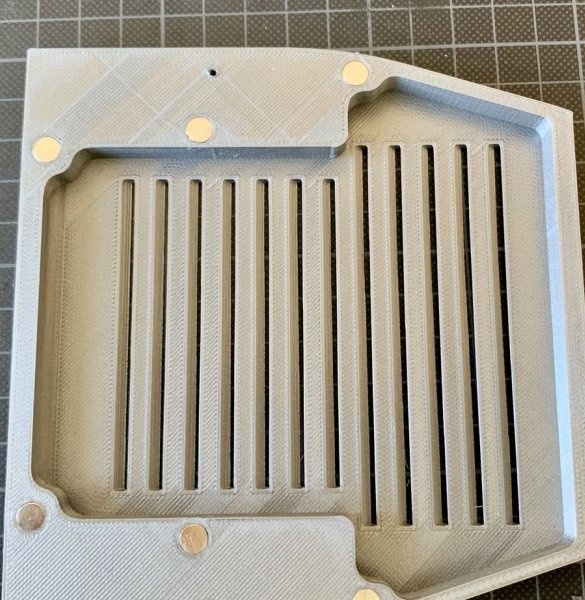
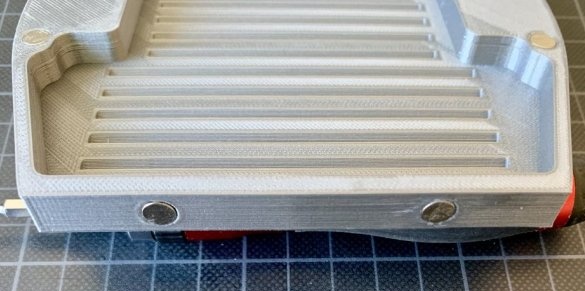
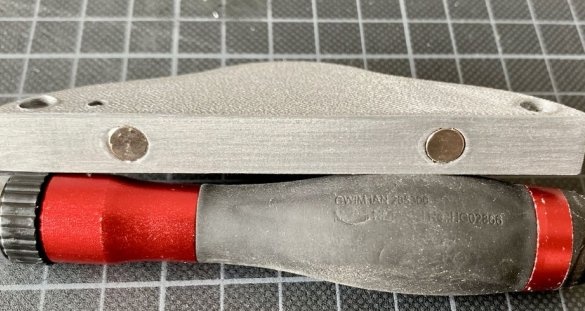
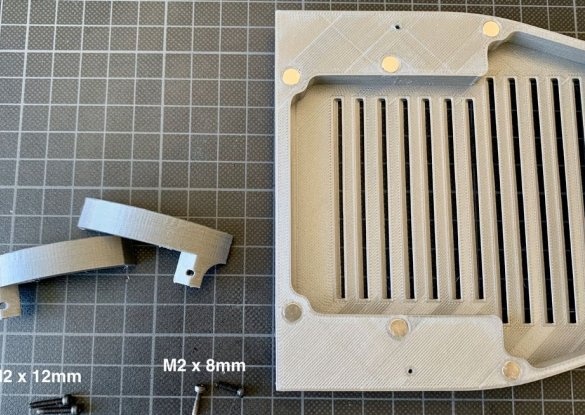
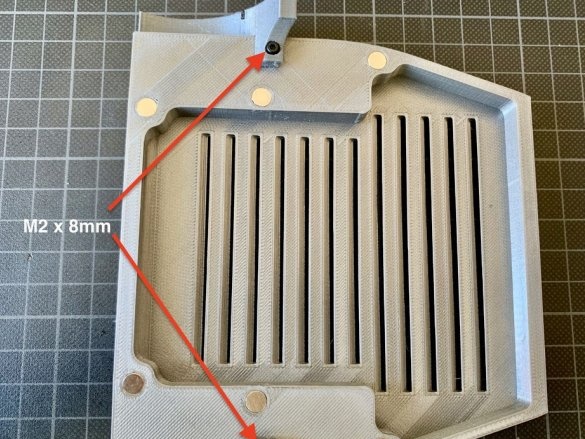
Installs magnets in the holes in the lower and upper parts of the case. Magnets are glued with superglue. When installing magnets, you must not forget about the polarity.
Step Three: Rear Wheel Mount
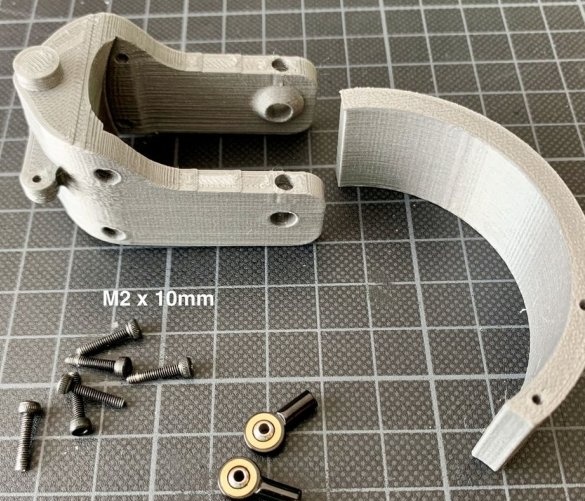
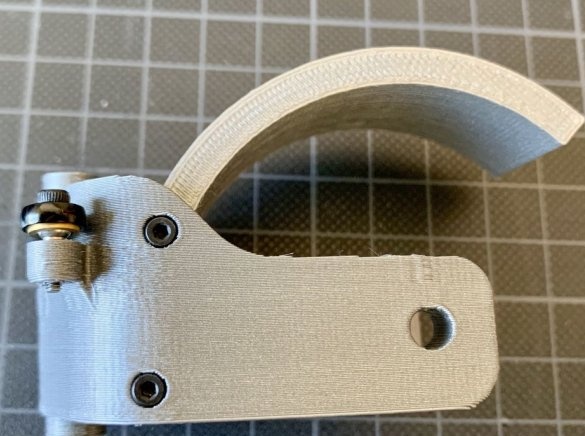
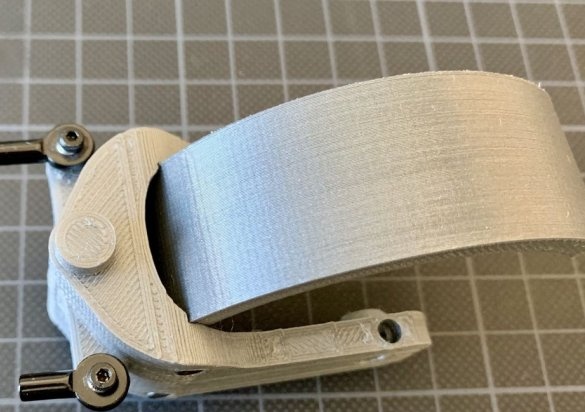
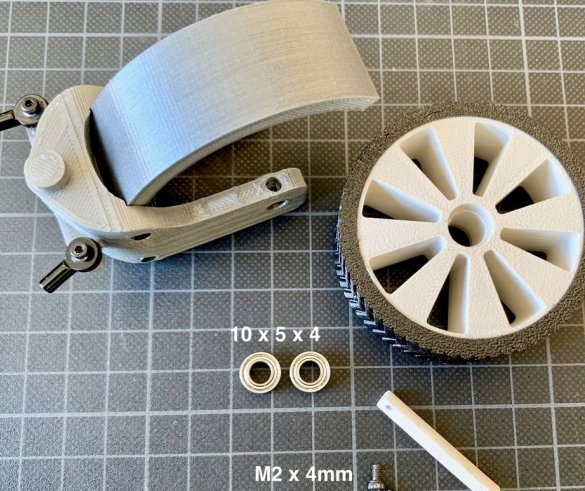
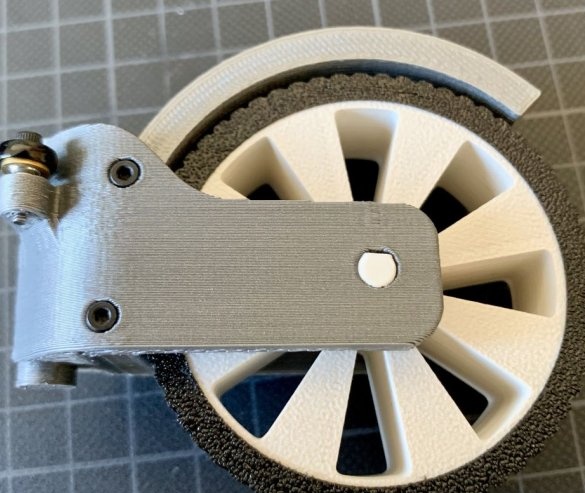
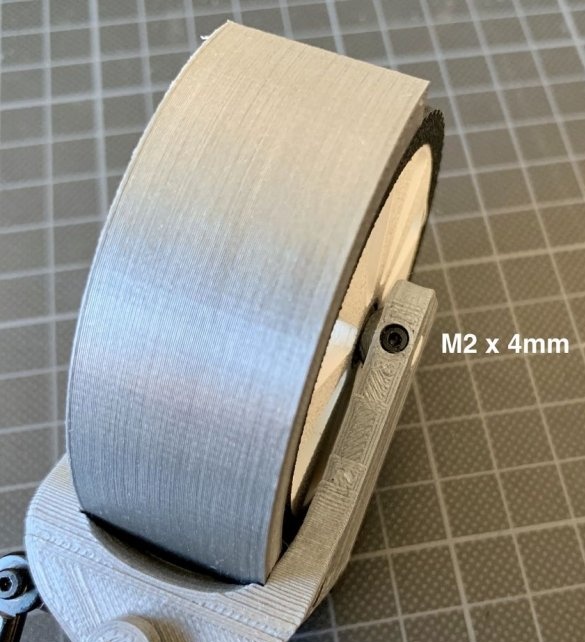
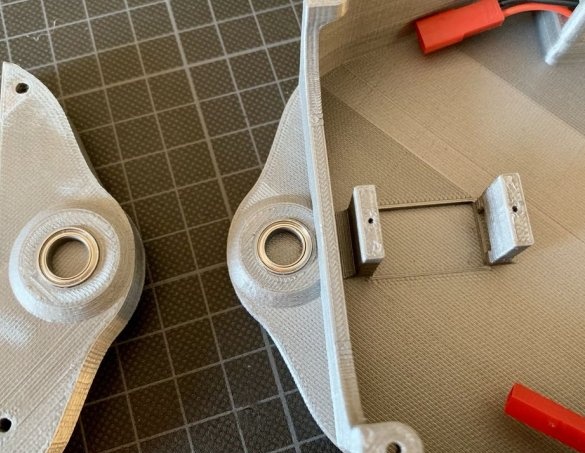
Assembles the rear wheel as in the photo.
Step Four: Servo
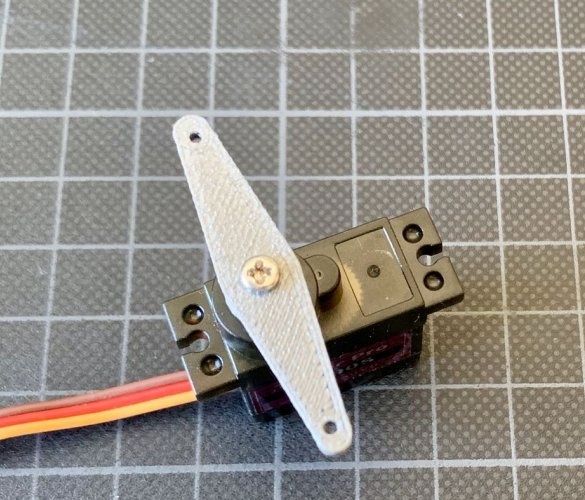
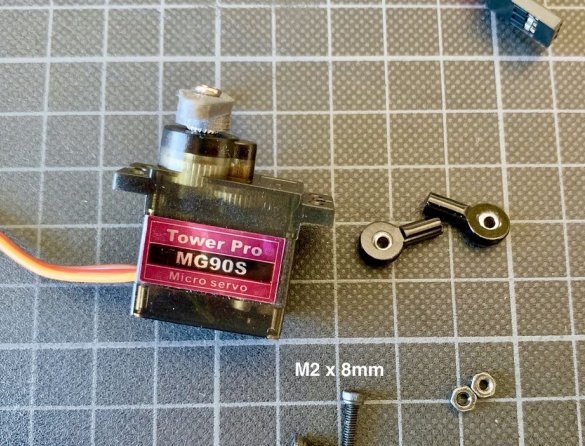
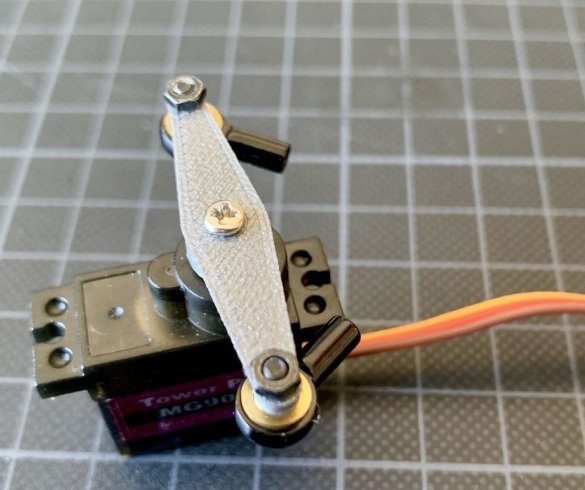
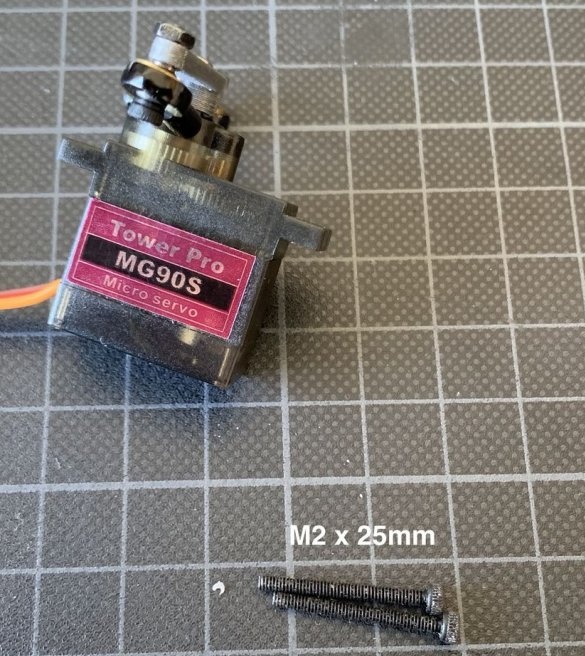
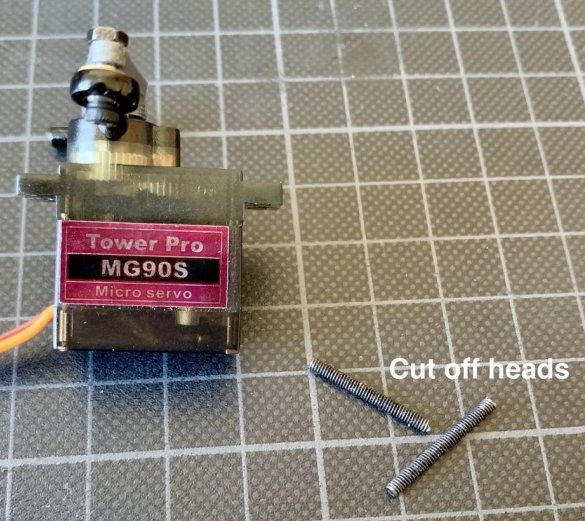
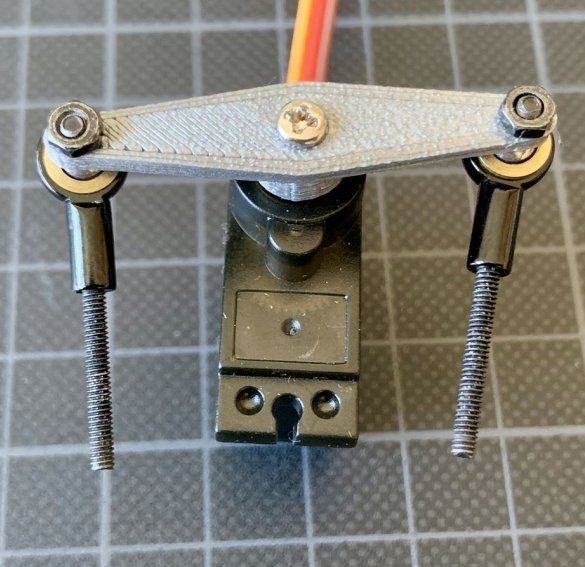
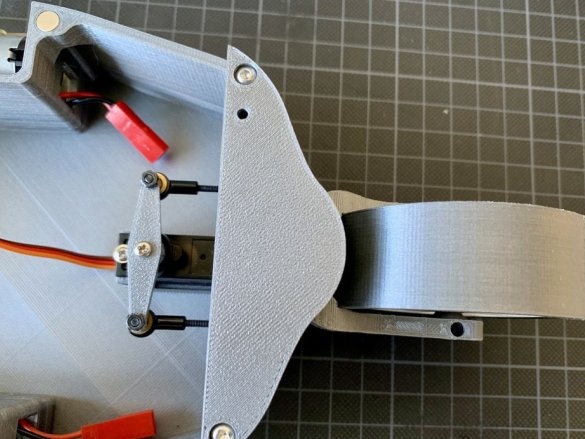
Secures the pivot arm to the servo axis. On the lever sets the tips.
Step Five: Installing the Rear Wheel
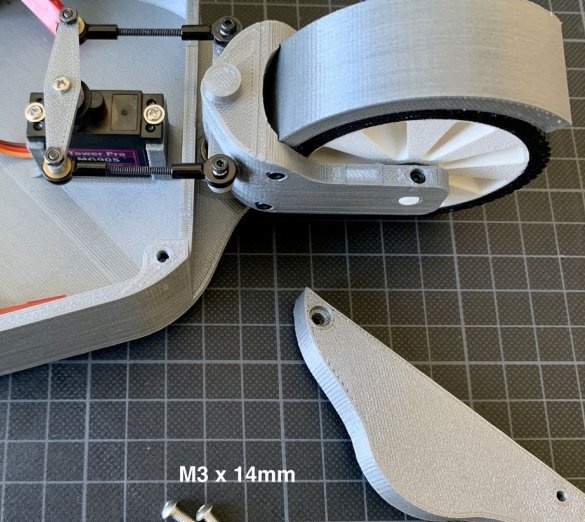
Screws a servo to the housing. Sets the wheel. Sets the tips on the levers of the wheel mechanism.
Step Six: Final Assembly
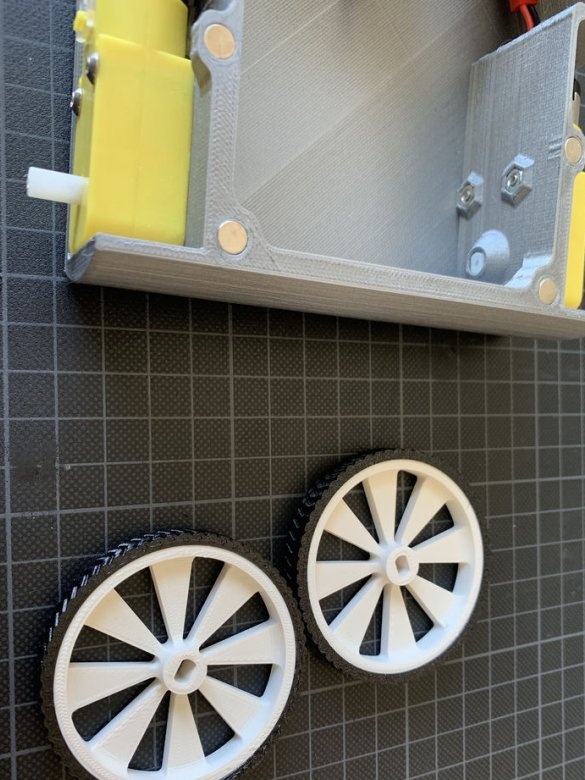
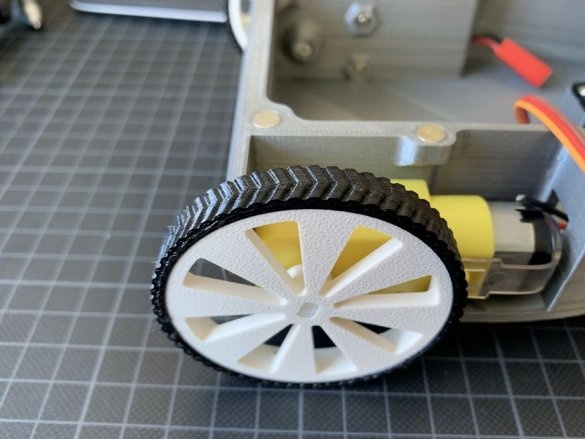
Attaches front wheels to motors. They should fit snugly against the motor shaft.
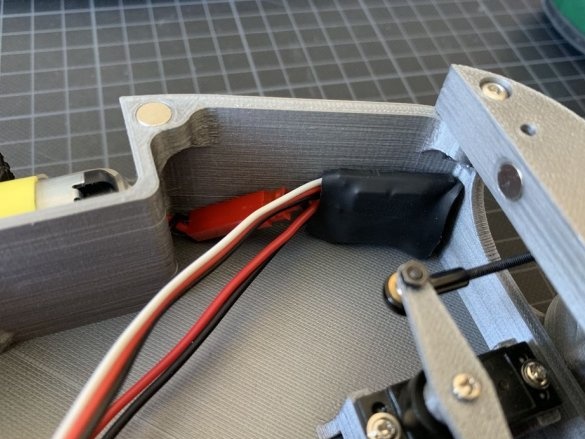
Secures the receiver, controller and battery inside the case.
It remains to install the top cover and you're done.

