Greetings to fans of craftsmanship, today we will consider how to make a hand dryer. Such homemade save you the need to use towels. The machine works without contact, you just need to bring your hands to the device, the machine will turn on and off itself after a certain time. Homemade assembly is also quite simple, it contains a 220V fan, as well as an electric heater, but this whole thing is turned on thanks to a sensor and a timer. If you are interested in the project, I propose to study it in more detail!
Materials and tools used by the author:
Material List:
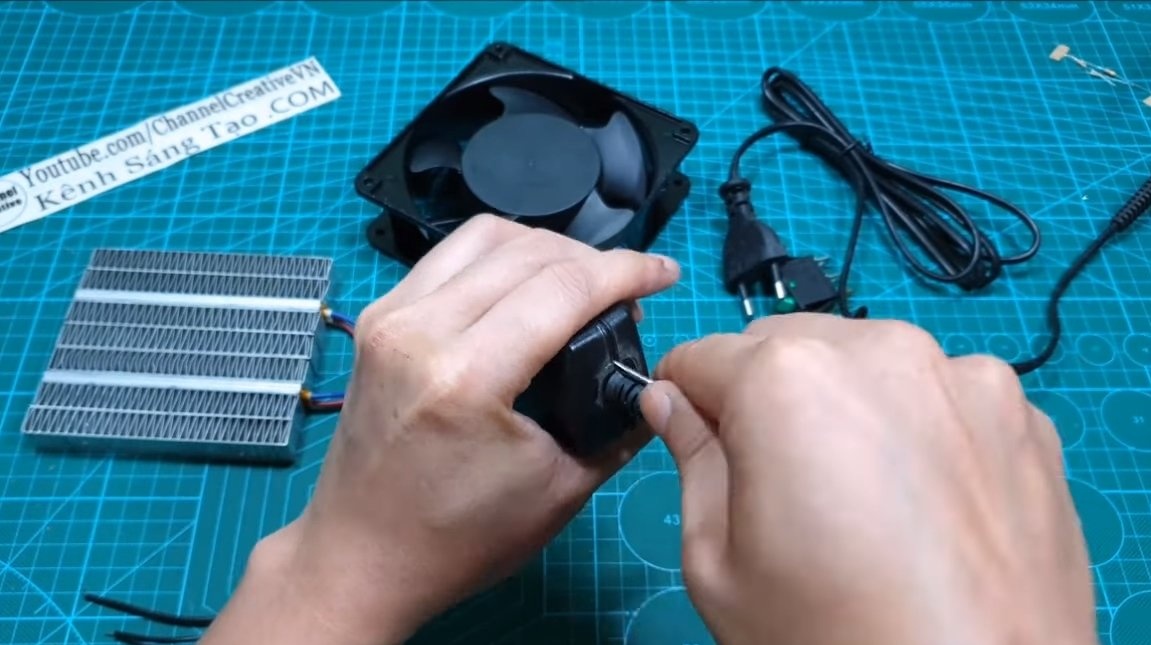
- 220V fan;
- plywood or other material for the body;
- ;
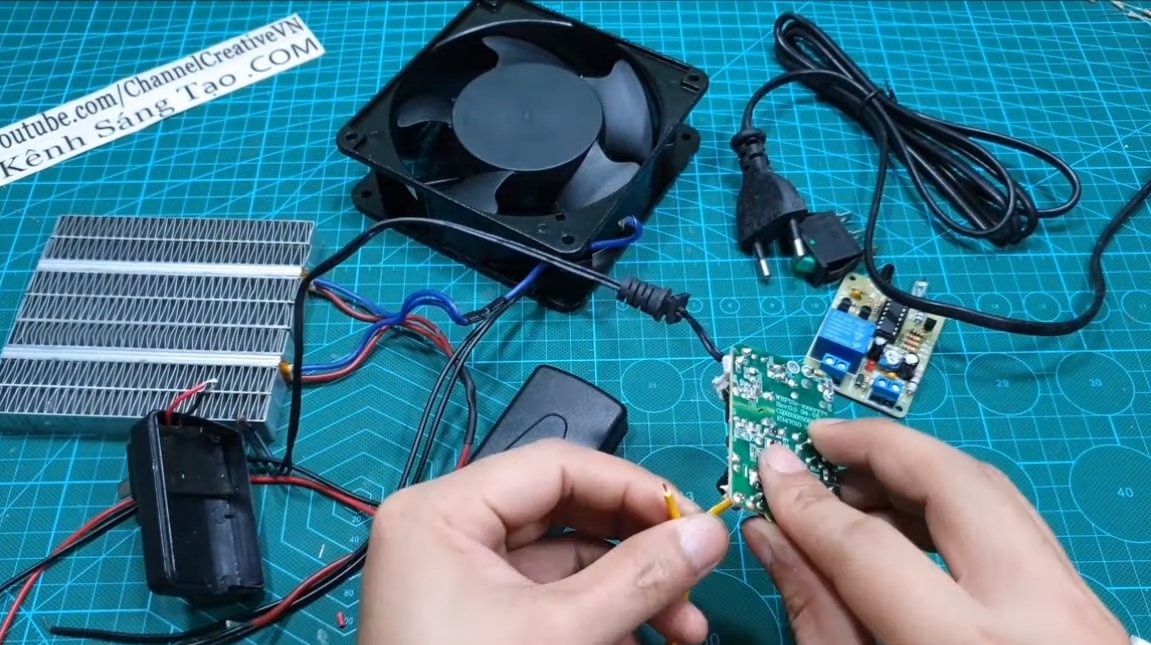
- sensor;
- power supply unit 12V;
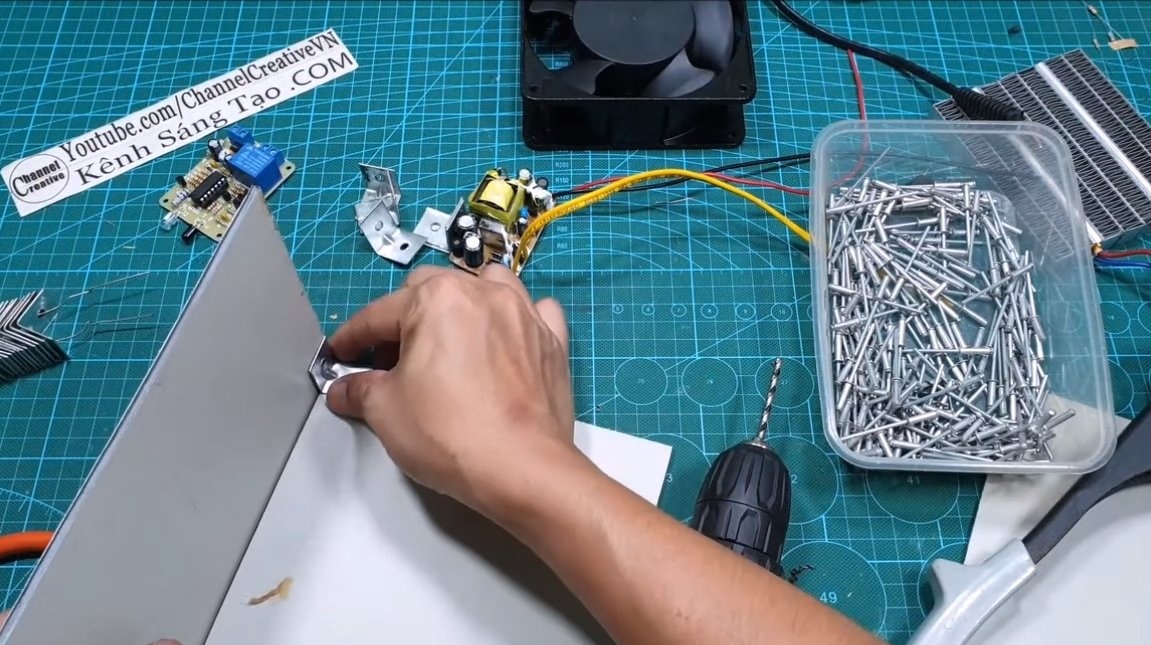
- fixing corner;
- switch;
- wires;
- protective grill for the fan.

Tool List:
- rivet gun;
- marker;
- soldering iron;
- nippers;
- drill;
- drill;
- a tool for cutting sheet material.
Homemade manufacturing process:
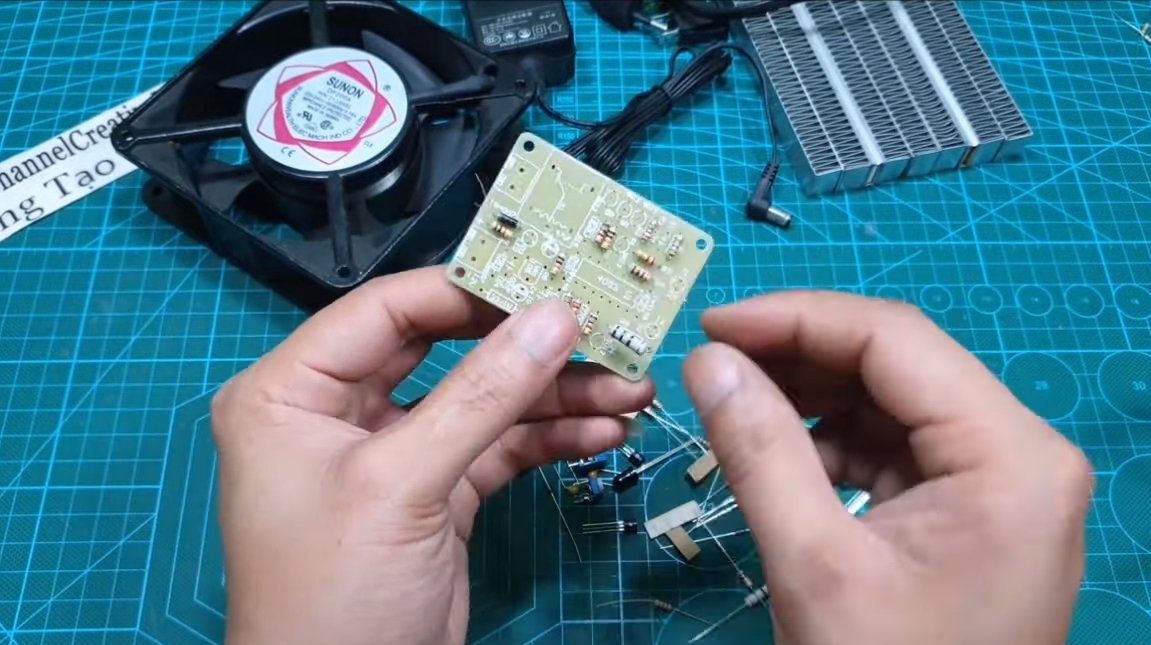
Step one. Sensor
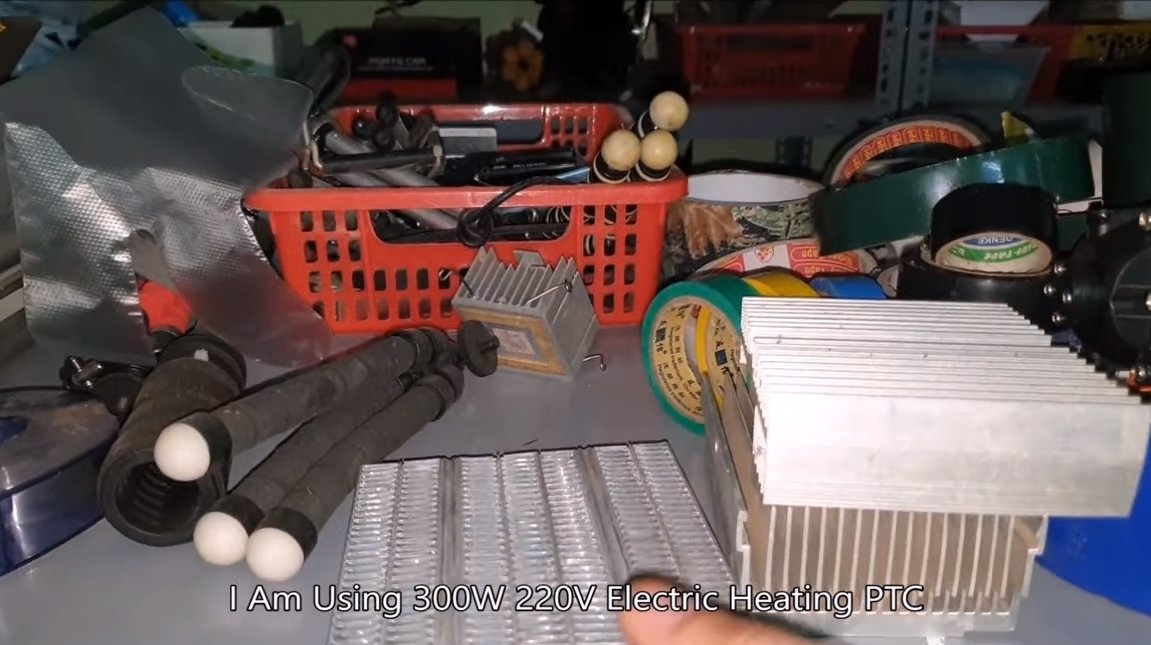
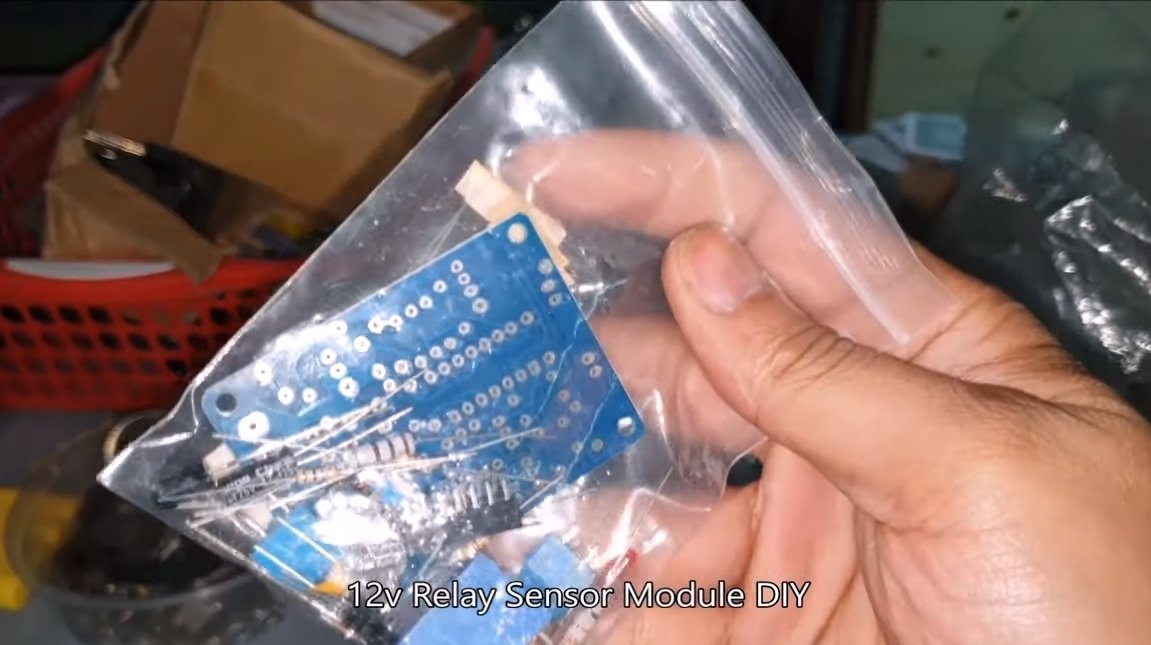
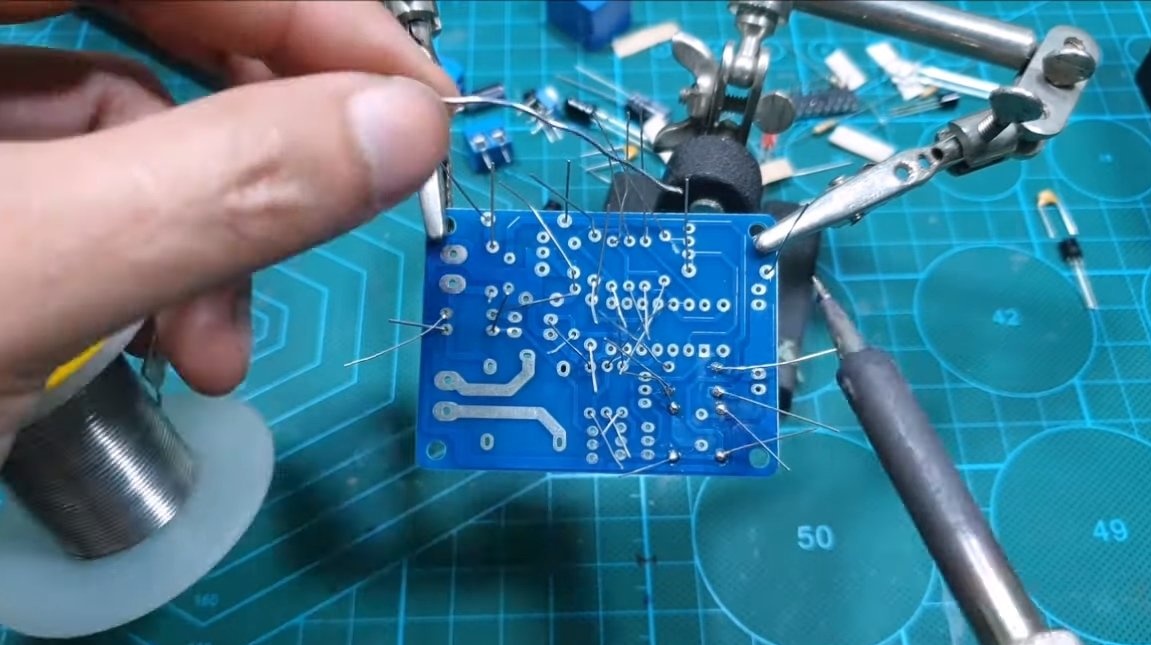
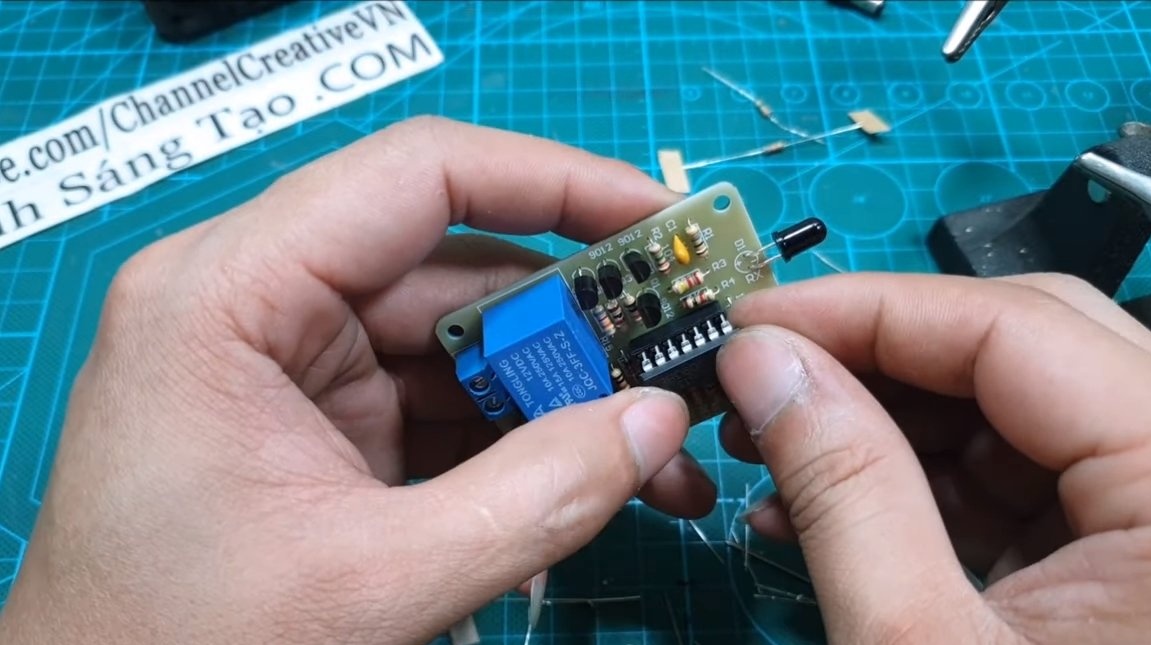
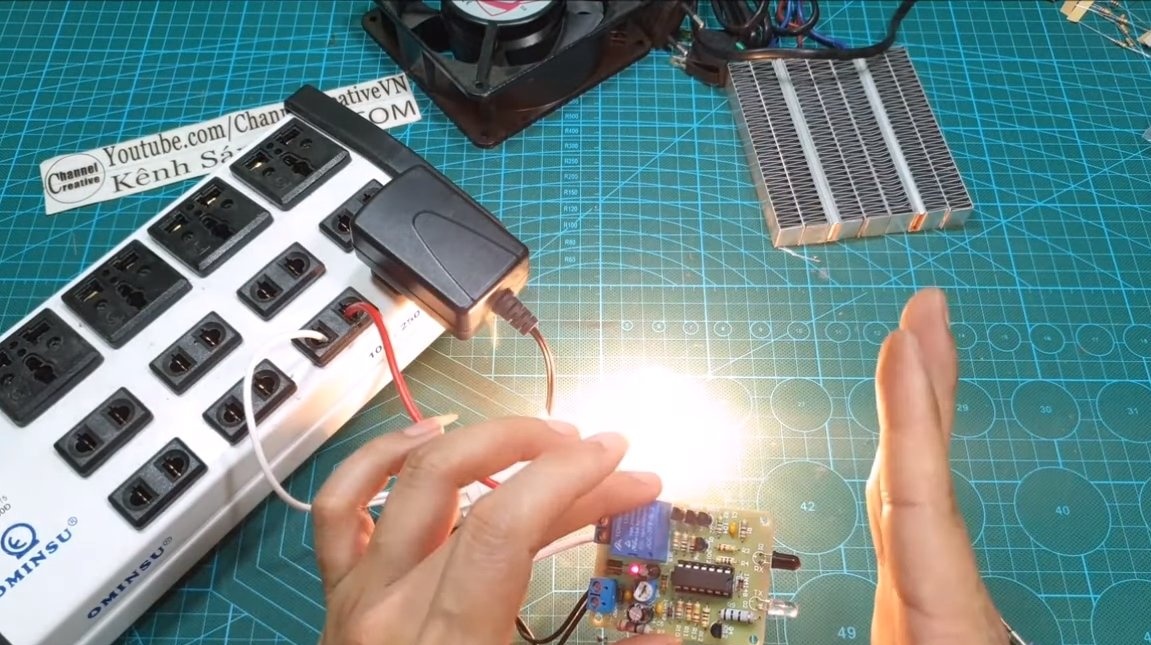
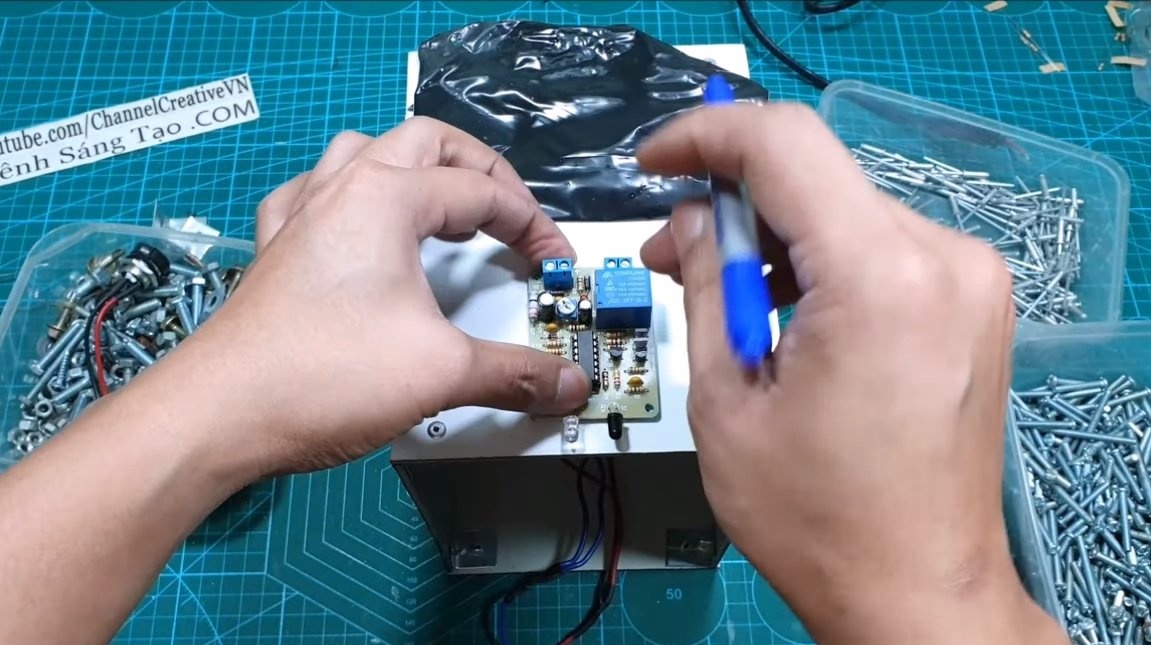
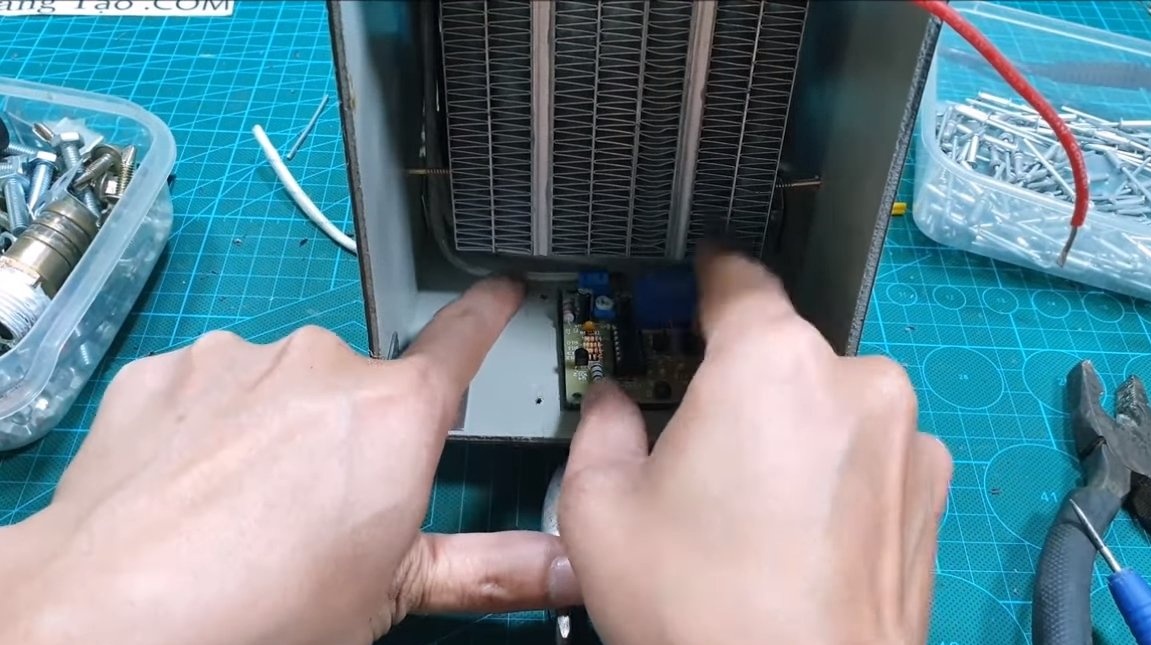
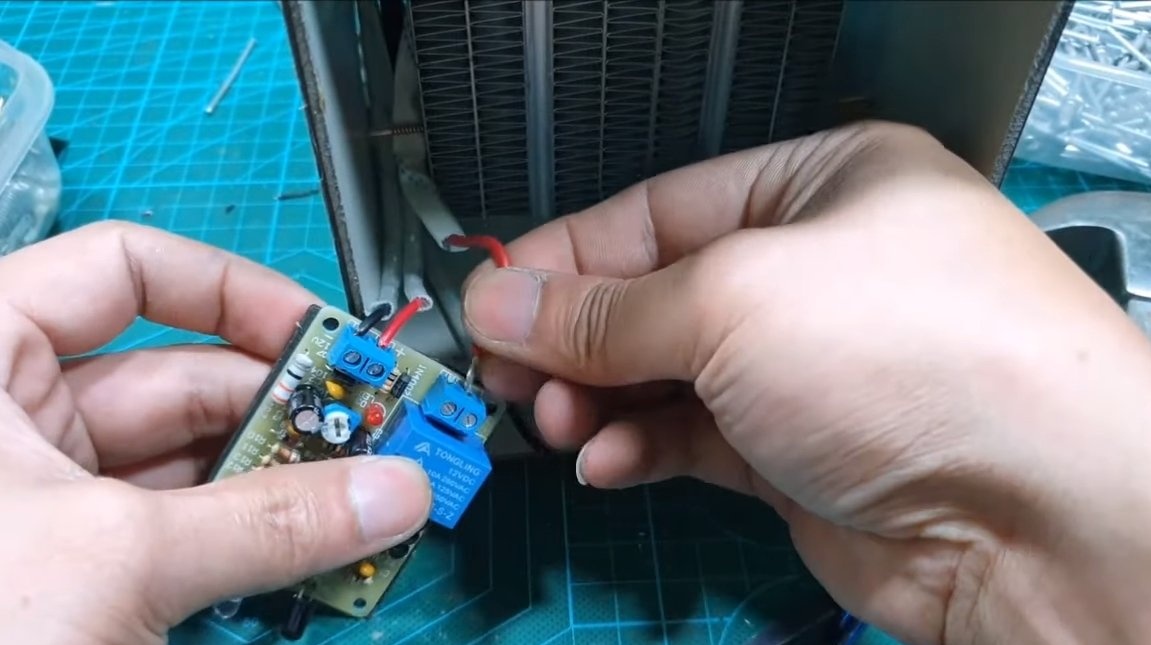
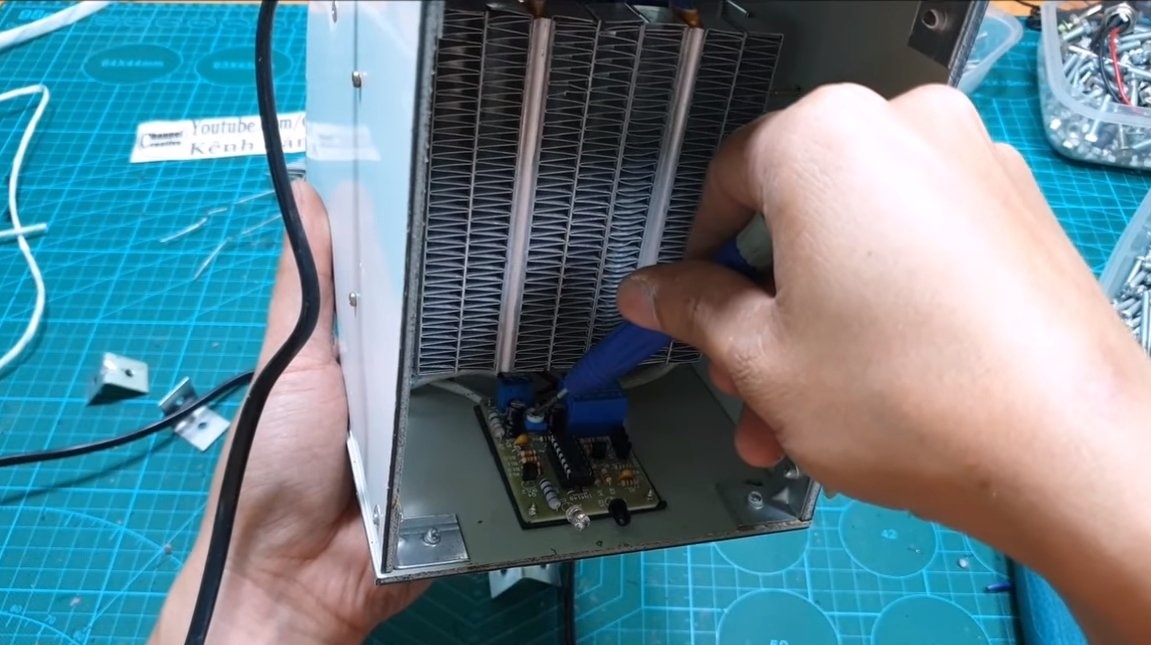
The first step is to make a sensor that will respond to your hands. For such purposes, the author used the KIT kit to build the desired circuit. You can also buy a ready-made sensor. In addition, a timer should be provided in the circuit; it is gentle to adjust the desired drying time for hands.
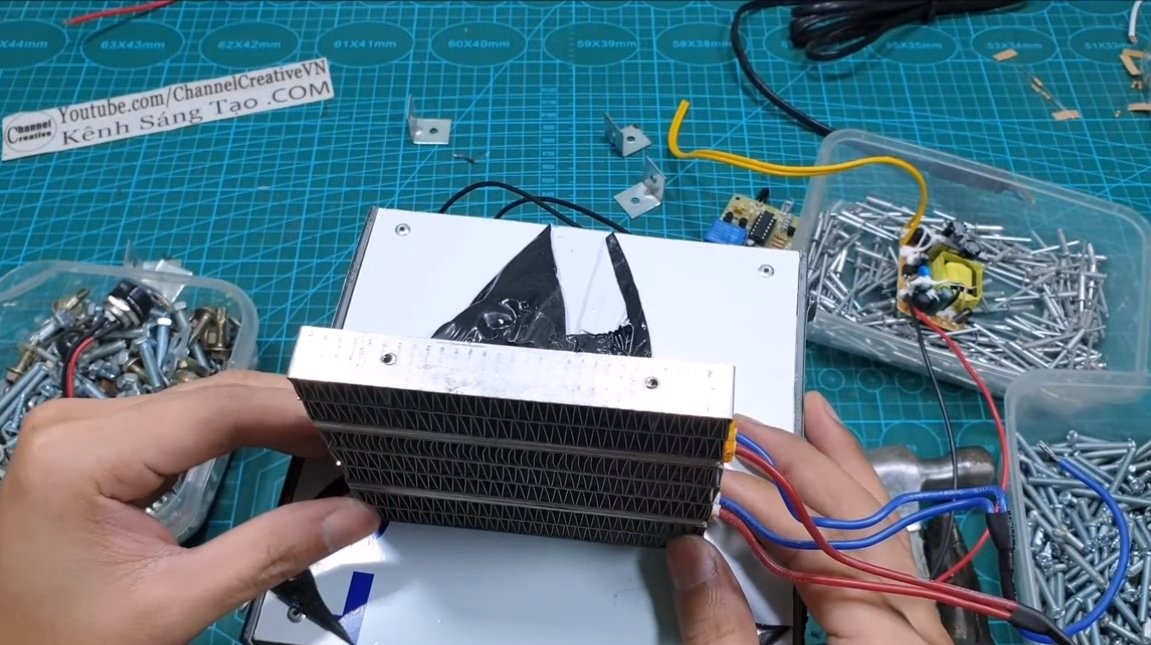
Electronics controls the voltage of 220V, from which the air heater is powered, as well as a 220V fan.
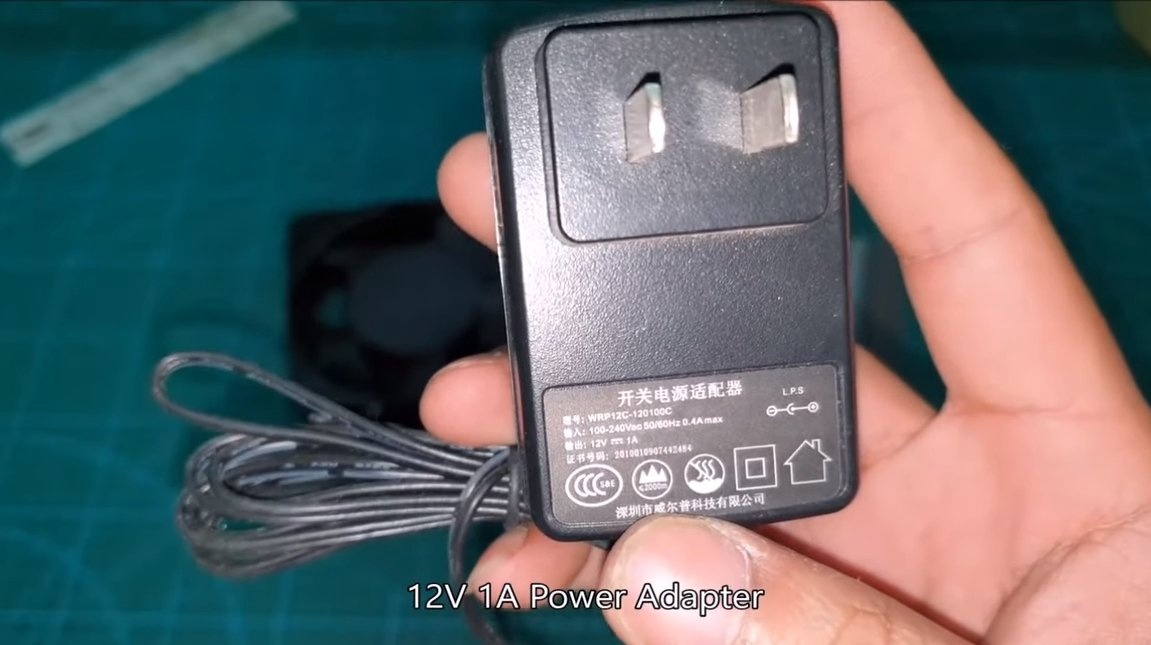
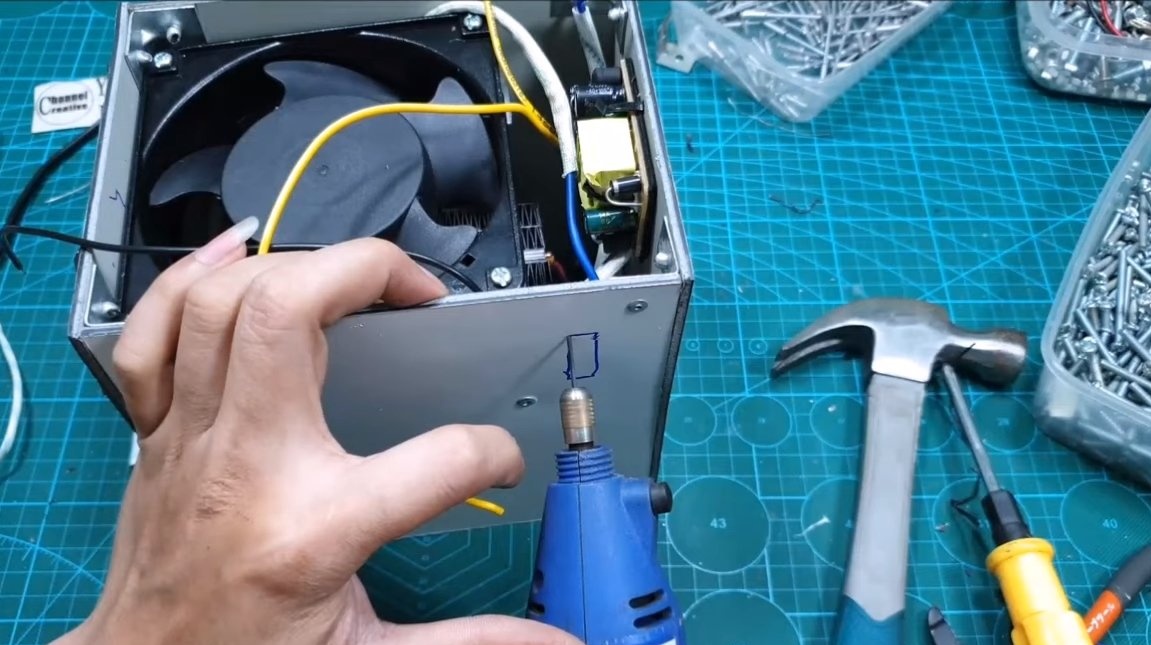
In addition, we will need a 12V power supply, the electronics will be powered from it. We disassemble the power supply, solder the necessary wires, it will be located inside the case.
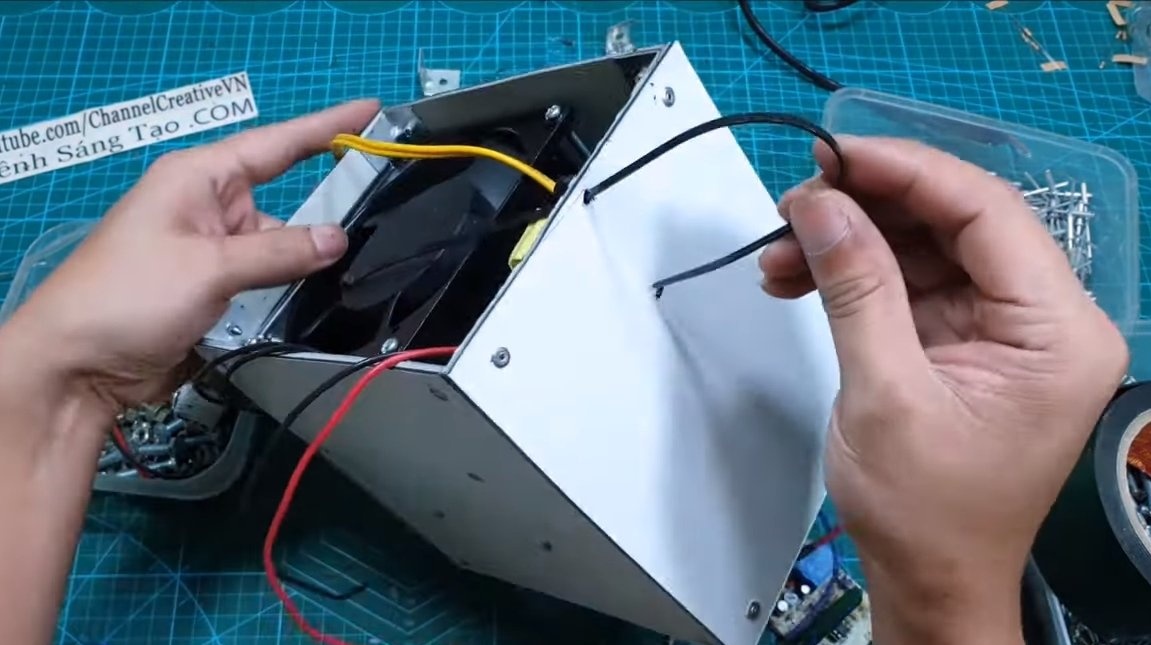
Step Two Enclosure and installation of entrails
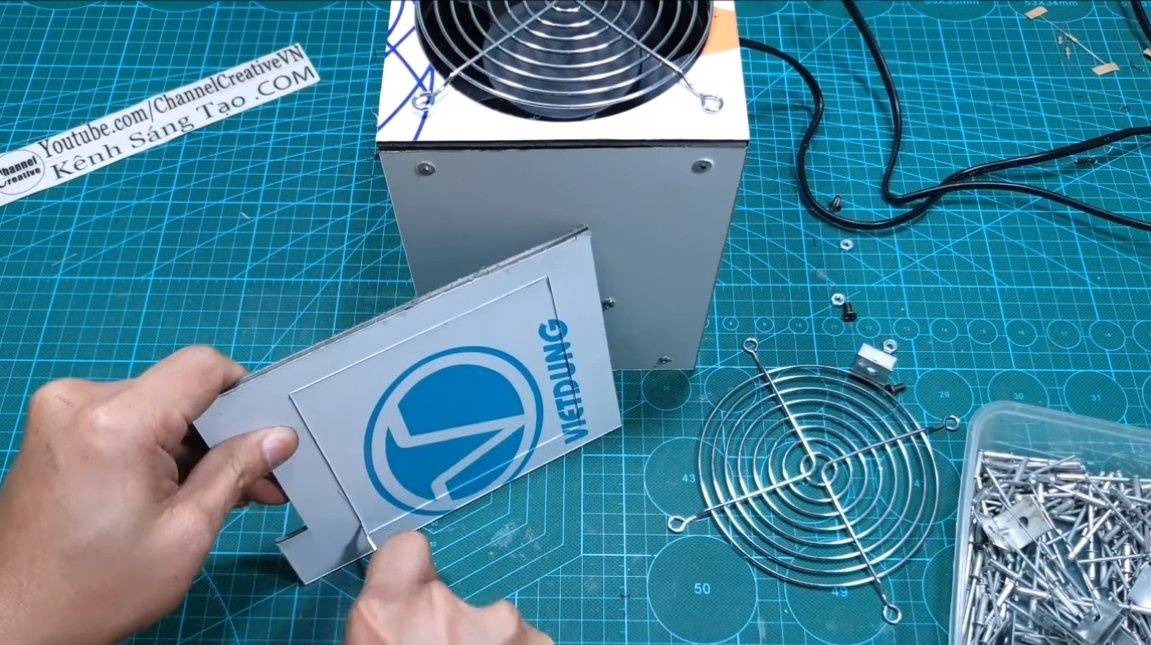
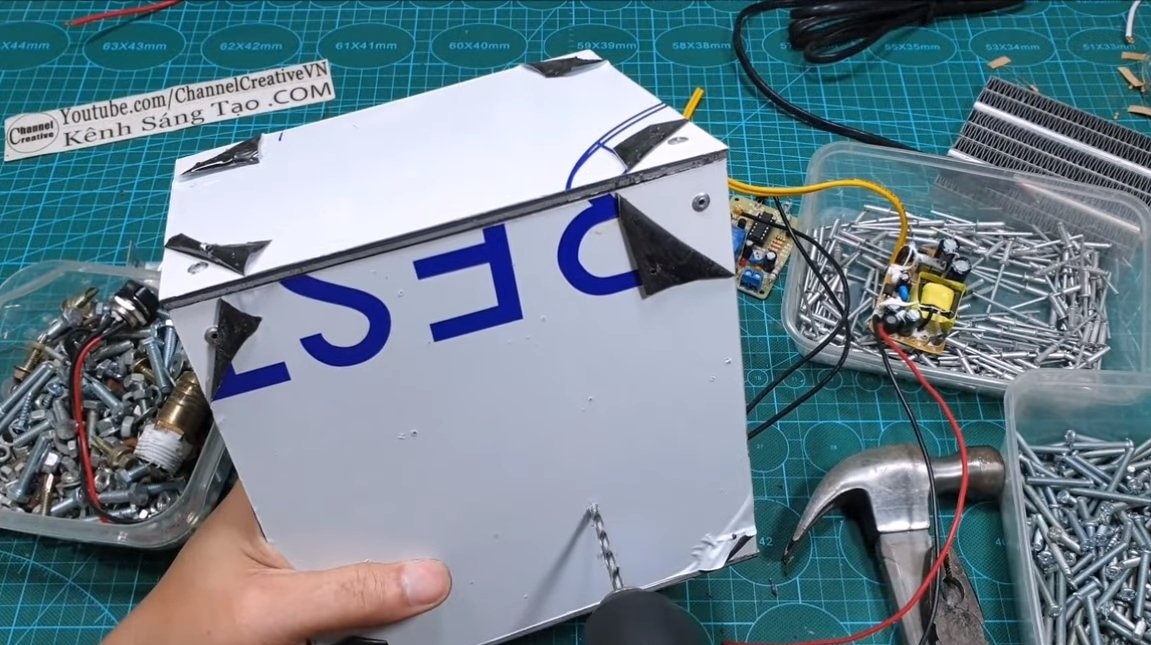
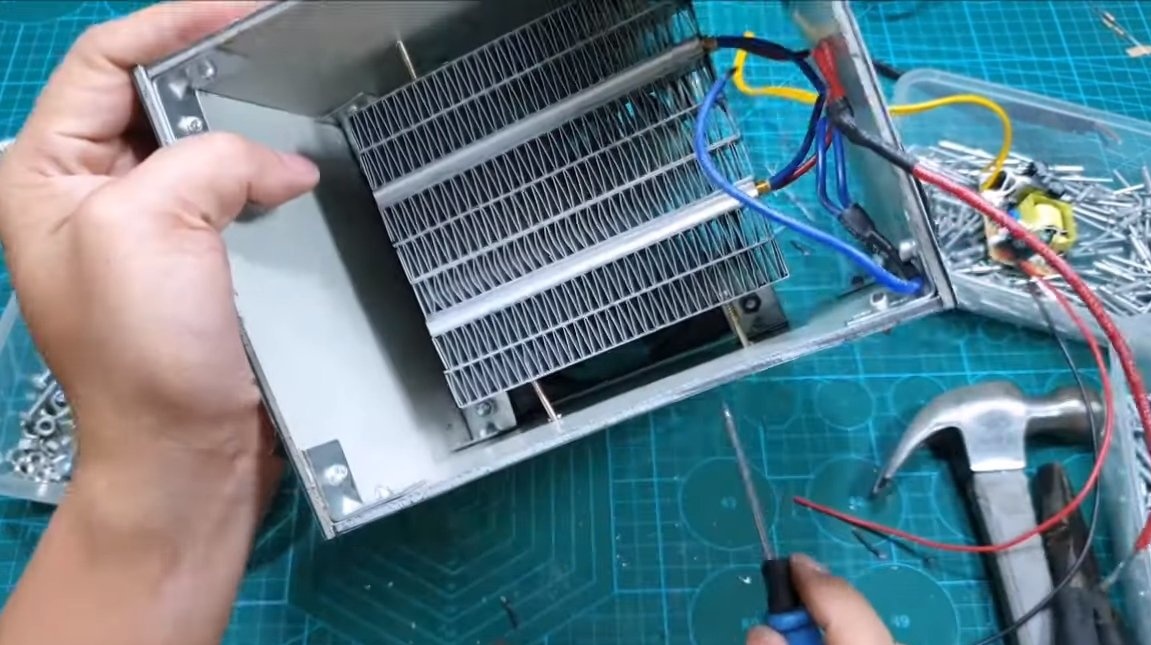
We assemble the case for the car, here we need plywood, sheet plastic or other similar material. The author assembles the body using a rivet gun and mounting angles.
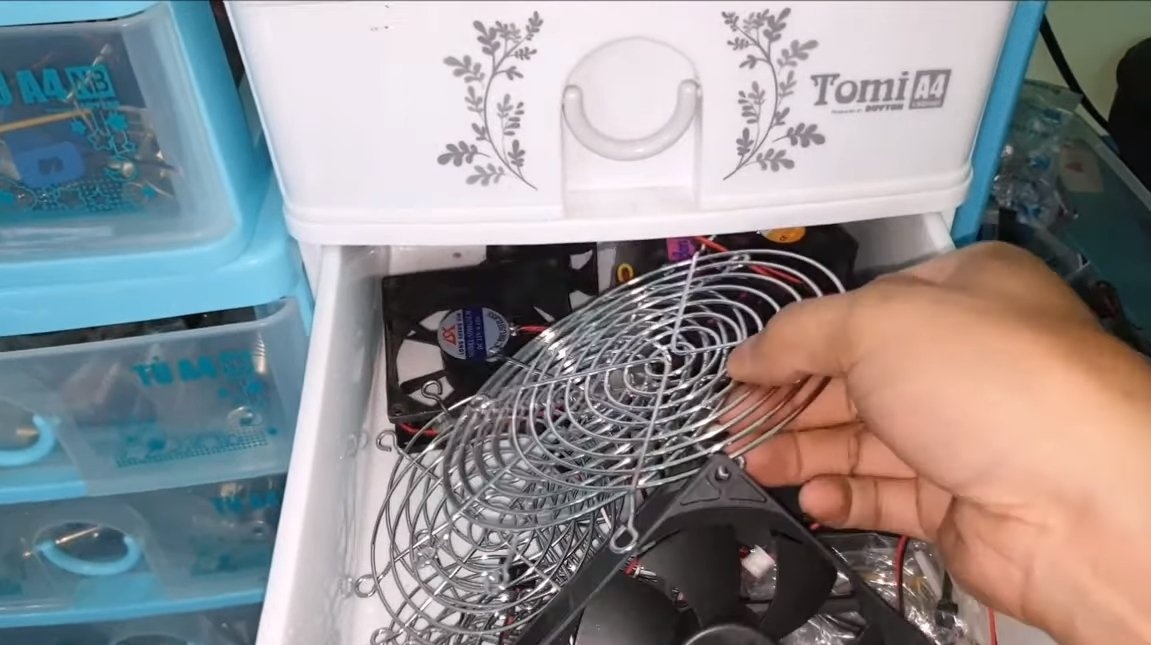
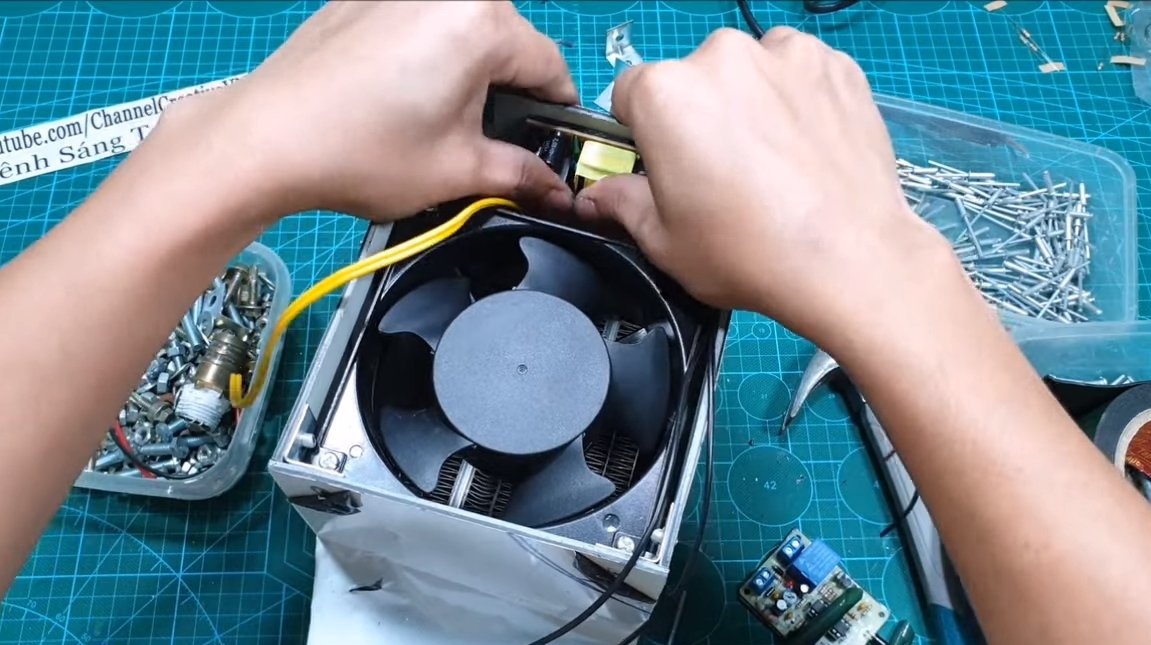
We install an electric heater inside, it will be blown by a fan. We fix the fan with corners and rivets. We place the sensor in the lower part, fasten it to a double-sided adhesive tape and additionally fix it with a plastic screed. We also securely mount the power supply. As a result, it remains to cut a hole and install a 220V switch.


Step Three Finishing touches
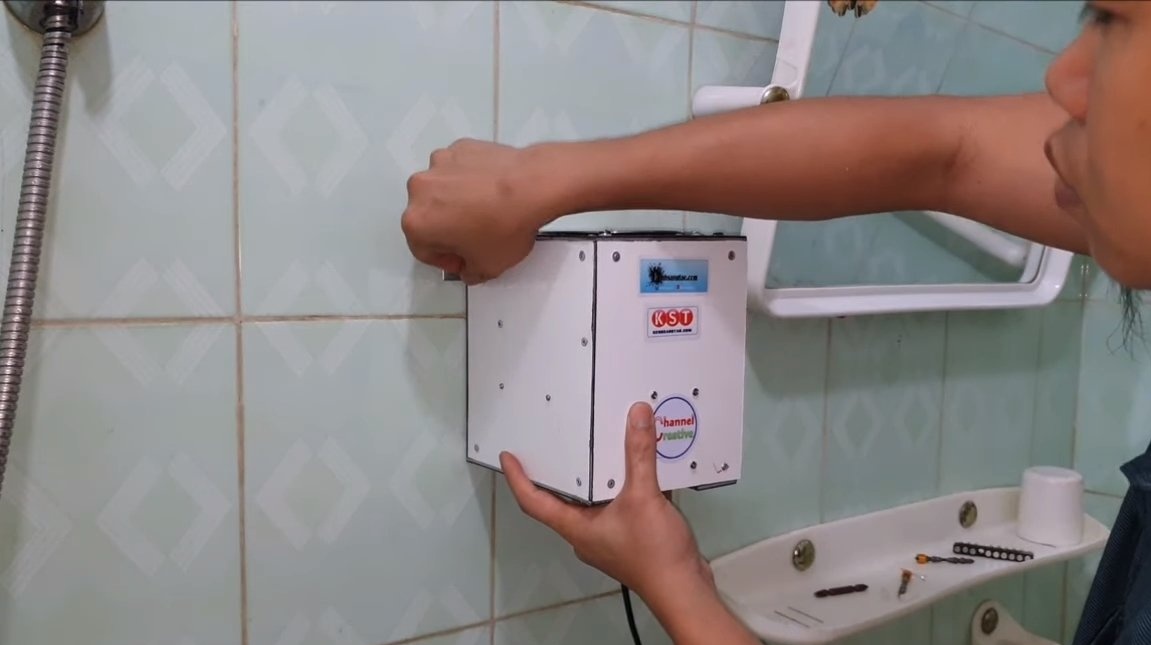
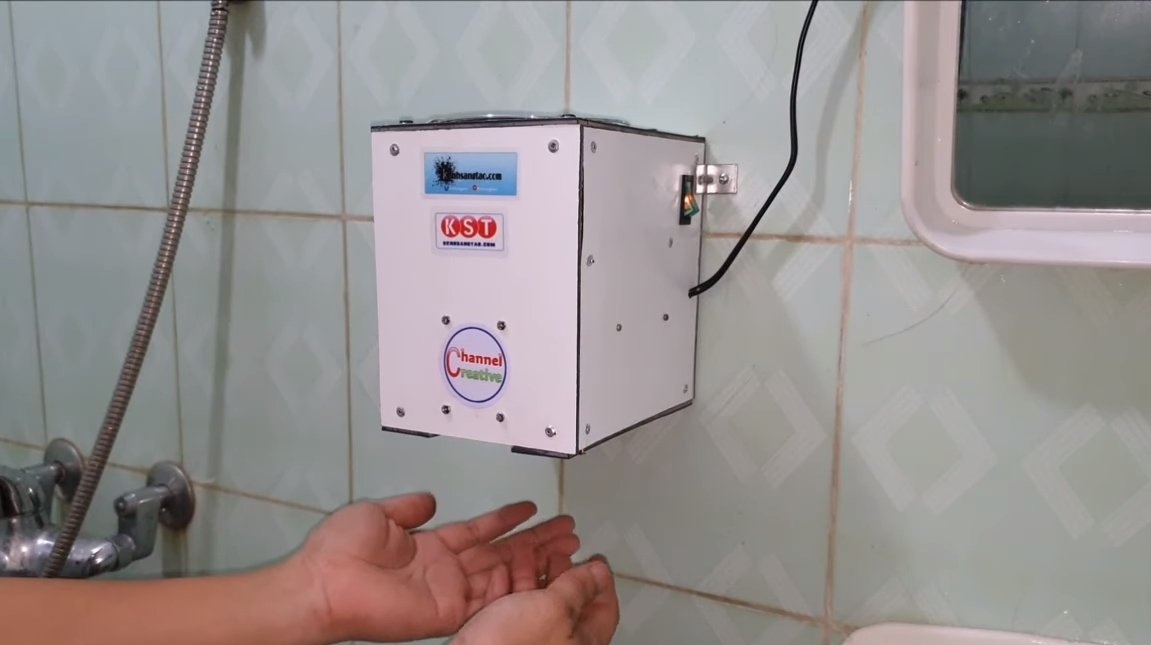
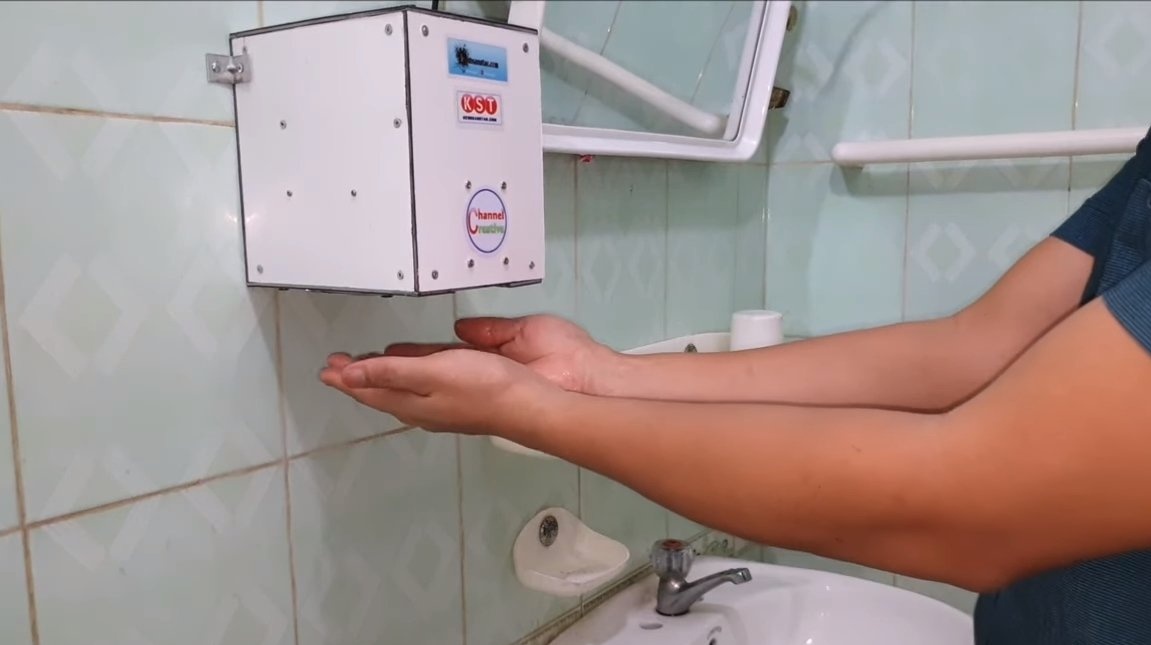
At the end, we install a protective grill over the fan so that nothing sucks inward. The device is securely attached to the wall near the sink, now it remains only to configure the homemade product. The setting is the time it takes to dry your hands.
Homemade works perfectly, now life has become easier and cleaner. This is the end of the project, I hope you liked the homemade work, and you found useful thoughts for yourself. Good luck and creative inspiration, if you decide to repeat this. Do not forget to share your ideas and homemade things with us!