
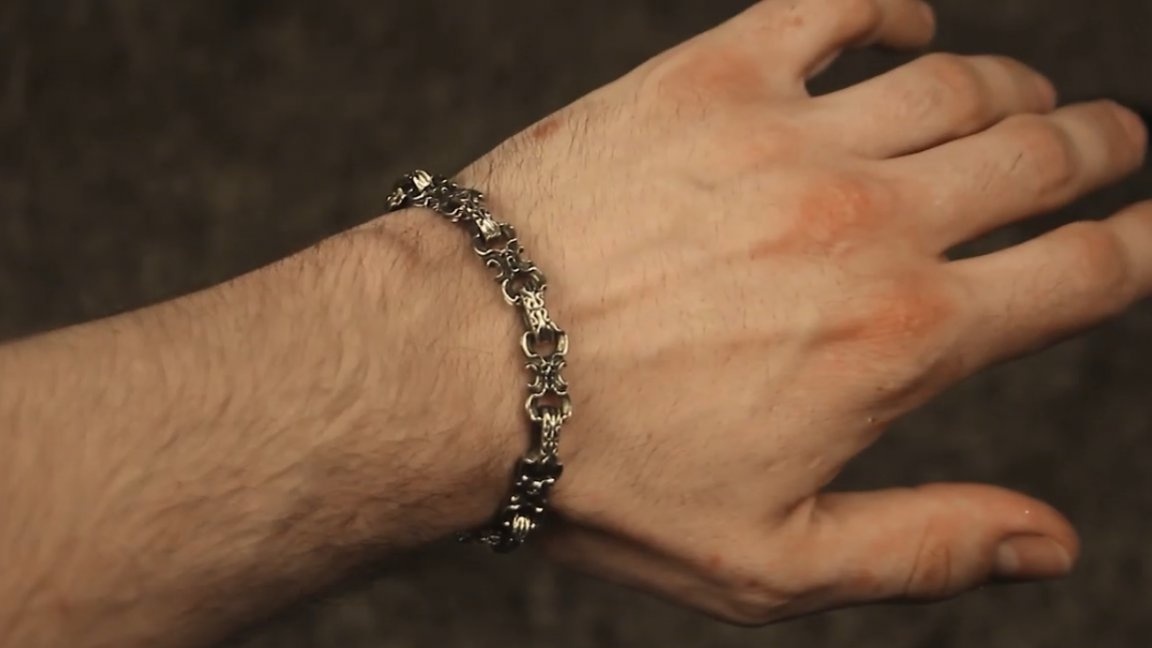
In this article, the author of the Bonn Factory YouTube channel will show the detailed process of making a silver bracelet. do it yourself. Following the instructions below, you can repeat this project if you wish.
It was decided to print the links of the bracelet on a 3d printer, since so far the author has no rollers and other hand-made jewelry tools.
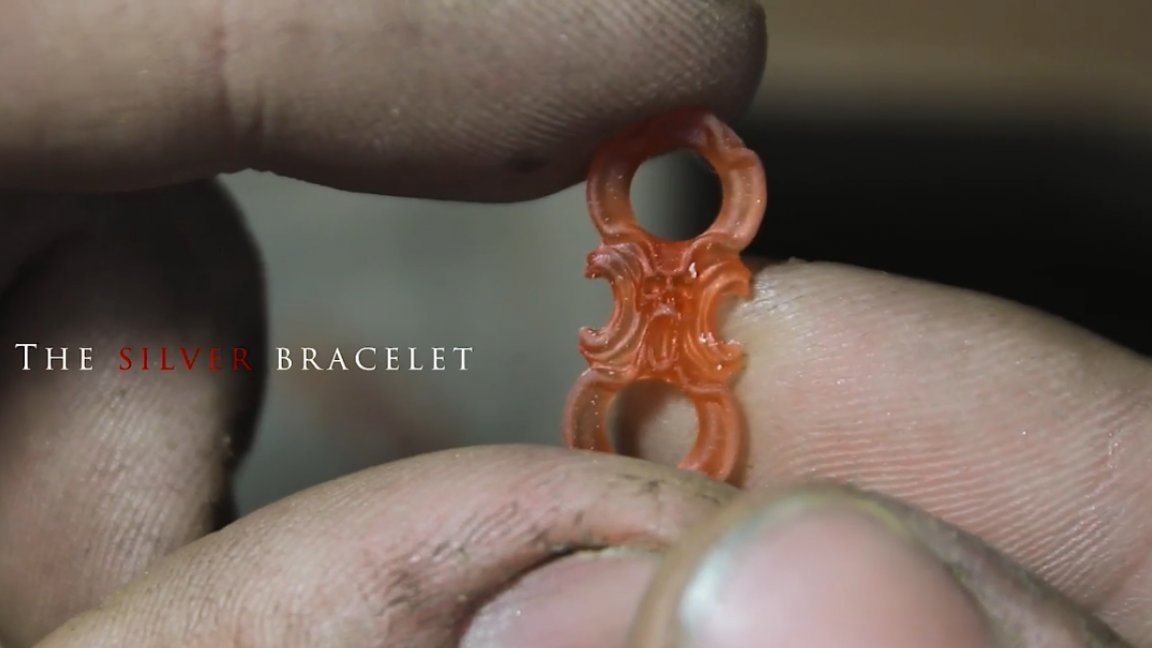
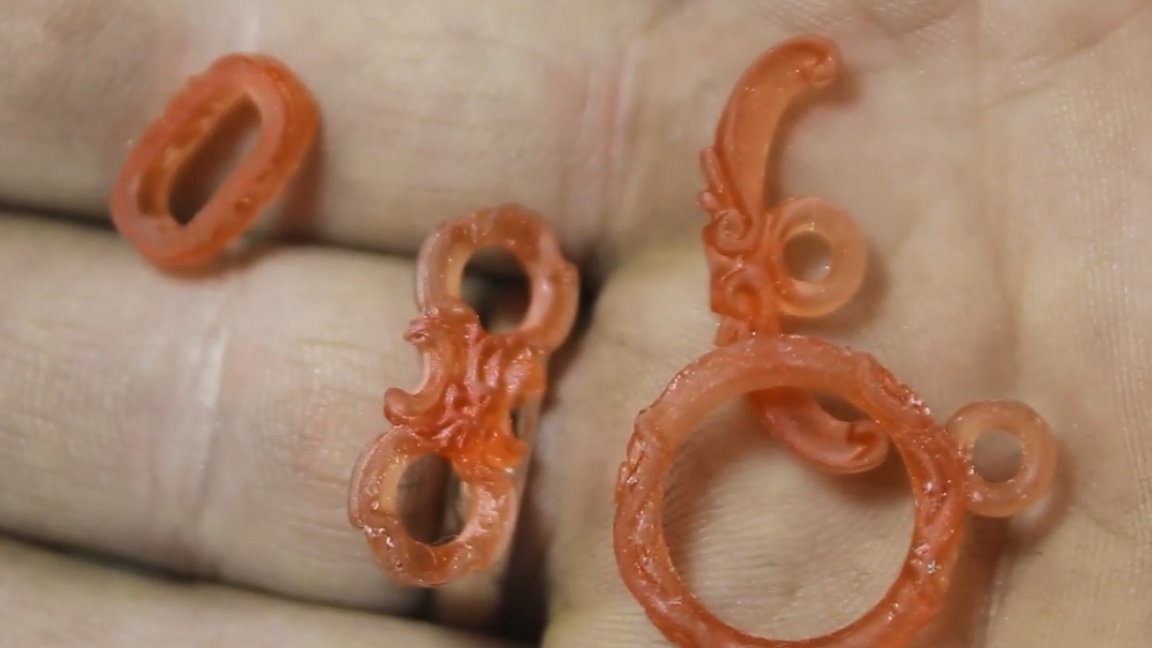
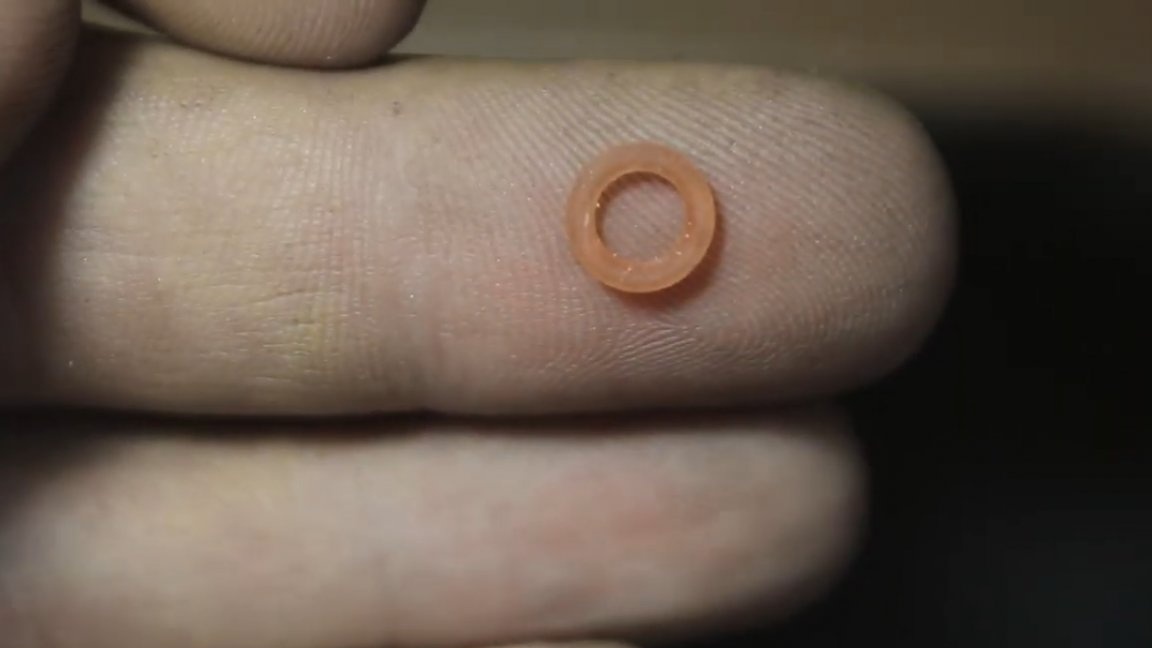
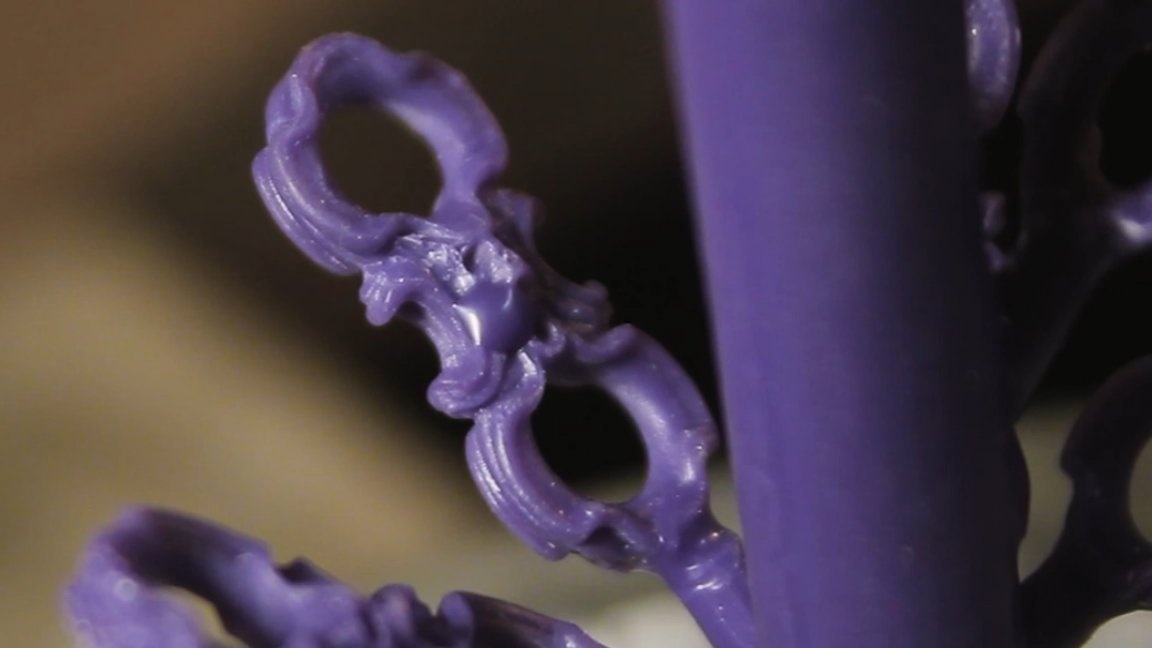
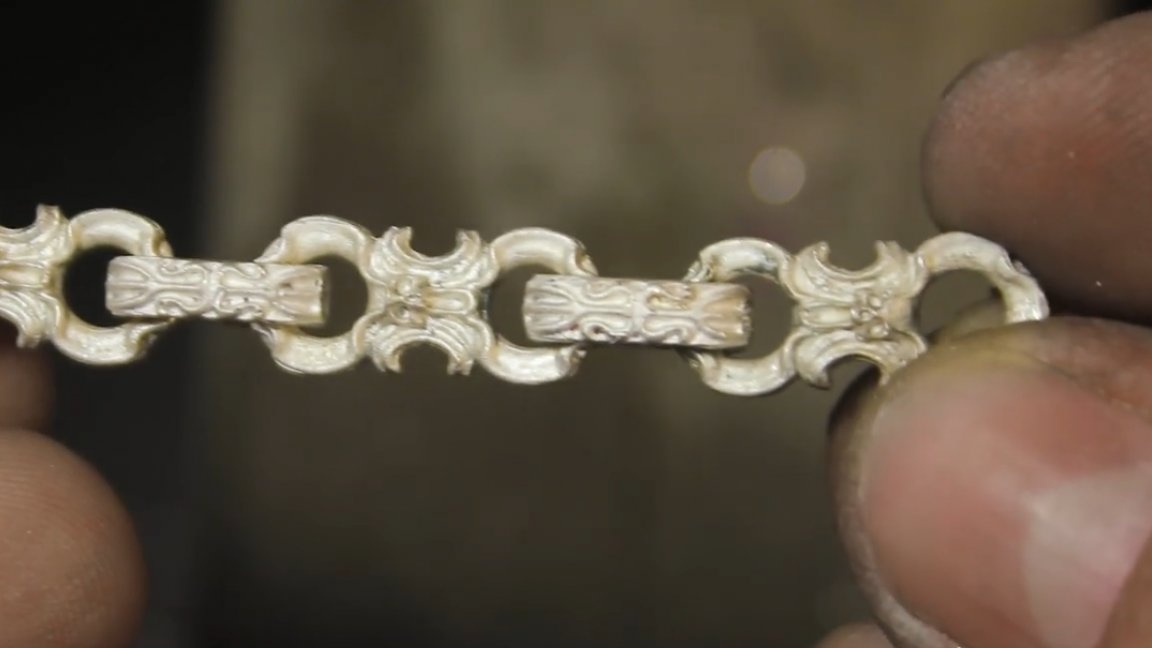
In this case, you will have to cast even the simplest silver rings, but before you pour something, you need to copy something in wax. It is also necessary to make a sufficient number of links. For this link, it was decided to divide into three logical parts: 2 links to the lock, 2 main links of the bracelet and the remaining small ring.
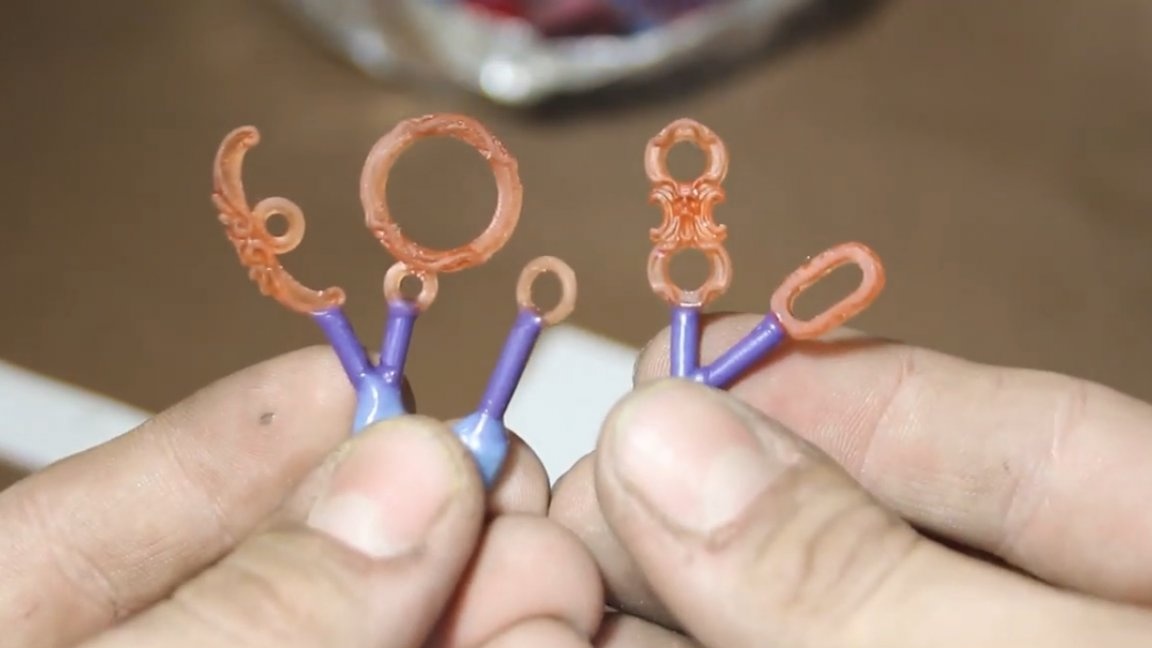
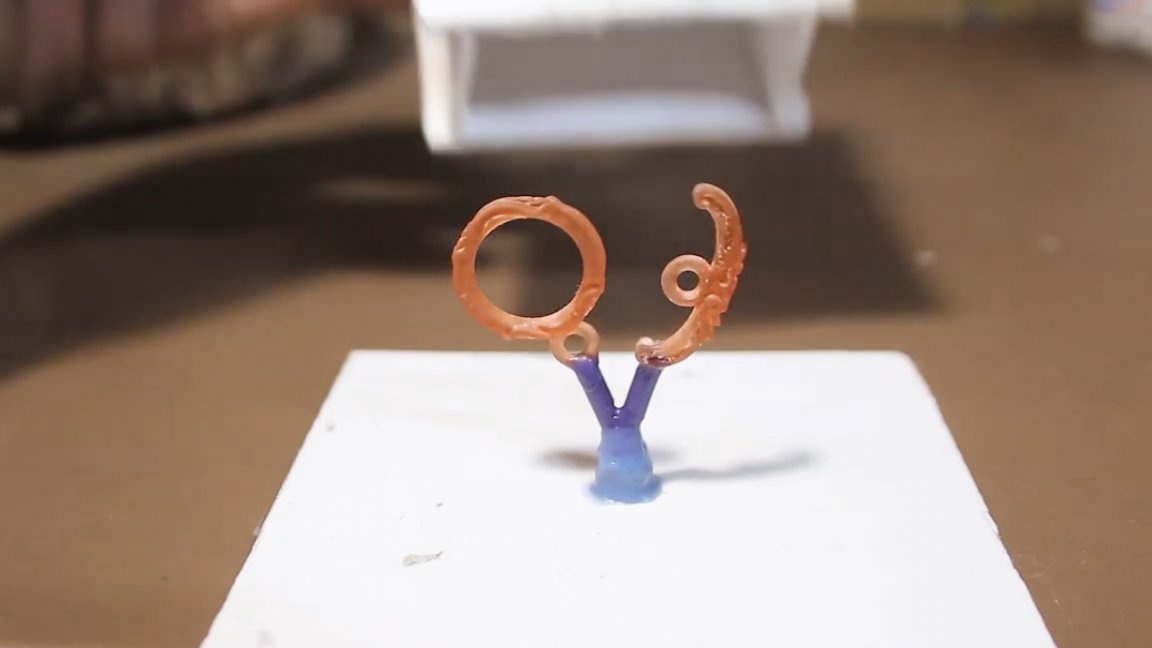
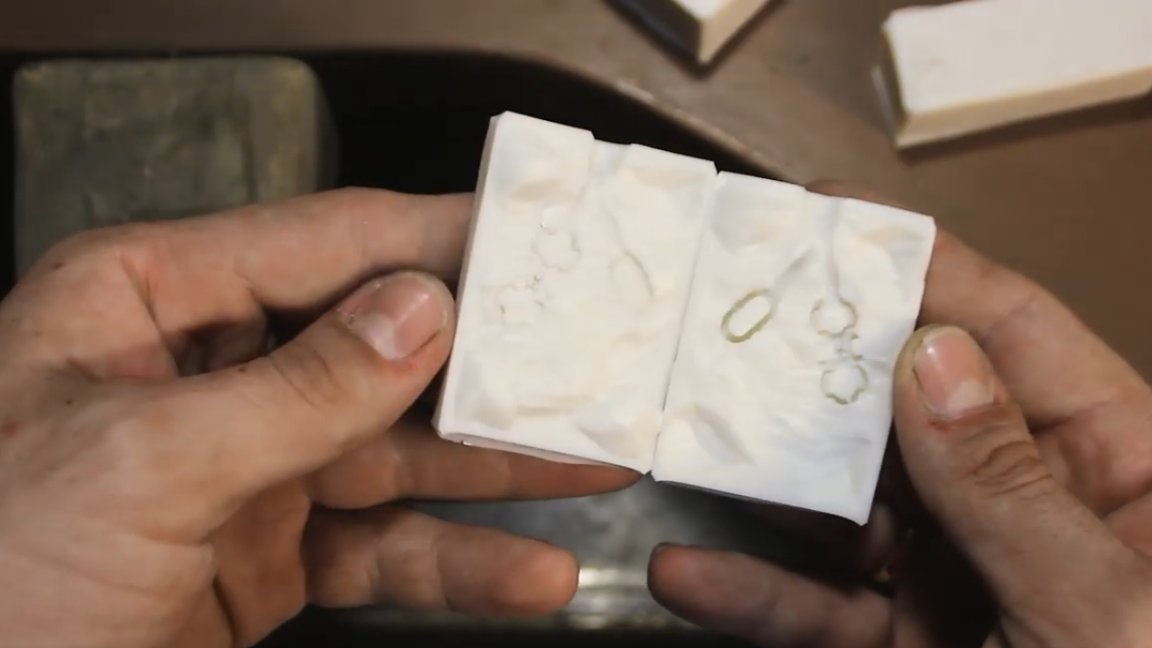
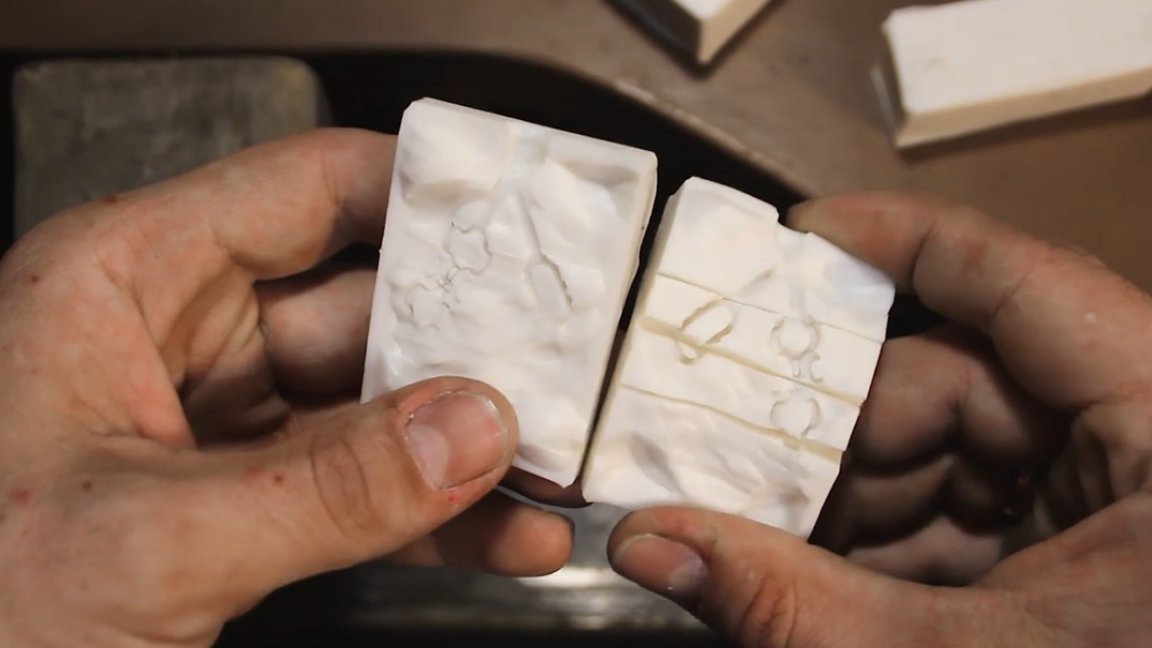
Next, according to the learned logical parts, we get 3 silicone molds. All this is necessary in order to be able to more conveniently and quickly copy the necessary elements in the quantity we need.
In the near future, the author plans to switch to a vulcanizer, as this is a more modern and professional method of creating molds, but for now, in the old fashion, we will use plastic formwork, a glue gun and two-component liquid silicone.
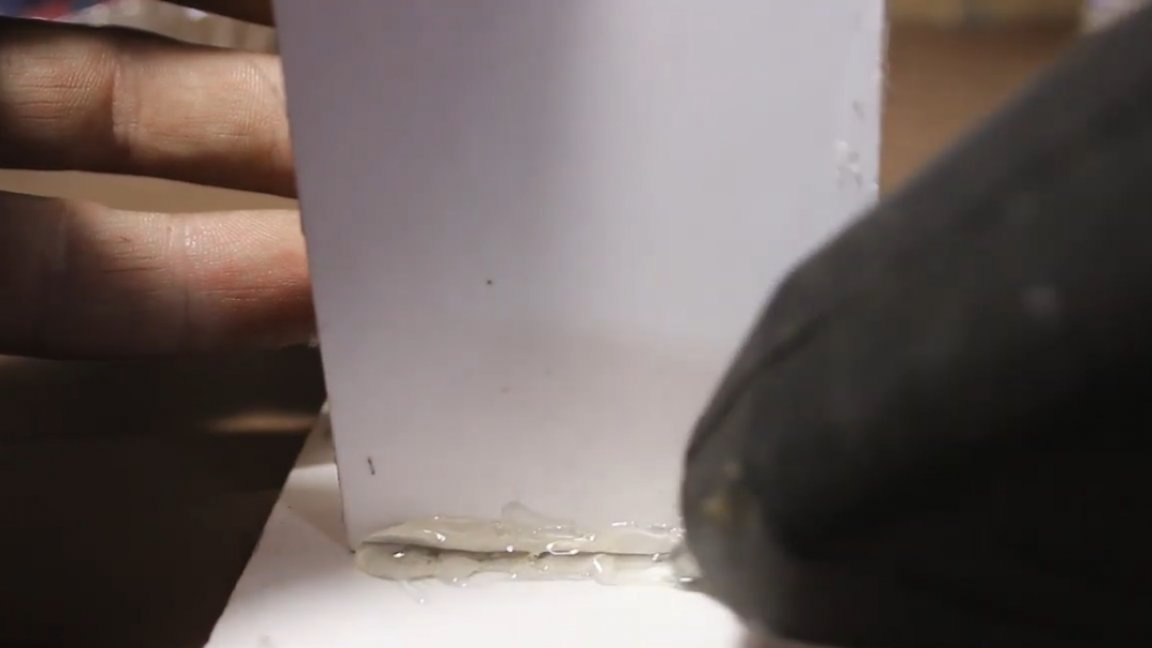
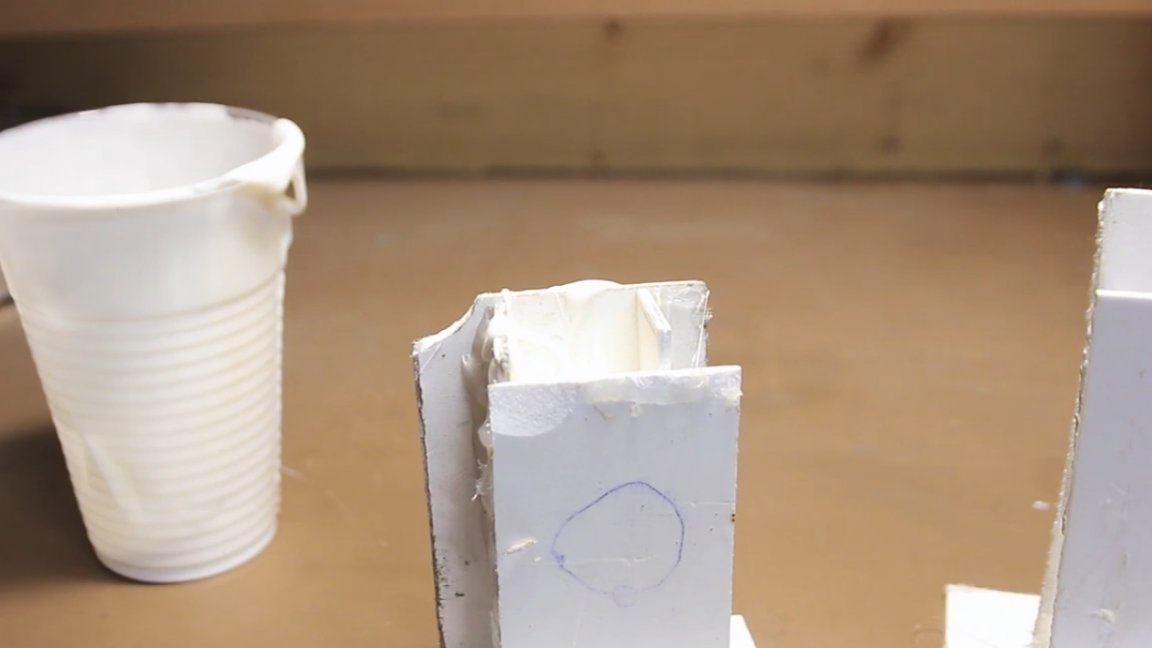
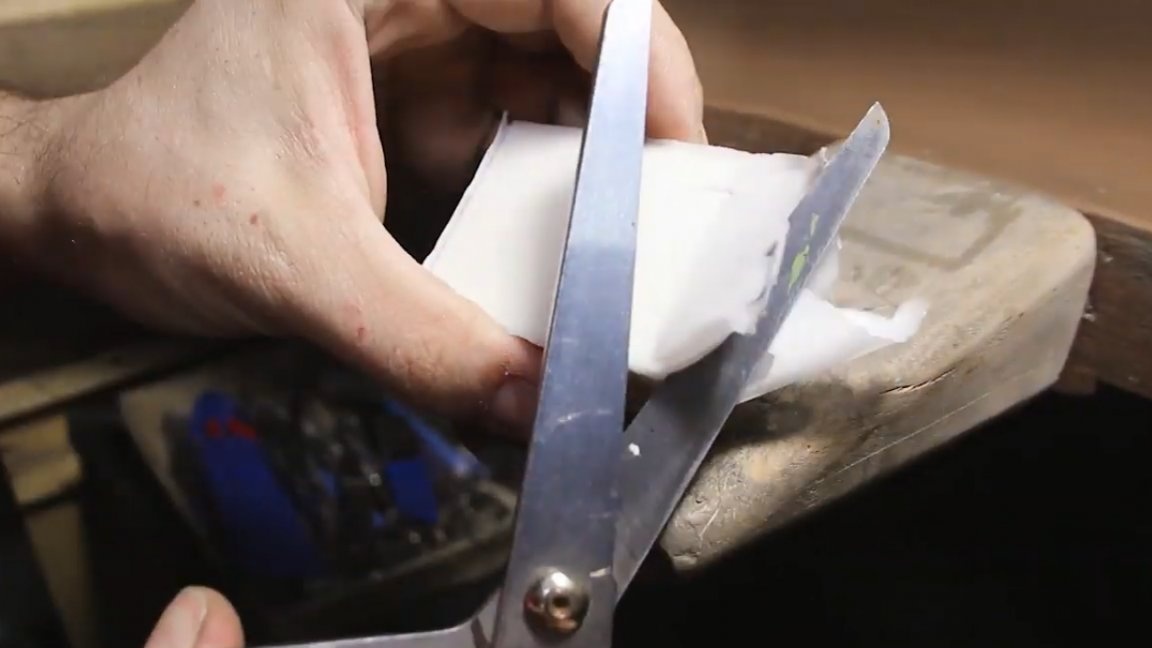
In order to get a high-quality silicone mold, silicone must be evacuated before pouring. The next day, when the silicone is completely dry and the silicone mold has completely hardened, you can remove the formwork. Next, you need to very carefully cut the resulting shape.
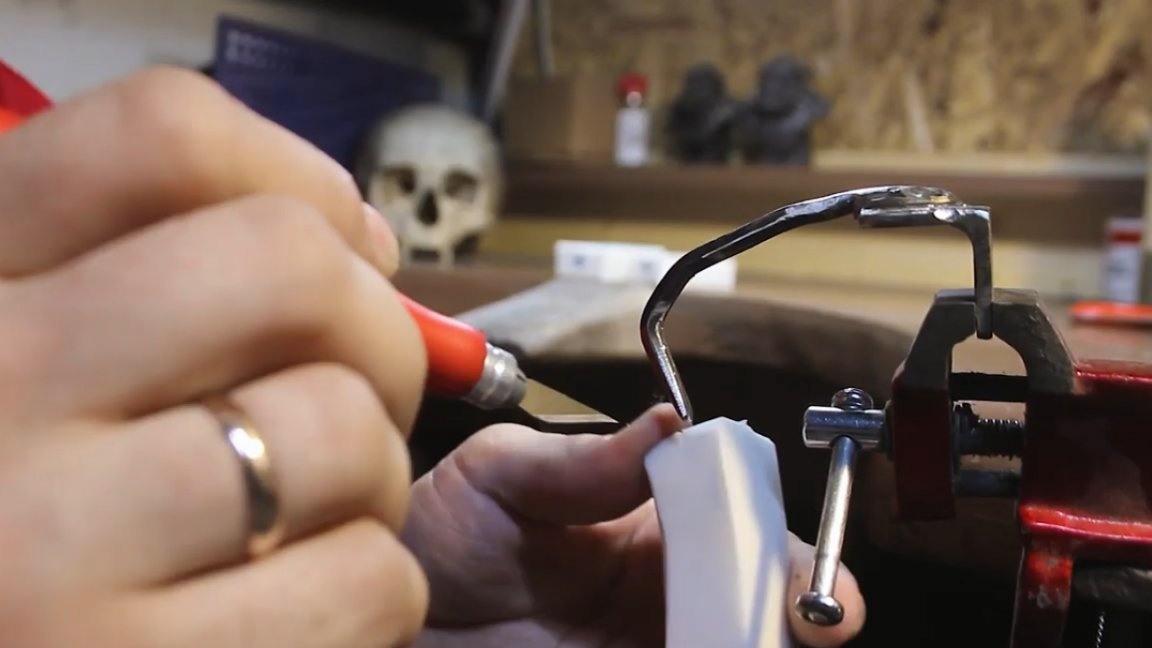
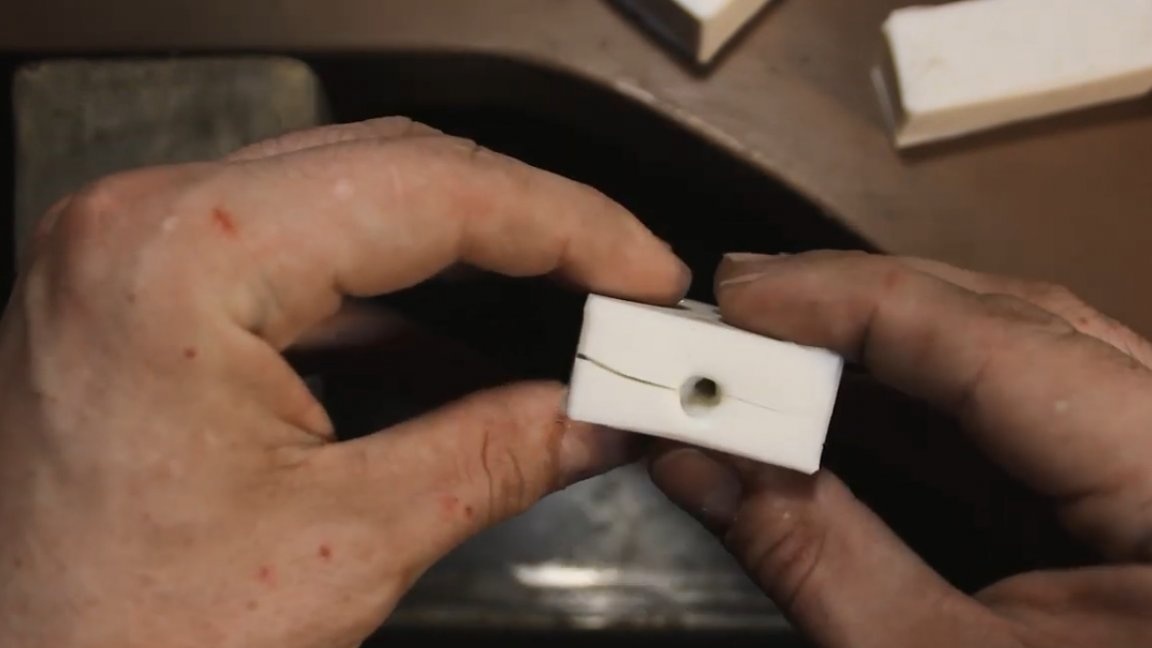
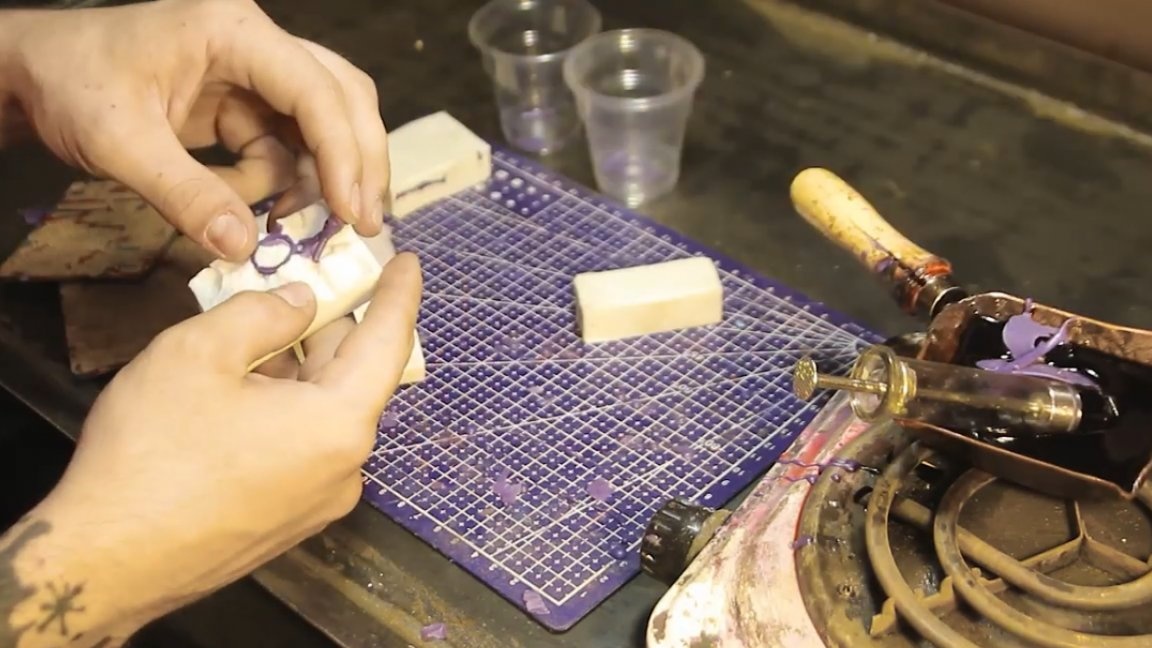
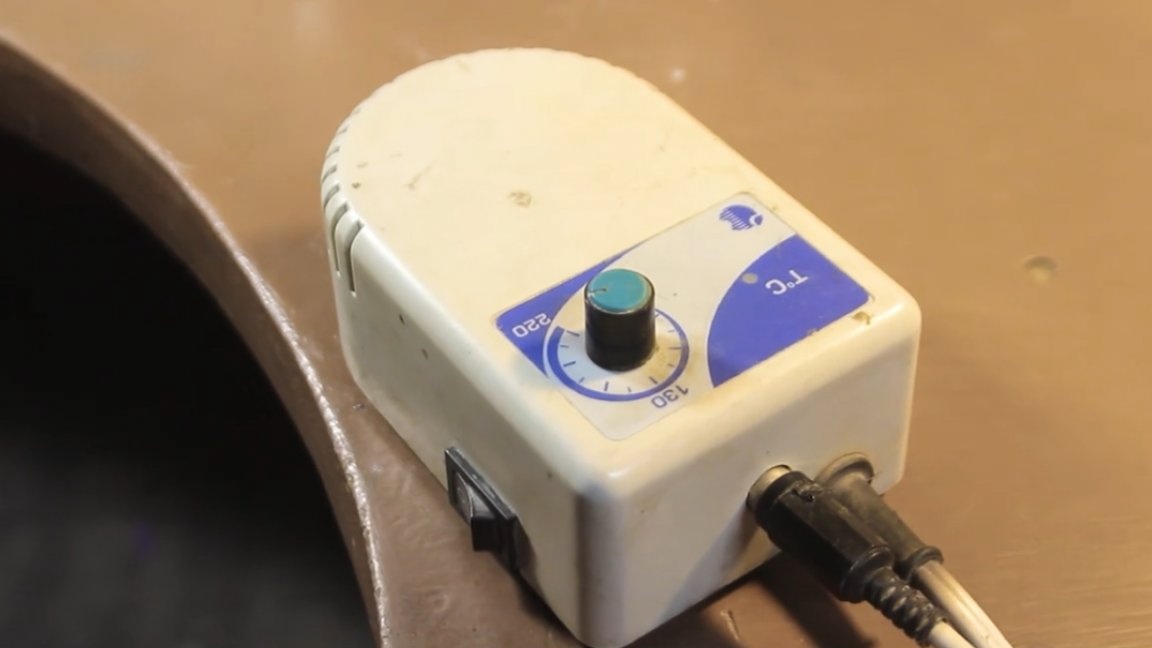
Also in the near future, the author plans to install a vacuum wax injector in his workshop, which from the technical side will take him to a new level. In the meantime, this skill will have to be developed using tiles and a glass syringe.
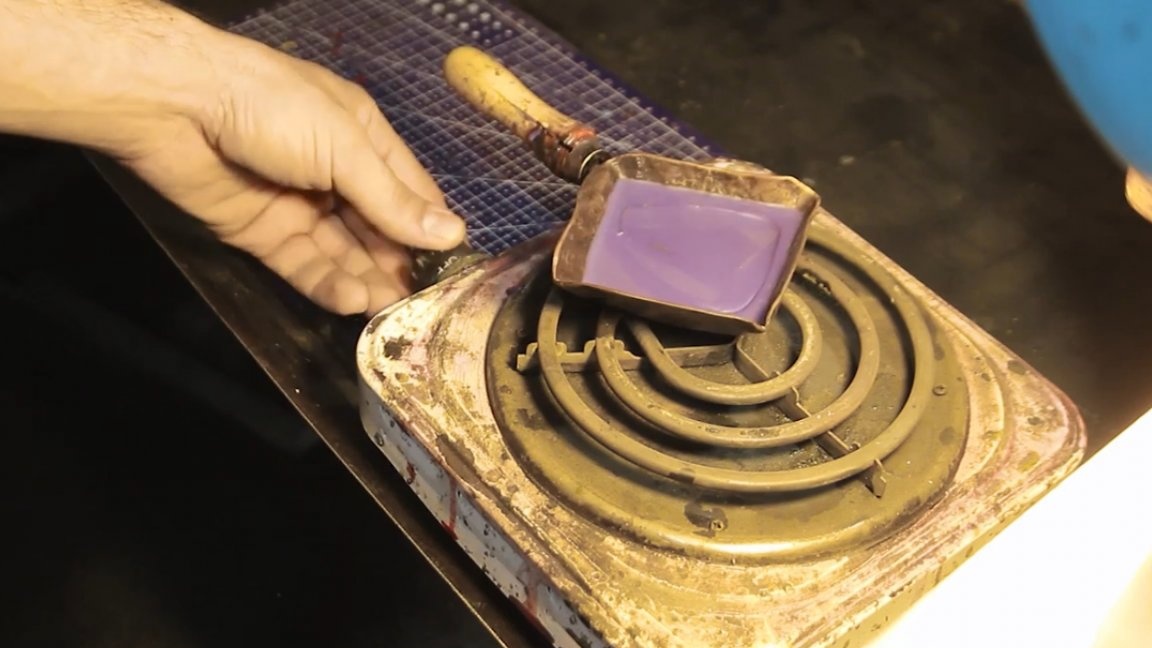
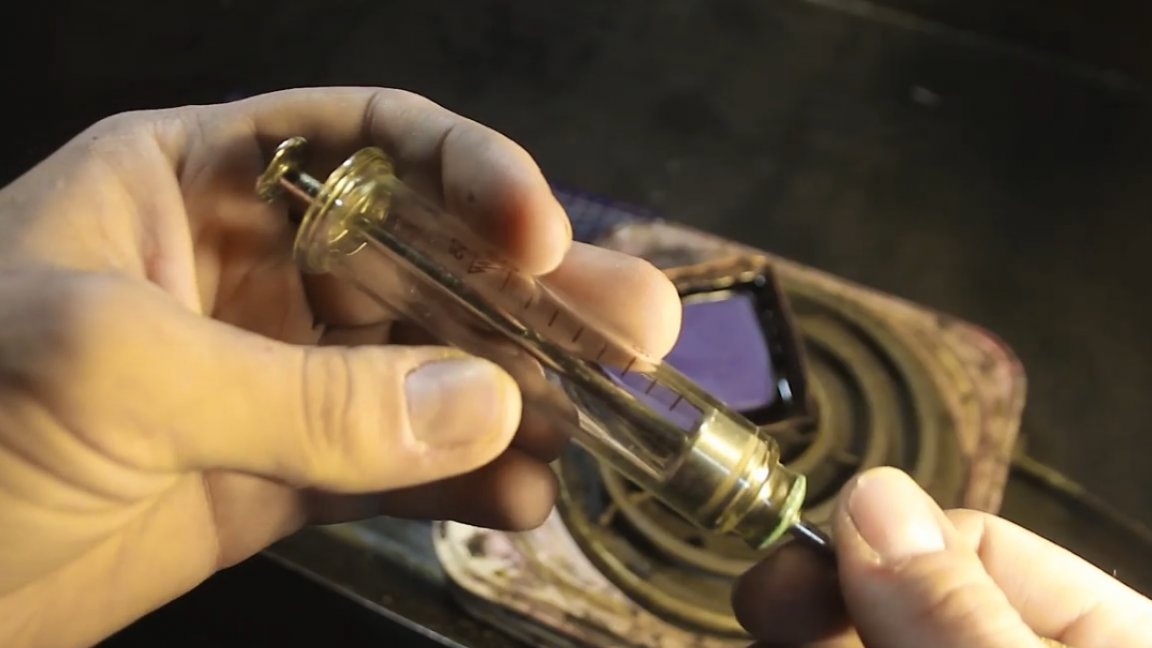
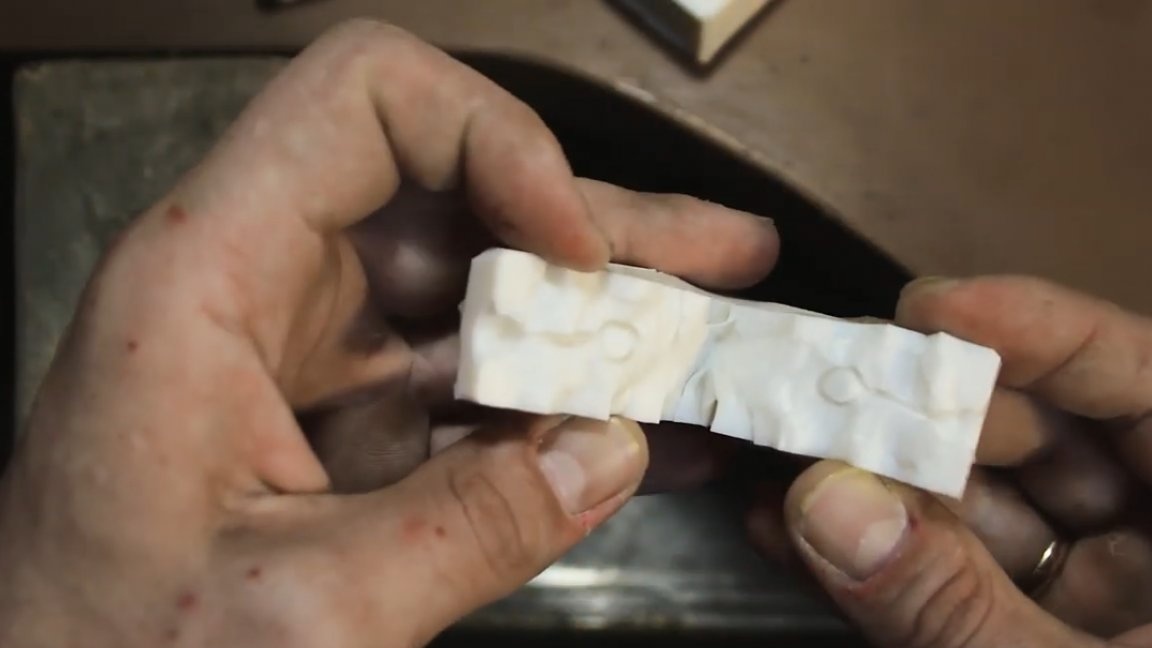
By the way, one of the master’s subscribers on YouTube shared a glass syringe, which has been helping to create models of varying degrees of difficulty for quite some time, for which the author of the Bonn Factory channel is very grateful to Andrey (that’s the name of this same subscriber) for this package.
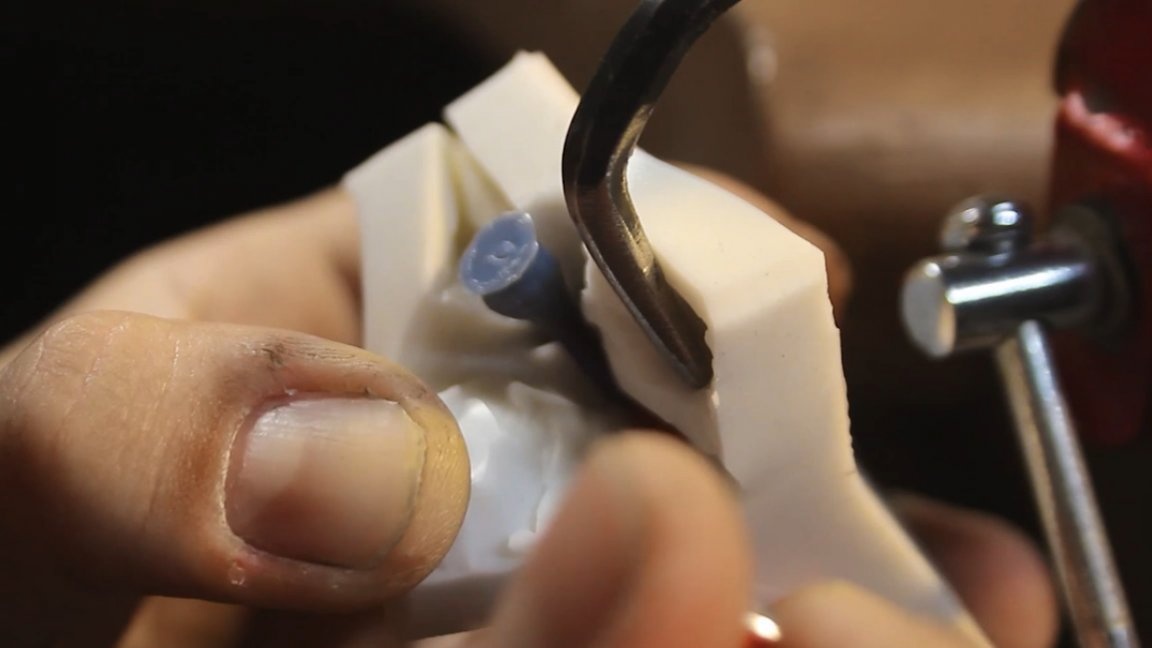
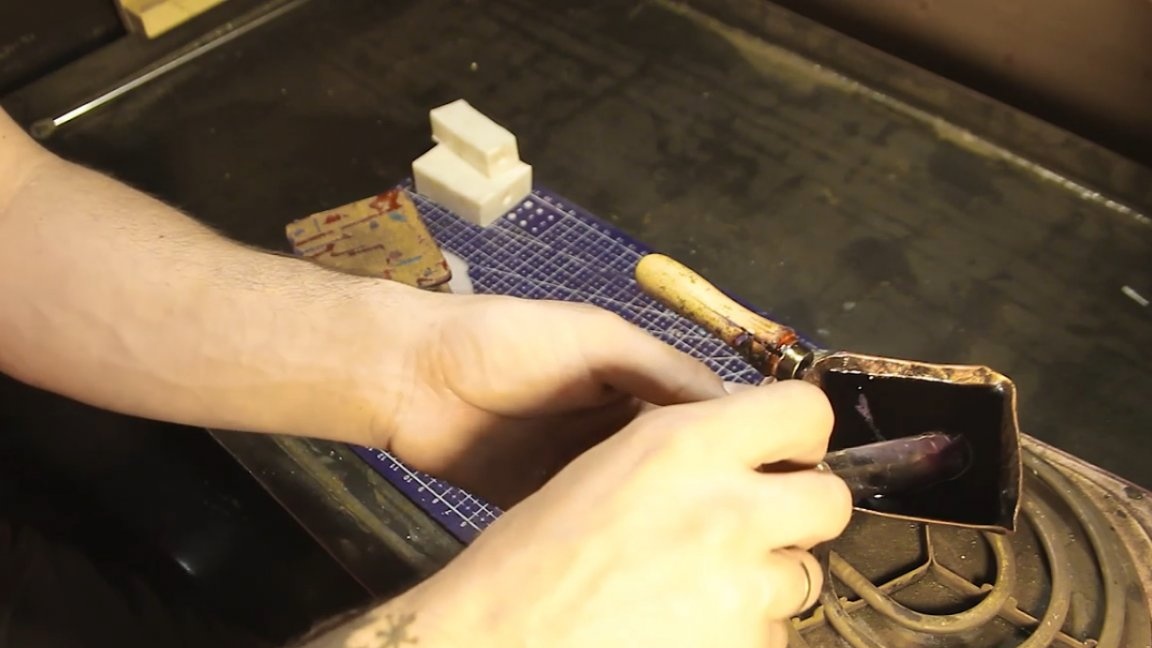
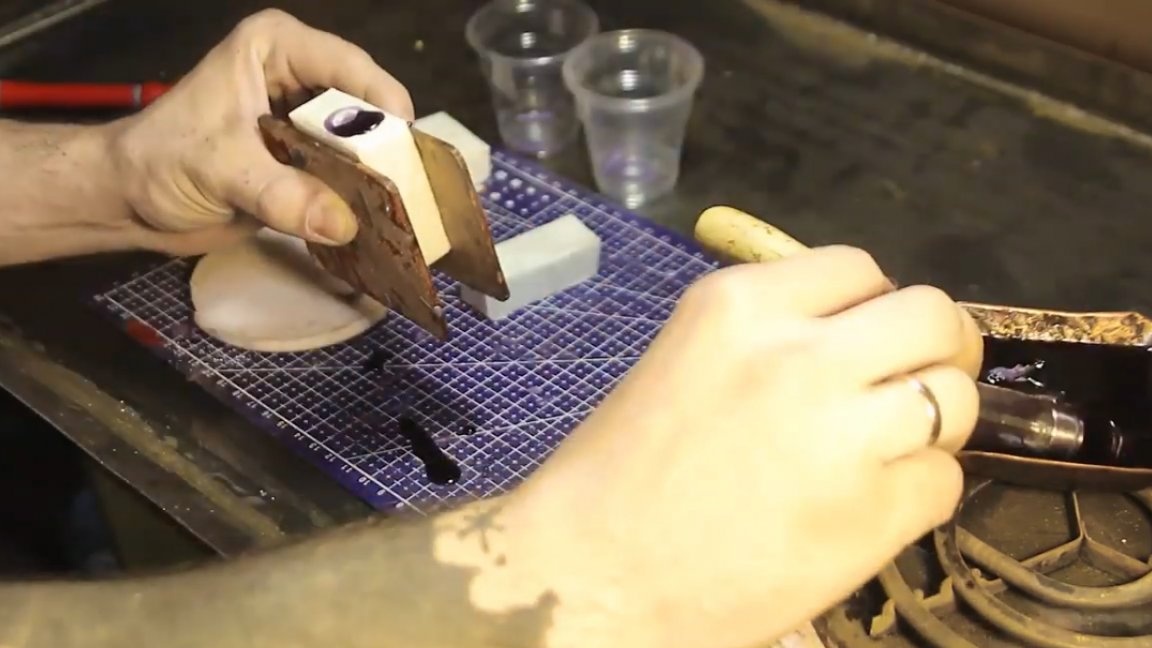
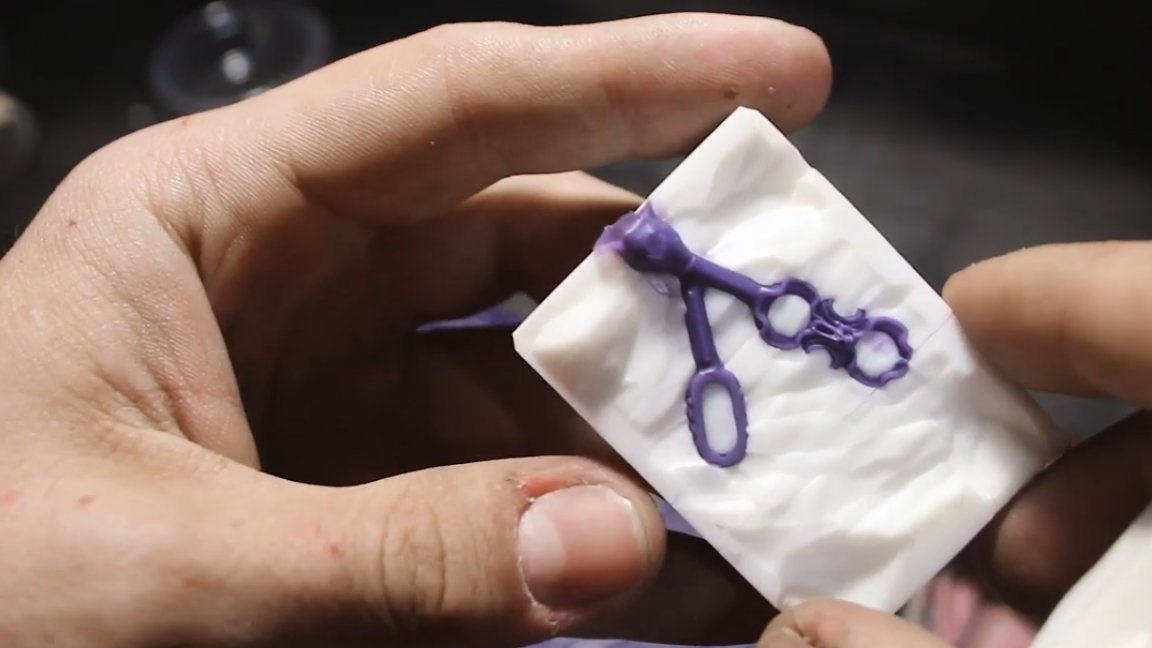
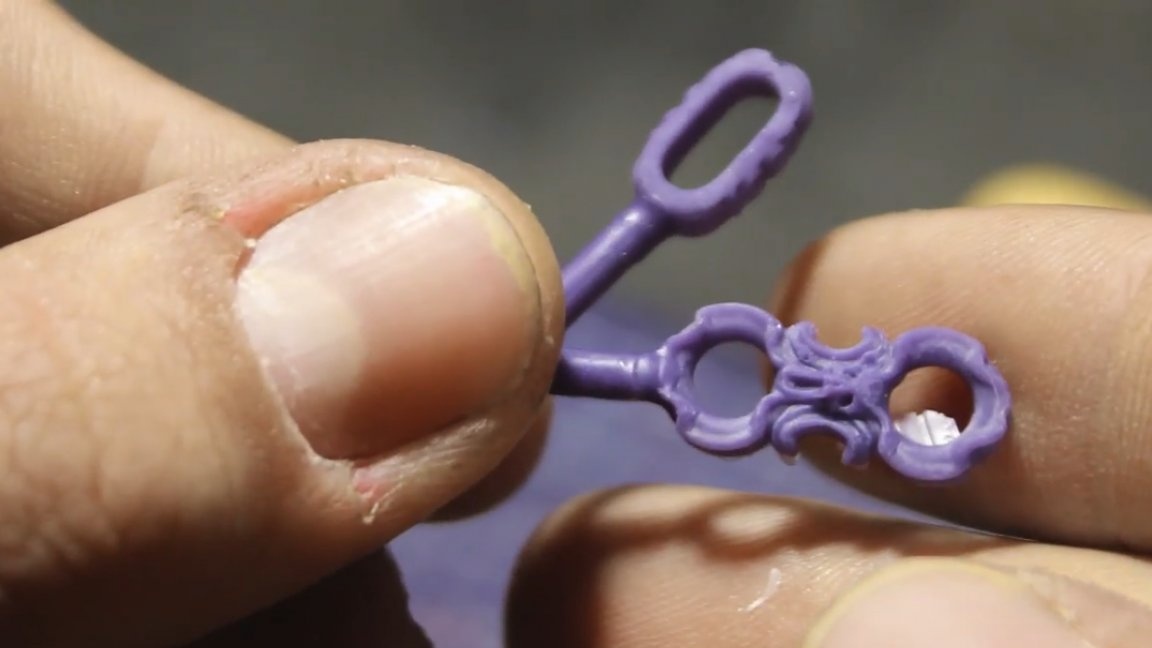
Toward the end of this part of the work, the author even managed to adjust the pressure of the wax and the mold, due to which waxes of rather good quality began to be obtained with a minimum burr around.
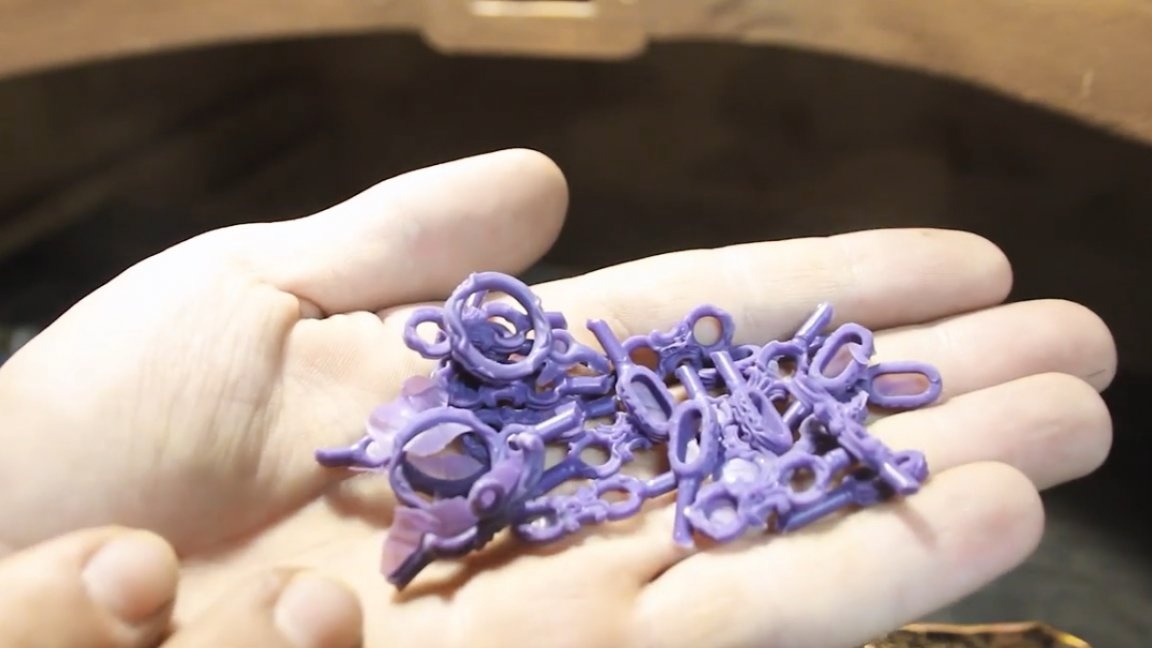
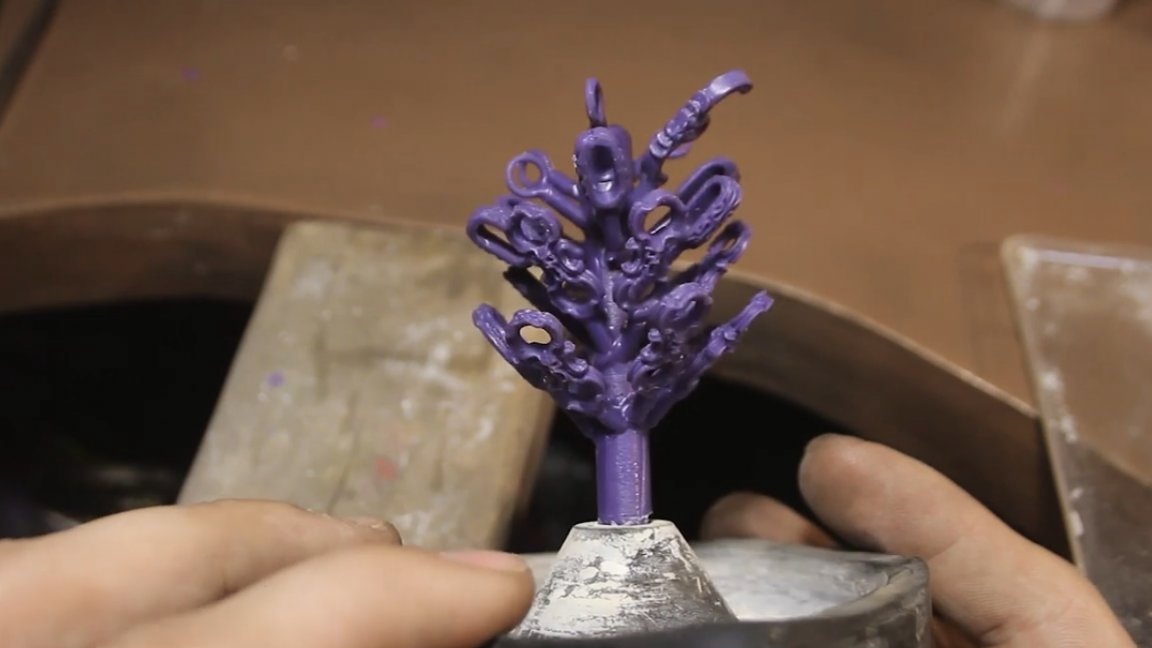
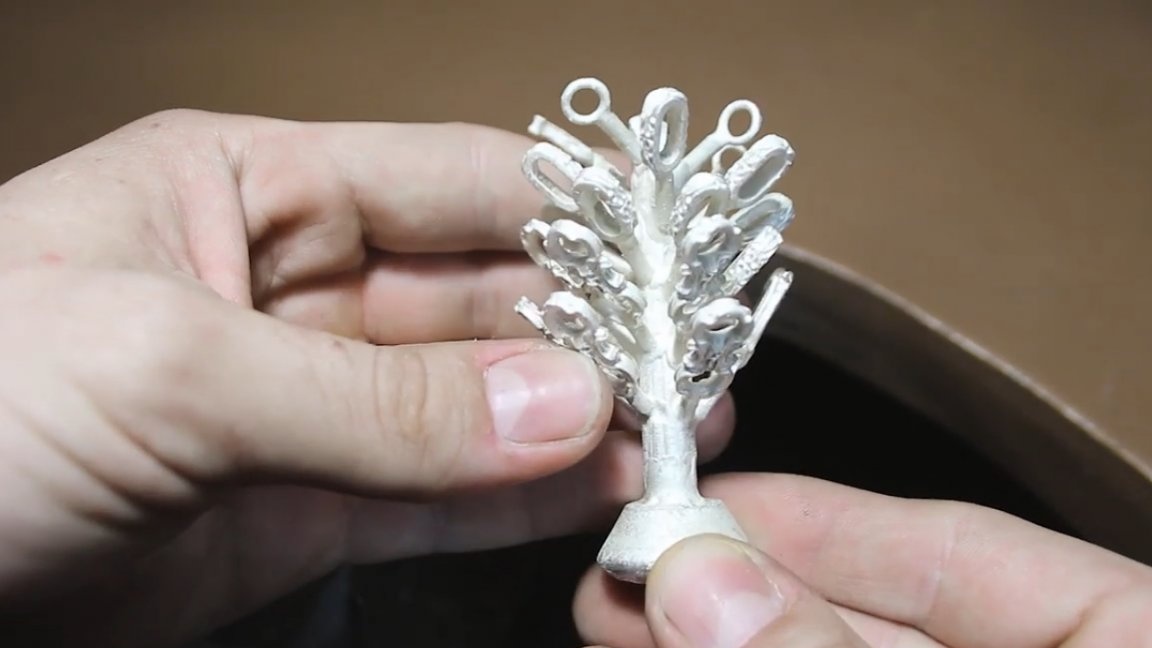
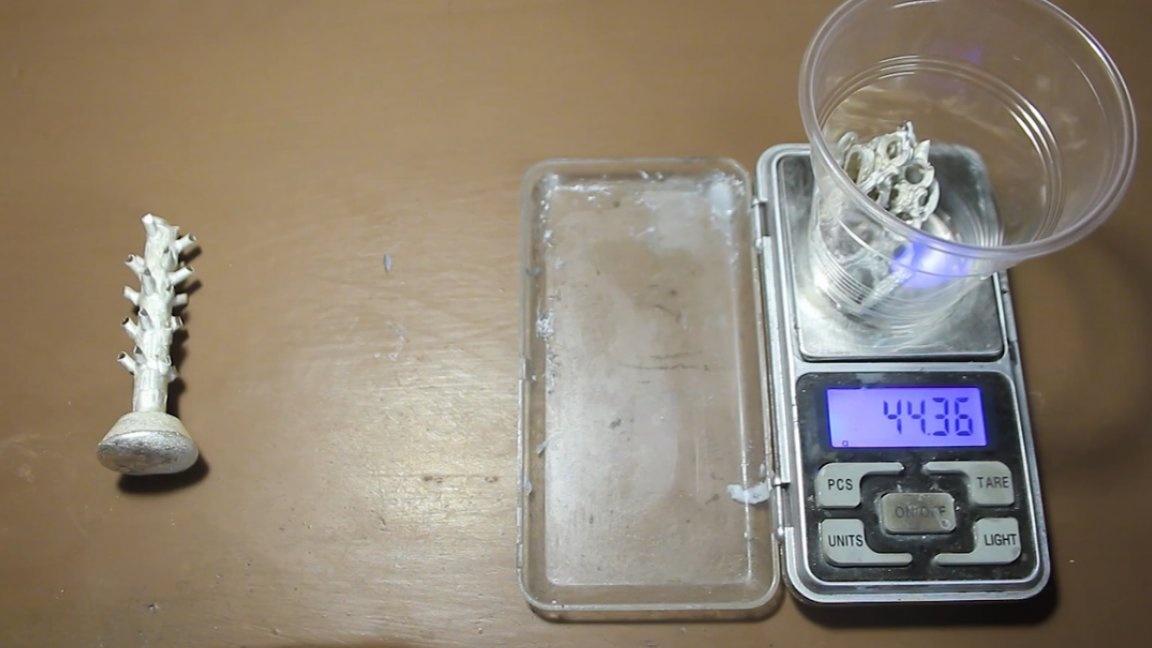
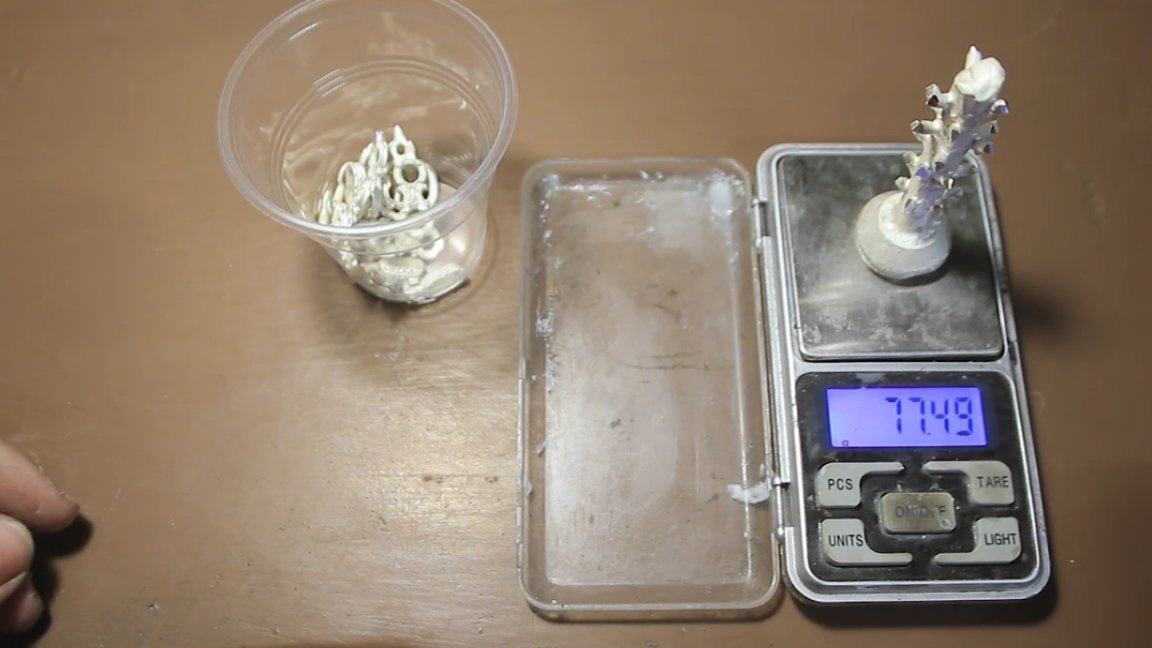
Having collected the necessary number of parts, it is time to move on to preparing them for casting, and to be more precise, we have to make a wax Christmas tree.
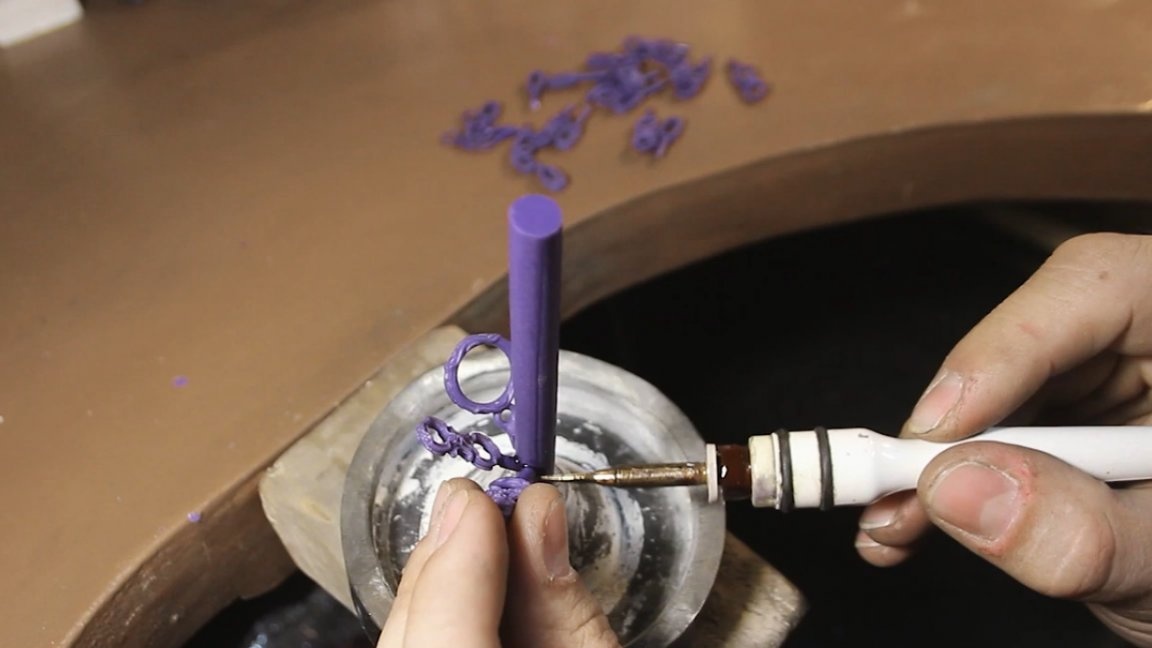
In practice, it became clear that the Christmas tree is better to collect from top to bottom. In this case, the product does not block access to the central gate. But the master nevertheless does the opposite, the power of habit and fear of the unknown, it happens as conveniently, but it happens, as they used to, I think many will understand.
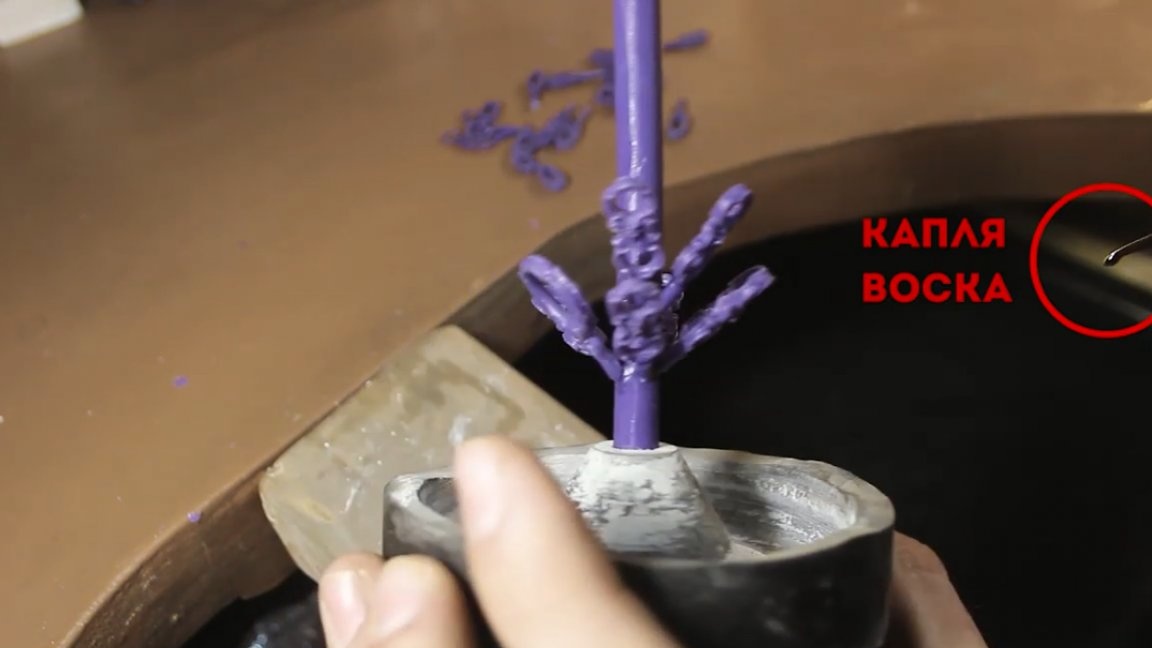
Here, in fact, I did not have to wait long, a small droplet of wax flew off the sting of the heater and hit directly on the part. As a result, we got the marriage literally out of the blue.
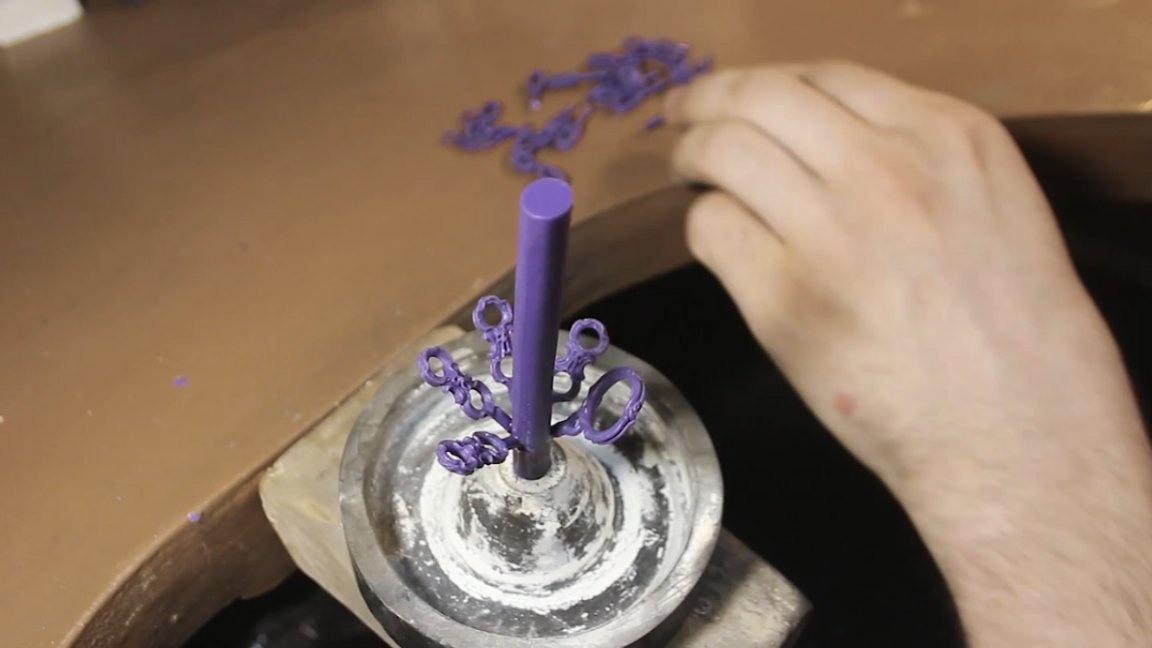
Our Christmas tree is fully assembled, while of course it’s not the most even, but still, like a real one.
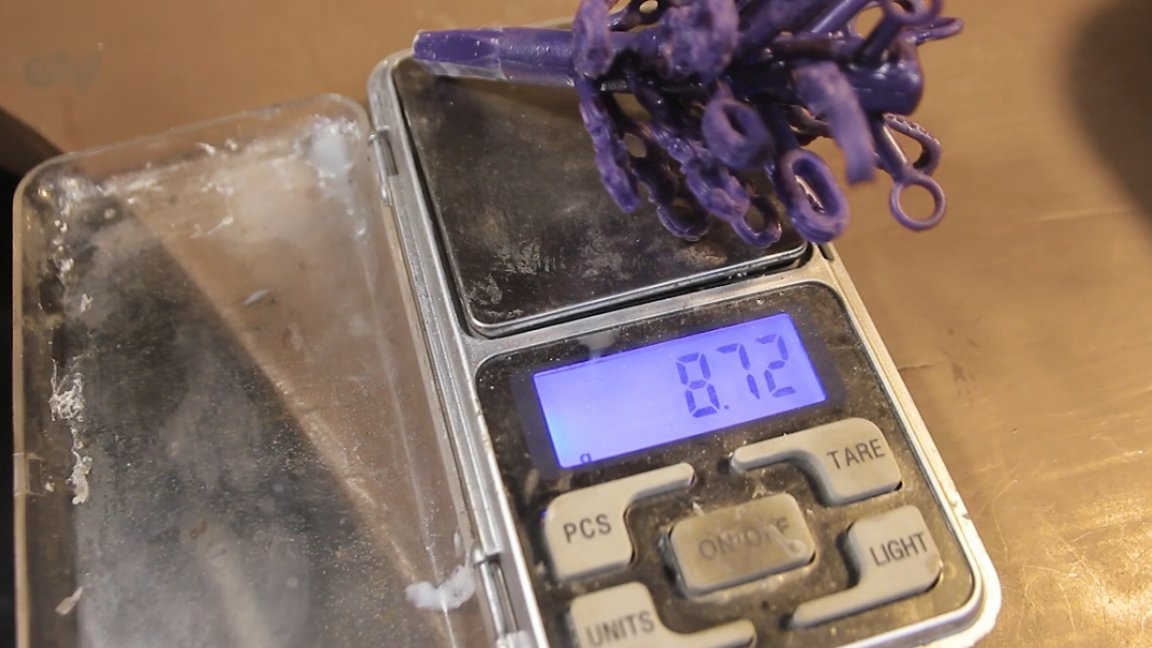
Also, the master is not used to making parts with a margin because he is nevertheless striving for qualitative indicators, and not for quantitative ones. Well, except that it was made for one additional link from the calculated value, since it is difficult to estimate the necessary length of the bracelet, because he had not had to deal with them somehow before.
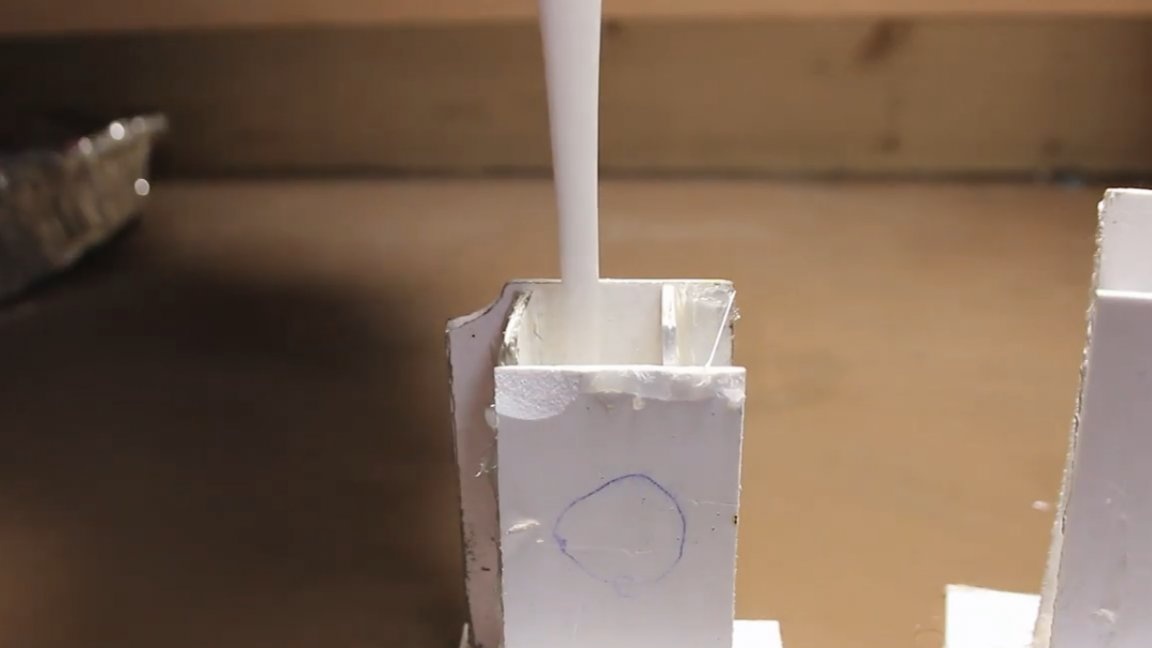
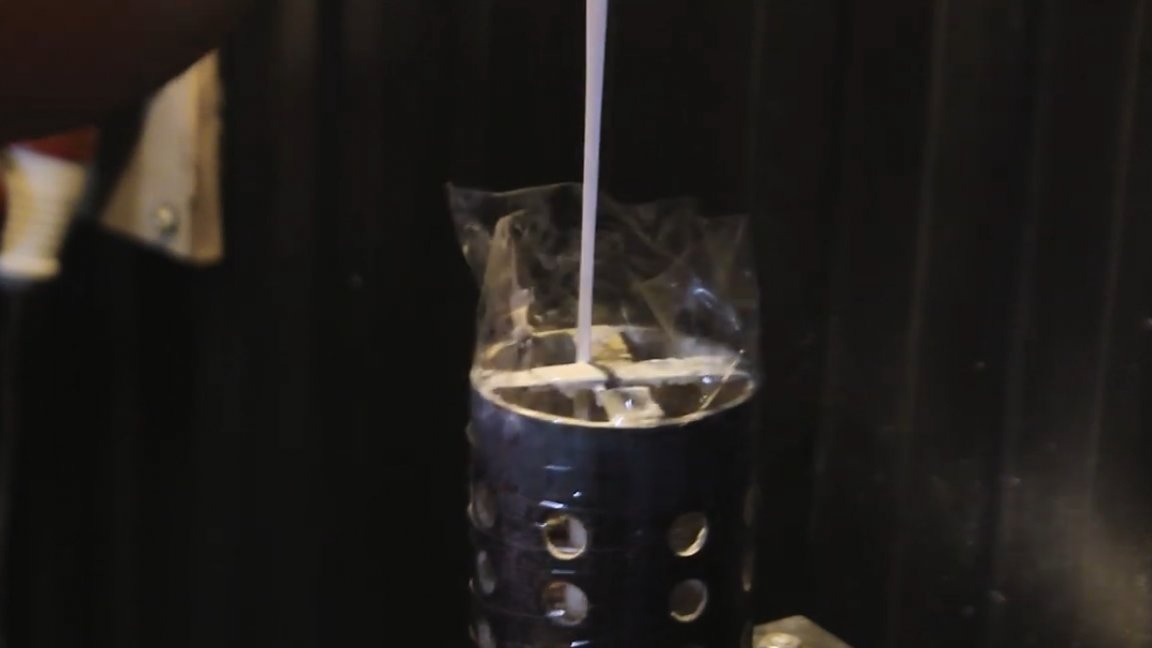
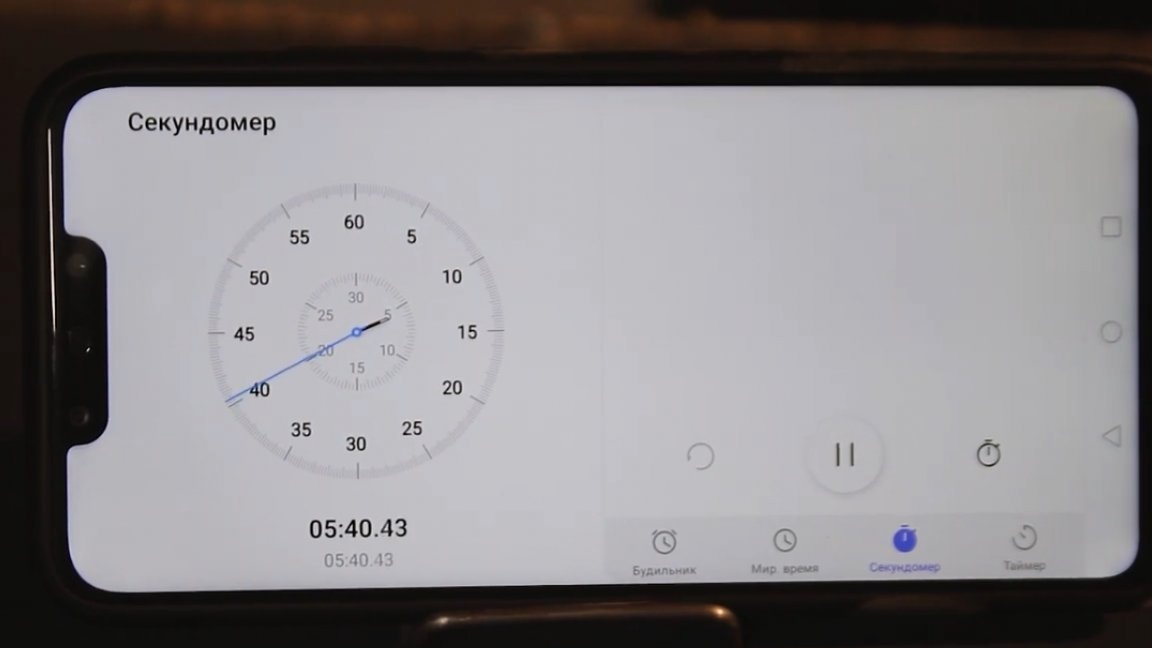
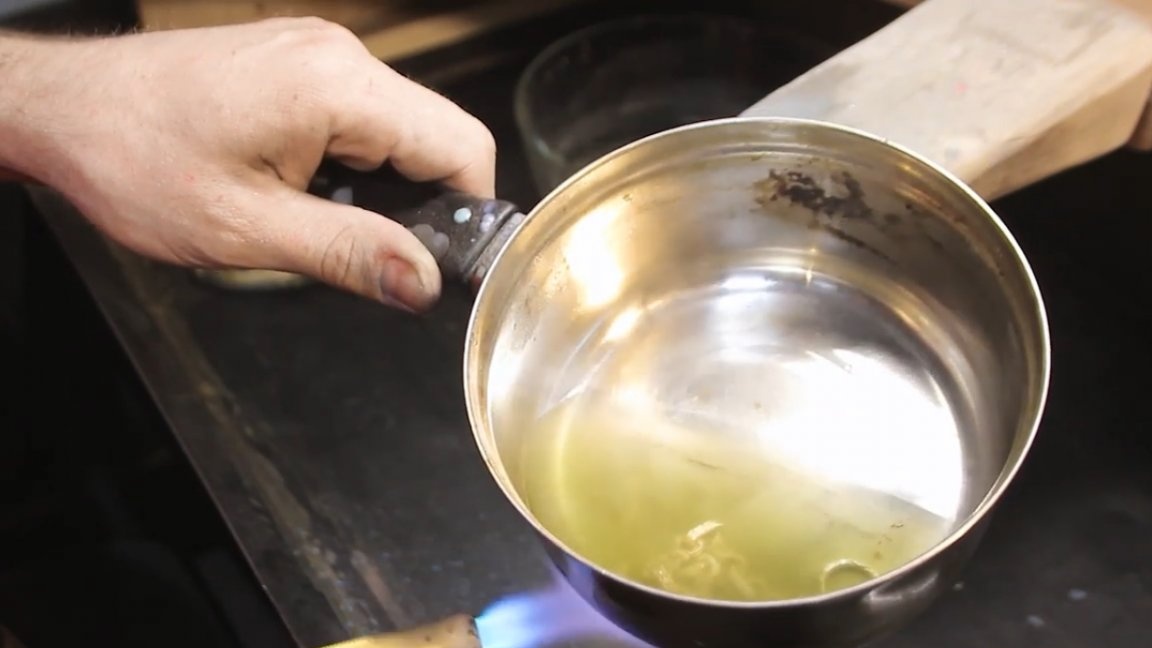
The following is a molding and calcining process. Here everything goes according to the standard process technology for this operation. First you need to dilute the mixture in the following proportion: per 100 grams of gypsum 38 ml of pure distilled water. And in order not to miss the moment of setting gypsum, it is necessary to do all this with the stopwatch turned on and we perform molding for seven minutes from the moment water enters the dry mixture.
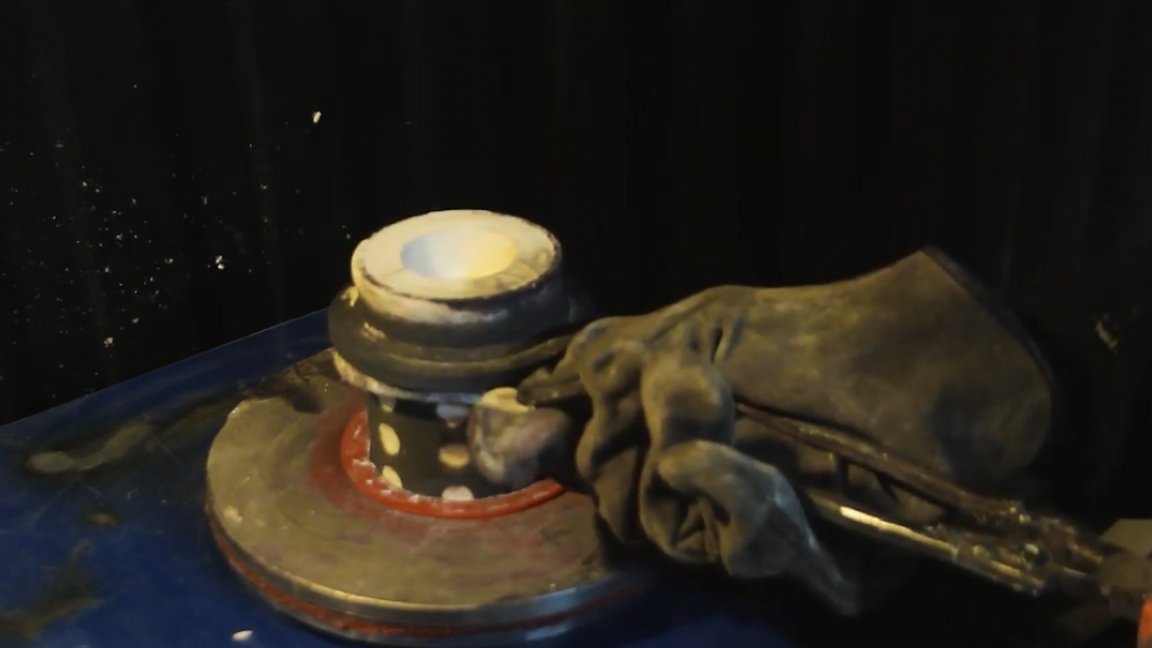
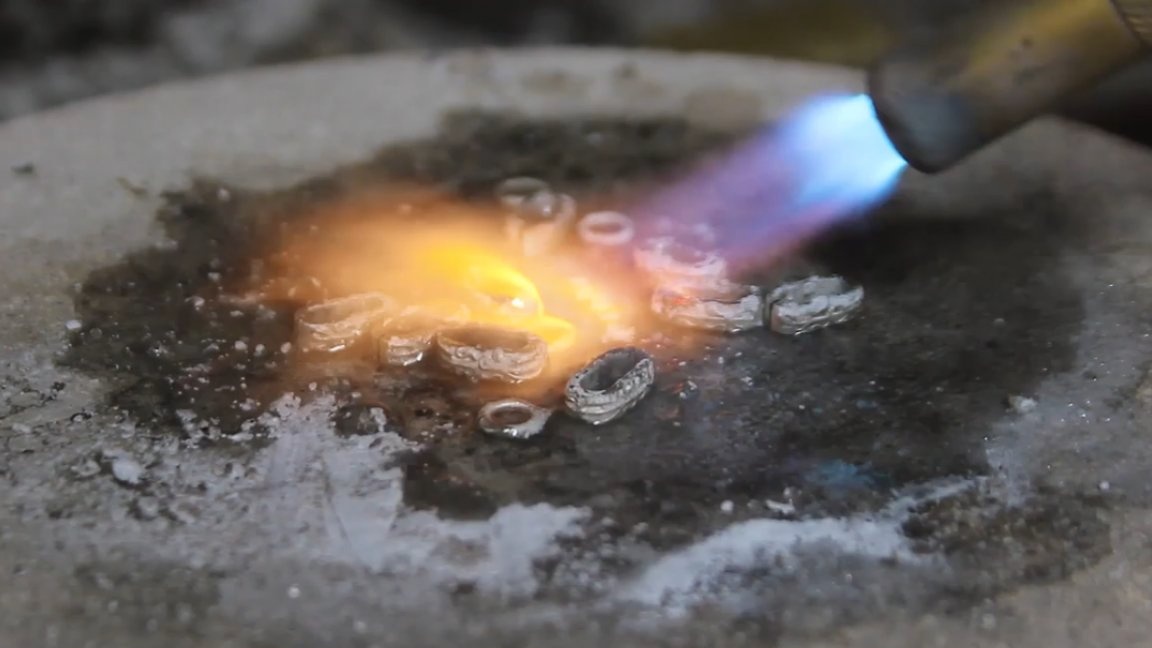
We fill the silver of the 925th test at a temperature of 980 degrees in the flask, the temperature of which is 500 degrees. The master carried out the selection of temperatures empirically, tried to fill at different temperature indicators and, accordingly, received different results.
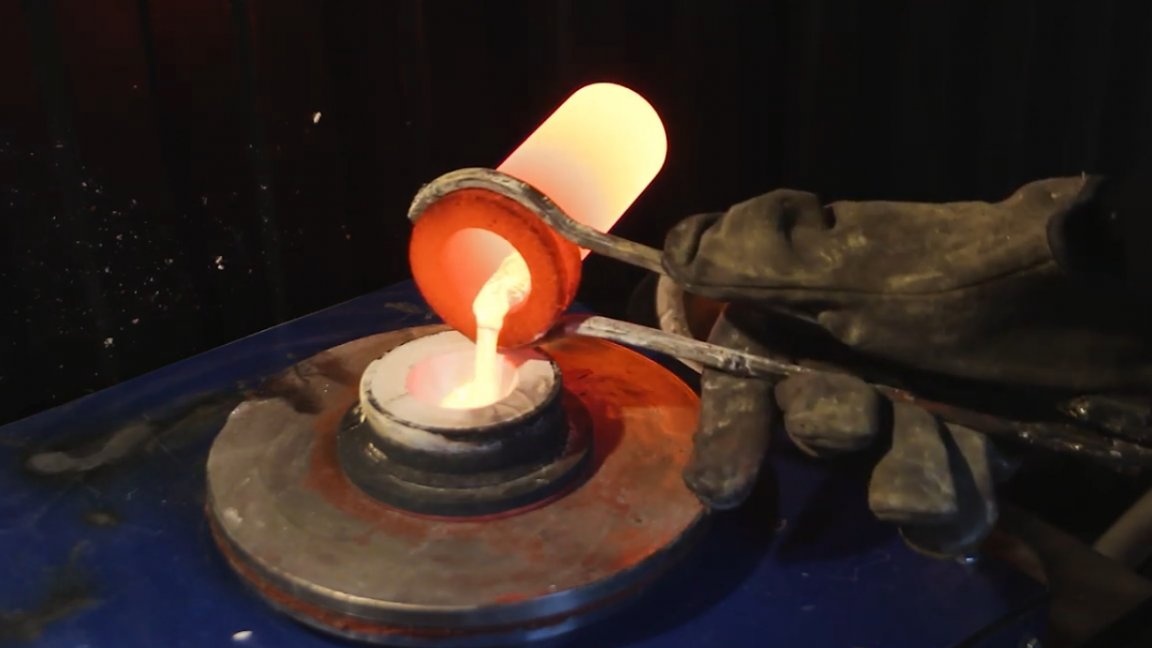
Well, now the result is quite like a result, there are no pores, no spills, no other casting defects - another thing!
Now it remains only to bite off the resulting elements and prepare them for soldering, and actually solder.
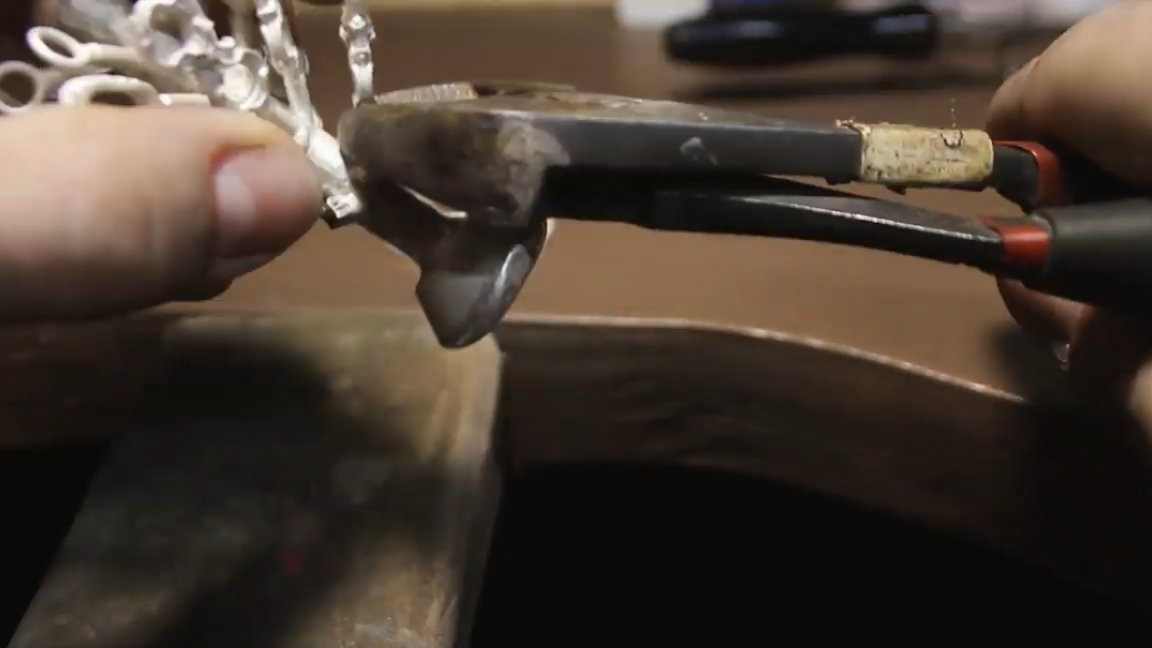
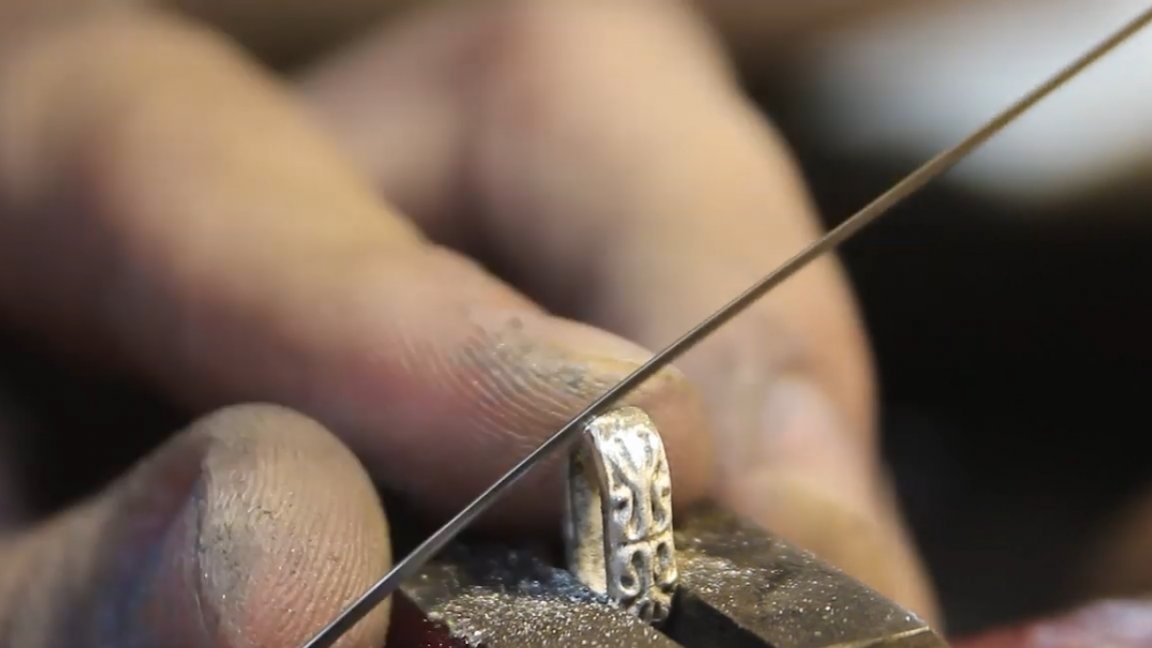

It is also worth noting that in order for everything to spill well, the gating system should be massive enough to cool more slowly than the parts to be poured, in order to nourish them with their mass.
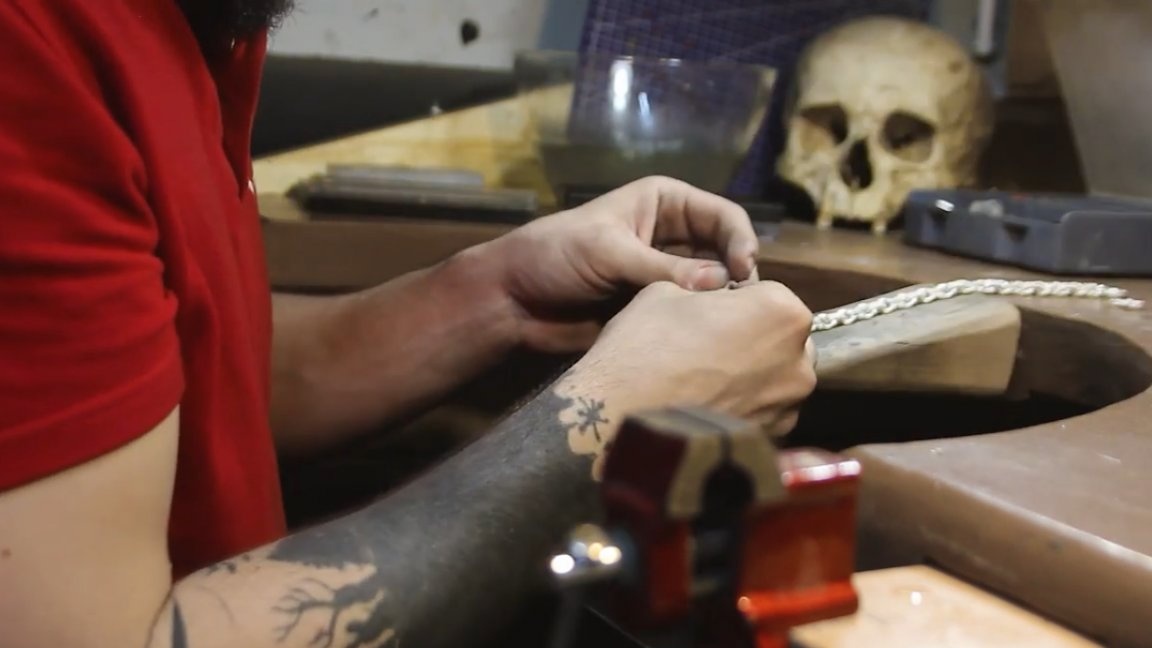
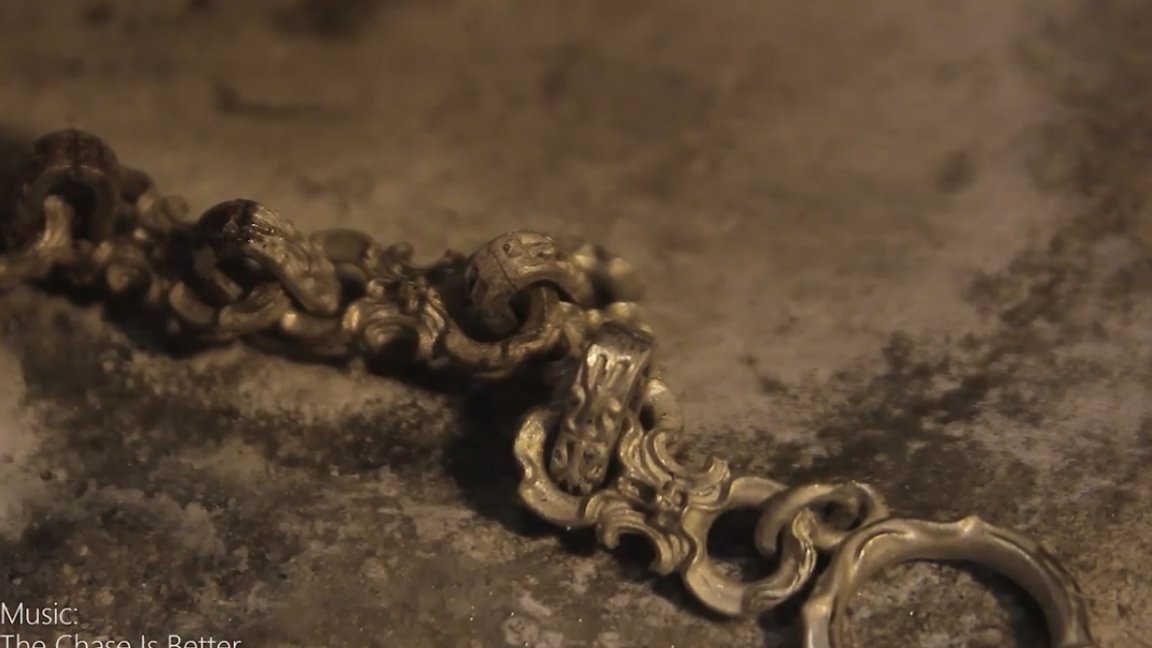
Further assembly. The author began to assemble the product, without thinking about the direction of the asymmetric links with faces, and naturally messed up, but noticed this in a timely manner and corrected all this safely.
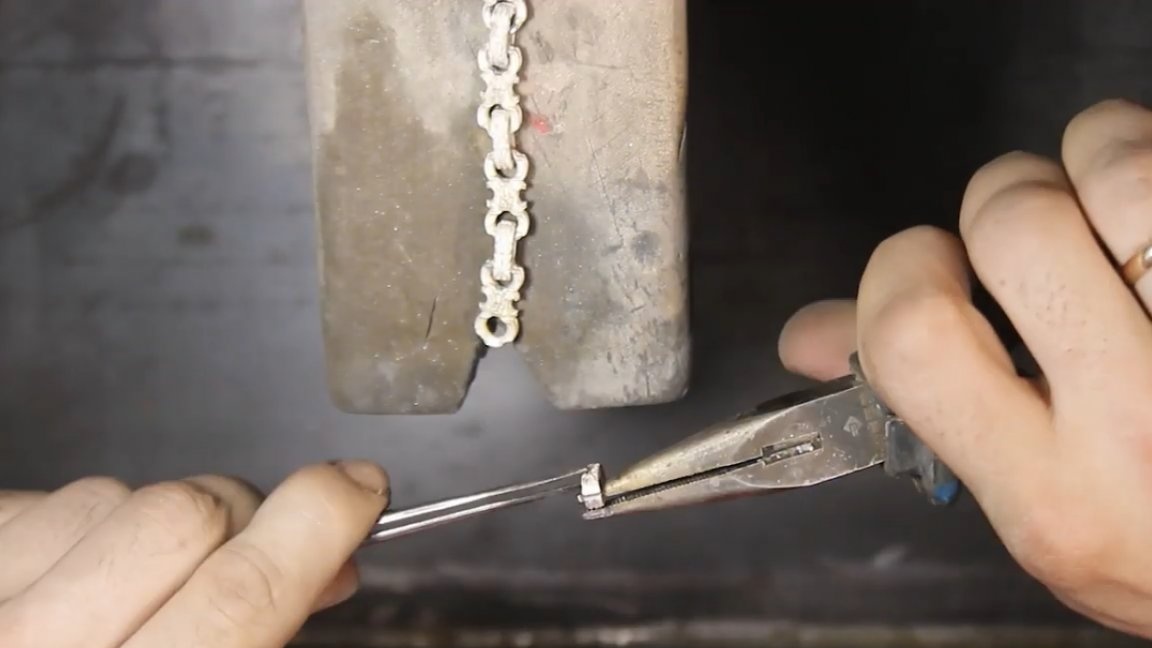
When soldering in general, everything went smoothly and according to plan without any serious stocks.
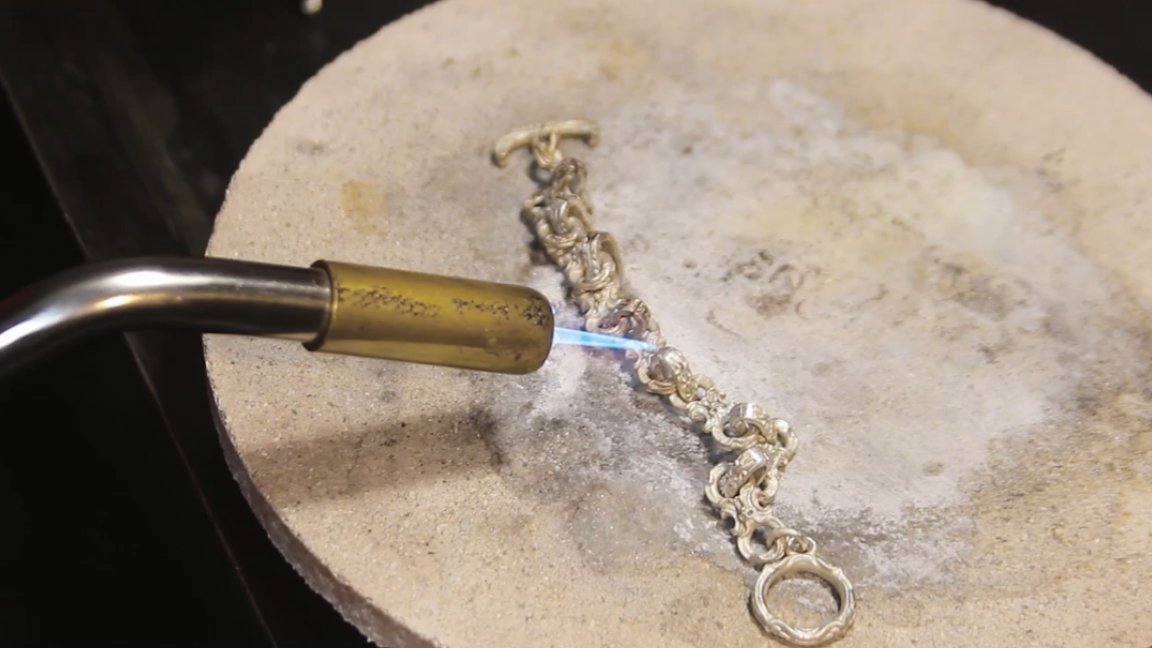
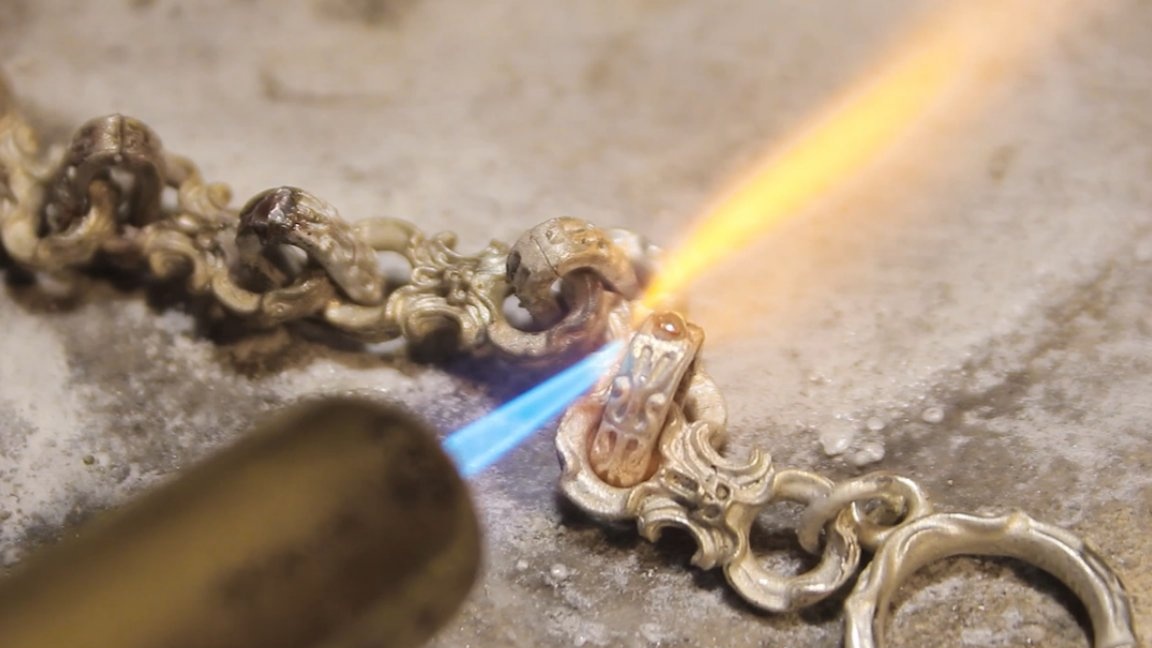
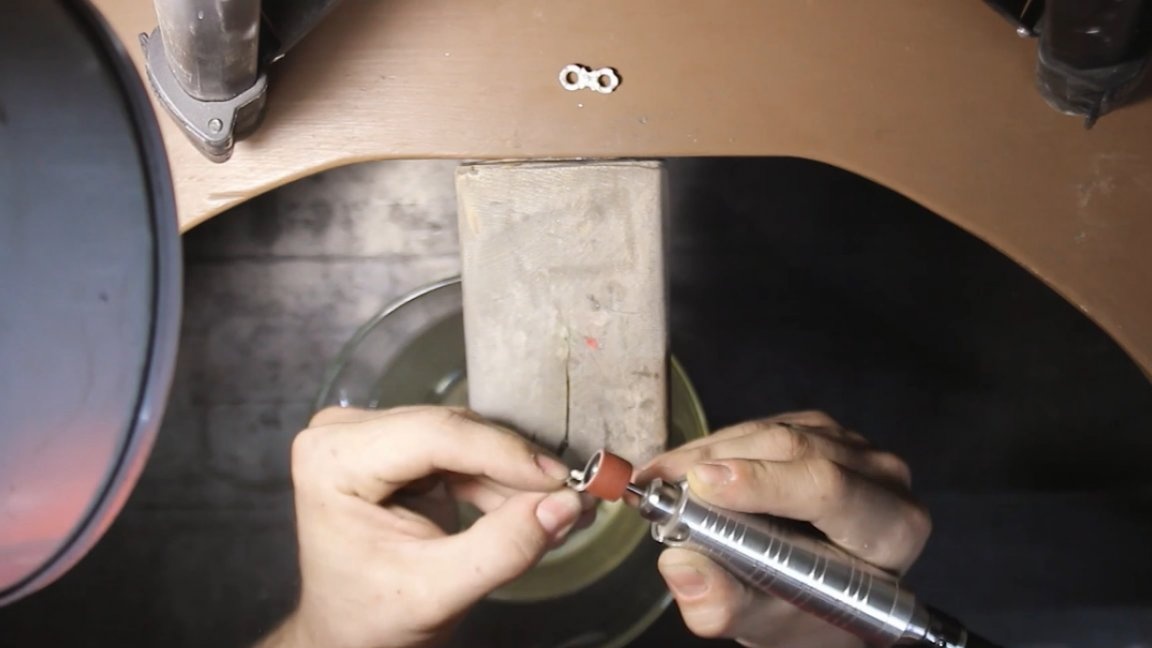
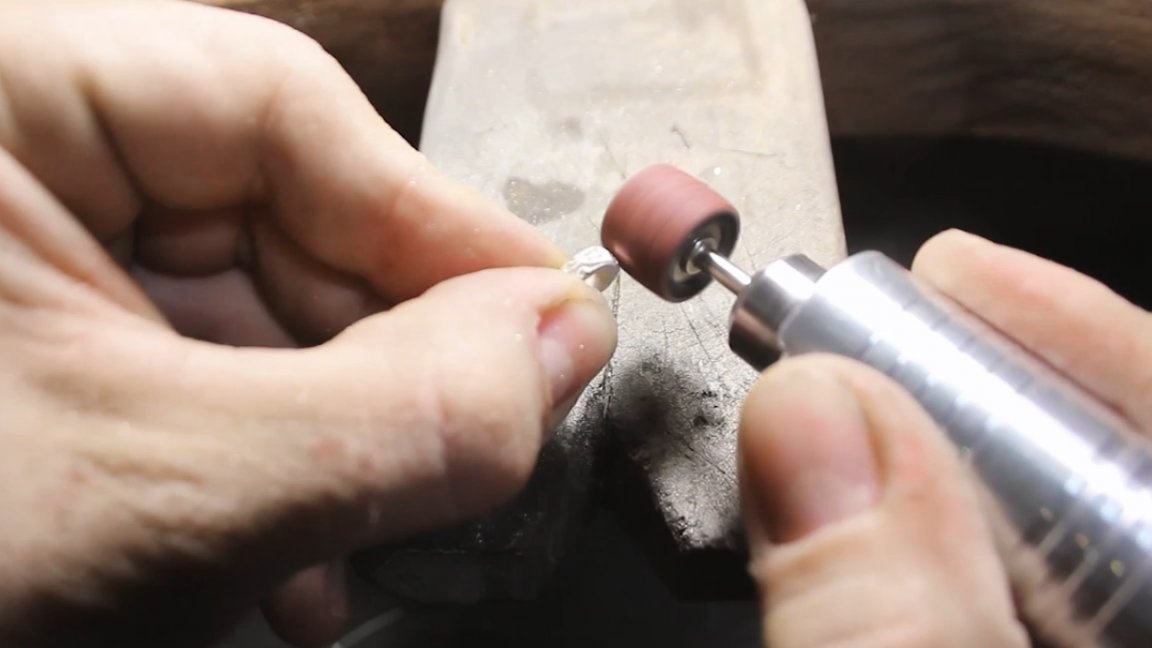
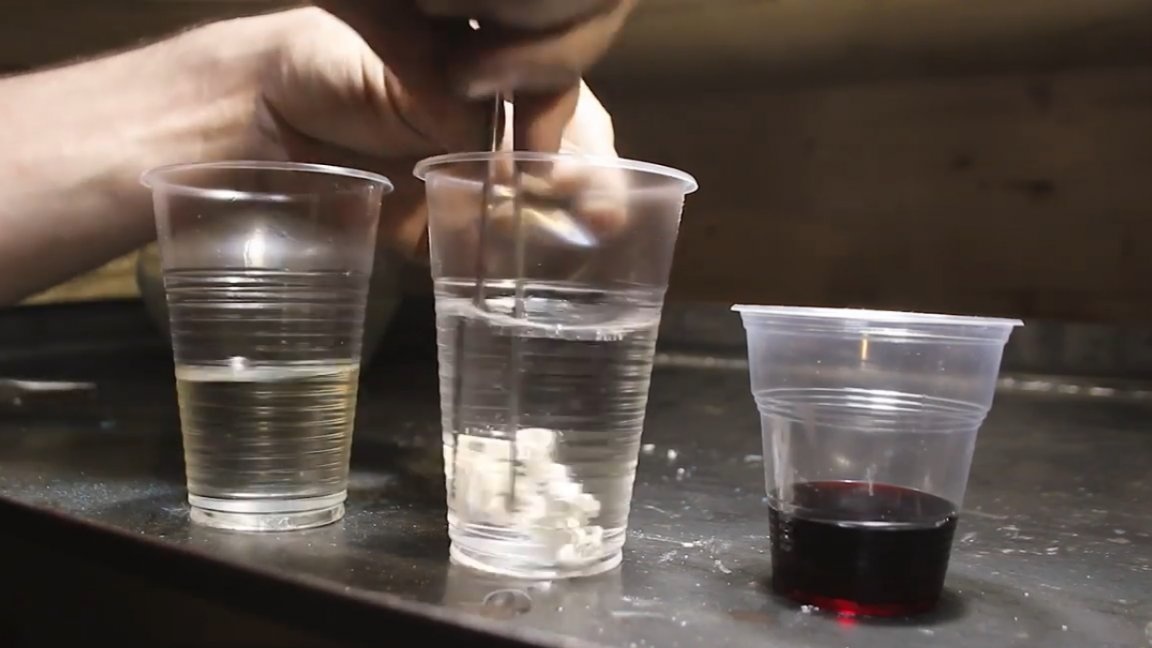
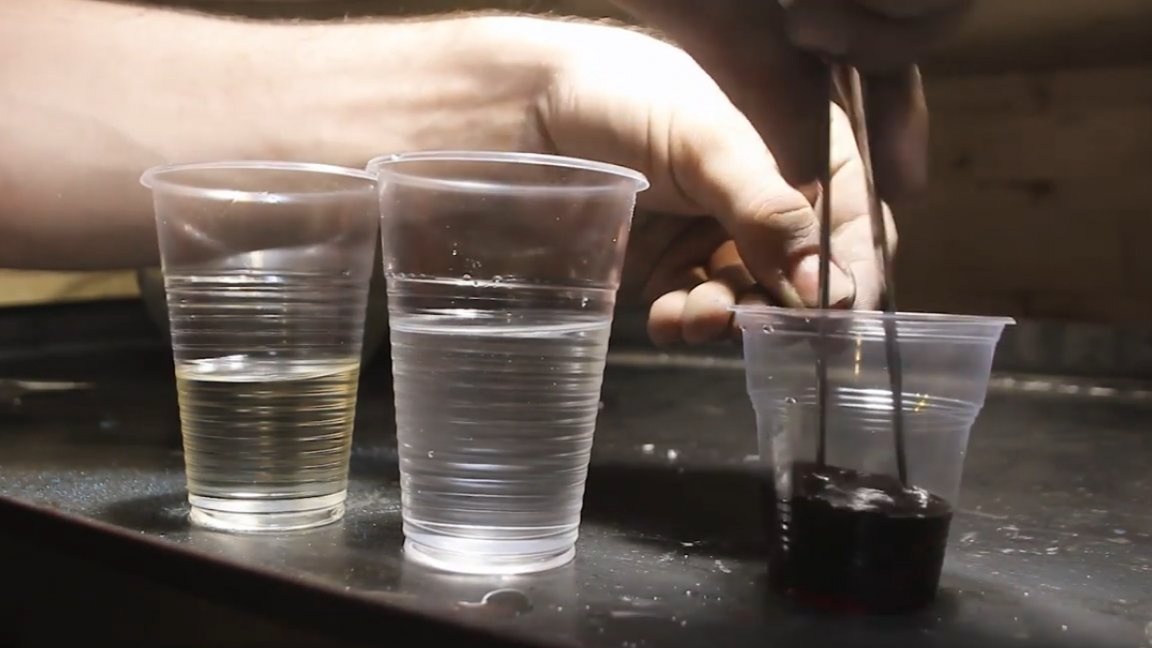
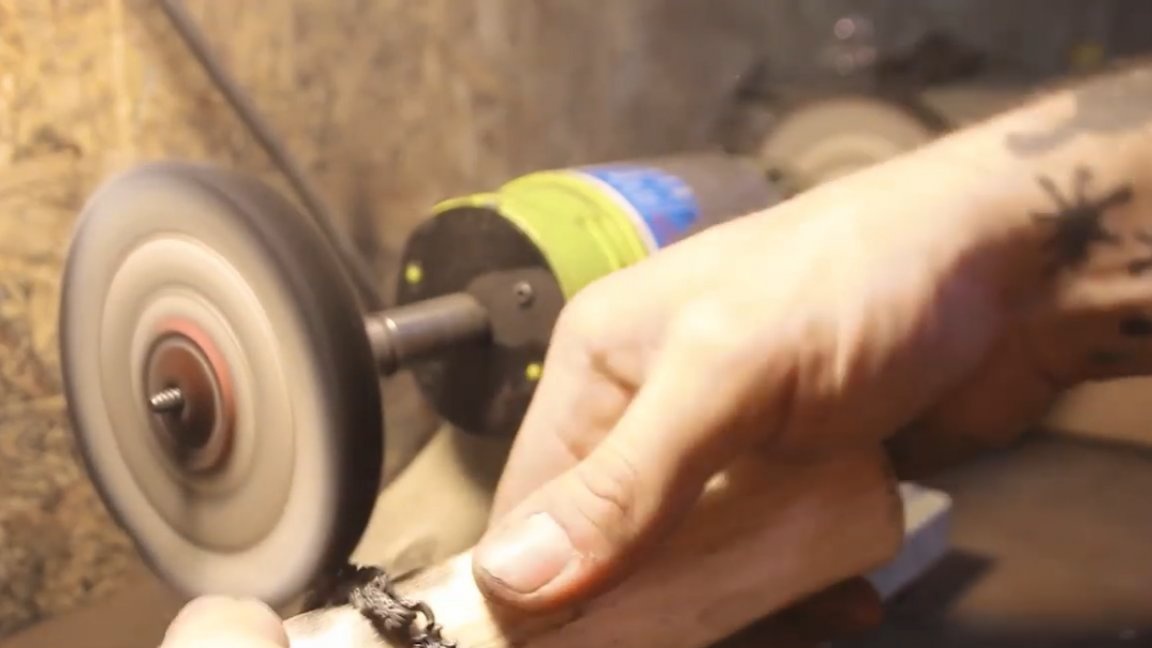
After processing the places of adhesion and cleaning of the product, it remains only to blacken it and finish polishing.
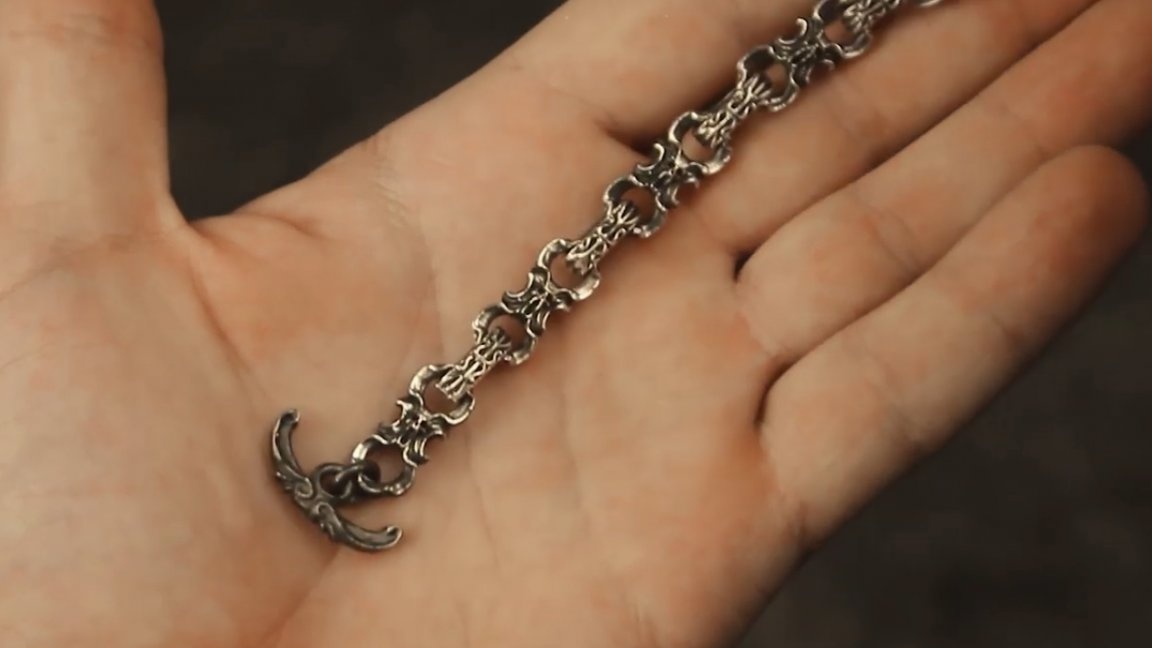
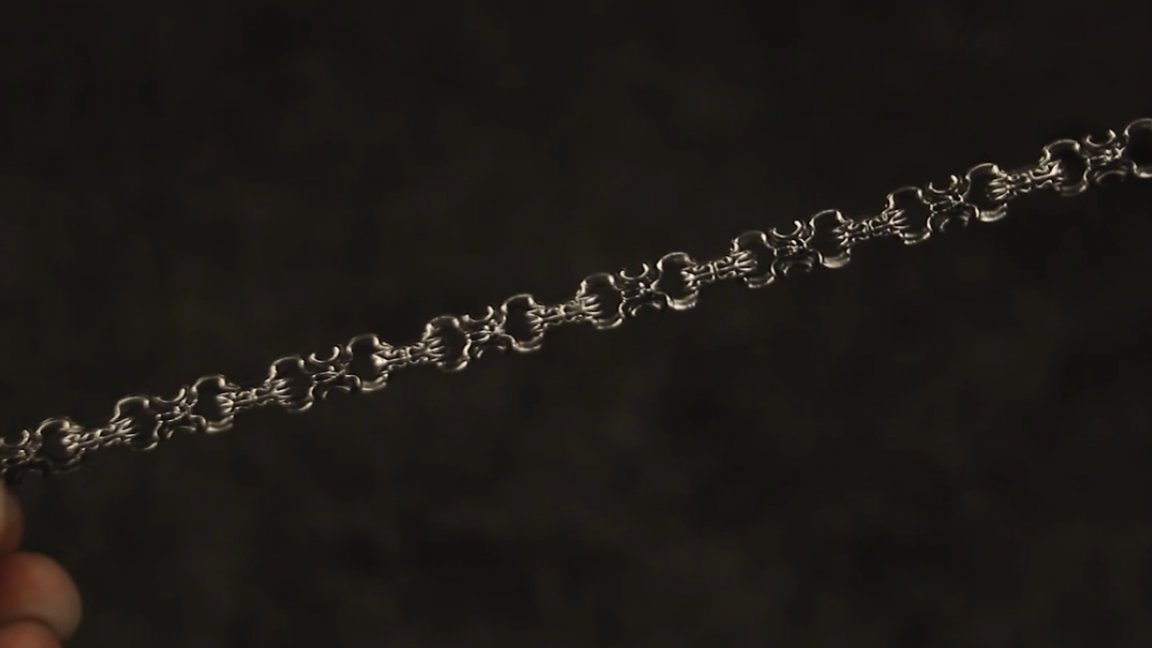
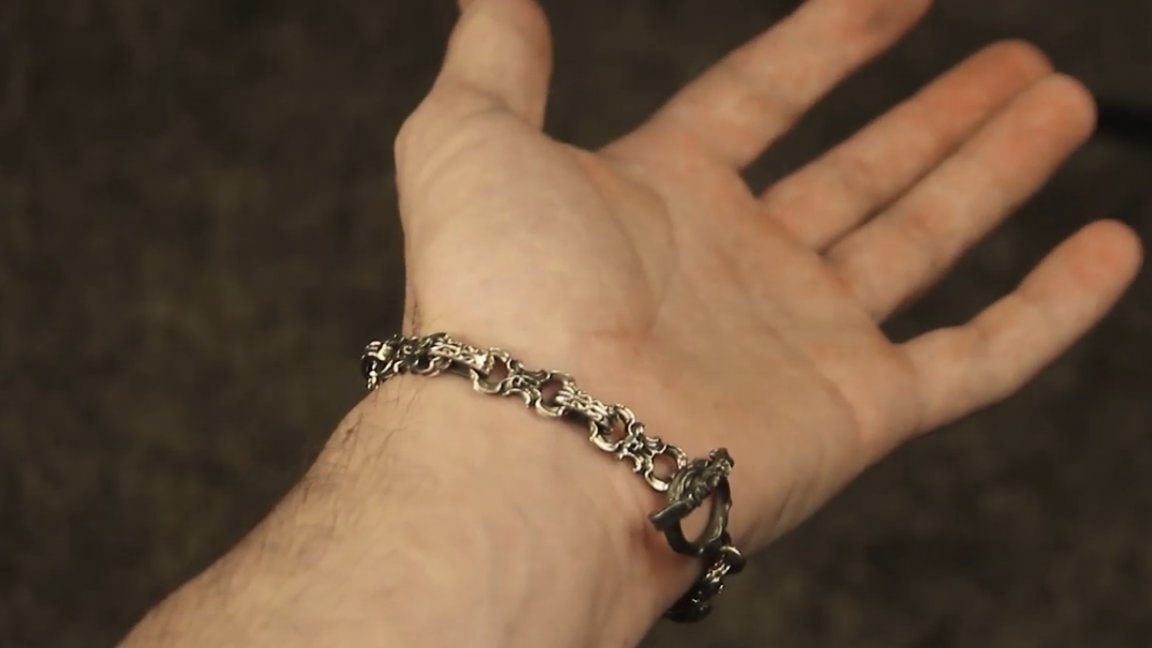
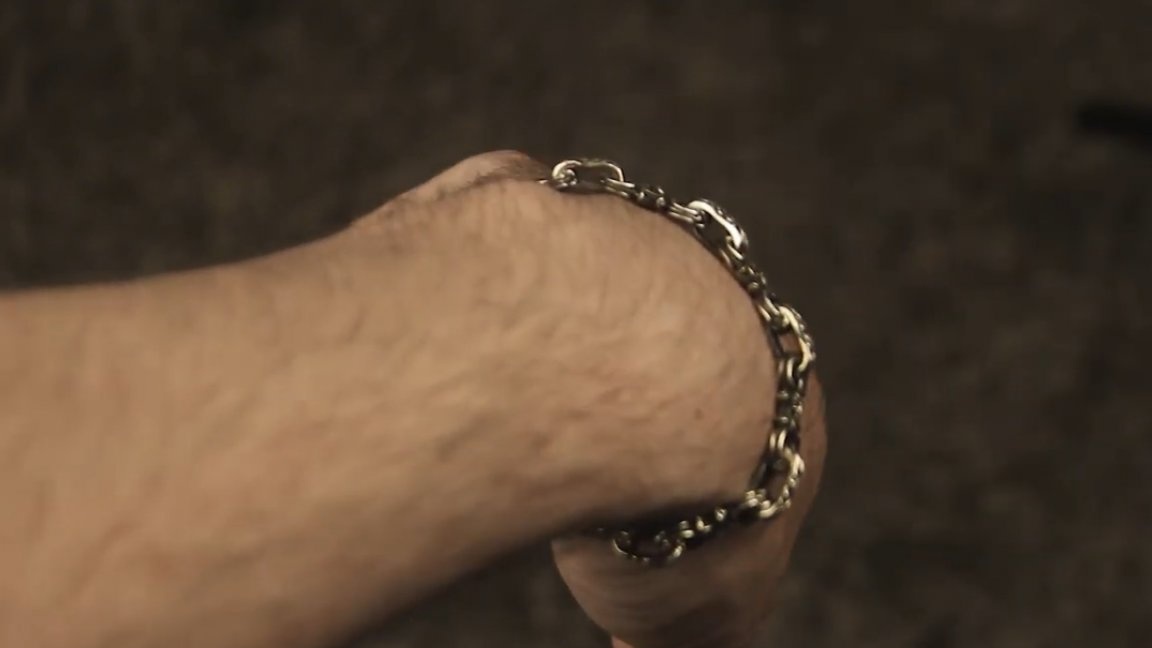
That's it. That's all. Thank you for attention. See you soon!
Author's video: