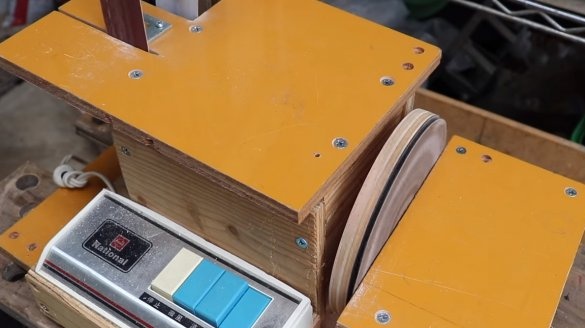
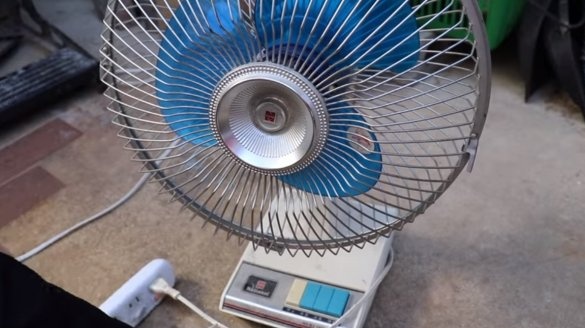
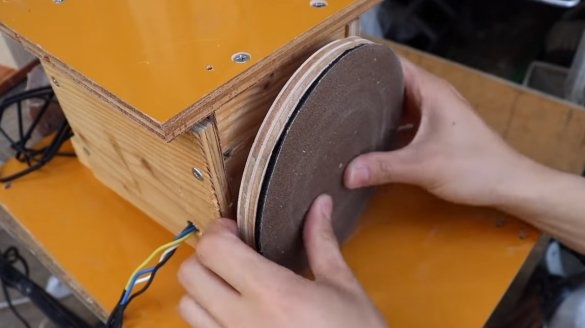
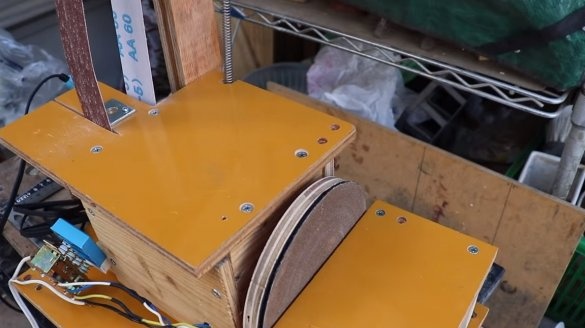
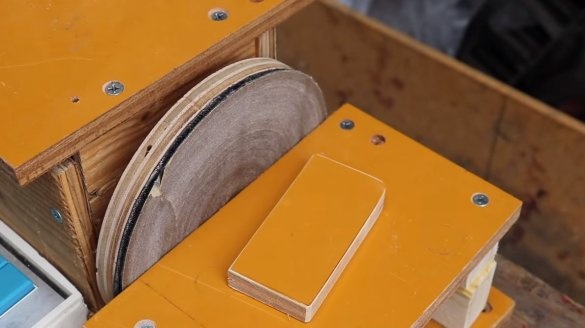
Hello fans to craft, today we will consider how to make a small grinding machine. IN homemade There are two functions, this is a belt sander, and there is also a Velcro disc for installing sandpaper. The author used as a basis, as a result, the machine works quietly, you can switch speeds, and the power of the machine is enough for various small grinding tasks. The case and other parts are made of plywood, the homemade assembly is quite simple. If you are interested in the project, I propose to study it in more detail!
Materials and tools used by the author:
Material List:
- ;
- plywood;
- self-tapping screws;
- bolts and nuts;
- rubber from a bicycle camera;
- two hooks, spring;
- Velcro fabric for installing sandpaper;
- glue.
Tool List:
- a hacksaw;
- drill;
- screwdriver;
- marker;
- grinder;
- jigsaw;
- screwdriver, wrenches.
Machine manufacturing process:
Step one. Engine preparation
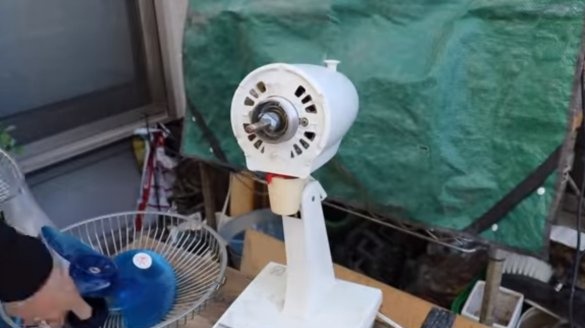
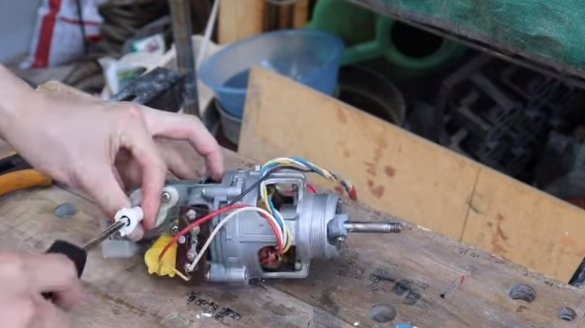
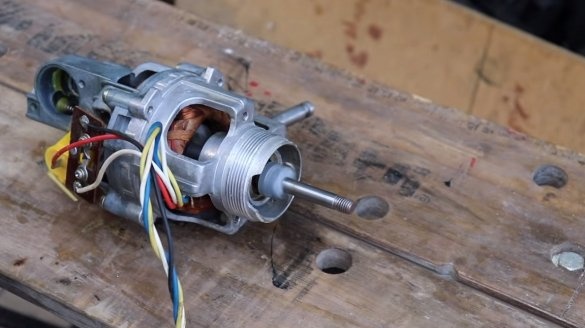
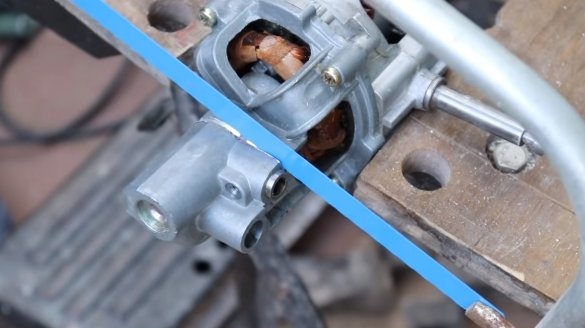
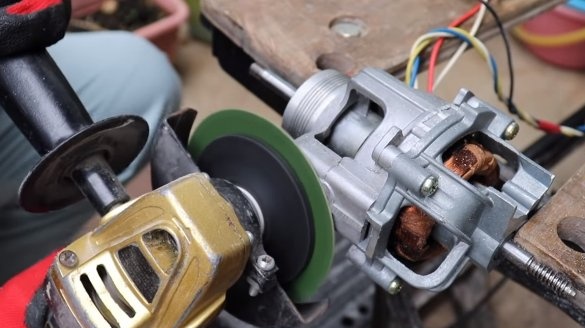
First of all, we sort it out, we need to pull out the engine from it, remember where which wires were connected, so that later there would be no difficulties. We cut off and remove the excess, we don’t need the node that is responsible for turning the fan, this is the extra weight, size and power loss.
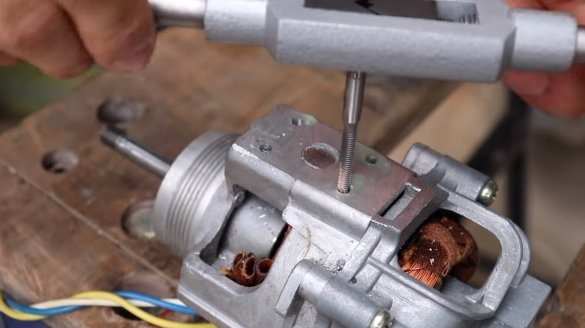
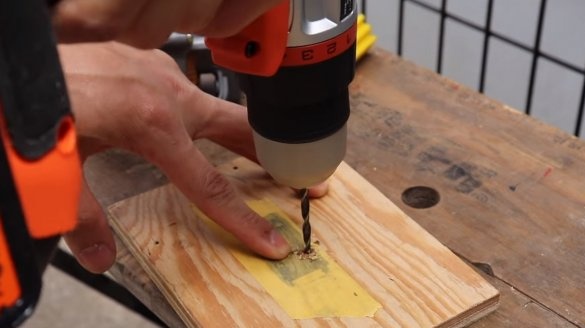
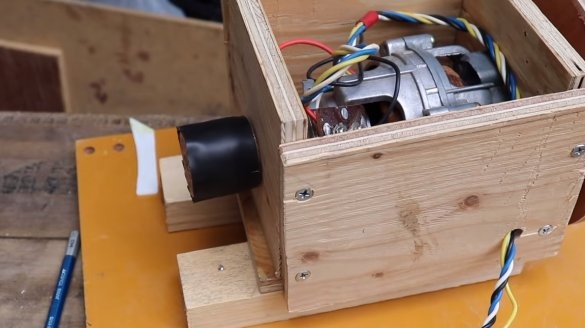
Having removed all unnecessary, we drill holes in the engine housing and cut the threads. As a result, we can securely fasten the engine to the base with screws.
Step Two The foundation
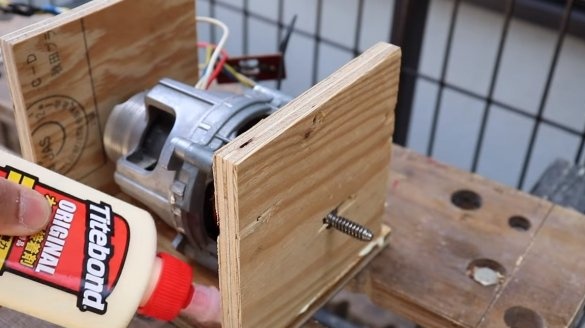
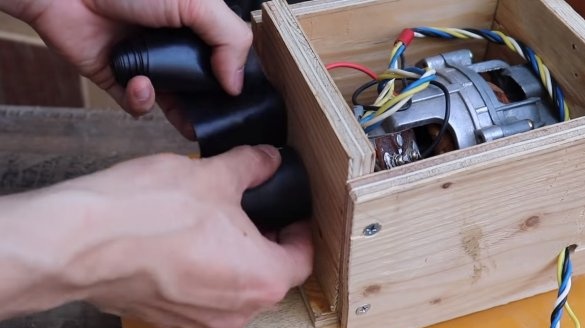
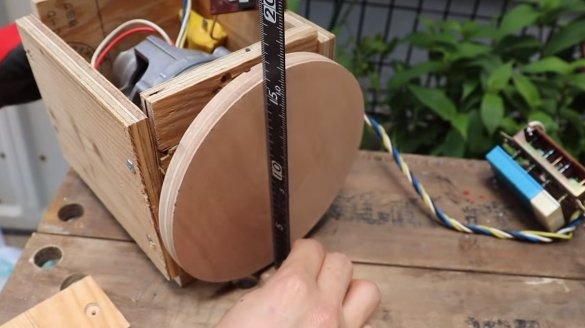
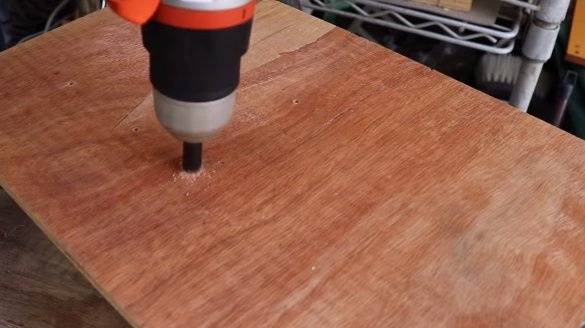
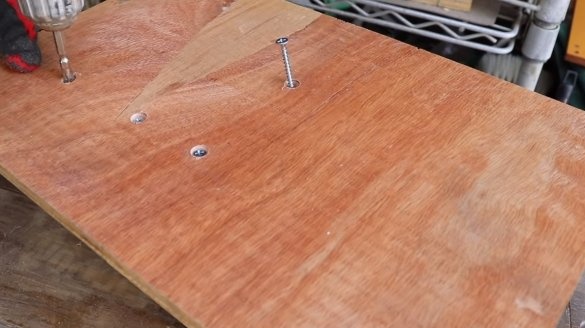
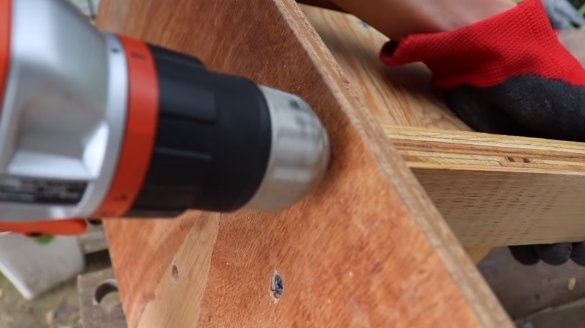
We install the engine on the base, cut it out of plywood. We use screws to mount the motor. You can also install side walls opposite the engine axes. We install them on carpentry glue and additionally tighten everything with self-tapping screws.
Step Three Rollers
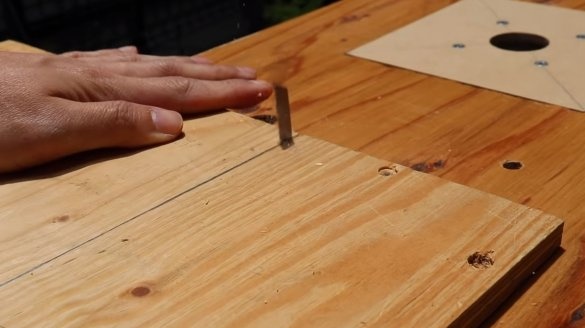
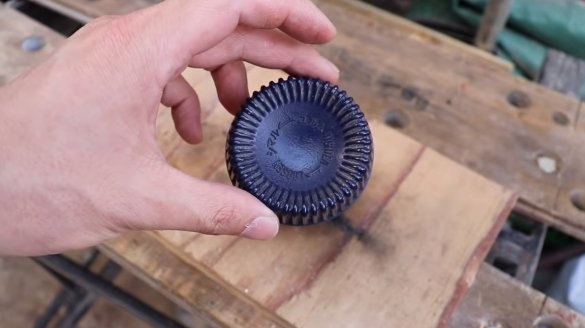
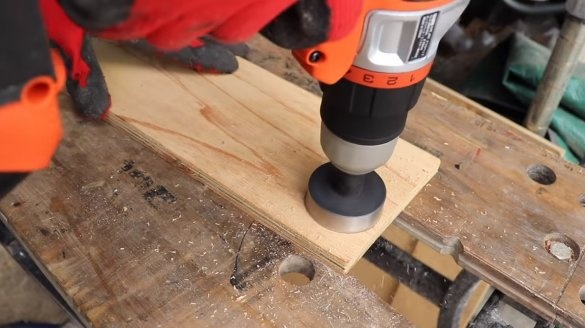
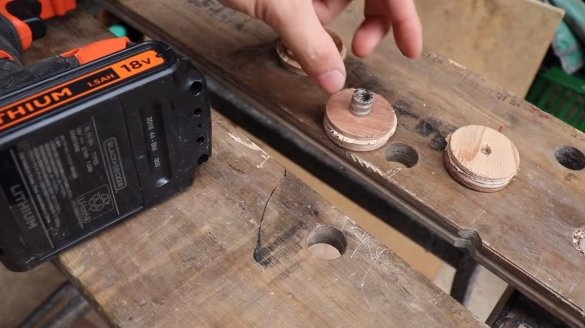
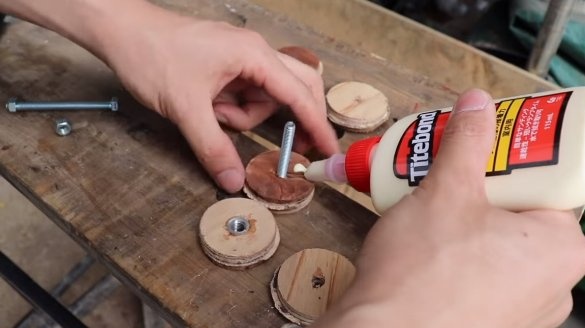
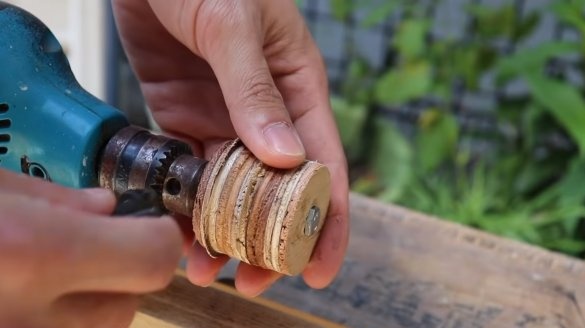
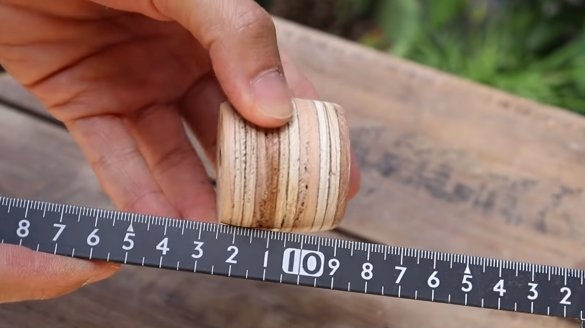
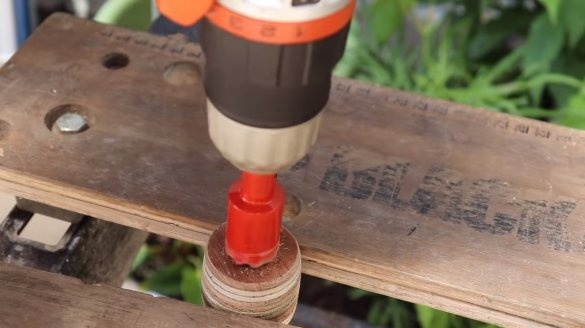
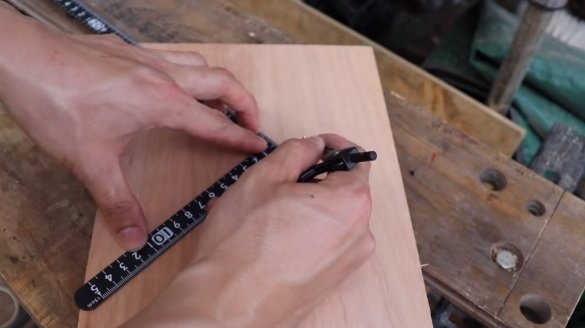
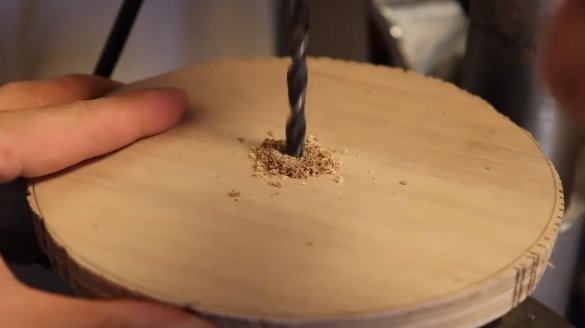
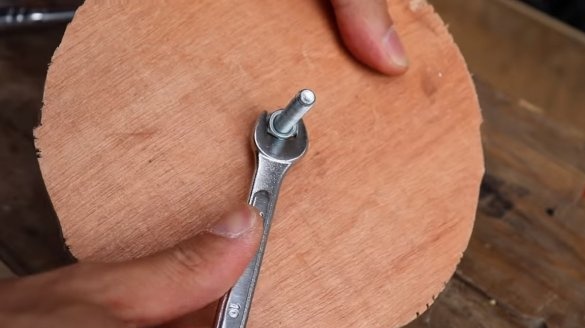
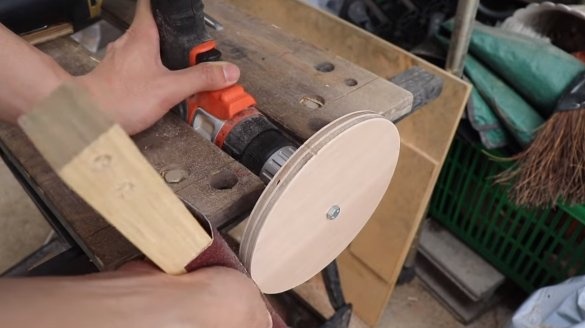
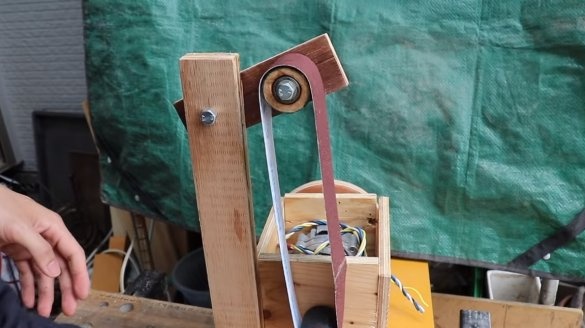
For a belt sander, we need to make two rollers, we make them from plywood. With the help of a crown and a drill, we cut out circles from plywood, and then glue them by tightening them with bolts and nuts. When everything is dry, grind the rollers with a drill, working like a lathe.The shape of the rollers should be such that they taper to the ends, as a result, the tape will center itself.
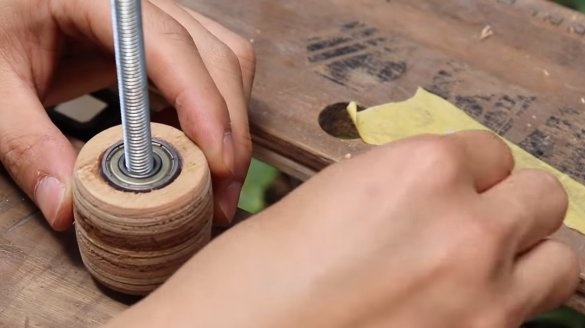
In the driven roller, you need to make seats, bearings will be installed here. The author decided to paste bearings for reliability. Here you need to be careful not to glue the bearings themselves, otherwise they will stop rotating. At the end, the author pasted the wheels with rubber from the bicycle chamber so that they would not slip.
Step Four Grinding disc
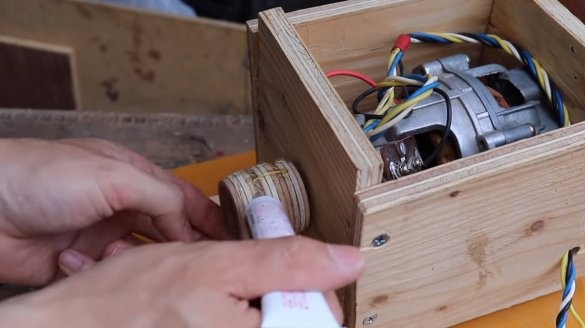
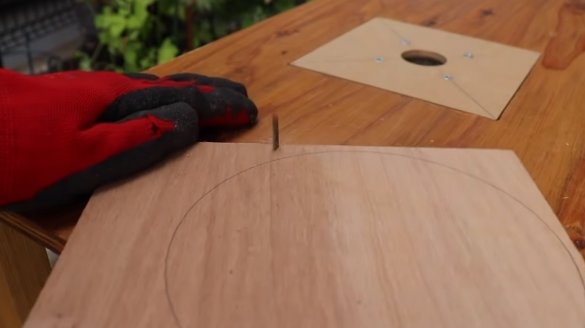
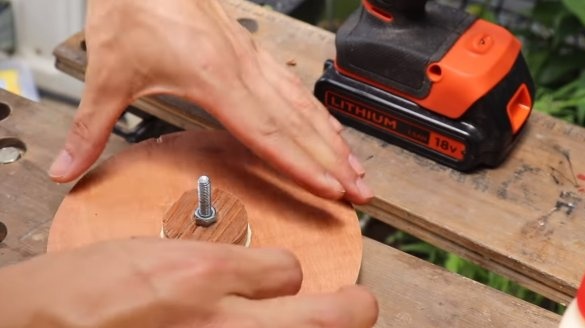
Similarly, we make a grinding disk, we cut it out using a jigsaw from plywood. Next, we give the disc a perfectly round shape with a drill. We install the disk on the motor shaft, trying to center it. The disc can be glued with epoxy glue.
Step Five Stand and Tensioner
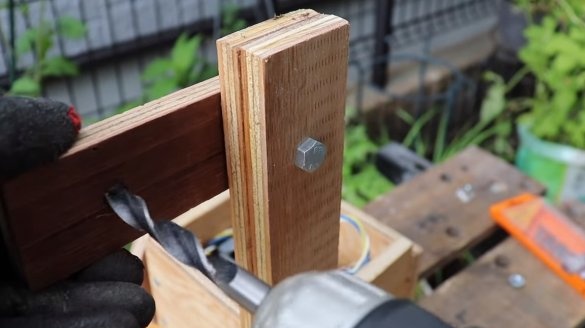
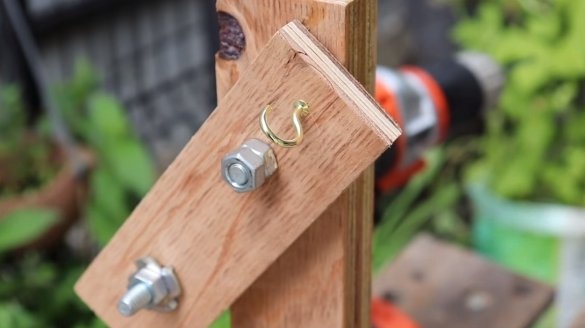
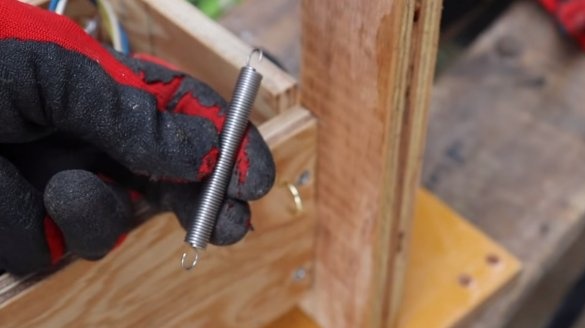
We cut a rack from plywood and securely fasten it to the base. To the rack we pivotally fasten the lever from plywood with the mounted driven roller. To tension the sanding belt we use two hooks and a spring.
Step Six Countertop
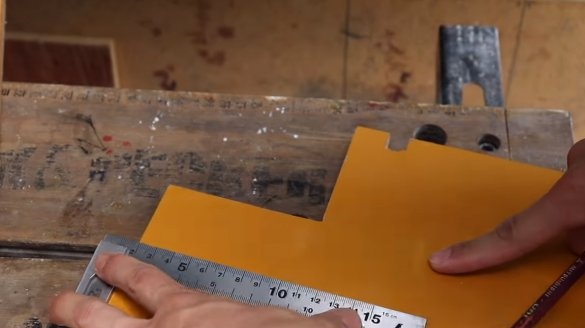
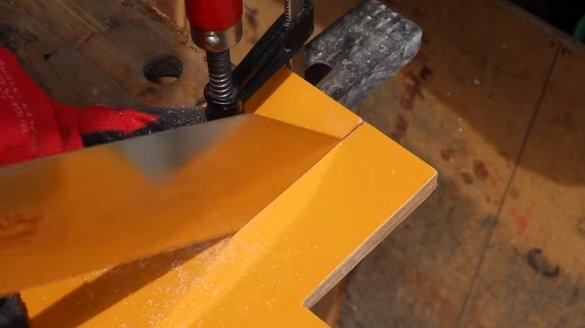
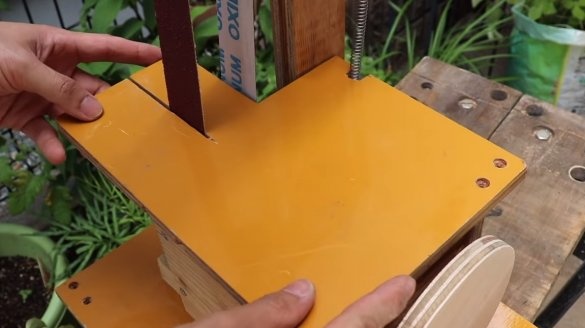
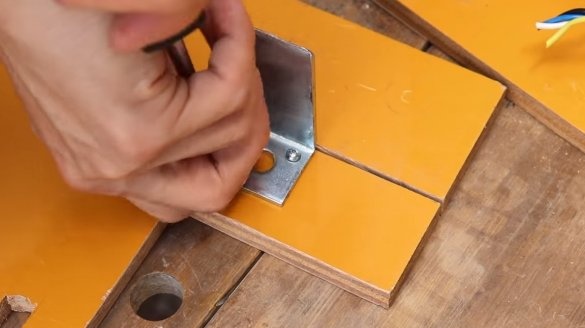
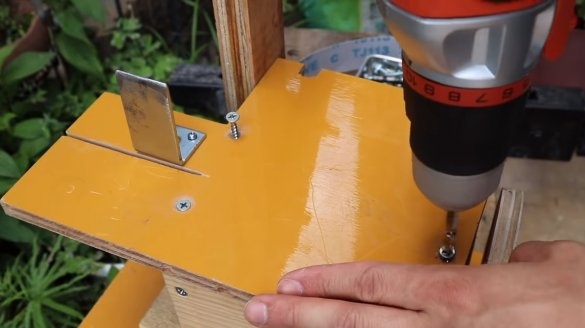
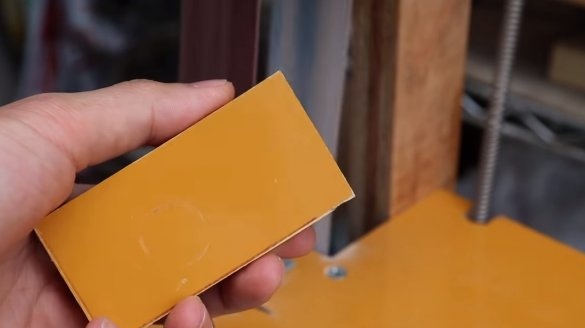
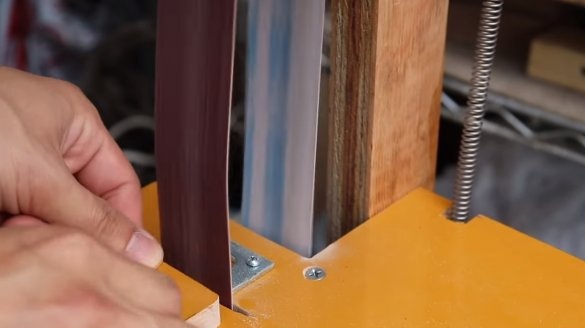
We make a countertop for the machine, it can be cut out of plywood, preferably laminated. We fasten the countertop to the base with self-tapping screws. Also on the countertop we install an emphasis for the sanding belt. As such an emphasis, a mounting bracket or other part is suitable.
Seventh step. Finishing touches and tests
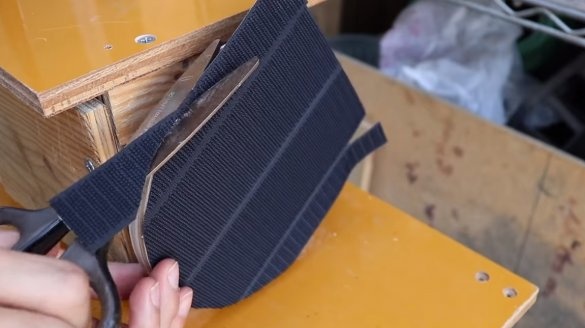
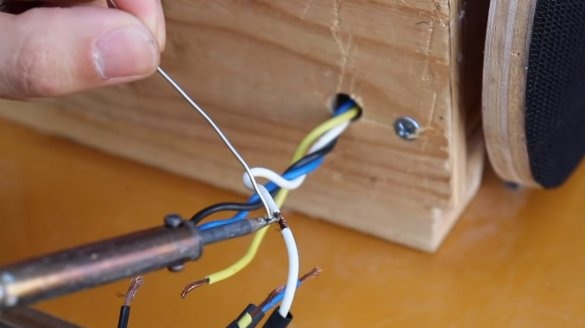
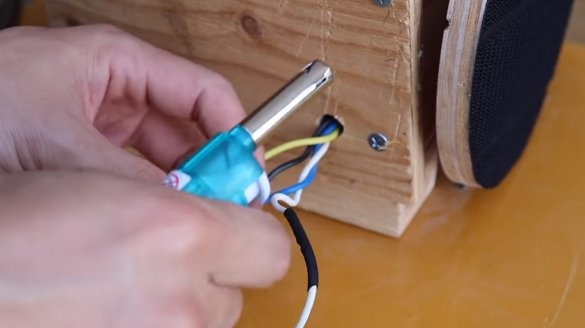
Finally, glue the Velcro fabric to the grinding disk, and fasten sandpaper to it already. We also solder the wires and install the switches.
After that, the grinder will be ready, you can test. The author perfectly polishes plywood on the machine, but the machine can handle the board much easier. This is the end of the project, I hope you liked the homemade work, and you found useful thoughts for yourself. Good luck and creative inspiration, if you decide to repeat this. Do not forget to share your ideas and homemade things with us!

