Modern life is almost impossible to imagine without of furniture. The main problem that people face is the problem of disassembling and assembling furniture when changing their place of residence, or if you have an open summer kitchen, because in winter it is advisable to remove all furniture from there to avoid damage.
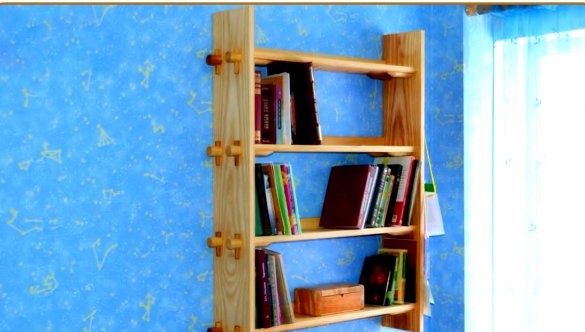
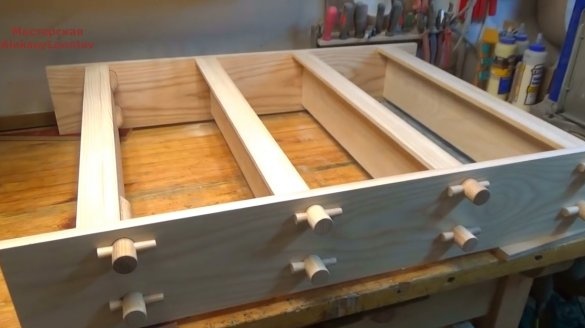
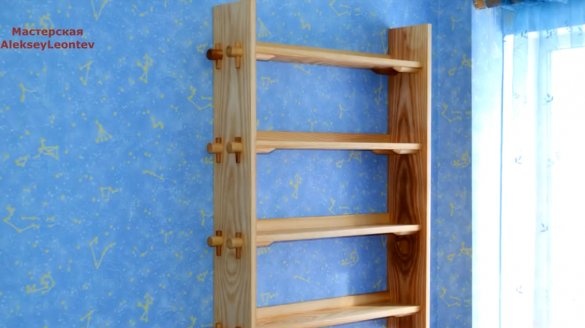
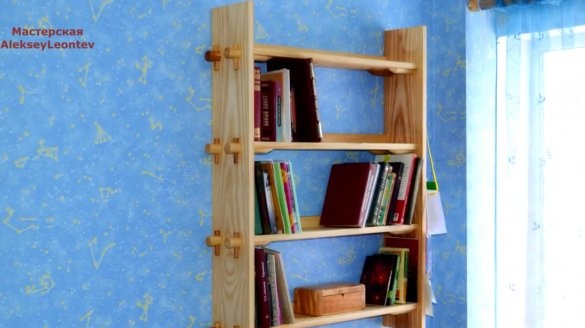
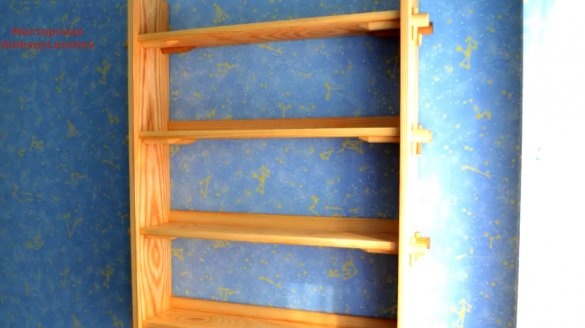
In this article, Alexey, the author of the YouTube channel Aleksey Leontev Workshop, will tell you about the production of a very unusual quick-detachable shelf.
Using the connection ideas from this article, you can create other furniture designs. And the applied method of connection allows you to disassemble the shelf manually even without a tool.
Materials
- Ash boards
—
- PVA glue
- Sandpaper.
Instruments, used by the author.
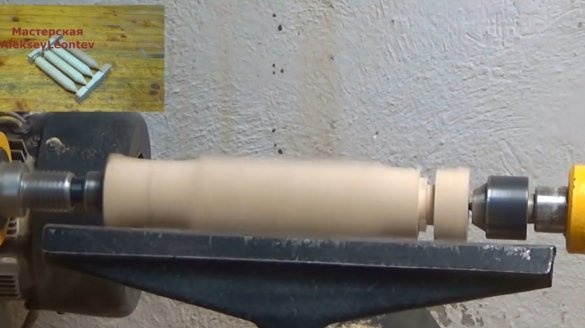
- Lathe
- Drilling machine
- Belt sander
—
—
—
- Thicknesser, jointer
- Hacksaw.
Manufacturing process.
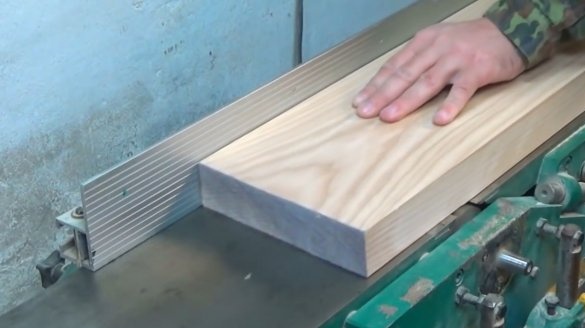
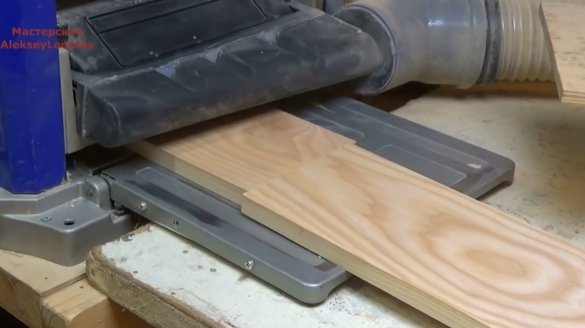
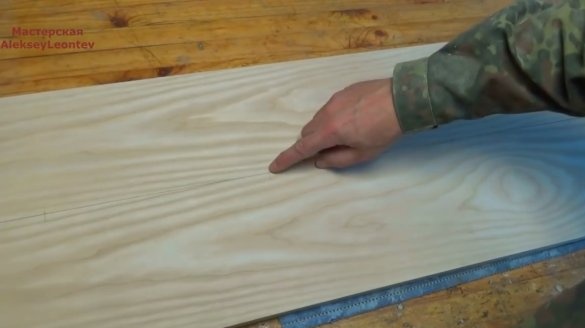
First of all, the master aligns the base of the boards on the planer.
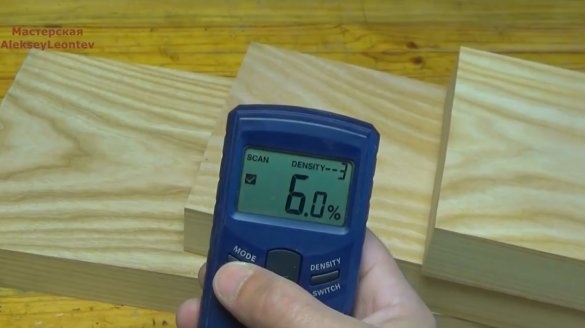
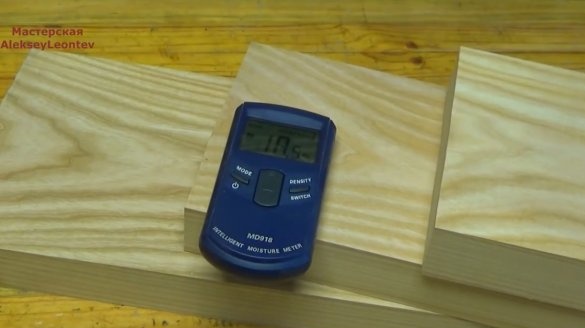
He then checks the moisture of the wood with. Its peculiarity lies in the fact that it measures it not on the surface, but in the thickness of the material.
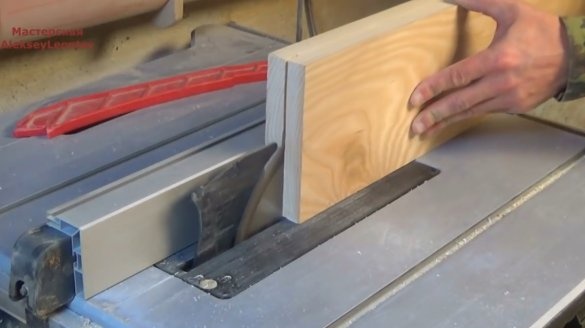
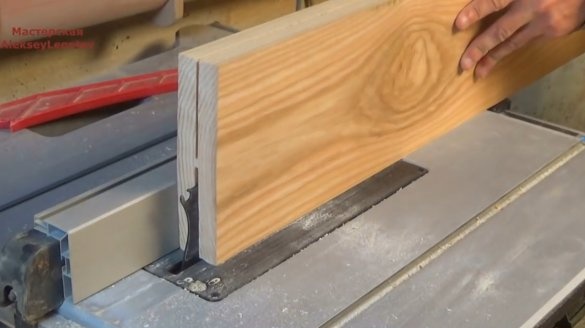
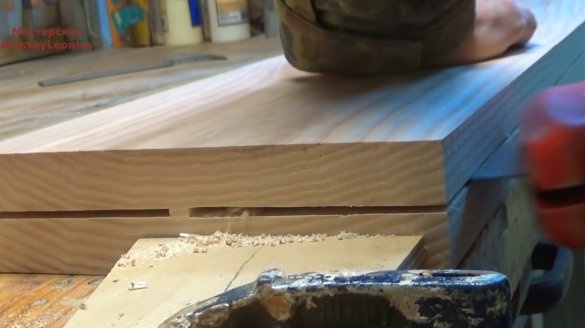
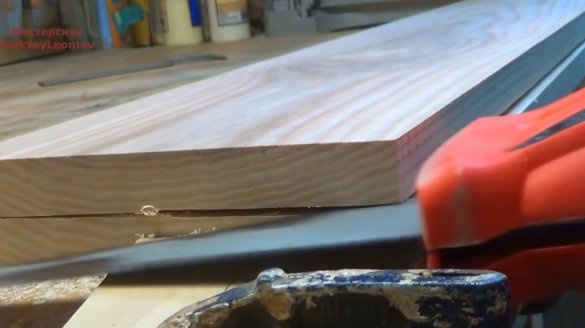
The author managed to cut the boards for the shelves in two passes, but for the stand, the depth of the blade was not enough, I had to use a hacksaw.
Having prepared the boards, processes them on a thicknesser.
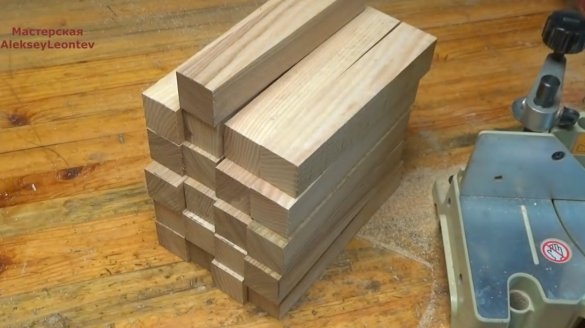
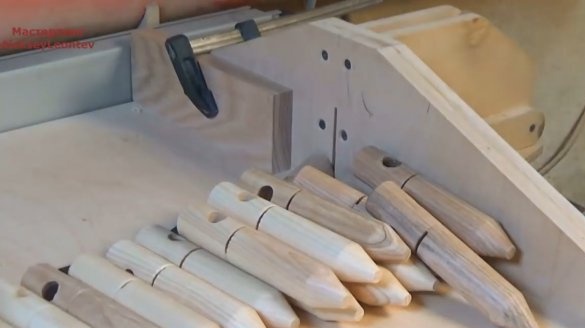
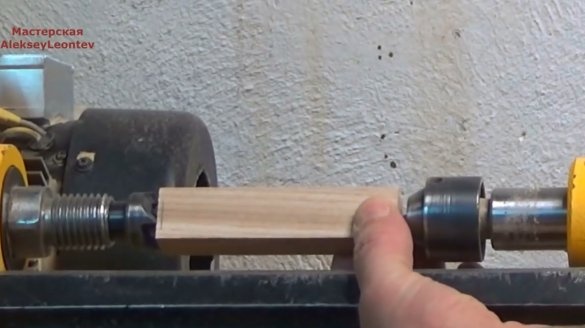
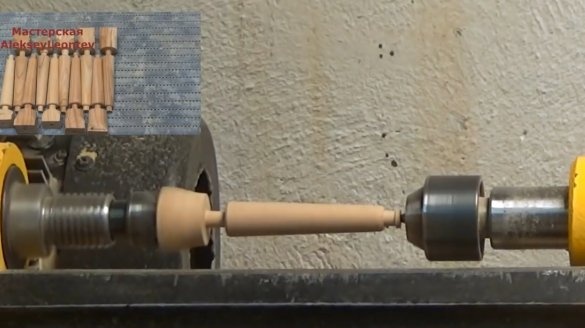
From a wooden bar, it cuts blanks for shelf and wedge holders.
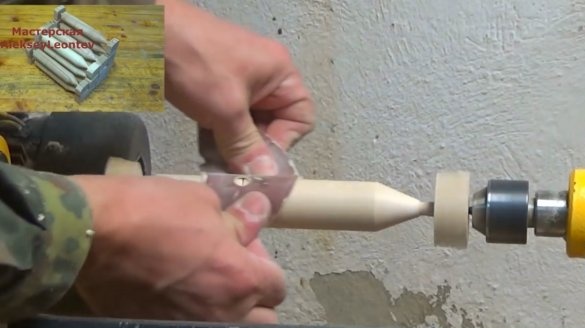
First he grinds workpieces for holders, polishes the surface.
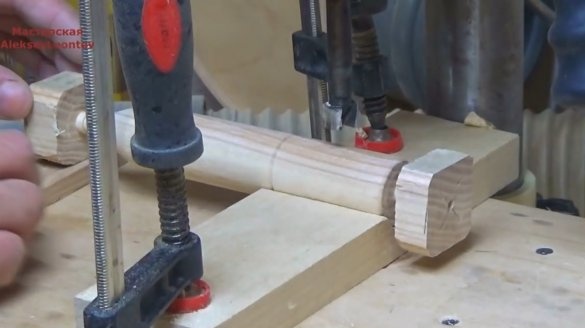
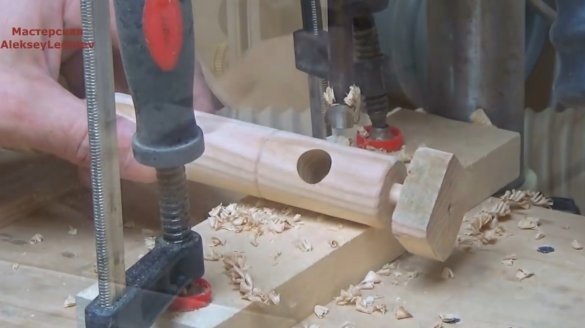
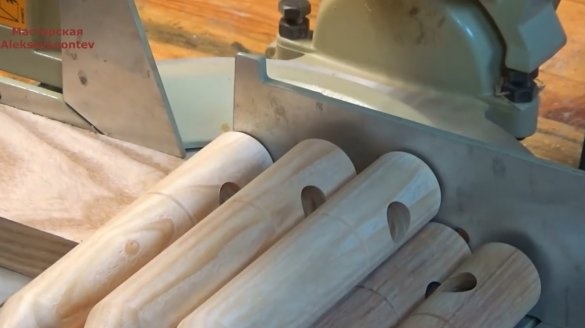
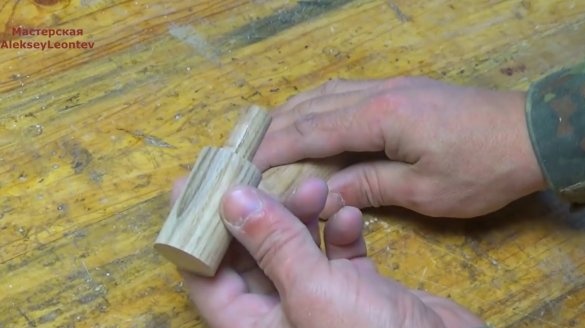
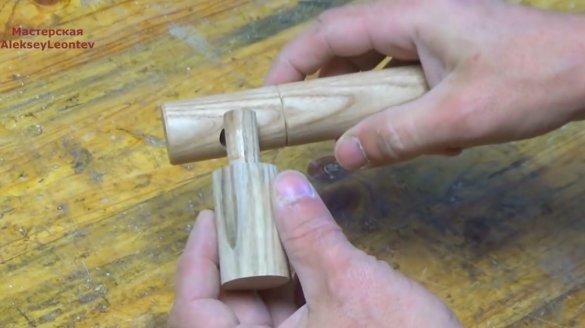
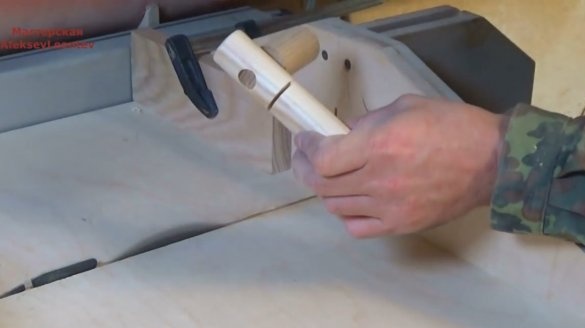
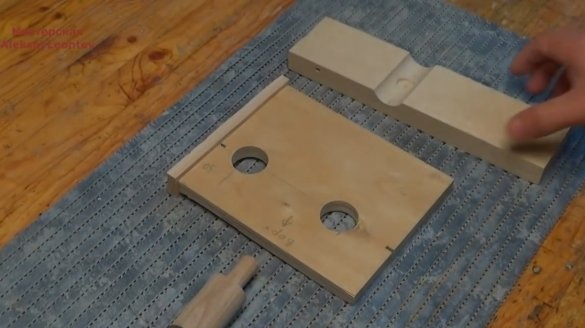
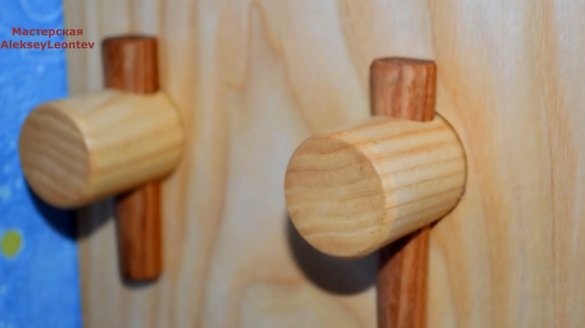
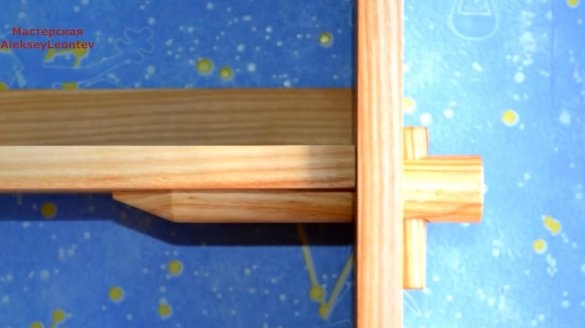
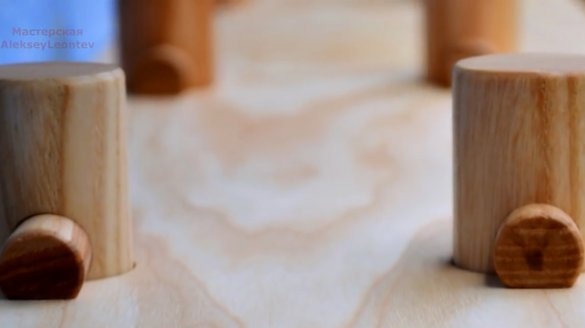
Then, given the thickness of the stand panels, he drills a wedge hole in the holder for a Forstner drill.
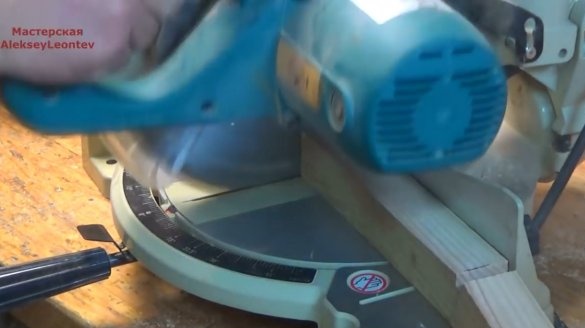
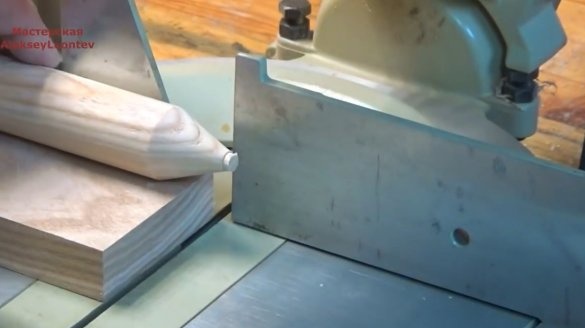
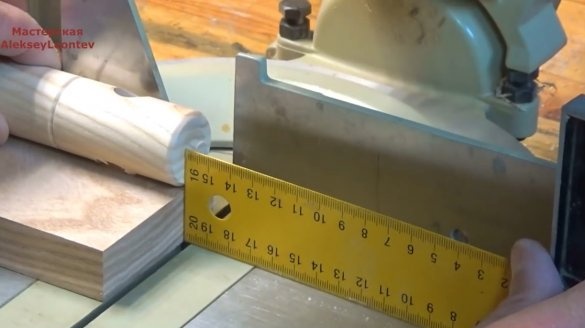
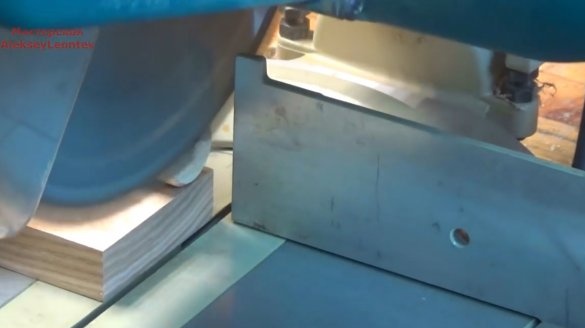
Excess material is cut on the miter saw.
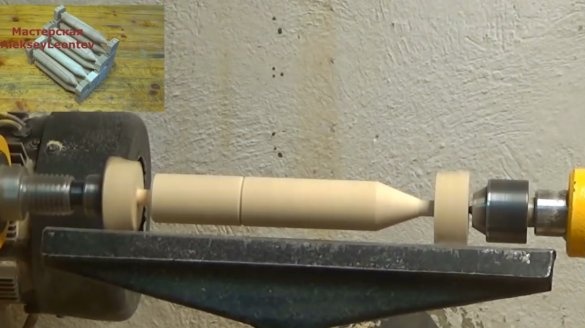
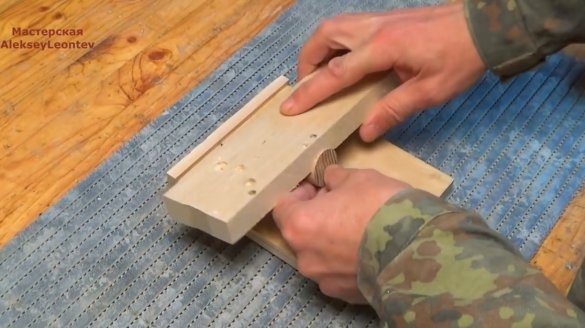
For the convenience of further processing of the holders, the master made such a fungus.
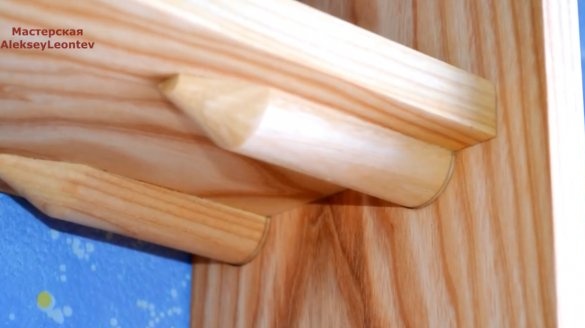
It processes workpieces by making a cut in half the diameter of the holders.
Then cuts it into two halves, reaching the slot.
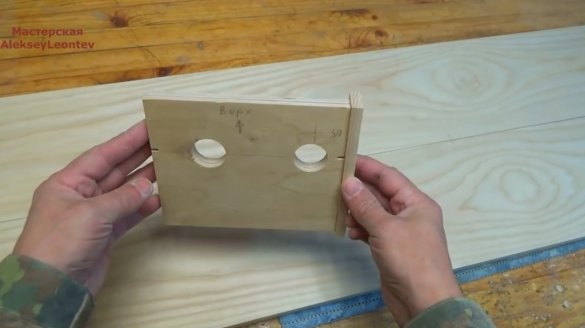
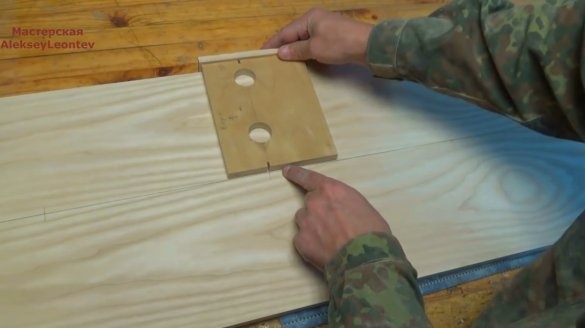
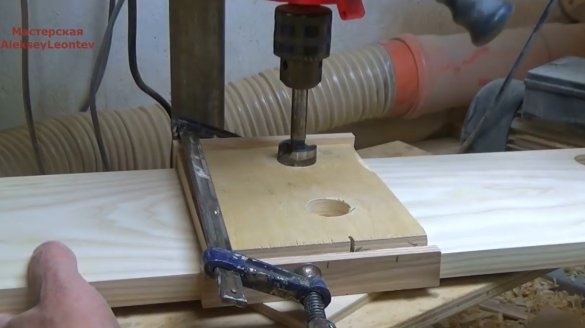
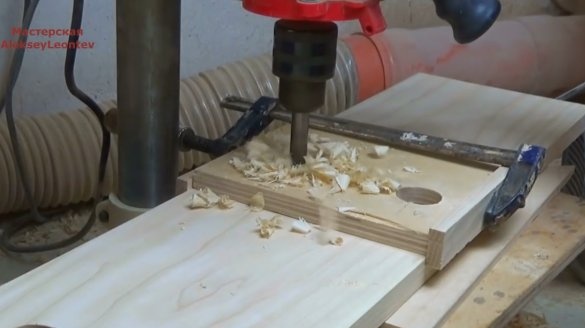
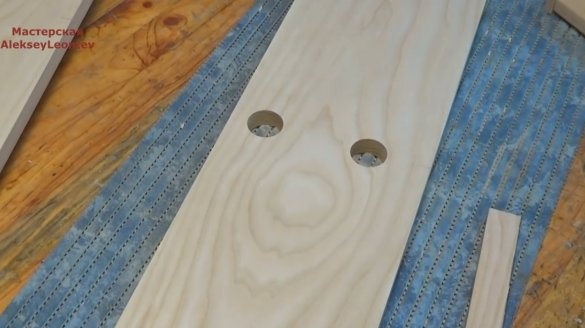
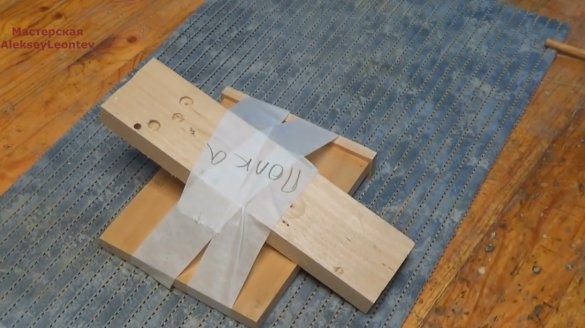
In order to accurately drill holes in the racks, Alex made a simple conductor.
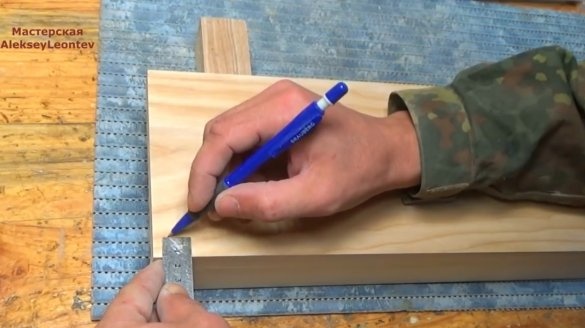
After fixing it according to the marking, I drilled holes for the holders.
Manufactured fixtures can be used repeatedly. The author removes them for later.
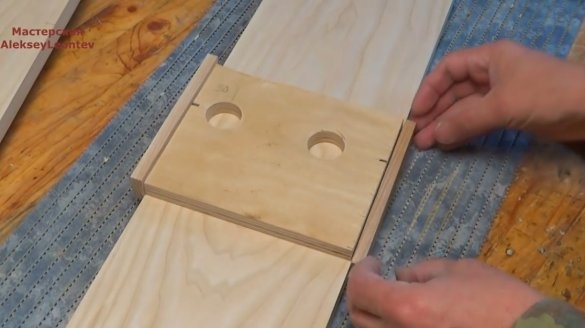
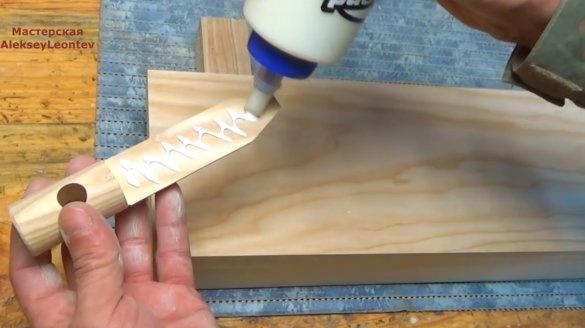
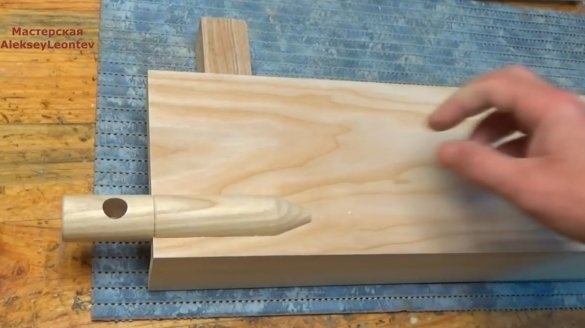
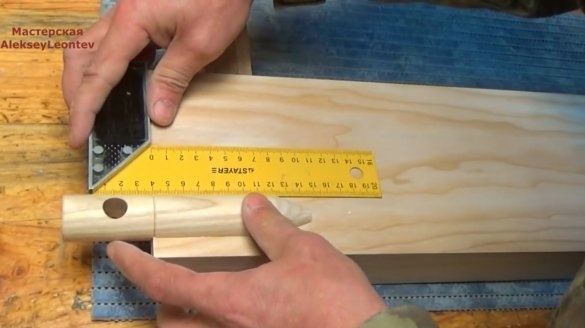
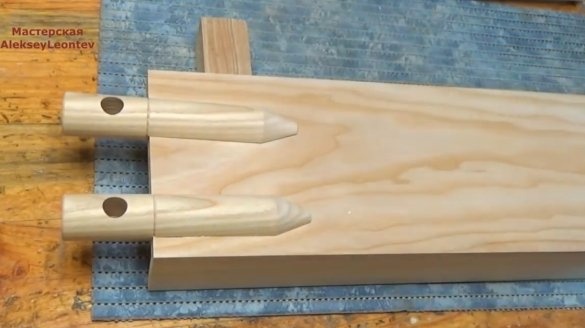
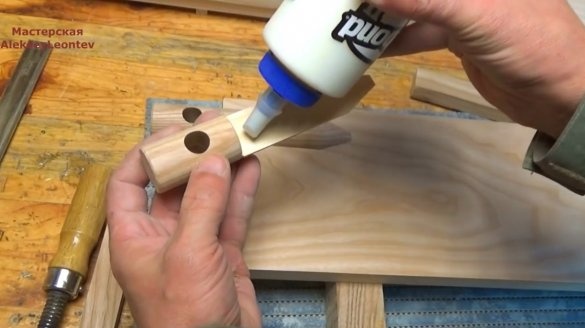
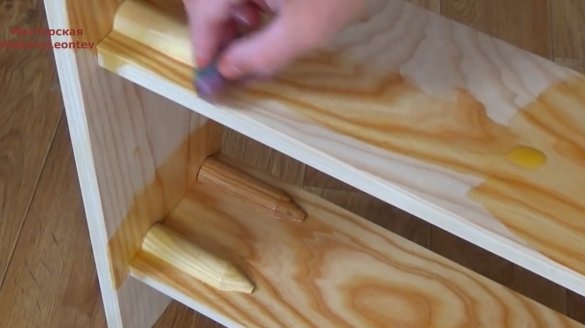
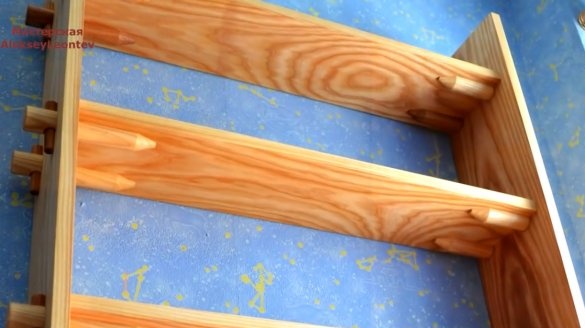
To the front edge of the shelves the master glued a bounding edge. Further, a small nuance when installing the holders in place. You won’t be able to stick two at once. For starters, one of them is glued.
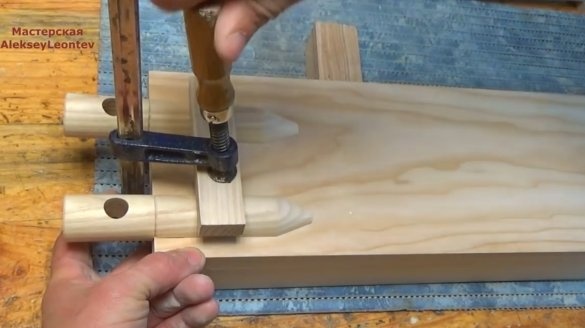
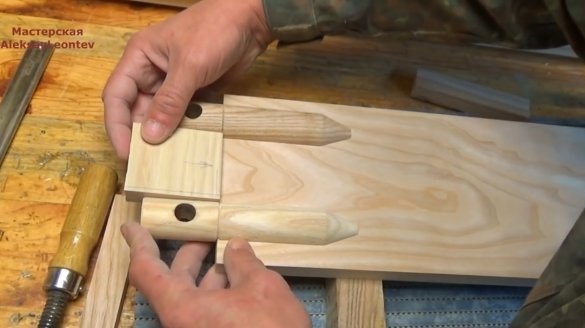
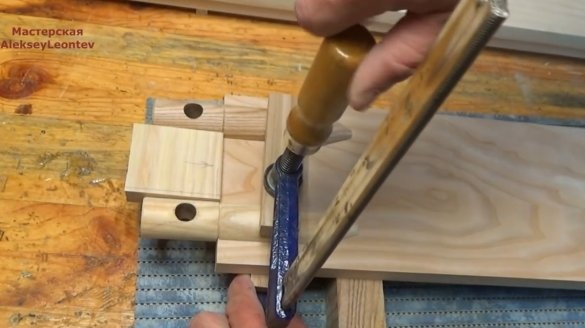
After checking the geometry, and the correct installation, he lays the second one and fixes it with a clamp.
After gluing the first, the master inserted a template between them, and glued the second part.
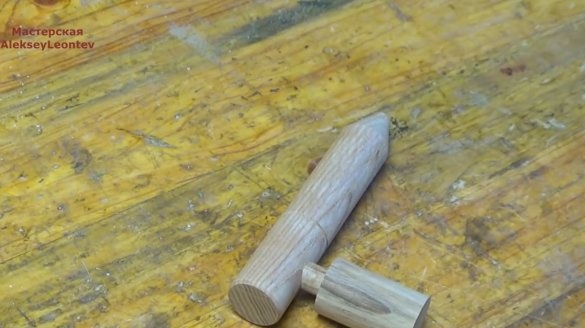
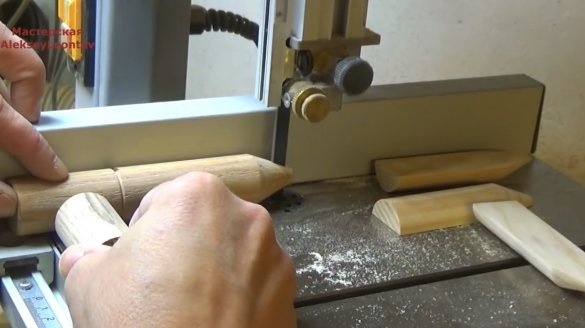
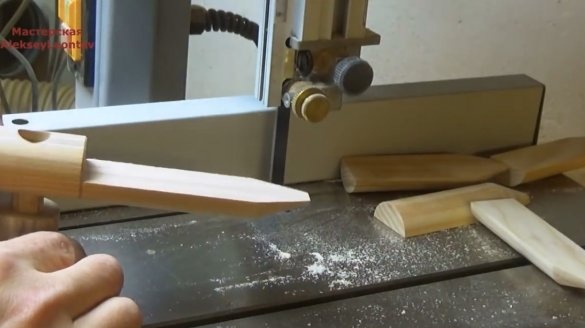
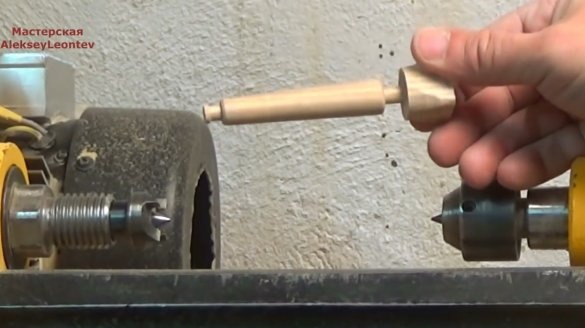
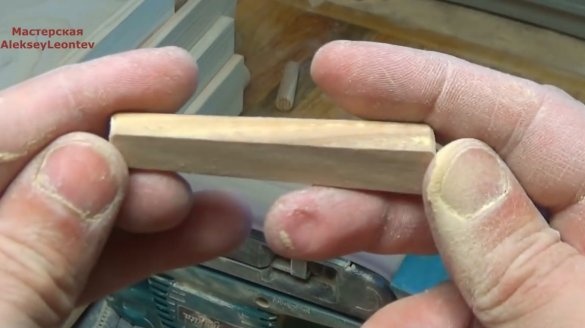
And while the shelves with holders are glued together, he begins to make wedges.
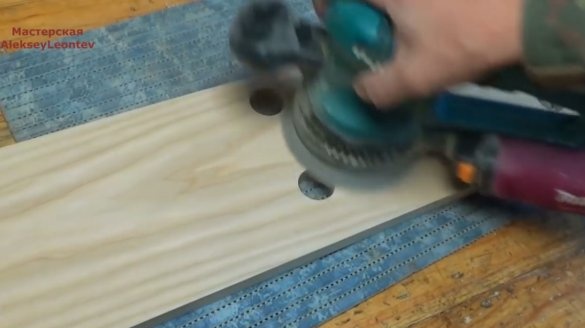
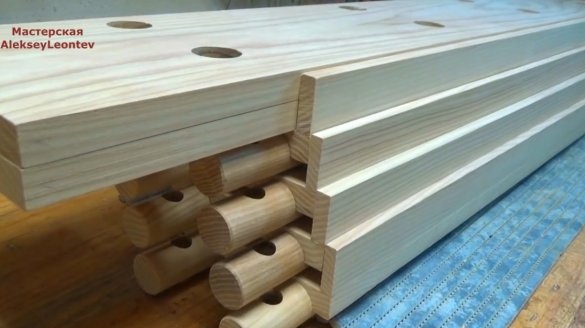
The shelves are almost ready, they need to be sanded with an orbital machine. As you can see, all the details for the shelves take up very little space.
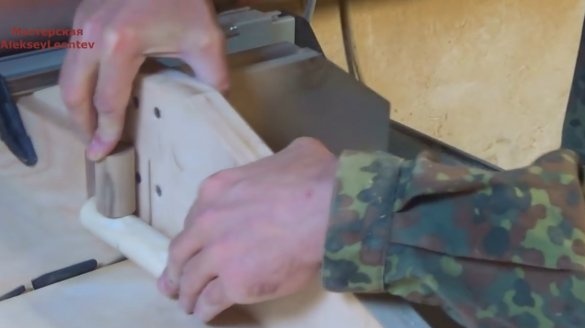
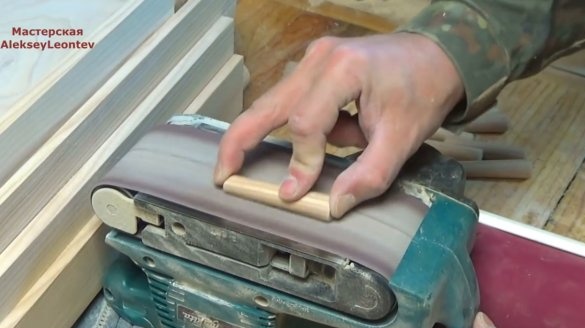
Now you need to grind part of the wedge on a tape machine.
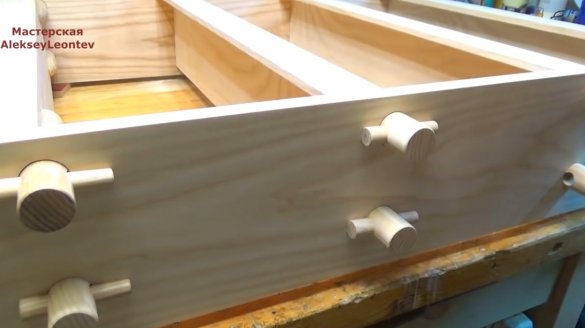
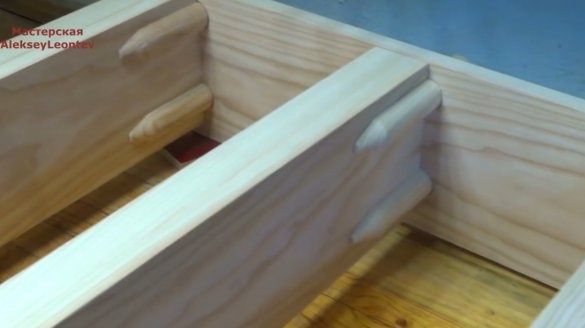
That's all, you can assemble the entire structure together.
It remains only to soak all surfaces with linseed oil and wax.
Thanks to Alexei for the simple but very original design of the shelf, and the system for connecting the elements!
All good mood, good luck, and interesting ideas!
Author video can be found here.

