
In this article, the author of YouTube channel “Third Coast Craftsman” intends to tell his readers about the process of creating decorative lamps.

This cozy element of decor, while not lacking in functionality, will perfectly fit, for example, in the garden, or in the interior of the children's room as a night lamp, and will bring the child many happy moments.
Materials
- Boards from pallets
- PVA glue
- Wood screws, furniture hooks
- Spray paint, sandpaper
- Two-component epoxy adhesive
- Kapron rope
- Glass jars with screw caps
- Battery holder with toggle switch
— .
Instruments, used by the author.
- Neiler
—
- Sander
- Miter saw
—
Manufacturing process.
So, the lamps will be made of old boards from pallets. First of all, the author processes the plane of the wood with a grinder. If one is not available, you can completely dispense with ordinary sandpaper, or a metal brush. The upper weathered and fouled layer is removed. Moreover, it can be cleaned in different ways, depending on the design that the master wants to give to the product. You can leave uncleaned surfaces in places and thus style the surface as rustic, rough wood. You can also perform brushing and firing.


Further, the author cuts the boards along the length with a miter saw, but the same work can be done with a circular saw or an ordinary jigsaw.

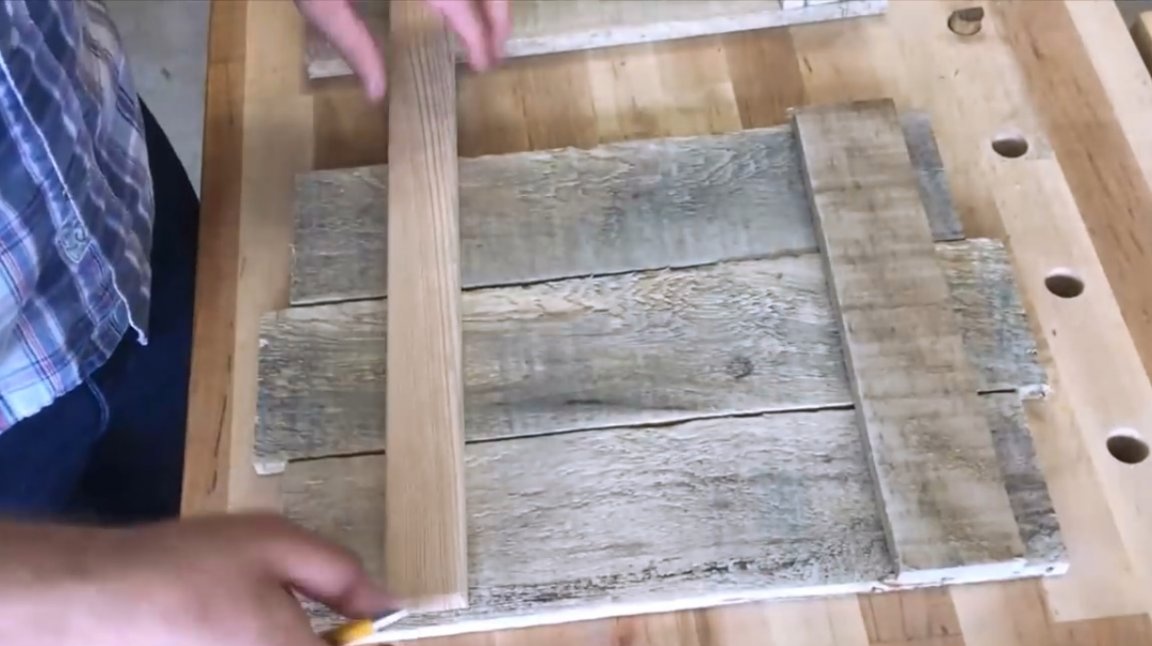

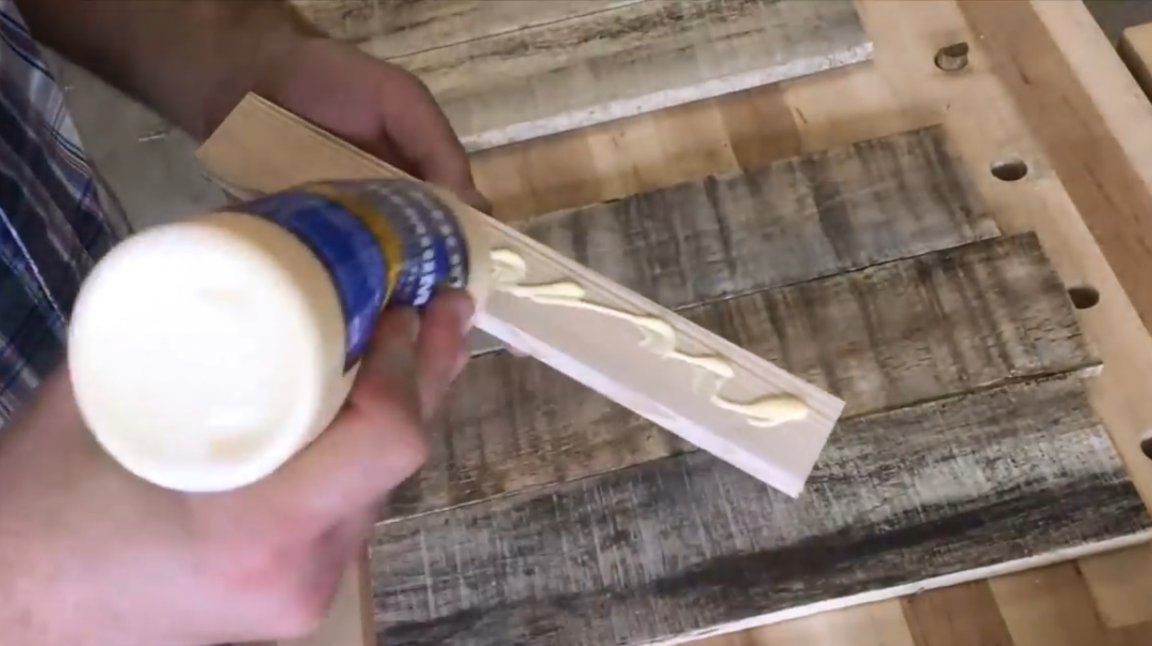
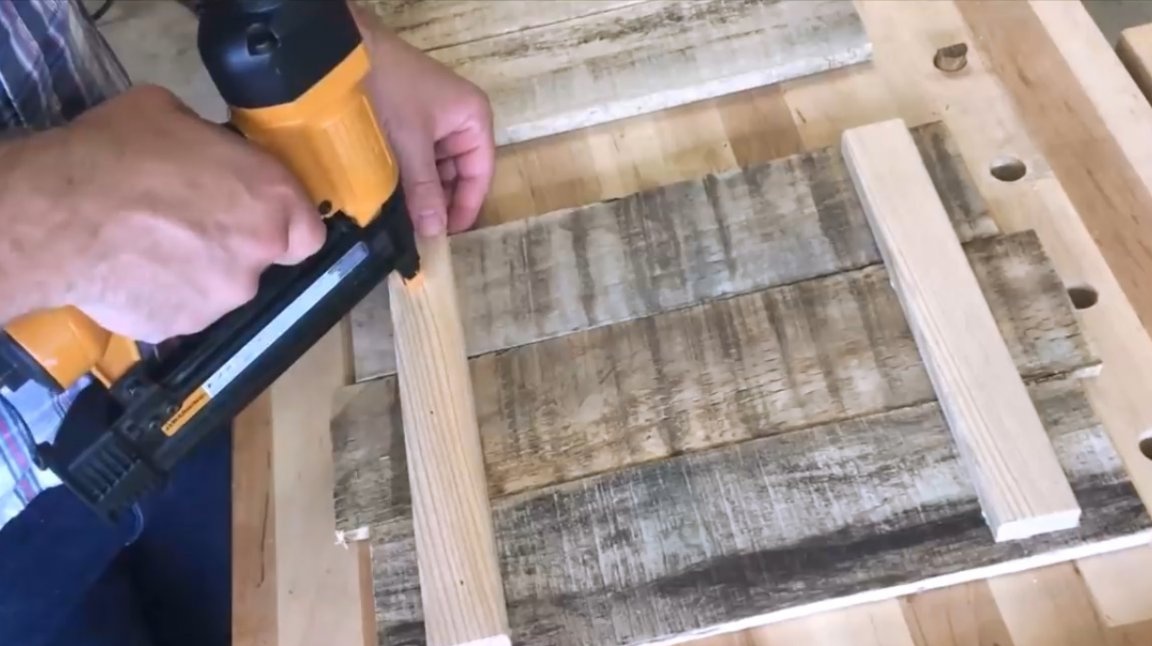
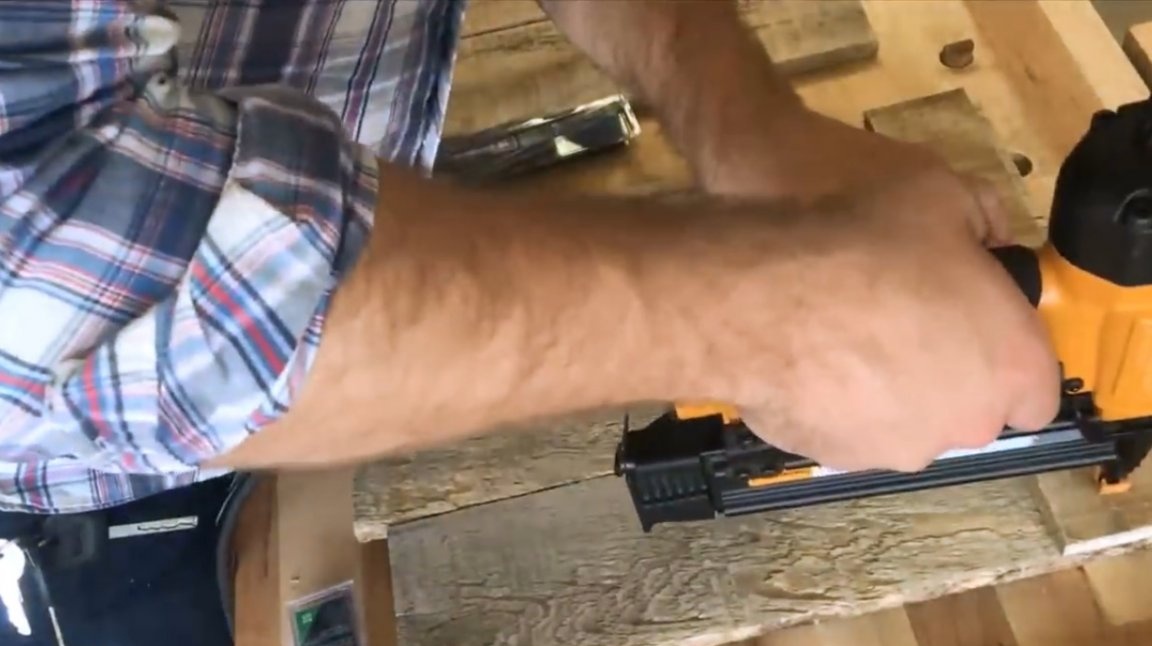
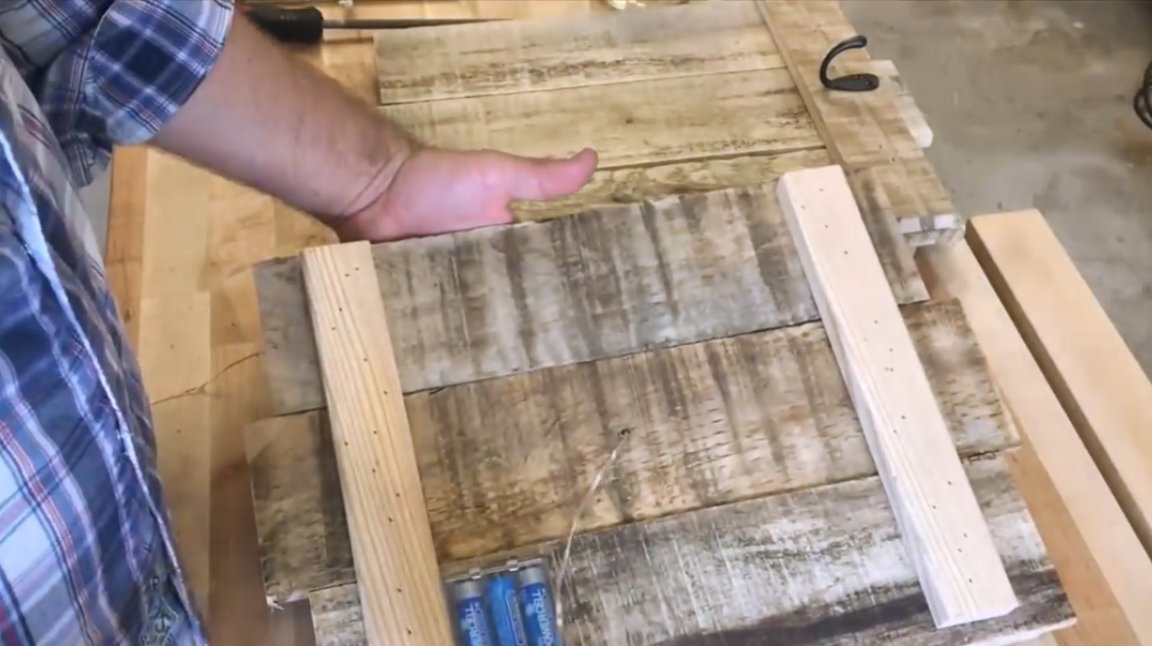
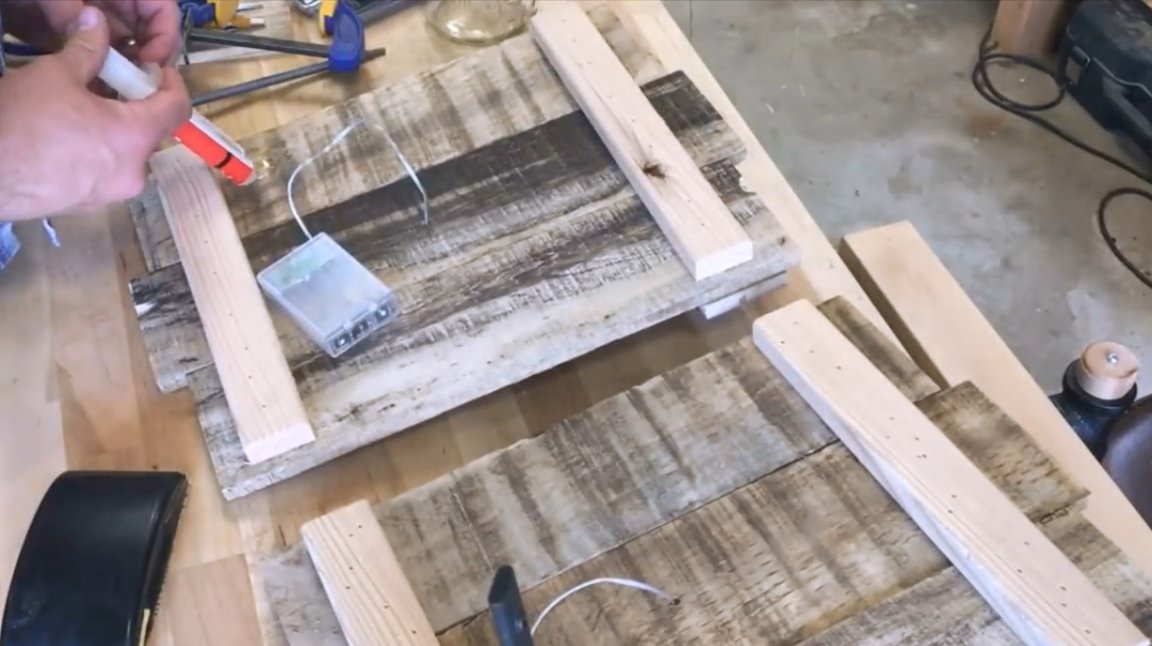
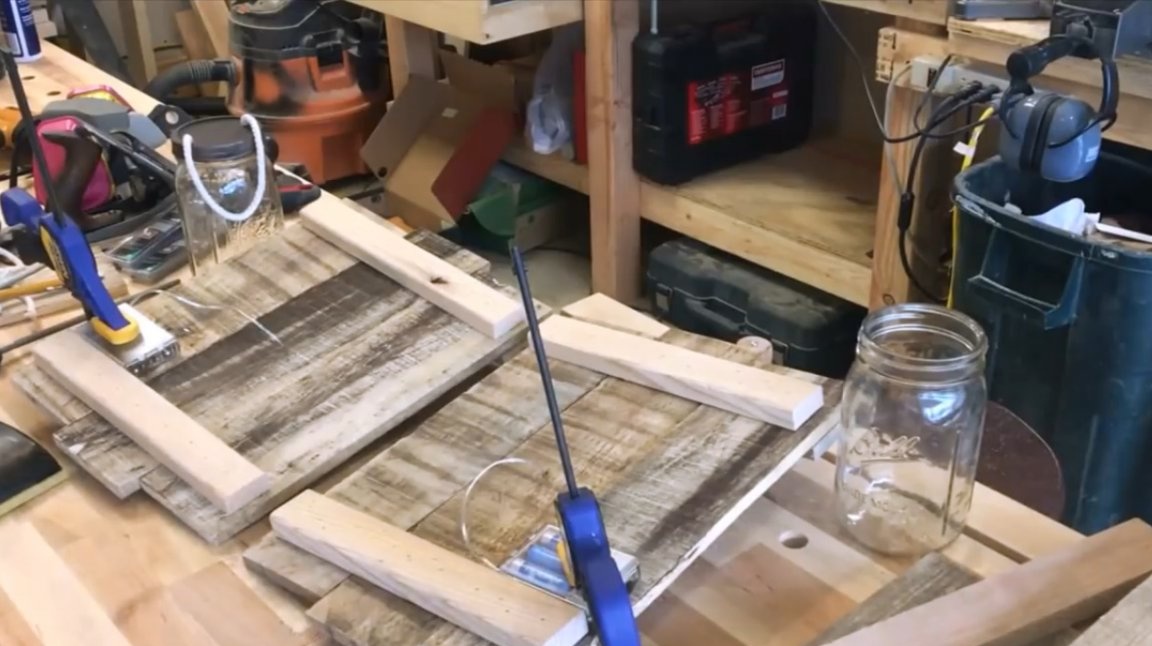
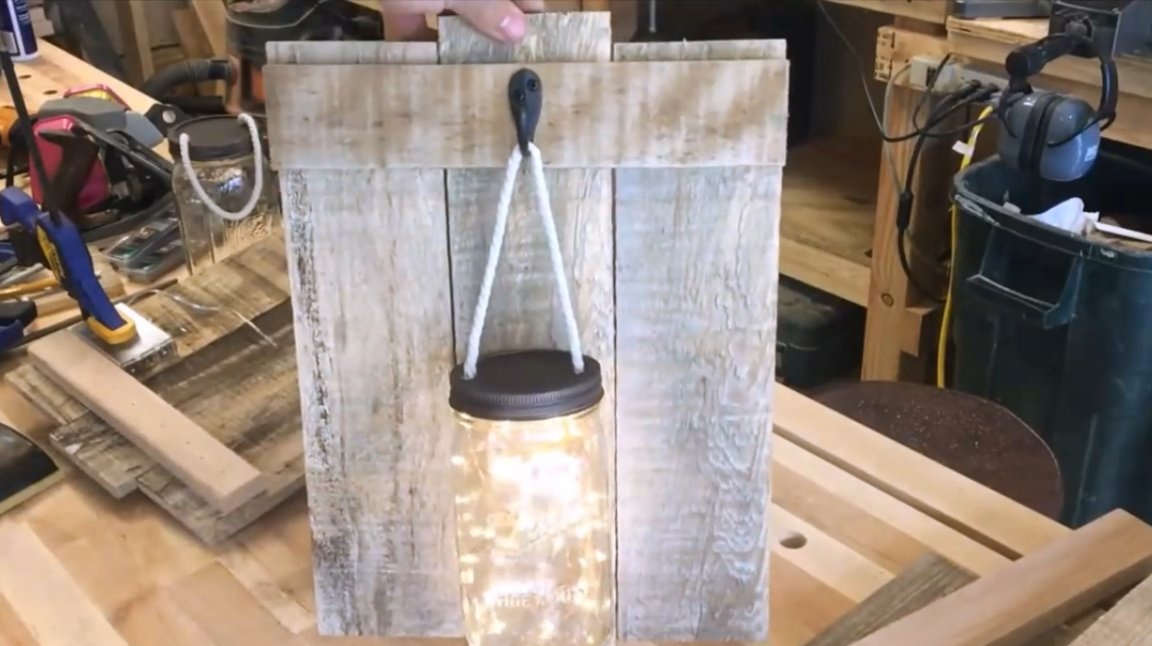
She lays out the boards three in a row and fastens them with transverse bars 20 mm wide. This thickness of the beam is needed so that the back of the battery pack can be hidden. It will not be visible, but to grope it with your fingers and switch the switch will not be a problem. The crossbars are taken on glue, and then they are shot with a control neiler. You can use the usual hammer and nails, or take everything on the screws or so and leave everything on glue - here it does not play a significant role.

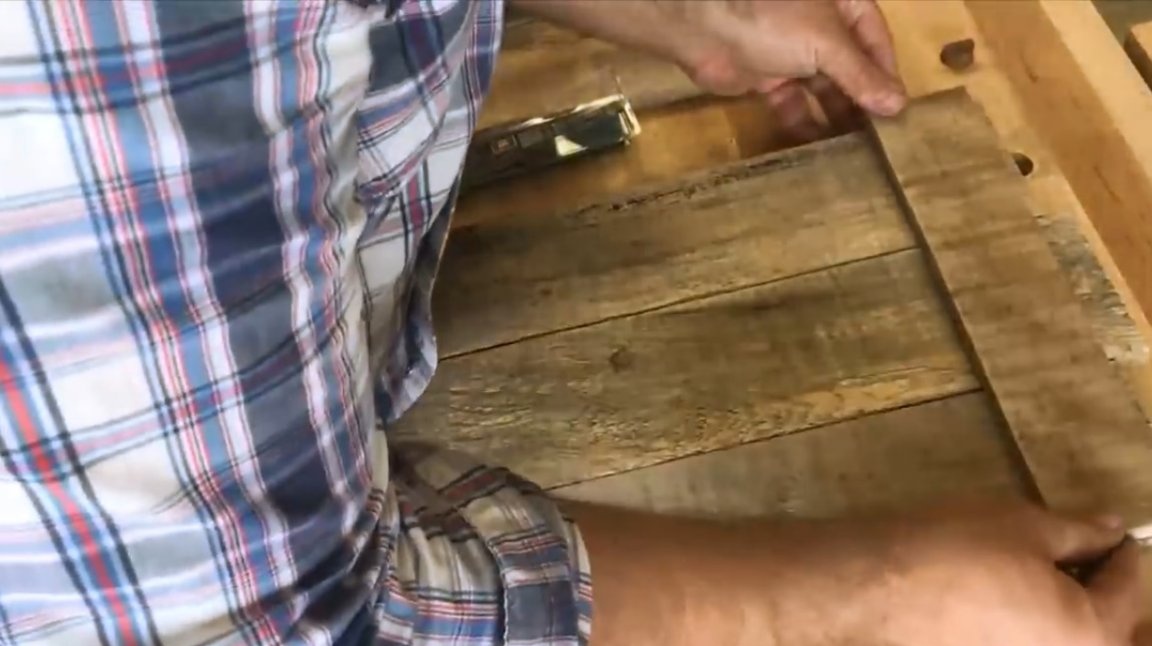
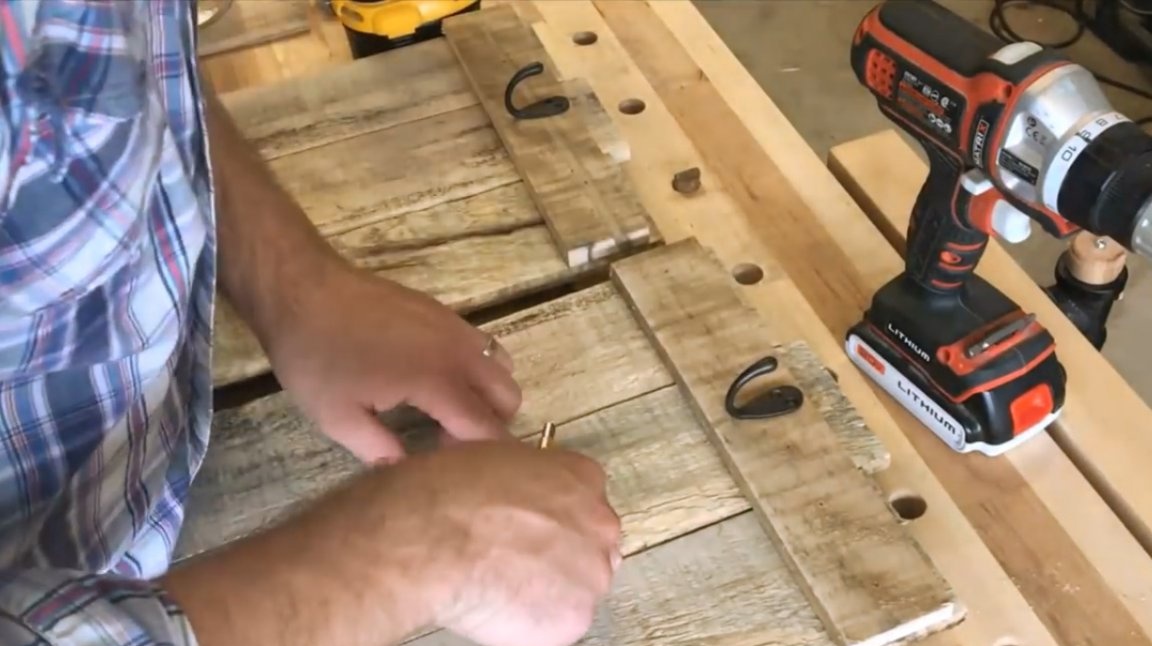
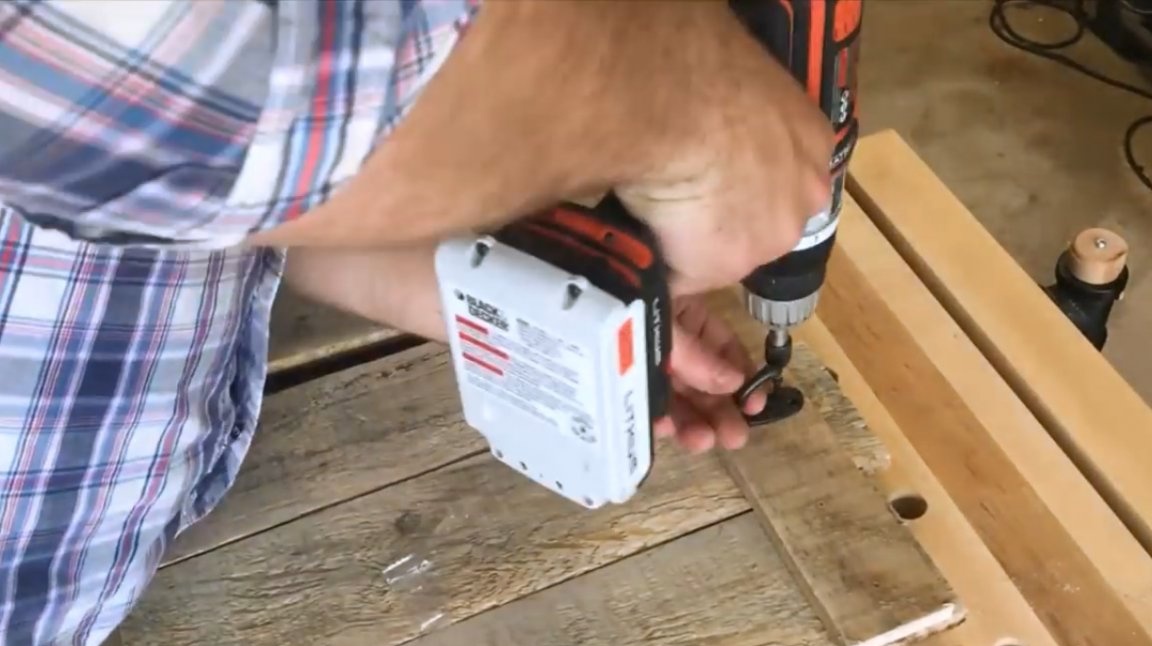
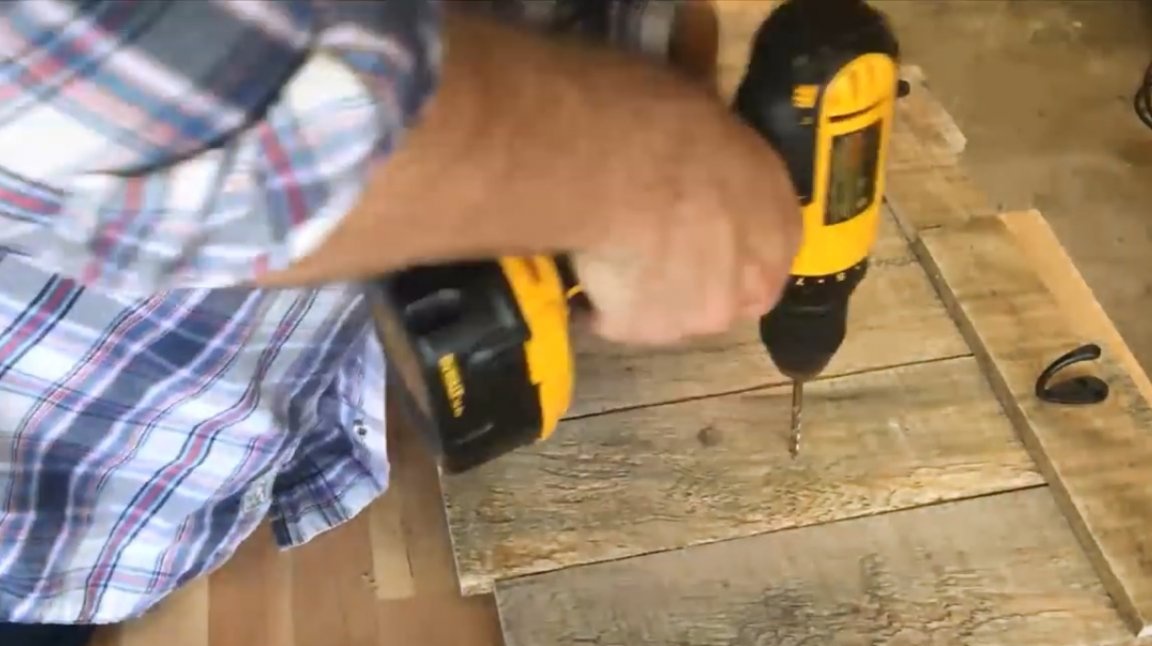
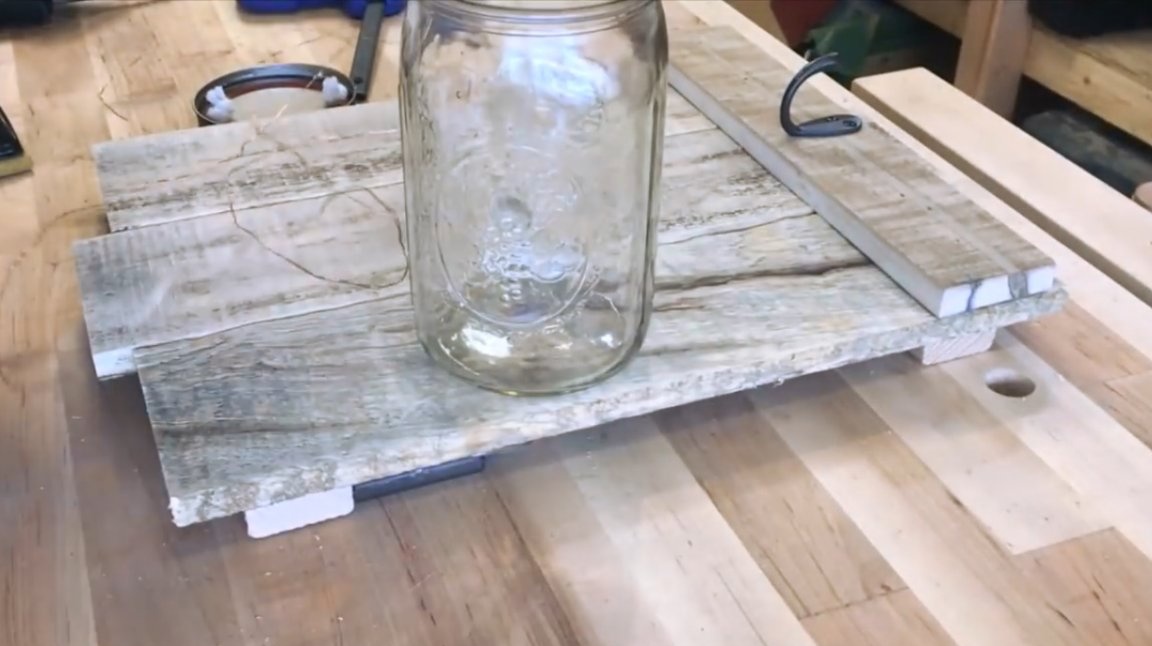
Now the author makes some markings and drills pilot holes for two small hooks. If you drive a screw into a previously unprepared surface, it is likely that the tree may crack. Then the author fastens the hooks.
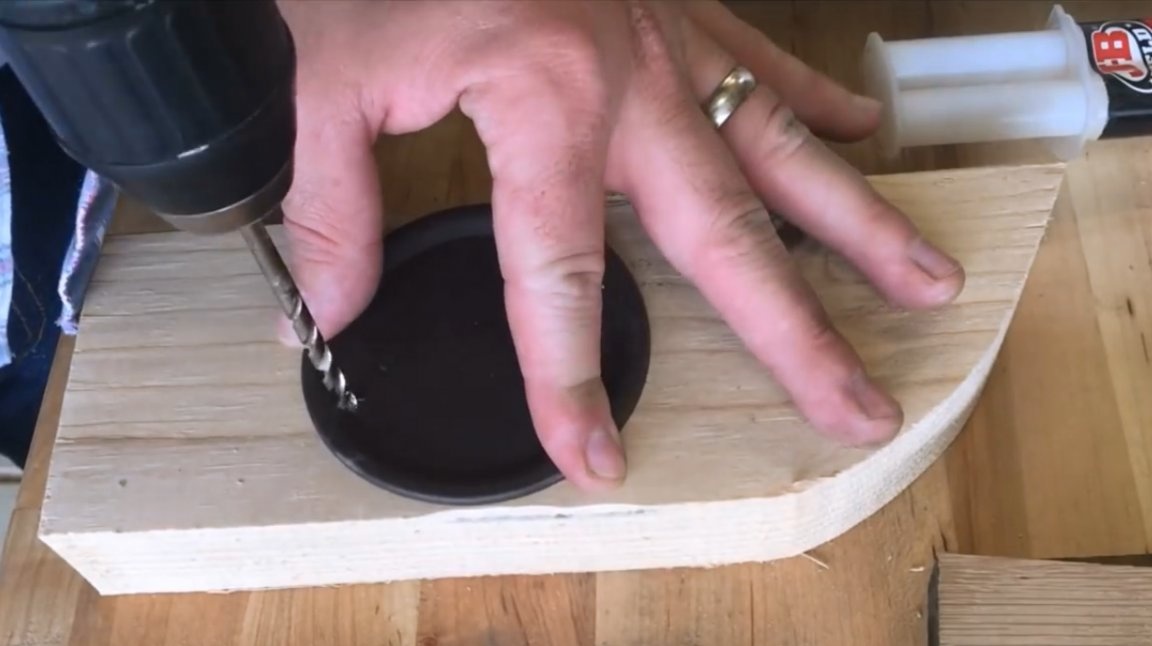
Then he processes the surface of the screw caps from the bottles with sandpaper a little, so that later the paint spray sticks to them better. The master uses matte spray paint to give the caps an aging effect.
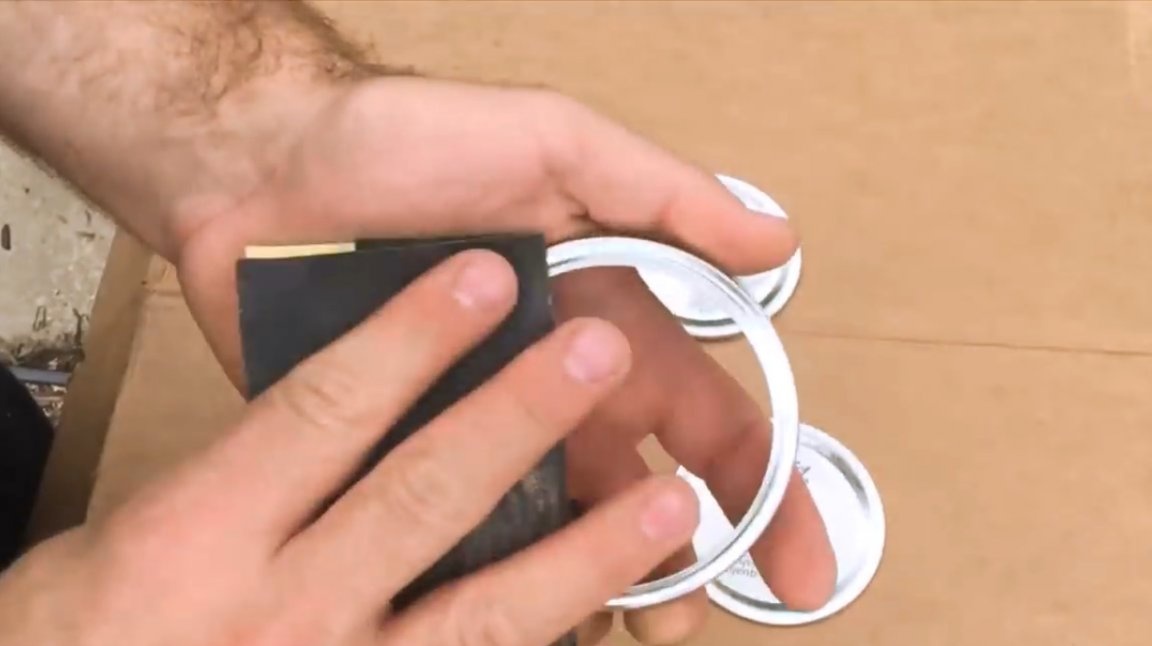

In each cover two holes are drilled.

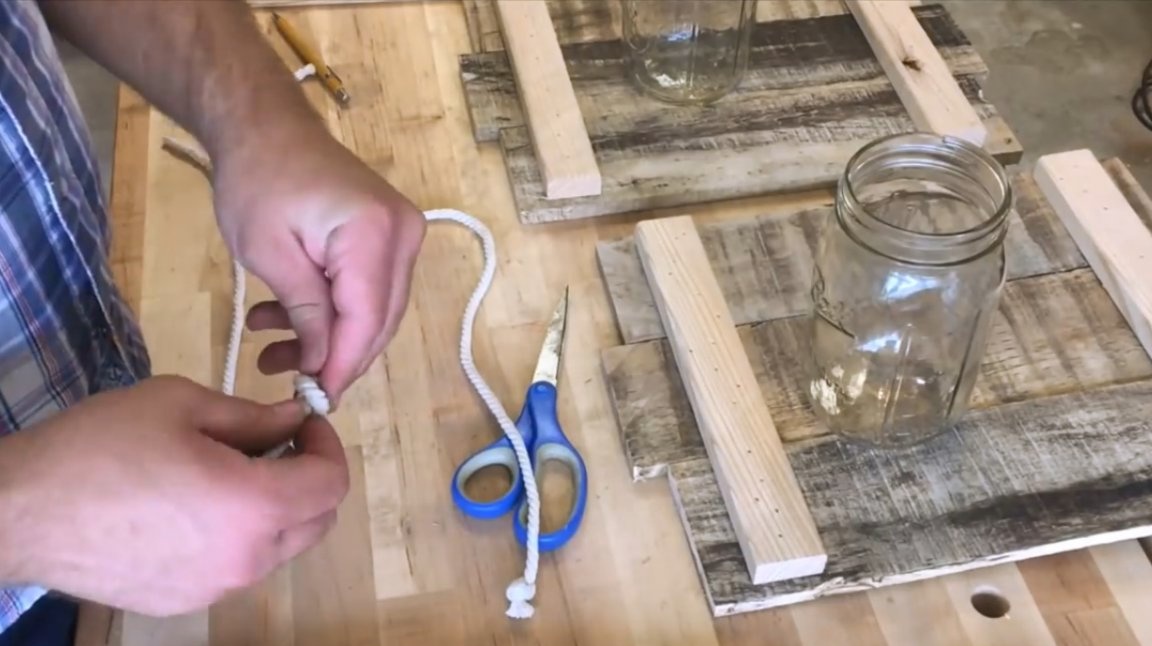
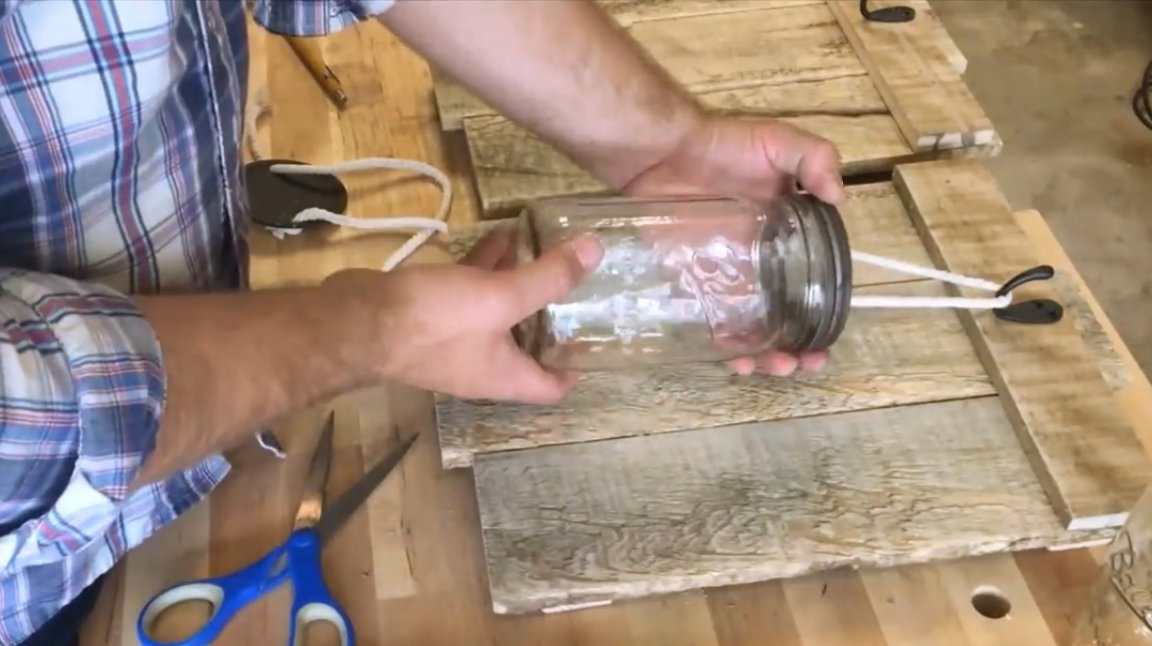
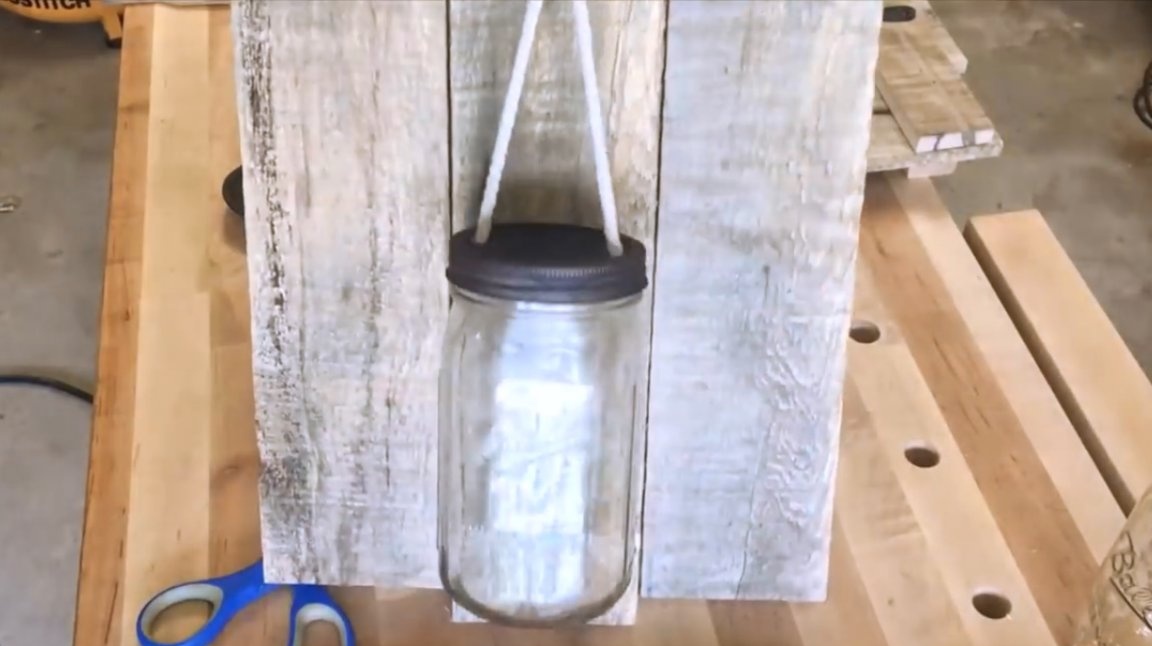
Then the ropes of the required length are cut, and their ends are processed with a lighter. Ropes are threaded through holes and secured with knots at the ends.


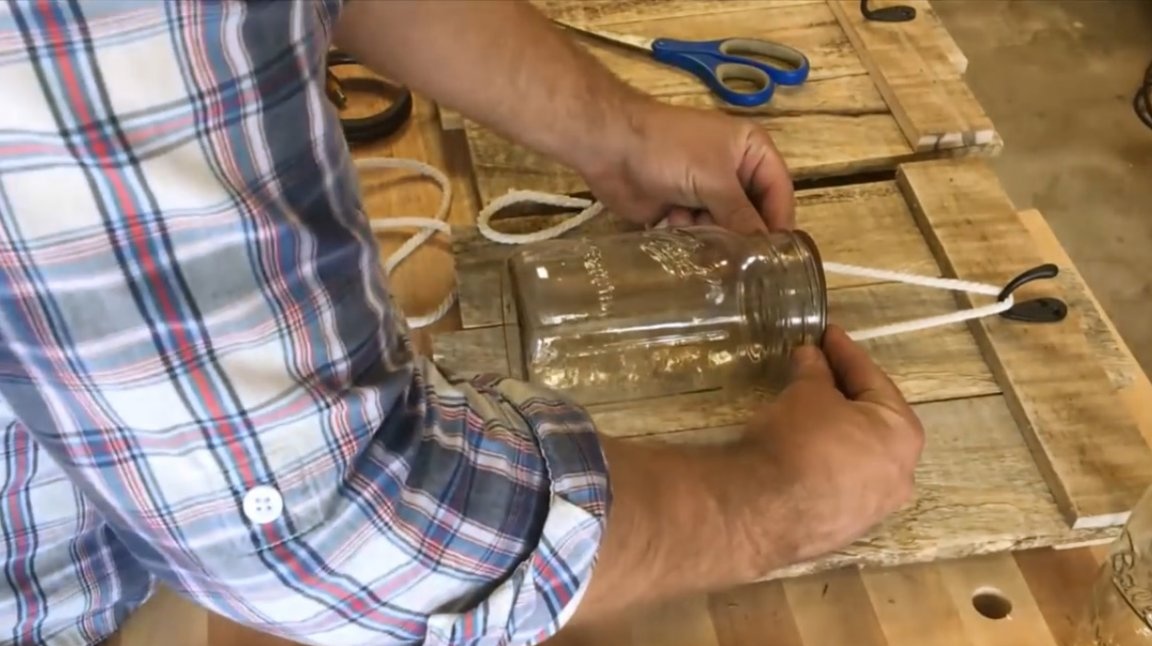
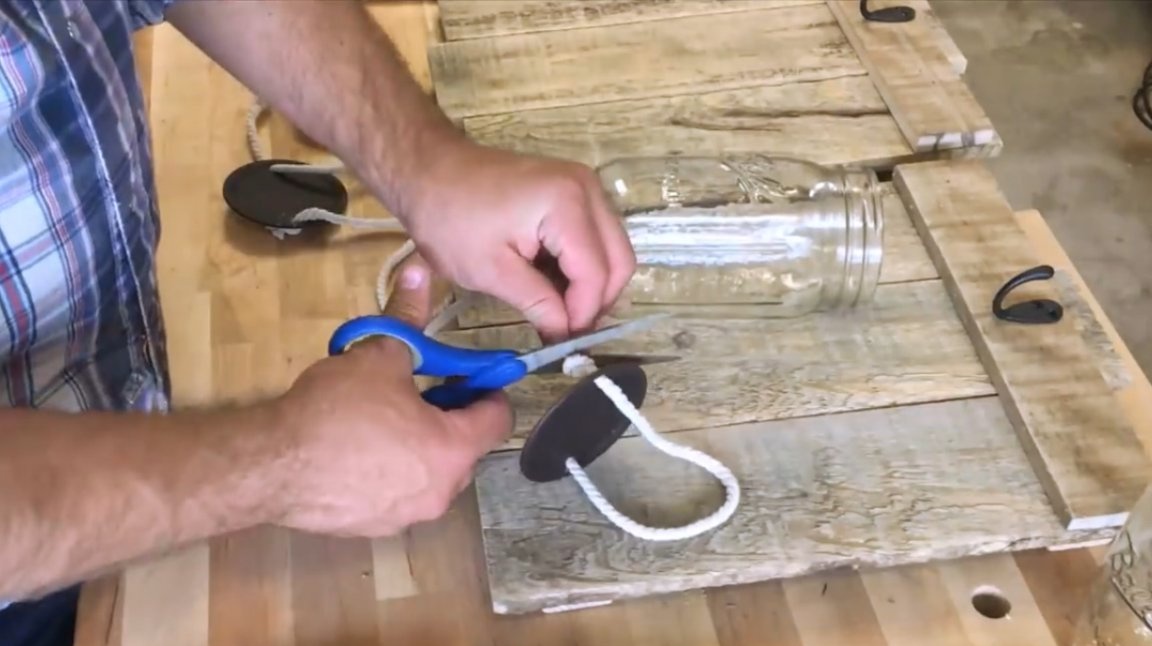
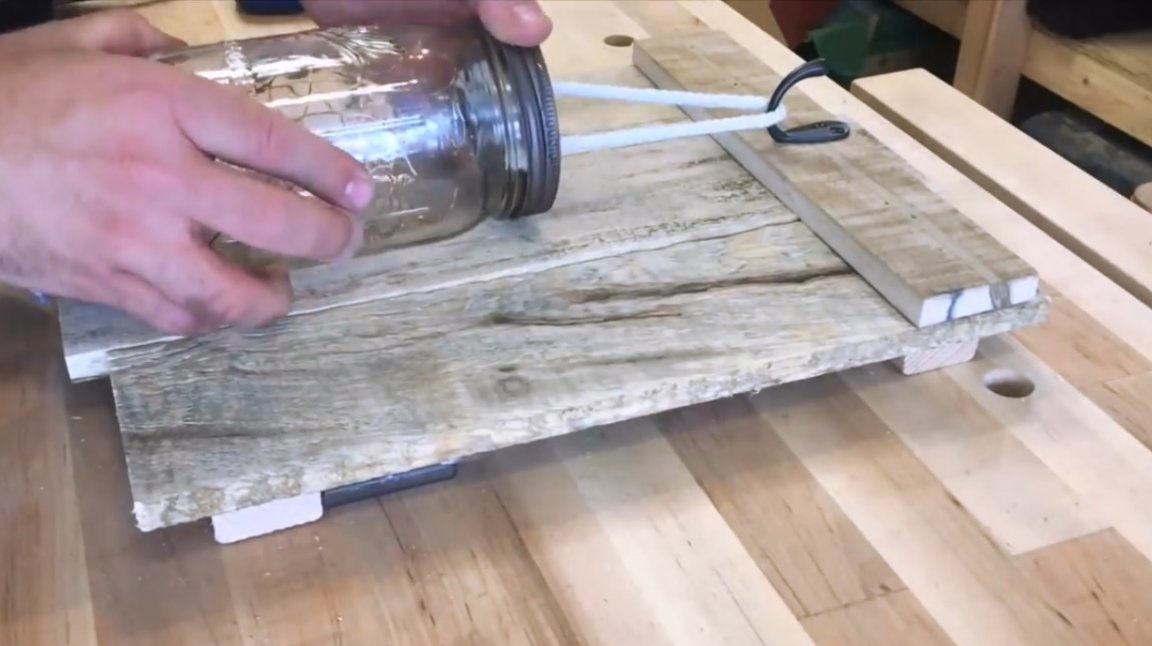
Now that both vessels are suspended, the author measures the height at which the jar itself and its lid touch. At this point, he drills a hole in the back of the board.
Through the holes, the author passes the wire going to the battery pack and solders the LED wire to it. Both blocks are fixed on the back of the panel with two-component epoxy glue.
After the resin dries up, the master pokes the garland wires into the neck of the vessels and rather densely lays the luminous ribbon inside each can. Then he gently tightens the covers. As a result, the wire exits at the back of the vessel and is almost invisible to the observer.

The lights turn on and off at the back. One has only to run a hand behind the panel and feel the switch. The project itself is quite simple. Lamps are stylized as a rustic flavor, and quite unpretentious.

Thanks to the author for the interesting idea of the fixtures!
All good mood, good luck, and interesting ideas!
Author video can be found here.