
Surely among you there are fishing lovers. And for this difficult task, many different spinners and hooks are required.
In this article, the author of the Third Coast Craftsman YouTube channel will tell you how he made a beautiful and practical box for storing them.
The master will make this home-made almost completely using hand tools.
Materials
- Board from pallets, ebony ebony
- Neodymium magnets
- Sandpaper
- Furniture hinge
- Wood screws
—
- PVA glue, two-component epoxy glue.
Instruments, used by the author.
- Planer, jointer, chisels, rasp, miter box
- Manual planer - milling cutter (you can read about its manufacture in this article)
—
—
- Rubber spatula, rags
- Screwdrivers, square, ruler, pencil, marker.
Manufacturing process.
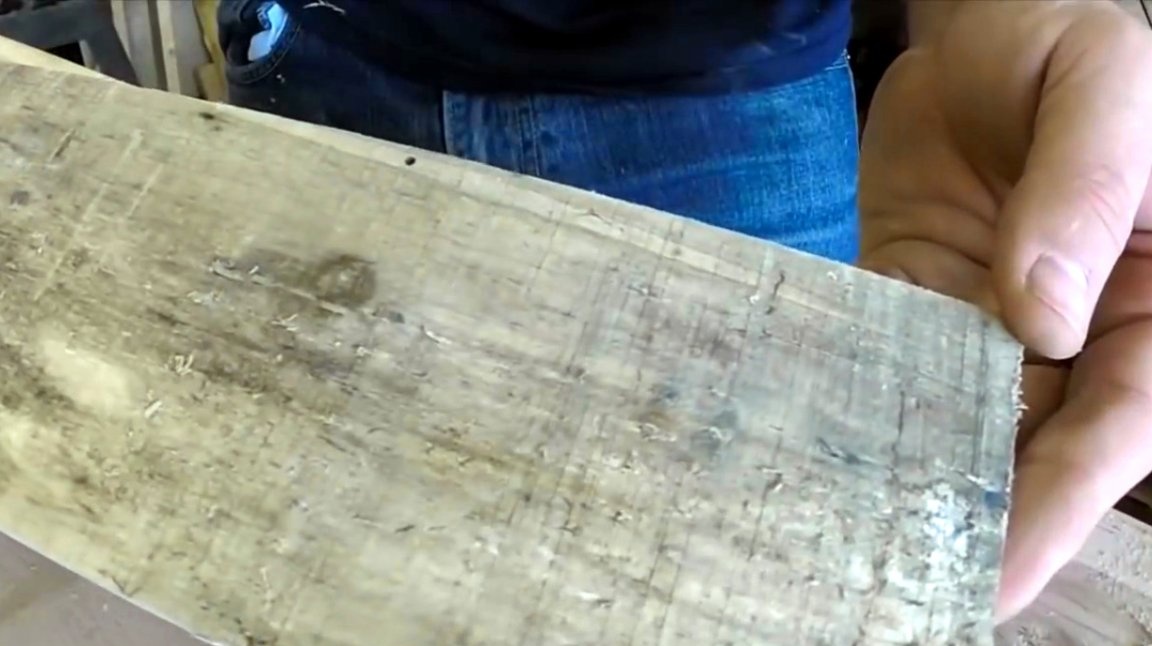
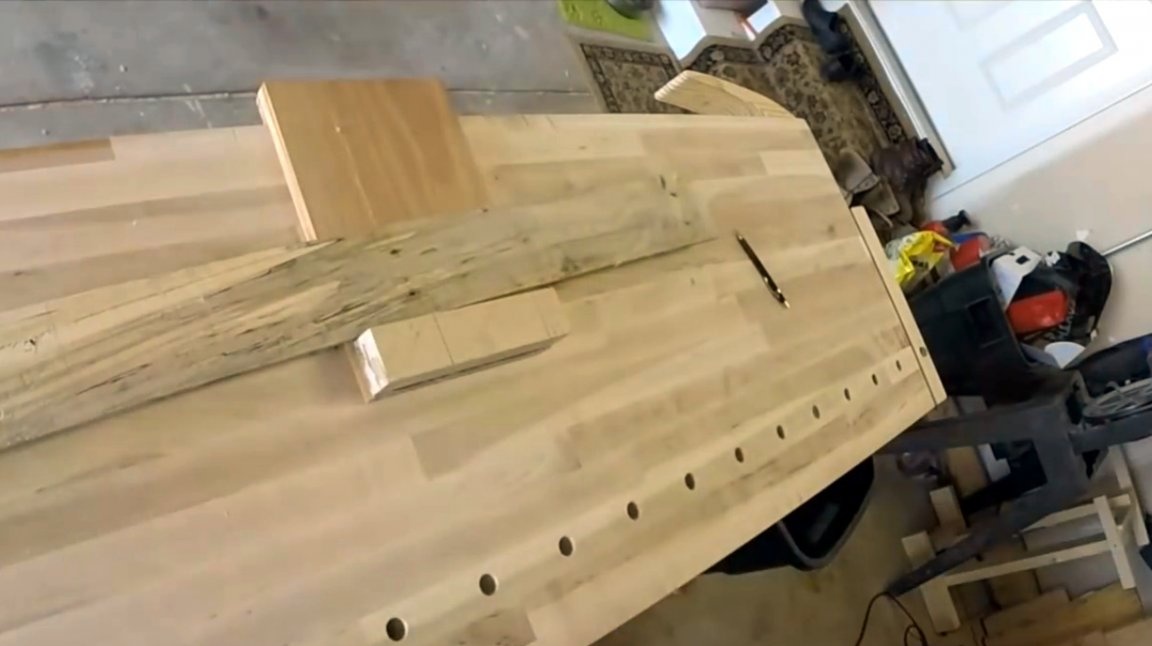
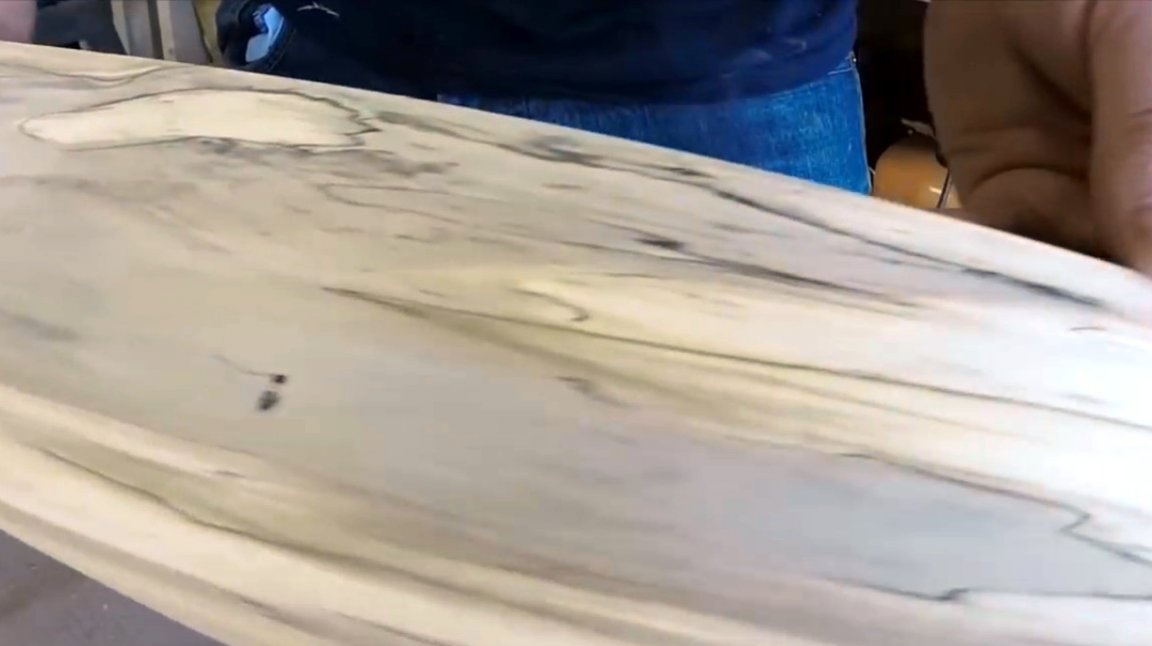
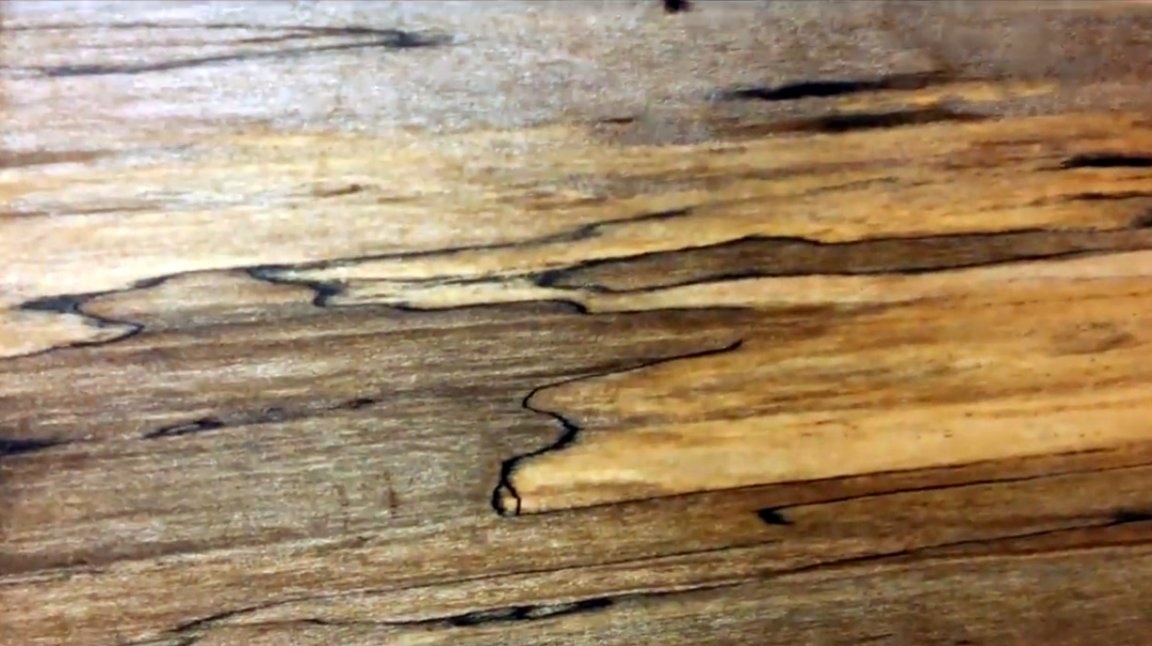
The author found in his timber warehouse very remarkable pallet boards, presumably maple, or from cork. Their feature was thin dark fibers, streaked with veins in the wood structure and creating an unusual woody pattern.
Sometimes the material itself inspires the master to create a "masterpiece" ... It so happened in this case. The idea was born to make a neat little box for fishing hooks out of this seemingly unsightly old wood.
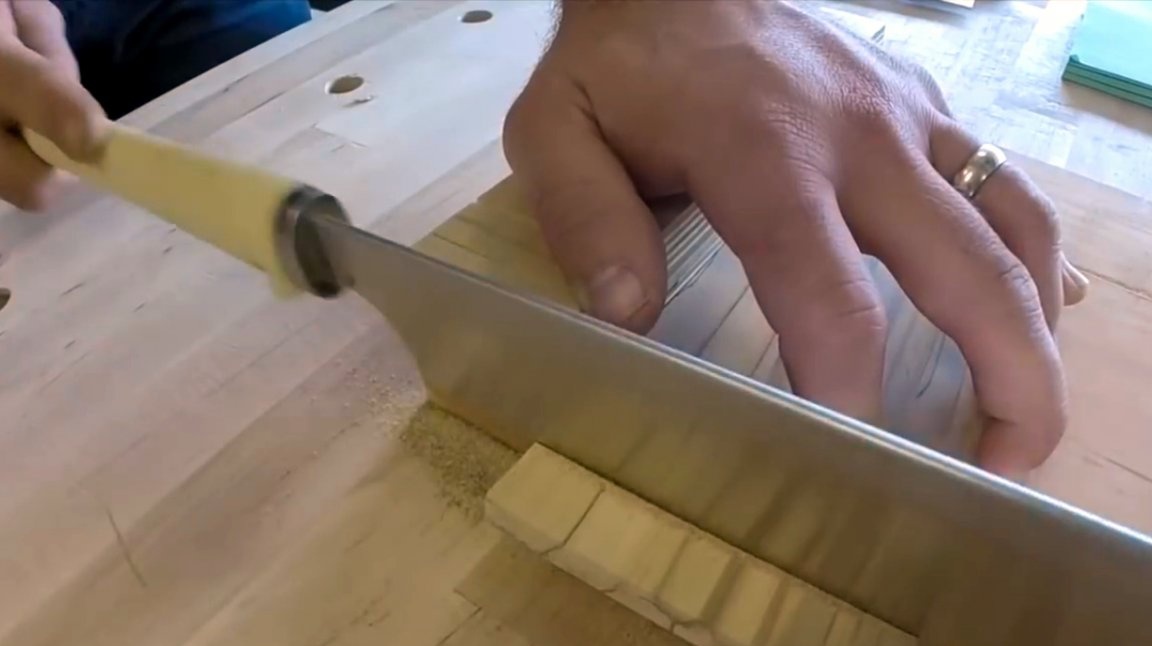
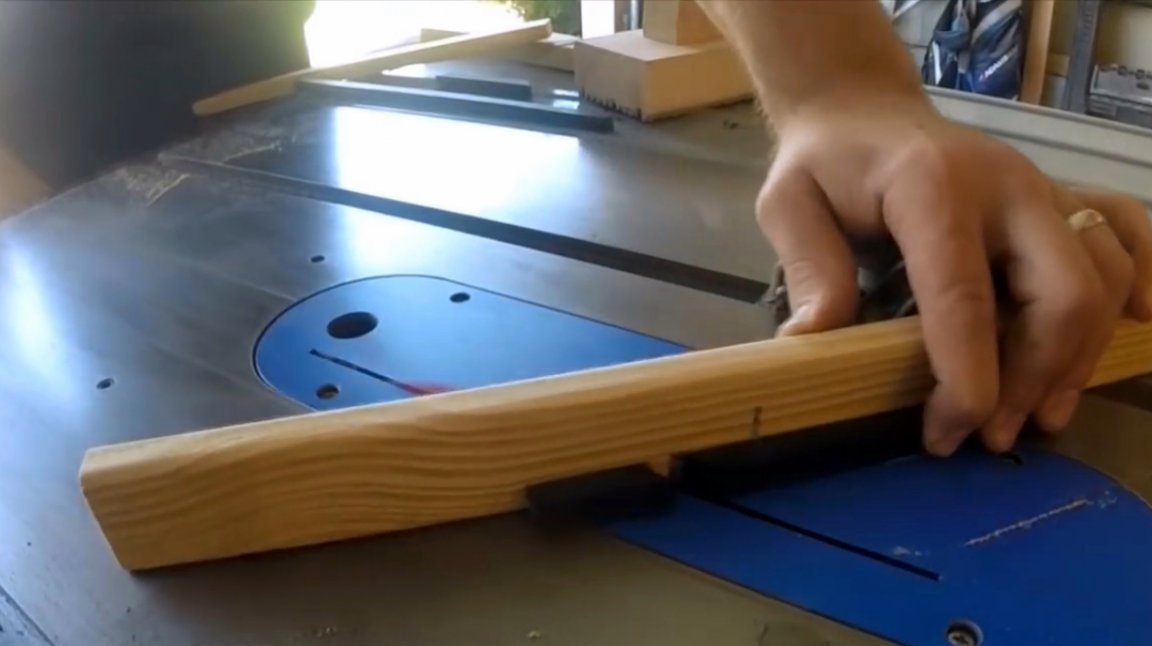
First of all, the master cuts the pallet boards along the length of the future product, using a kind of miter box
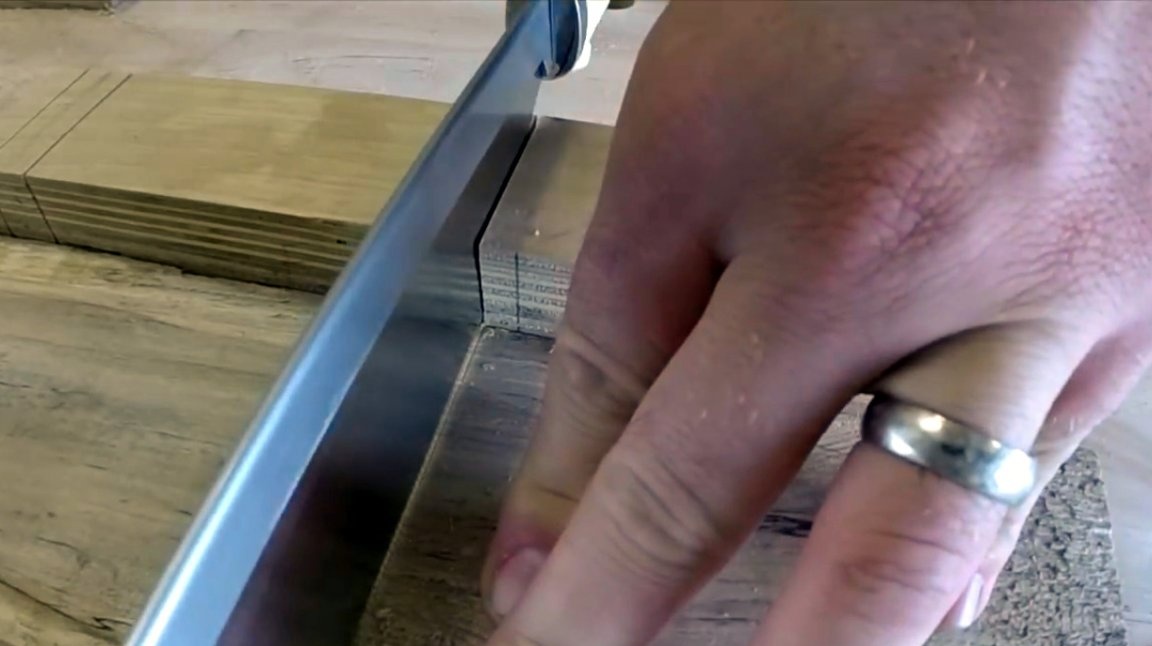
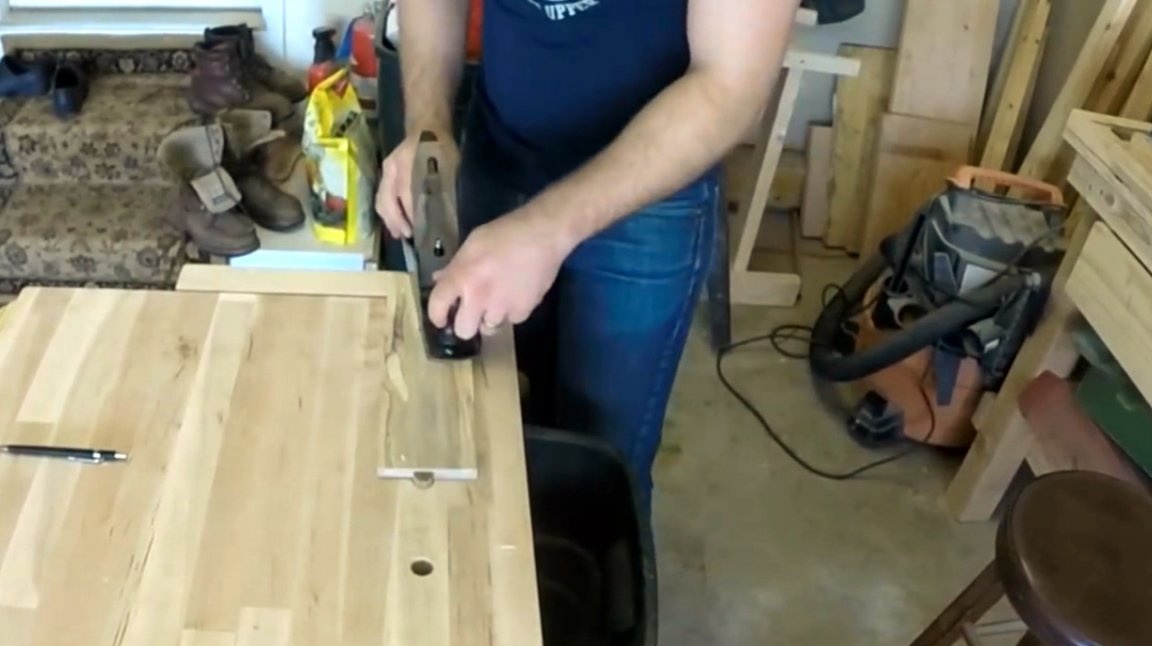
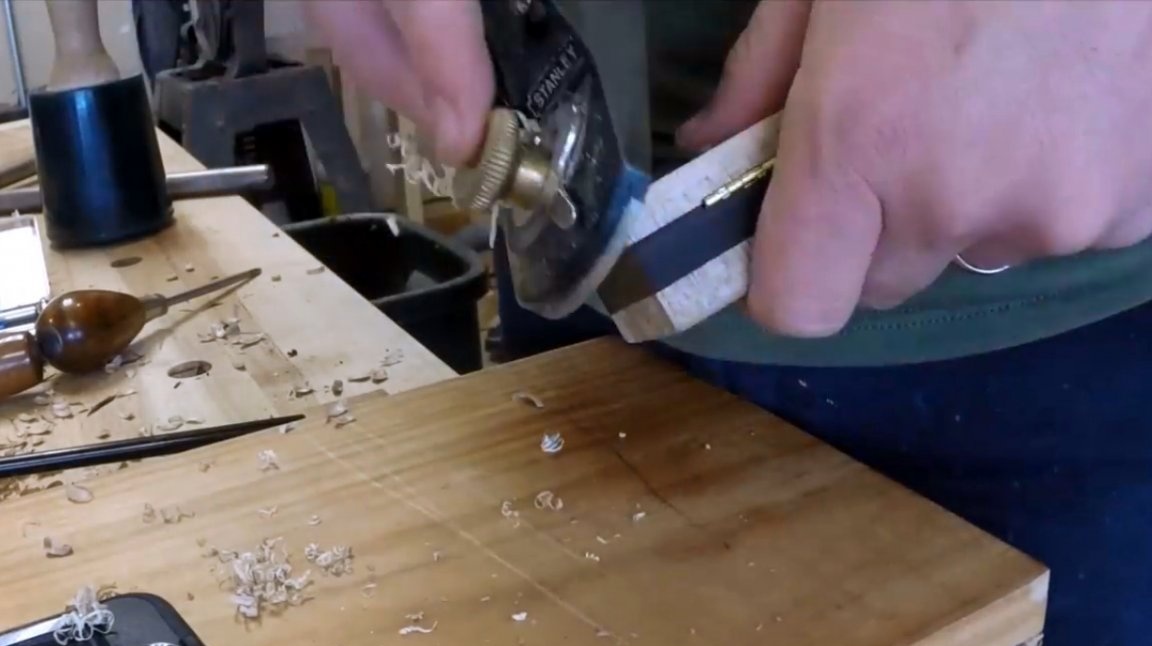
Then he smooths the ends of the boards with a manual plane, pre-clamping the workpieces in a vice.
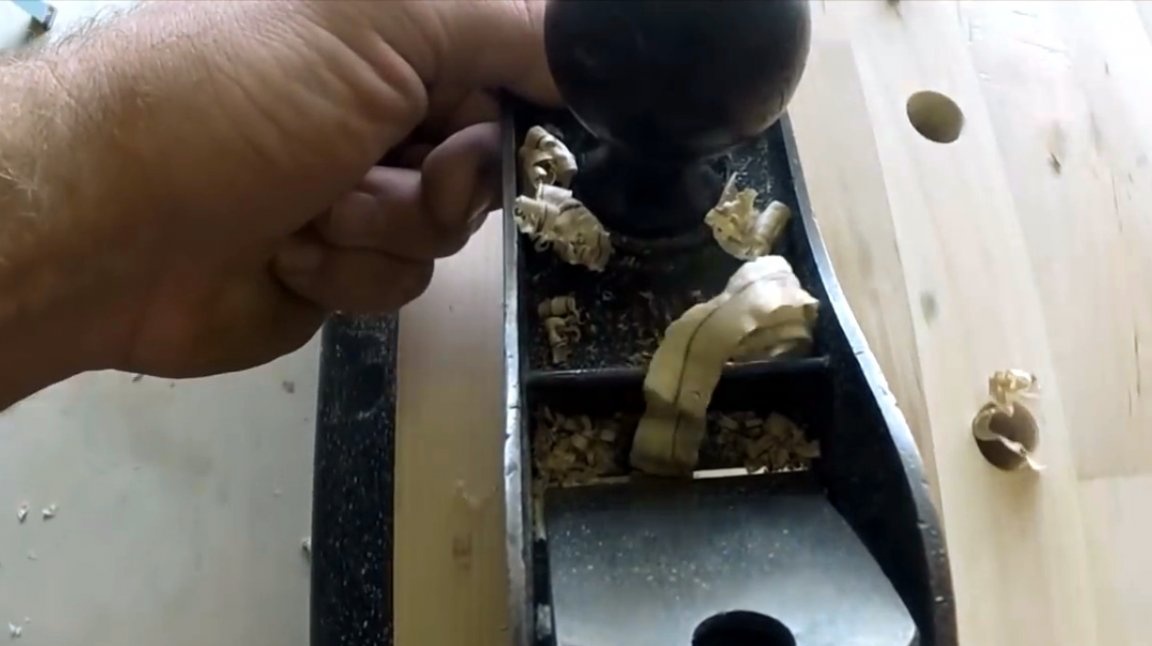
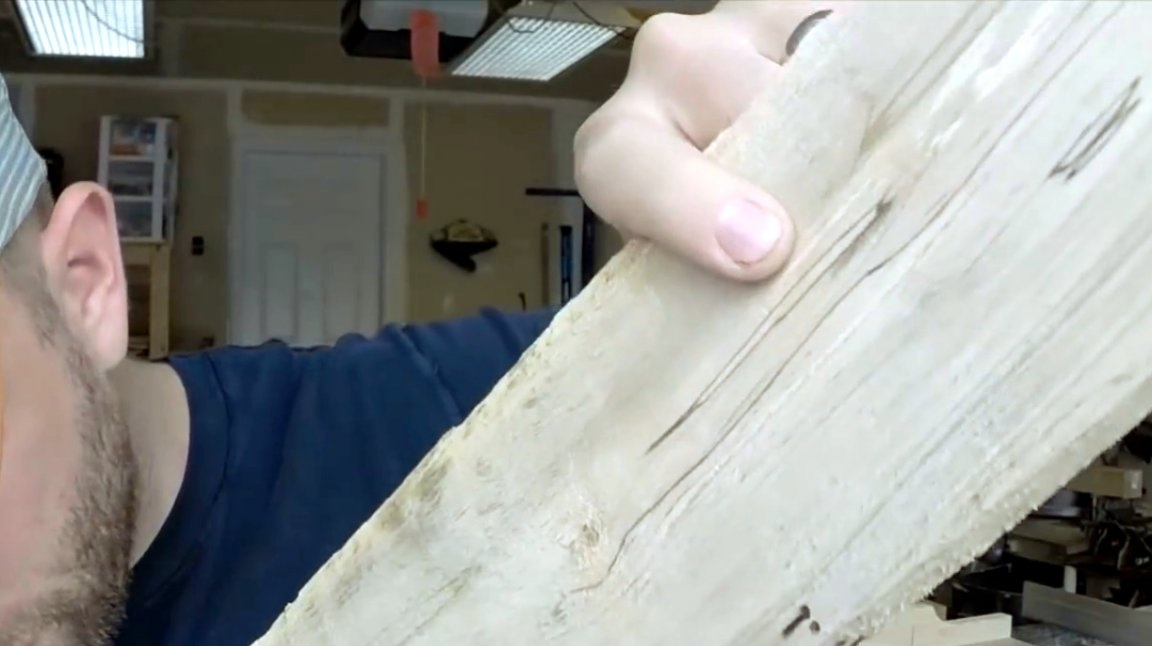
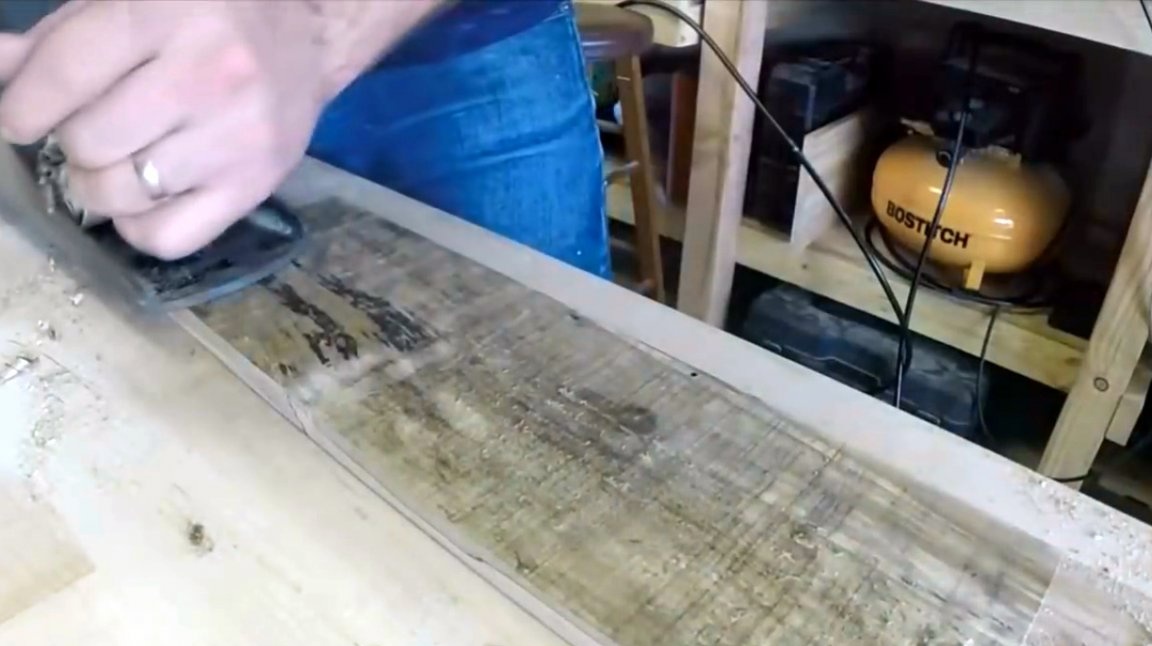
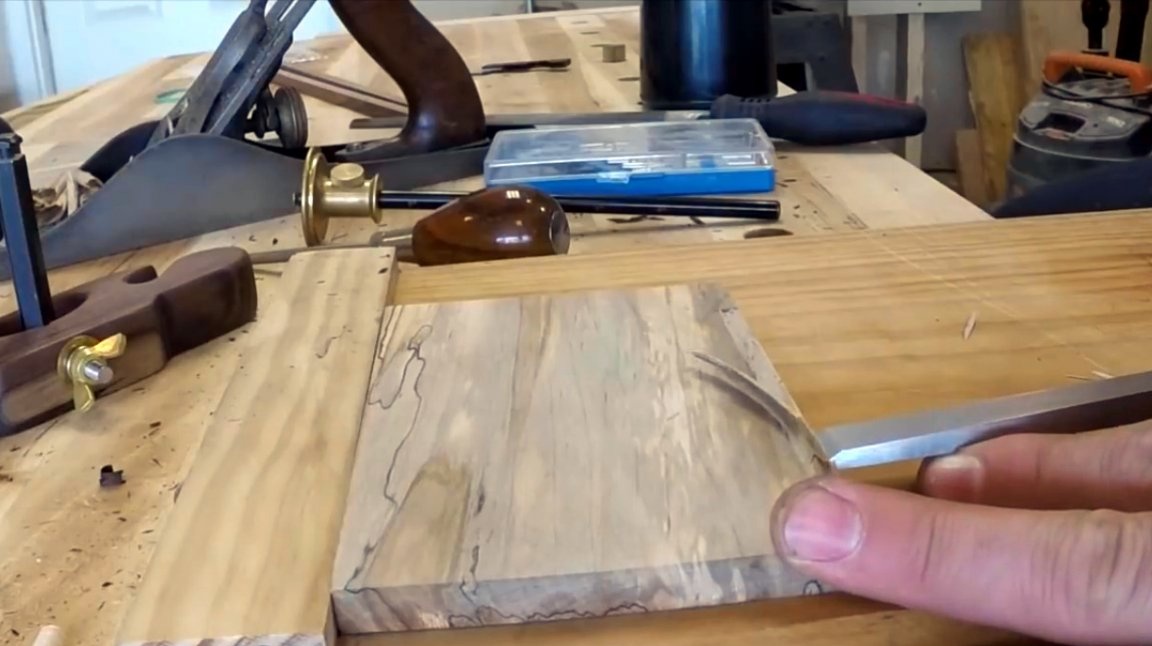
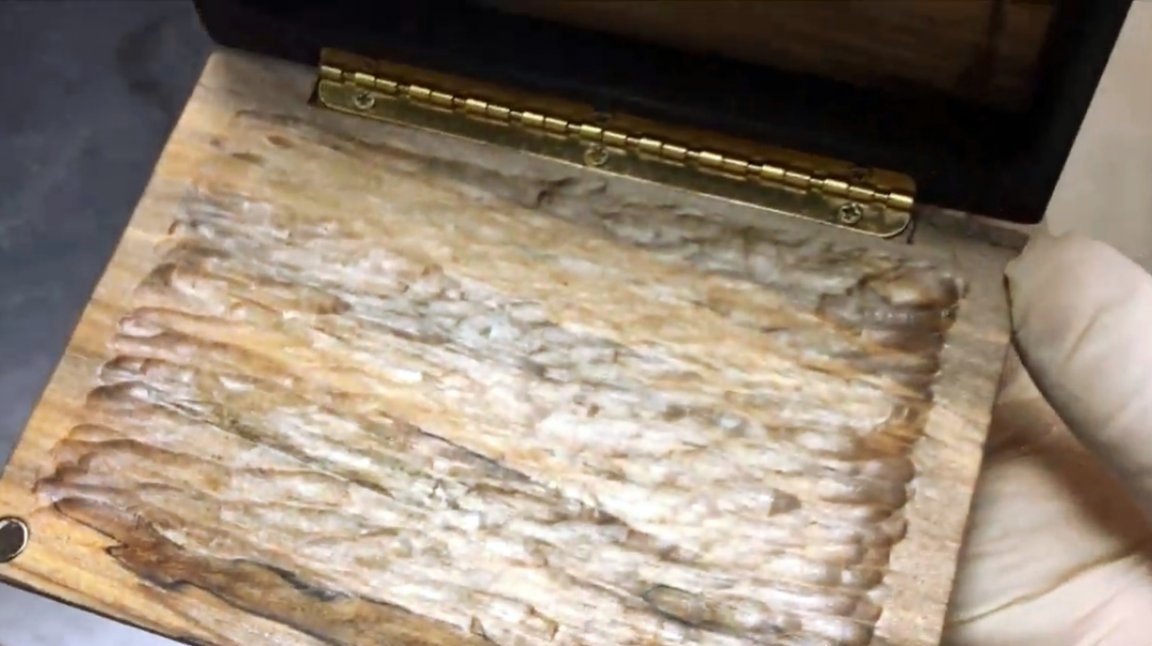
In the same way, with the help of a planer, he removes the weathered layer of wood from the front and back sides of the boards, planing their surfaces, and exposing an unusual woody pattern.
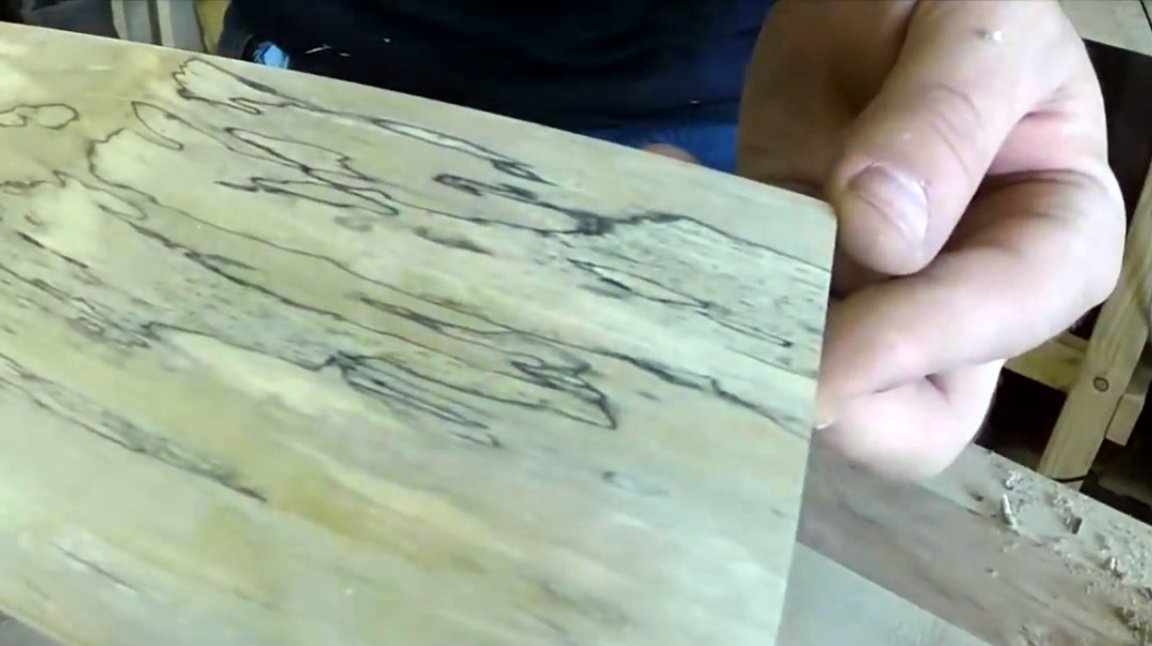
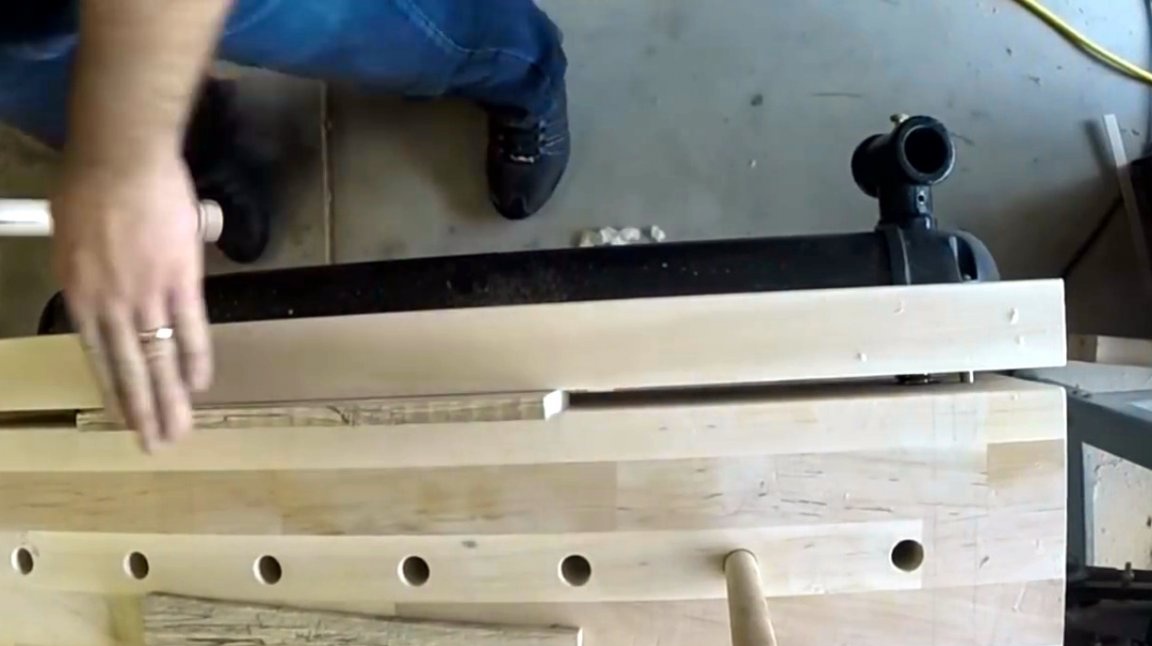
Now cuts both parts to the same size, carefully choosing the pattern.
Next, you need to process the ends of the workpieces with a jointer. And now, in fact, the lid and the bottom of the box are ready. All the right size.

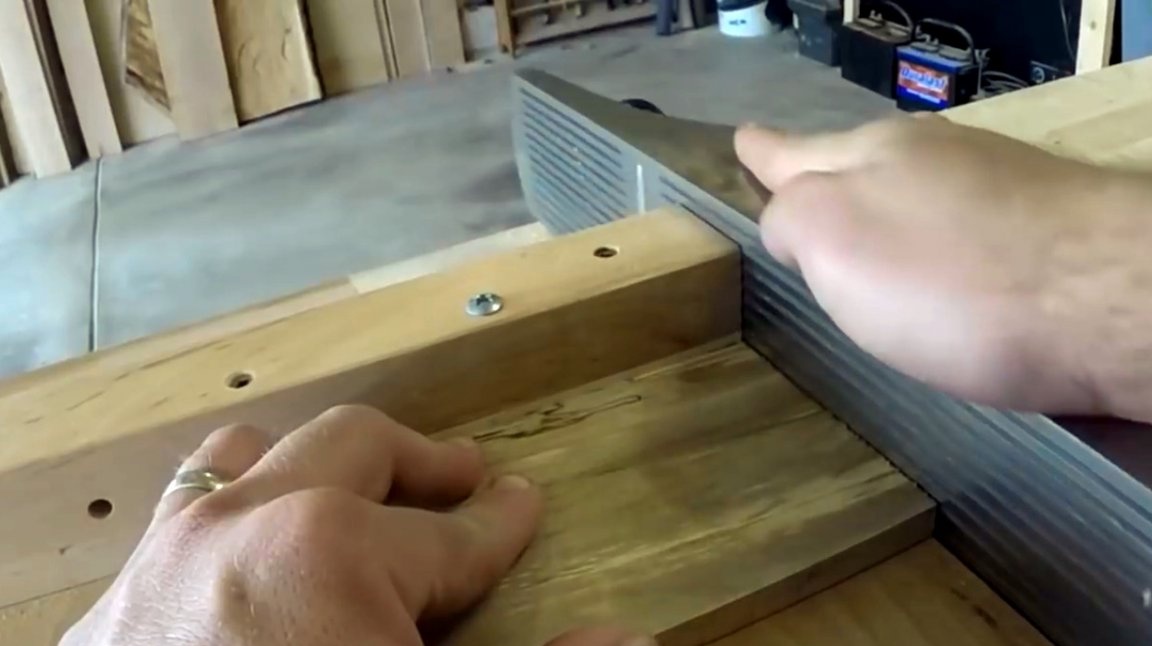
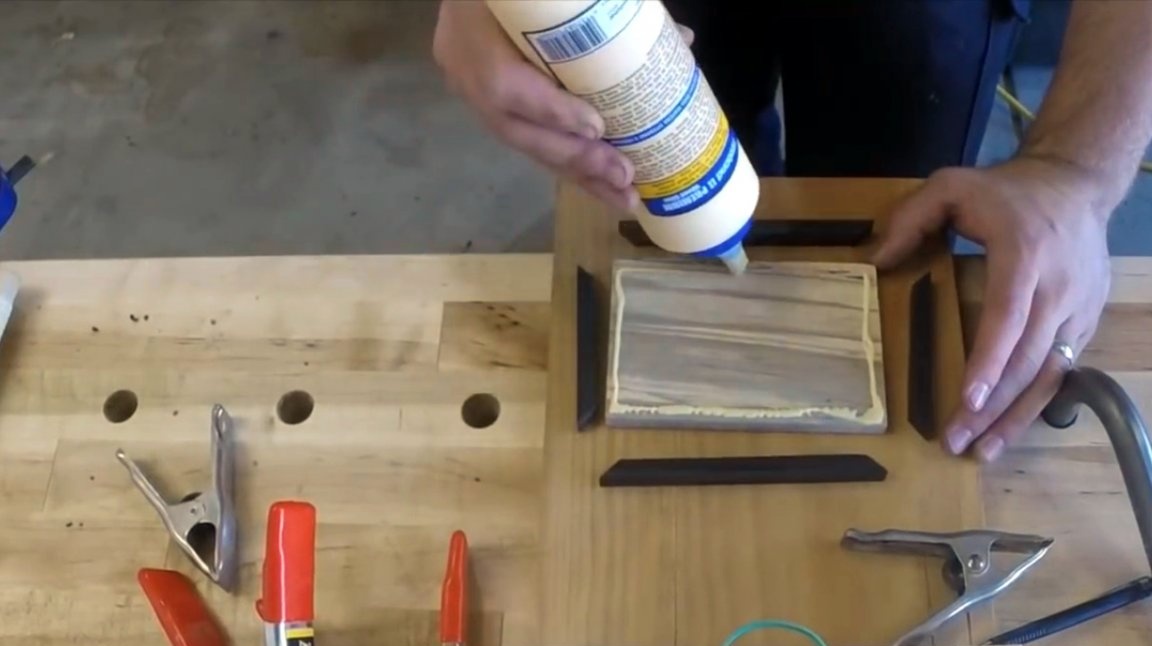
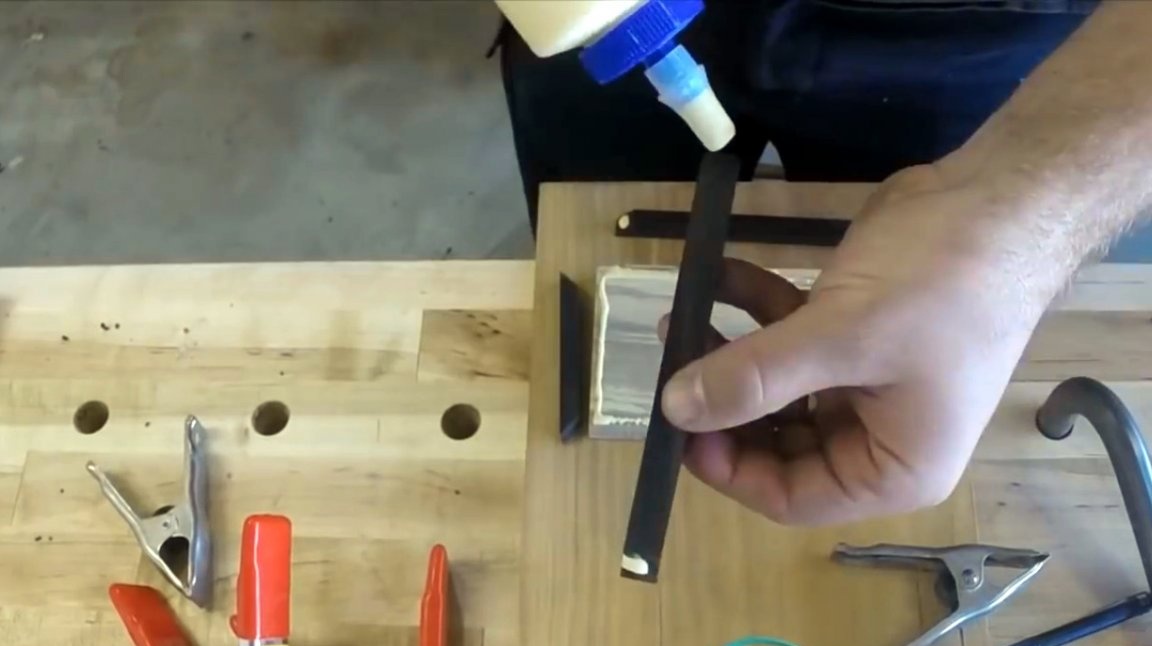
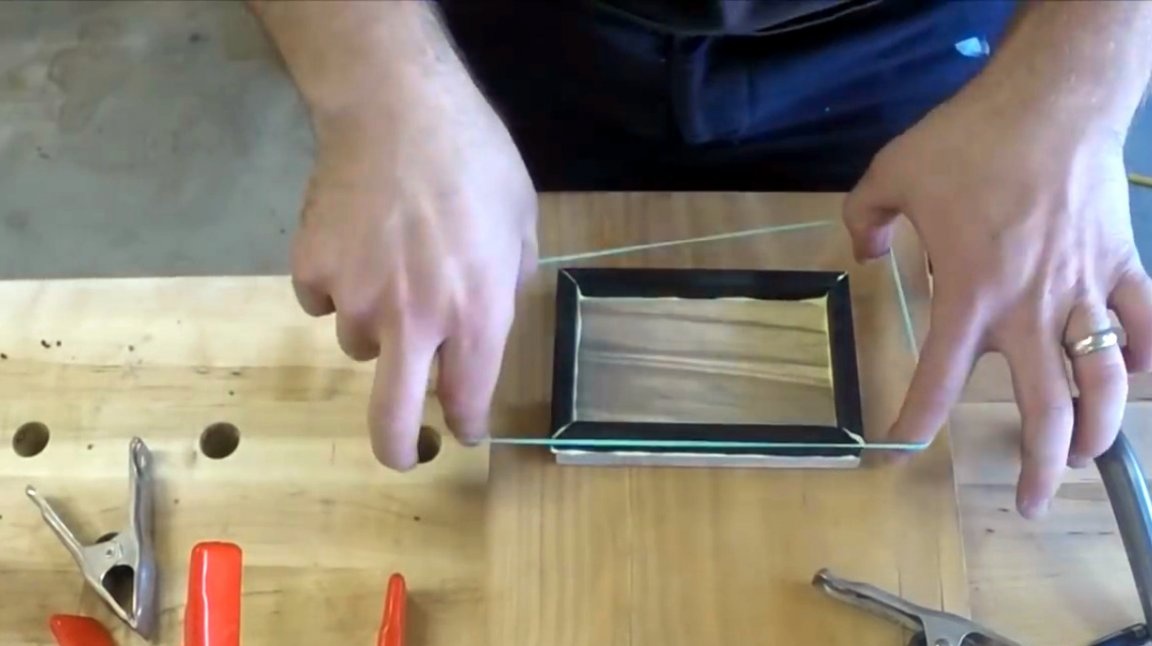
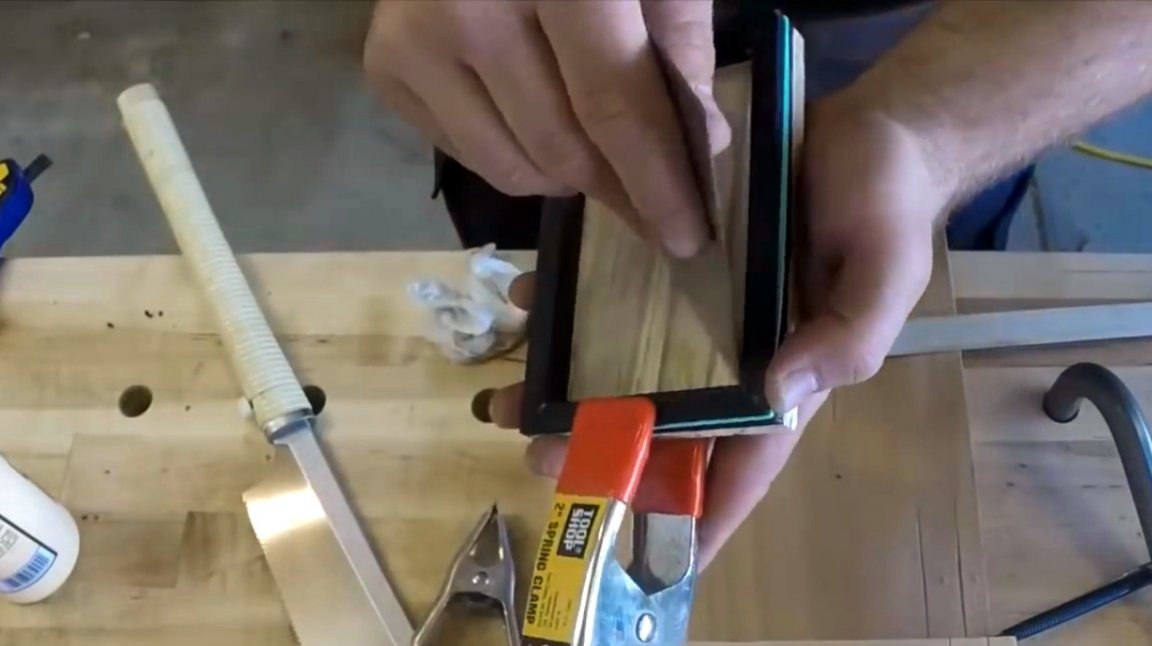
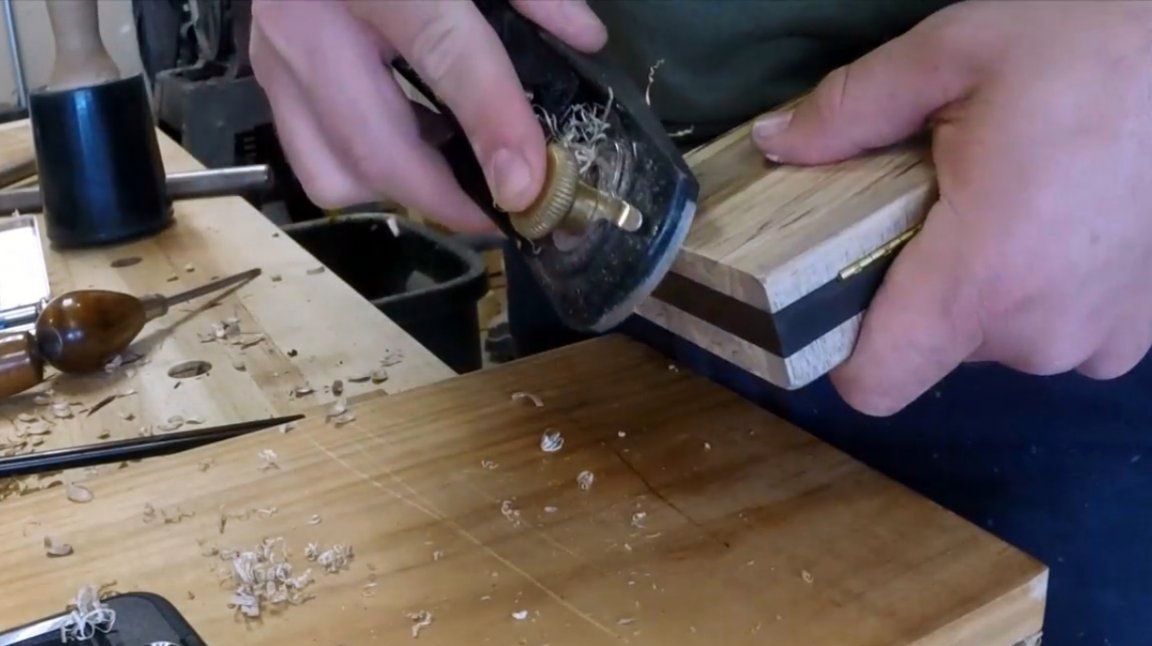
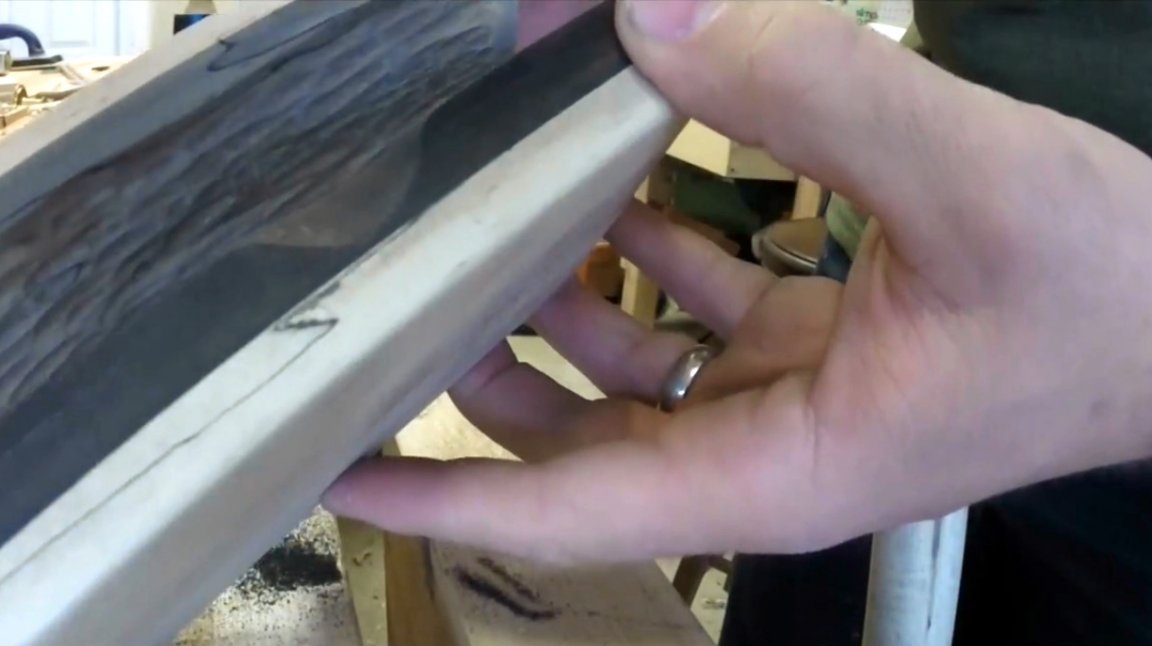
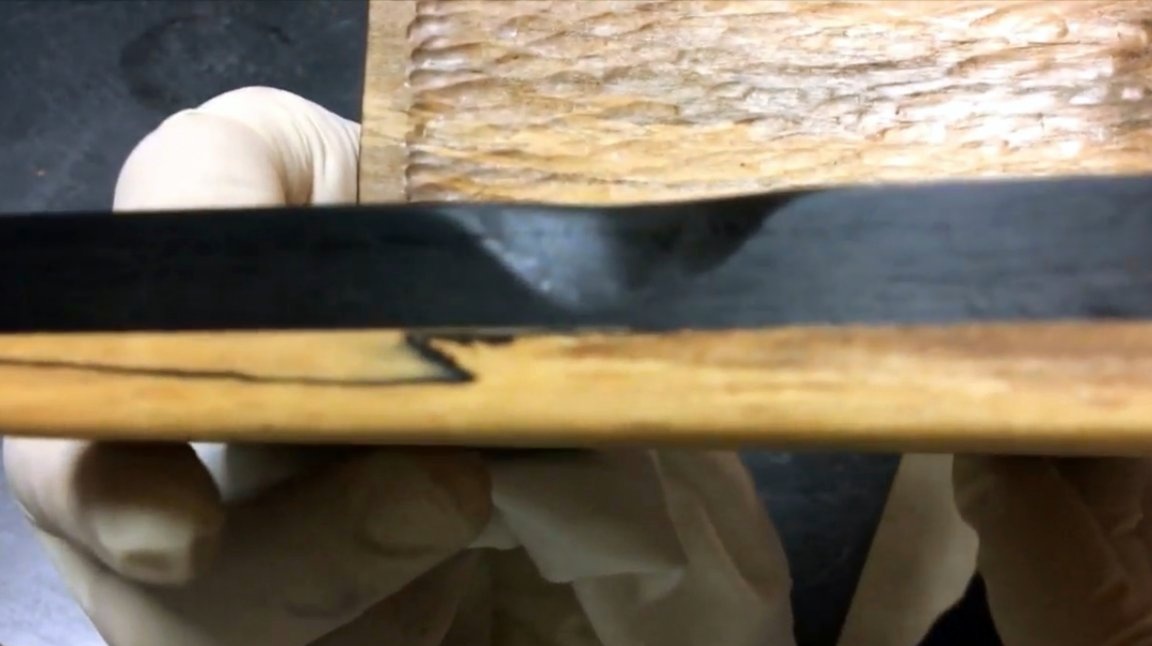
Now the bottom will be bordered. For this purpose, the author selects a Coromandelian black (ebony) tree for contrast. The master himself cuts the side on a circular saw, making bevels at the angles of 45 degrees.

The dark side sits on the glue and fastened with clerical gum. Excess glue is thoroughly cleaned with a spatula.
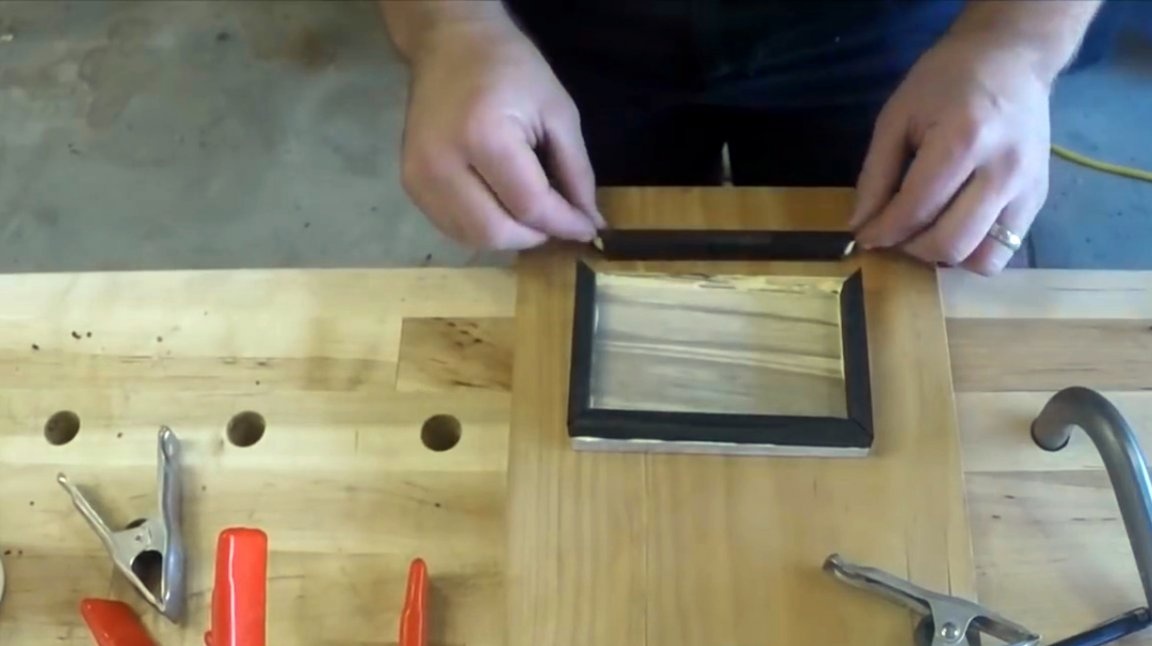
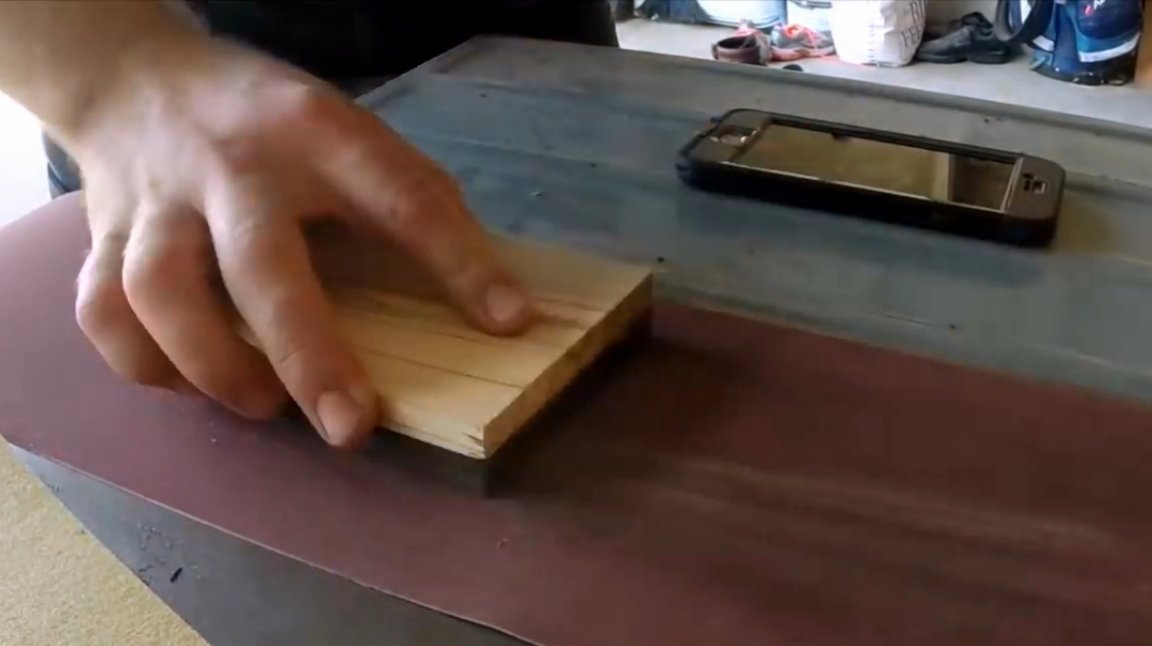
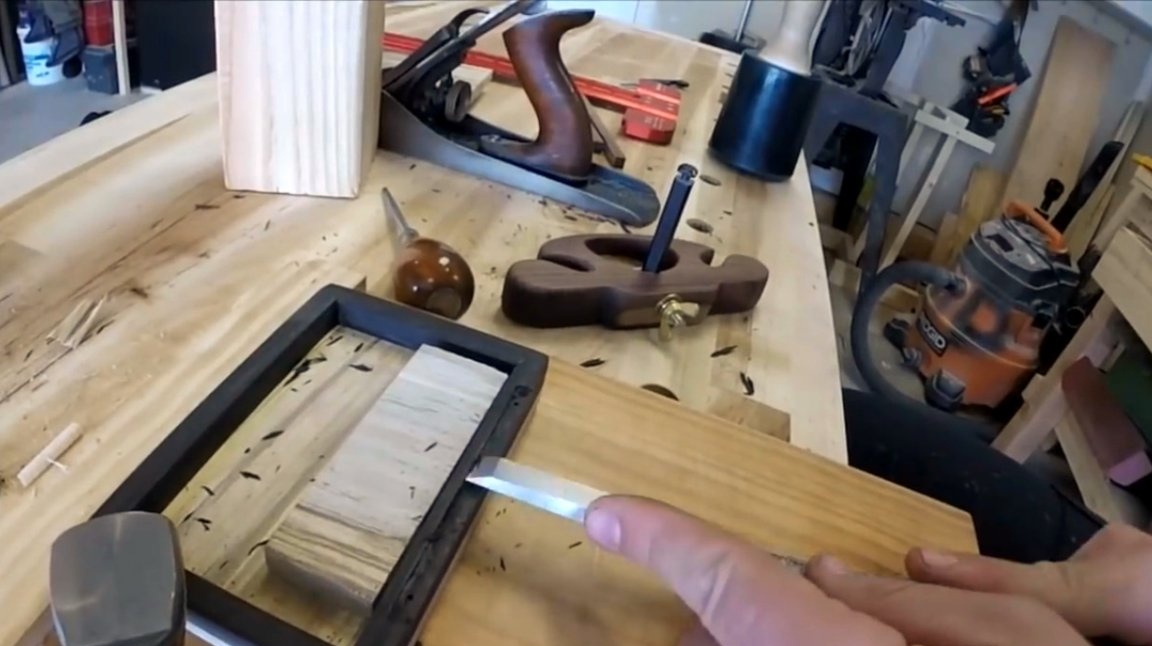
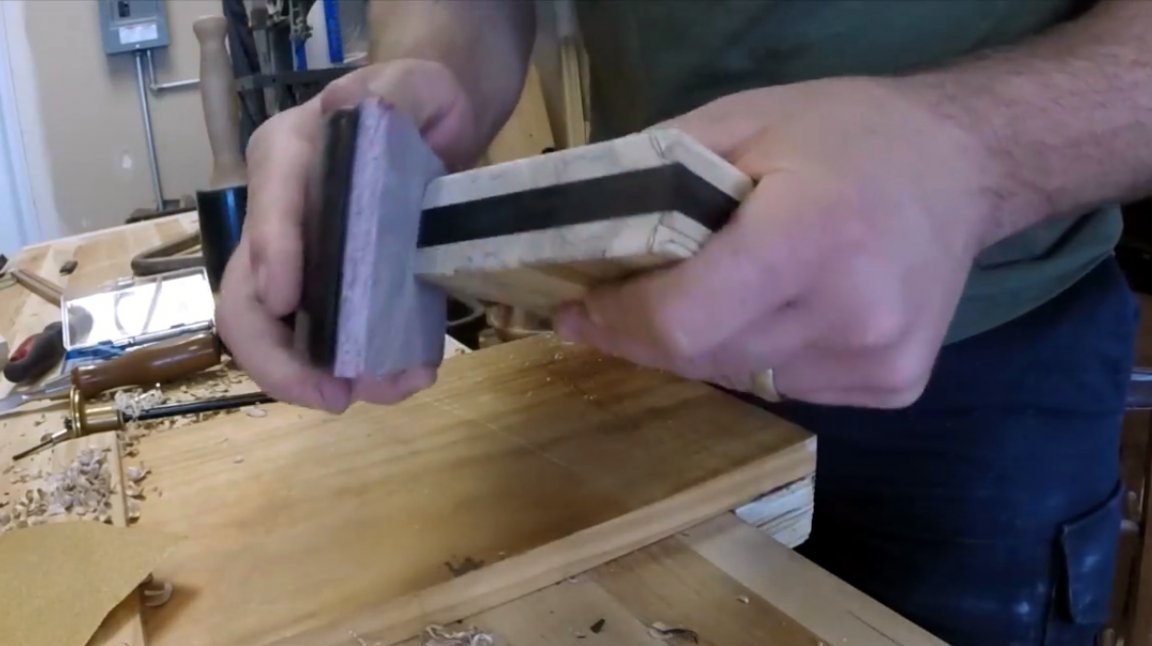
After the glue dries, the surface of the sides is sanded on sandpaper laid on a flat surface.
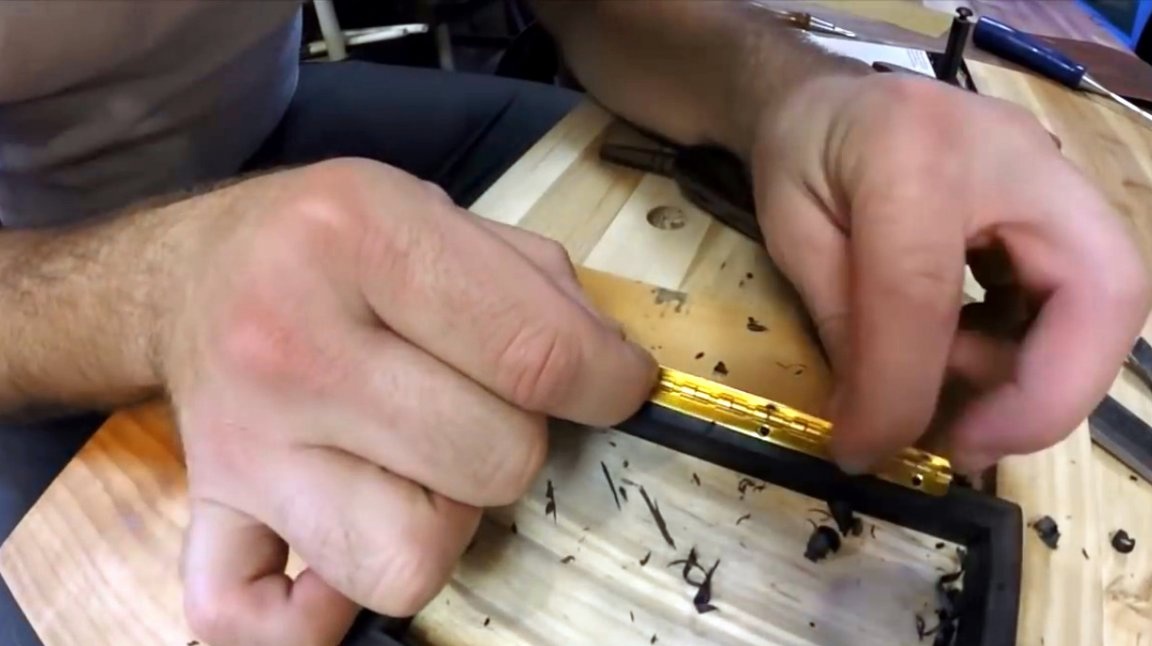
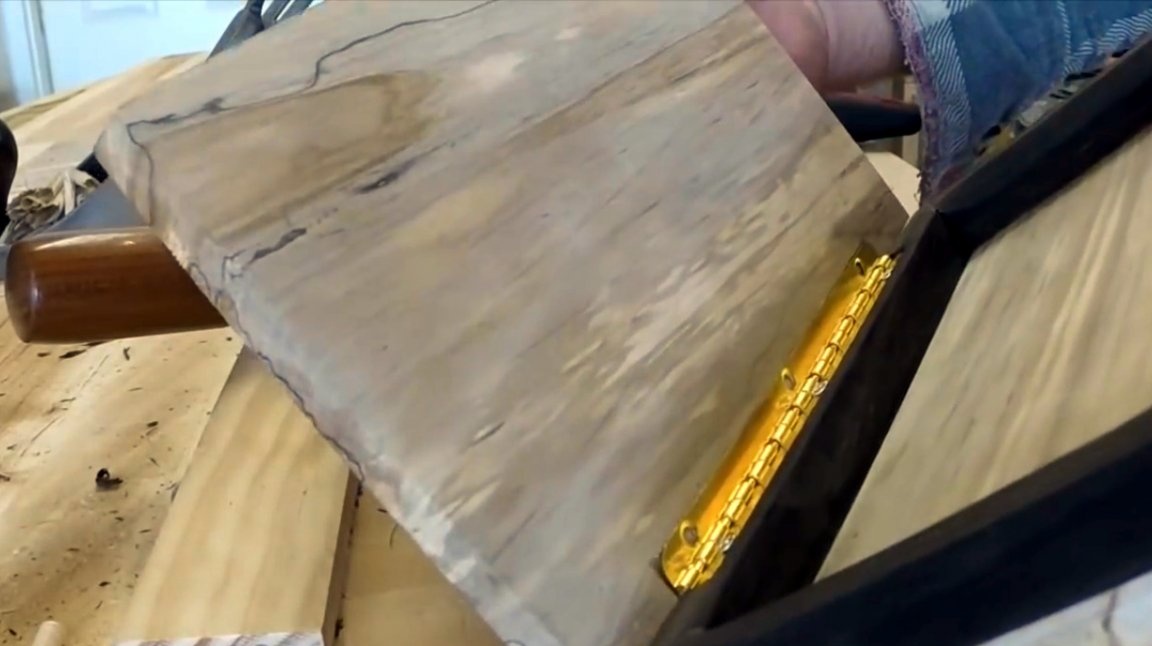
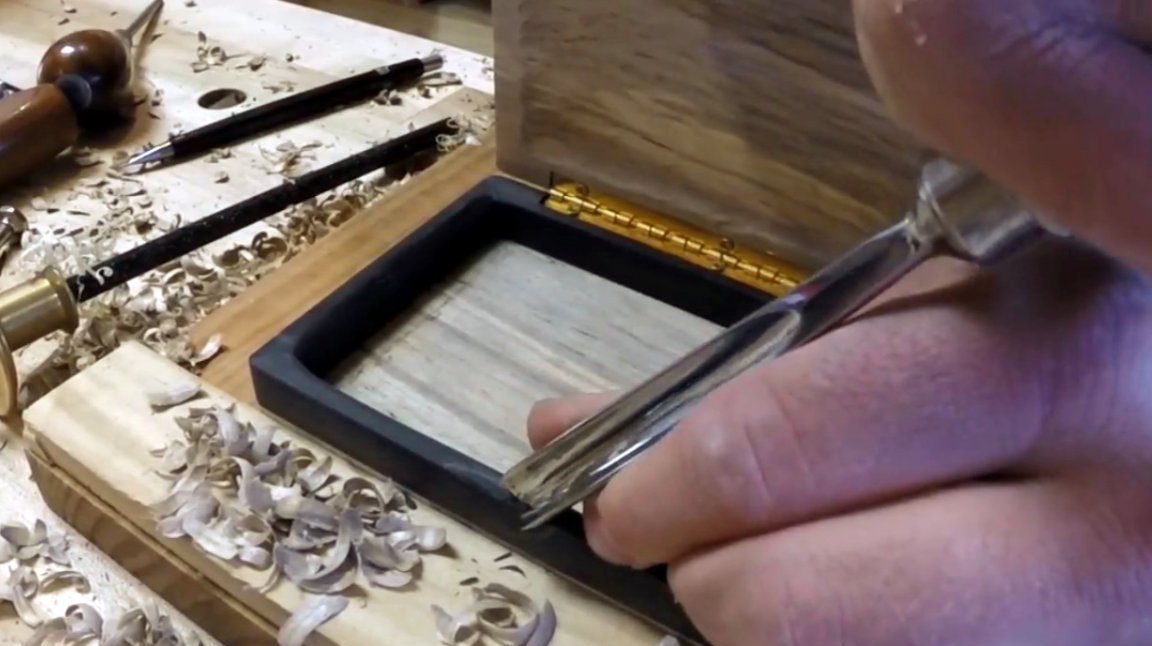
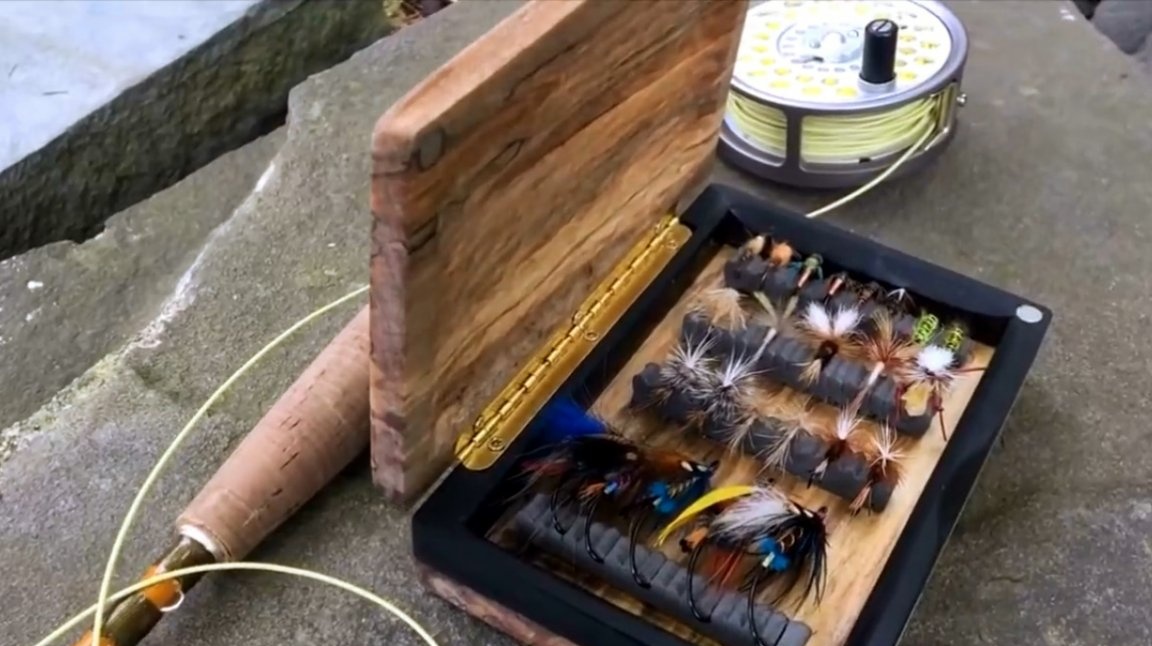
The next stage is the hinges, which should fasten both flaps of the box. It turned out to be not so easy to choose loops of suitable sizes, because the box is quite small, and the cutouts for the loops are even smaller. The author opted for piano loops. It is a pity that their full turn was not 180, but 90 degrees.
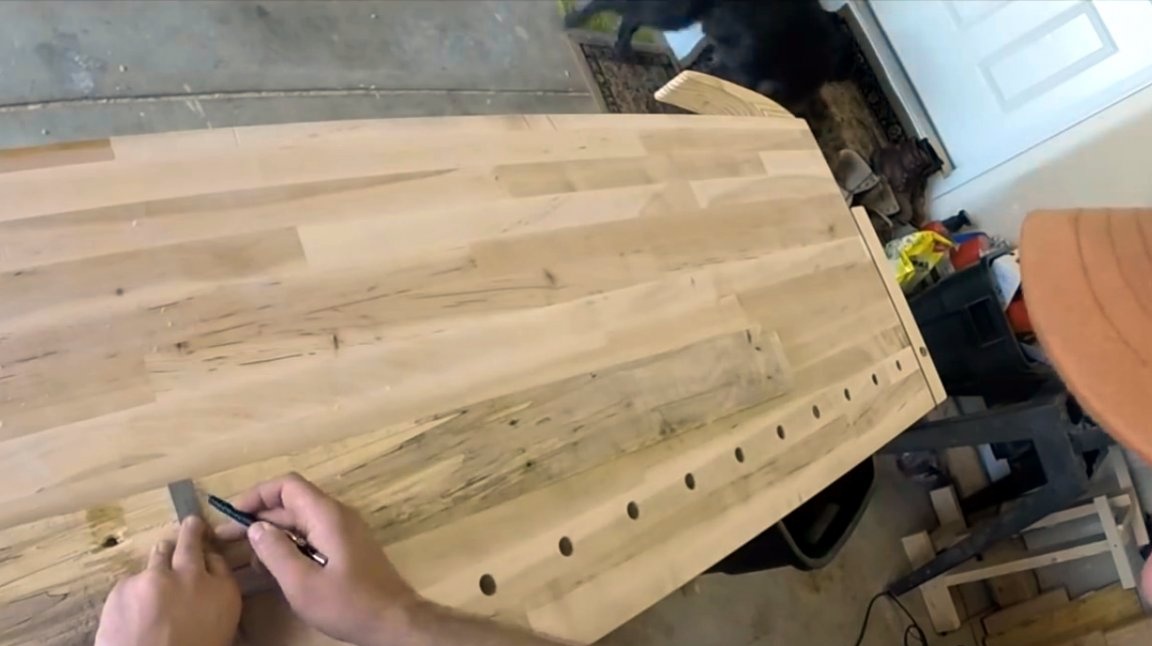
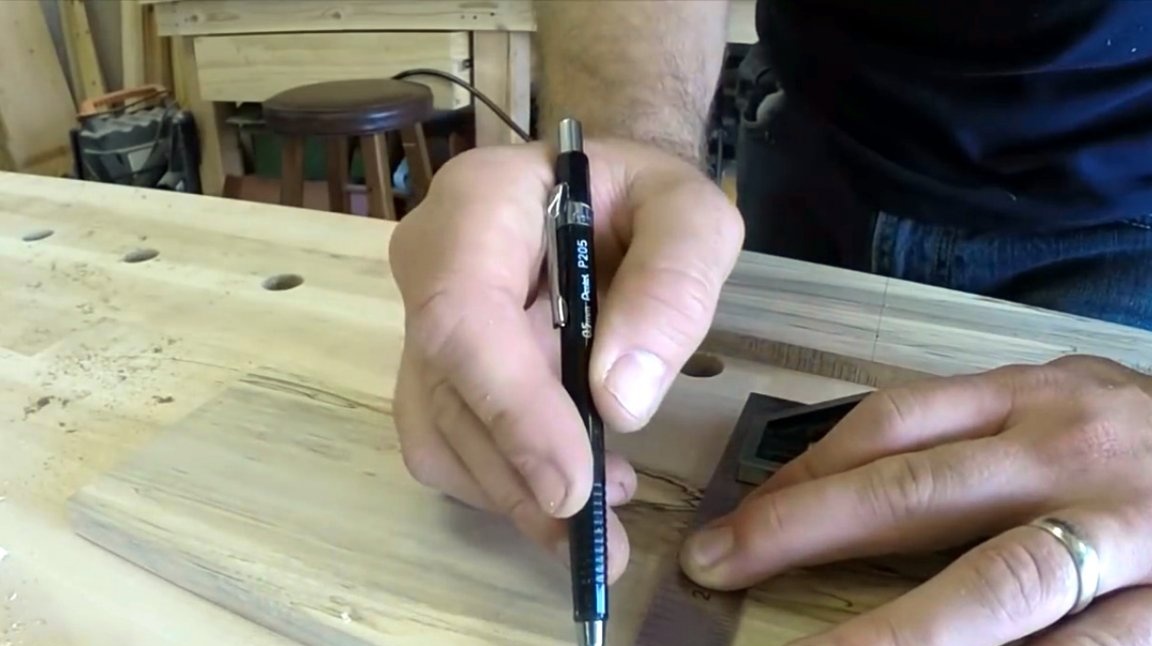
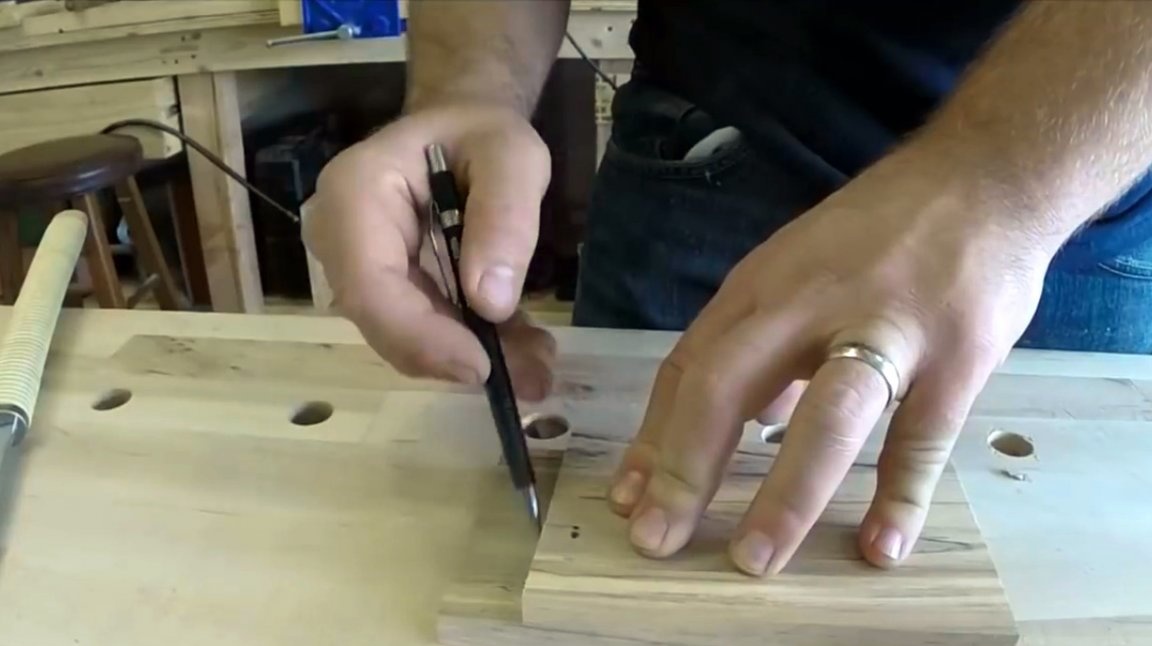
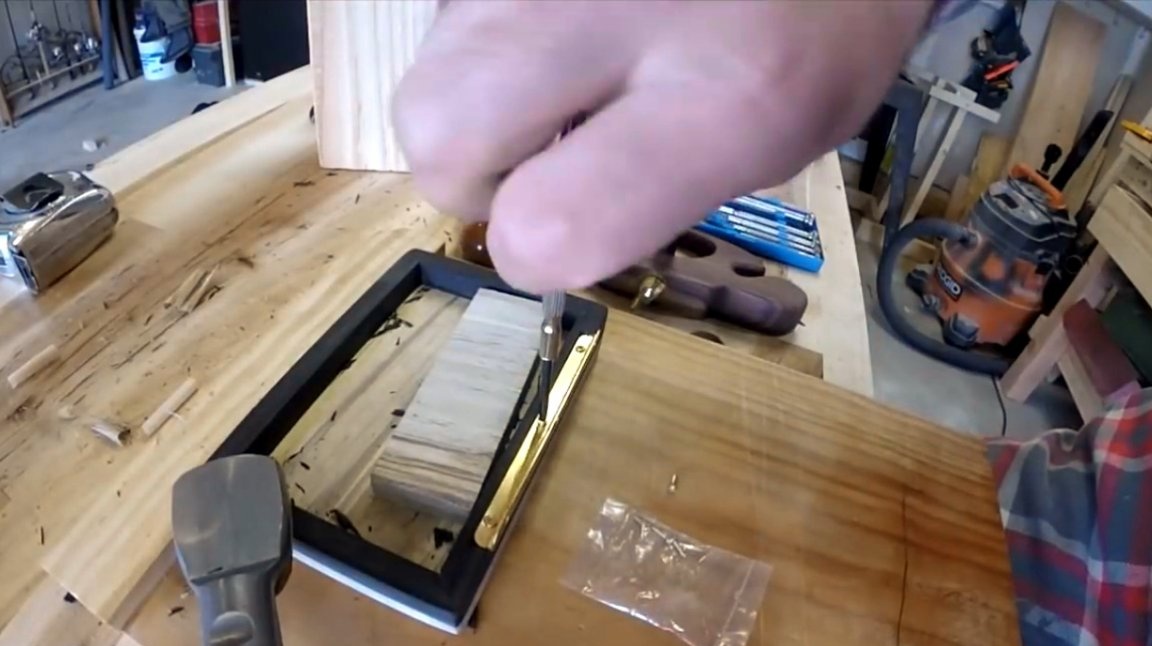
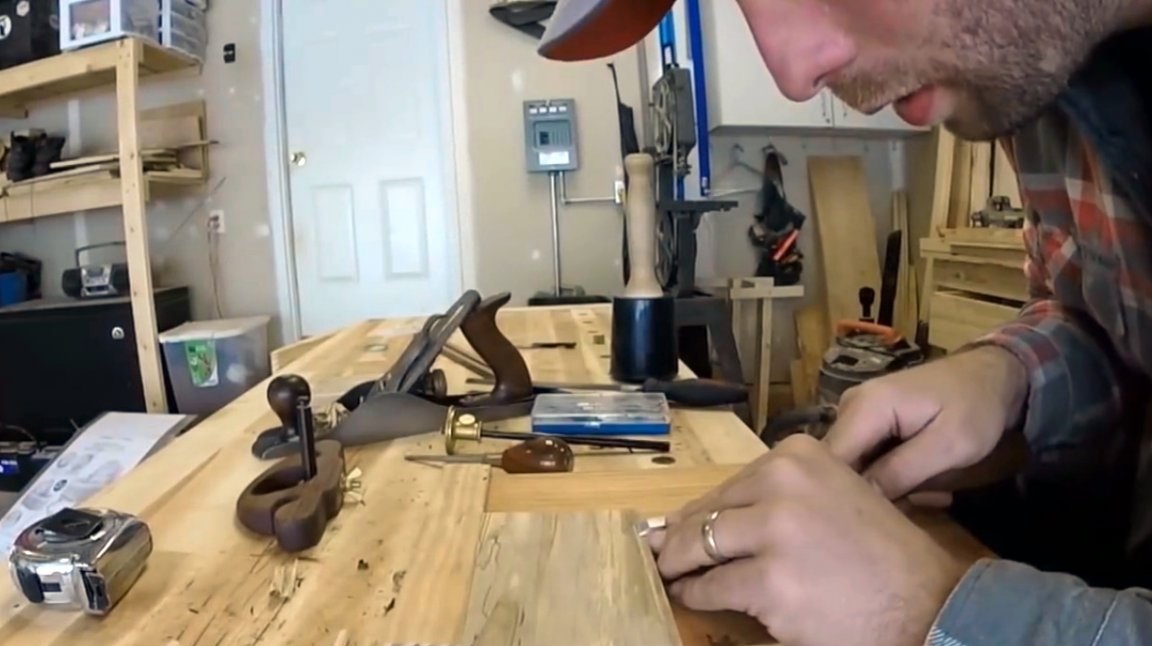
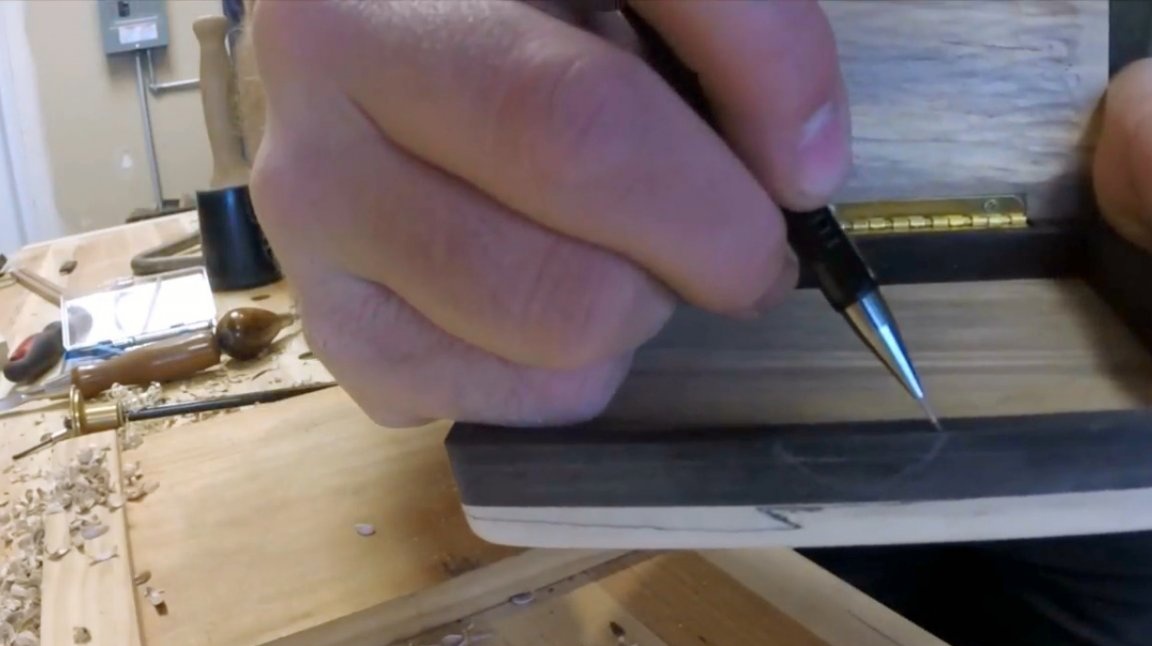
The author carefully measures the location of the loop, achieving perfect symmetry. Then marks future holes, and the perimeter of the loop.

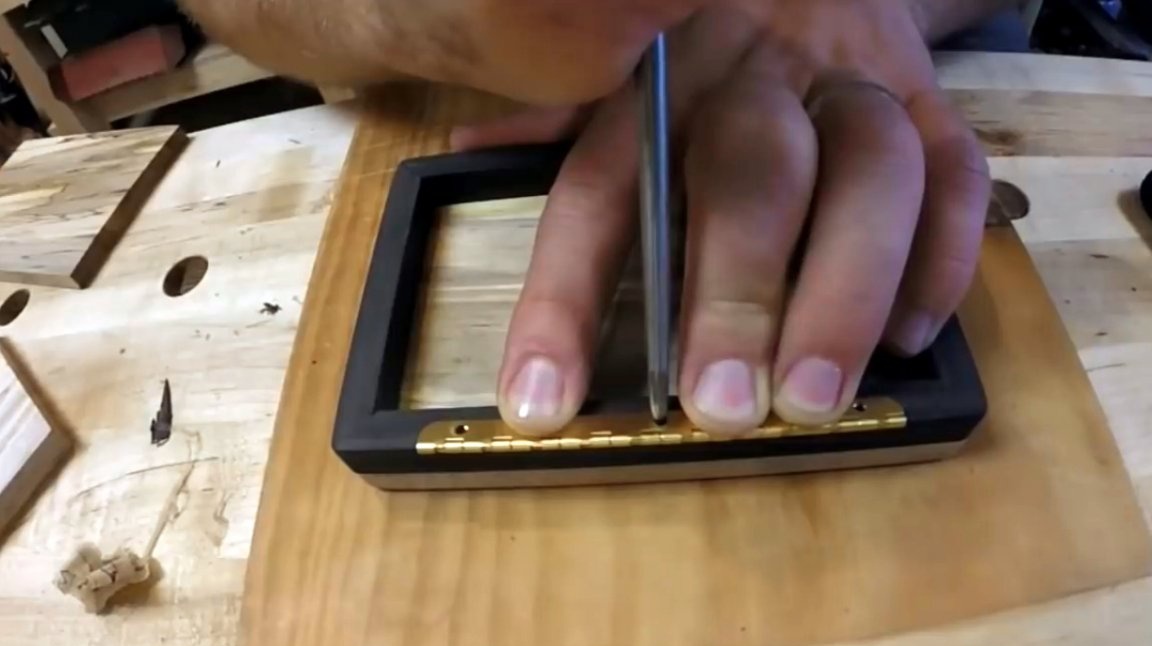
Now you need to drill blind pilot holes for screws.
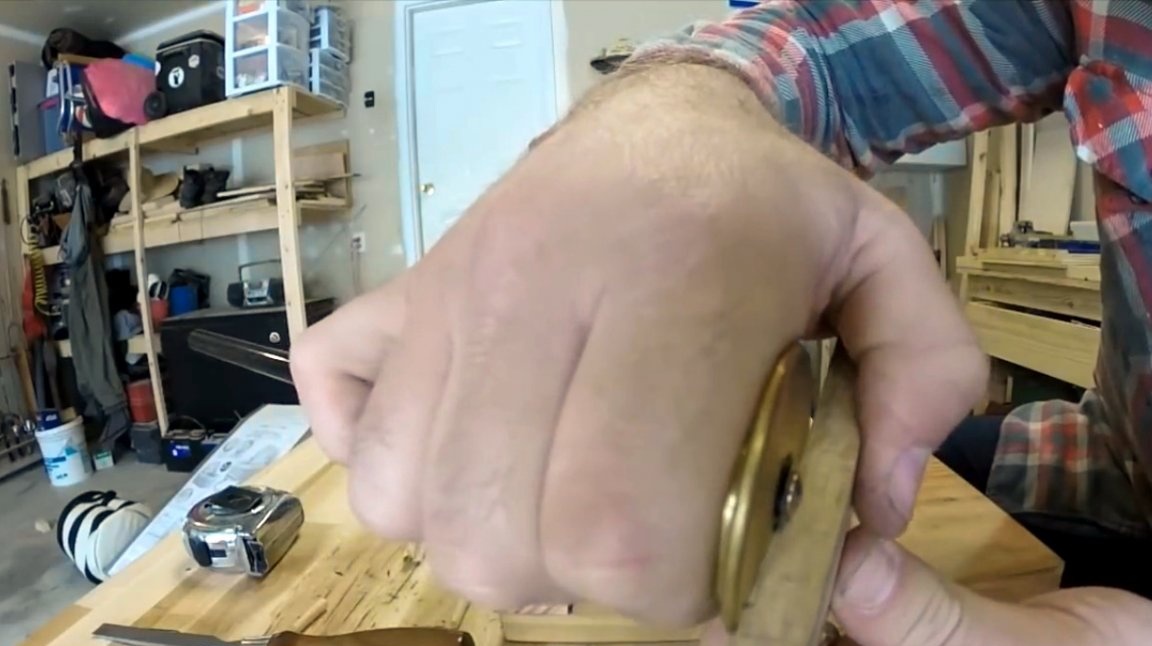
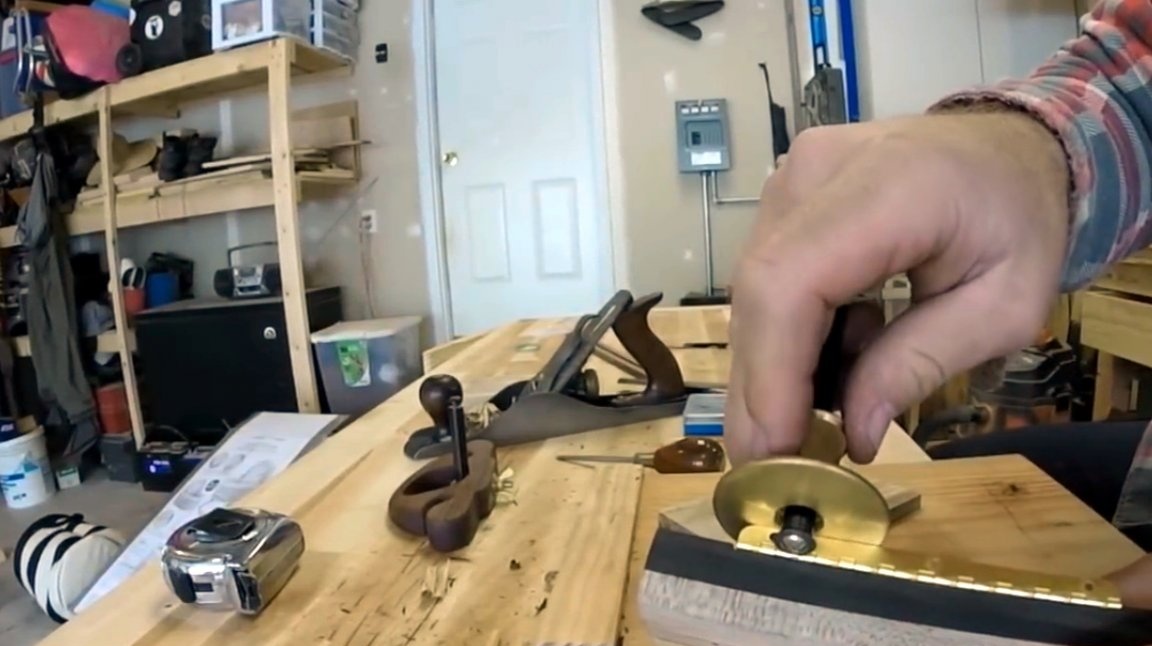
A hand planer - milling cutter and a chisel cut a recess under the loop.
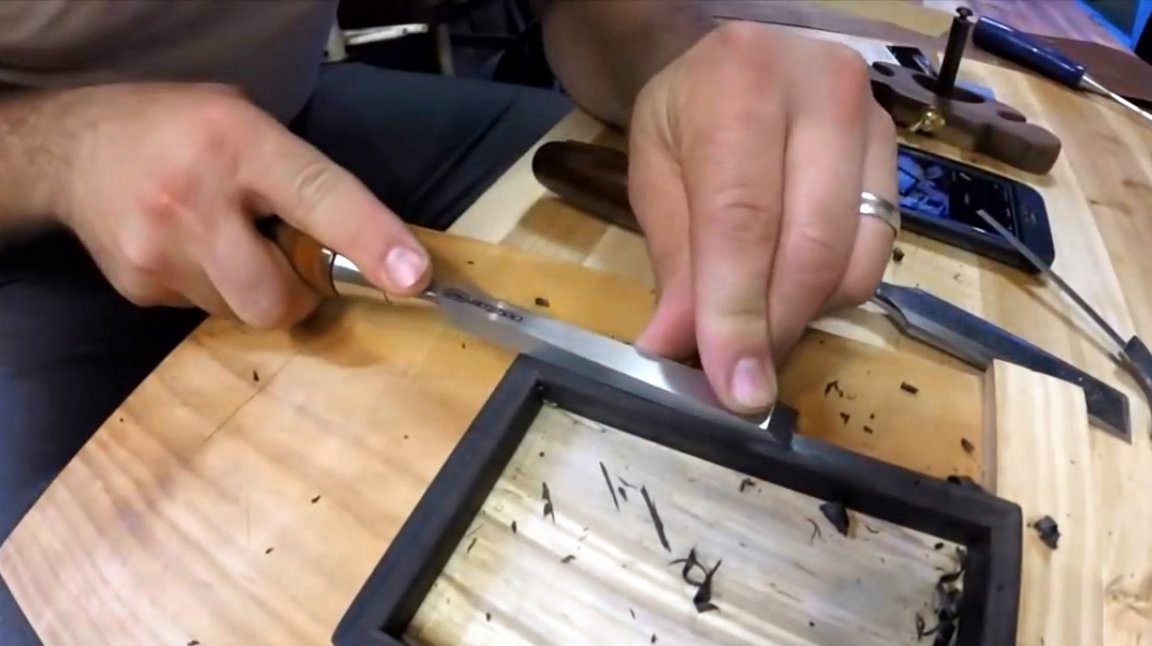
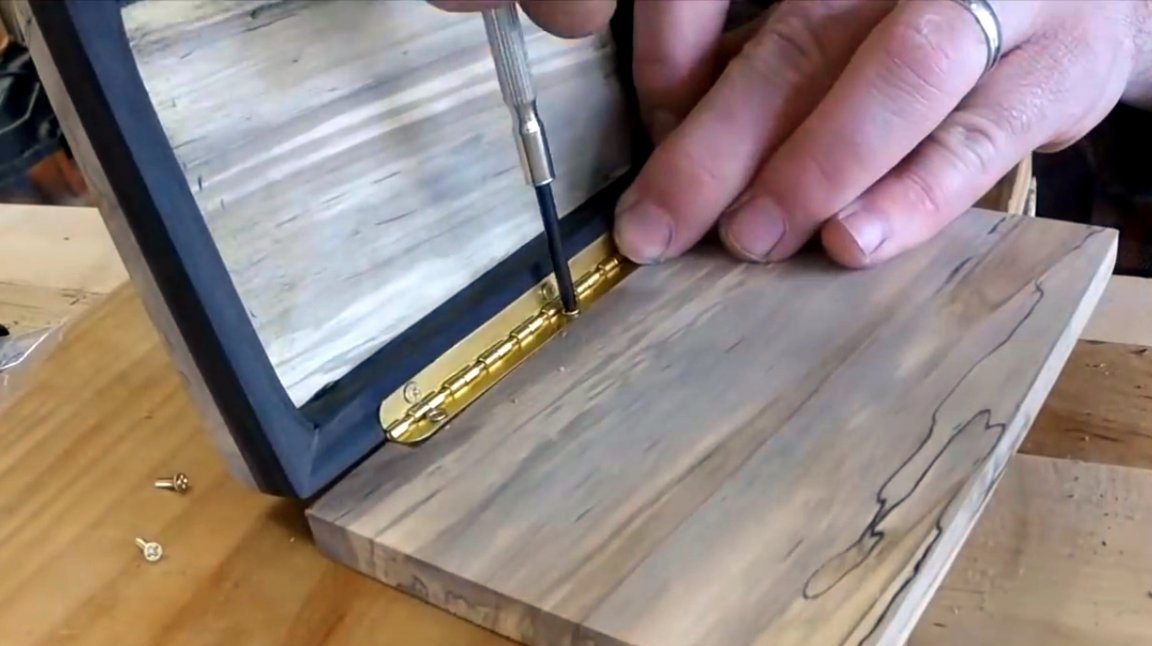
The loop is screwed on and the edges of the border are rounded.
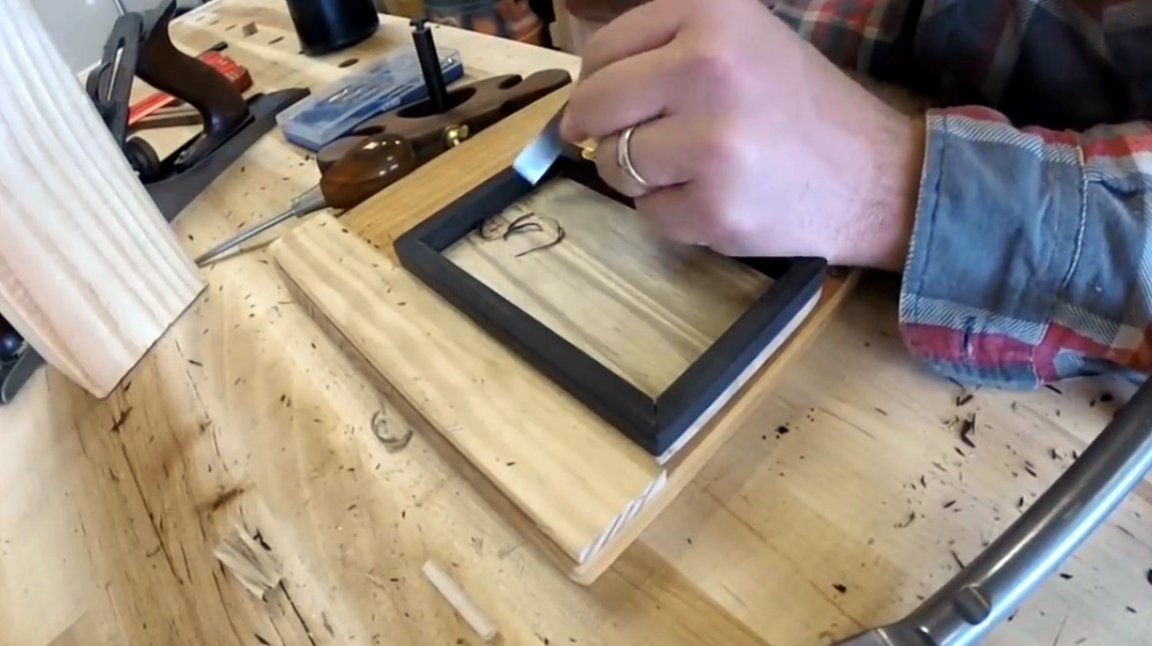
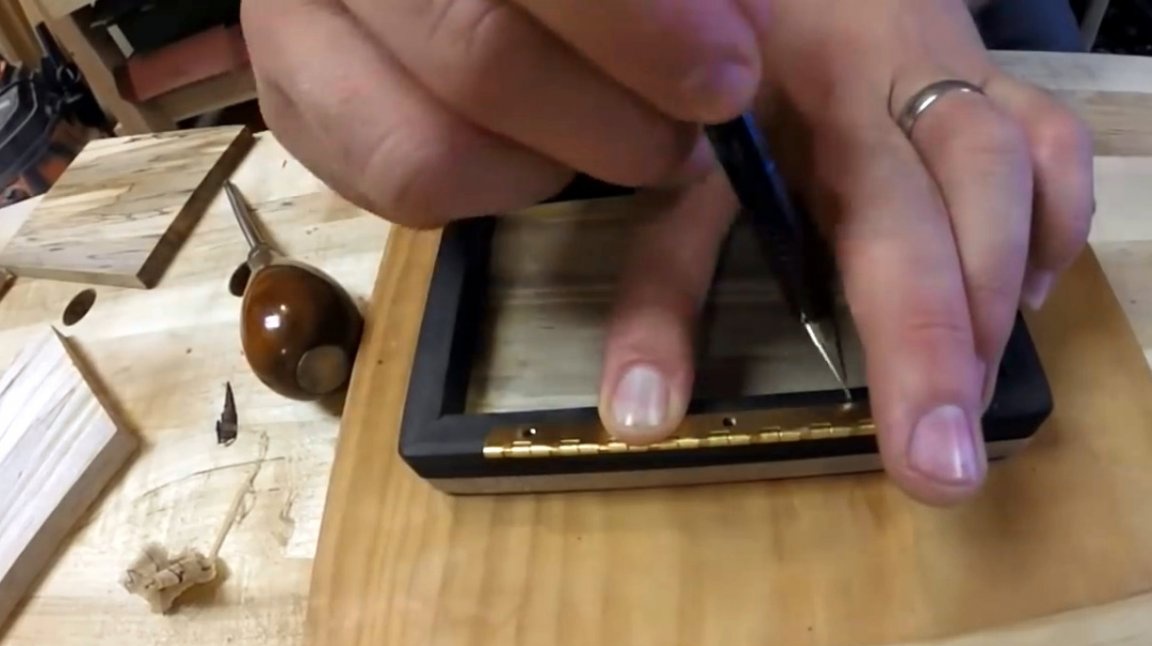
On the second part of the future box (lid), a notch is used to mark the desired depth under the second side of the loop using a marking gage. At this distance from the edge, a recess is made into which the loop will fit.

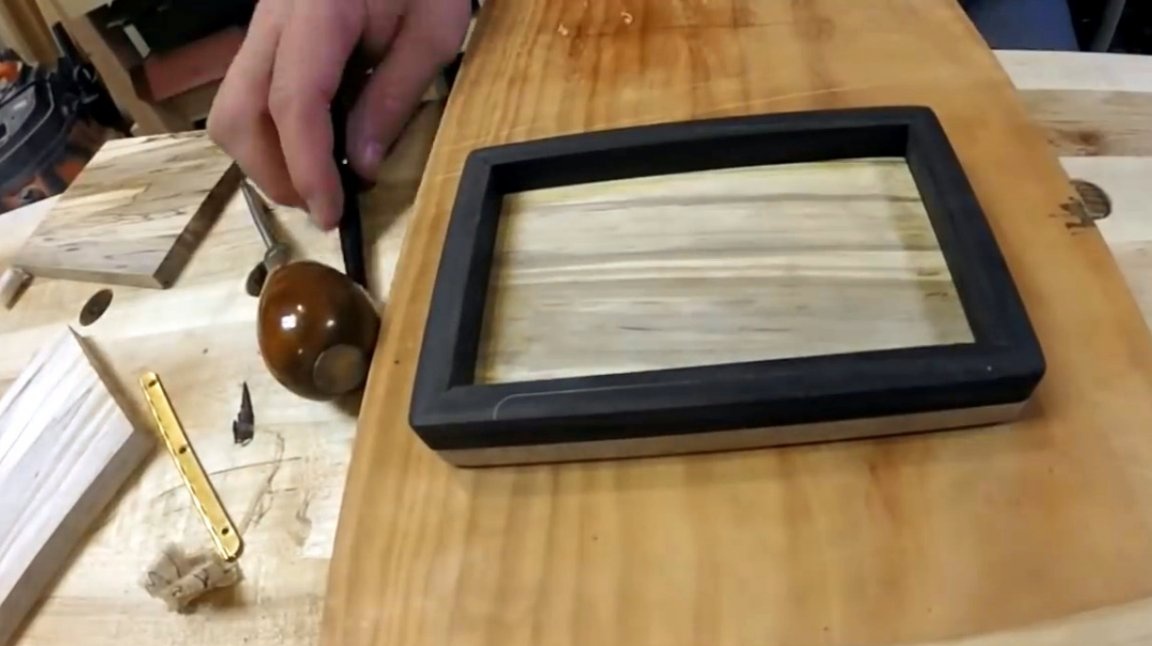
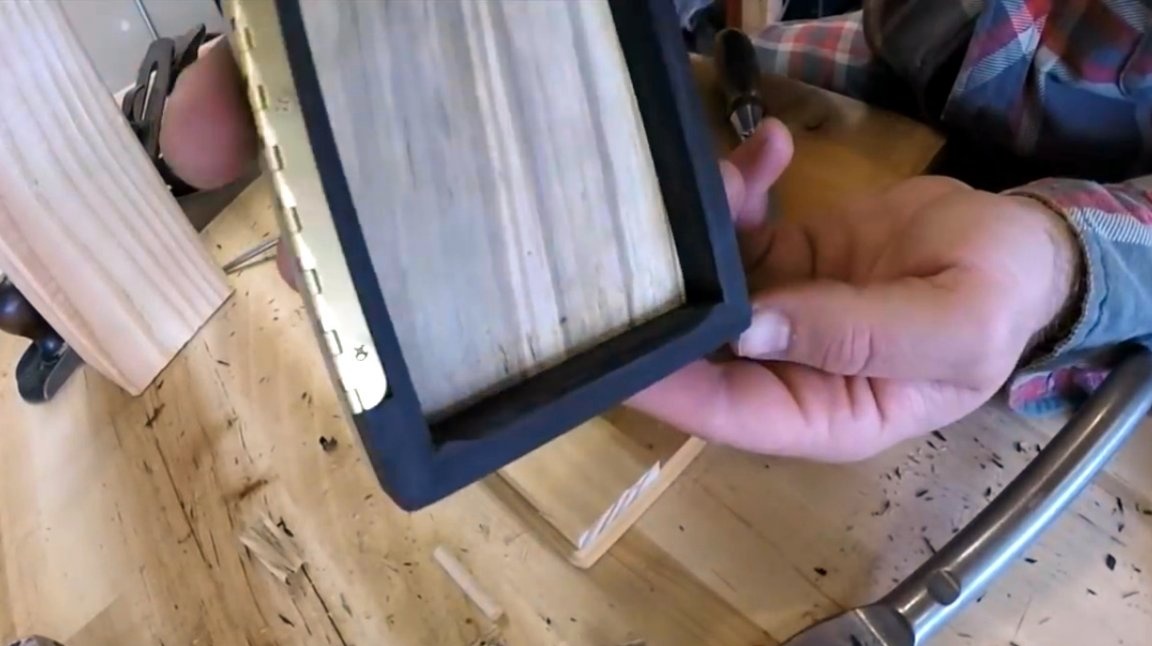
Both wings are connected.
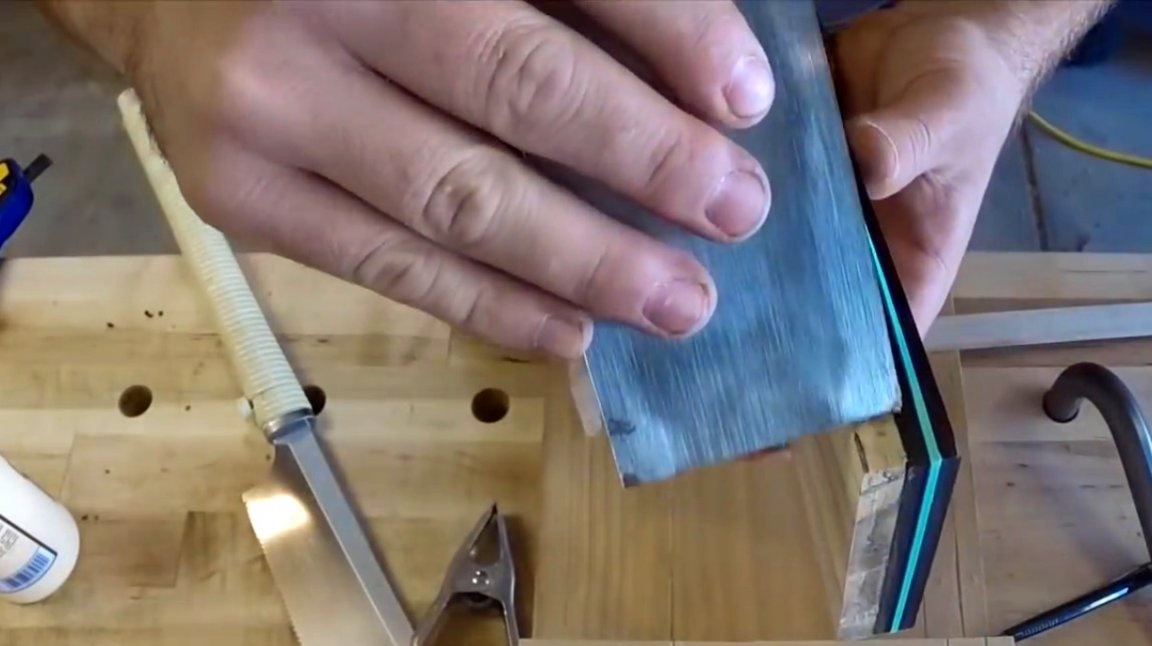
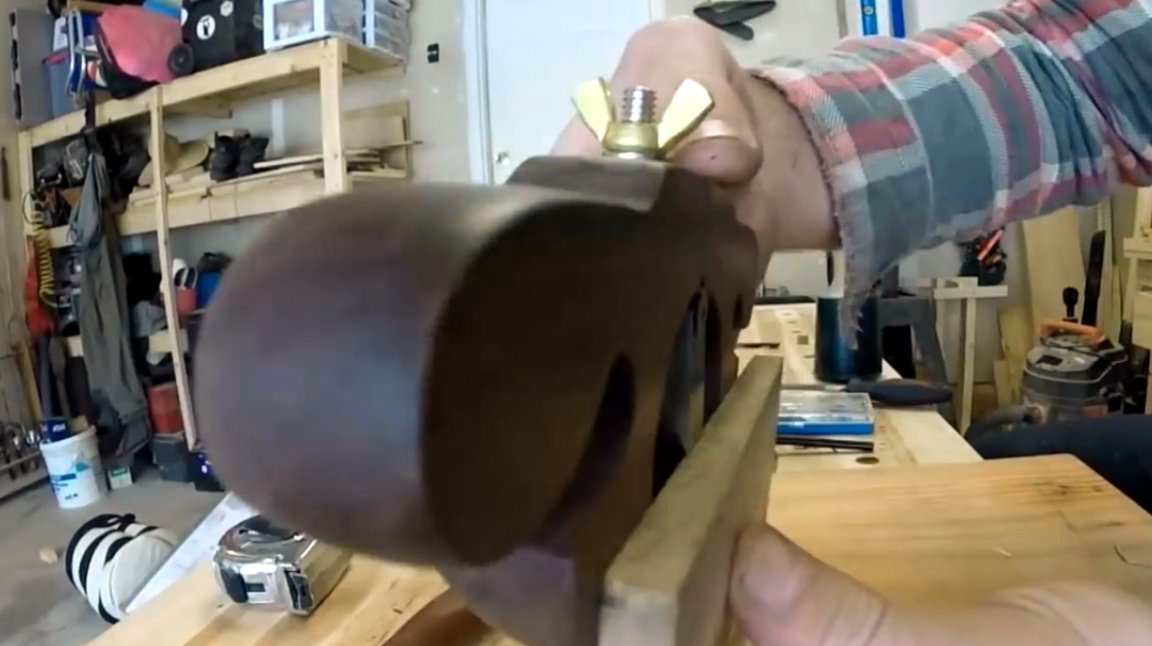
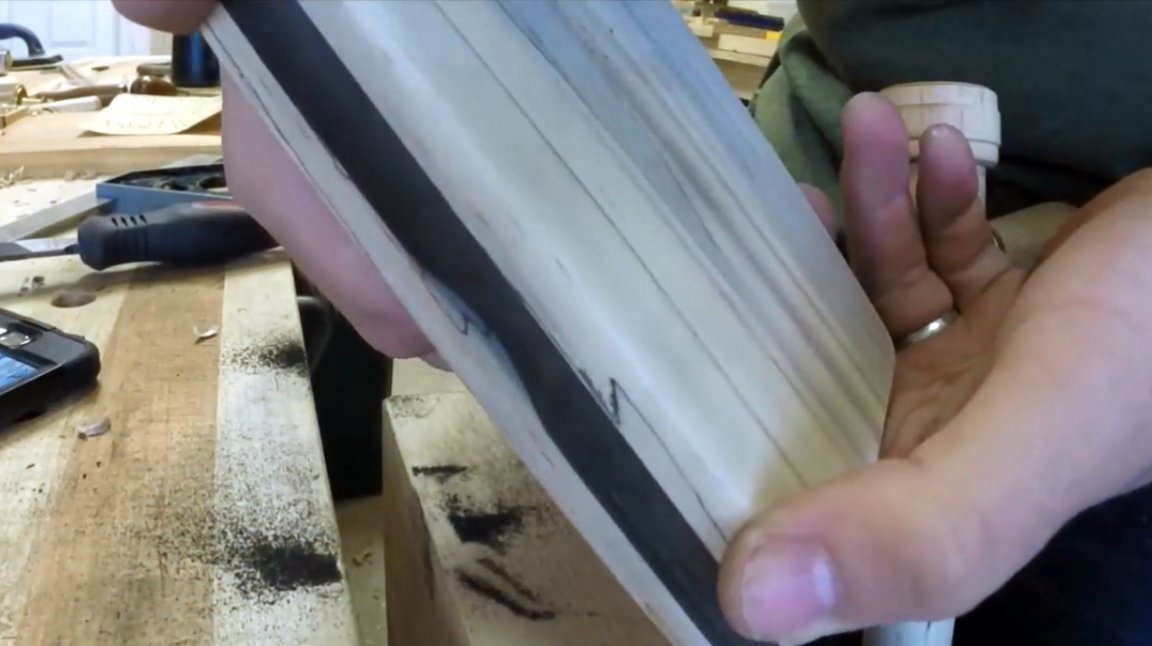
With a manual plane, the master smooths the sharp sides and corners of the box, and polishes with sandpaper.
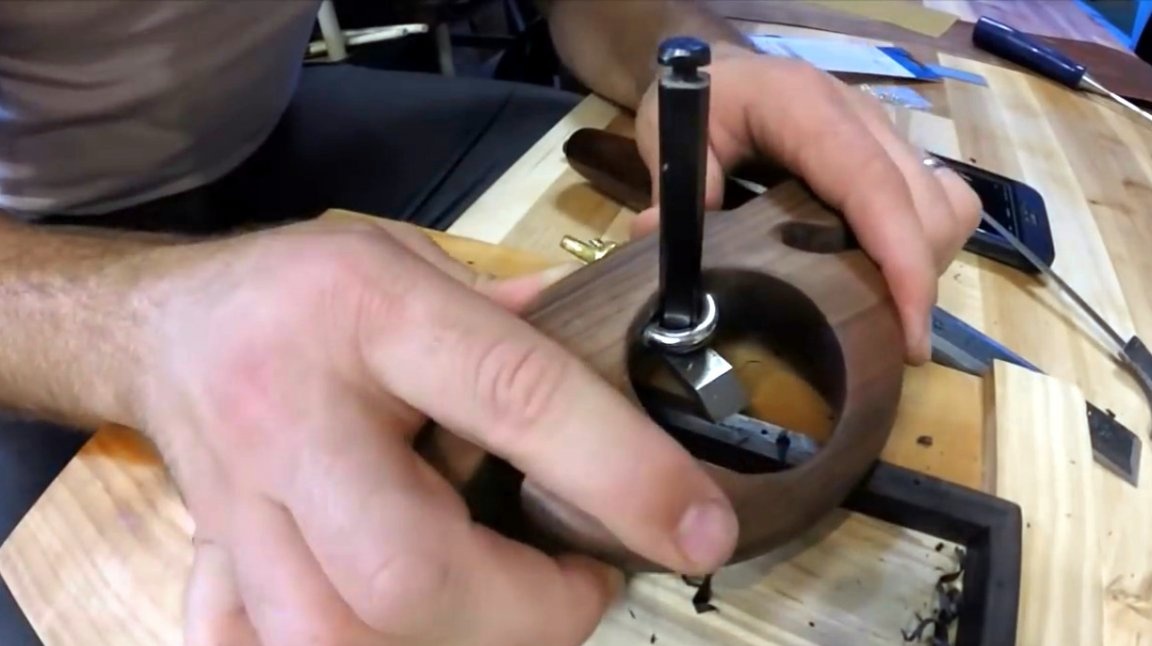
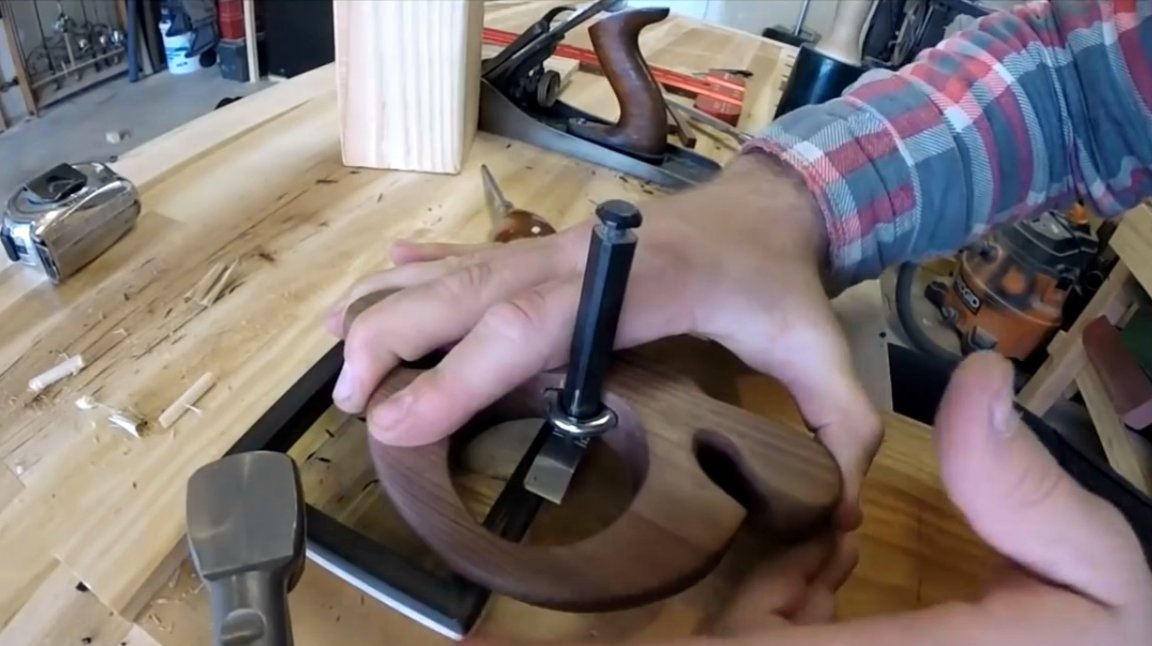
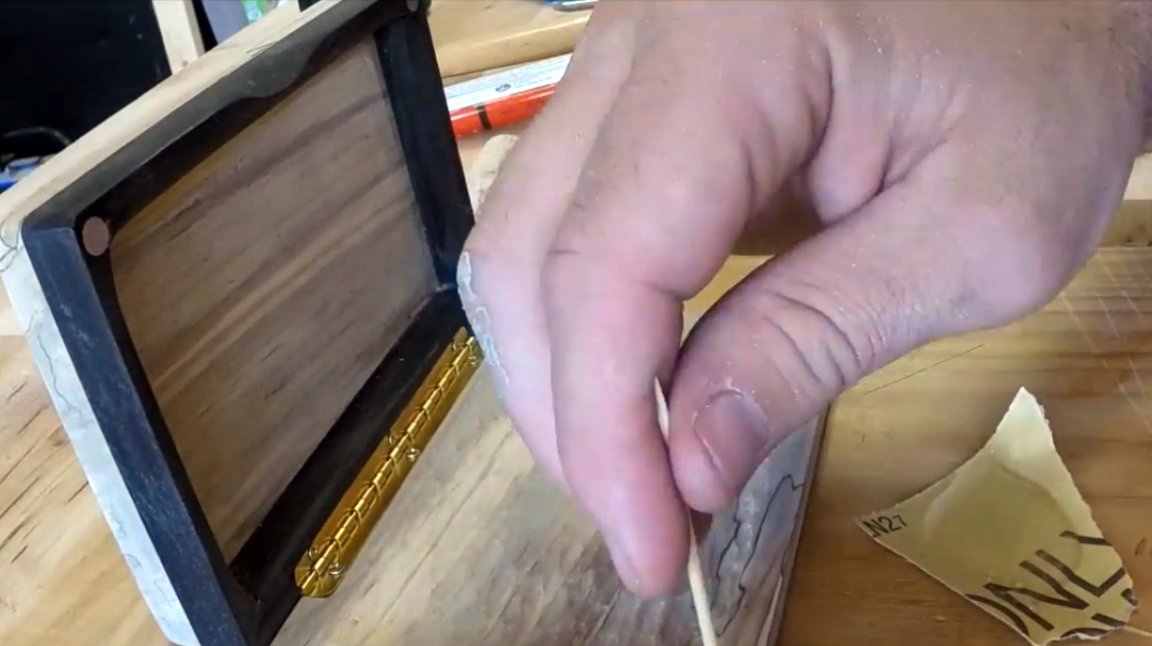
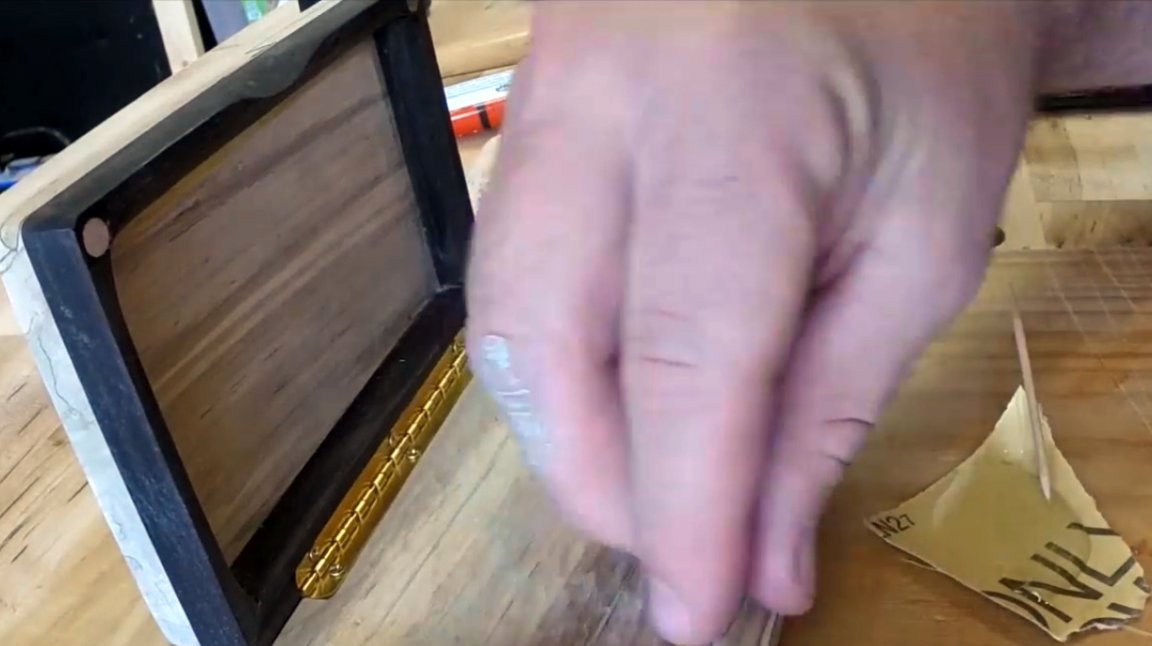
Then he outlines a groove for the finger, carefully scrapes it with a chisel, and processes it with a rasp.

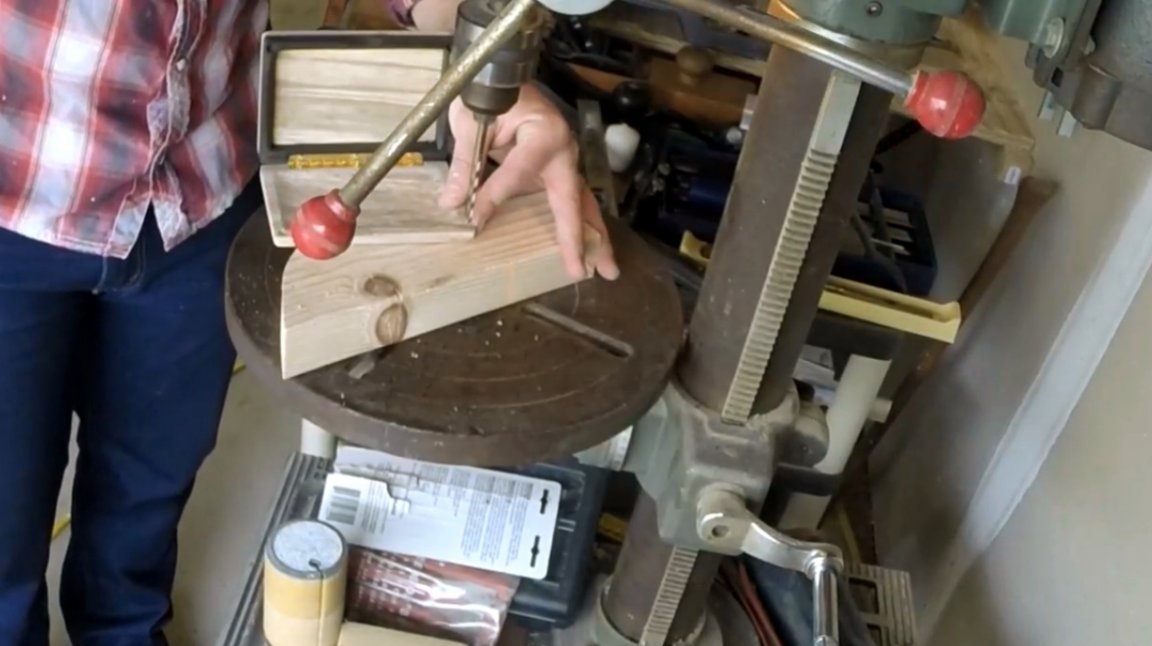
On a drilling machine, holes for neodymium magnets are made in the corners of the box.
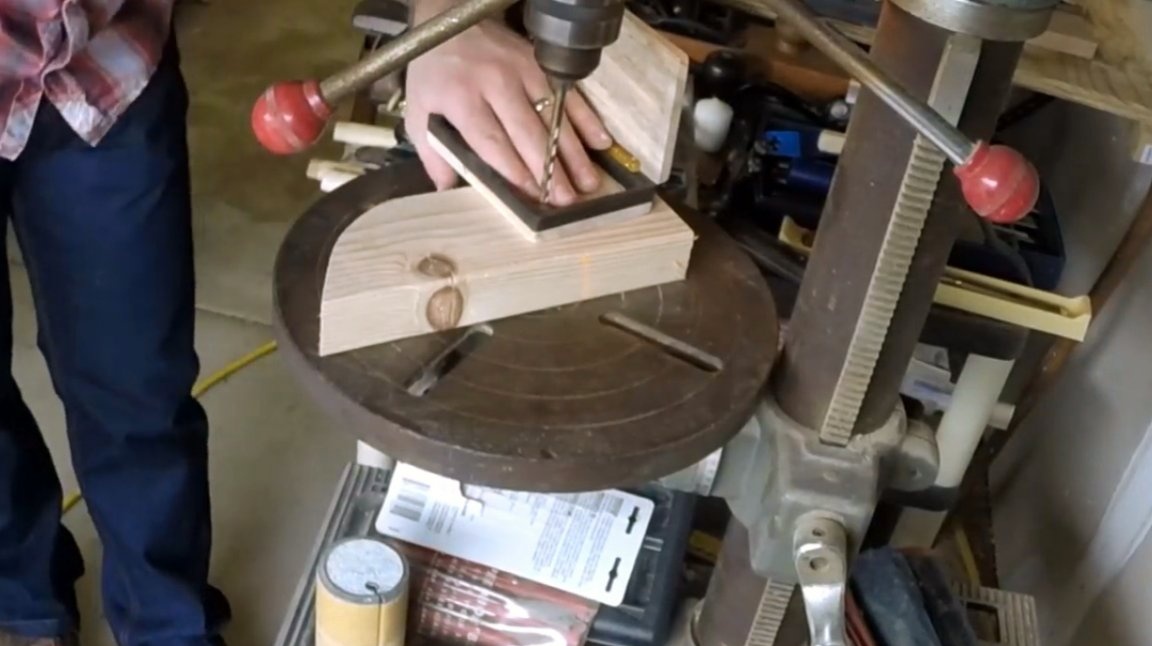
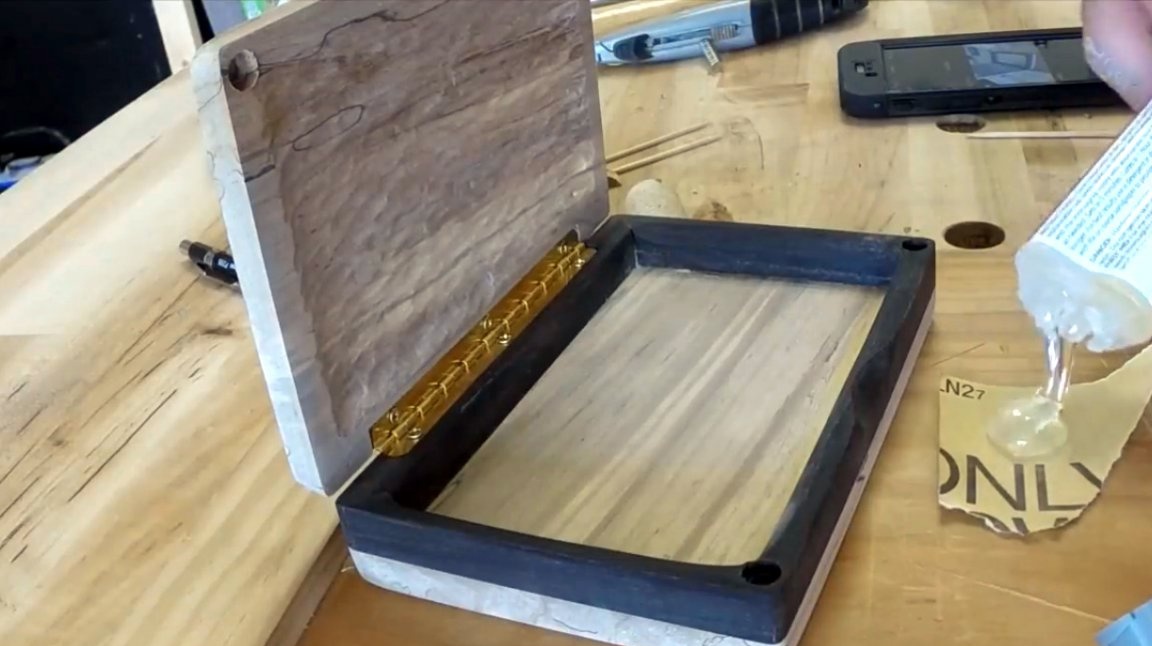
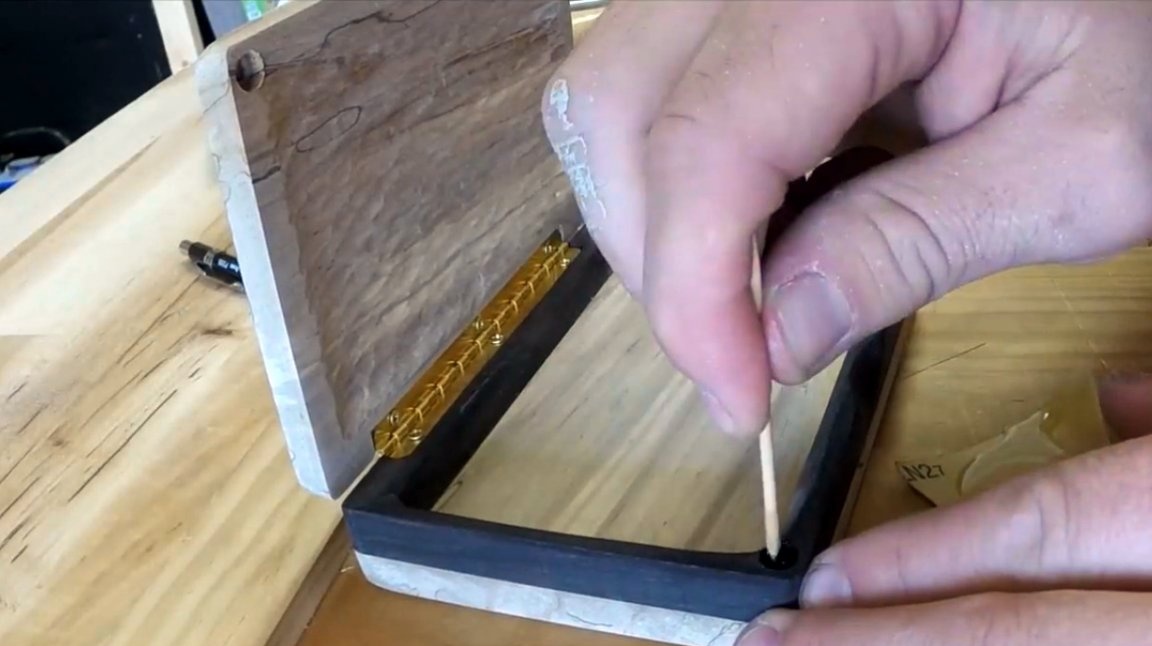
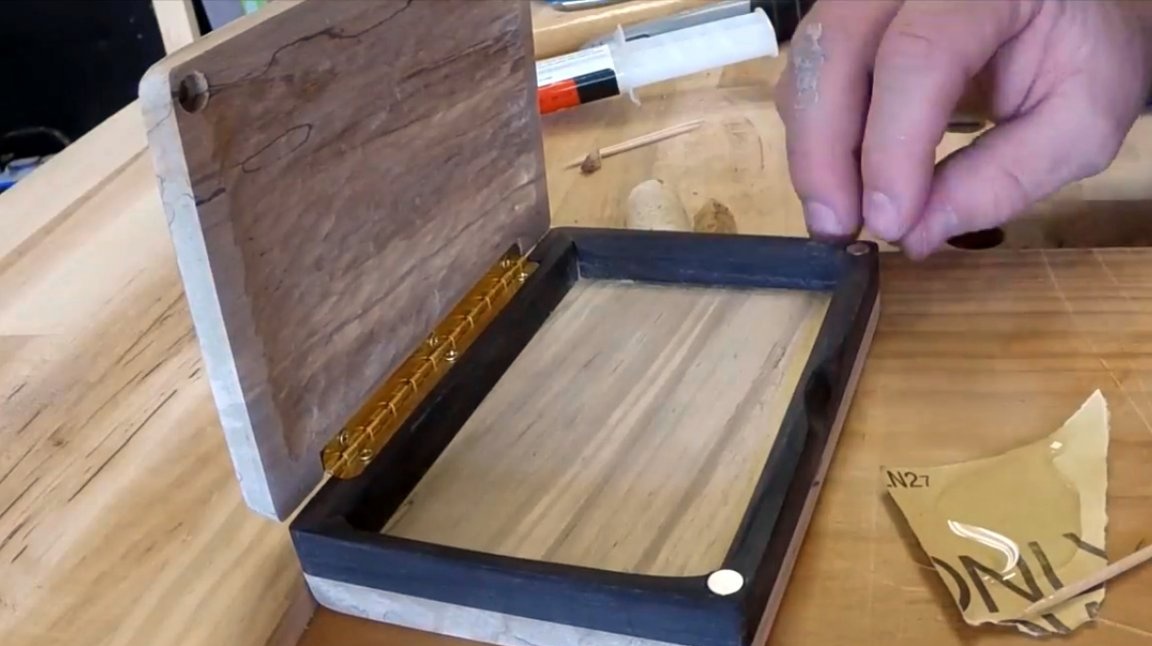
Magnets are mounted on two-component epoxy adhesive. It is important to observe the polarity of the magnets in the lid and bottom, otherwise they will repel instead of closing!
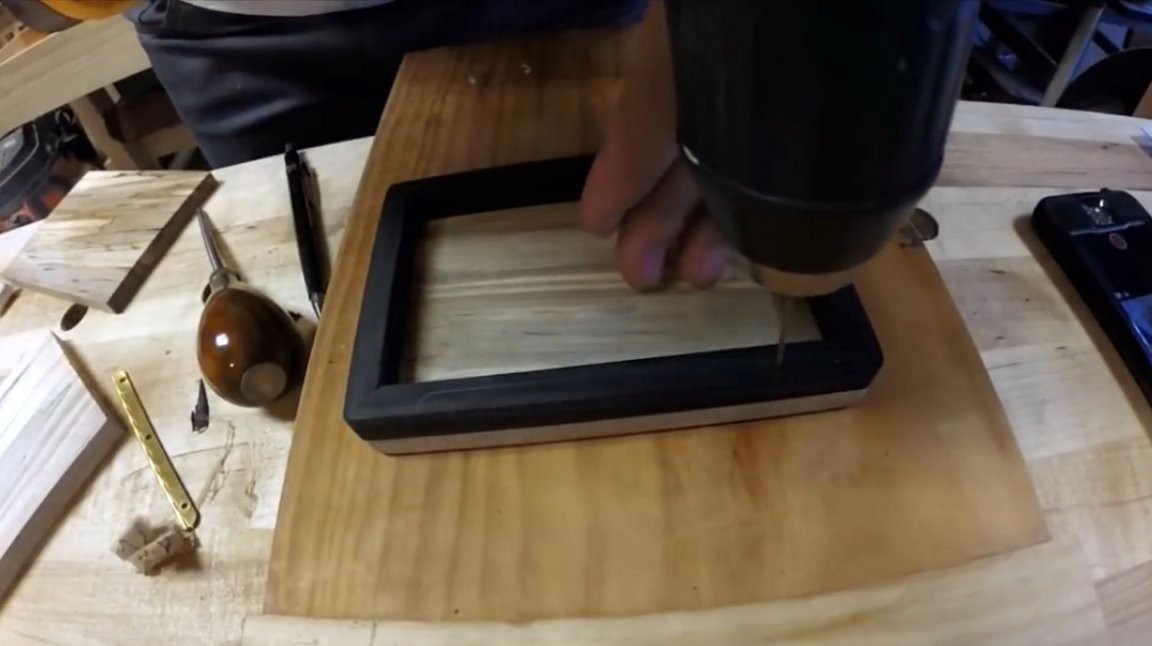
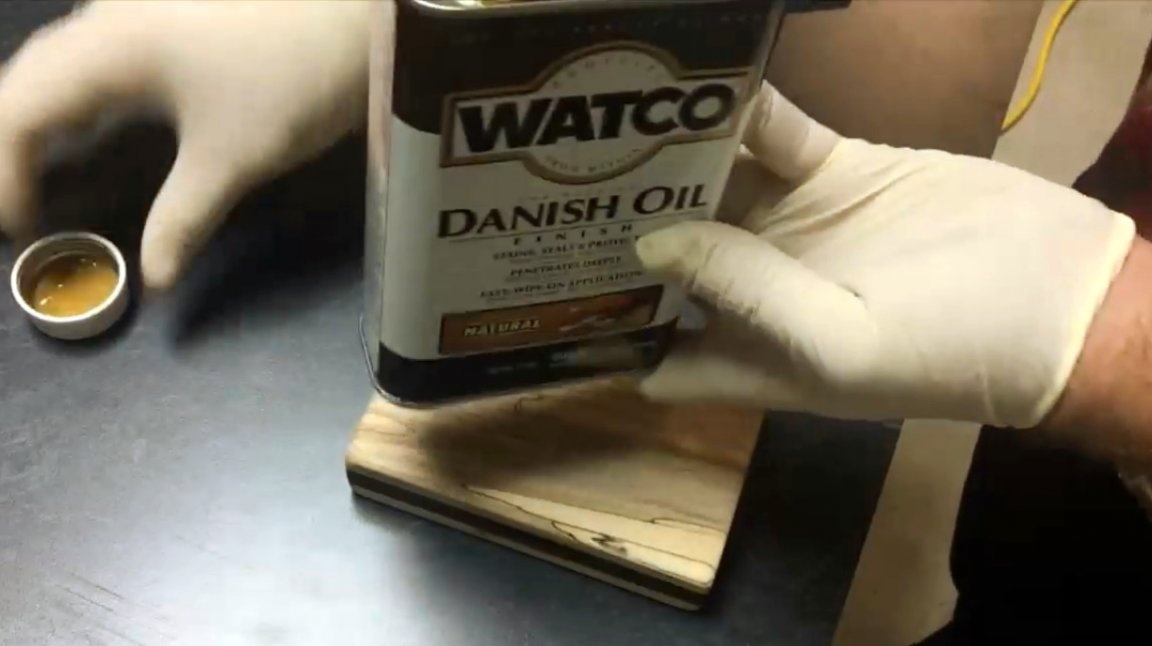
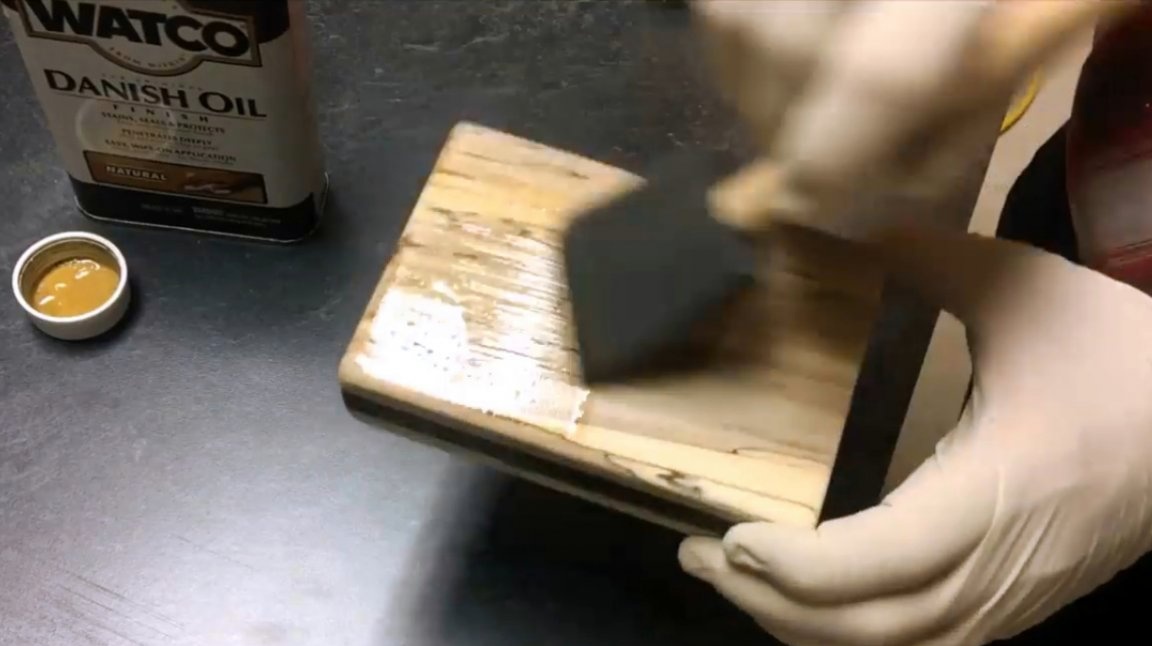
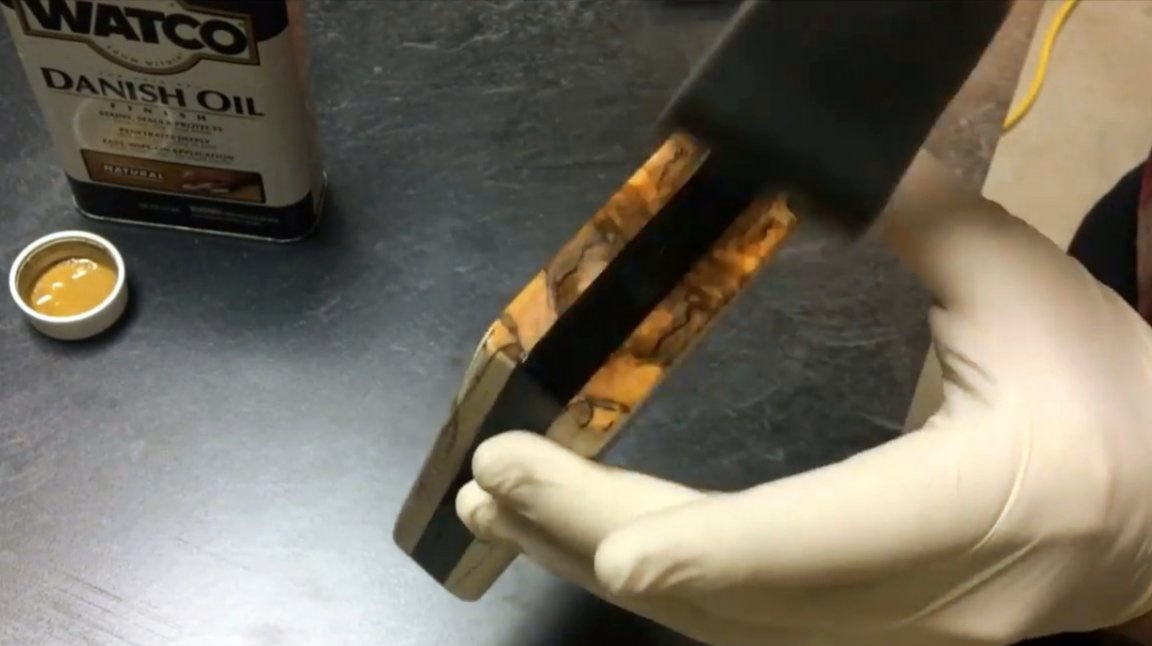
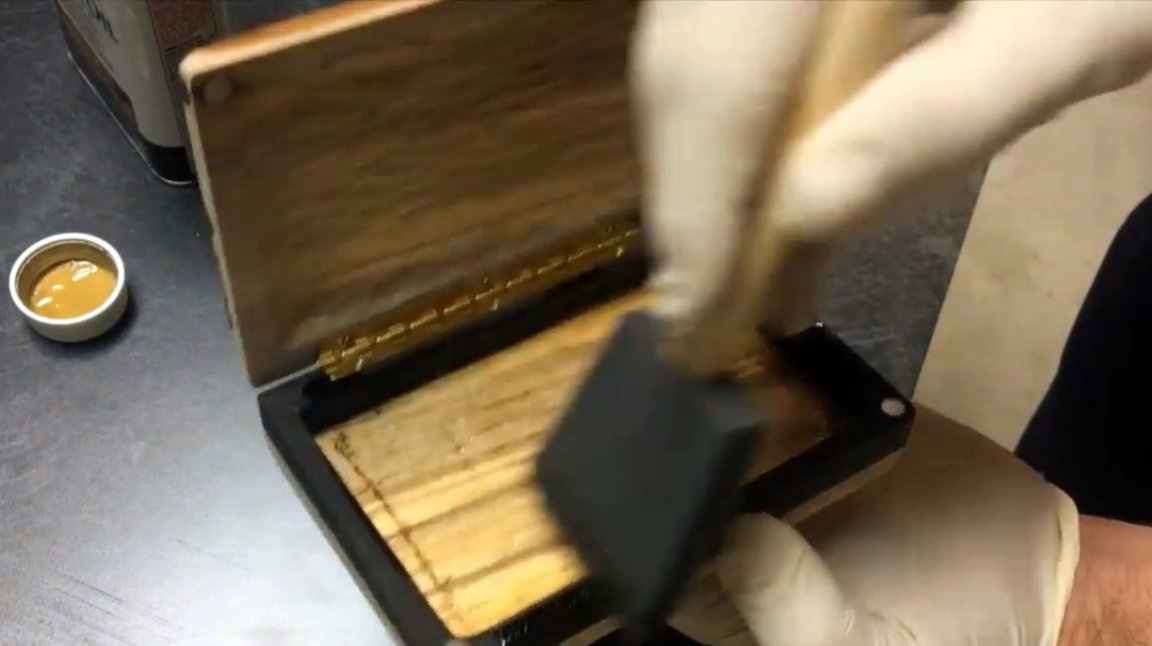
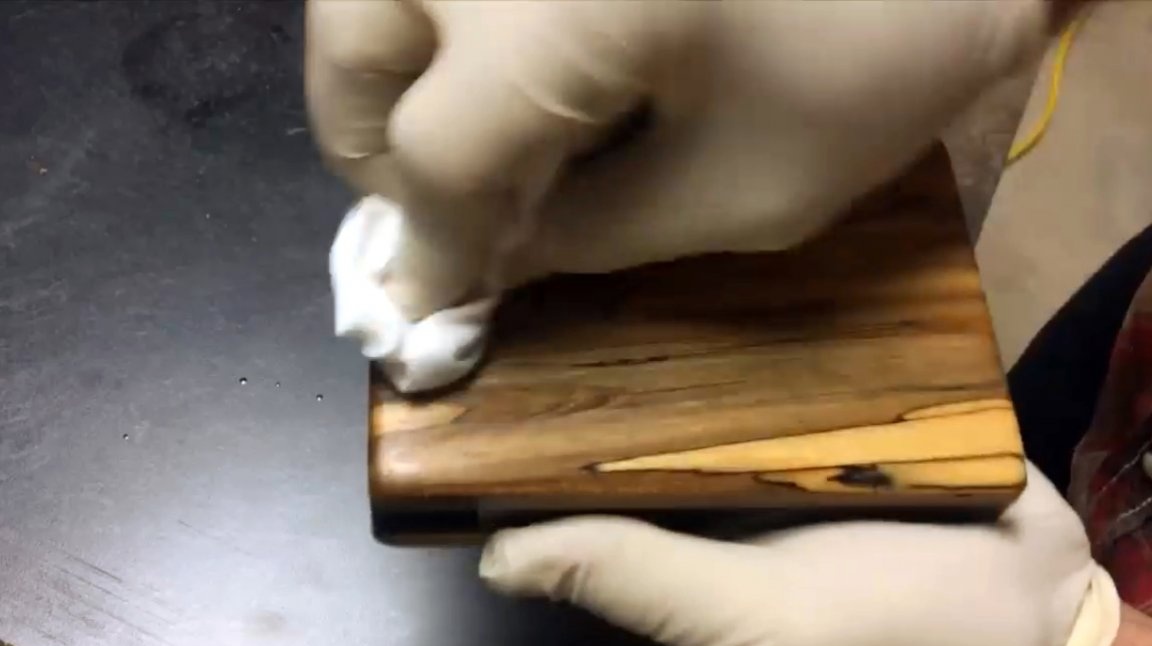
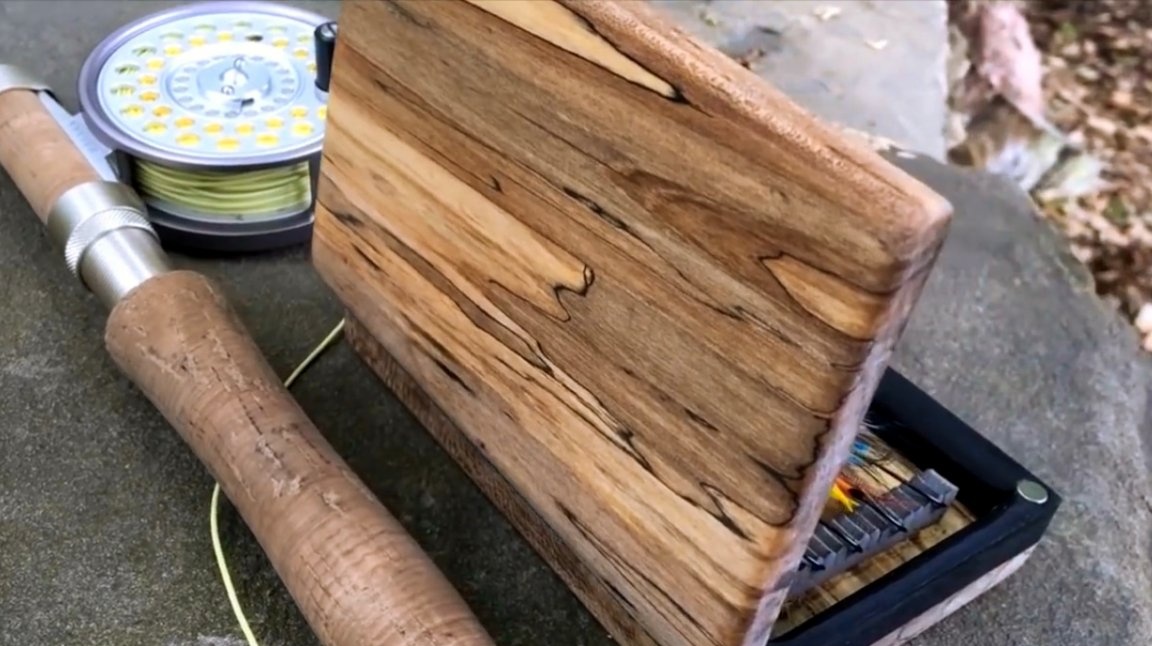
Almost finished product is impregnated with Danish oil, emphasizing an unusual woody pattern. You can also use linseed oil, and wax. The master applies oil in a thick layer, distributing it with a rubber spatula. After soaking, excess is removed with a rag.
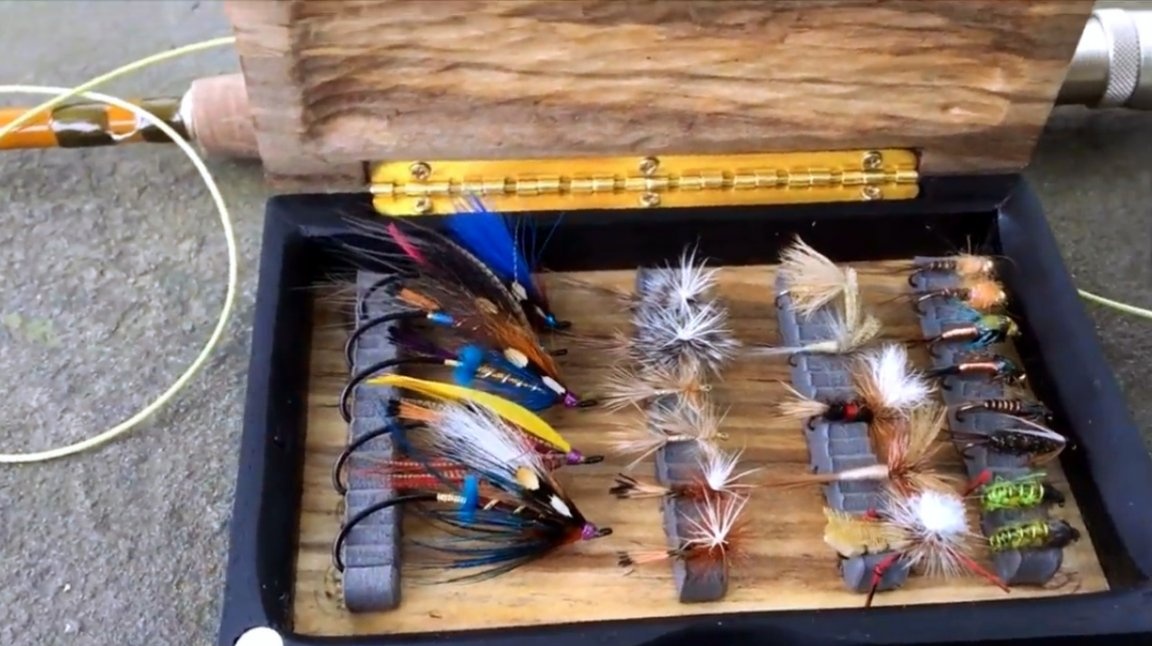
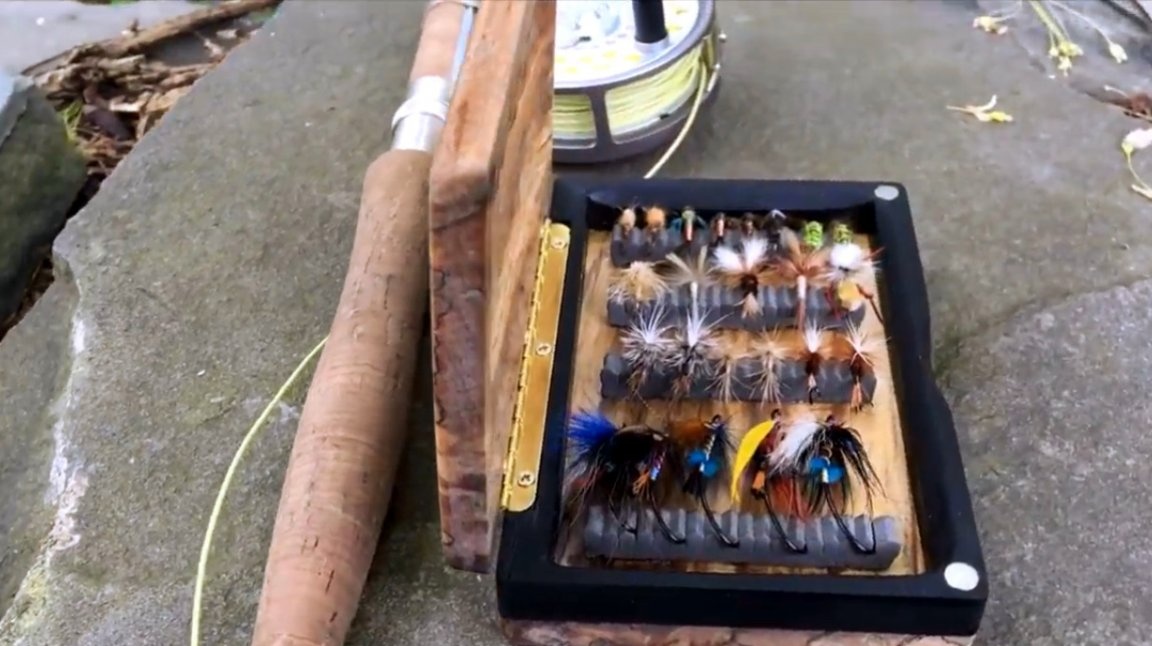
Polyurethane inserts are glued to the bottom of the box base, in which fishing hooks will be securely attached.
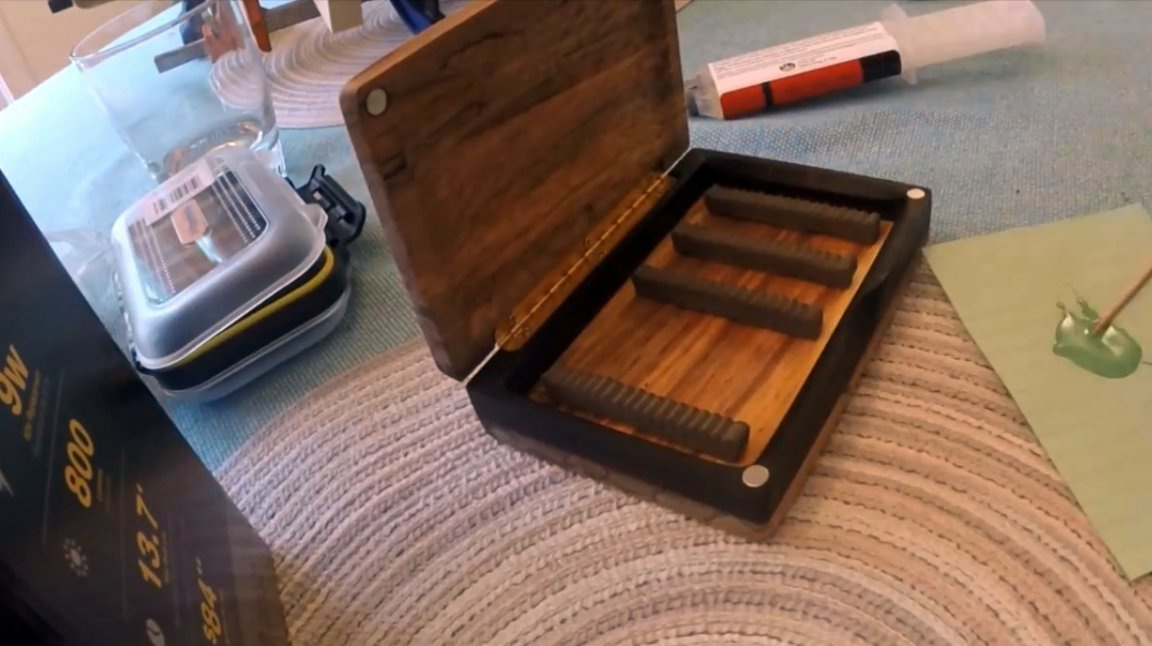
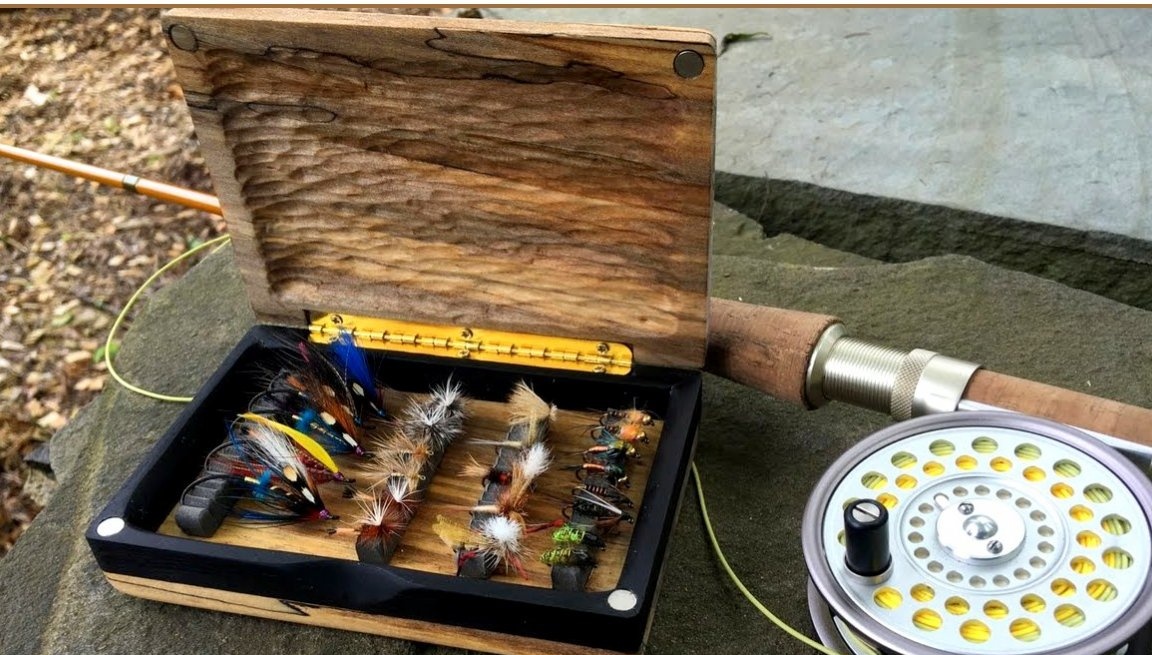
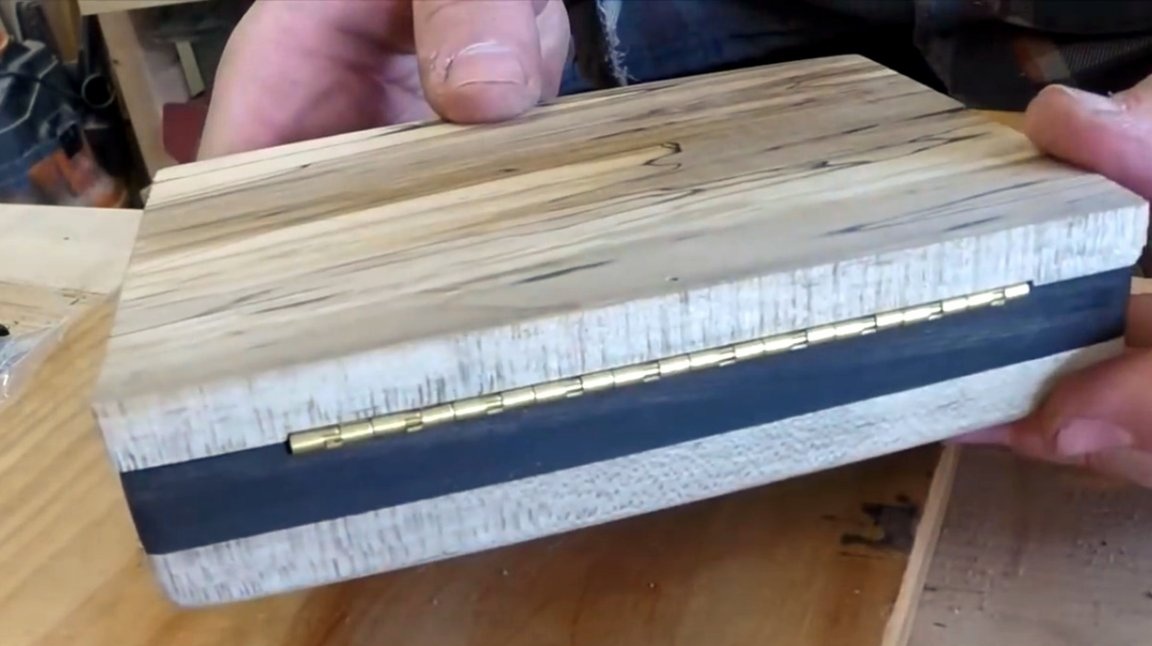
And here is the box in the finished form. Well, what kind of avid angler will refuse such a gift?
Thanks to the author for a simple but very beautiful gift idea for an amateur, or a professional fisherman!
All good mood, good luck, and interesting ideas!
Author videos can be found here.