
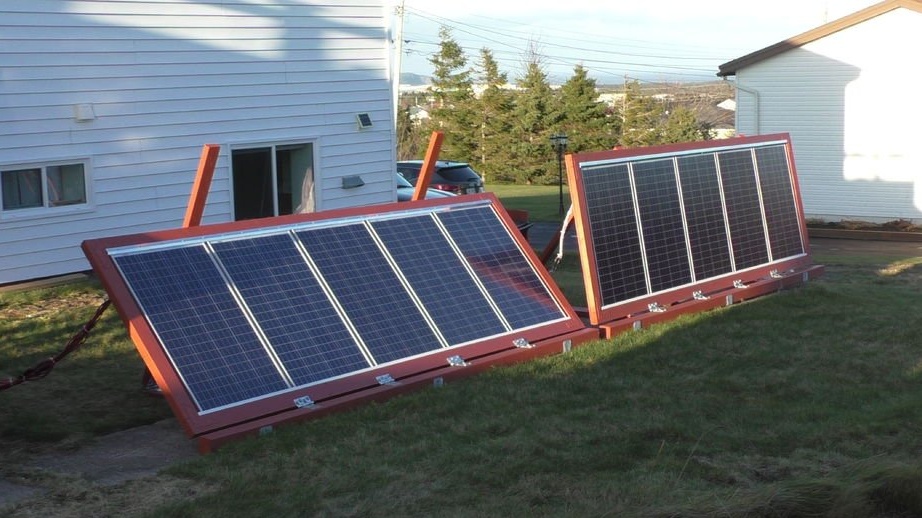
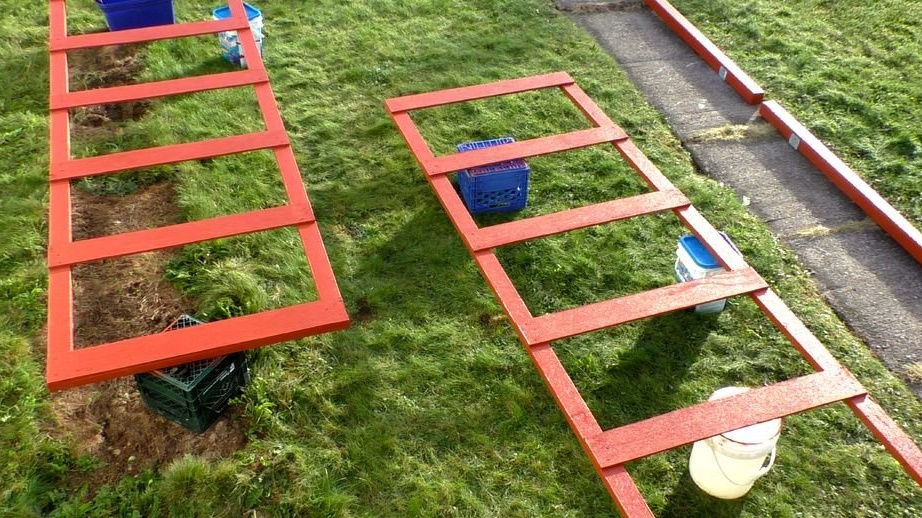
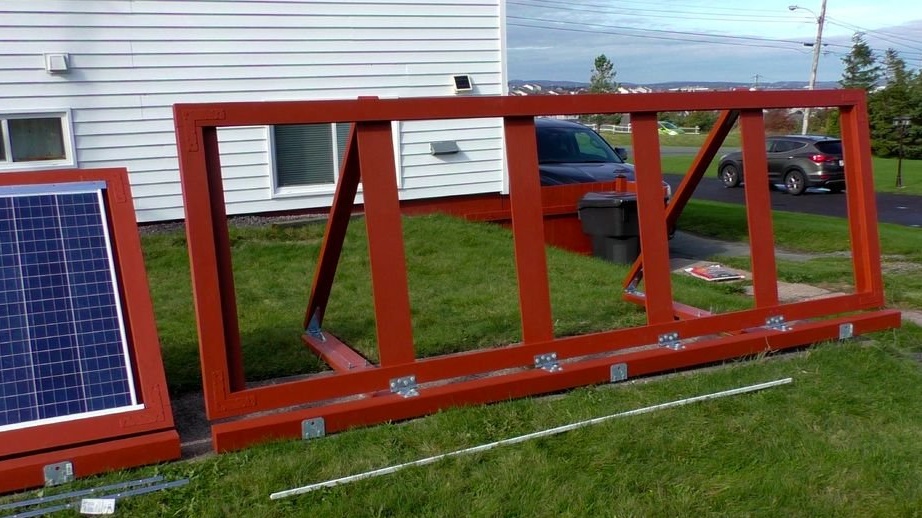
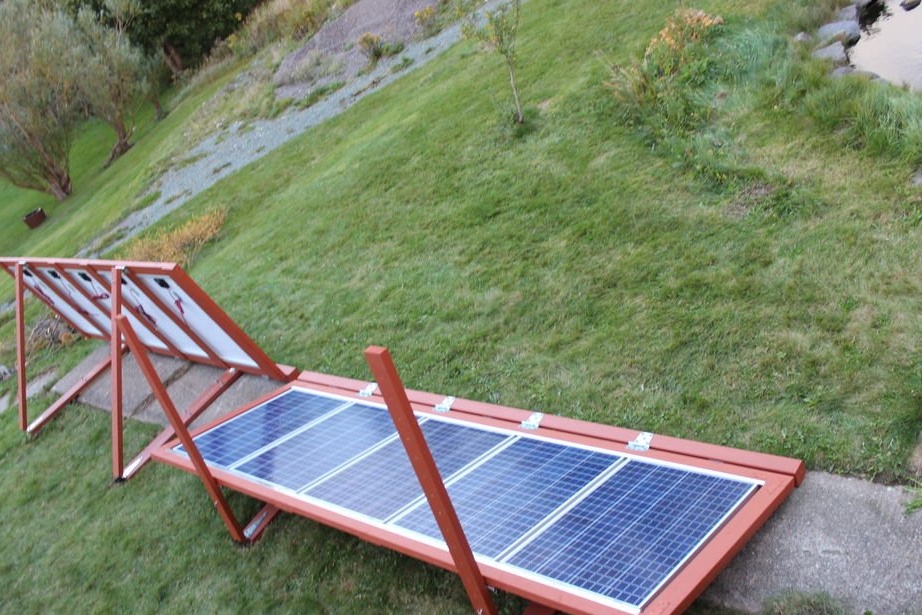
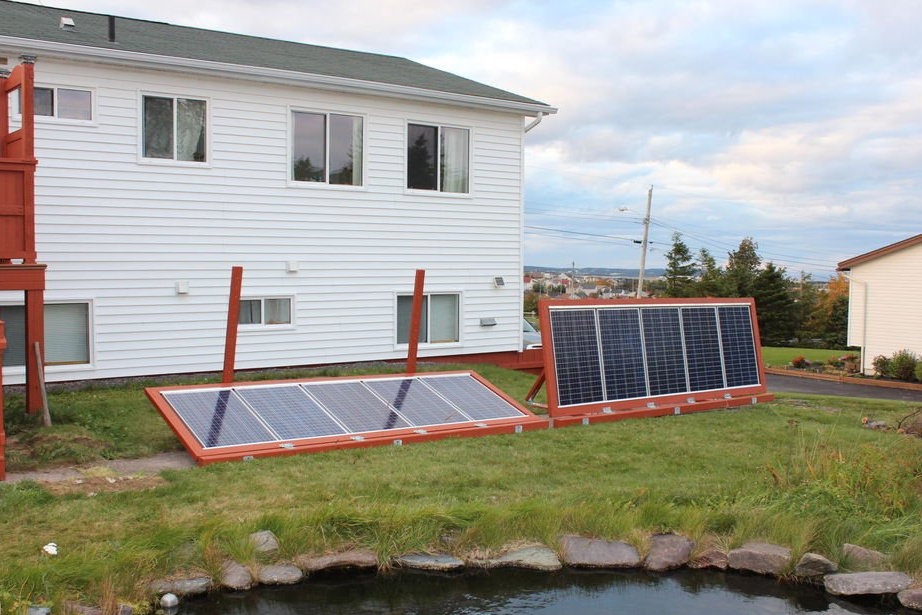
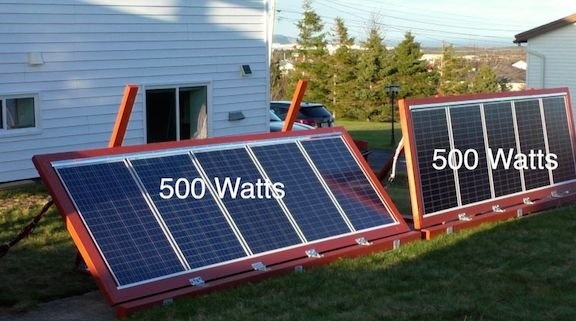
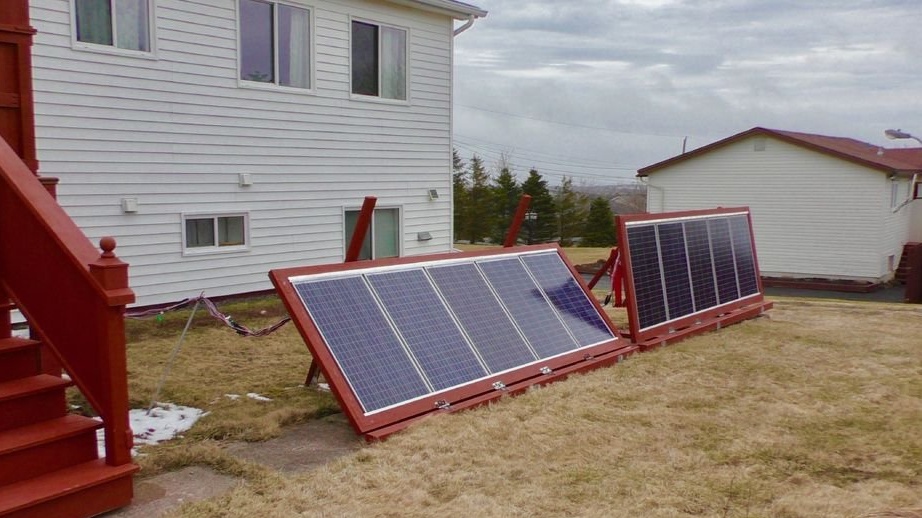
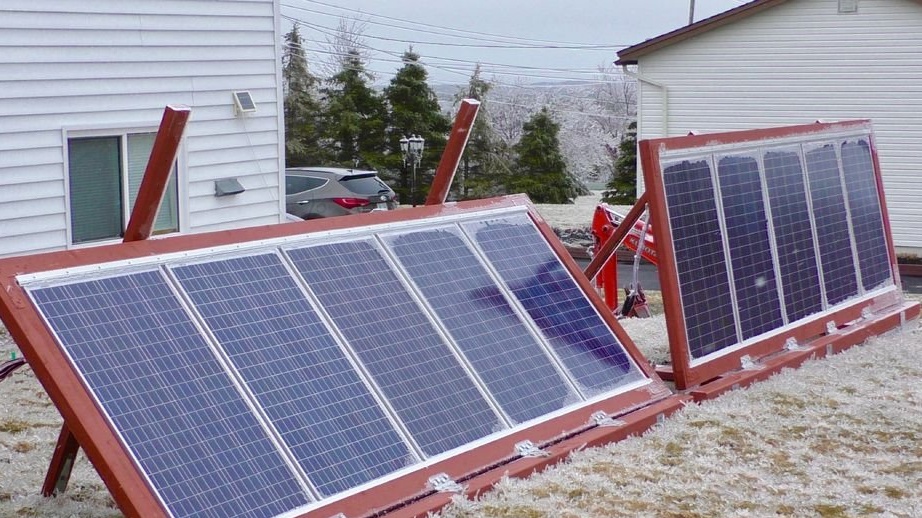
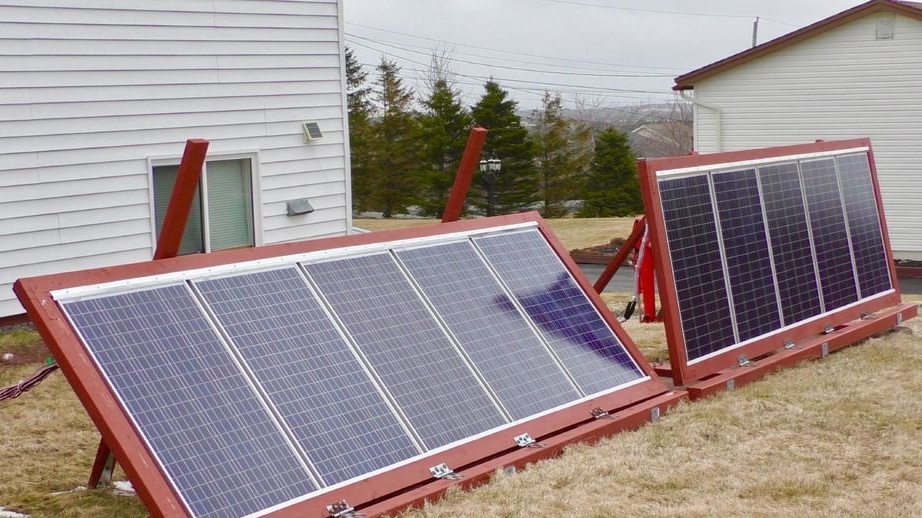
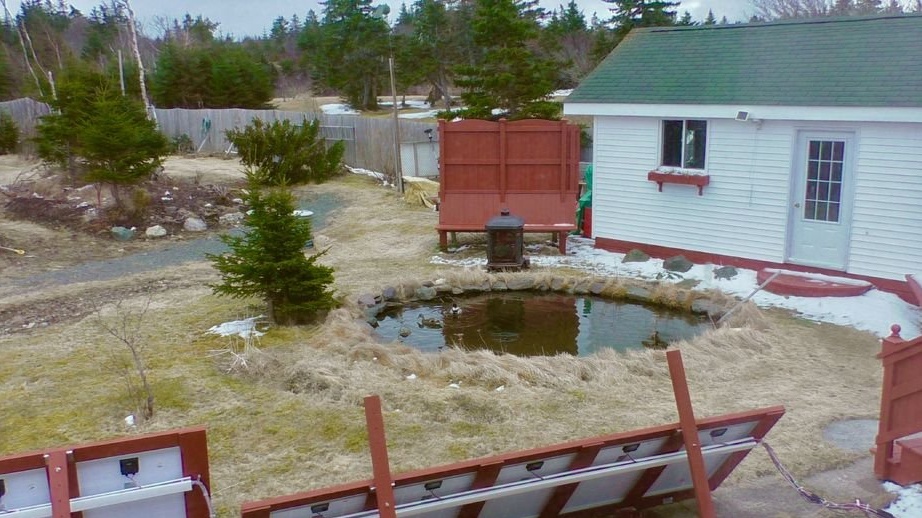
Solar energy is gaining more and more popularity. So the Master decided to install solar panels for himself. The roof was not suitable for this purpose, and he decided to place them along the old concrete path, passing from west to east. Those. the orientation of the panels will be south. Along the track, you can place two frames of 5 panels on each.
Here are the basic requirements for the project:
-Installation of panels on the ground
-Adjustment of a tilt angle
-Easy to repair
- Long life materials
-Lack of welding
- Wind and snow resistance
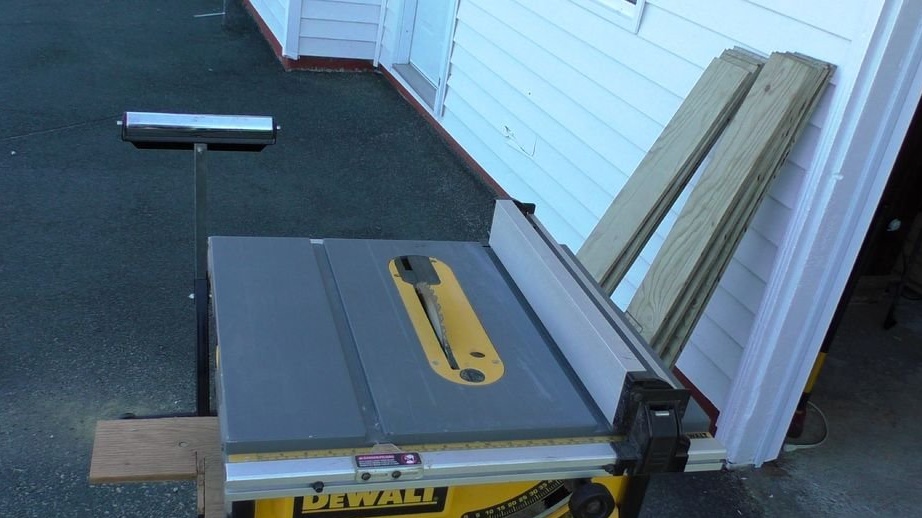
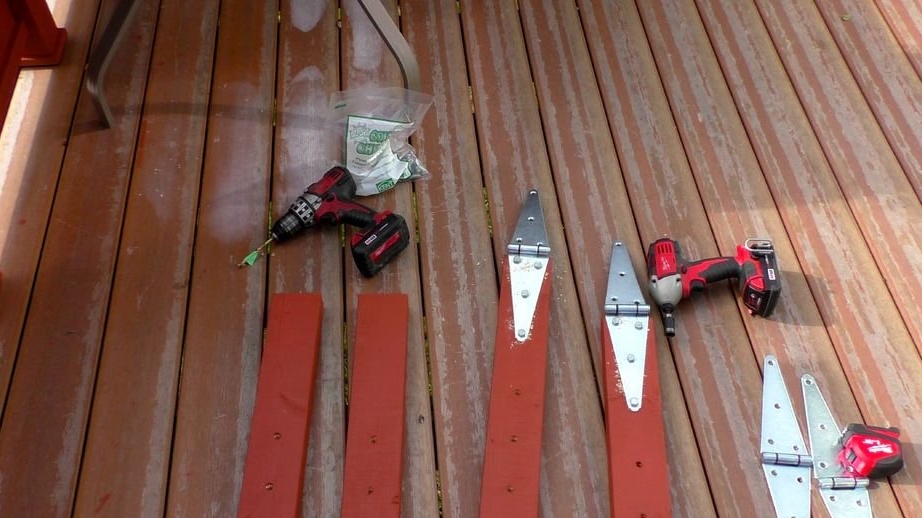
Tools and materials:
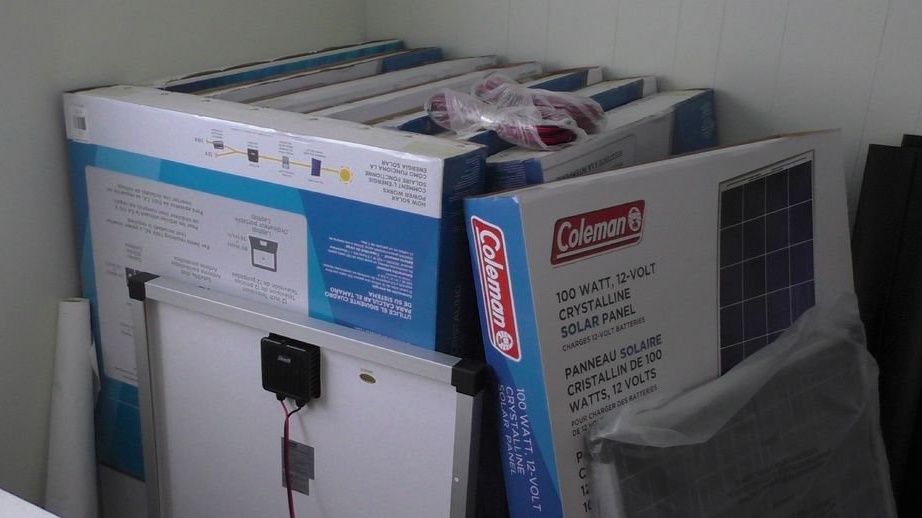
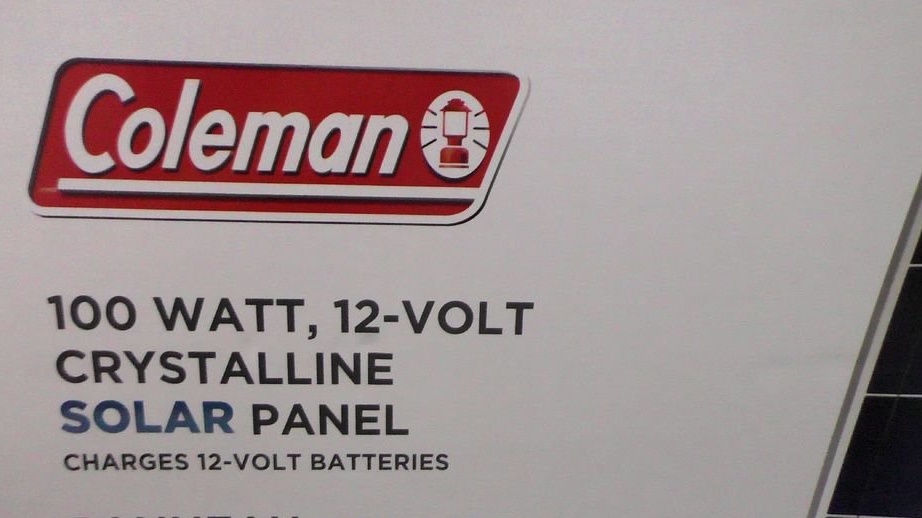
-Solar panels;
-Boards;
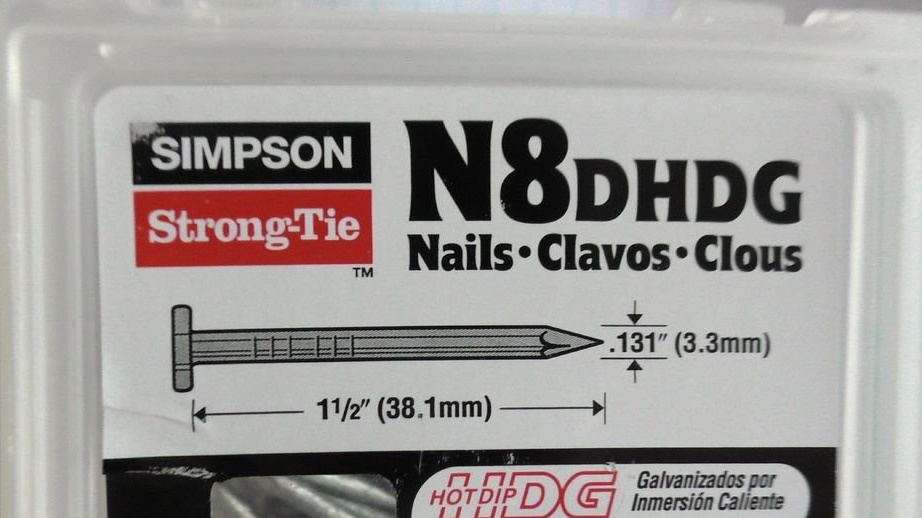
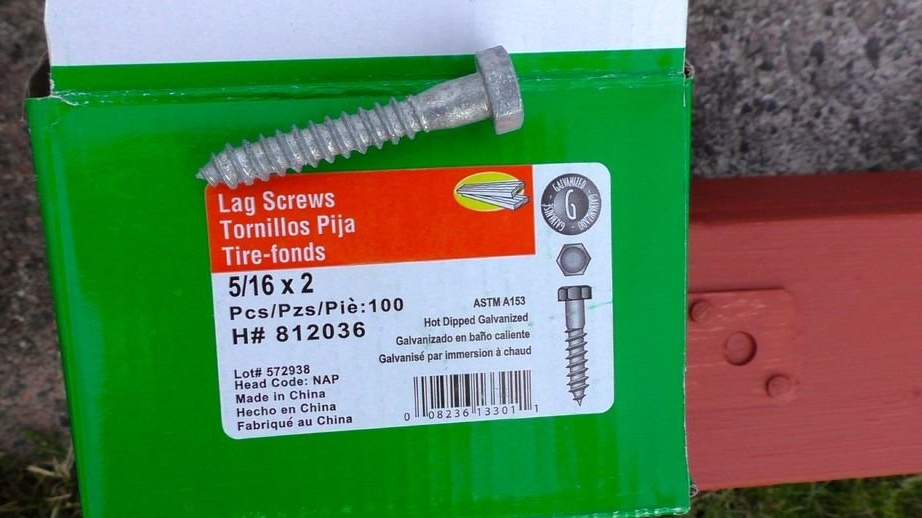
-Fasteners;
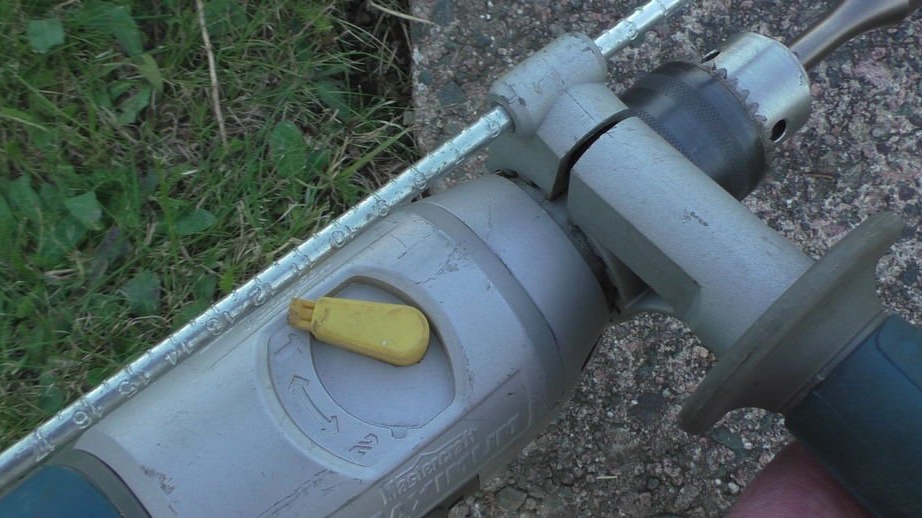
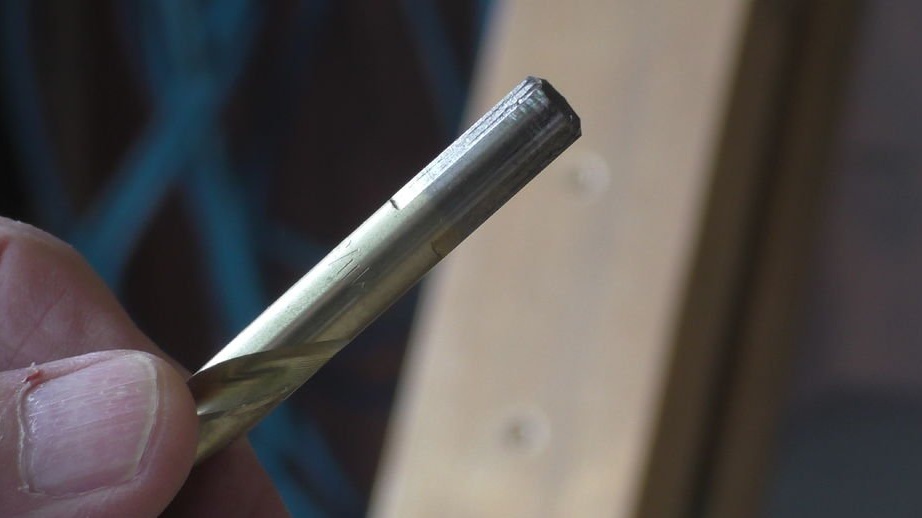
-Drill;
-Roulette;
-Marker;
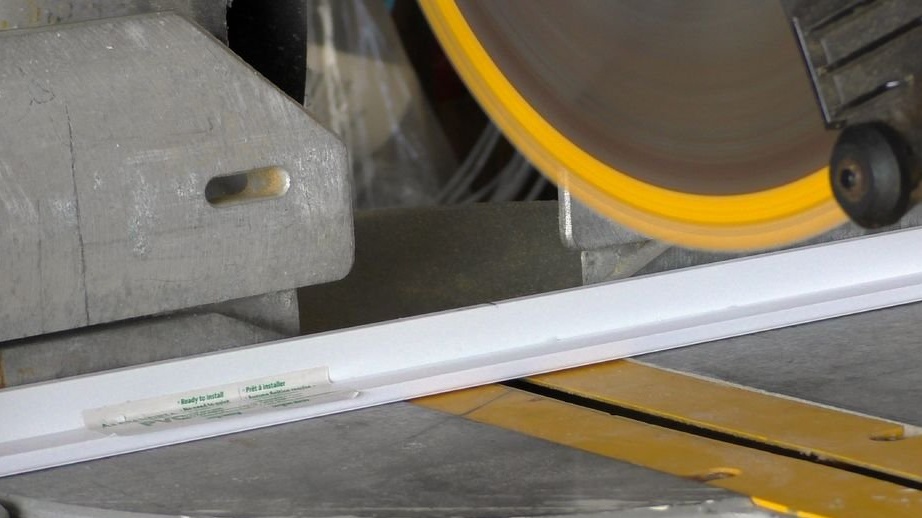
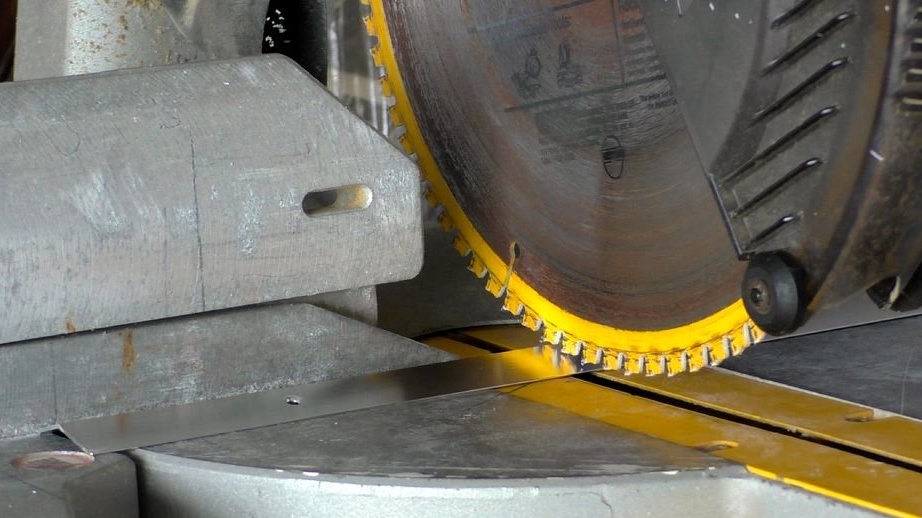
-A circular saw;
-Metal bracket;
-Paint;
-Brush;
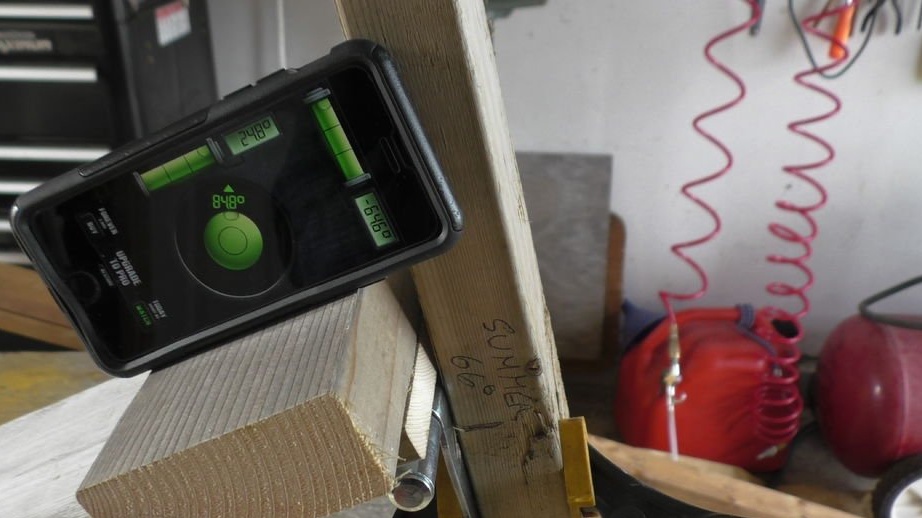
-Level;
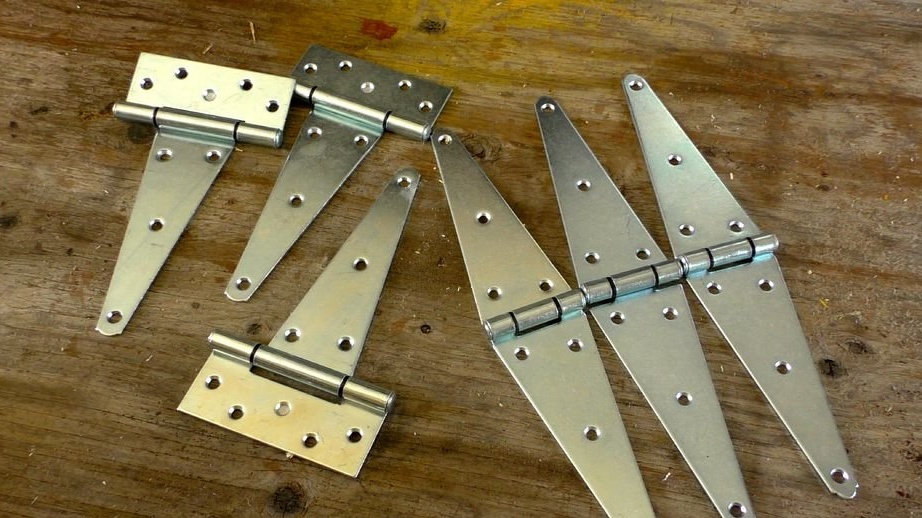
- Loops;
-A screwdriver;
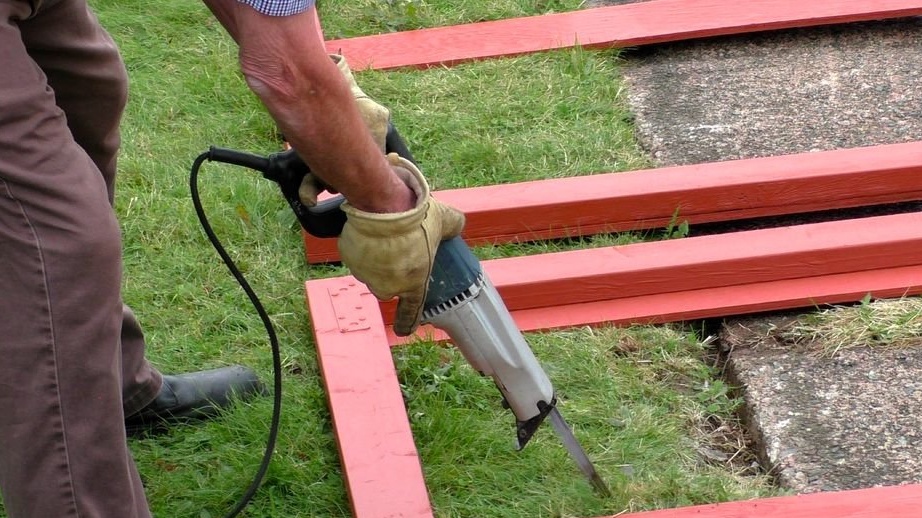
Reciprocating saw;
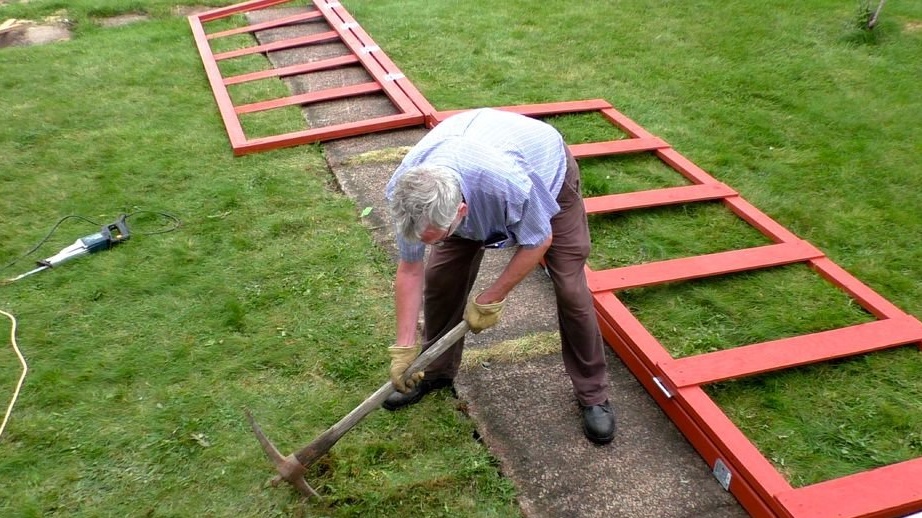
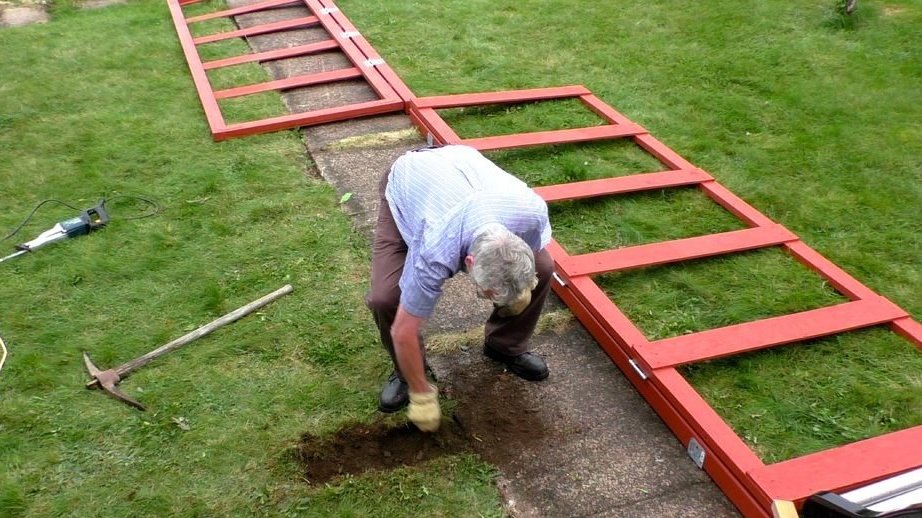
- Pickaxe;
-Drill;
- Clamps;
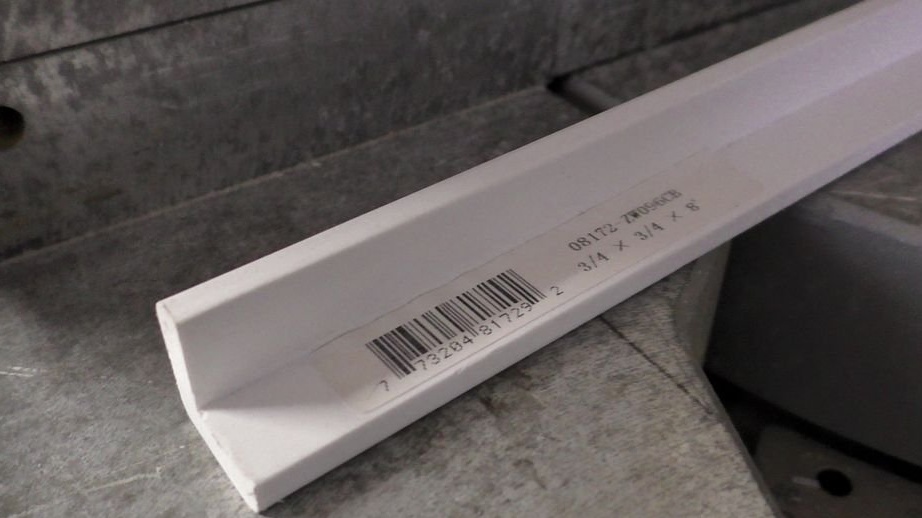
-Plastic corner;
-Aluminum corner;


Step one: sketch, planning, mounting holes
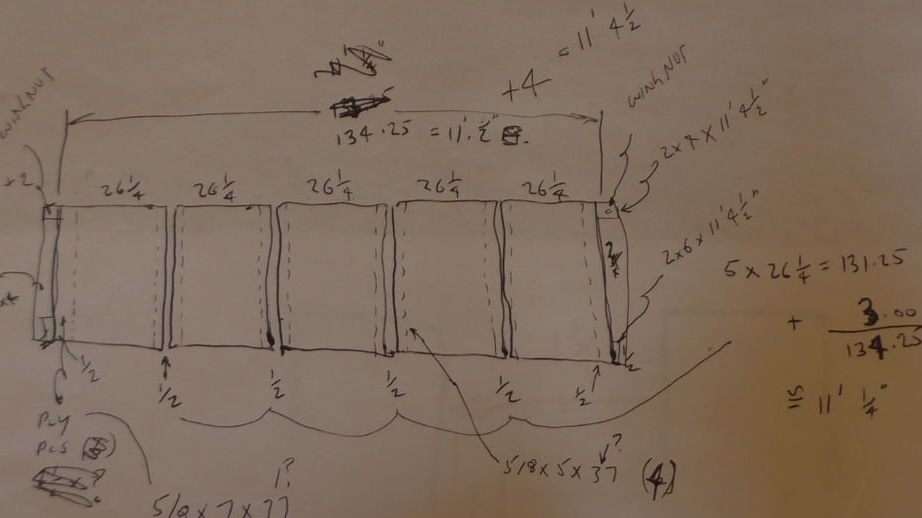
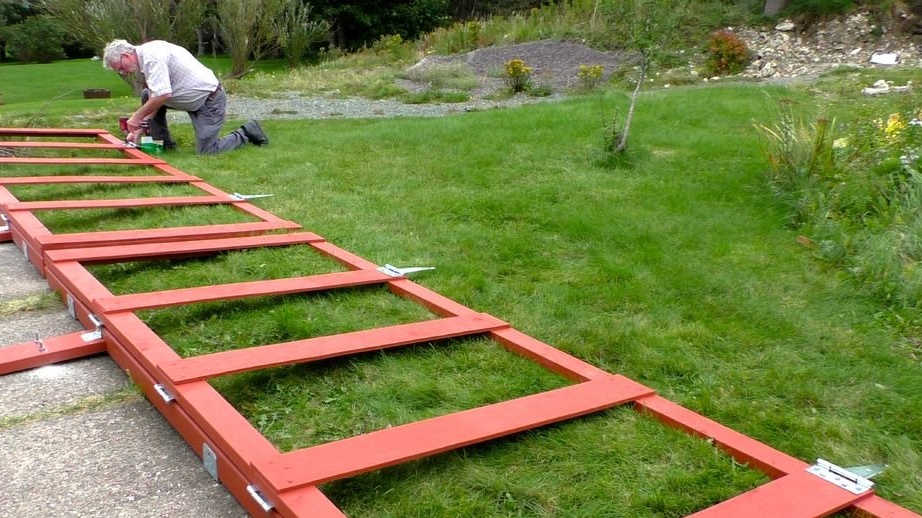
The wizard begins by sketching. The master measured one solar panel and made a drawing based on these sizes.
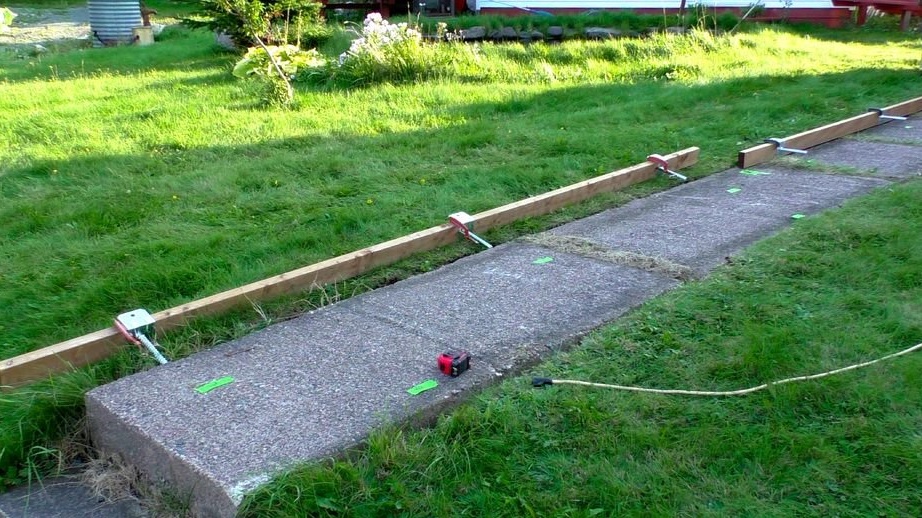
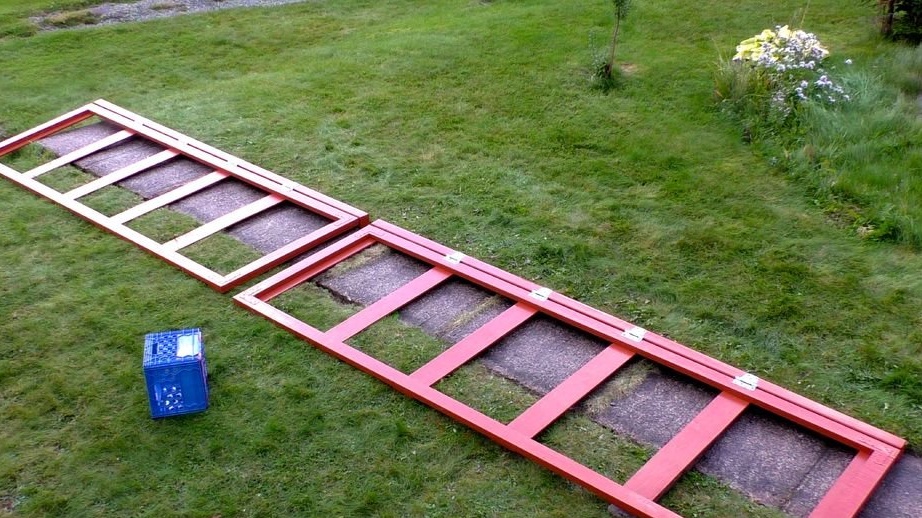
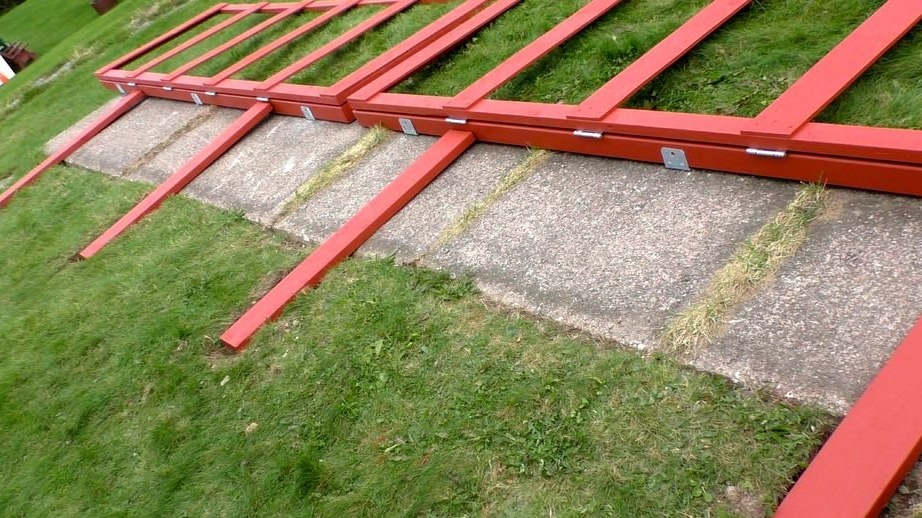
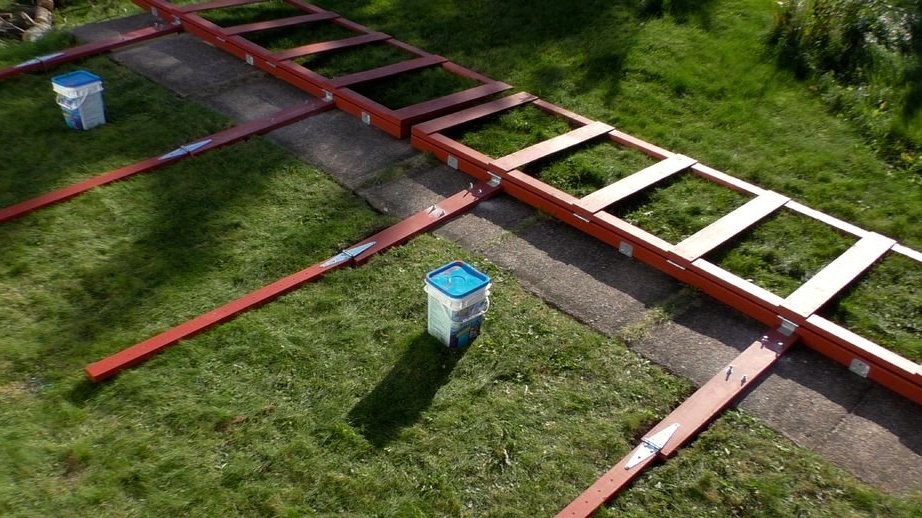
Then the master cleared the track of soil.
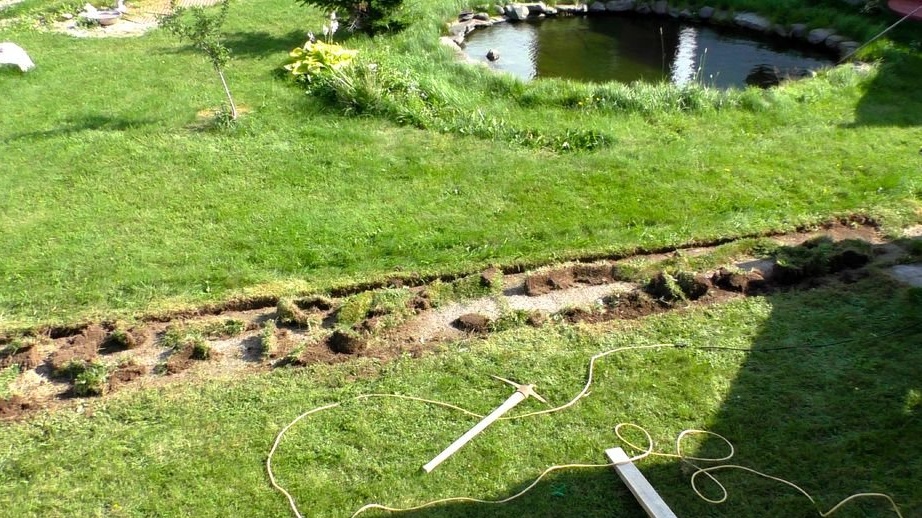
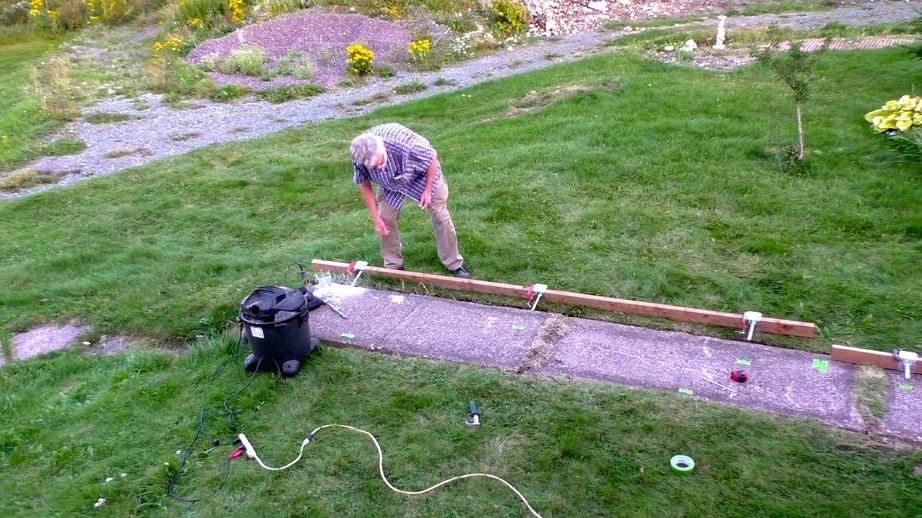
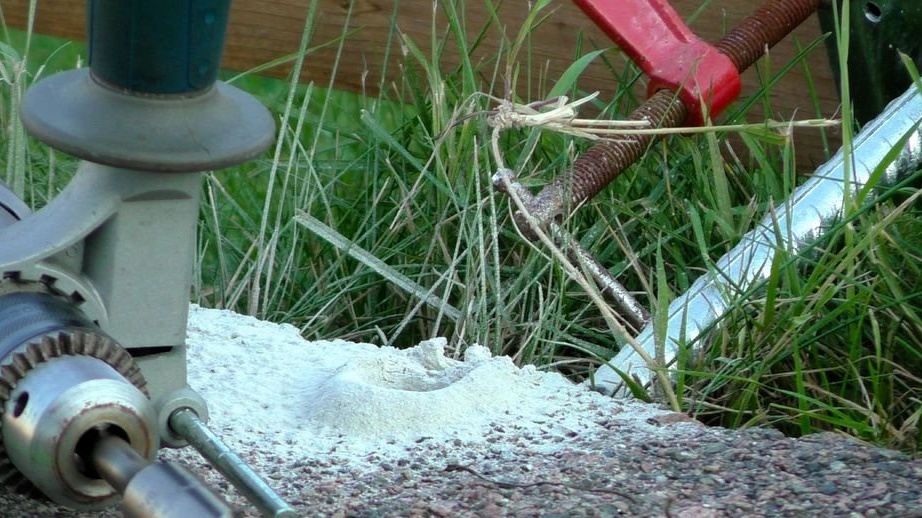
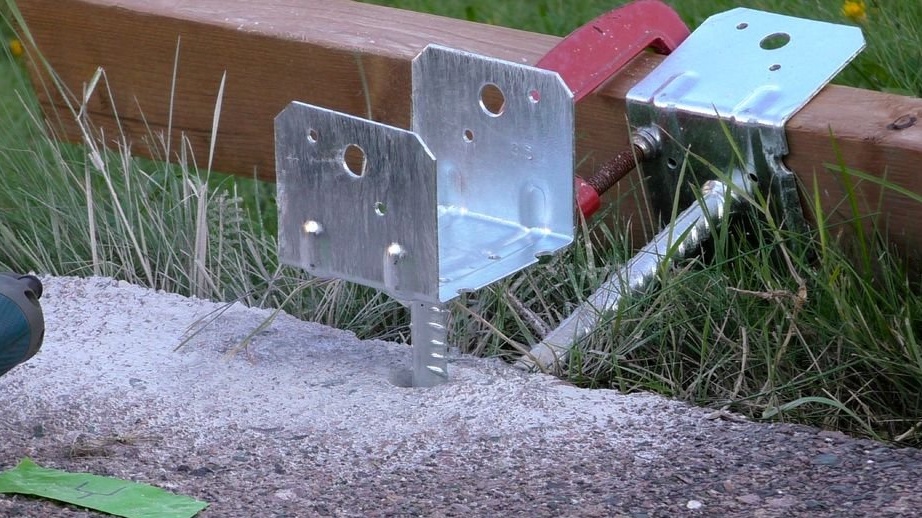
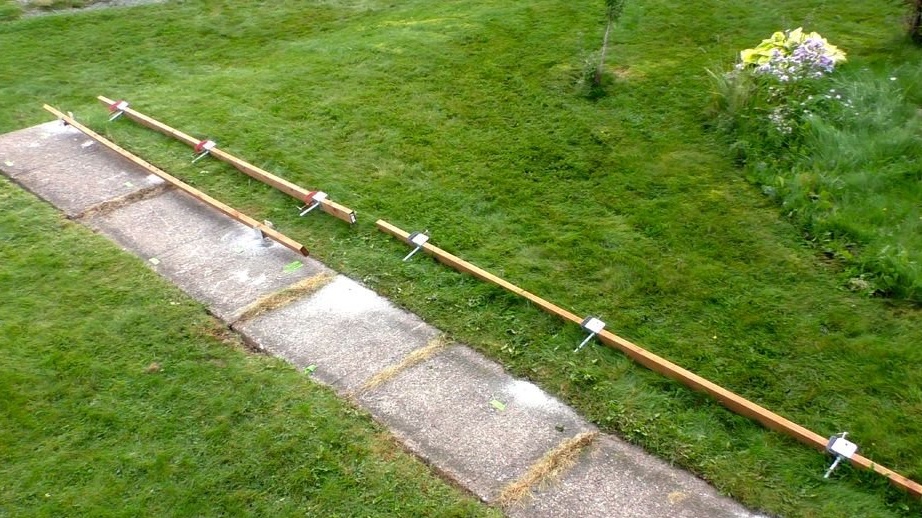
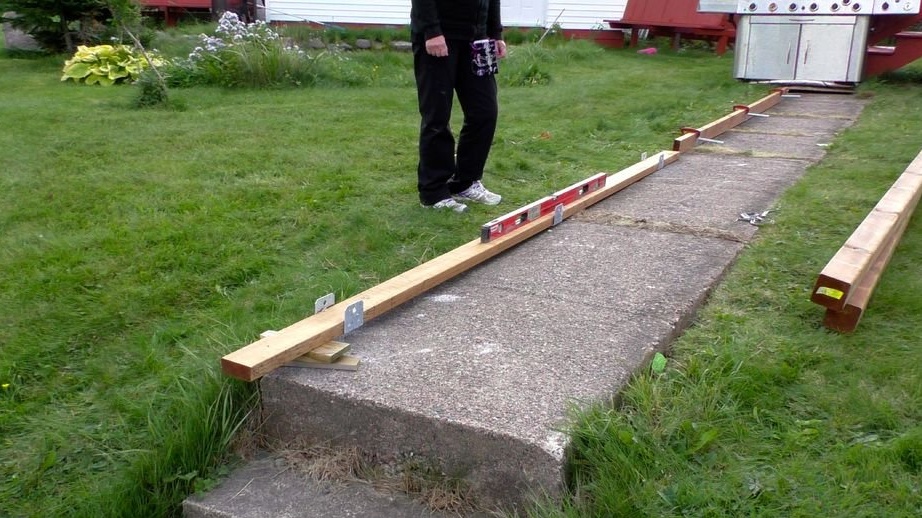
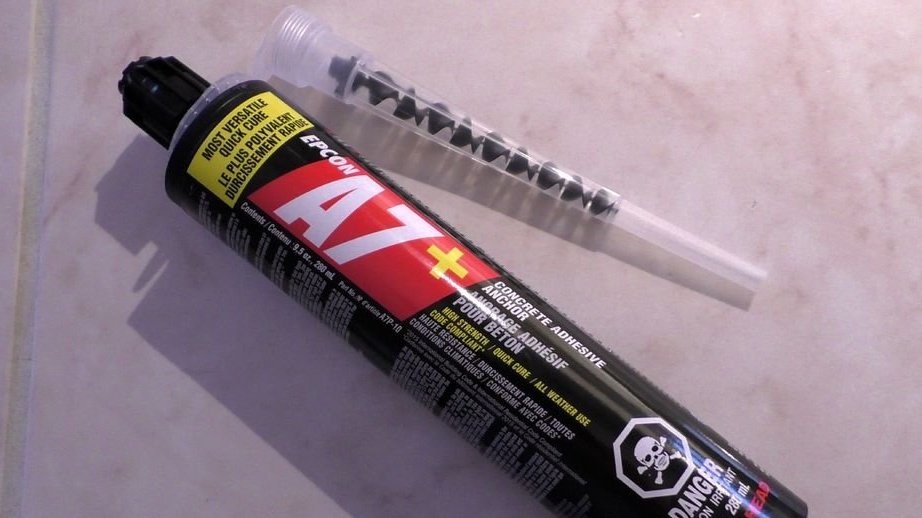
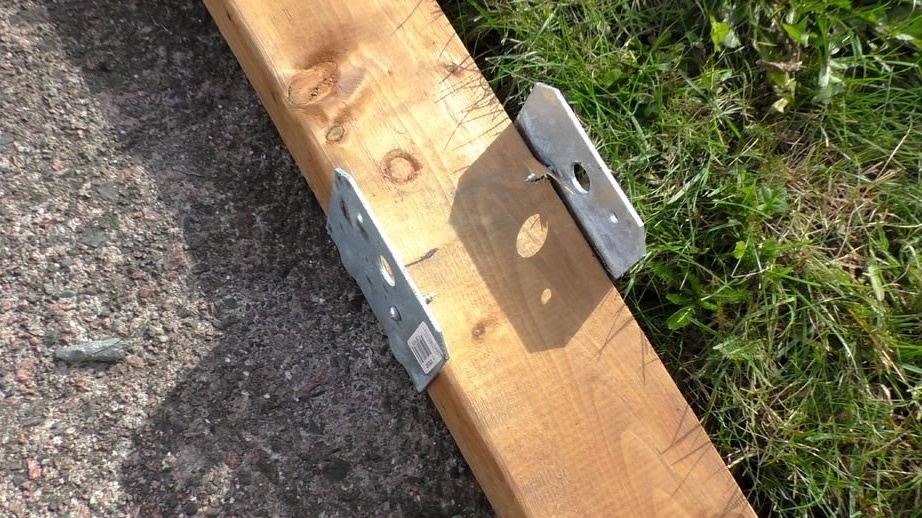
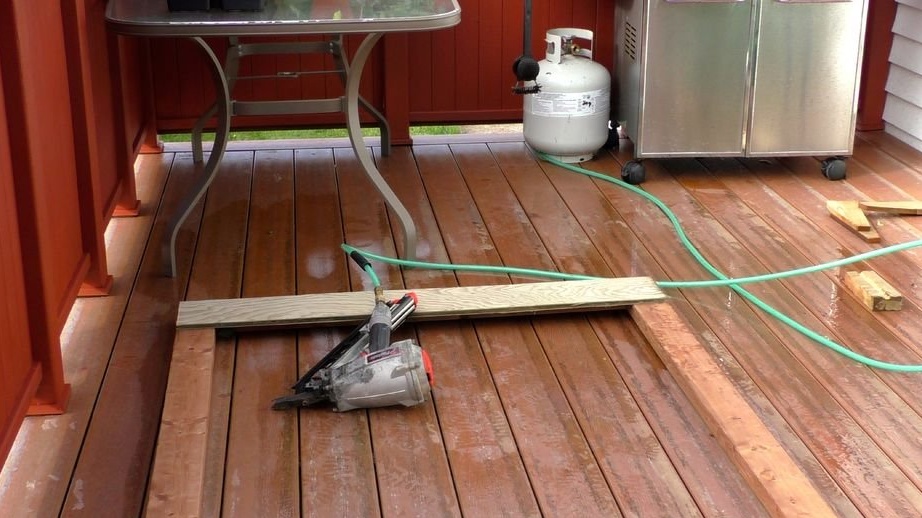
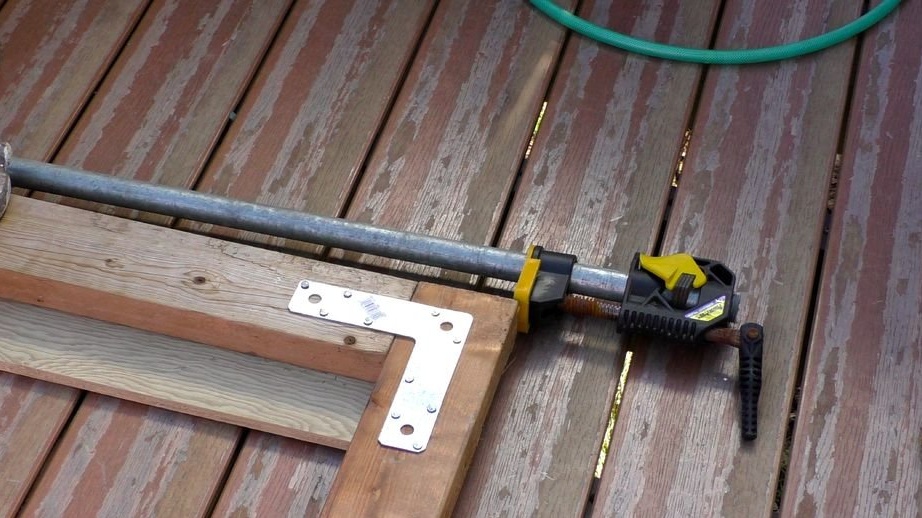
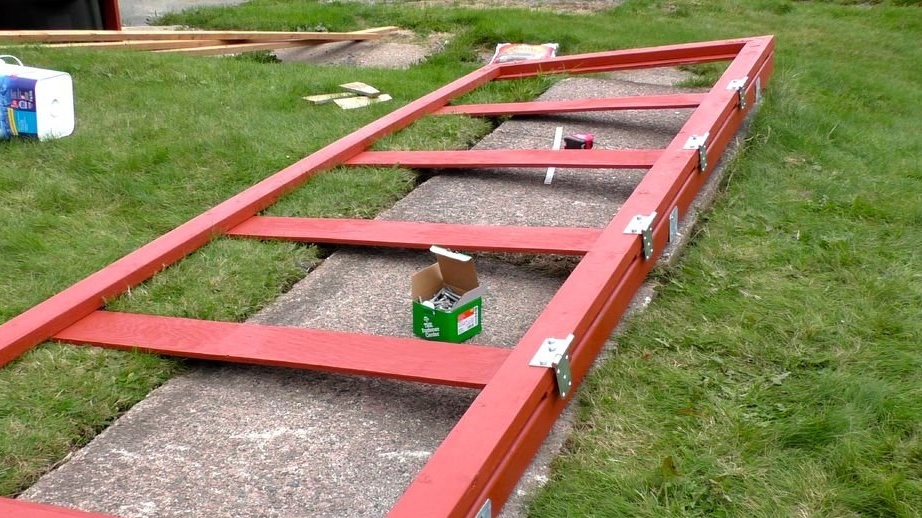
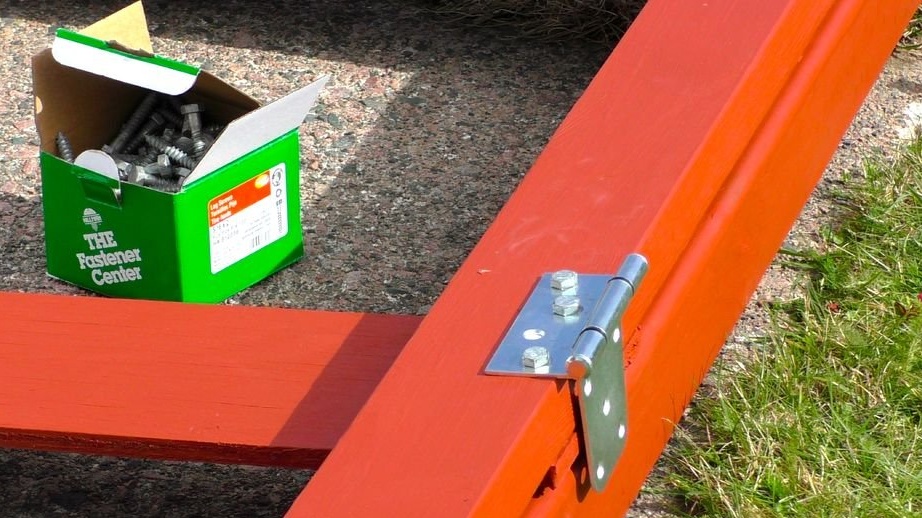
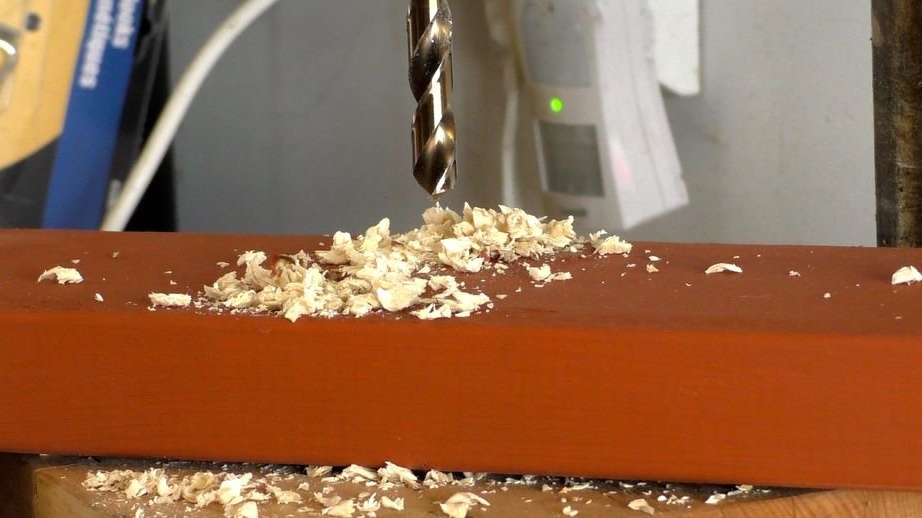
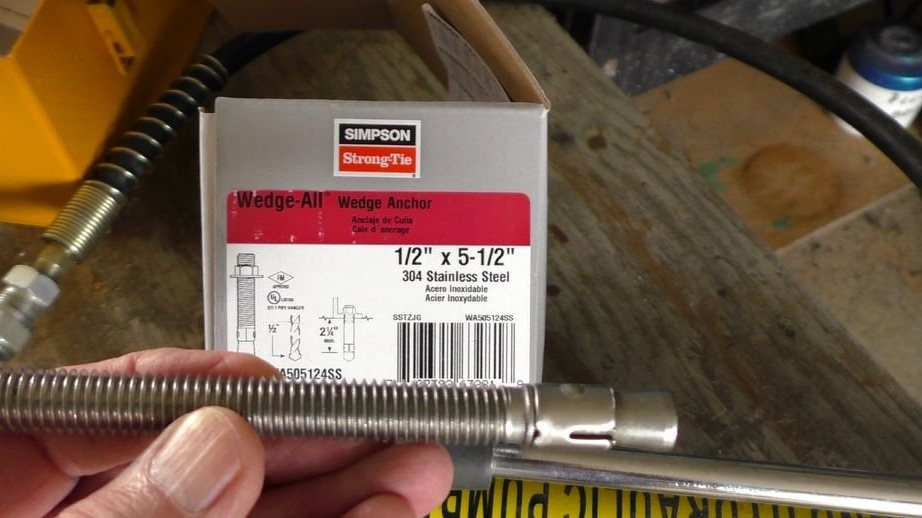
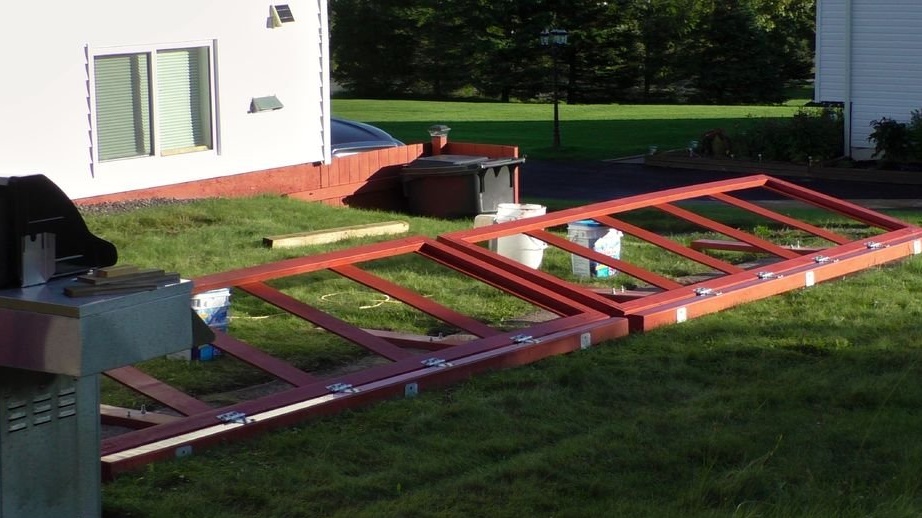
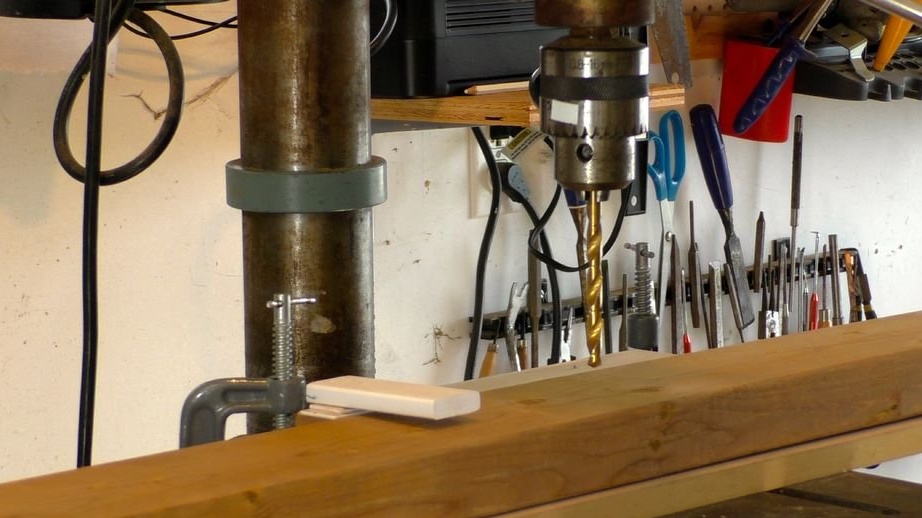
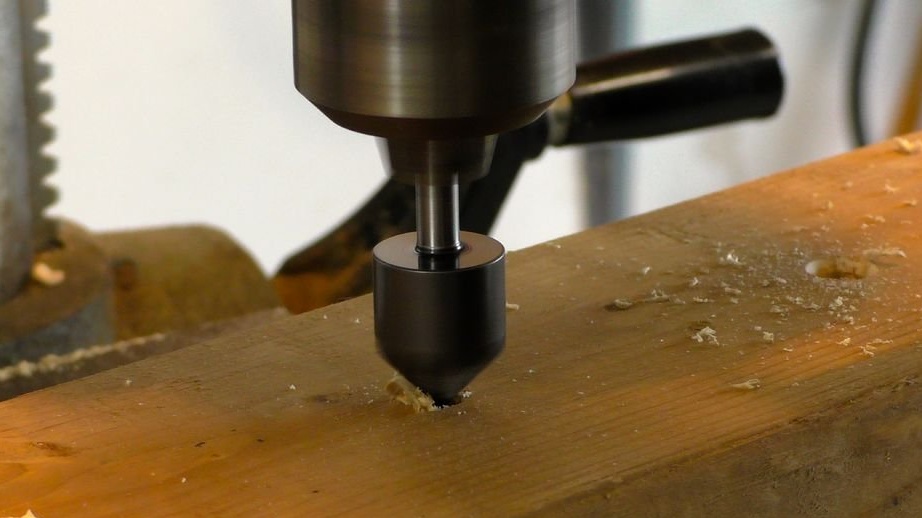
The frame will be attached to the concrete track. The master prepares two timber in size. Temporarily fixes fastenings on them at an equal distance from each other. Focusing on the mounting drills the mounting holes in the concrete track. Next you need to fix the mounts. The master does this with a two component resin.

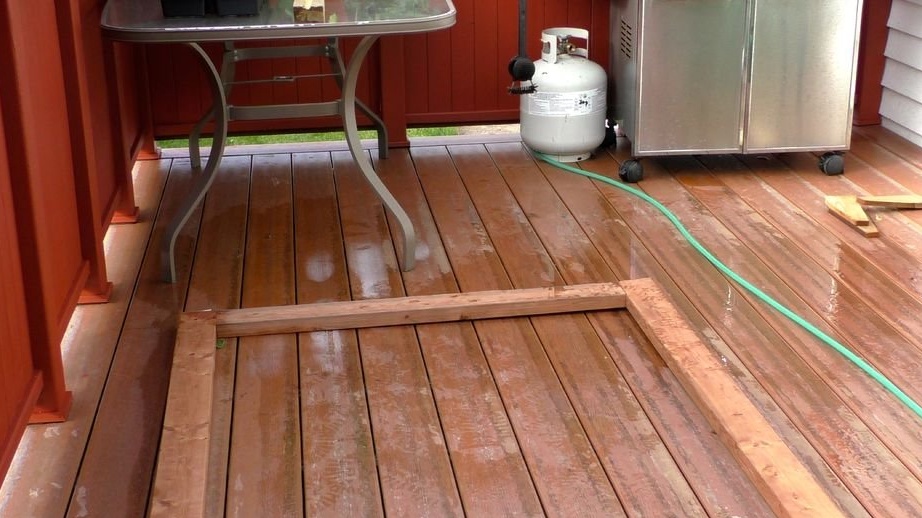
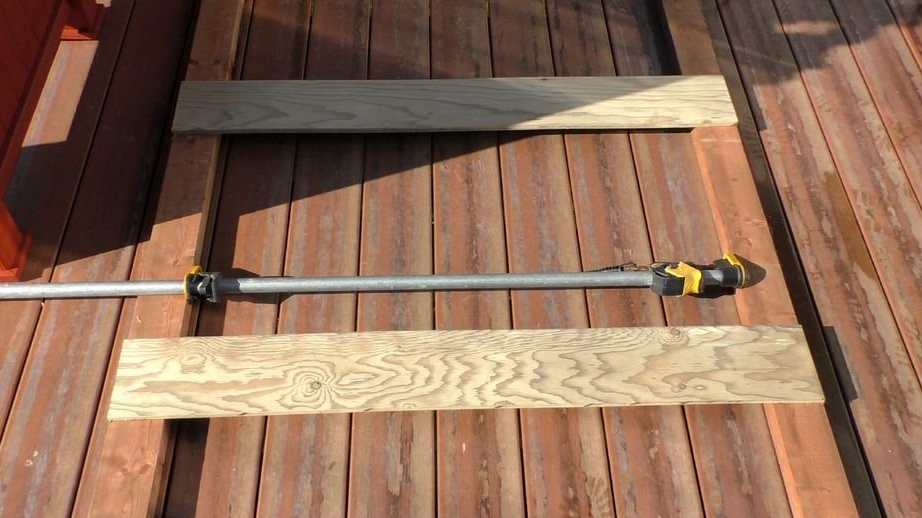
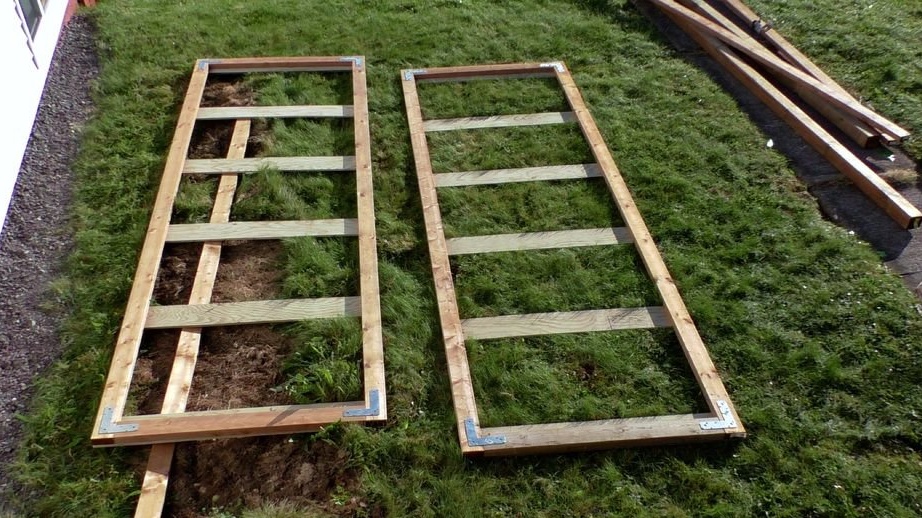
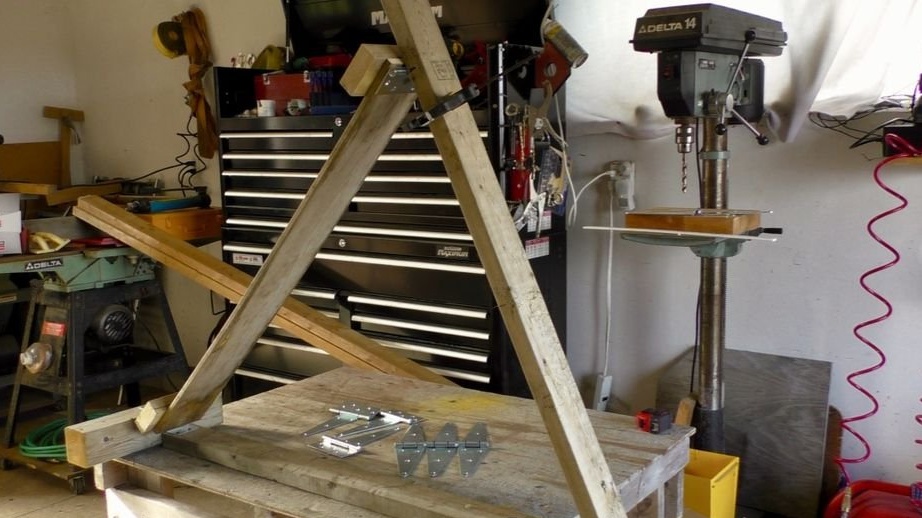
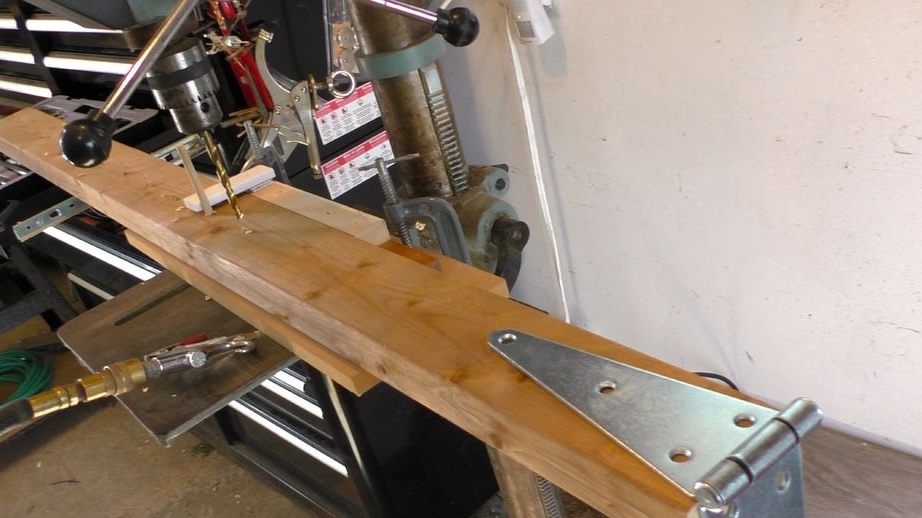
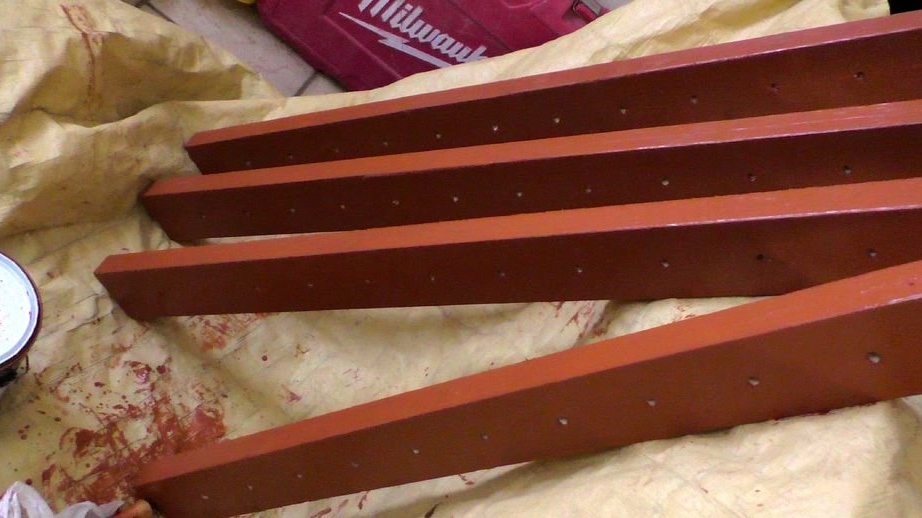
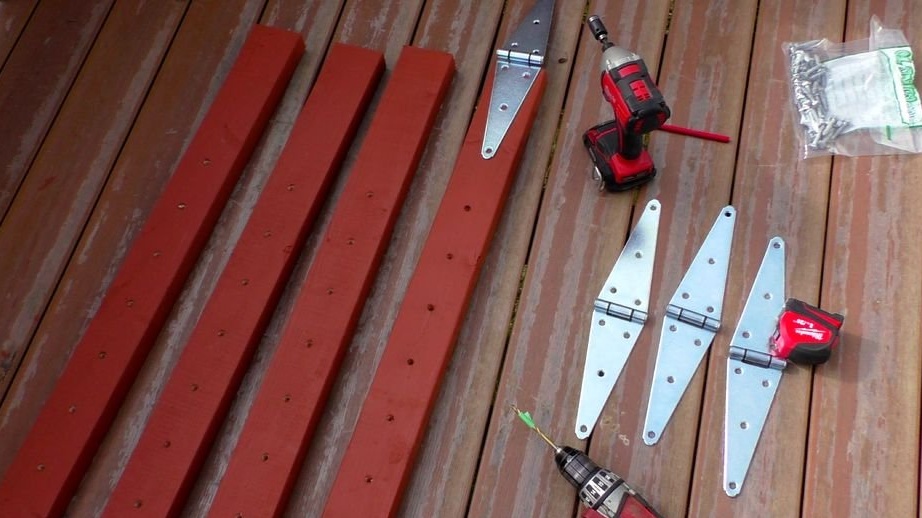
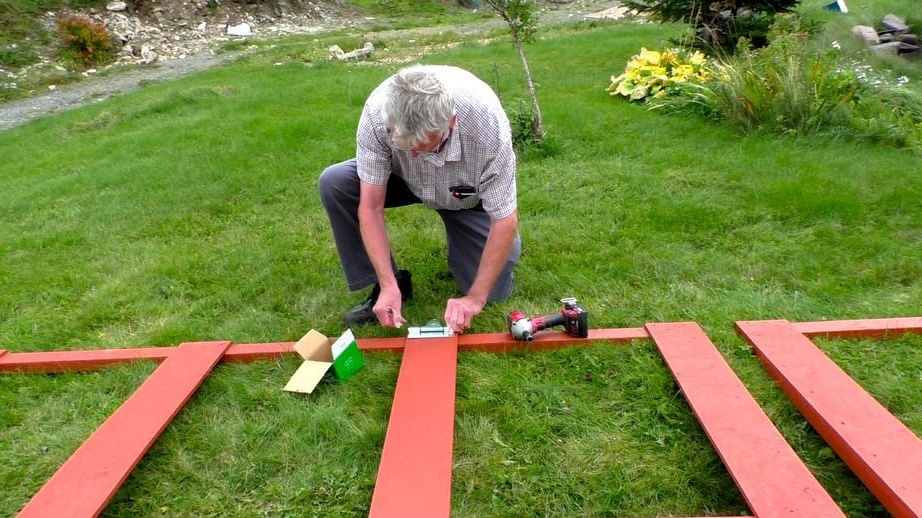
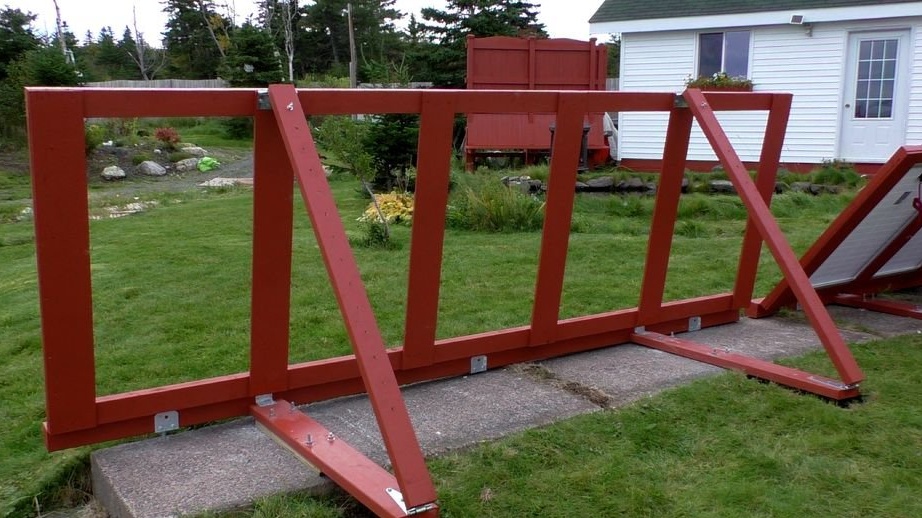
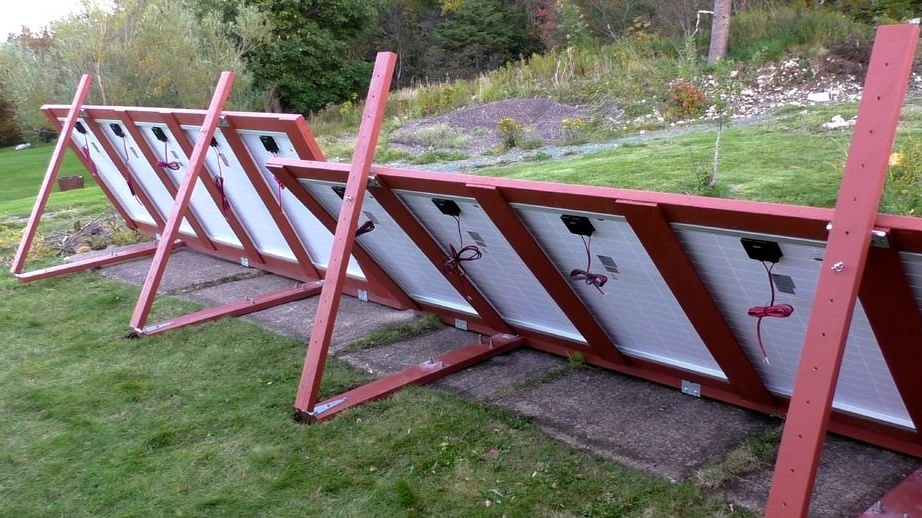
Step Two: Frame
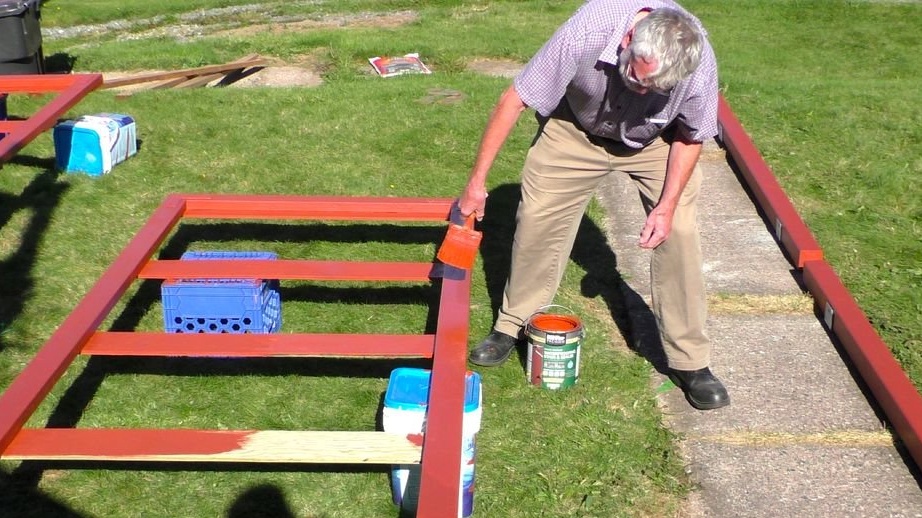
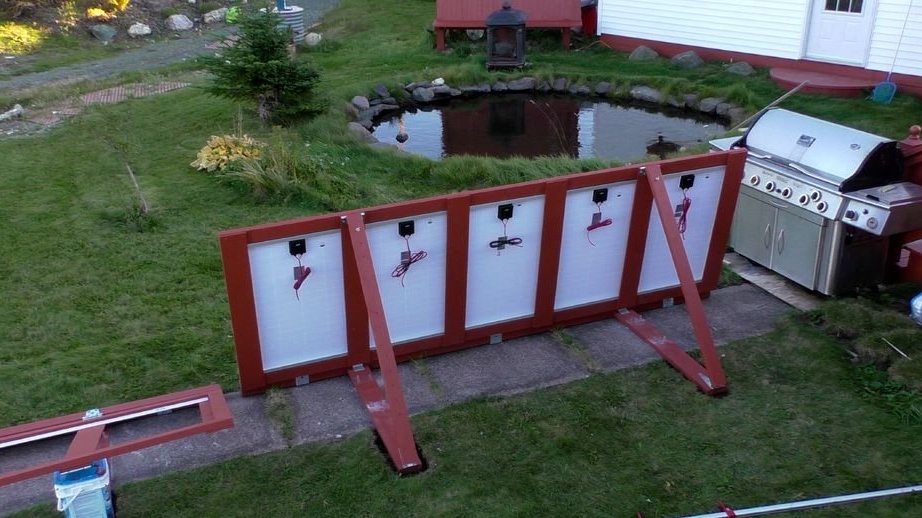
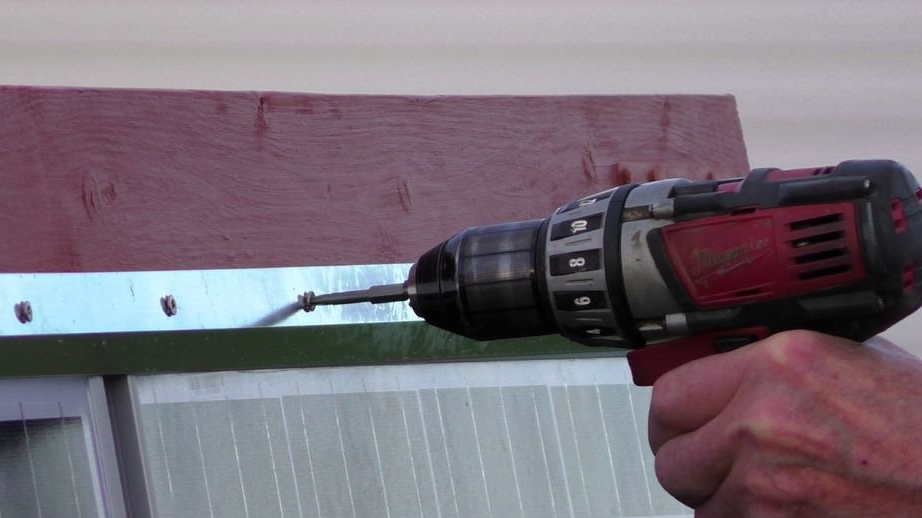
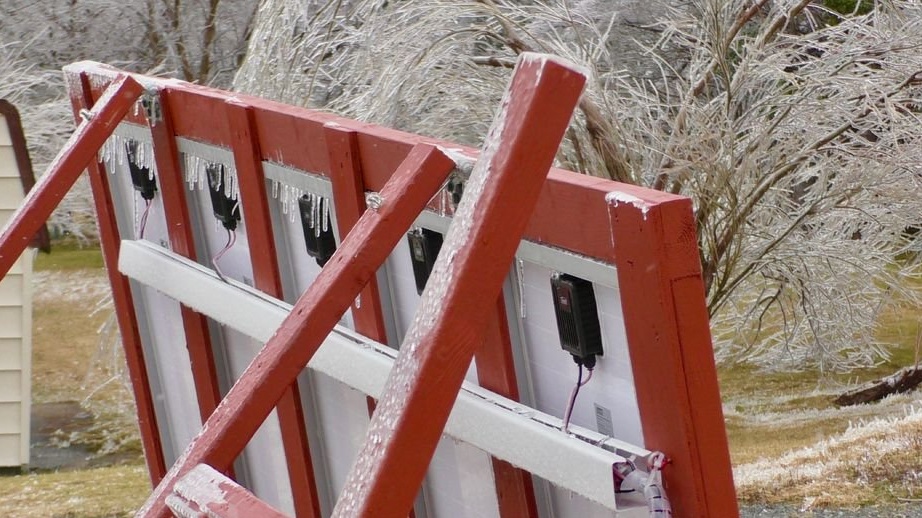
Now you need to make two frames. Five frames will be fixed in each frame. After manufacturing, the frames are painted.

Step Three: Attaching Frames
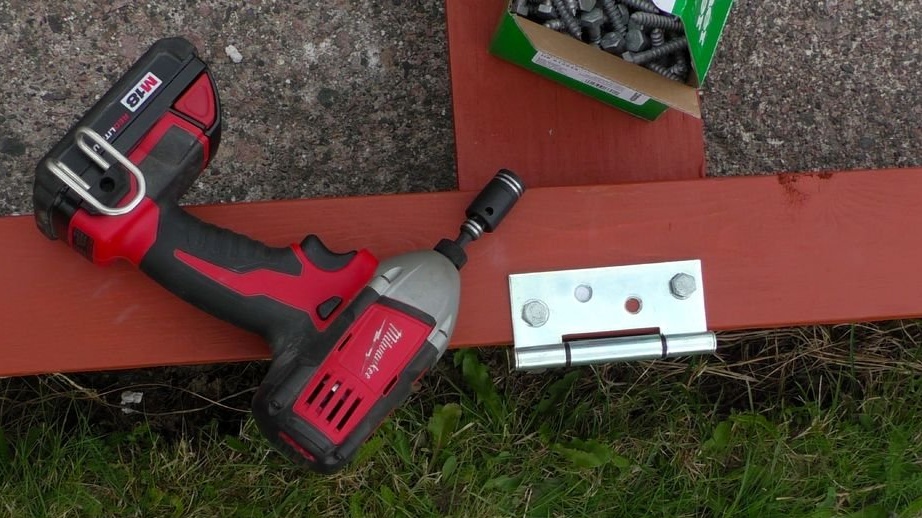
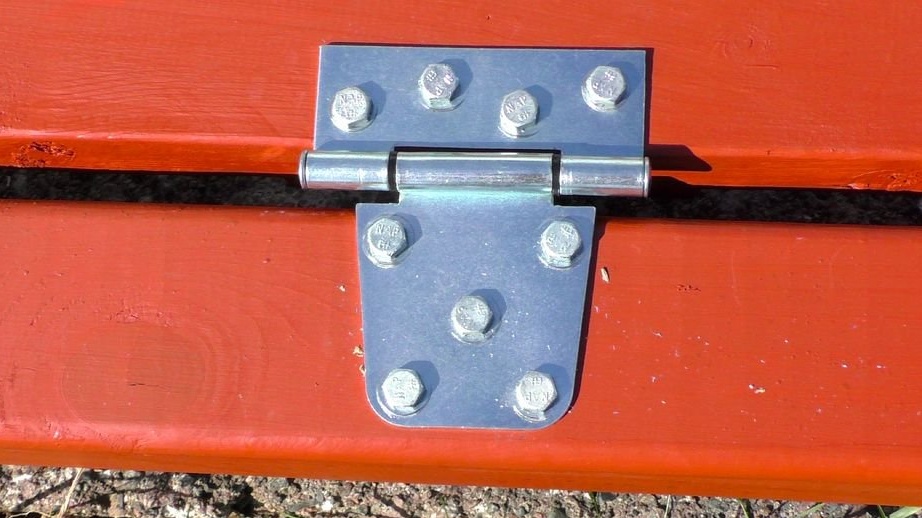
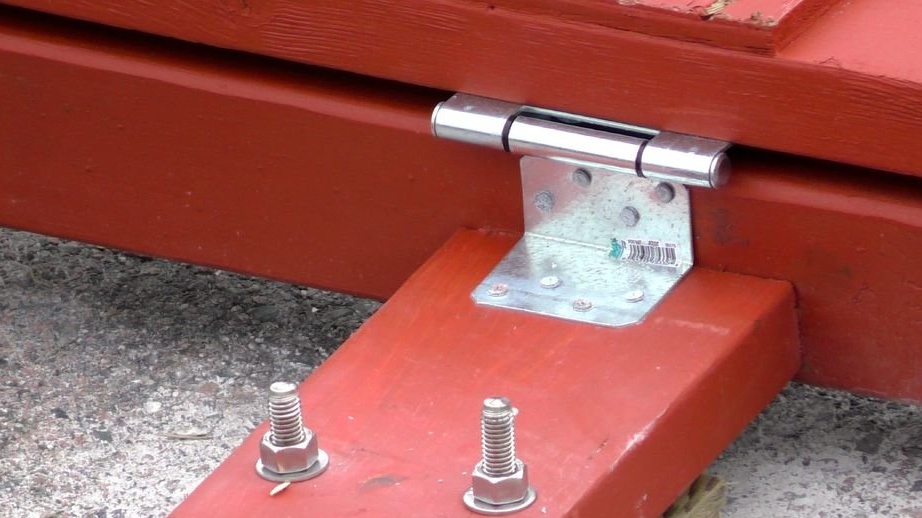
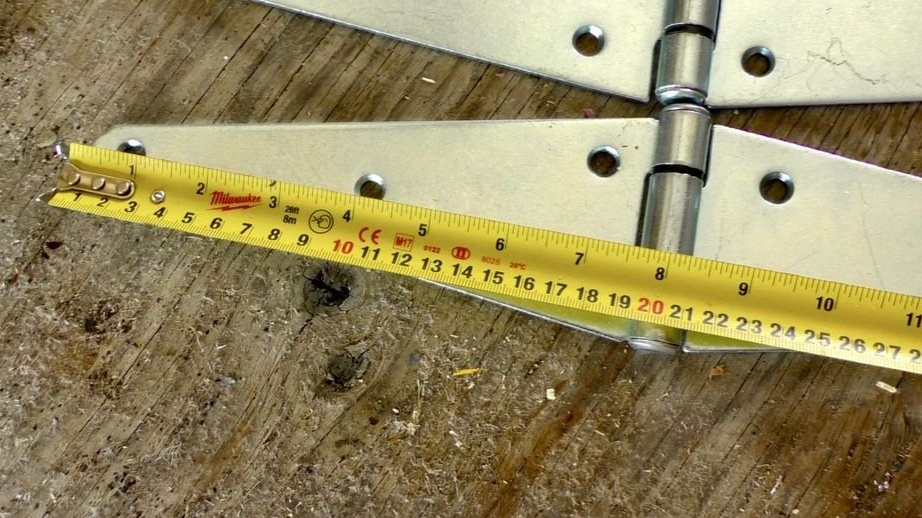
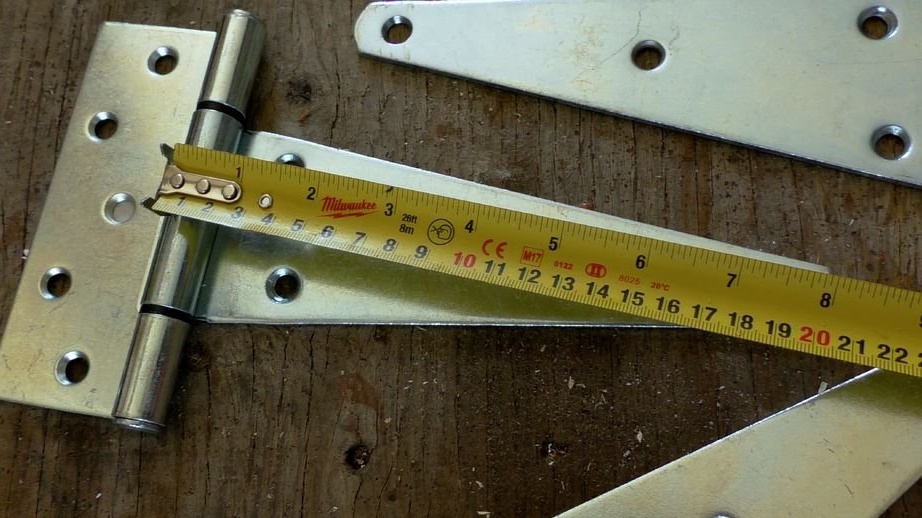
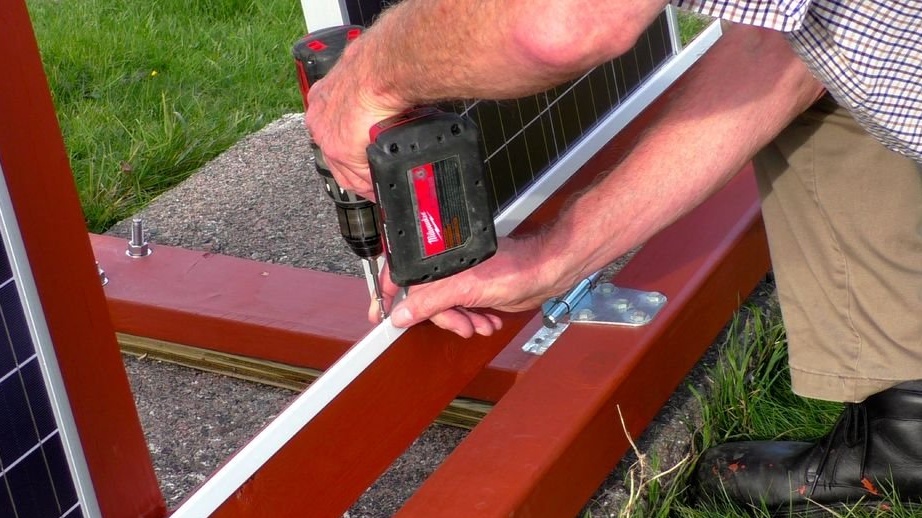
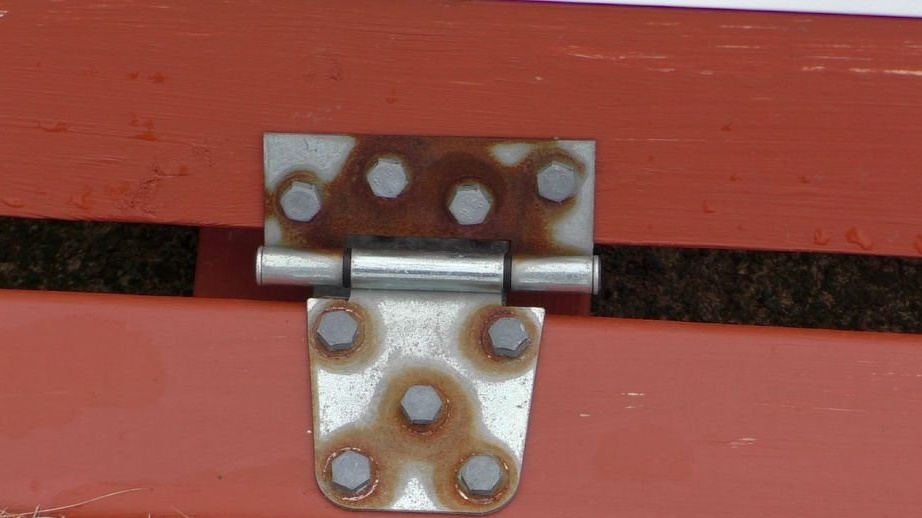
Then the master fixes two beams to the mount and fastens the frames to the beams with loops. In this way, the frames rise and fall.
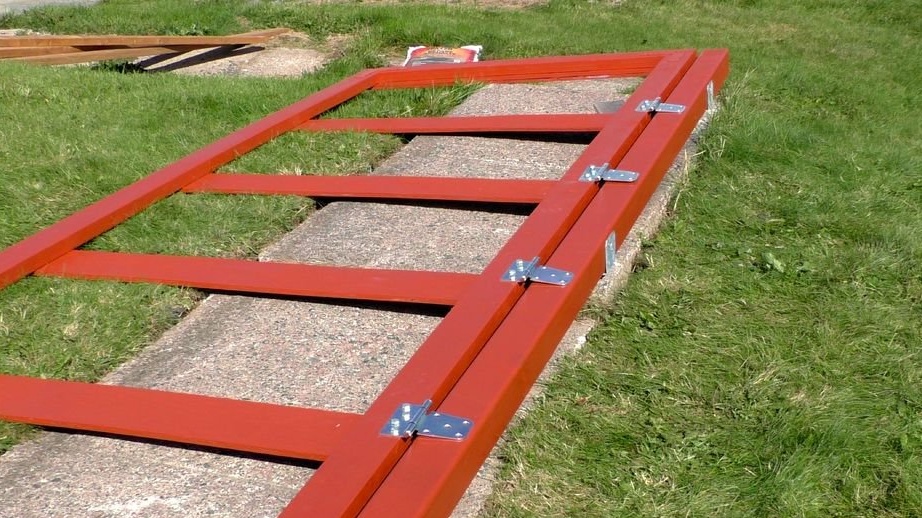
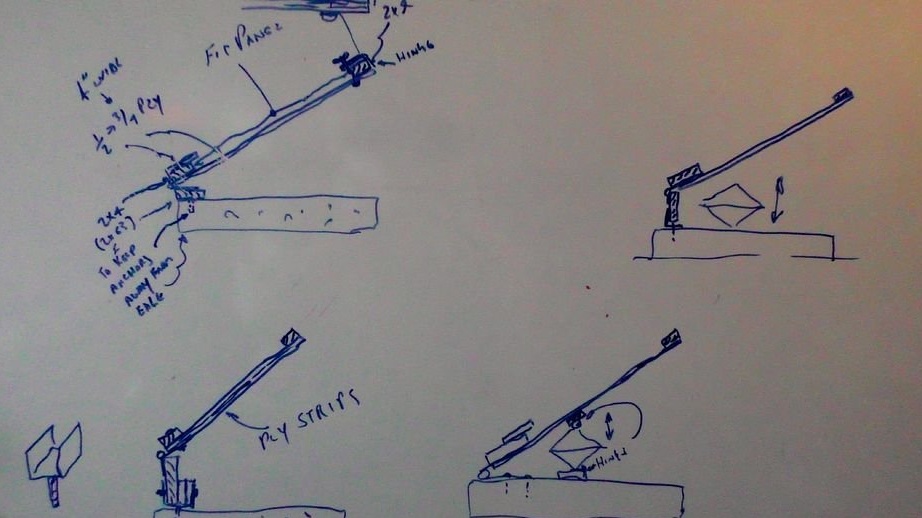
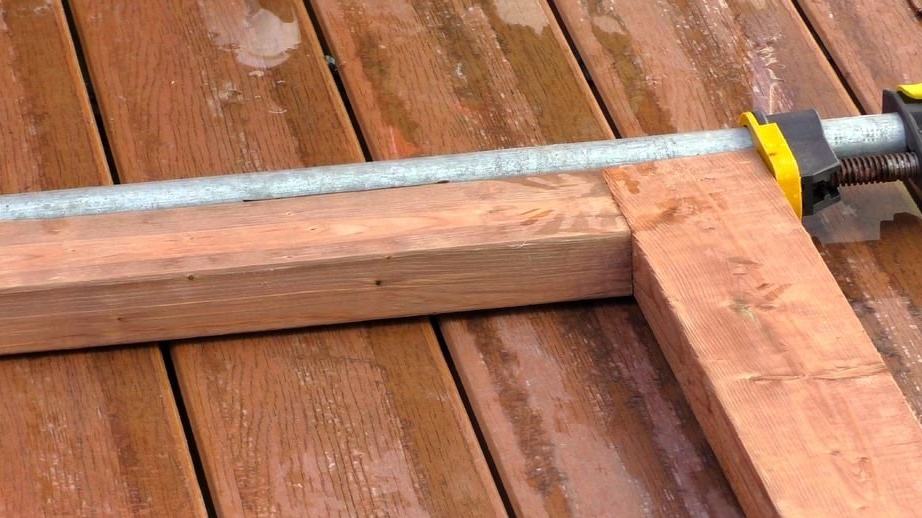
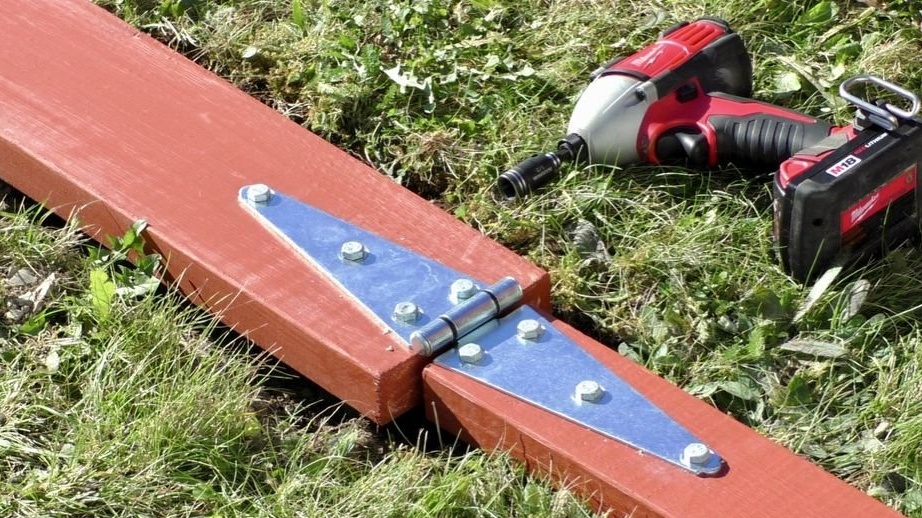
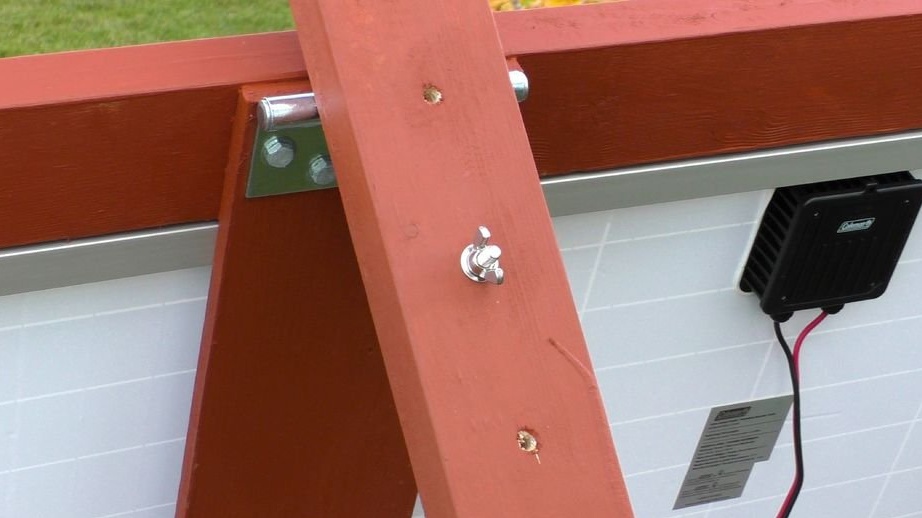
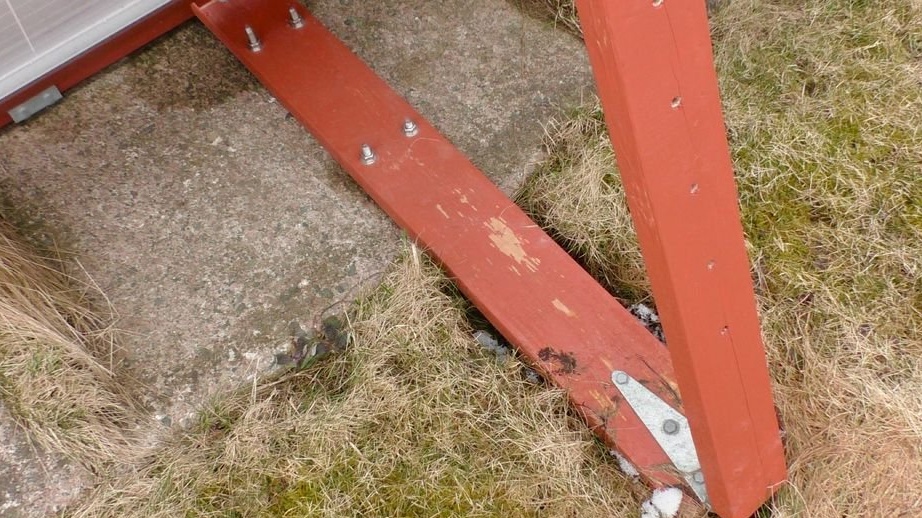
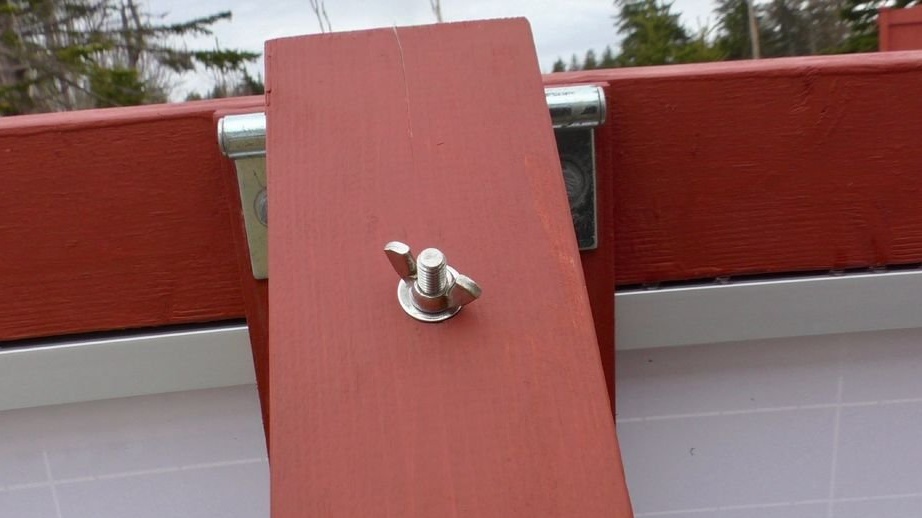
Step Four: Angle Adjustment System
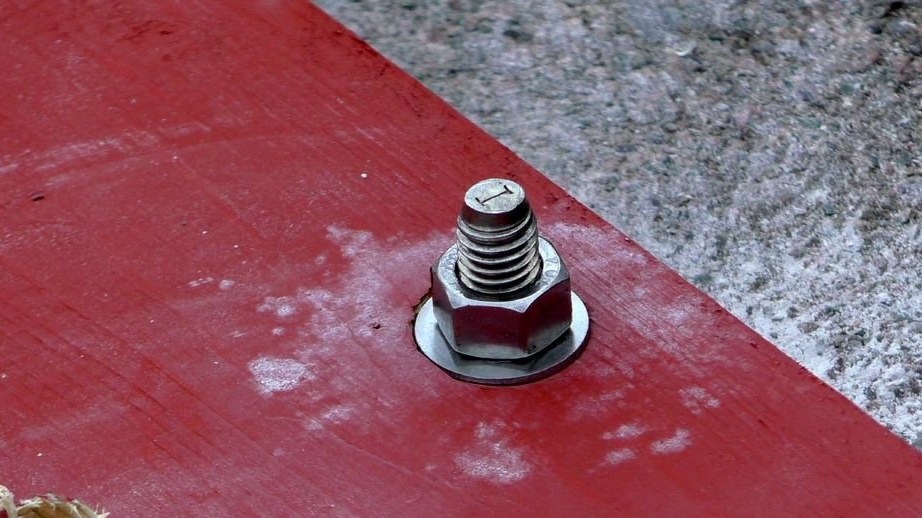
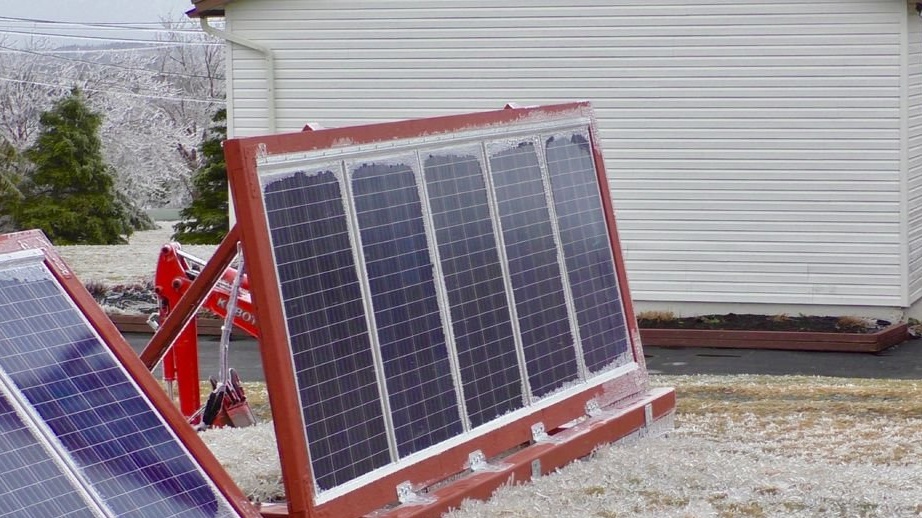
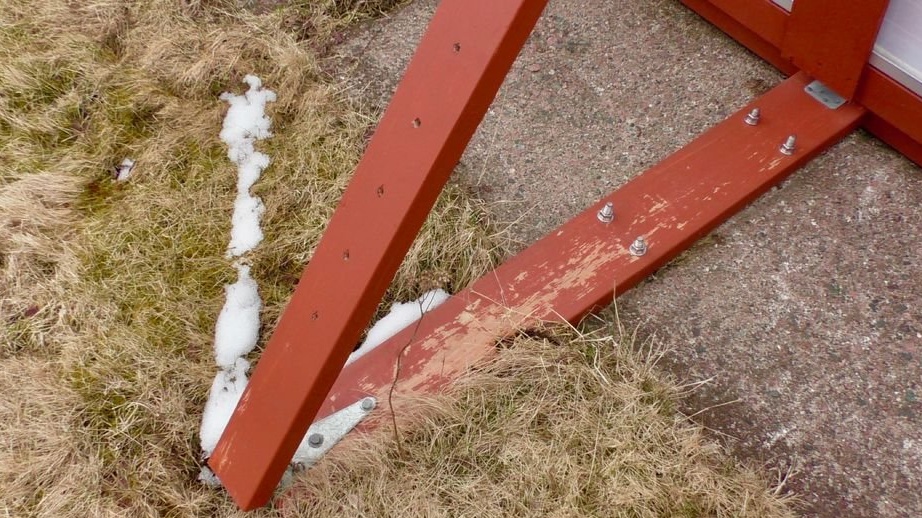
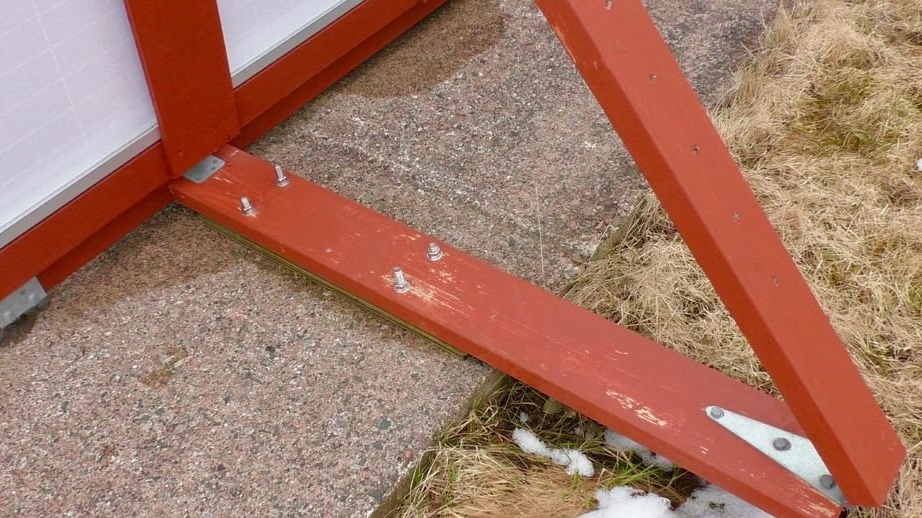
Next, the master makes a mechanism for adjusting the angle of the frame. The board is fixed perpendicular to the fastening bar, to the concrete with anchors. One end of the board is attached to the beam, to the second end, with a door hinge, the second board is attached. A number of holes are drilled in the second board. The board rests on the frame and fixes it through the holes.If necessary, change the angle of the frame, the mounting bolt is installed in the desired hole. Two such mechanisms are installed on each frame. One person can freely perform an operation to change the angle of inclination of the frame and, accordingly, solar panels.
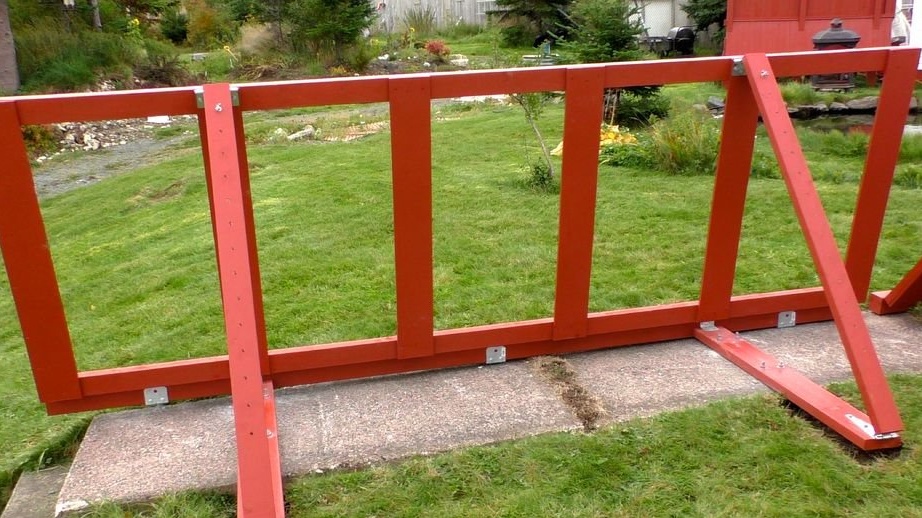
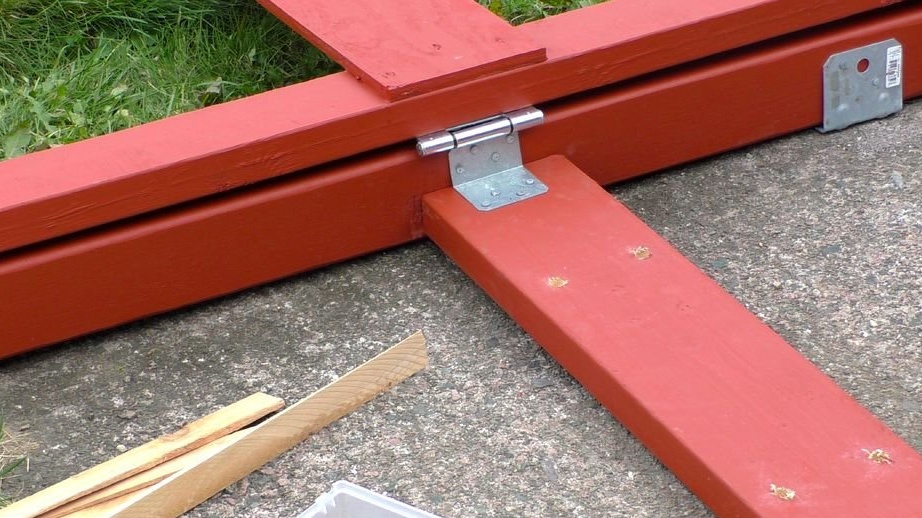
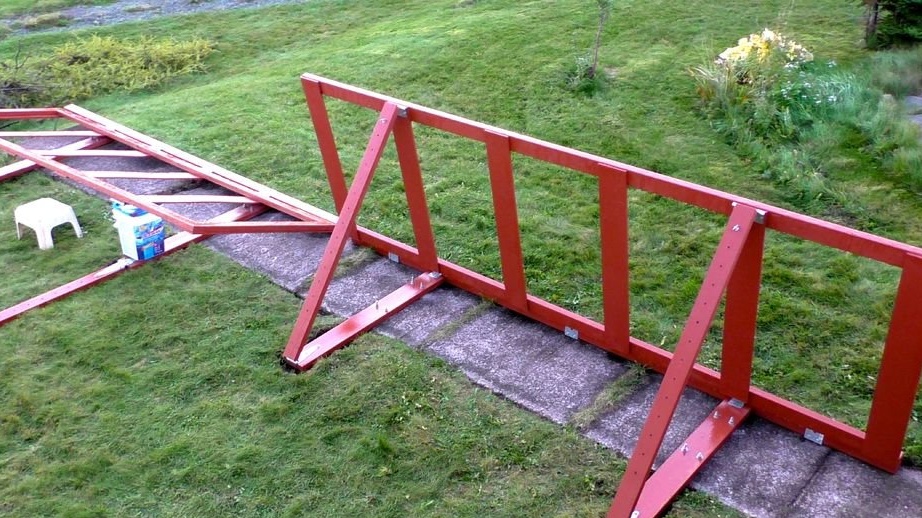
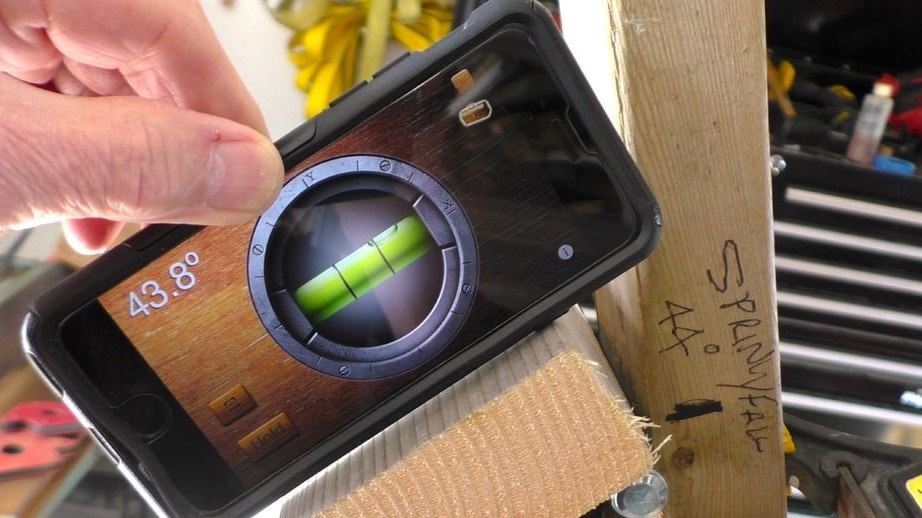
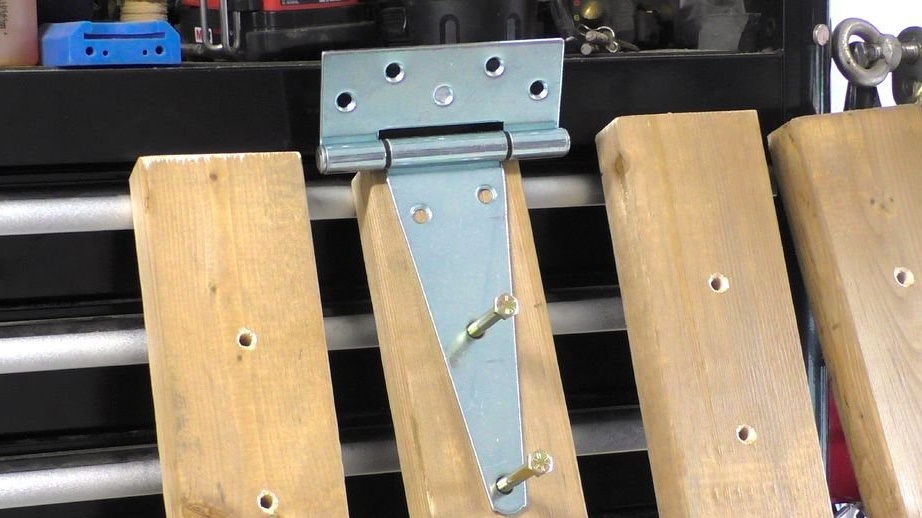
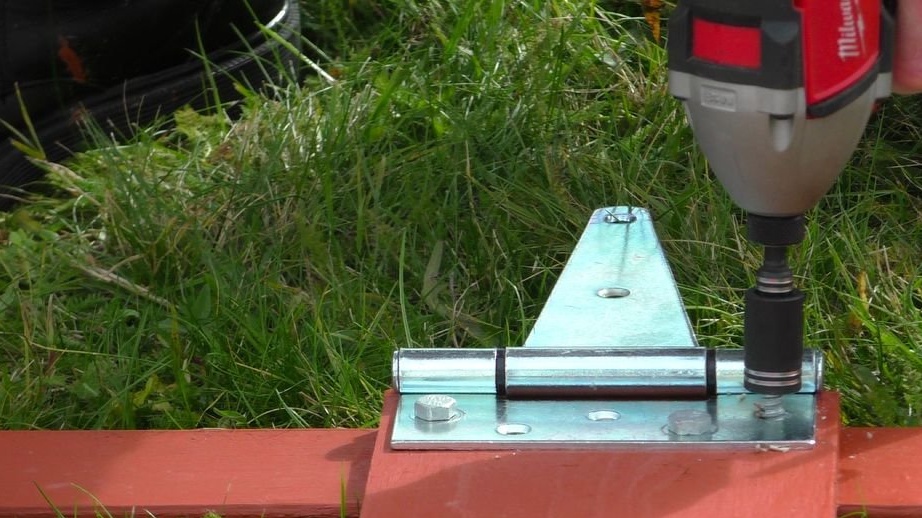
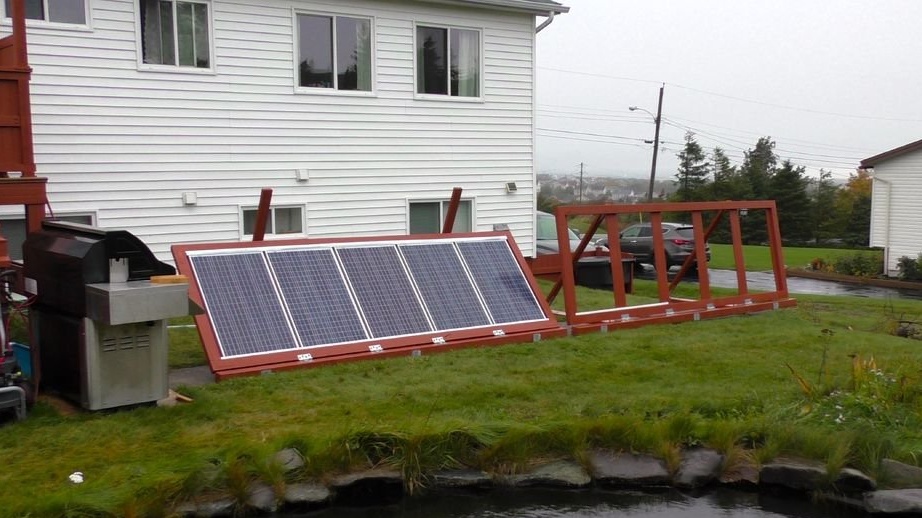
Using this mechanism, you can adjust the angle of the panels from 20 to 76 degrees.
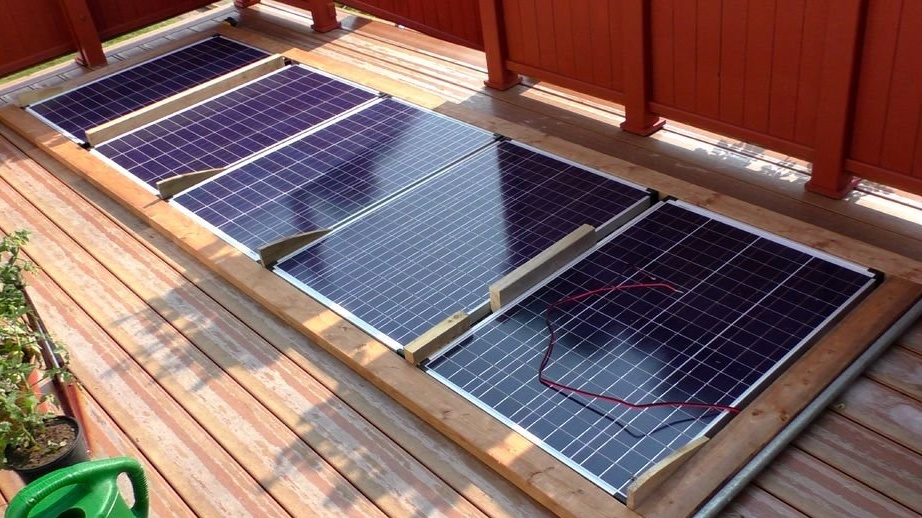
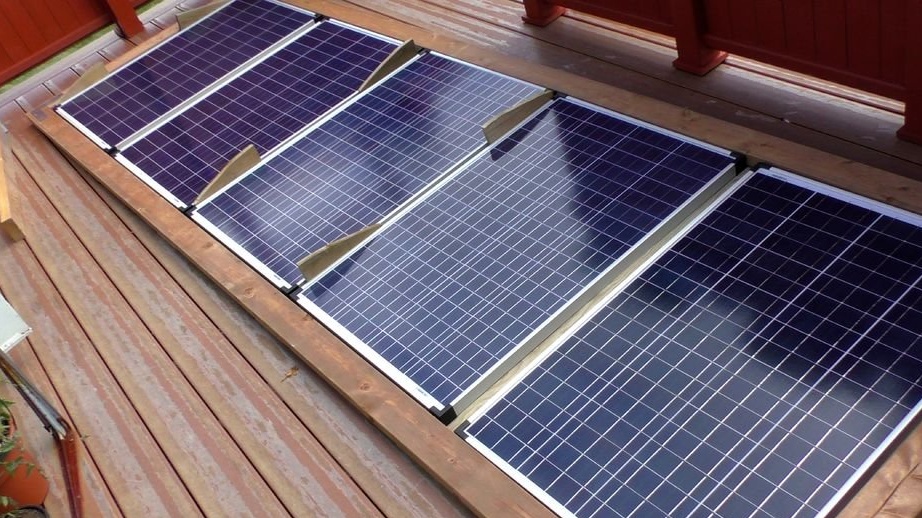
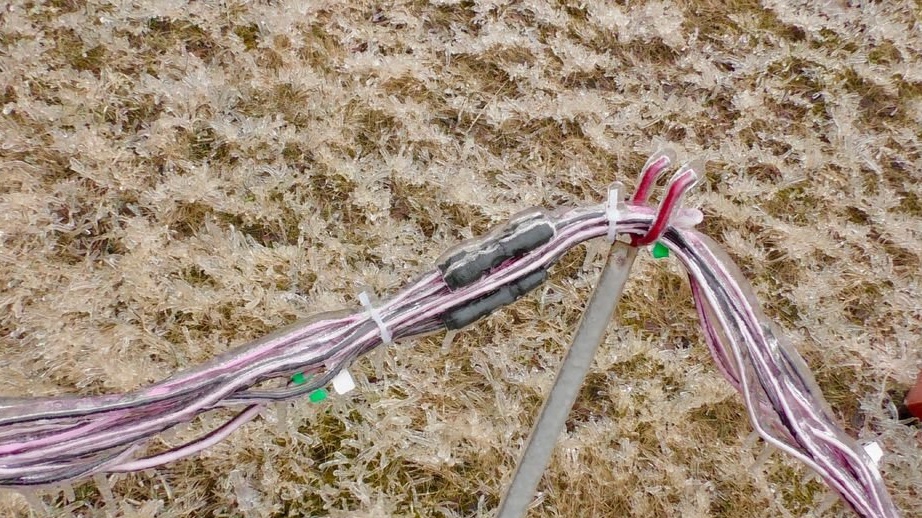
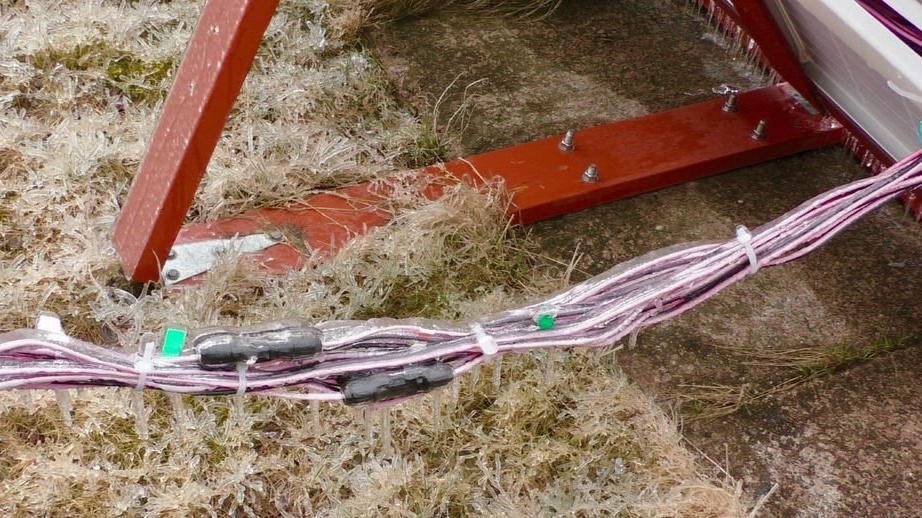
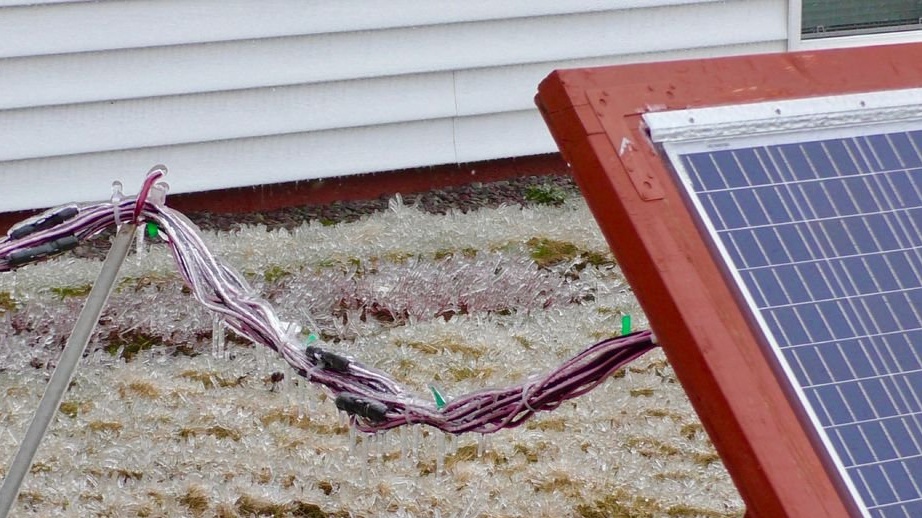
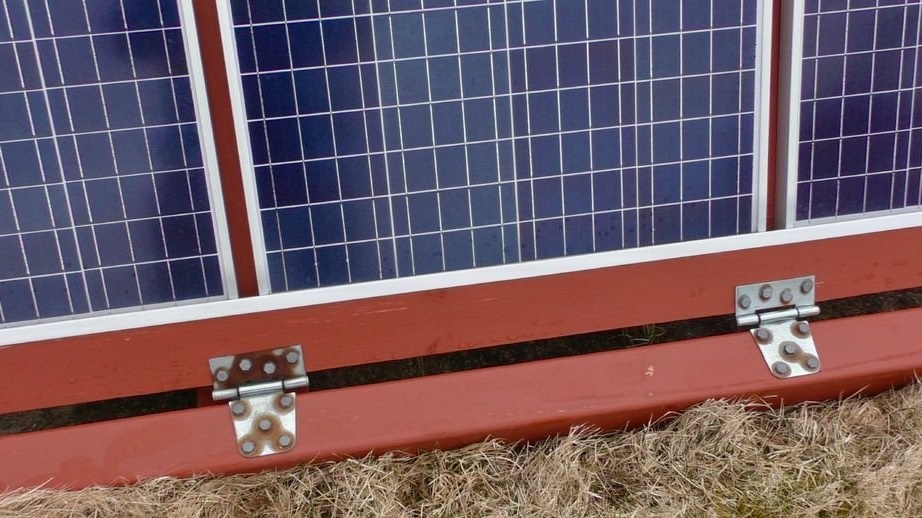
Step Five: Installing Solar Panels
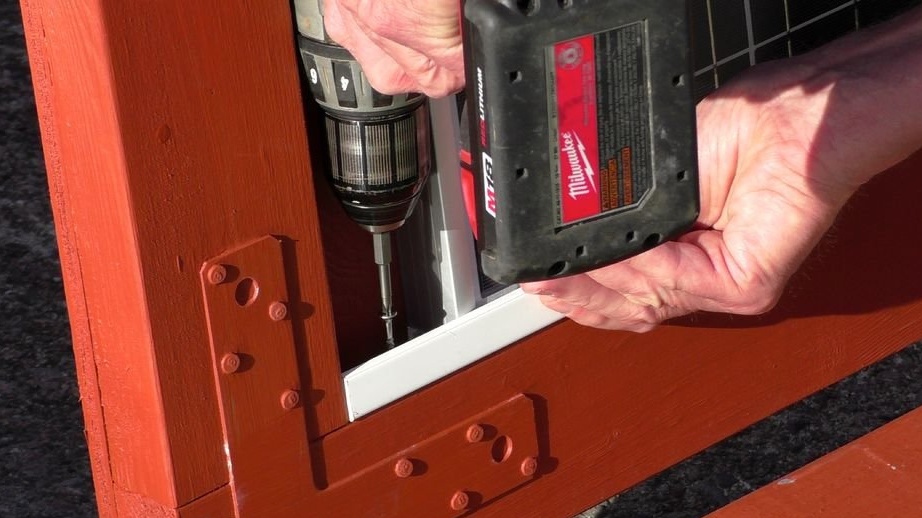
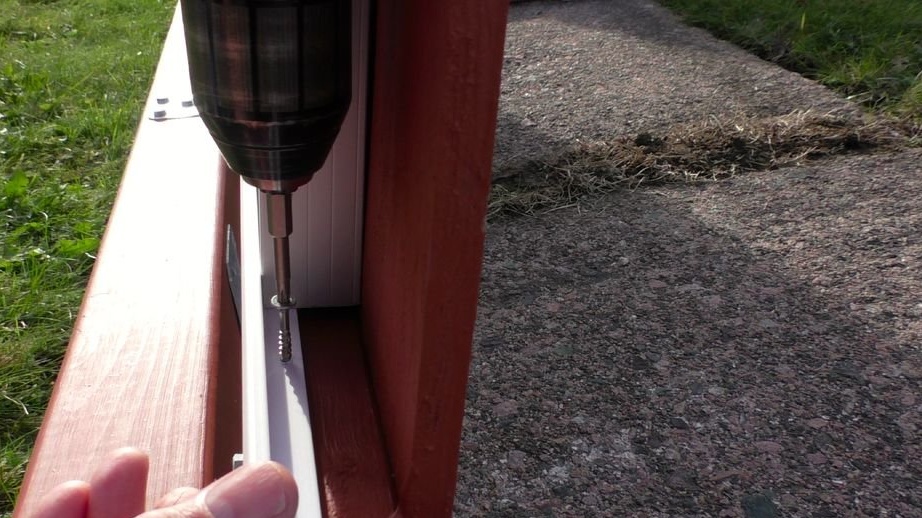
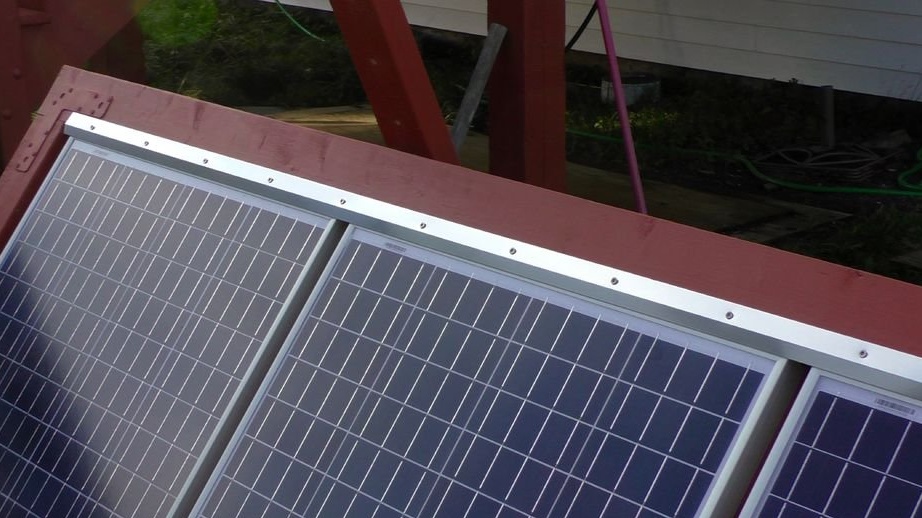
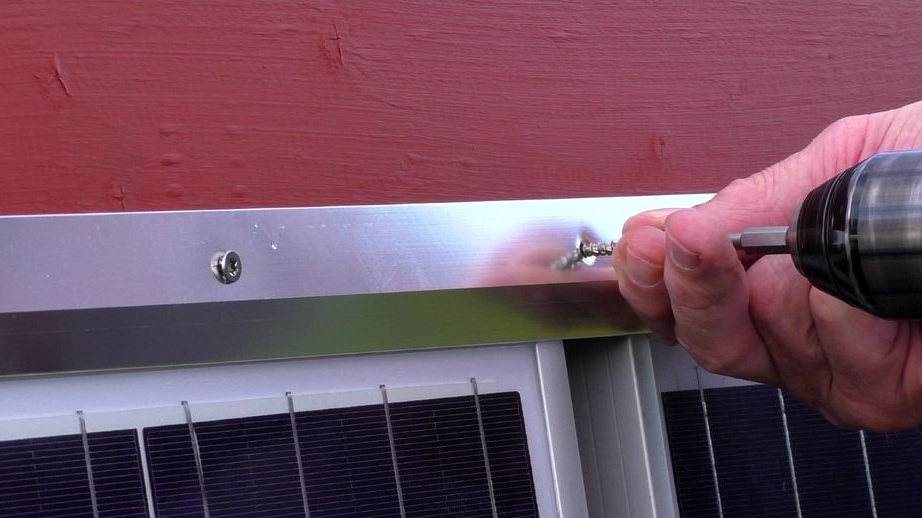
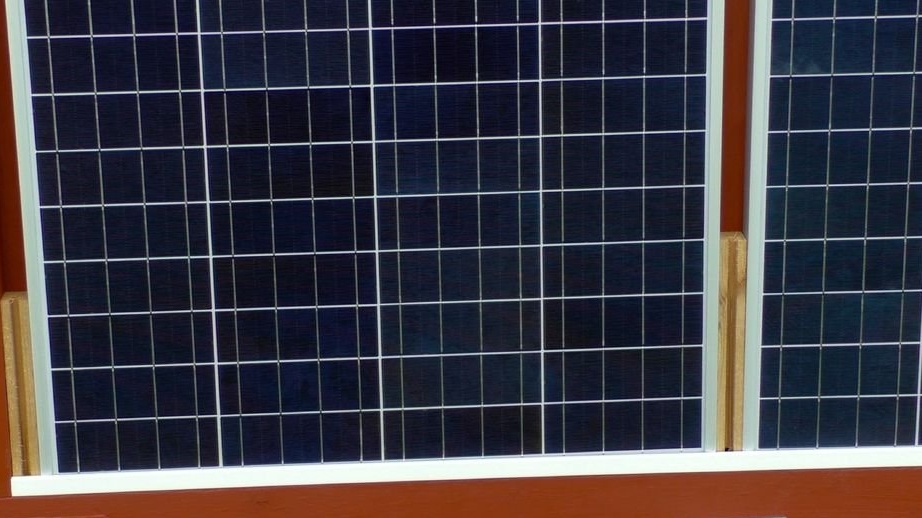
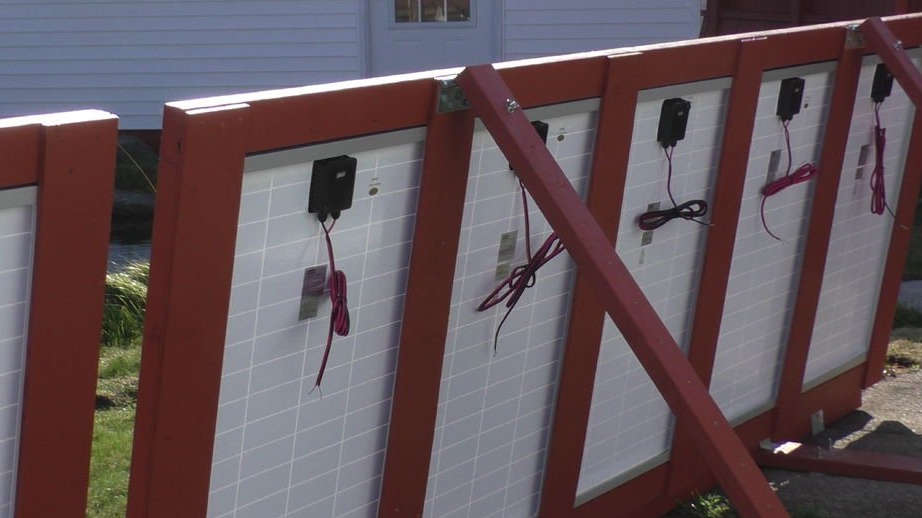
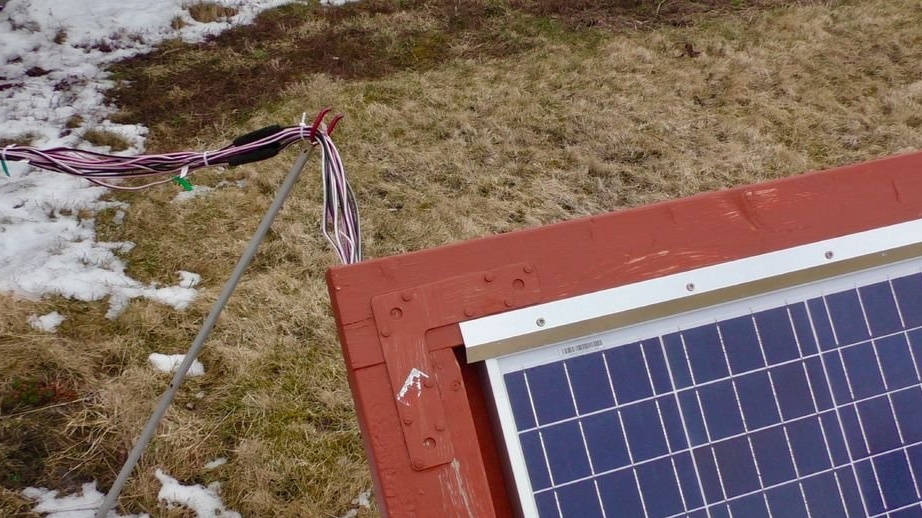
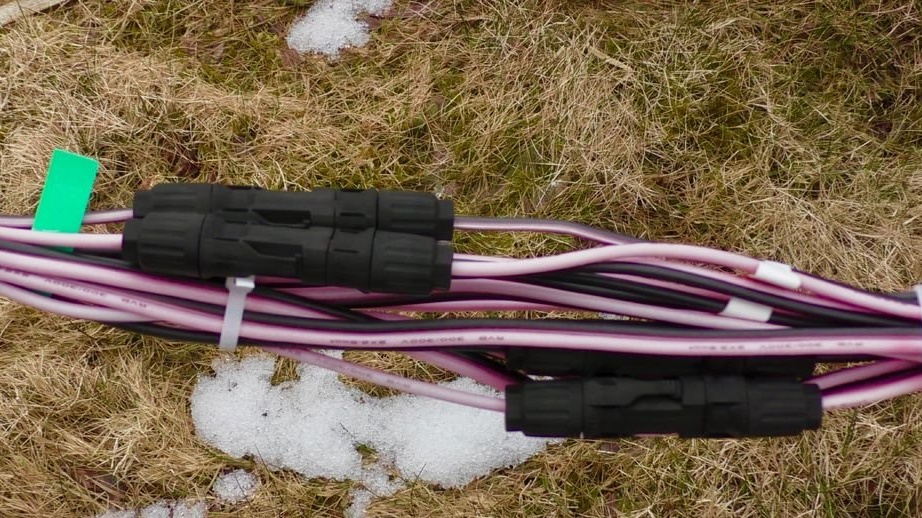
Now it's time to fix the solar panels. At the bottom of the wizard secures a plastic corner. Then it installs the panels and fixes them on top with an aluminum corner.
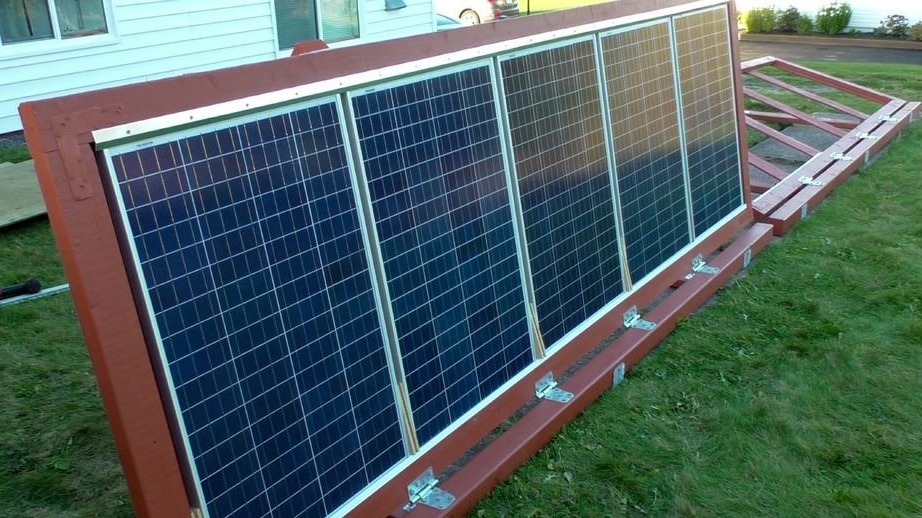
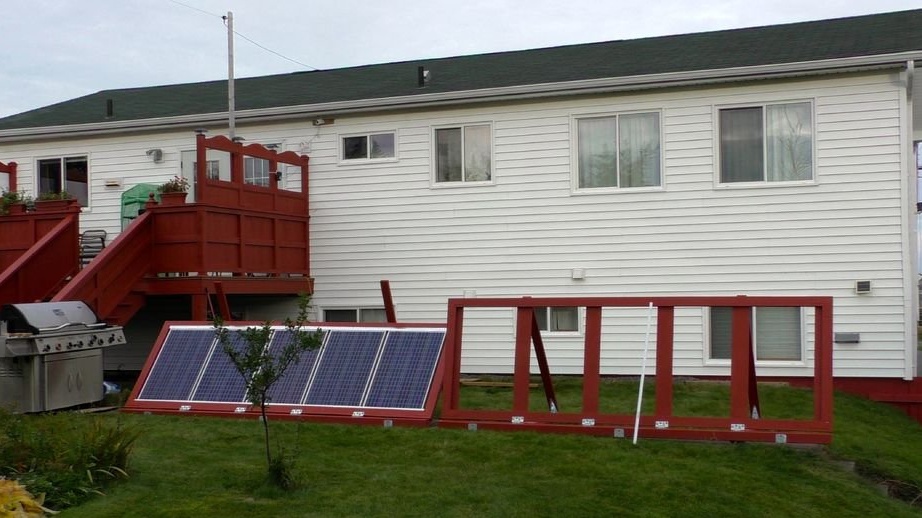
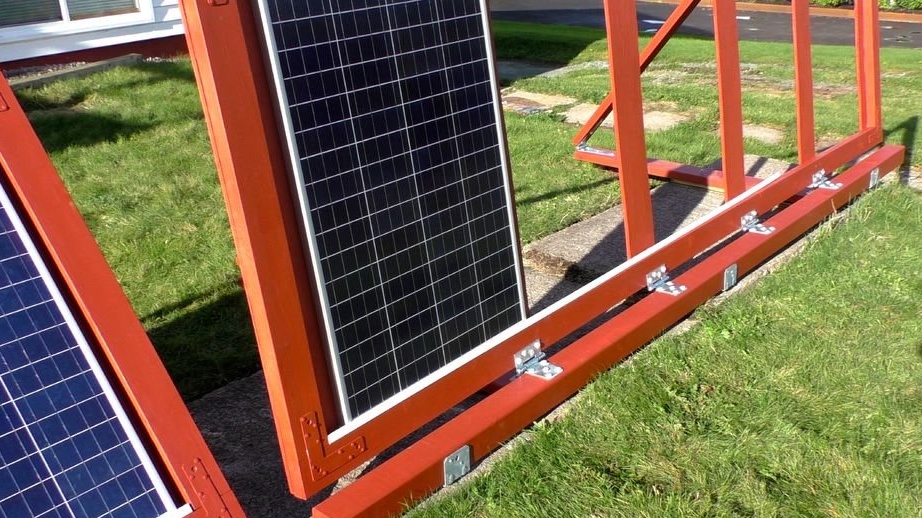

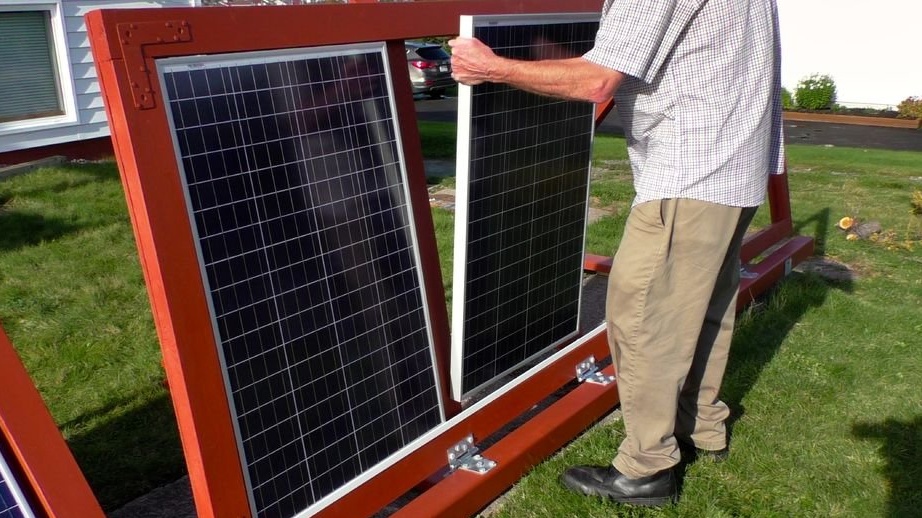
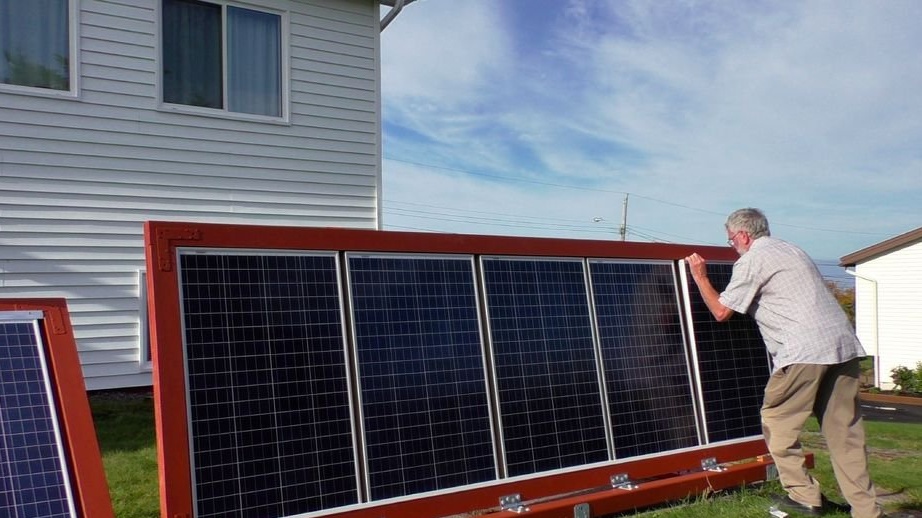

Installation of solar panels is ready.
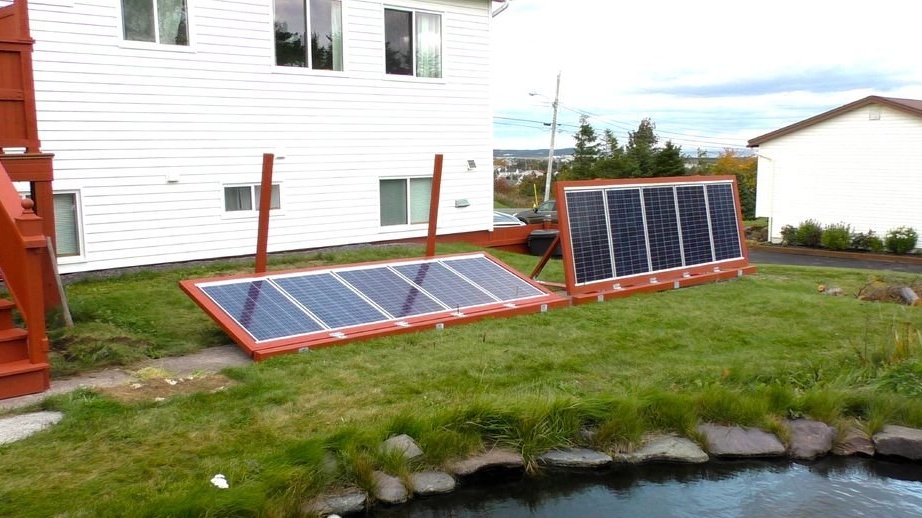

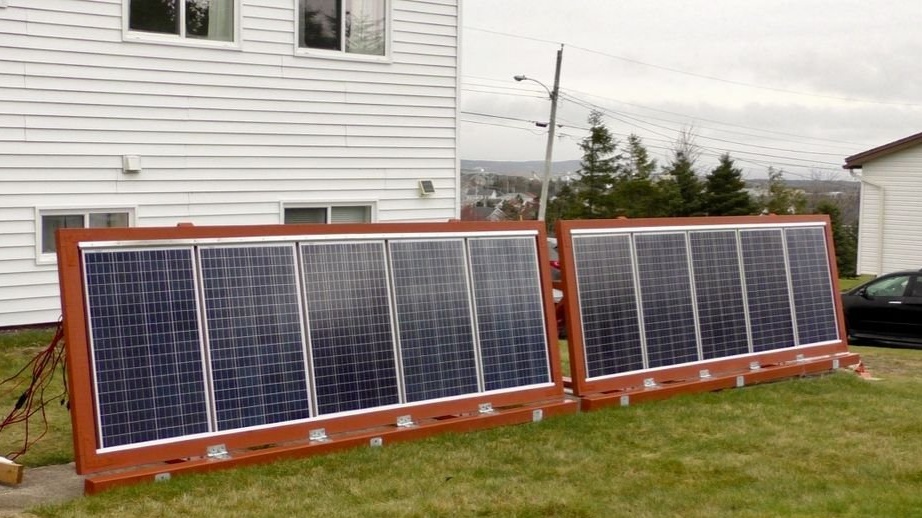
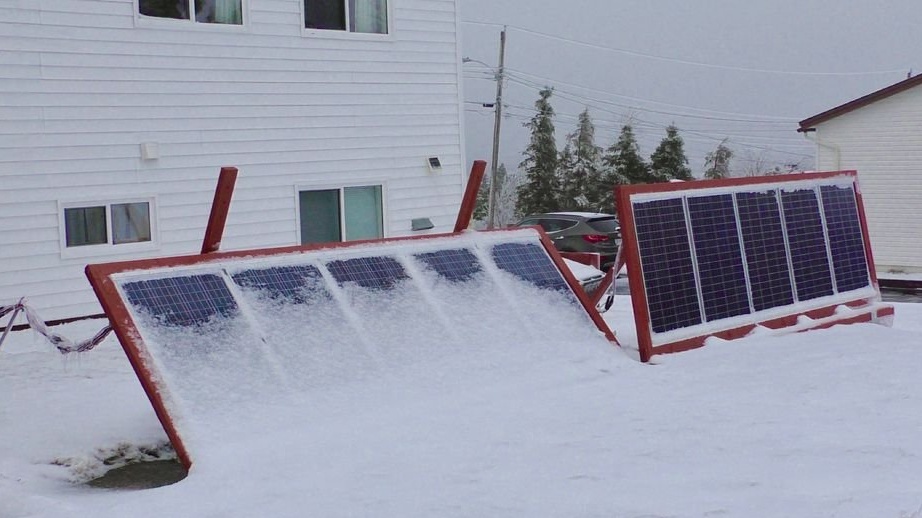
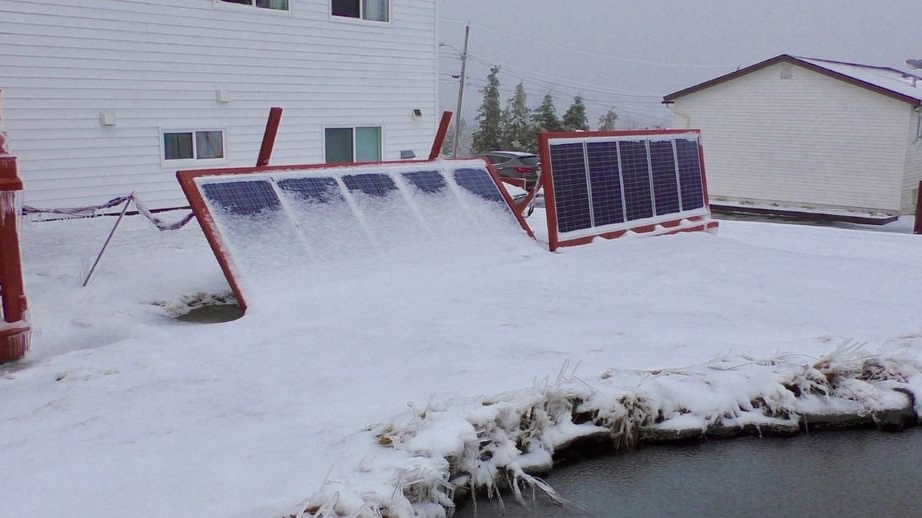
After two winters, the system functions normally. There is a little rust on the hinges and painting of the frames is necessary, but there are no other comments. The master is pleased with the device and hopes that the solar panel will serve him for many years.
The whole process of manufacturing such a system can be seen in the video.