

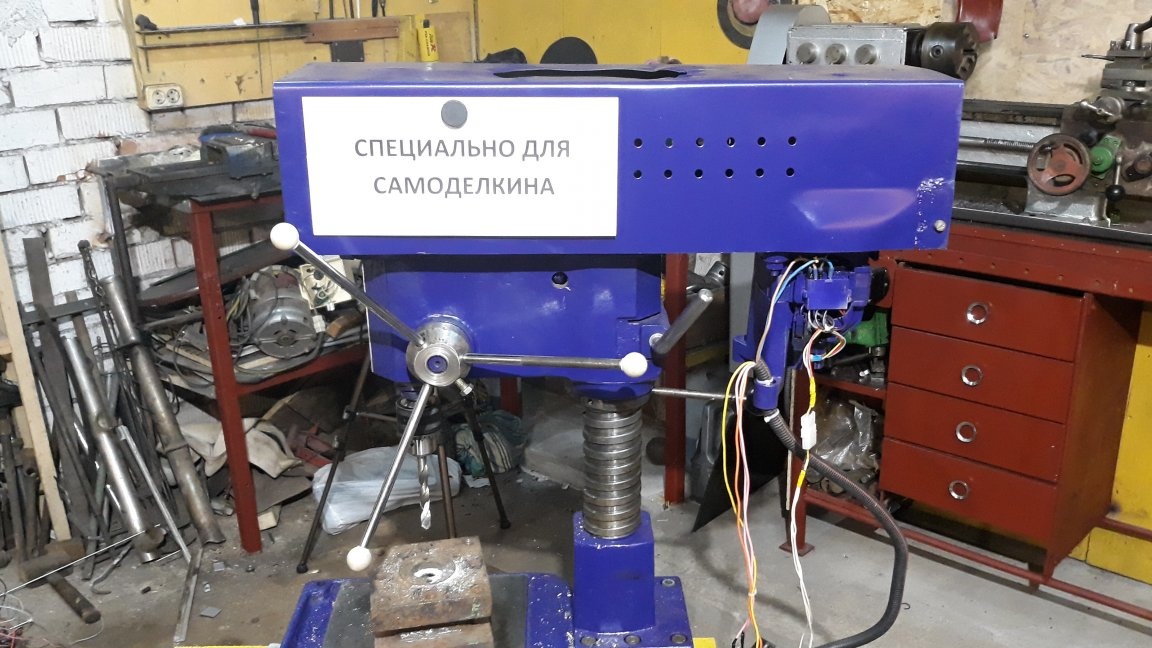
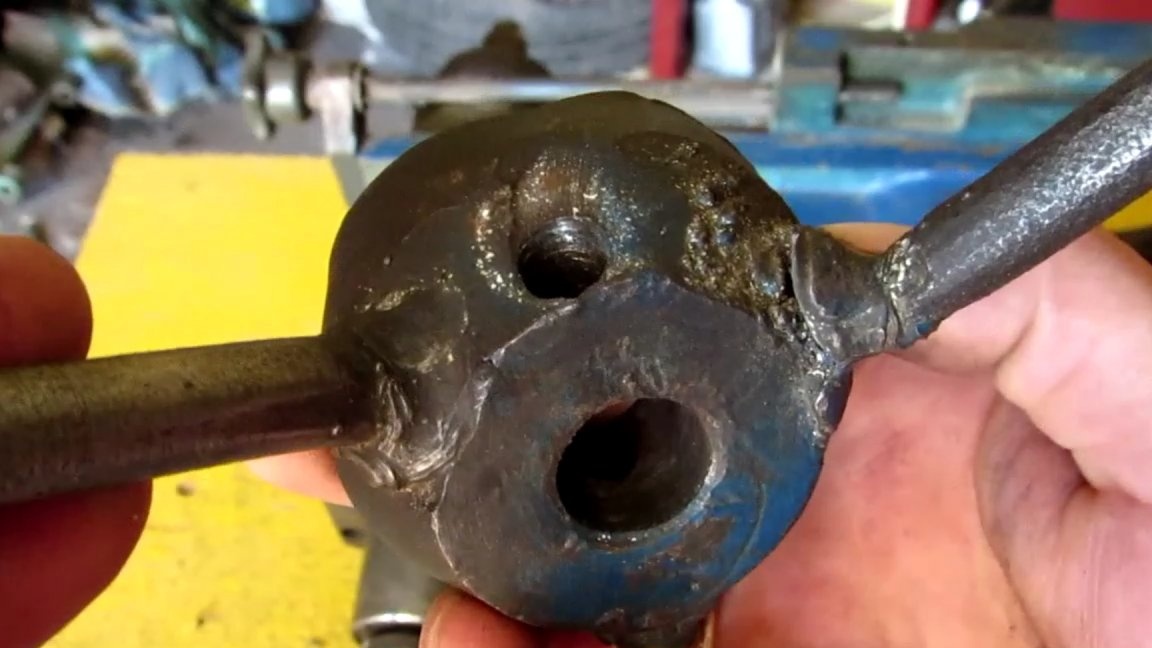
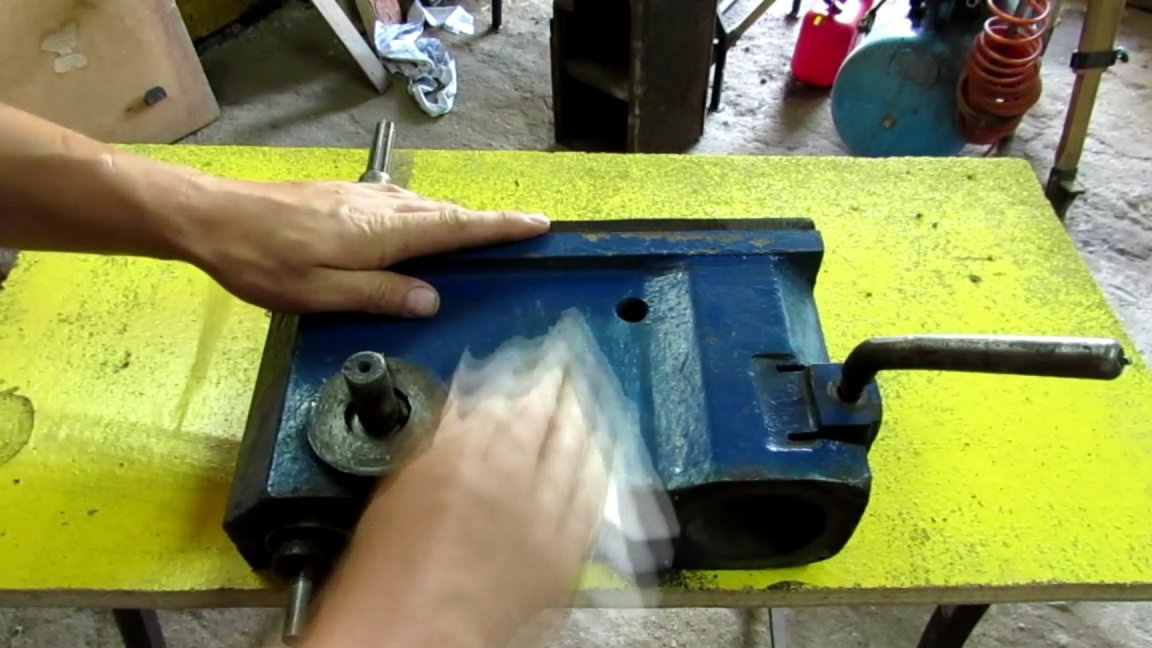
Hello friends. Today we have a 2m112 drilling machine, which was saved from metal reception in view of its decent condition, namely the lack of backlash in the spindle. We will deal with its restoration. Let's start with the manual spindle feed mechanism. It is attached to the pinion shaft with a fixing bolt. Unscrewing the bolt, remove the handle. Yes! Well this is what barbarians need to be in order to mock the machine so. The handles themselves, which must be screwed into the body, are tightly welded. And it’s not pens, but the bits of such and such a rod. Barbarians. Clamp in a vice and cut the fuck all this business grinder. We will make normal pens, because it is pleasant to work on a working machine, this is a fact. After being cut off, we remove the welding residues with a 60-grit flap wheel. You can also apply a sweep wheel, but the surface after processing will be rougher. It is necessary to clean until a complete circle appears at the welding site. This is necessary so that nothing holds the remaining piece. If welding remains at the edges, then it will be another lesson to unscrew it.
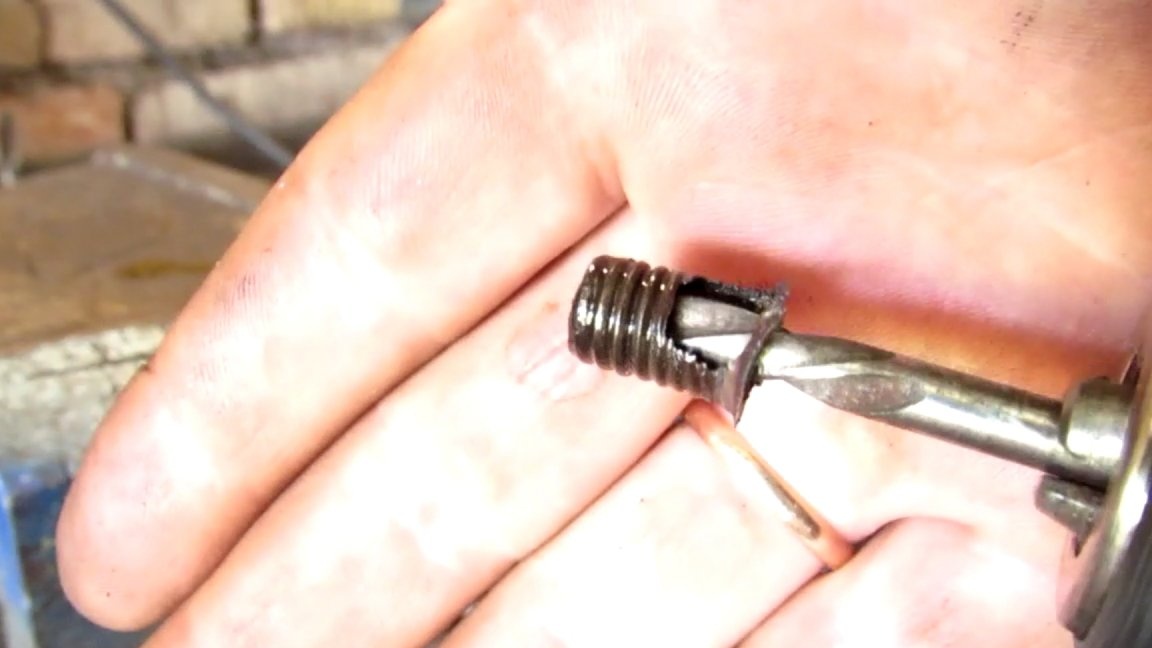
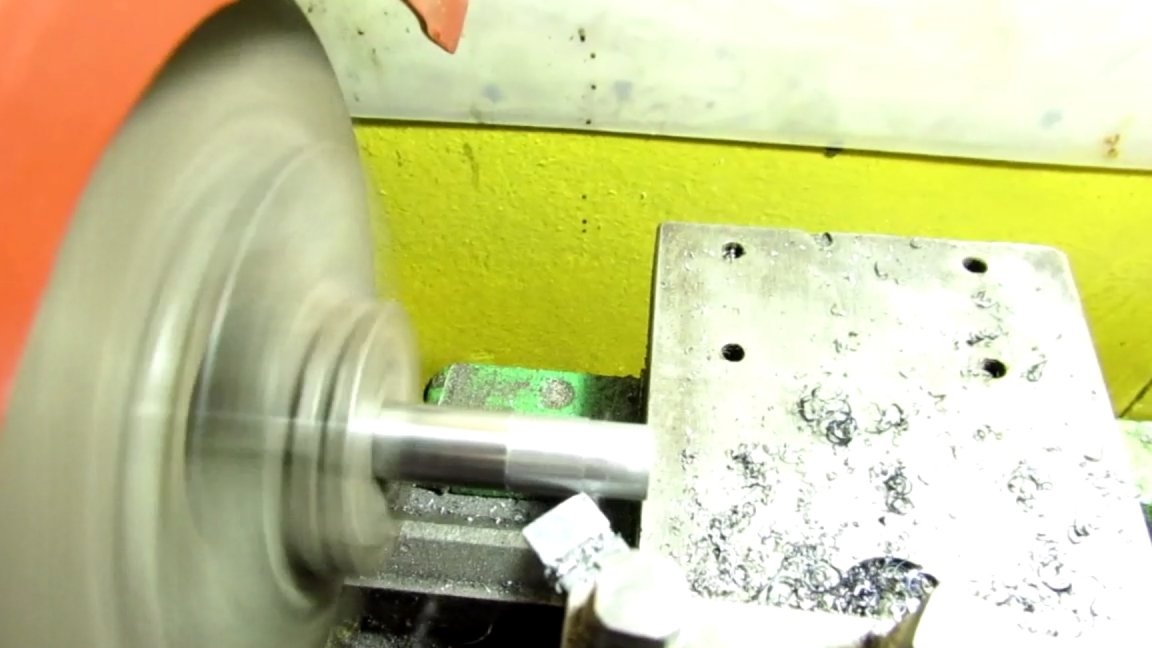
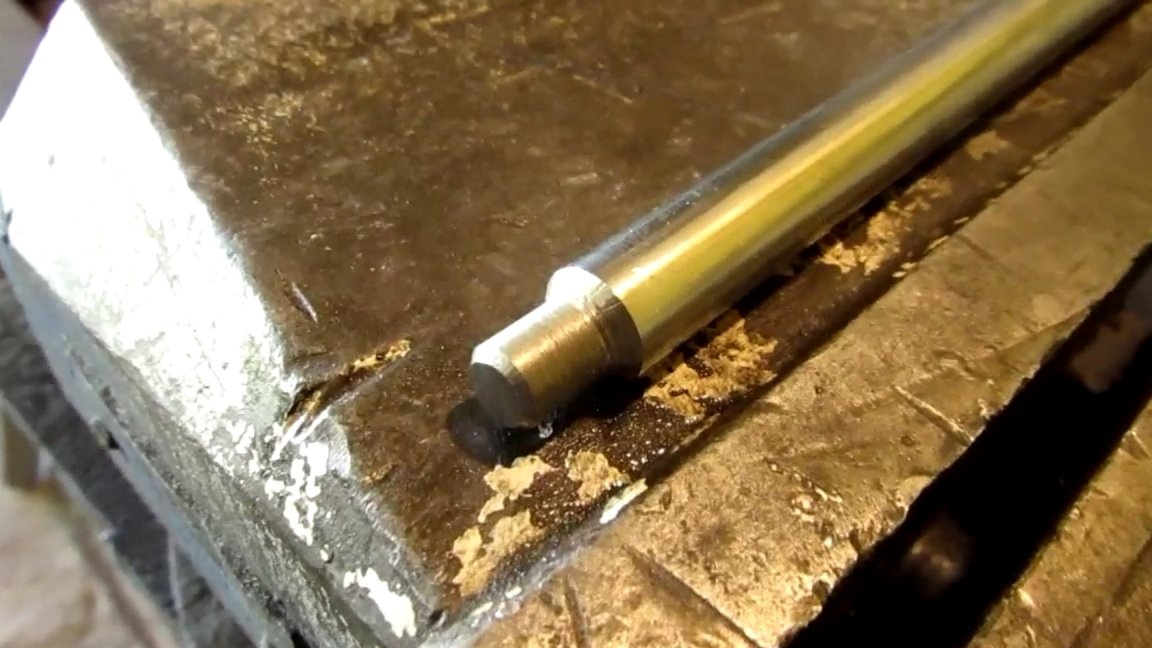
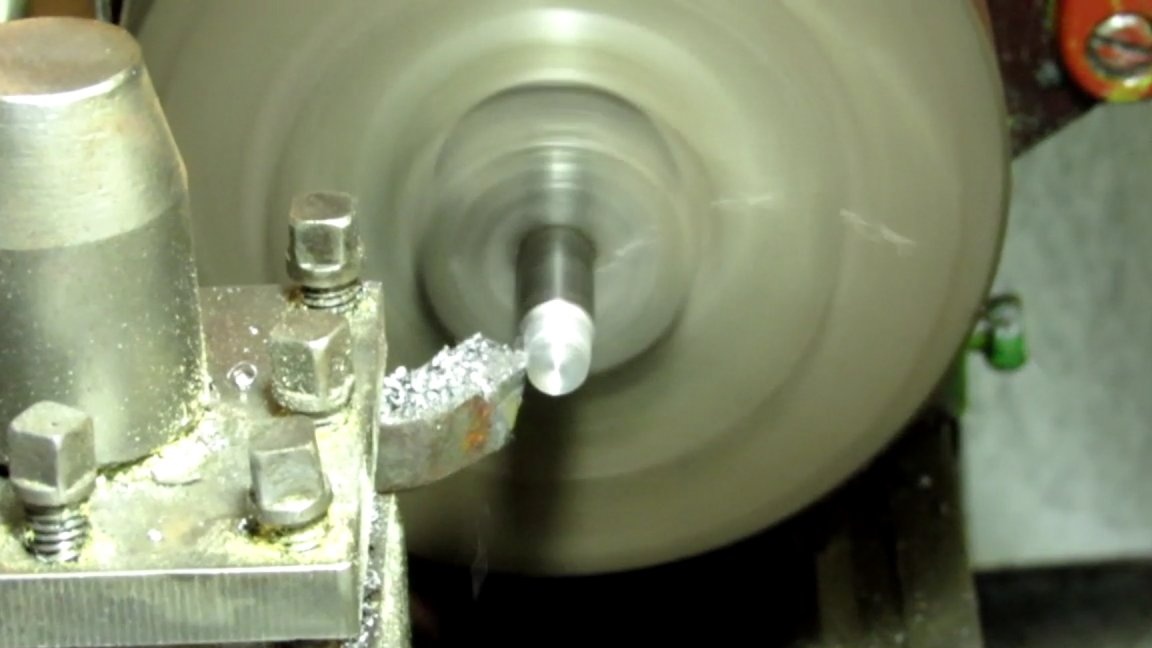
He screwed a recess in the center and went through a 4 mm drill, then tried 8 mm, and here I came across a left drill with a diameter of 5 mm. It often happens that when drilling with this drill it bites and the broken-off piece is twisted itself. I was lucky, and with this method I unscrewed all three breaks. Next, we correct the part with the same petal circle, removing the nozzles from welding and leveling the surface. It remains to make pens. For them, by the way, the rods from the shock absorbers came up. They are 11 mm in diameter, and M10 needs a thread. We clamp the bar into the turning chuck and grind the end of the workpiece to a diameter of 10 mm, the length of the groove is about 15 mm. I printed balls on a 3D printer. They have a central hole for M8 thread. . Grab the tap and cut the internal thread. It is important not to overdo it, otherwise you can squeeze the top of the ball. The thread is cut by hand, nothing needs to be clamped anywhere. On the other hand, we drill the workpiece to a diameter of 8 mm and a length of about 10-12 mm. How cool it is to grind what you need. You don’t have to spend hours looking for the crap you need in the drawers and finish it with a grinder and a file. Beauty. Be sure to make a chamfer at the beginning for a better approach. Somehow it looks like this. Now we cut the thread without forgetting to drip the oil. We cut half a turn forward and a little back, thereby breaking off the chips.When a thread is cut into it, a ball is wound without problems. This procedure must be repeated for the remaining two bars. As a result, we have just such a handle. It is a pity that one stock turned out to be shabby and this spoils the view a little, well, it will turn out to be suitable, it will not take long to remake.
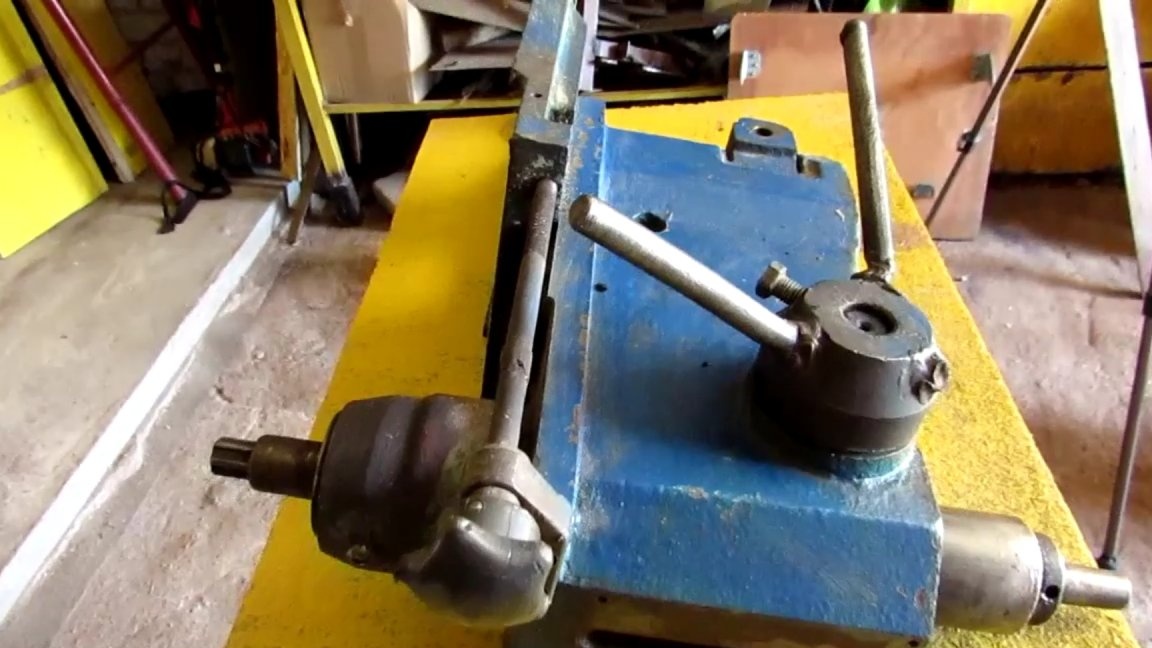

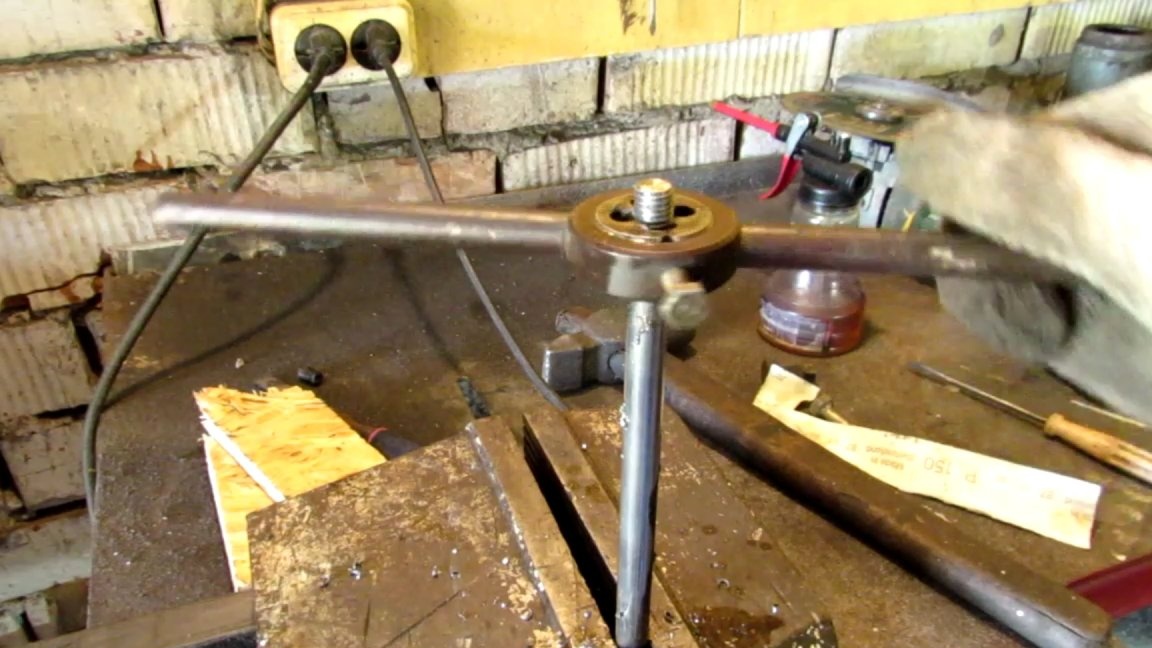
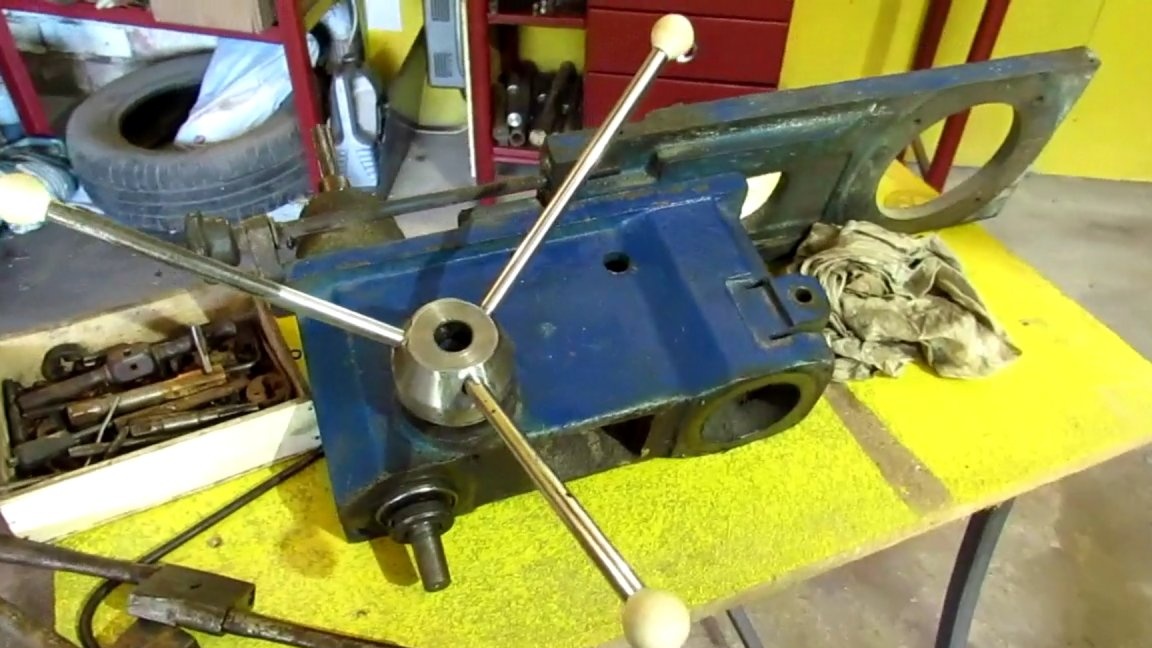
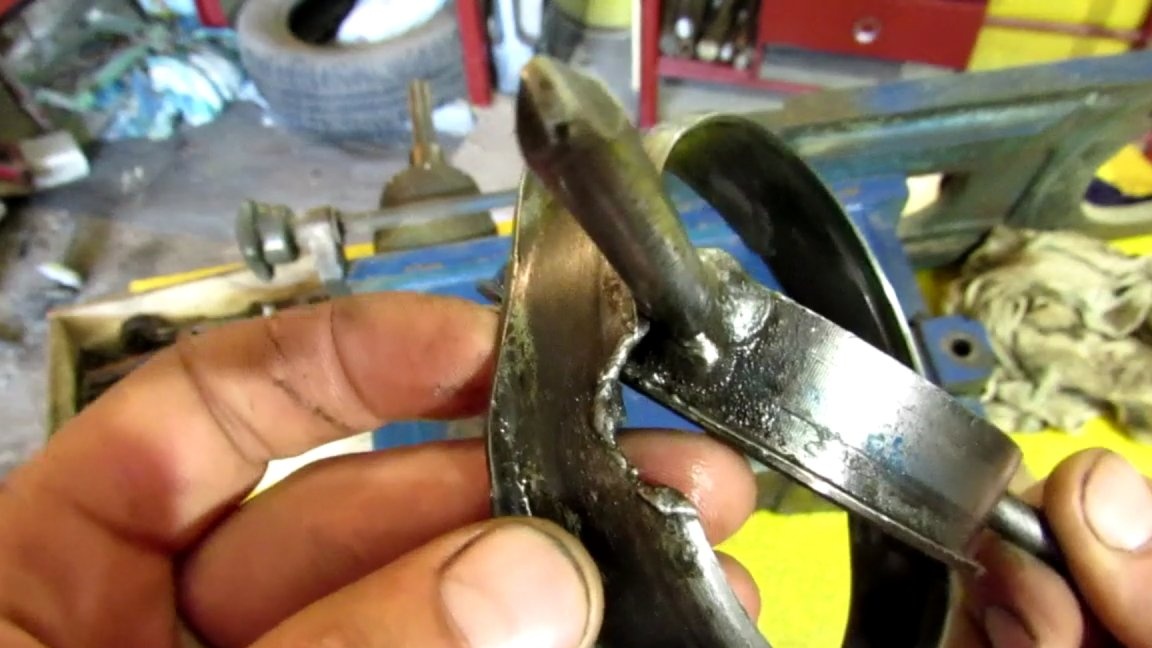
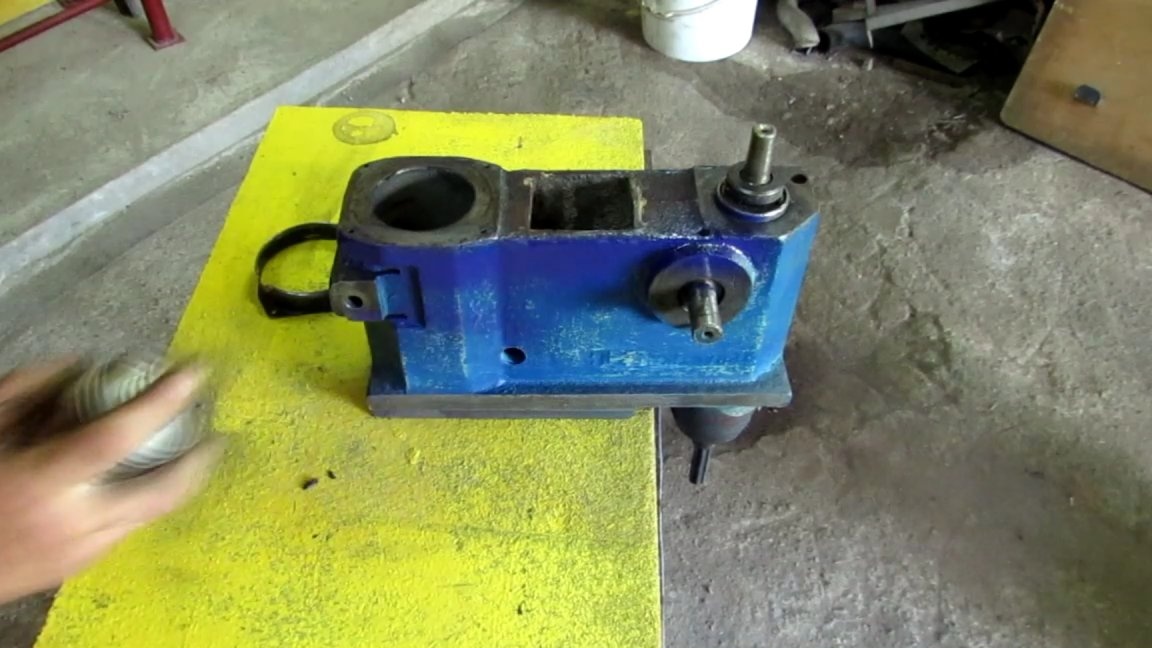
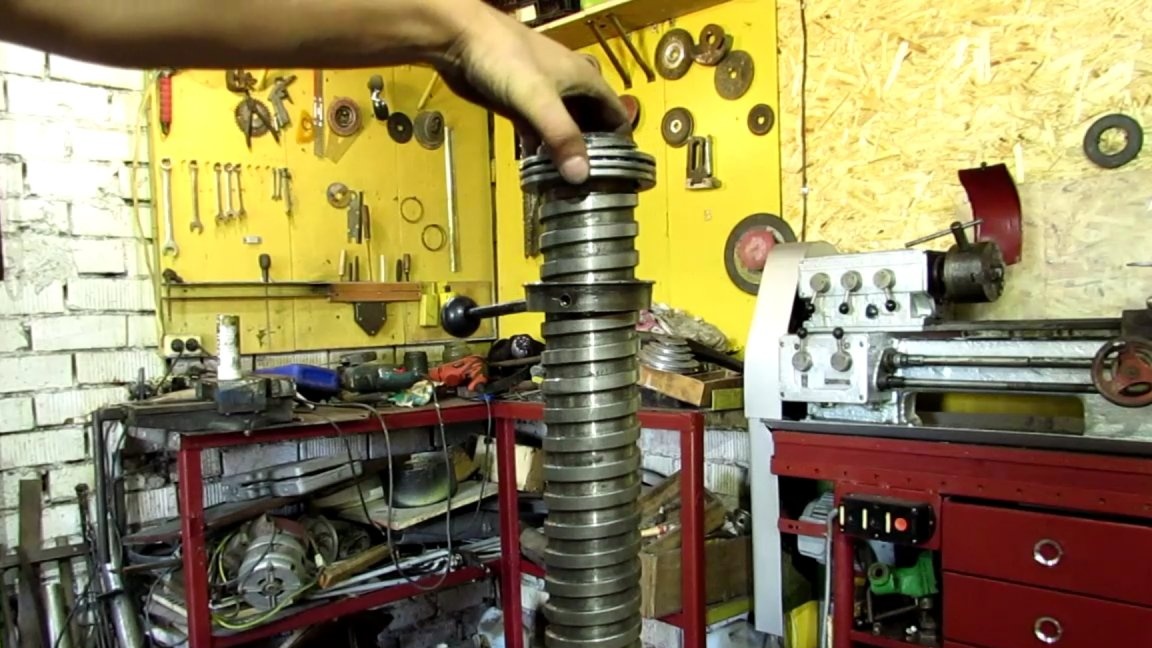
Another problem after krivorukovyh craftsmen is the nut moving the headstock on the column. Here the handles are also bluntly welded to the nut. Damn, how is it, huh! A thrust bearing is installed in this assembly to prevent friction between the nut and headstock. It closes with a metal cover, which they also managed to burn through by welding. It's good that at least one handle is not welded, there is a chance to unscrew it. We move into a vice and cut off all the protruding parts, trying not to touch the protective cover. All these procedures take the wildest amount of time and effort.
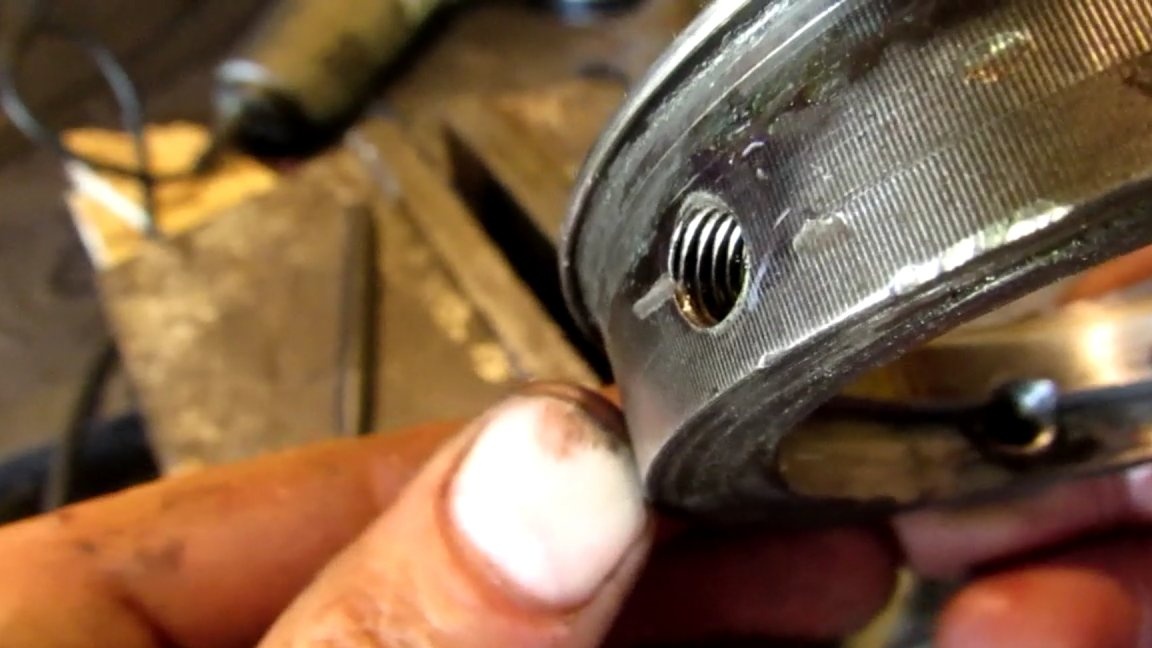
I sawed a groove with a hacksaw and alternately moving left and right, he easily twisted out using a screwdriver and pliers. The thread inside is whole and it pleases, but it was decided to drive it away with a M8 tap. With the second handle, too, everything turned out well. As in the first detail, I polished the flap wheel with a welding and left-hand drill while drilling a hole, the bastard twisted. Remained the most painful place. We did not spare the electrodes here and brewed be healthy. Well assholes. And again the Bulgarian comes to the rescue, with which we cut off all unnecessary. By the way, 80% of all homemade done by welding and grinder. Having carefully looked, this piece is easily knocked out from the back. It was just that there was no thread on the rod and it was inserted into the hole and welded. Now run the thread and grind the welding. We get quite a worthless detail. Having rummaged in stocks, I found an almost ready handle for a nut and even with a ball. I decided that so far there will be one pen. If it is inconvenient, you can always grind the other two.
Now proceed to the spindle headstock. Unscrew the handle belt tension and remove the motor plate. We don’t need it yet. By the way, she sits on grooves such as a dovetail. There is also a pressure plate. By tightening the screws on the side, you can remove the backlash. There is nothing special to repair in the spindle head, so we arm ourselves with an emery cloth and clean the paint. I did not begin to completely remove the paint on the cast iron part, since there is a factory putty similar to the modern one, with the addition of aluminum powder. And on milled surfaces, paint is easily removed with a scraper, whipped up from a file. After all the cleaning procedures, degreased and painted with dark blue spray paint. The wonderful thing is that it has a drying time of 10 minutes.
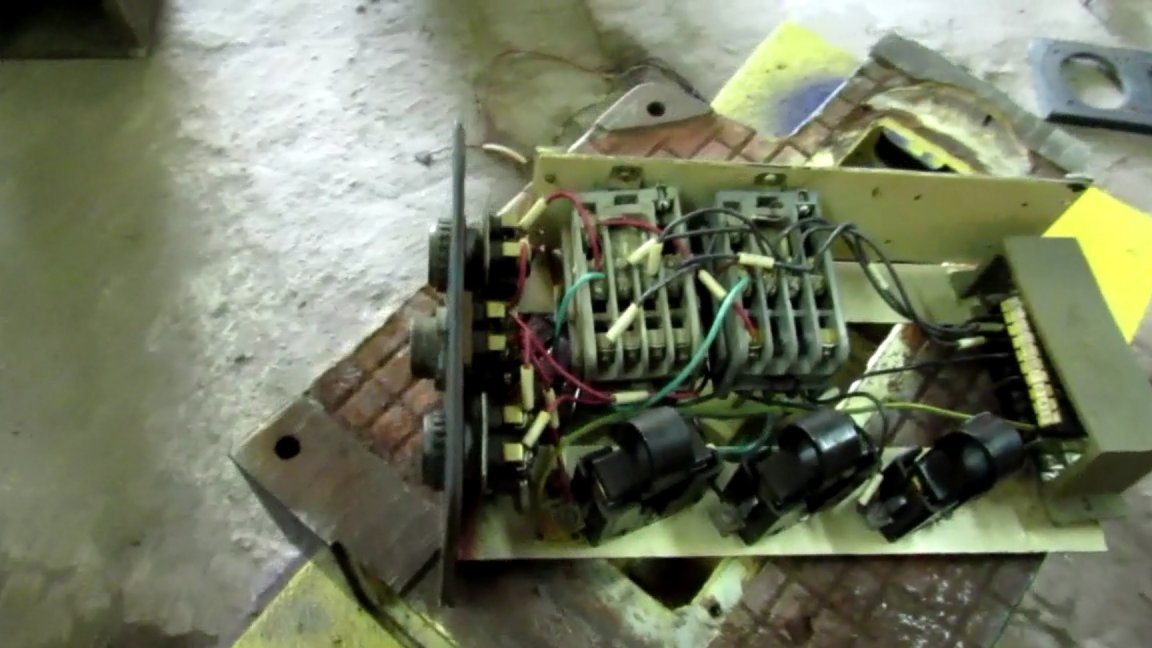
Now we unscrew the bolts of the column bracket. There are 6 of them. . After cleaning the bracket with sandpaper, degreased it and painted it all with the same spray paint. We pass to the table. This thing weighs 40 pounds. That's what I understand the table. I will clean with a soft brush for a grinder. Here you can not do without glasses and a respirator. Somehow I do not want to remove pieces of wire from my eyes. Then you will not return eyesight. We clean the contact surface adjacent to the column bracket, t-grooves and all surfaces. After cleaning, he removed the front panel with buttons and all the electrics. Almost all of this is no longer needed here. Once again I went with a brush, emery paper, cleaned the side surfaces, sealed the plane of the table with masking tape, and blew it out of the spray can.
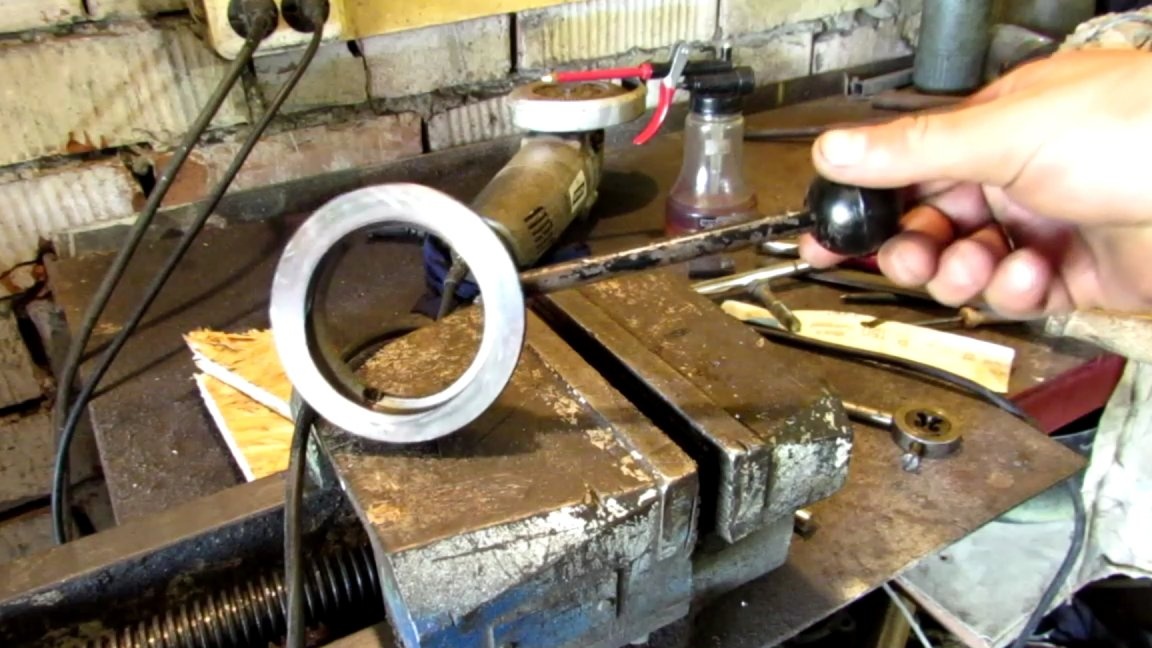
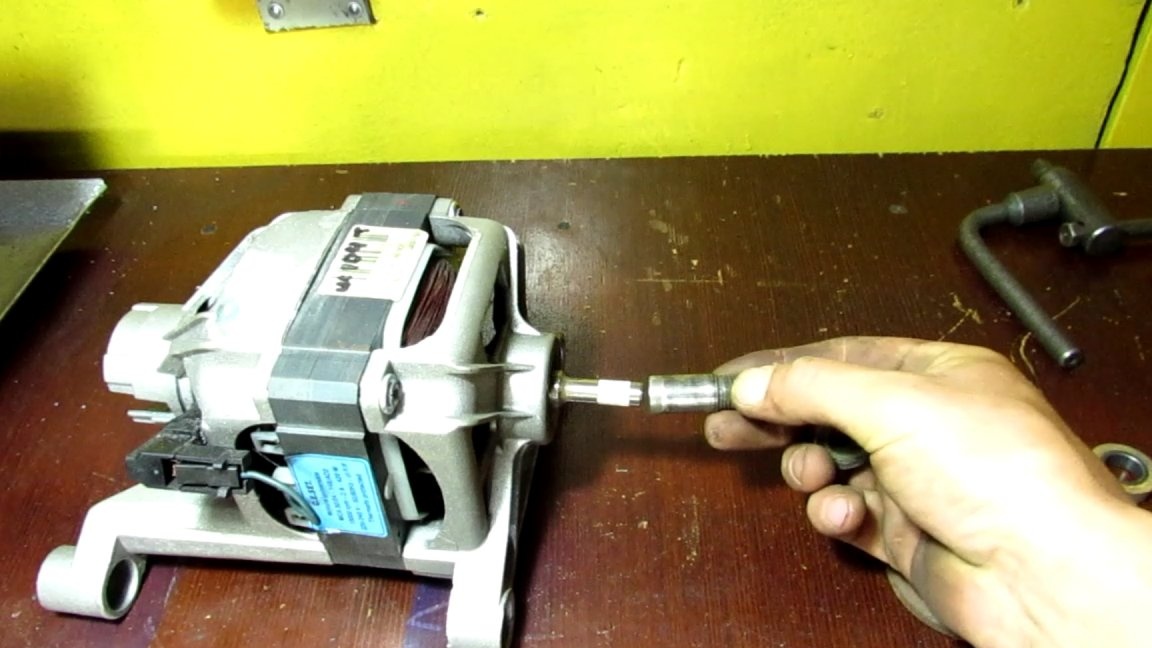
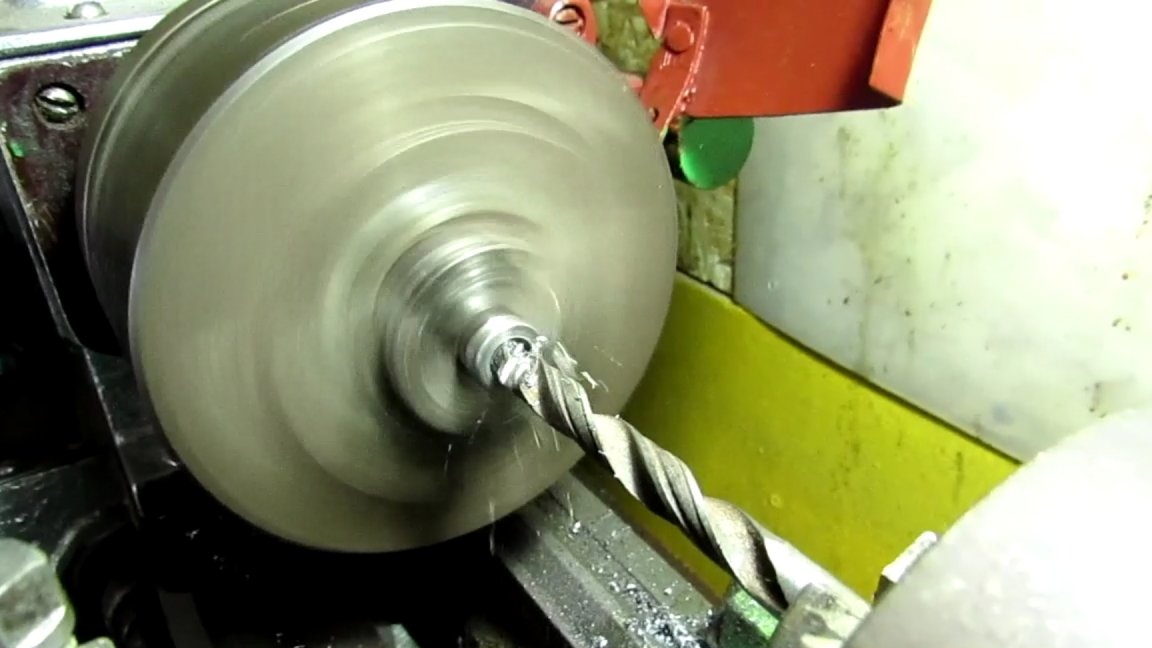
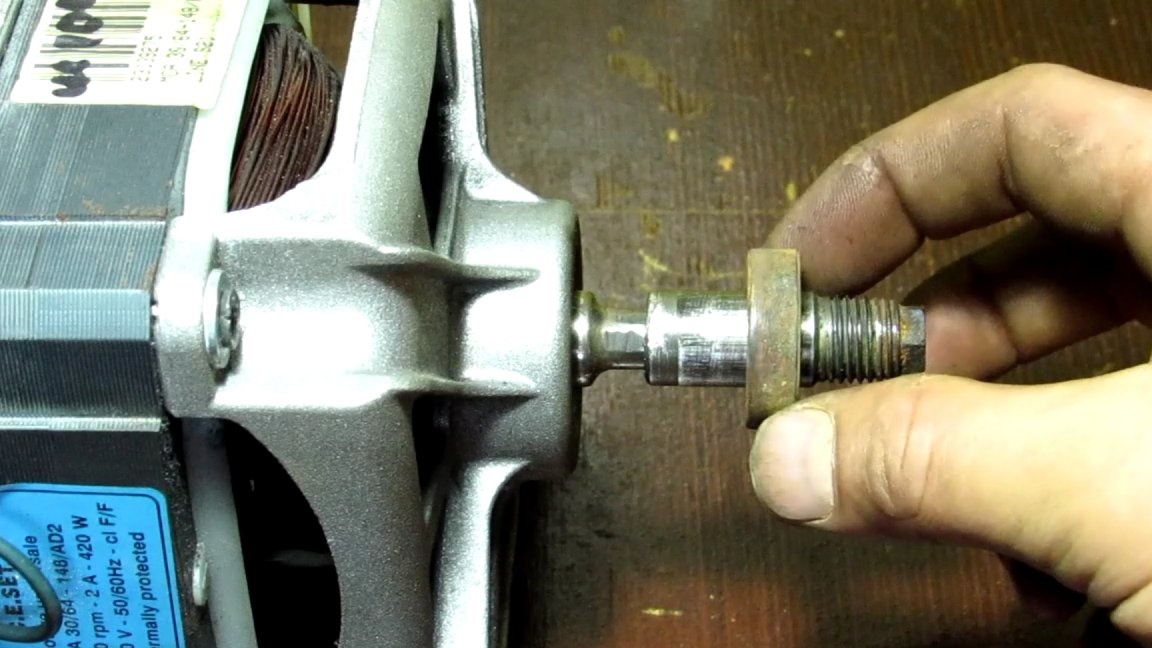
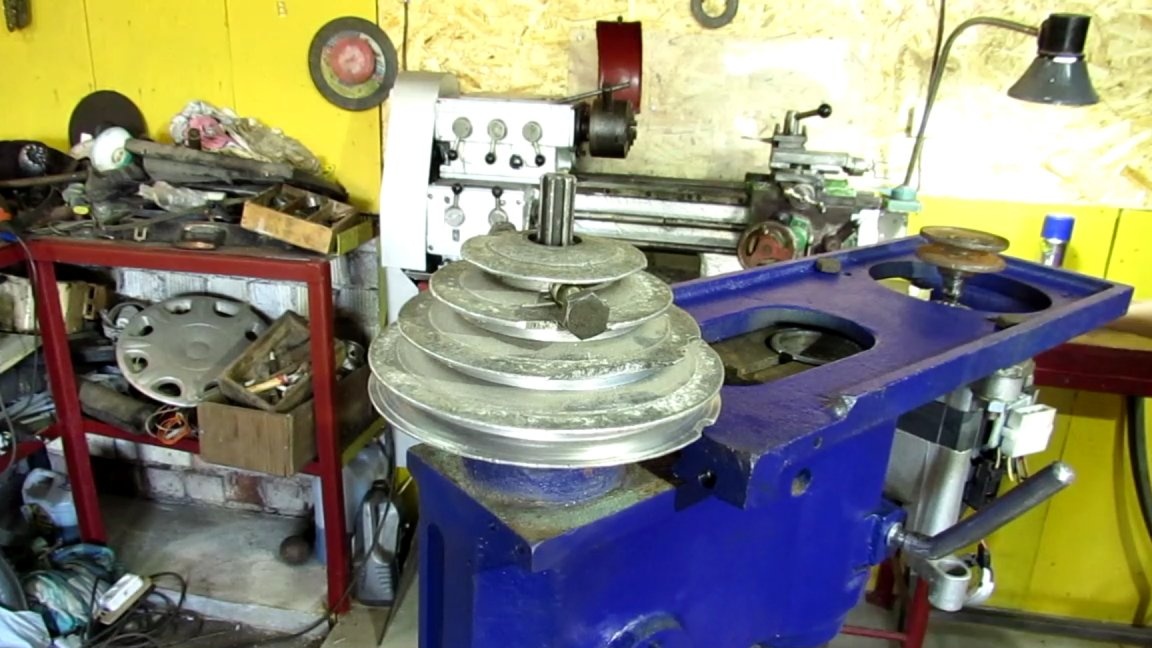
Now go to the engine. The native pulley was cut off by a grinder. Having rummaged in bins I found a piece of a shaft with a thread. It seems that when it was a generator or a power steering pump from a car. A puck is put on it, the pulley itself and all this is clamped with a nut. The diameter of this shaft is 15 mm, and the shaft on the motor is 9.5 mm. After thinking a little, I decided that the best type of connection would be to press one shaft onto another.Well, if so, then go to the turning. We clamp the workpiece into the chuck and drill with a centering drill. This must be done. Deepening will help the drill to enter the metal in the right place. Without it, the drill can easily lead away disrupting alignment. Next, I put a drill with a diameter of 4 mm and went to the required depth. Then he drilled it with a 9 mm drill and drove the hole to the required diameter with a boring tool. After pressing in, I took a washer and two shafts with welding just in case. Well, you never know, will check there or something else. Now let's get down to the motor stove. There are 4 holes for attaching a native electric motor. Of course, they did not fit for this motor, and two more holes had to be drilled. I inserted long bolts in there and screwed the motor through large washers. When tightening the belt, this fastening seemed to me not very rigid. And just in case, from the back of the motor, I screwed a piece of the corner onto the existing holes. Now everything is tough. Also, between the stove and the motor had to put spacers to fit the pulley in height. After all the fittings, the stove was painted.
You can start assembling.

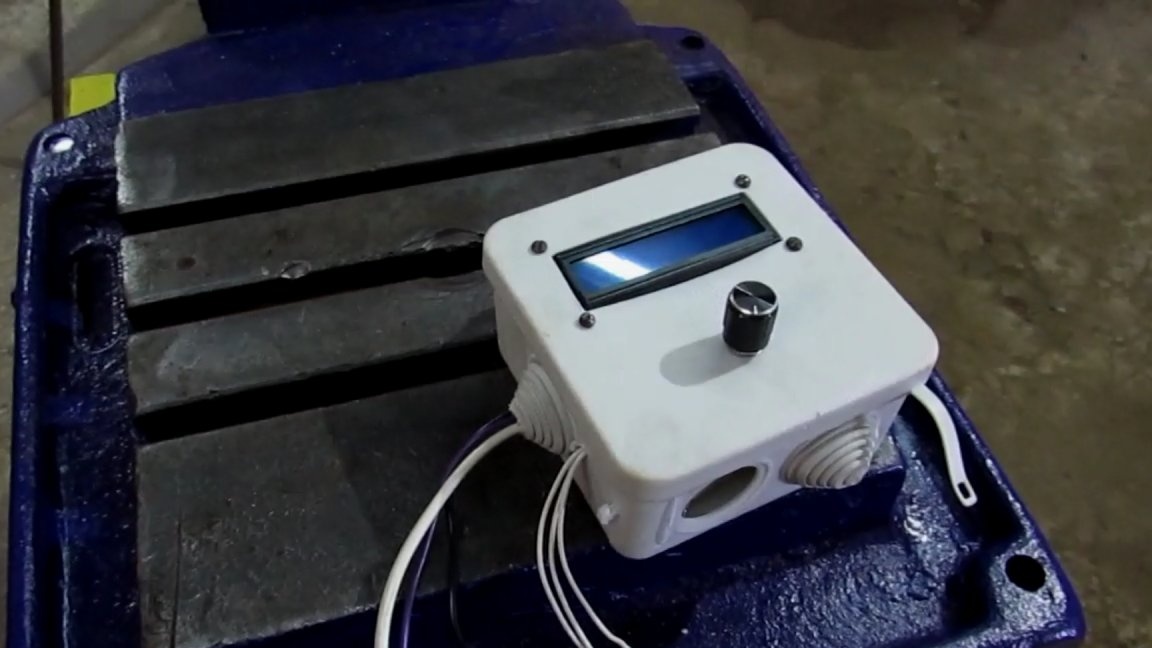
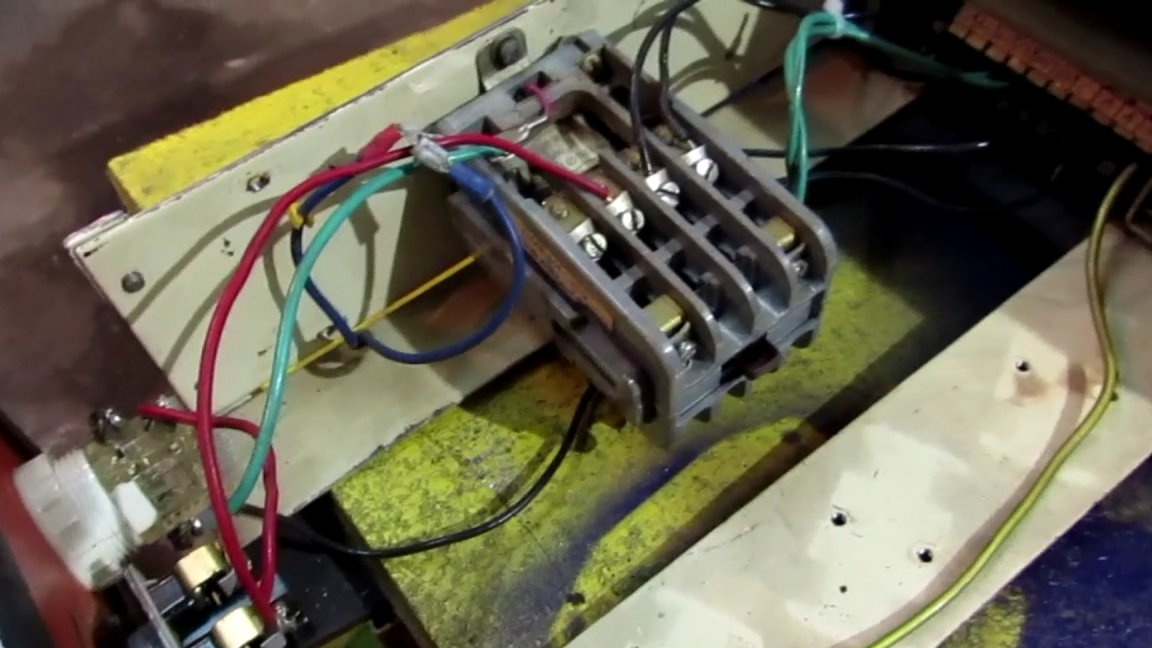
Now an electrician, the controller on the arduino will control the motor. The starter is controlled by the start, stop button and you need to buy a switch for reverse. The front panel must be painted, but for now. He slipped the wires into the corrugation and secured it. Stretching the wires inside the table, he threw them to the terminal block. Everything is ready here and you can install the so-called electrical cabinet inside the table.
I threw wires to the motor temporarily. I weld a table for the drill, then I will finally connect everything in the box, and I will hang the regulator on the wall next to the machine. one more station appeared at my workshop. I hope that he will serve me for a long time.
The next task is to cook under his table and finish minor trifles. I have also decided on the installation site of the machine. Thanks for attention.
Video about the restoration of the machine: