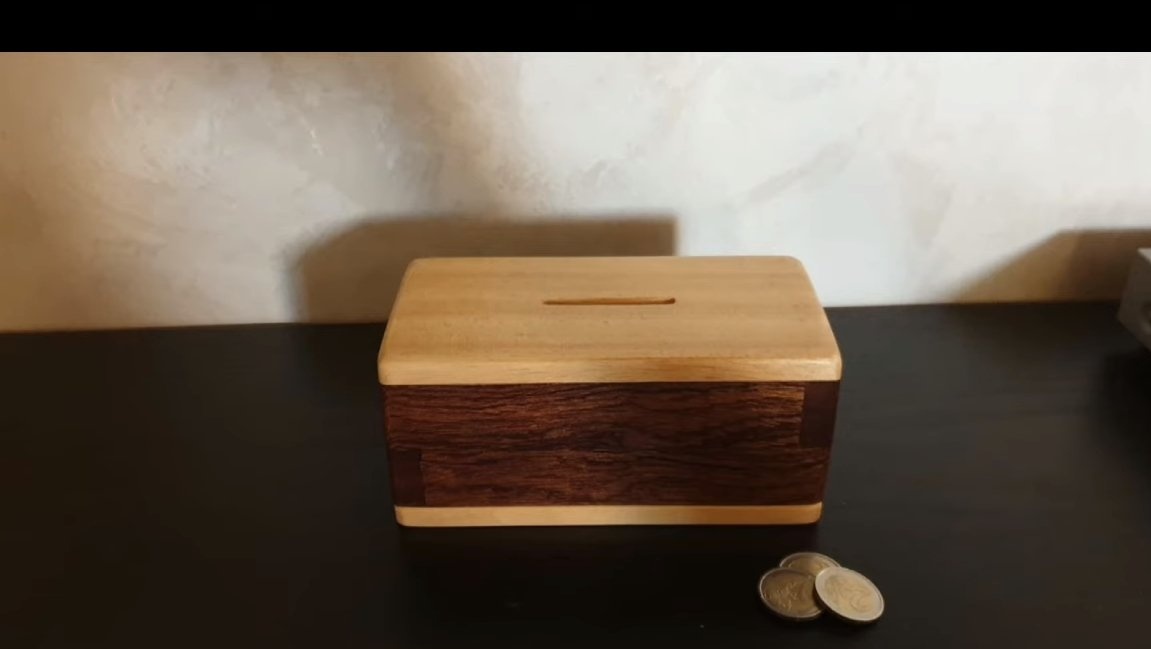
Hello lovers to make something do it yourself. Today we will look at how to make such a very useful thing as a piggy bank. Homemade the author made of bars and planks, everything turned out neatly, firmly and beautifully. To remove the accumulated piggy bank, you do not need to break it, you just need to unscrew the two screws. Tools for the piggy bank were used the simplest, grinding was done manually using sanding paper. This homemade product can be a great gift. If you are interested in homemade work, I propose to study the project in more detail!
Materials and tools used by the author:
Material List:
- whetstones;
- board with a beautiful texture;
- carpentry glue;
- two screws;
- oil for wood.
Tool List:
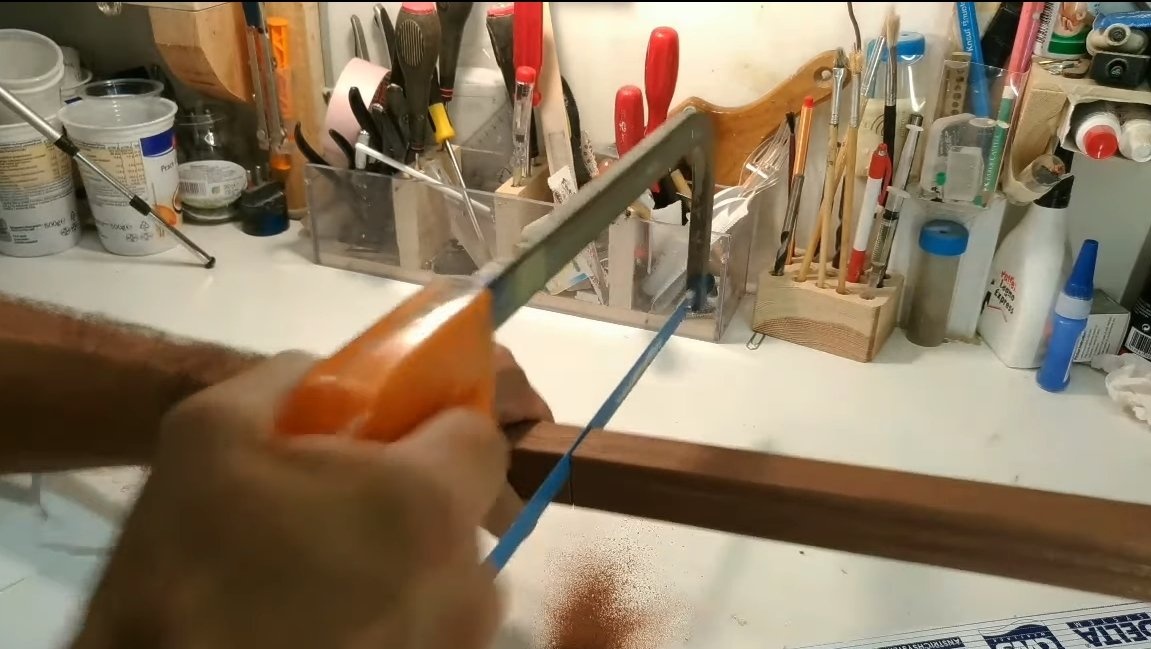
- a hacksaw or other tool;
- sandpaper;
- clamps;
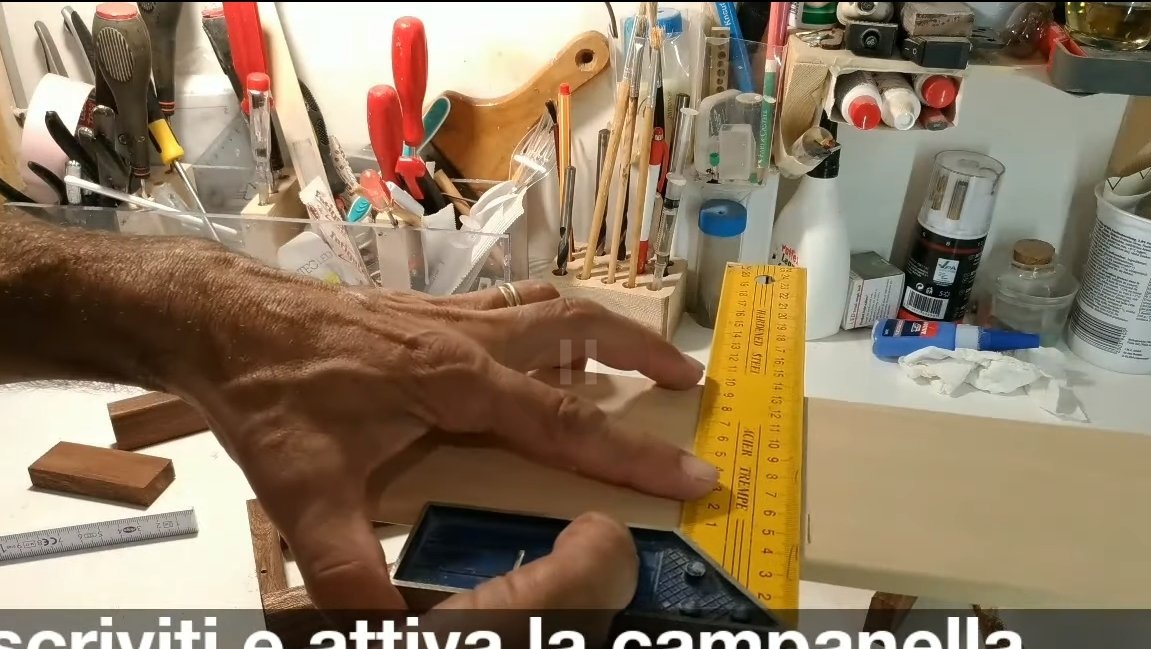
- tape measure, pencil;
- vibration saw (to cut through the gap).
Piggy bank manufacturing process:
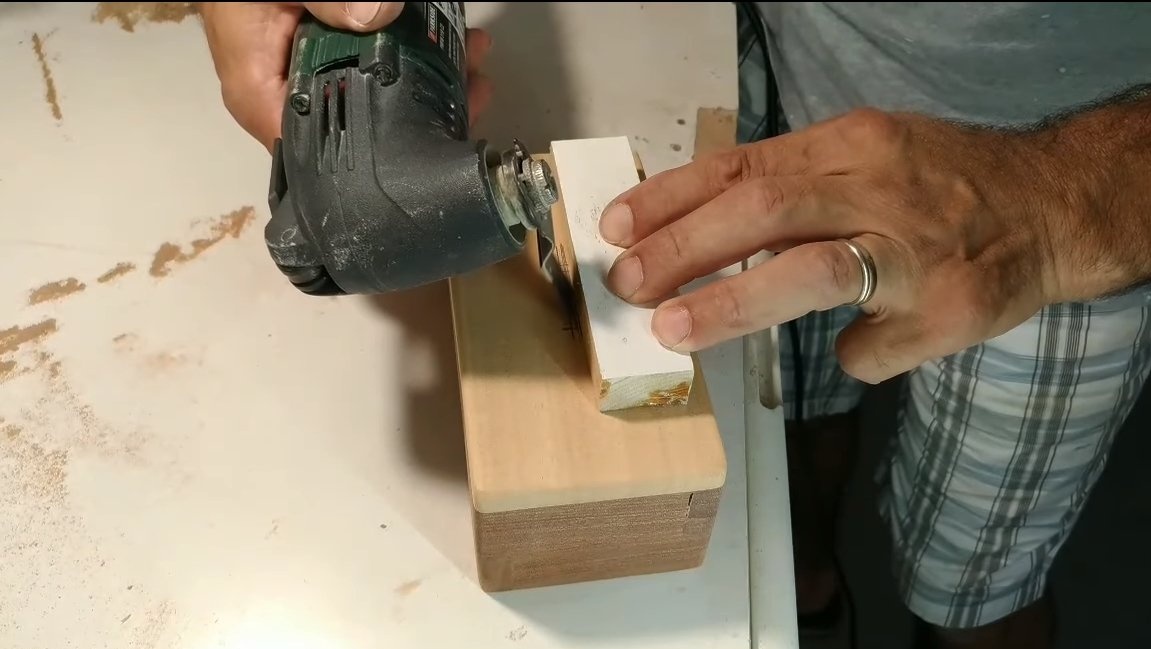
Step one. Putting the foundation together
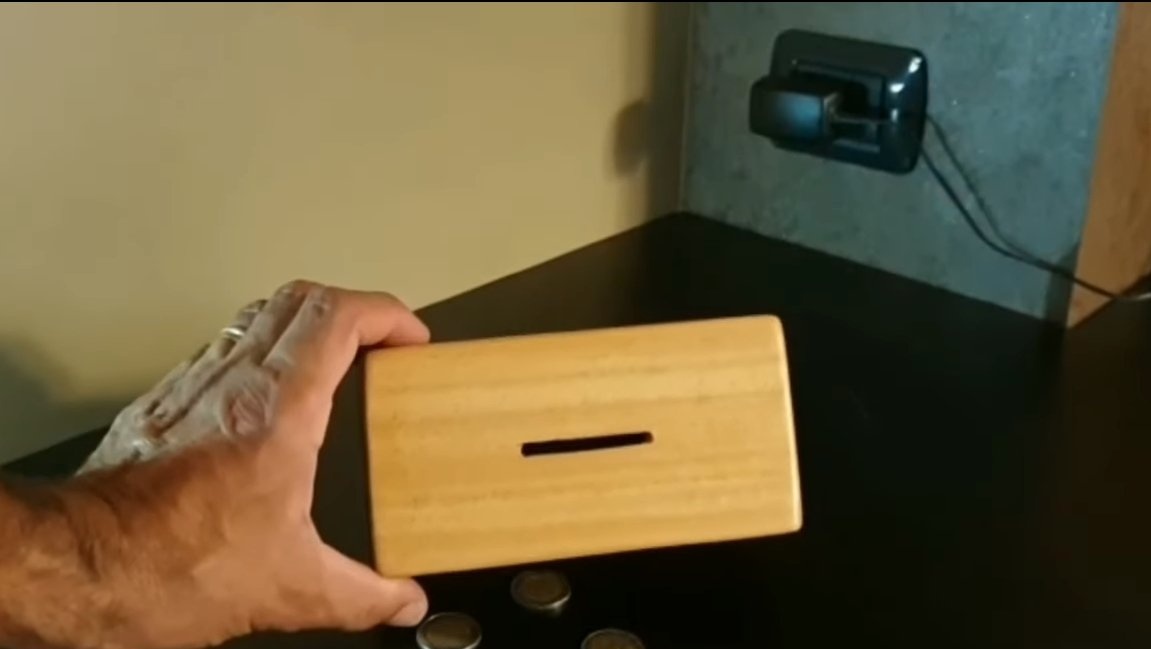
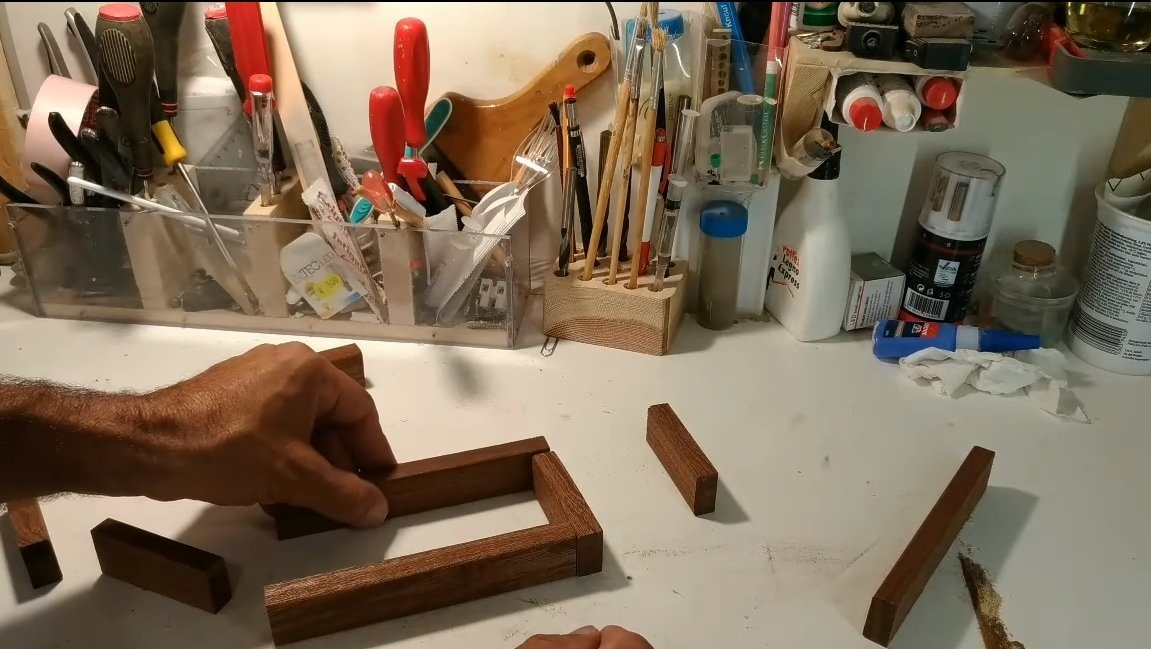
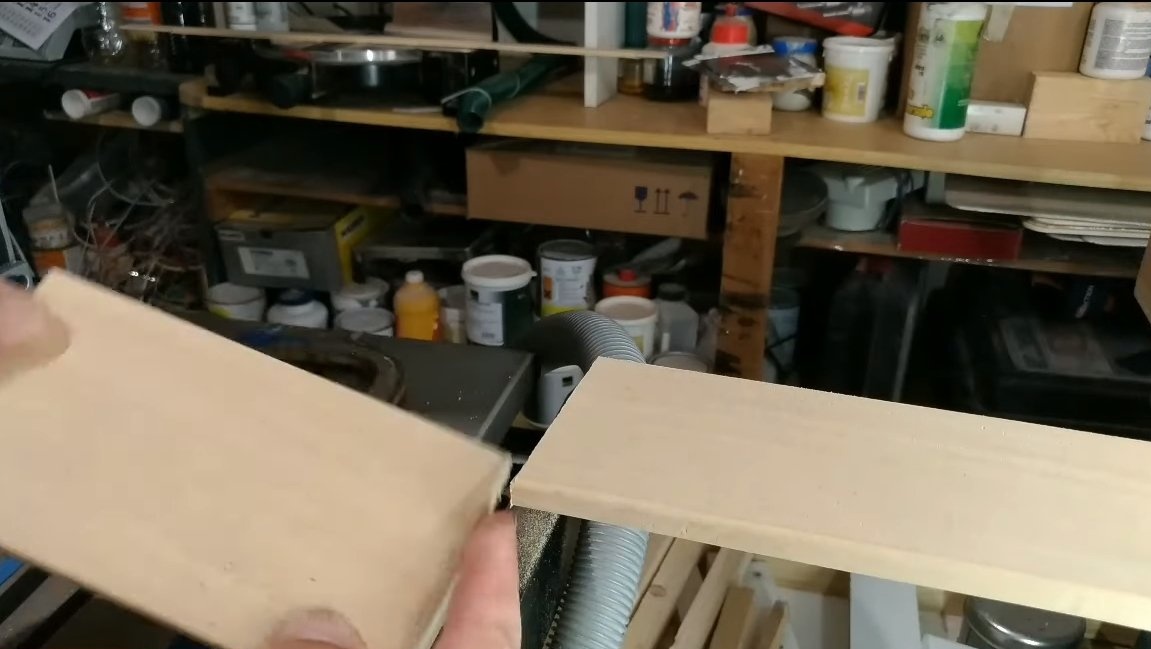
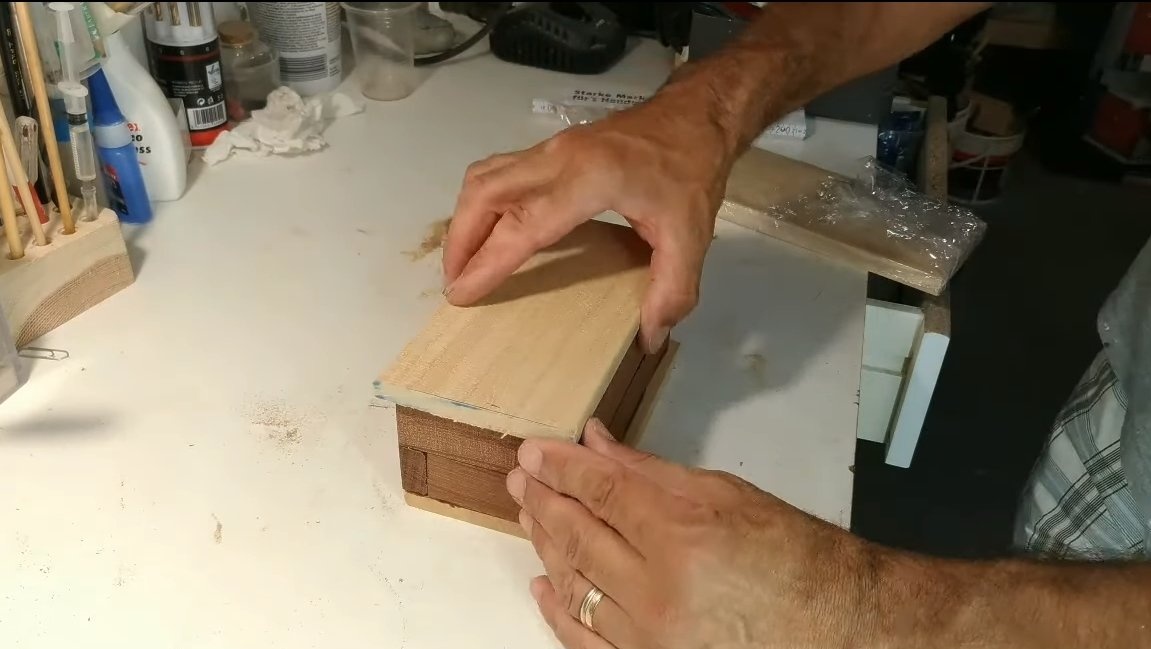
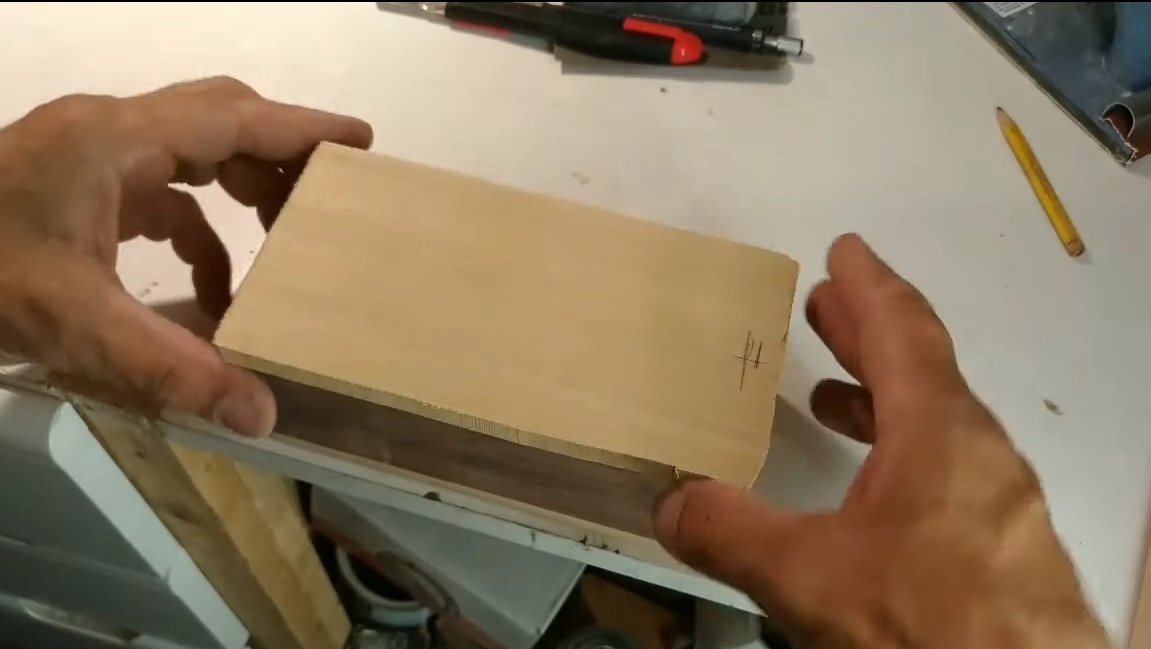
To assemble the base, we need a small board, which will be the top of the piggy bank. Of course, it is better to try and find wood with a beautiful pattern.
As for the side walls, their author collects them from sticks by gluing. The bars are glued in a cross way, as a result, the design is quite strong. Glue can be used joiner or epoxy. Then we tighten this whole thing with clamps and leave it to dry.

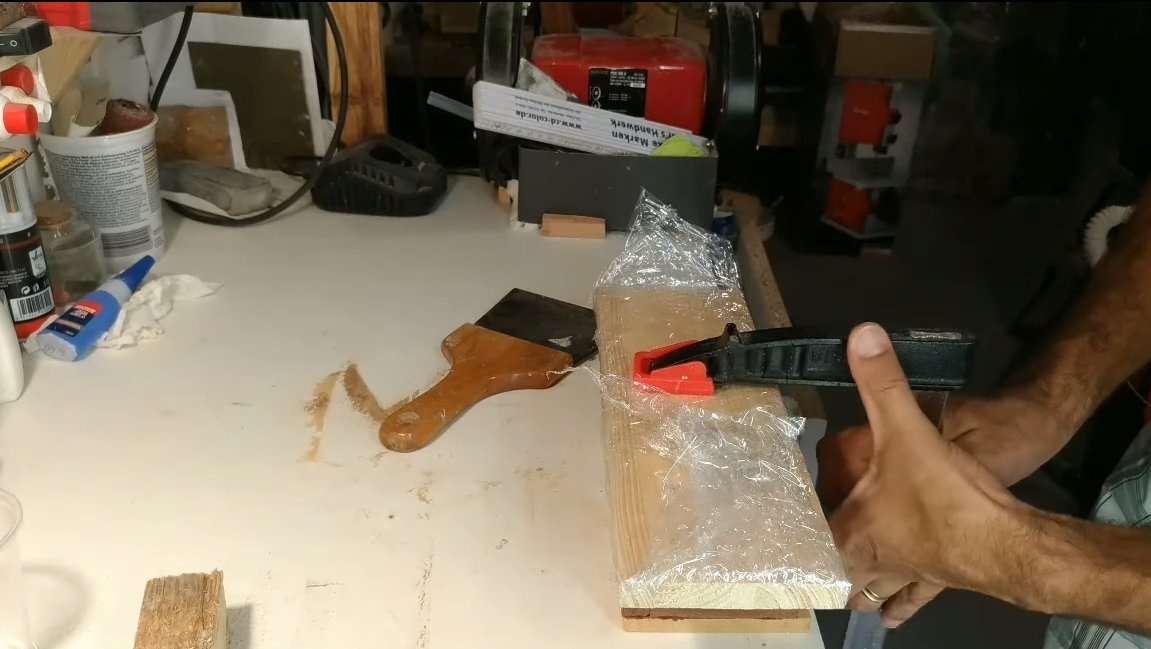
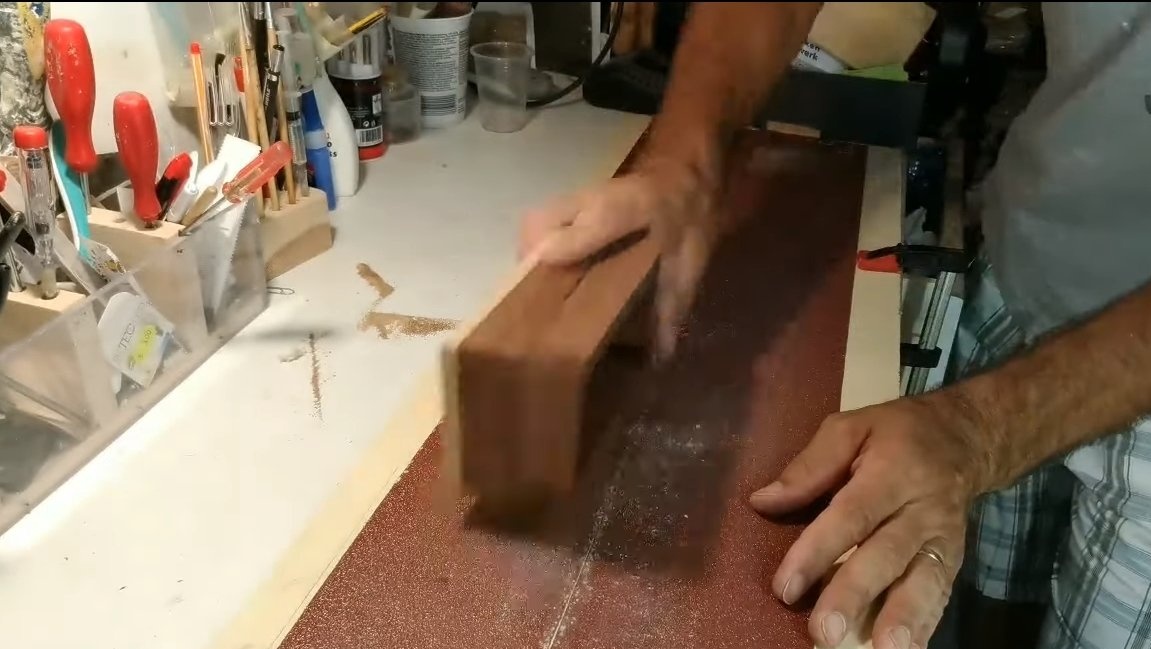
Step Two Grinding and crevice
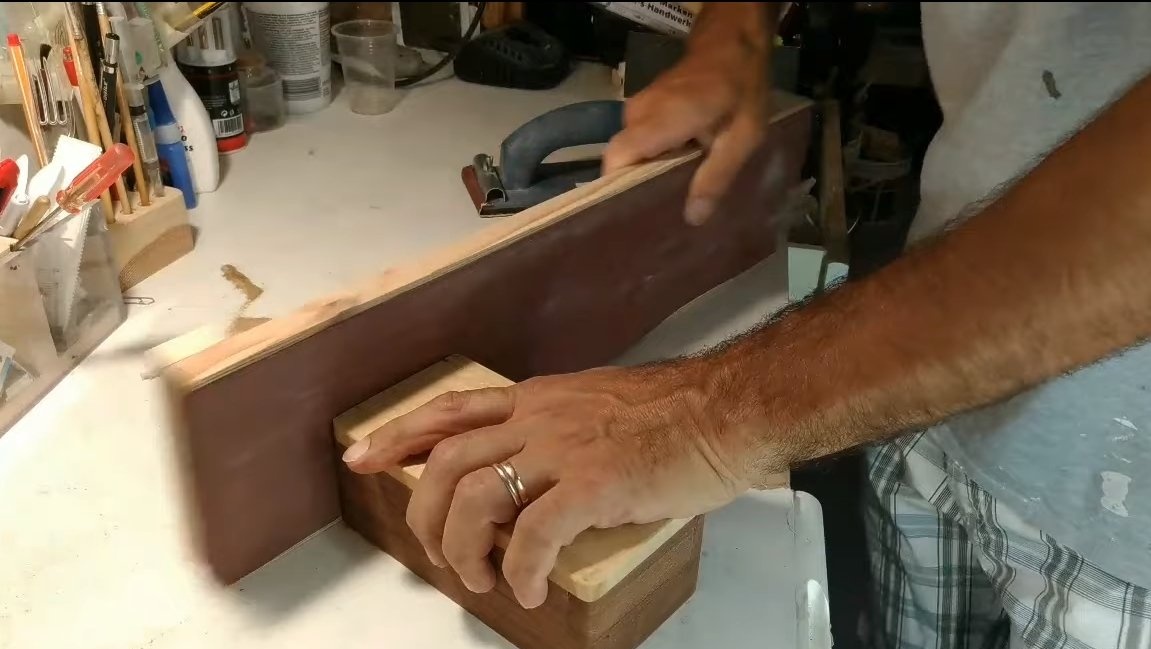
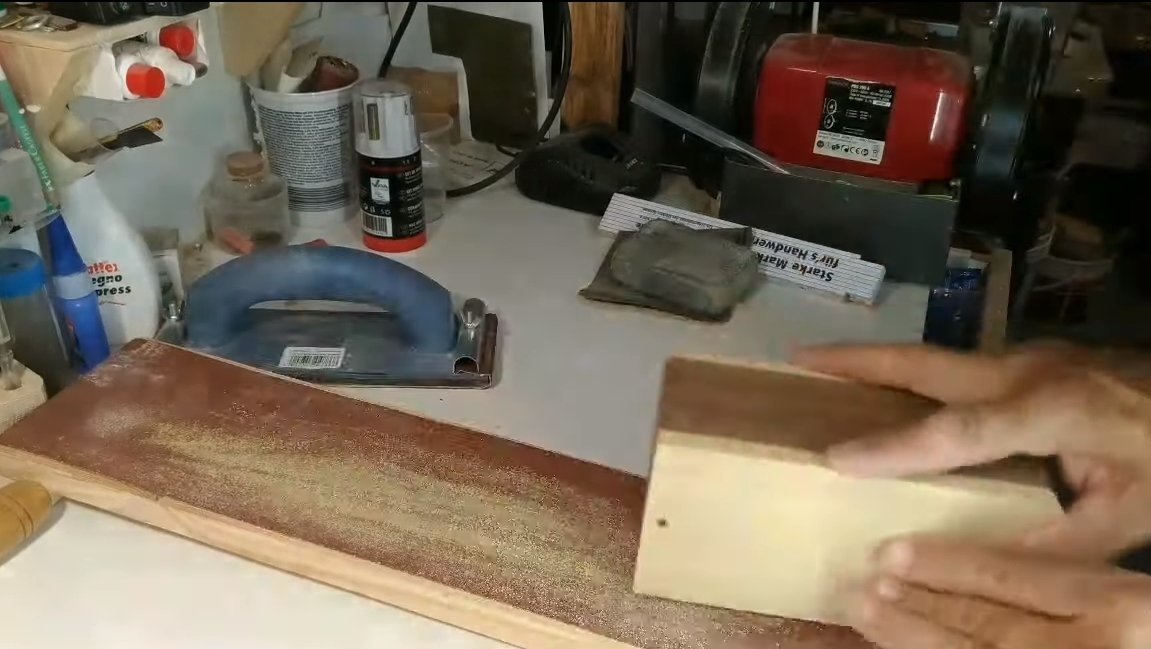
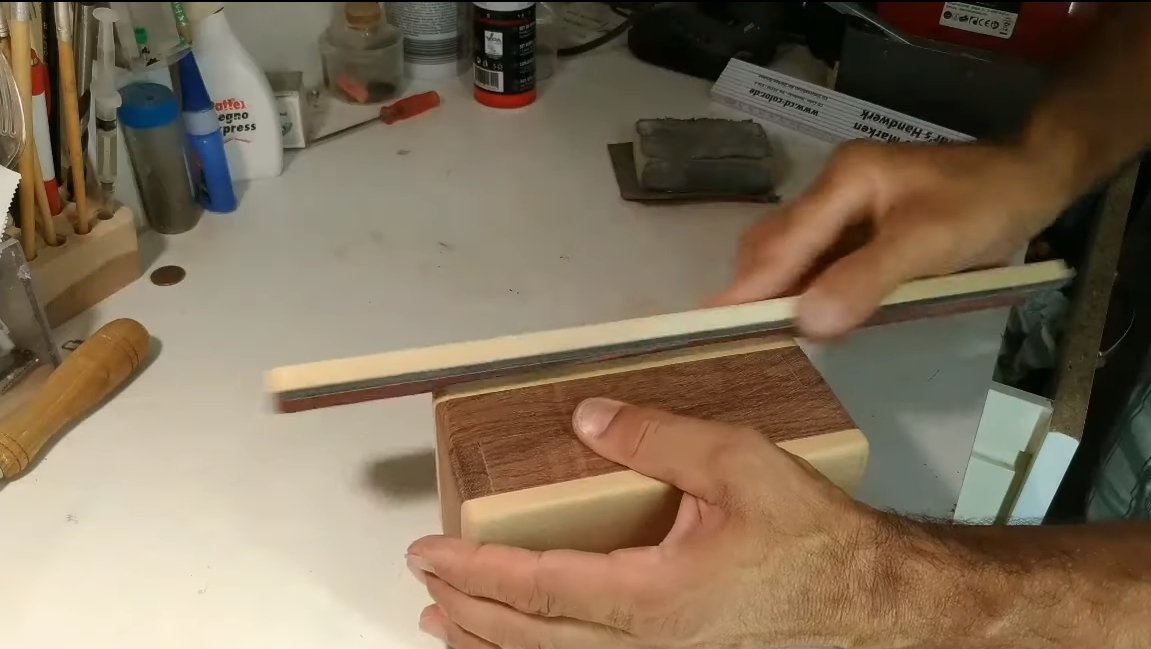
When the glue dries, we can start grinding work, for such purposes we need sandpaper. For more convenient grinding, the author glued sandpaper to a piece of the board.
The piggy bank will need to be sanded to a perfectly smooth state, so it will look beautiful, so we actively work with fine sandpaper.

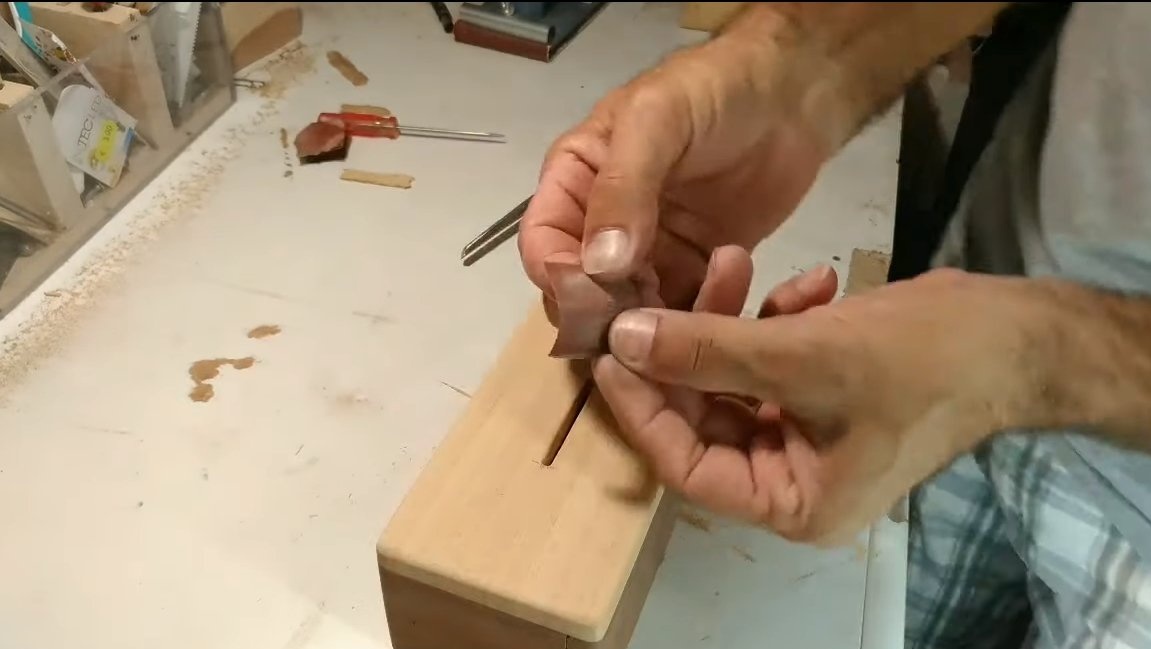
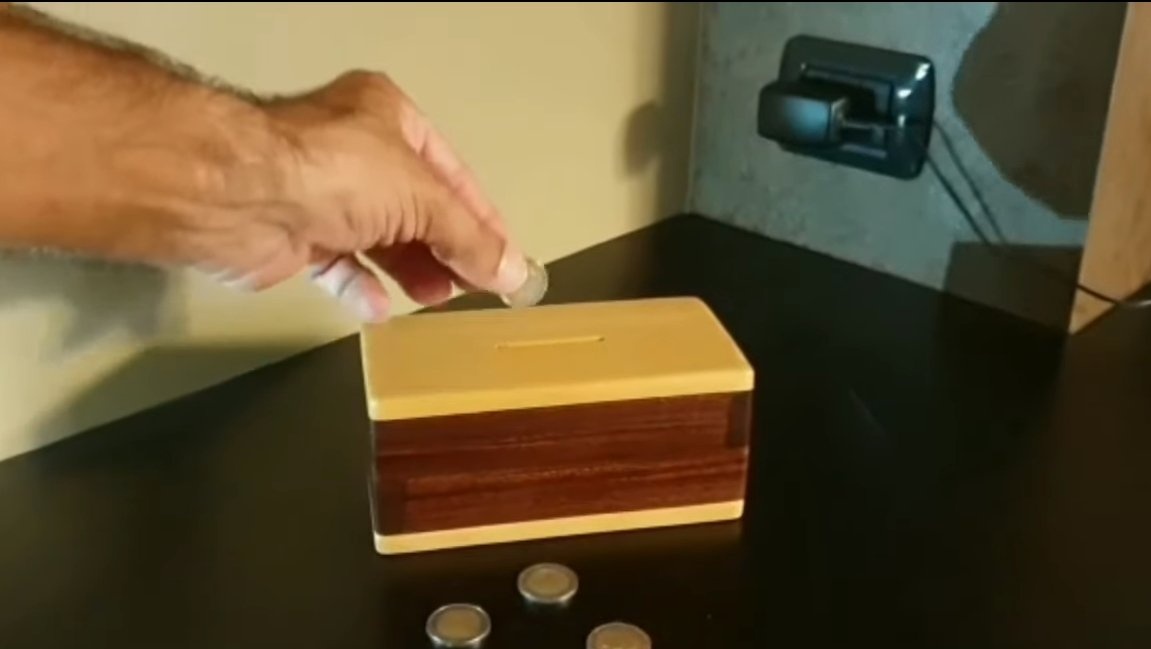
At this step, you need to cut a slotted hole, for such purposes, the author uses a vibration saw. If there is no such tool, you can handle it with a drill and files. We carefully grind the slot hole with sandpaper.
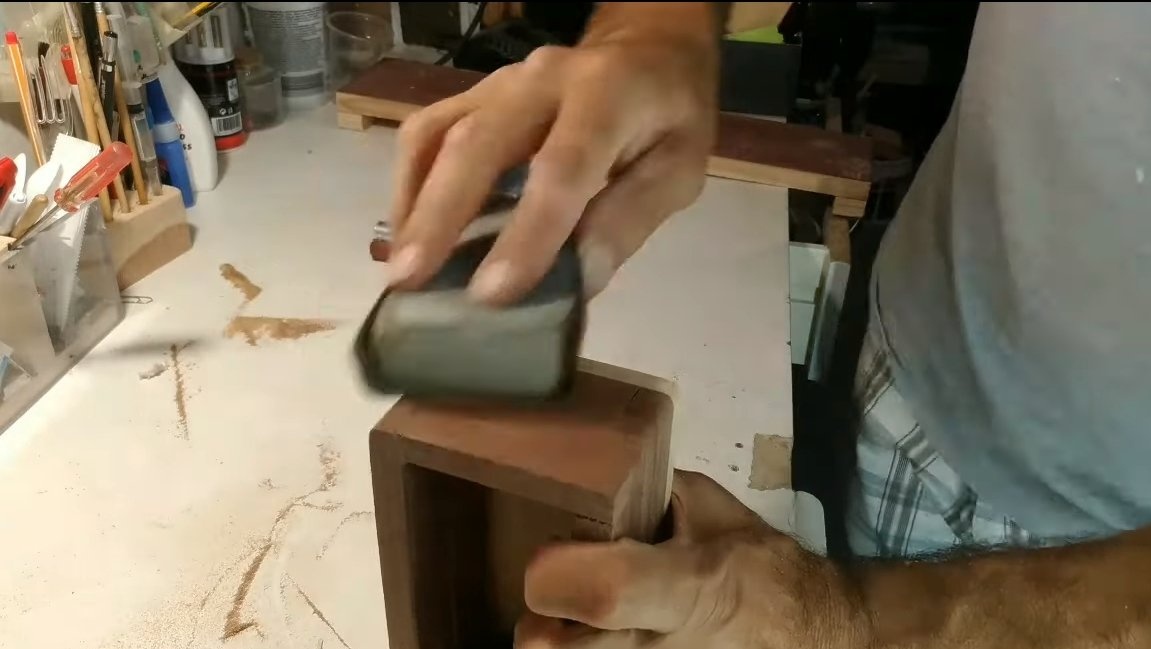
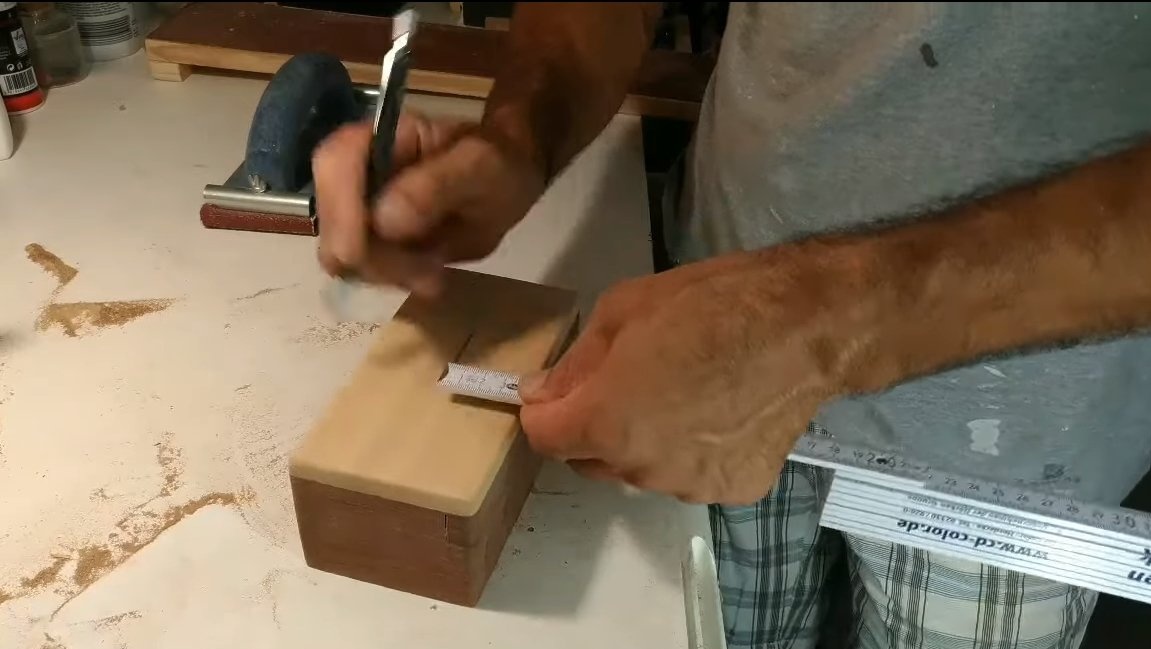
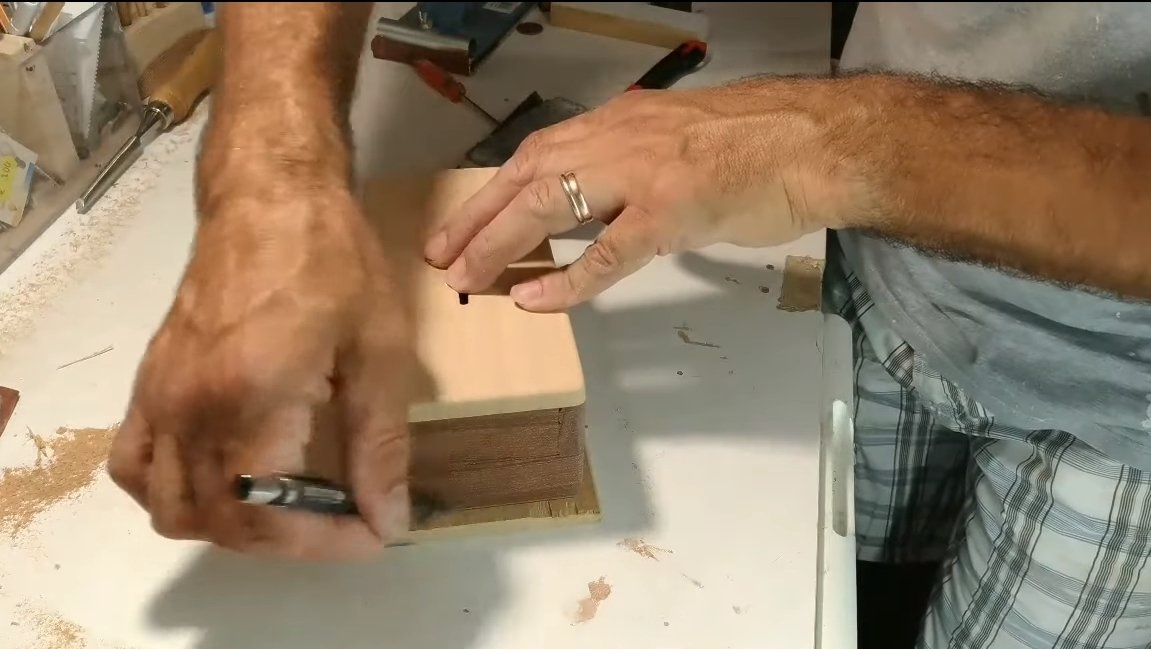
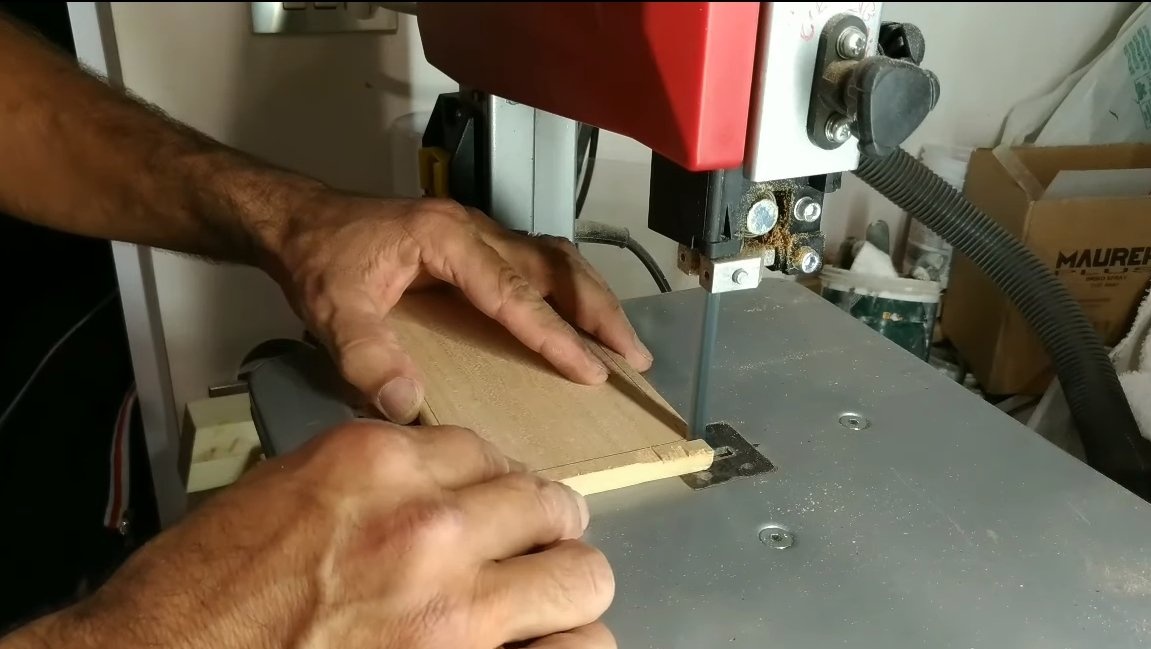
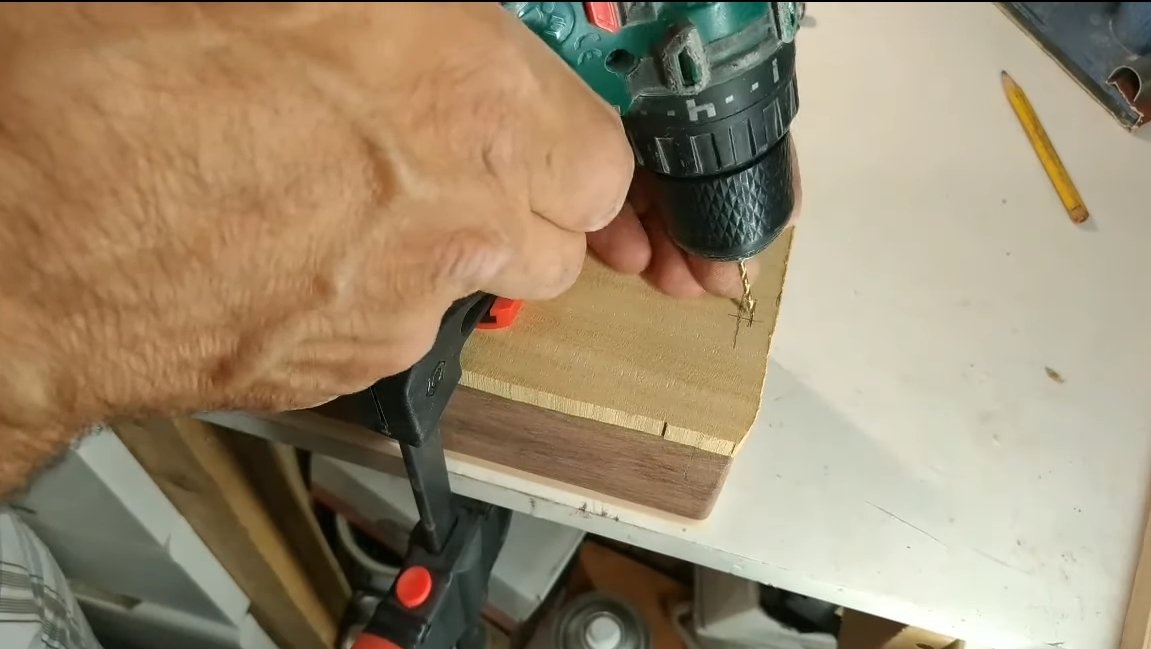
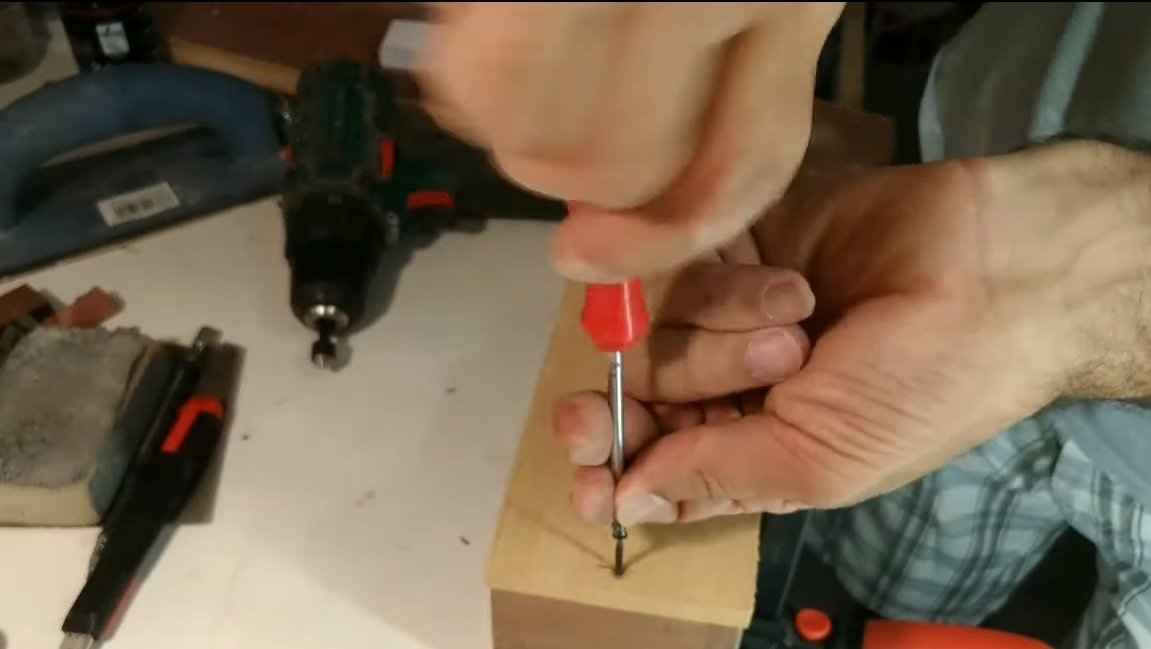
Step Three Bottom
We make the bottom for the piggy bank, for this we need another piece of the board, cut it in size and drill holes for screws. The bottom is screwed on with screws, but if you need a non-separable piggy bank, the bottom can be glued or you can grind the slots of the screws. Having screwed the bottom, we again carefully grind the entire piggy bank and, at the end, finely sand it with fine emery paper. That's all, now the piggy bank is almost ready.

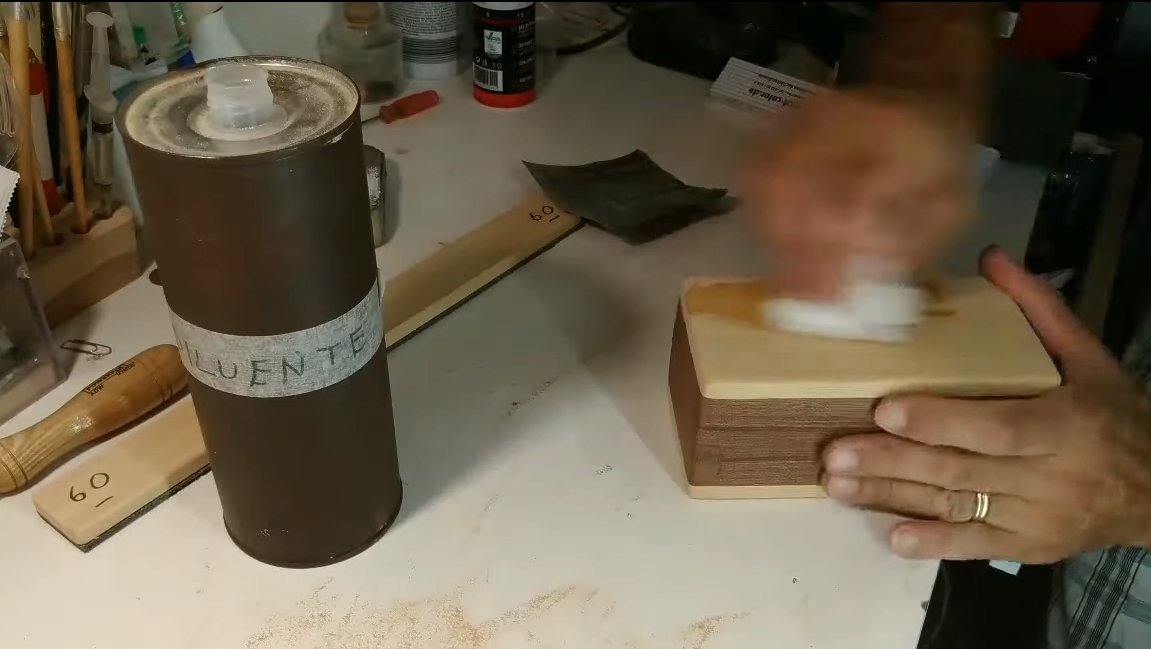
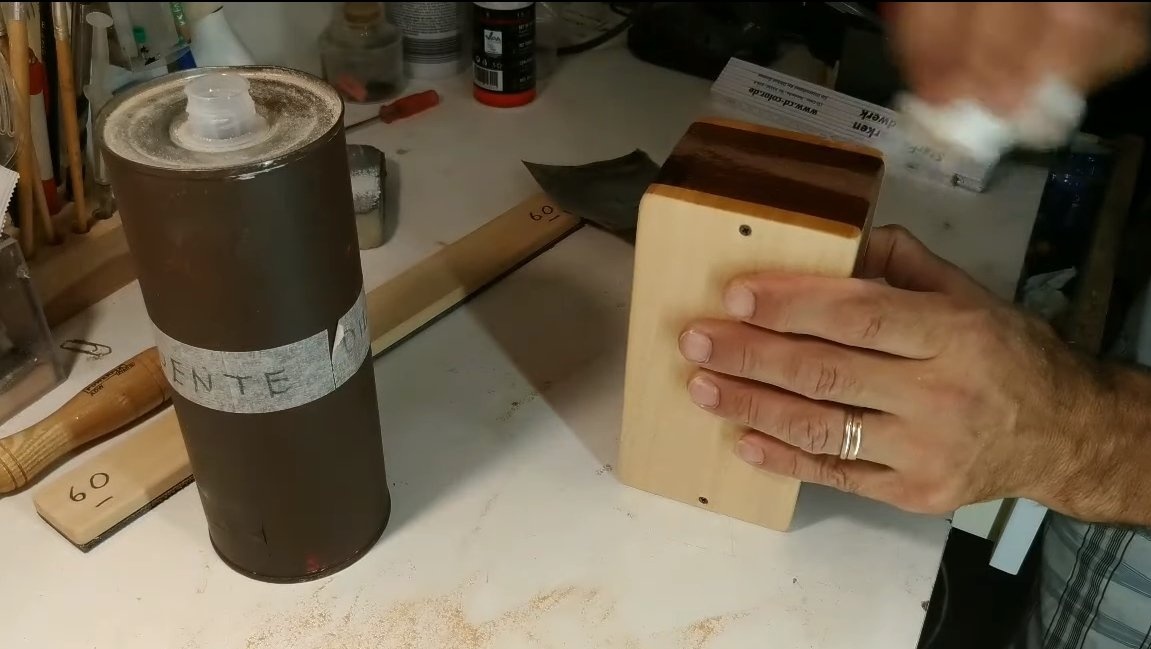
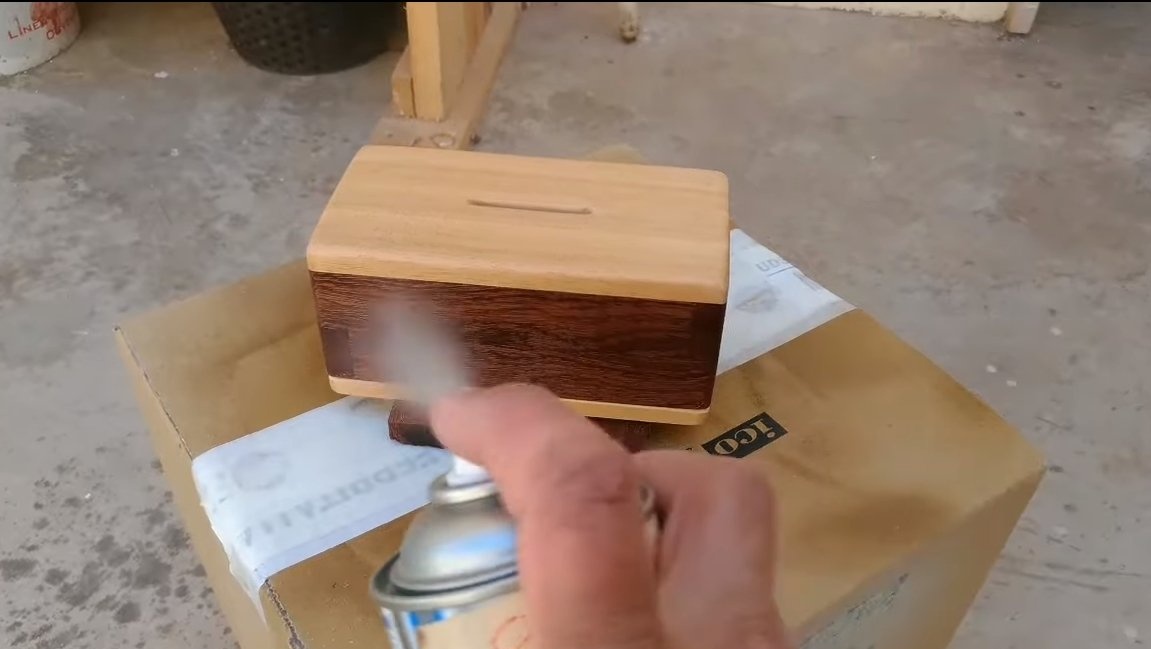
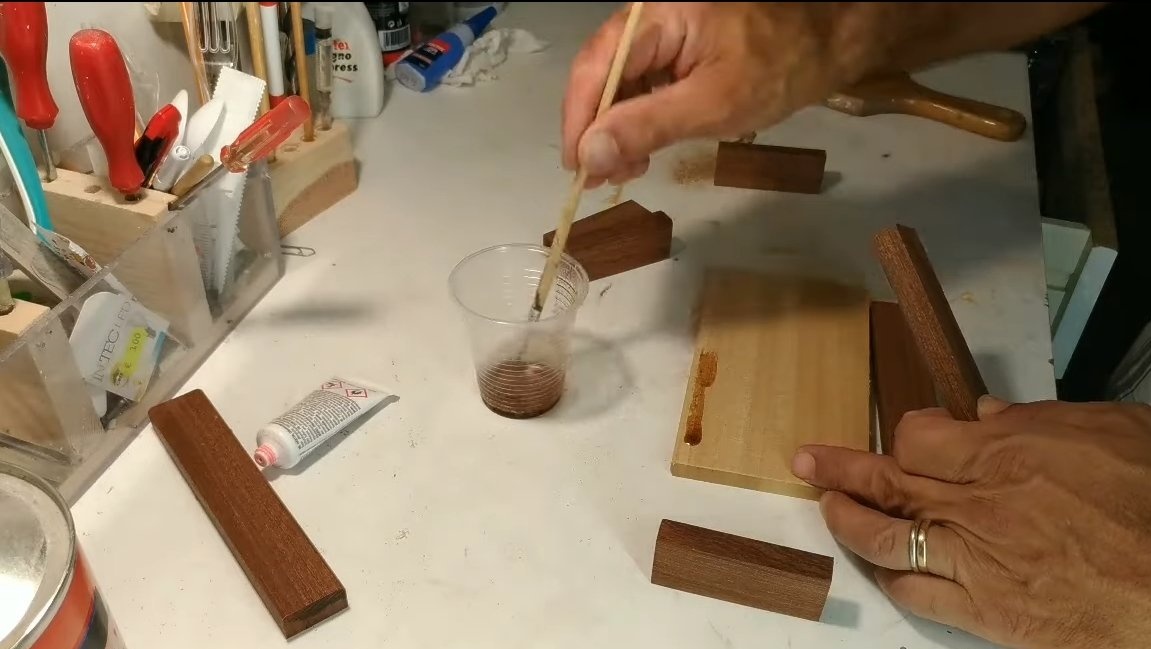
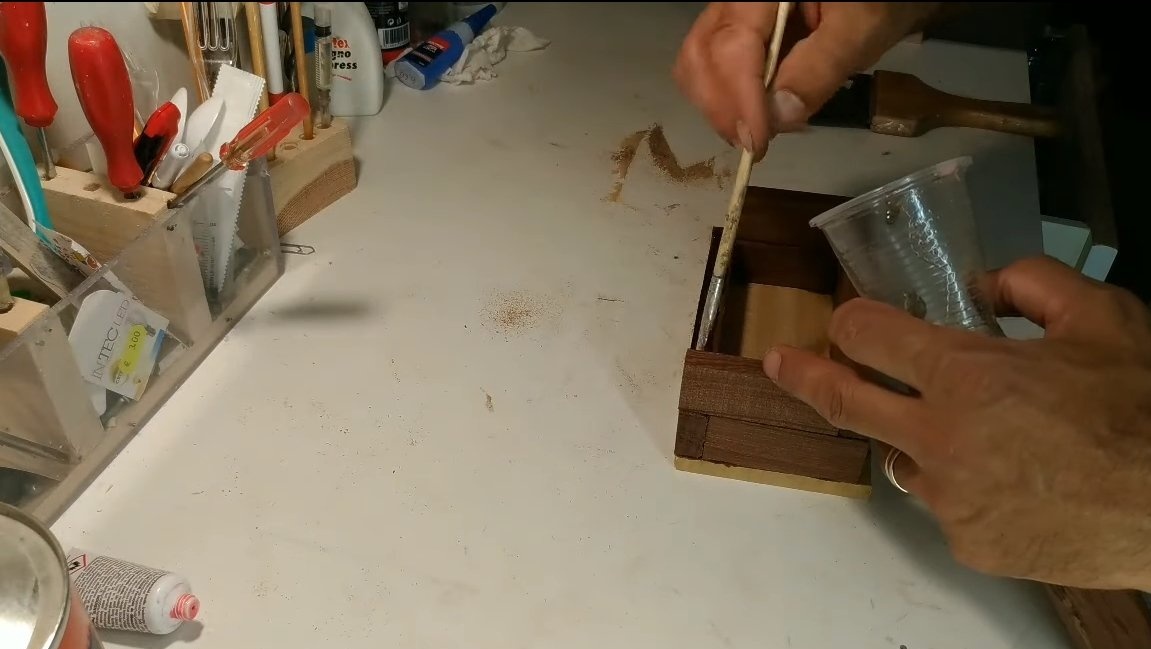
Step Four Impregnation
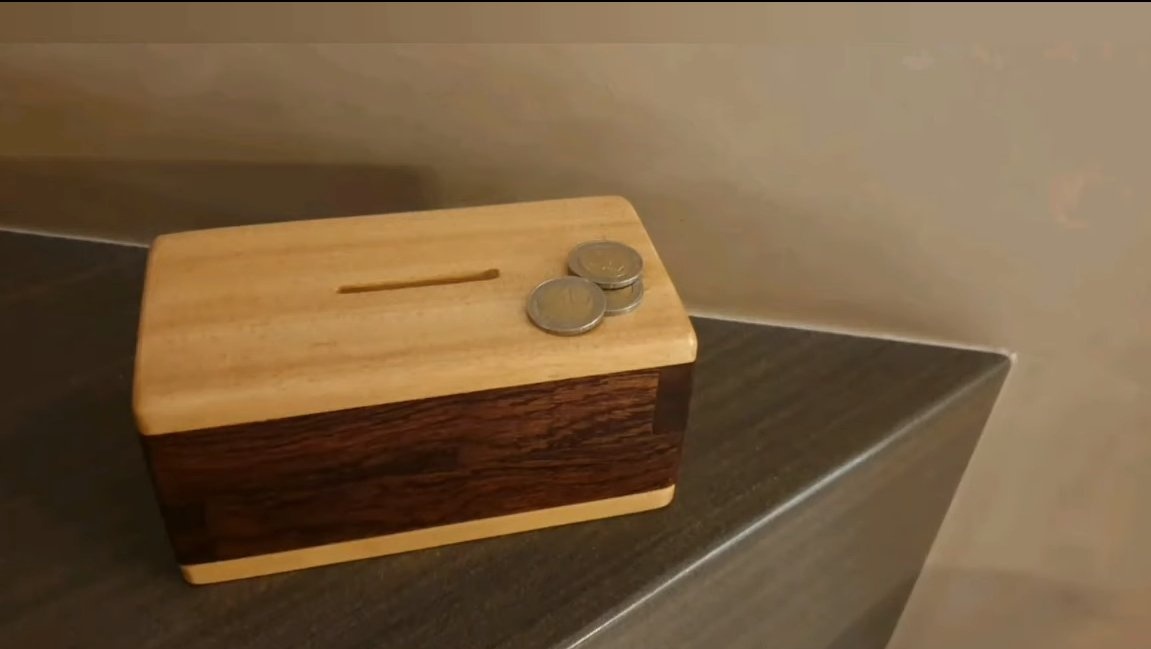
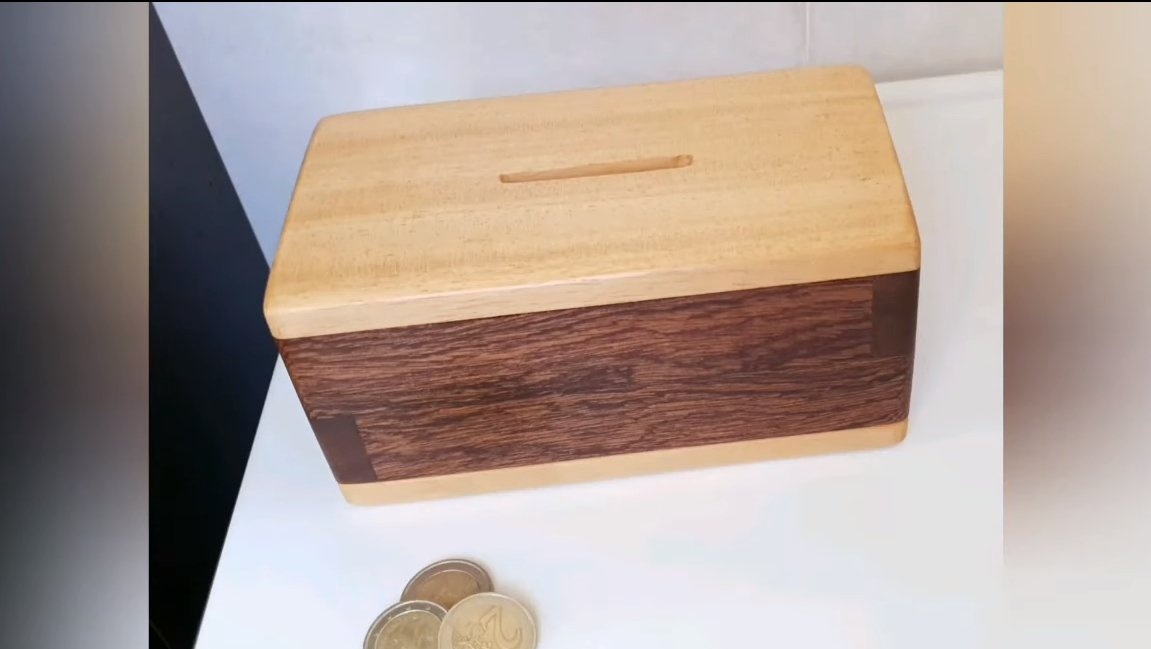
So that the tree looks beautiful and is not afraid of water, we soak it with oil, and if you need a washable coating, use varnish. Of course, varnish is best applied by spraying. That's all, the piggy bank is ready, such a homemade product will be a great gift for a child and not only. I hope you enjoyed the project and found useful thoughts for yourself. Good luck and creative inspiration, if you decide to repeat this. Do not forget to share your ideas and homemade things with us!