Good day to all. Summer residents and gardeners know that you need to water the plant with warm water, and this requires a tank in which the water will warm up. And many have the question of how to make this capacity yourself, and even not expensive. Of course, you can buy ready-made, but not everyone has such an opportunity. After all, the average price of a tank with a volume of 1000 liters. decent enough, and besides, if you are a summer holiday clerk, then once again arriving at the cottage, you can not see the purchased container on the spot, as it can simply be stolen.
And this option of budget capacity, everyone can assemble. And the author of the Green Planet channel will tell us how to do this.
And so, what did the author need for this homemade.
MATERIALS:
Metal pipe Ø approximately 40 mm - 50 mm;
Rabitz;
The sleeve film is 1.5 m wide, about 2.0 m long - 2.5 m long, the thicker the larger, the better, but not less than 200 microns;
Knitting wire;
Scotch;
Worm clamps 100 mm galvanized - 2 pcs.;
Old pieces of linoleum or something similar;
Sewer plastic pipe Ø 50 mm;
Corner for this pipe - 3 pcs.;
As well as a crane;
INSTRUMENTS:
Screwdriver;
Iron;
Bayonet Shovel:
Garden drill;
Roulette;
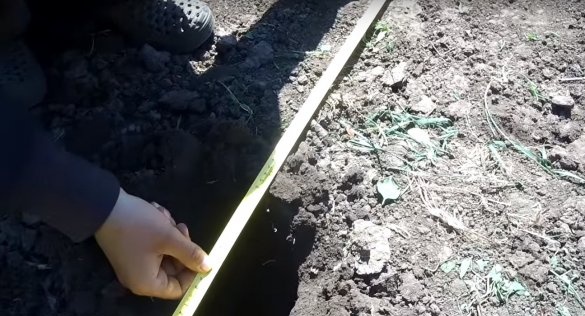
The most important and difficult thing, according to the author, in this homemade product is to observe the exact distance between the posts, which is 750 mm.
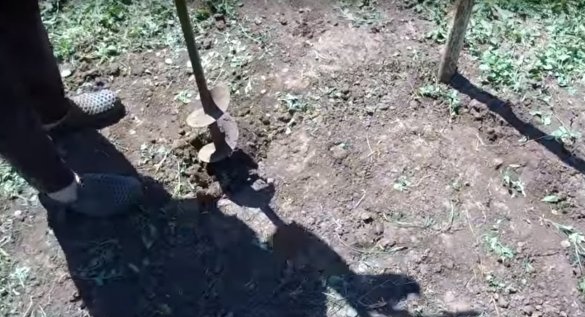
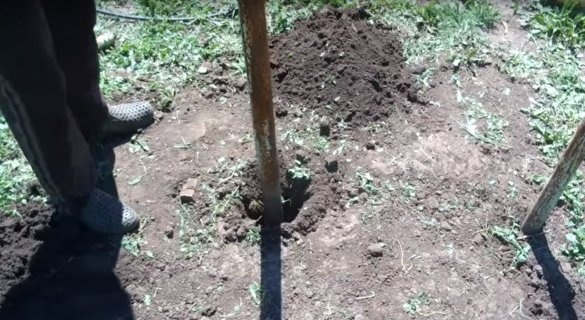
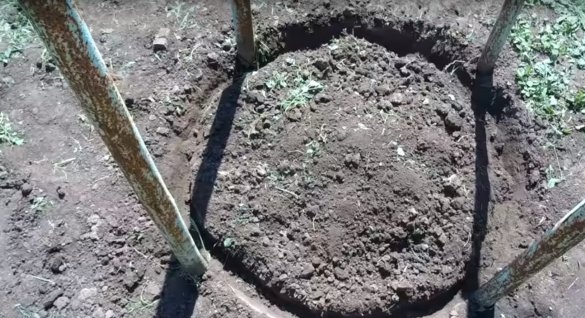
And so, the author began to drill holes for racks.
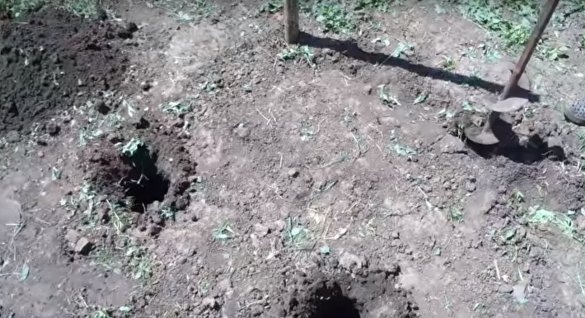
Observing the size indicated above, the author made four holes with a depth of 500 mm.
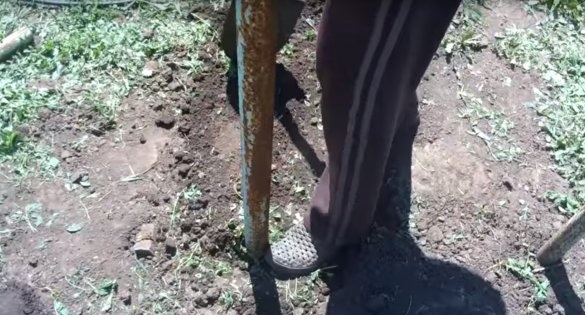
After installing the rack in the holes.
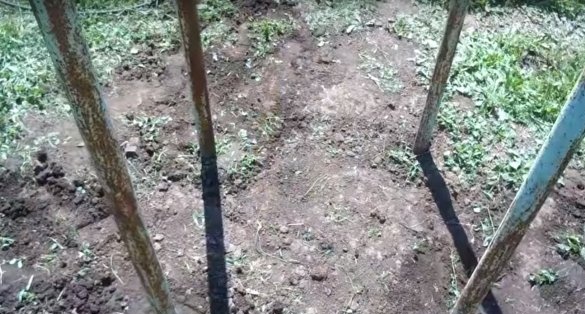
Once again, measuring distances and making sure that it is 750 mm rammed the posts with earth.
It turned out like this.
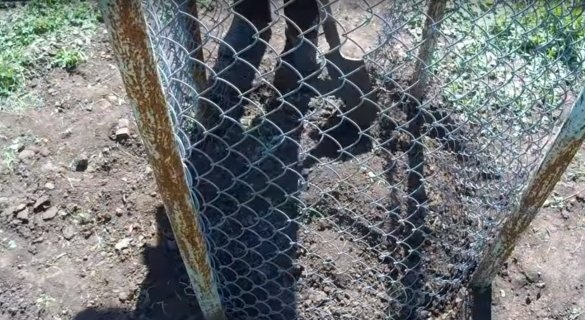
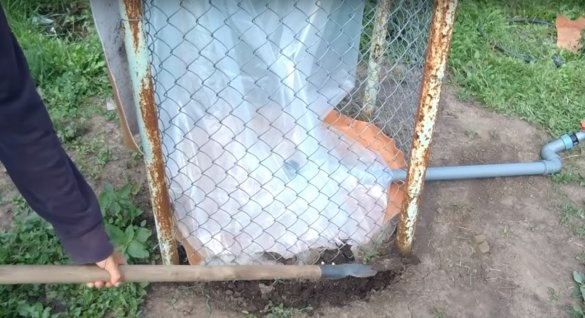
The next step, the author, made such a groove, with a depth of about 50 mm, so that the bottom edge of the grid could be sprinkled with earth.
After that, he took a net about 3 m long and installed it so that the racks were outside. Then the author secured the wire mesh. And sprinkled the bottom of the earth.
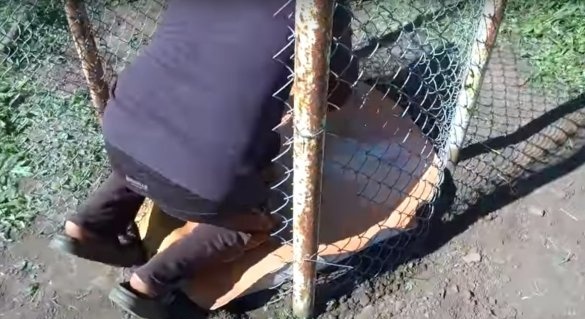
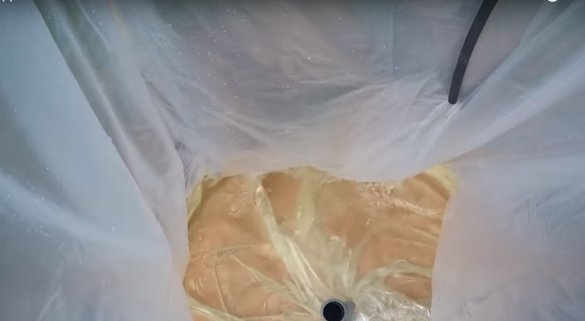
He left one wall so far free. At the bottom of the future tank, the author laid a piece of old linoleum.
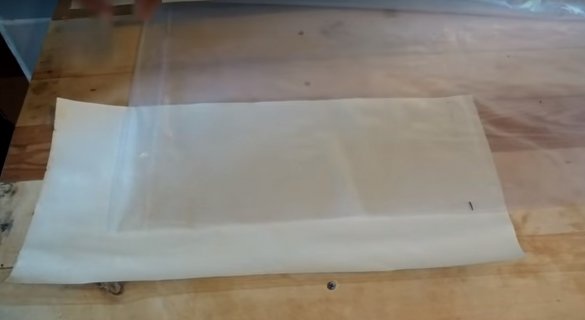
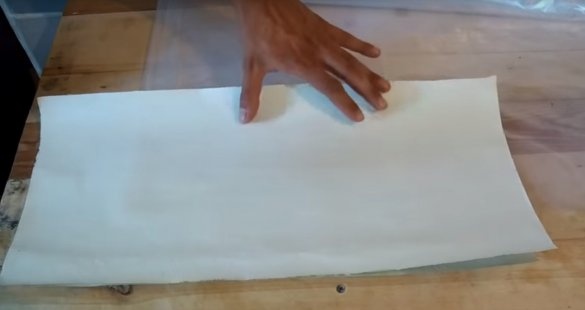
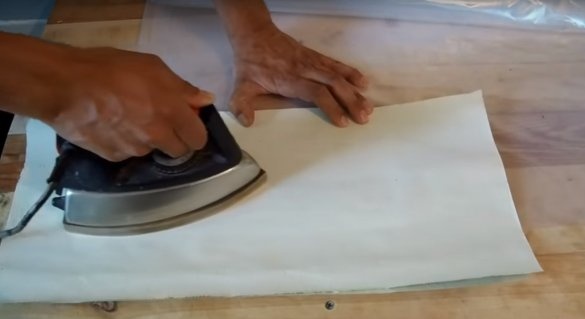
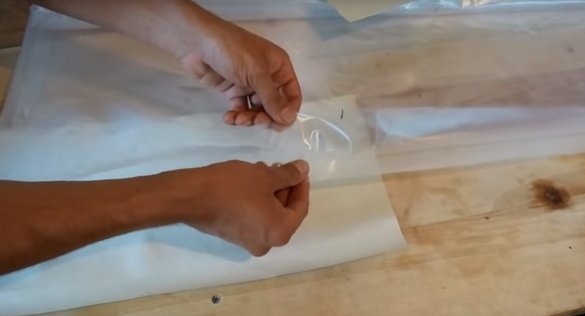
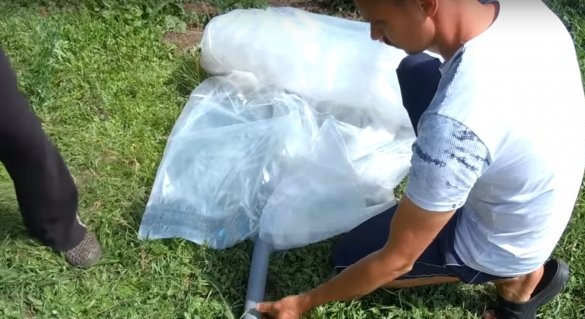
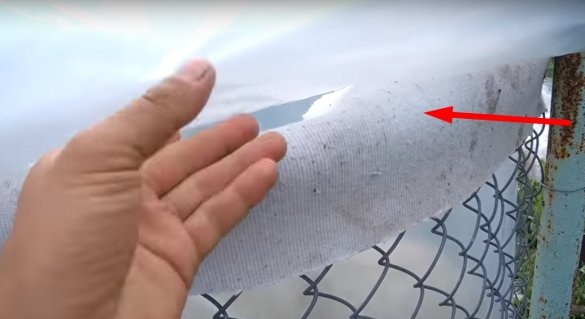
Now the author has begun to solder the sleeve. Everything is perfectly soldered through a cloth or paper with a hot iron.
The author soldered the sleeve so that in the center there was a small hole for the pipe.
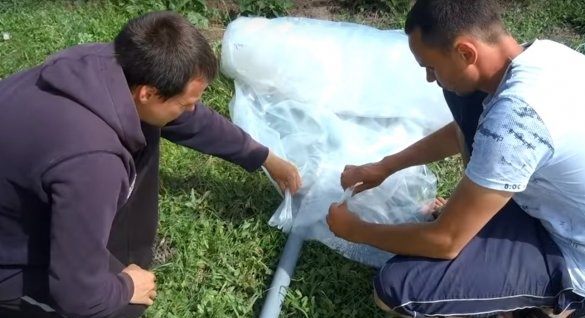
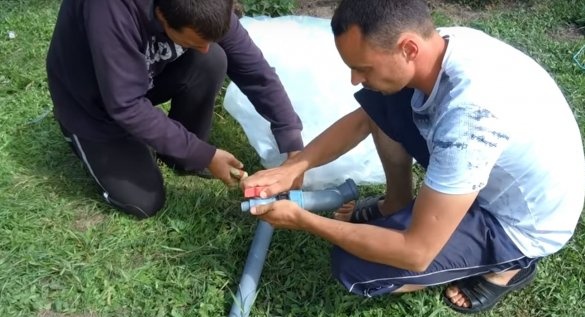
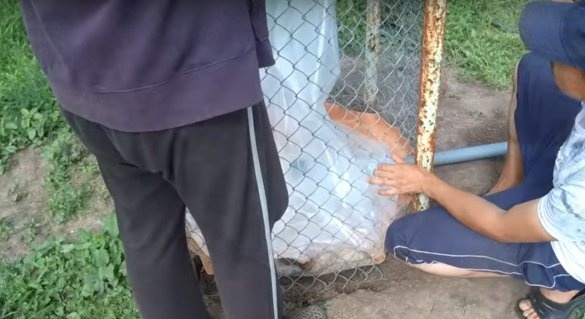
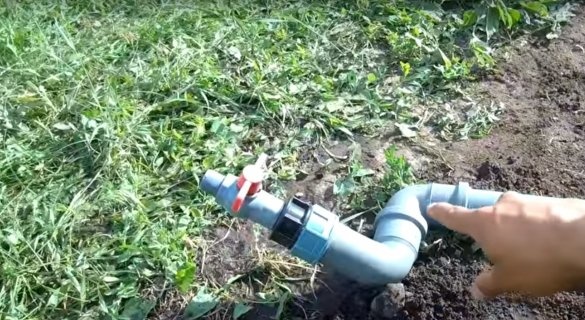
After, a corner is attached to the pipe, then installs the pipe in the hole left.
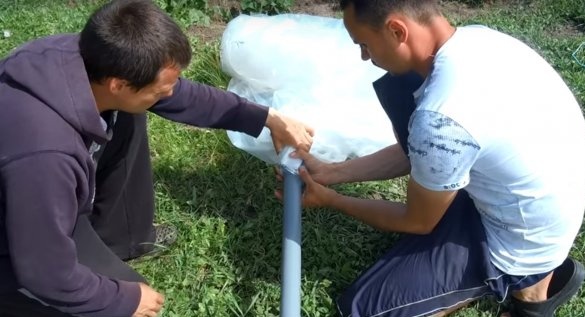
The author neatly collects the soldered edges of the sleeve into an accordion and rests it against the pipe.
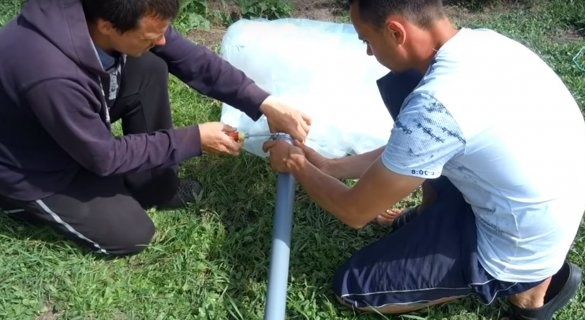
Then he also neatly puts on the clamps.
And it draws them well.
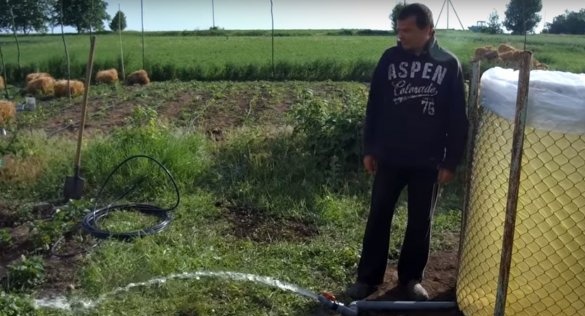
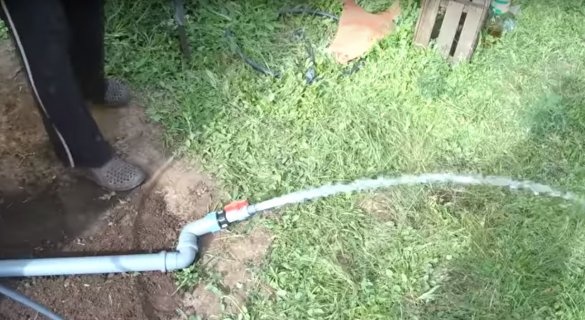
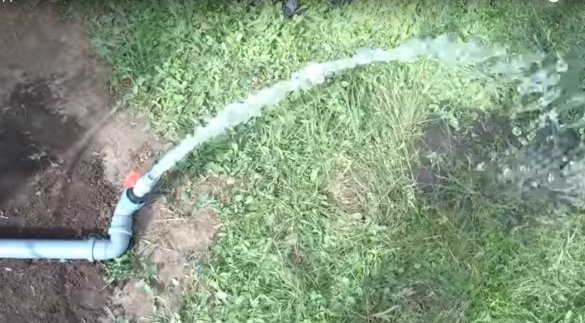
Subsequently, the author will install two more corners and a crane on the second edge of the pipe. The master set the corners only to show the pressure of the water. But this is not necessary, you can immediately connect a tap to the pipe.
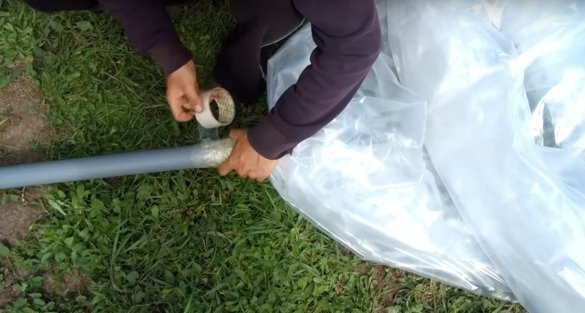
The place where the clamps were installed, the author additionally wrapped with tape.
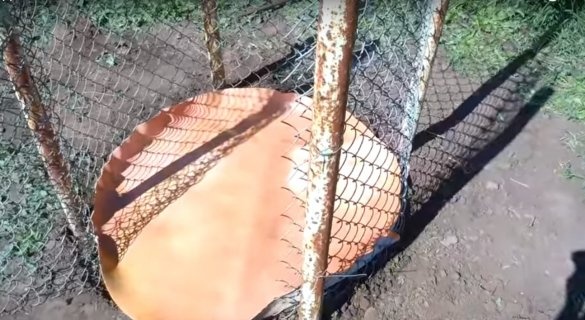
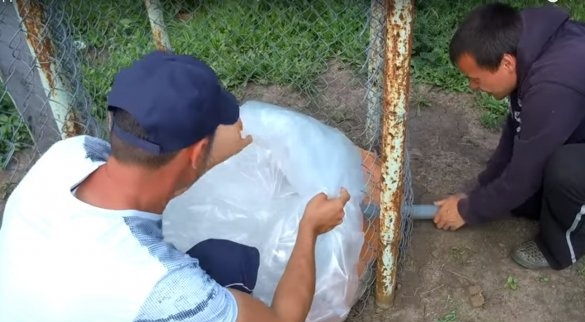
Next, threading the pipe under the net and gently straightening the sleeve, sets it in its place.
Then connects the edges of the grid together with wire and sprinkles the bottom of the grid with earth.
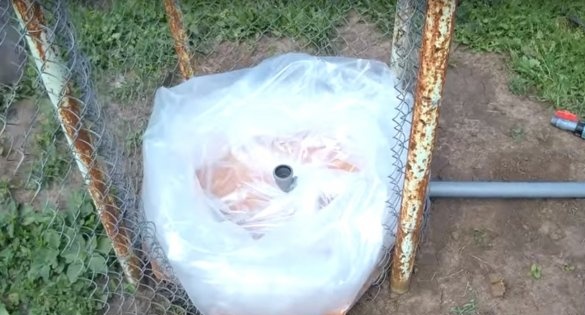
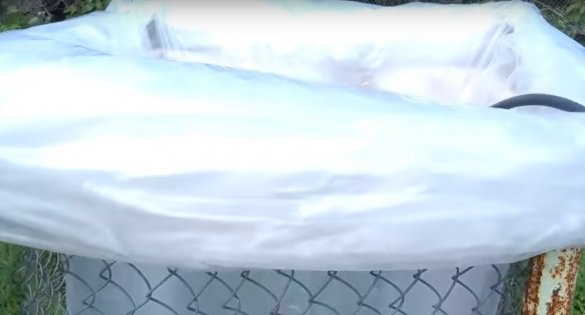
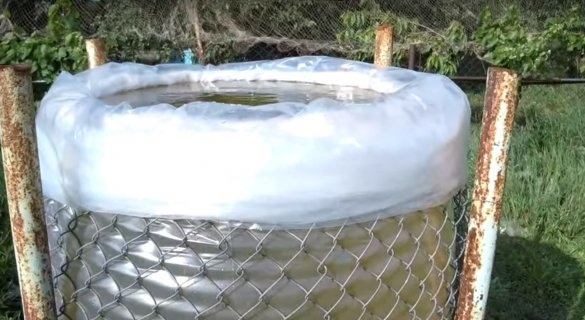
After leveling the film and wraps the upper edge.
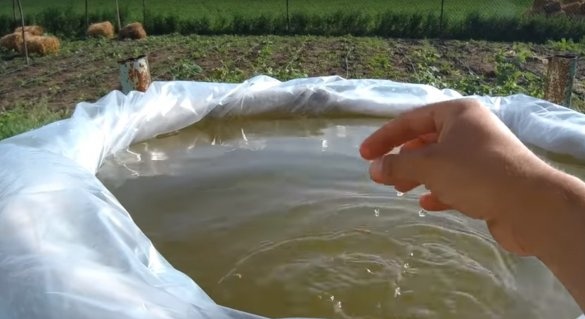
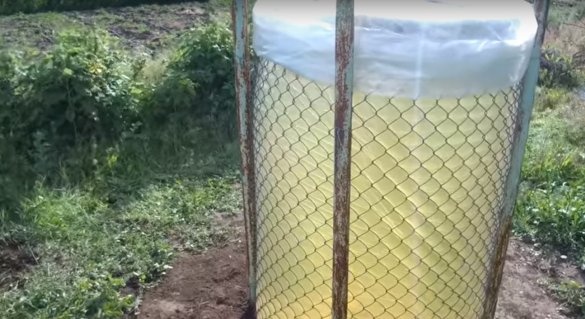
And the tank is ready. Now it remains to draw water into it, wait until it warms up and you can water it.
Under the upper edge of the film, the author also put pieces of linoleum.
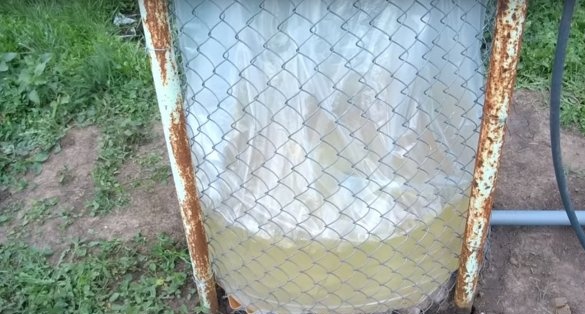
When the tank was completely filled with water, the sleeve was well leveled, and the net was slightly taut. But, according to the author, such a tank perfectly fulfills its purpose. Of course, the next year will have to change the sleeve.
The pressure is excellent.
Such is the budget capacity obtained by the author. For which I want to say thank you very much.
Yes, and by the way, if you install the crane directly on the pipe without corners, you can save a little more.
And that’s all for me. Thank you all and see you soon!

