
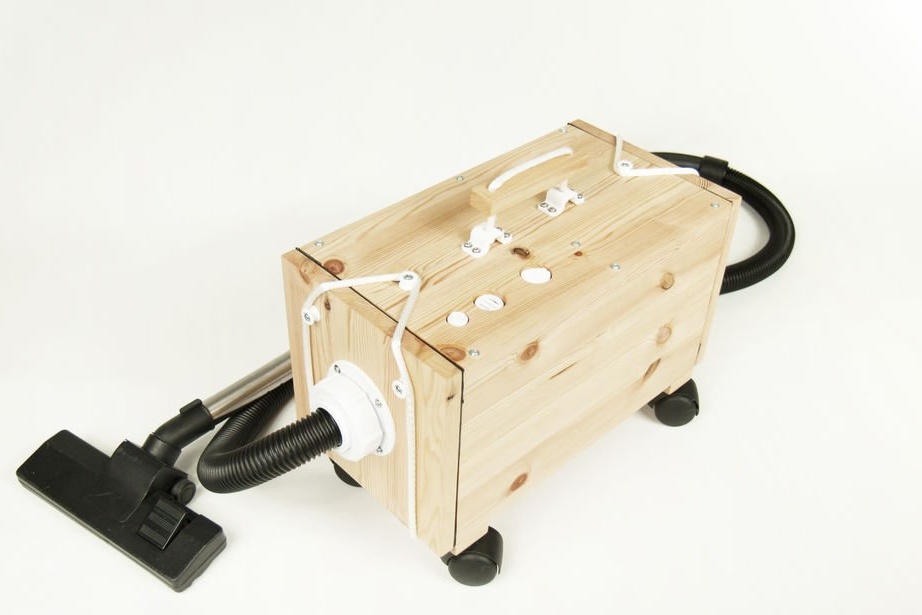
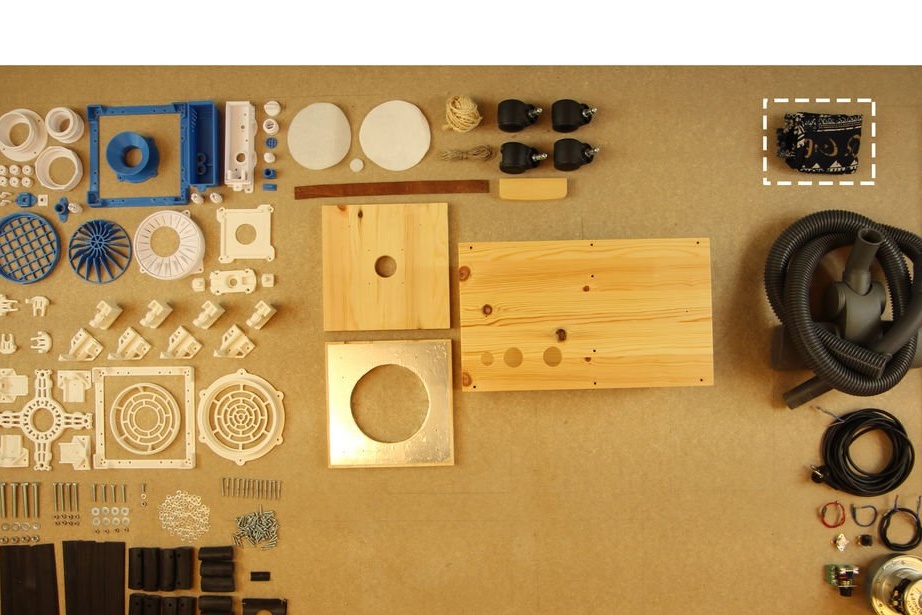
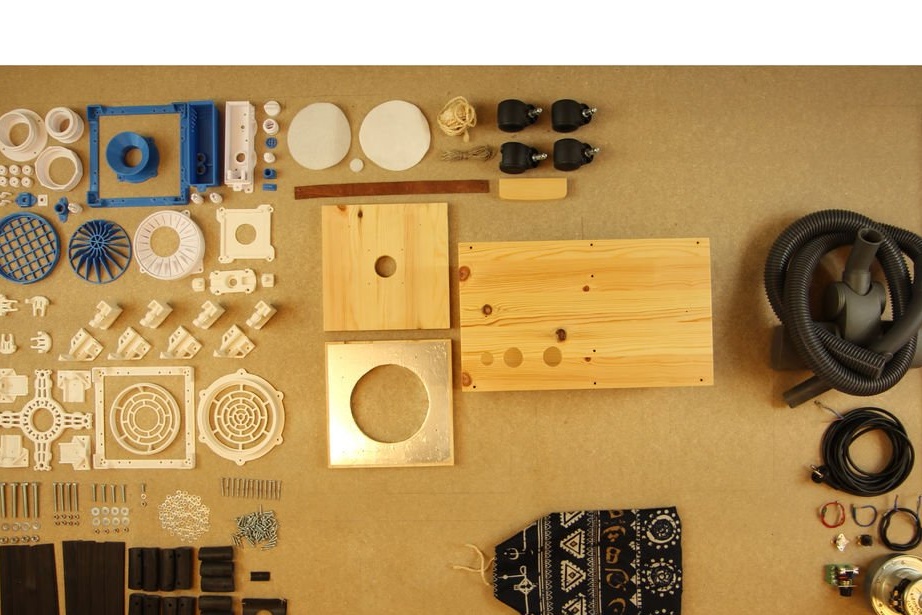
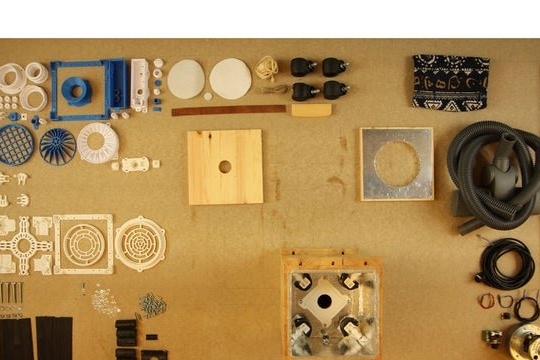
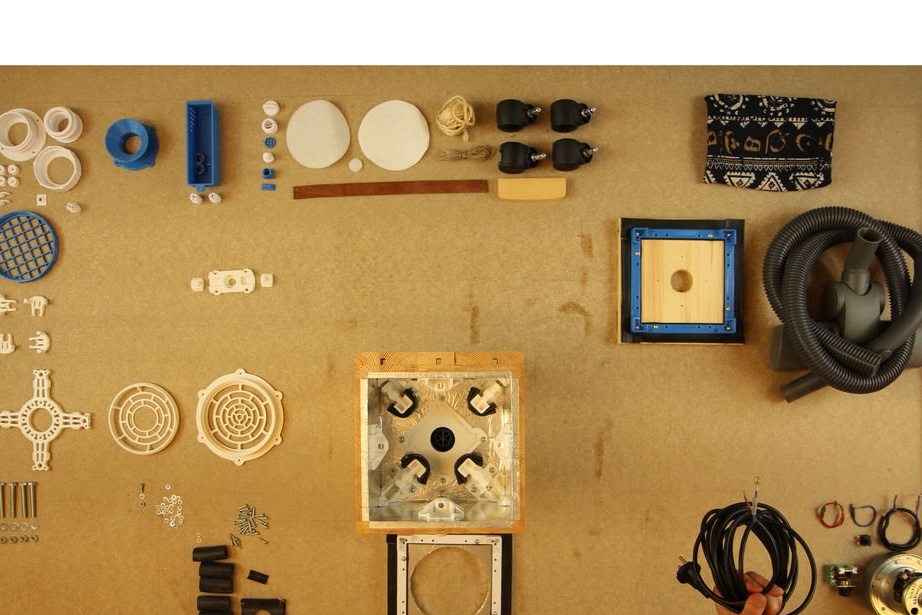
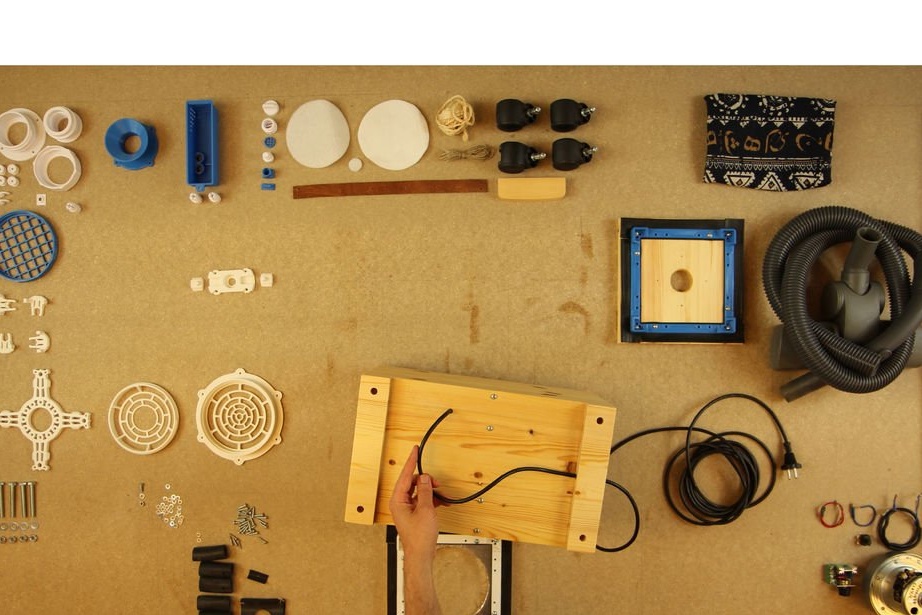
According to the master, more than half of all vacuum cleaners are thrown out, although they can still work with proper care. This project turns this garbage into a resource. This is a vacuum cleaner for independent manufacture and maintenance, which can be equipped with any used engine and hose, from a vacuum cleaner-donor.
Anyone who has made such a vacuum cleaner can use, repair and maintain such a device all his life.
Making a wooden case does not require special skills in working with wood, and all other structural elements can be printed on a 3D printer.
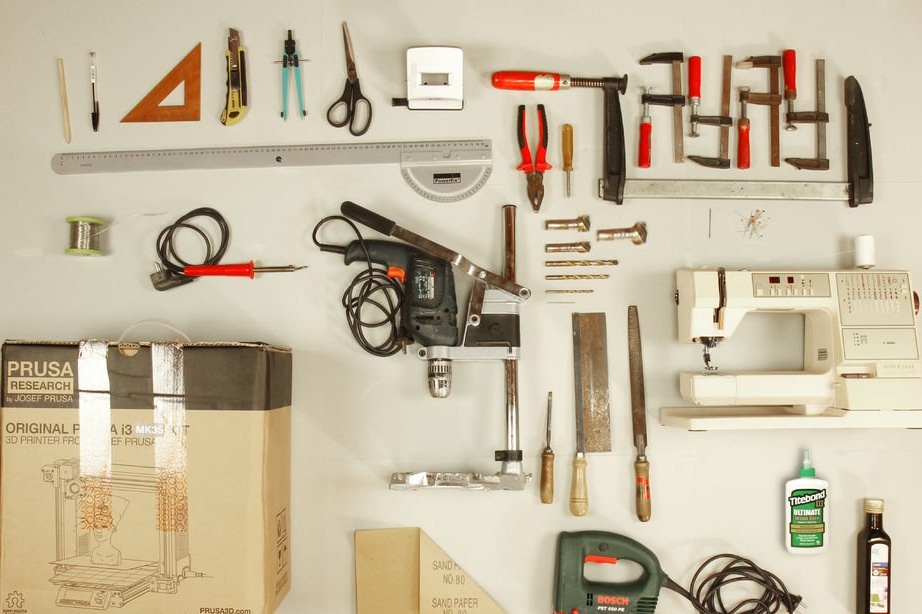
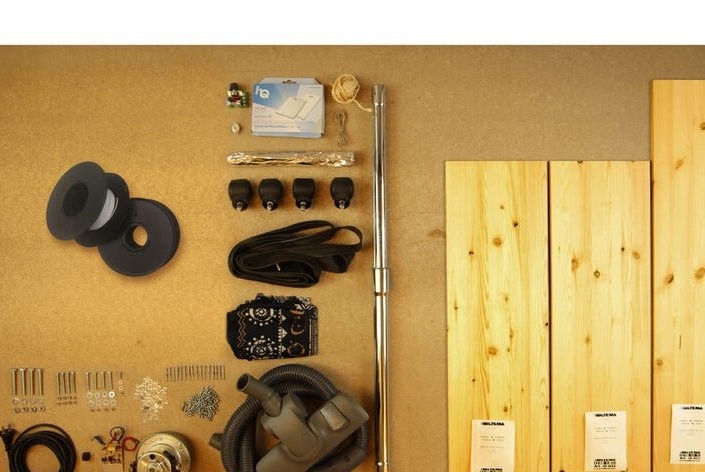
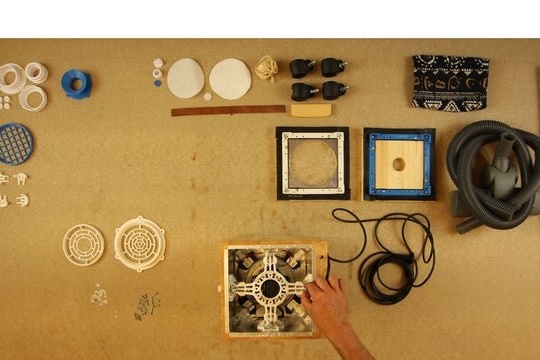
Tools and materials:
-pencil;
-line;
-knife;
-scissors;
-hole puncher;
-pliers;
-crosshead screwdriver;
clamps;
-file;
- beam saw;
-chisel;
jigsaw;
-drilling machine;
-drill;
soldering accessories;
-3D printer;
-sewing machine;
-sandpaper;
- joiner's glue;
-linseed oil;
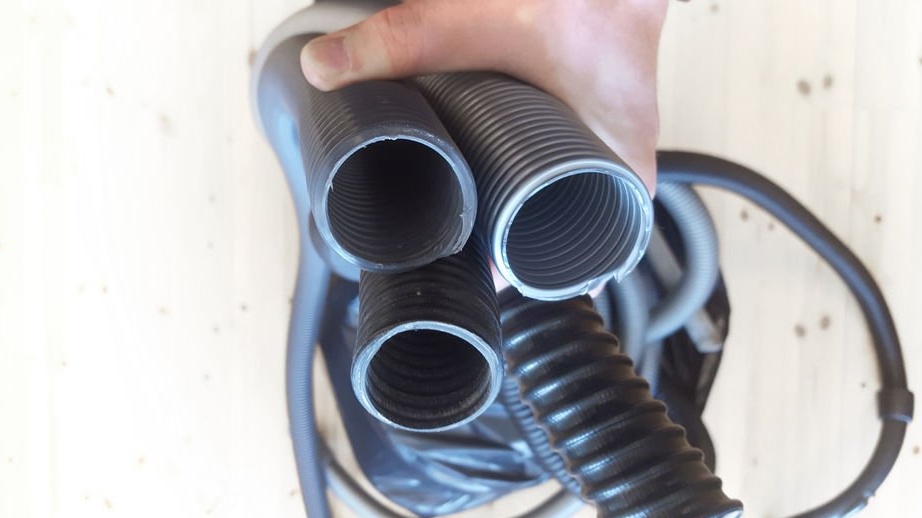
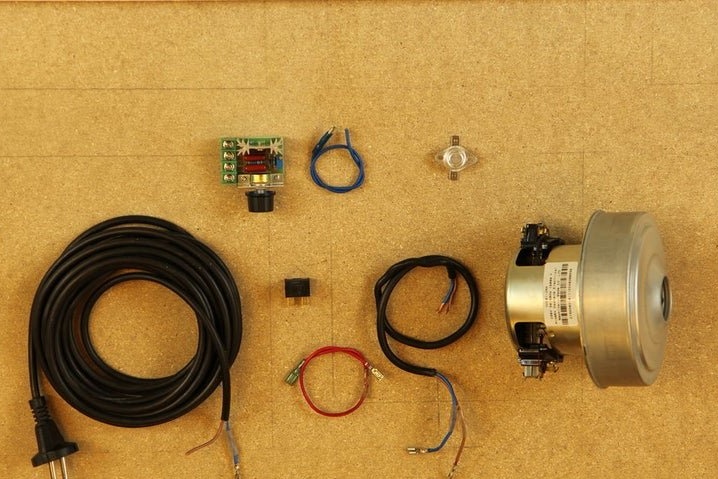
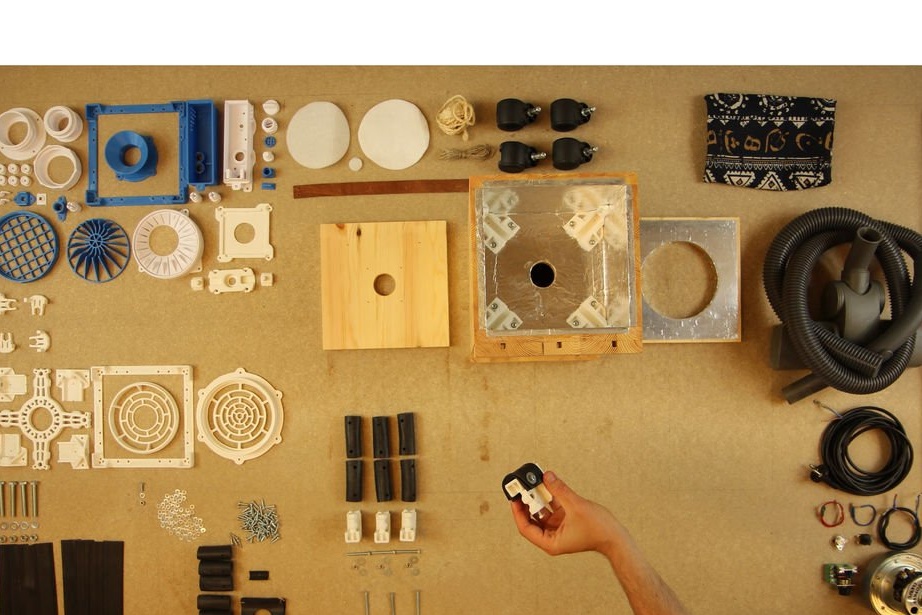
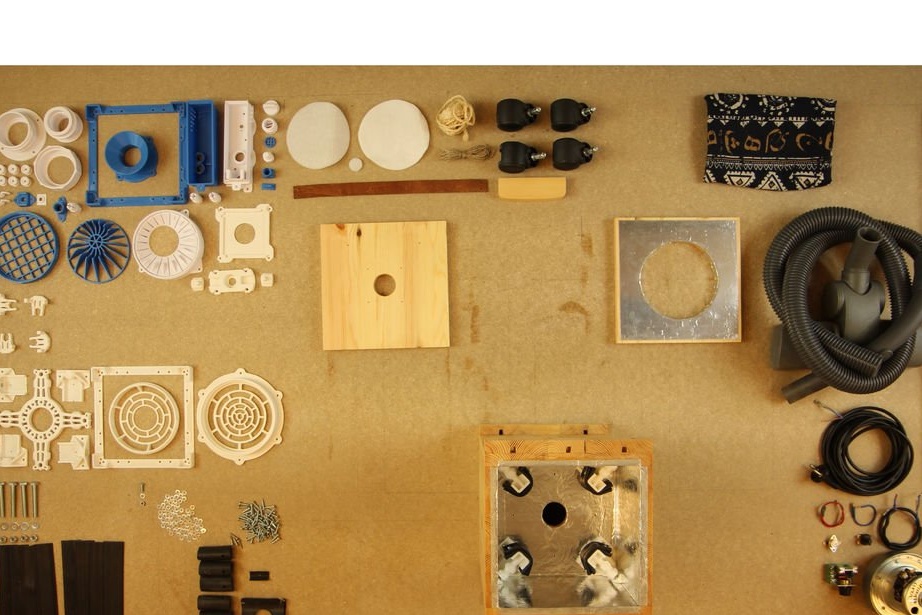
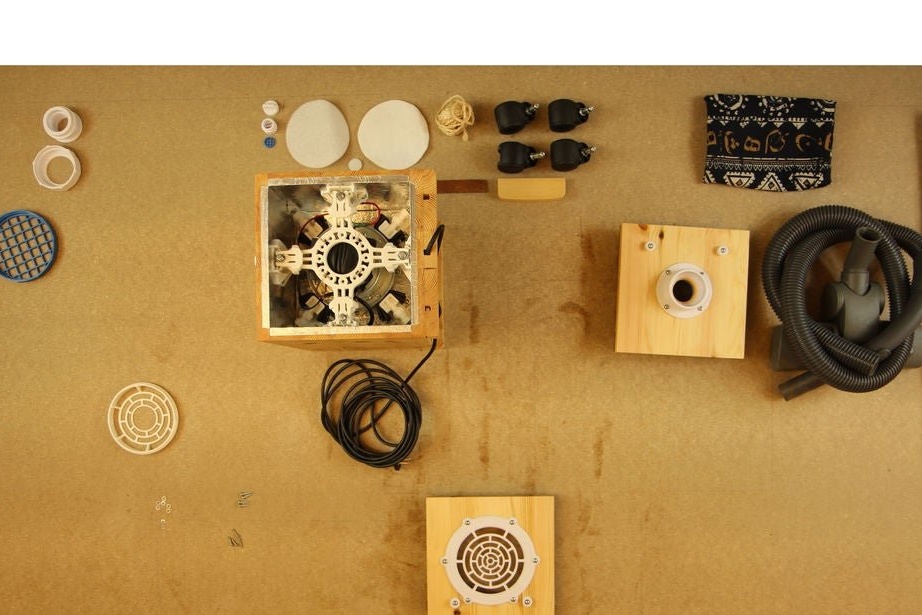
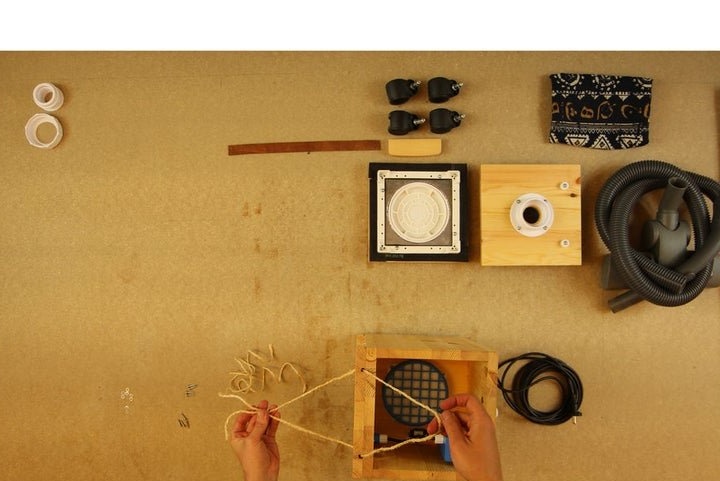
- spare parts from an old vacuum cleaner (engine, hose, cable, etc.);
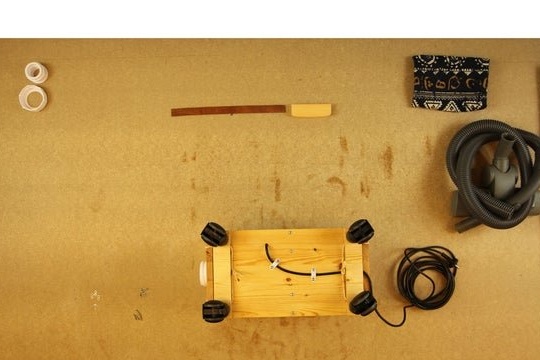
-wheels from an office chair;
-bicycle camera;
Nylon fabric
-aluminium foil;
-cord;
Vacuum cleaner filter
- boards;
- fasteners;
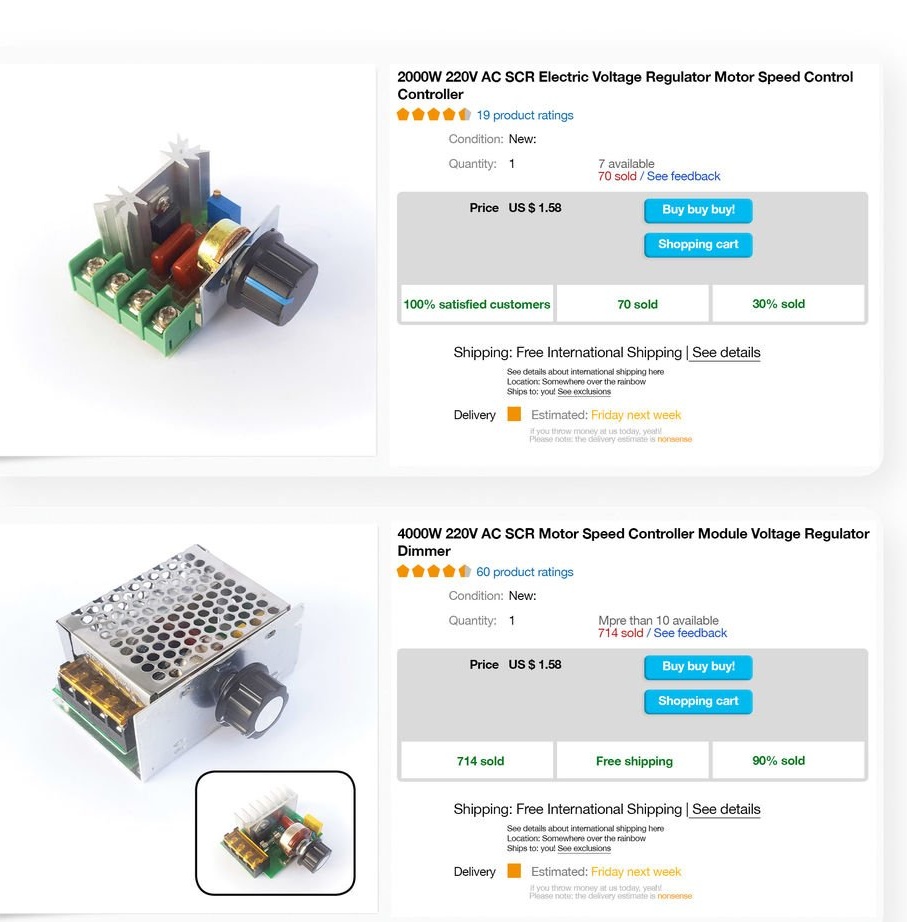
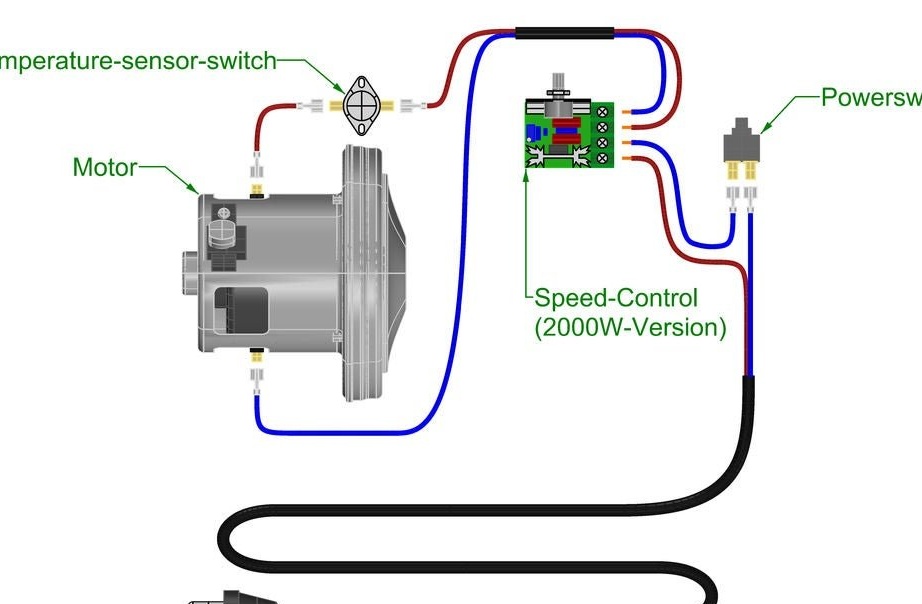
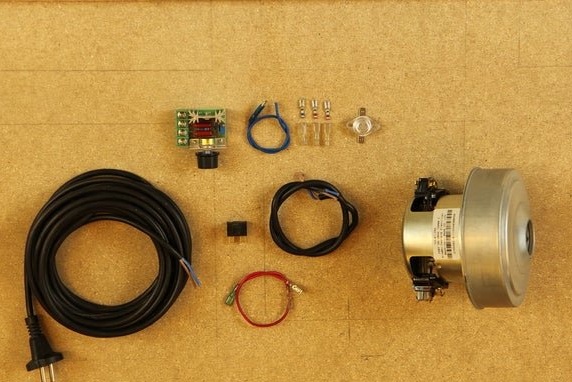
- power regulator;
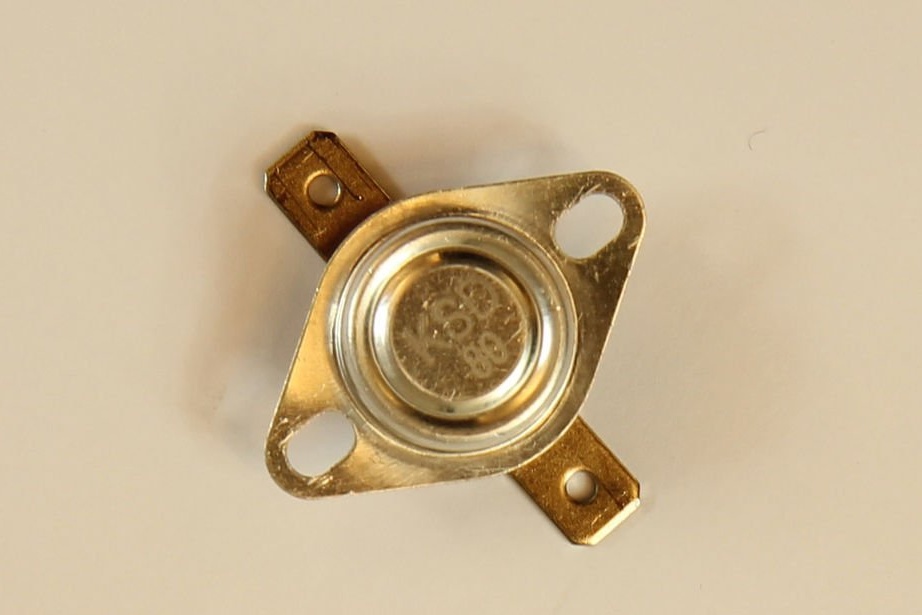
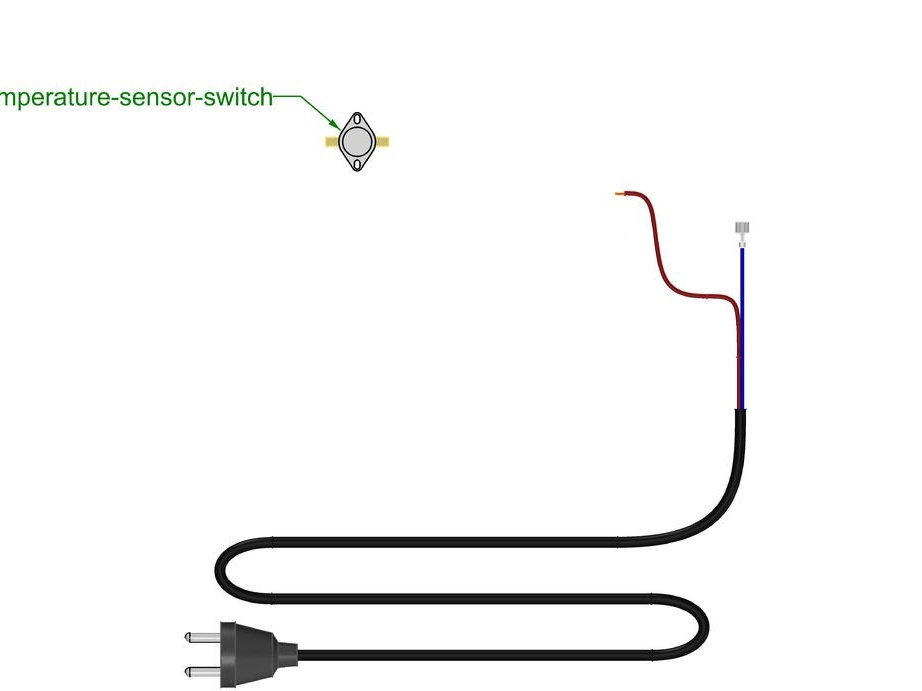
- thermal sensor;
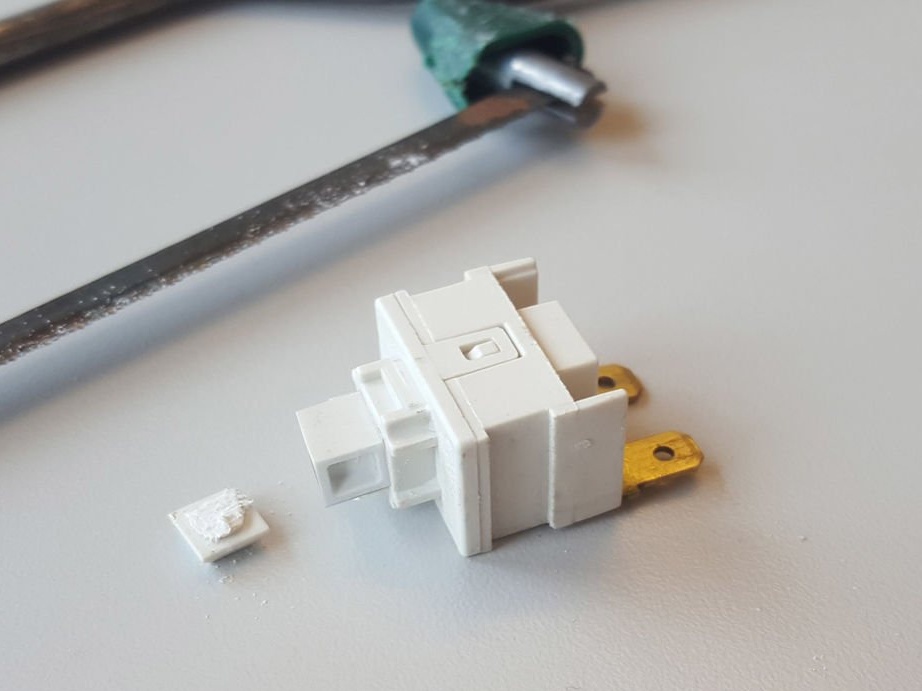
The power regulator can be used any of those shown in the photo.
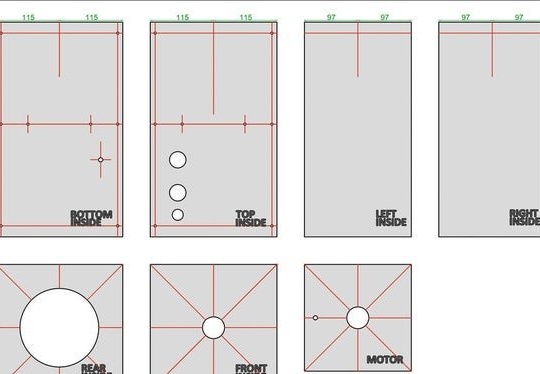
You can use any motor from a vacuum cleaner that fits into the following parameters: length from 97 to 131 mm and width from 97 to 150 mm.
A thermal sensor needs a normally closed type triggered, in the range from 72 and 88 ° C and having a parameter of at least 10 A.


Step One: 3D Printing
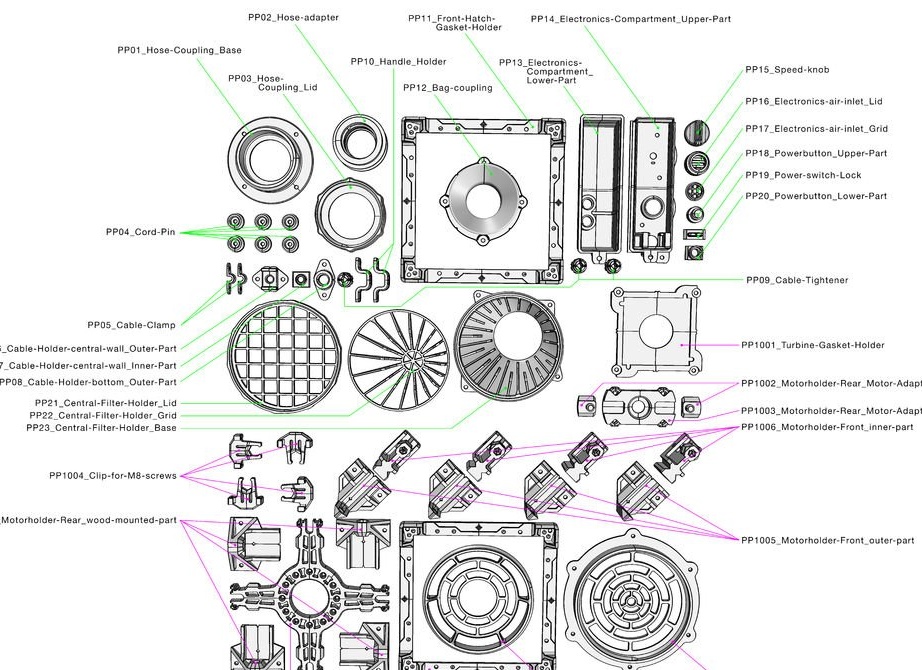
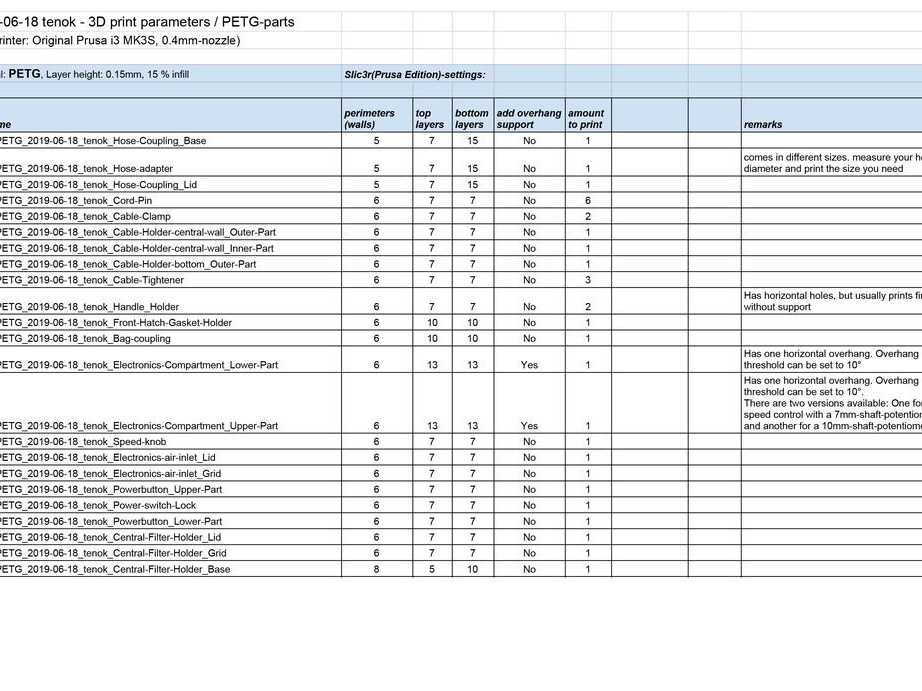
All files for 3D printing can be downloaded at this link.
You can see all print settings by downloading this file.
Depending on the selected controller, different details are printed: for the 2000 W controller, part PP14-s07, for 4000 W - PP14-s10.

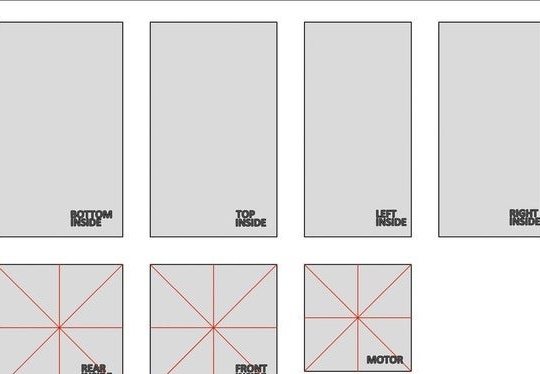
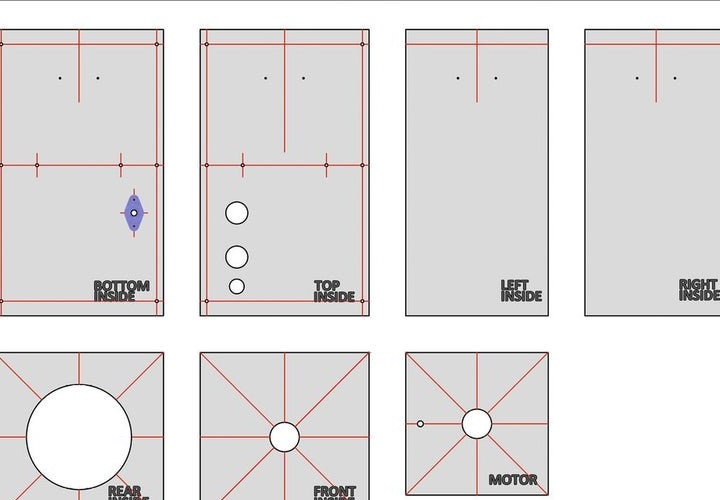
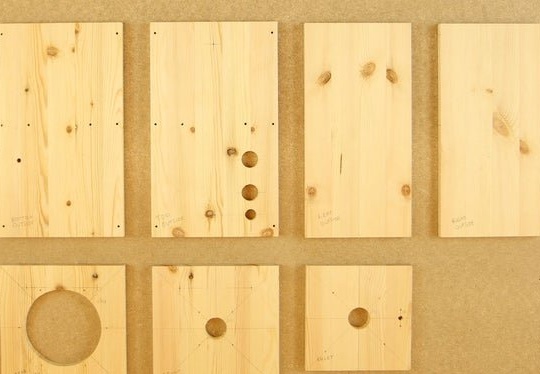
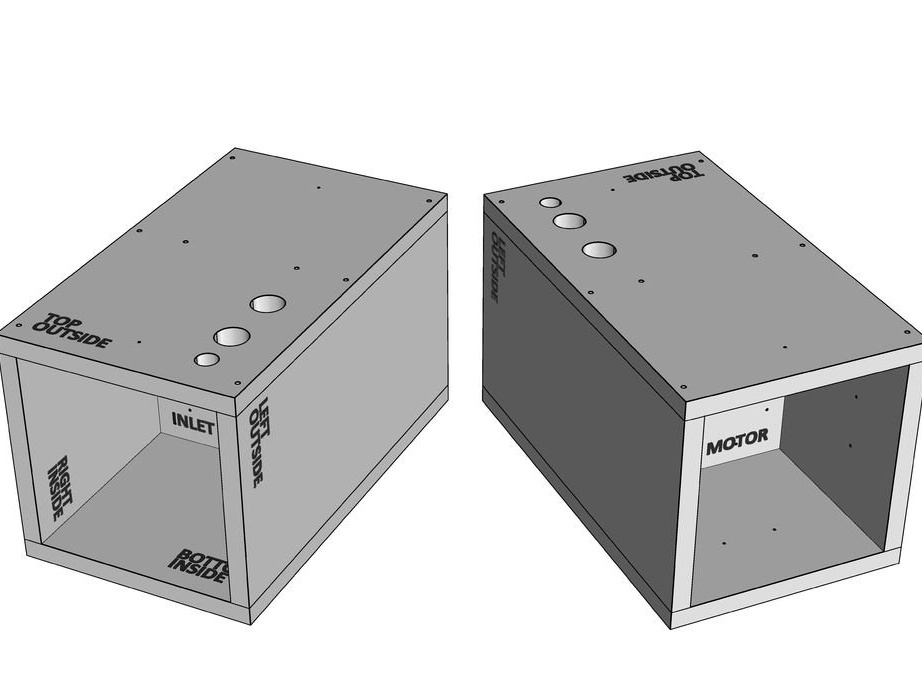
Step Two: Housing Details
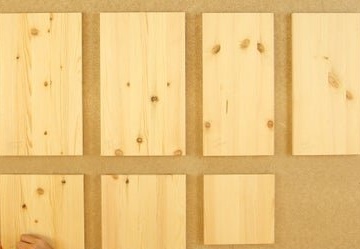
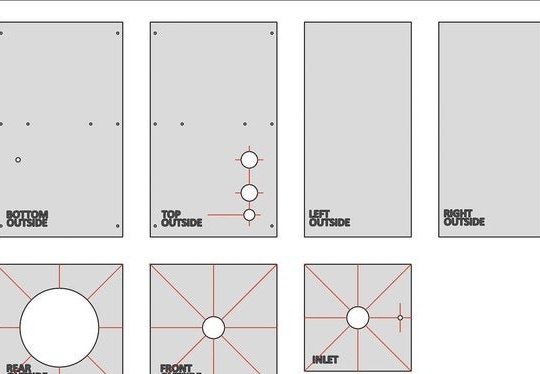
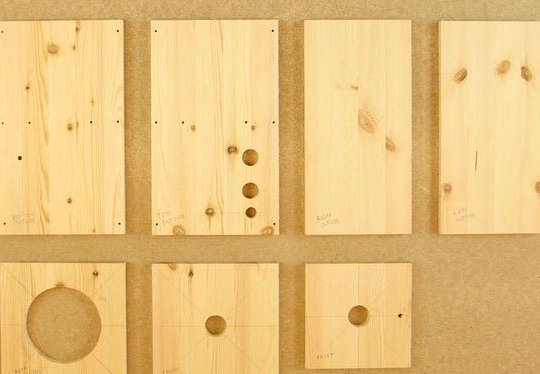
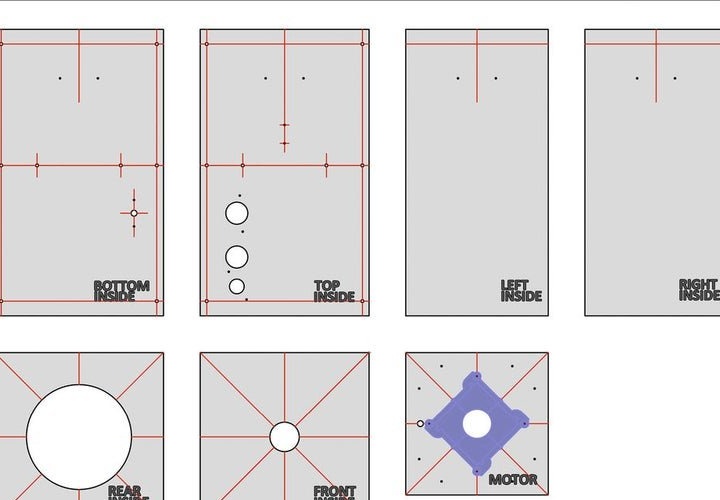
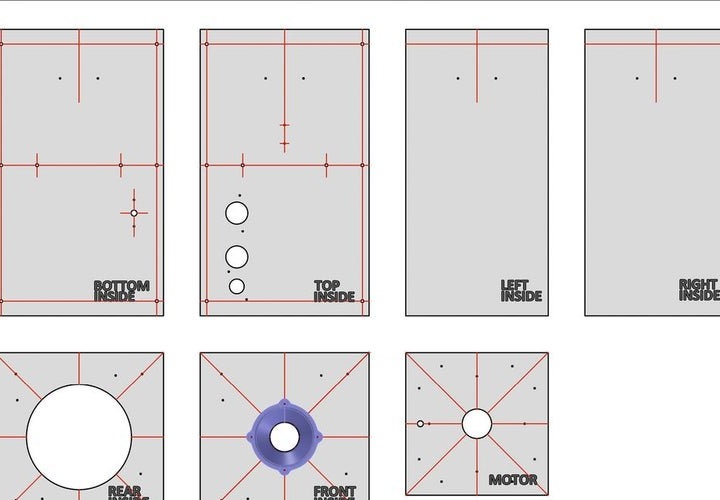
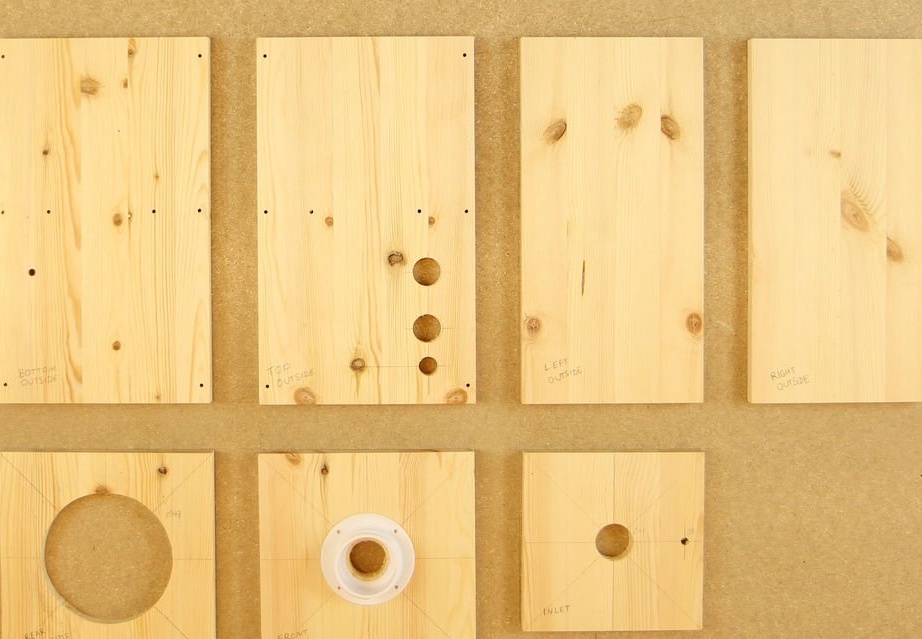
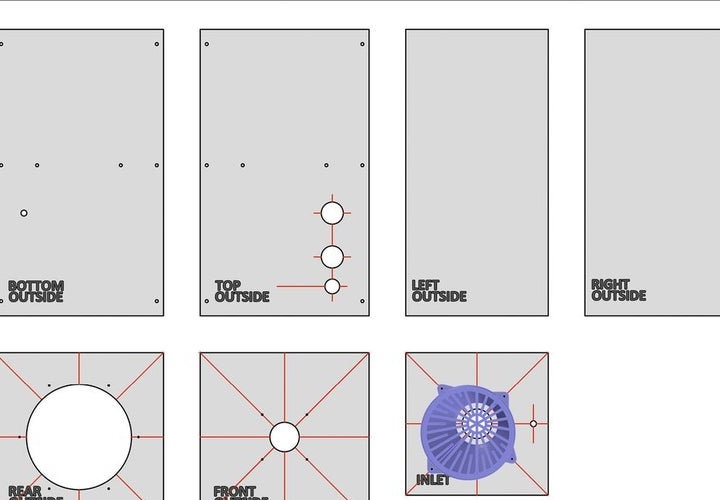
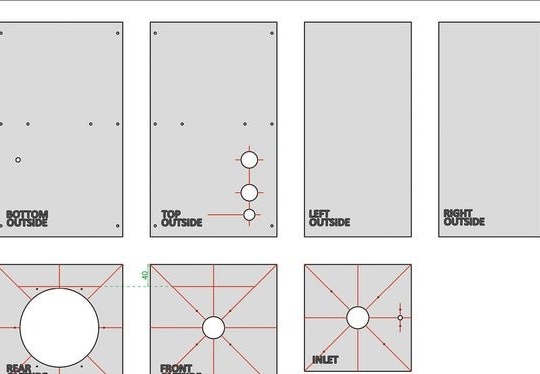
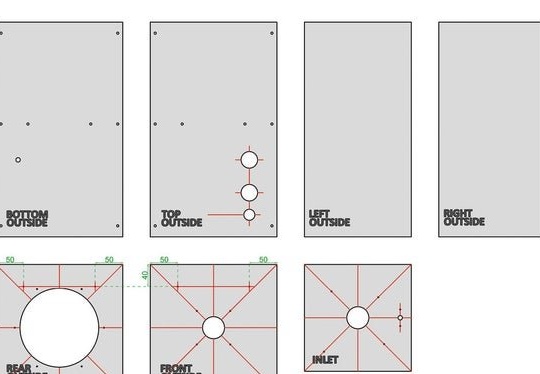
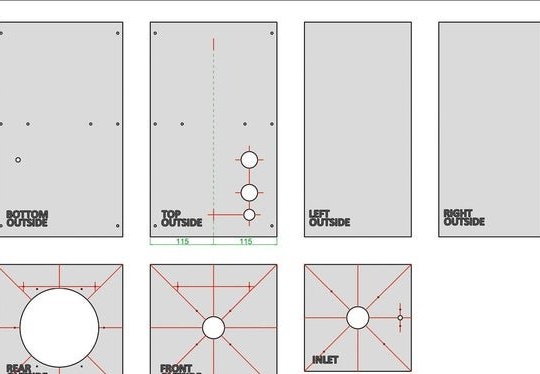
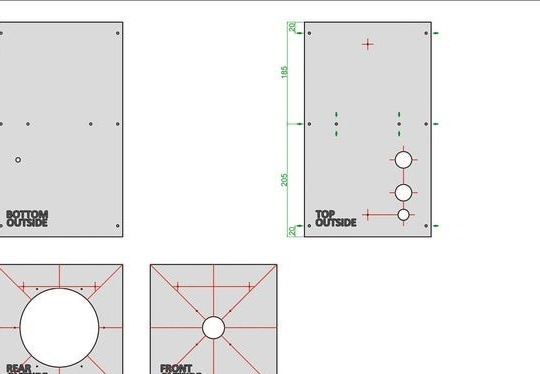
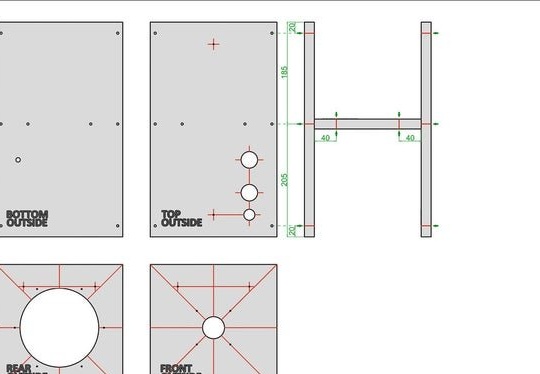
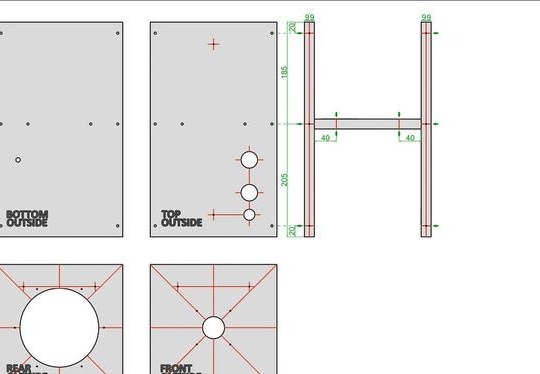
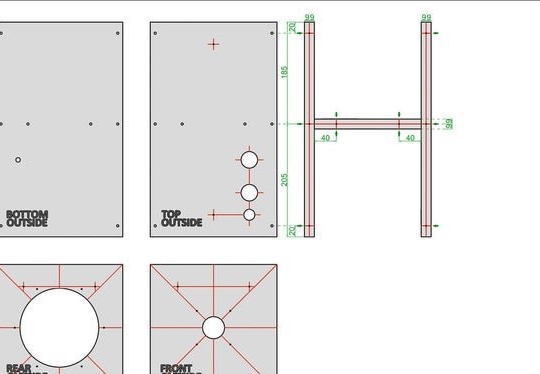
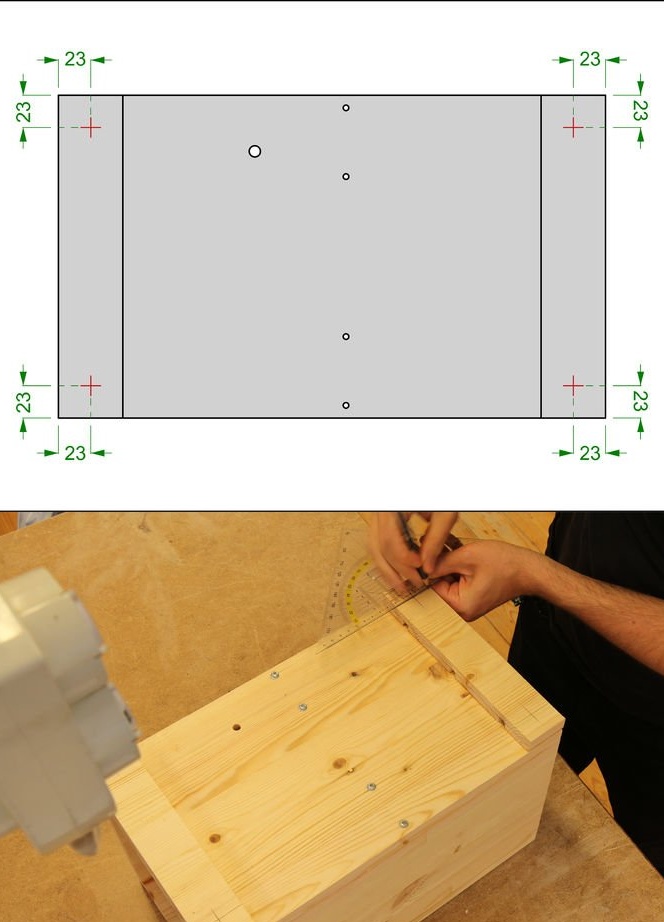
For the case, you need to prepare parts according to the drawing. The master uses a board 18 mm thick.


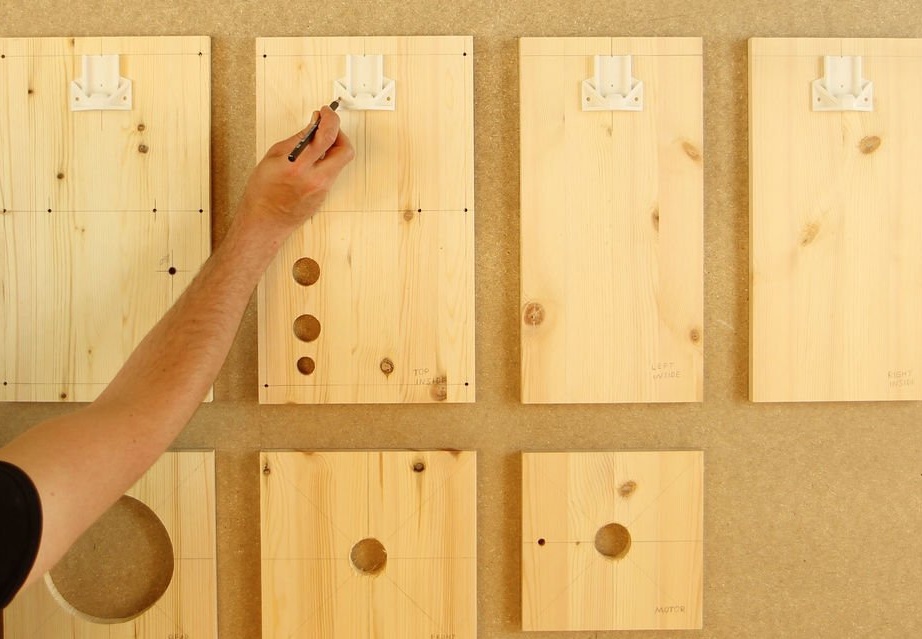
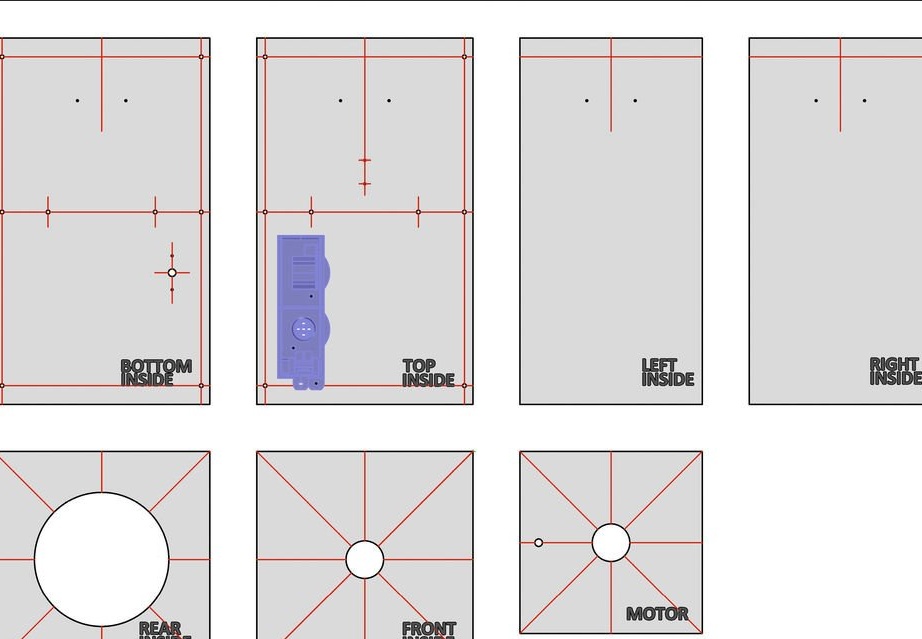
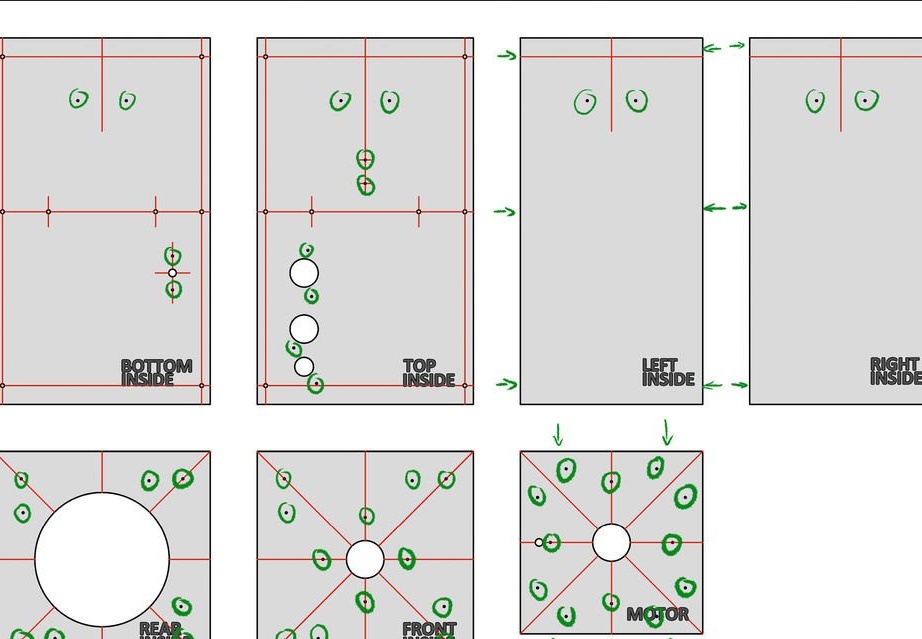
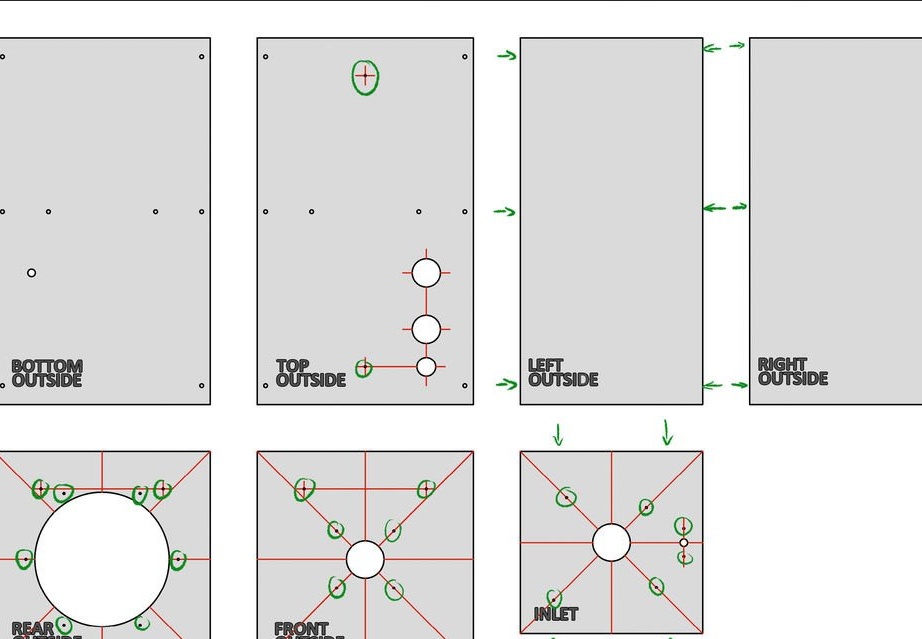
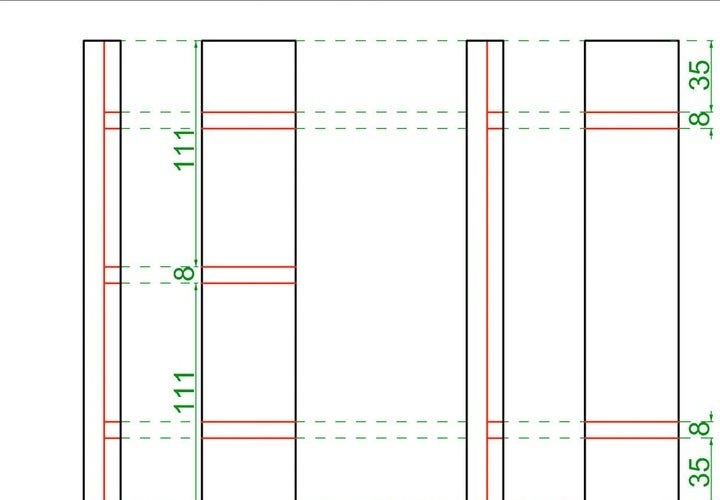
Step Three: Markup
Next, the master selects the front side of the boards, outlines them with a pencil and flips them over.

Further, the master makes the markup as in the figures.
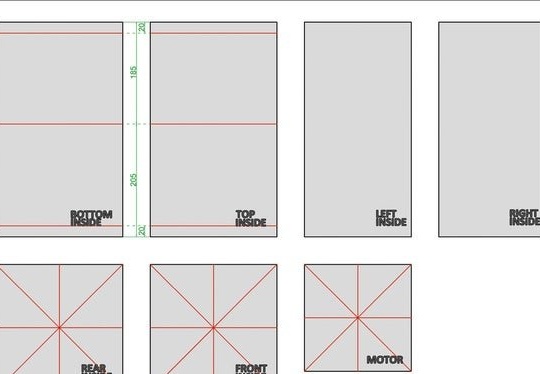
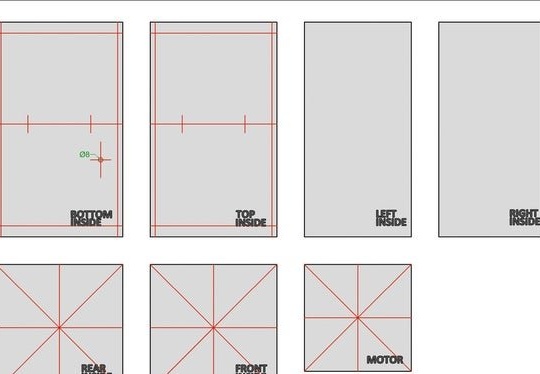
Turns over the blanks again and marks out.

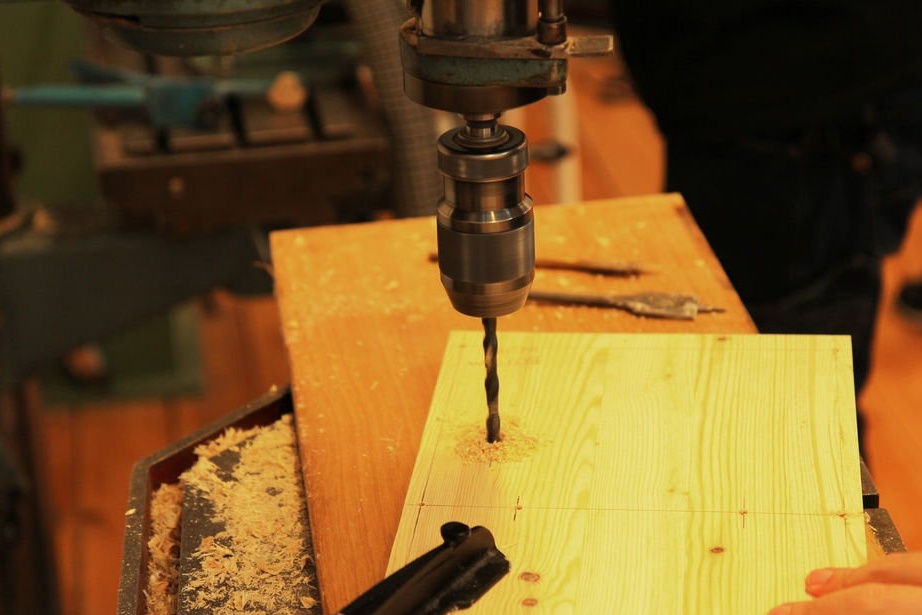
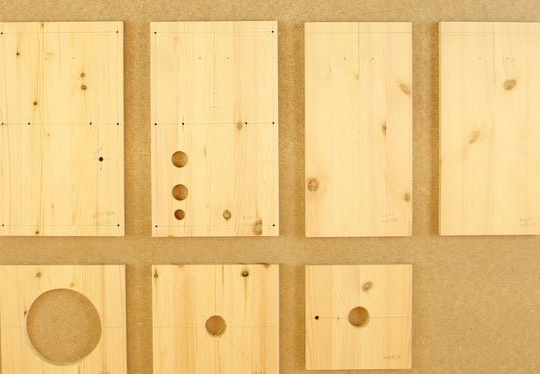
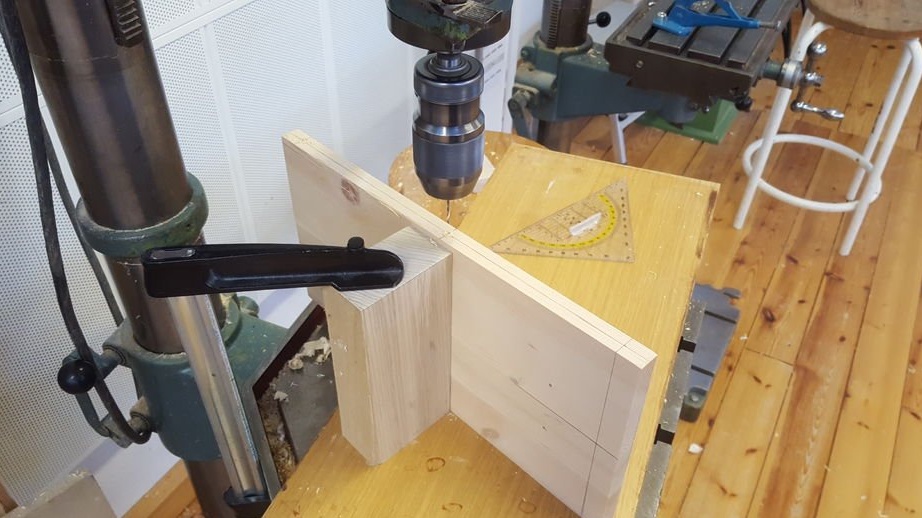
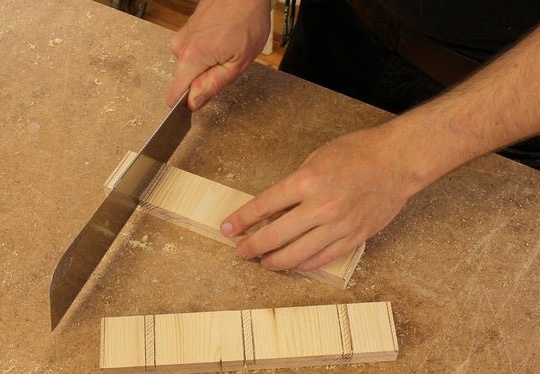
Step Four: Holes
Now you need to drill holes. At the intersection of the lines (marked with a green circle), holes with a diameter of 5 mm are drilled. The remaining holes are drilled according to the marking.
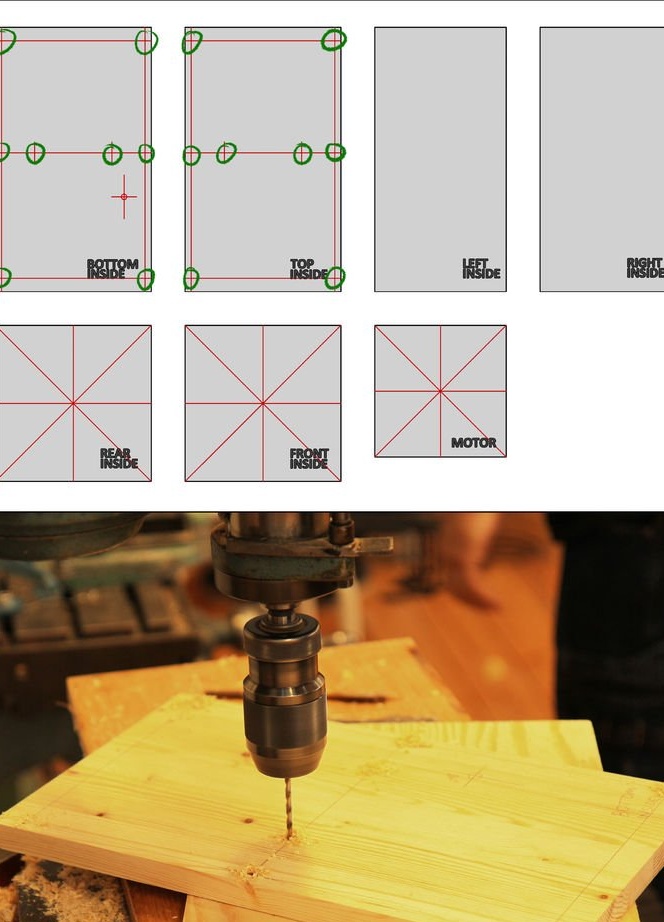

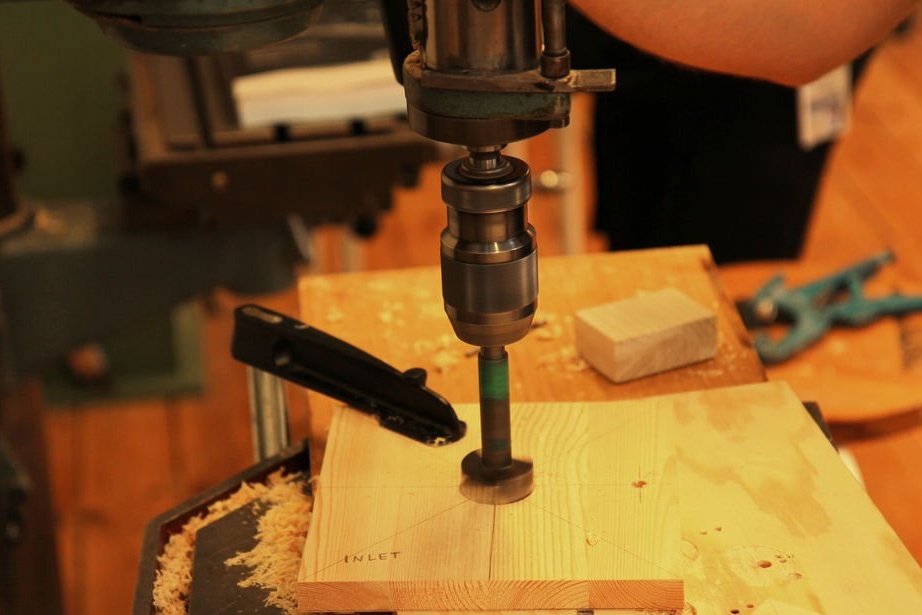
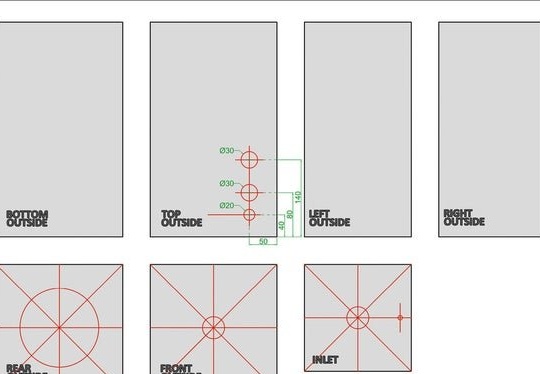
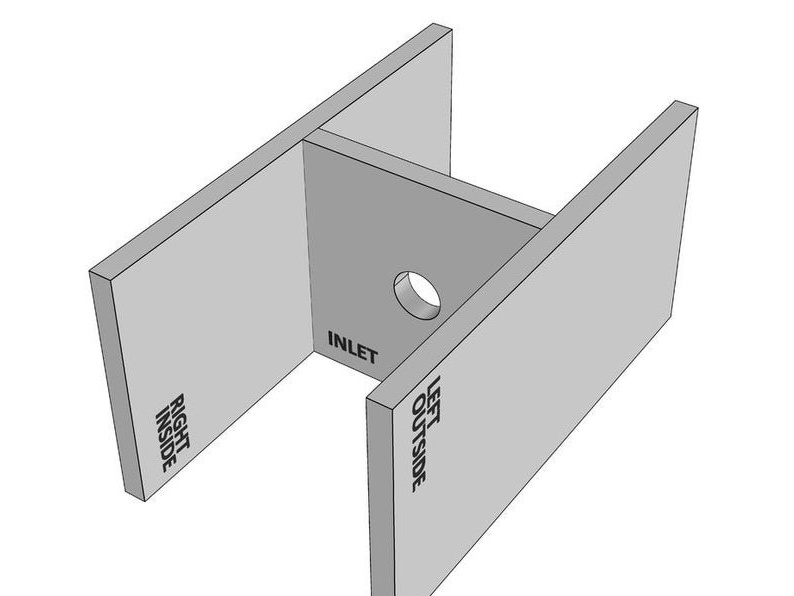
Cut a hole Ø143 mm.
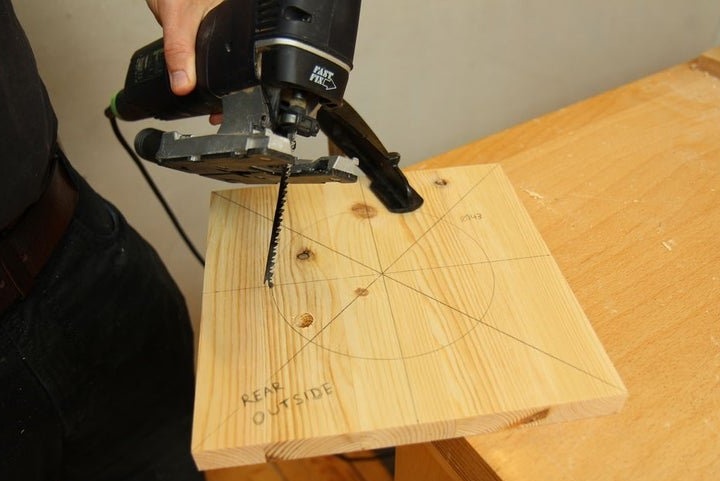


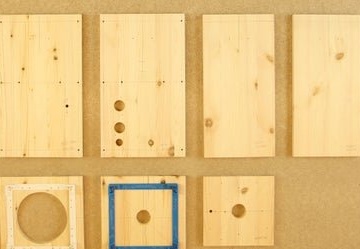
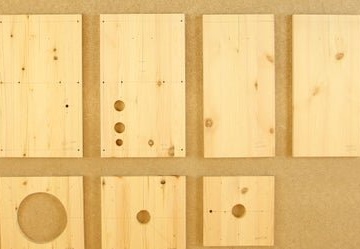
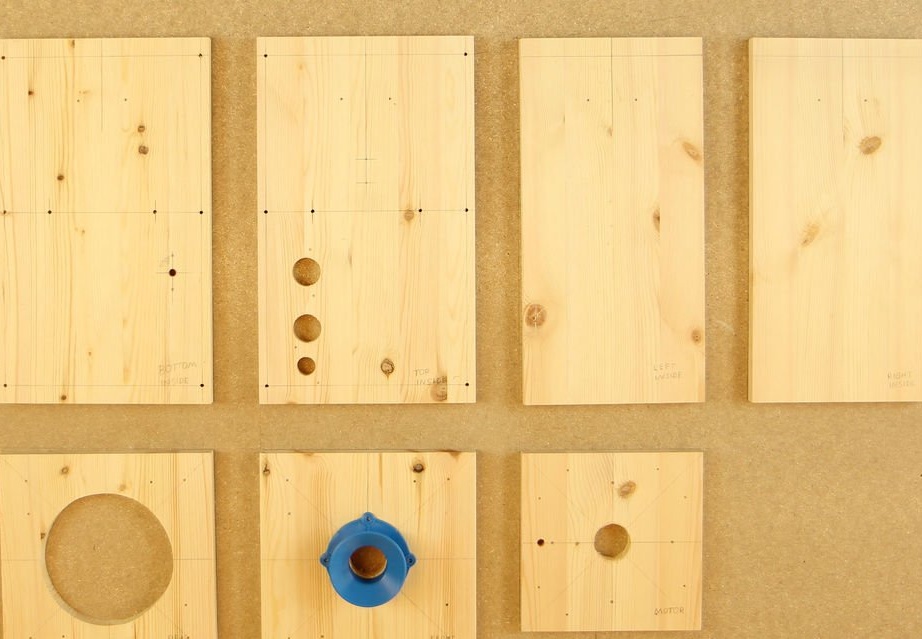
Here's what happened.
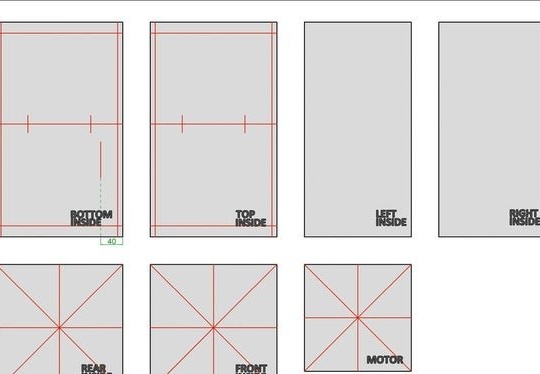
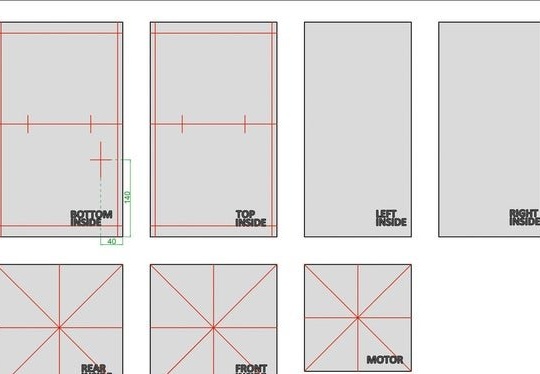
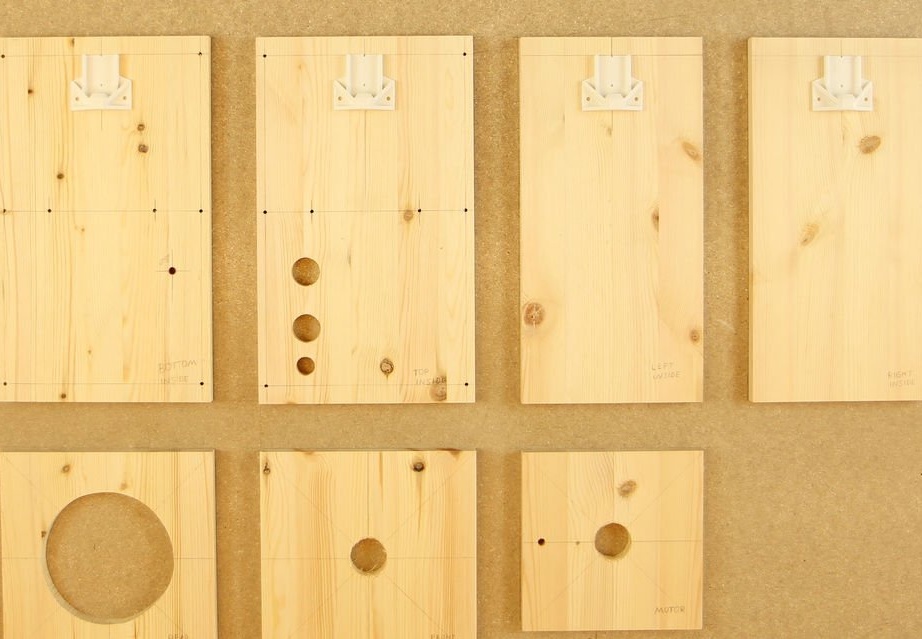
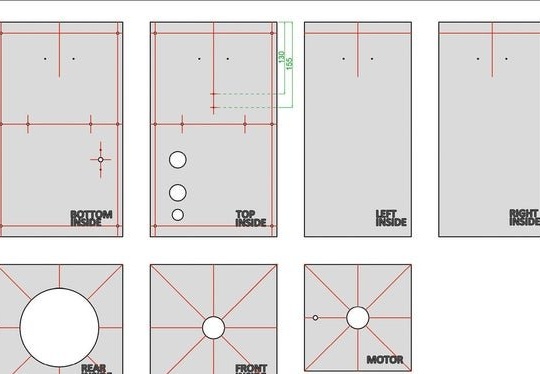
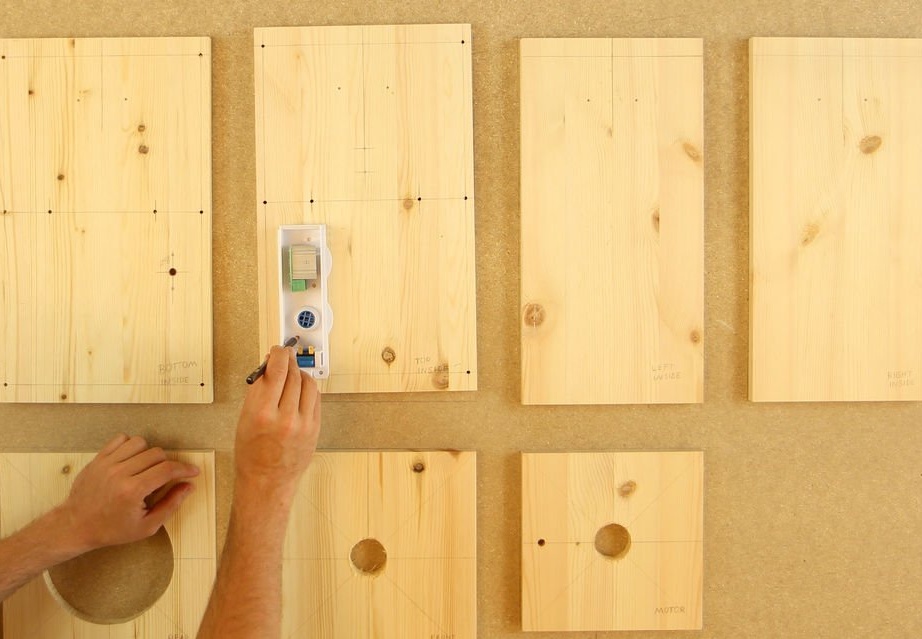
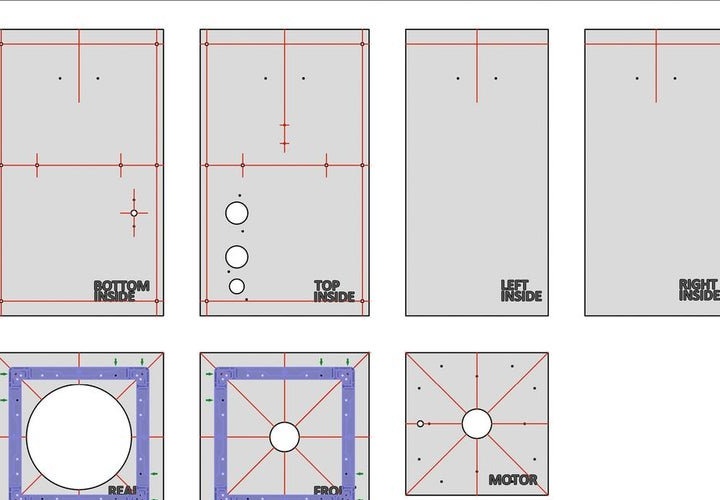
Step Five: marking for threaded inserts
Places the details as in the photo and makes vertical and horizontal markings.

Further, using the printed parts "PP1007_Motorholder-Rear_wood-mount-part", it is marked according to the figures.
"PP1007_Motorholder-Rear_wood-mount-part"
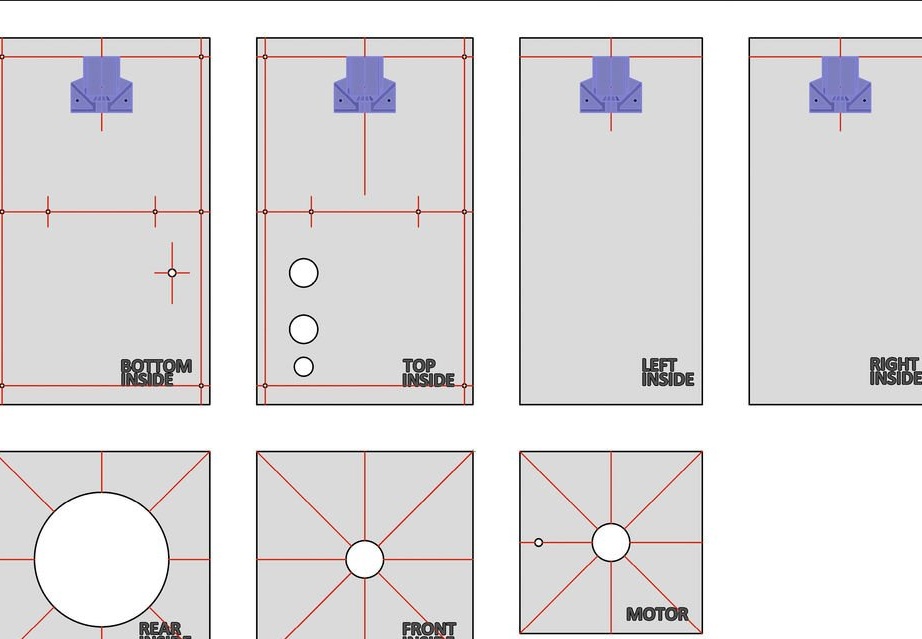
"PP08_Cable-Holder-bottom_Outer-Part"

Adds two horizontal lines.
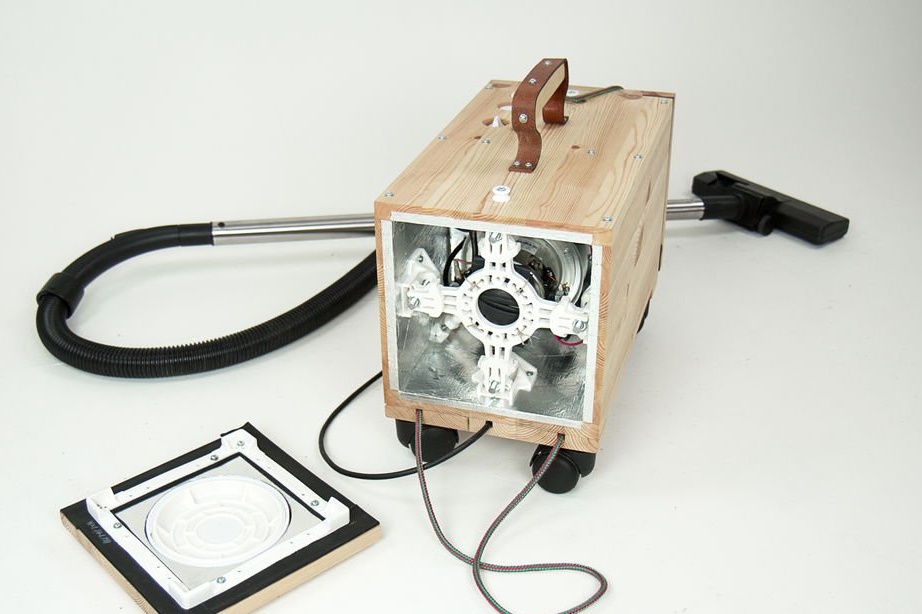
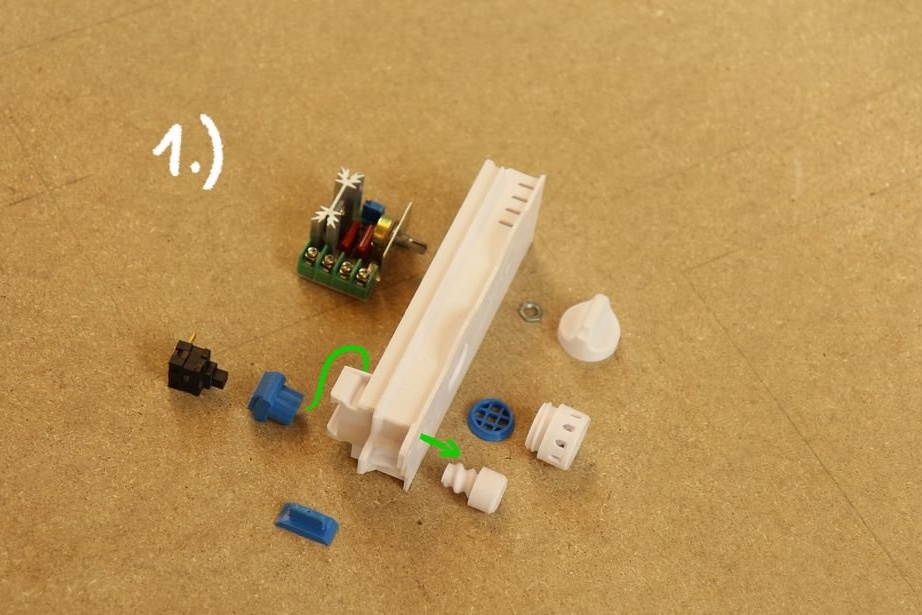
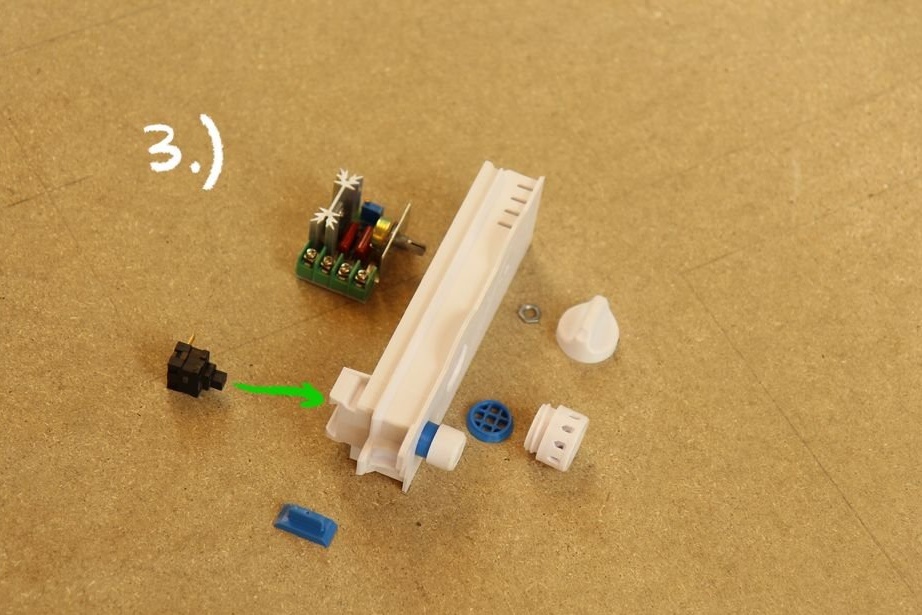
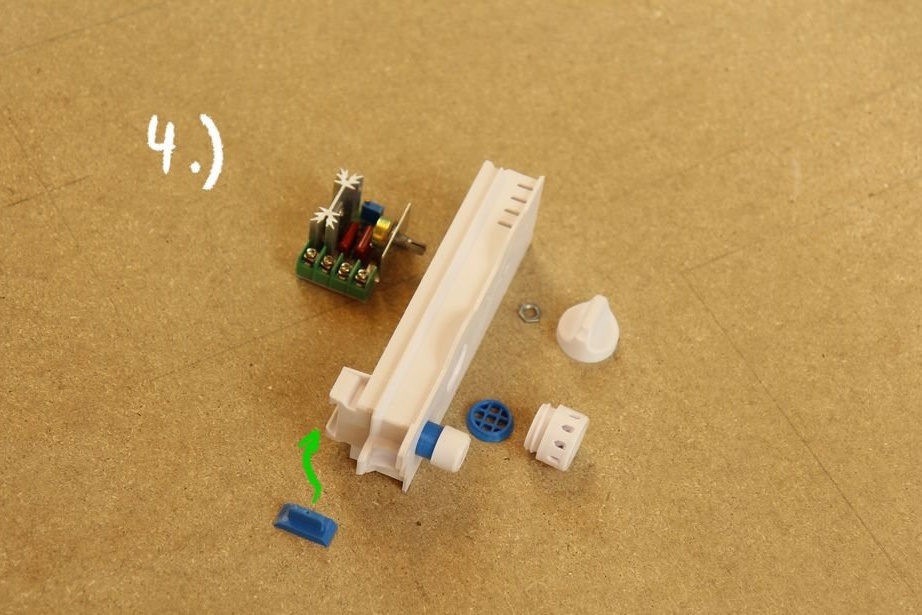
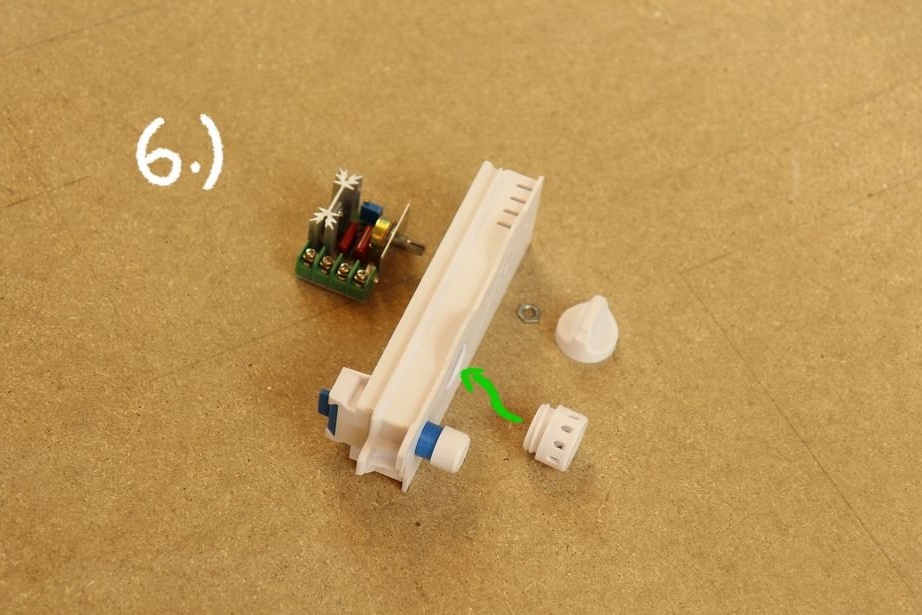
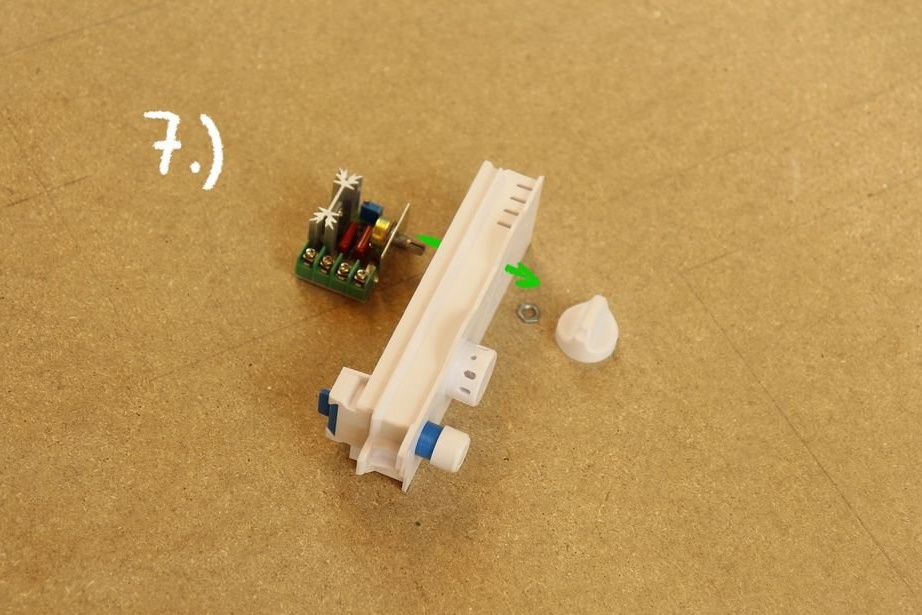
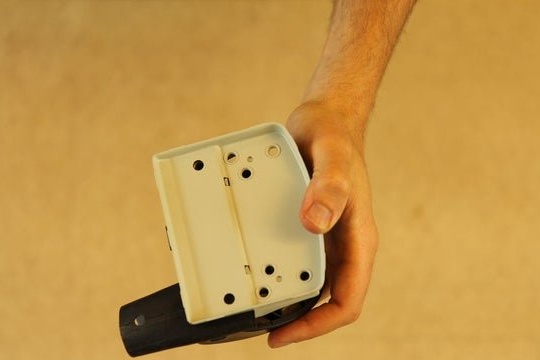
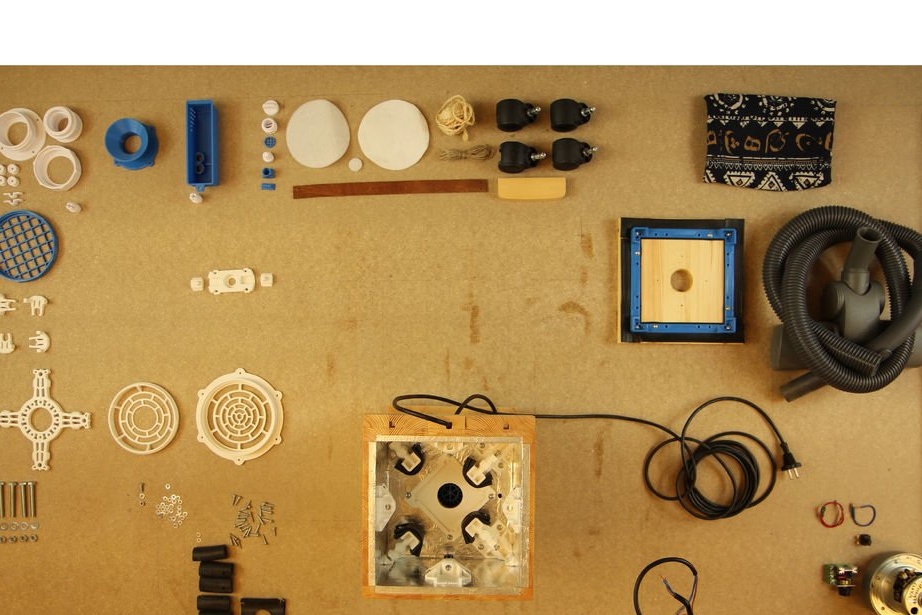
Step Six: Assembling the Electrical Panel
For further work, it is necessary to partially assemble the electrical panel. The following parts are required for assembly6
PP14_Electronics-Compartment_Upper-Part
PP15_Speed Pen
PP16_Electronics-air-inlet_Lid
PP17_Electronics-air-inlet_Grid
PP18_Powerbutton_Upper-Part
PP19_Power
PP20_Powerbutton_Lower-Part


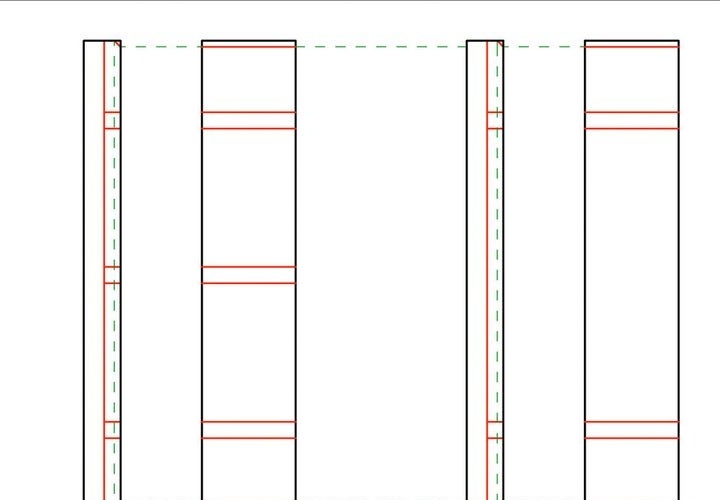
Seventh step: further marking
The assembled panel (PP14) is placed on the housing part and marks the holes.

Makes markup for PP1005.
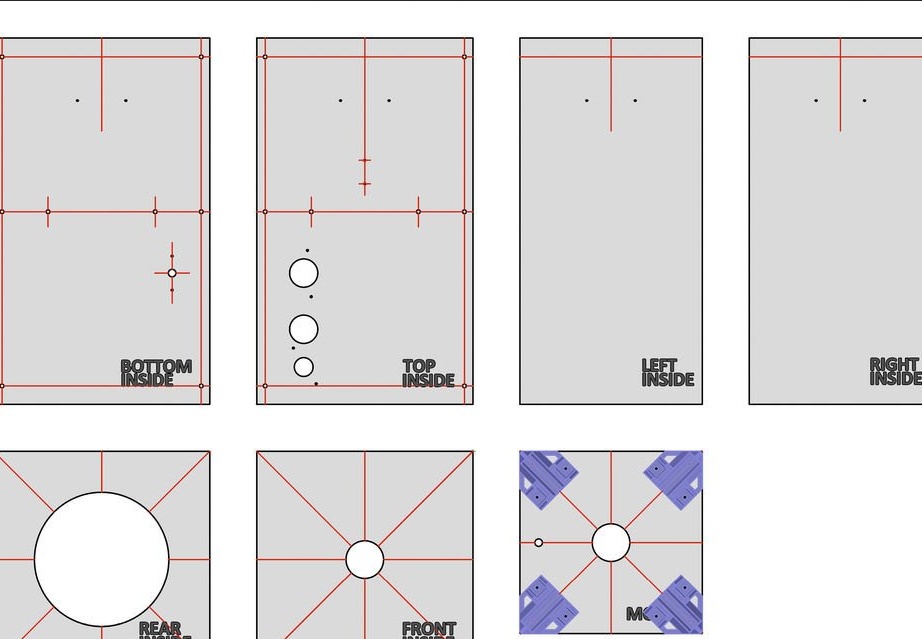

Marks up PP1001.

PP11 and PP1009.
PP12.
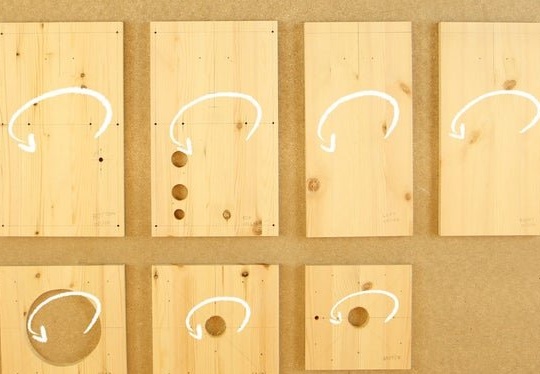
Flips boards.
Marks PP01.
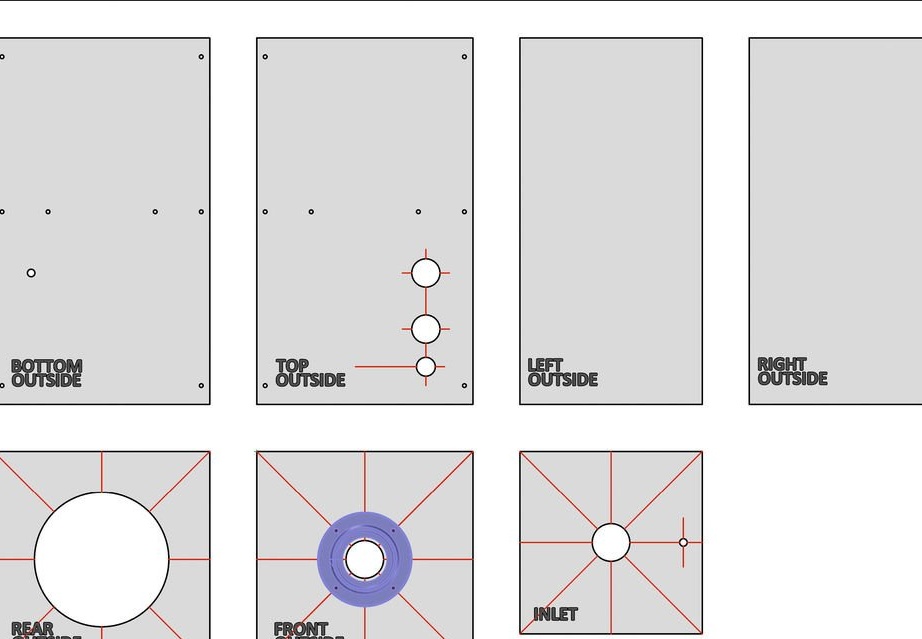
PP1011


PP23
PP06

Marks the lines further, as in the drawing.

Pre-installs parts and marks.
Turns and marks the reverse side of the body parts.

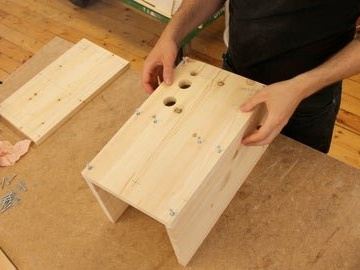
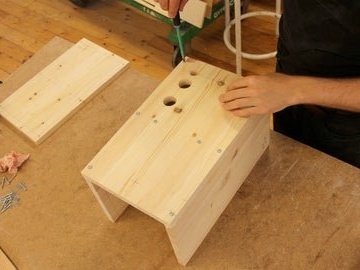
A 2 mm drill drills blind holes 13 mm deep. You need to drill on the marked green circles.
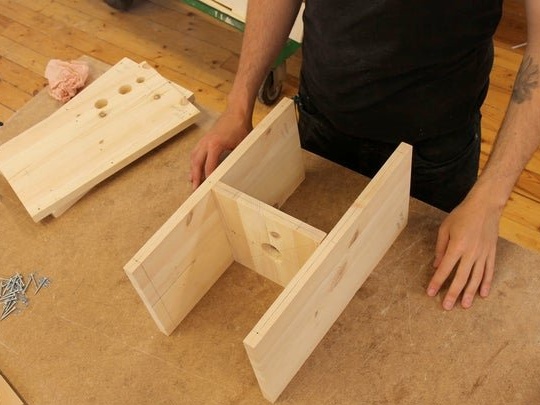
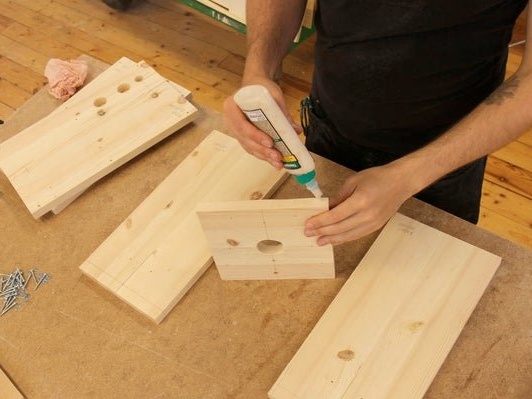
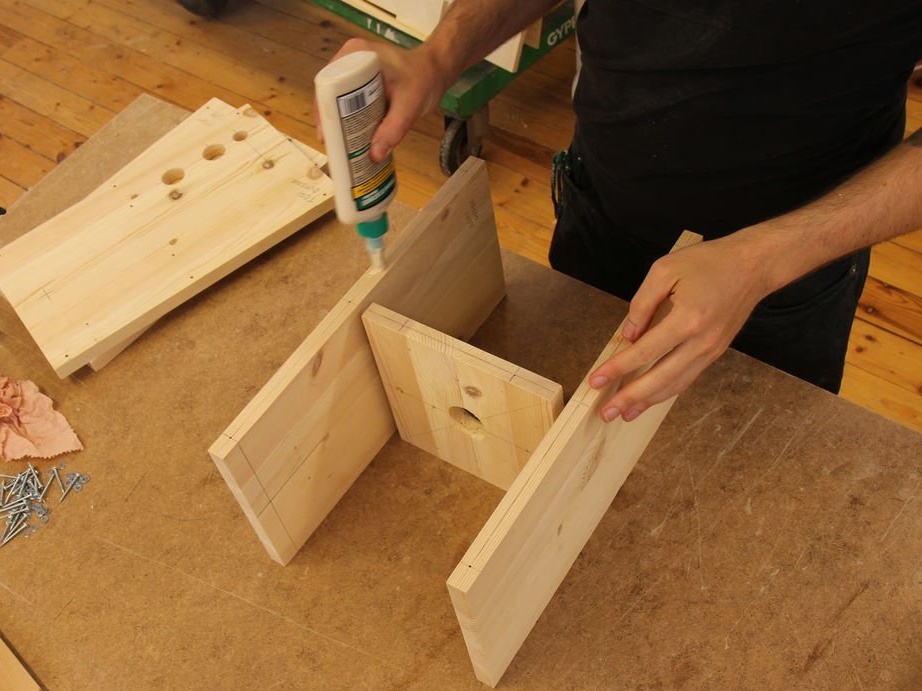
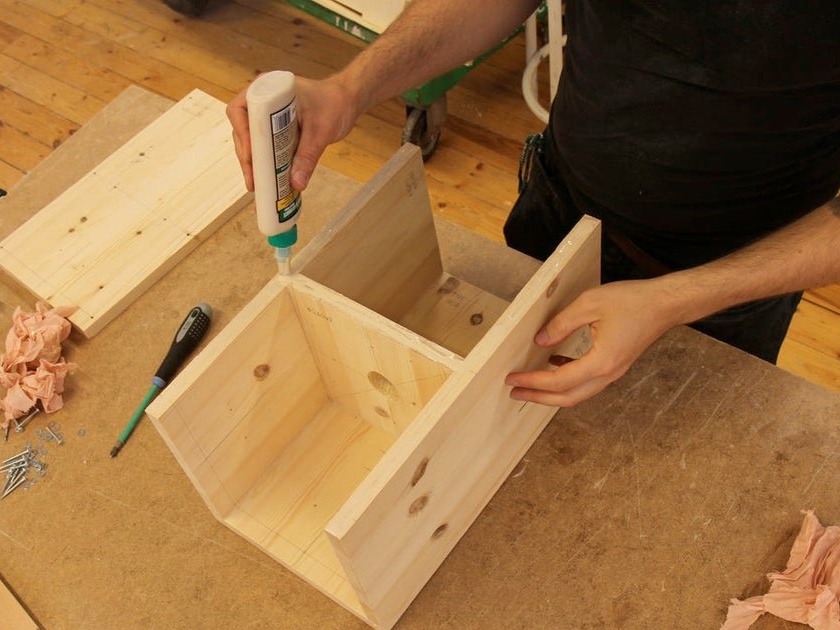
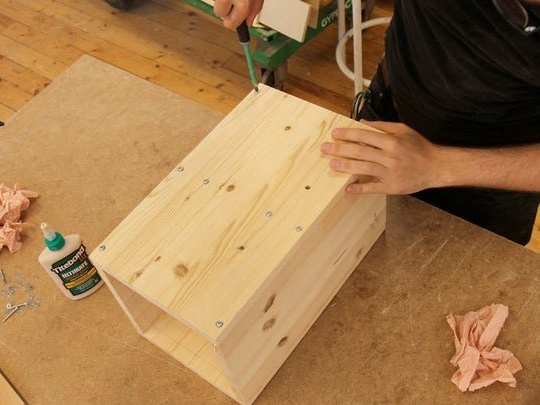
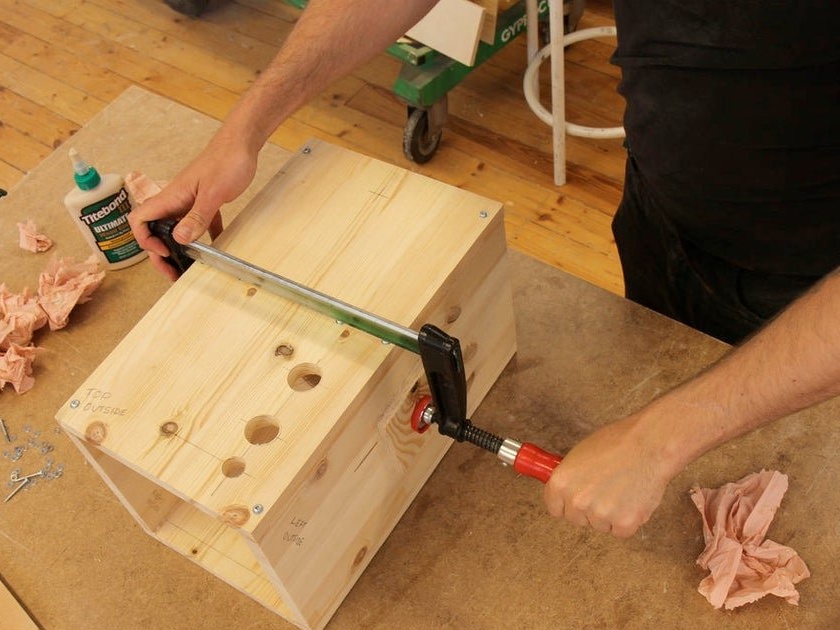
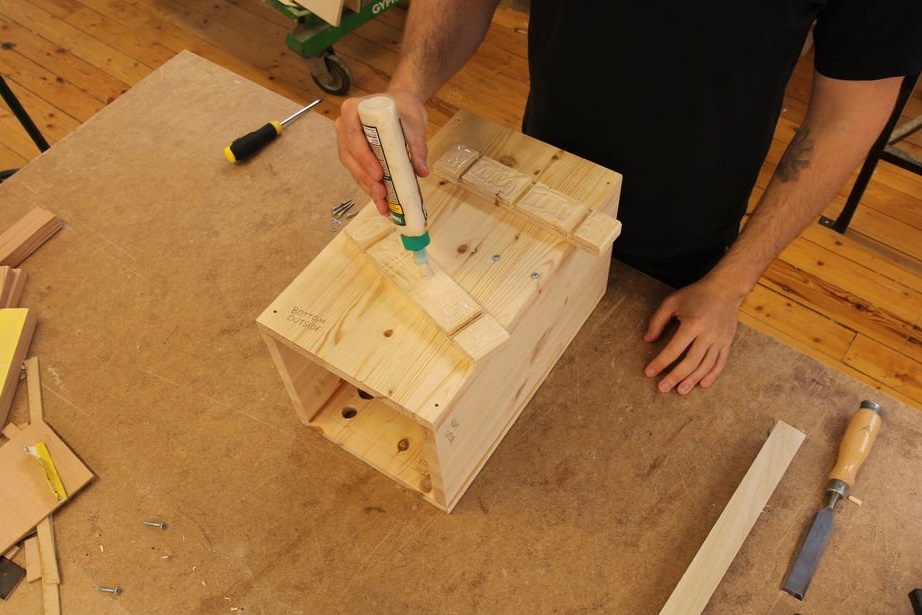
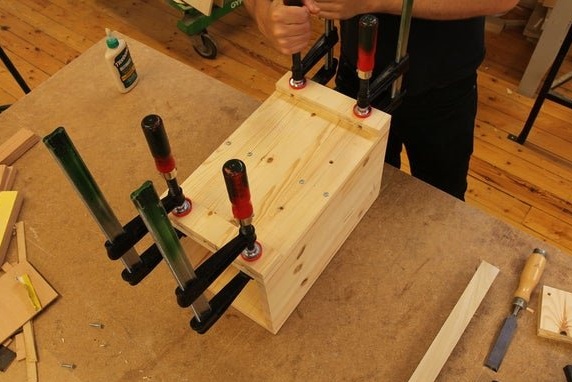
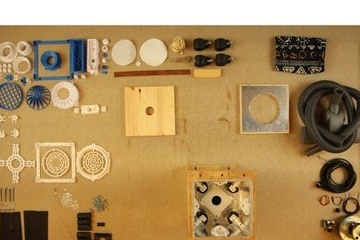
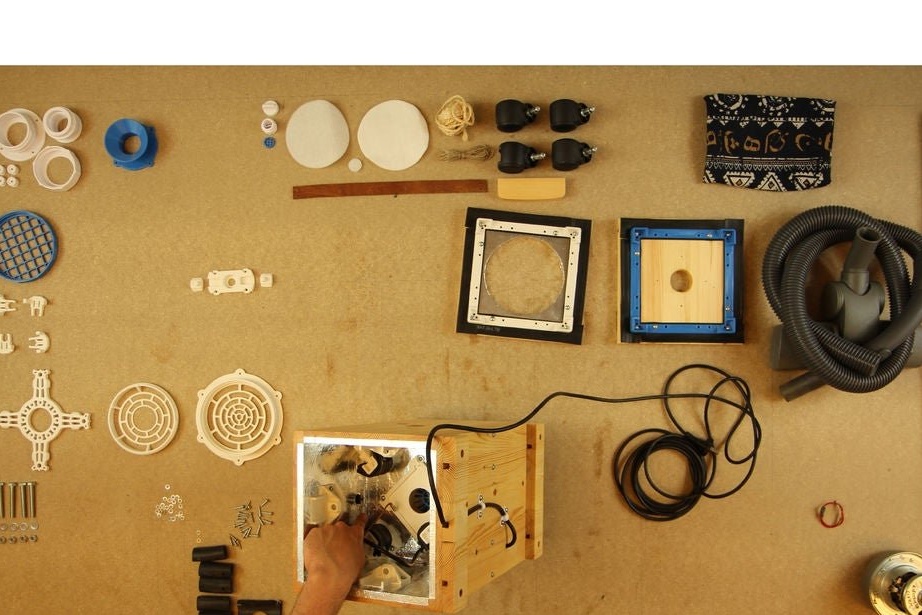
Step Eight: Housing Assembly
Now you can start assembling the case. The master glues the details of the case with carpentry glue and fixes it with screws.

Step Nine: Feet
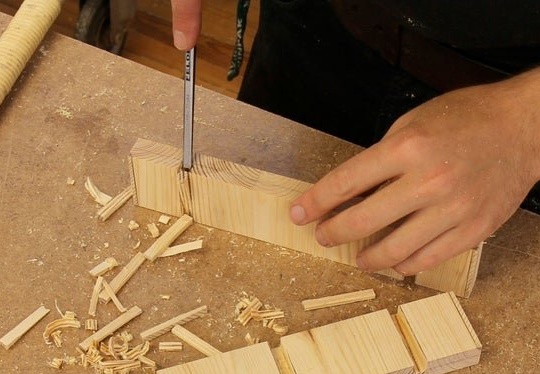
For legs, the master uses two previously prepared trims. Marks up.


Shades and cuts, according to the markup, wood.


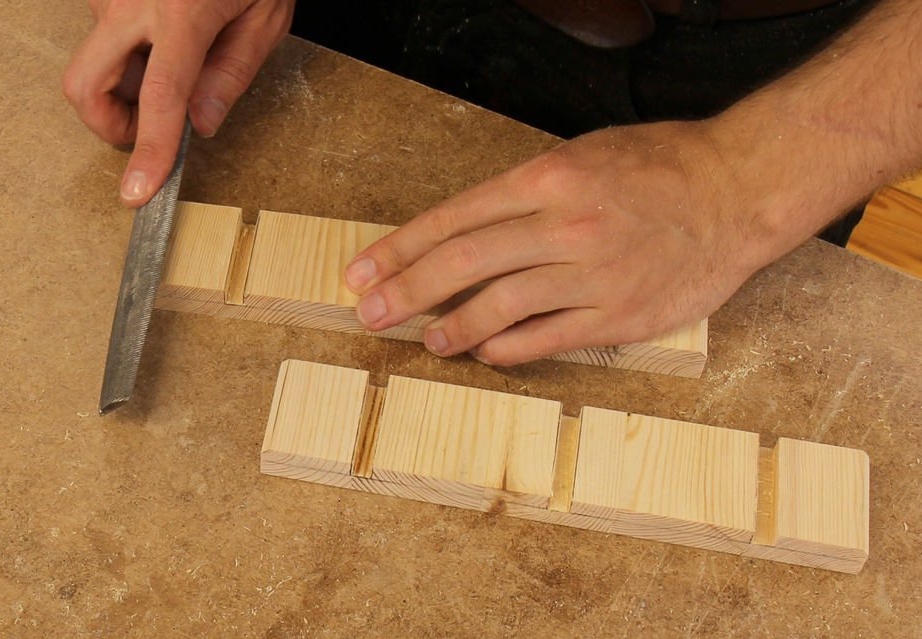
Sticks.
Drills holes with a diameter of 11 mm and a depth of 30 mm. These are the holes for the wheel shaft.

Step Ten: Grinding
He unscrews the screws and polishes the case.


Step Eleven: Pen
Makes a pen.


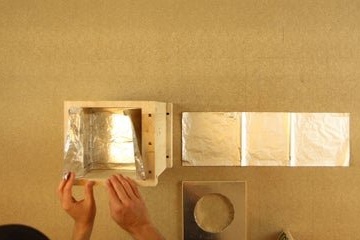
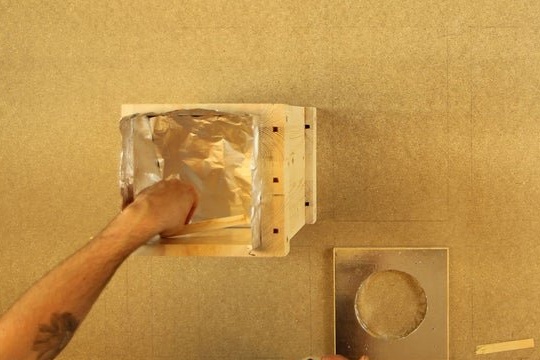
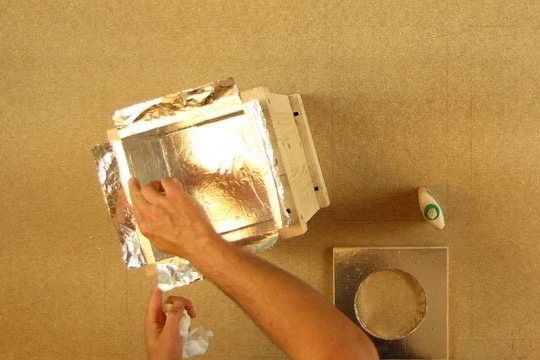
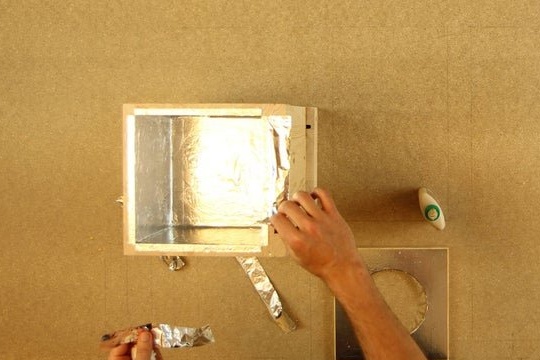
Step Twelve: Shielding
This step is especially important if coniferous wood was used for the hull. Resin can be released from conifers when heated. The resin will fall into the engine and it will fail. For protection, the master glues the inside of the case with foil.
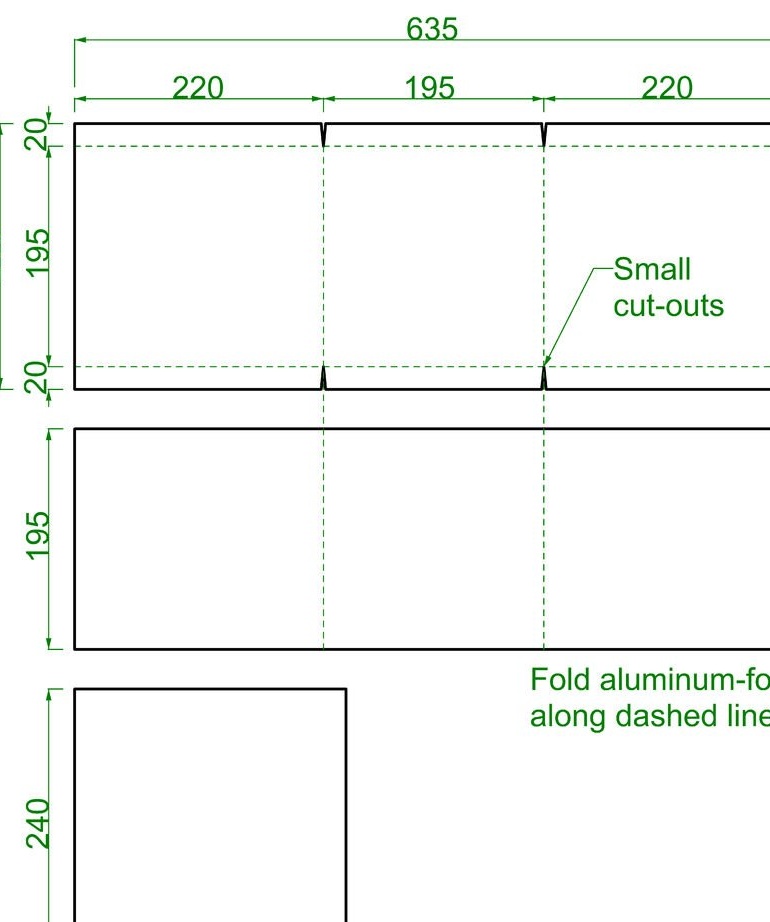
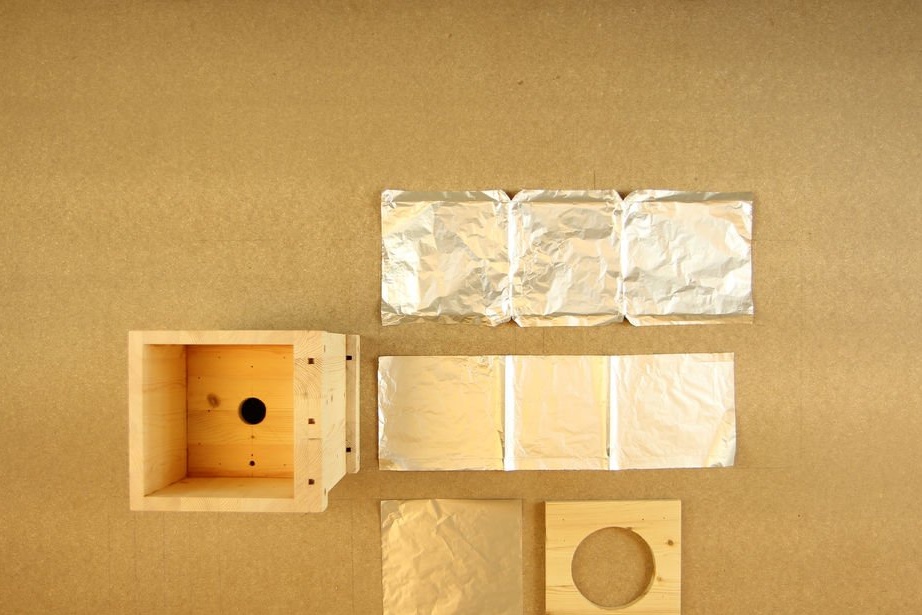
The foil must be glued to heat-resistant adhesive with a parameter of at least 90 degrees.
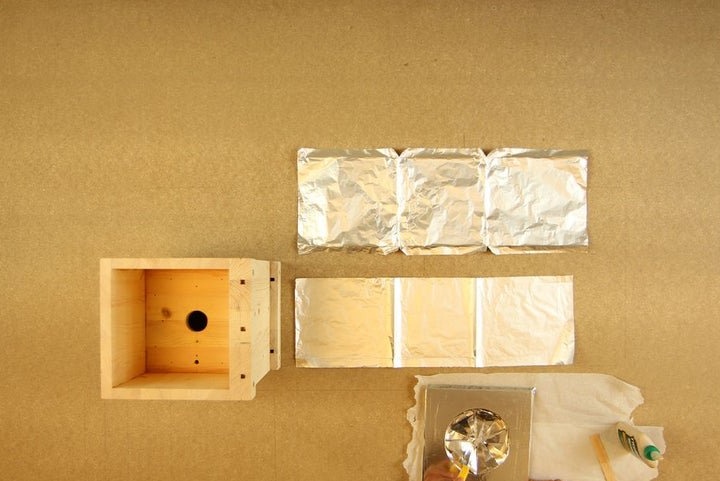

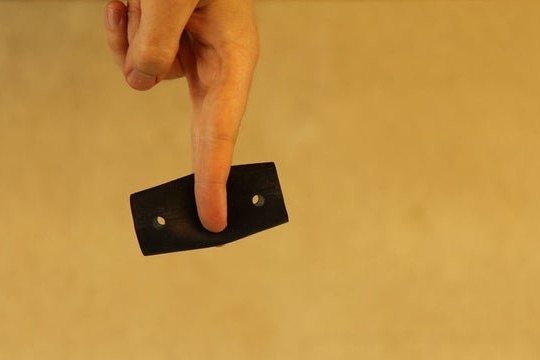
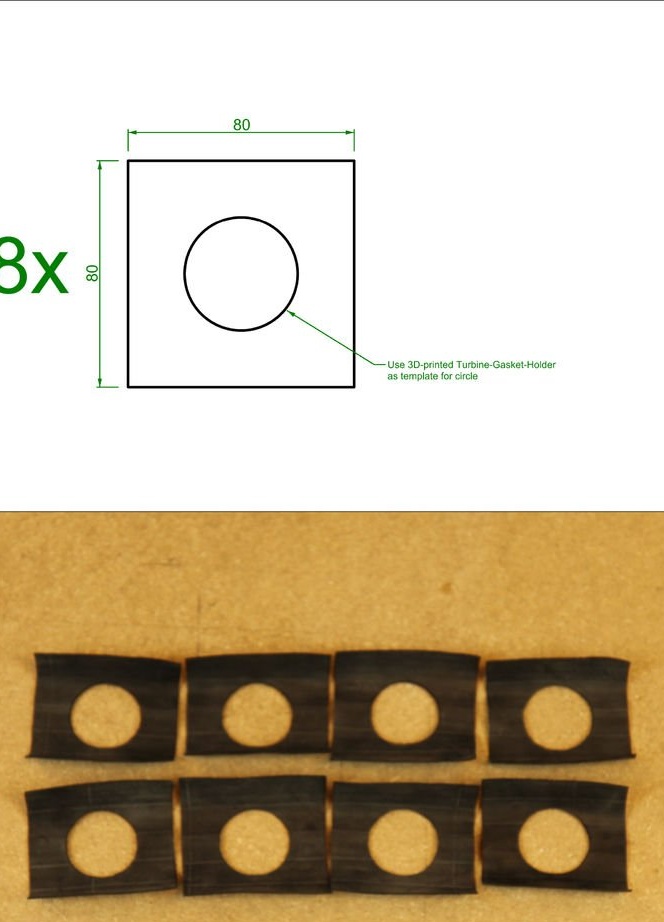
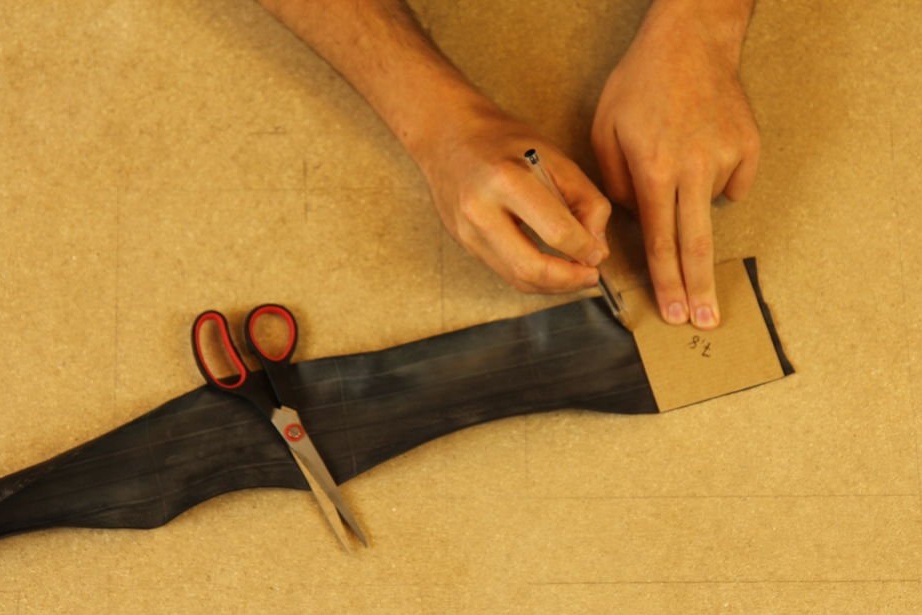
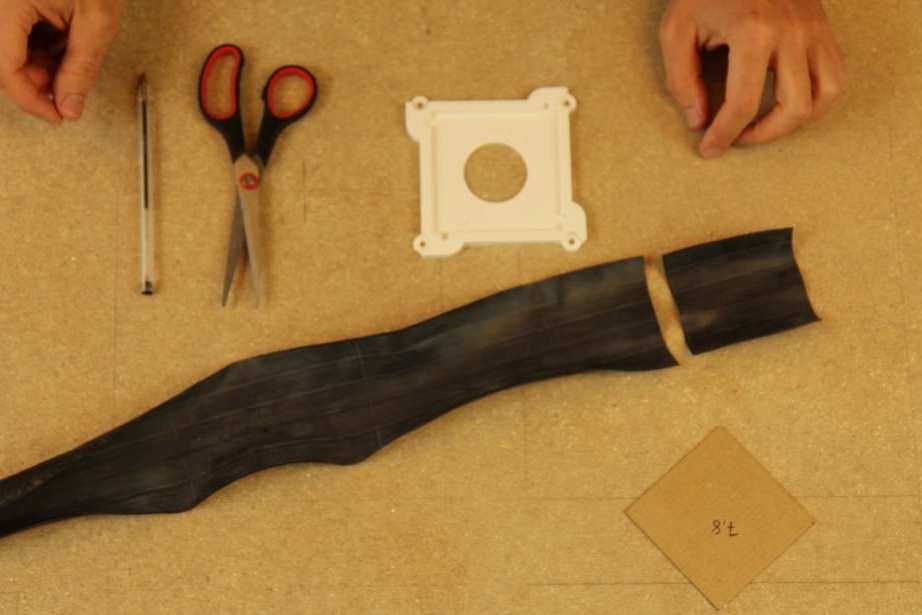
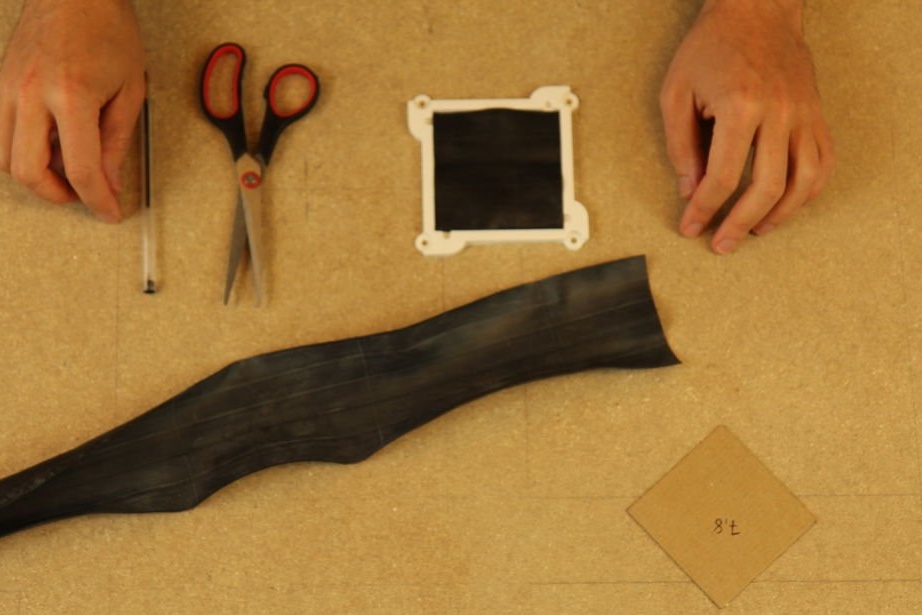
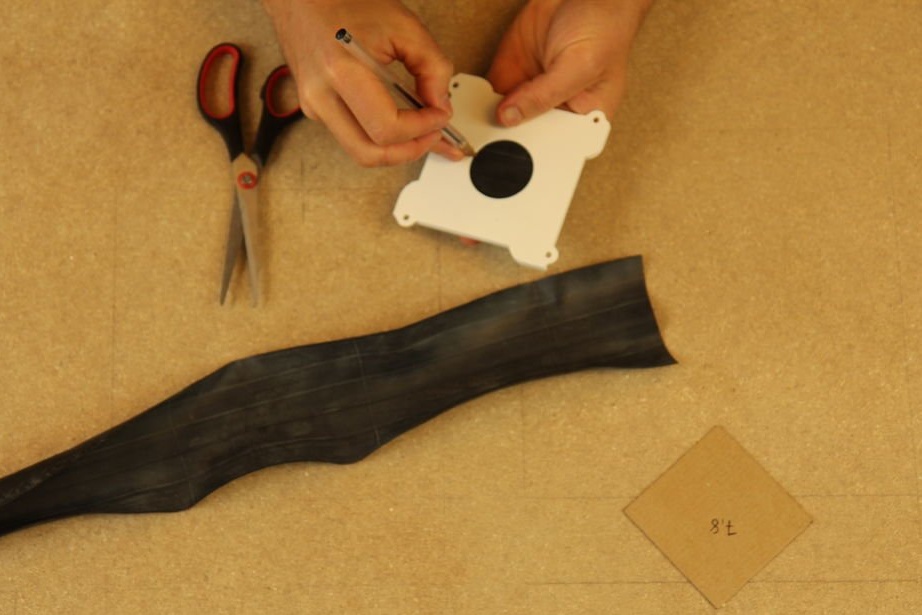
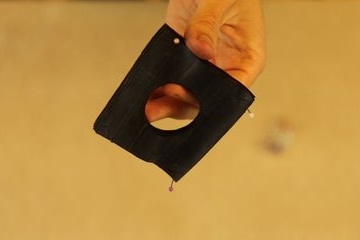
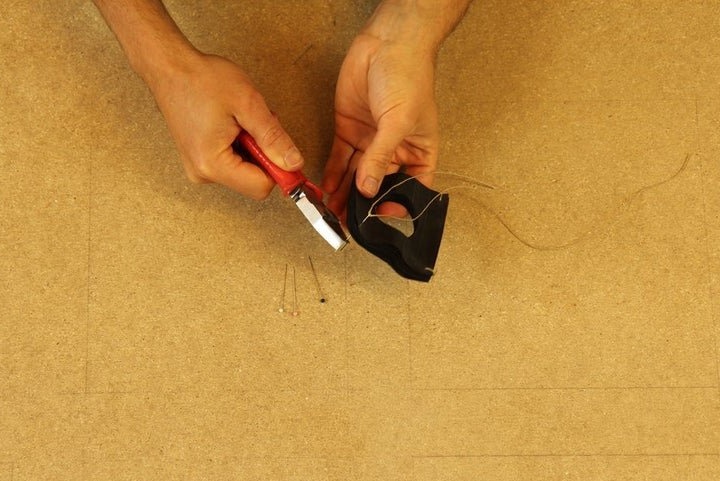
Step Thirteen: Gaskets
The gasket master cuts out of the old bicycle chamber.
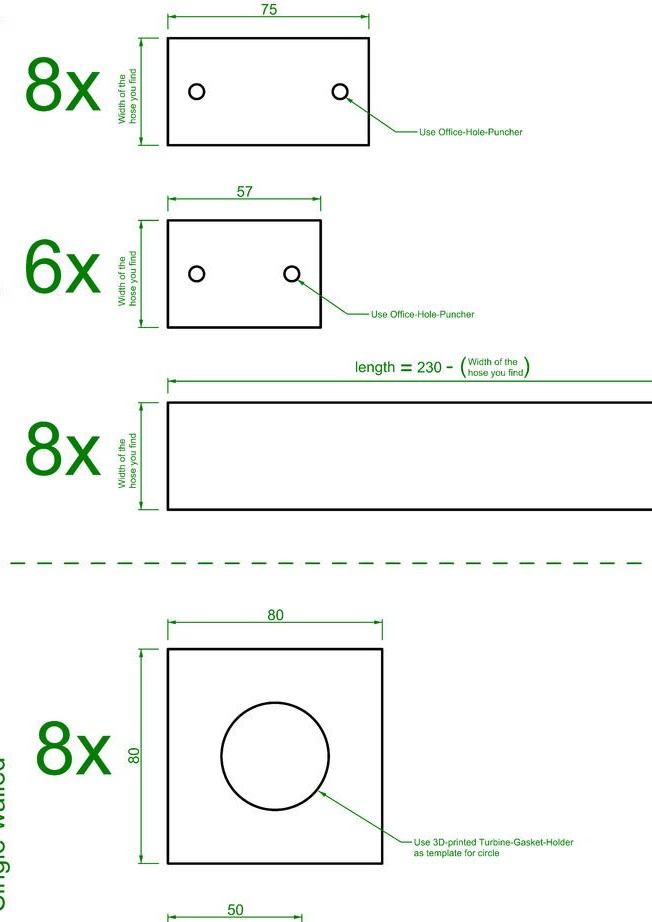

Holes punch a hole punch.
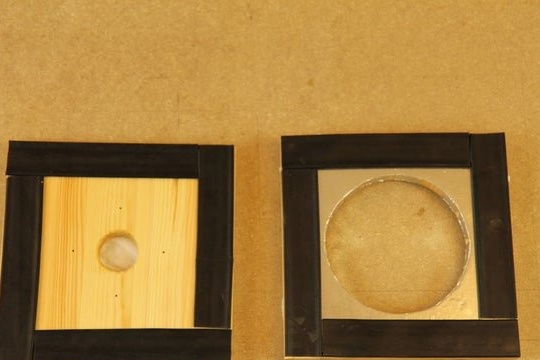
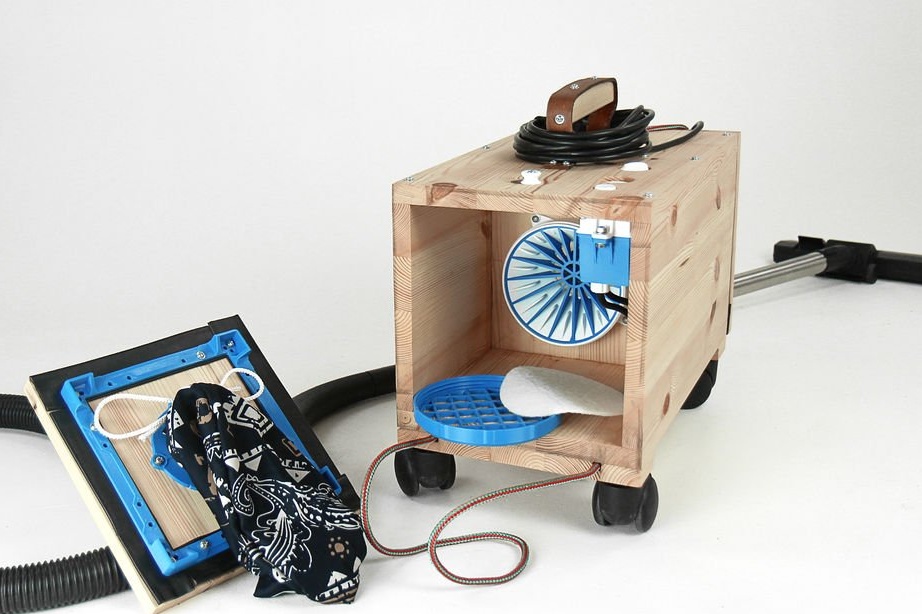
Step Fourteen: Filter
Filter master cuts out of the finished filters for a vacuum cleaner. There are two filters in the package, one for coarse, the second for fine cleaning. From the filter for fine cleaning the master cuts a circle with a diameter of 132 mm, from a coarse one, two circles of 125 and 24 mm.

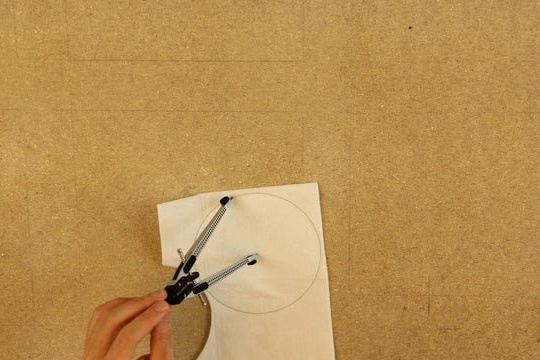

From the fabric, the master sews the bag.
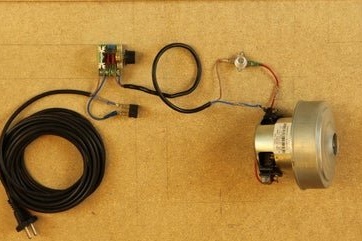
Step Fifteen: Wiring
Next, the master installs the electrical parts according to the scheme.
Step sixteen: assembly
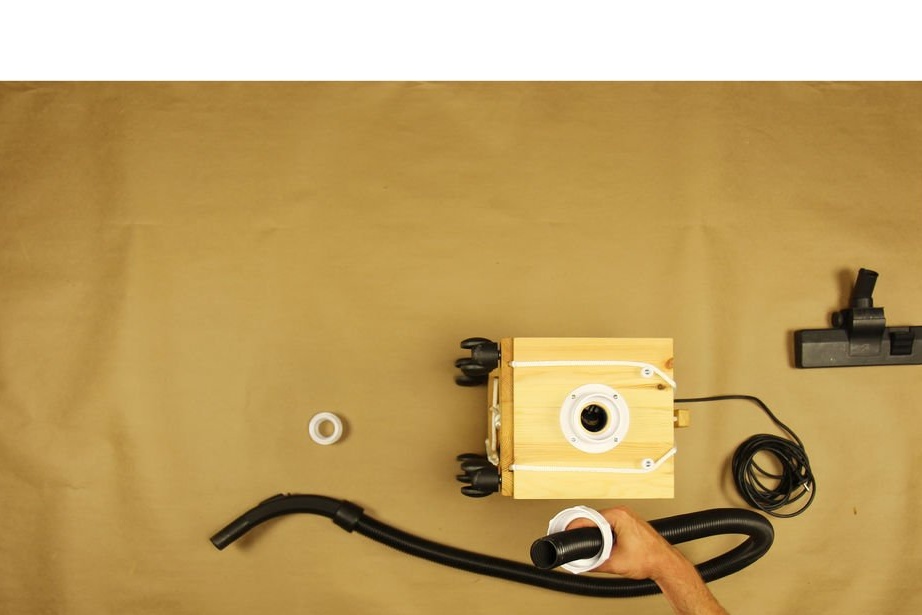
Now you can start assembling the vacuum cleaner. The wizard sets the motor, filter, control panel. Installs the front and back covers. Connects a hose.
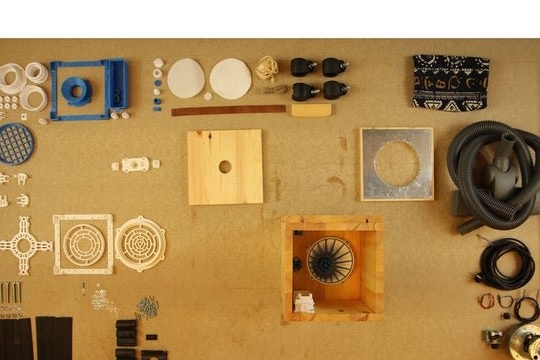

The vacuum cleaner is ready.

And lastly, a short fun video.