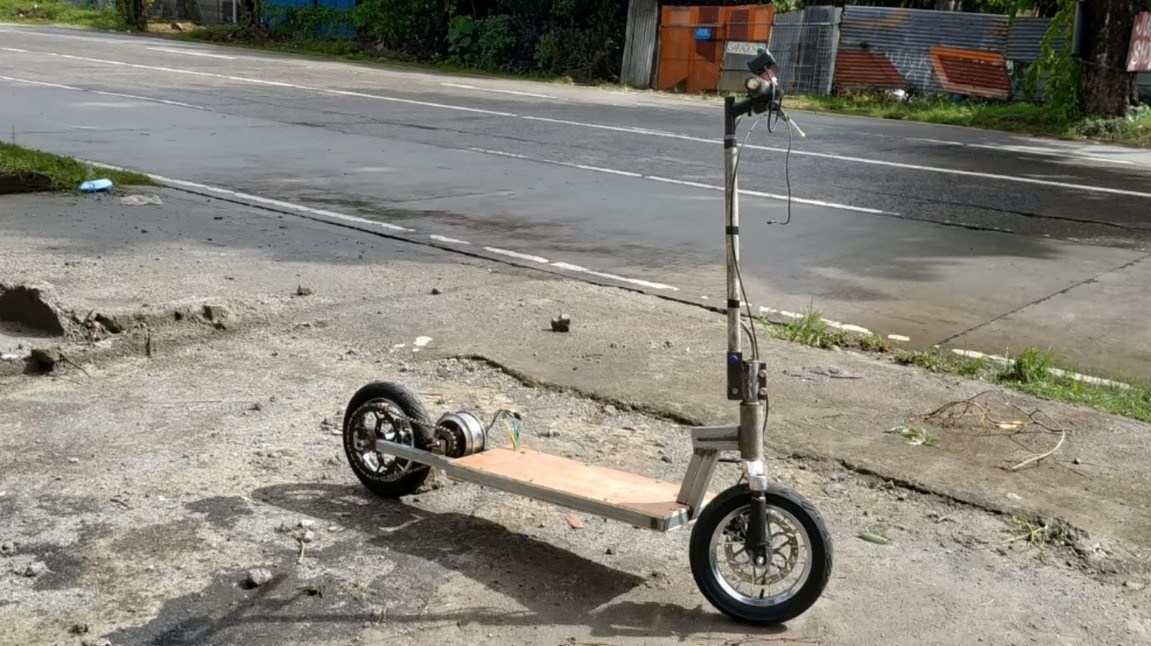
I welcome all fans to craft, today we will consider how to make an electric scooter with a 72V battery. In action homemade driven by a 300 watt brushless motor. The author borrowed all other details from the bicycle, and the frame was mainly made of profile pipes. Homemade is capable of coasting, so you can save battery power pretty well. If you are interested in the project, I suggest that you familiarize yourself with the homemade product in more detail!
Materials and tools used by the author:
Material List:
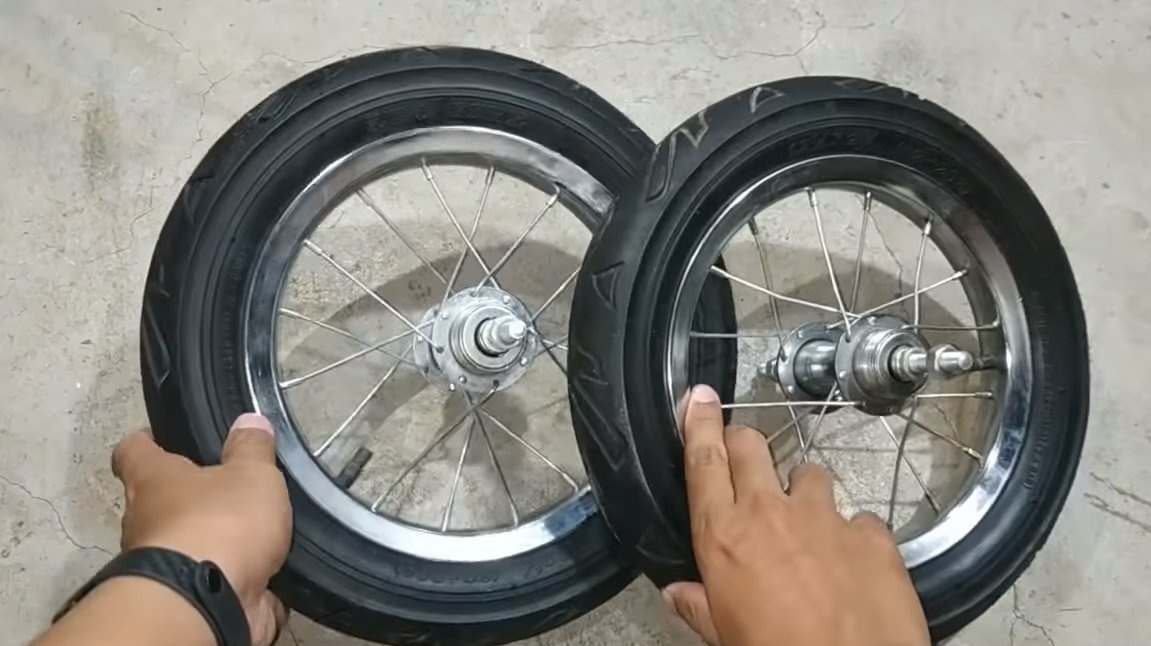
- two wheels from a children's bike;
- profile pipes;
- OSB plywood or other sheet material;
- stars from a bicycle;
- front and rear fork from the bike;
- round pipes, iron plates;
-
- engine from a gyroscope for 300 watts;
- ;
- ;
- digital voltmeter (up to 100V);
- electronic throttle handle;
- a corner and another.
Tool List:
- grinder;
- welding machine;
- soldering iron;
- wrenches and screwdrivers;
- marker, tape measure.
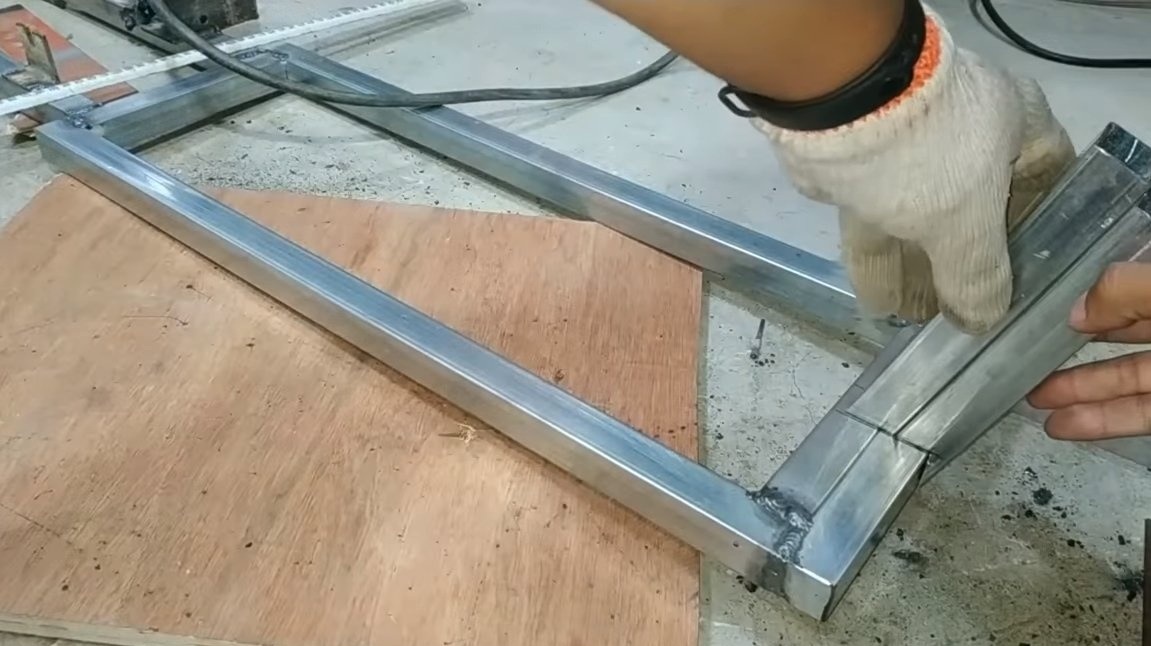
Homemade manufacturing process:
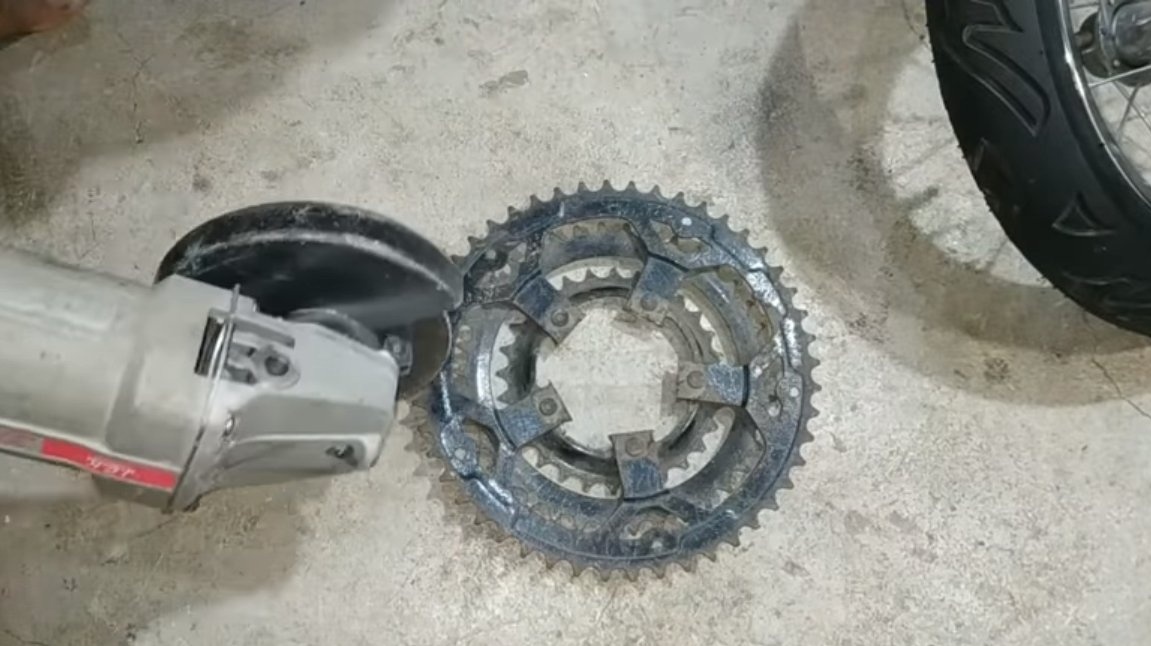
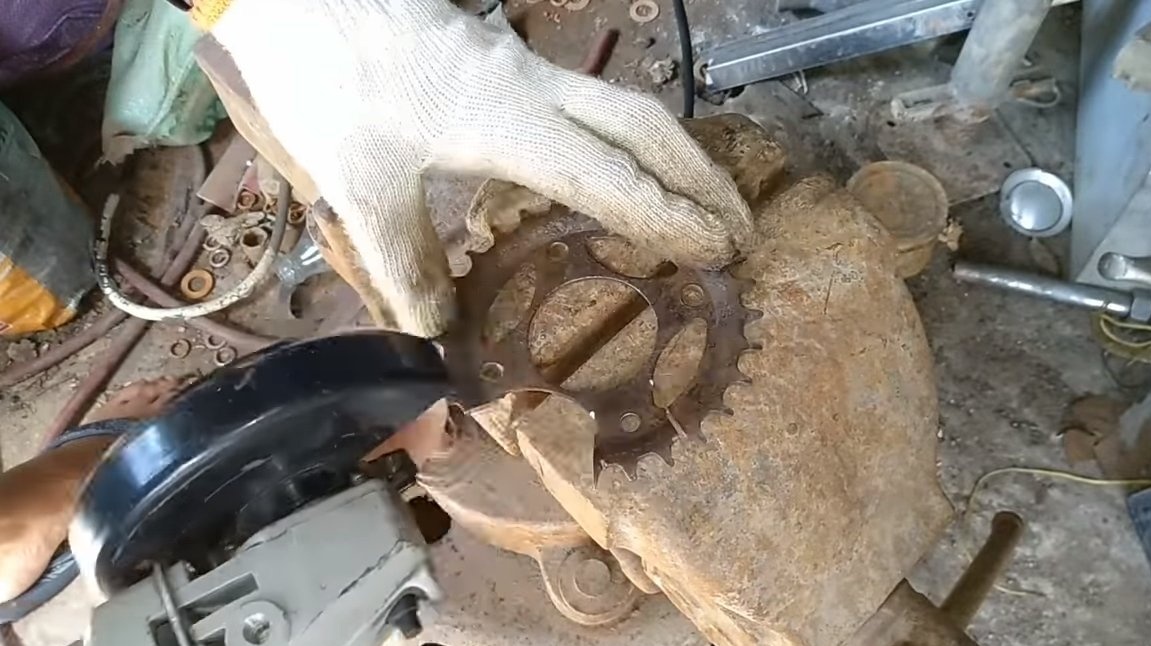
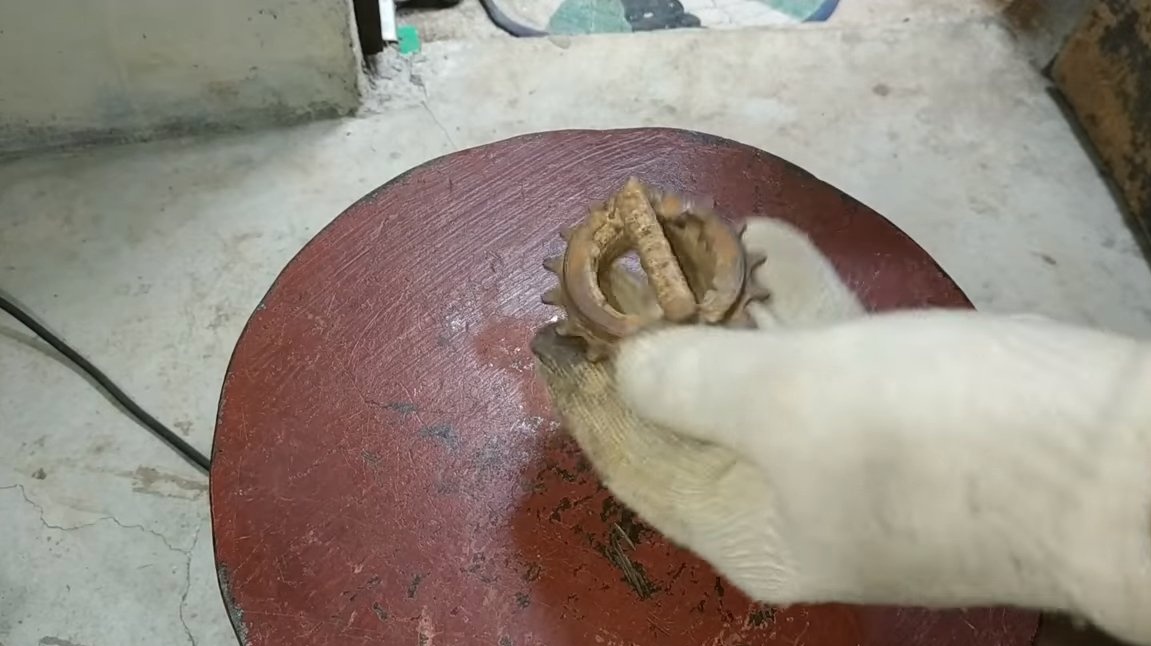
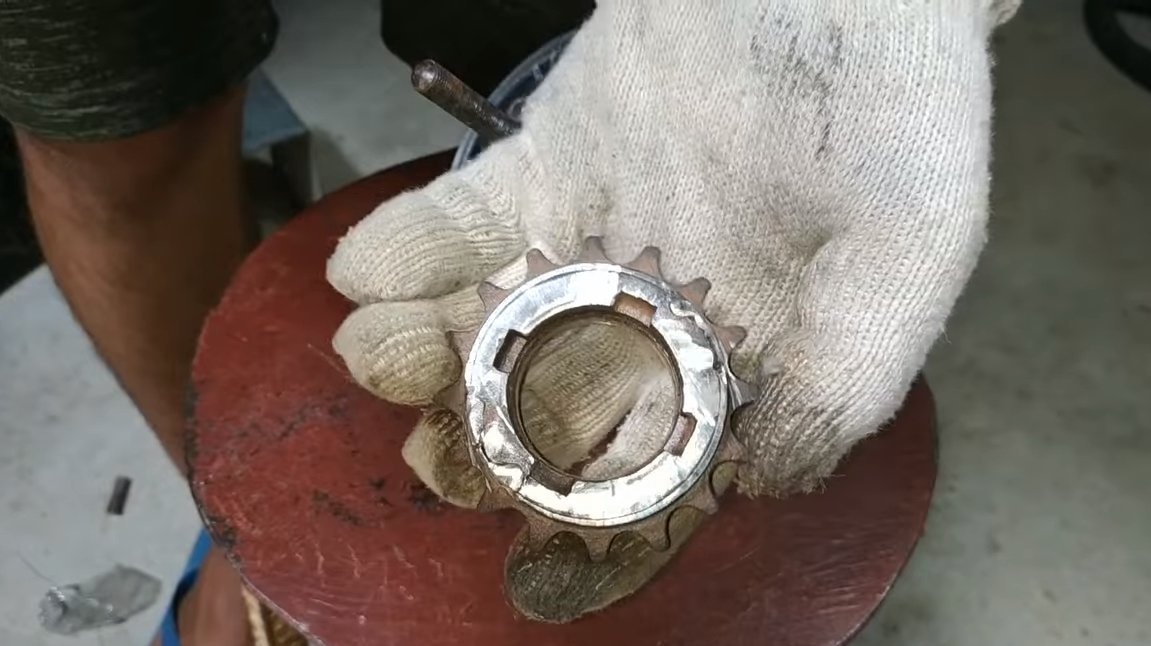
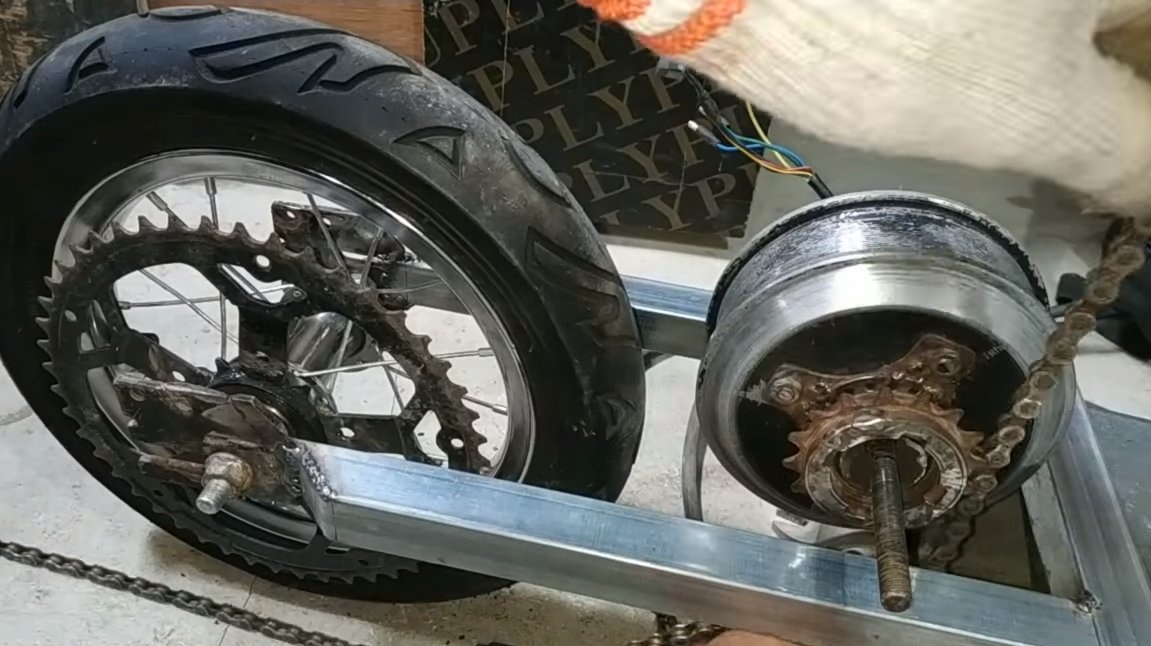
Step one. Driven asterisk
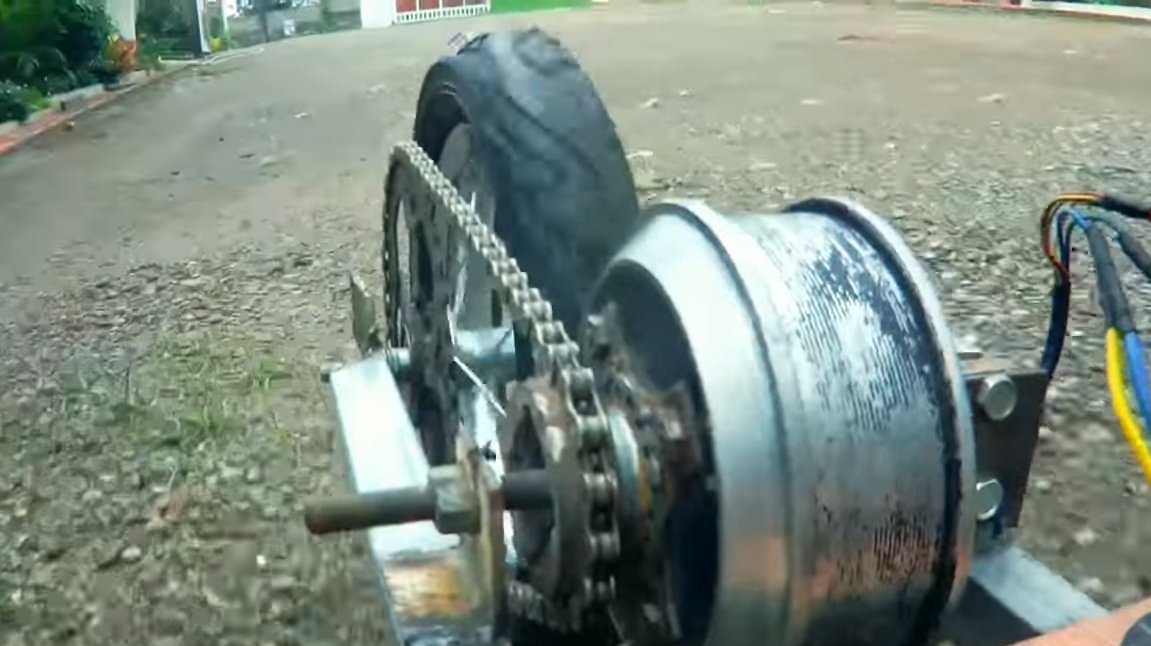
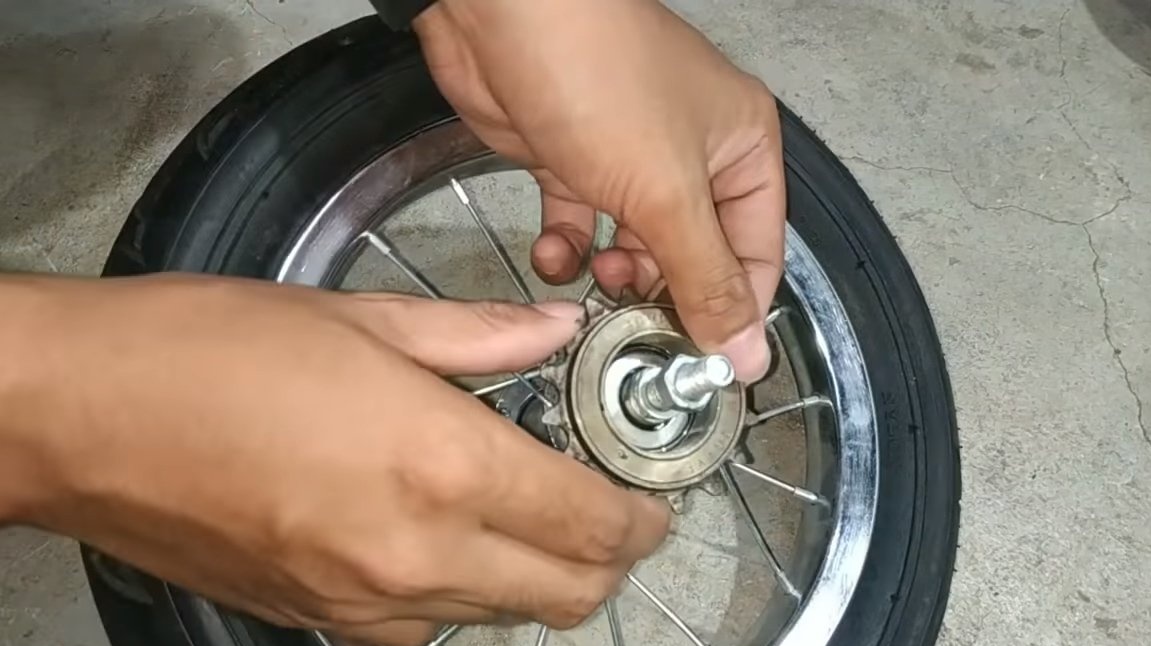
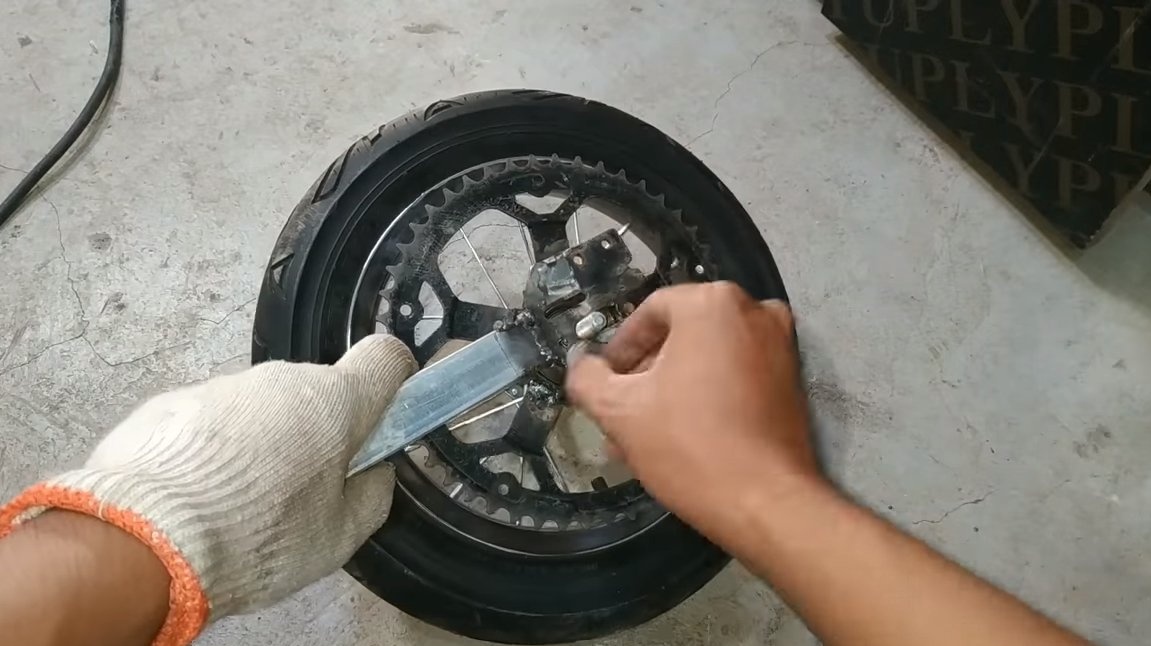
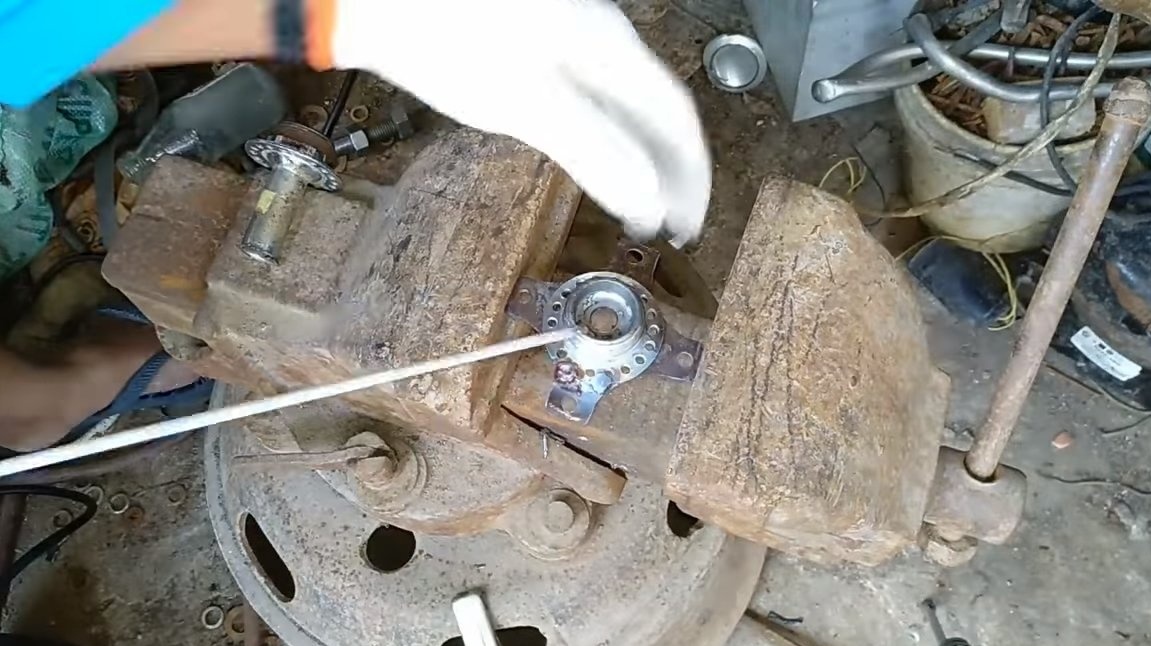
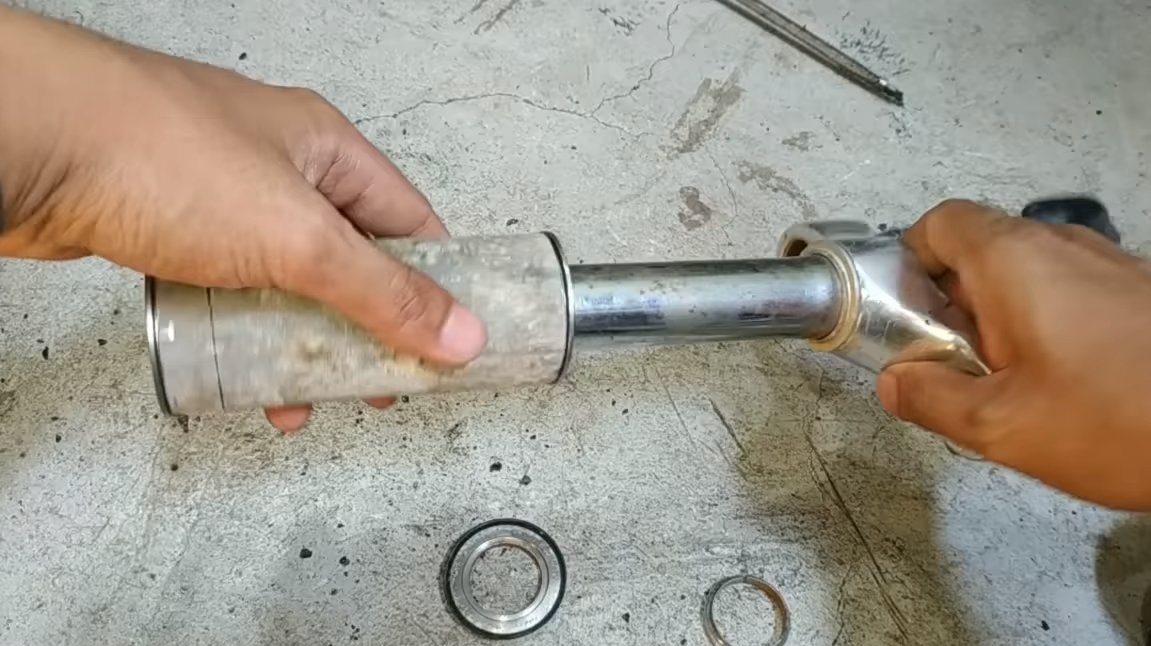
First of all, we will manufacture a driven sprocket for a scooter, for this we need a small driven sprocket with a ratchet mechanism, as well as a block of front driving sprockets. From the leading sprocket, you need to cut off all the small sprockets, and now the largest sprocket is welded to the small one, which has a ratchet mechanism. As a result, we get a large diameter driven sprocket that works in conjunction with a small drive sprocket. As a result, even such a not very powerful engine is capable of generating large torque.
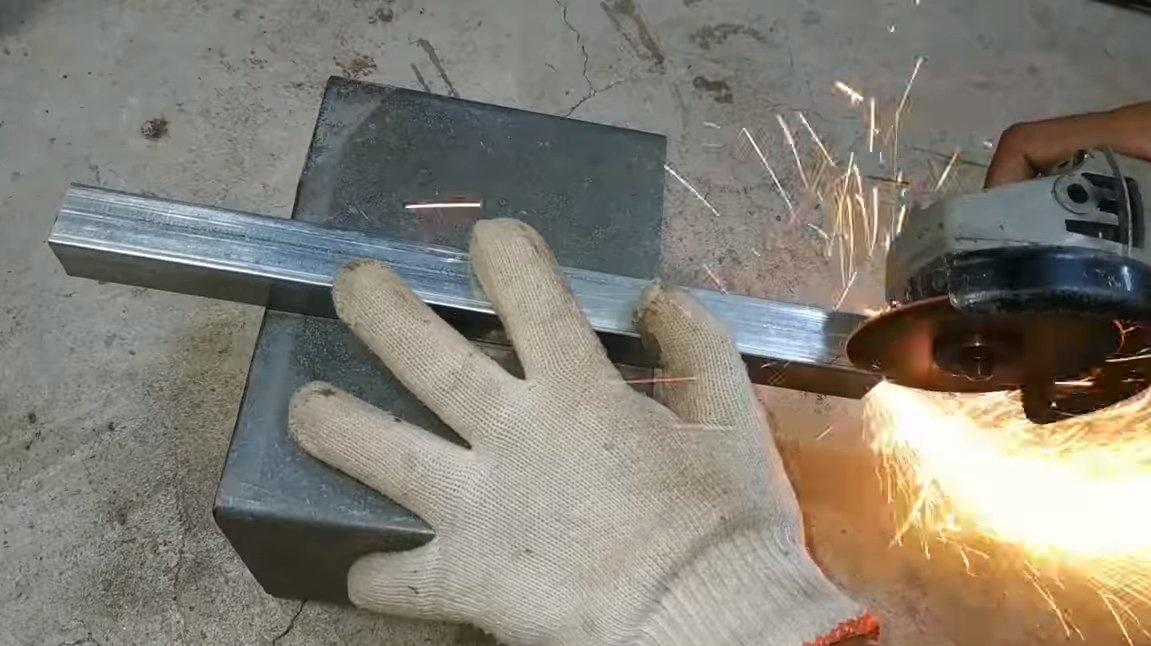
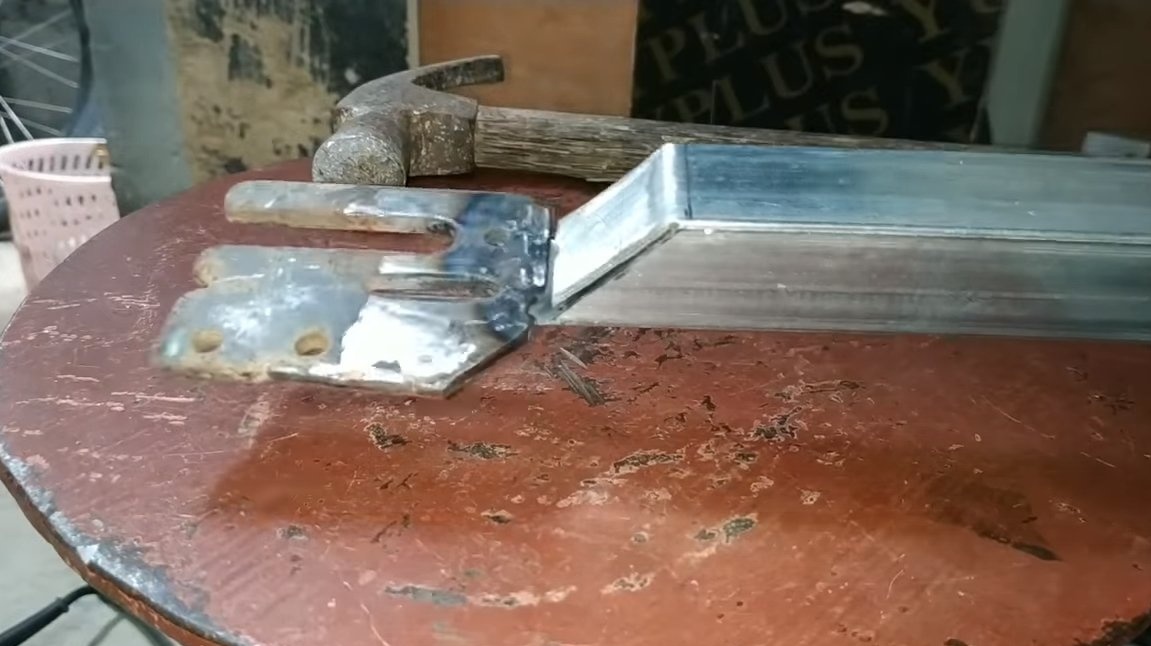
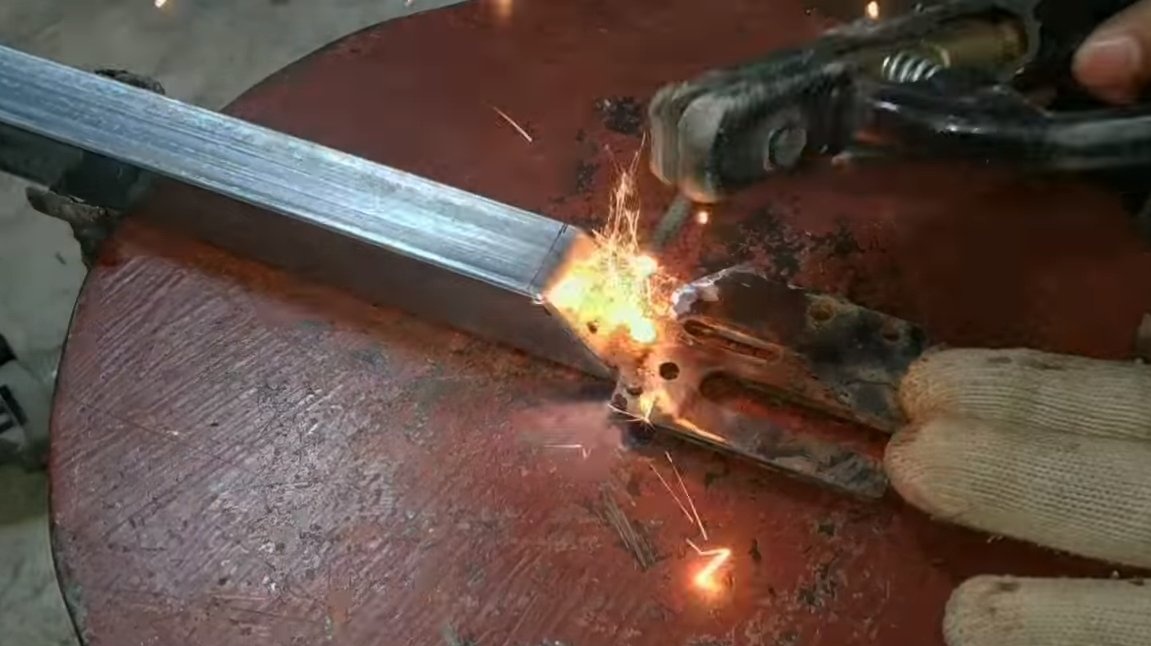
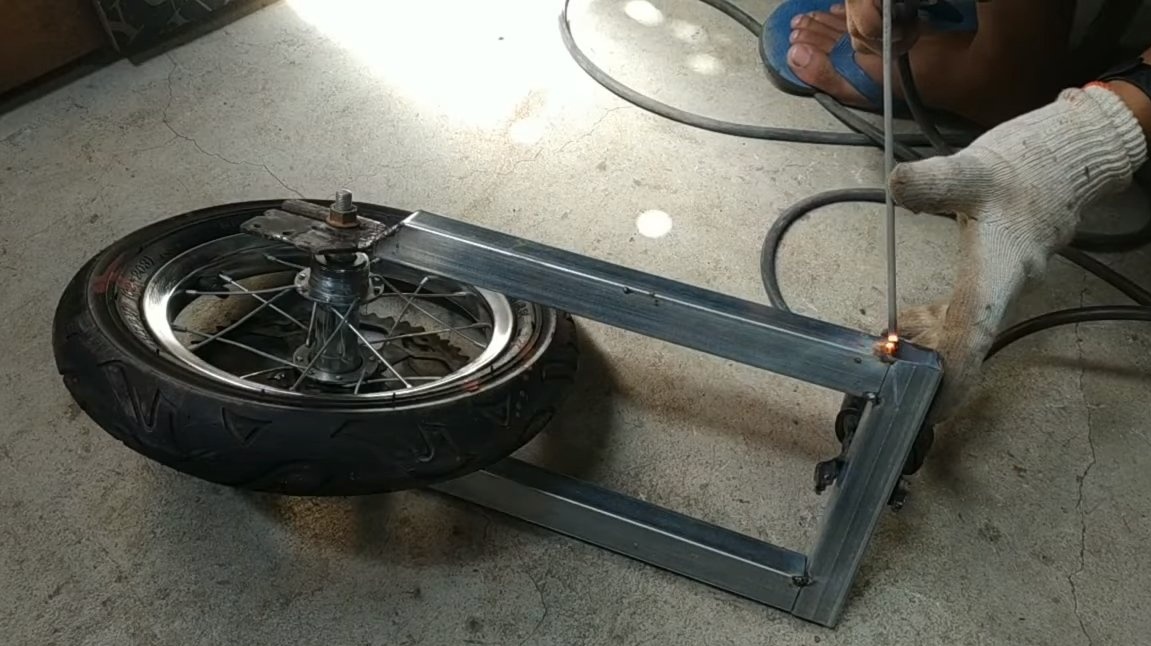
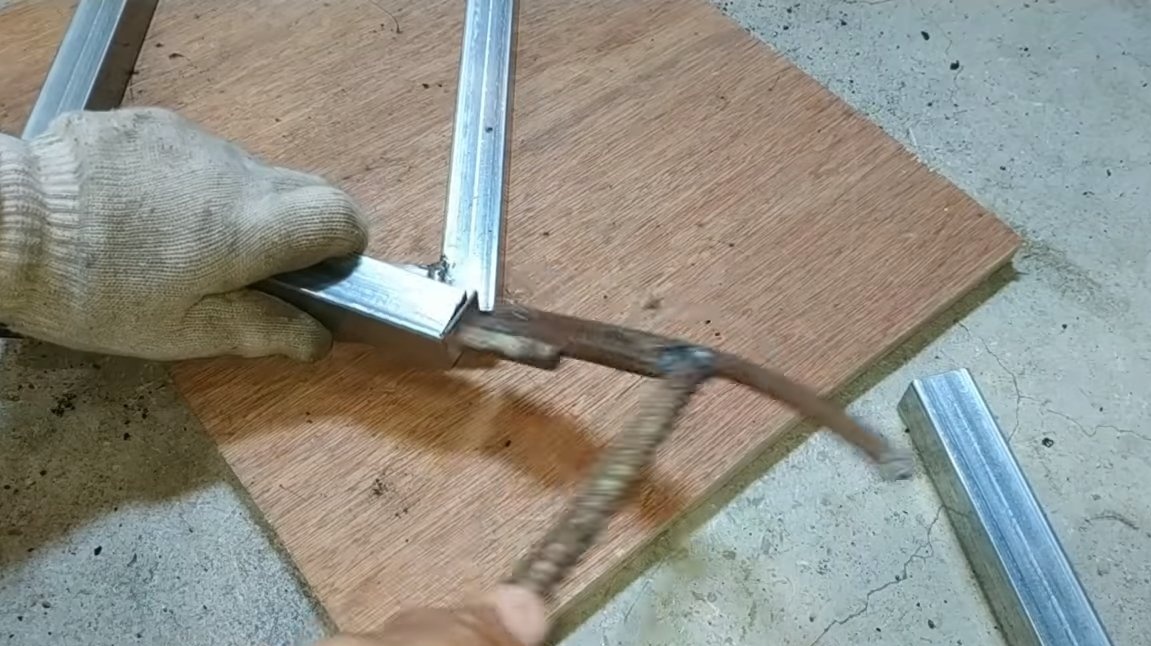
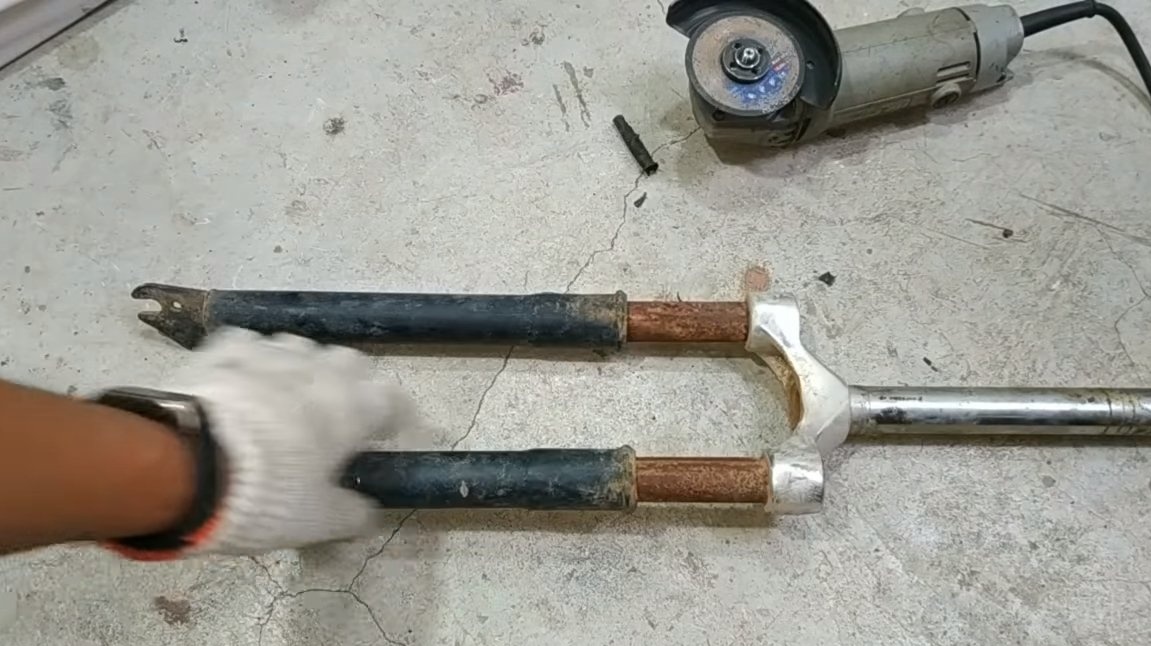
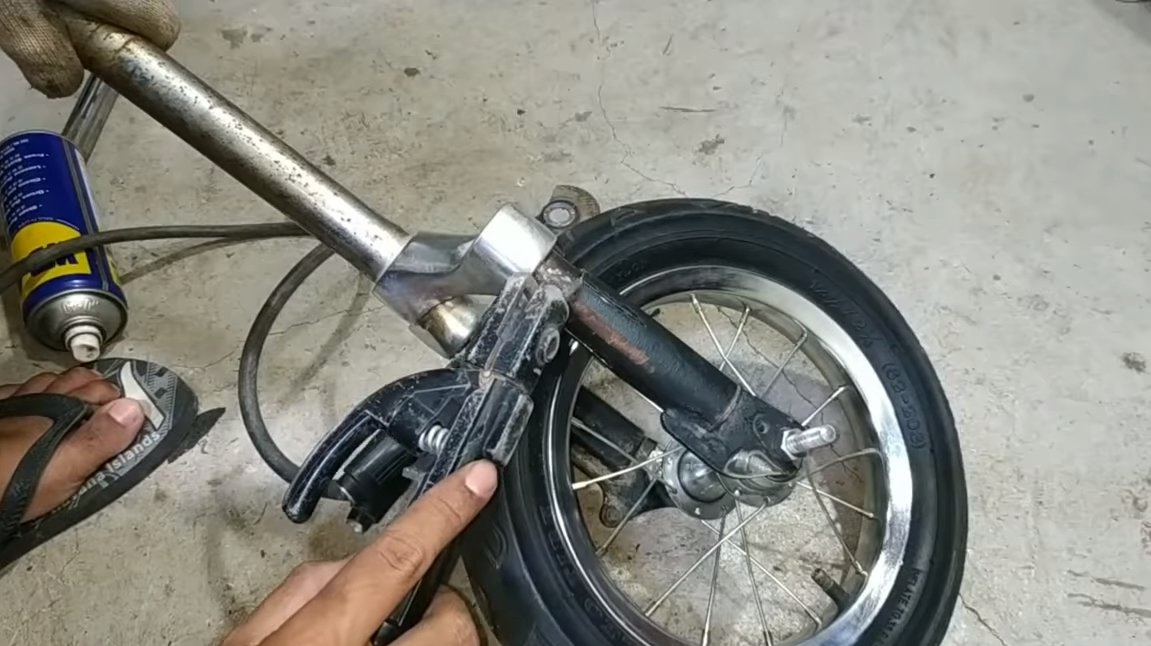
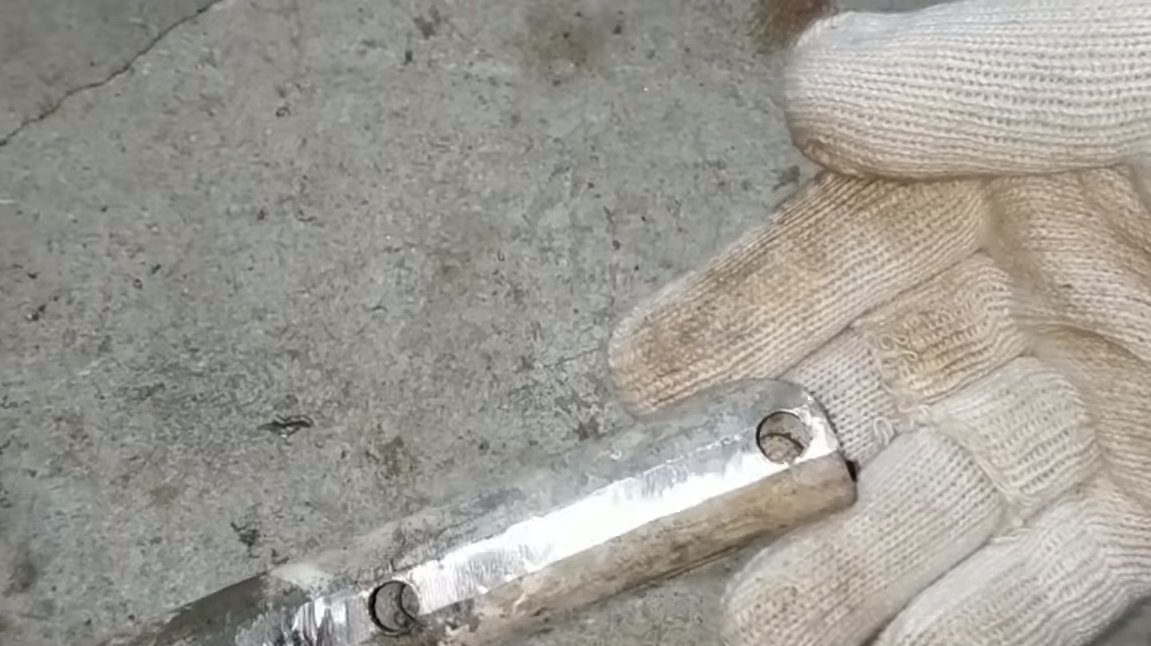
Step Two Rear fork
We weld the rear fork for the scooter, for this we need a fork from the bicycle, we cut off the brackets from it, to which the wheel is screwed. For a scooter, the author welds a fork from profile pipes, we weld brackets to it and now the fork is ready, you can screw the wheel.


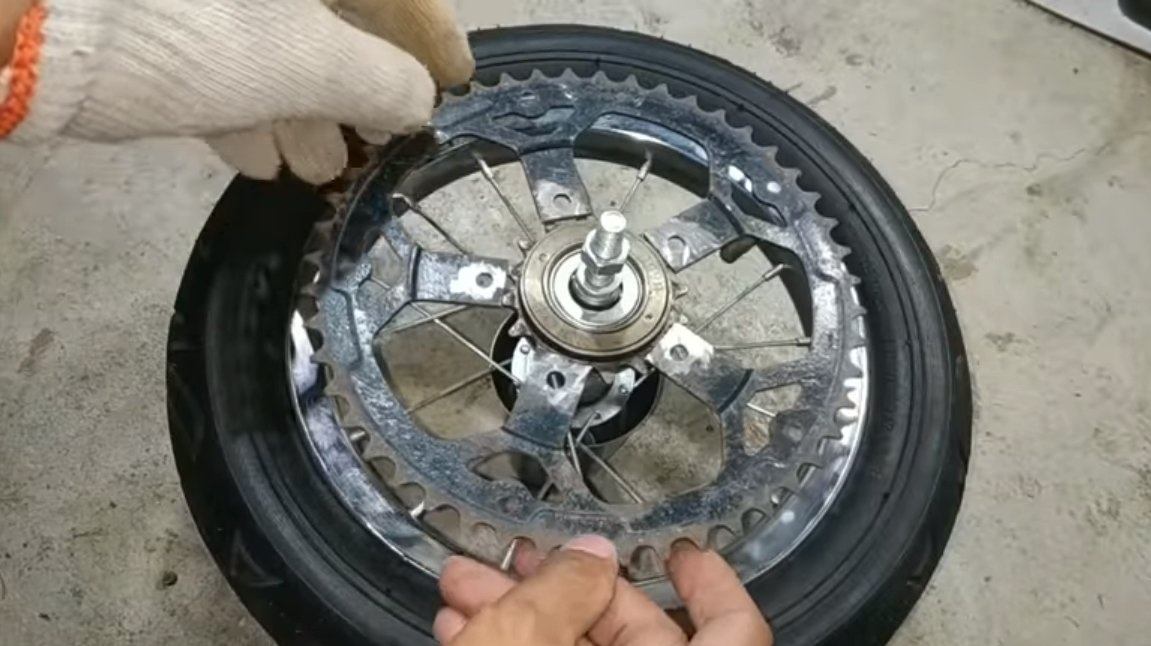
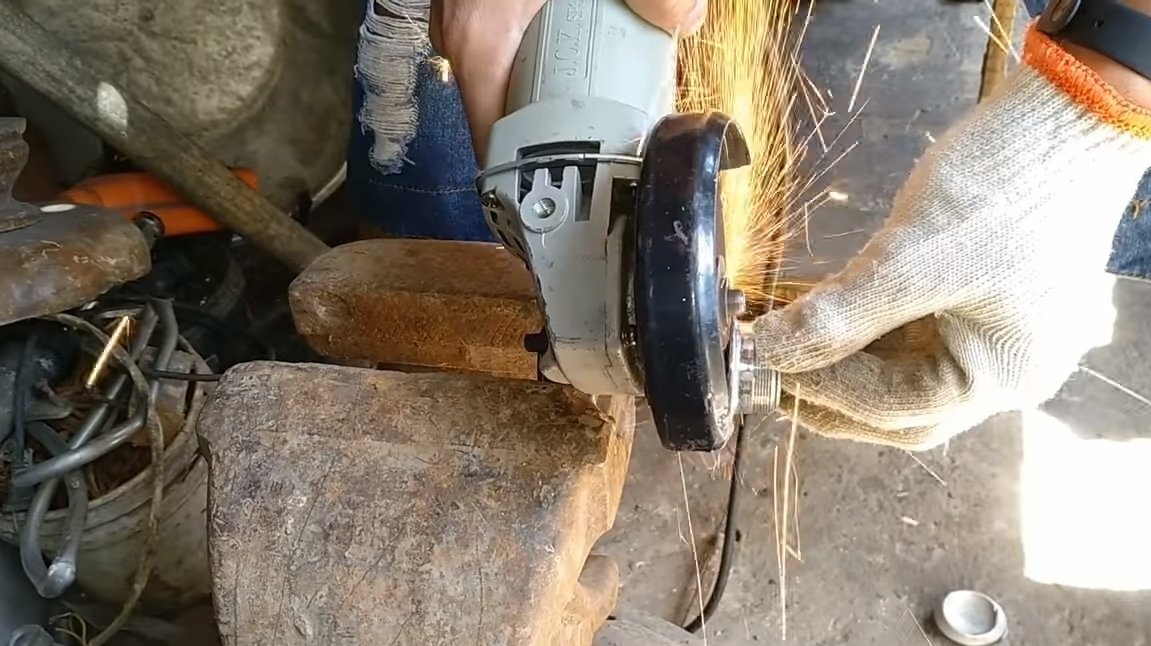
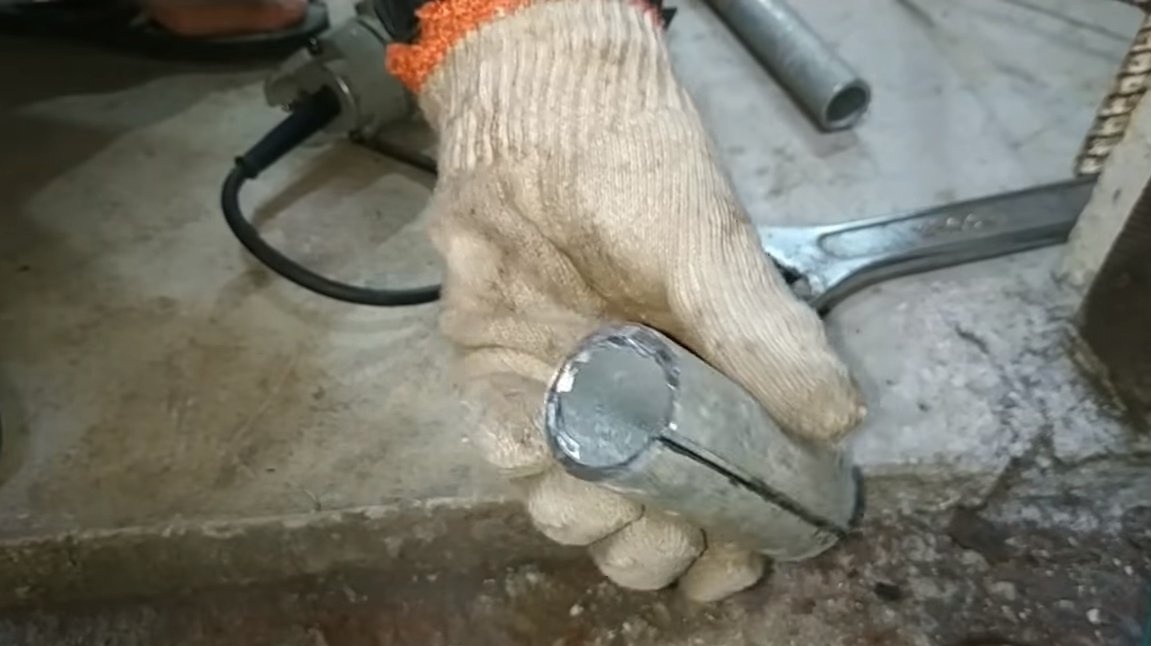
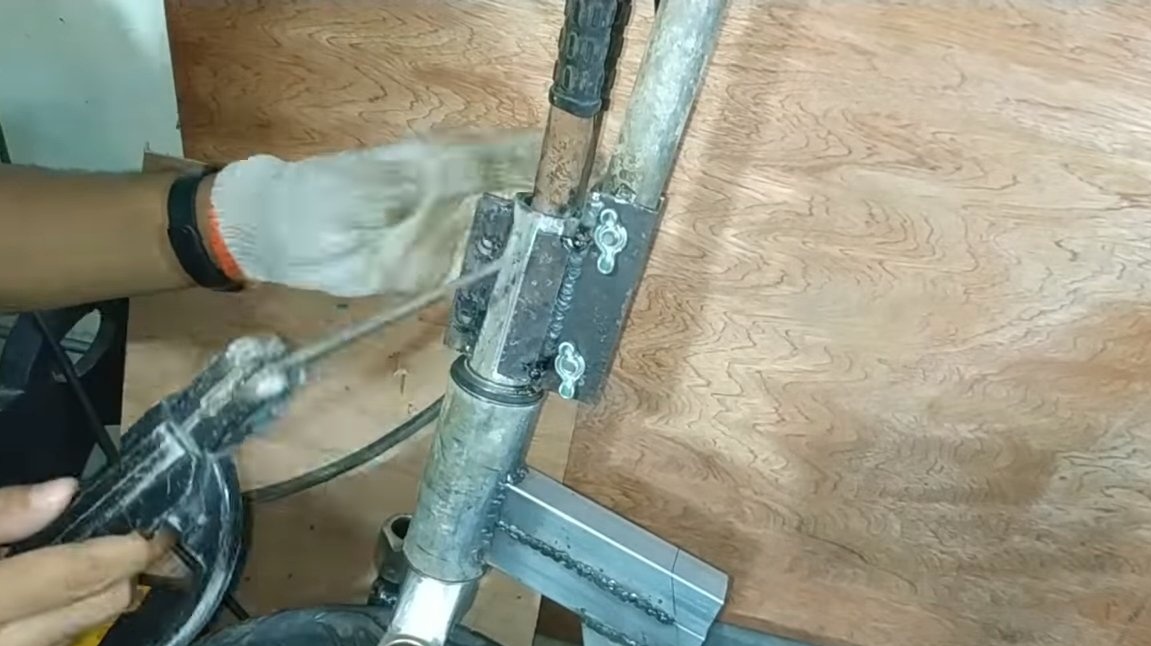
Step Three Engine and drive sprocket
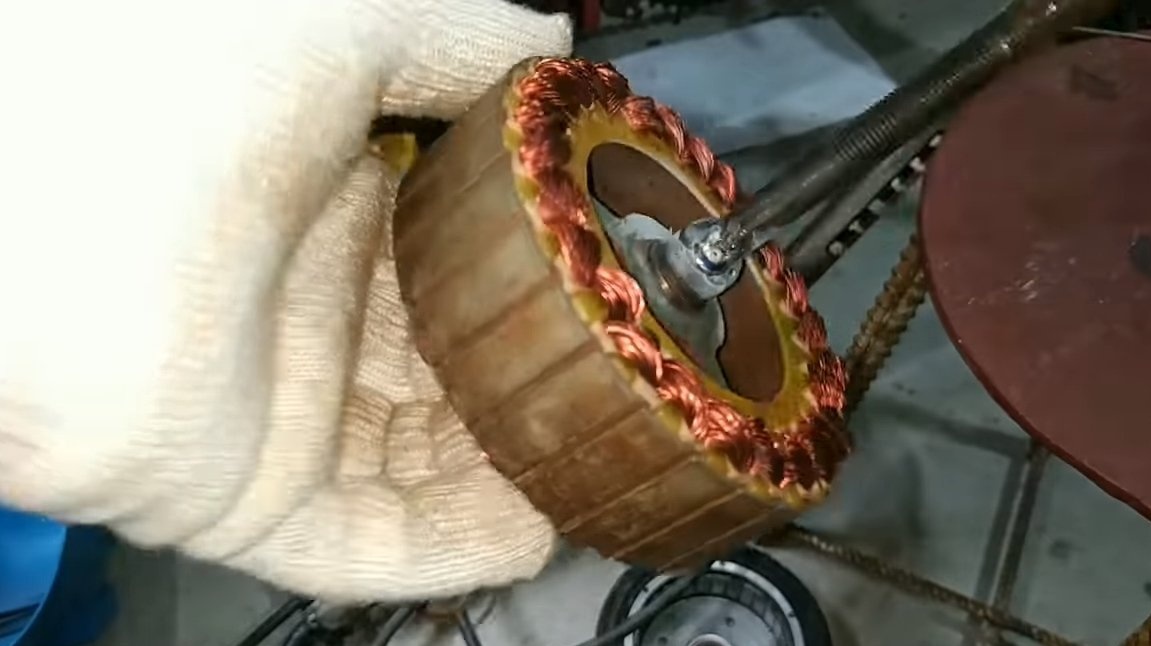
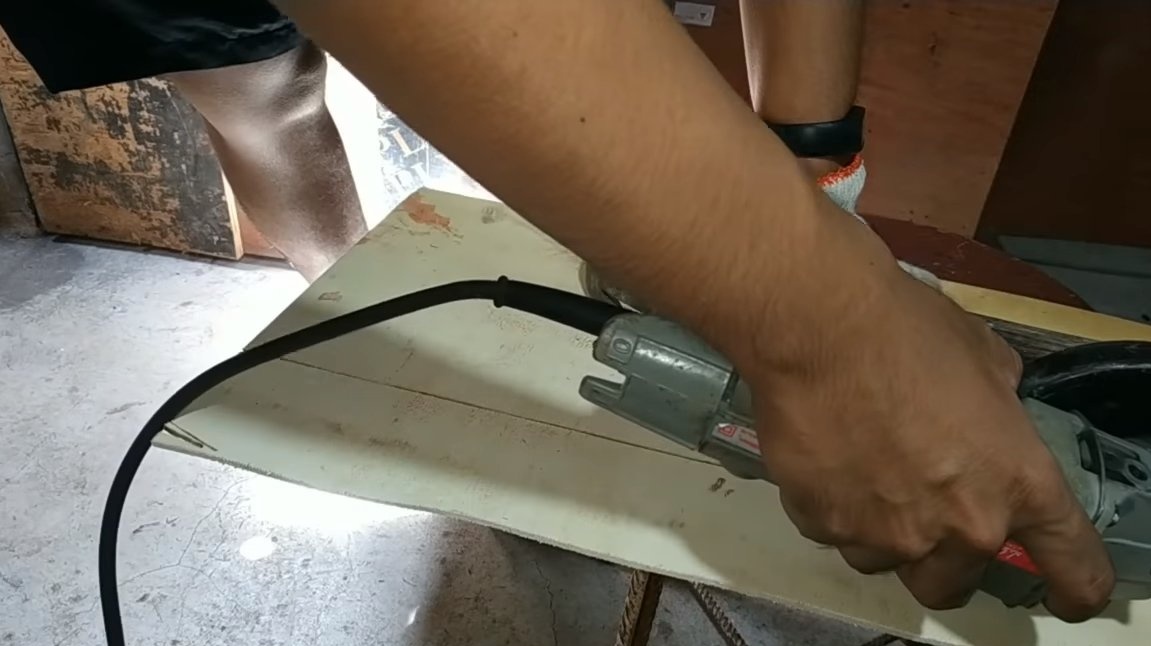
Now we need to refine the engine, to begin with, we disassemble it and grind stiffeners on the body.
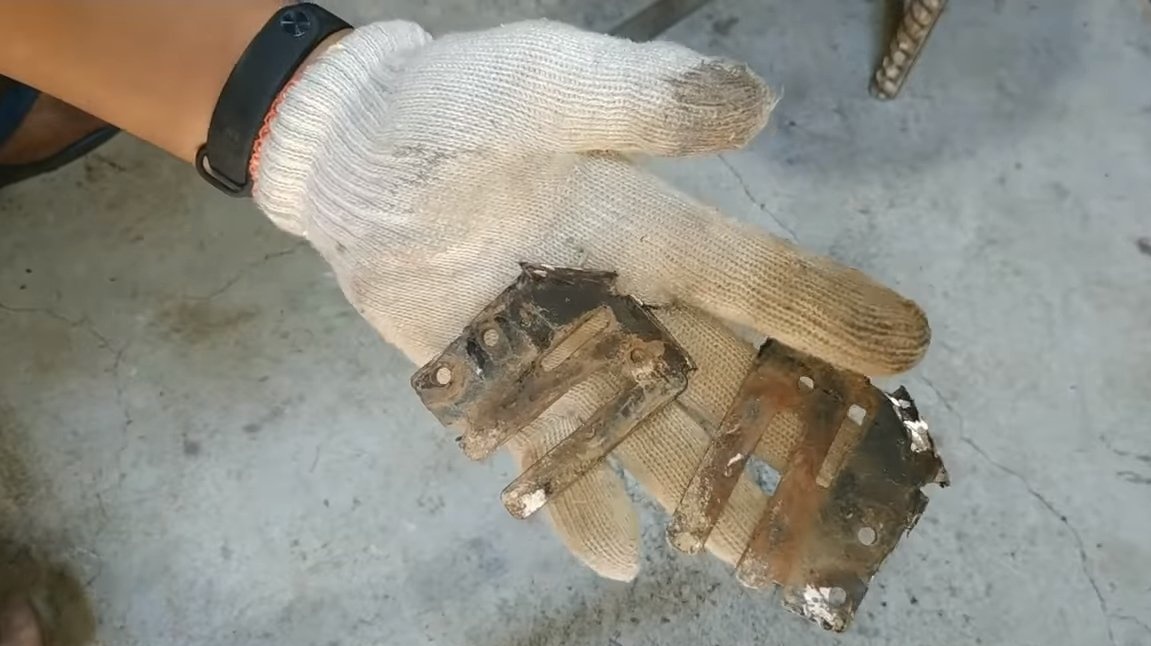
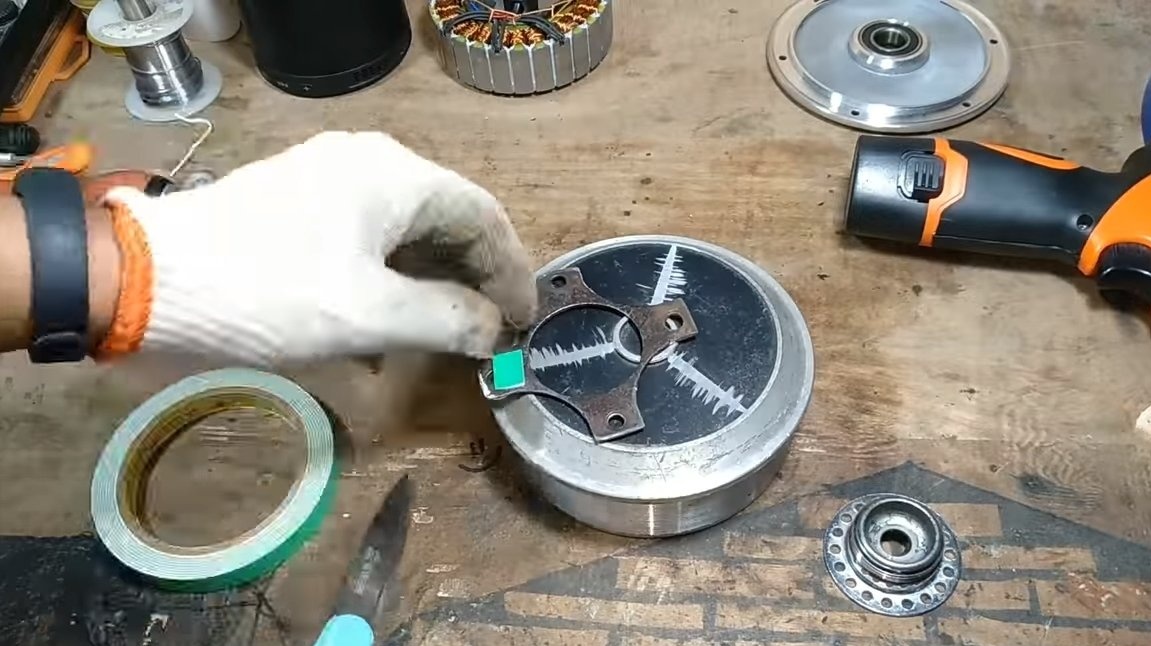
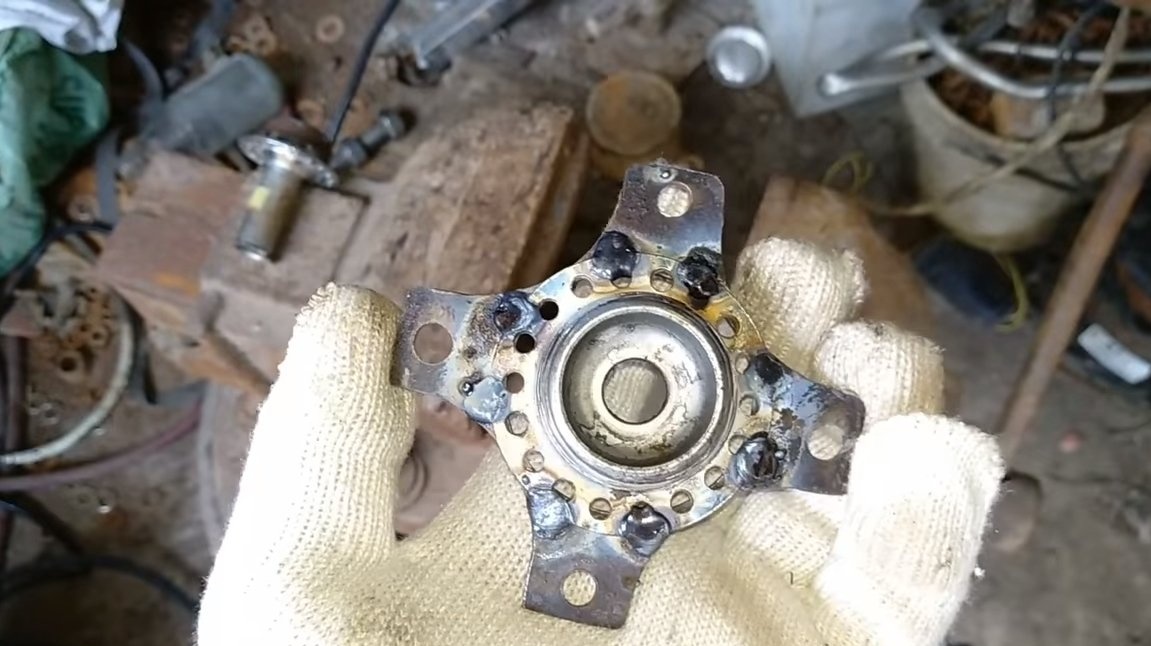
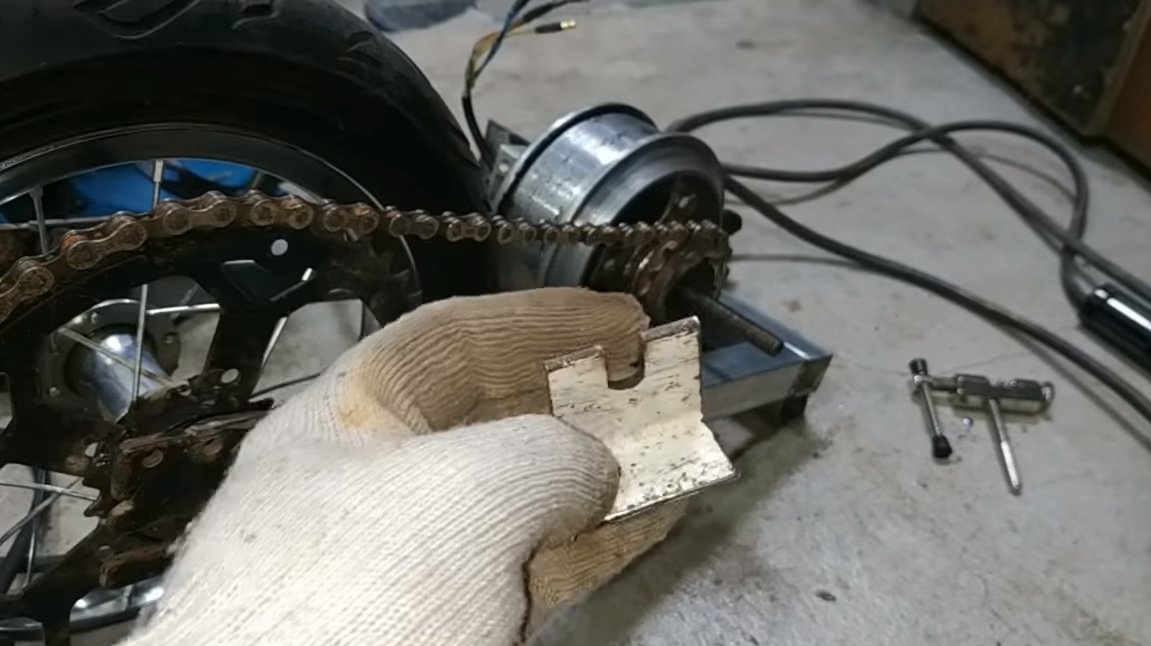
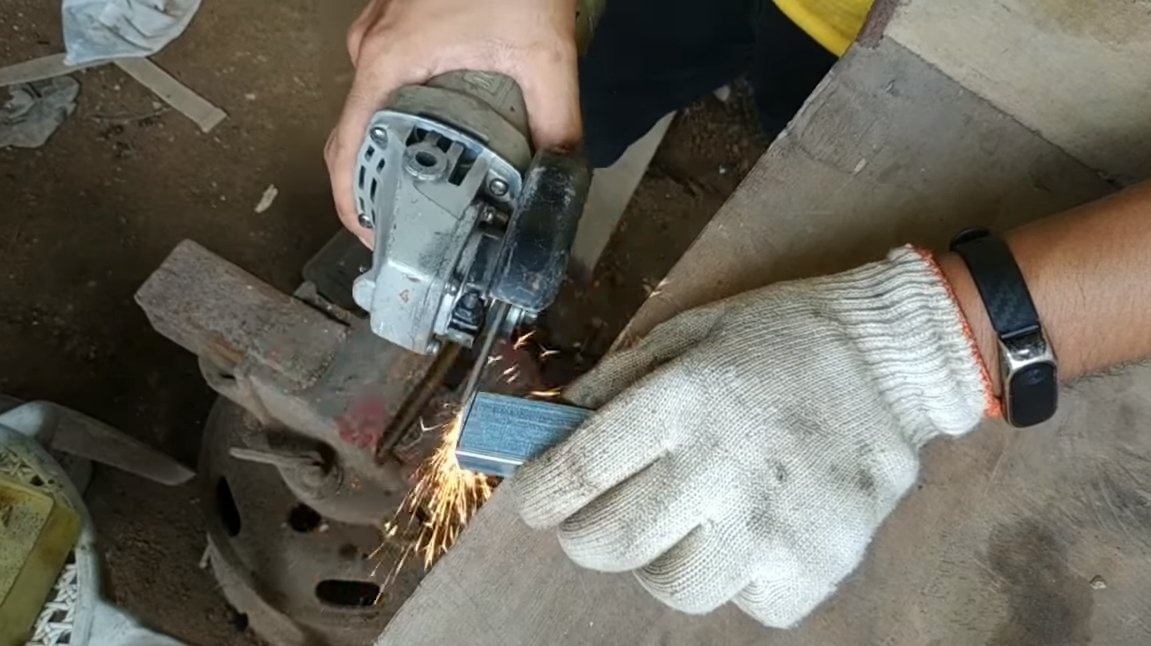
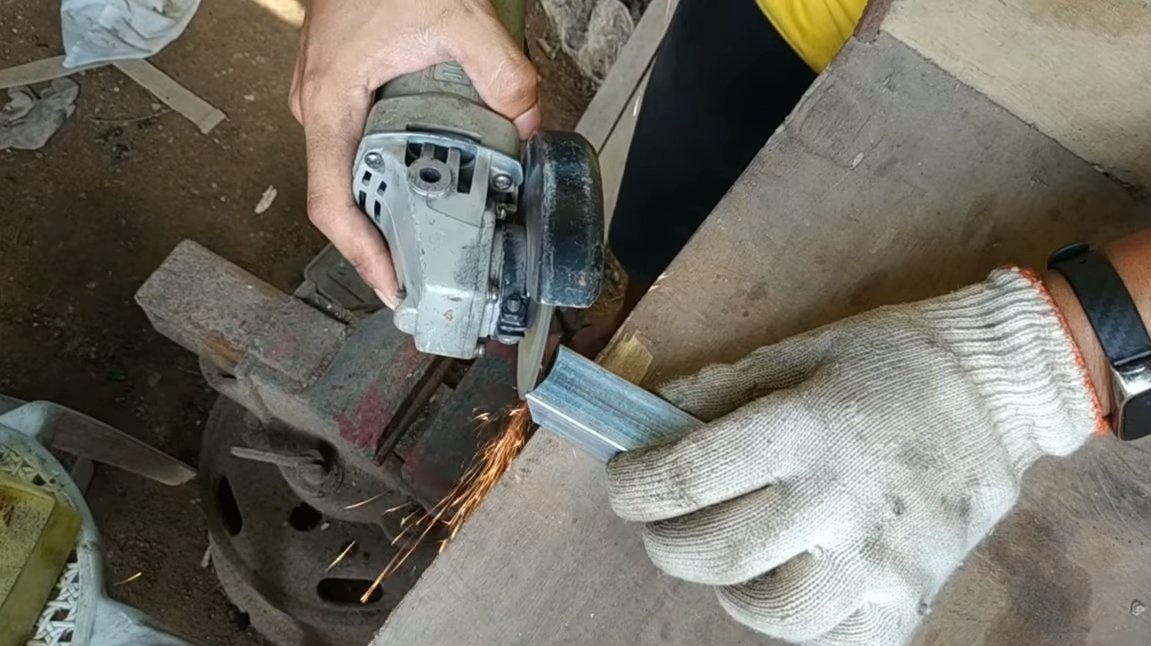
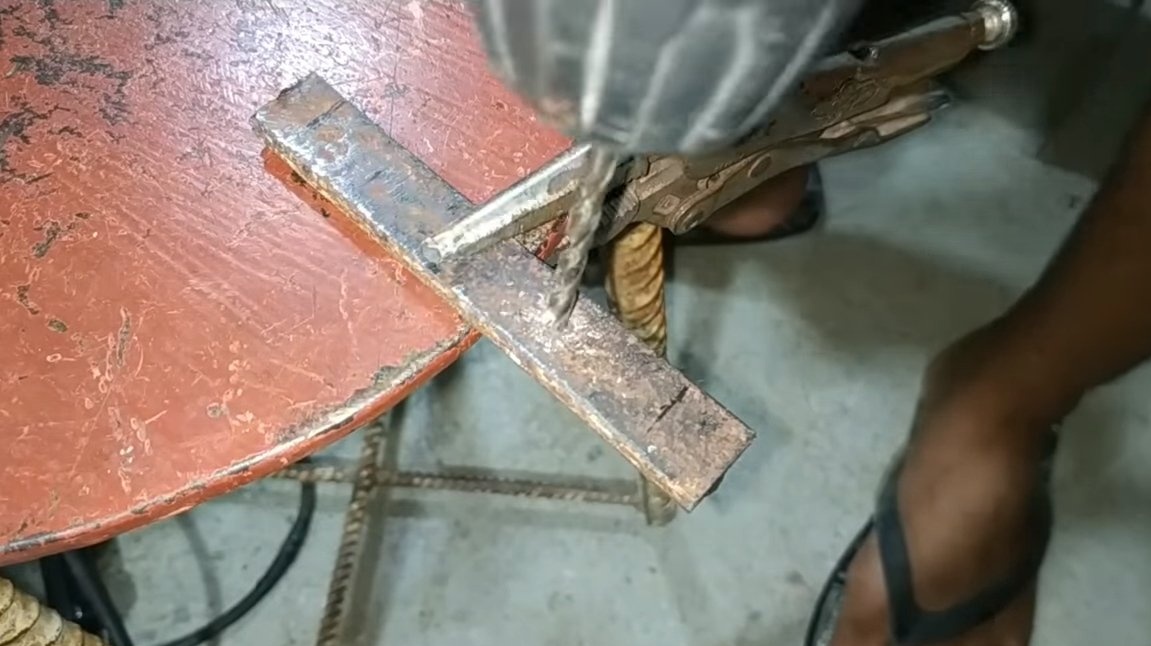
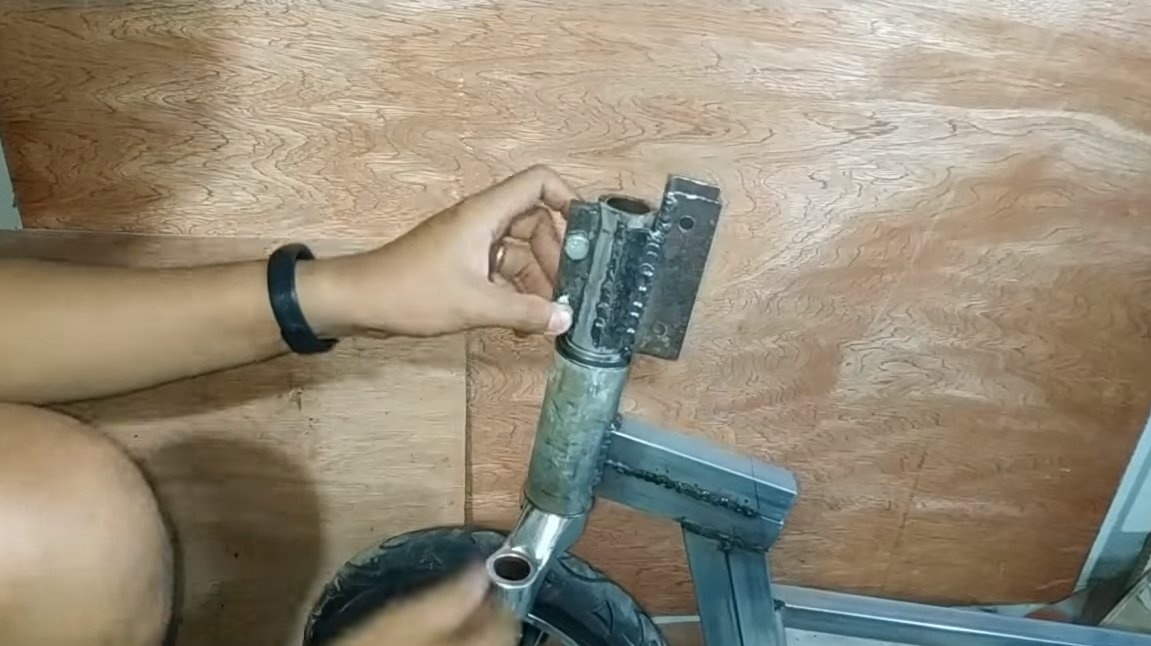
Next, we need to install a drive sprocket on the motor-wheel, for this we make an adapter from the sprocket, cut it to a part that resembles a cross. We weld the hub from the rear wheel to this cross, to which the drive sprocket is then screwed. This whole structure is bolted to the motor wheel with nuts.The ratchet mechanism of the sprocket needs to be brewed, the sprocket with ratchet is already on the rear wheel.


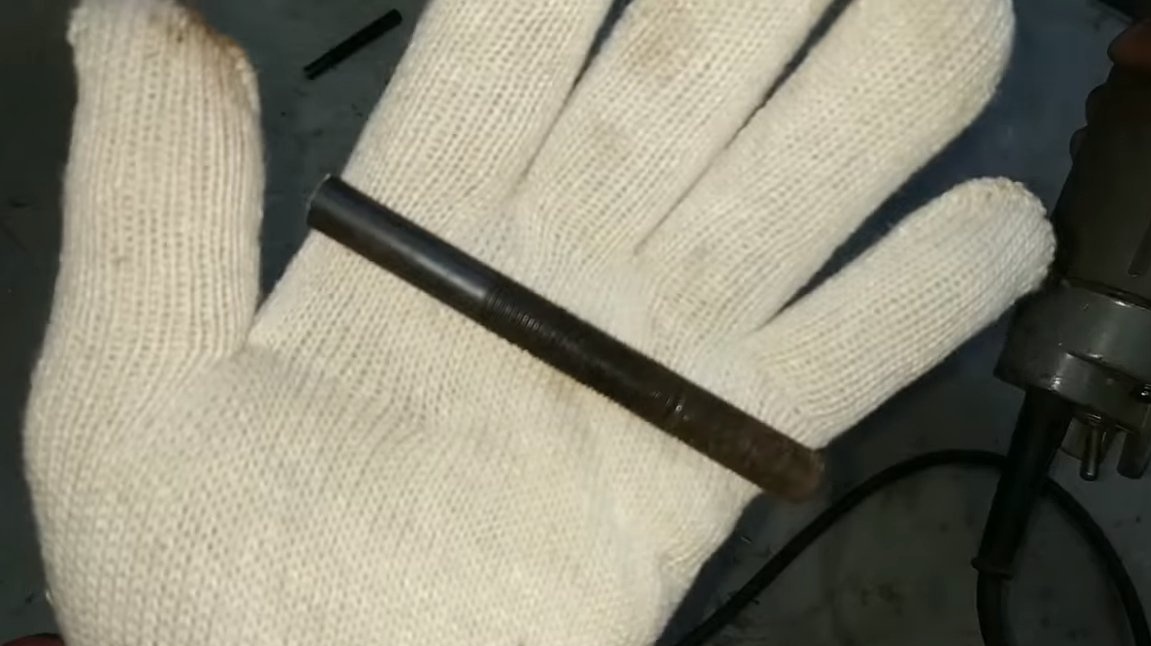

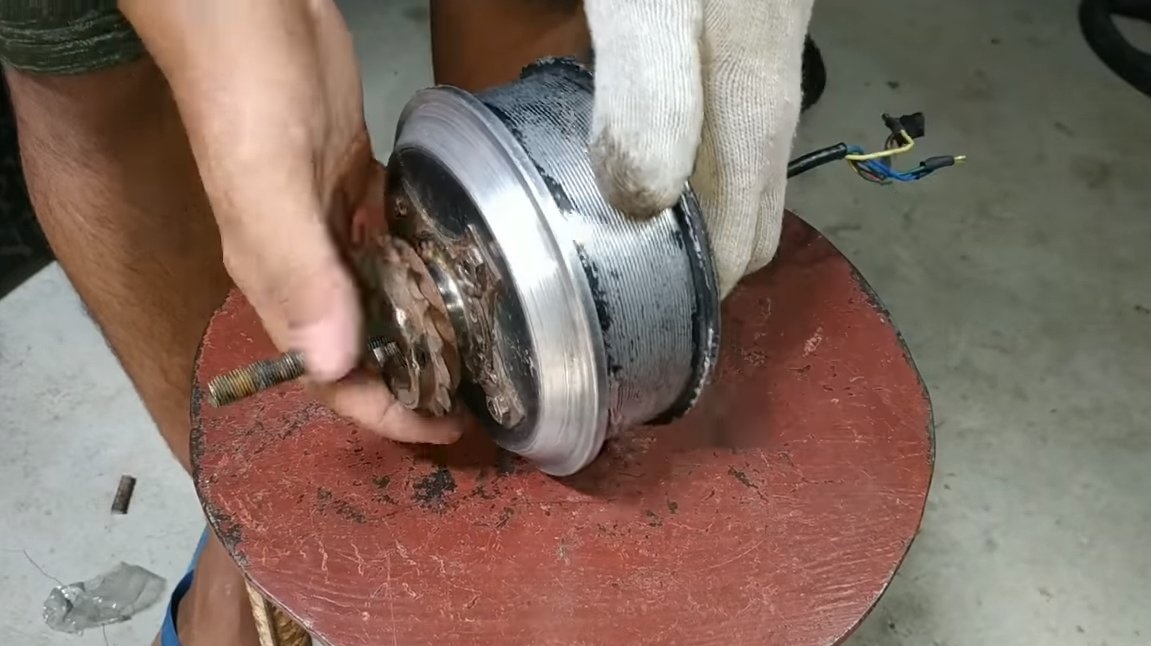
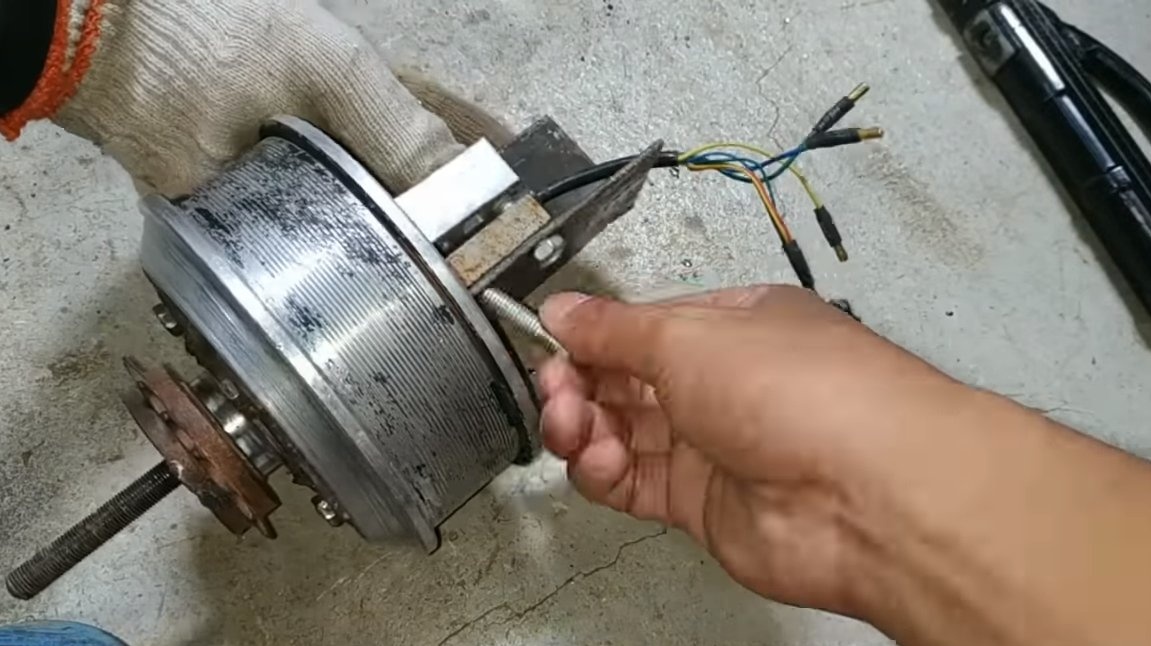
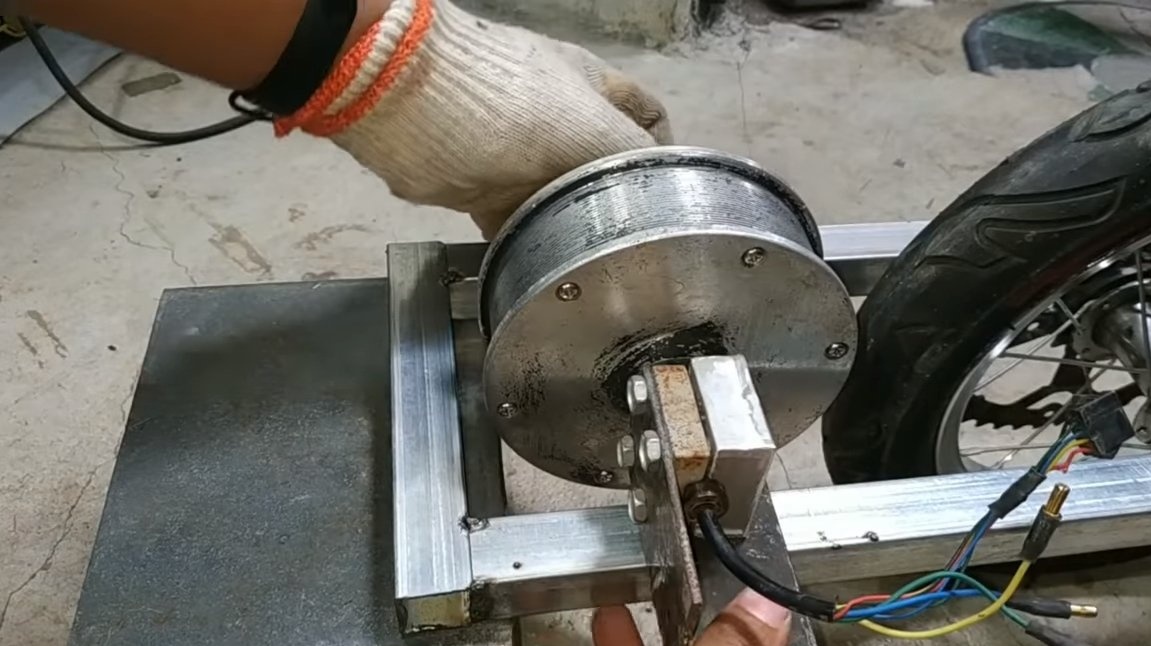
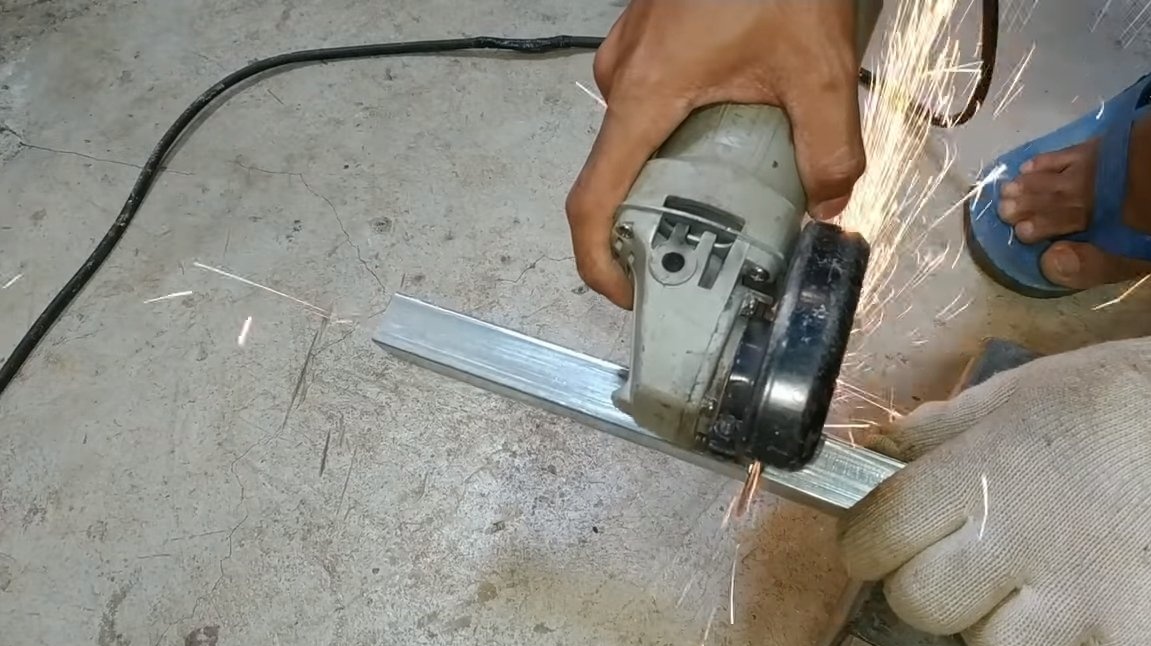
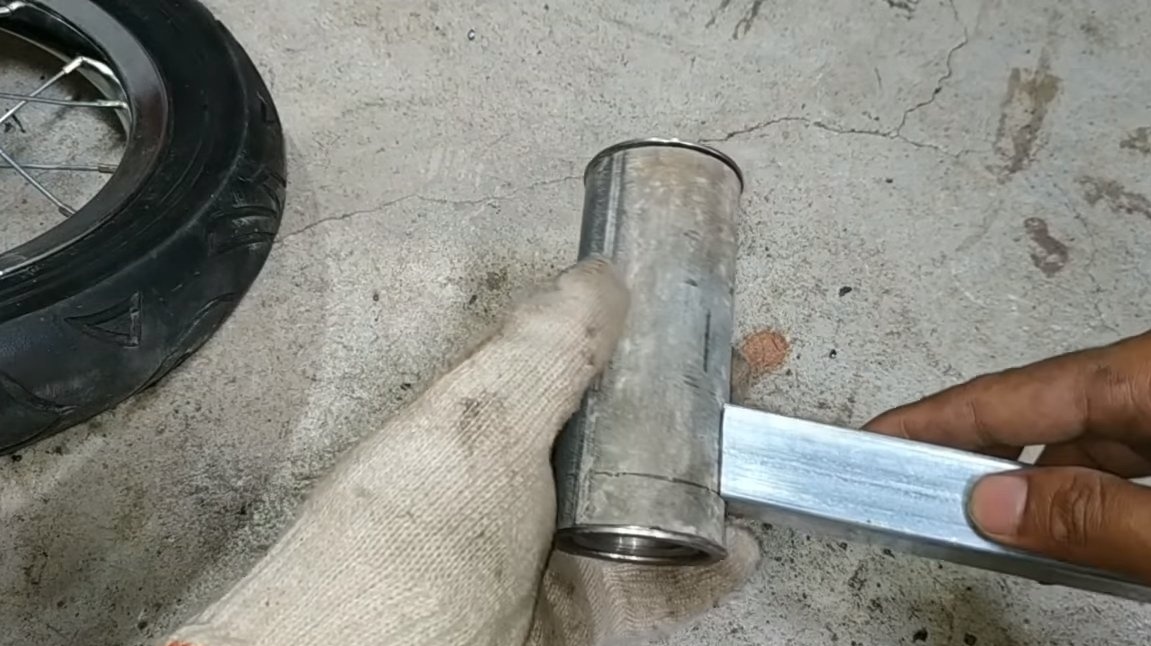
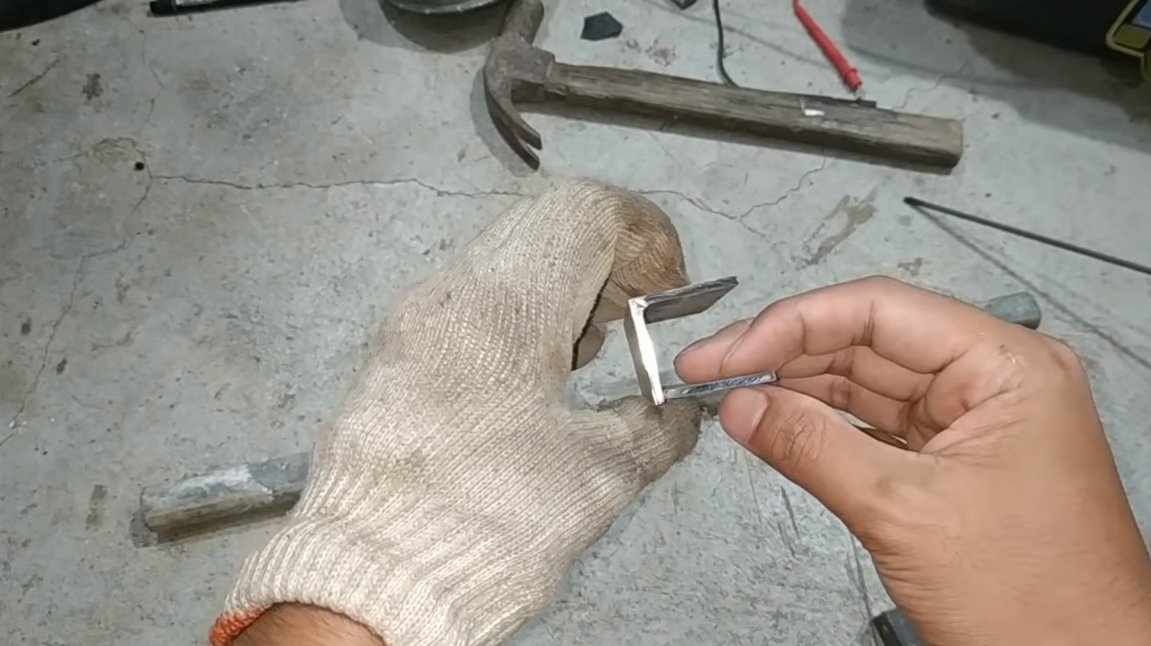
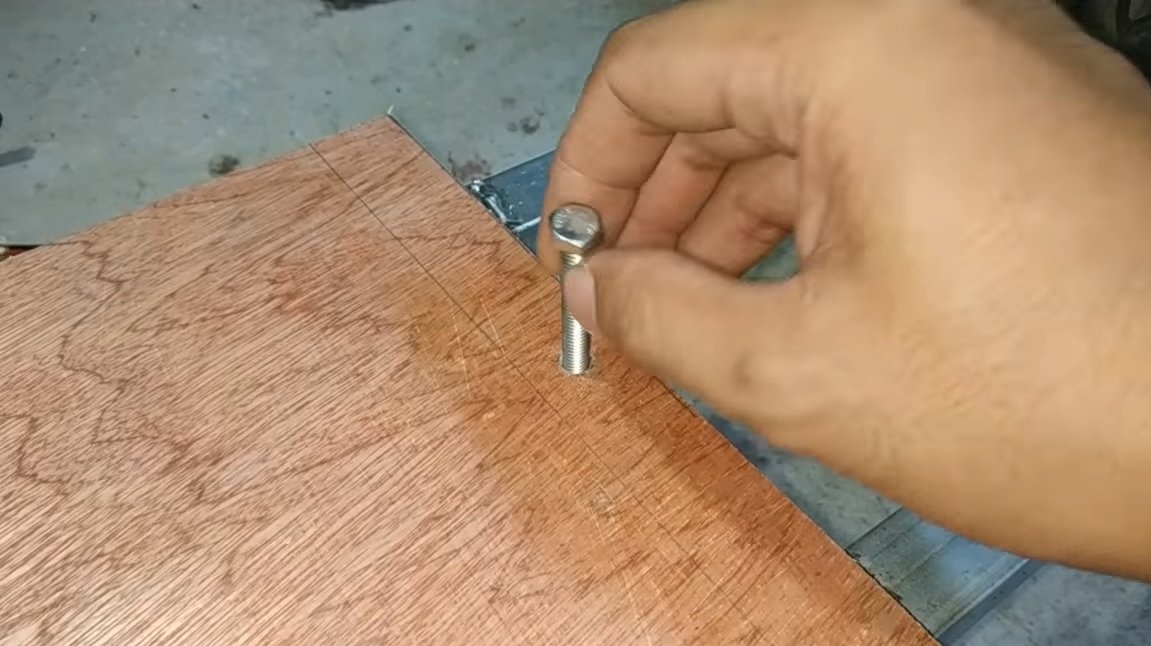
We need to strengthen the structure so that the engine does not vomit under load. To do this, the author extends the axis of the engine with a piece of threaded studs. Well, then the engine can be installed on the frame. We make fasteners from the corner and tighten everything securely with nuts.
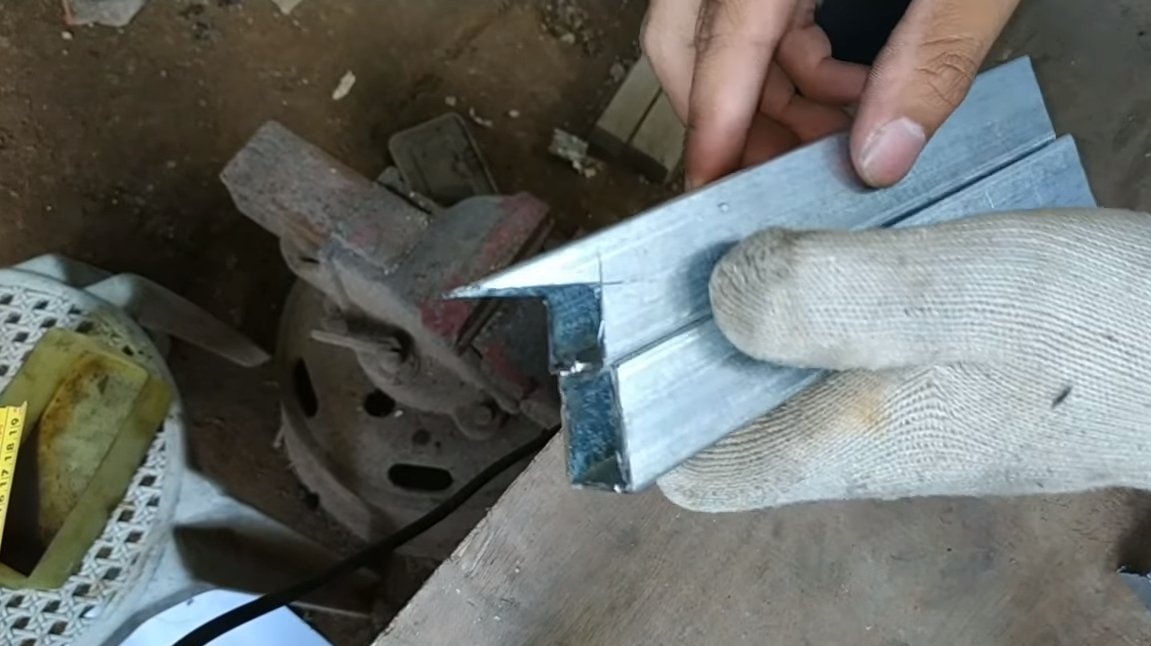
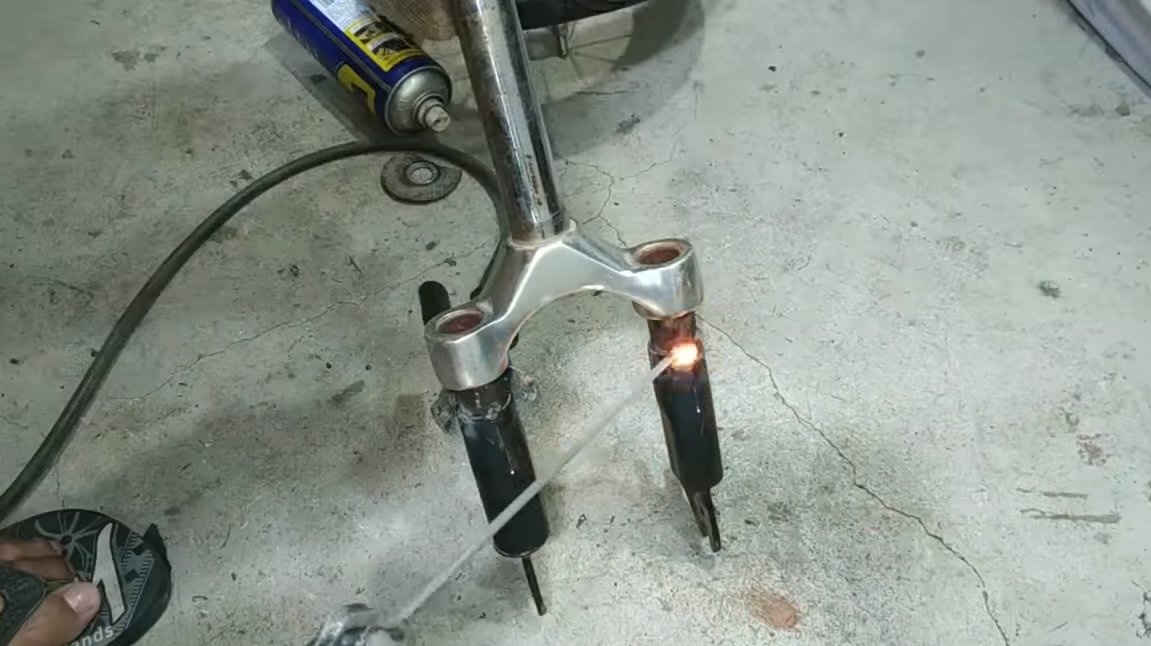
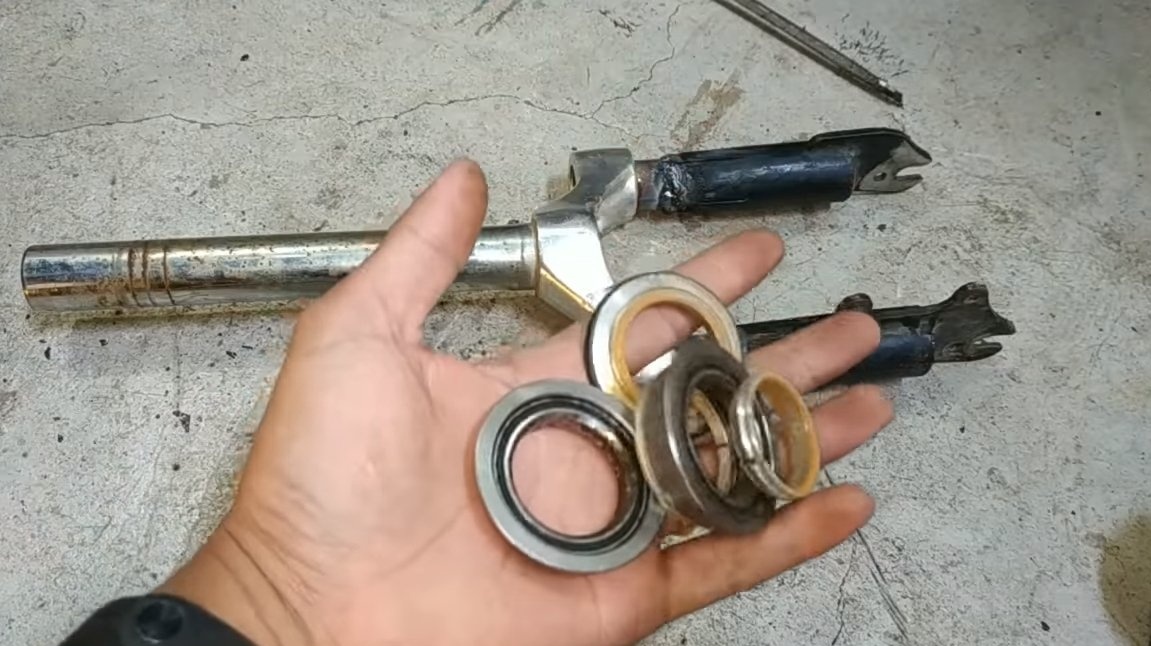
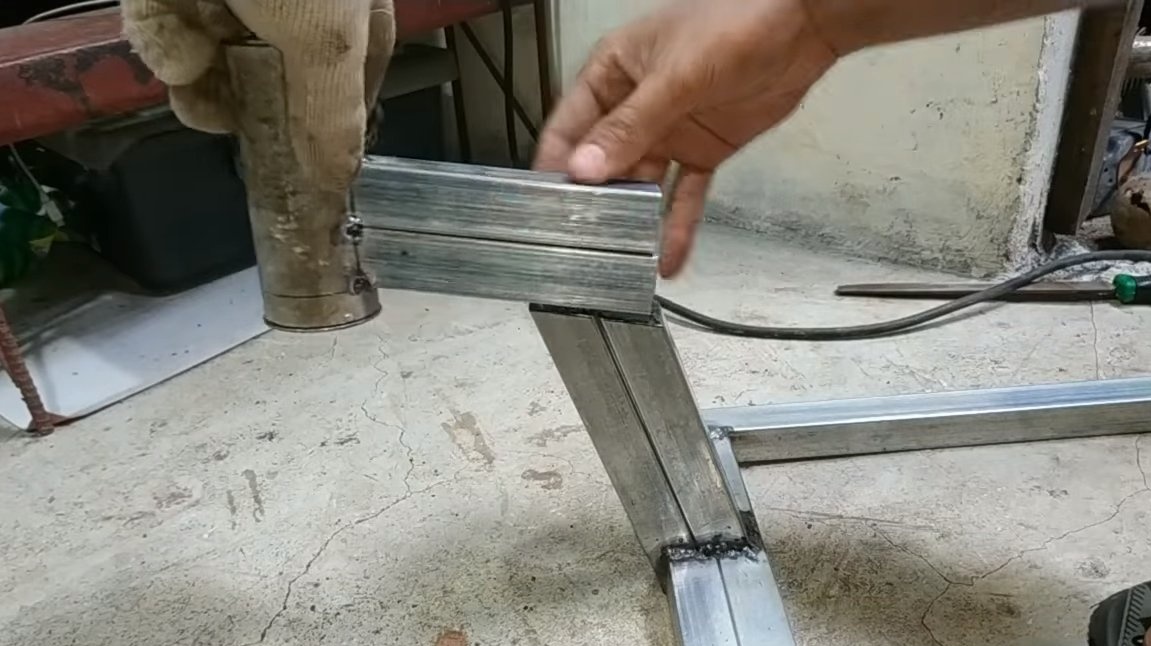
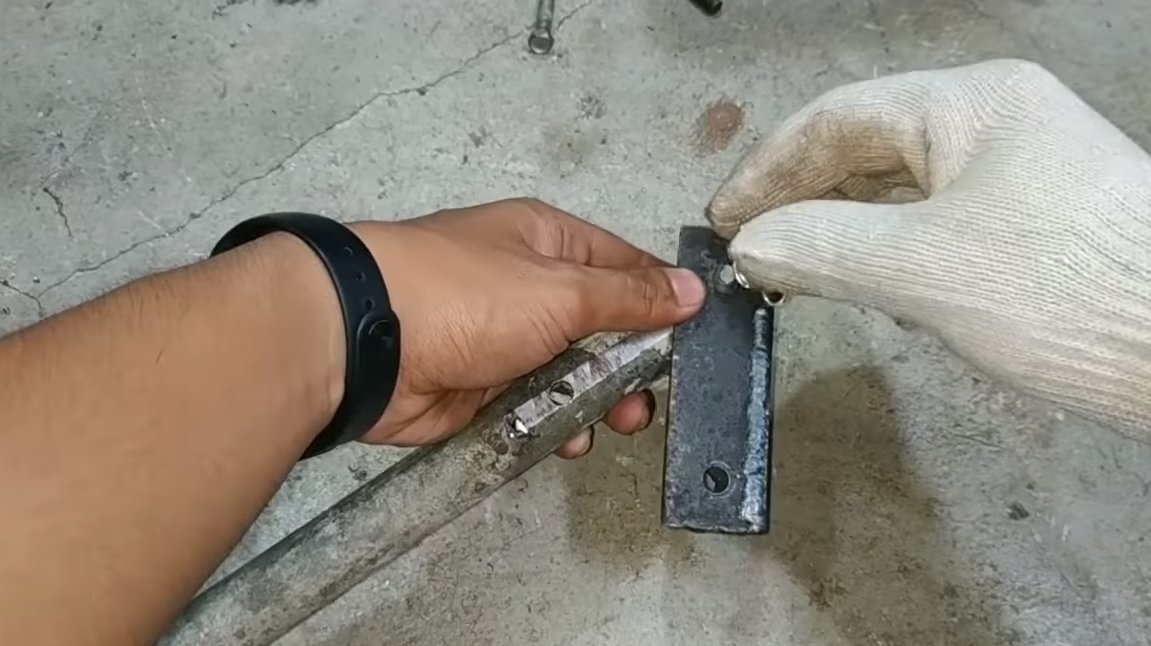
Step Four Front end and steering wheel
We weld the front rack of the scooter, to which the steering wheel will be attached. As for the plug, the author used a ready-made fork from the bike, cutting off the excess. The steering wheel even has the ability to adjust height, a special bracket was assembled from plates and bolts with nuts.


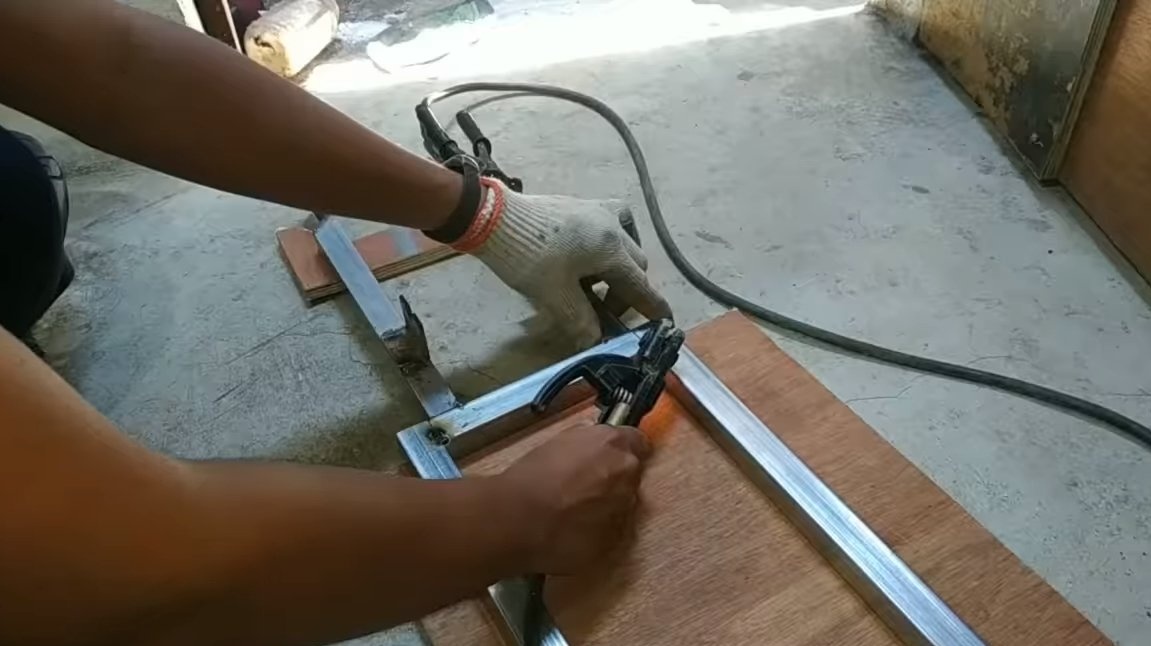
Step Five Bottom
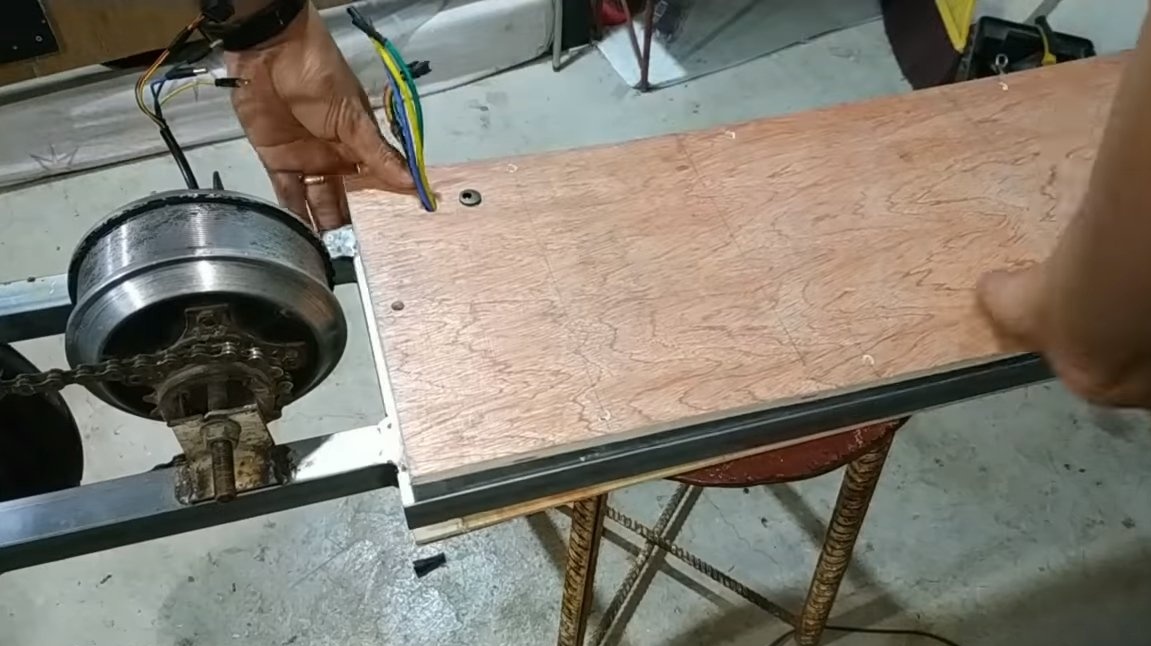
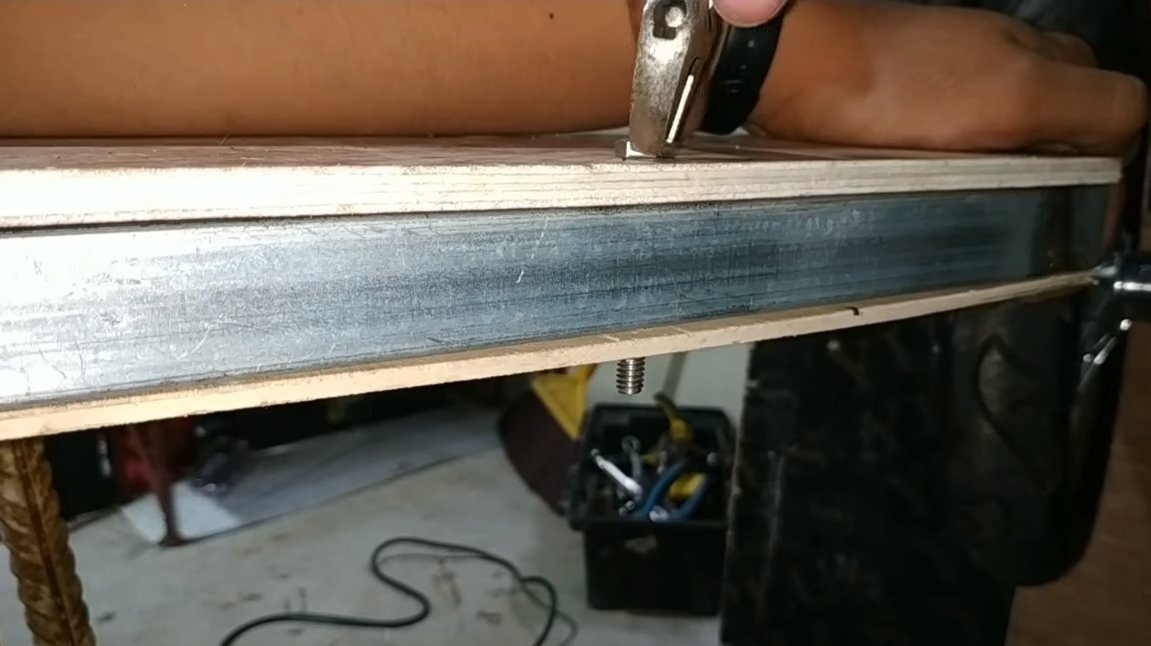
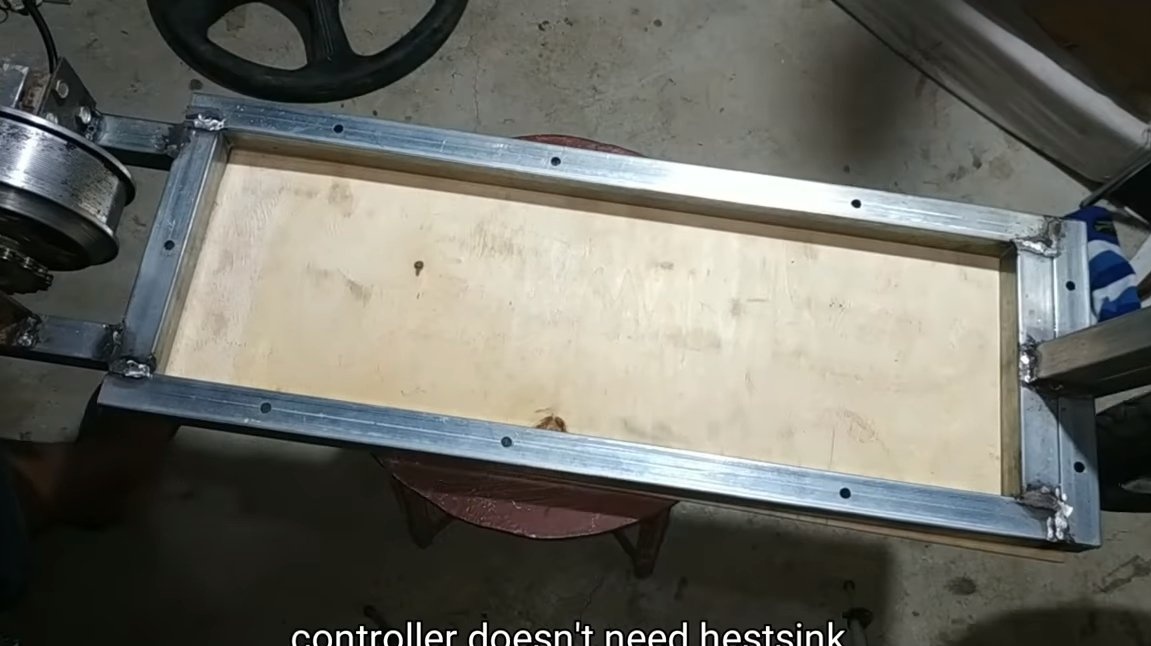
We make the bottom for a scooter, plywood is best suited for such a thing. Of course, you can use the material easier, so the mileage on one charge will be greater. We cut out the sheet of the required size and fasten it to the frame with bolts and nuts.

Step Six Electronics and battery
The author had a controller for a brushless motor designed for a power of 1200 watts and a voltage of 48 / 60V. The author had to redo the controller, he removed the standard shunts and set the resistor to 0.007 Ohms.


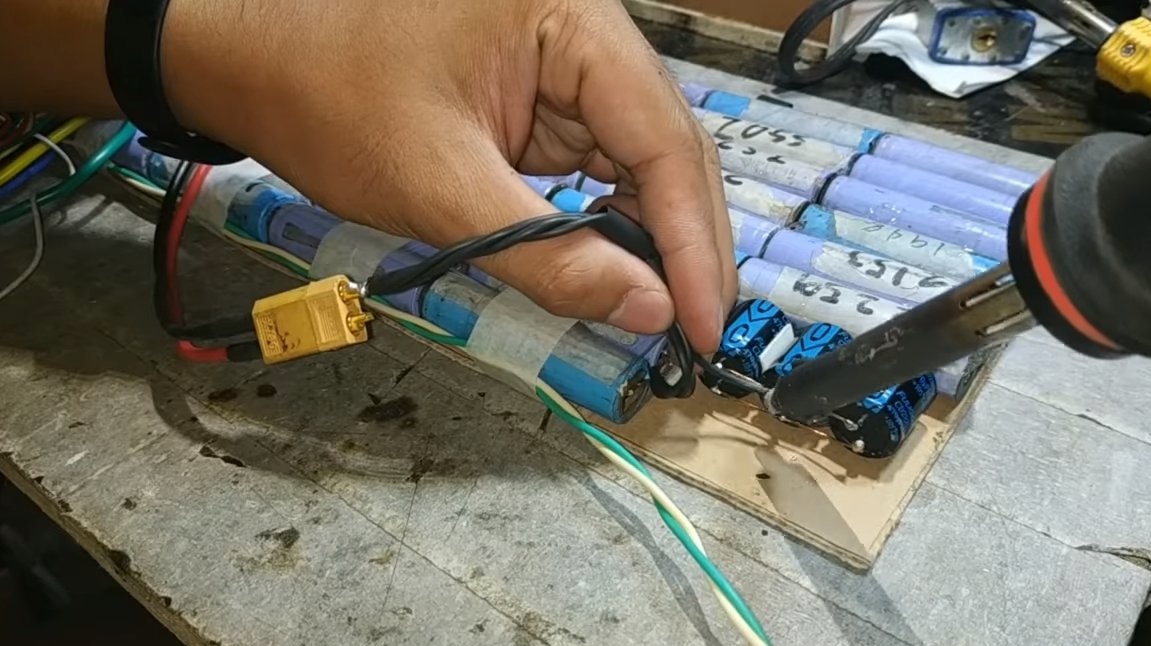
As for the battery, it was assembled from 18650 cells. Such cells can be removed from old laptop batteries, but each cell must be checked for operability.
Having collected the required number of cells, we weld the contacts by spot welding. As a result, the author obtained a battery with an operating voltage of 72V and a capacity of 6Ah.
It is better to install BMS controllers for the battery; without them, the battery will quickly fail.
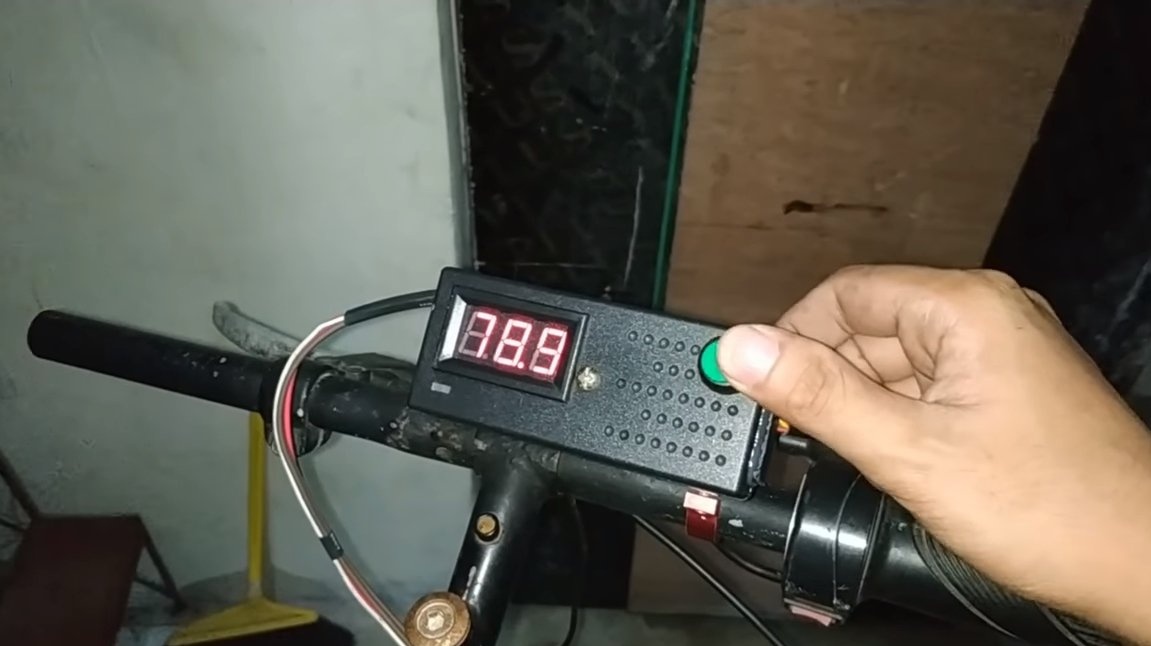
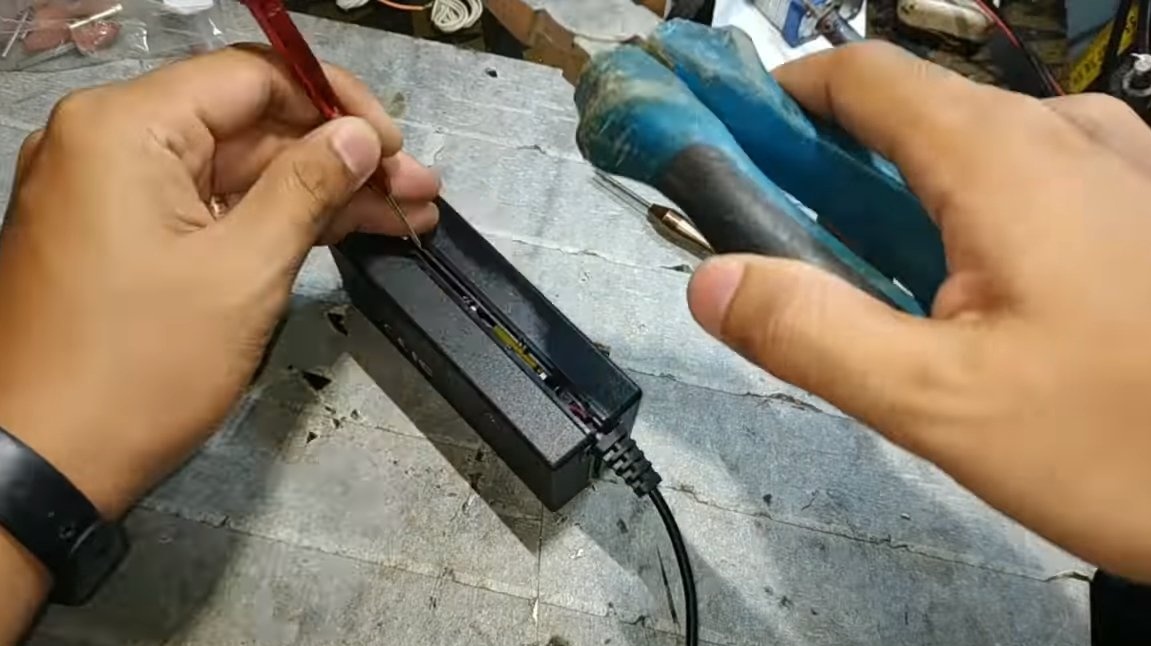
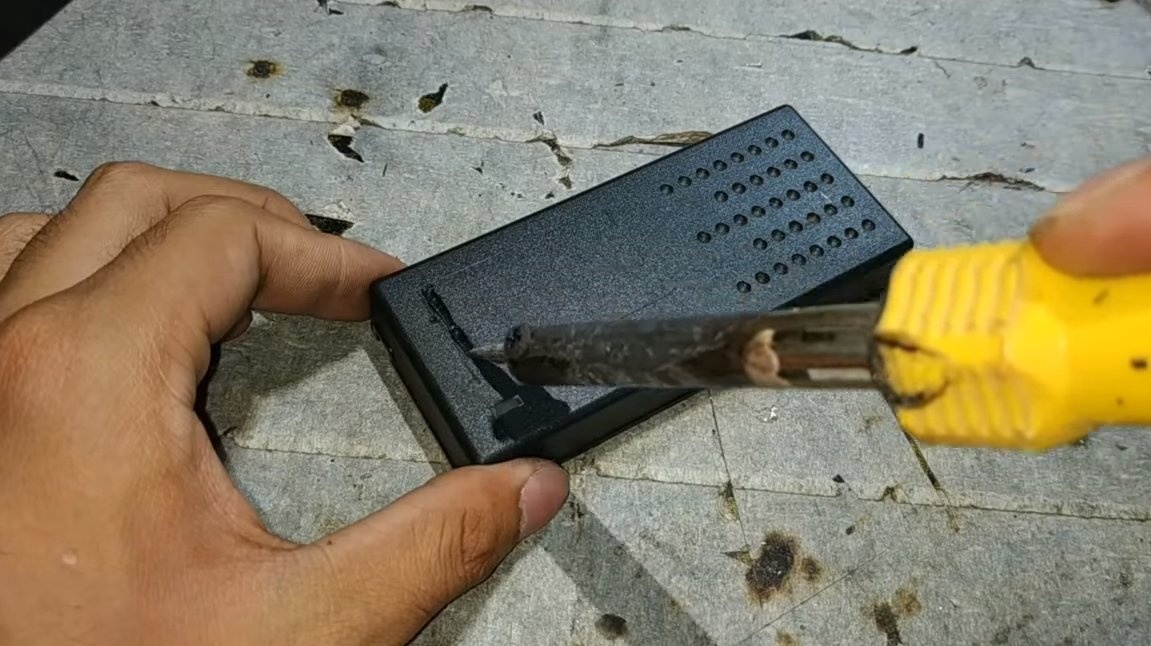
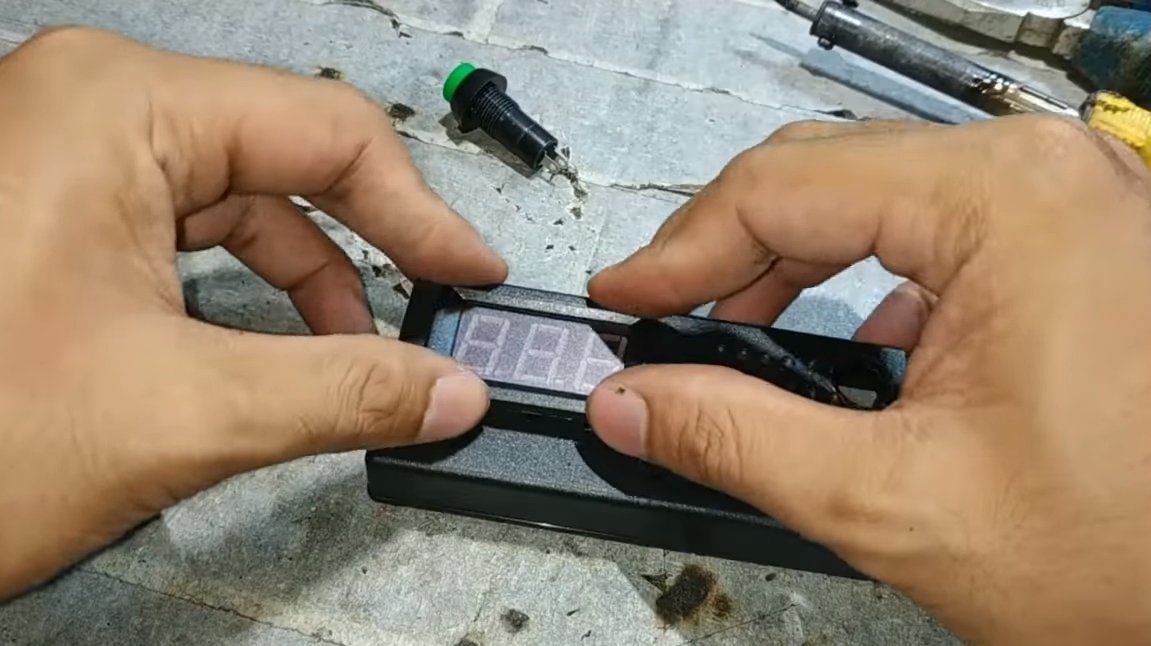
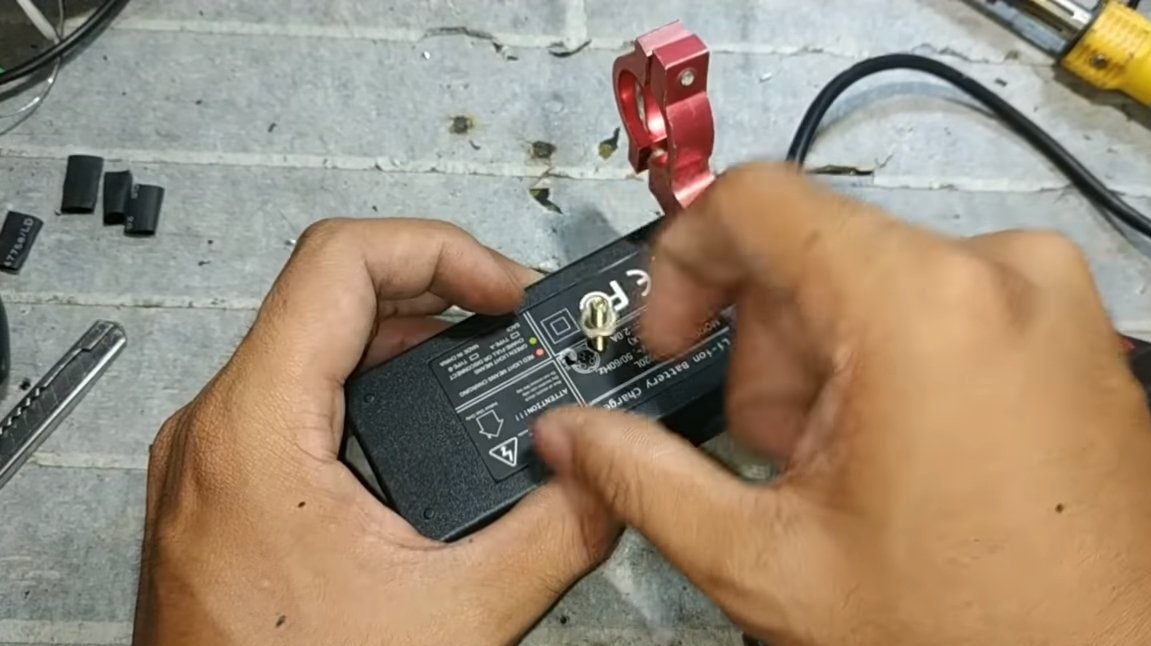
Seventh step. Voltmeter
On the steering, the author installed a digital voltmeter, which allows you to display voltage up to 100V. Thanks to the voltmeter, you can monitor the condition of the battery. The voltmeter is small, digital, the author made for him a case from an old laptop power supply.

Step Eight. Assembly
We assemble the scooter, the controller and the battery are installed in the bottom of the homemade product, which consists of two halves, these are sheets of plywood. We display the wiring and connect to the engine. We also need to install an electronic throttle on the steering wheel.
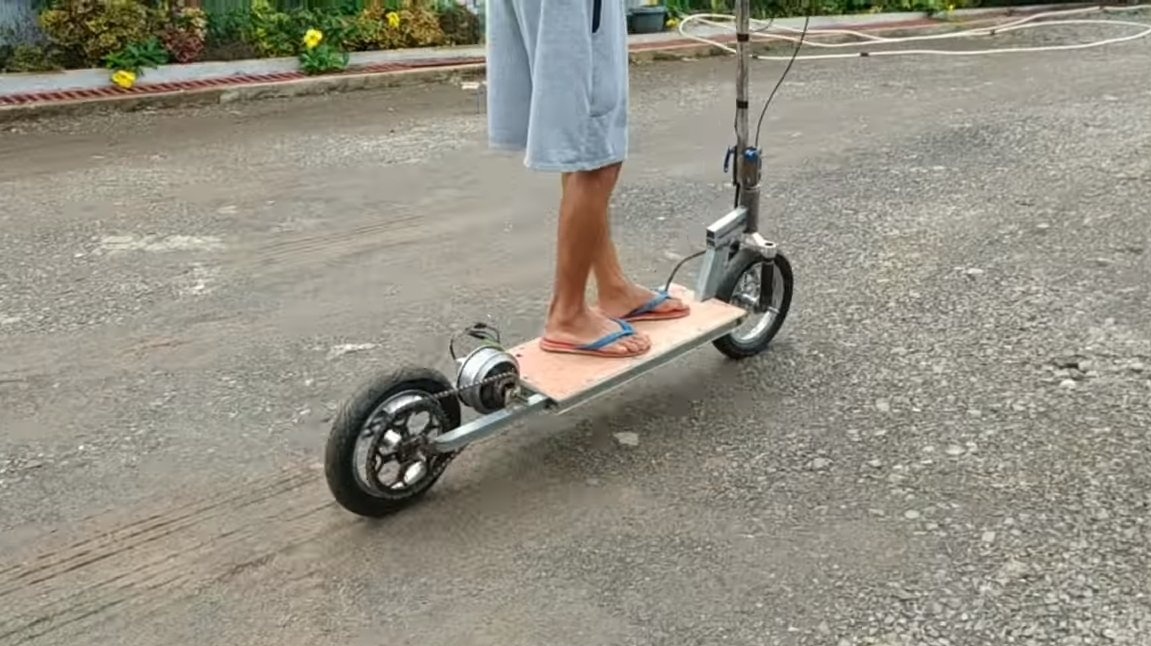
The homemade product is ready, the drive wheel has a fairly high torque, the scooter even stalls in place. What is the maximum speed and mileage remains unknown, but the author pulls away and drives quite briskly.
This is the end of the project, I hope you liked the homemade work, and you found useful thoughts for yourself. Good luck and creative inspiration, if you decide to repeat this. Do not forget to share your ideas and homemade things with us!