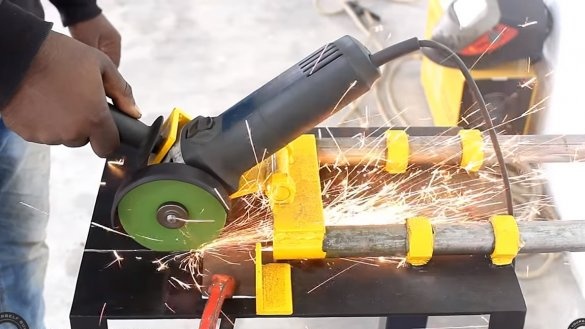
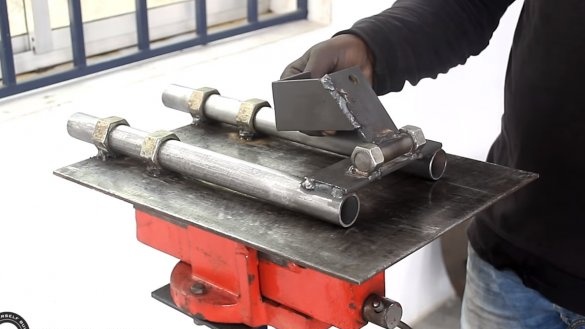
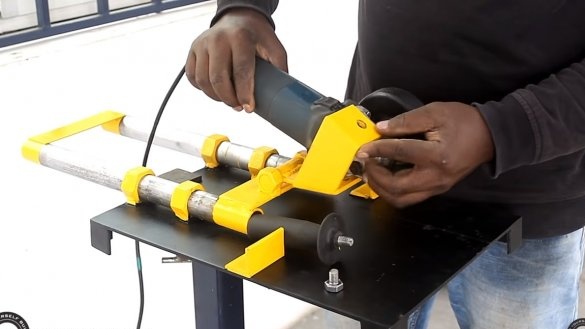
Hello to all lovers of craftsmen, I propose to consider a simple homemade, which will expand the functionality of your grinder. It will be a simple broach that will allow you to cut sheet material clearly in a straight line. The components of the machine are quite simple and there may be backlashes, but in general, for domestic purposes, homemade work is very good, labor will become easier, and products are better.
The author made a hinge of round timber and nuts, and the broach was also made of large diameter nuts and two iron pipes. For the manufacture of homemade need a lathe! If the project interests you, I propose to study it in more detail!
Materials and tools used by the author:
Material List:
- two iron pipes;
- nuts of large sizes;
- round timber;
- sheet metal for the base;
- iron plates;
- corner;
- paint for metal.
Tool List:
- ;
- lathe;
- .
Homemade manufacturing process:
Step one. Broach knot
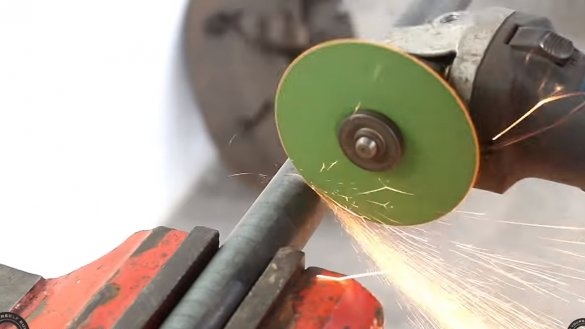
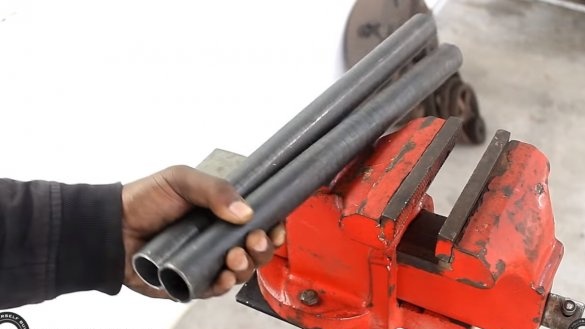
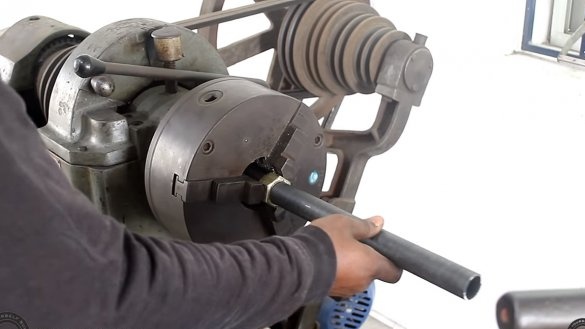
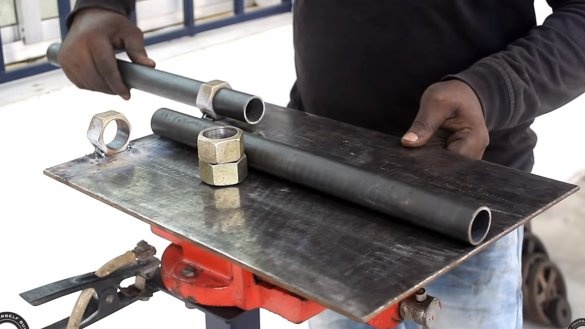
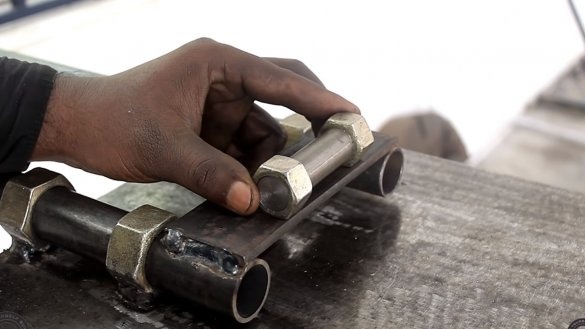
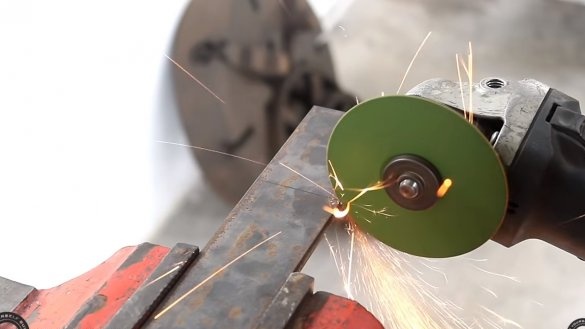
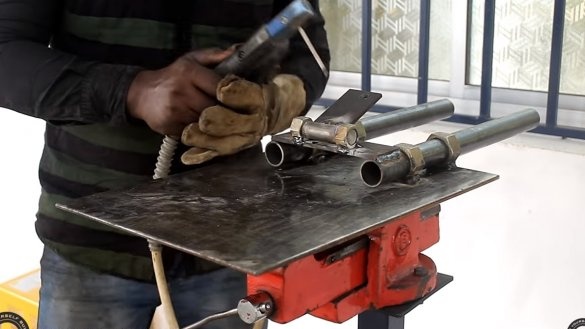
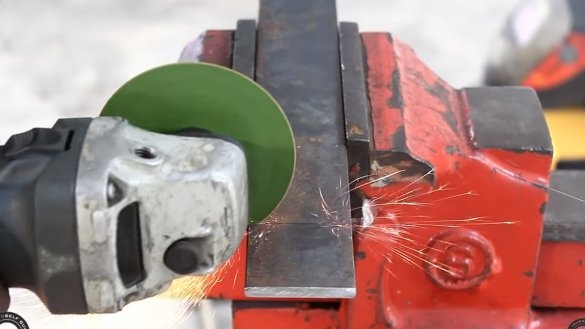
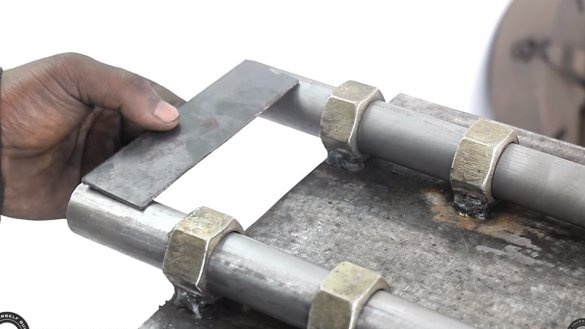
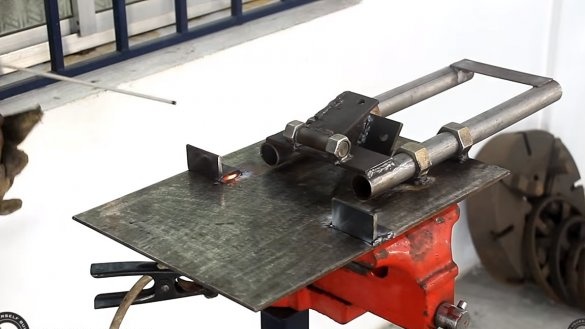
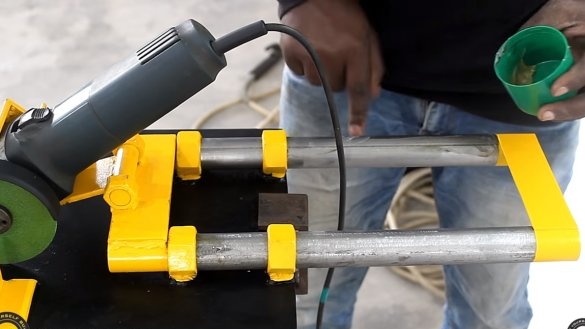
First of all, we will make a broach unit, for a start we will need to cut two iron pipes of the same length. Pipes should be well sanded, it would be nice if they were stainless steel.
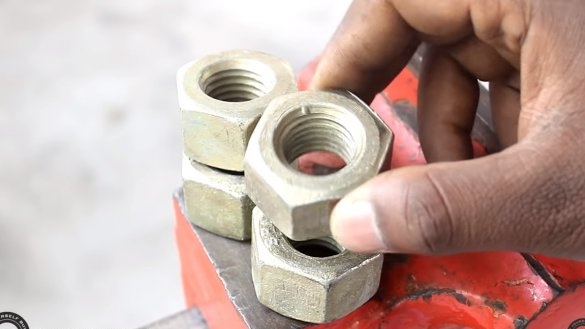
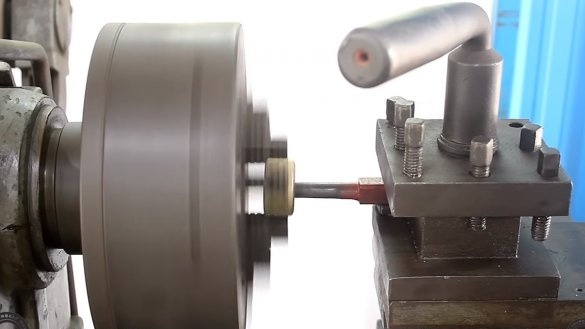
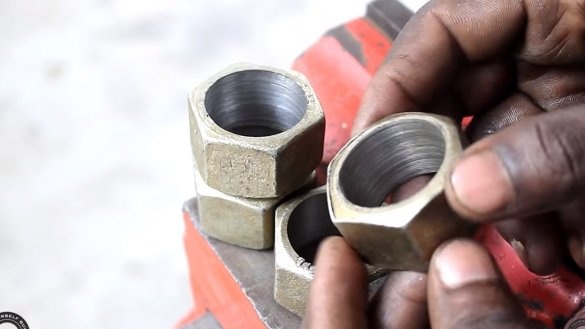
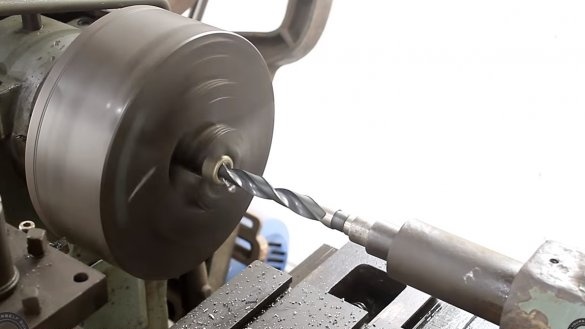
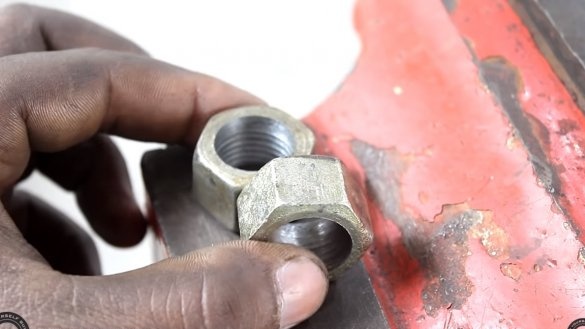
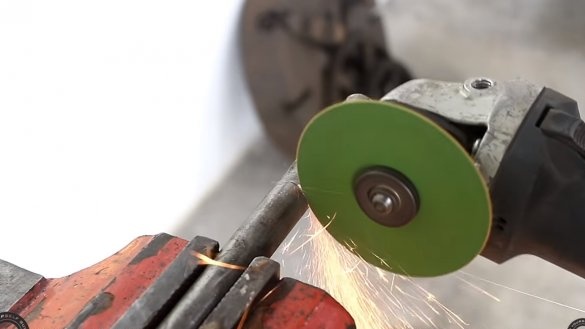
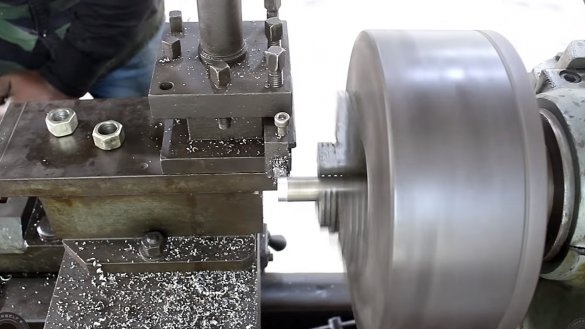
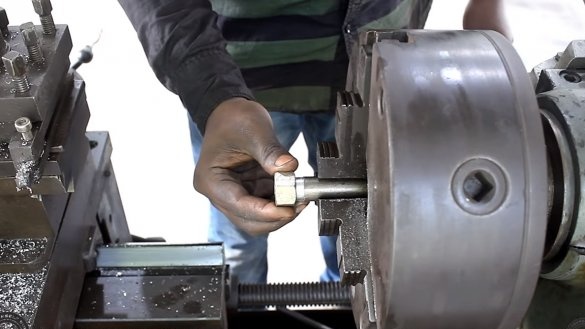
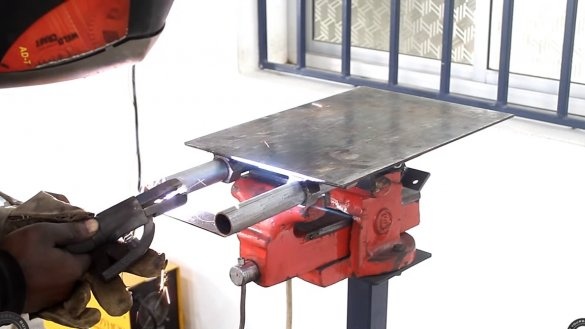
Next, we need to carve 4 bushings, the author used large diameter nuts as a source material. The author wasted on a lathe the inner diameter of the nuts so that pipes come in with minimal gaps.
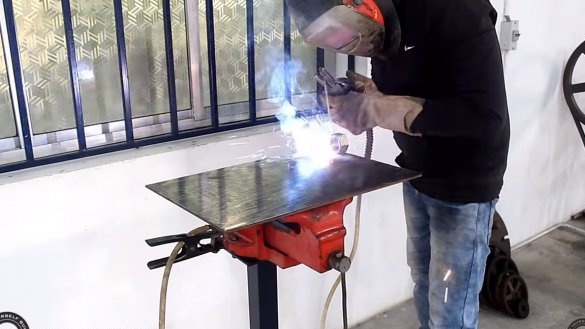
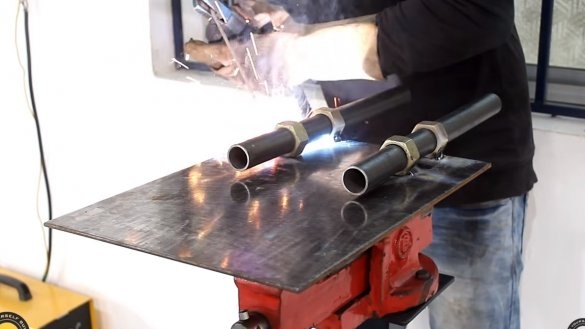
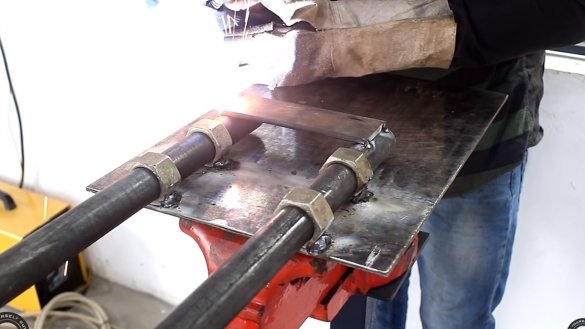
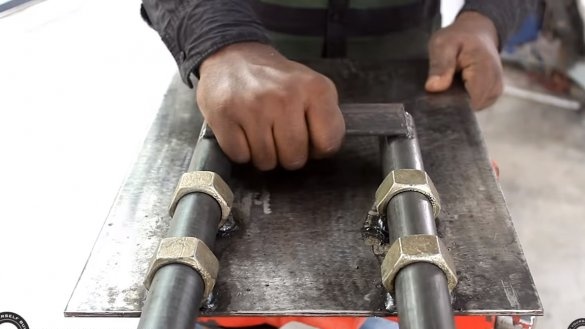
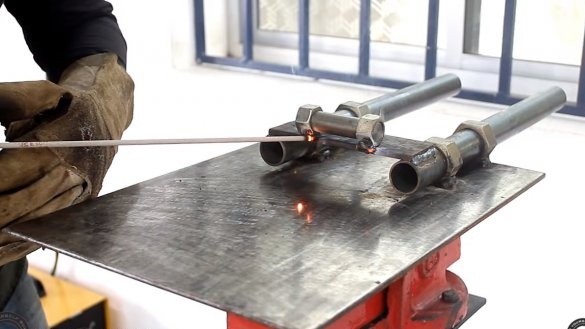
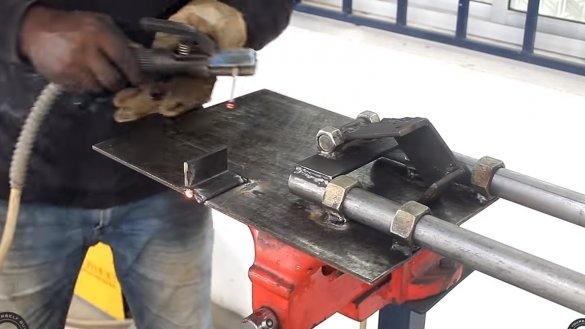
Well, then the nuts are welded to the base, which is a thick sheet of iron. Of course, both pipes must be located strictly parallel, otherwise the broach will wedge.
Step Two Hinge
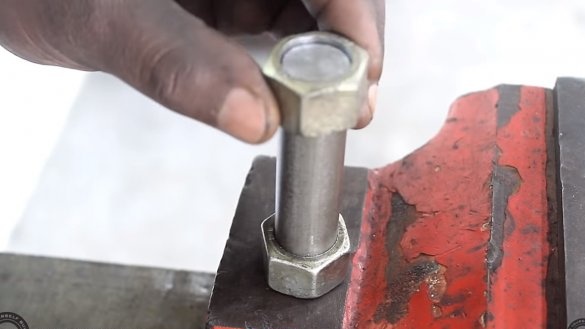
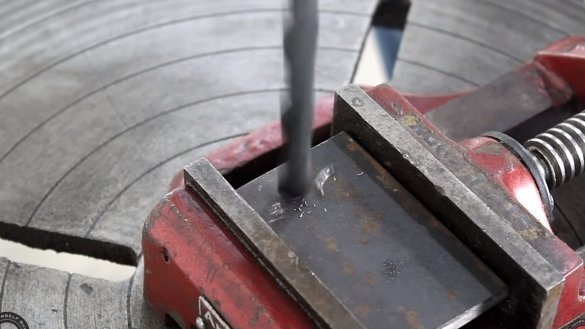
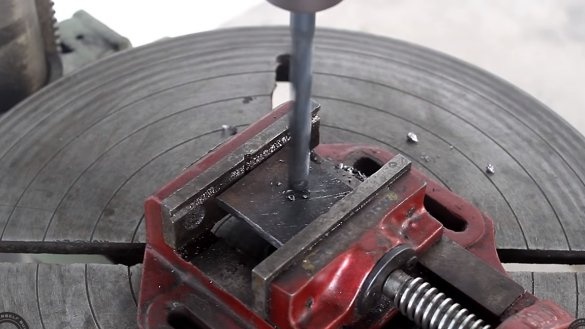
We make a hinge on which the grinder will rise and fall relative to the base. For the hinge you will need a round and two nuts. We drill out the nuts from the nuts, and grind the round timber so that its ends go into the nuts with a small clearance.
We weld an iron plate to the broach, and our two nuts with an axis are welded to it. That's all, the hinge is ready, we weld a plate to it, to which we weld the bracket for attaching the grinder.
Step Three Fasteners for grinders
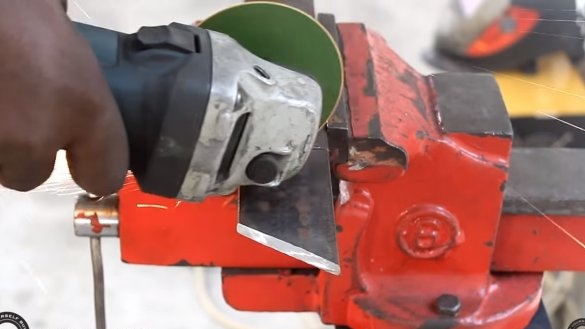
We will make reliable fasteners for the grinder, for the manufacture we will need iron plates. We weld the desired design and drill holes. The grinder will be fastened using the holes in which the front handle is wrapped.
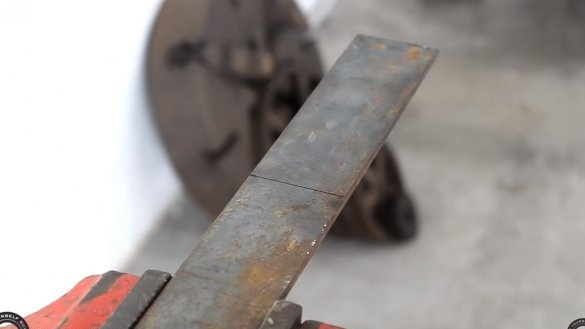
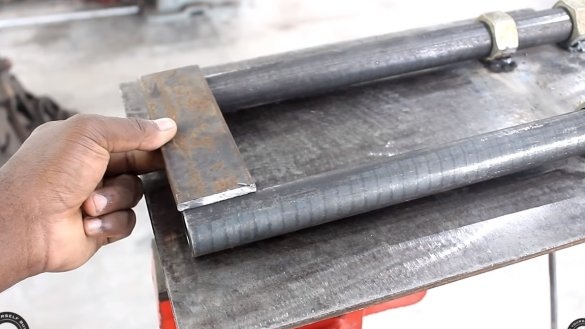
We also weld a piece of an iron plate to the reverse side of the pull tubes.
Step Four Stops and legs
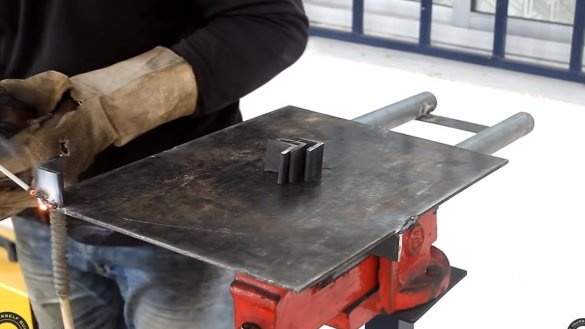
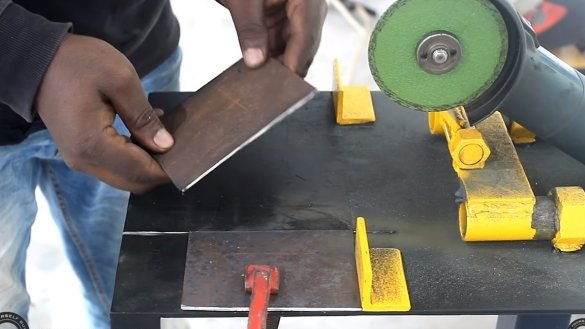
We weld stops to the base, which will hold the material. As an emphasis, the author used a corner. Of course, it is best to fix the stop with a bolt and nut, then it will be possible to adjust the cutting angle, but the author, apparently, cuts only at right angles and he does not need it.
We also make legs for the machine, the author welds pieces of the corner as legs.
Step Five Test
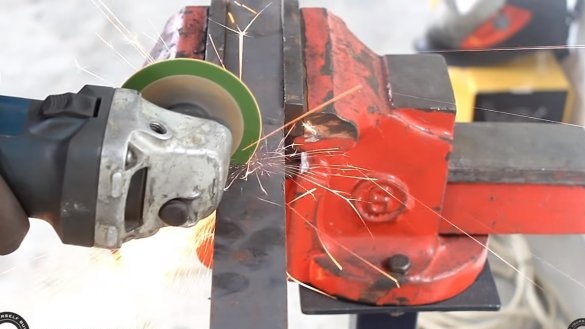
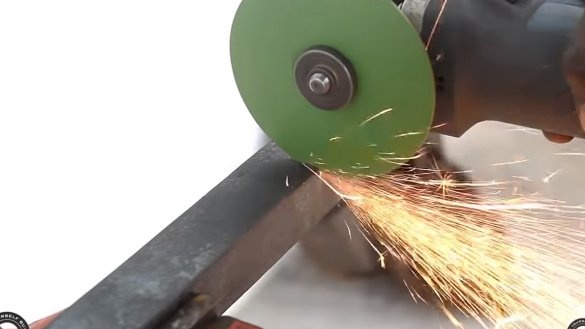
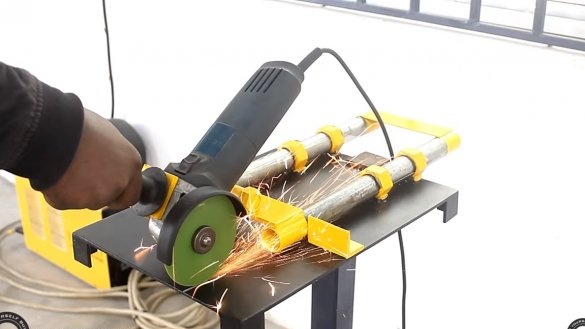
We paint our home-made, now it will not rust and looks good. The slider pipes must be greased with heavy grease, and the grease will not hinder the hinge. Install the grinder and you can get to work. To begin with, you need to make a cut for the cutting disc, we cut it with the installed grinder.
Well, then the author cuts sheets of iron, homemade works perfectly. The design flaw is only that the author cuts towards the torch, as a result of which the disk wears out quickly and can break.
This is the end of the project, I hope you liked the homemade work, and you found useful thoughts for yourself. Good luck and creative inspiration, if you decide to repeat this. Do not forget to share your ideas and homemade things with us!

