
And again, good day to all. Today, the author of the Creates DIY channel will show how and from what he assembled such a small wall grinder.

MATERIALS:
Plywood;
The camera is bicycle;
Coupling for PVC pipes Ø 40 mm;
Bushes;
Wood screws;
Wooden block;
Sanding belt;
Bolts, washers, nuts;
Corners are furniture;
Pieces of PVC pipes;
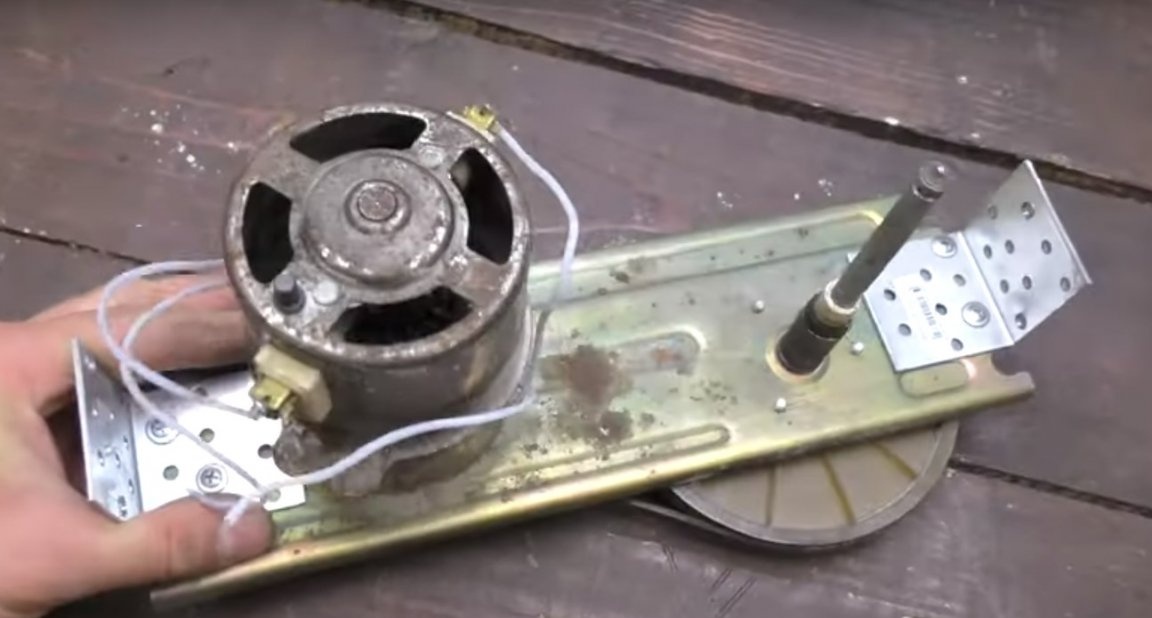
Such a motor with a drive from an old food processor.
INSTRUMENTS:
Electric drill;
Clamps;
Screwdriver;
Miter saw;
Hammer;
Nail file for metal;
Sandpaper;
Building hair dryer;
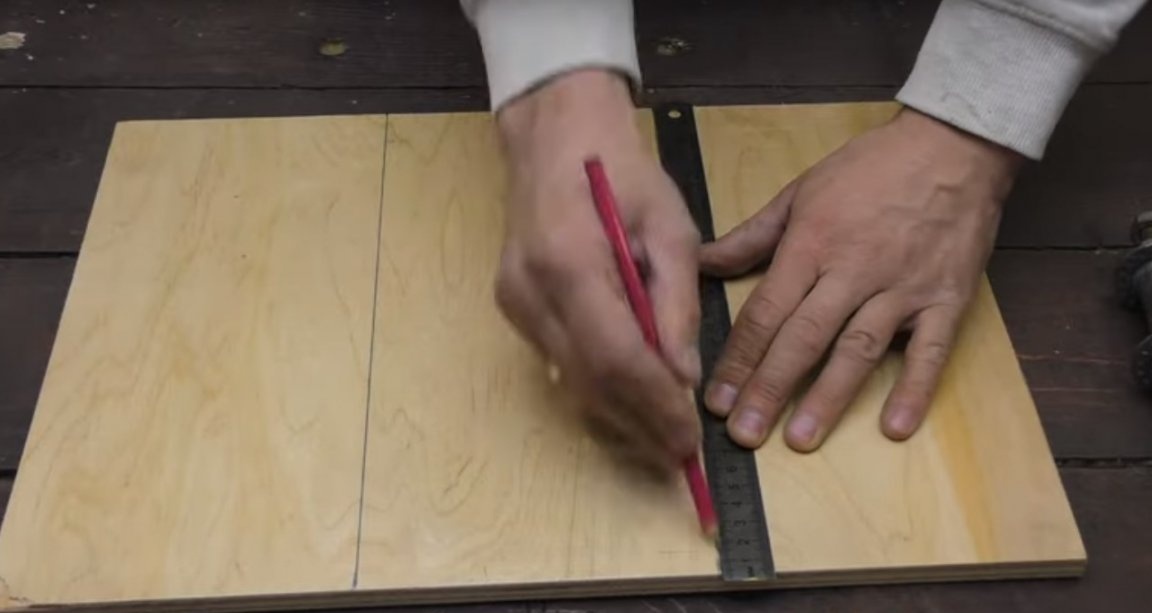
Ruler and pencil;
Electric jigsaw;
Joiner's glue;
Crowns for wood;
Drill;
Sander;
Spanners;
Impregnation for wood;
Paint brush;
And so, when the author had everything necessary, he proceeded to manufacture homemade.
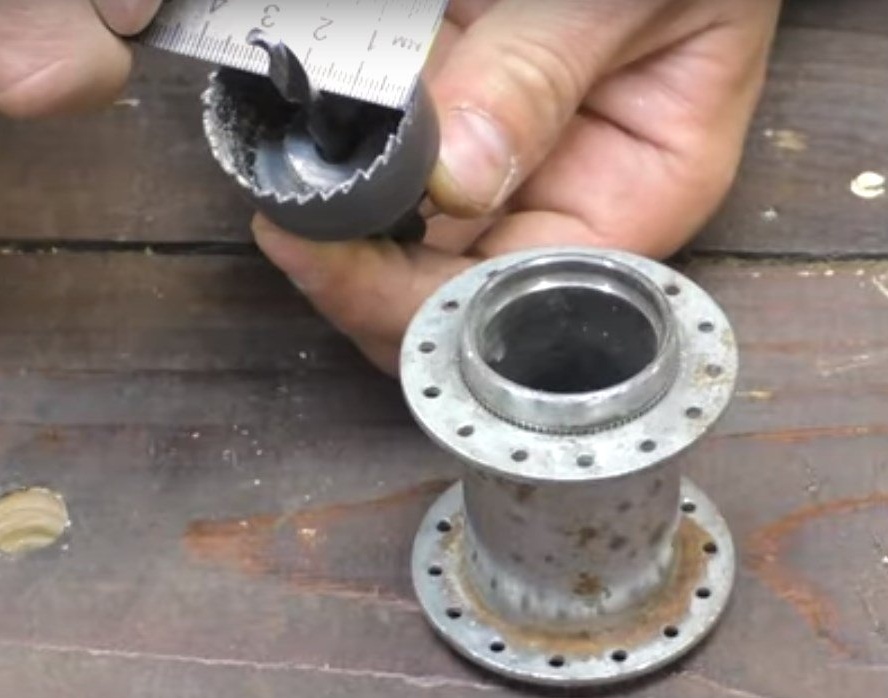
To begin with, the master measured the inner diameter of the rear hub.
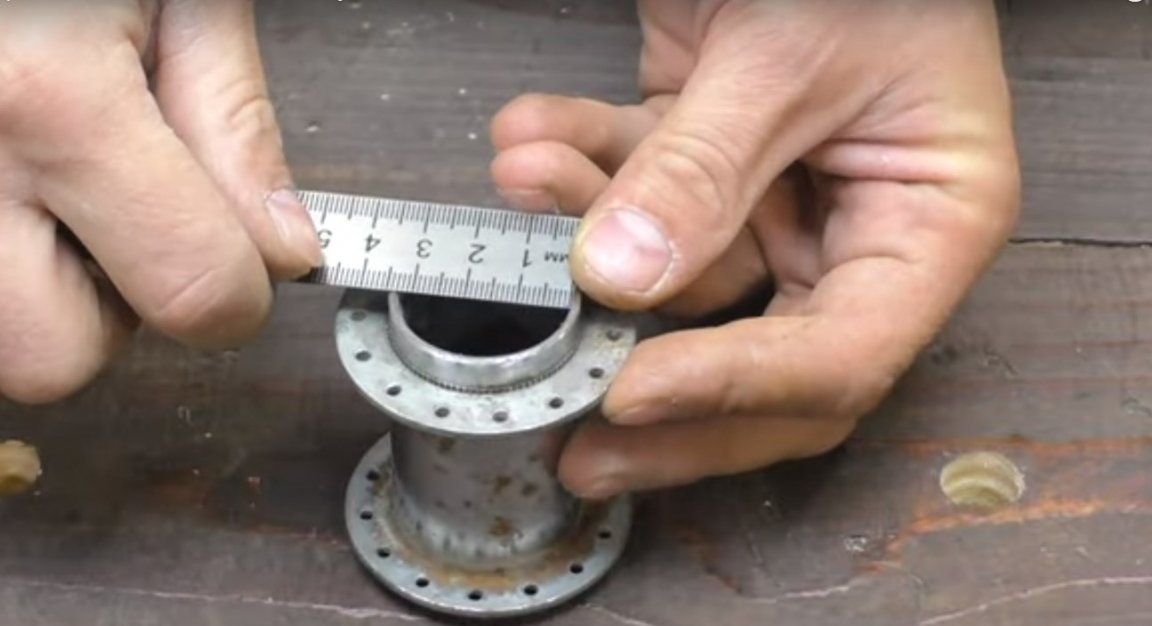
After, I picked up a crown of the same diameter.
Then, from a wooden block, with a crown, he cut a blank.

Further, he processed it a little with sandpaper.
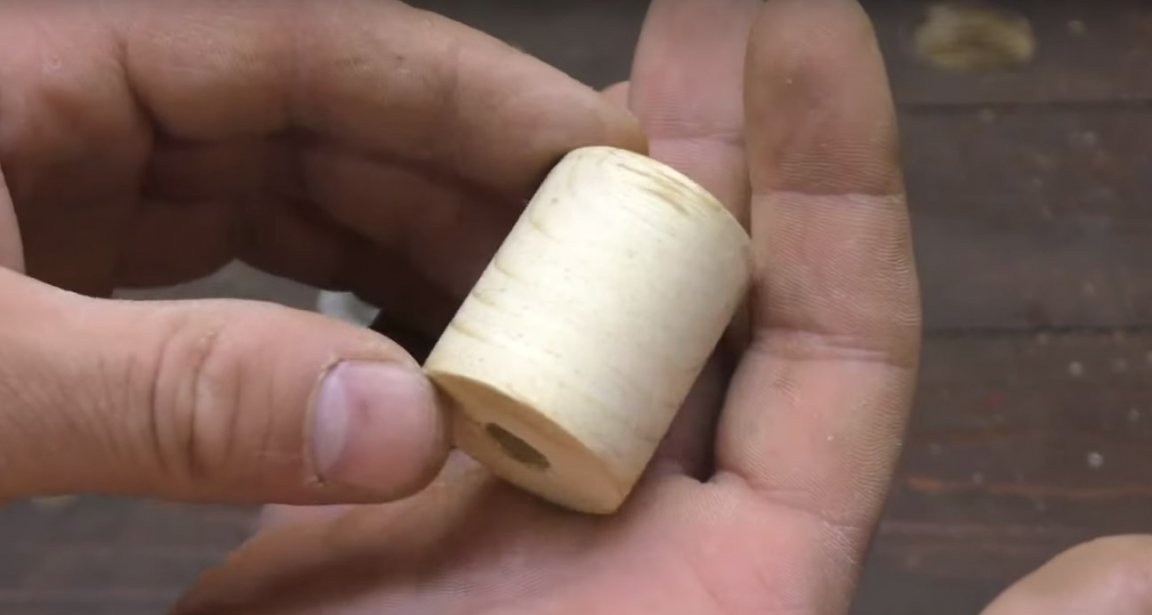
And with the help of a hammer, I installed this workpiece in the rear bicycle hub.

So it happened.
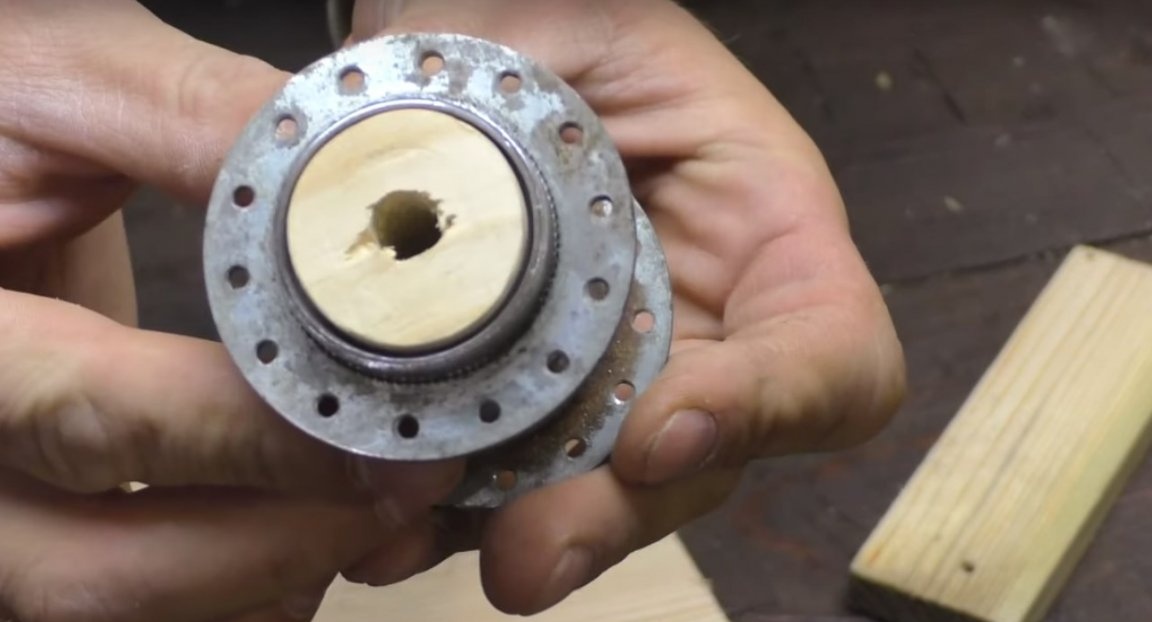

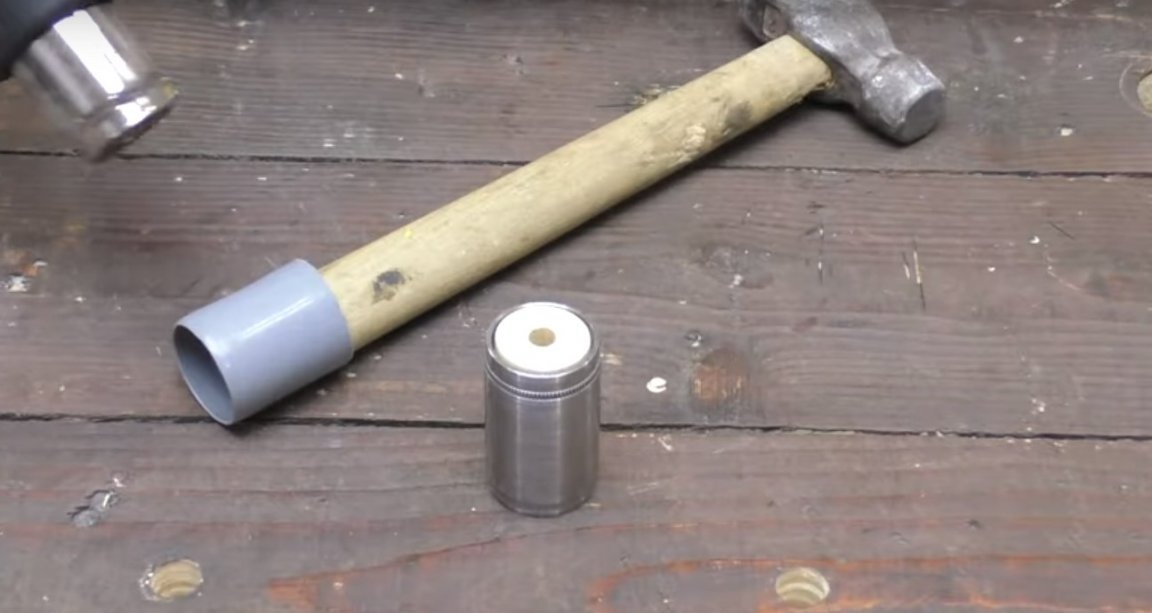
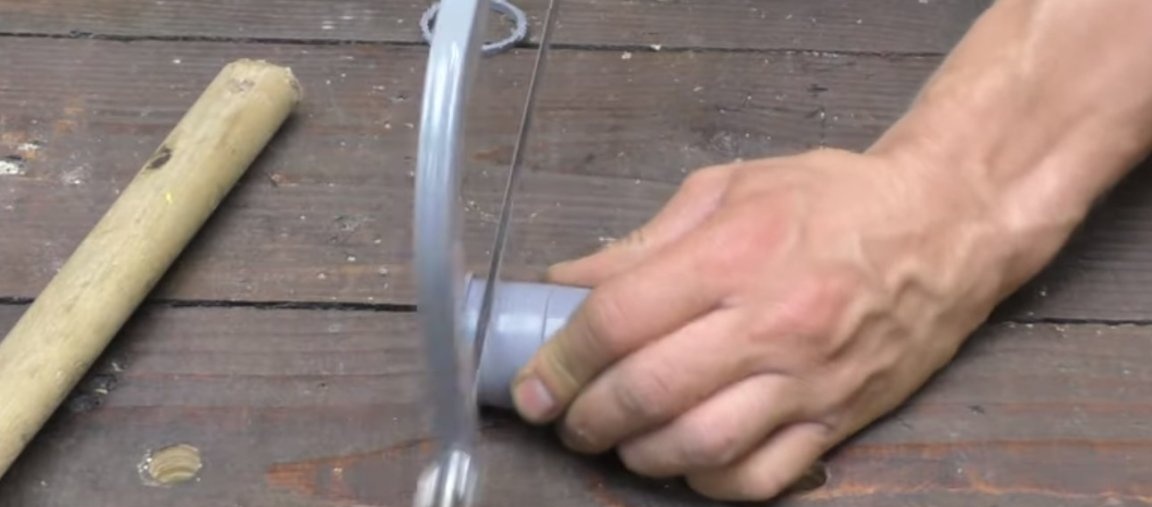
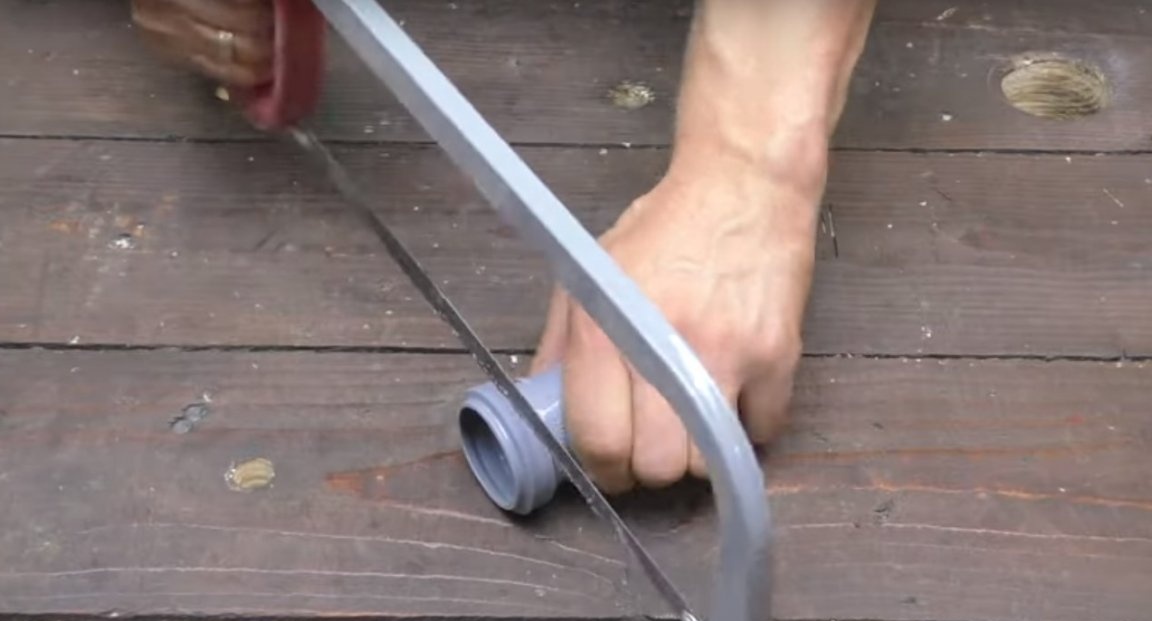
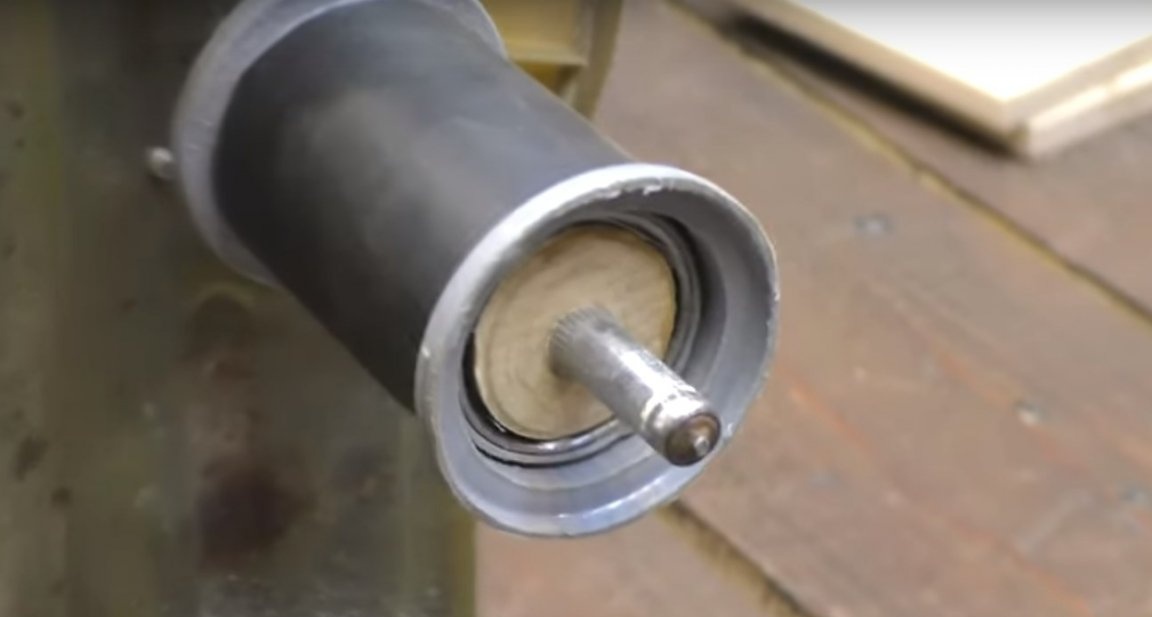
Then, the author took the front hub.

And installed it in the coupler.

Previously, a little grinding off the edges of the sleeve.
Further, the author removed the excess from each edge of the coupling.
And with large sandpaper, roughened the surface of the coupling.
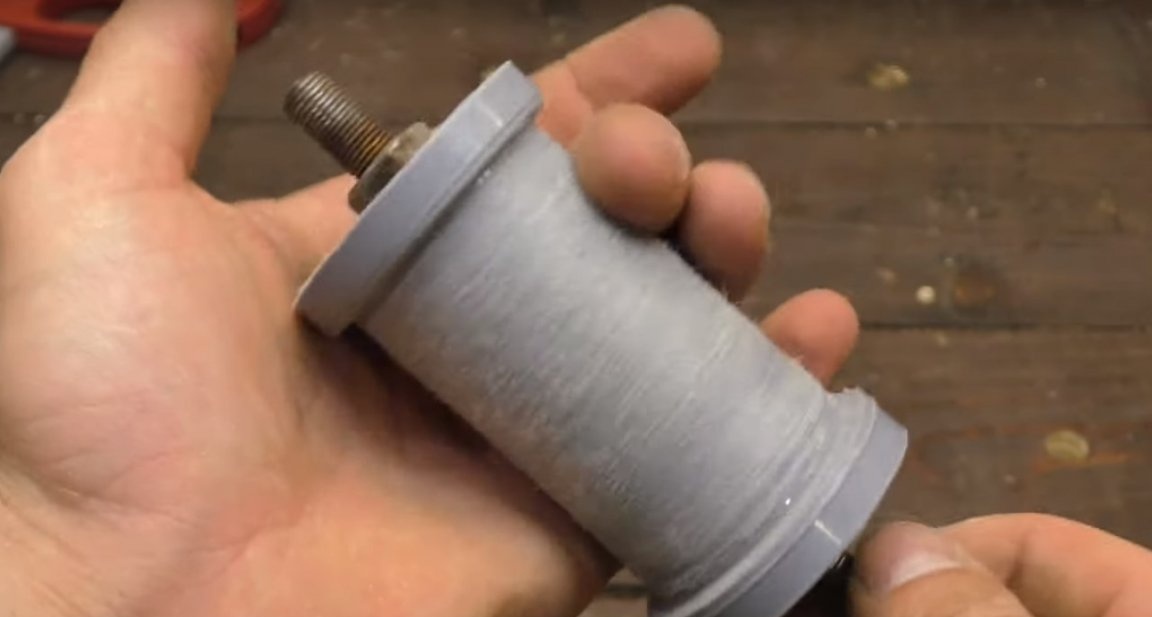
It turned out such a video. Next video number 1.
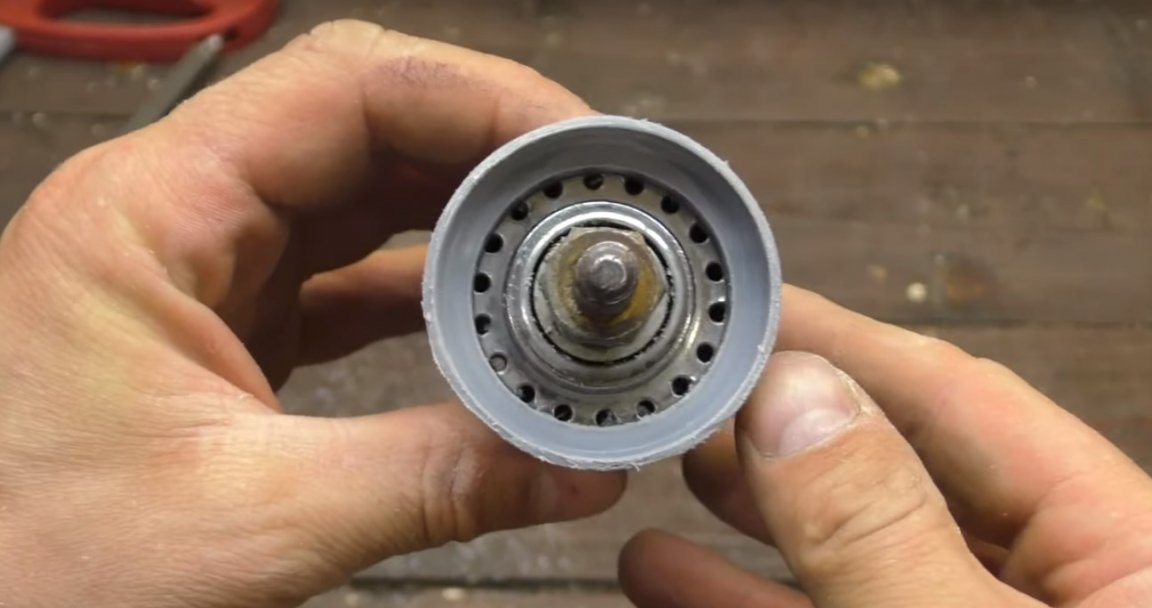
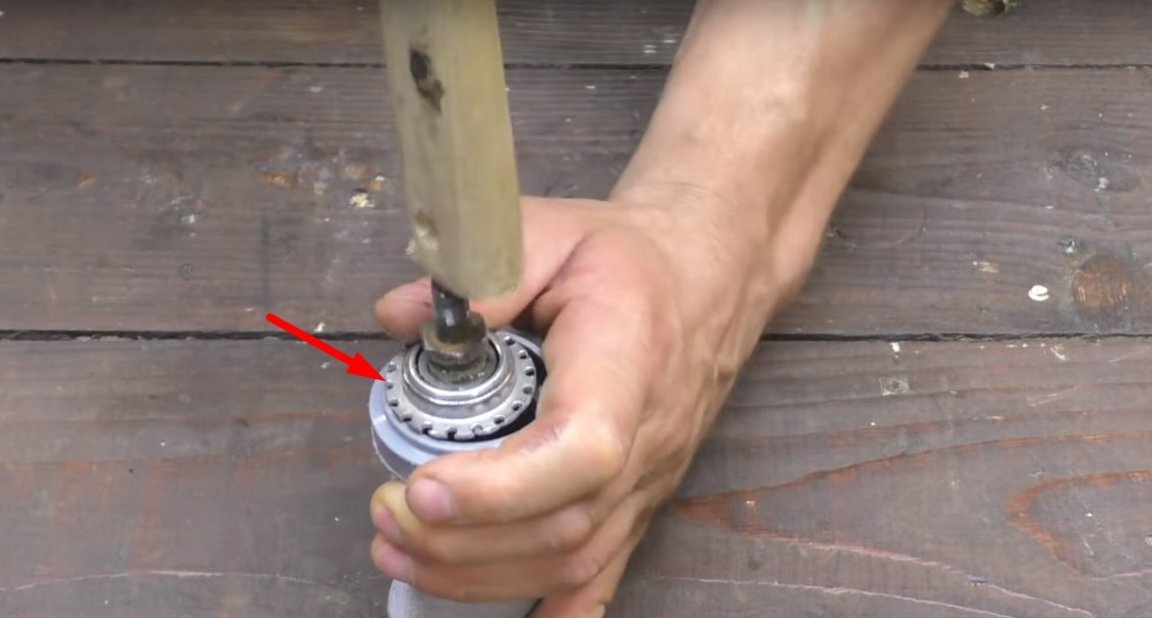
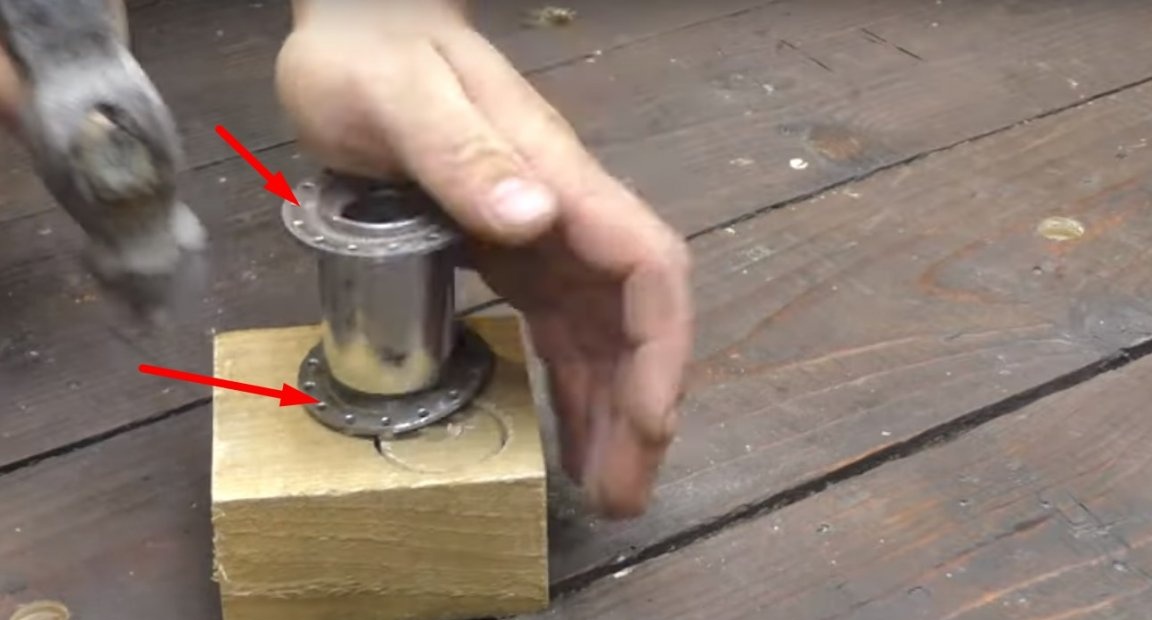
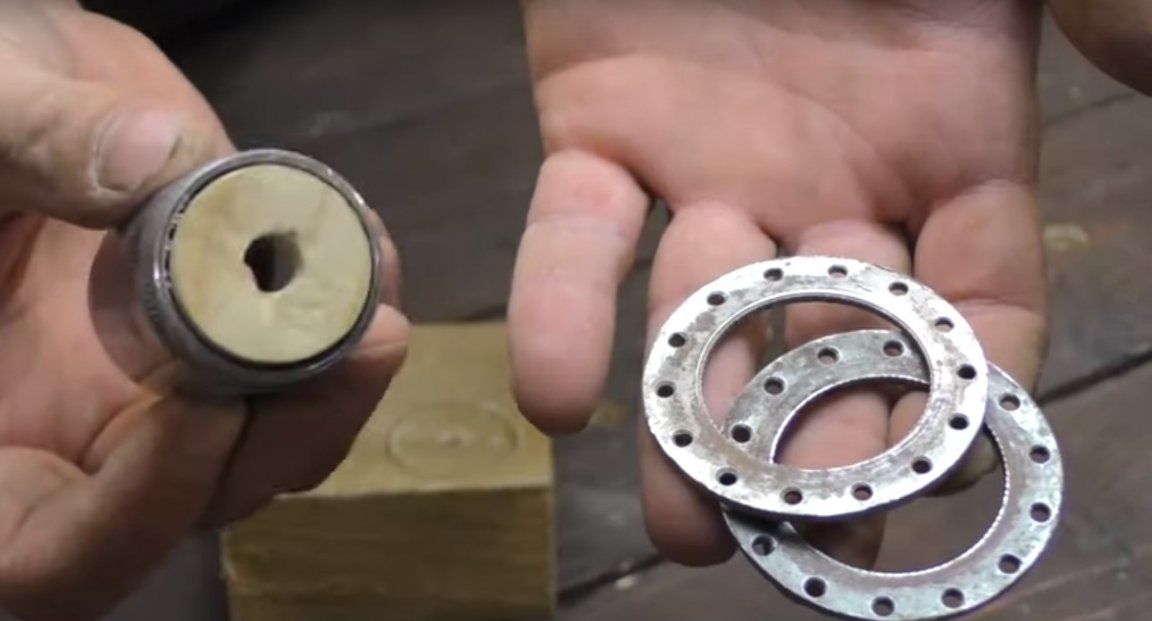
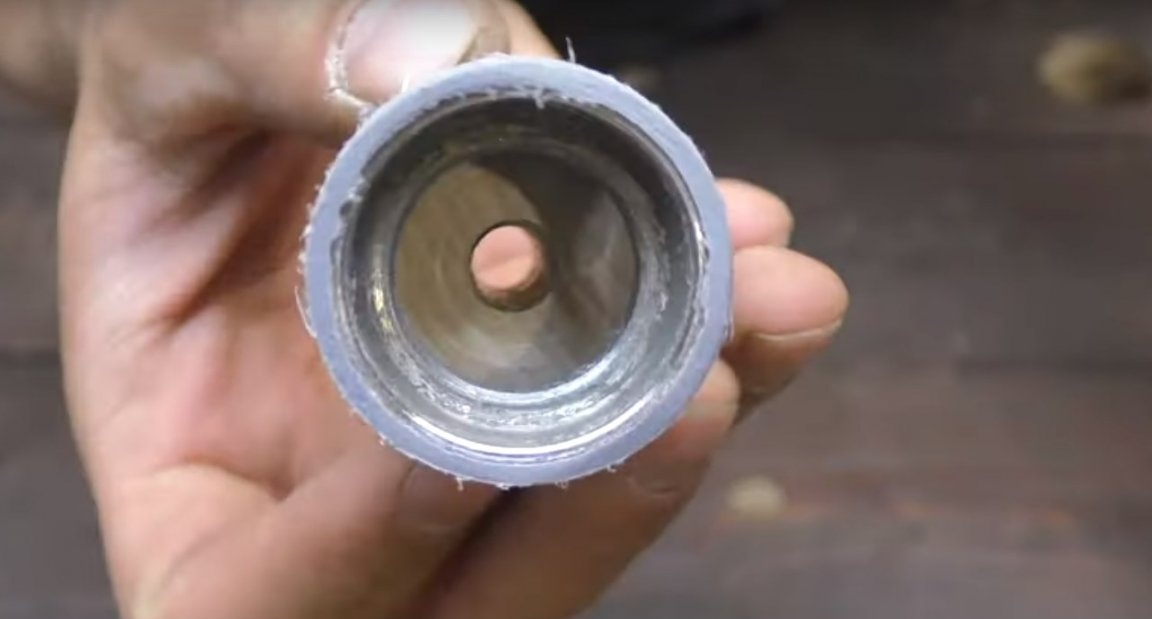
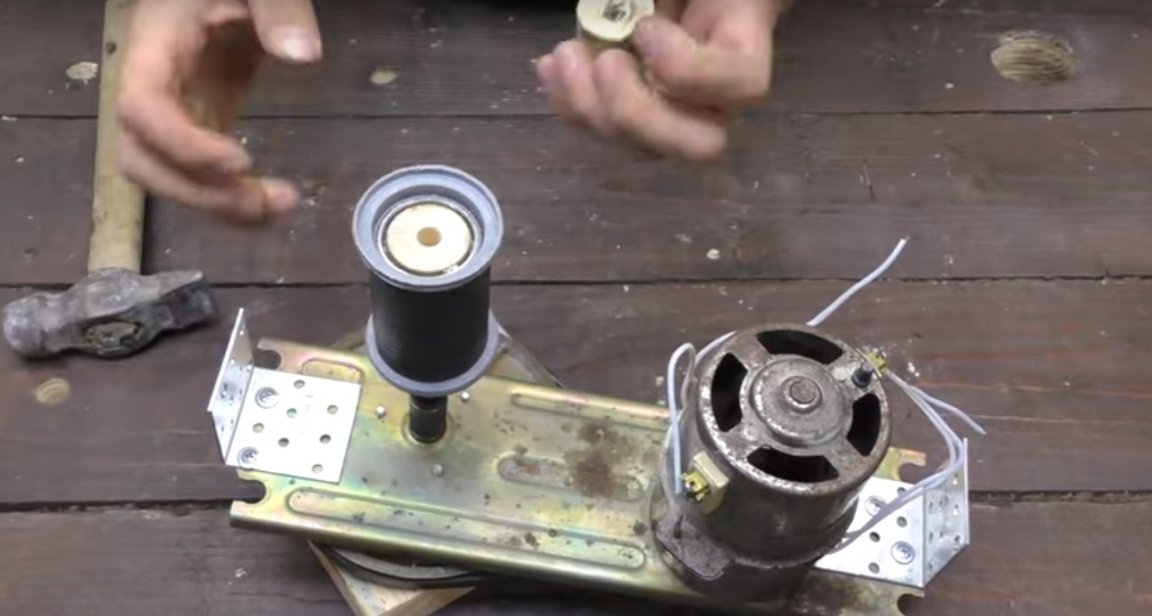
After the author removed these washers from the rear hub.
Then a little heating with a hairdryer, a piece of pipe and the rear bushing.

I installed the pipe on the sleeve.
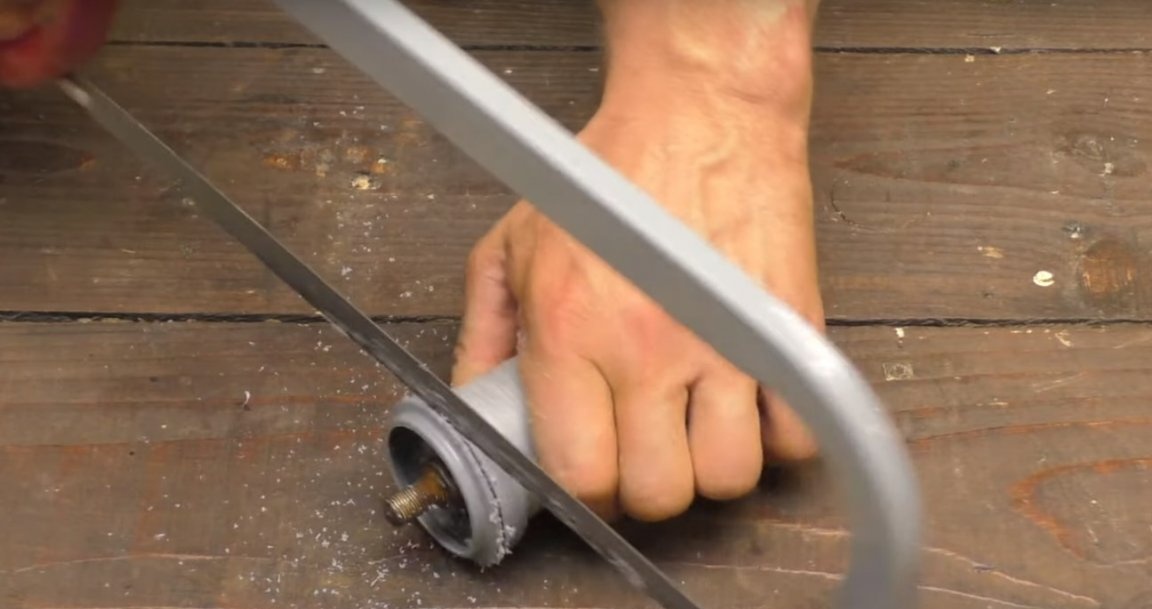
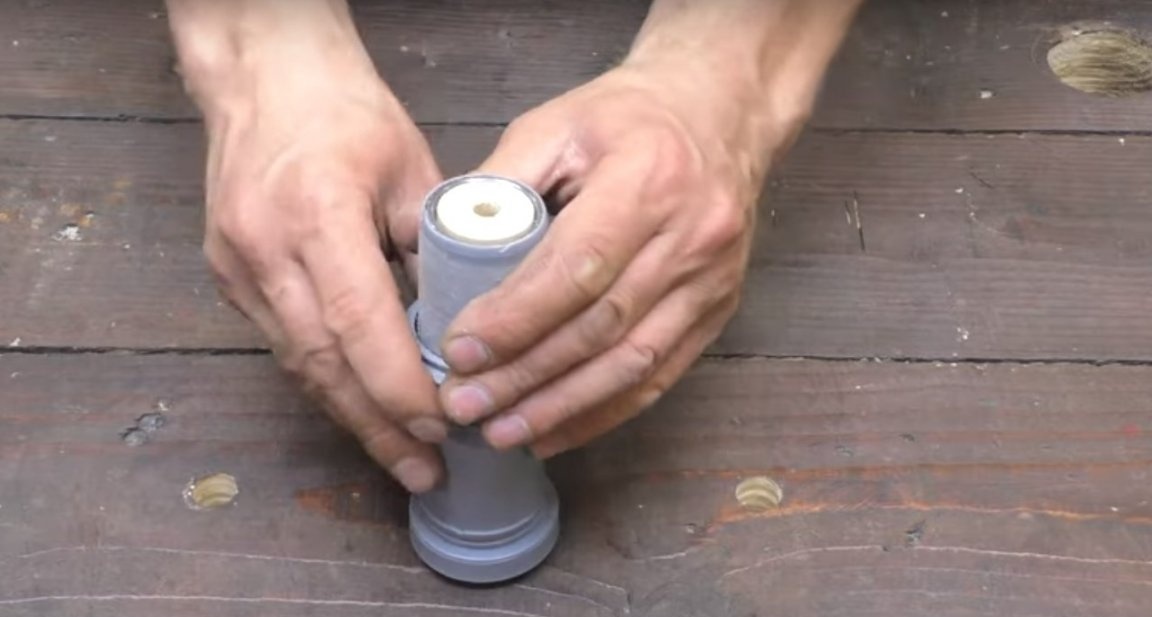
The pipe turned out to be short, and the author no longer had a suitable pipe diameter, but on the other hand, there was a plug for the desired Ø, and he decided to install it on the other side of the sleeve.
And then just remove the excess.
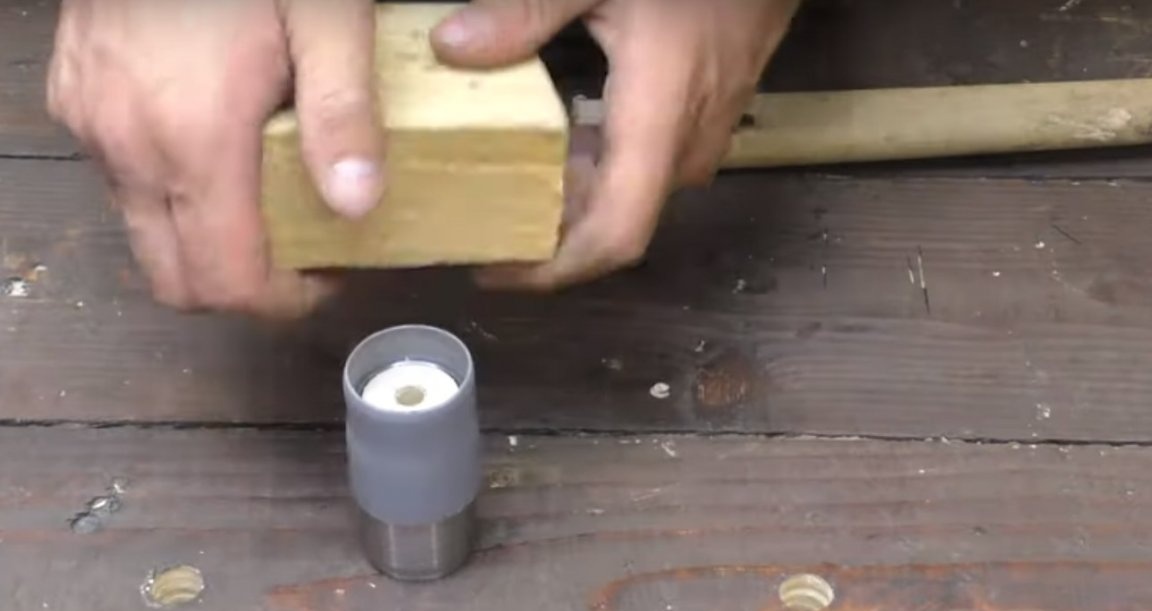
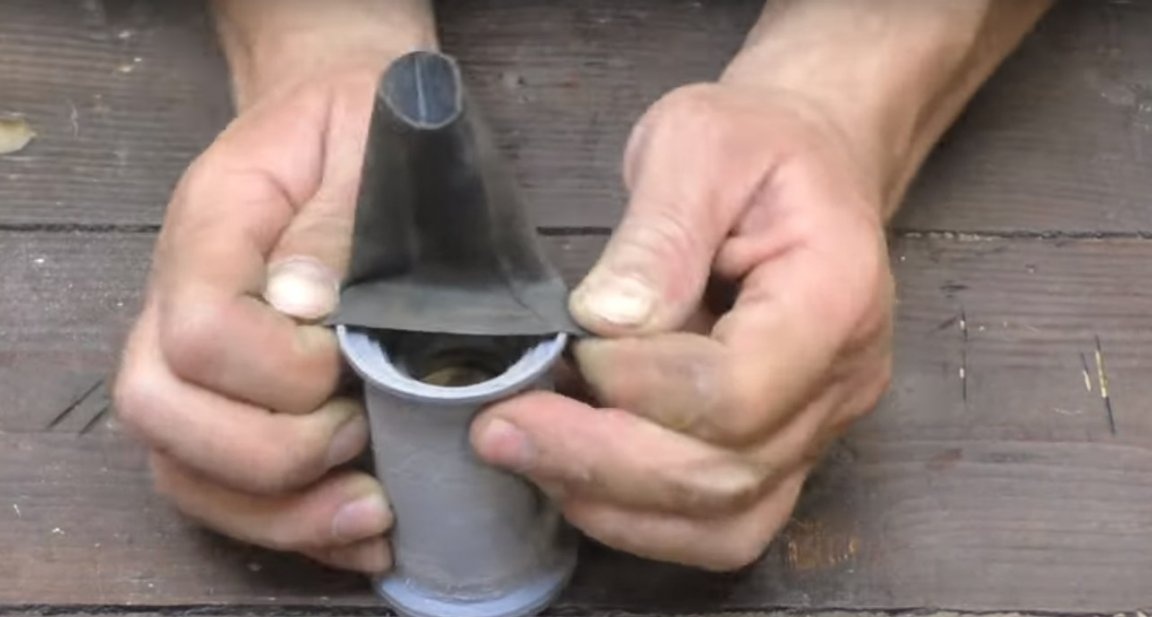
Then this blank, the author will install in the coupling.
Gently and slowly, warming up the clutch with a hairdryer.
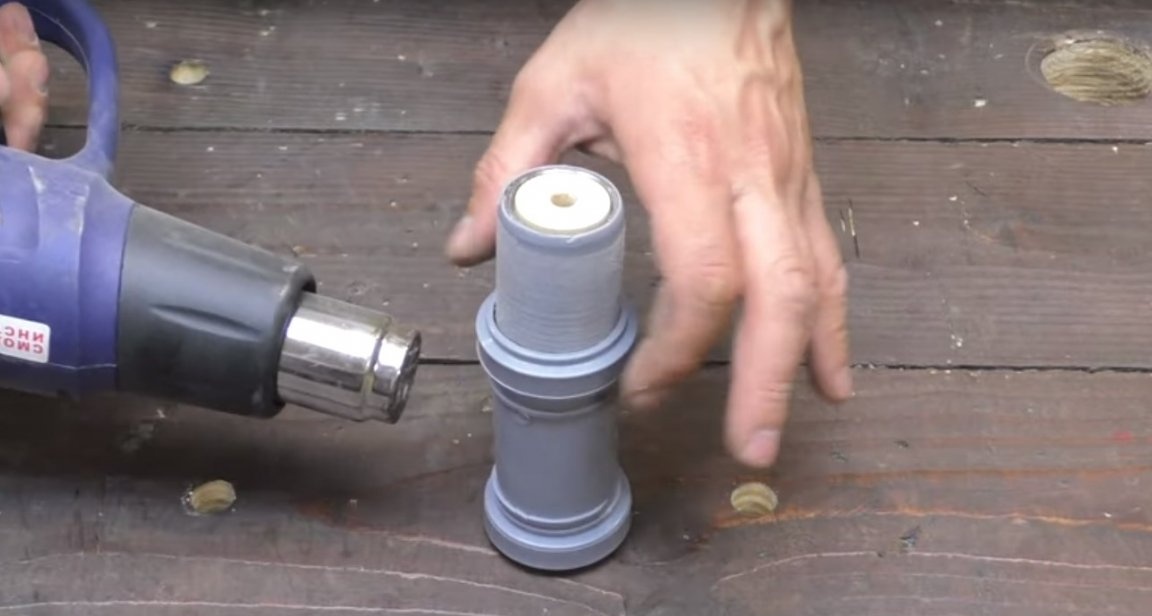
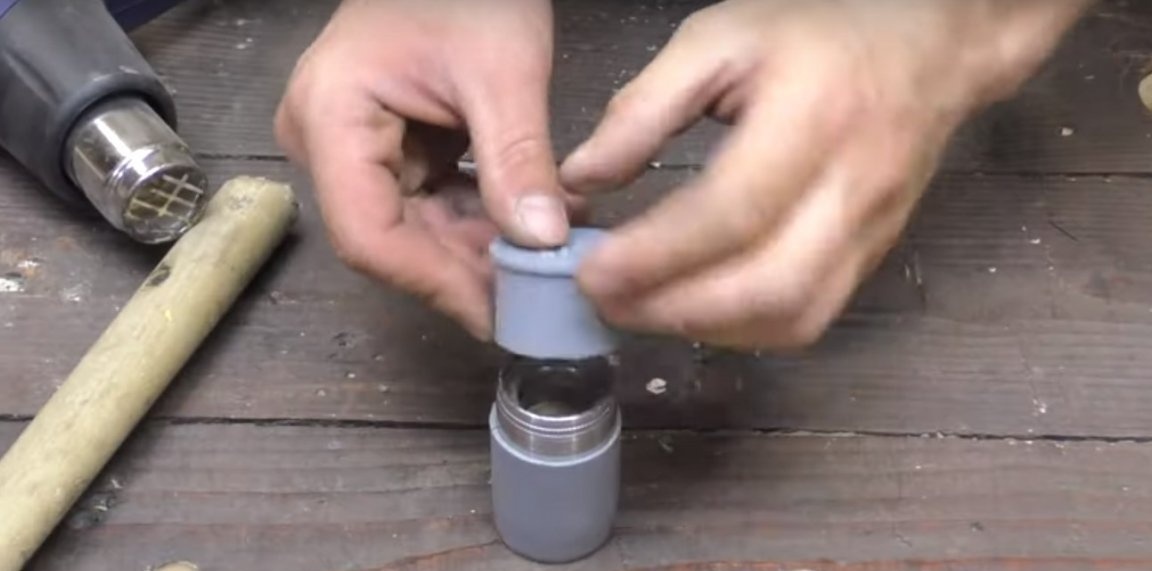
Then remove excess.
Treats the edges with sandpaper.

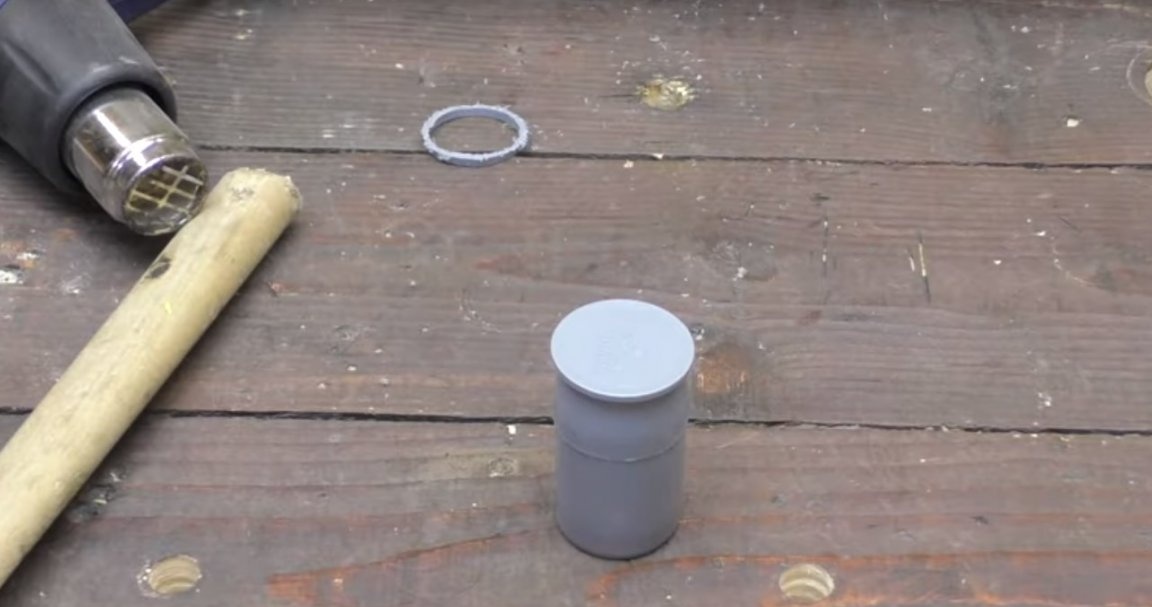
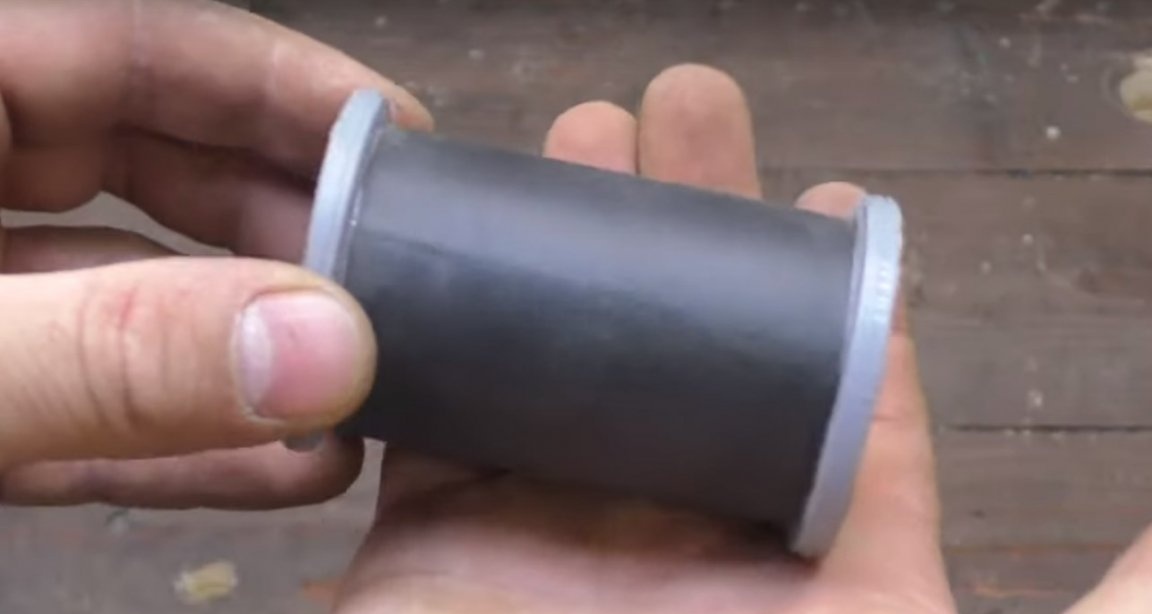
After the clutch puts a piece of the bicycle chamber.
It turned out another video. Next video number 2.
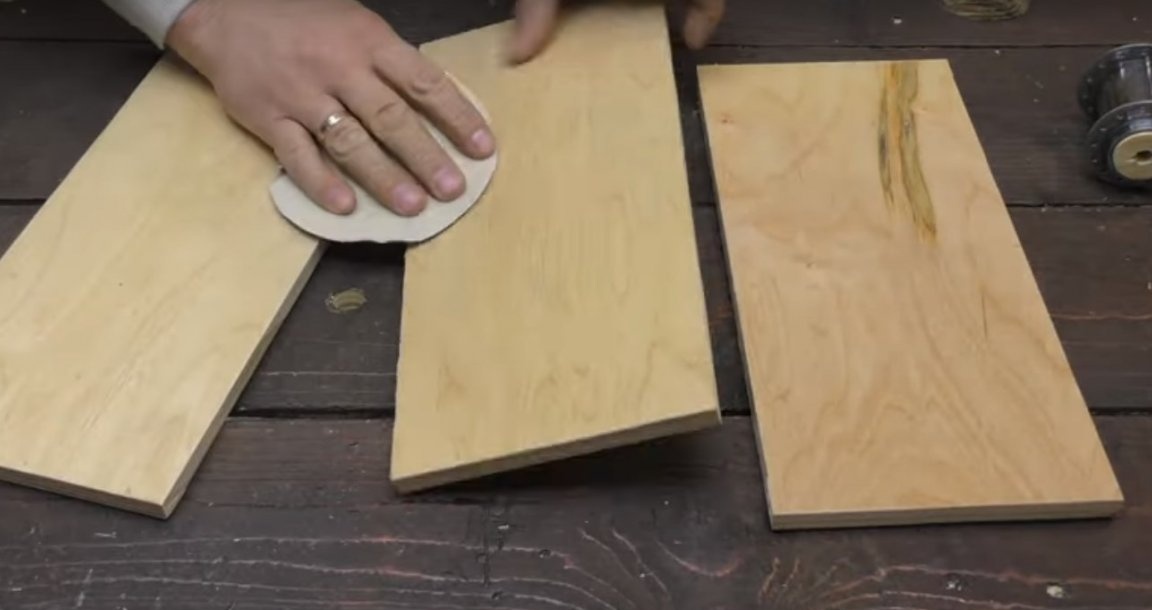
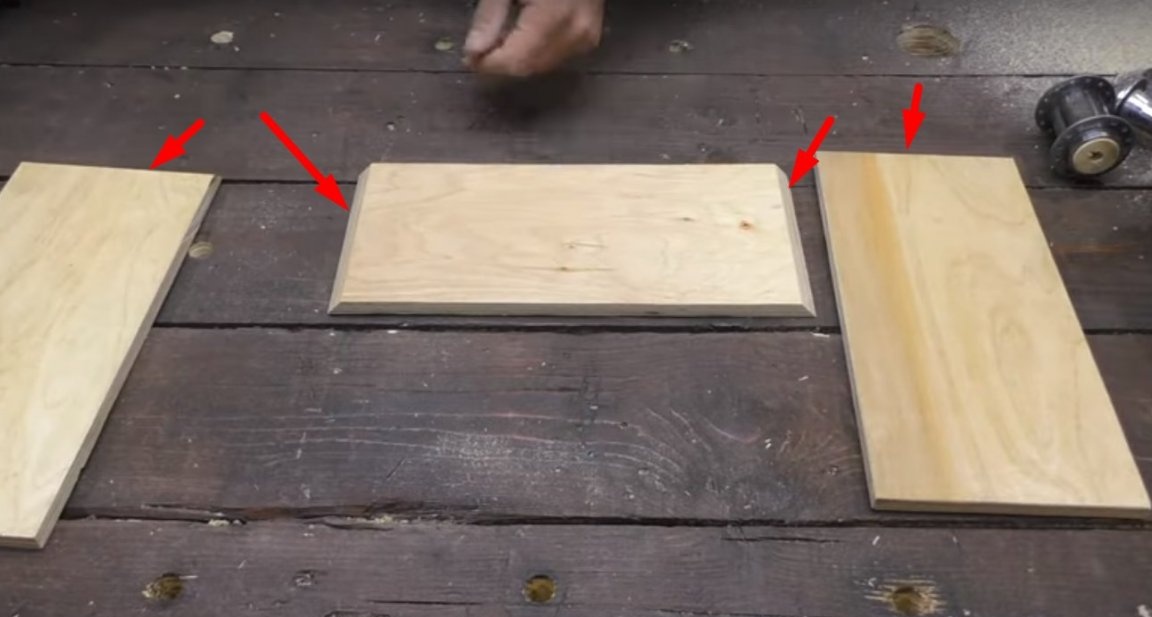
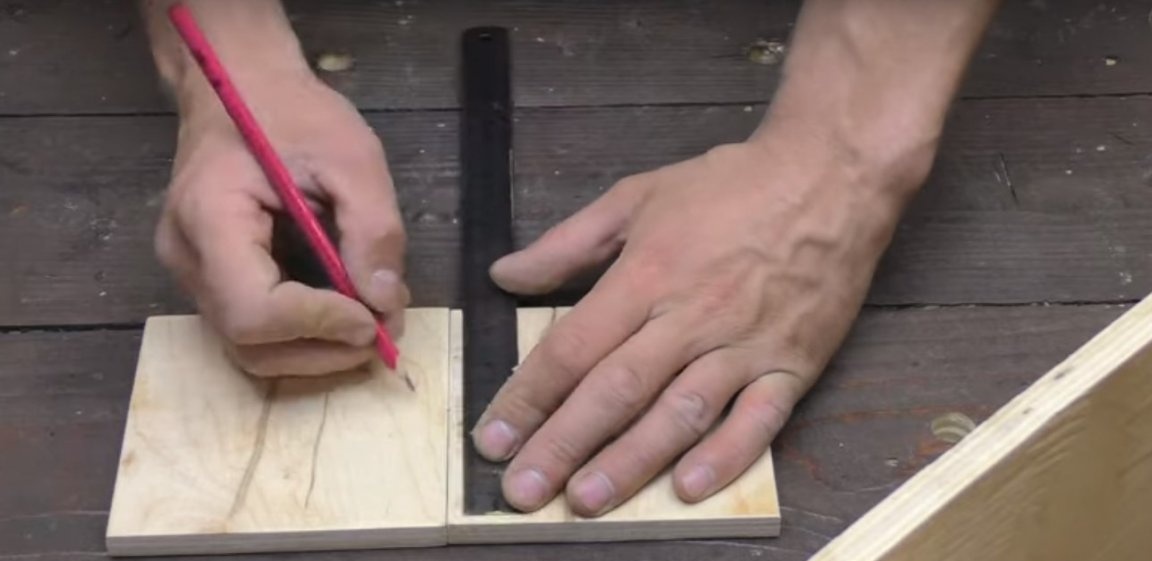
Now that both videos were ready, the author began to manufacture the case. To do this, he took and cut out three identical blanks from plywood.
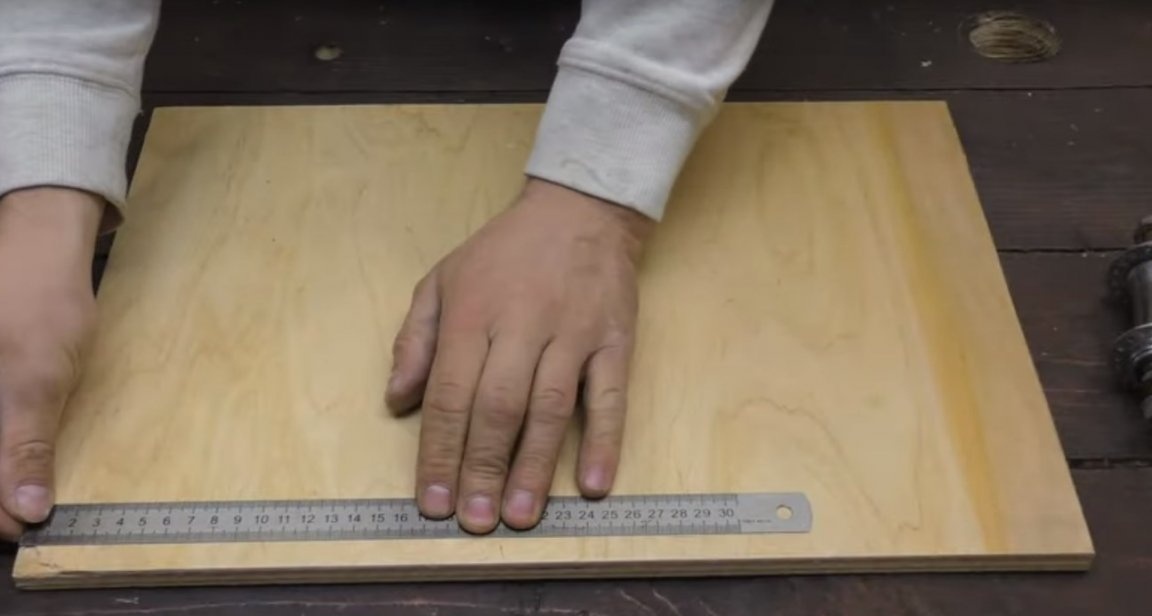

After processed the edges of these blanks with sandpaper.
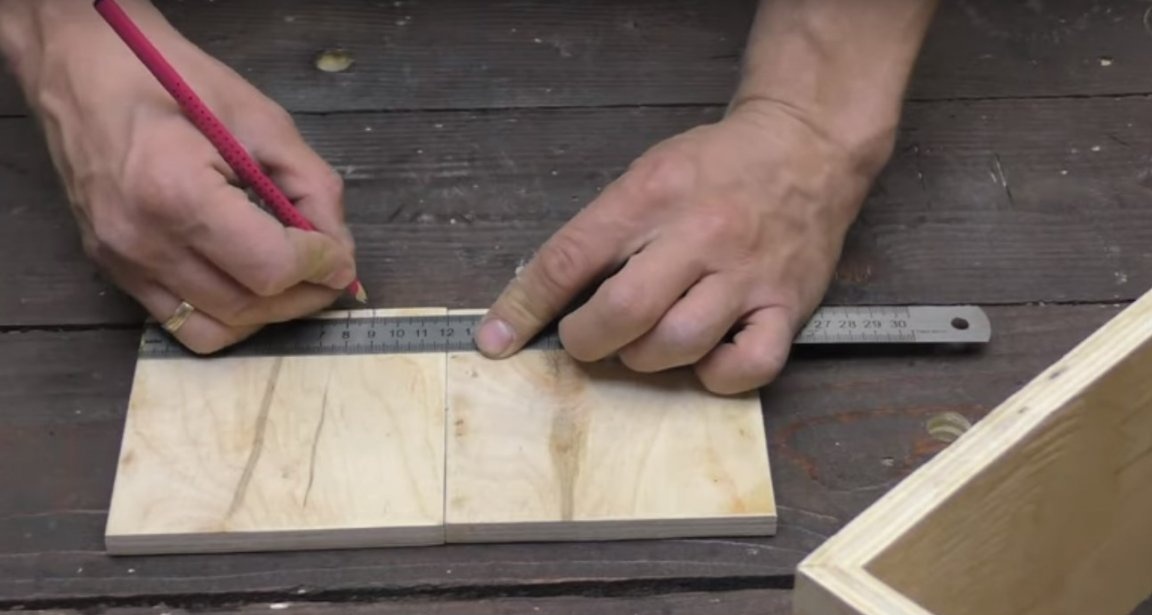
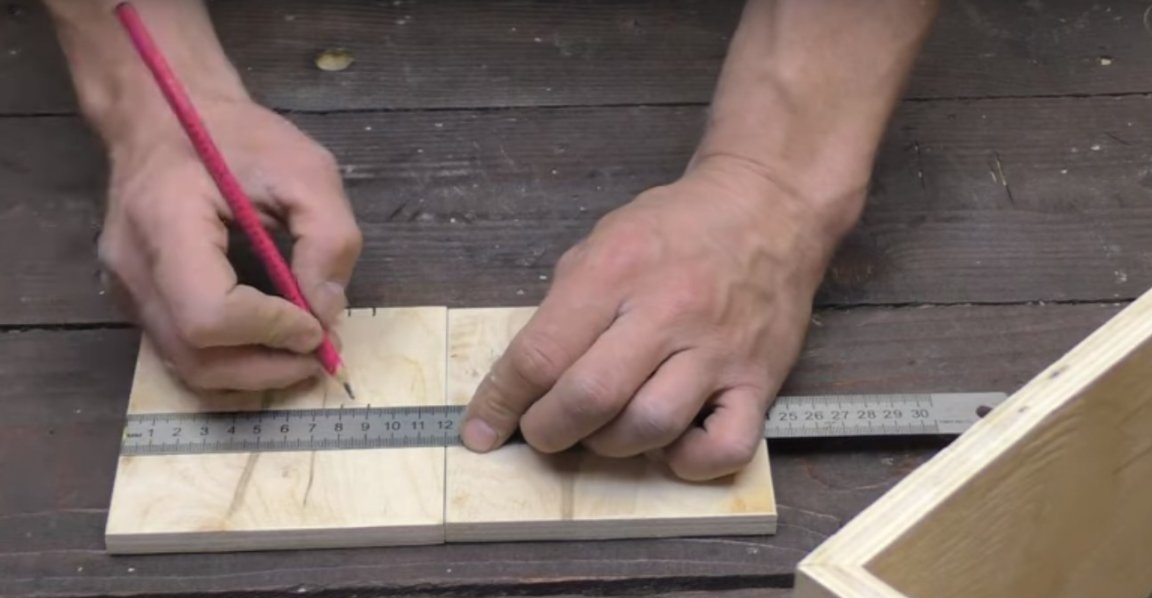
After did the markup.
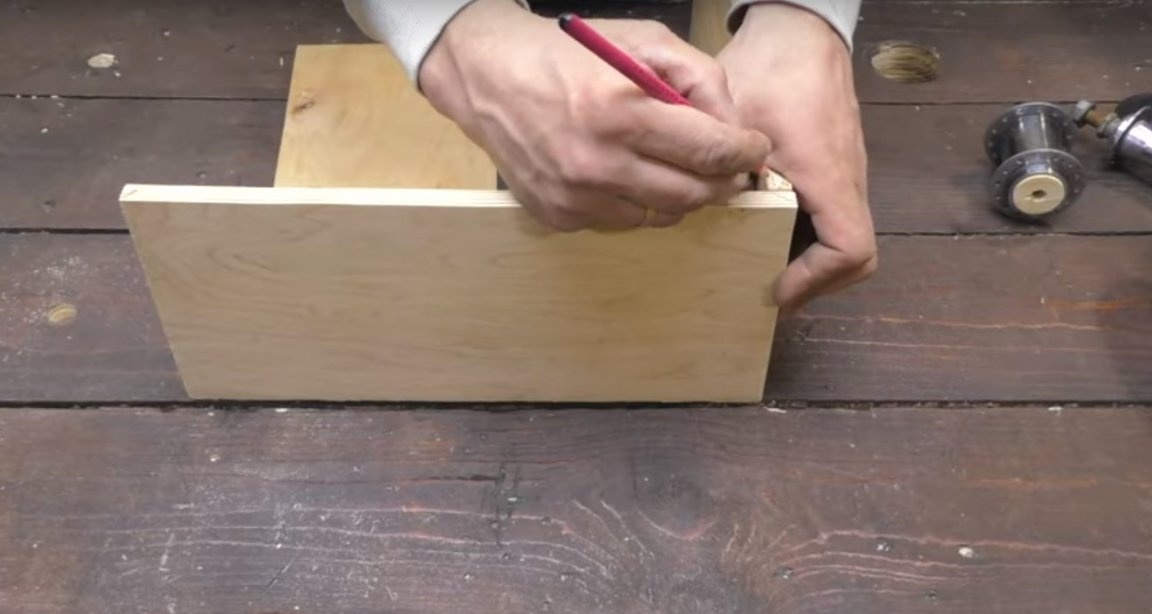
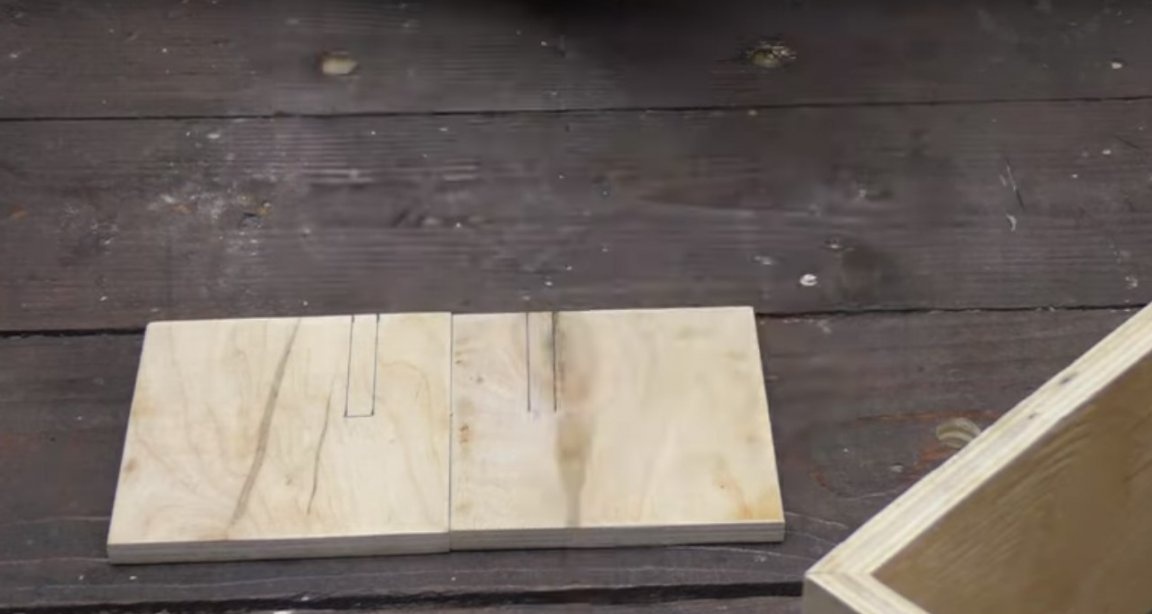
Then I trimmed the marked edges at an angle of 45 degrees.
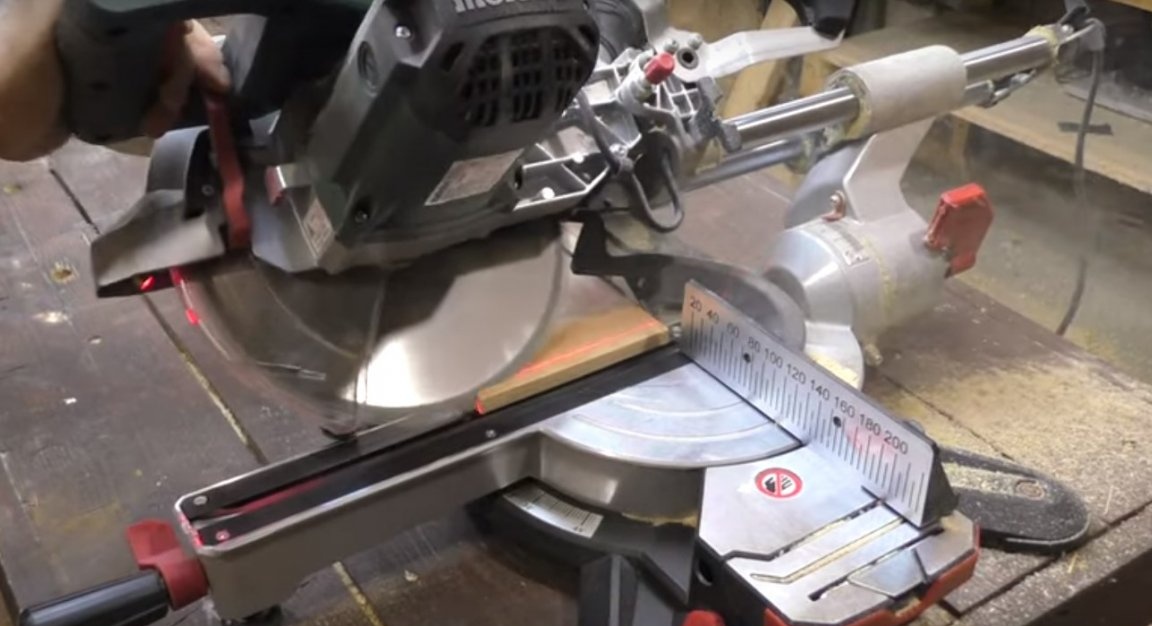
It turned out like this. Both edges are trimmed on one of the blanks, and only one edge is trimmed on the remaining two.
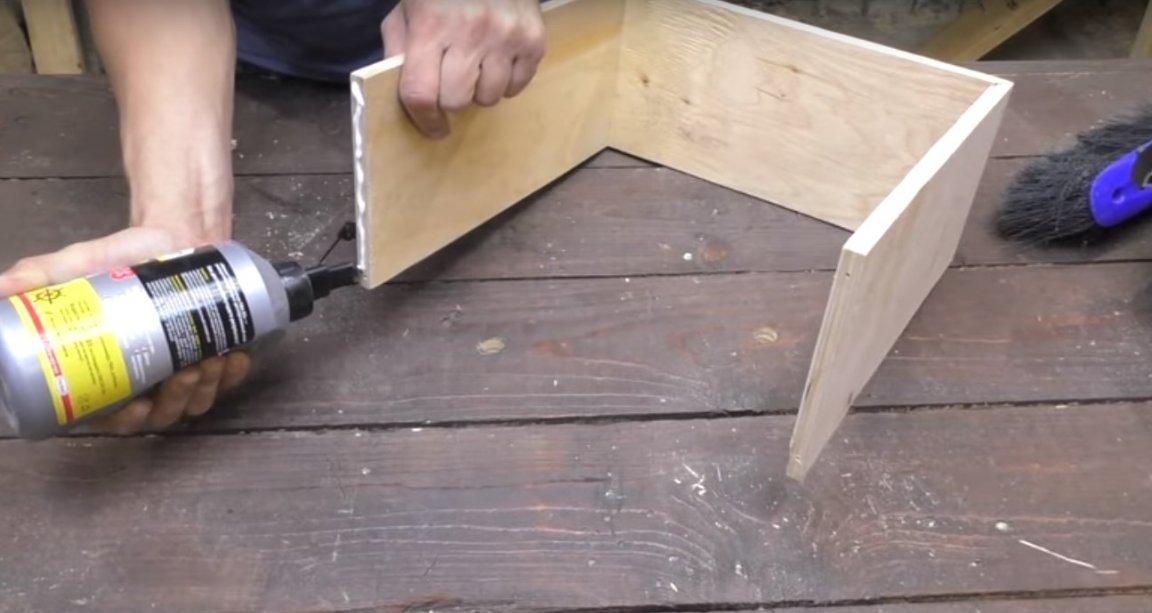
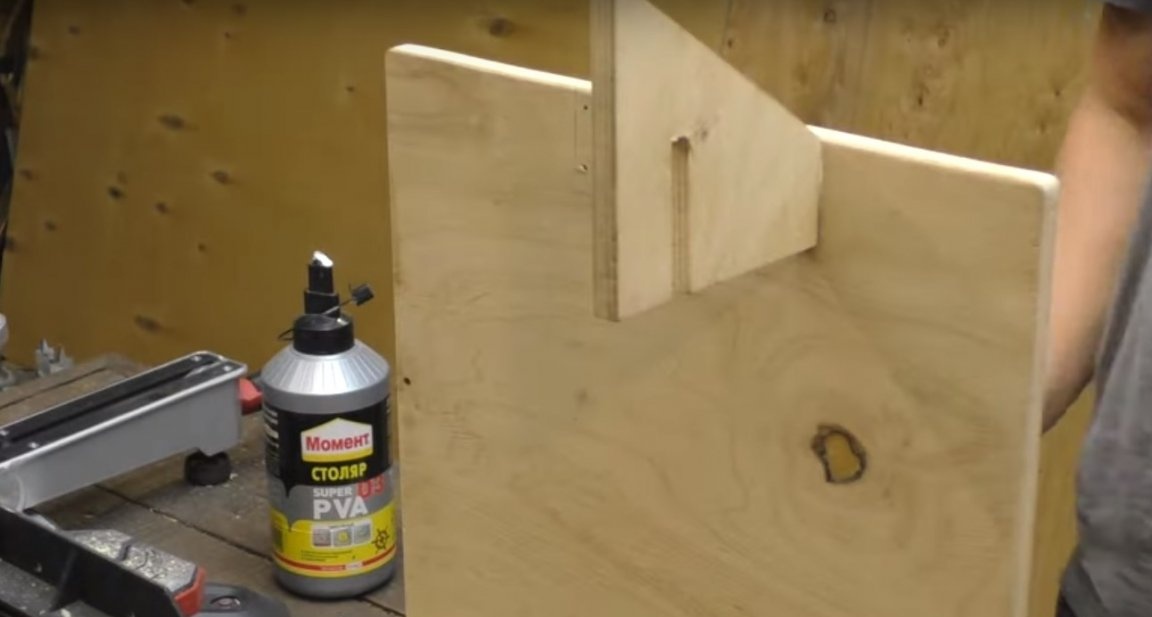
Now the master glued these blanks. As shown in the photo.
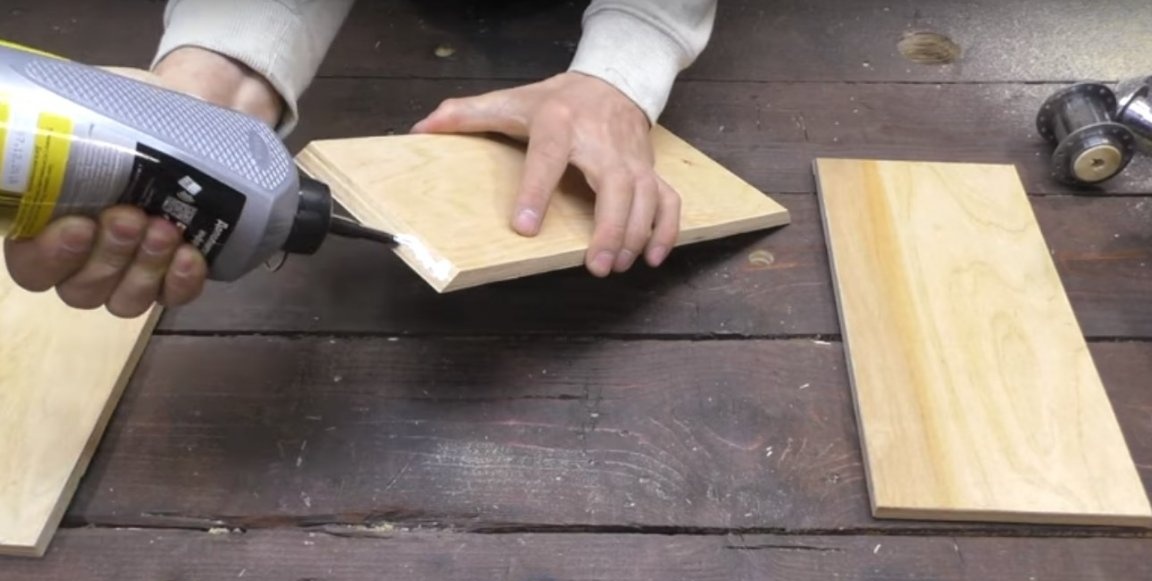
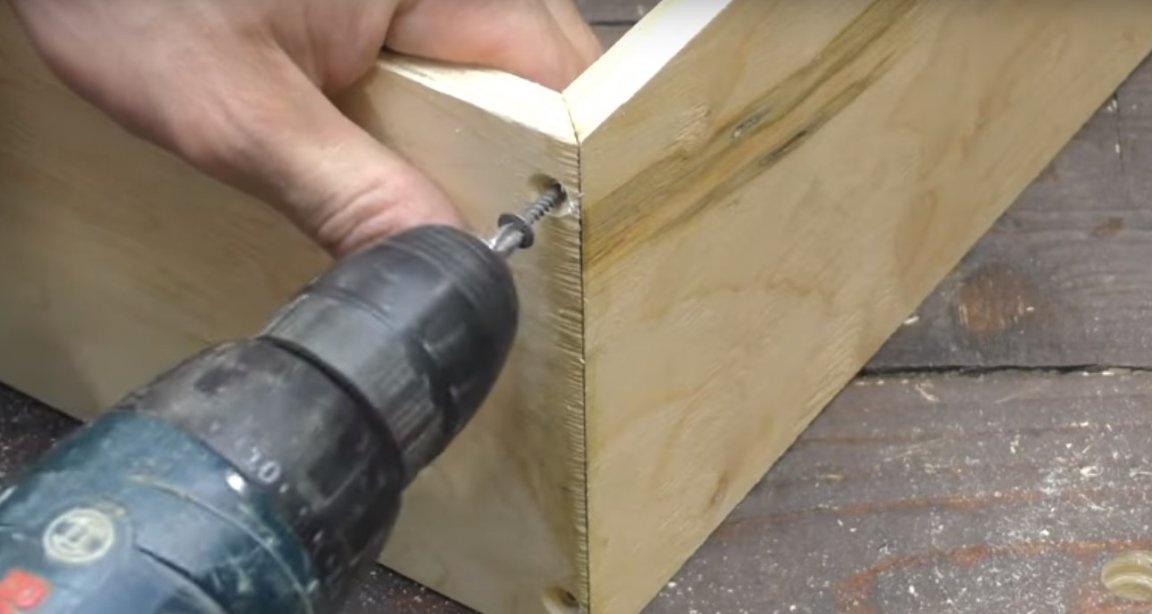
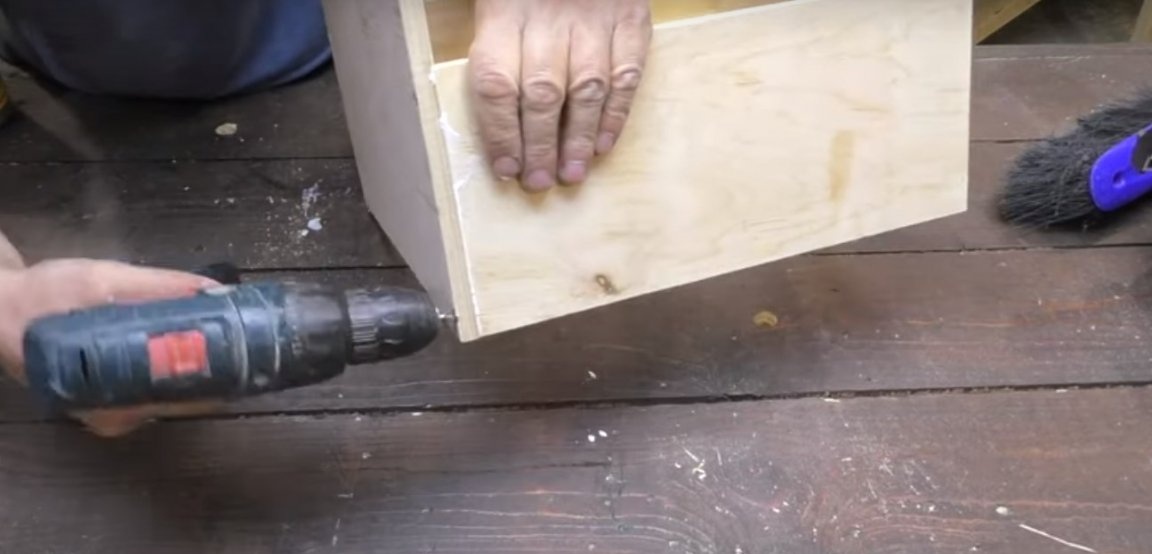
Securing them, additionally with screws. But first, under all the screws, the author made a hole.
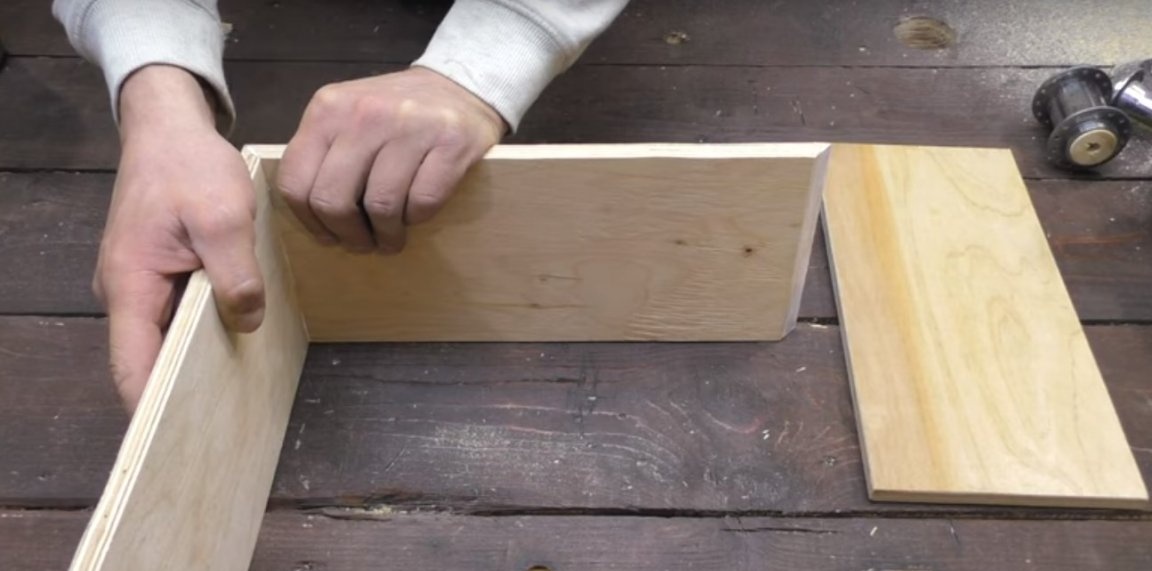
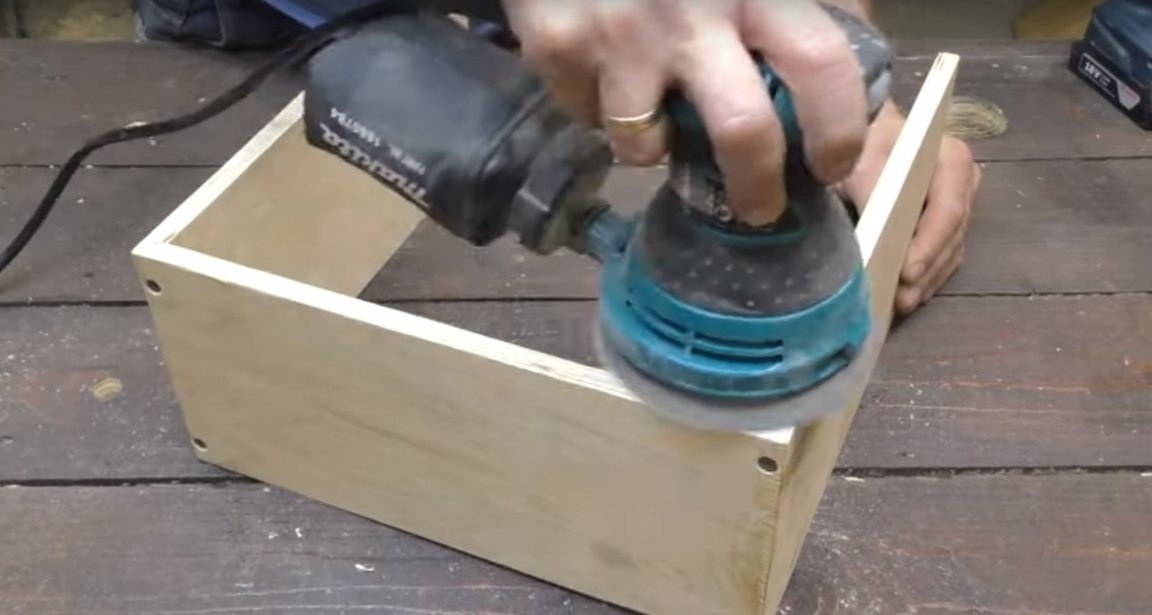
After trimmed edges, with a grinder.
Then I glued to the lower edges of the resulting part, not a large sheet of plywood.
All places of gluing, the author additionally fixed with screws.

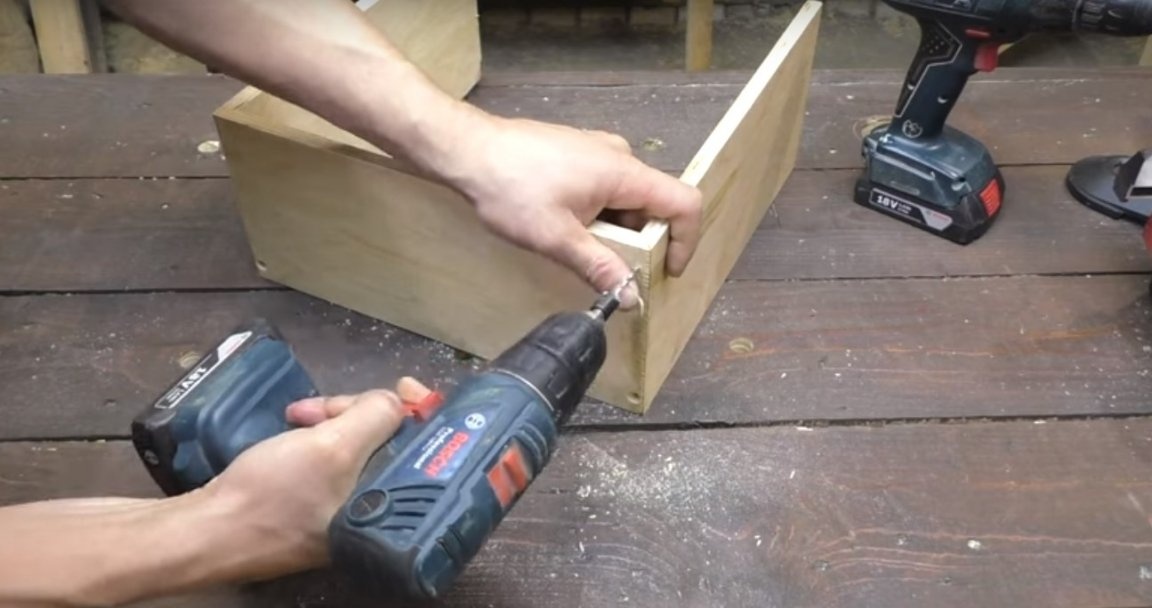
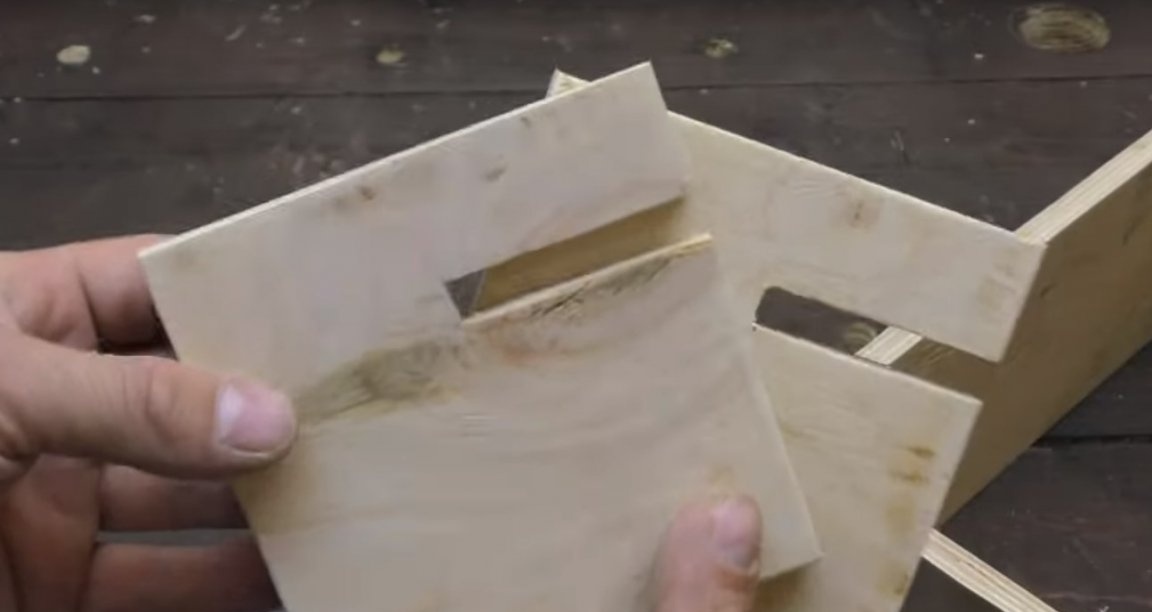
Then the author from plywood cut a couple more of these blanks.

And having made a marking, deleted superfluous.
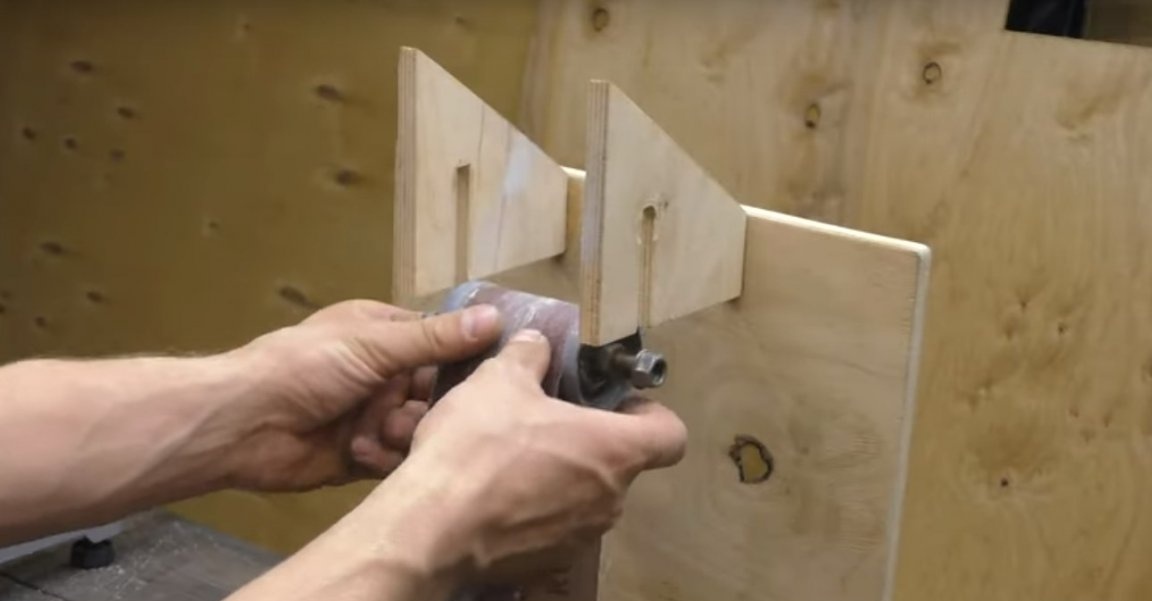
Such details turned out here. These will be the No. 1 roller holders.
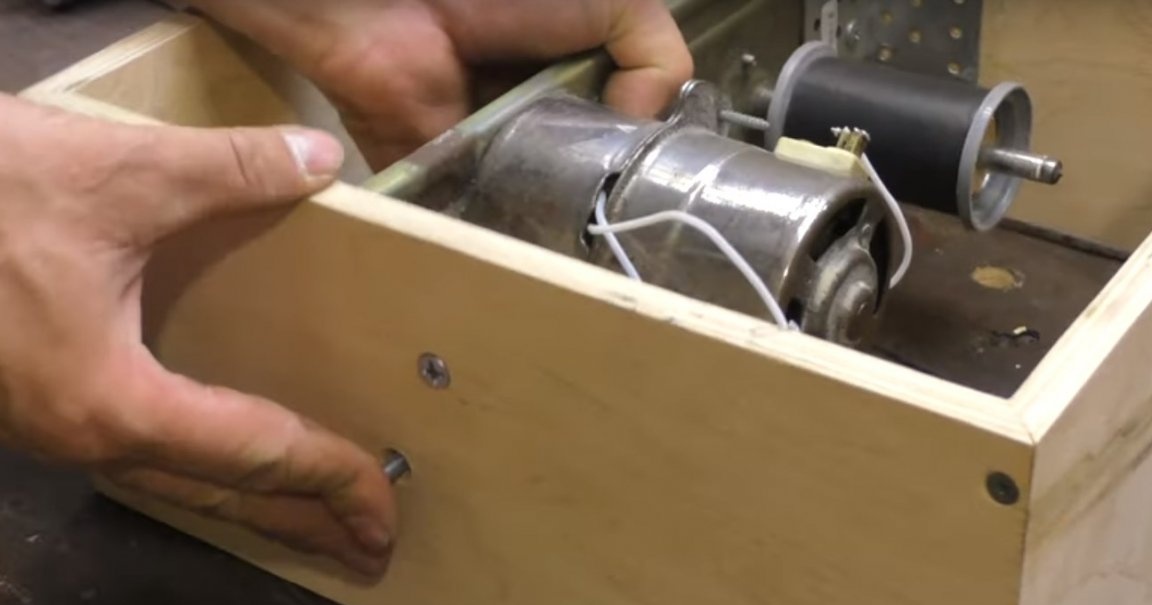
After that, the master installed roller No. 2 on the drive shaft.
After installing the motor in the housing.
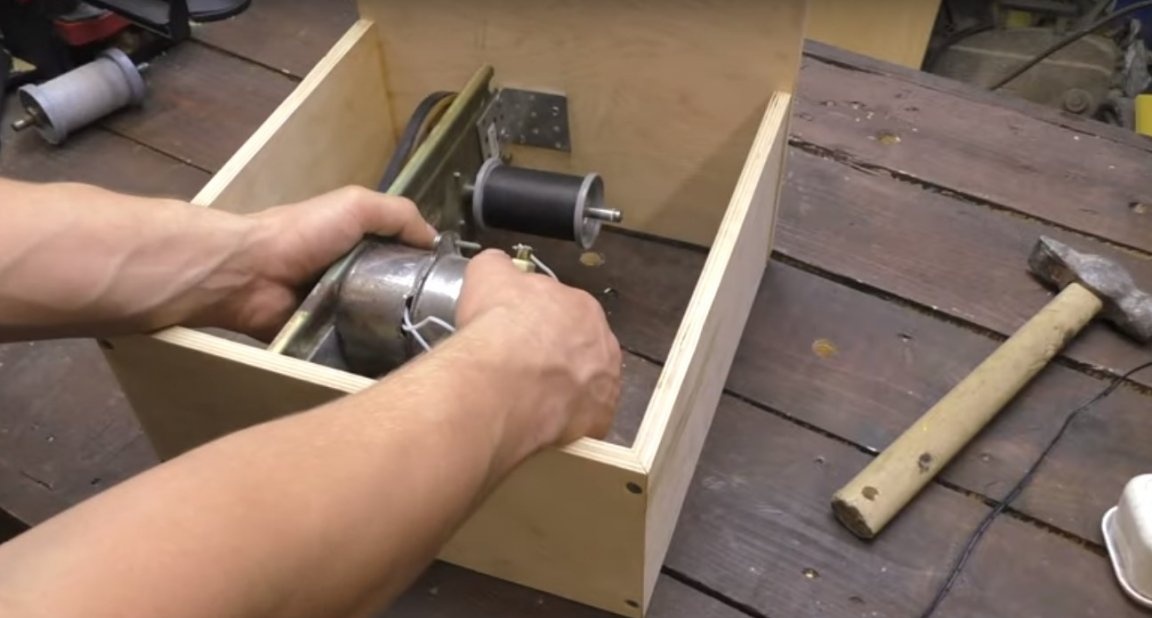
And fixed it with bolts.
Then, on the upper part of the case, the author installed the holders and fixed them with screws. In the photo you can see that for greater aesthetics, the author cut the corner a little on each detail.
After, the author sets the sanding belt on the lower roller.
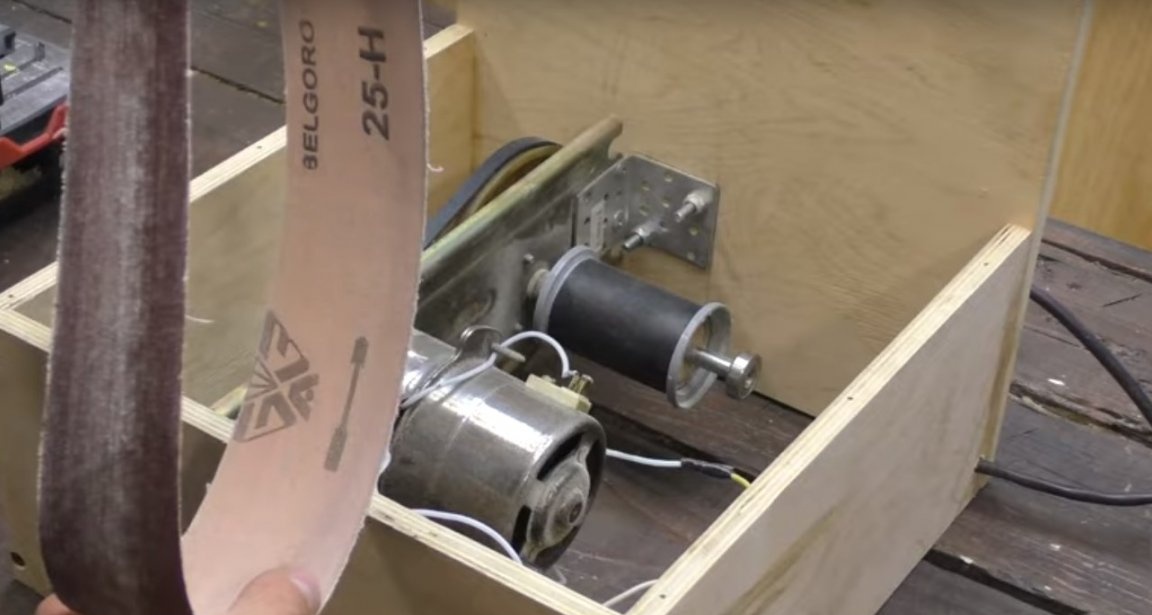
Then to the top roller. After installing the roller in the holders and pulling the roller, fix it with nuts.
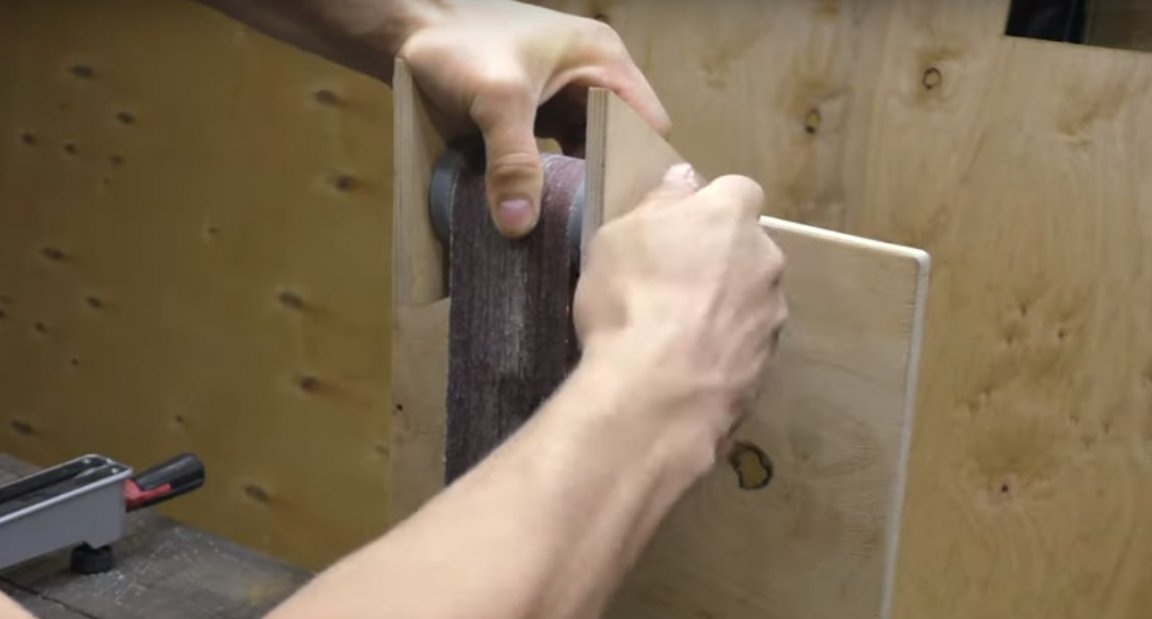
Like this.

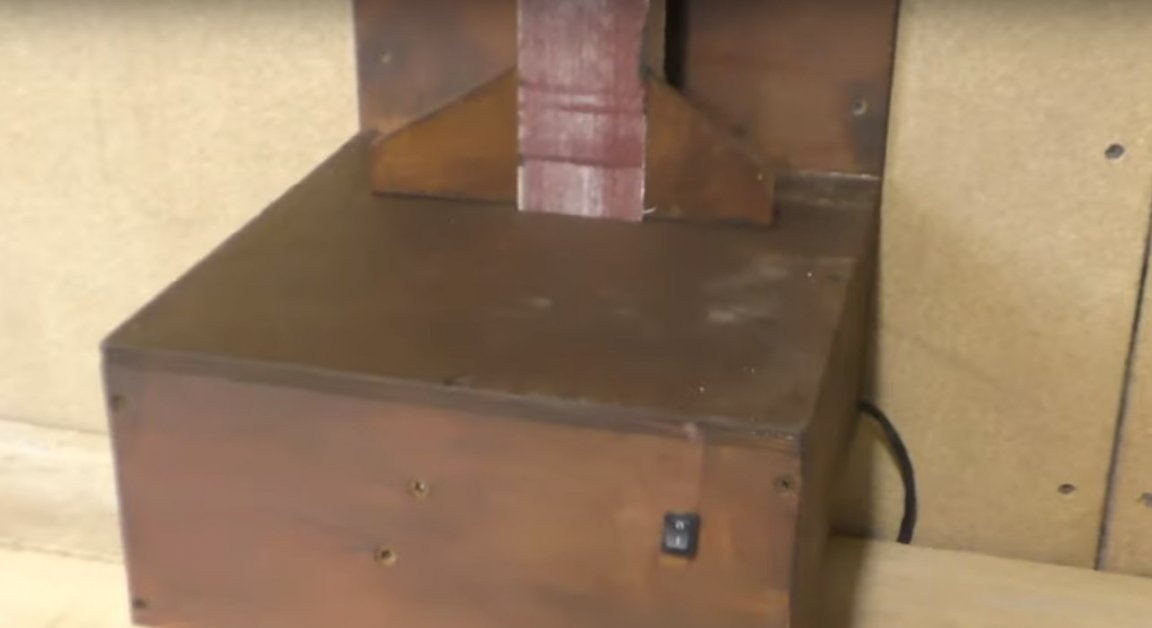
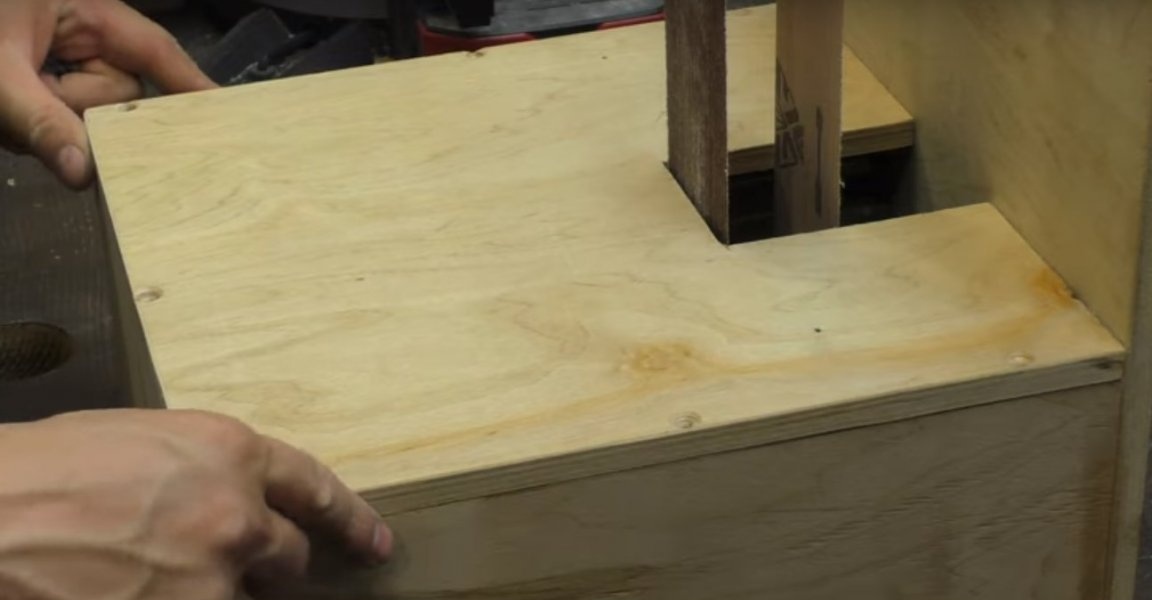
Then, the author installs on the case, for the early prepared sheet of plywood and fixes it with screws.
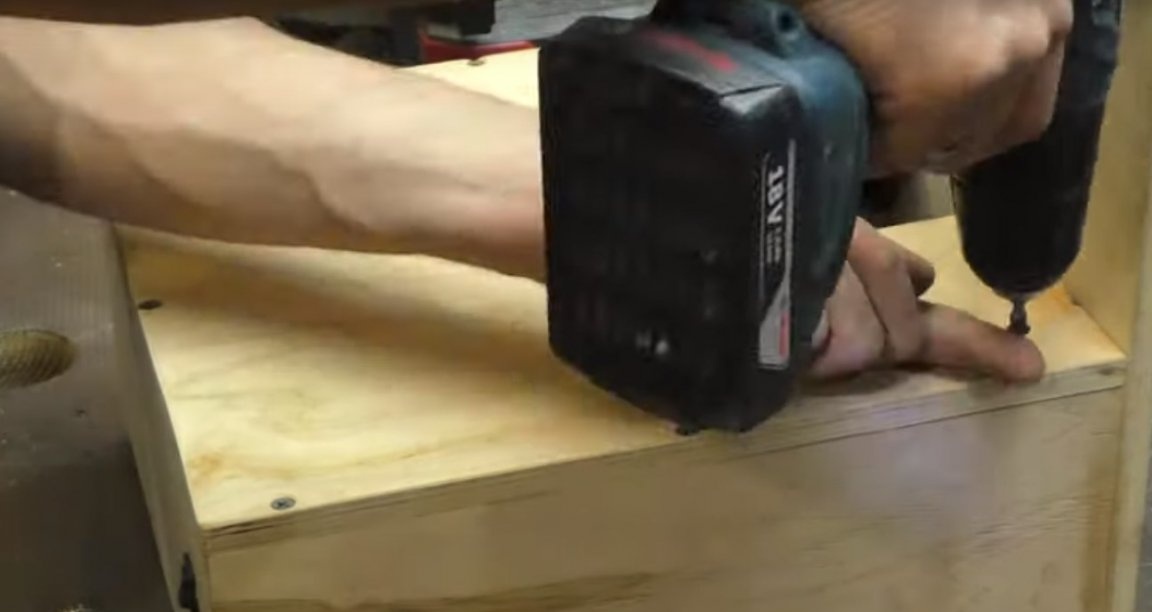
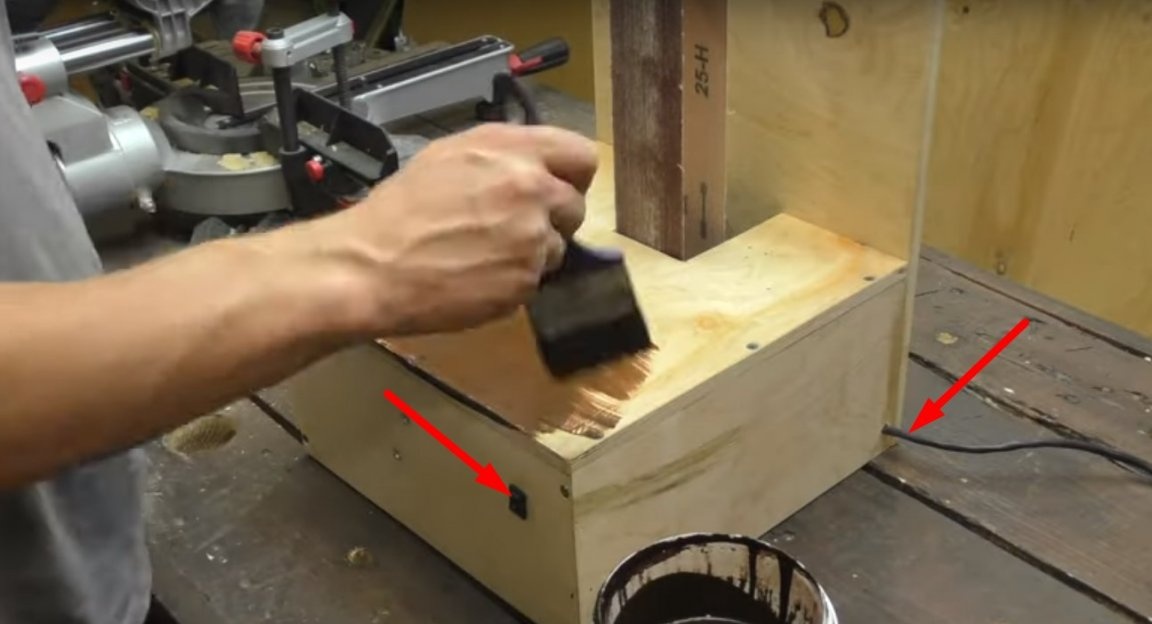
Further, the author treated the case with impregnation. And also the master installed the switch and brought a power cord outside.
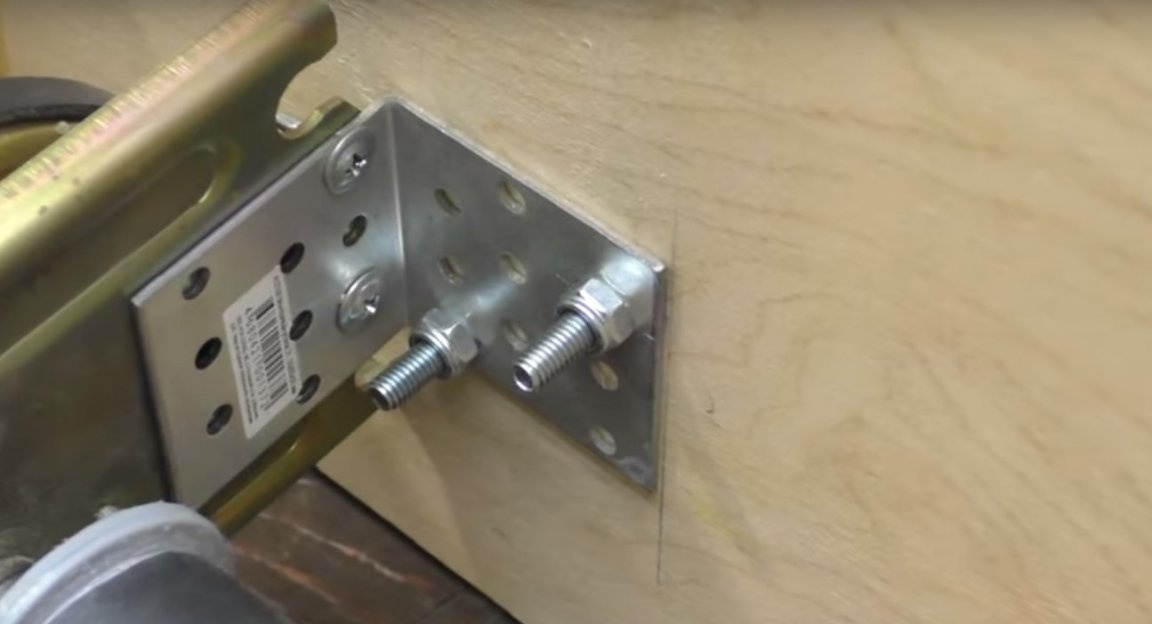
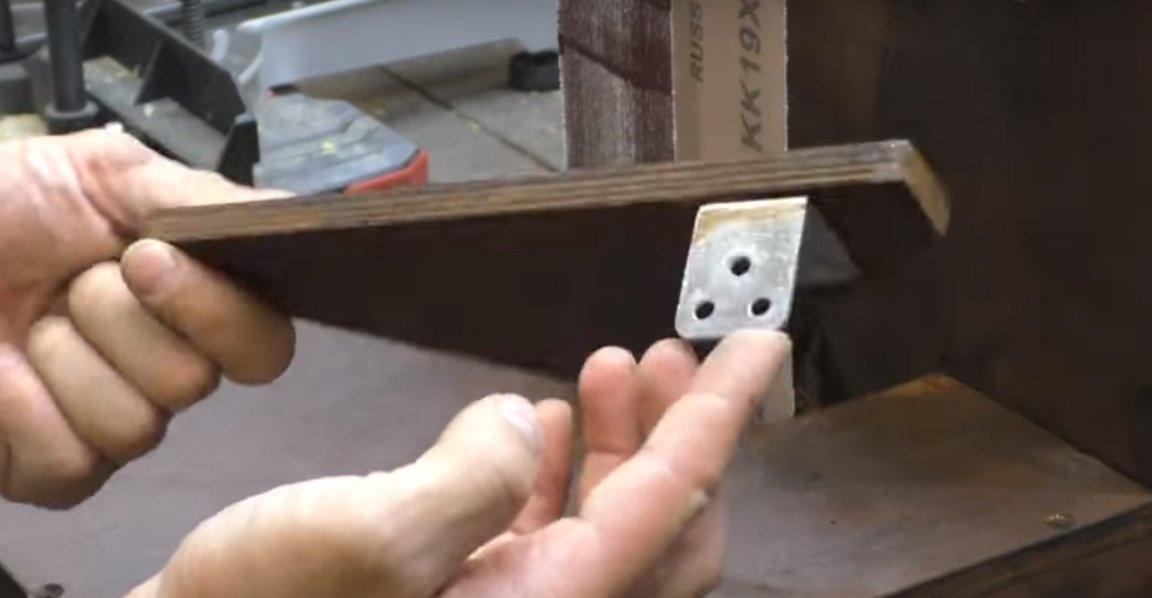
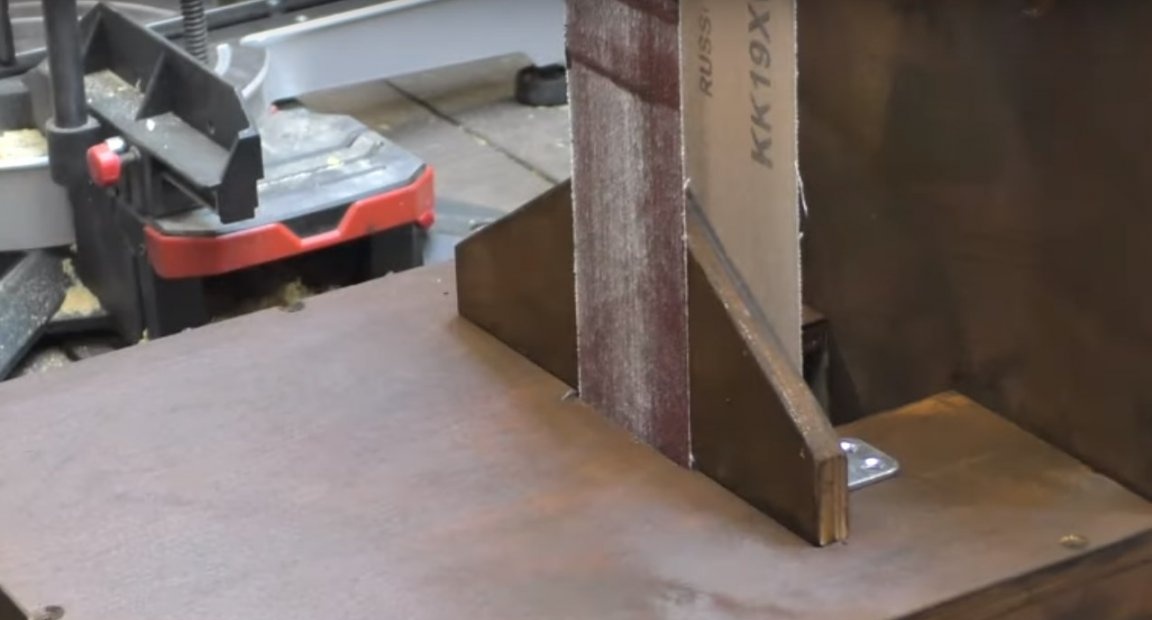
Another author was made of plywood, such an emphasis.
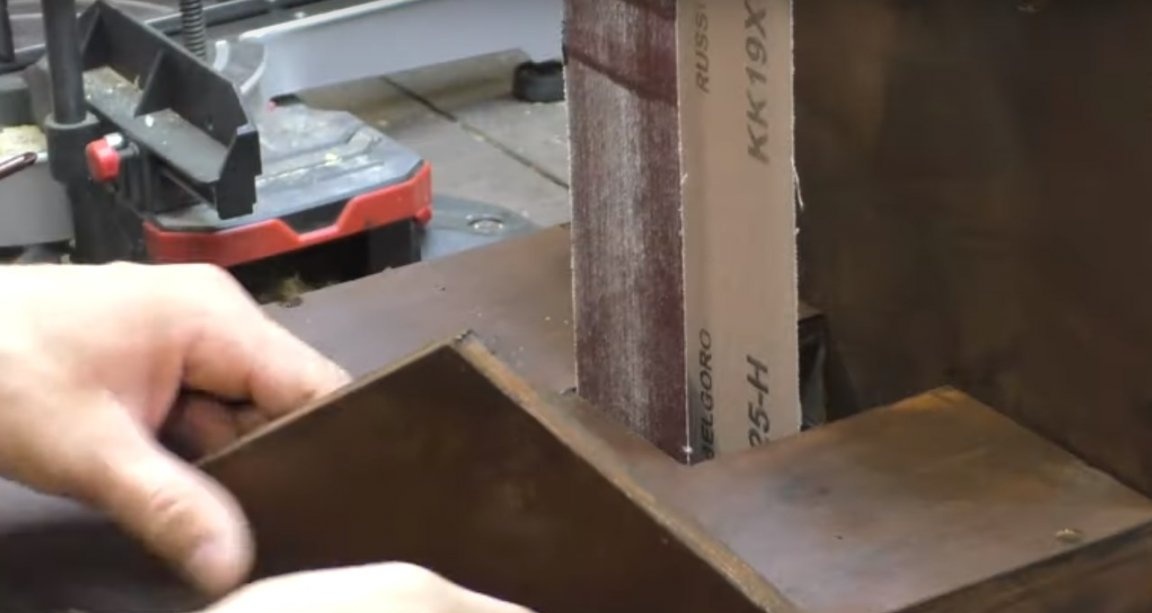
To attach this emphasis to the body, the author will be using a furniture corner and screws.
In this way.

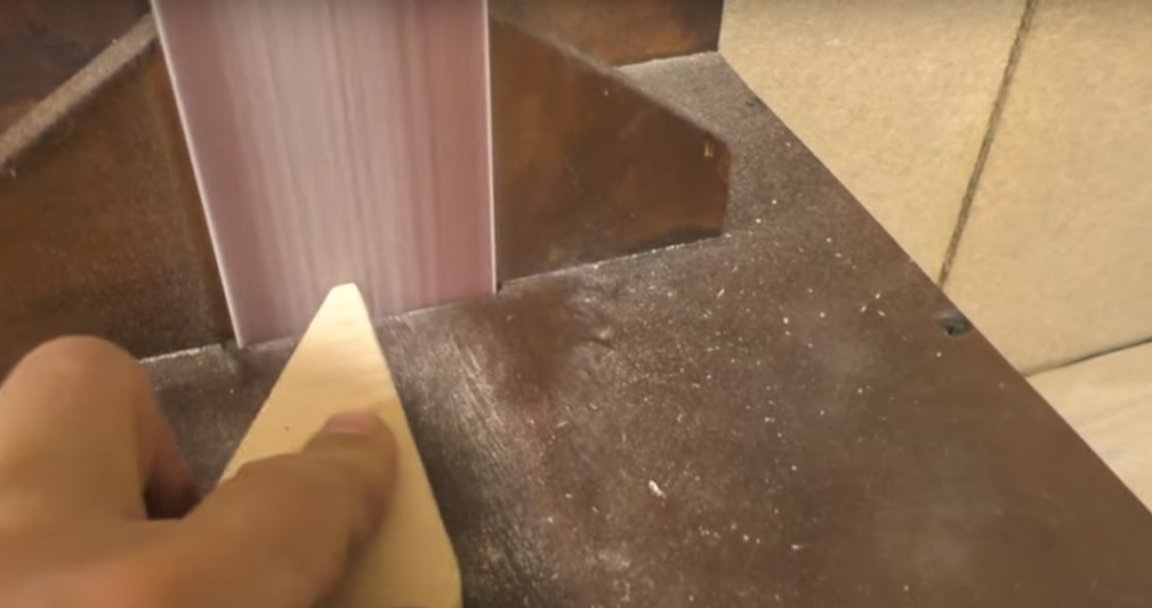
But that's all the grinder is ready. It remains to fix it on the wall. And you can test.

And here is the test.
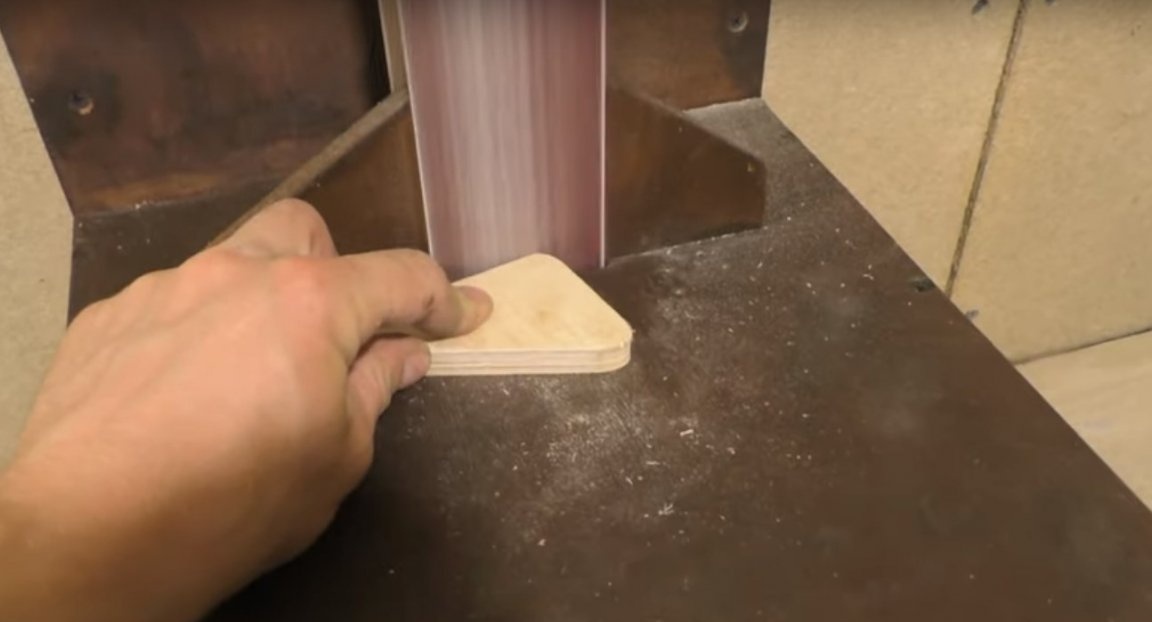
According to the author: it turned out an excellent compact homemade product (grinder), which can be mounted on the wall in any convenient place. Dimensions - 300 mm to 300 mm. The motor with the drive that the author used in this homemade product can be replaced with a conventional electric drill, just then the case will turn out a little wider.
And that’s all for me. Thank you all, good luck to everyone and see you again!