I welcome all fans to craft, today we will consider how to make an interesting lamp made of epoxy resin. Homemade It is an imitation of a fire, which is filled in resin. Everything looks pretty interesting, but going homemade is not difficult. Such a product can be a great gift, and for yourself to make such a masterpiece will not be a waste of time. If the project interests you, I propose to study it in more detail!
Materials and tools used by the author:
Material List:
- epoxy resin for pouring;
- dye for epoxy;
- a piece of board for the base;
- ;
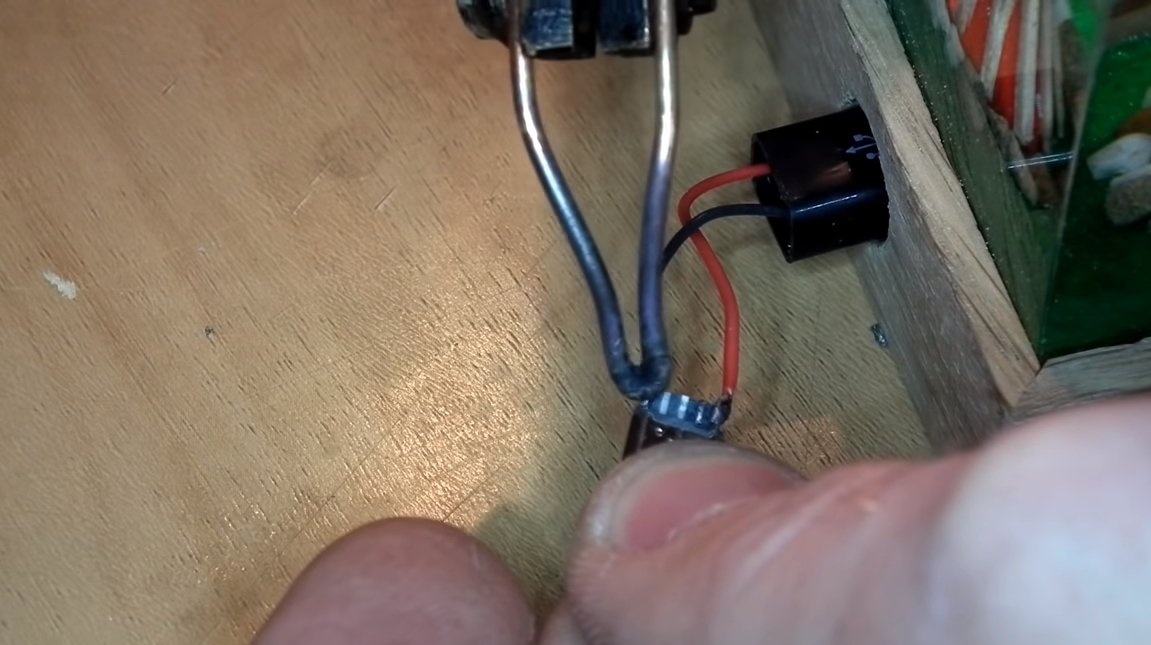
- A socket for connecting a power supply (the author has mini-USB);
- synthetic grass;
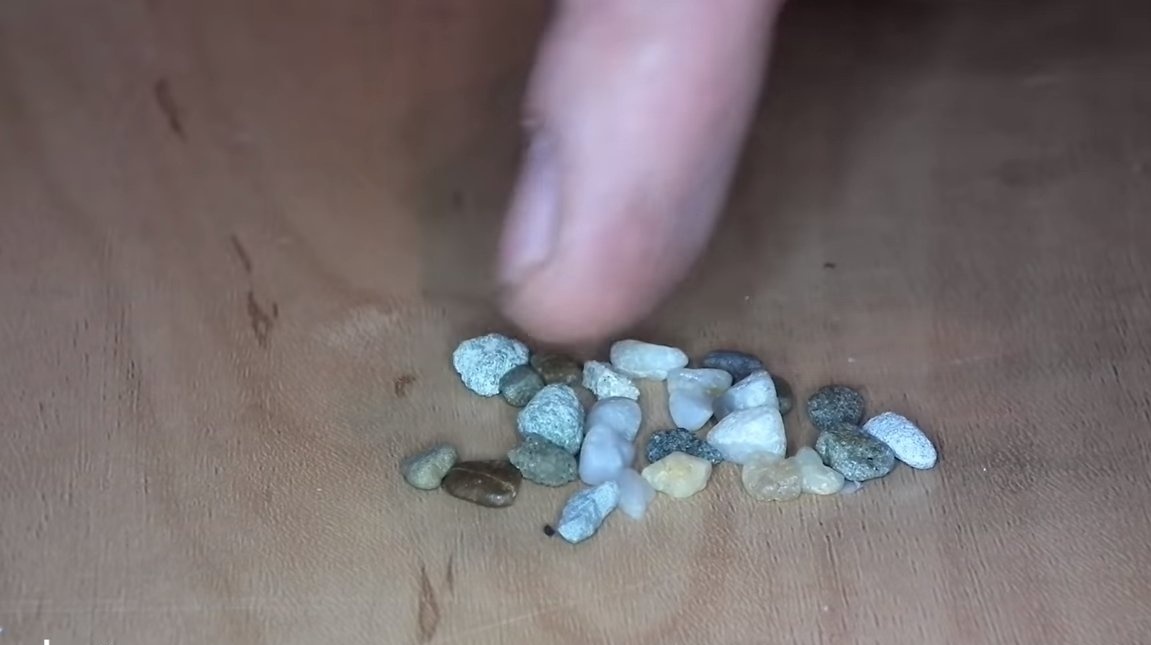
- pebbles;
- wires.
Tool List:
- stationery knife;
- glue gun;
- acrylic for formwork;
- Super glue;
- Grinder;
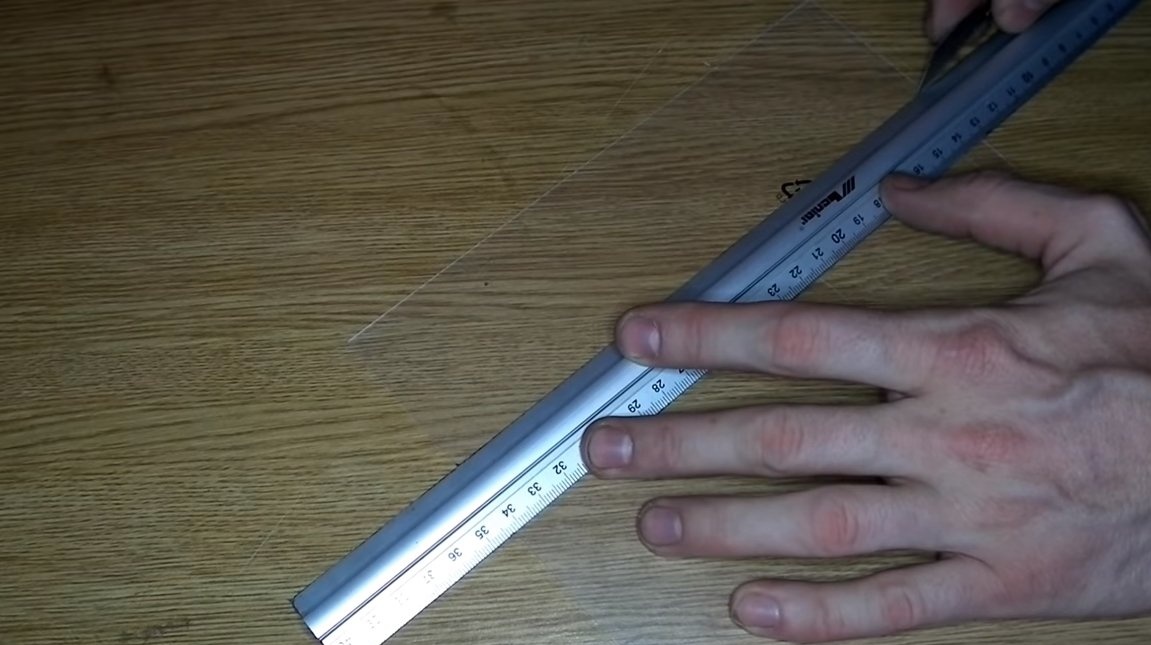
- ruler;
- drill.
The process of making a nightlight:
Step one. Foundation preparation
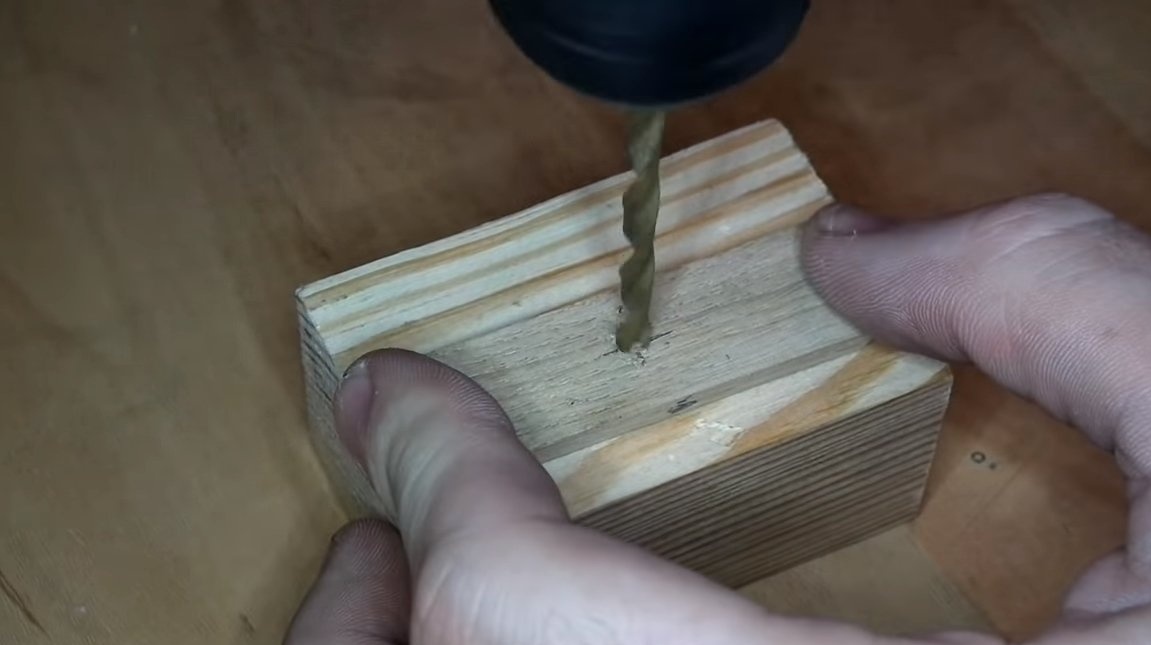
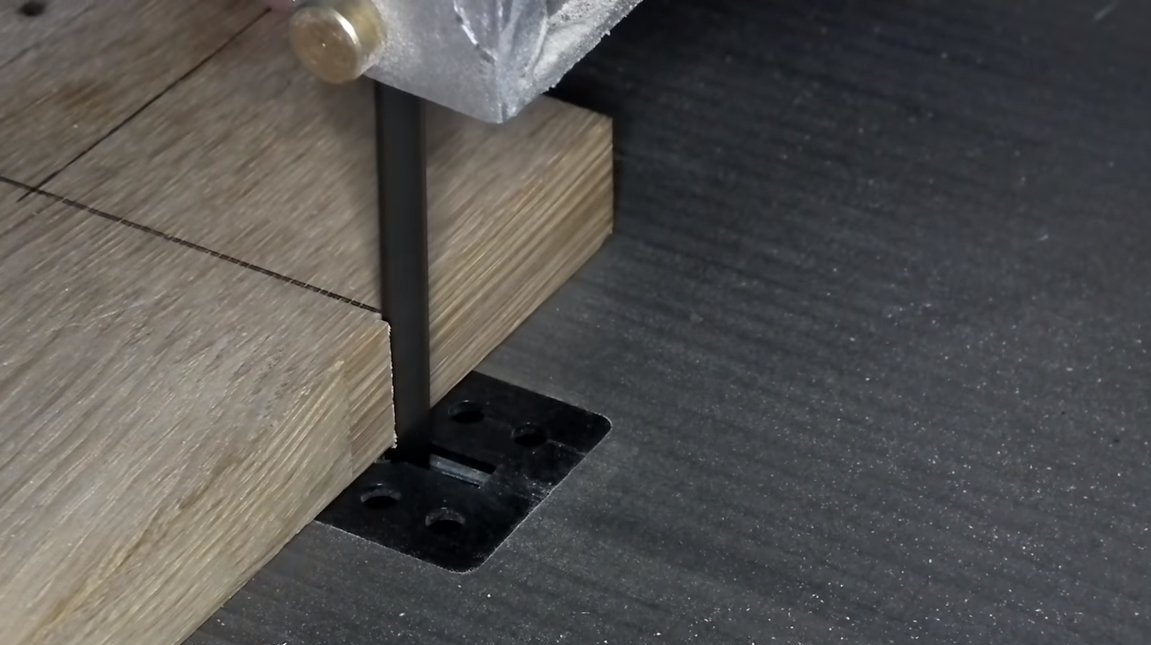
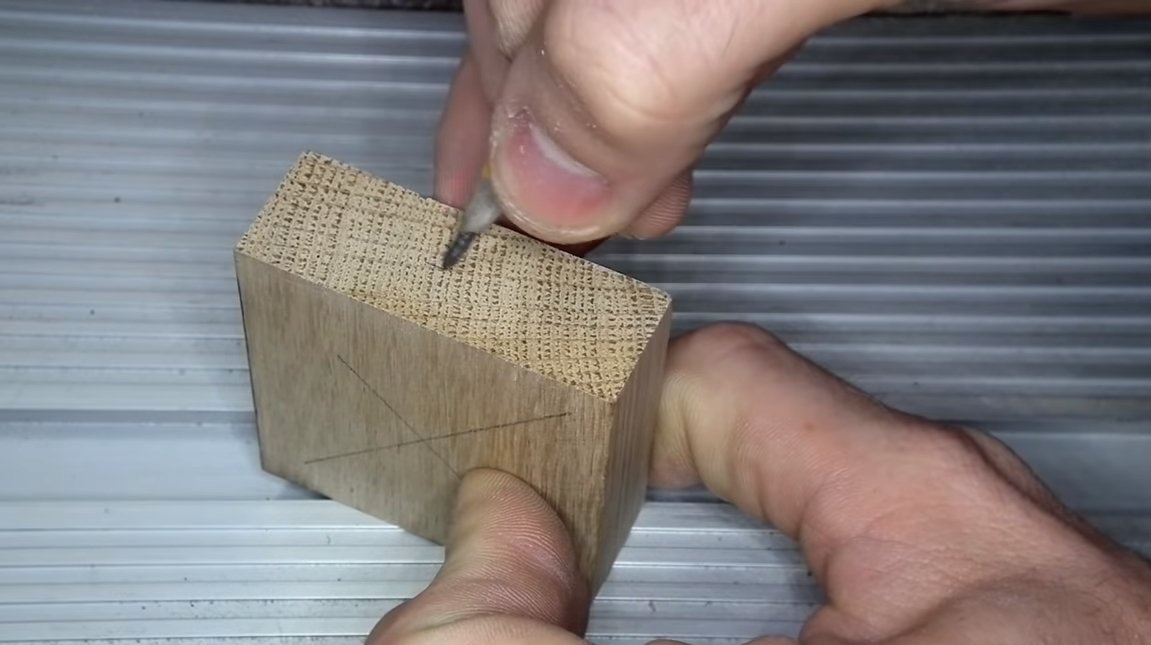
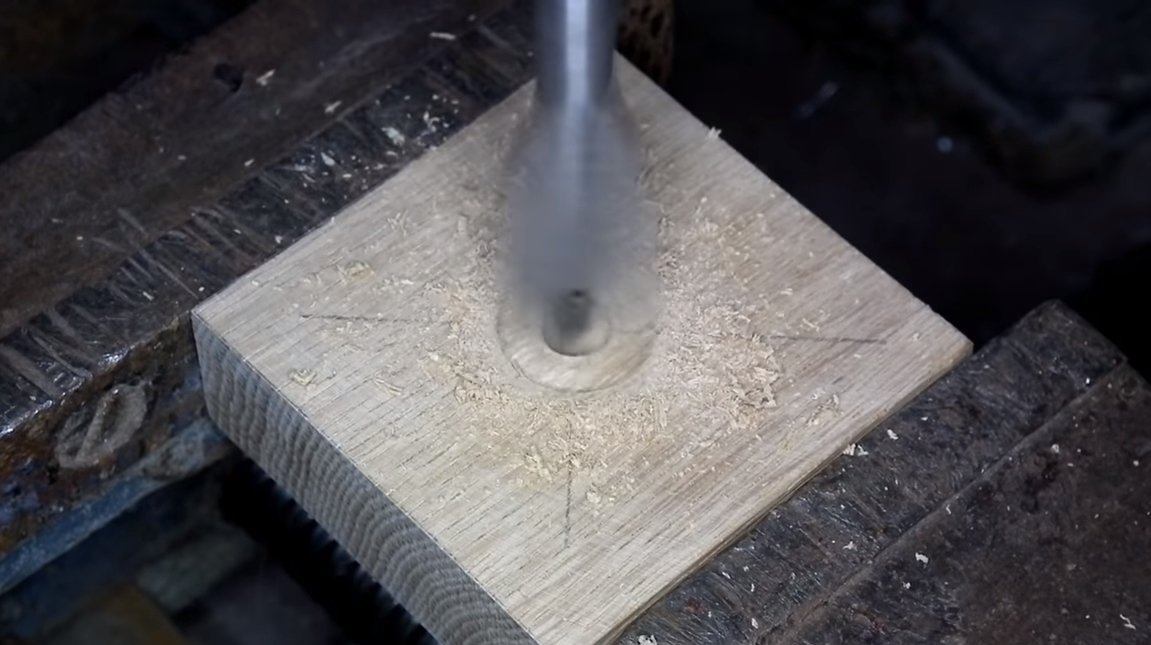
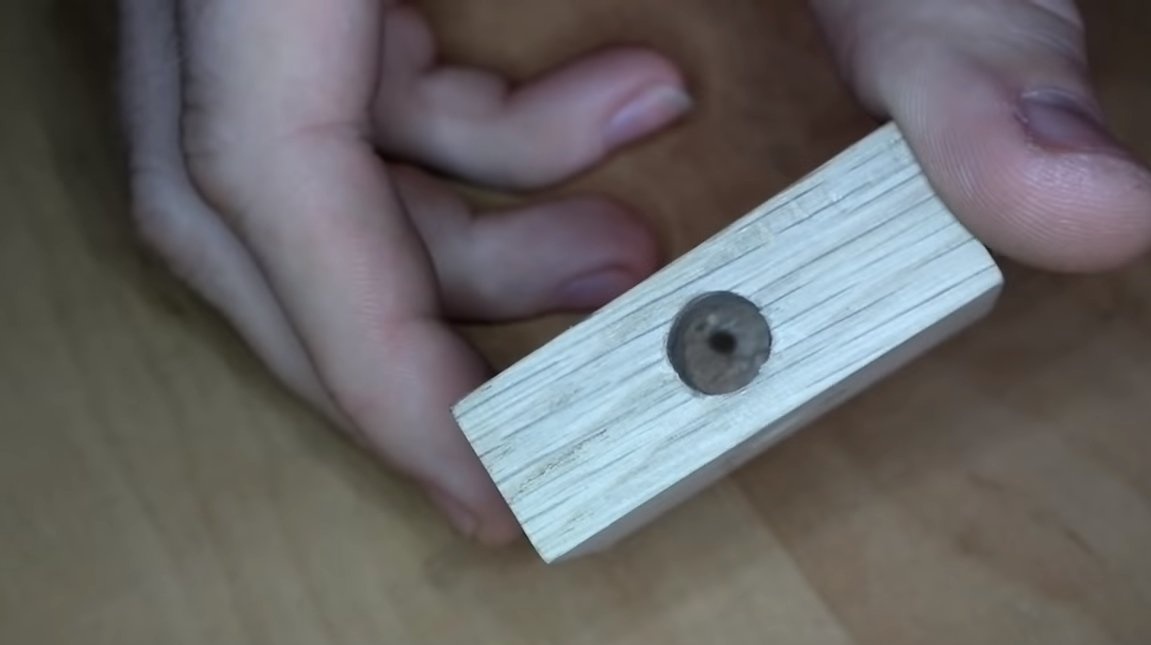
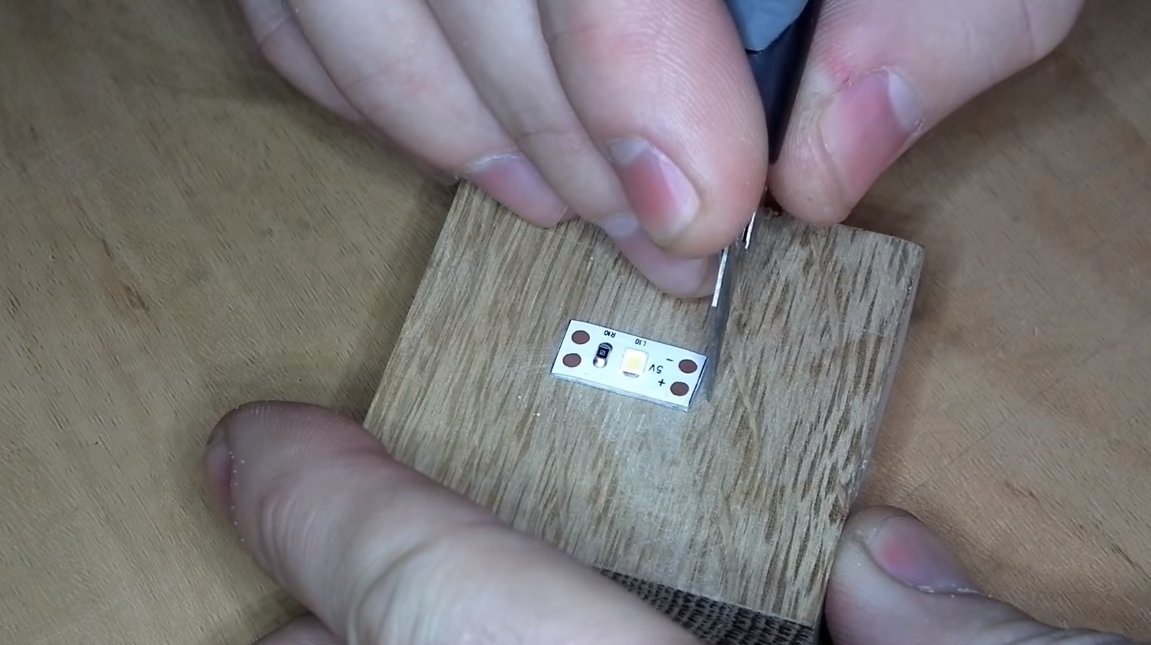
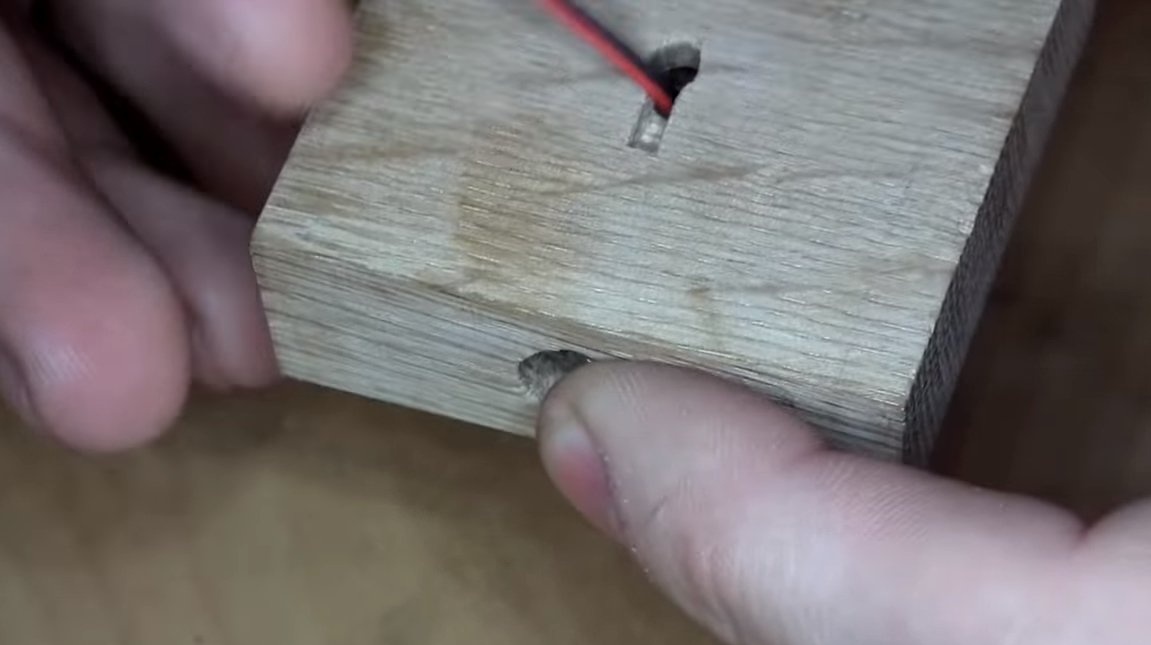
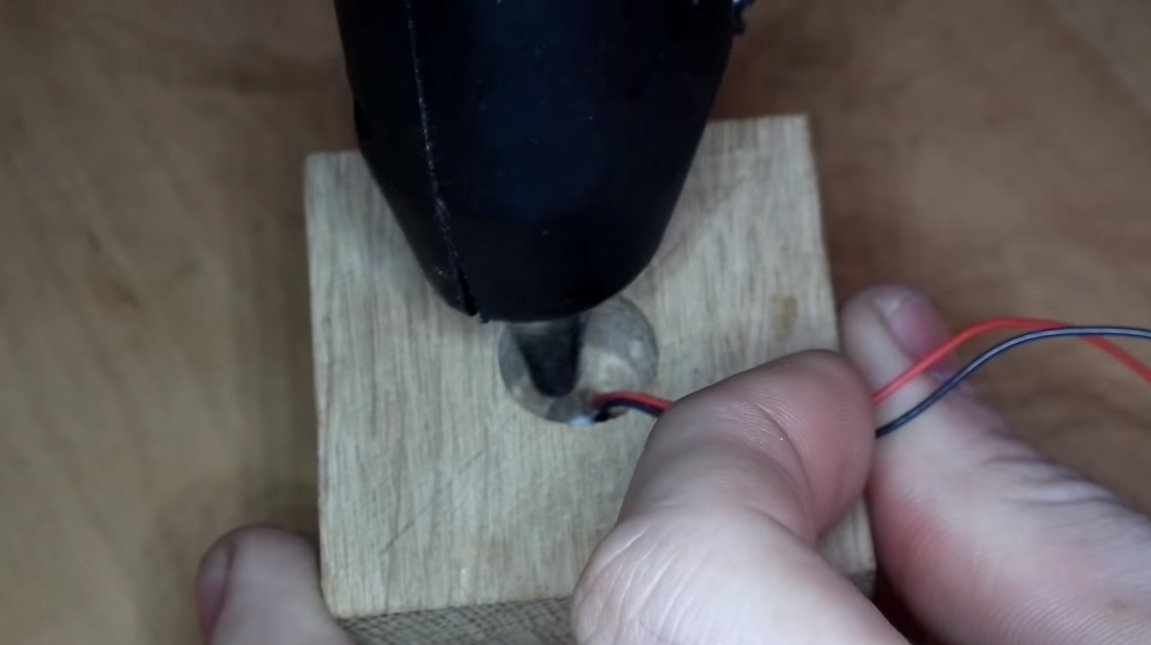
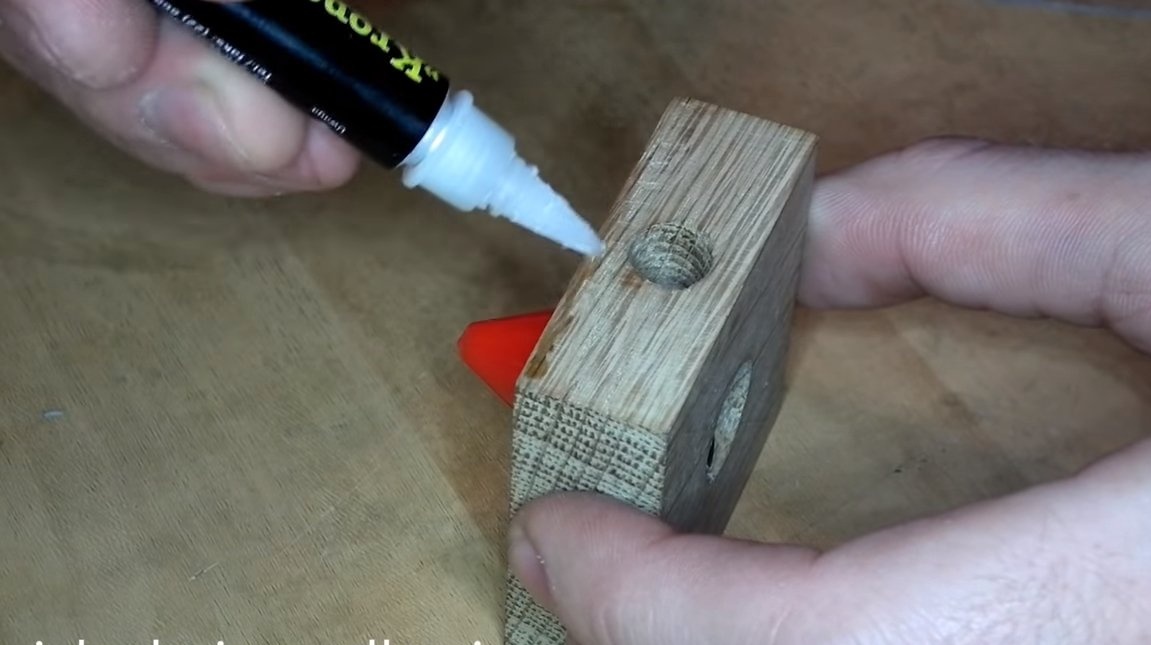
First of all, we will prepare the basis, for this you will need a piece of the board, cut it so that we get a square or rectangle. We carefully grind all sides of the part, especially for those sides to which the formwork will fit.
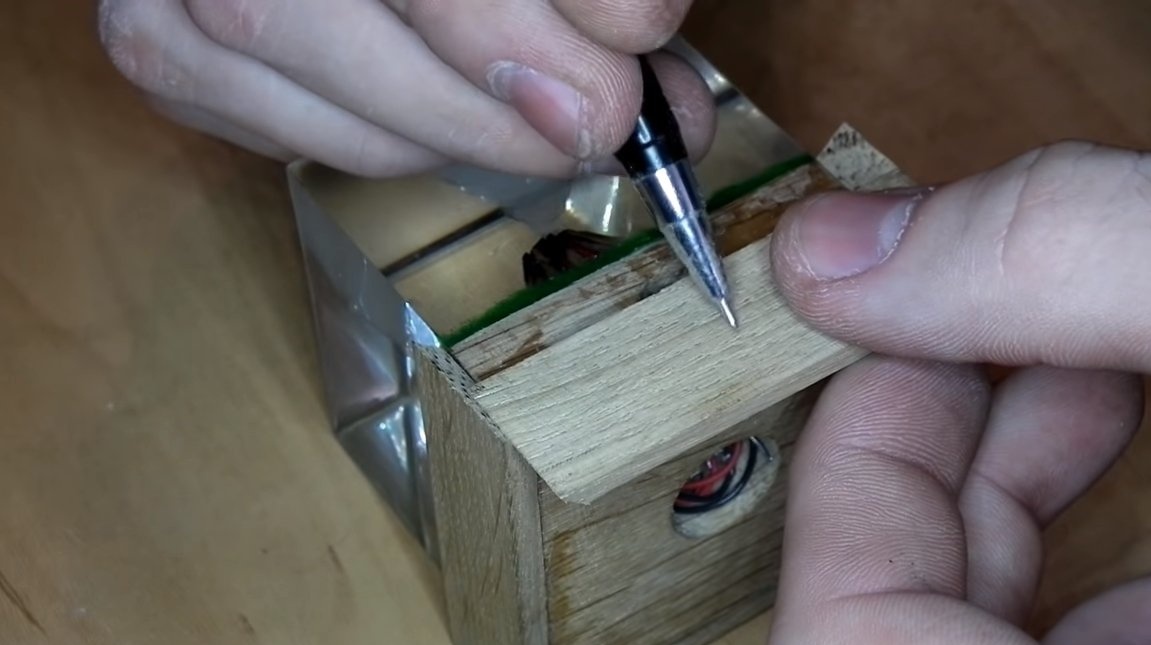
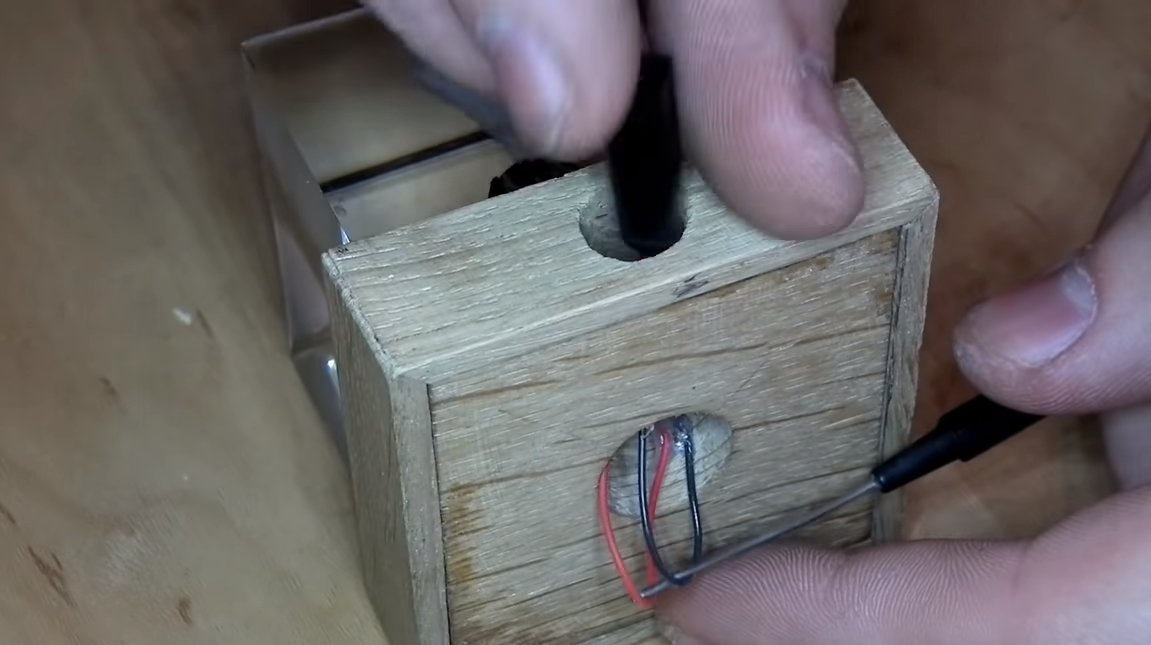
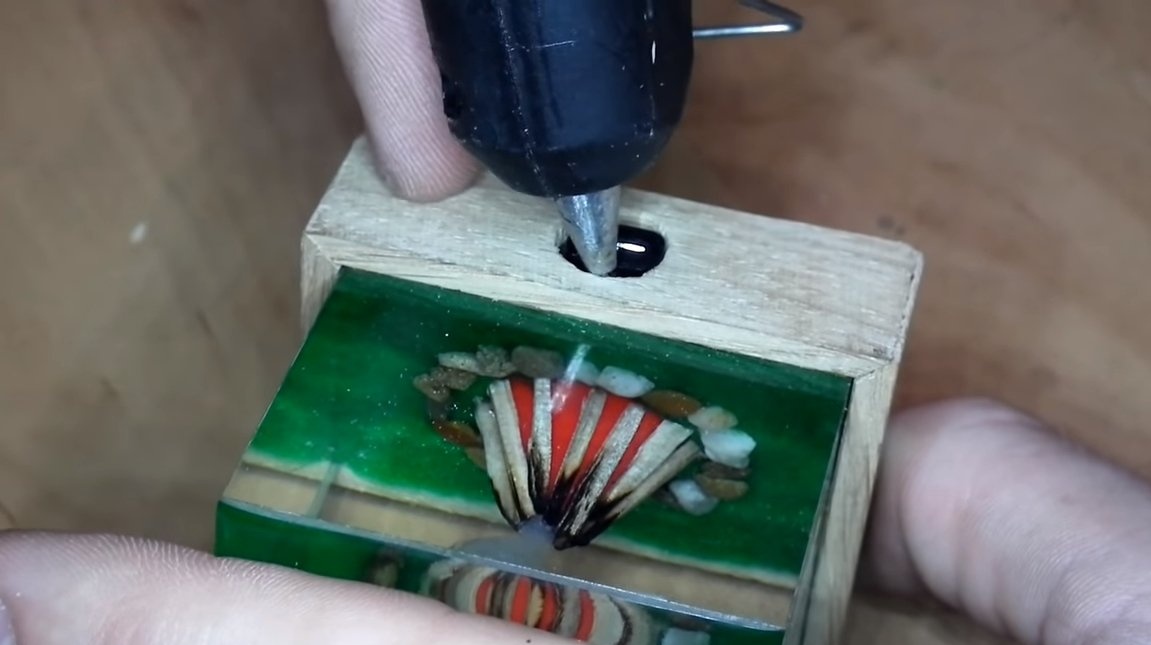
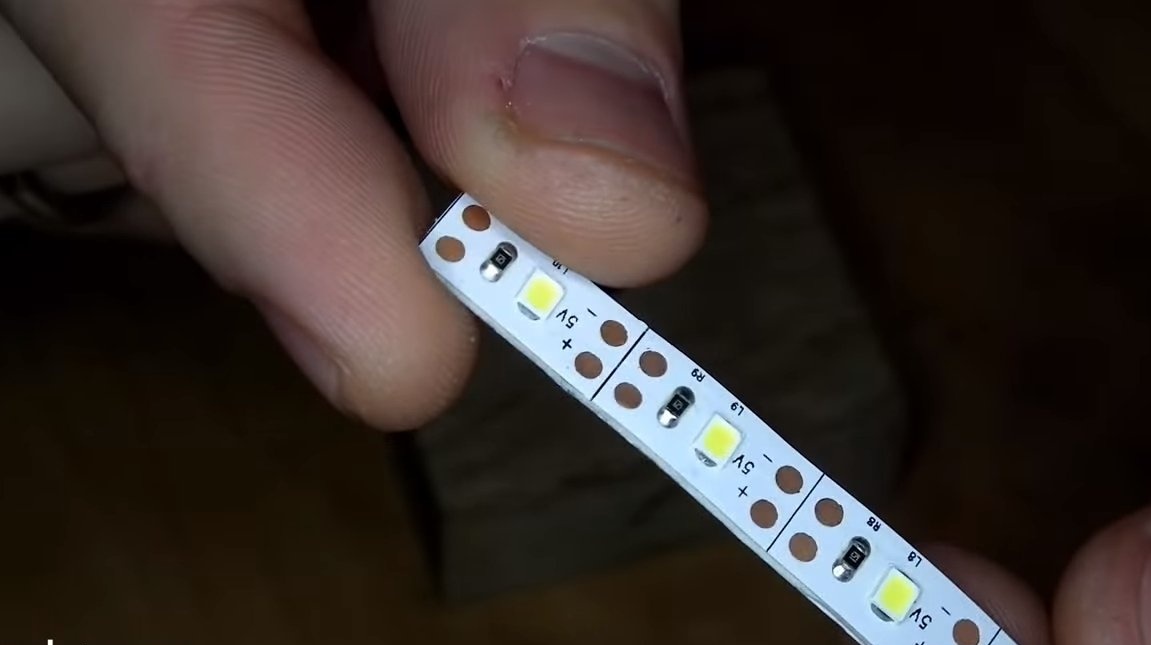
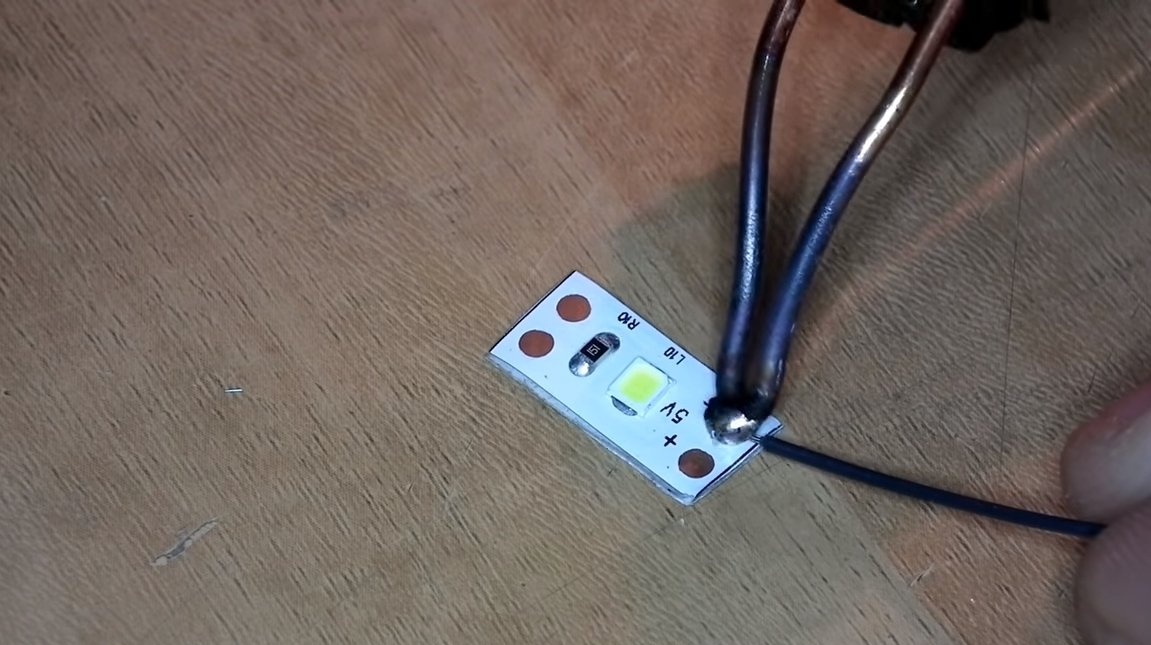
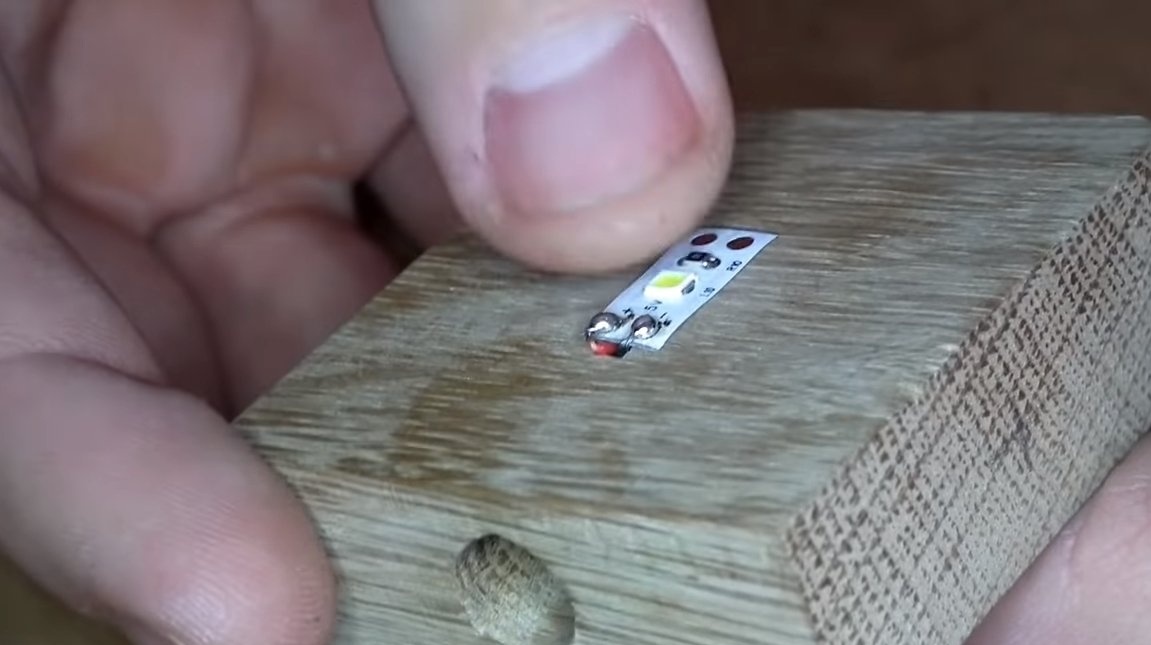
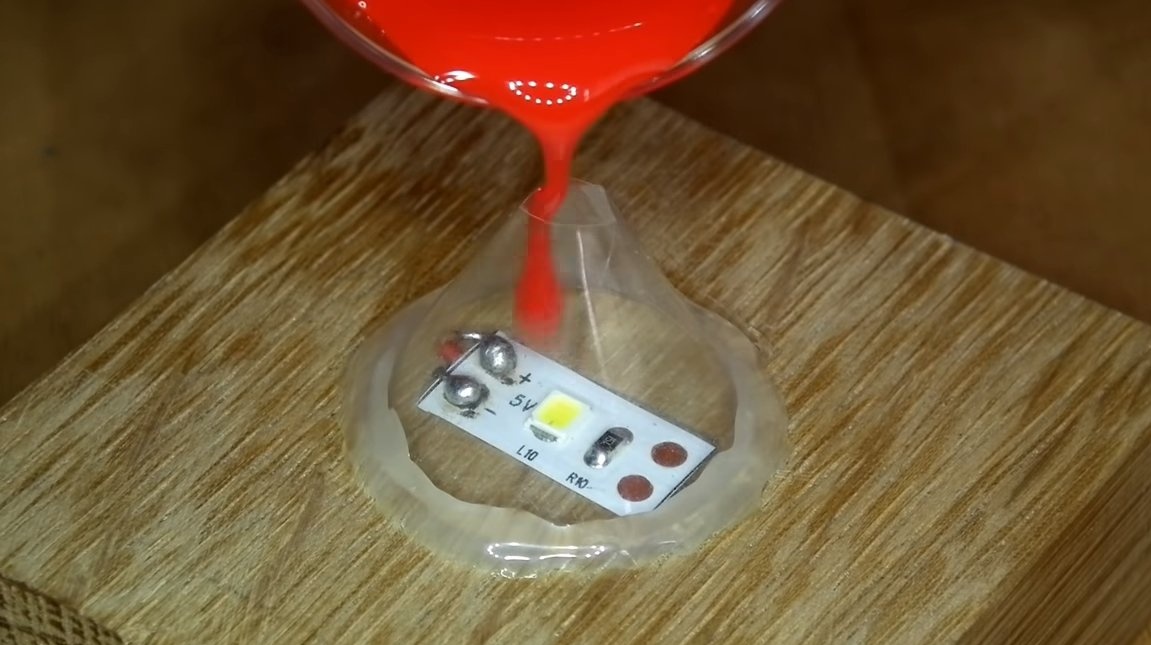
Then you will need to drill holes for the wires, as well as prepare a place for the installation of the LED. The author used a 5V LED with a resistor, solder the wires, remove the film and glue the LED in its place. On the reverse side, fill the wires and the hole with hot glue so that the epoxy does not leak.
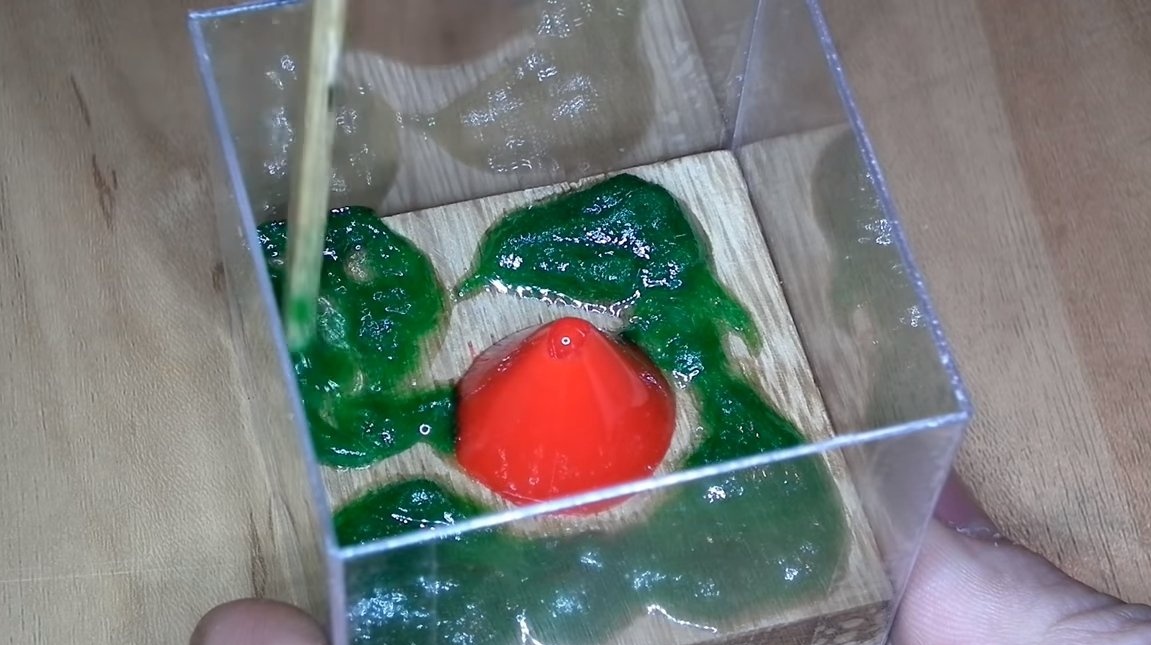
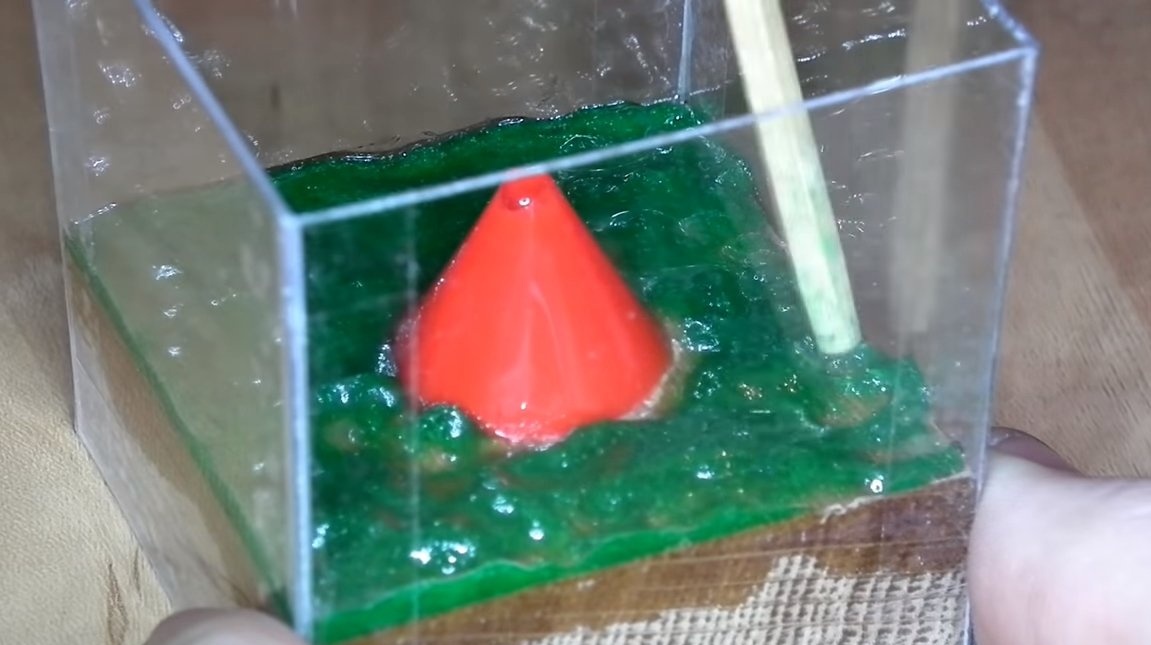
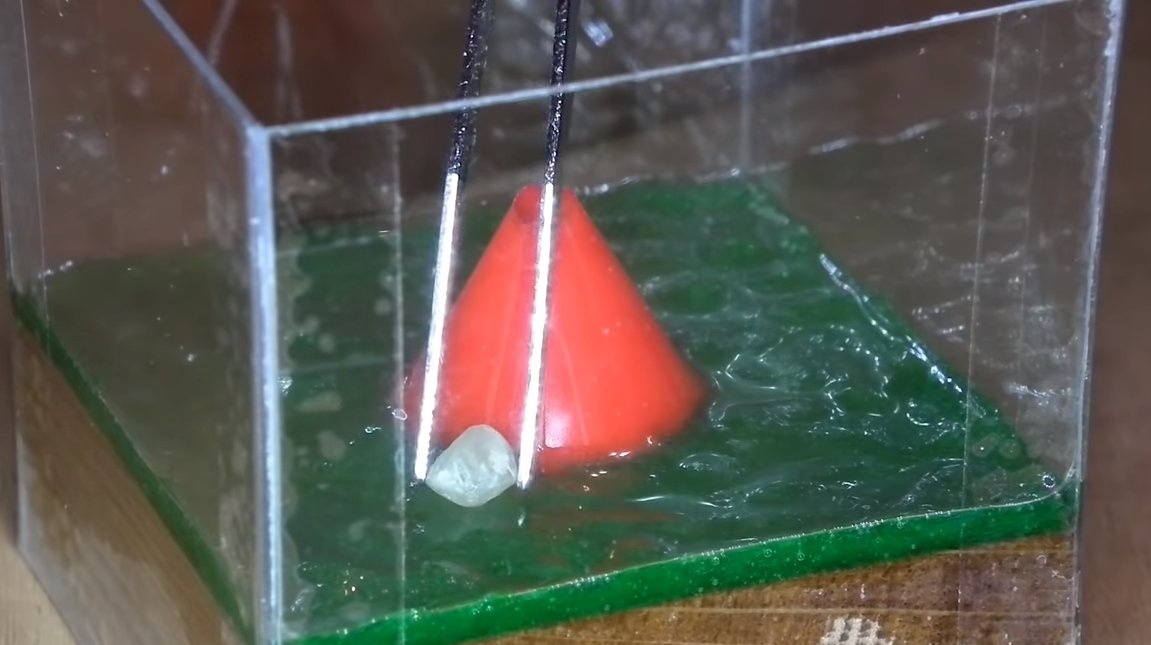
Step Two Bonfire base
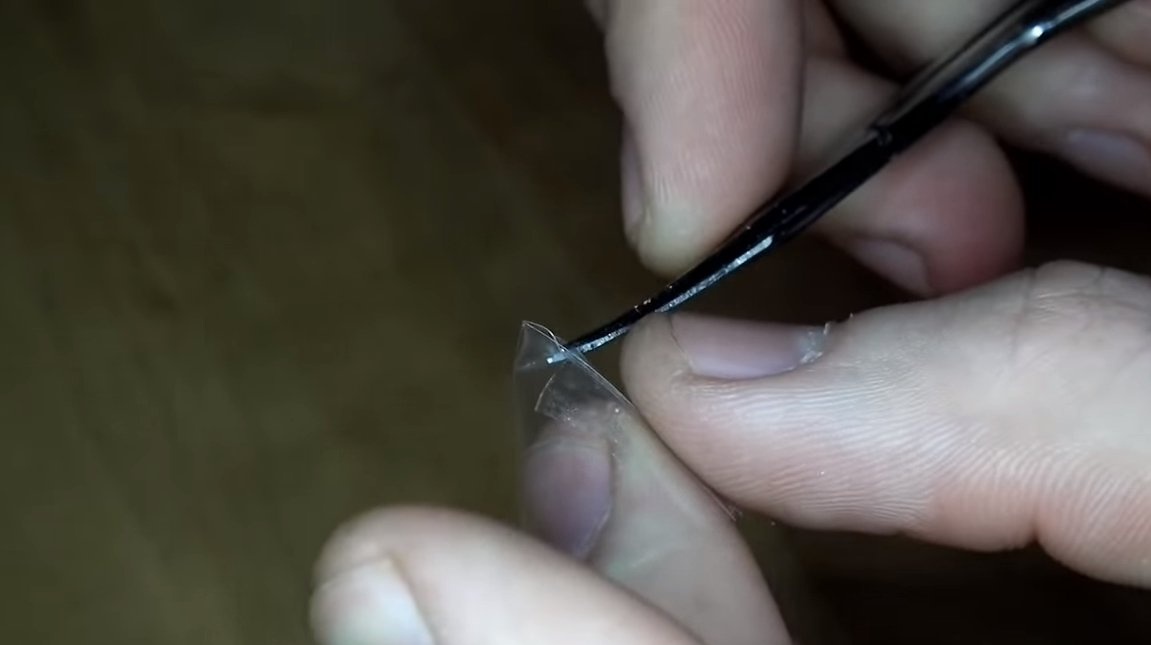
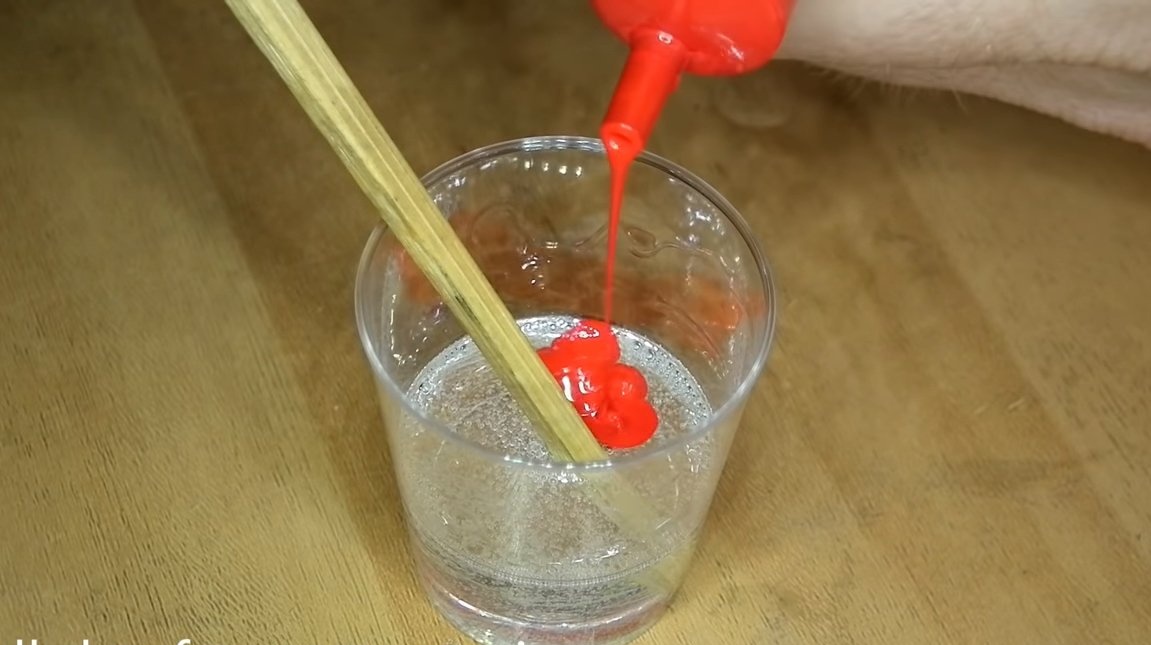
Next, we will make the base of the fire, the part should have the shape of a cone and it will also have to transmit light from the LED. We cast this part from epoxy resin, we first make the formwork. As a formwork, a piece from a PET bottle is suitable, which the author rolled into a cone. We isolate the joints of the formwork with tape so that the resin does not leak. Well, then the formwork is installed above the LED and glued well in a circle with a glue gun. That's all, now it remains to dilute the resin, add a red dye and you can cast the part.
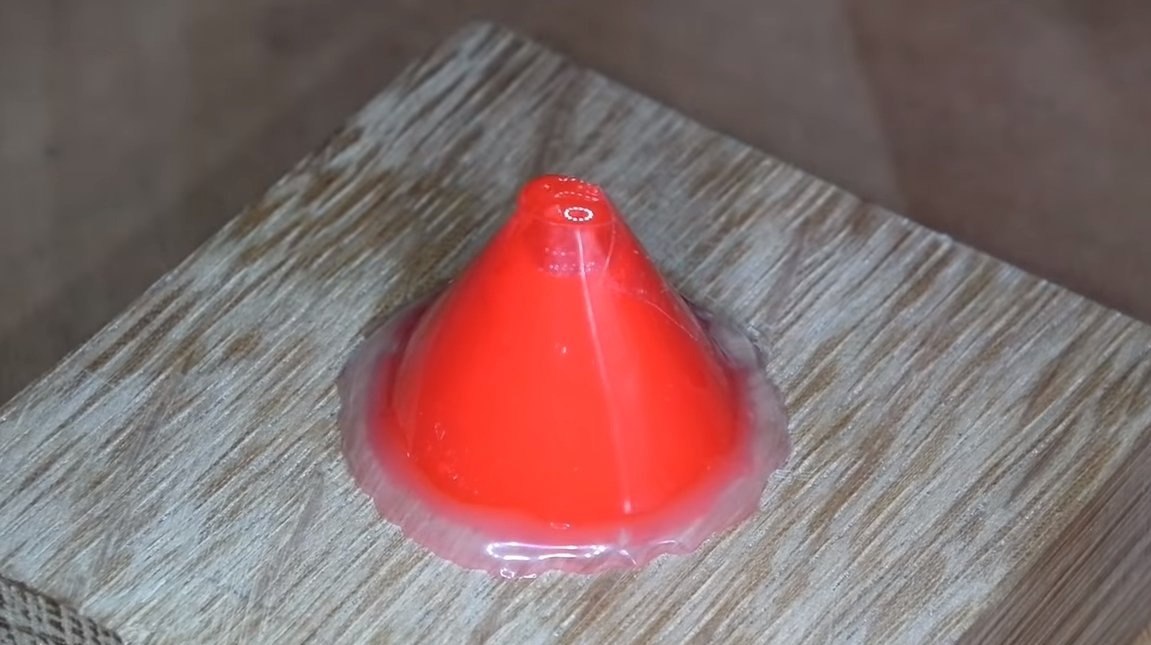
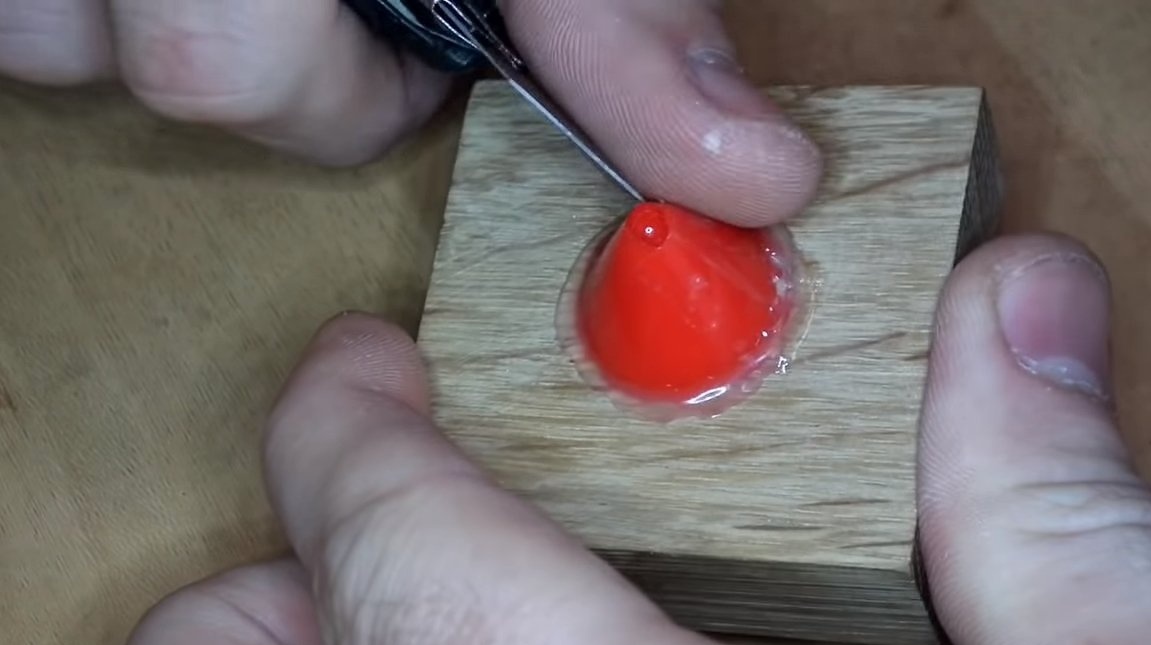
When the resin is dry, the formwork can be removed, the base for the fire is ready.

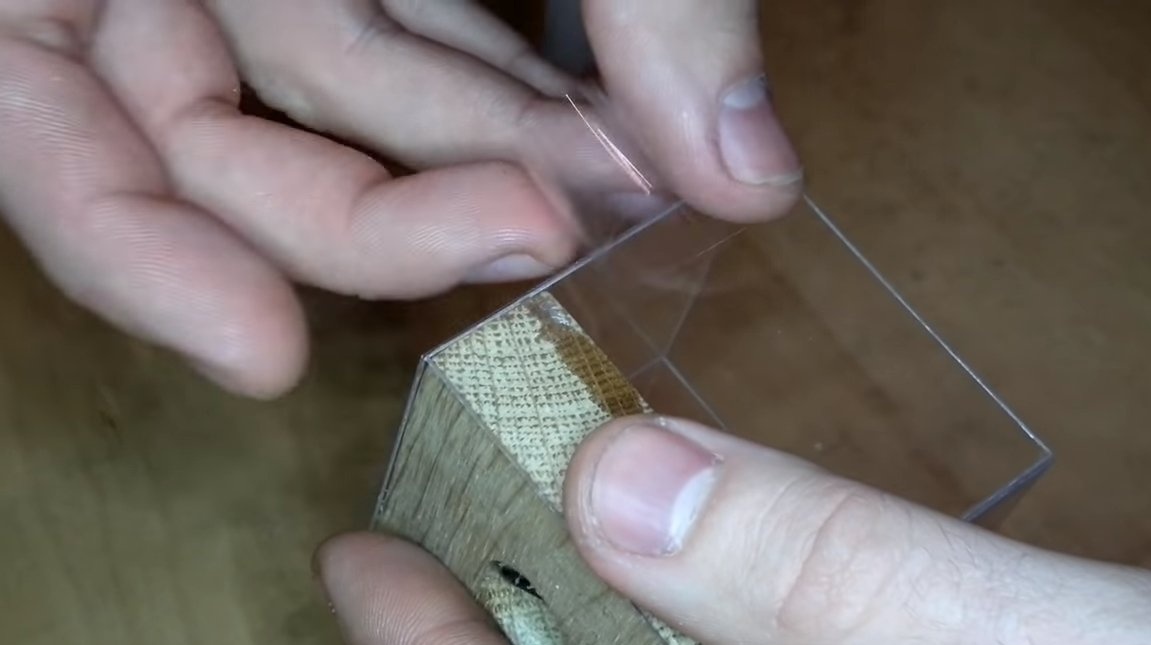
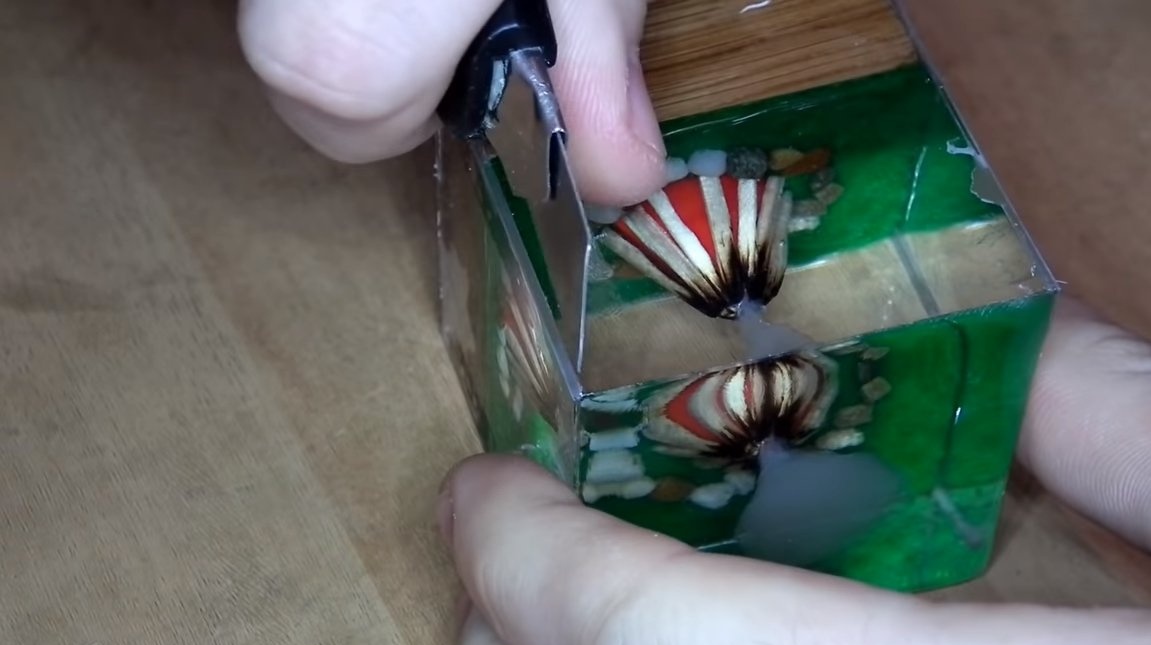
Step Three Formwork
We are assembling the formwork, for this we need acrylic, cases from CDs are quite suitable. Cut 4 pieces and glue to the base with superglue. The author uses adhesive tape as insulation, and the joints with the tree can be isolated with a glue gun.

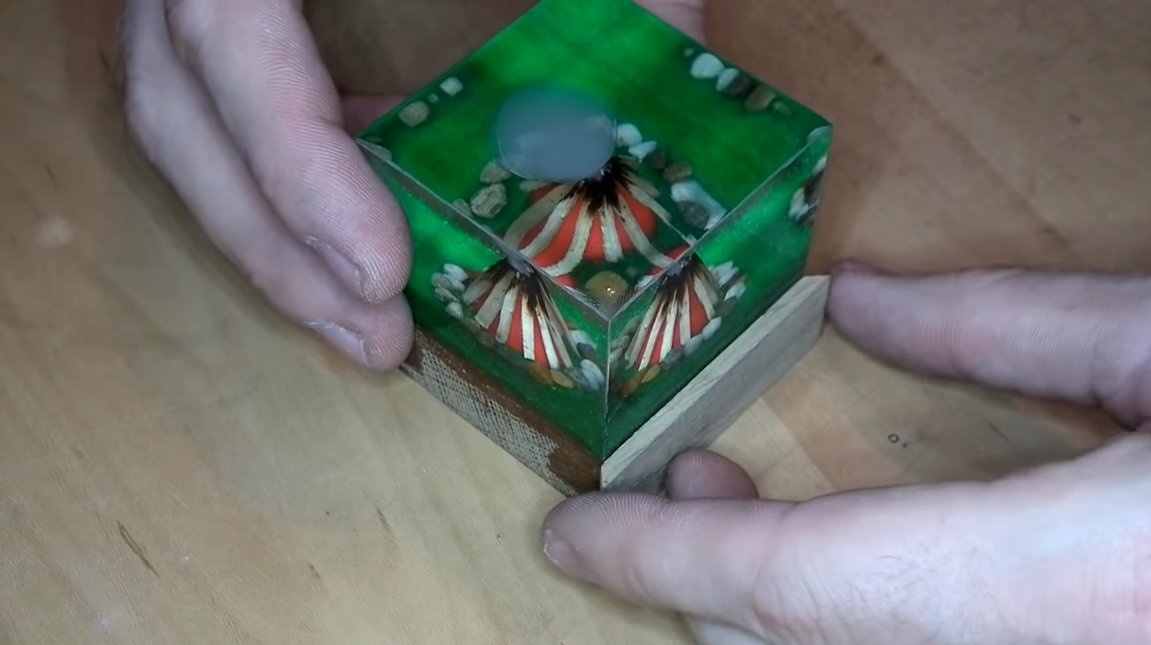
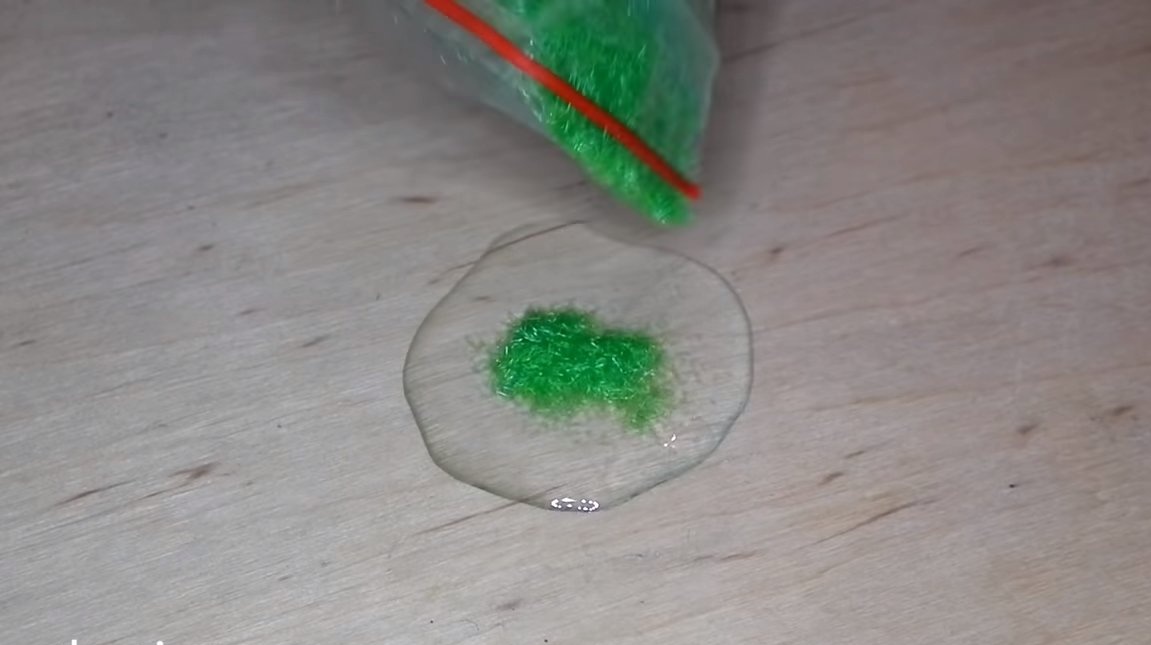
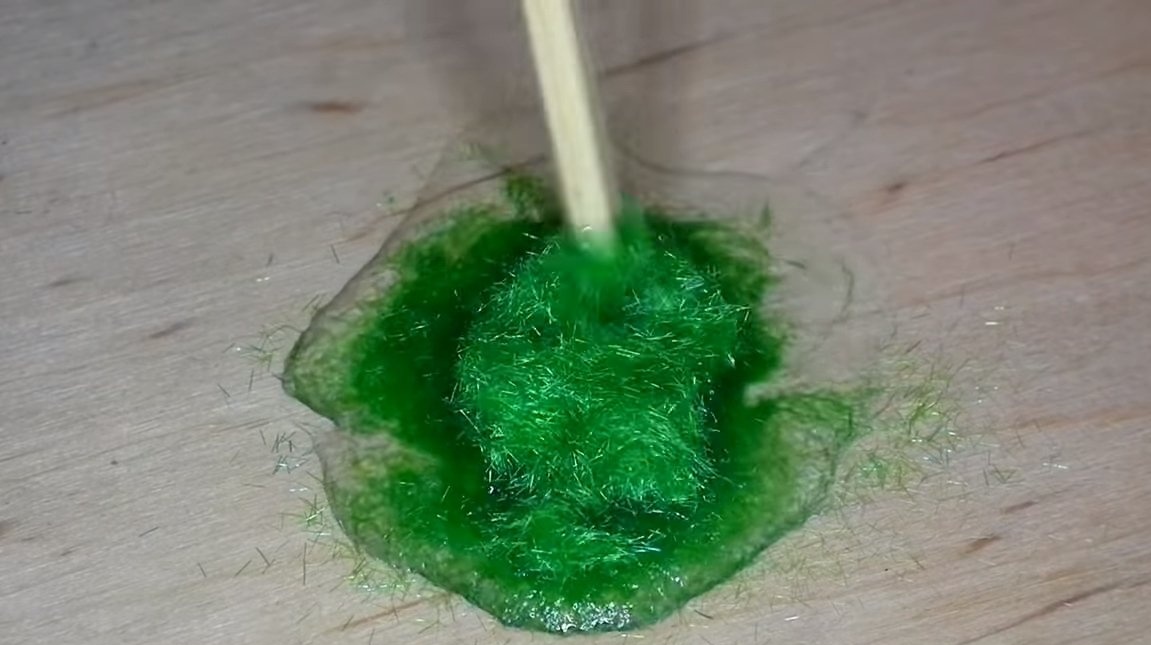
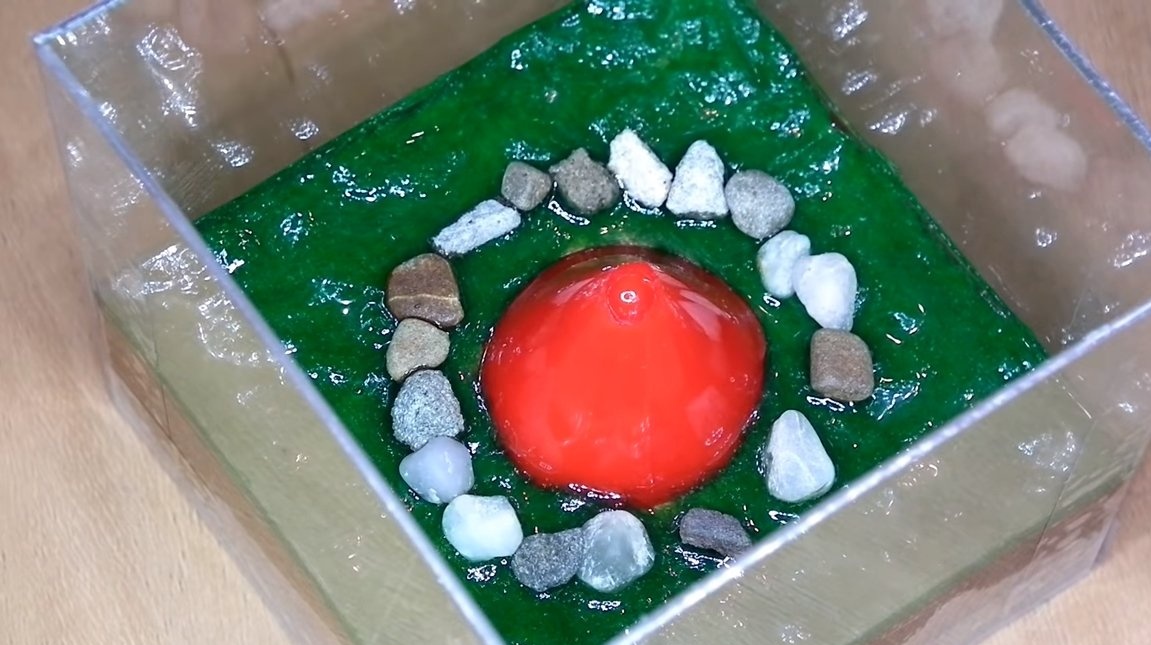
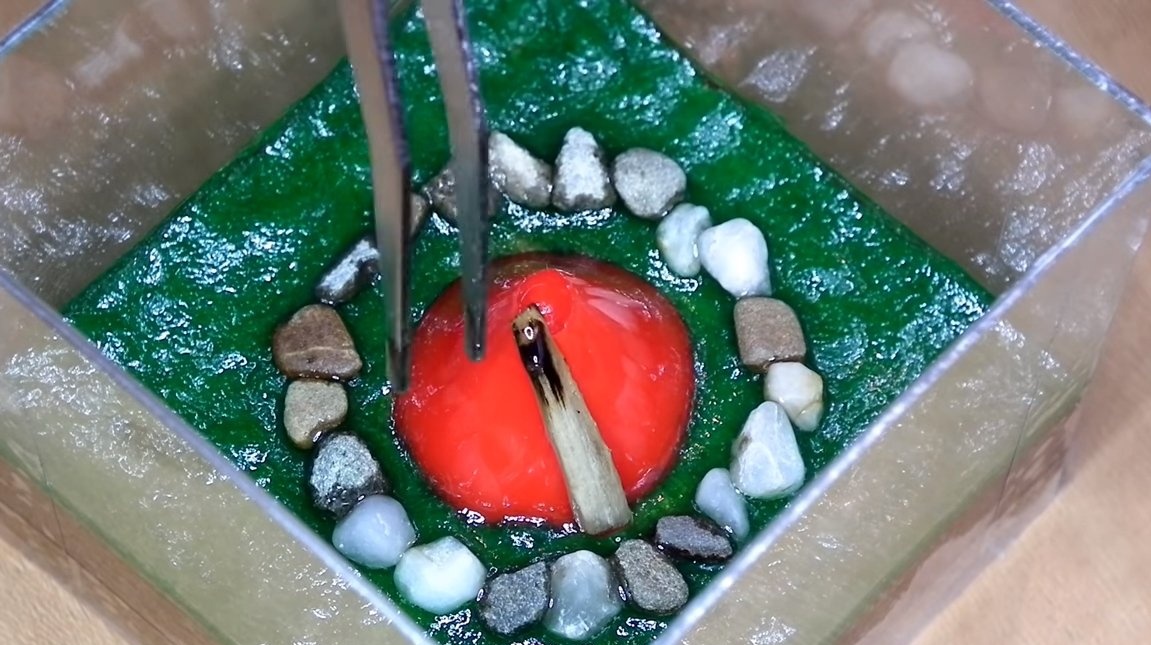
Step Four Grass, stones and firewood
We need to imitate a green lawn or just grass, for this we need epoxy and synthetic grass. Stir the components together and spread on the base.
We also prepare the pebbles, stack them around the future bonfire. It turns out everything is pretty interesting.
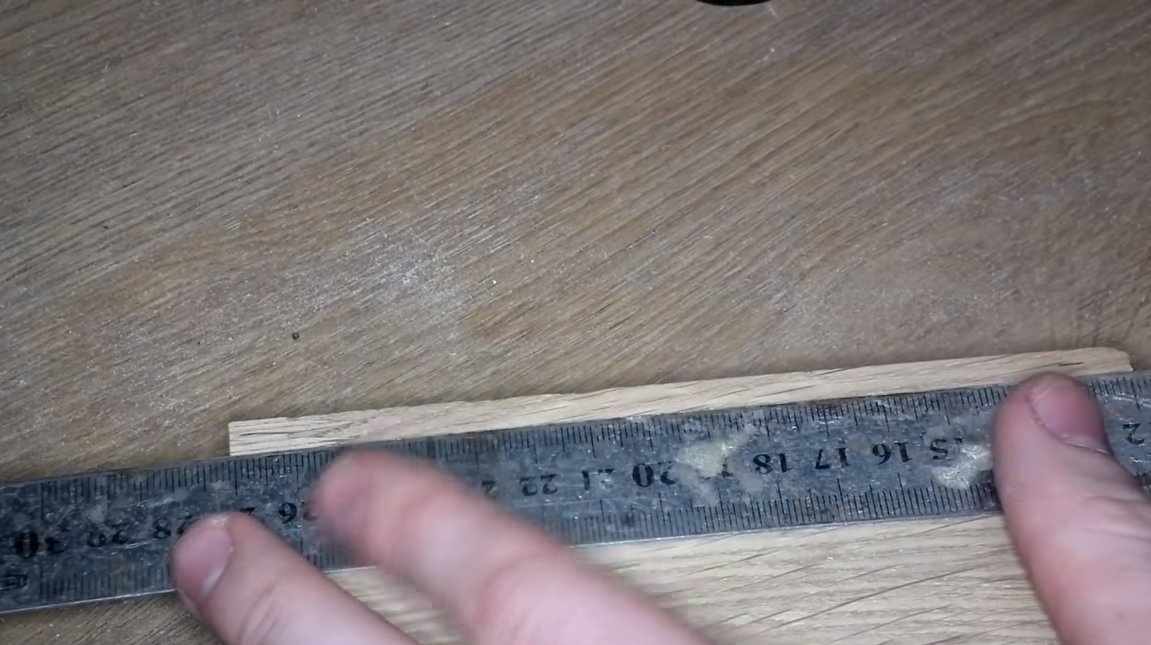
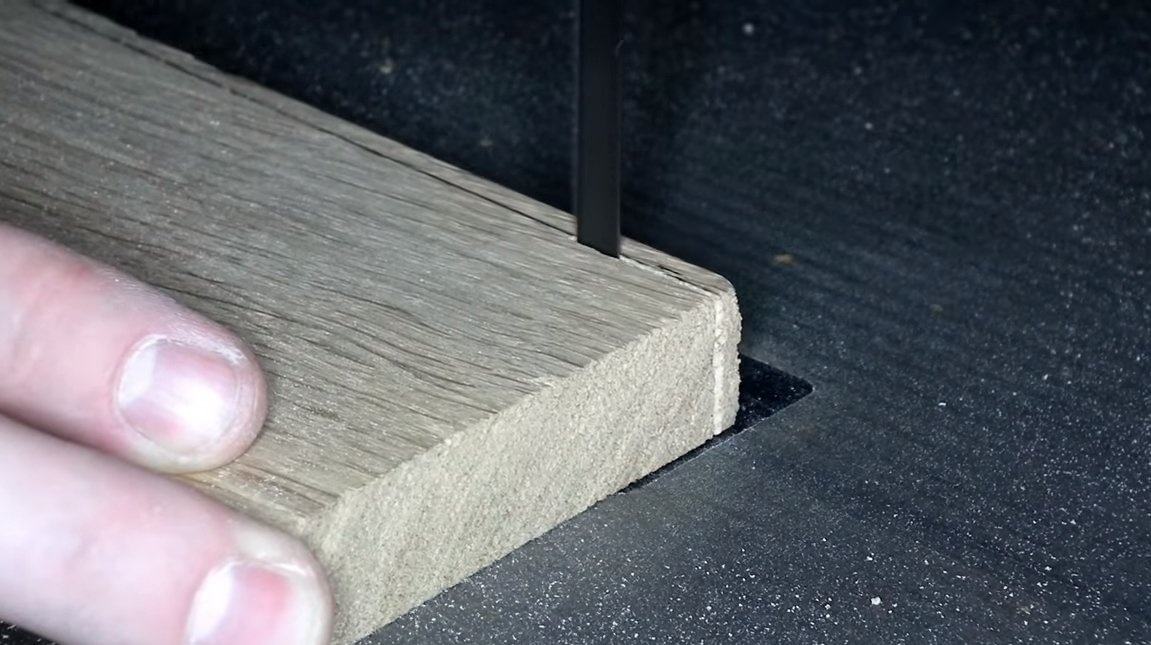
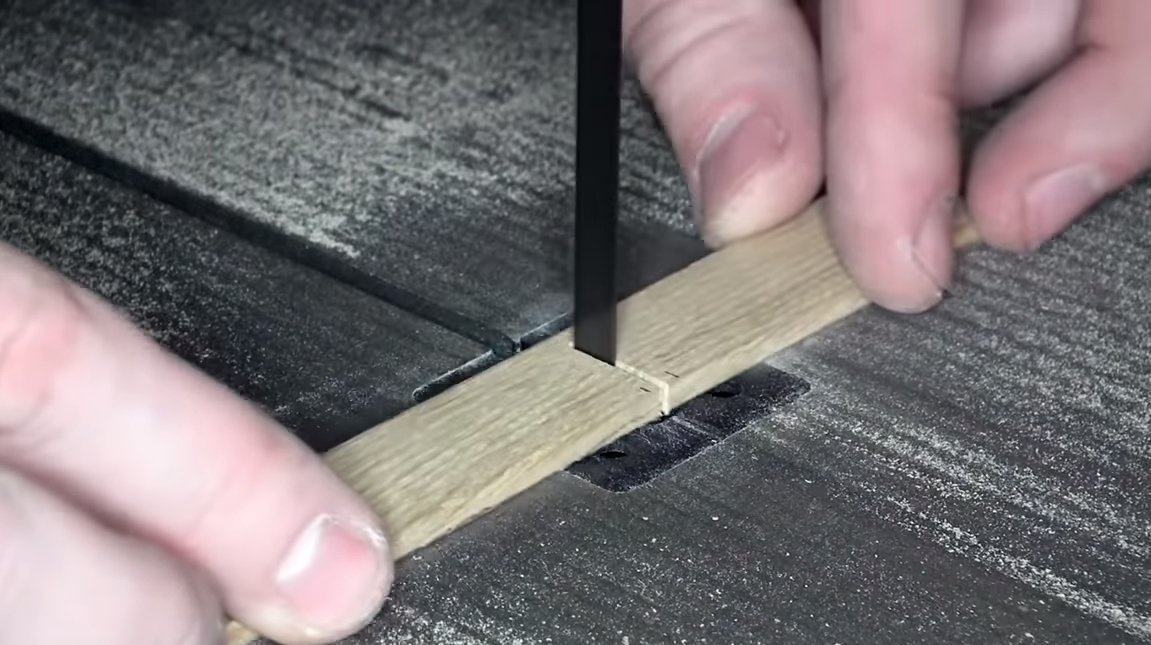
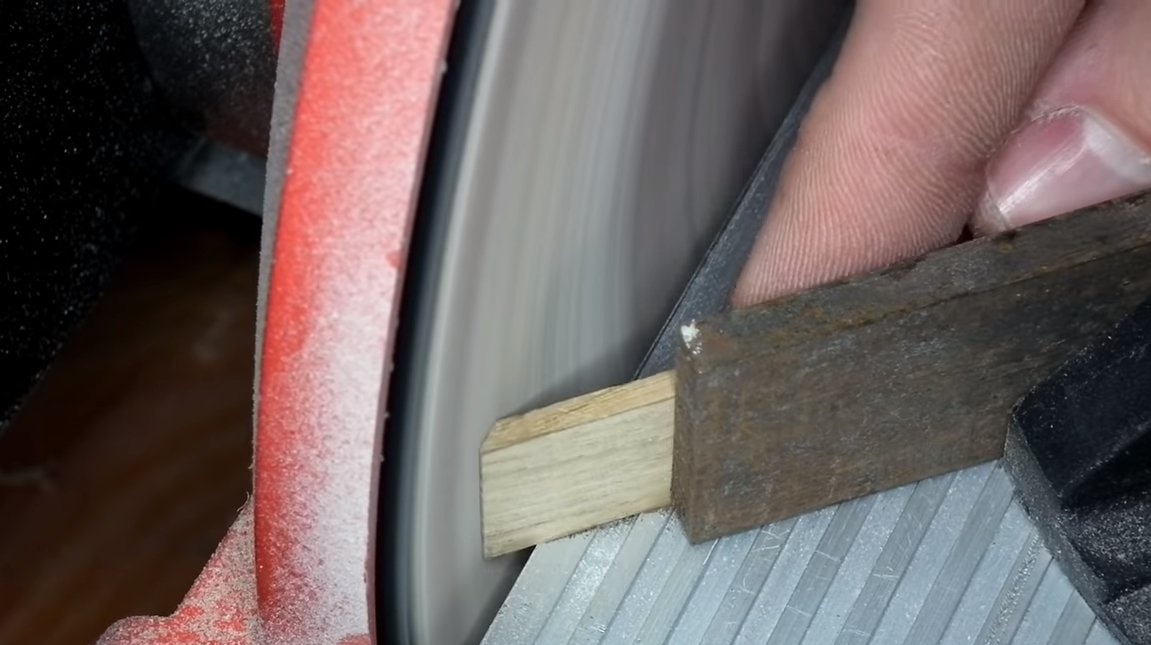
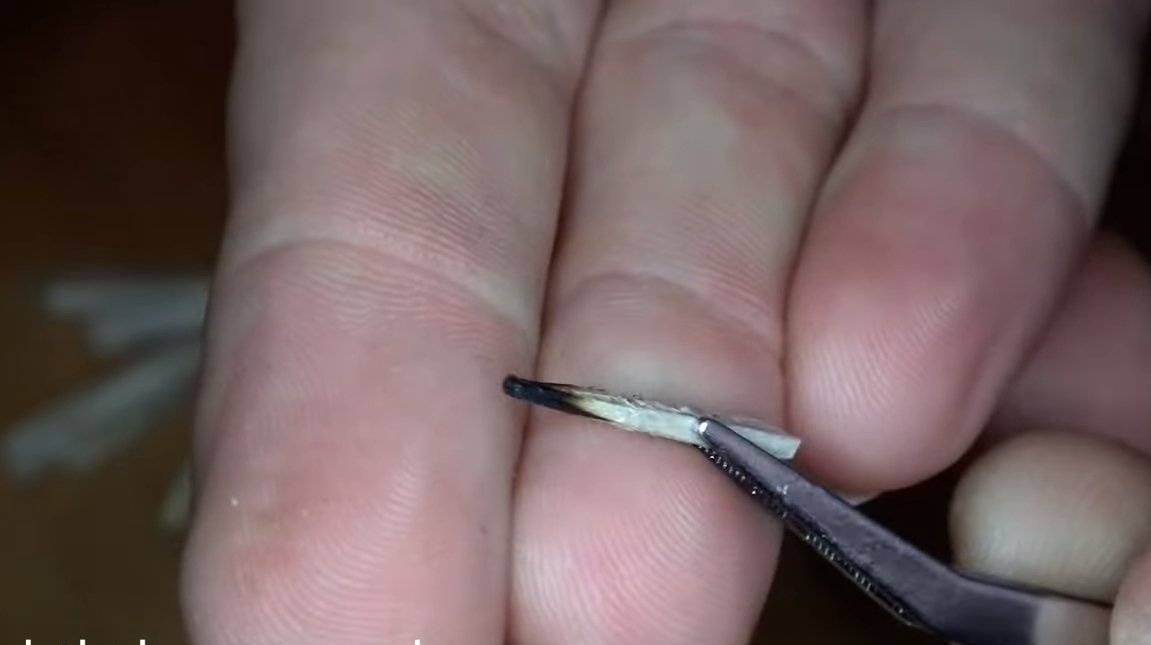
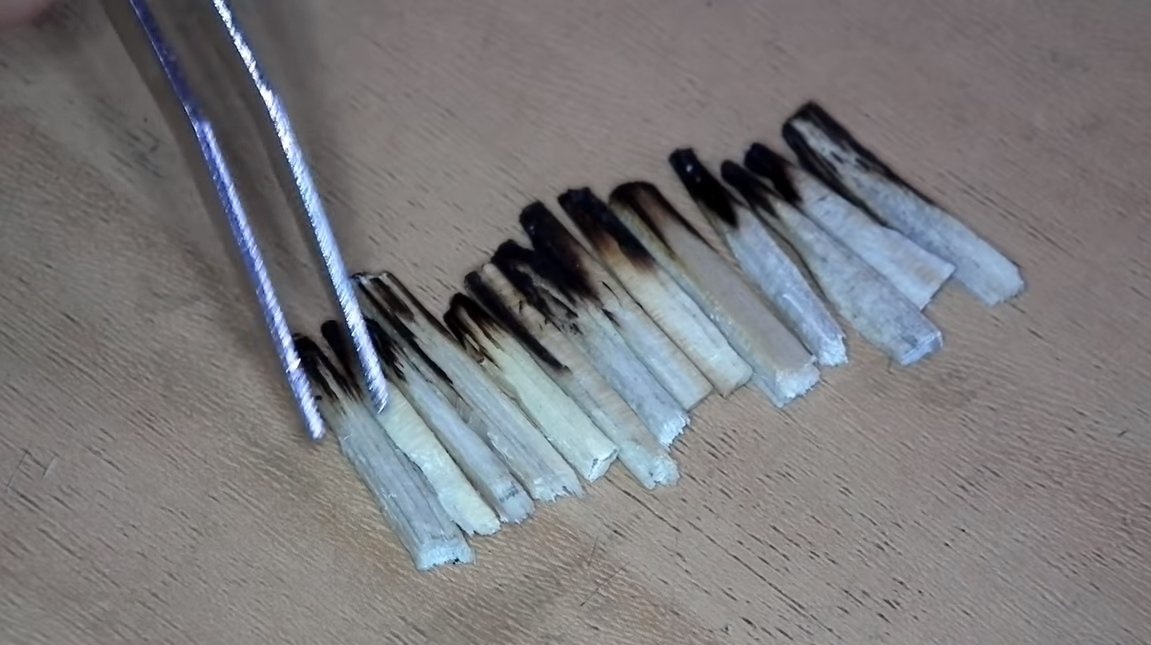
You can also collect a fire, for this we need a piece of dry board. Cut wood chips from the board and carbonize their ends with a gas burner. The resulting "firewood" is placed in a bonfire and coated with epoxy resin so that the firewood does not float when pouring and bubbles do not form.


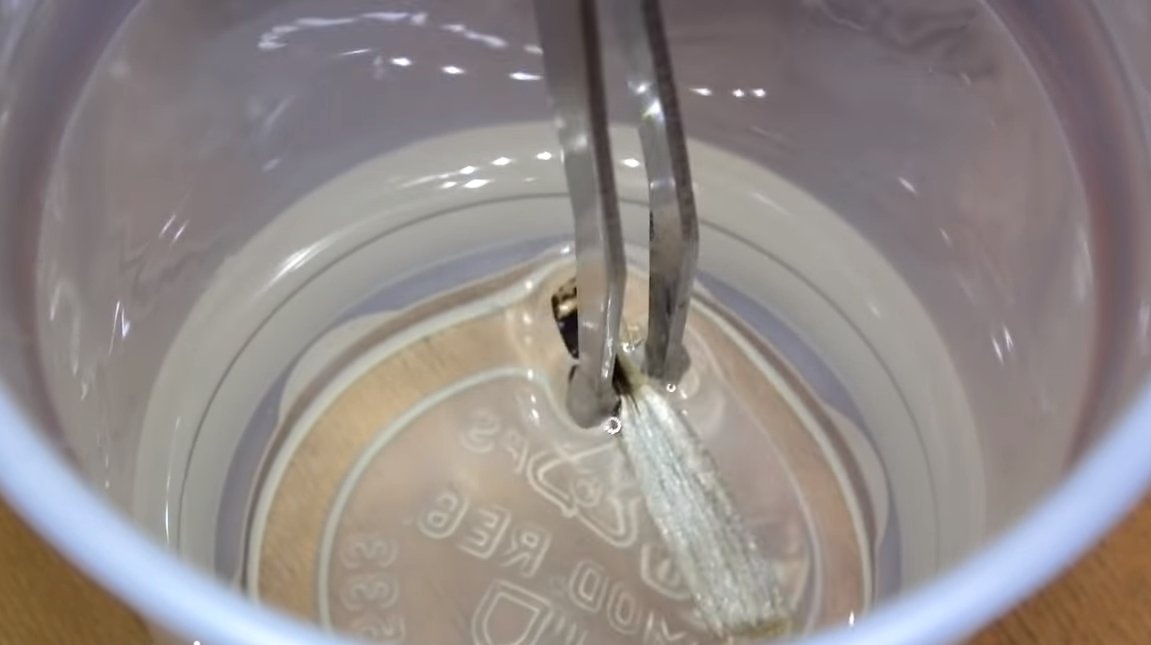

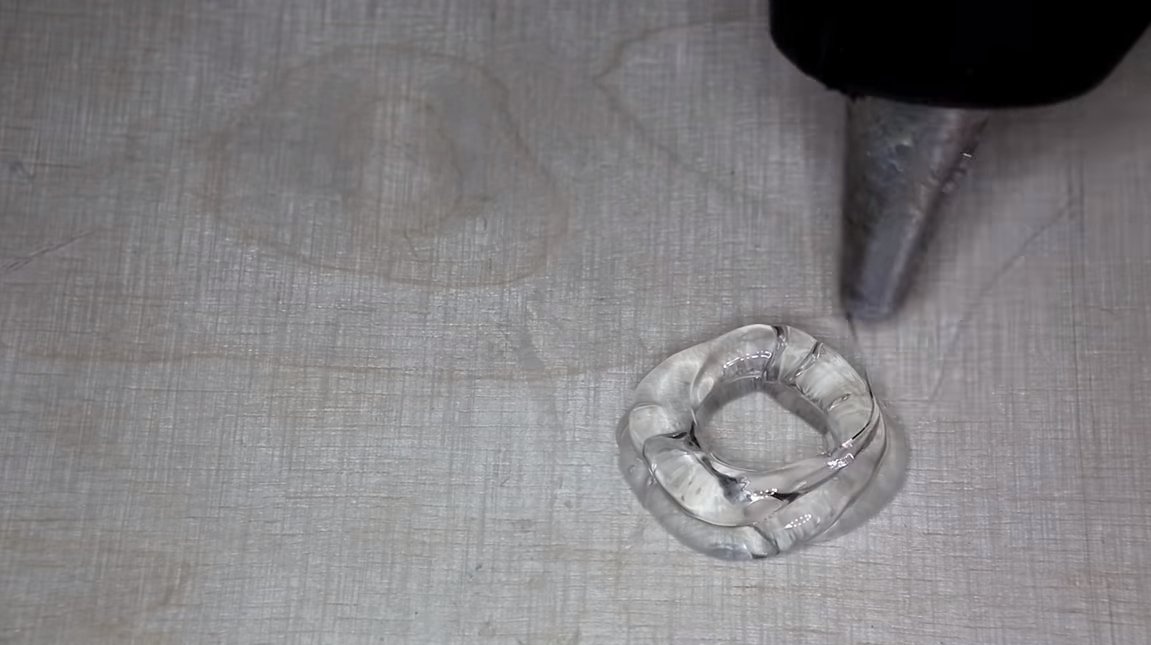
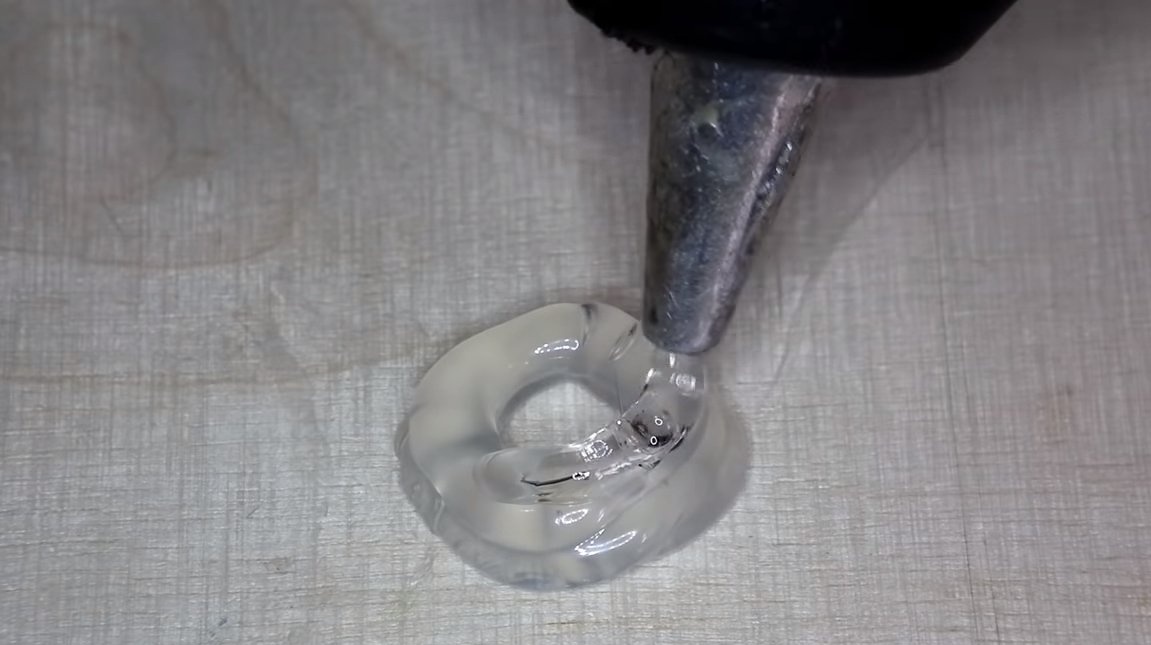
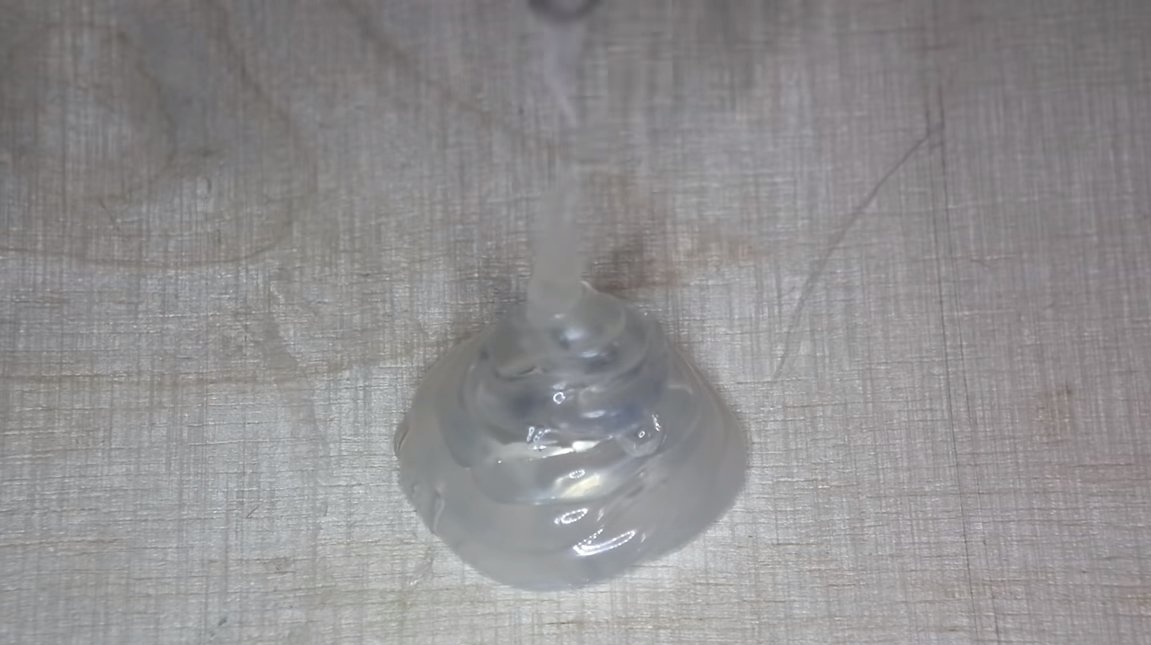
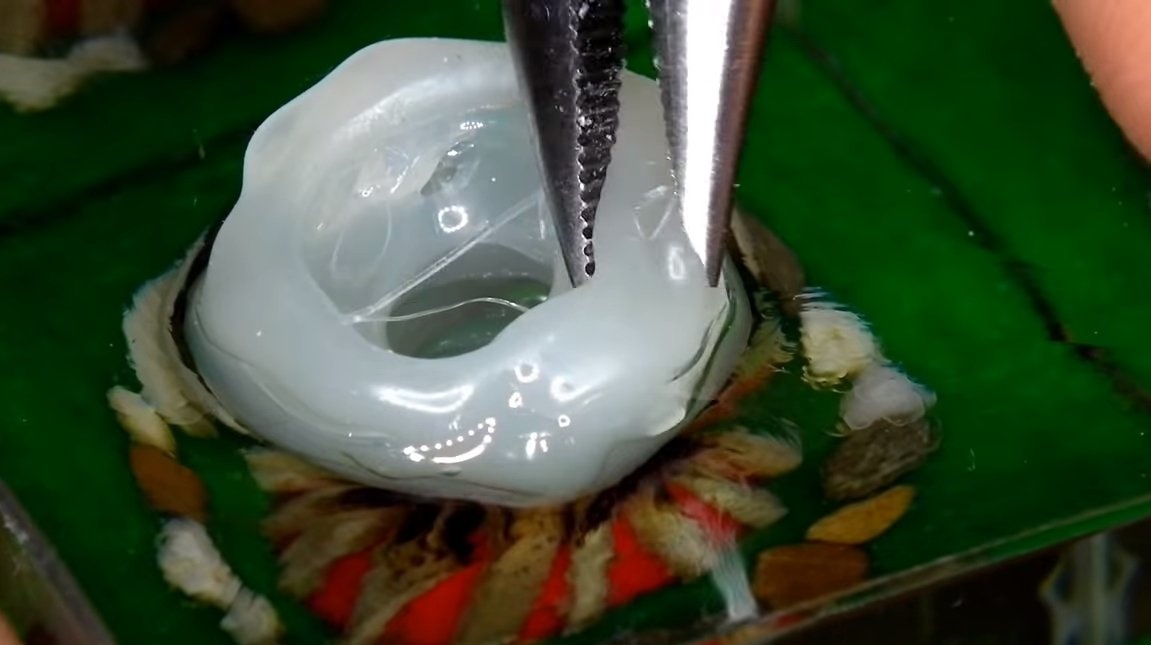
Step Five Smoke
Perfectly details the whole picture is beautiful white smoke. To make it, we need a glue gun, with it we put a bunch of hot glue, which will become a form of smoke. Glue the resulting part with superglue to the bonfire.
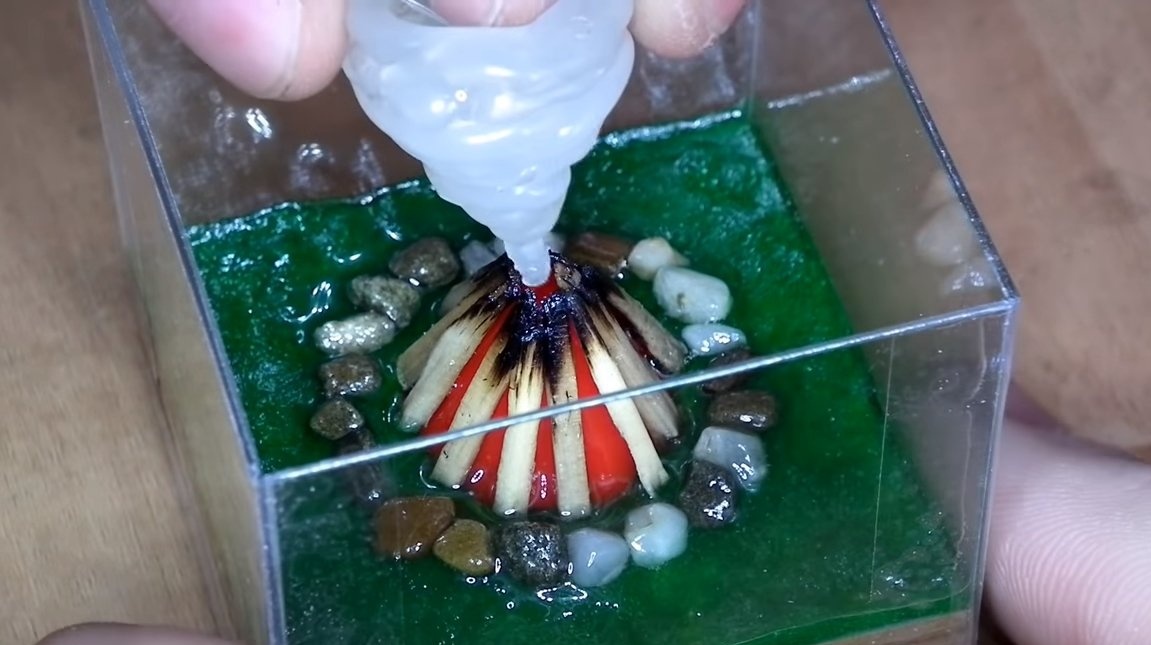
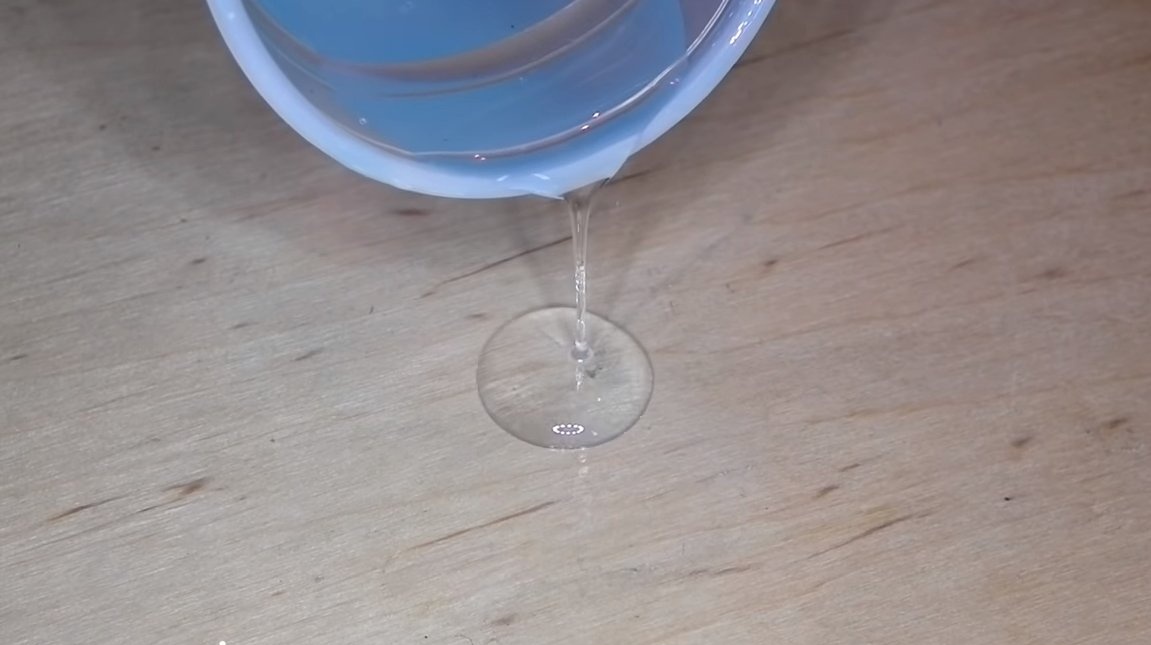
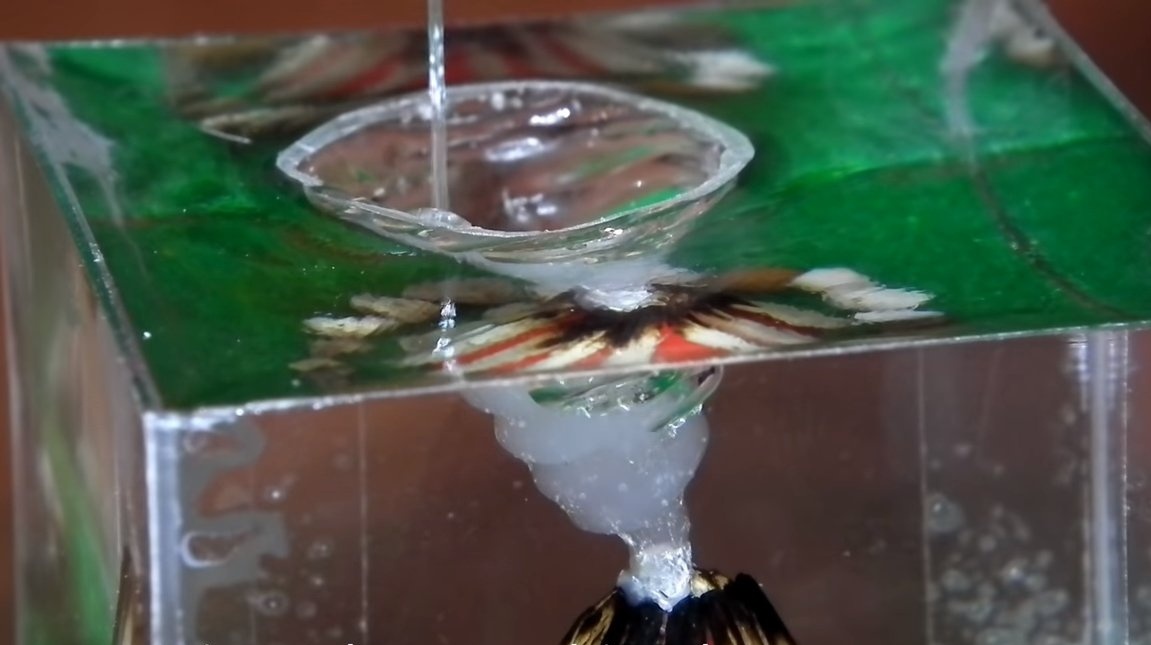
Step Six Pouring
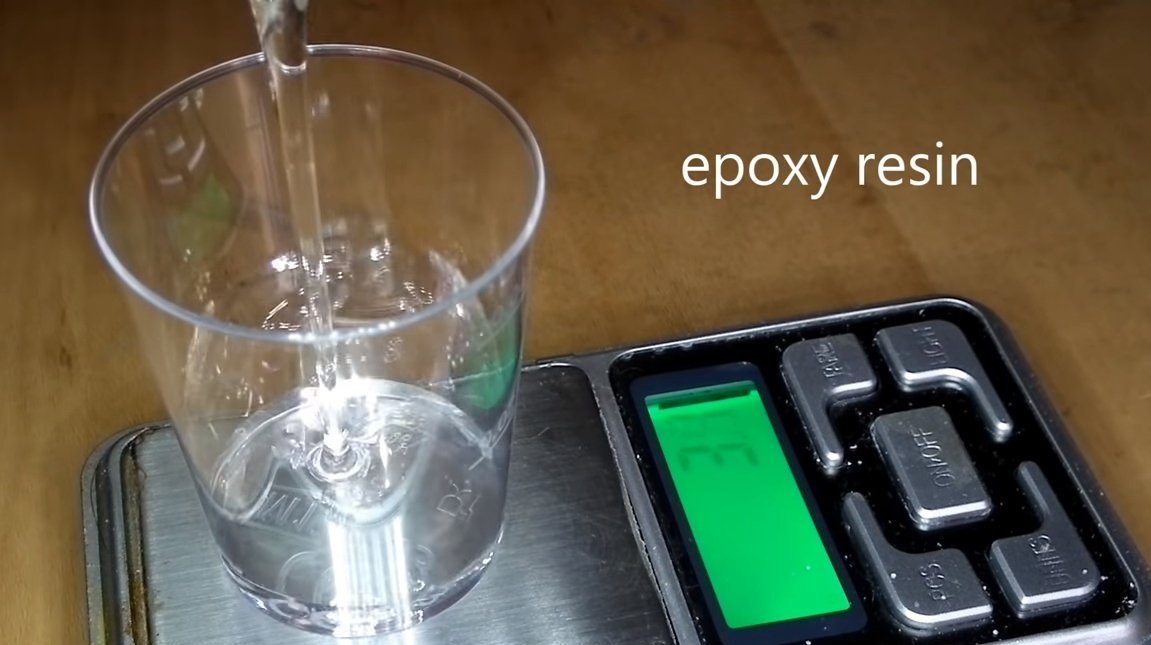
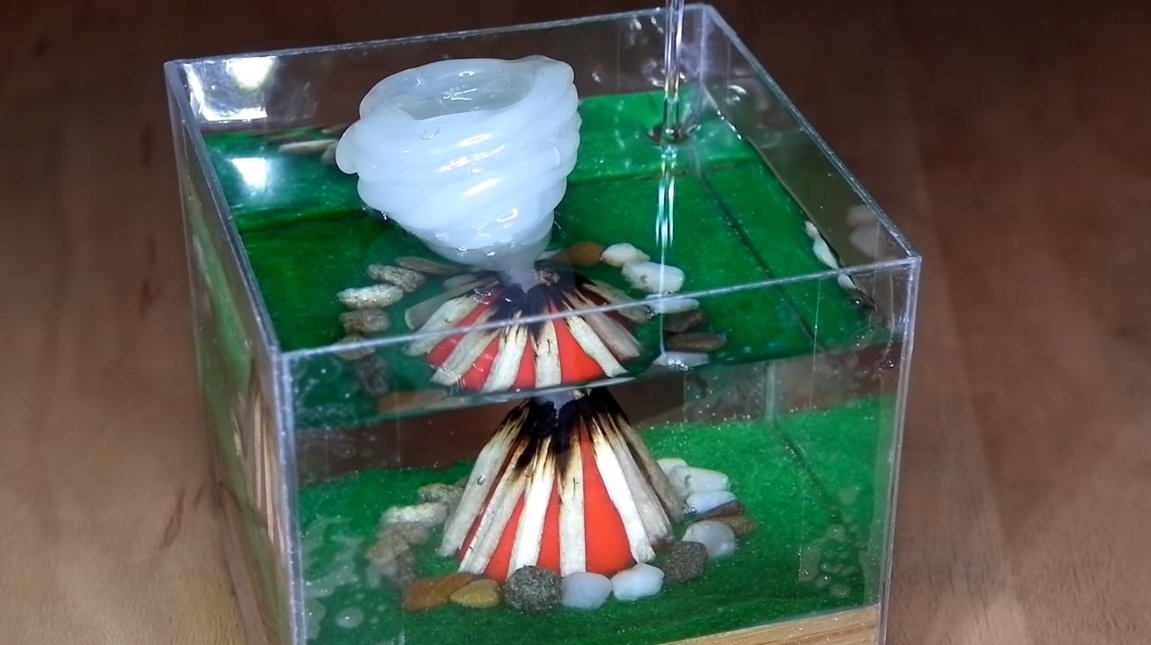
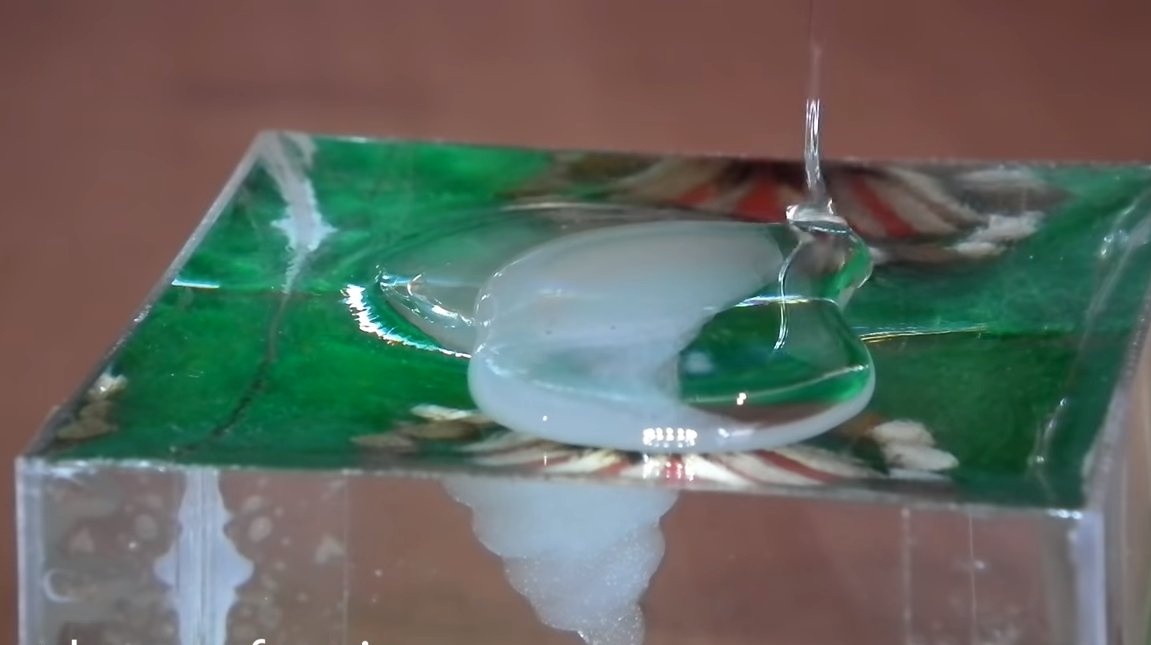
Everything is ready for pouring epoxy resin, mix it with the hardener by weight and pour it into the formwork. The resin must not be poured under the very neck, since then a small layer still has to be poured on top, over the smoke.
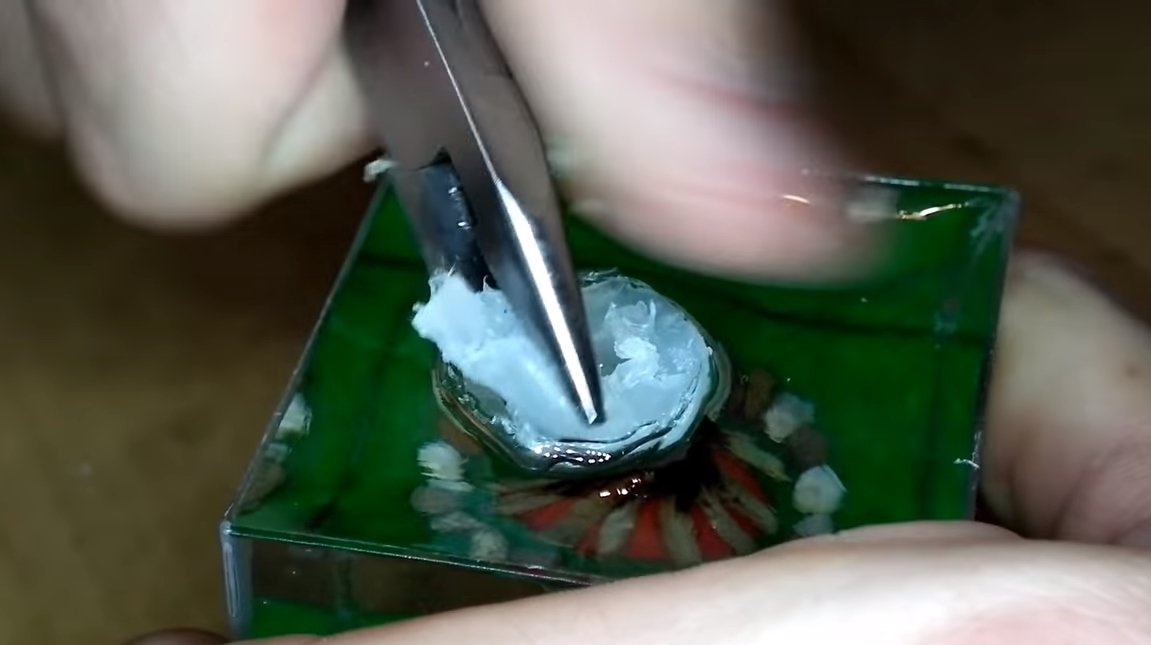
When the resin dries, we need to remove our smoke from the hot glue from the mold. As soon as the hot glue is completely removed, pour the resin with white dye into the resulting formwork, this will be our smoke. When the smoke dries, fill the last thin layer of resin in order to hide all the defects pouring.
When the resin hardens, carefully remove the formwork, grinding the resin will not be necessary if the formwork was made qualitatively.

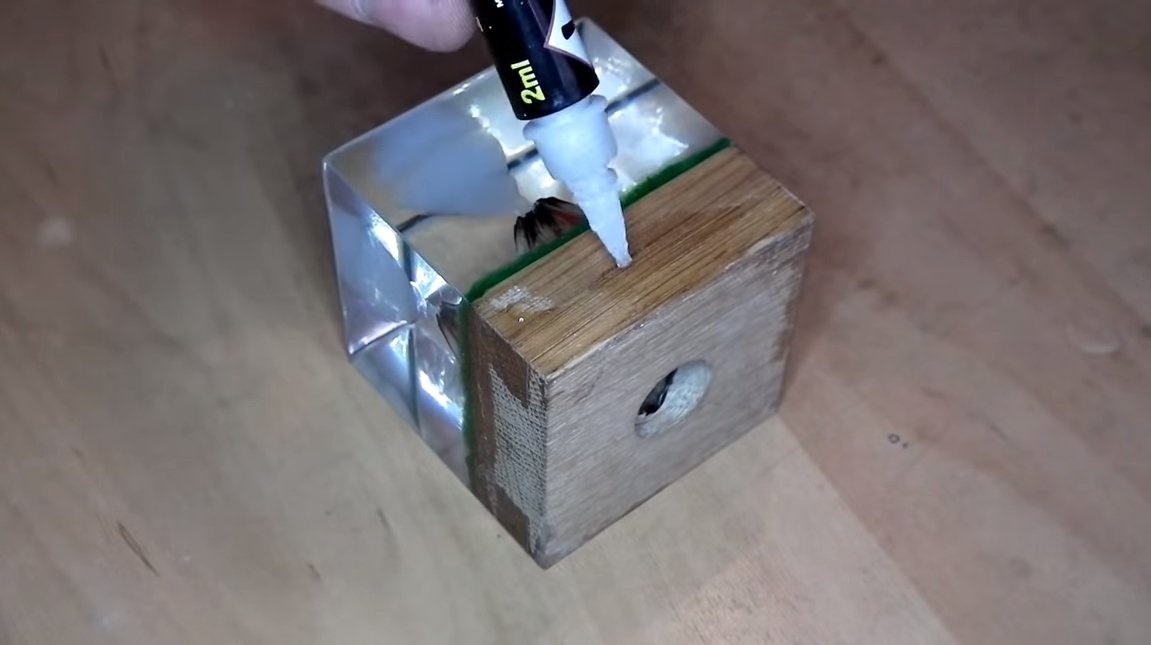
Seventh step. Completion
At the end, you need to sheathe the base with veneer, cut the material and glue it with superglue. You will also need to install a mini-USB connection socket, grind a hole under it and glue the socket using a glue gun.
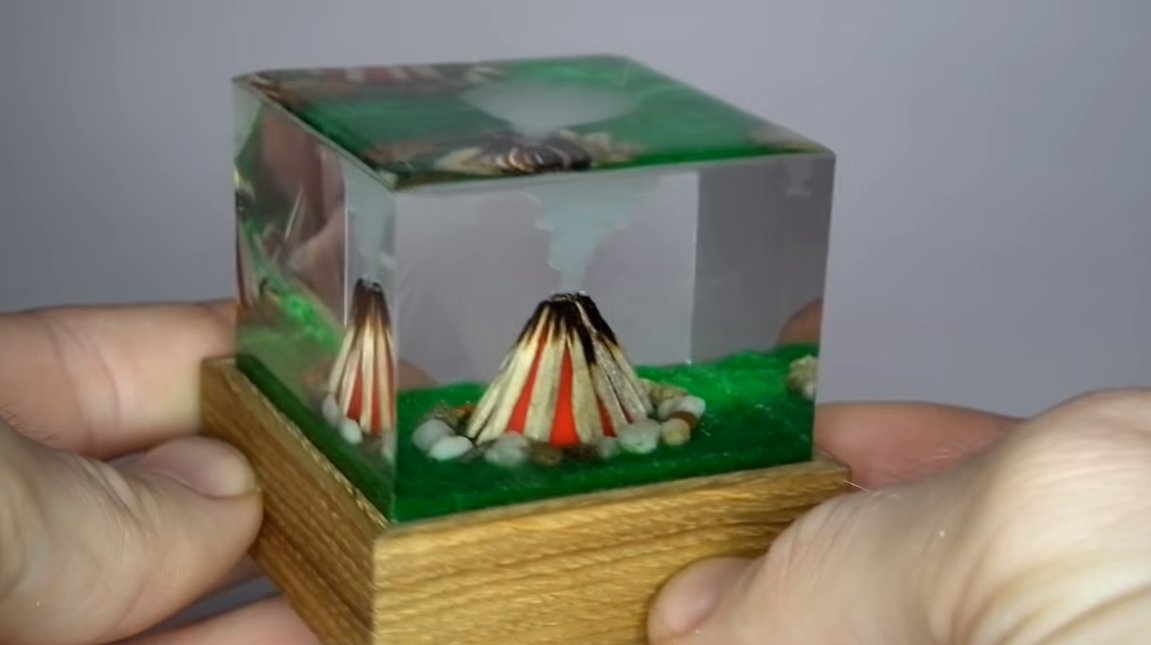
After that, the lamp will be ready, it looks great, such a homemade product will be a great souvenir. On this project is over, I hope you liked the homemade. Good luck and creative inspiration, if you decide to repeat this. Do not forget to share with us.