
Hello to all fans to work with steel. Today we will look at how to make a stylish and strong knife in the Japanese spirit. Such a knife is a small sword, the blade cuts perfectly, and also cuts, so these knives have gained a reputation among cooks. For the manufacture of the knife discussed below, the author used already hardened and tempered steel of the brand N690Co Boehler Uddeholm. Such steel does not rust and is resistant to all kinds of aggressive environments, and it can be hardened to a hardness of 60 HRC. If the project interests you, I propose to study it in more detail!
Materials and tools used by the author:
Material List:
- steel N690Co;
- blank for the handle;
- epoxy adhesive;
- brass, stainless steel (for bolster).
Tool List:
- belt sander;
- drill;
- files;
- drill;
- grinder;
- tape cutting machine;
- fine sandpaper.
The process of making a knife:
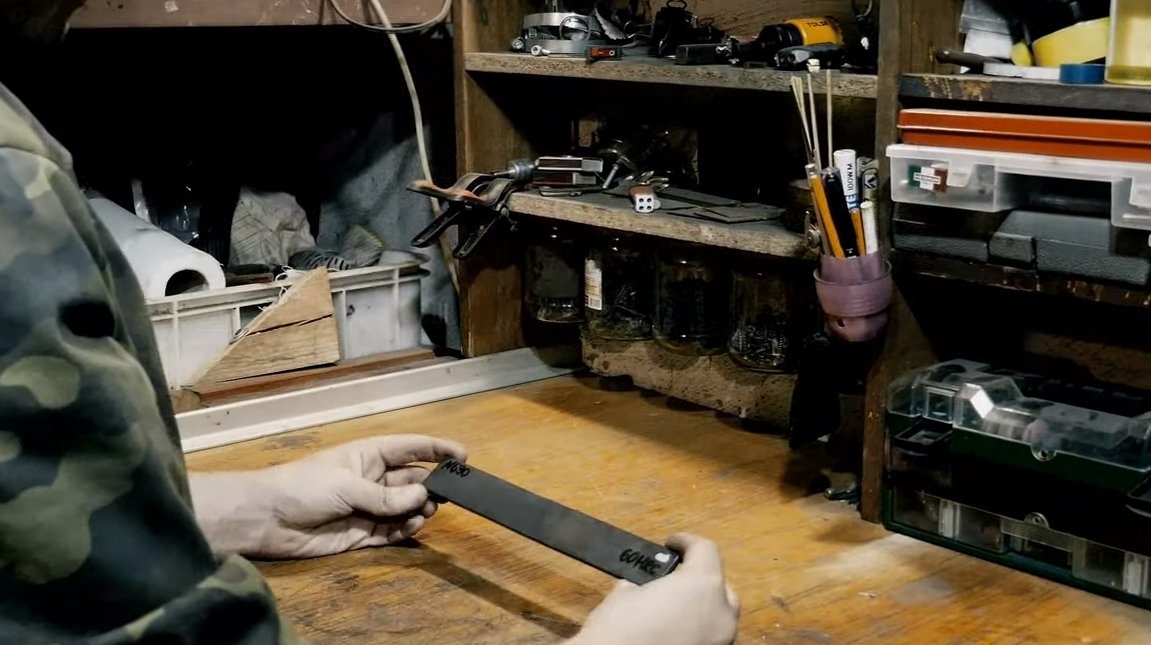
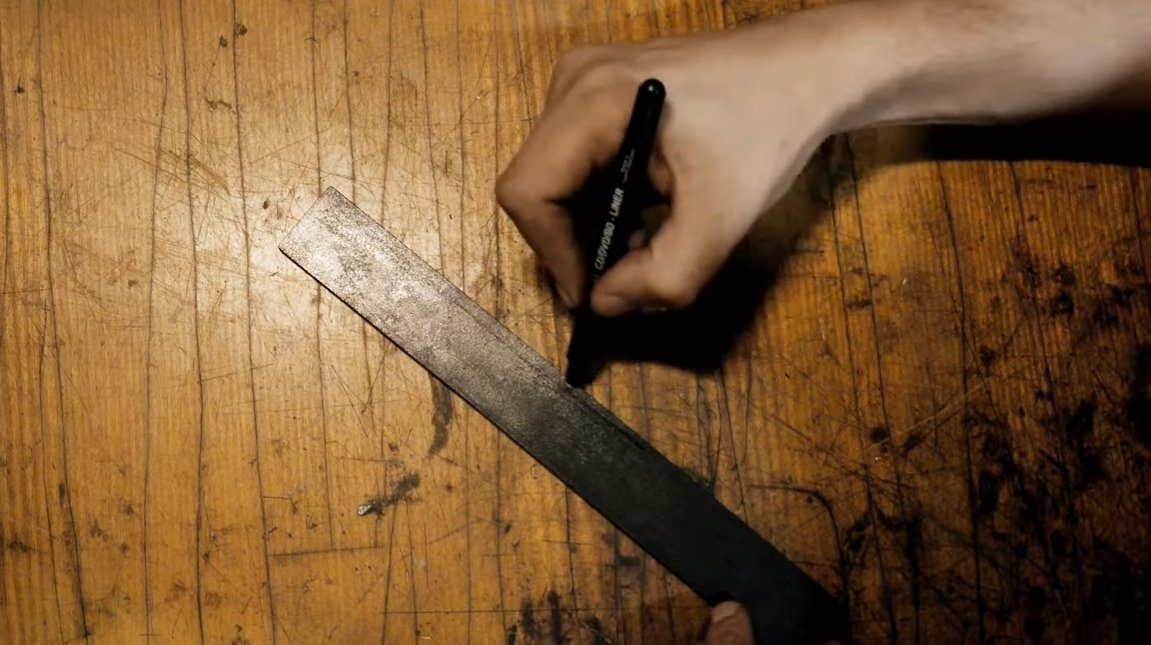
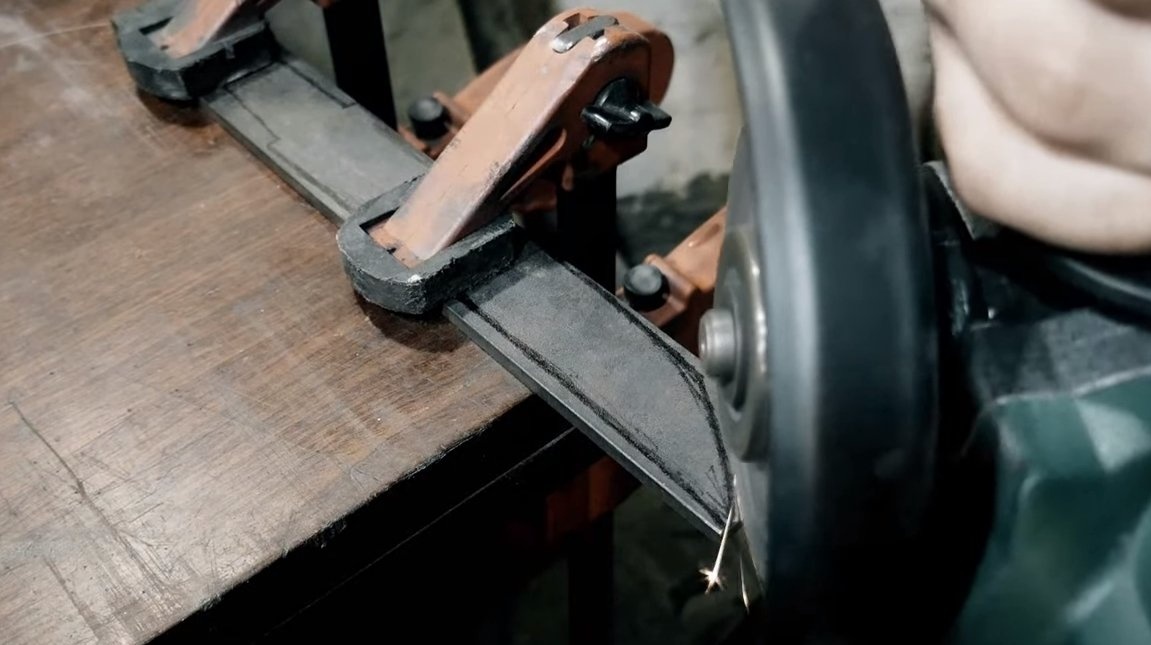
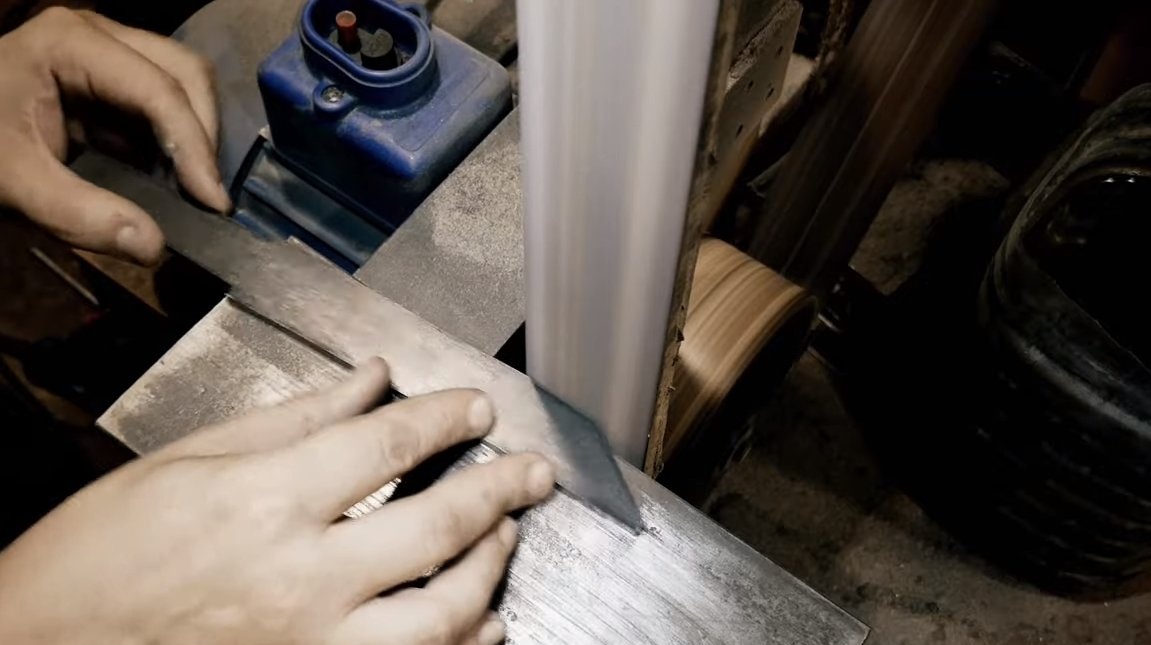
Step one. Cut the main profile
First of all, we draw on the blank the desired blade profile, if you have problems with this, you can download and print a ready-made knife template on the printer. Then you can start cutting, the author uses a grinder to work. When cutting, do not overheat steel, especially with regard to the part where the blade is located. If the steel is overheated, it will release and become soft, and we will not temper the blade. In order to prevent overheating, we pour the blade with water for cooling. If you need to cut along a curve, make cuts perpendicularly and cut the steel into pieces.
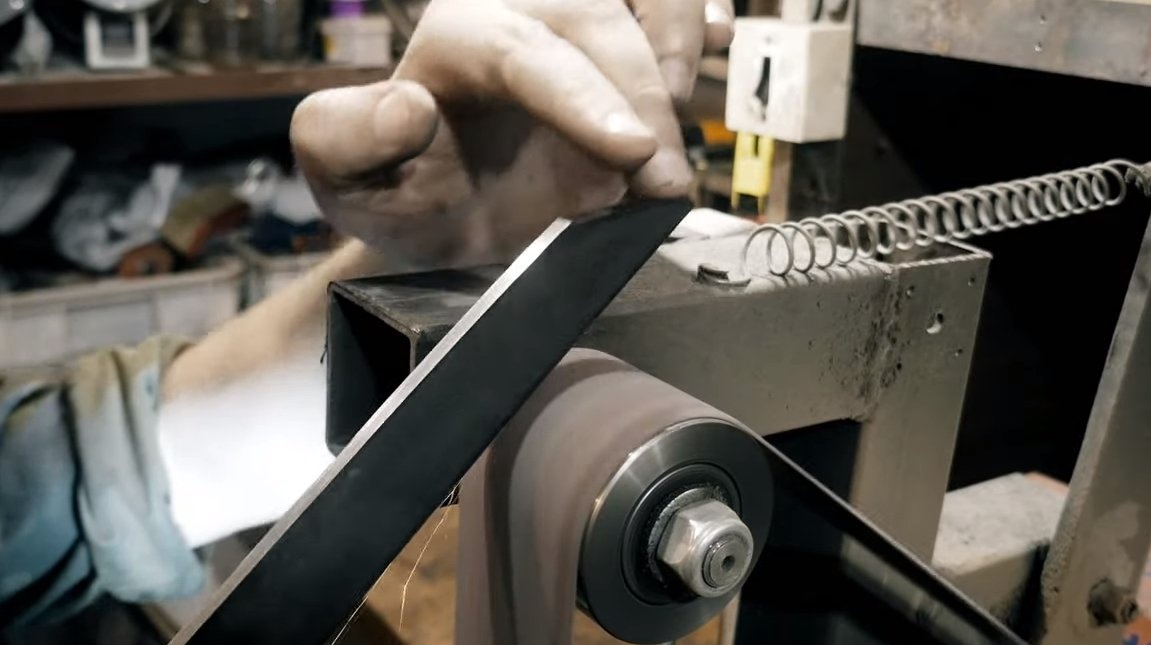
Step Two Grinding
We proceed to grinding, we need to finalize the profile of the blade. Hand tools do not handle hardened steel, we need a belt sander or other suitable one. We carefully process the blade along the contour and make sure that there is no overheating.

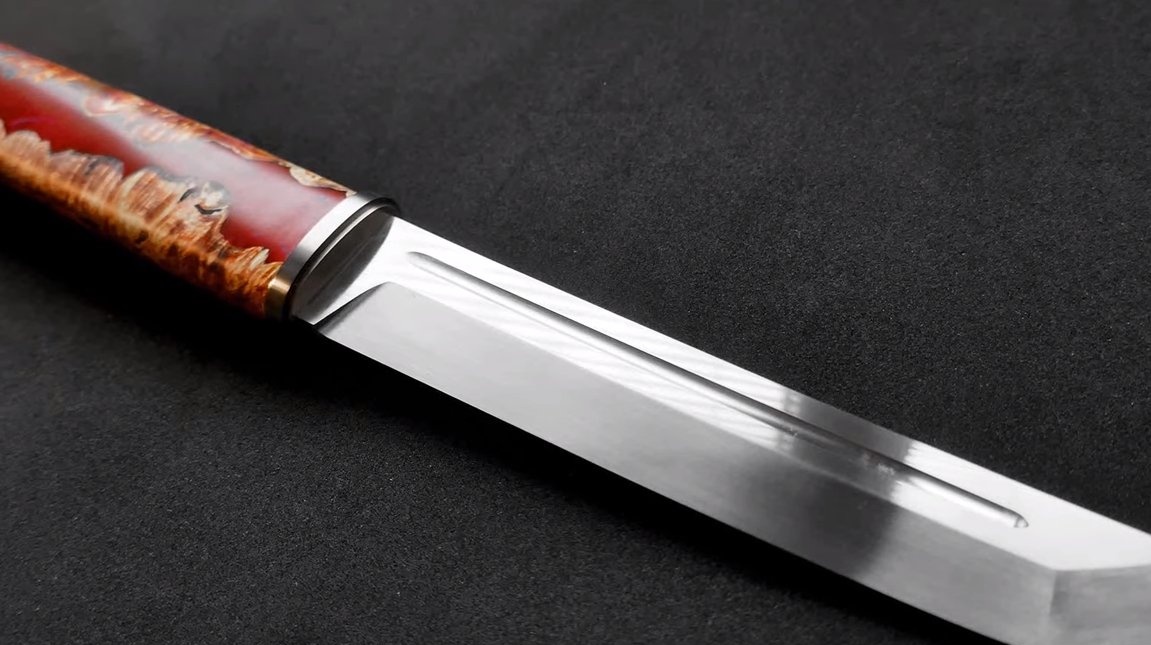
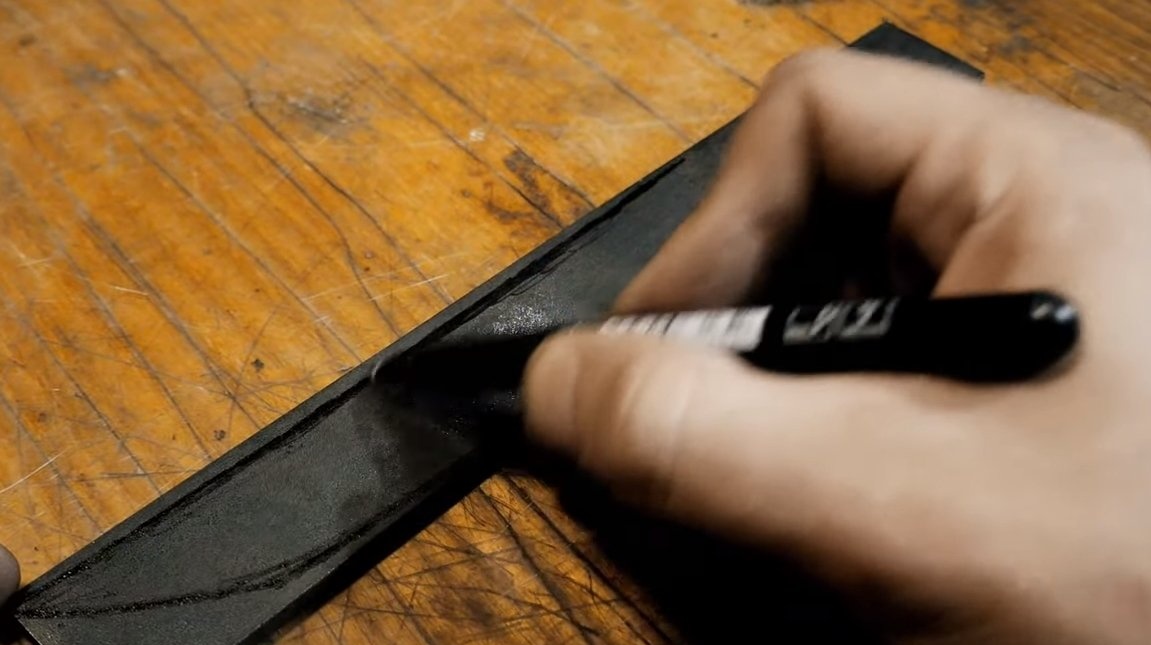
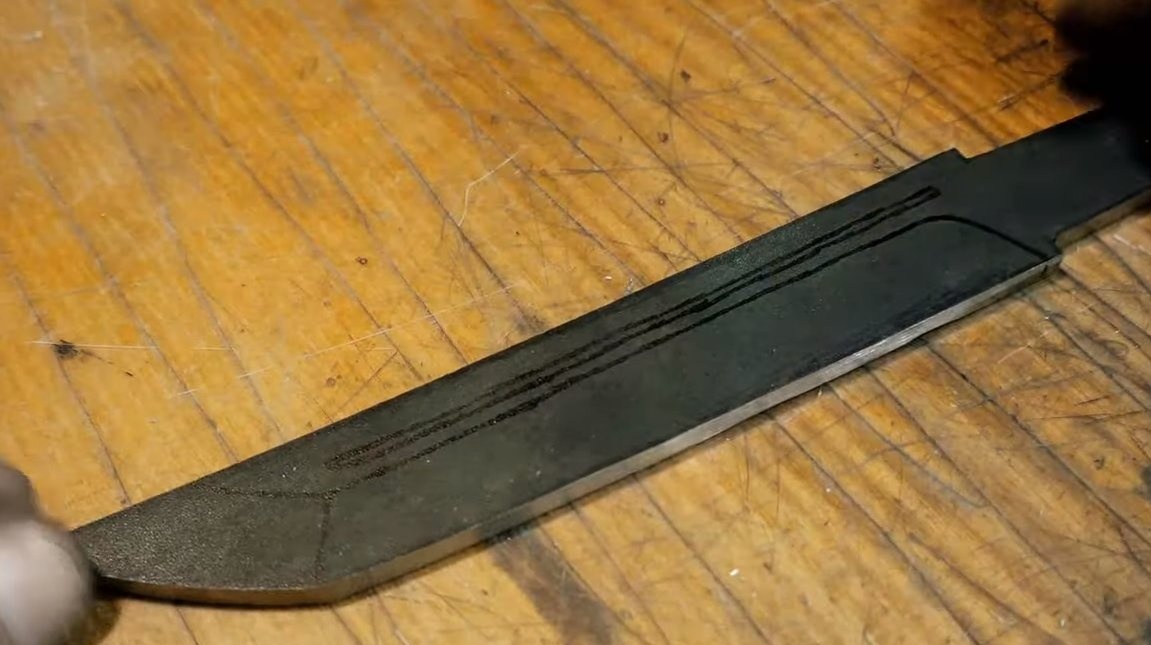
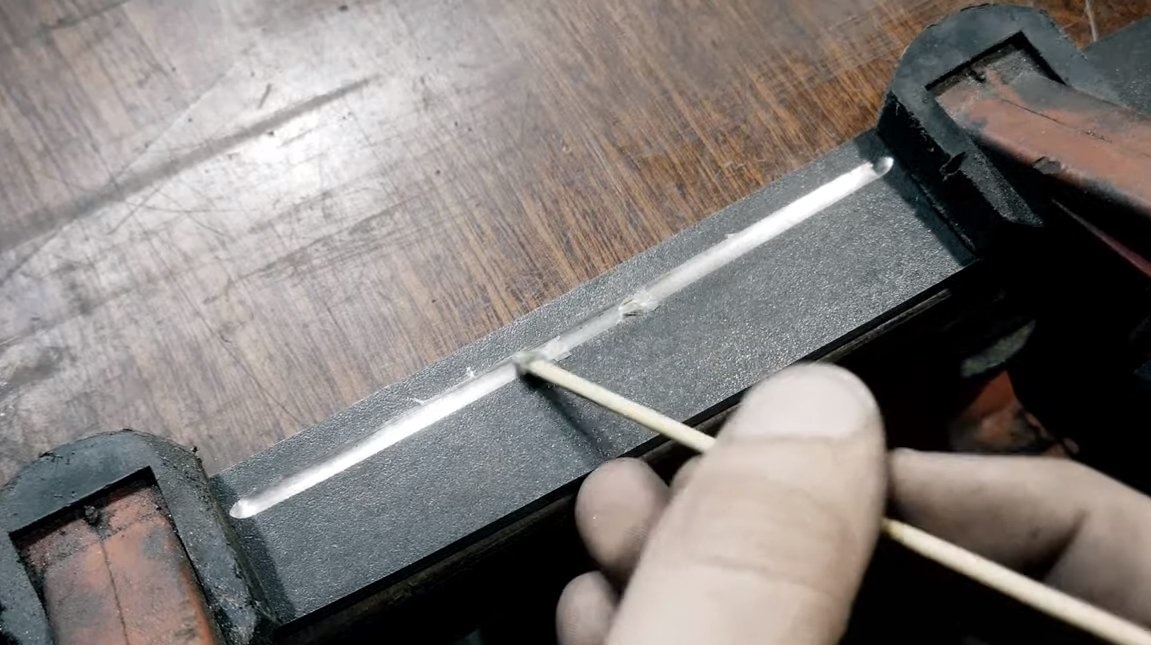
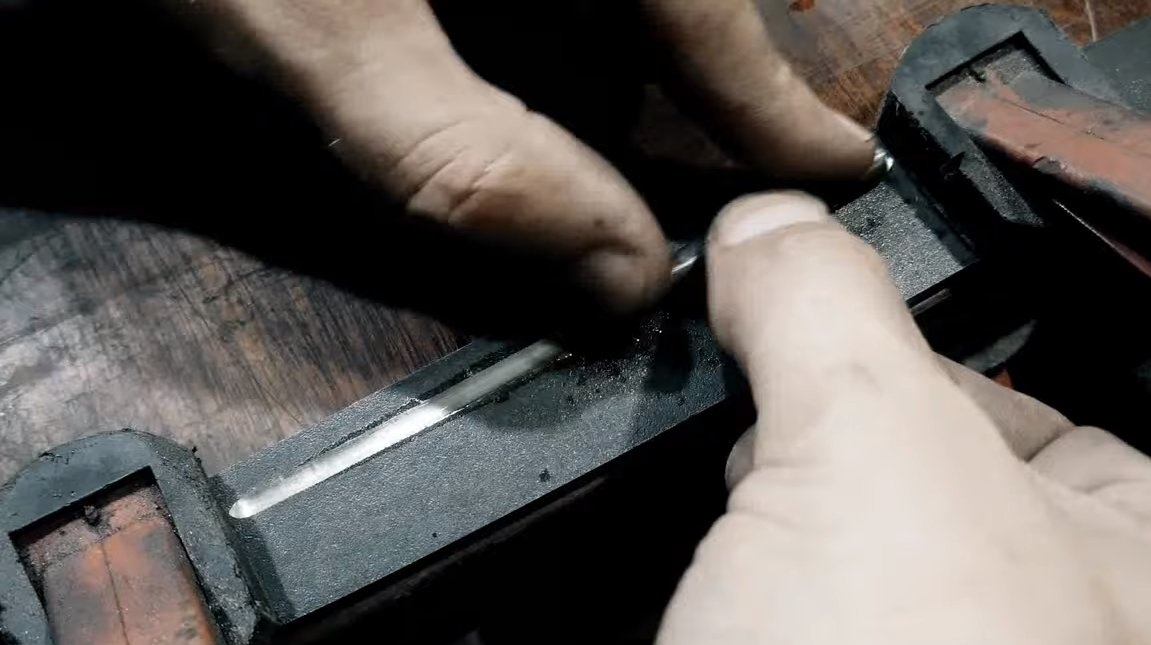
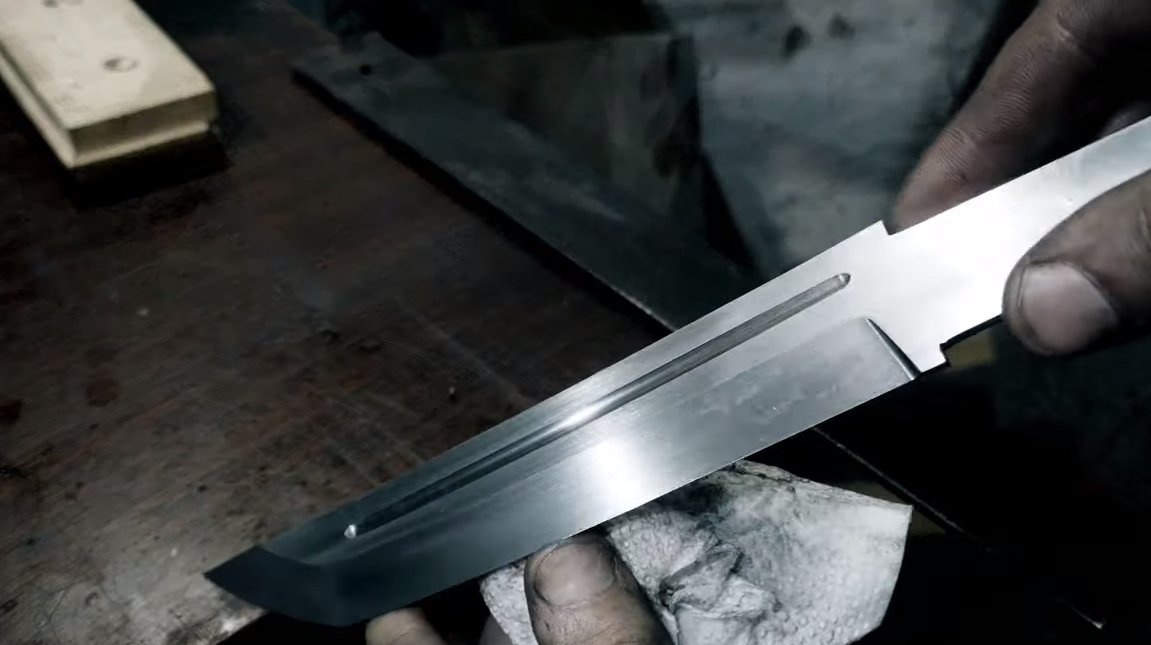
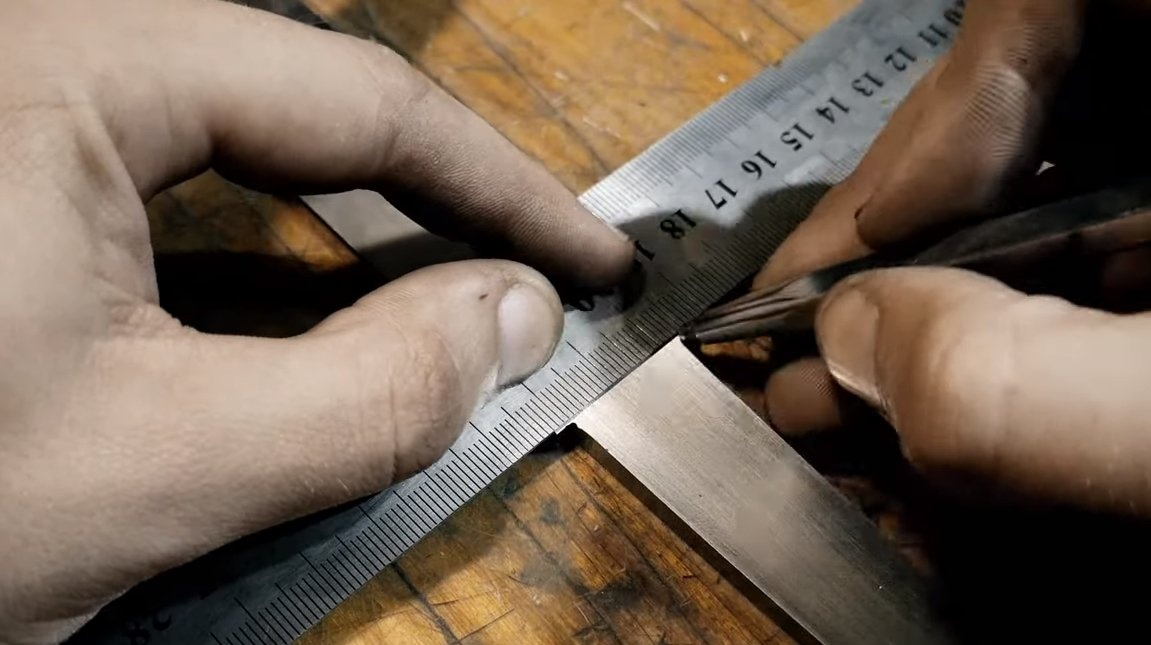
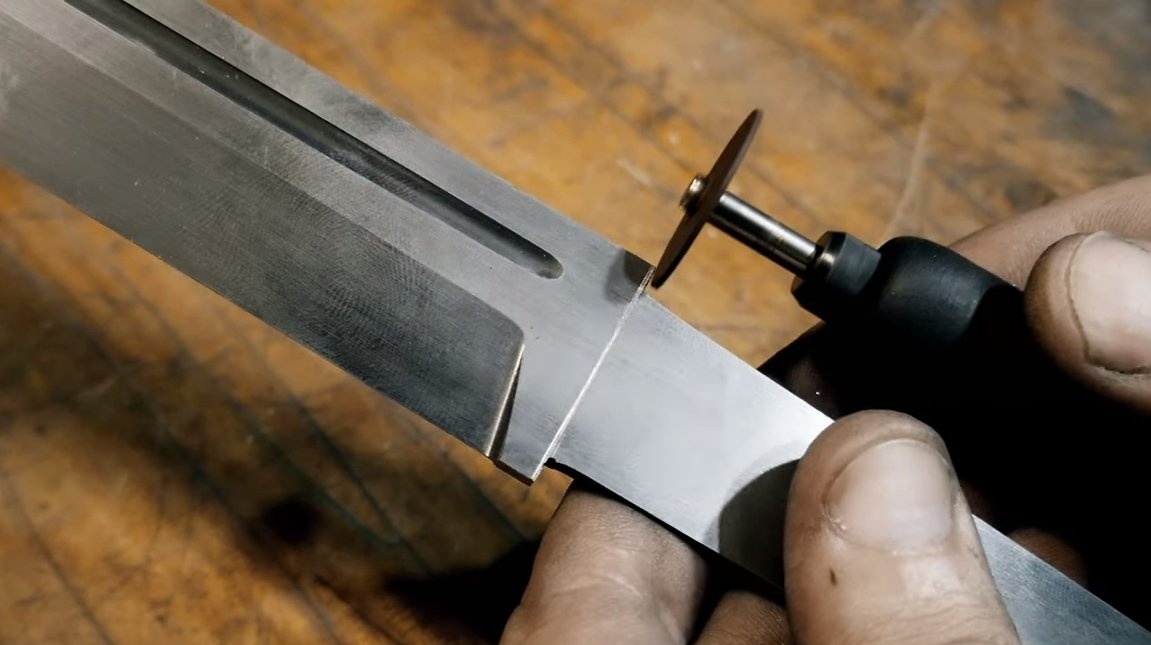
Step Three Dol
As planned, a narrow dol runs through the blade along the entire length on both sides. Thanks to this groove, the blade gains bending rigidity, and with such a groove, the blade looks gorgeous.Armed with a marker and a ruler, we need to mark everything up first. Well, then you can get to work, here we need a drill with a thick grinding disc. A little effort and the grooves are ready. Now they need to be well sanded, emery paper wound on a rod of a suitable diameter will help us in this.

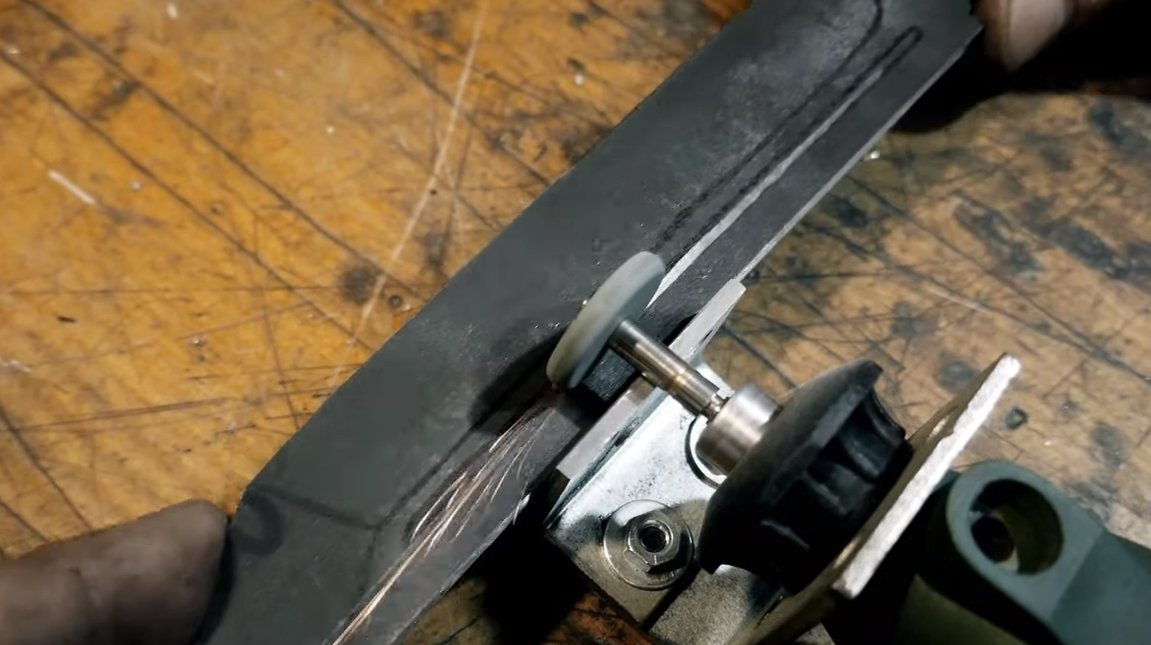
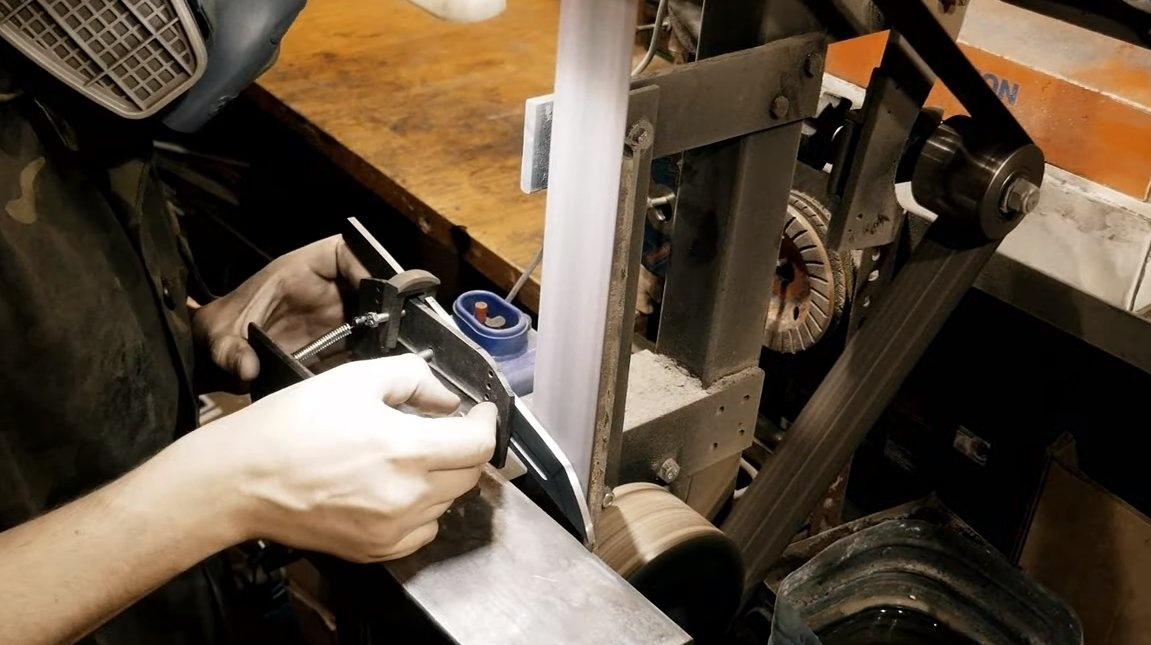
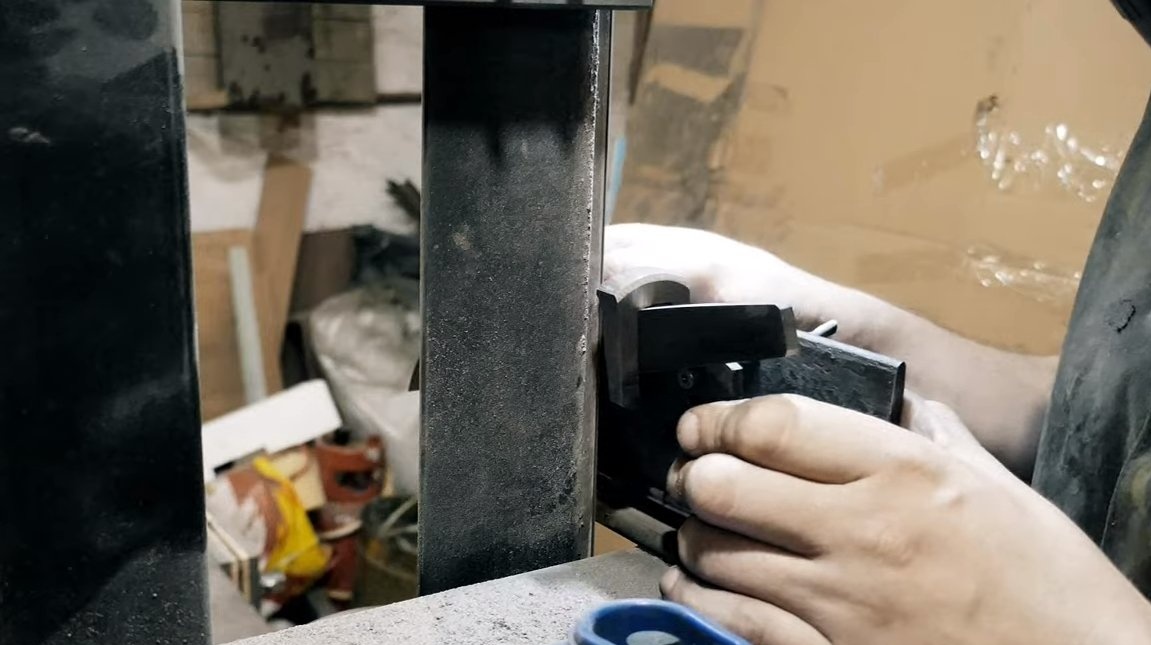
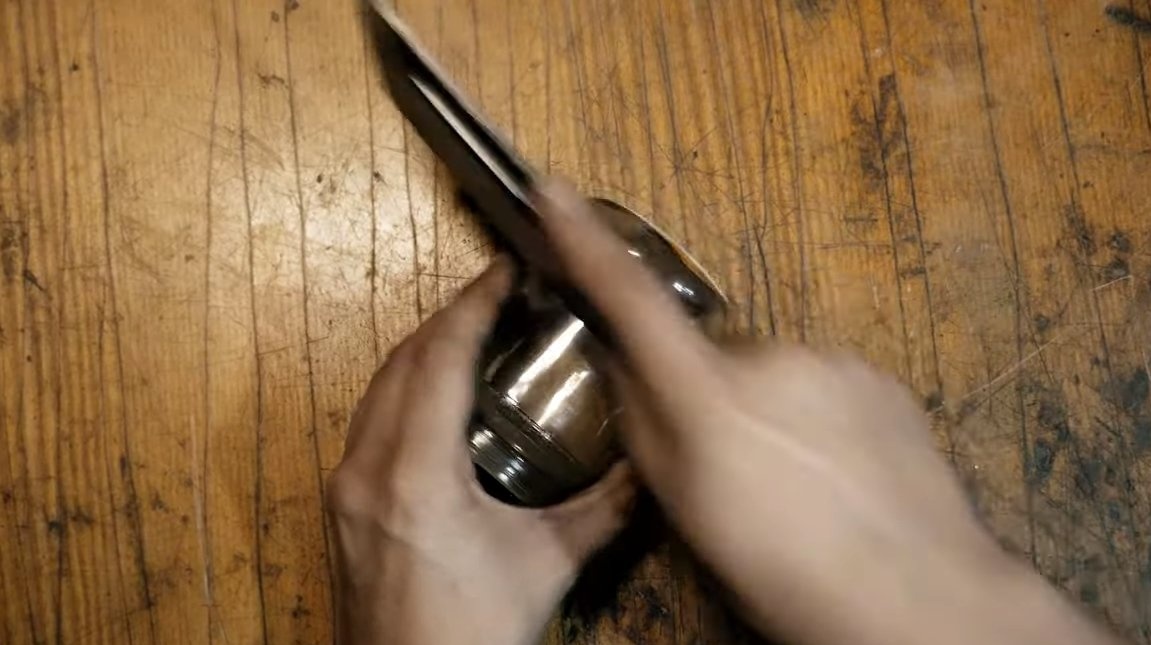
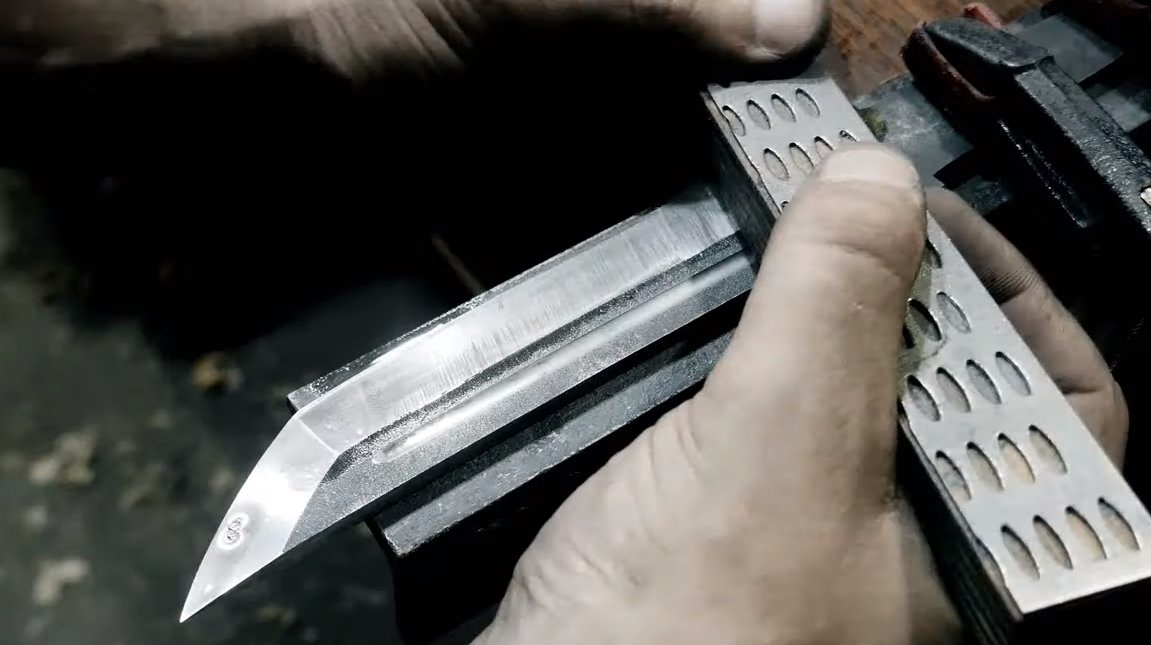
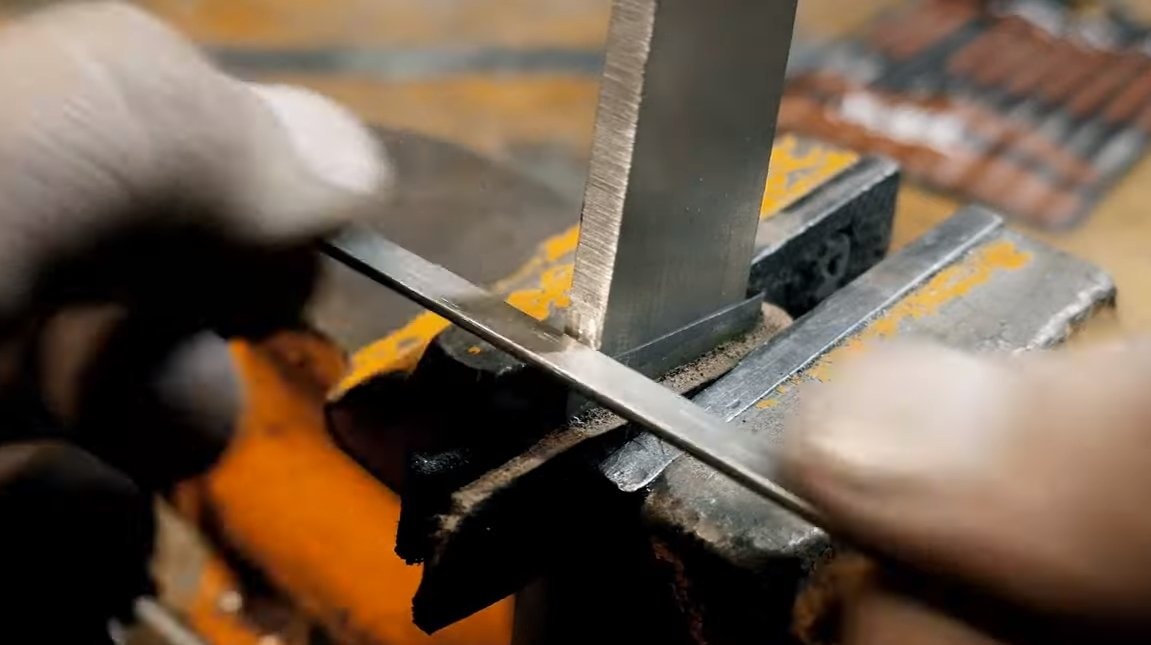
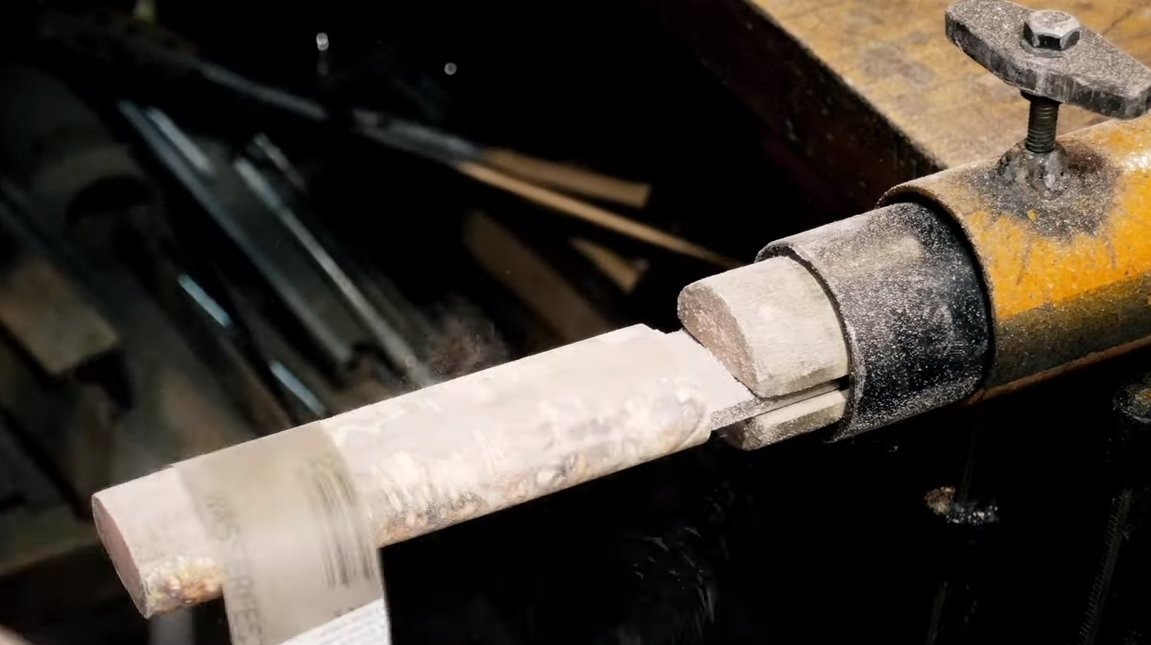
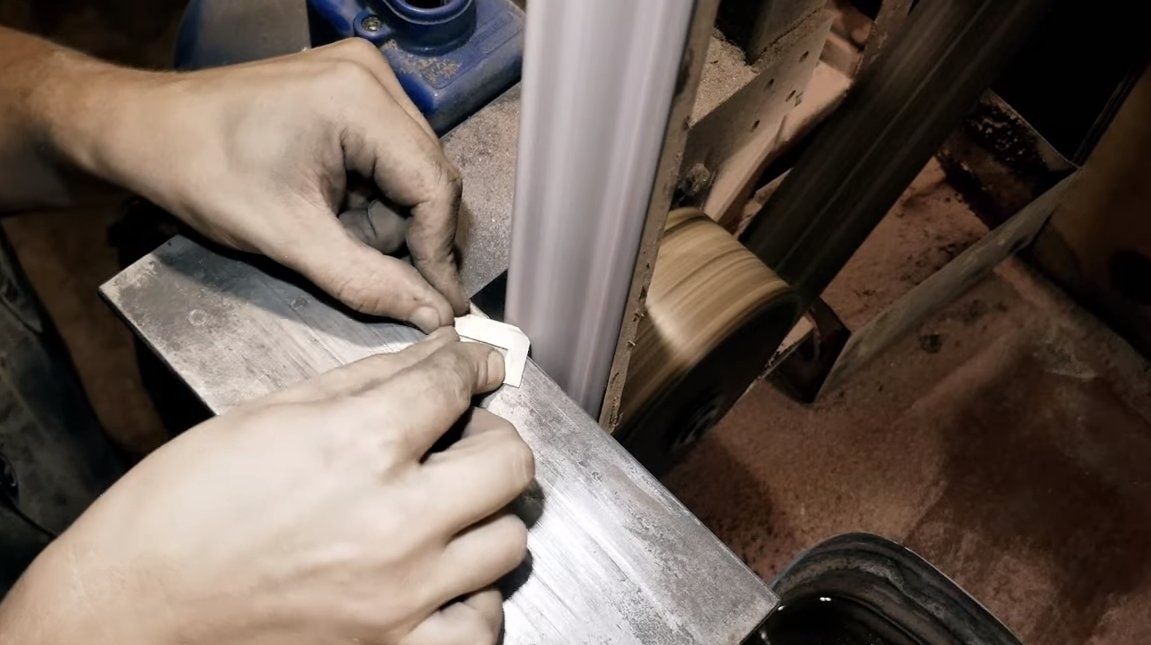
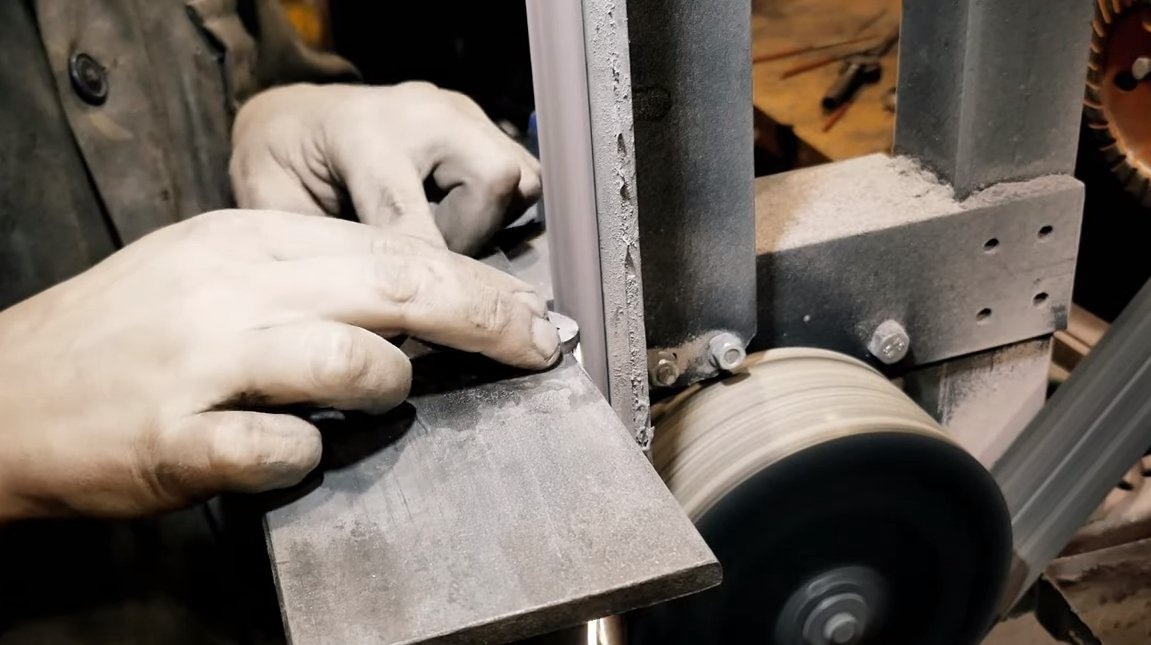
Step Four Descent and sharpening
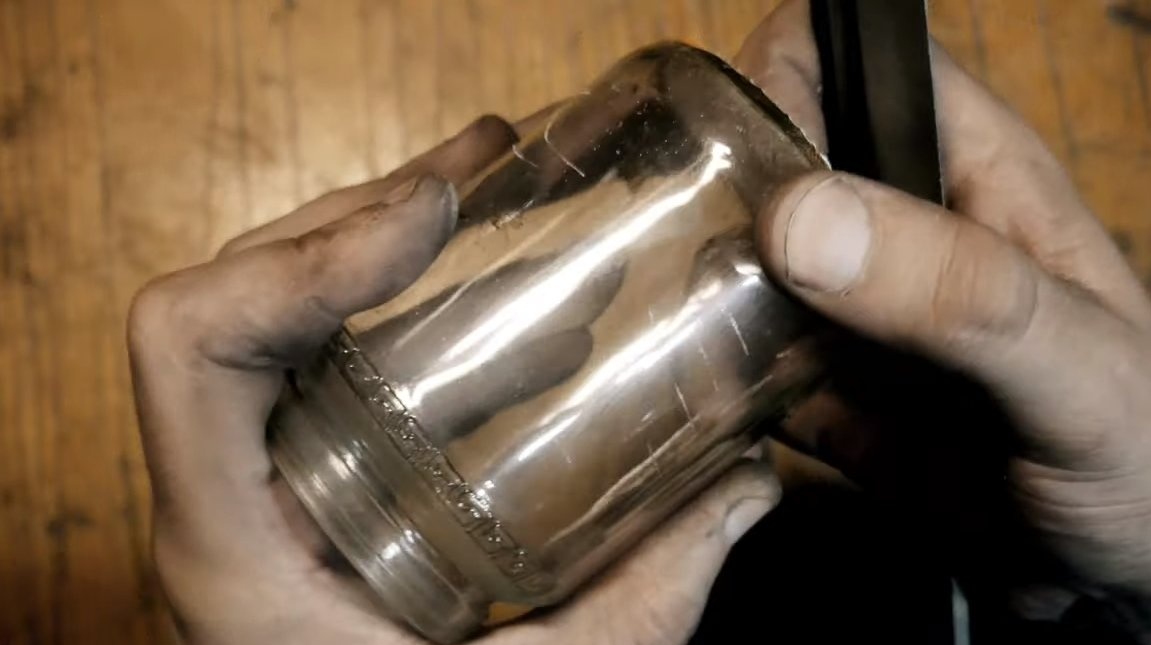
Clamp the blade in a special holder and remove excess metal at a given angle. In no case do we overheat this section of the blade, otherwise the steel will not be solid. In conclusion, the author decided to sharpen the blade. As a result, the knife turned out to be so sharp and the blade hard, which leaves scratches on the glass jar.
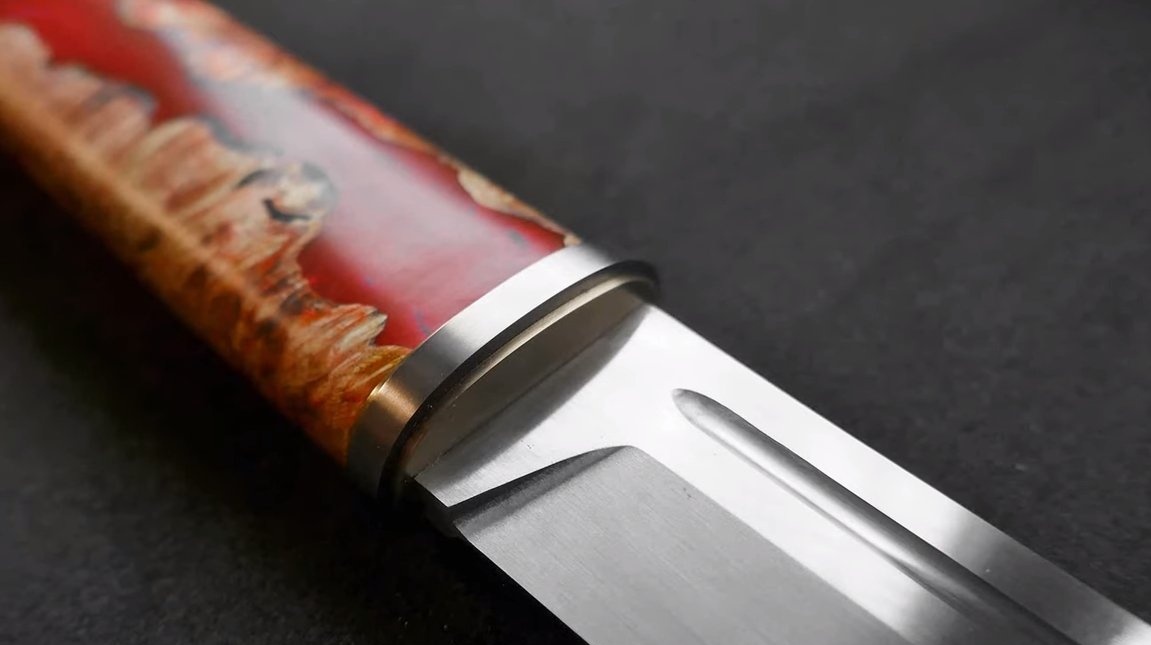
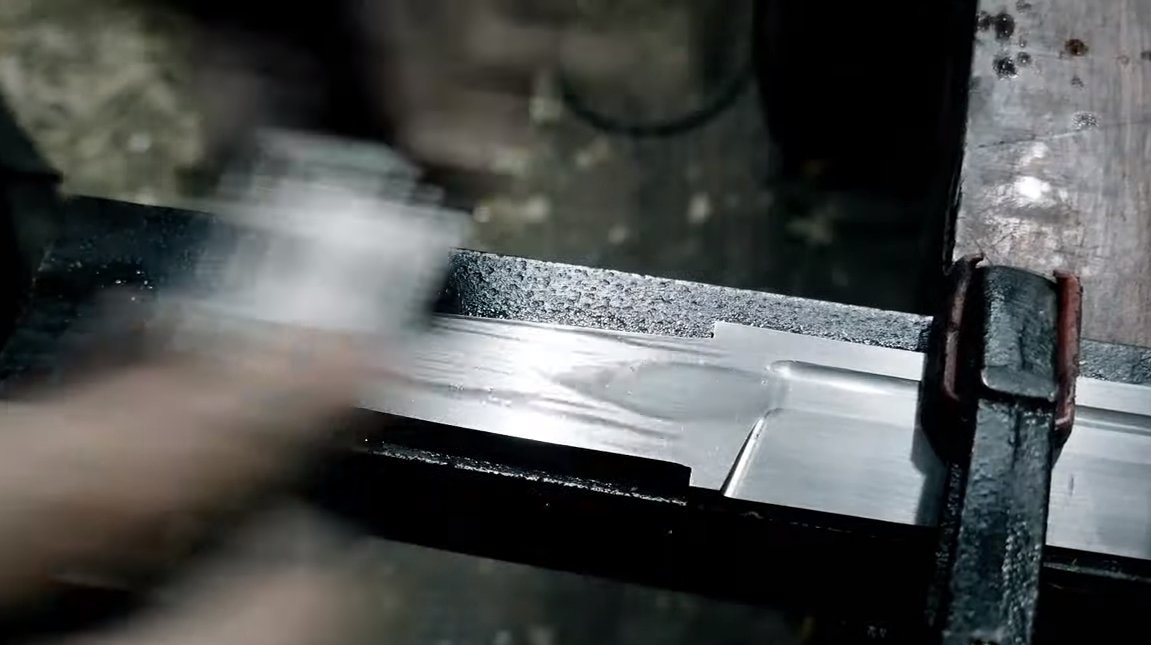
Step Five Polishing
The selected steel does not rust, so it can be polished to a mirror finish and the knife will keep it. First we use fine sandpaper, you need to grind with water or with WD-40. Well, at the end, the blade can be polished on the machine with polishing paste.
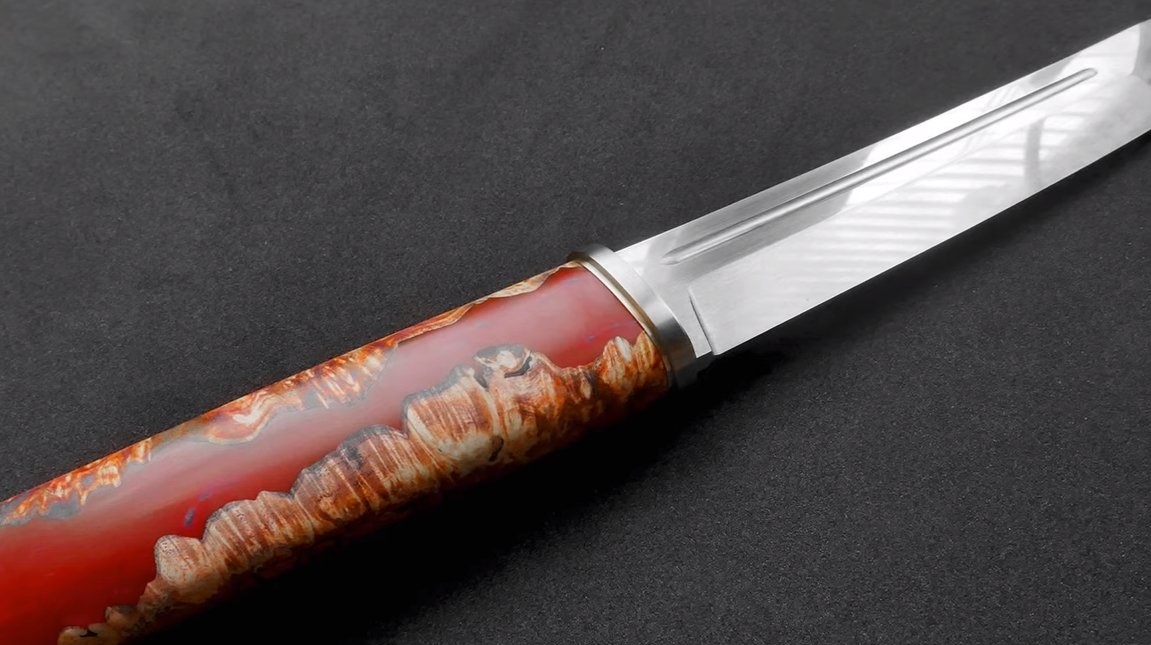
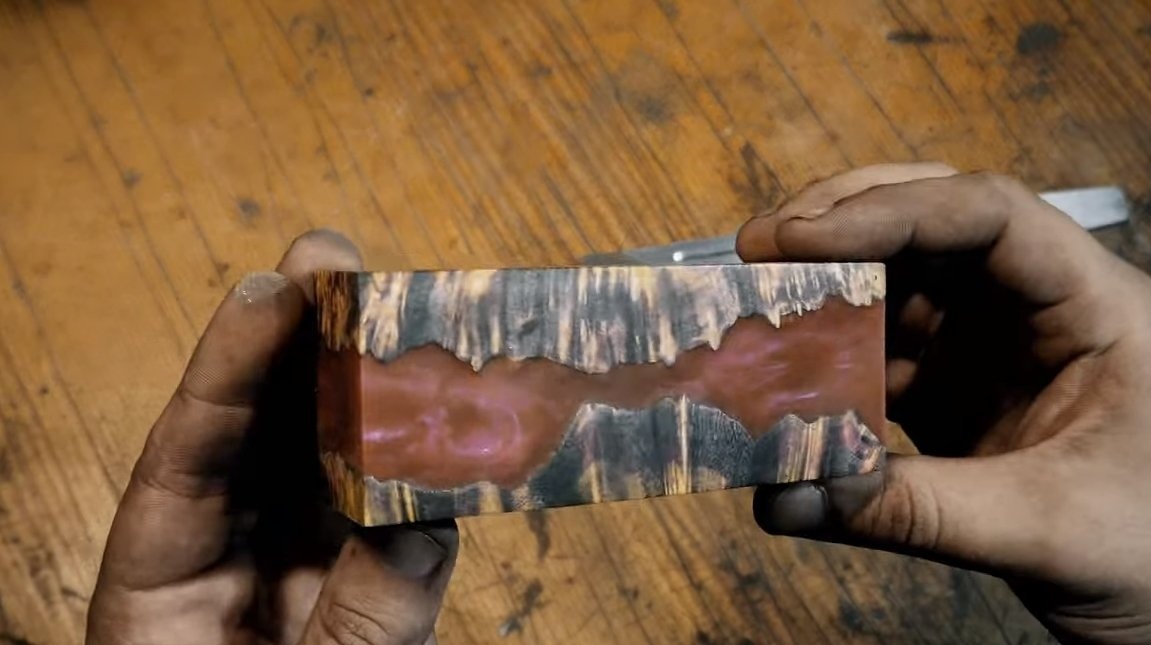
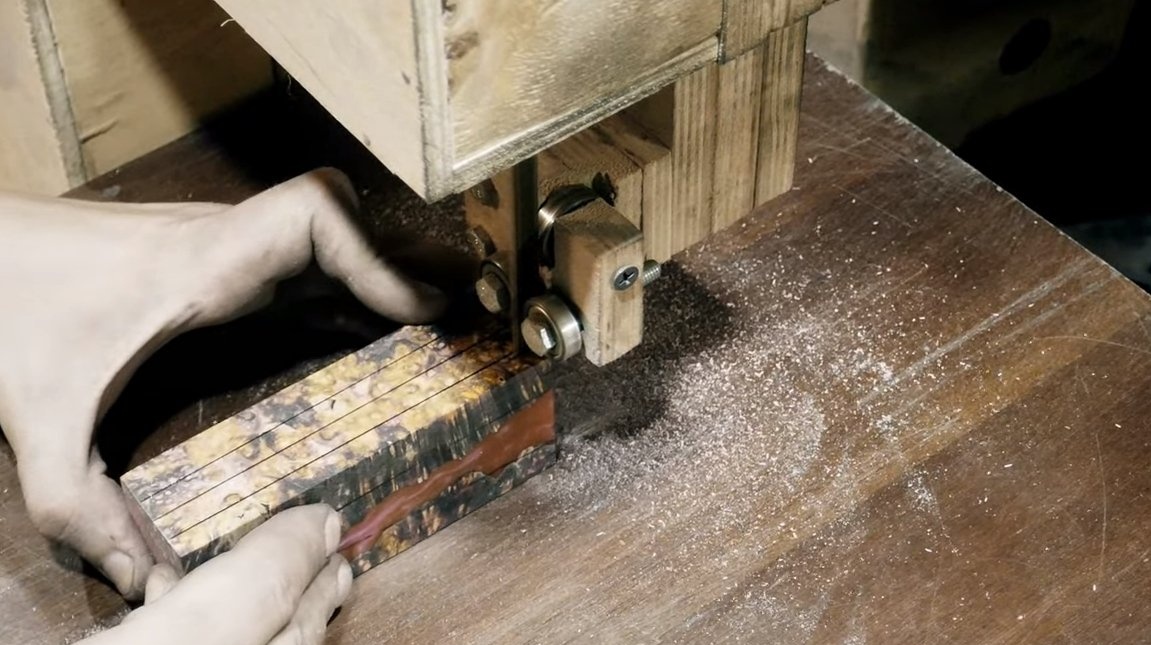
Step Six Handle
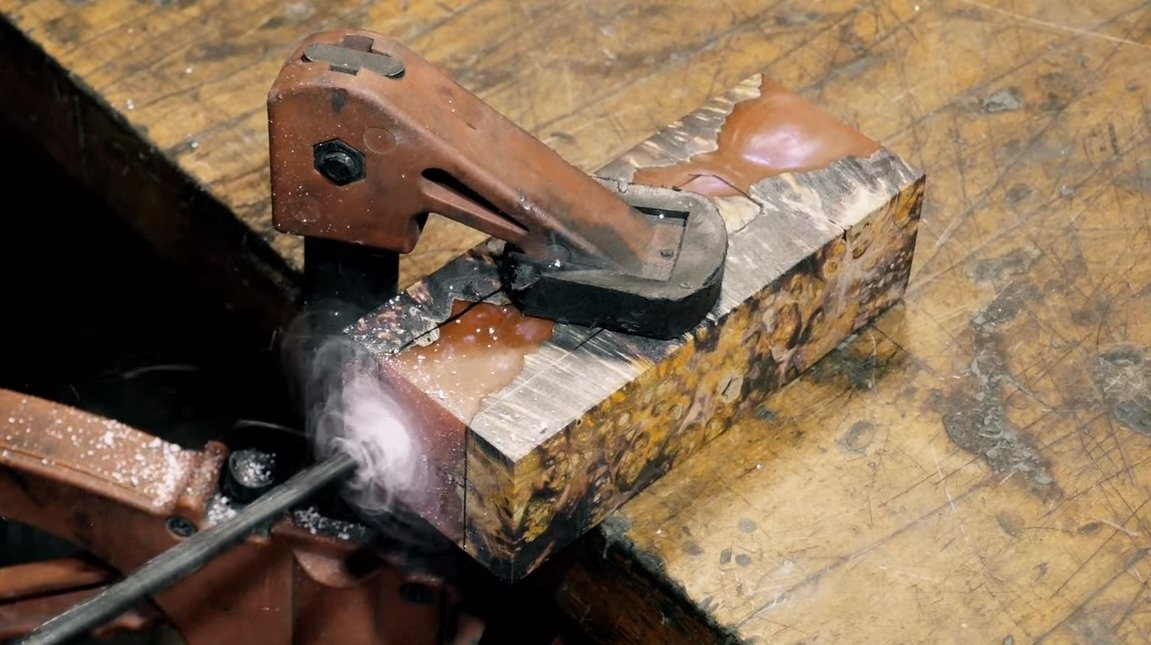
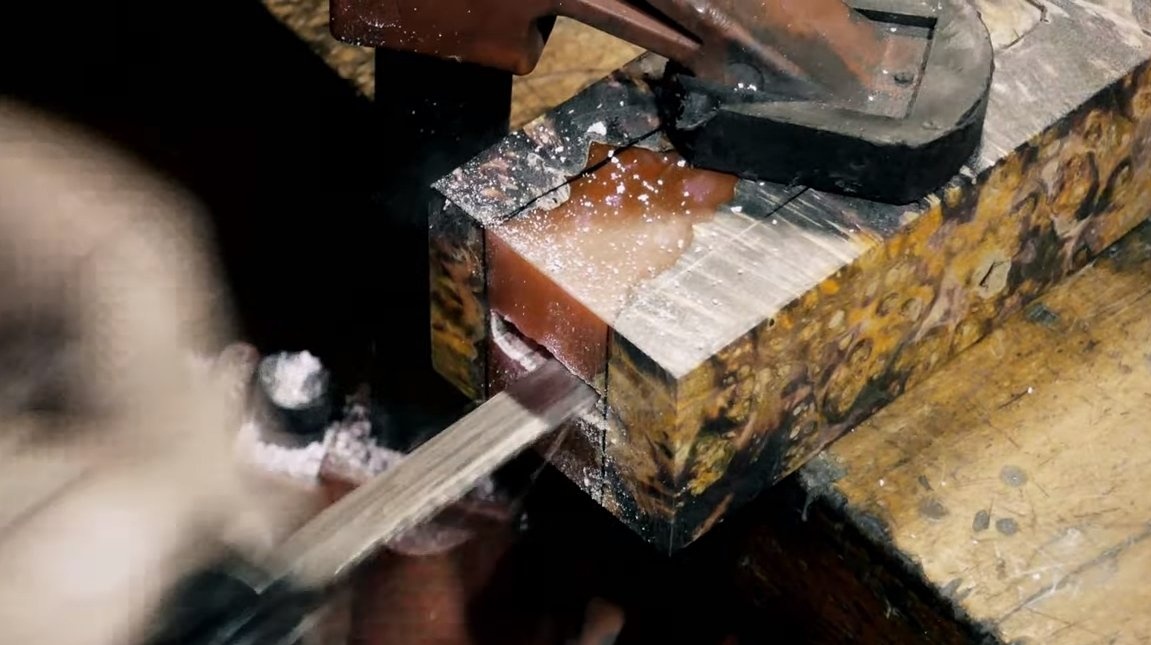
We’ll make a knife handle, the author’s billet was ready, from burl and epoxy. To begin with, we need to cut a slit hole under the shank, first drill the holes with a drill, and then bore the slot with a special nail file.
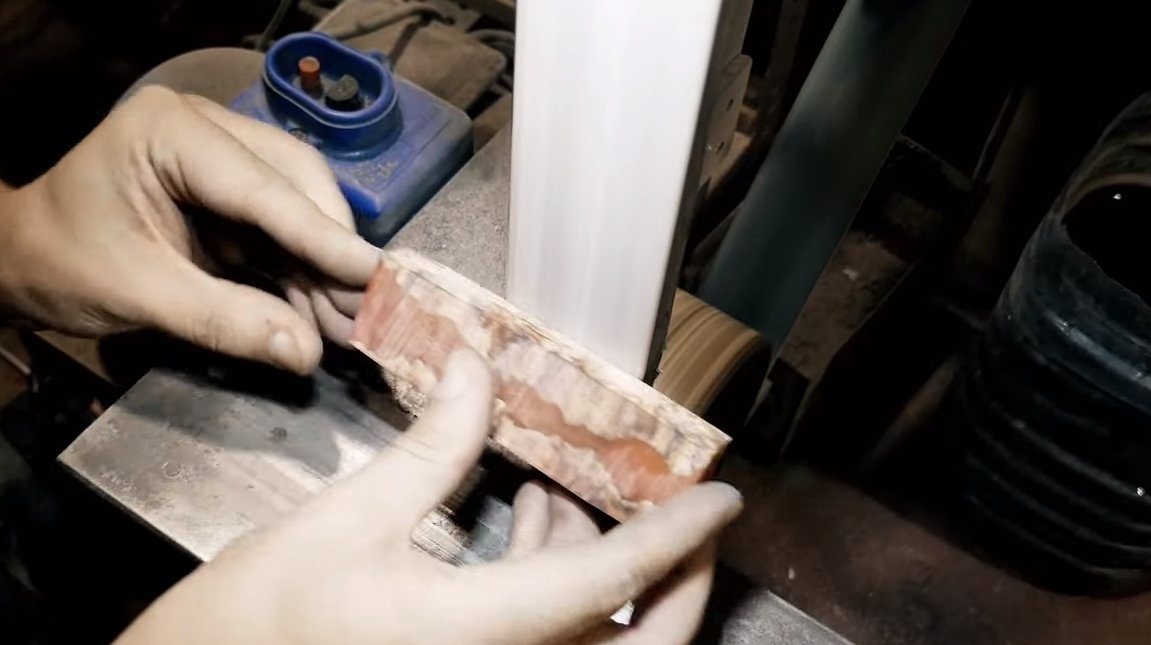
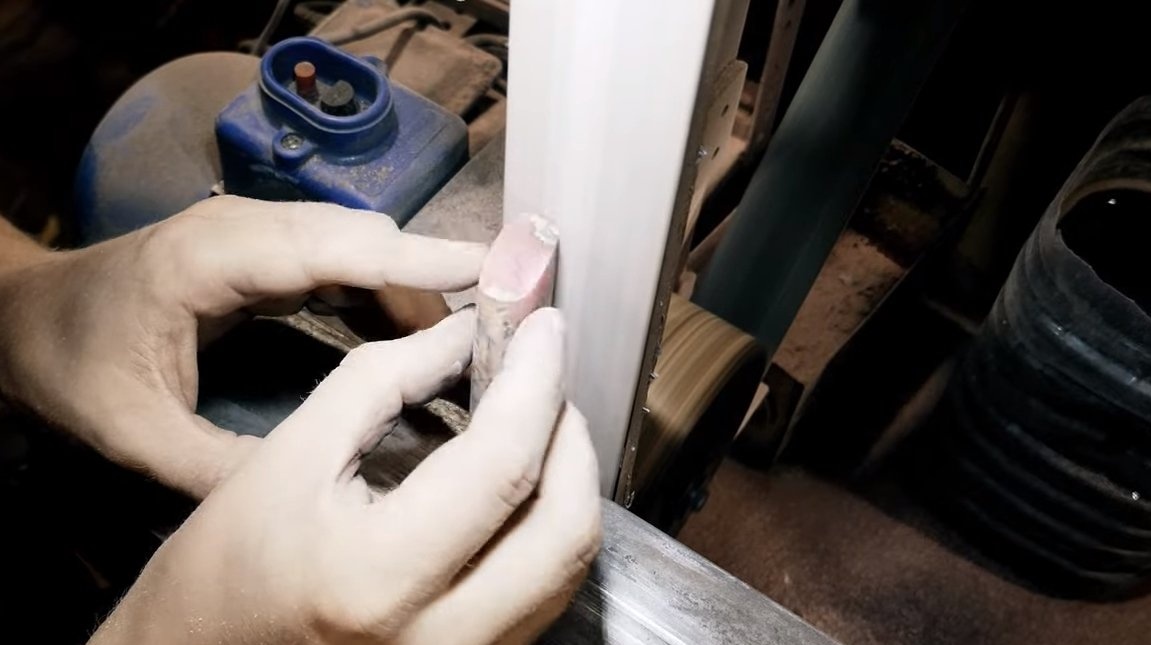
We set the desired profile of the handle using a belt sander, and then proceed to finer grinding by hand. We work with a strip of sandpaper and make the handle perfectly smooth.
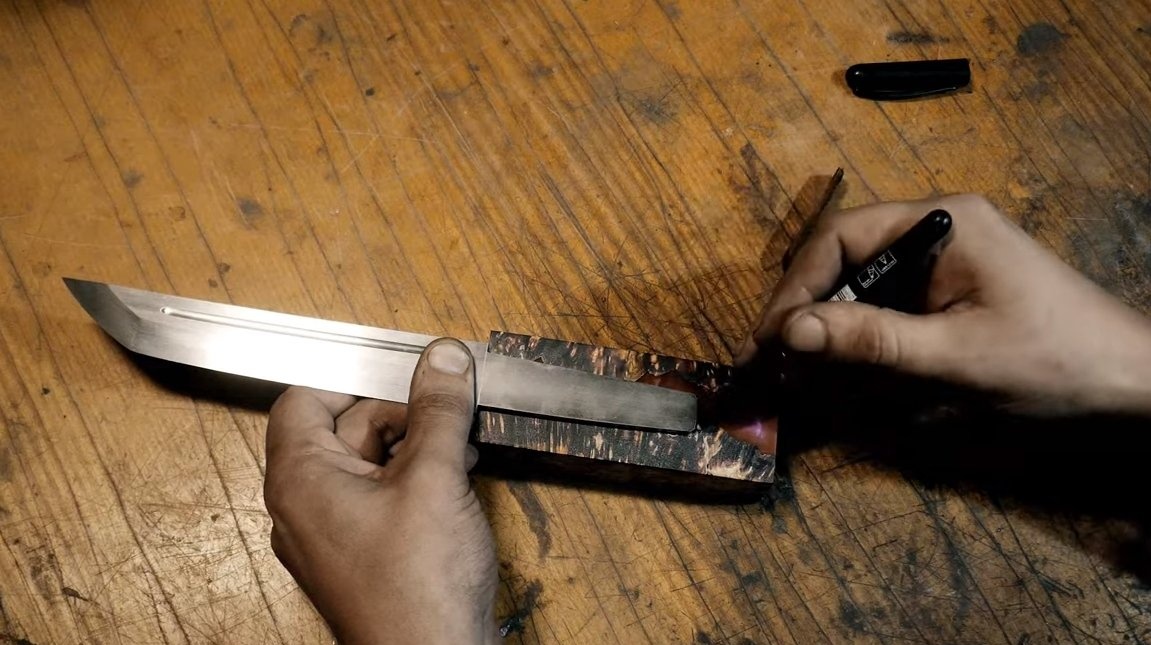
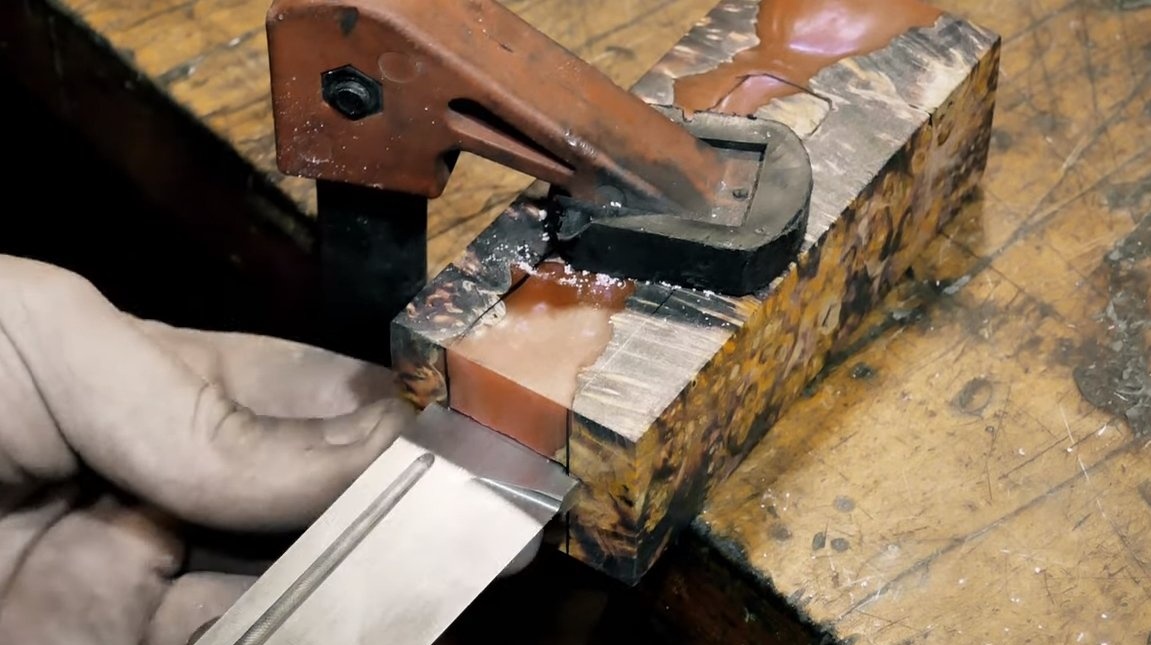
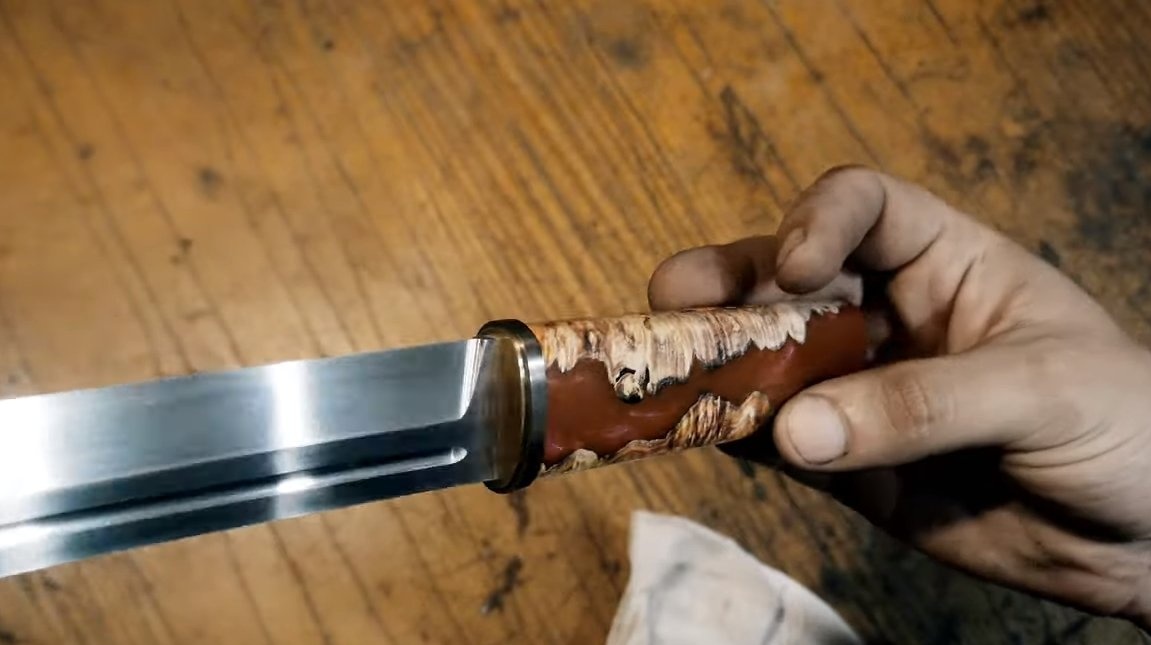
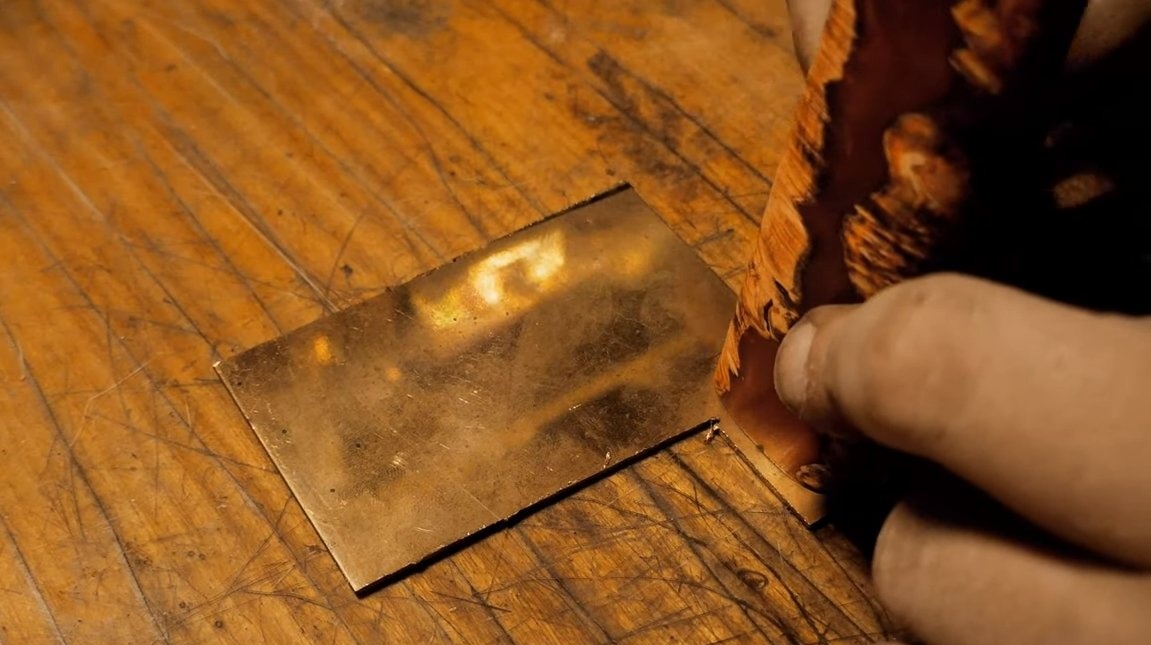
Seventh step. Bolster and assembly
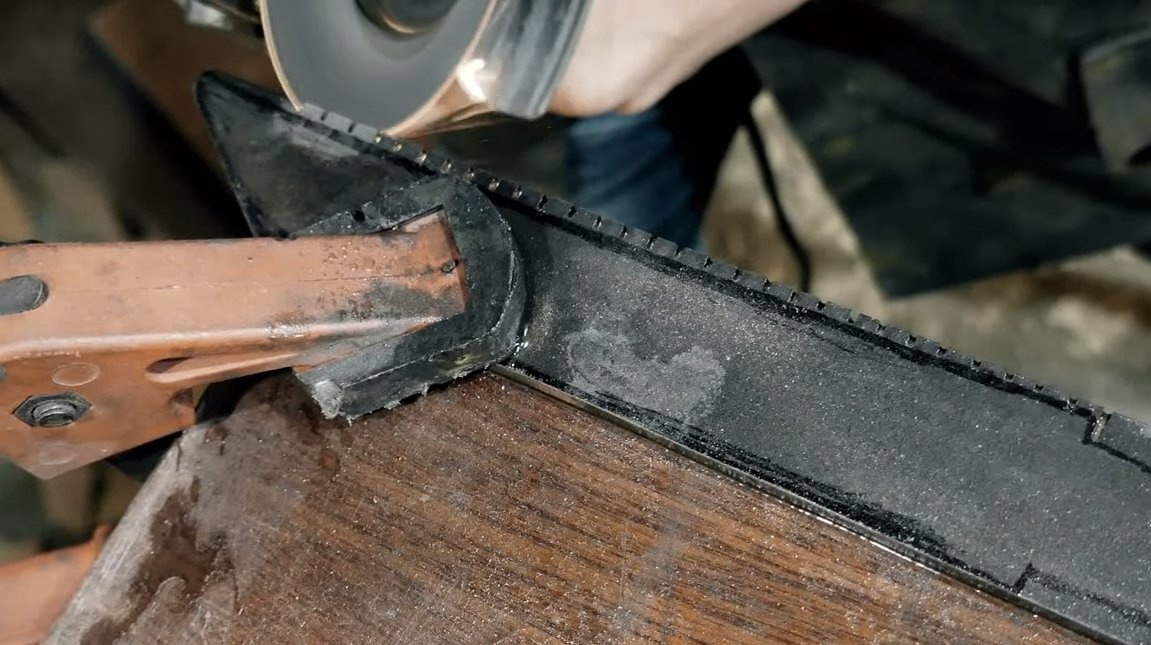
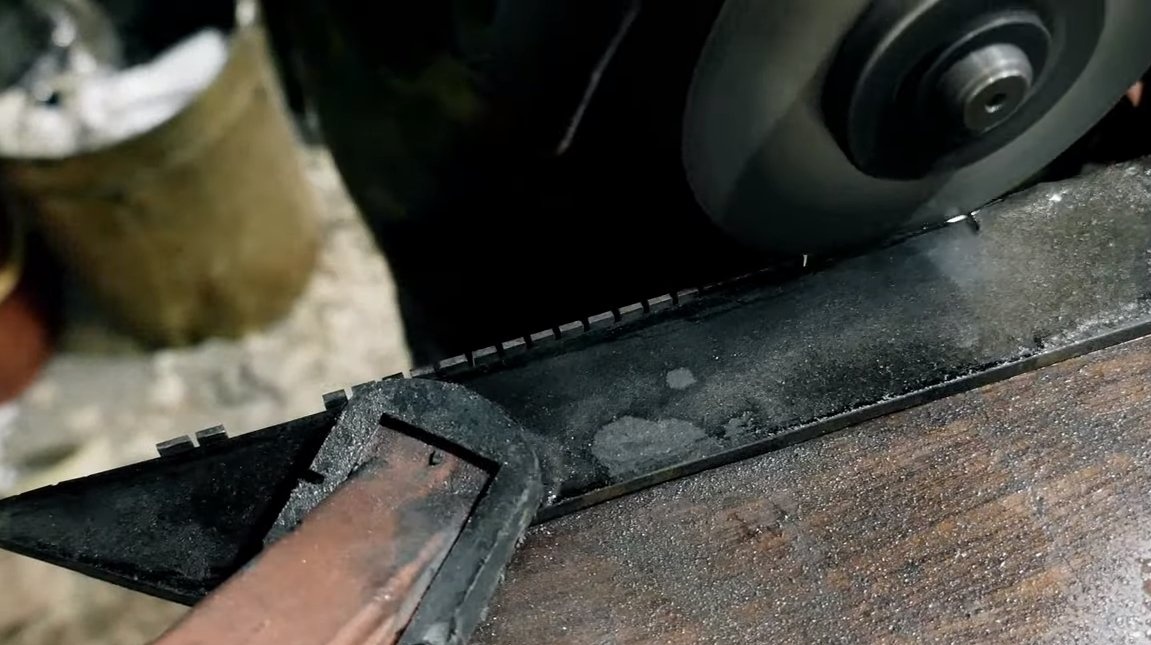
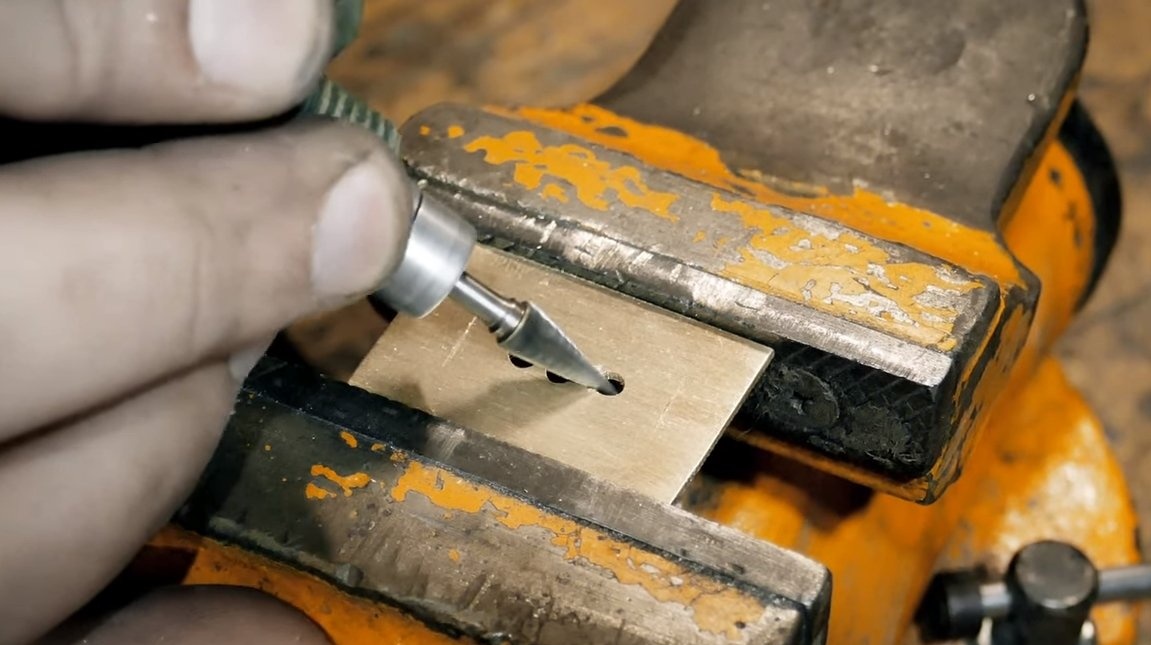
We make a bolster for a knife, here we need sheet brass and a sheet of stainless steel, in general, materials you can choose at your discretion. We cut out the details, grind and make cracks under the tail of the knife.
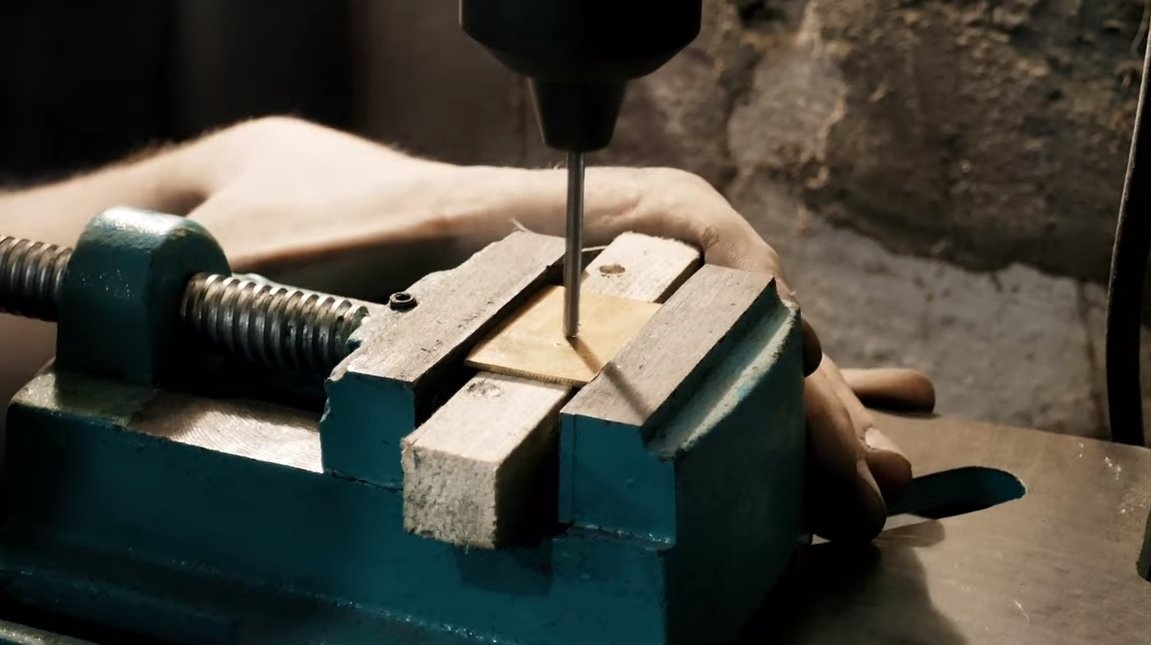
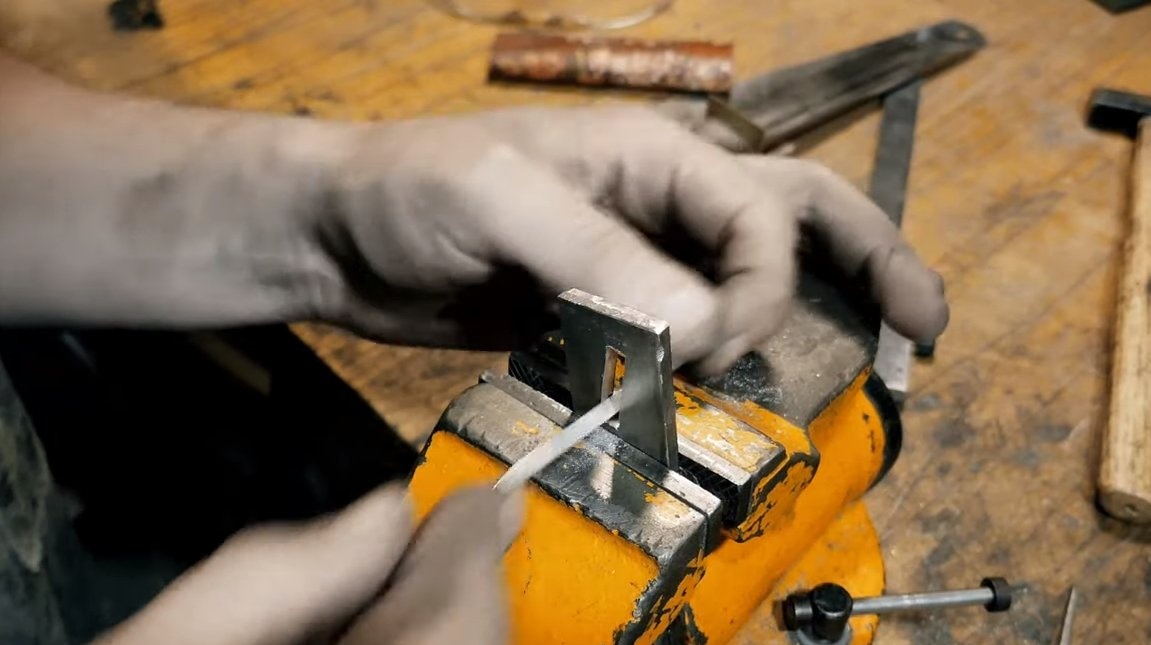
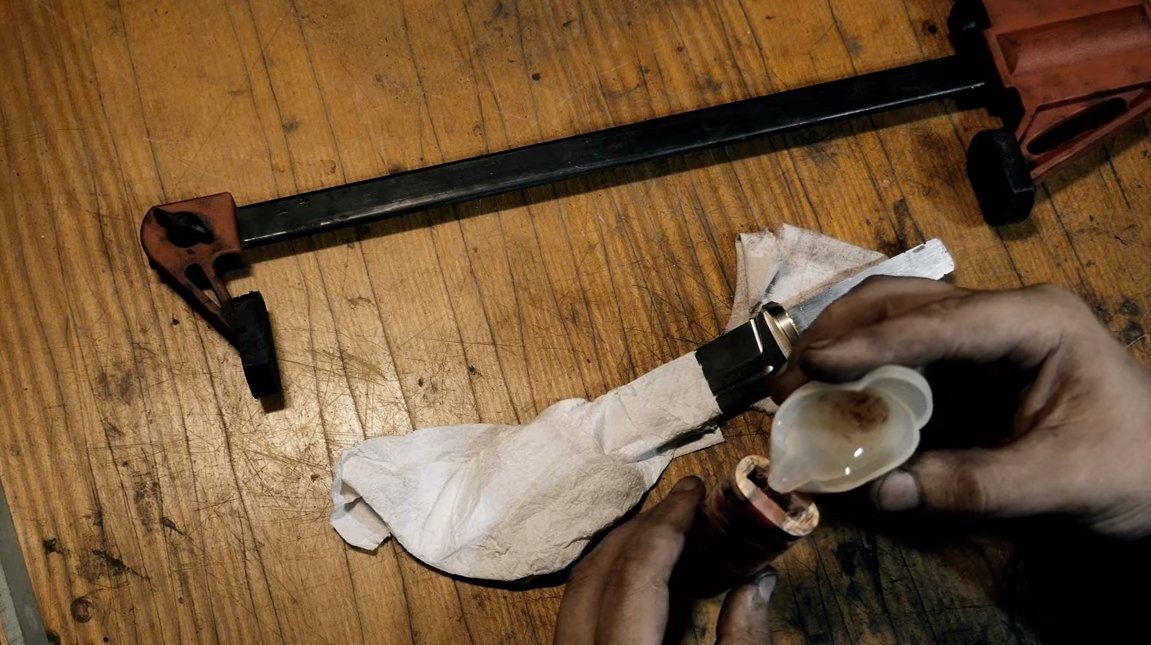
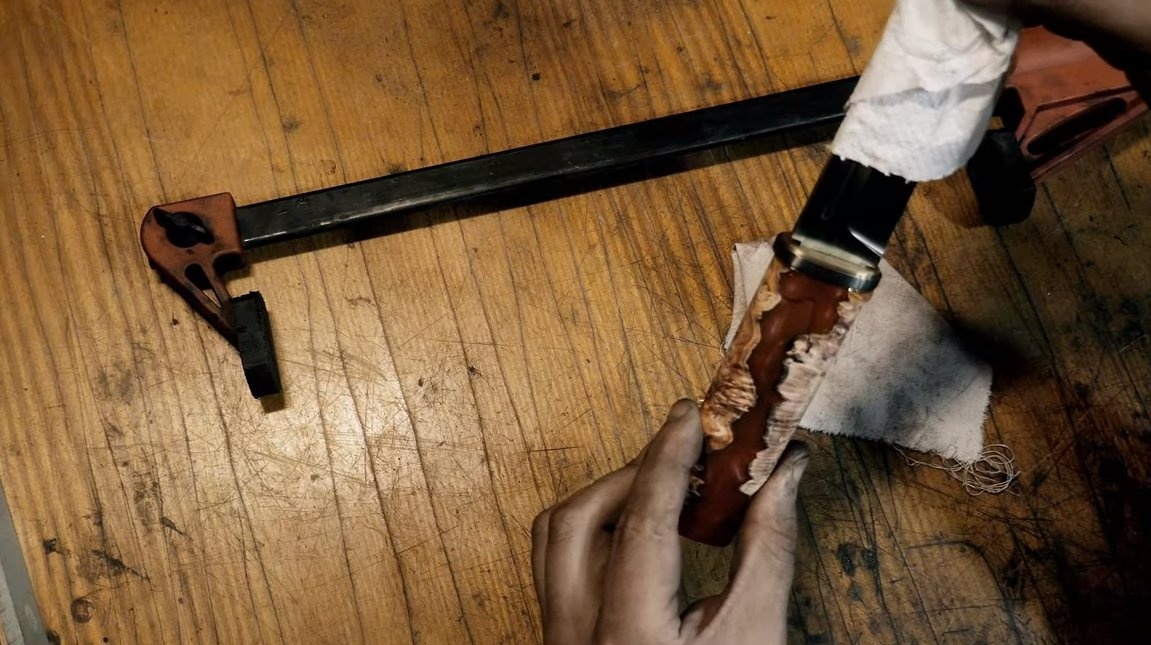
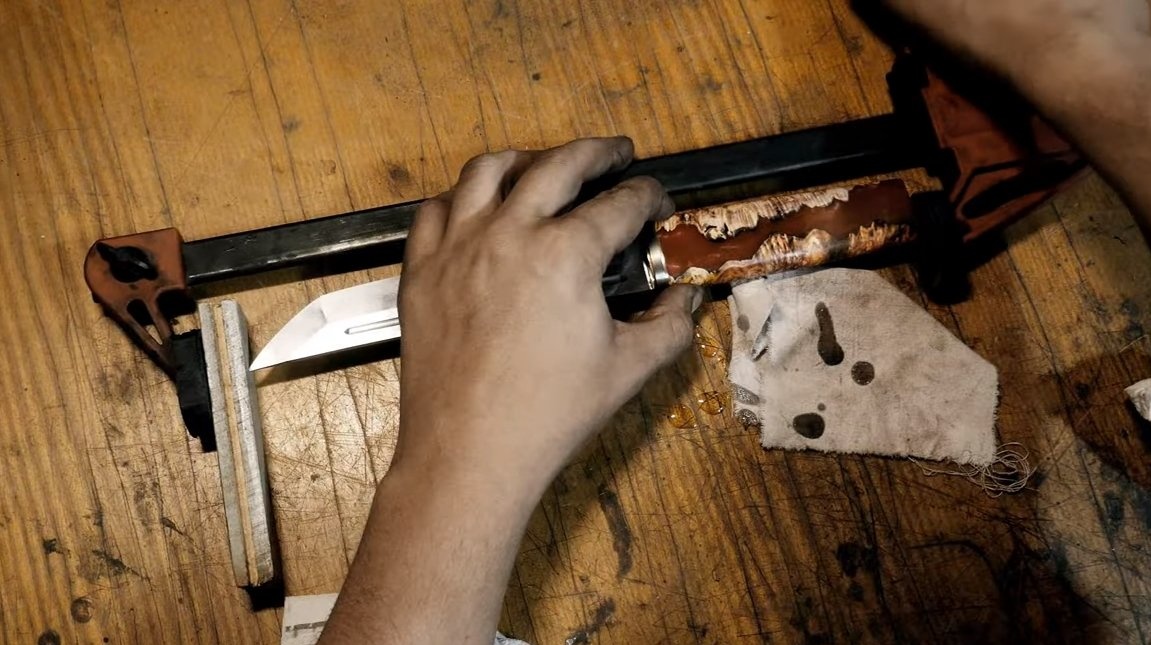
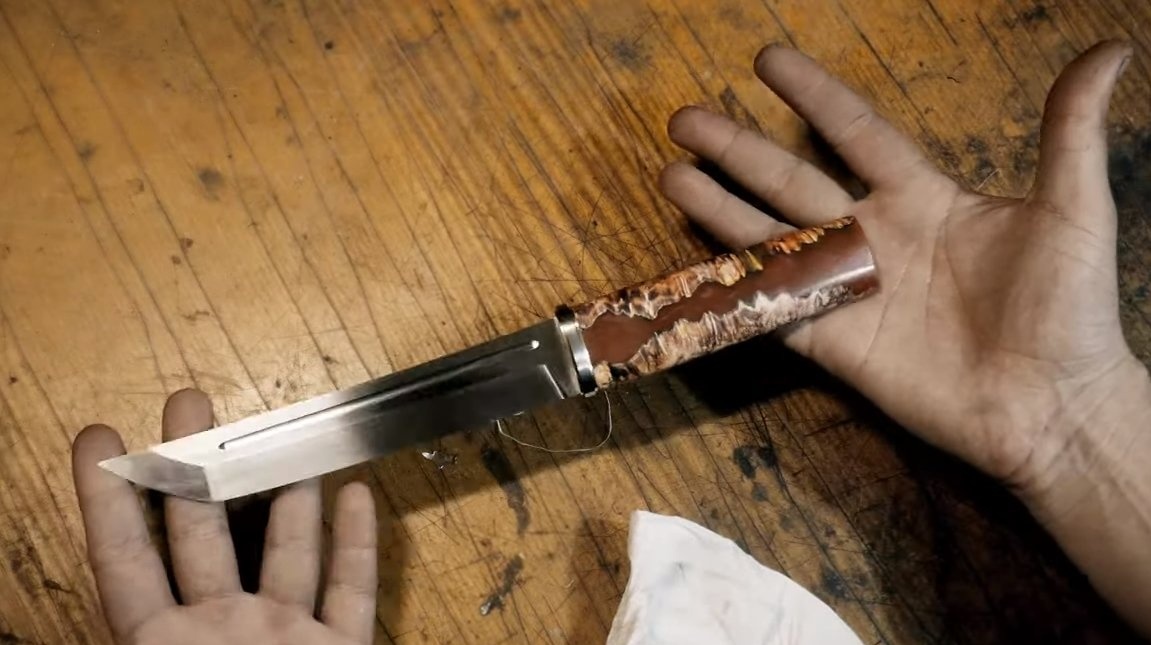
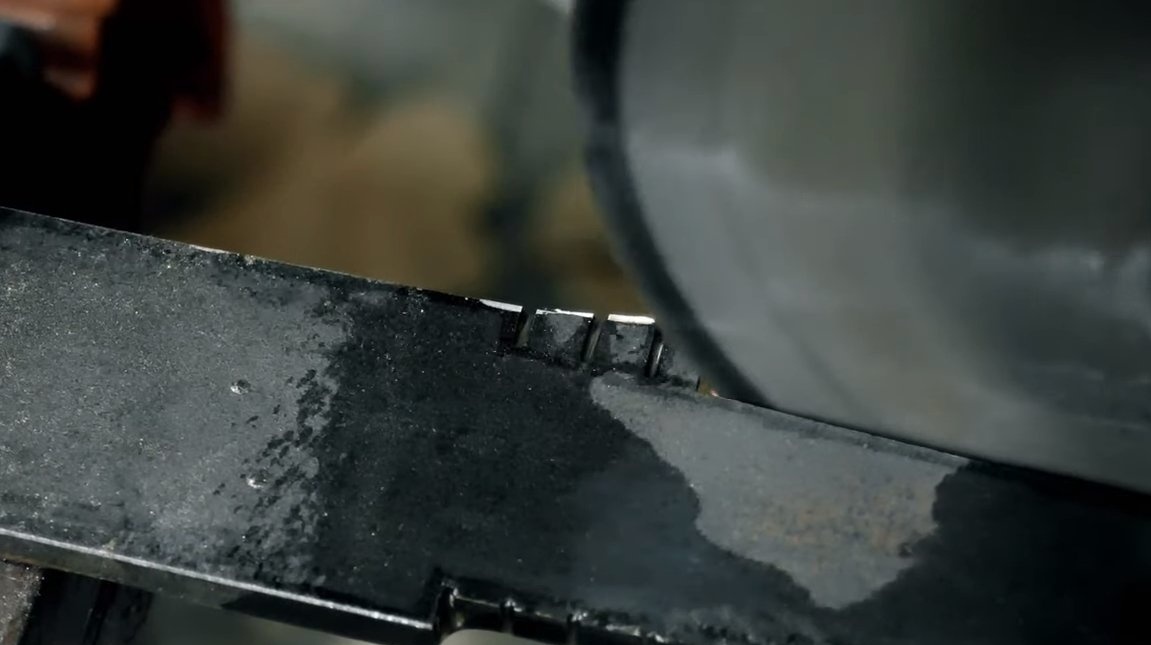
Once the parts are ready, the knife can be assembled, for this we need a good epoxy glue. The shank must be well cleaned and degreased, and if the pin is not used, you need to cut the teeth on the shank. Pour glue into the handle and insert the shank. Details of the bolster also need to be glued together. Wipe out the glue and clamp the knife with a clamp.
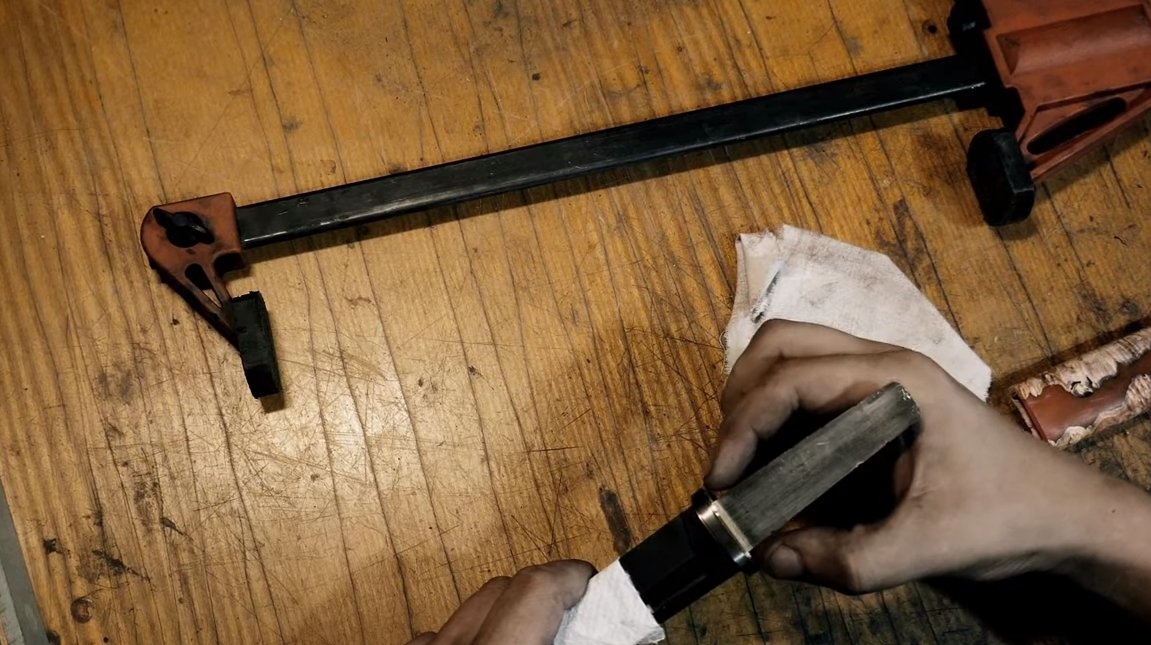
That's all, the knife is ready, the handle can be polished to a transparent state or coated with a thin layer of epoxy. The knife looks great, it will not rust, and the handle is not afraid of water. This is the end of the project, I hope you homemade I liked it. Good luck and creative inspiration, if you decide to repeat this. Do not forget to share your ideas and homemade things with us!