
Good day to all. Today, the author of the Fixotronic channel will show how to make a threaded rivet do it yourself.

What the author used for his homemade.
MATERIALS:
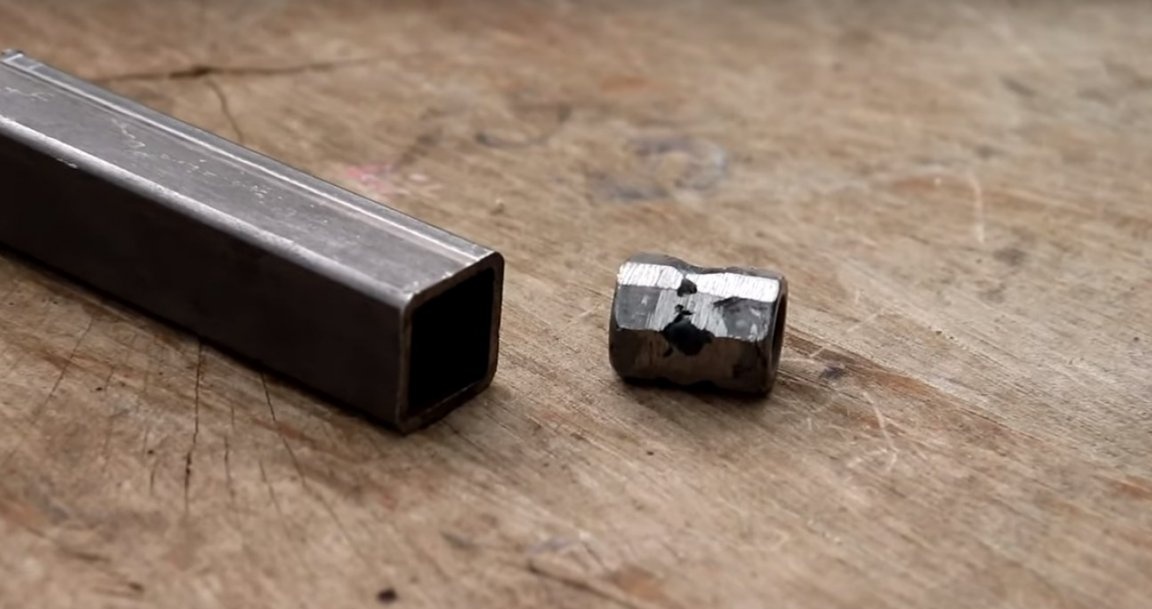
Bicycle hub;
Profile pipe 15 x 15 mm and 20 x 20 mm;
A bolt of about M 6 and a nut and washer to it;
Side handle from angle grinder and nut to it;
INSTRUMENTS:
Spanners;
Angle grinder;
Cutting wheel for metal;
Grinding wheel;
Sandpaper;
Electric drill;
Drill;
File;
Pliers;
Sharpened electric;
Welding machine;
Electrodes
Ruler;
Marker;
Super glue;
Dowel;
Hammer;
Vise
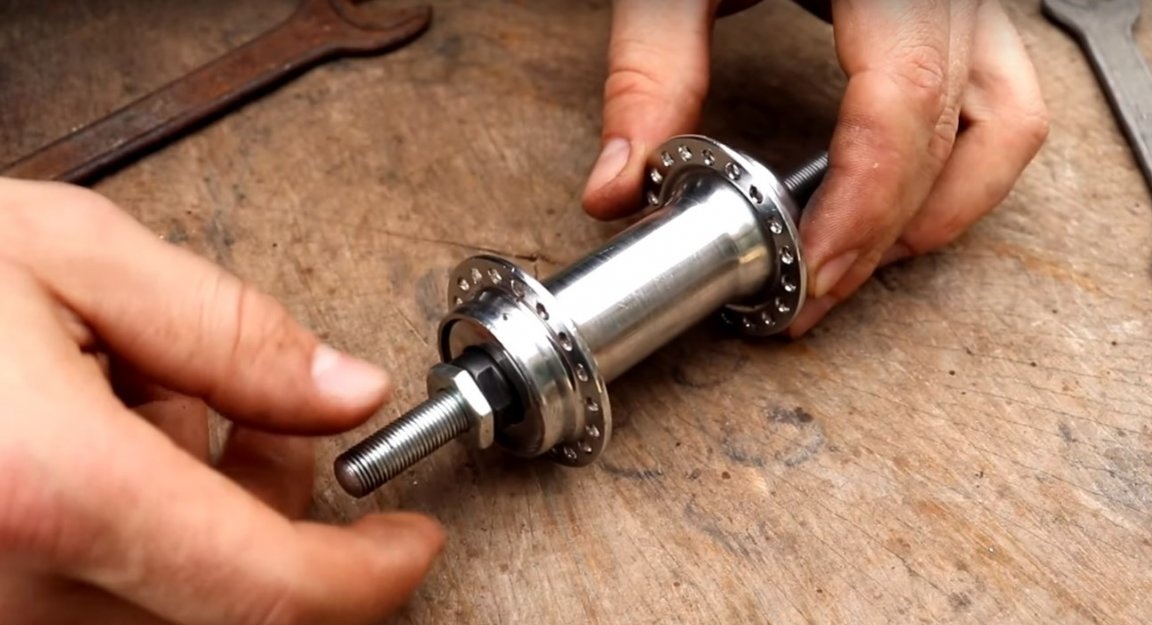
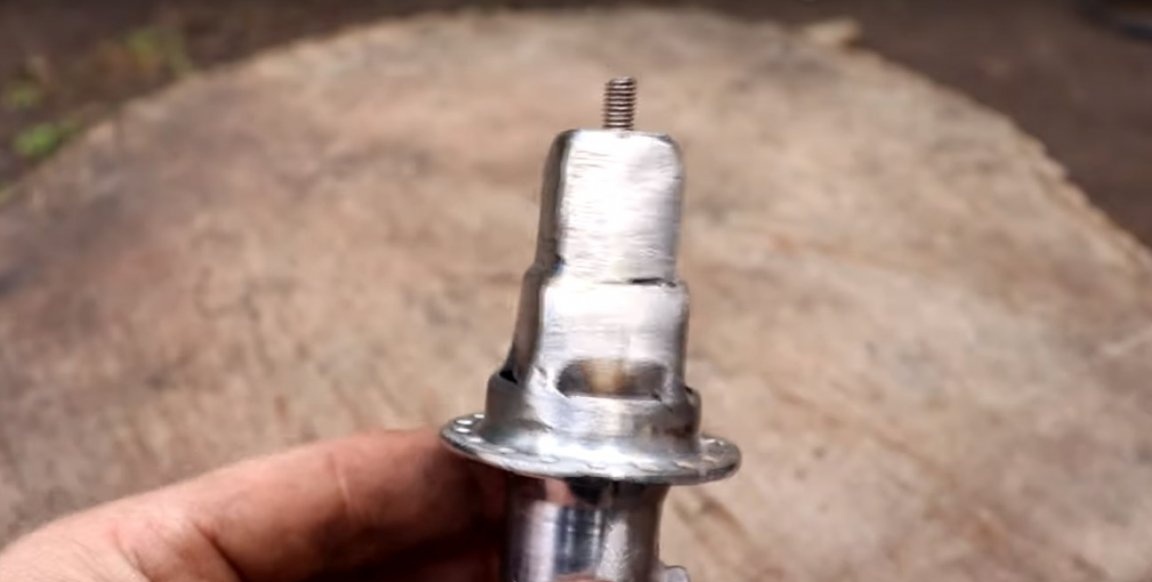
When all the tools and materials were available, the author proceeded to make homemade products. First of all, he dismantled the hub.
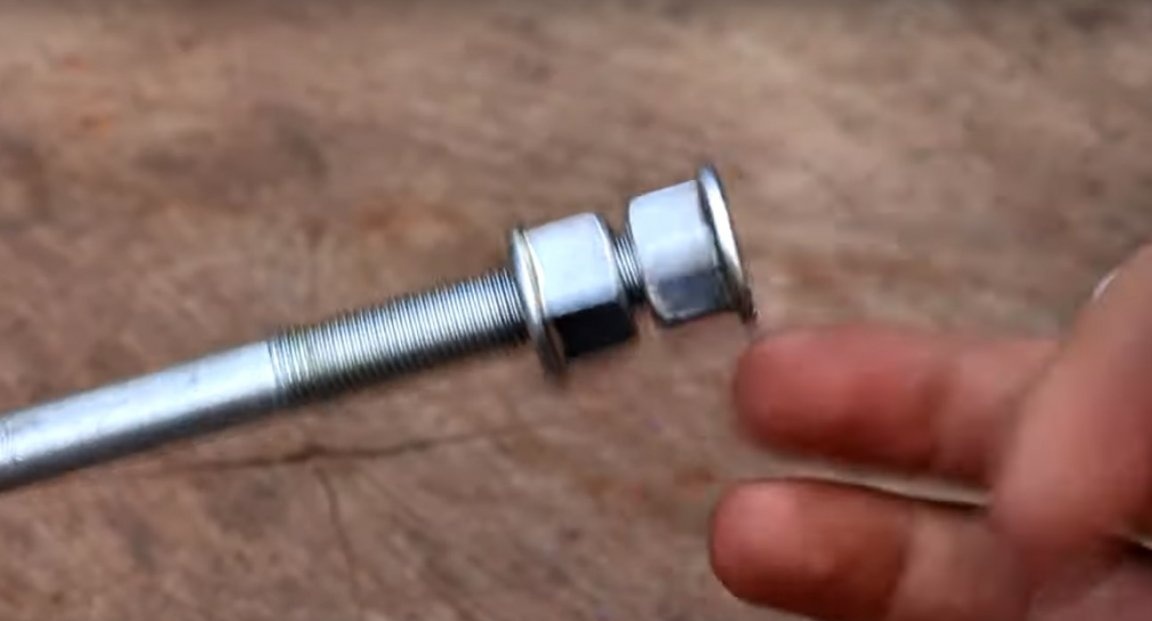
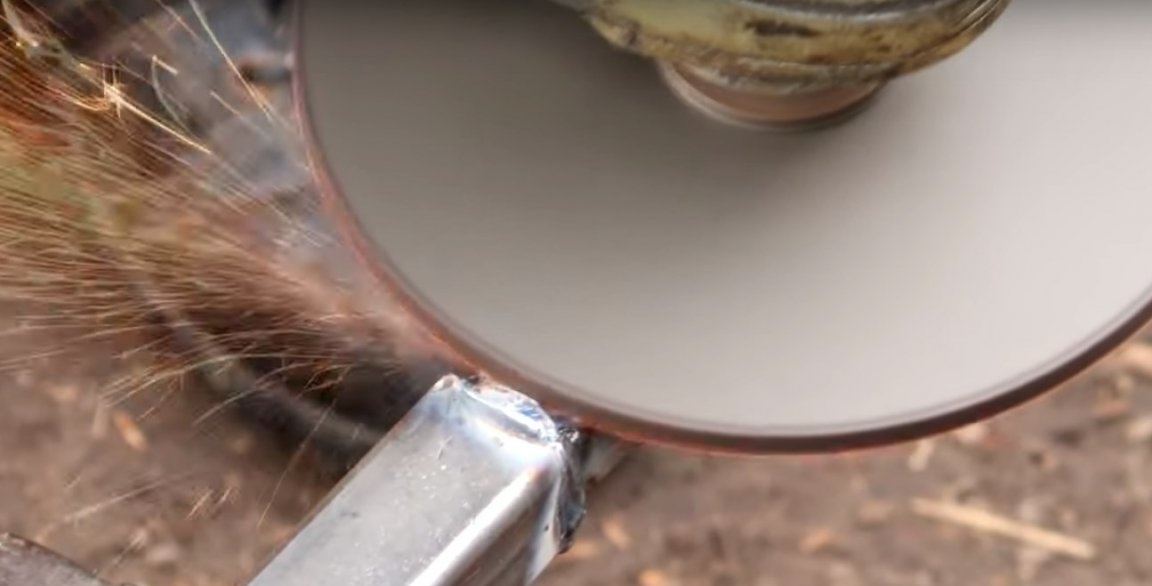
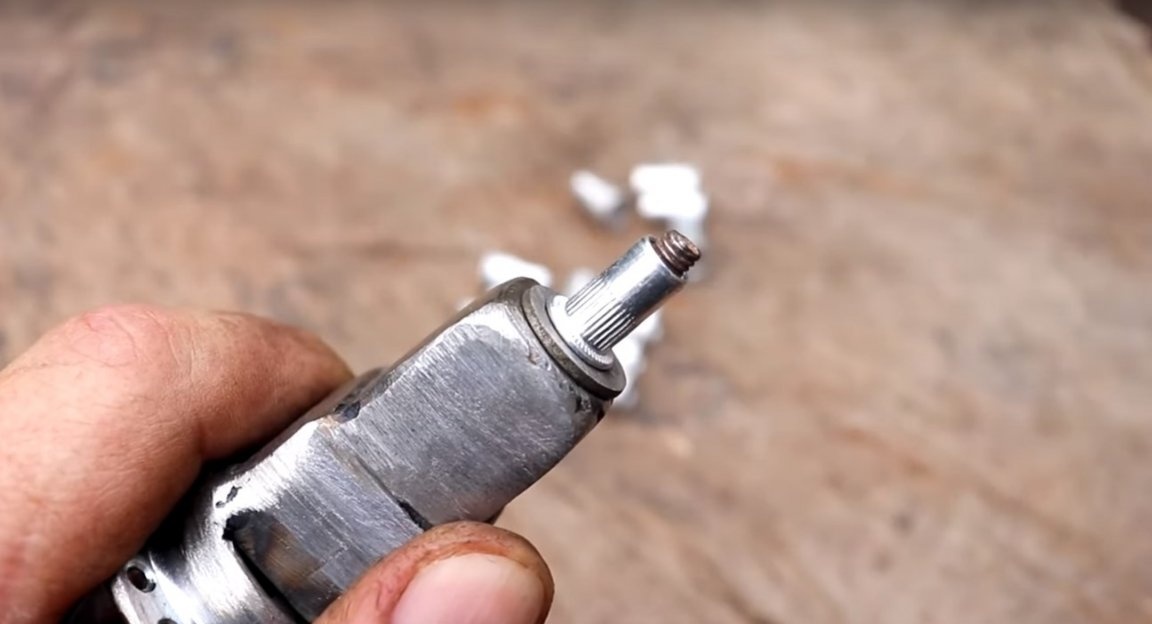
The author removed the boot from the flare nut.
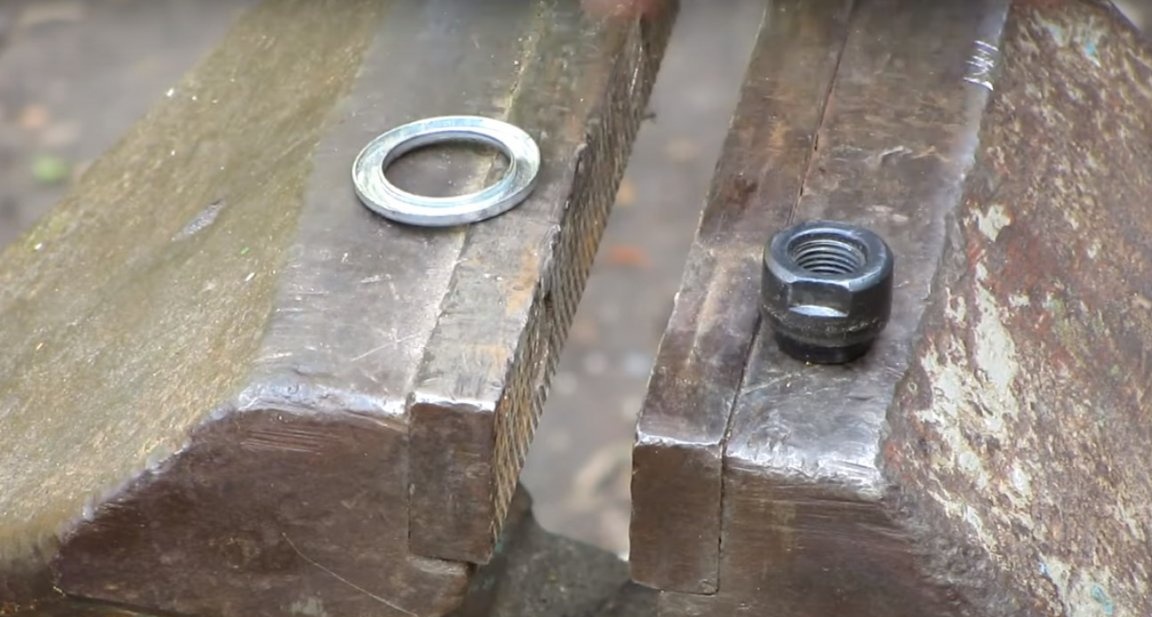
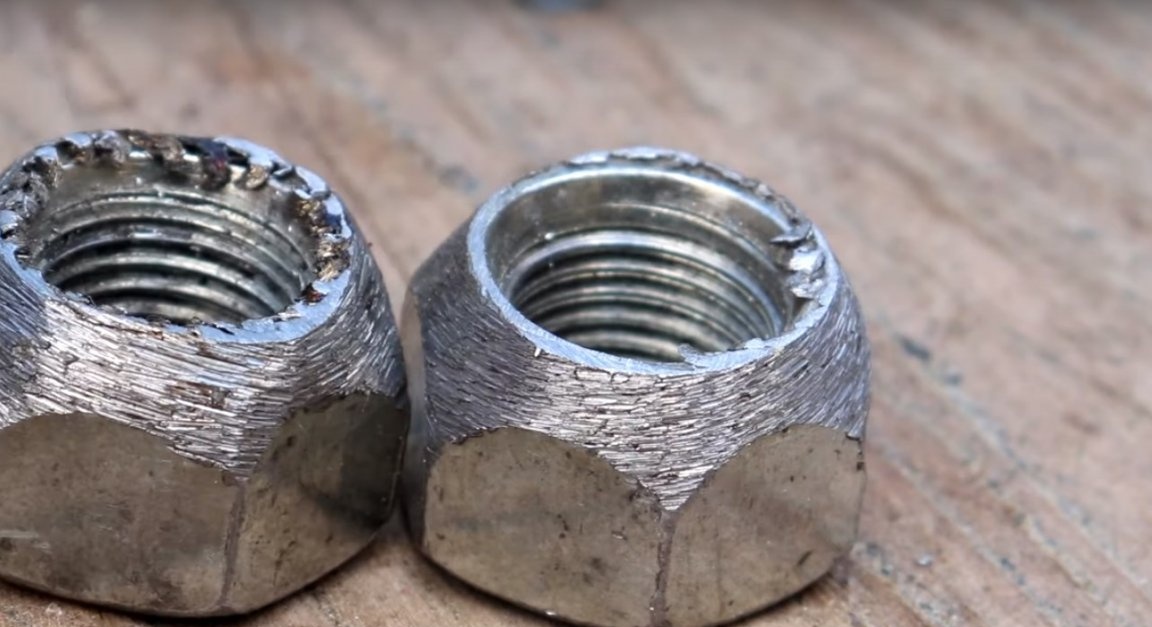
After cutting the nut.
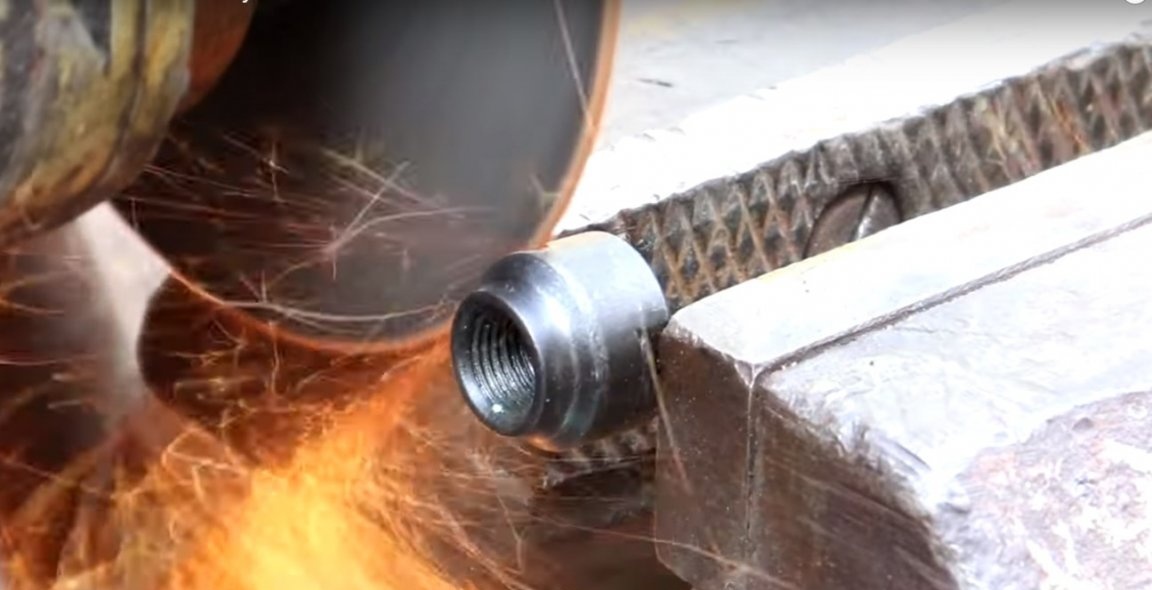
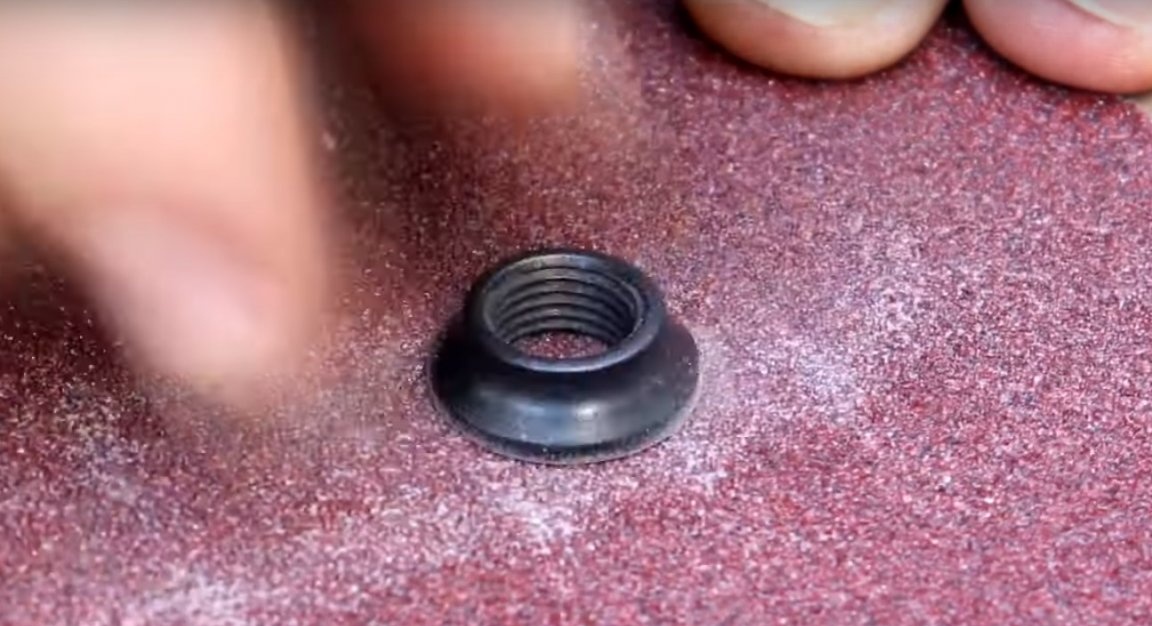
And the cut on the conical part, processed with sandpaper.
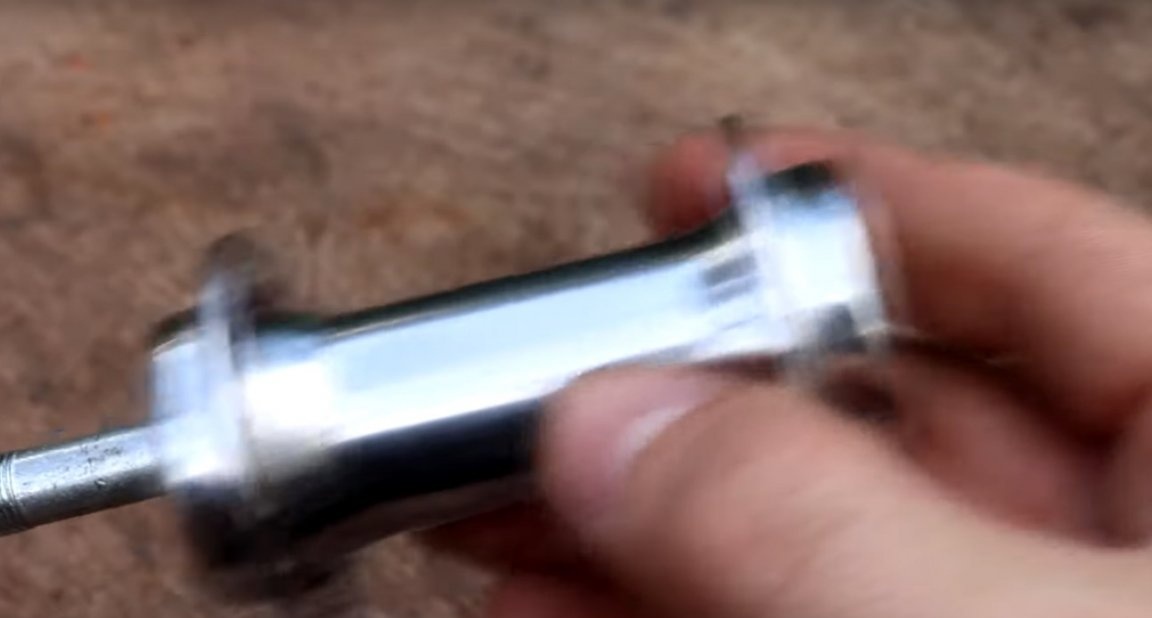
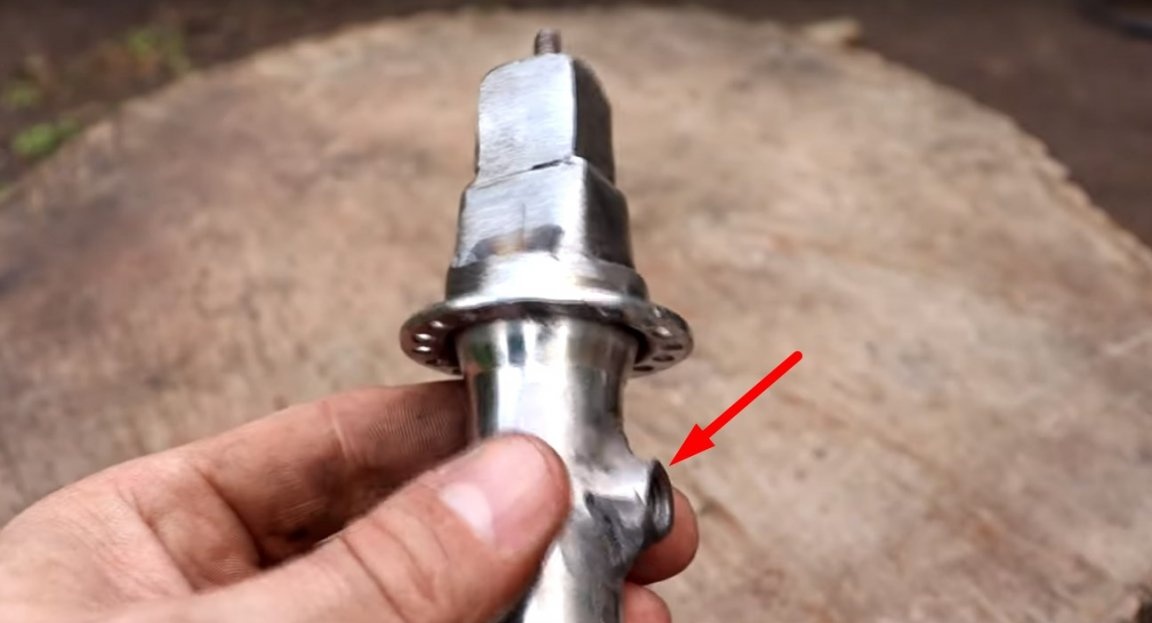
Then he pulled out an axis.
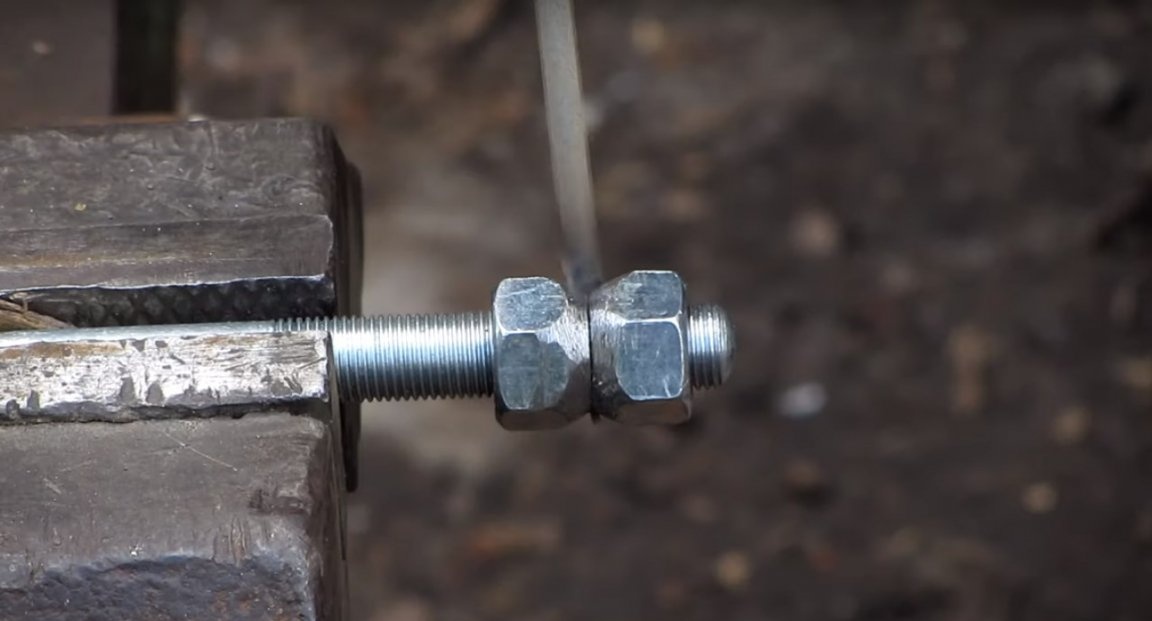
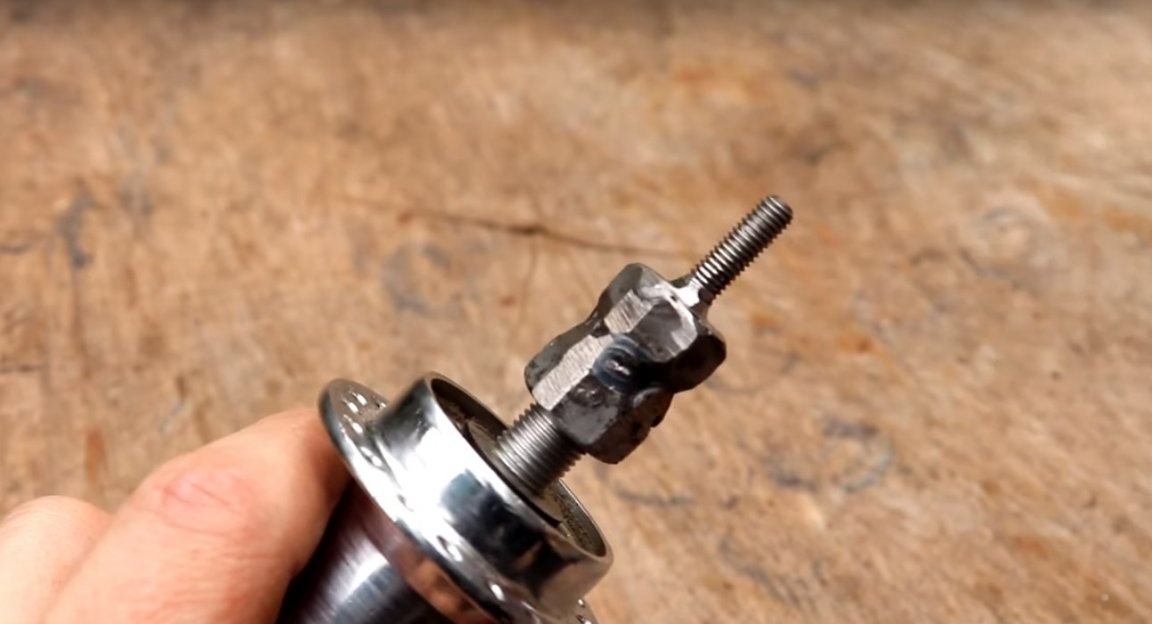
After I screwed “native” nuts on it, as shown in the photo.
And he pulled them well together.
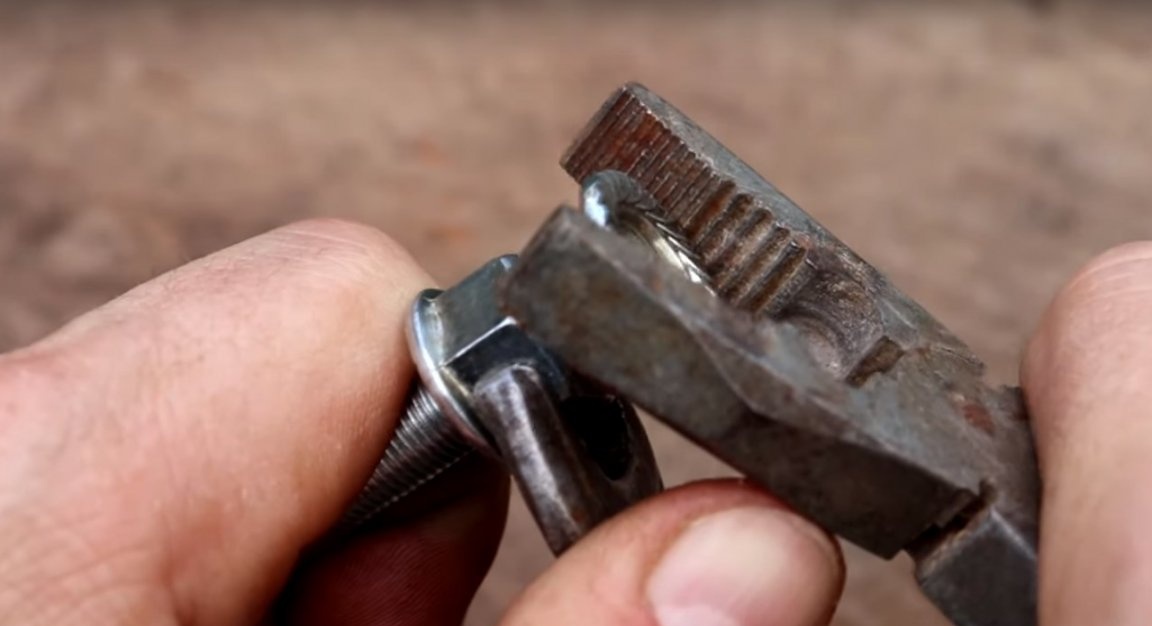
And he drained them under a small cone.
Like this.
After he put them on the axle again, and cooked them.
Then setting it back on the axis.
Processed the welding seam.
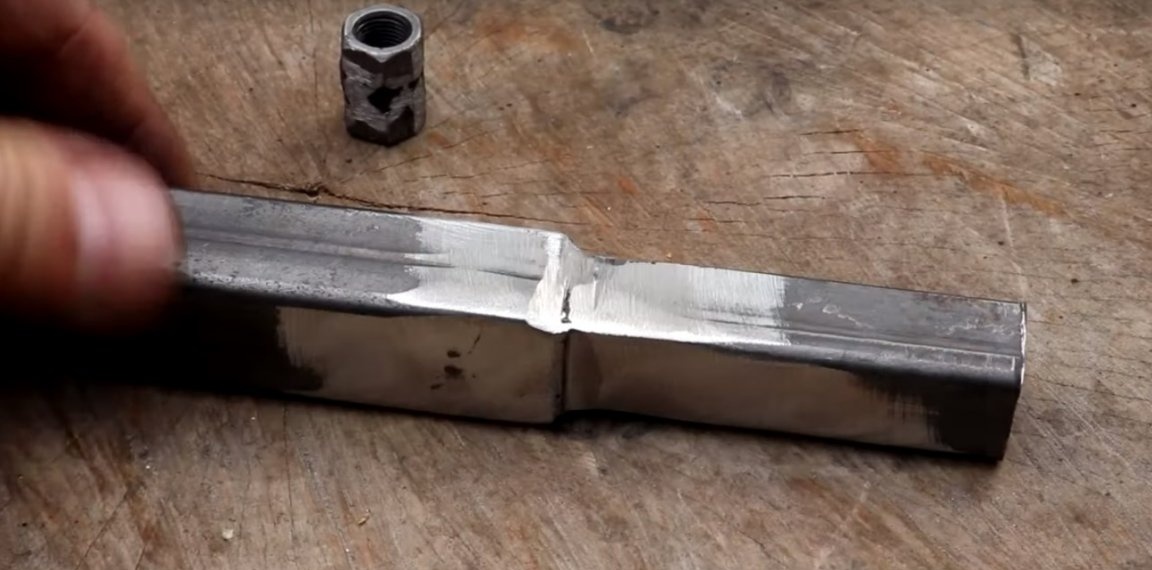
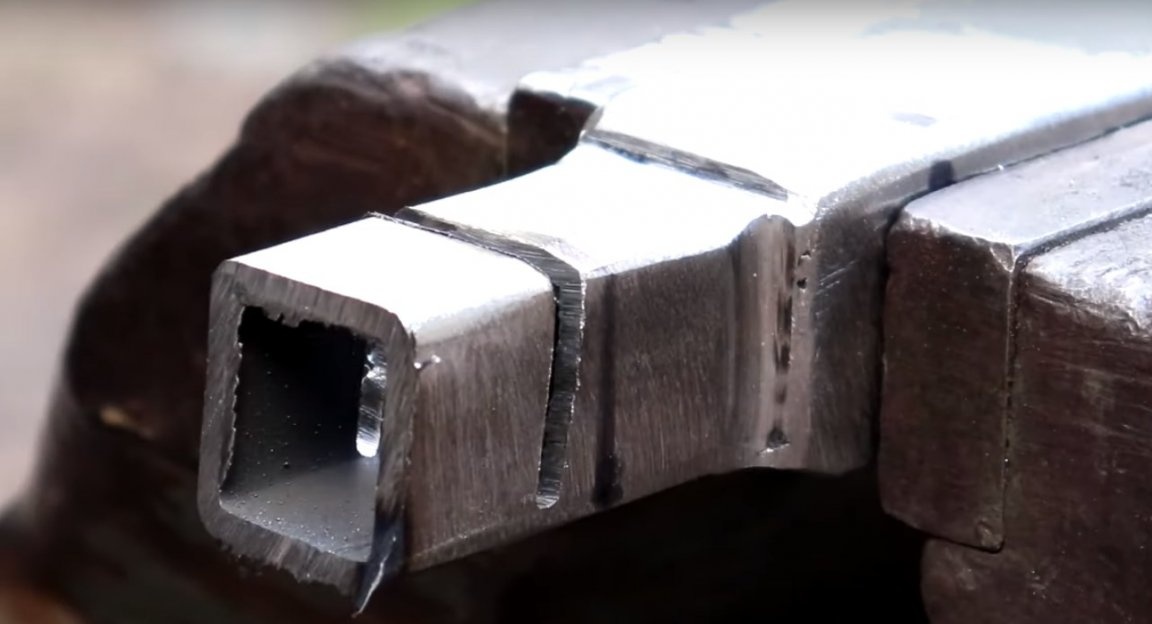
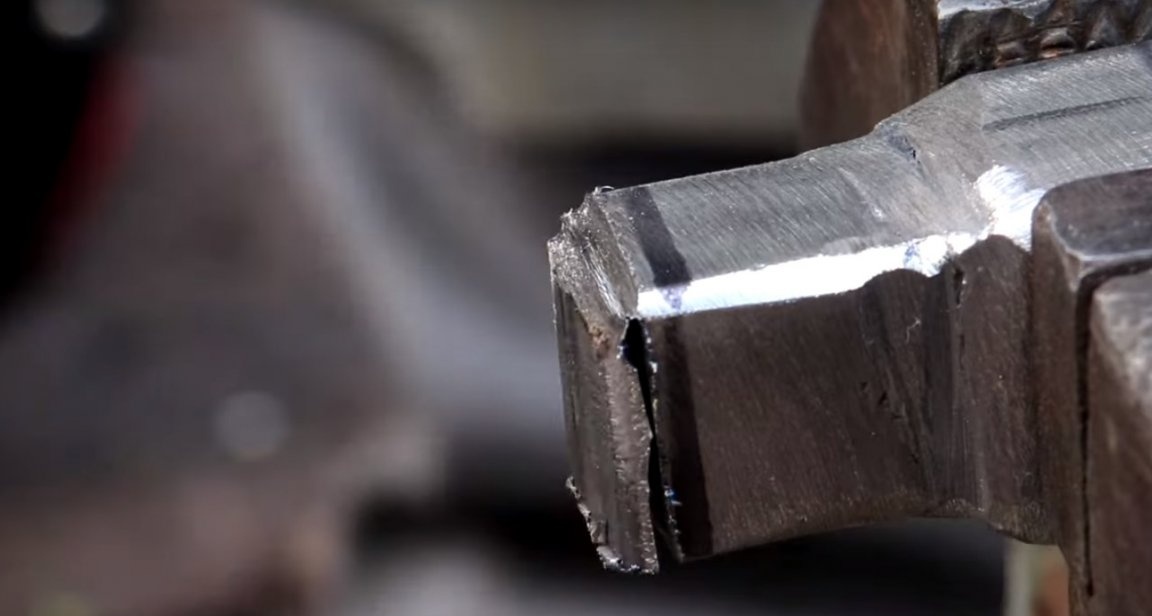
After he took a piece of profile pipe 15 mm x 15 mm.
He made markings on it.
And installed it in a 20 mm x 20 mm pipe.
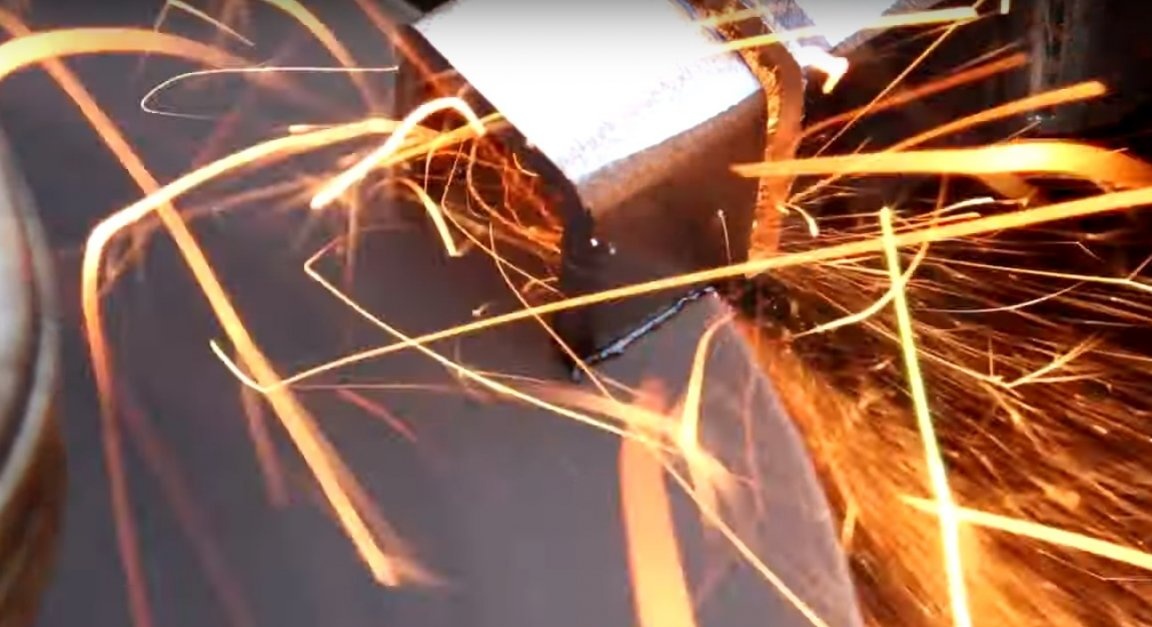
Then cooked them.
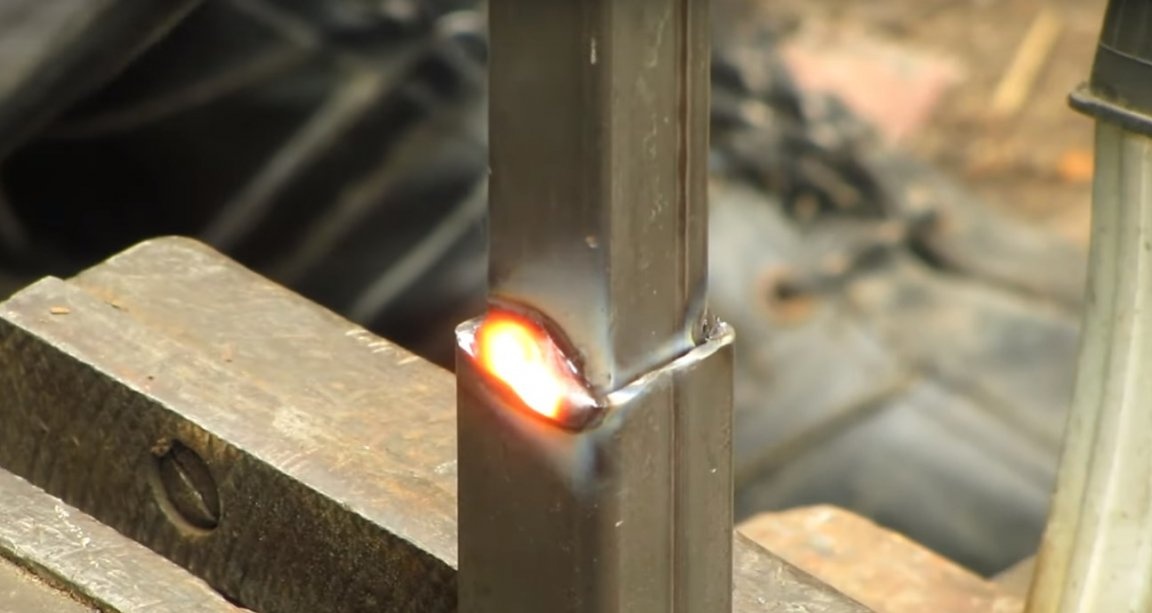
Then he worked the seams.
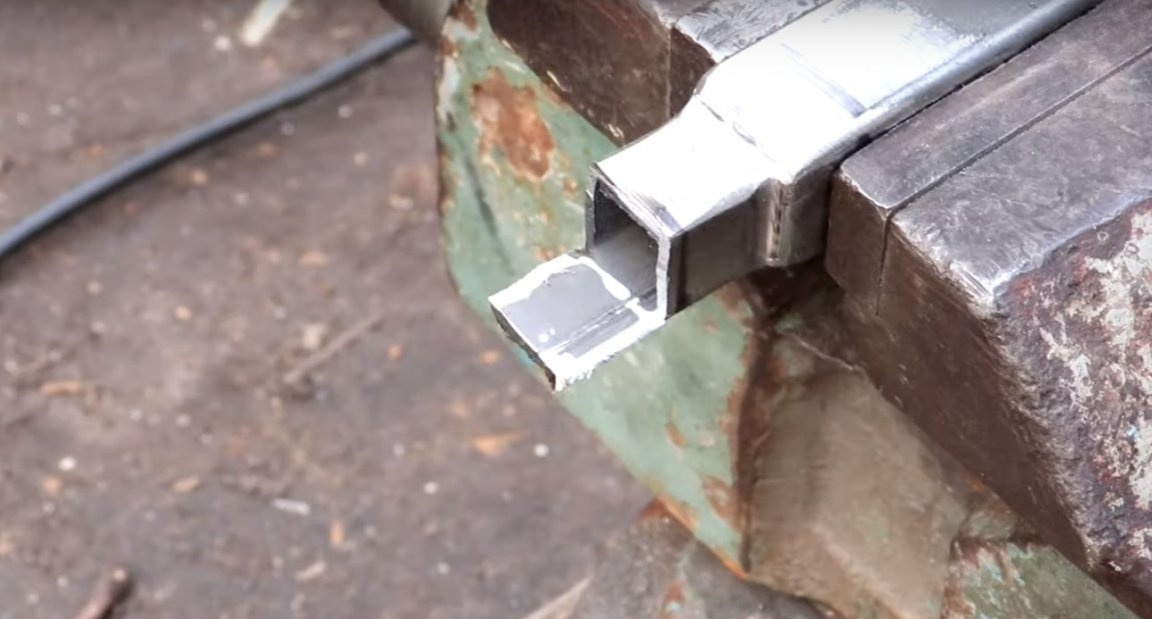
It turned out like this.
Next, the markup again.
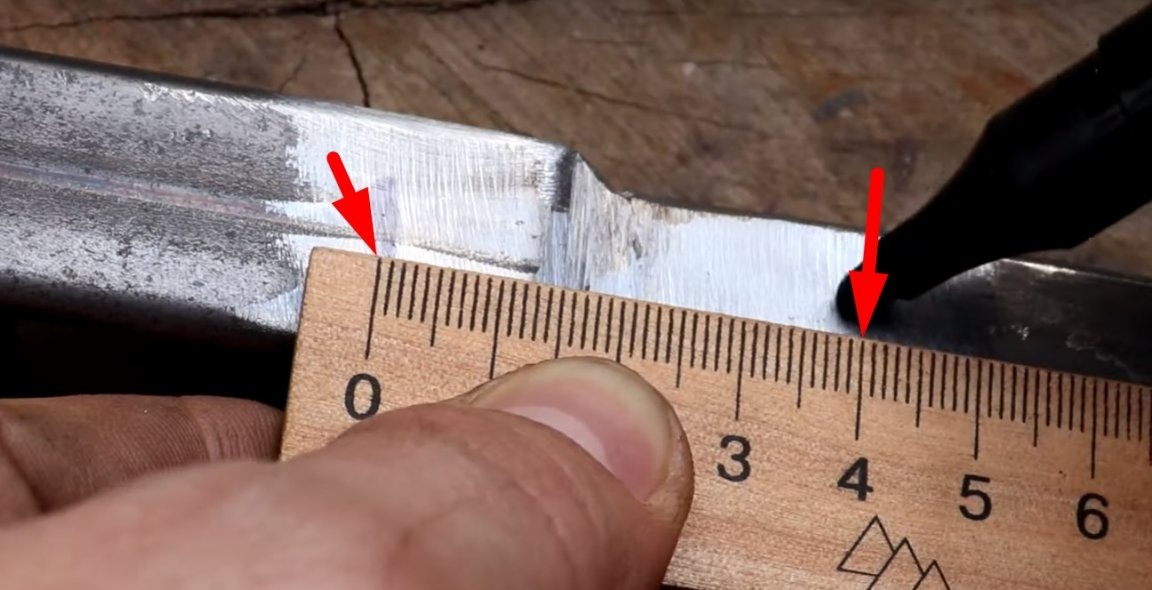
After removing the excess.
It should be something like this.
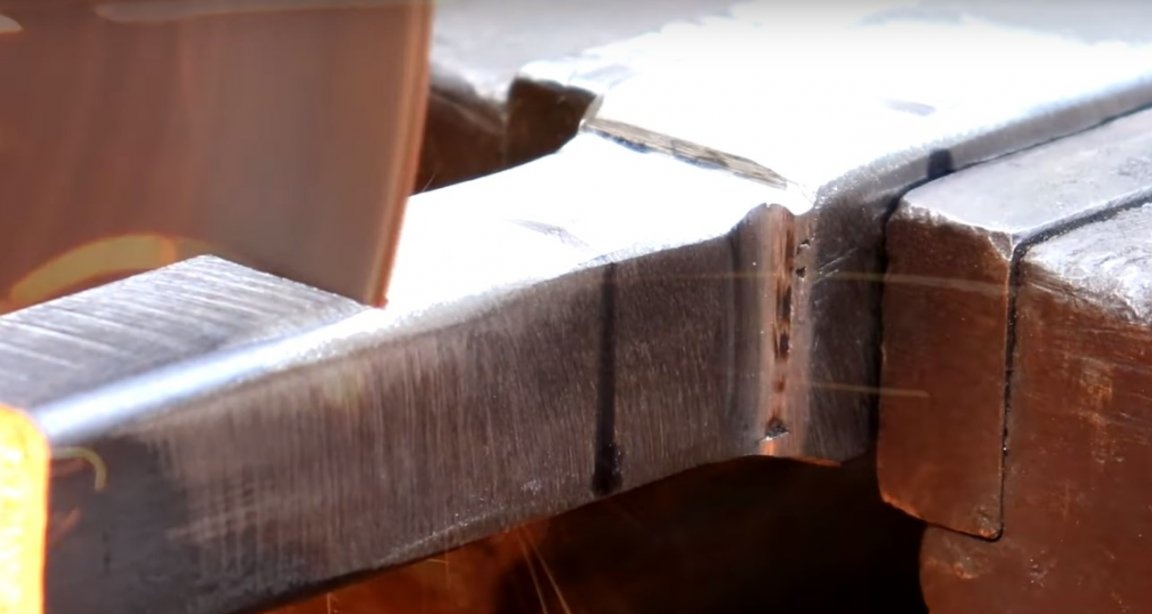
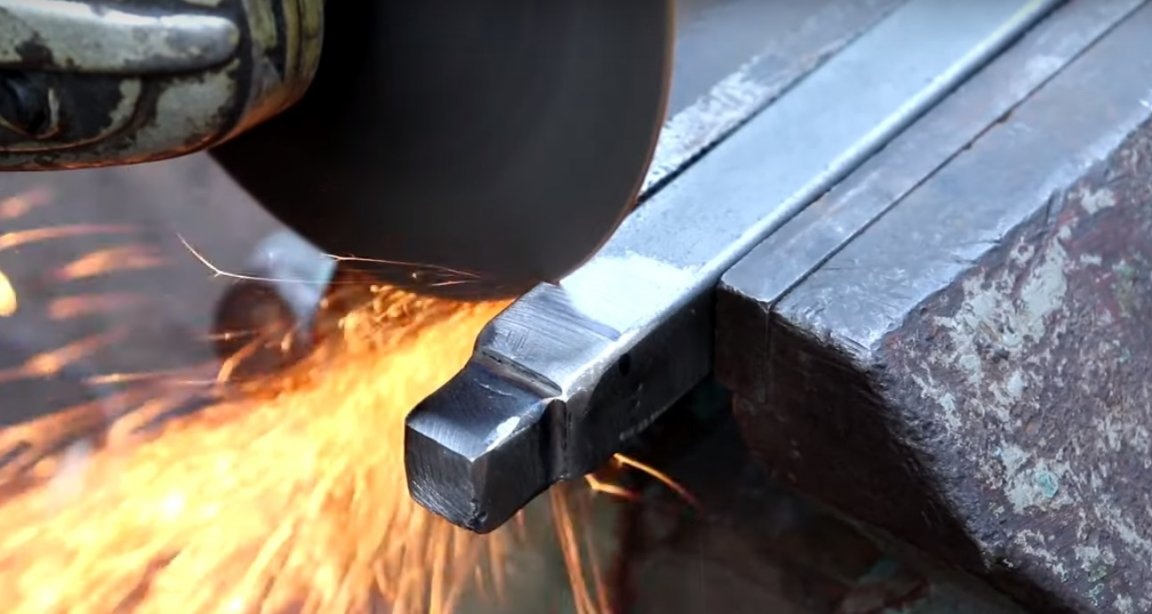
At this point, the author made a small cut.
And he bent this part with a hammer.
Then he welded it to the pipe.
And again, the processing of seams.
So it happened.
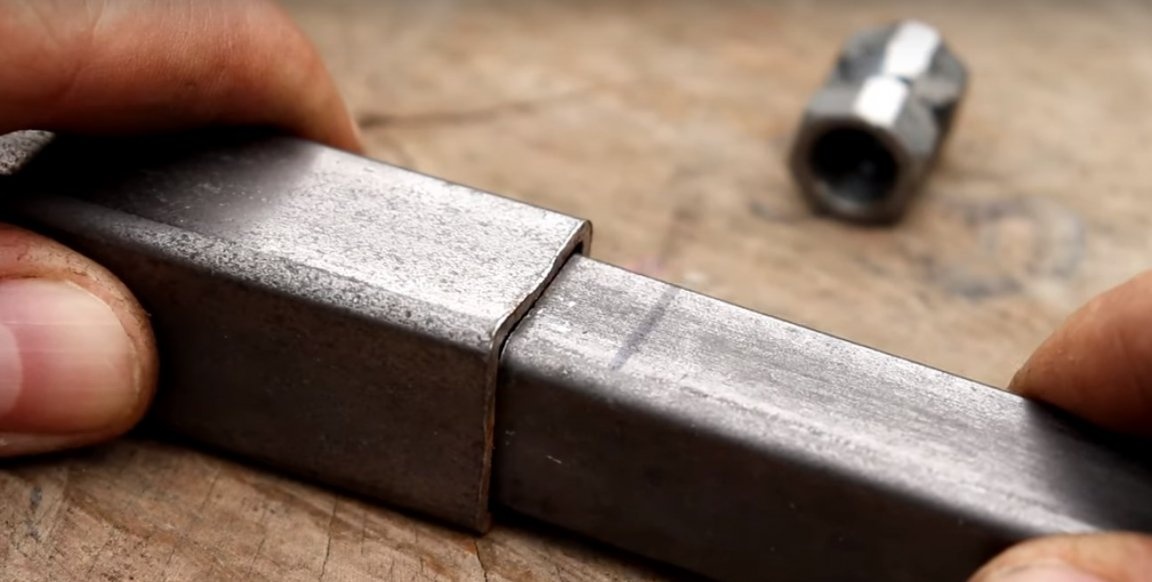
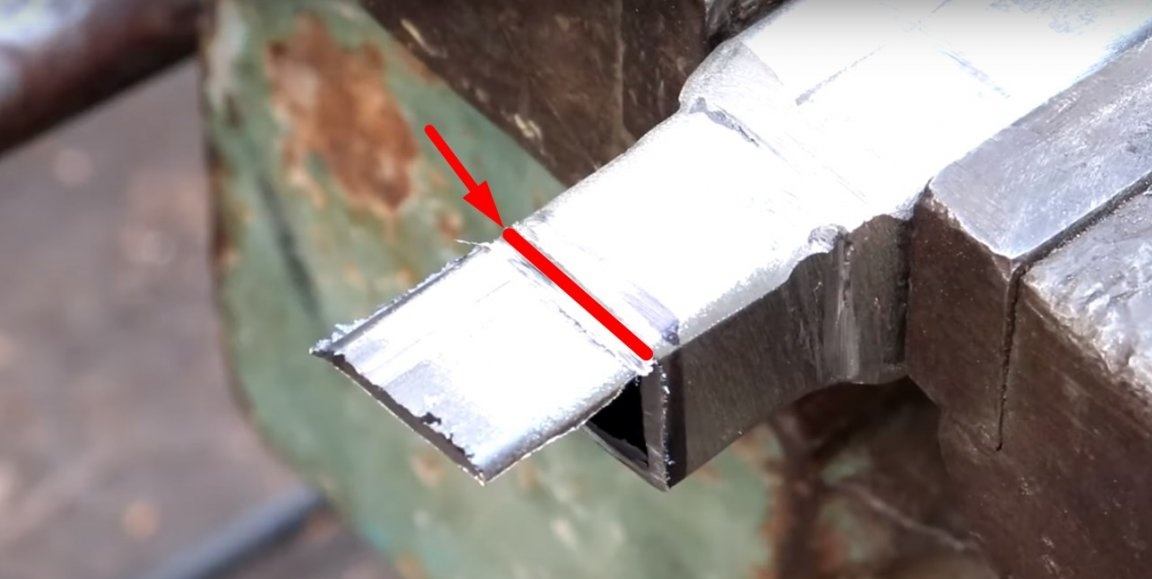
Then, the author cut off the excess from the second side.
After aligned the edge of the cut.
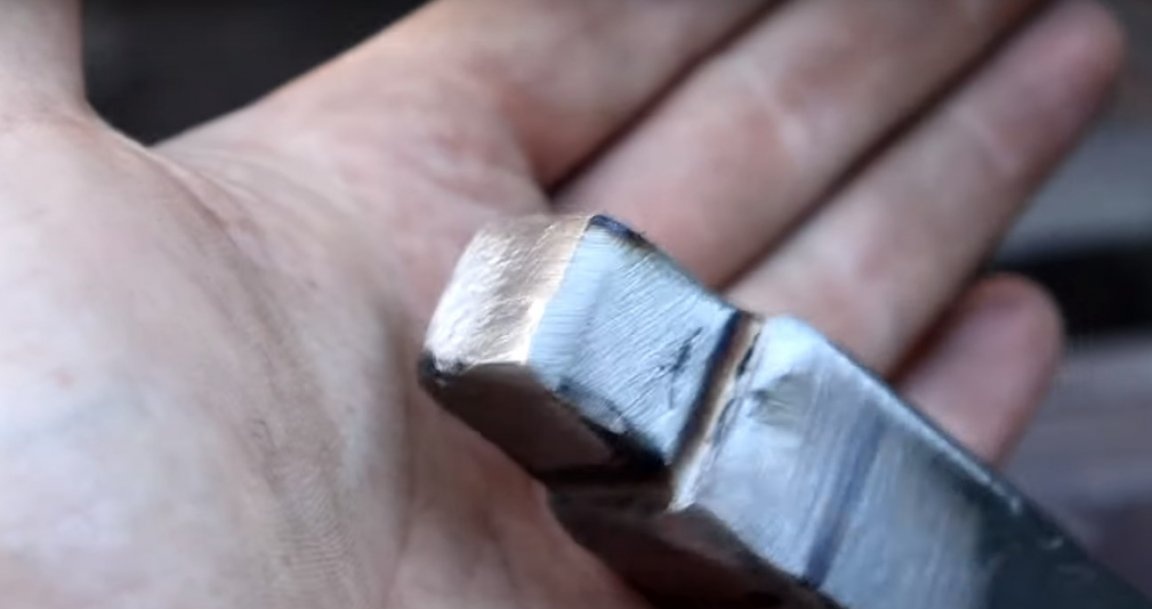
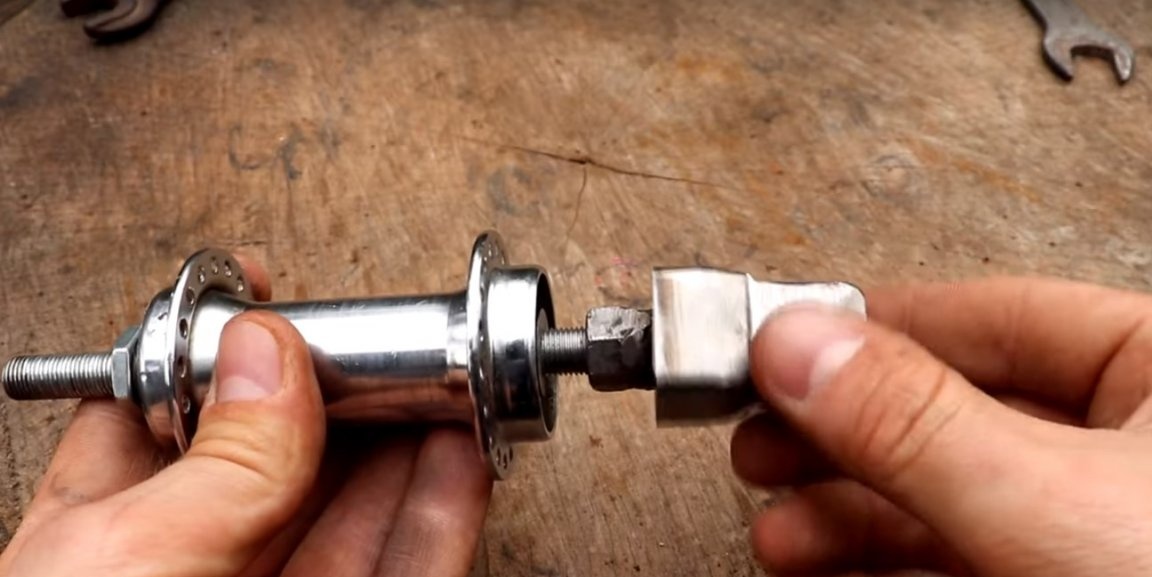
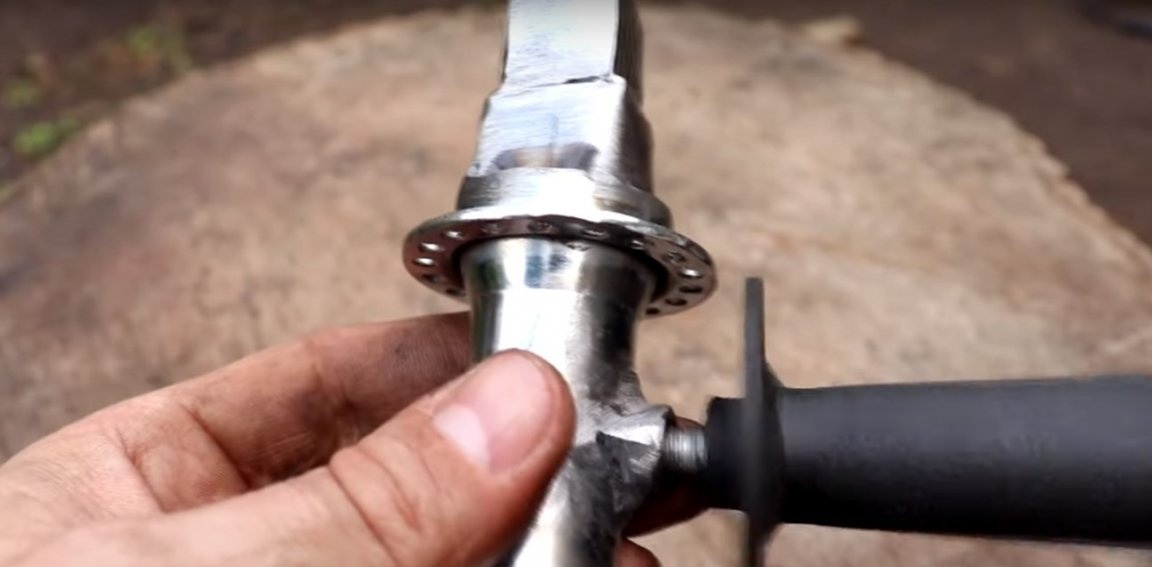
Fitting. On one edge of the axis, the author installed a welded nut.
On the second edge, he installed the cut-off, conical part.
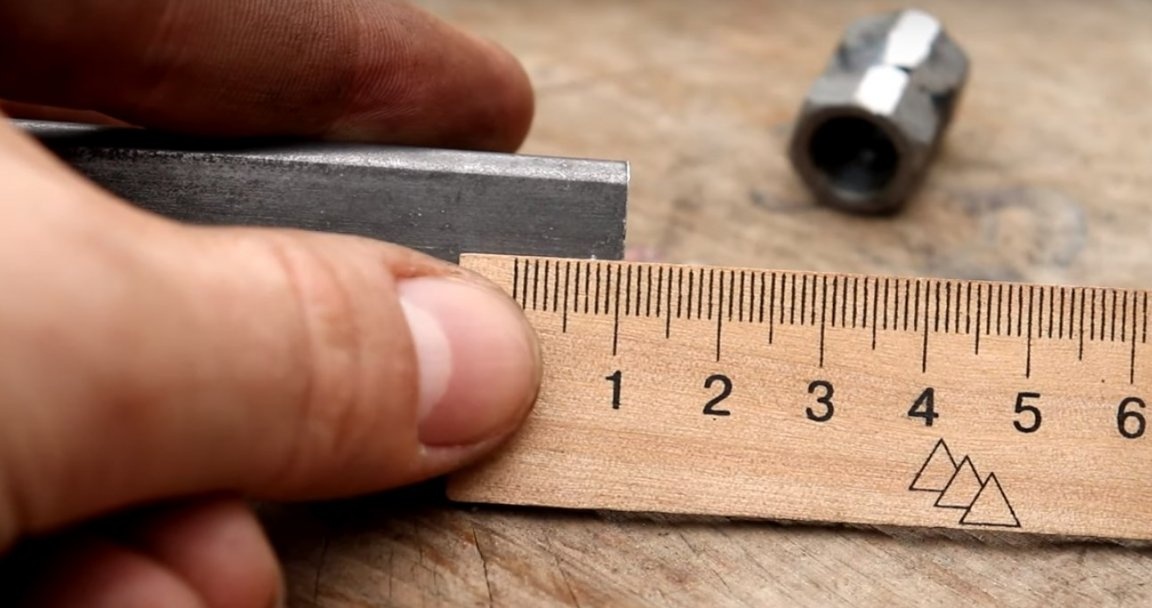
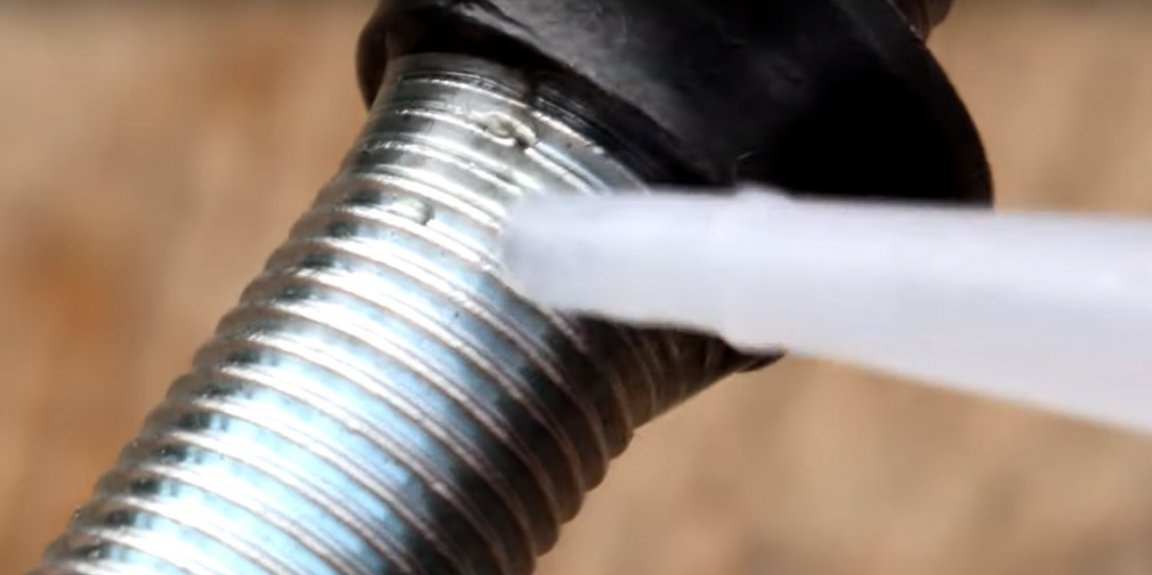
After measured the desired distance.
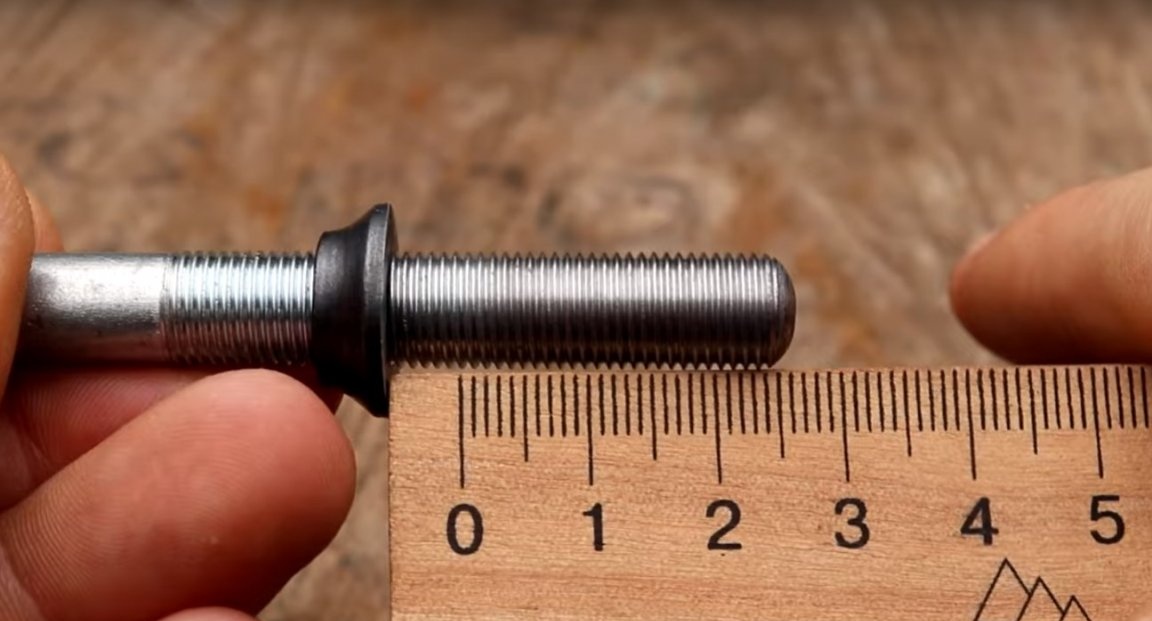
And fixed the nut with glue.
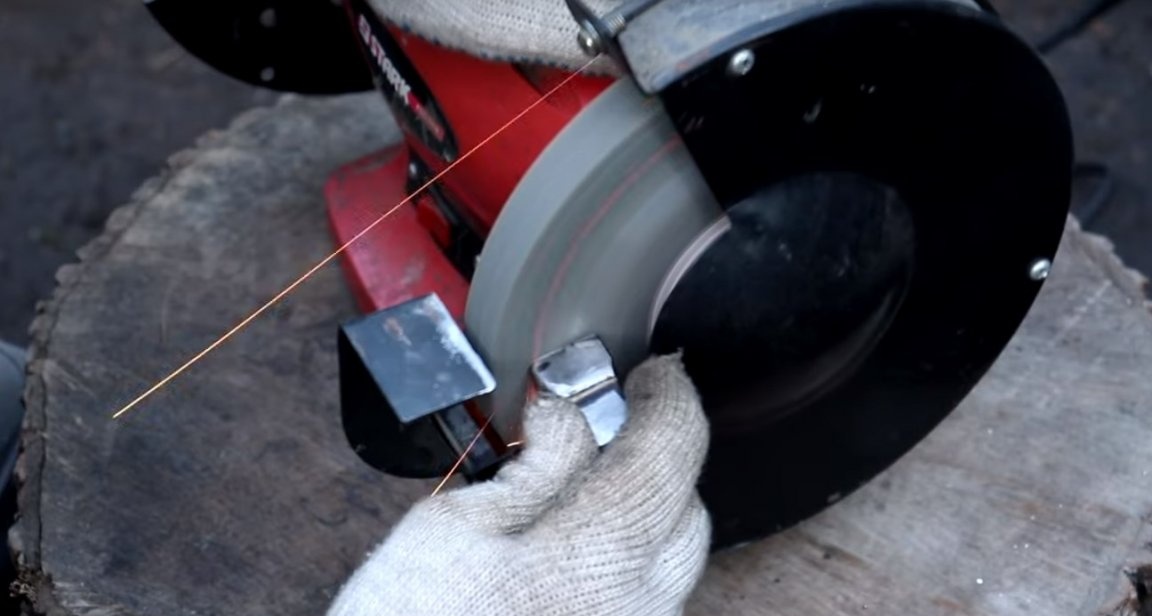
After that I found a center in a pipe blank. Nakernil.
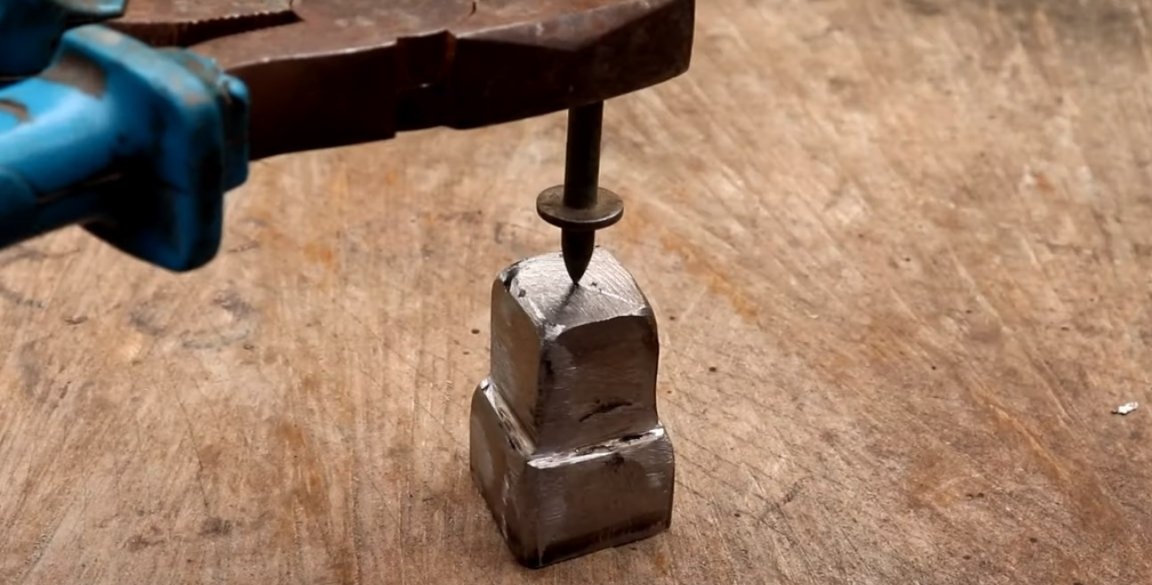
And he made a hole for the M 6 bolt.
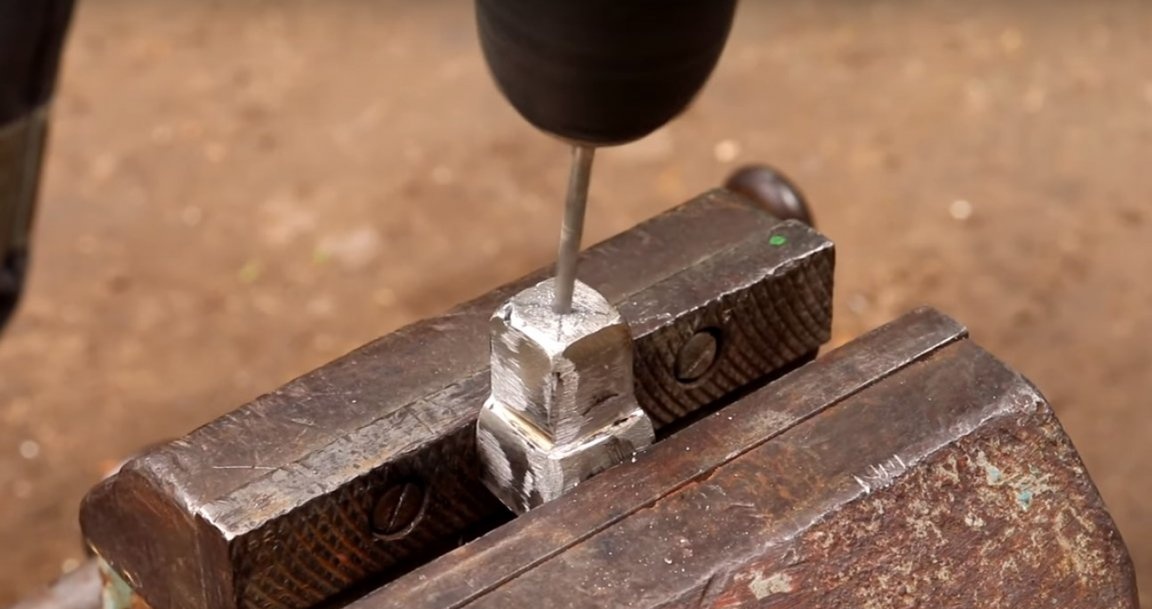
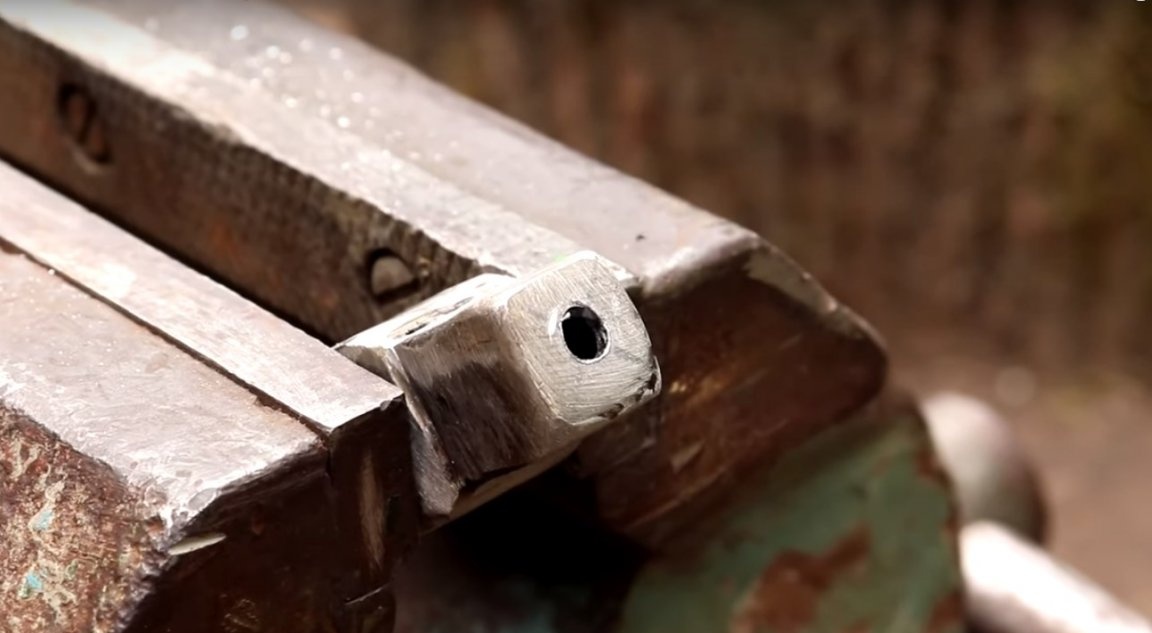
Then he treated the hole with a file, removing all the burrs.
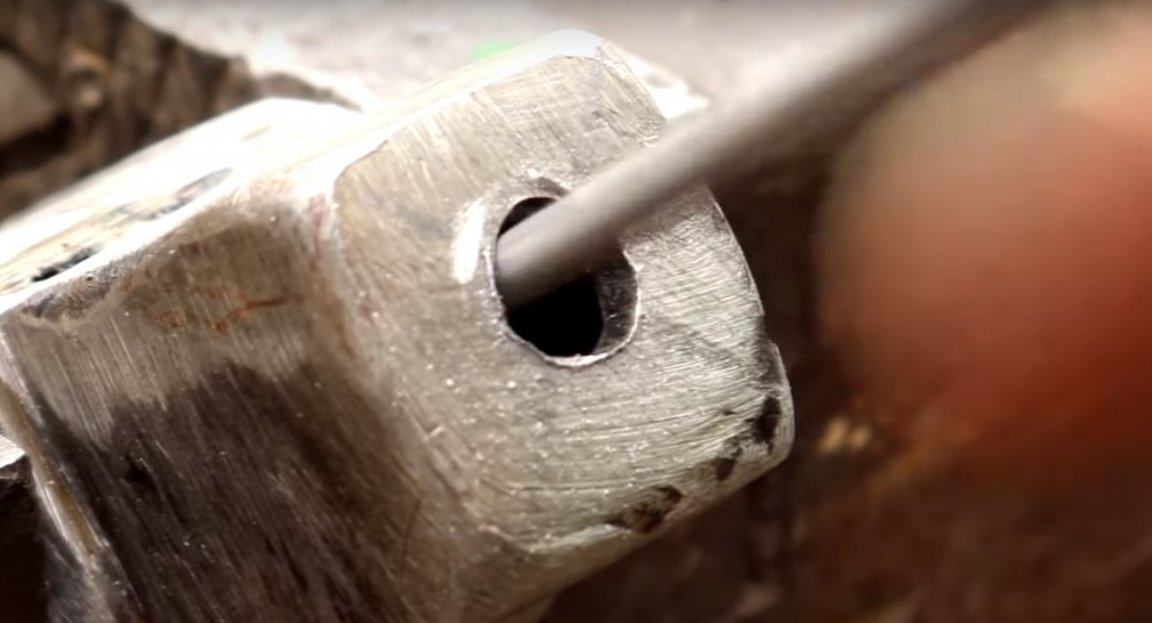
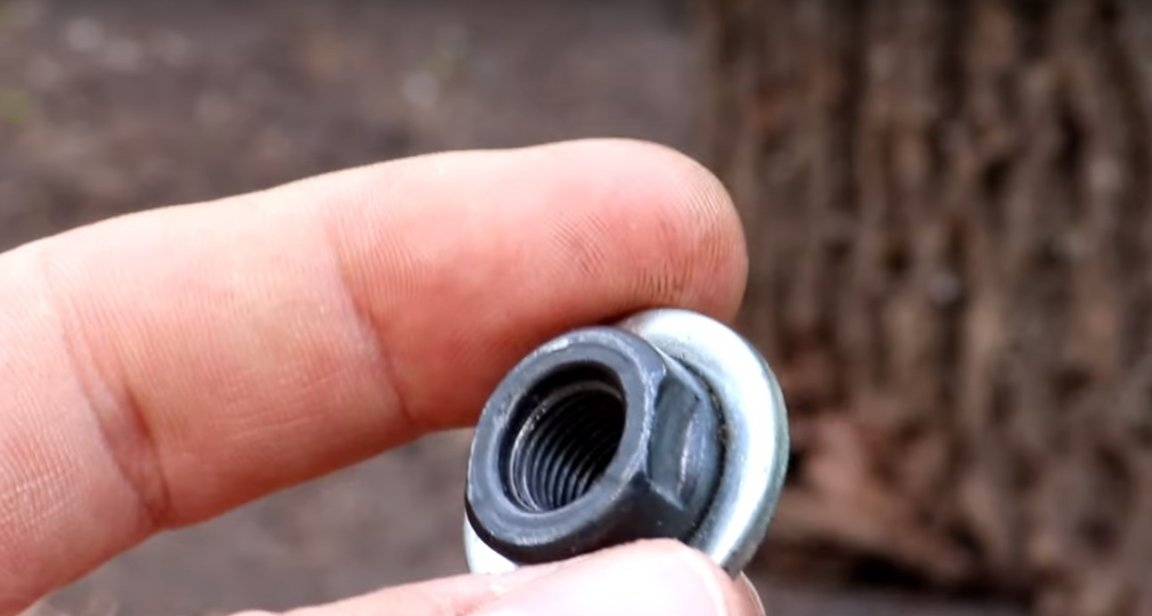
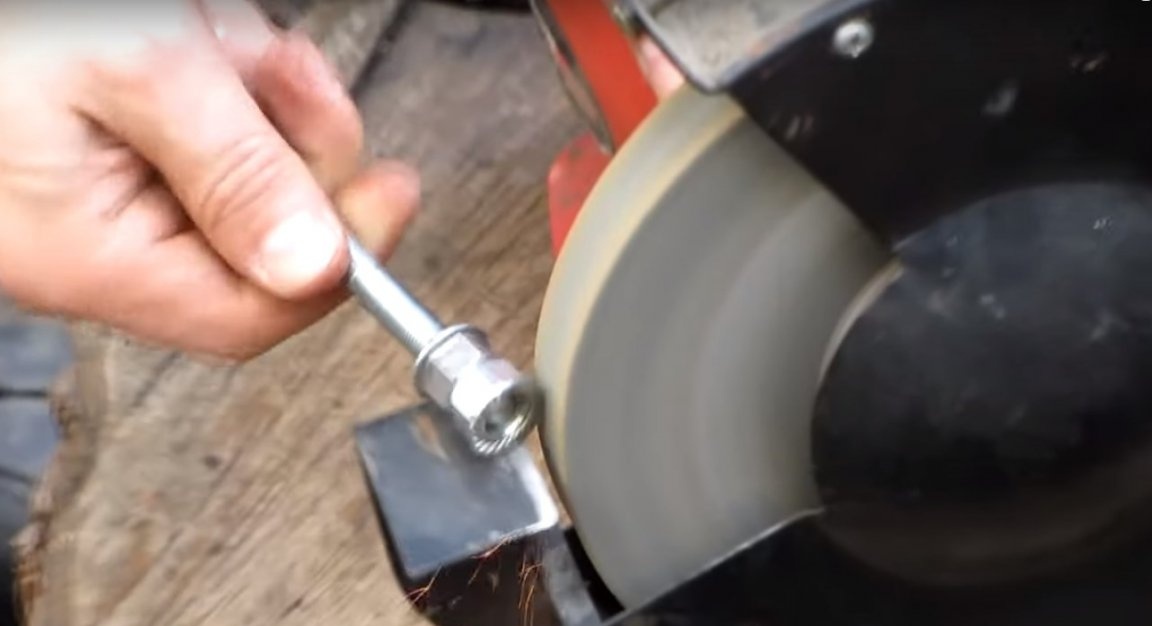
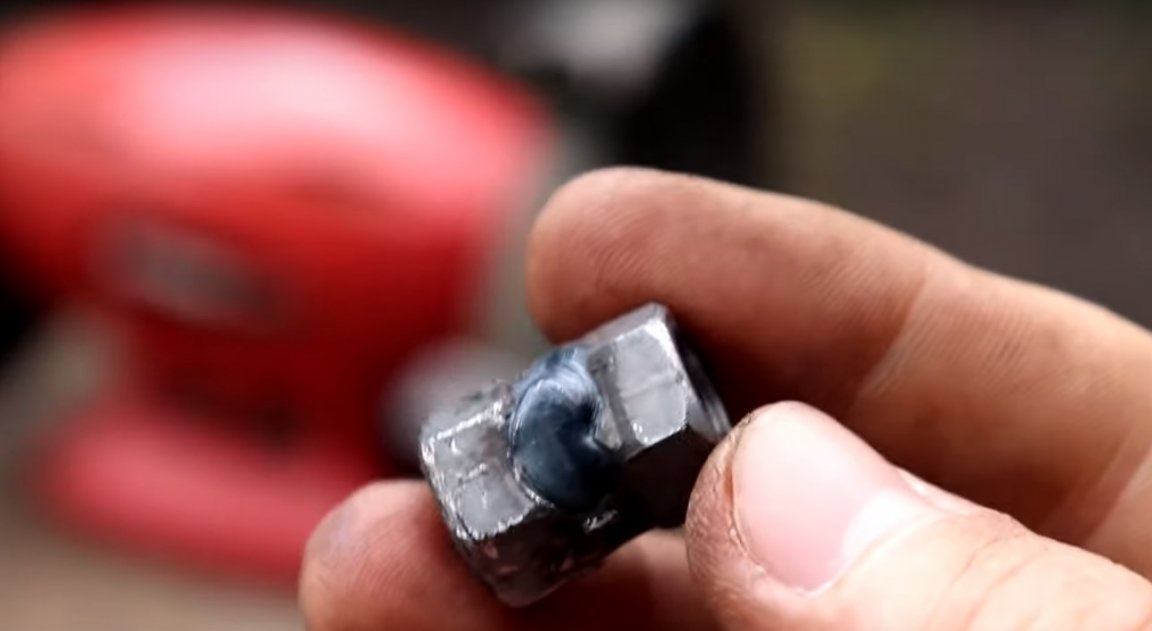
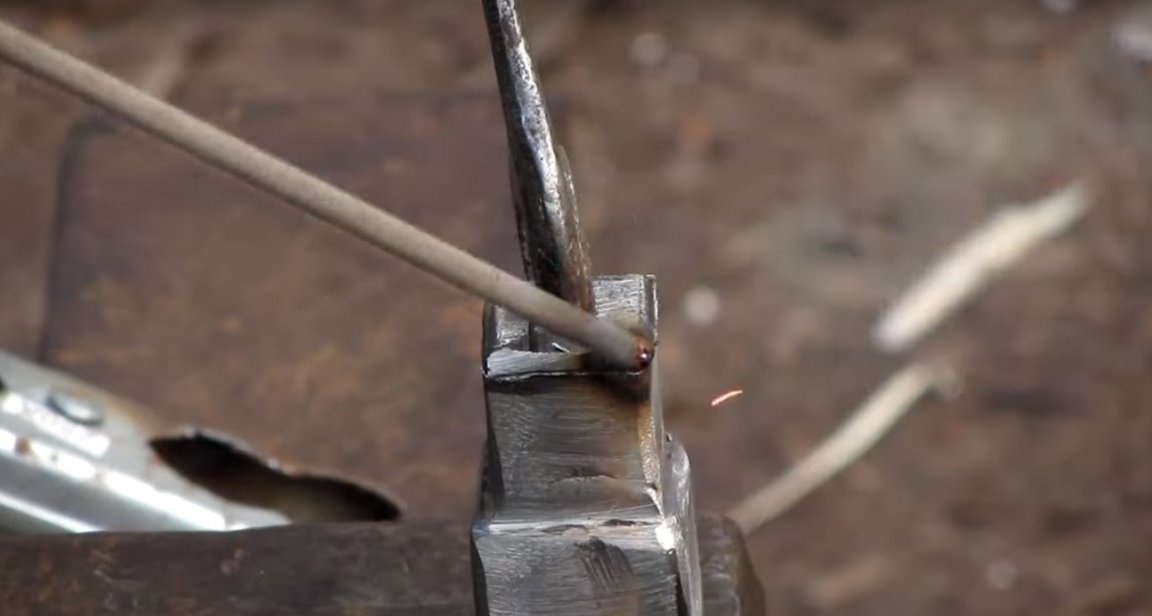
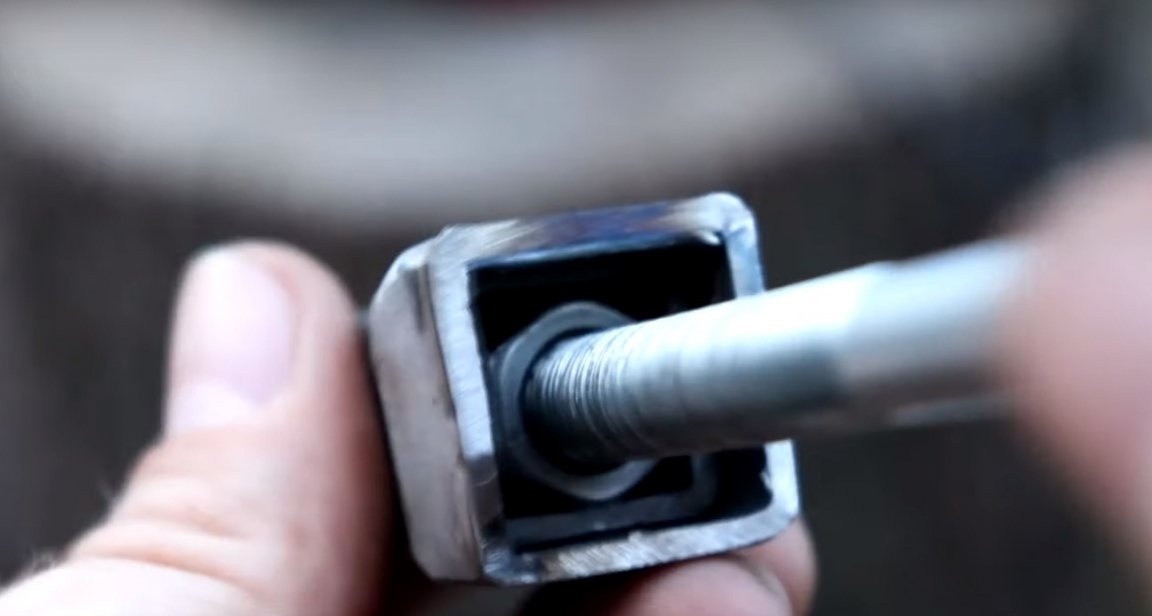
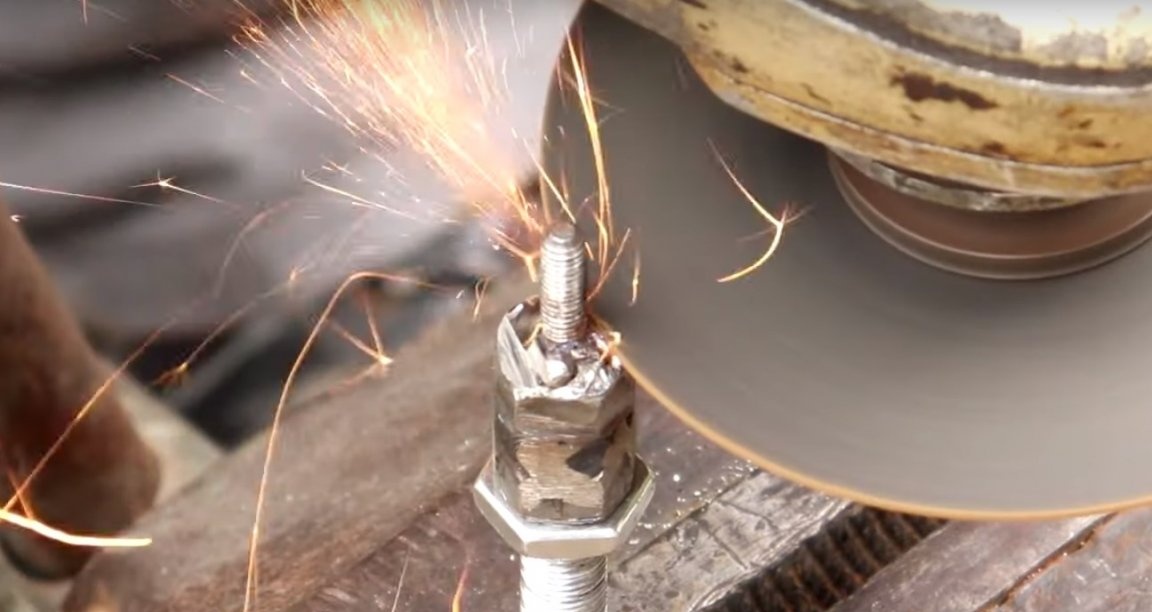
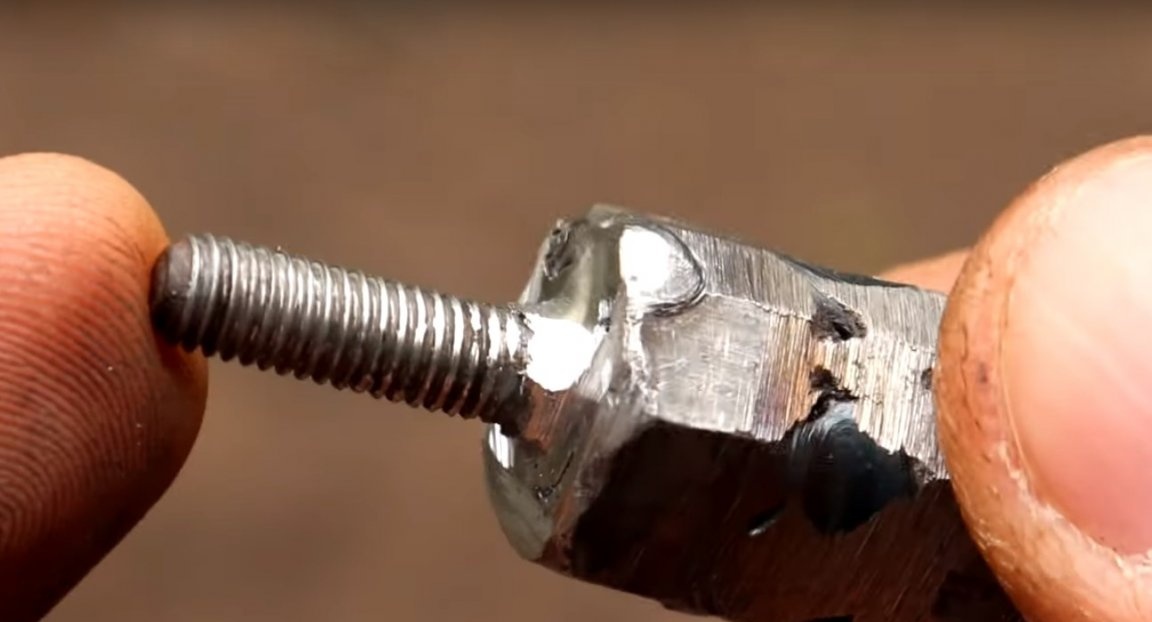
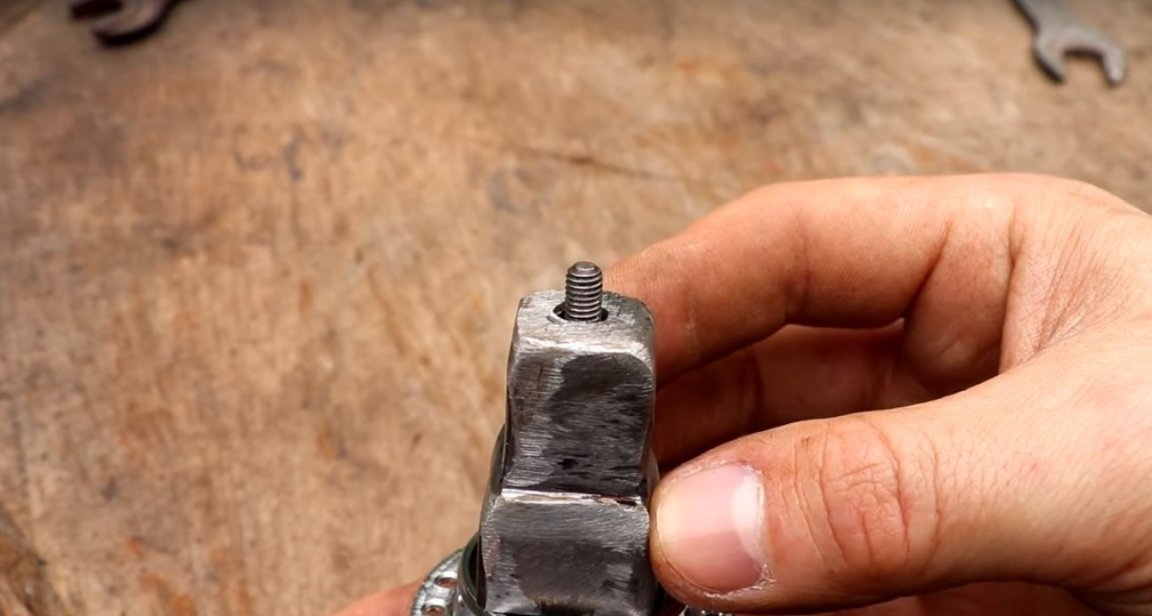
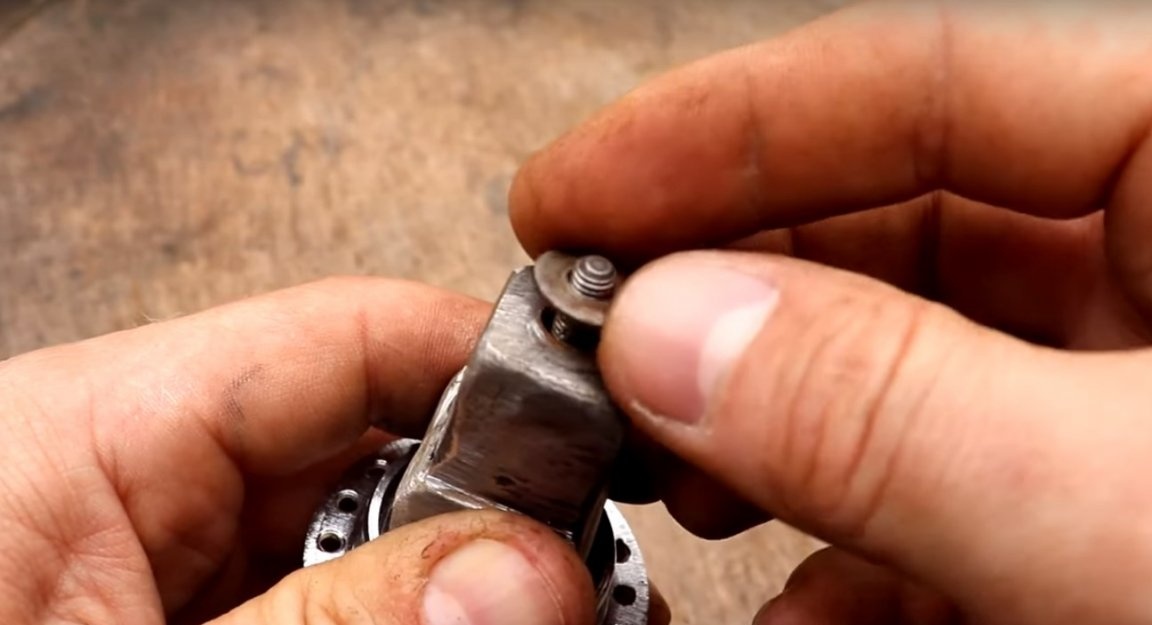
After that, the author took the bolt and installed it in the nut as in the photo.
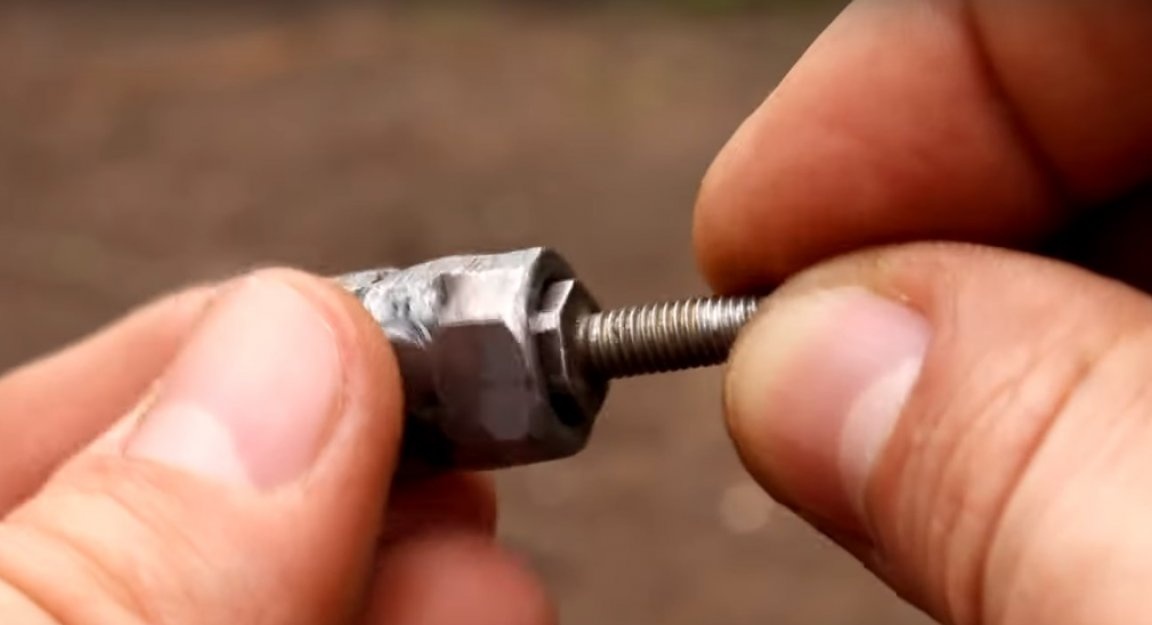
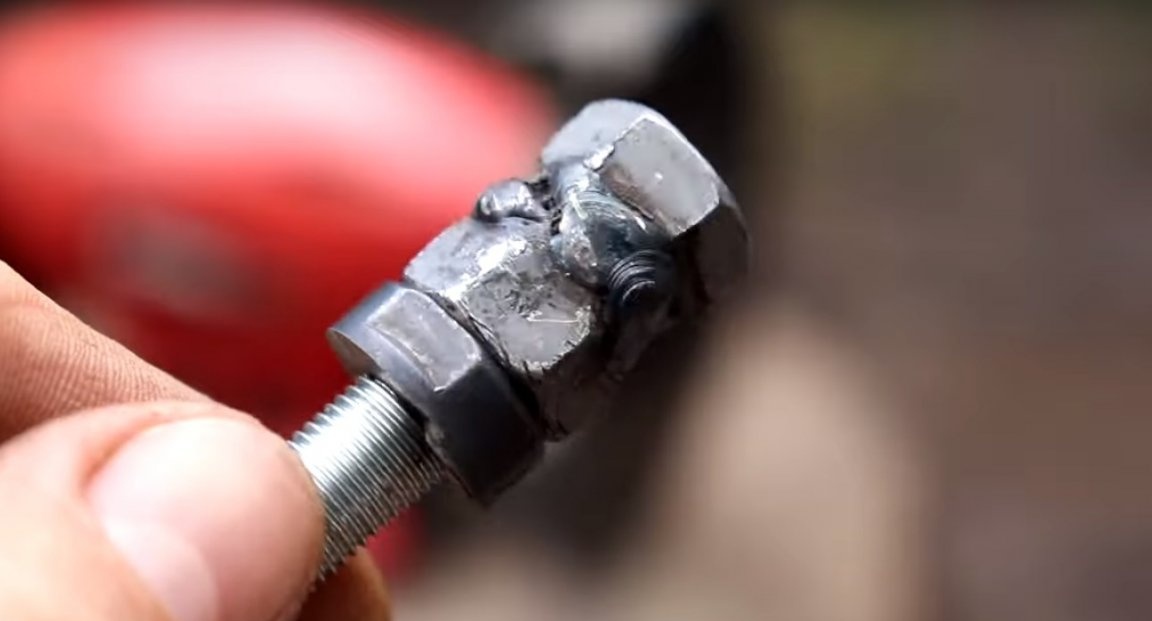
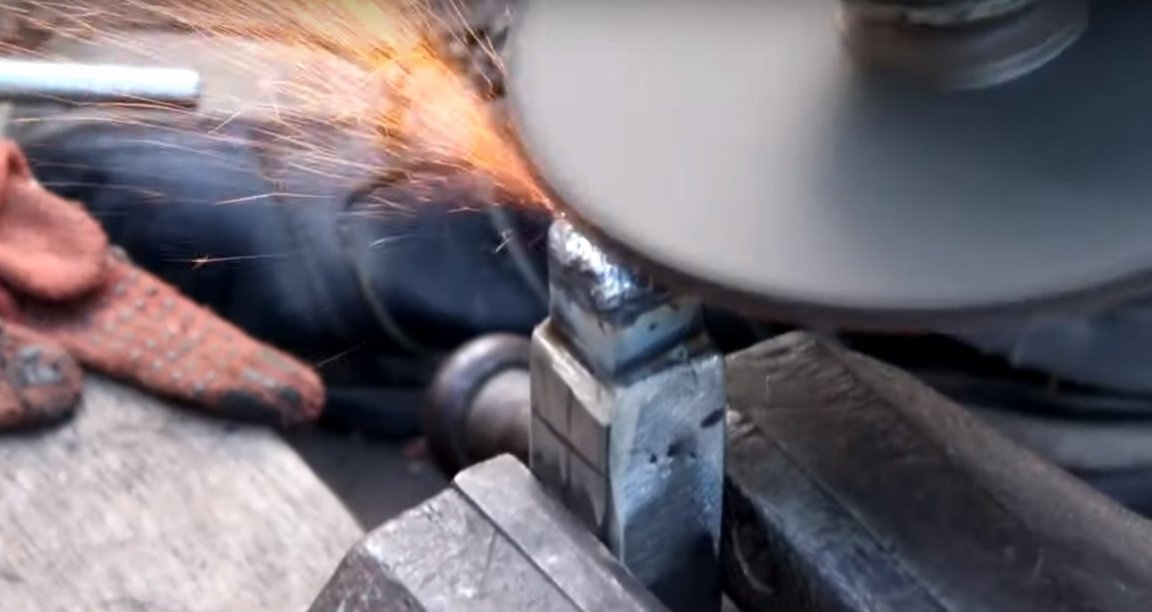
Then he screwed the nut onto the axle, and holding it in a vise, welded the bolt to the nut.
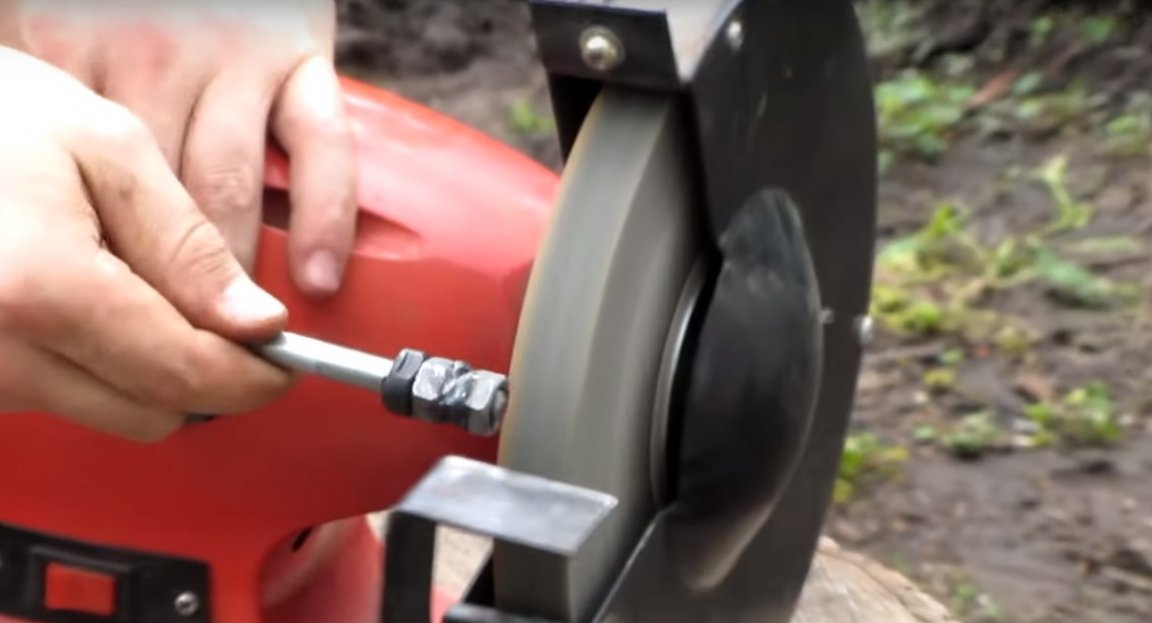
Suture processing.
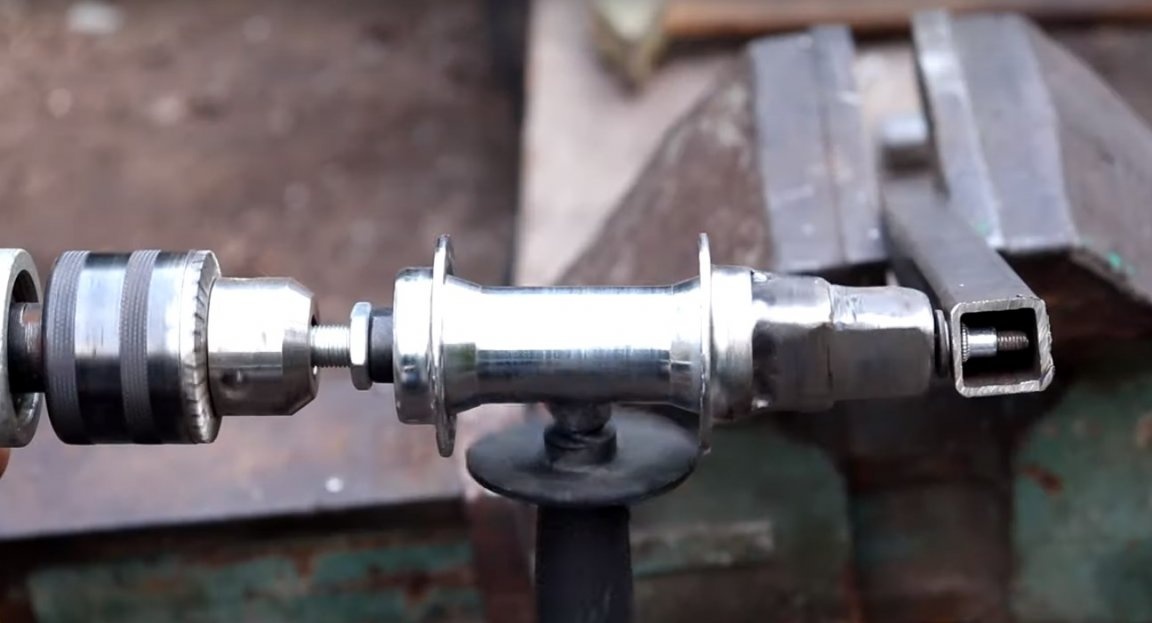
After all the details were ready, the author proceeded to assembly. The axis is installed in the hub.
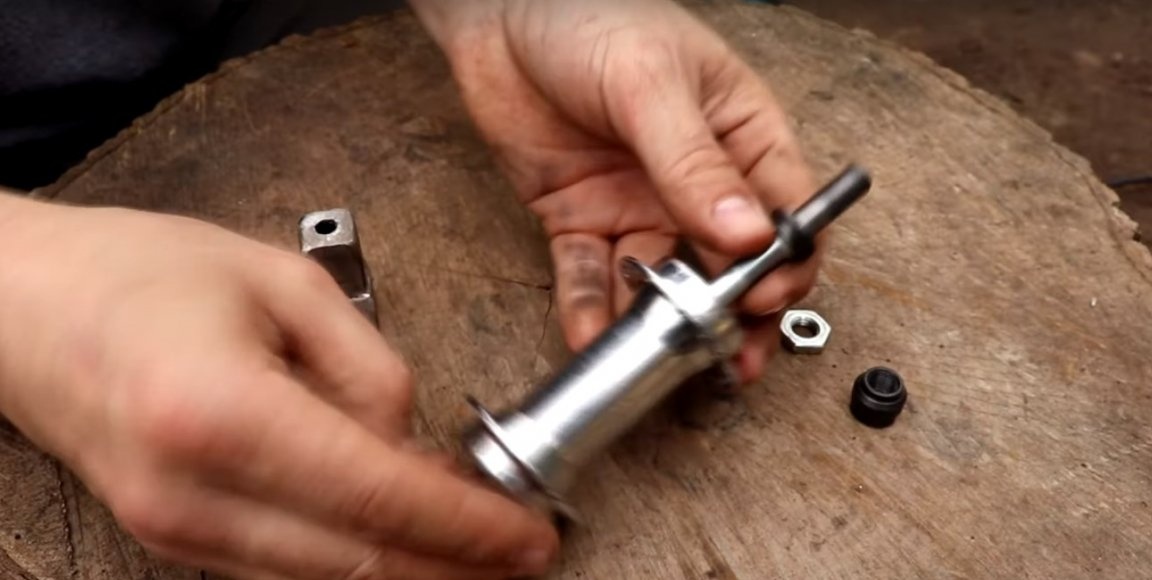
Then, on one side of the axis installed "native" nuts.
On the second edge of the axis, the author installed a welded nut with a bolt.
Then, on a welded nut, the author installed a part made of a profile pipe.
Like this.
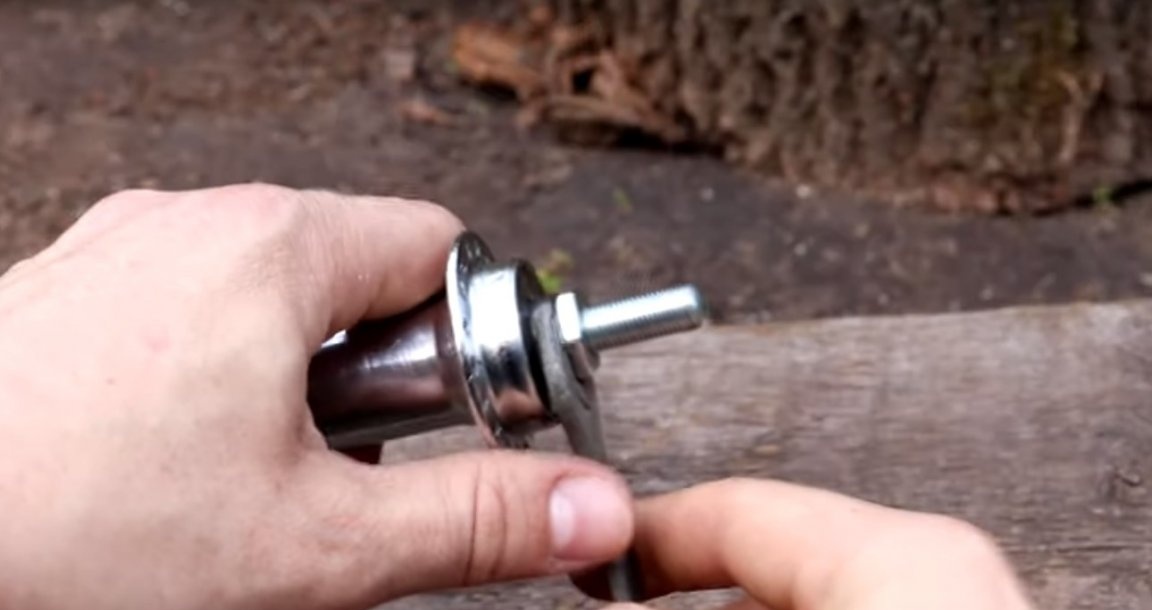
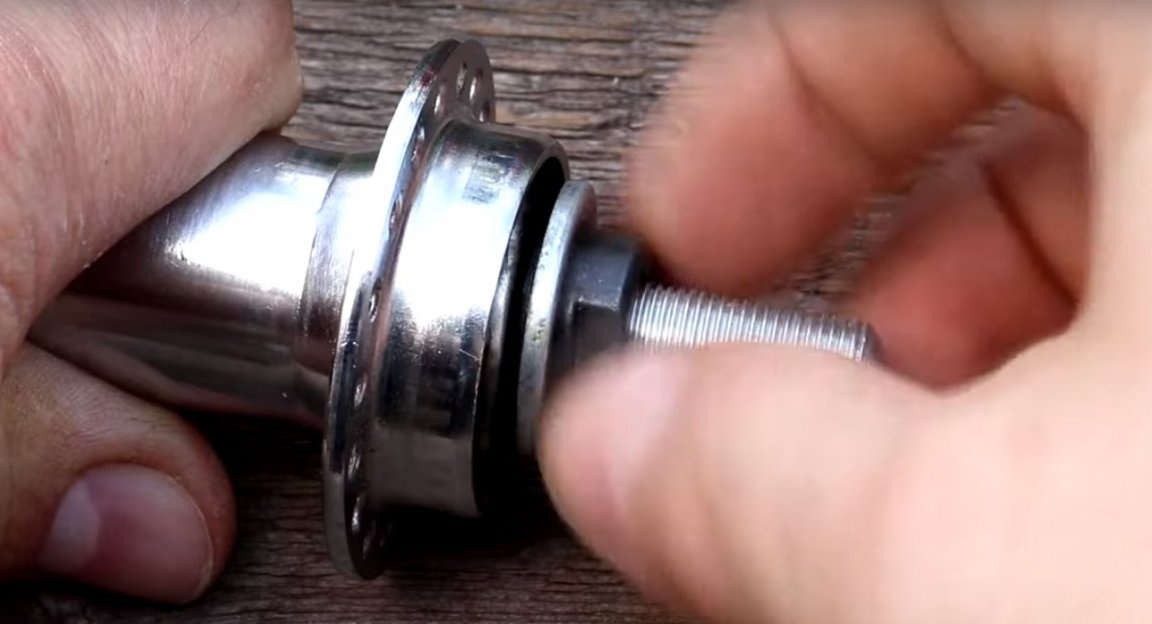
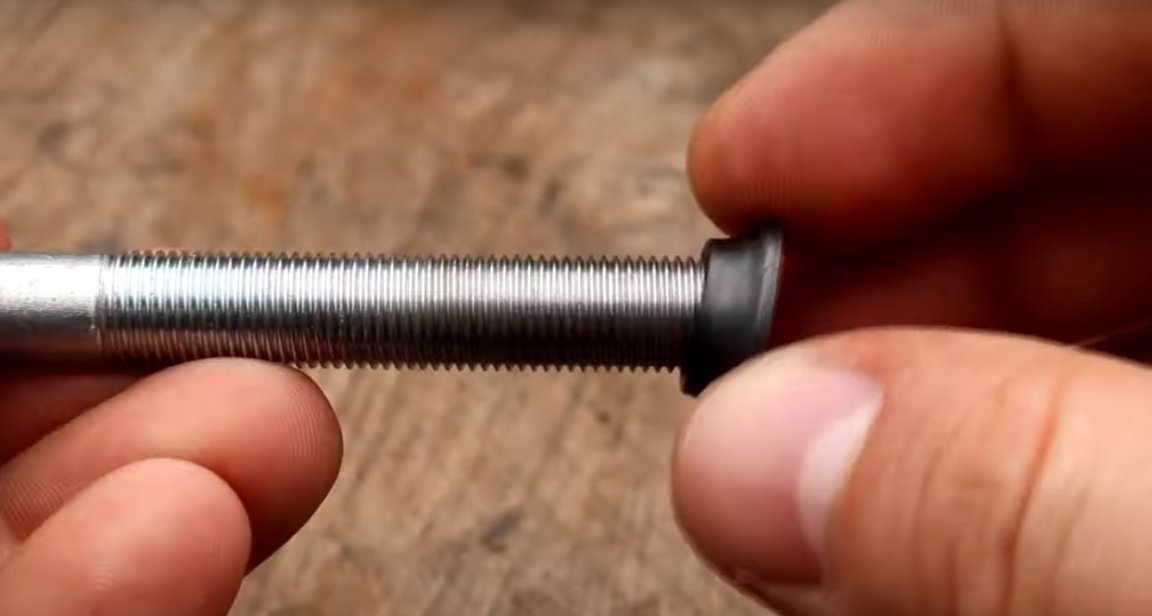
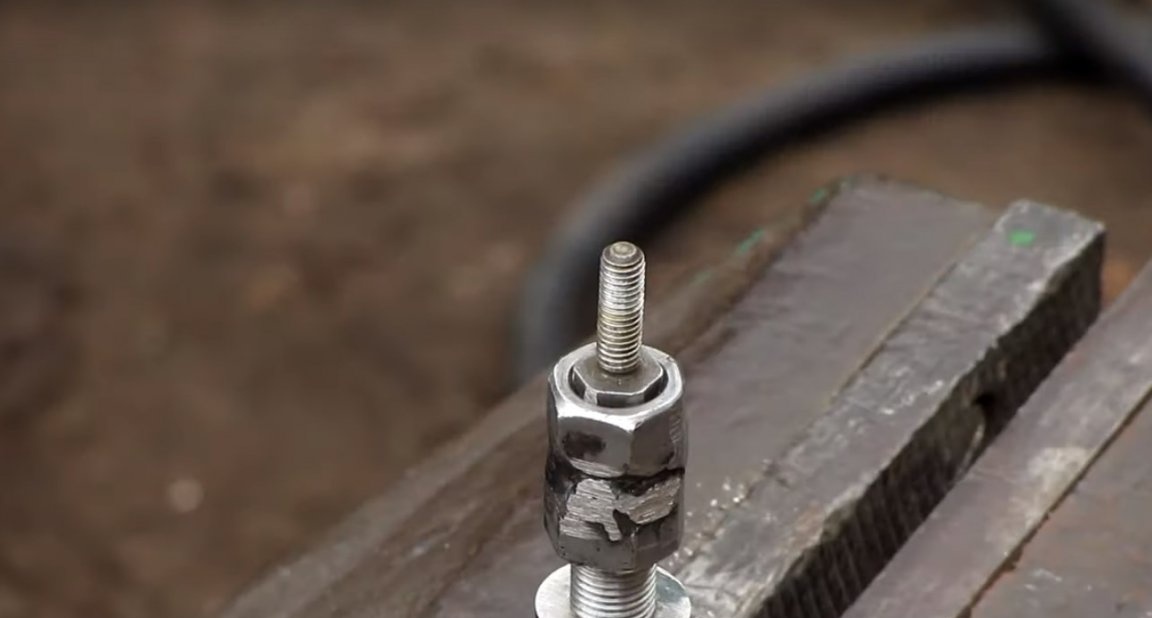
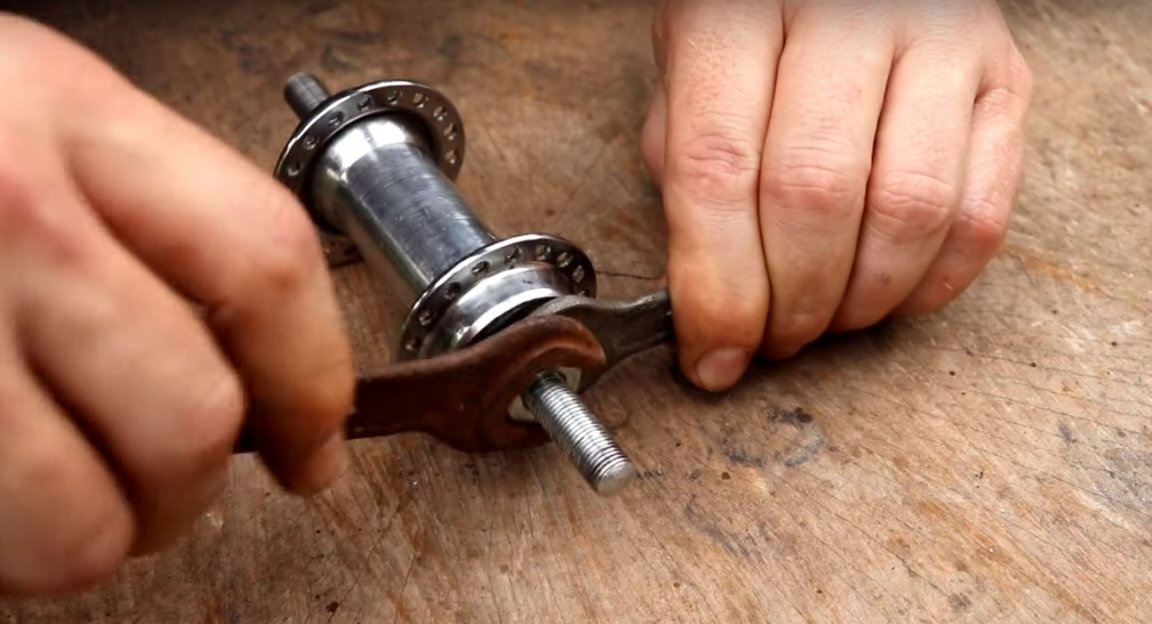
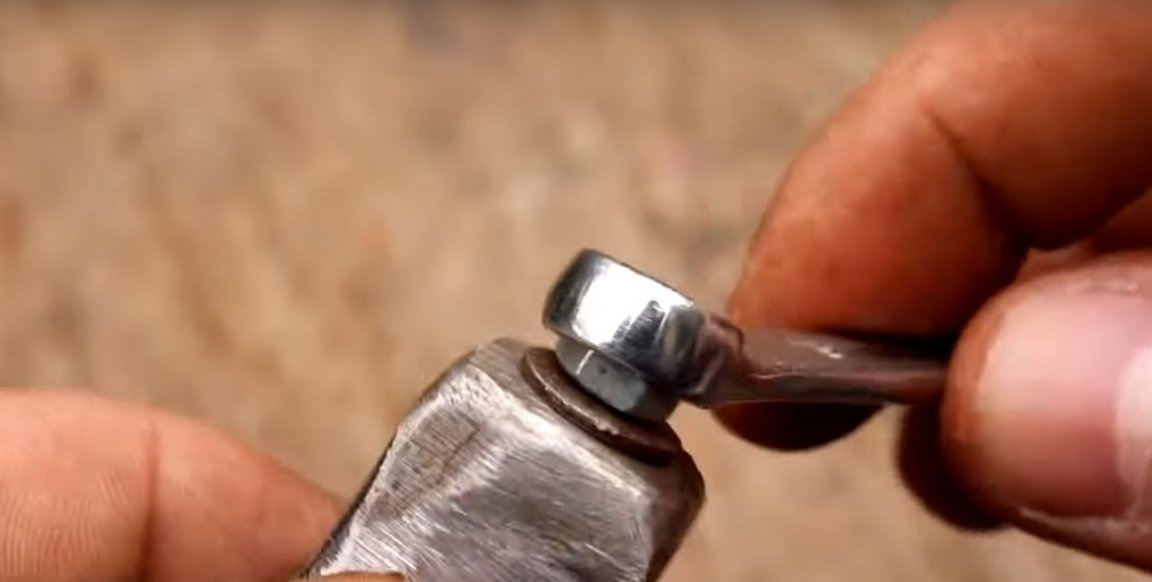
After installing the washer on the bolt.
Then I installed the nut and, using a wrench, tightened the nut well, thereby pressing the part from the profile to the hub.
After welded the part to the hub.
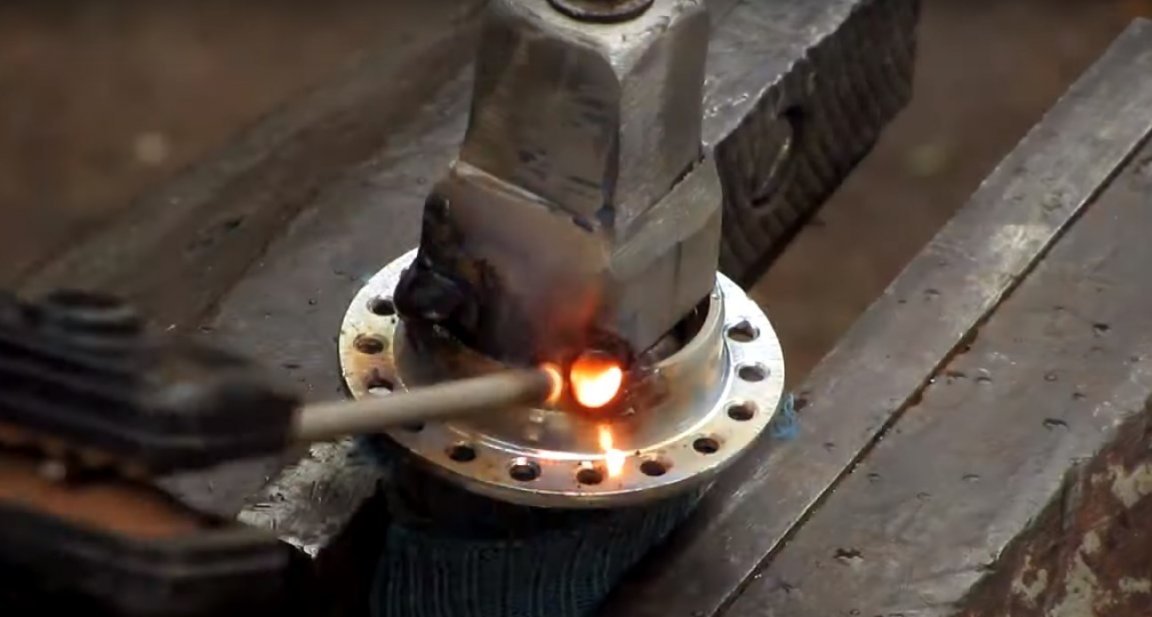
Processed the seams.
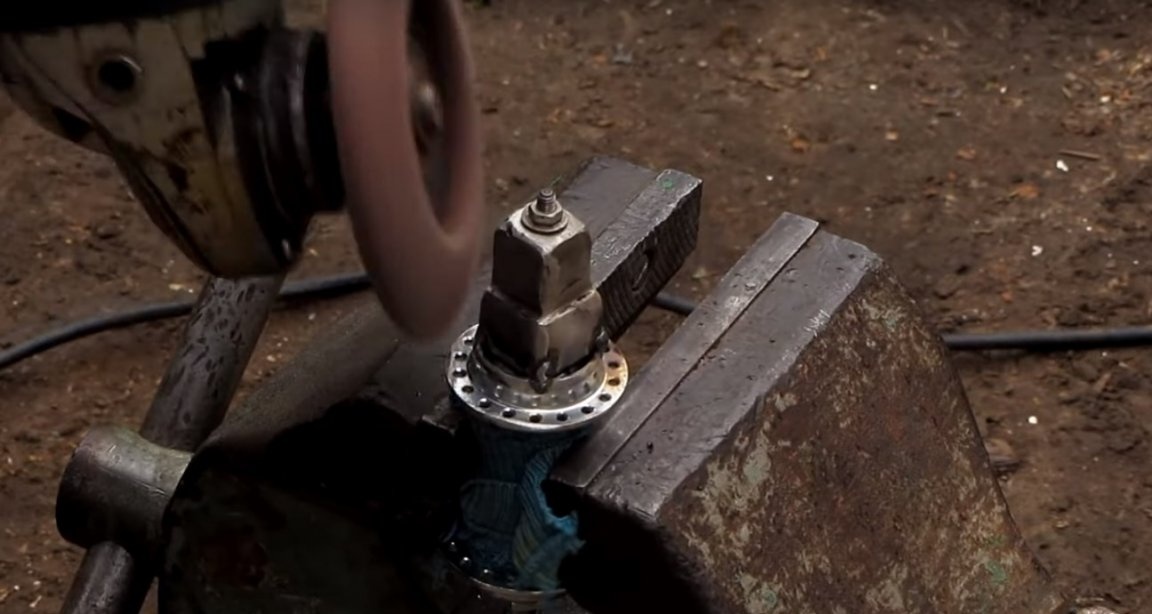
Then in this place, the master welded a nut for fastening the side handle of the angle grinder.
After installing the handle.
And all the homemade work is ready.

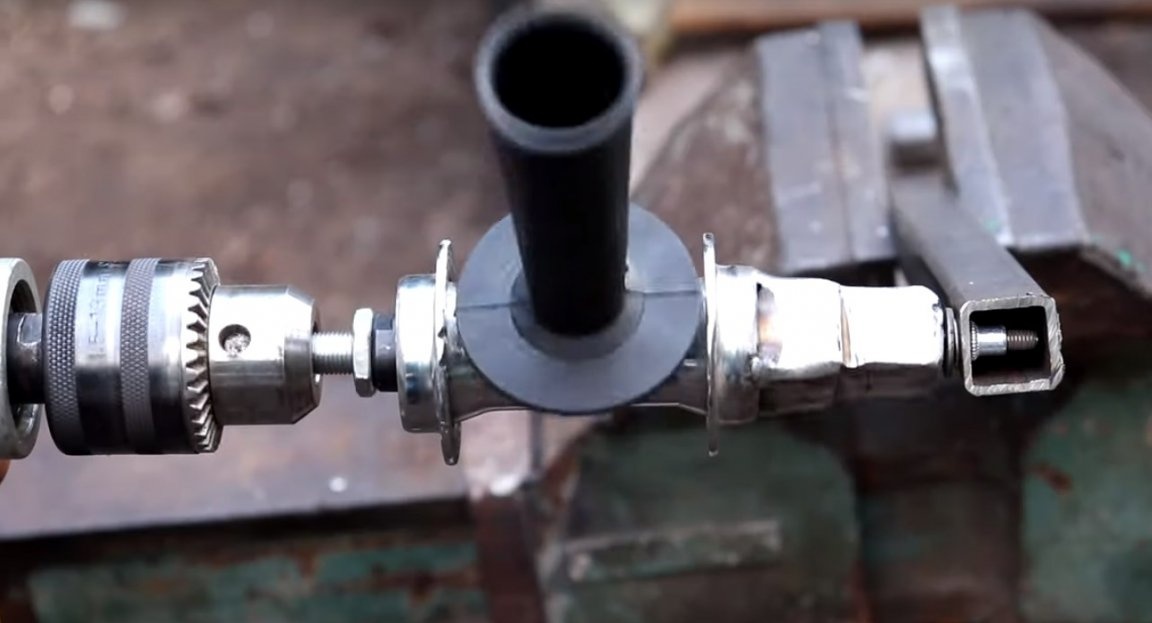
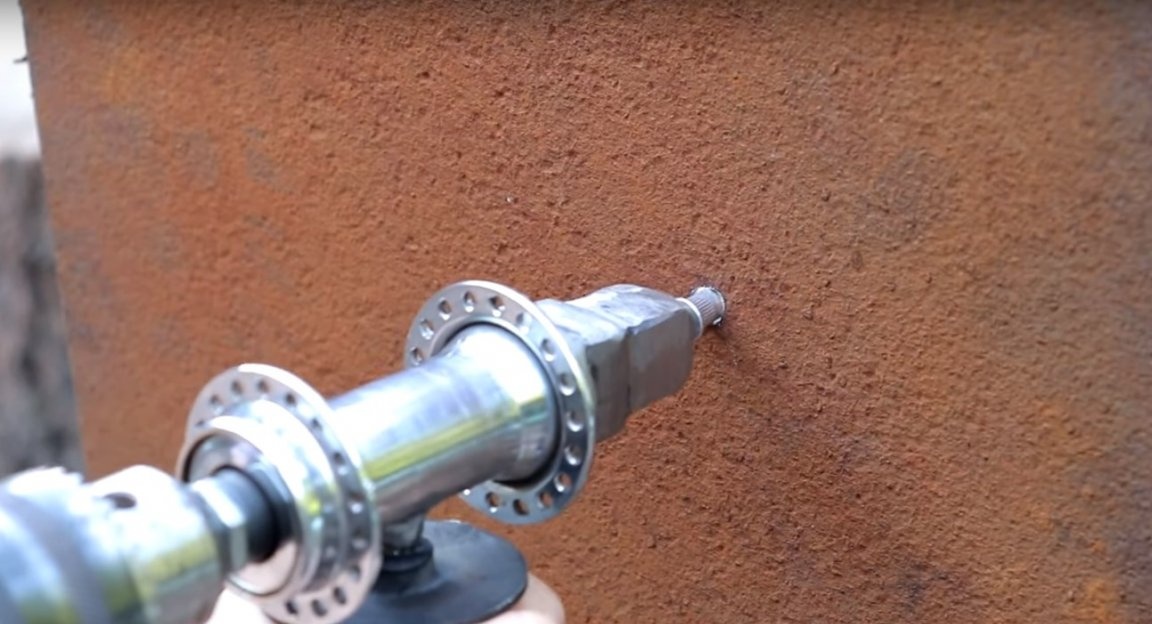
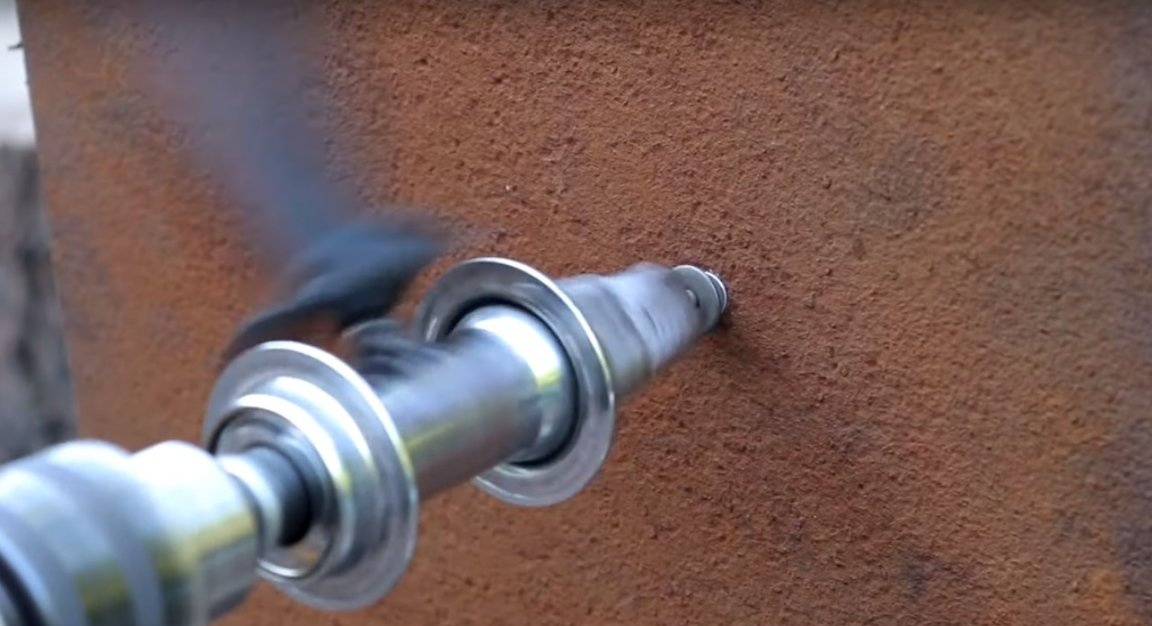
Now the author is ready device sets in a drill.
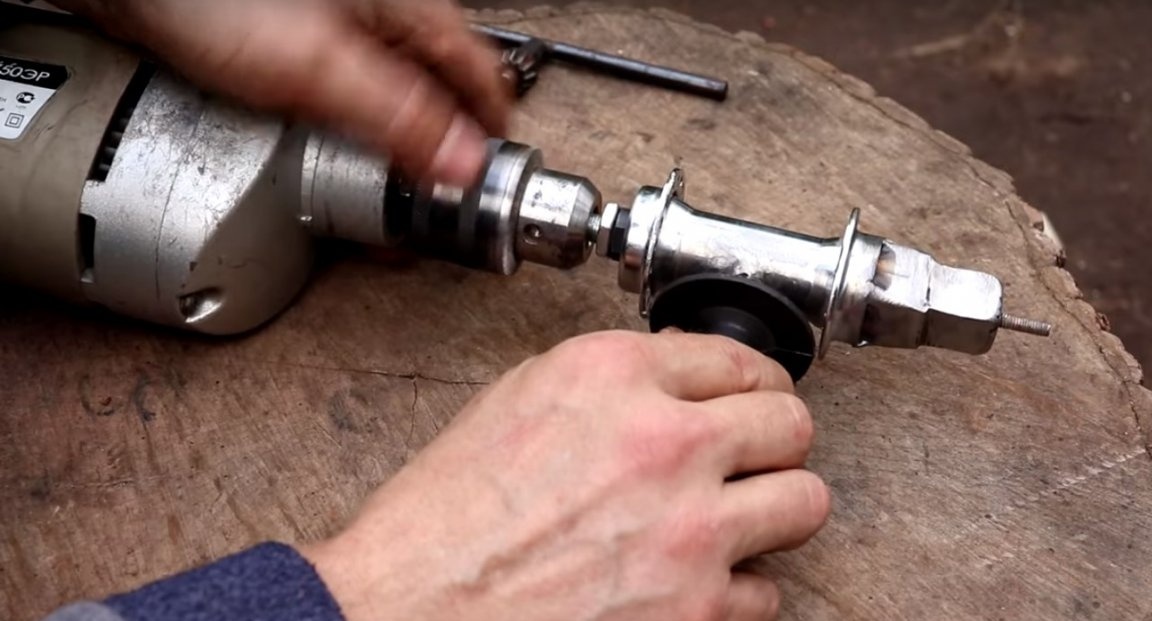
Next sets the rivet.
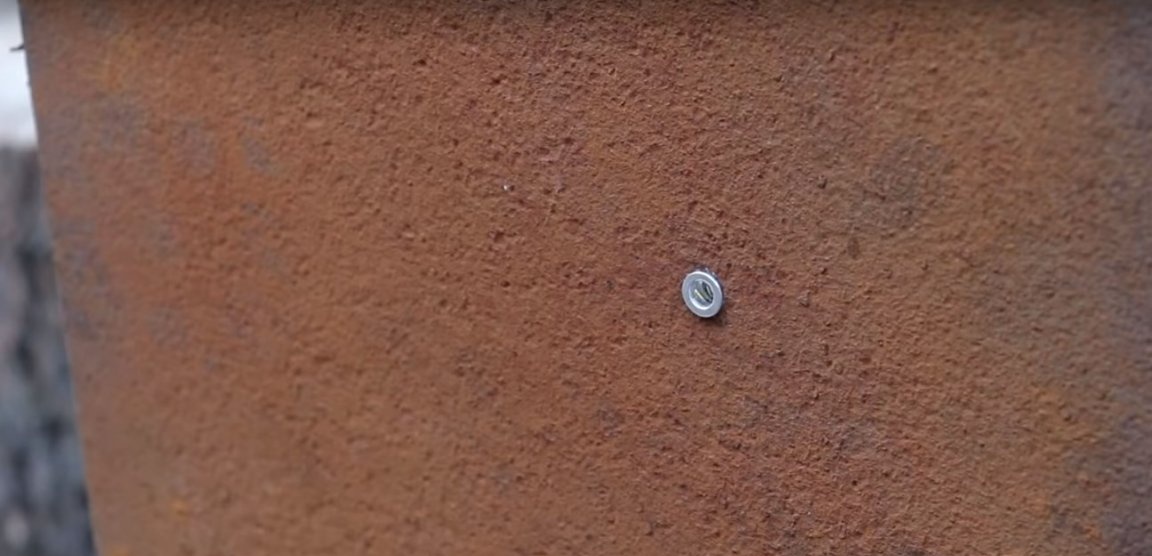
And tests his device.
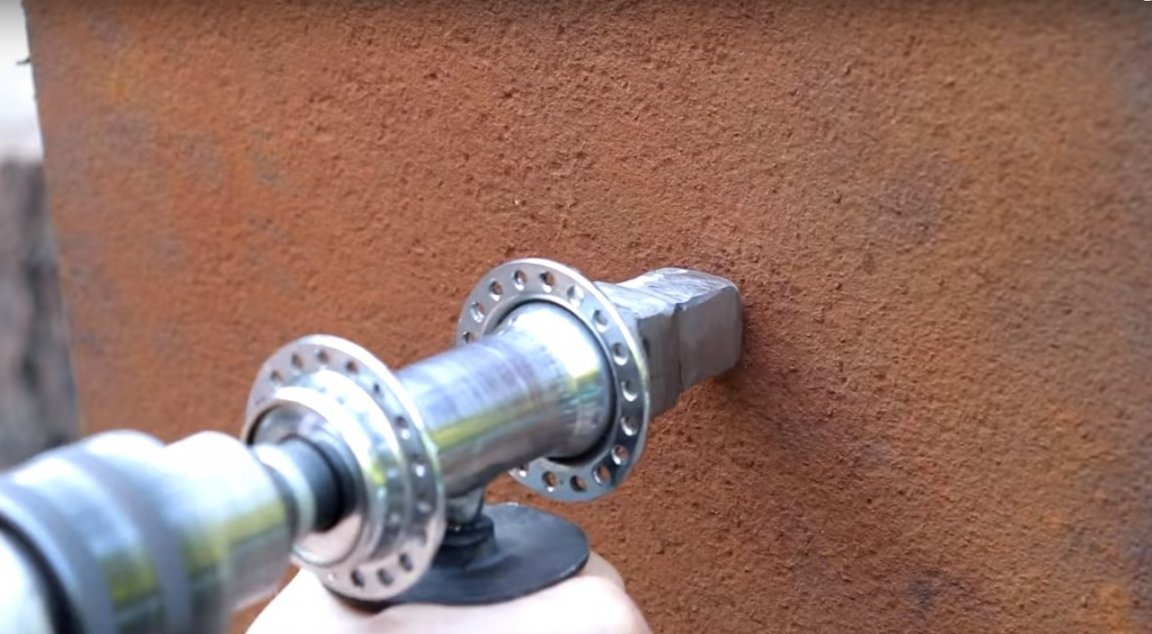
Result.
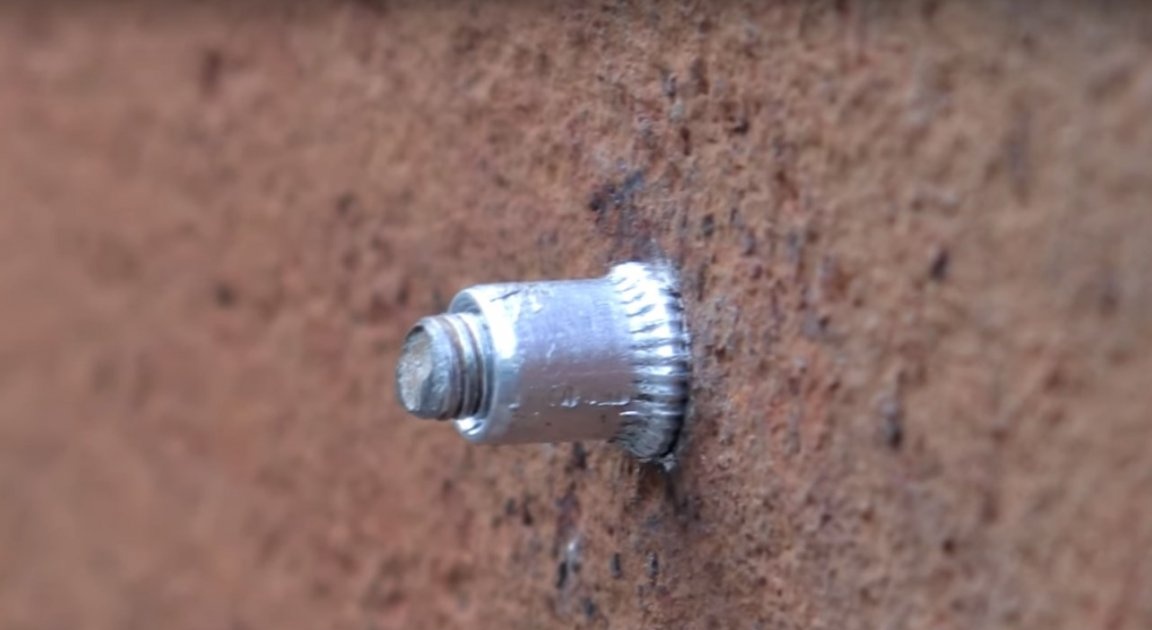
Such a good adaptation turned out today, in the hero of our article. Thank you very much to the author for the useful, necessary and not difficult to make homemade product.
And that’s all for me. Thank you all and see you soon!