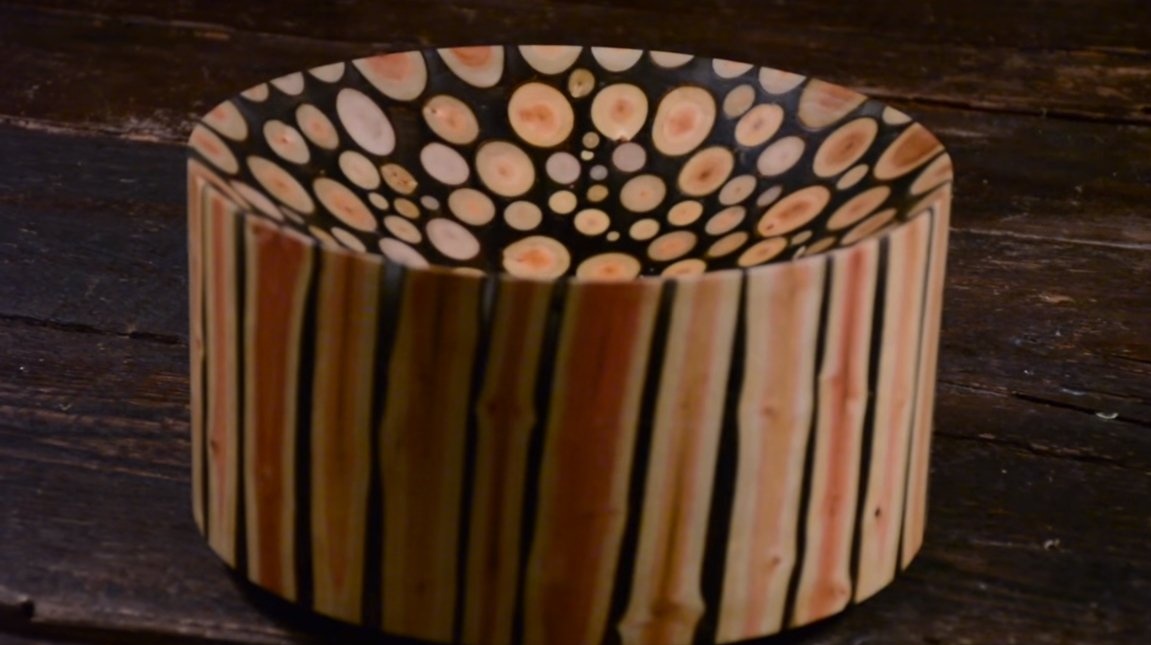
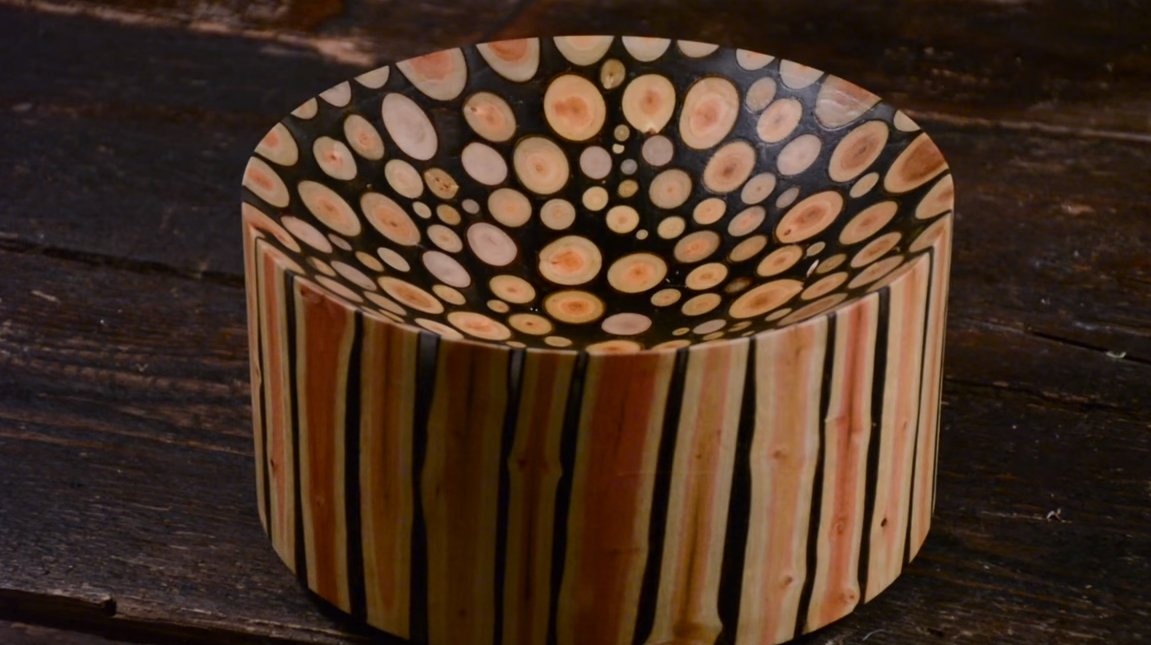
Hello to all lovers do it yourselfToday we will look at how to make a wonderful vase from resin and sticks. Such homemade can be easily and quickly manufactured with a lathe. The homemade product looks very interesting, but everything is going simply if you have the necessary tool. If the project interests you, I propose to study it in more detail!
Materials and tools used by the author:
Material List:
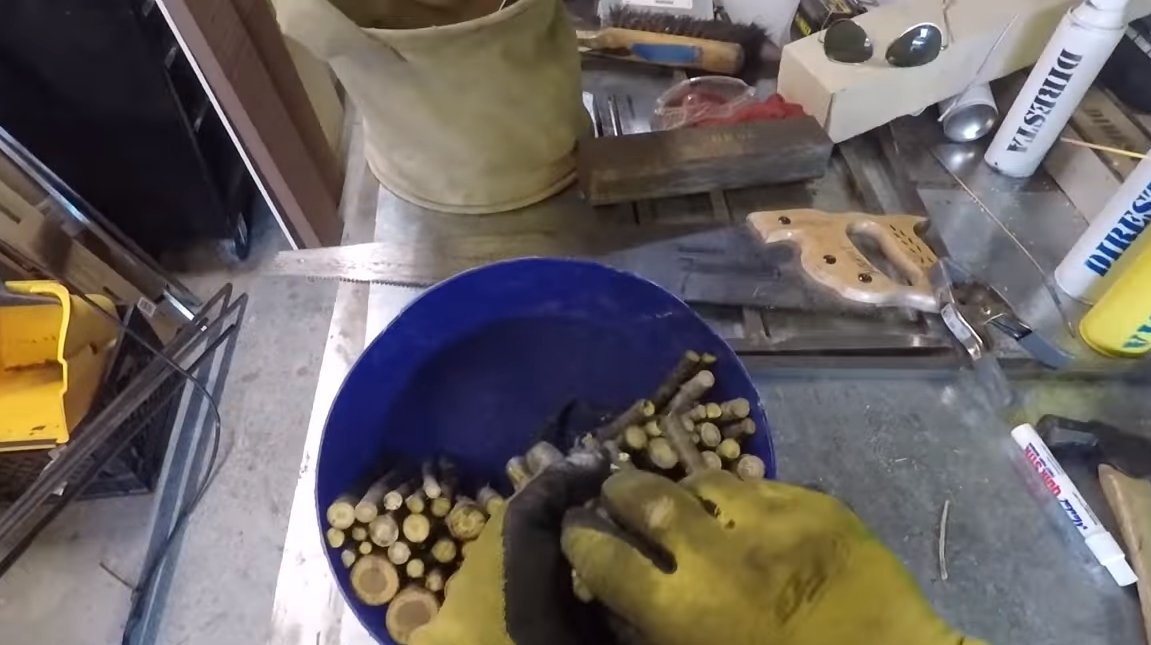
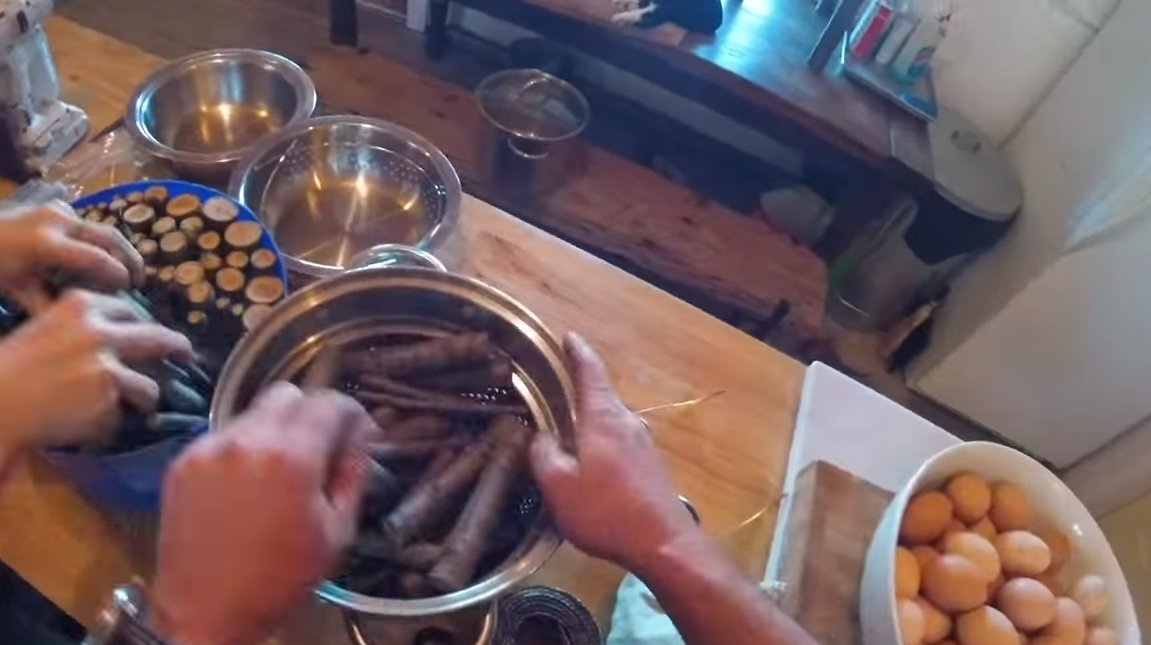
- sticks;
- epoxy resin;
- dark dye for epoxy;
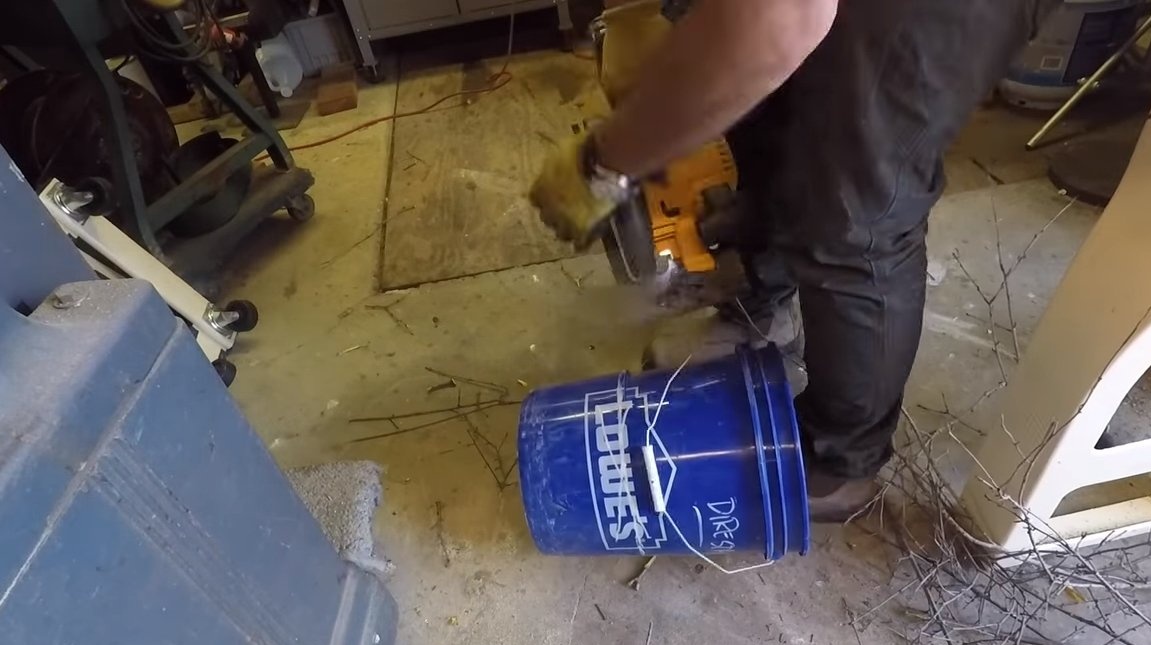
- a plastic bucket for formwork;
- varnish.
Tool List:
- lathe;
- grinder;
- polishing orbital machine;
- oven;
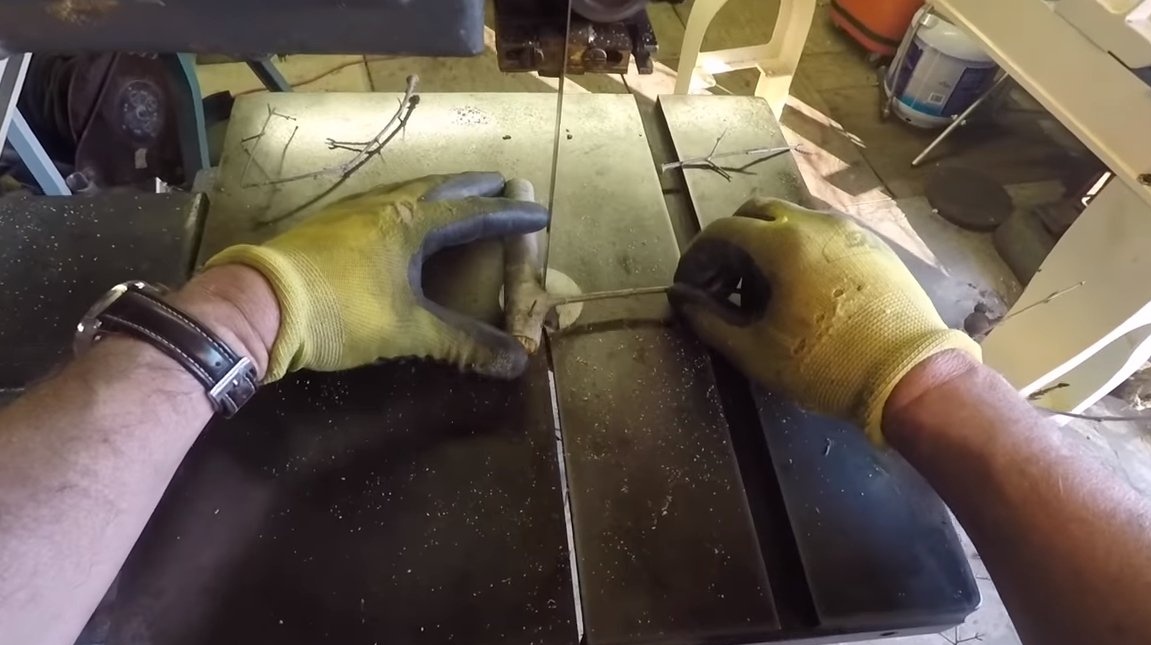
- a hacksaw;
- tape cutting machine.
Homemade manufacturing process:
Step one. Source material preparation
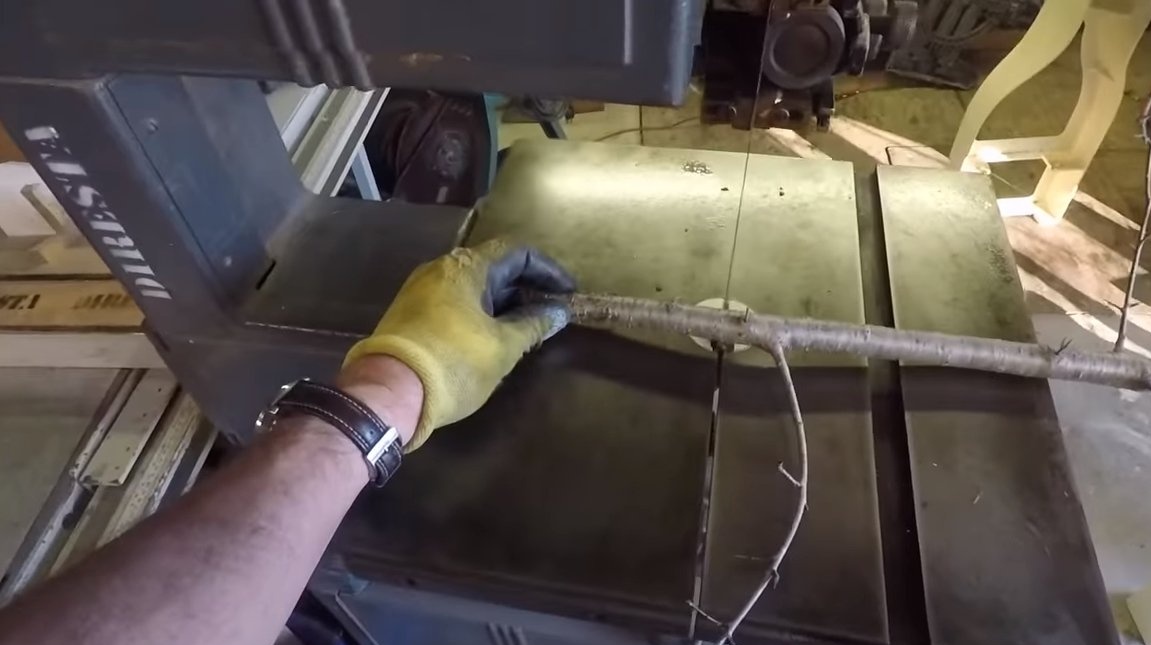
We leave for the forest with a hacksaw, we need to find beautiful branches. Wood with a beautiful texture is best suited, it can be plum, cherry, maple and so on. Branches should be “alive”, with bark, such material looks beautiful.
Cutting the branches, dragging them home, and cut to the desired length. The number of sticks should be such that they can lay the entire shape, so the resin consumption will be minimal. Having prepared the material, we send the sticks to dry in the oven, otherwise the resin may subsequently become cloudy or the product will crack at all.

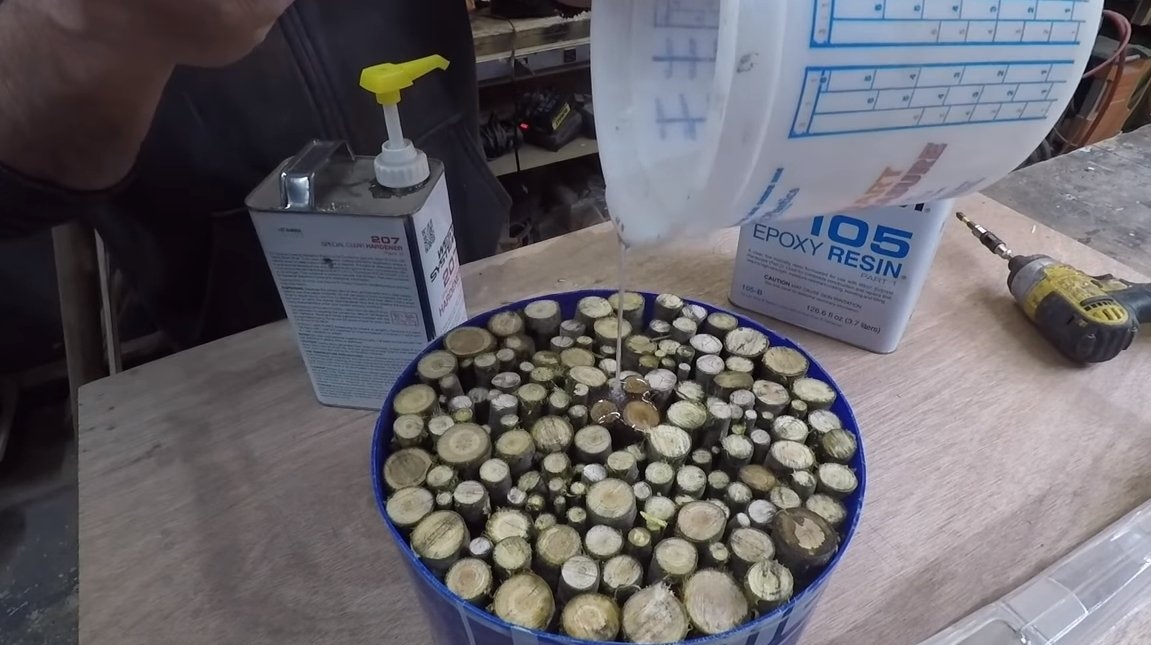
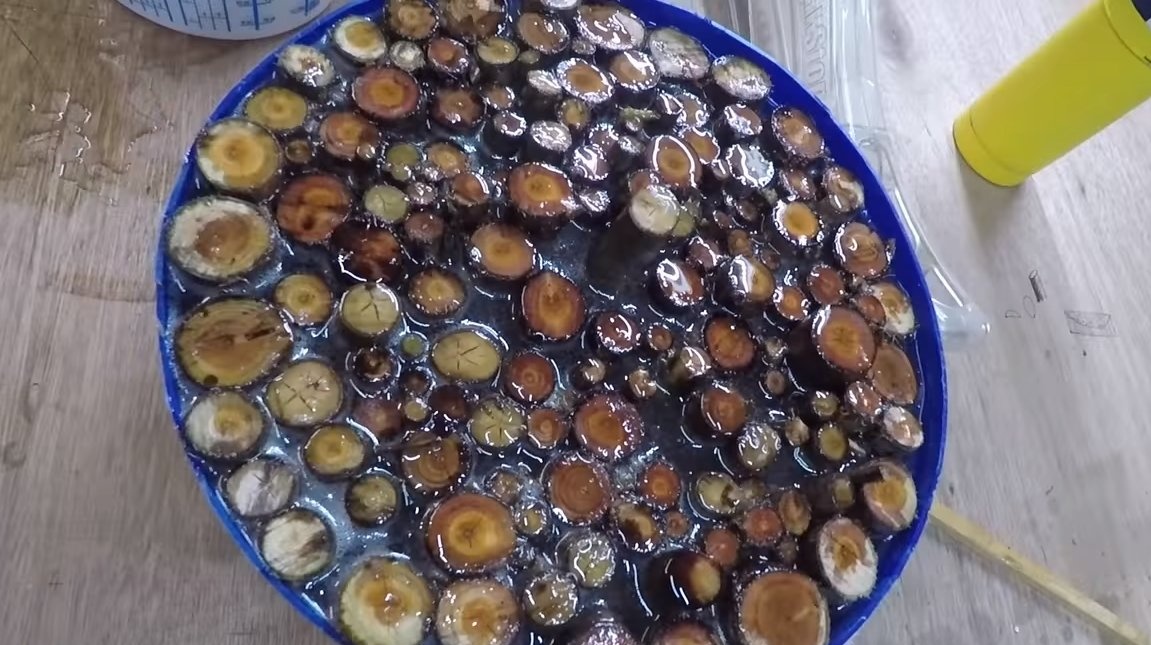
Step Two Pouring
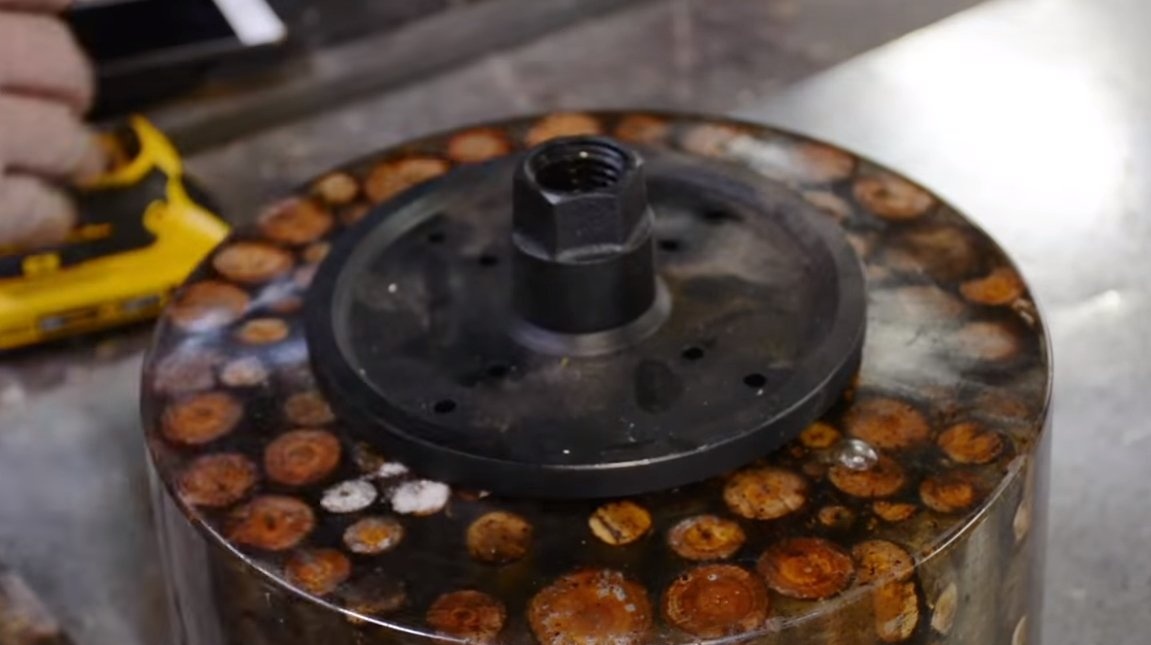
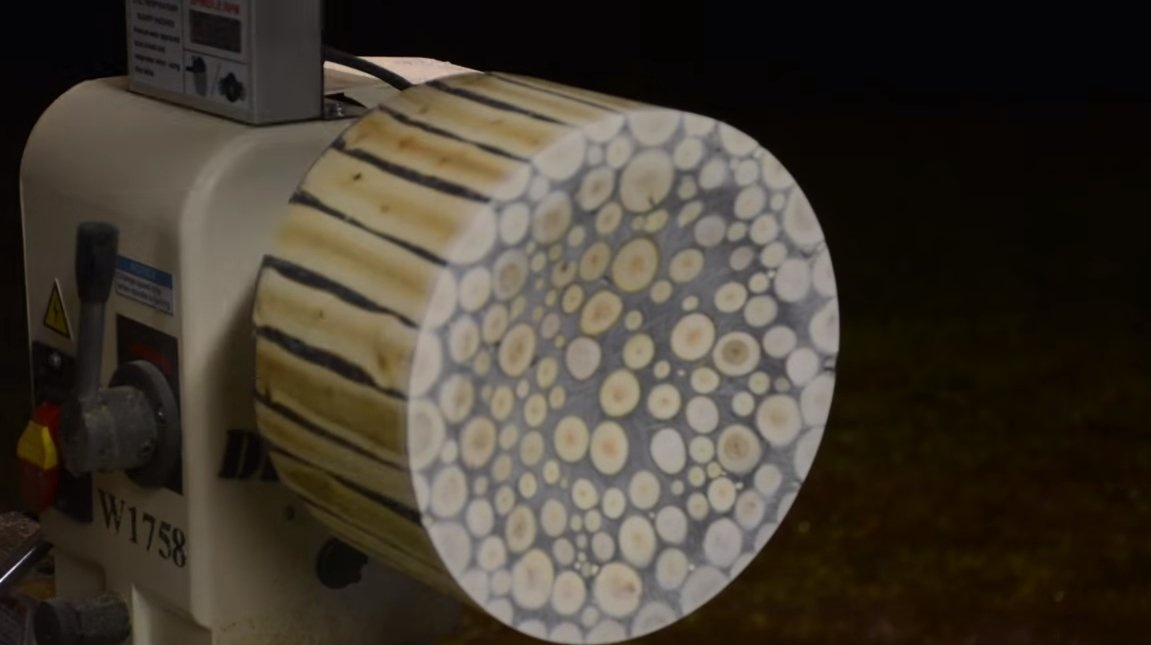
We begin to fill, to begin with, we firmly put the sticks in the mold. As a form, the author used a plastic bucket, cutting off the bottom of it. If desired, dye of the desired color can be added to the resin, it all depends on the color of the wood. Pour the resin and let it completely harden.
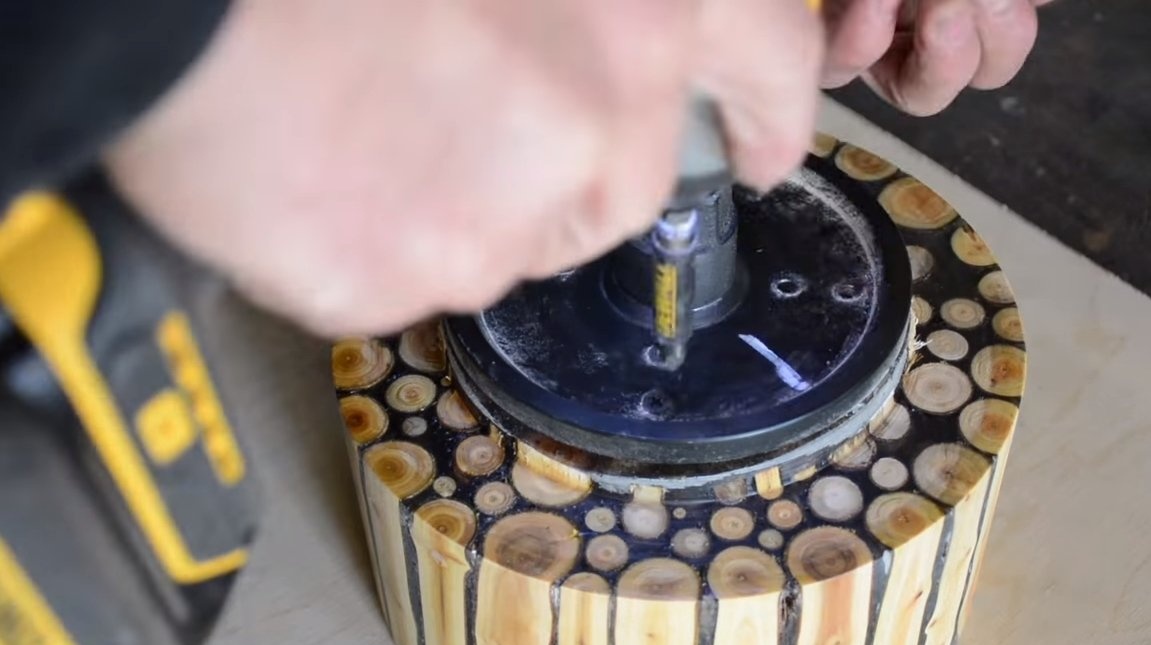
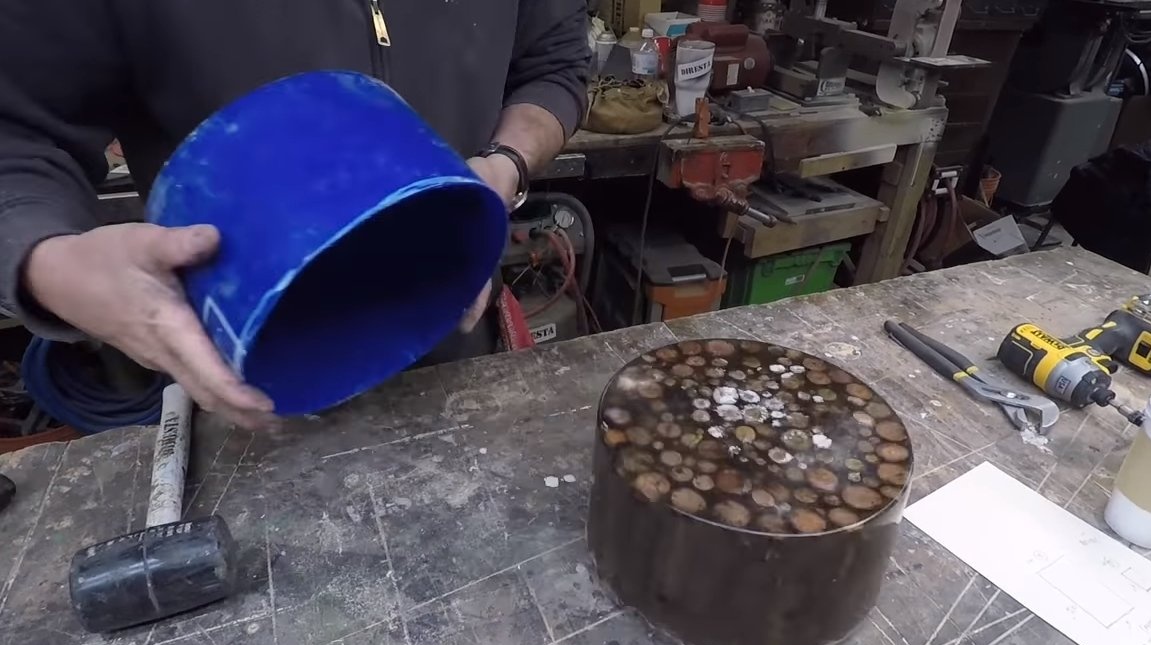
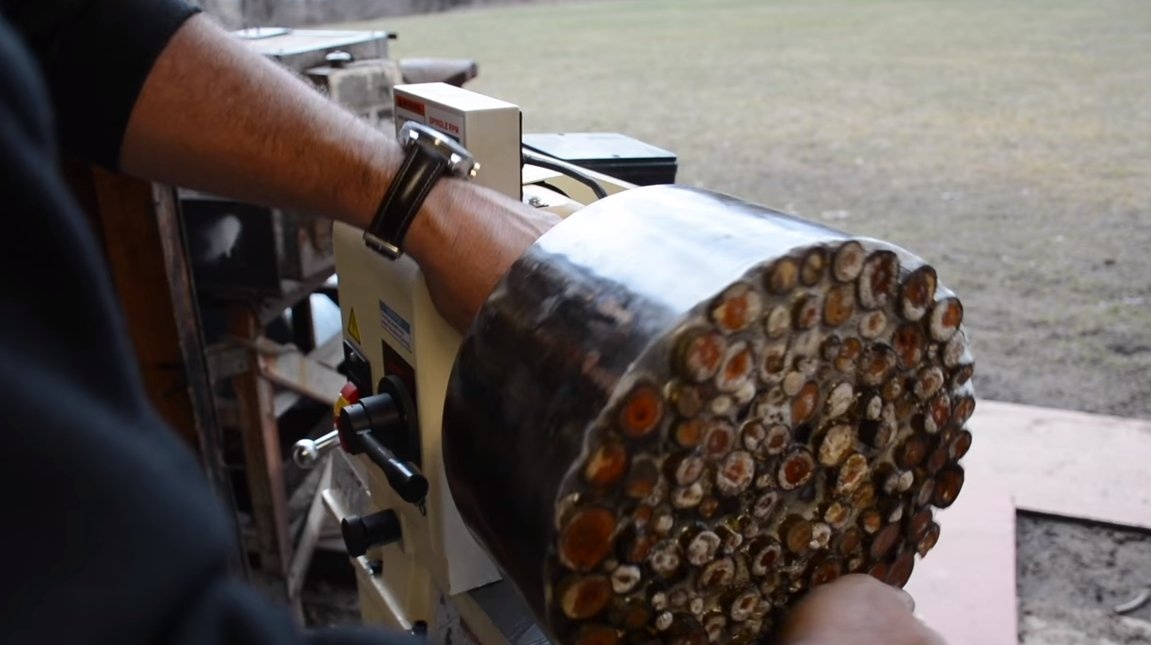
Step Three Turning works
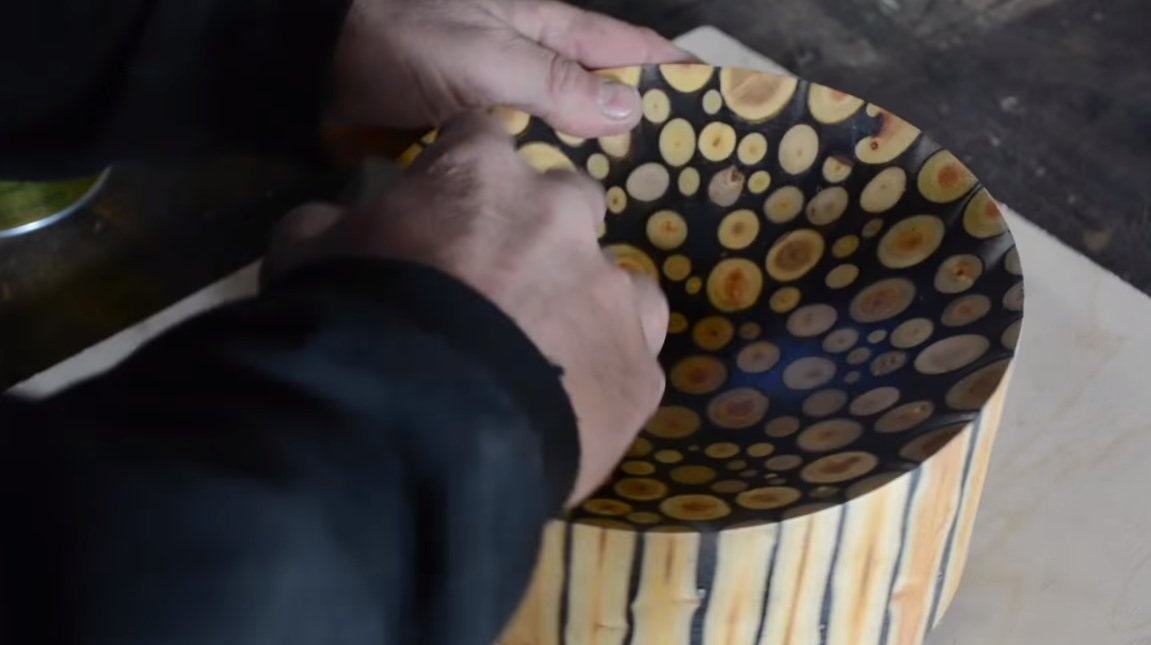
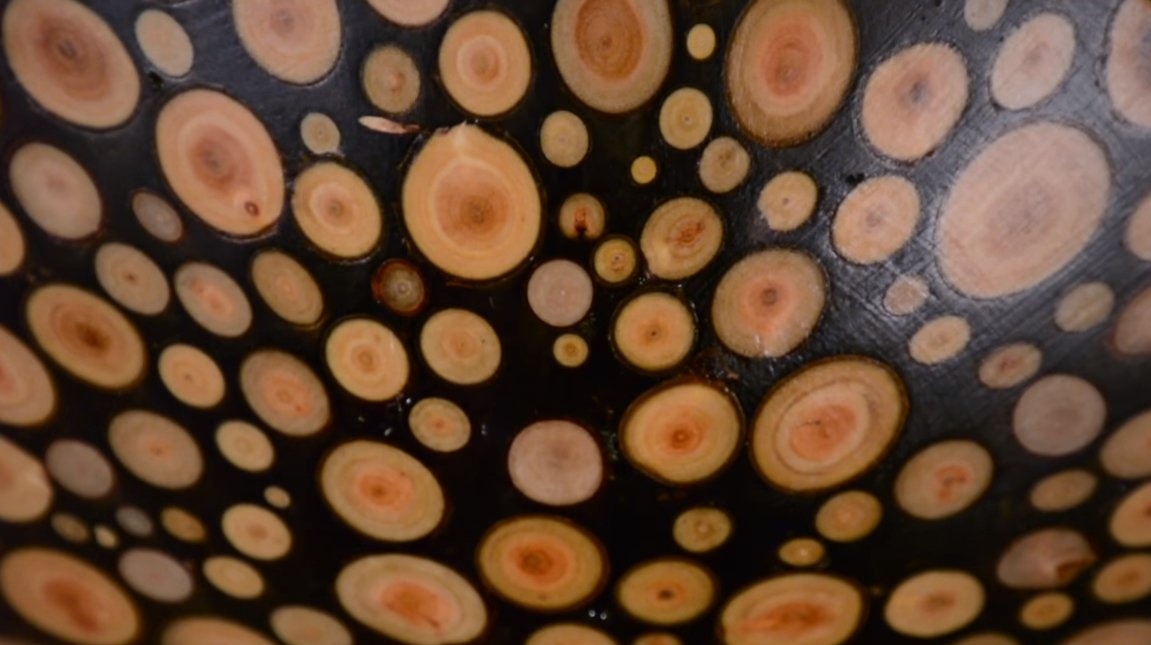
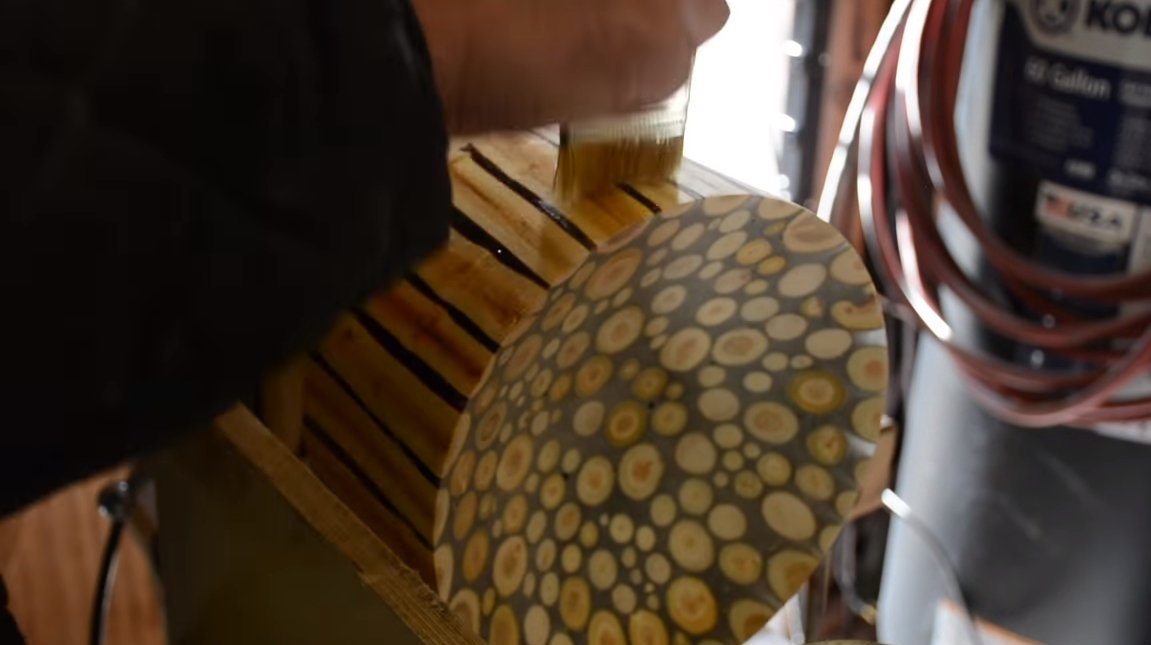
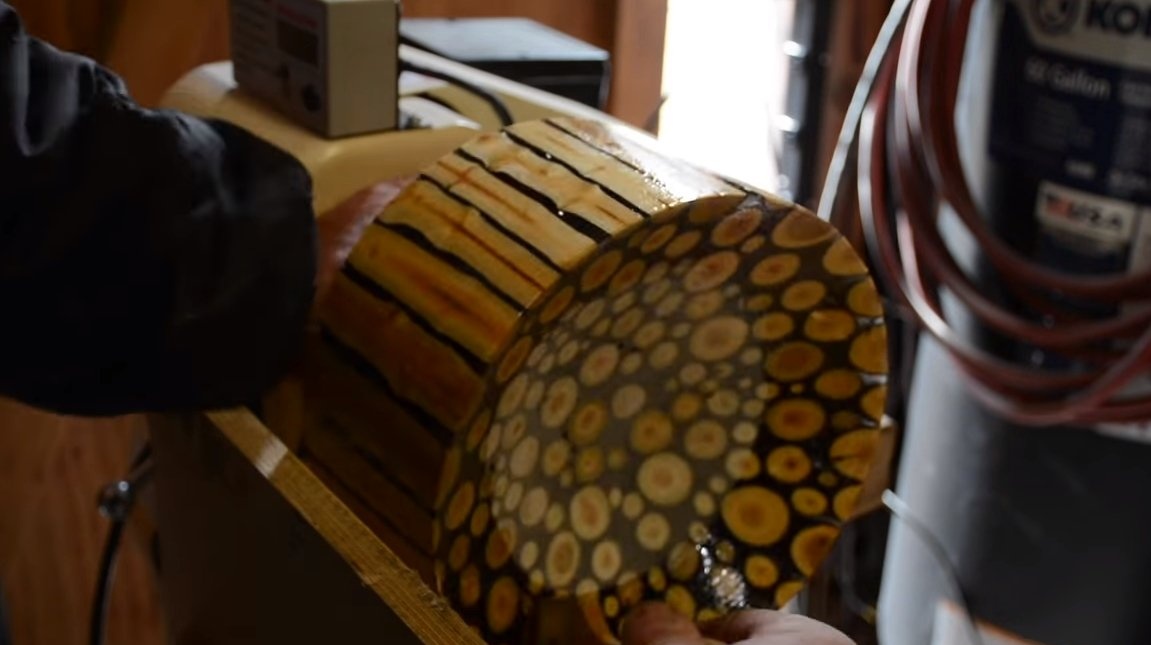
We remove the product from the mold and proceed to turning. We align the workpiece and then cut through the recess, which will serve to store items.
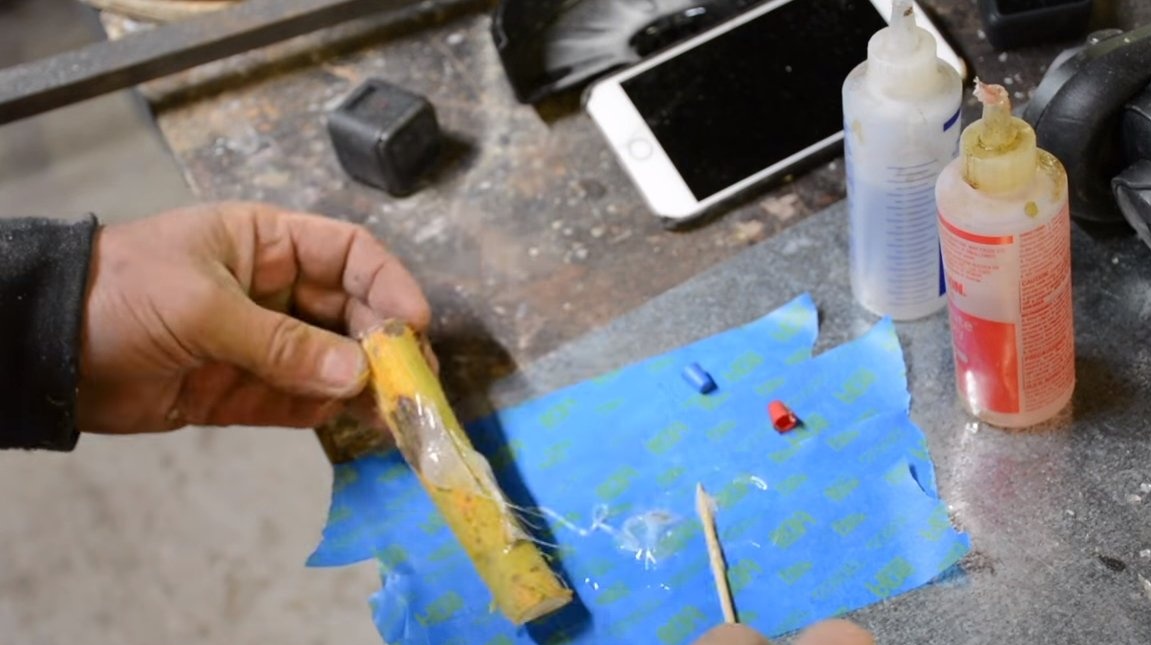
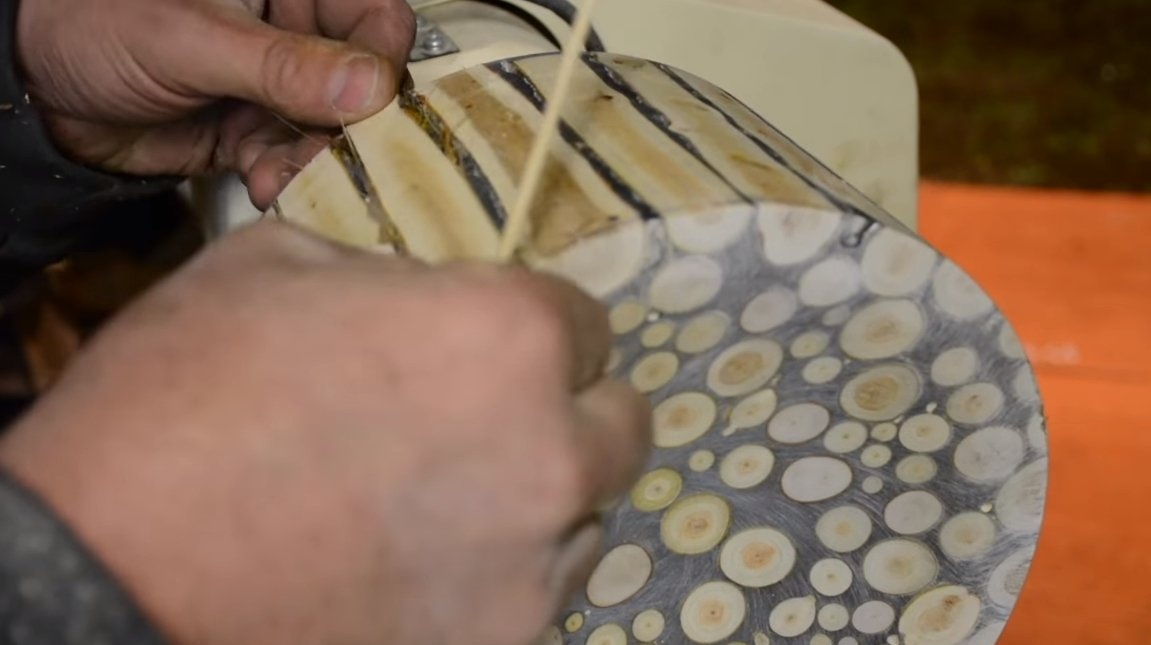
When working with the author, one stick escaped from the blank, it had to be glued back using epoxy glue. Remove the top layer of sticks to get a beautiful pattern.
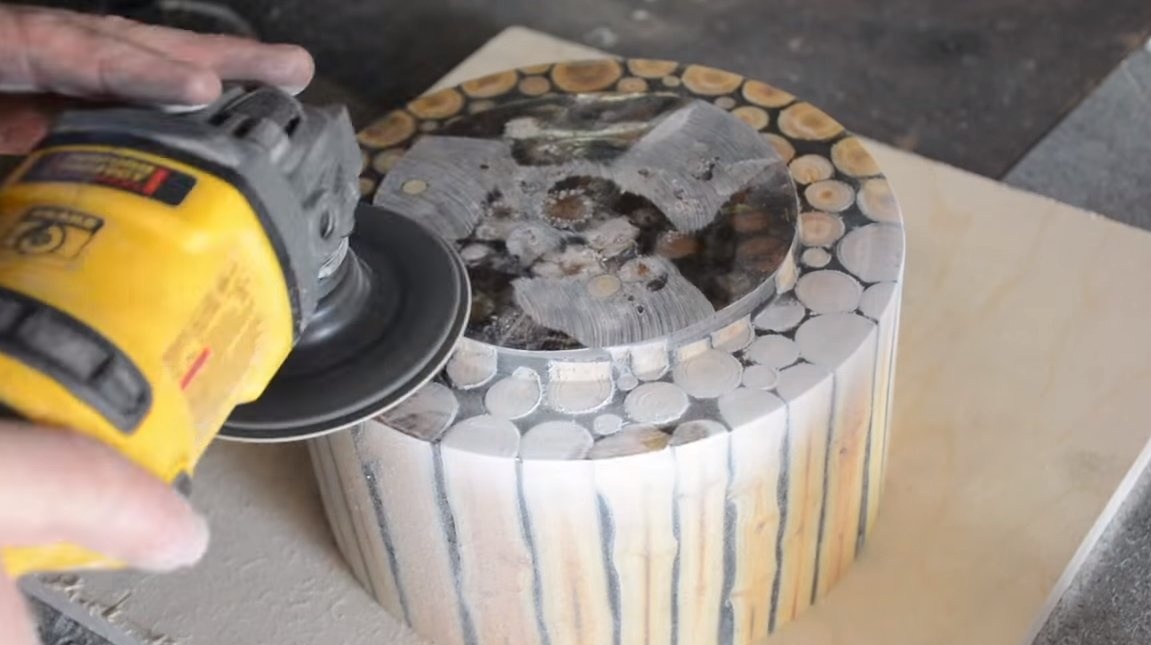
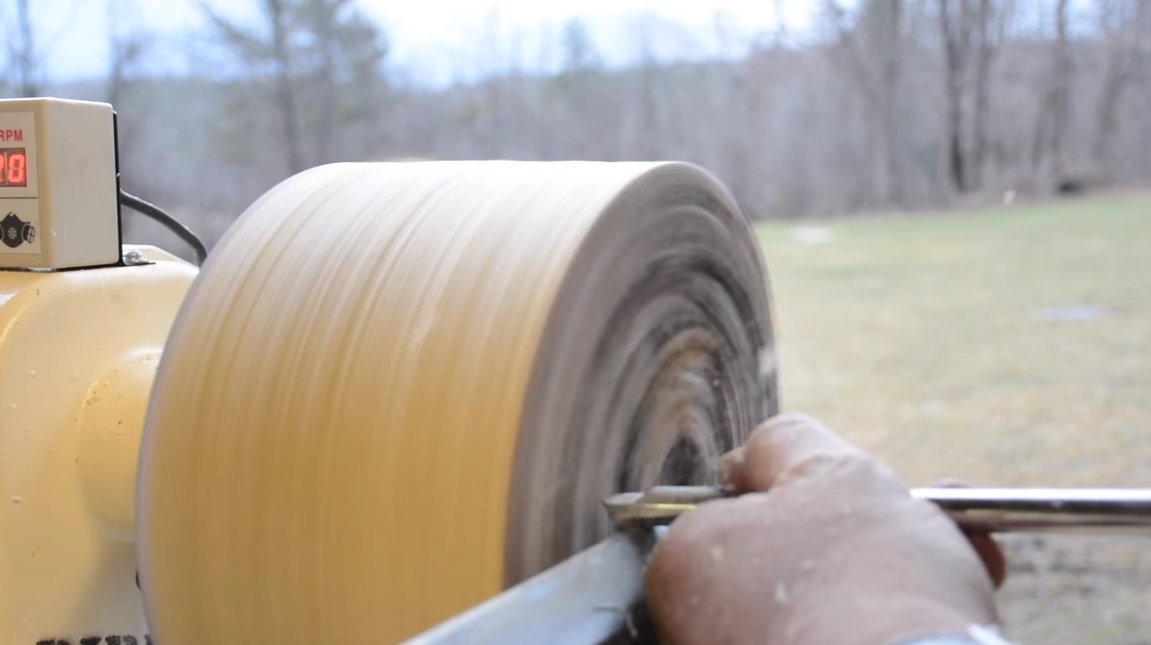
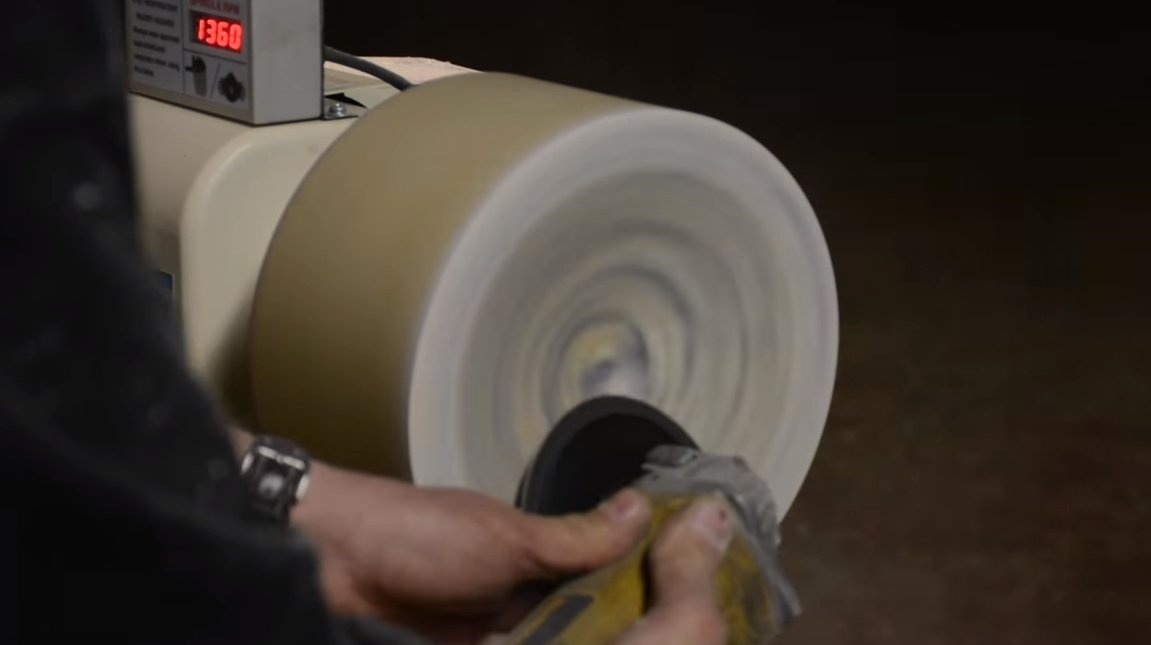
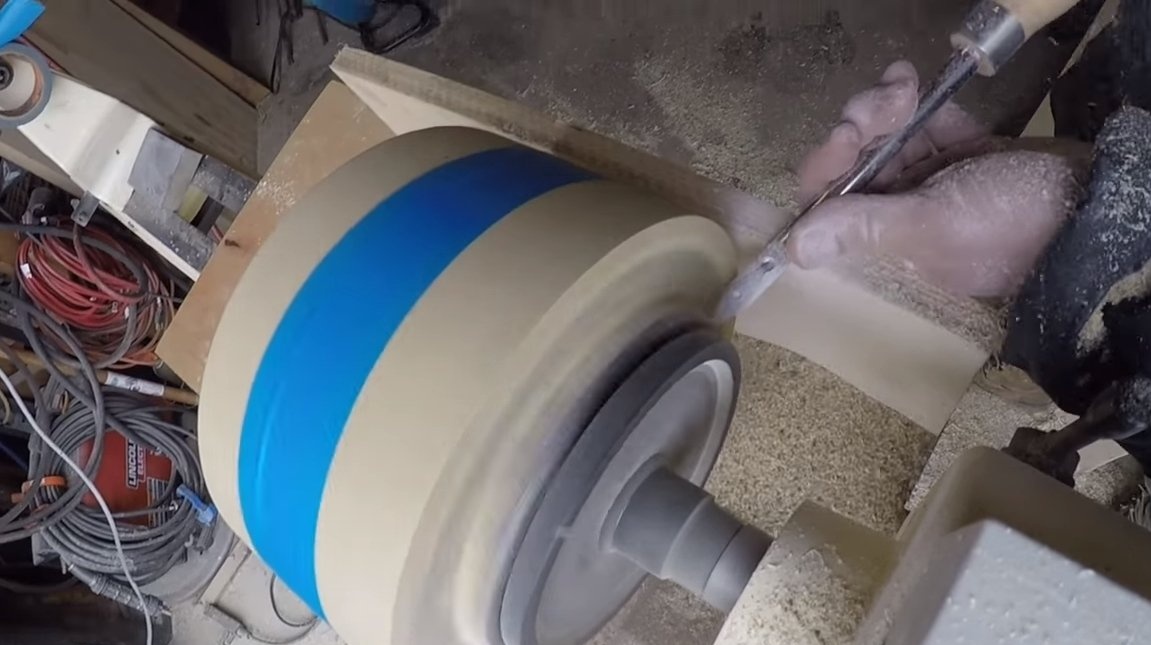
Subsequently, with the help of a lathe, the author also polished the product, then an orbital sander came to the rescue. Here, in place, you can cover the product with the first layer of varnish or epoxy.


Step Four Completion
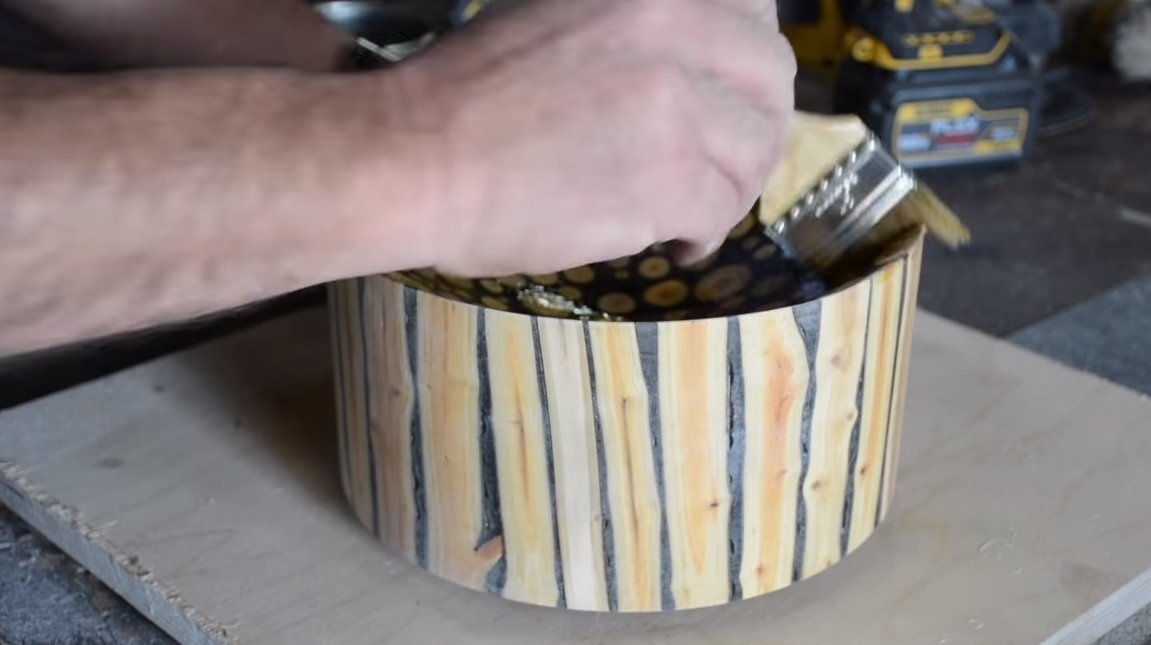
At the end, we perform fine sanding of the product with sandpaper and again cover the homemade layer with a layer of varnish or epoxy. It is highly desirable to coat the product with varnish to protect the resin from ultraviolet radiation, then the resin will not turn yellow.
That's all, the home-made turned out to be gorgeous and unique.I hope you enjoyed the project and found useful thoughts for yourself. Good luck and creative inspiration, if you decide to repeat this. Do not forget to share your ideas and homemade things with us!